Okay, I left you again, my beloveds. But I am back, and I am not leaving in the foreseeable future (until college. Eep!!)
(And I brought pie!)
I was in NYC and also Connecticut at the ESPN campus (so cool!), tagging along with my dad for the last half-week.
Then, I was enjoying a beautiful, sunny day and evening with friends at Taughannock.
Now, I am here.
Home. And back on le blog.
^The always beautiful S and the charming français, Emile.
(That last link is scary… two birthdays ago! Laughing/cringing at the photography. Don’t laugh at me.
On second thought, don’t click through that link.)
Um, with lack of anything more interesting to say about my trip, here are some things I observed, because I love lists:
Things I Saw in Park Slope and Beyond:
a discarded and seemingly brand new cherry wood spoon
a dozen oyster shells, mixed with
broken ceramics of many colors
an unattended child, sitting quietly in a stroller
thirty thousand vespas
a stroller with 12 wheels (12!)
a sizeable bamboo grove on West 14th, with canes that were 20 or so feet tall
killer fro-yo at Culture (two words: mochi topping)
and a million and one other things but I’m tired of this list so let’s move on.
Highlight of my day: I discovered that two of my photos got published on Tastespotting!
I am very pleased.
However, these exact same photos were rejected on foodgawker.
I am not pleased.
“Composition too tight. Please make more room around the ____ and resubmit.”
If I had more room, don’t you think I would have already tried to cram it into that tiny little square?
Wah.
Okay I’m tired of whining so let’s move on.
(Wait… that’s a first. Tired of whining? Me? NEVER. Can’t stop won’t stop.)
These photos being published on Tastespotting have only aided in my ever-expanding online sharing of photos.
I now have a flickr, facebook, twitter, instagram, blog, and Tastespotting account, through all of which I share photos of food. (I rarely put food photos on twitter or facebook, though.)
And I guess I have a foodgawker, but EVERY PHOTO I have ever submitted gets instantly rejected.
My instagram is all food and cats and up-close selfies of my face.
Stop judging me.
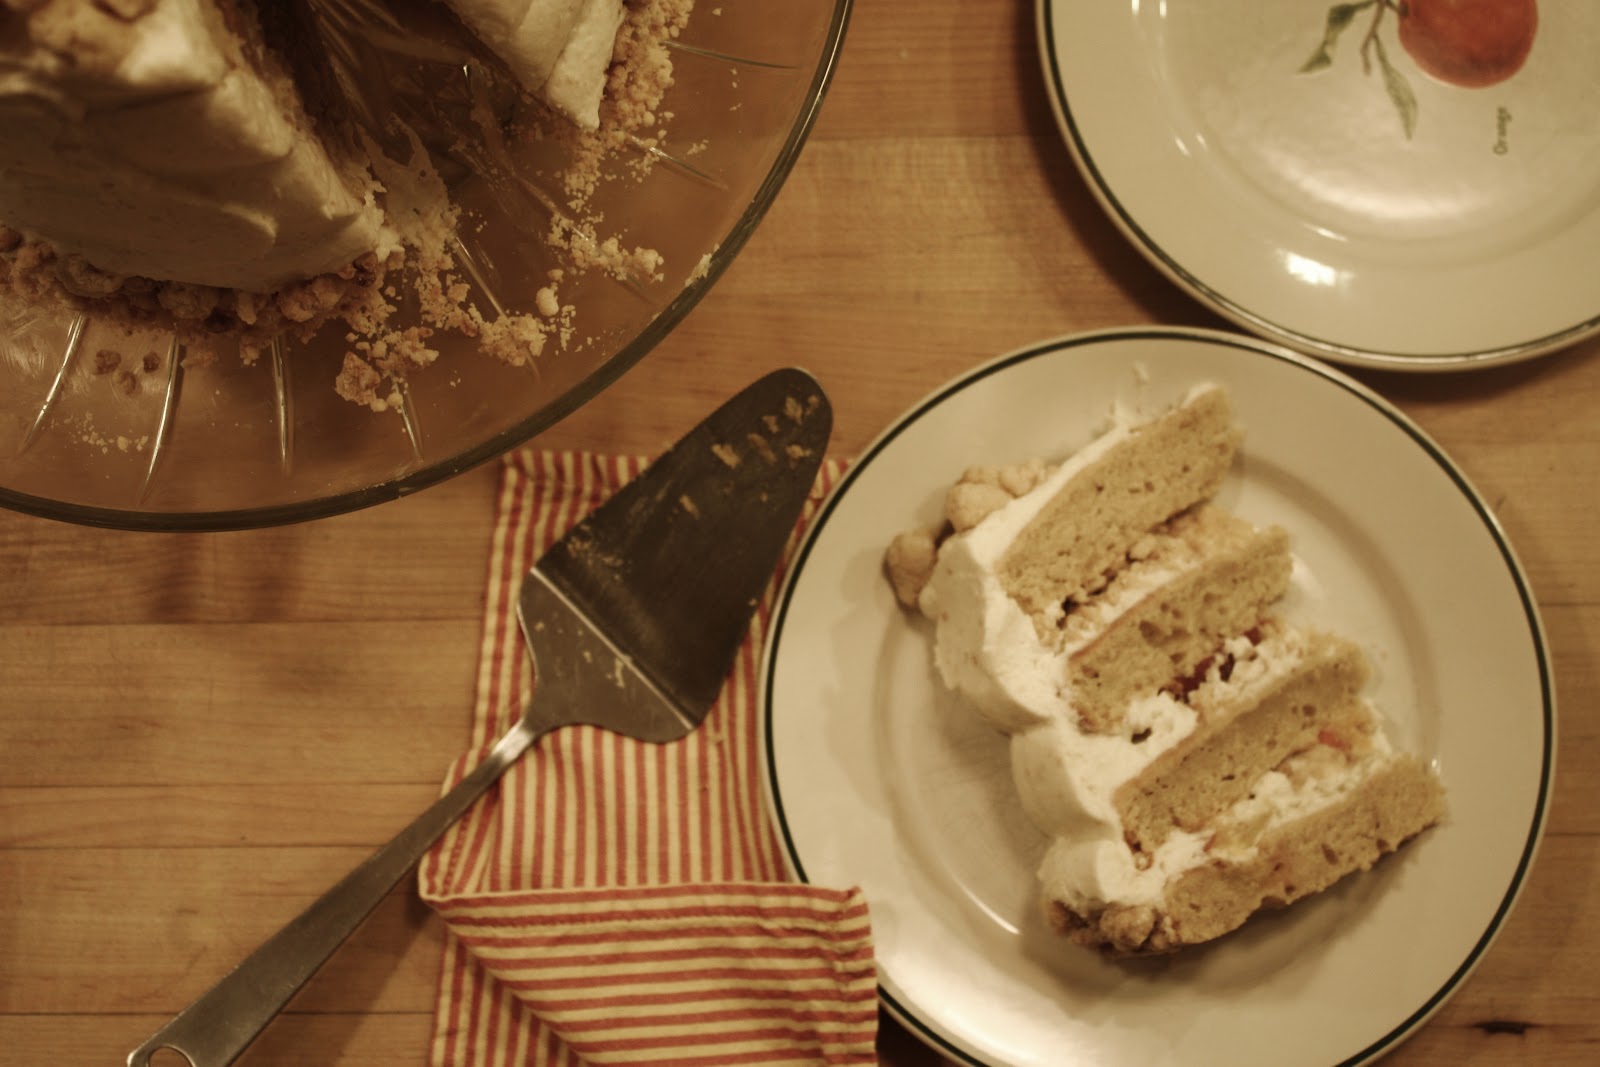
Let’s talk about pie.
Pie, pie, pie pie.
Pie pie pie.
Peach pie. Om nom nommedy nom.
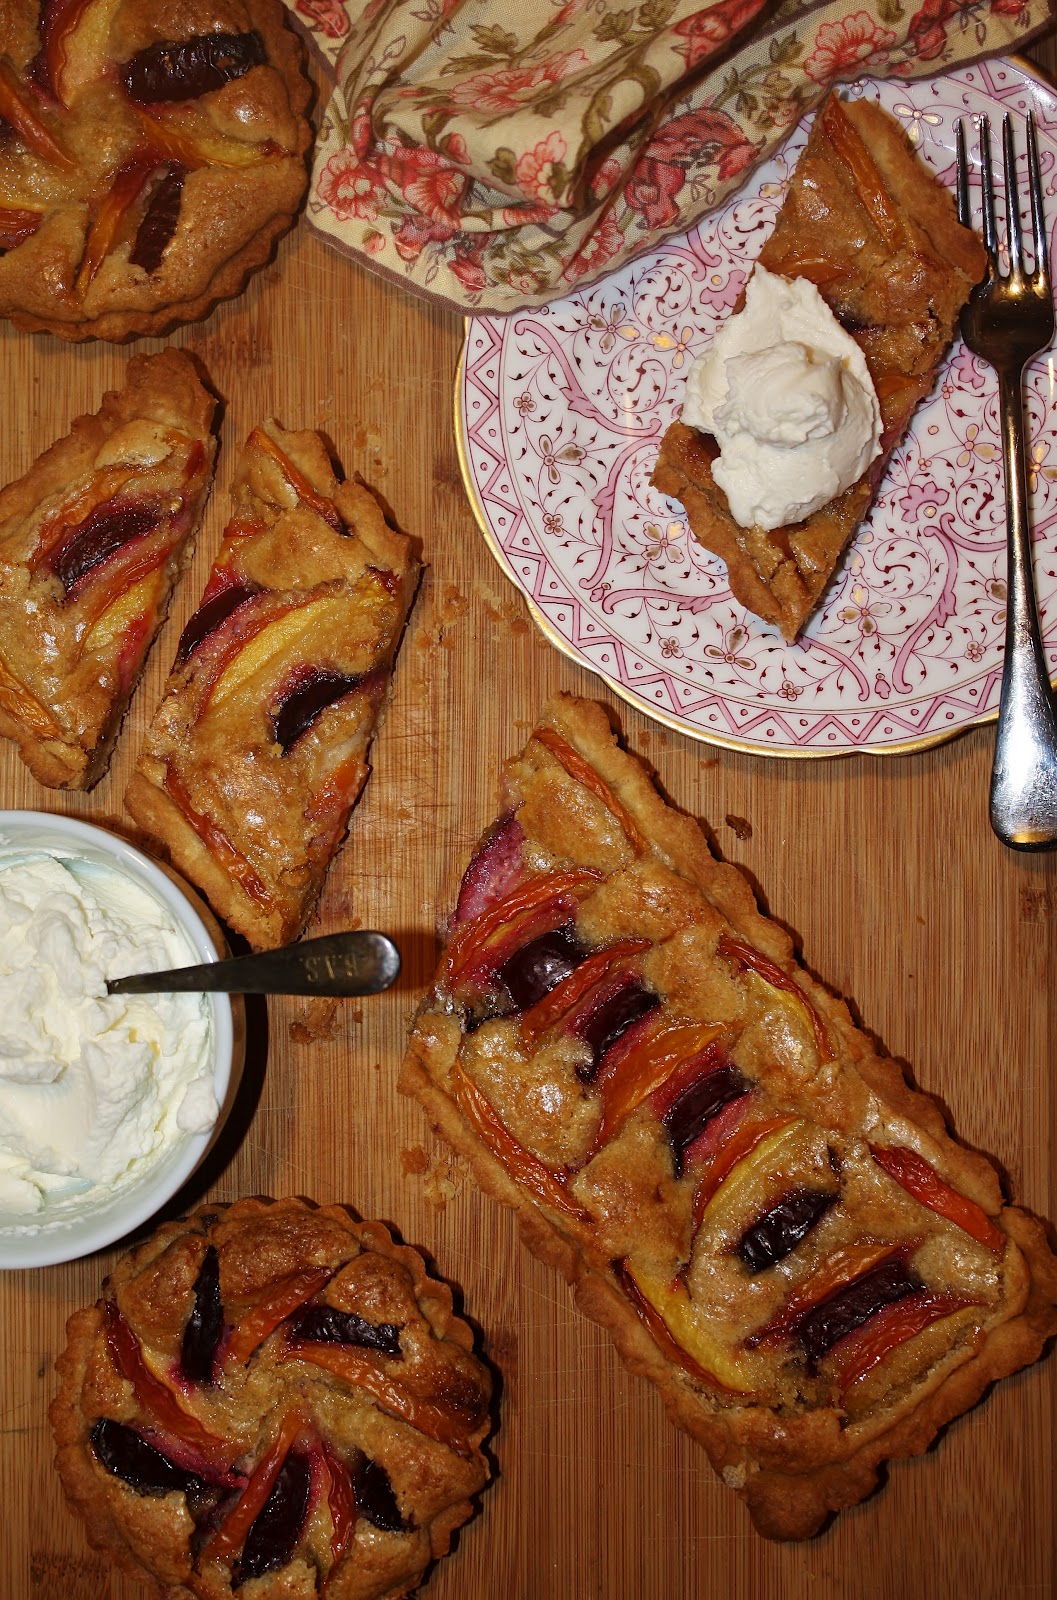
We’ve talked about peach pie once before.
As well as peach pie cake
and two peach tarts.
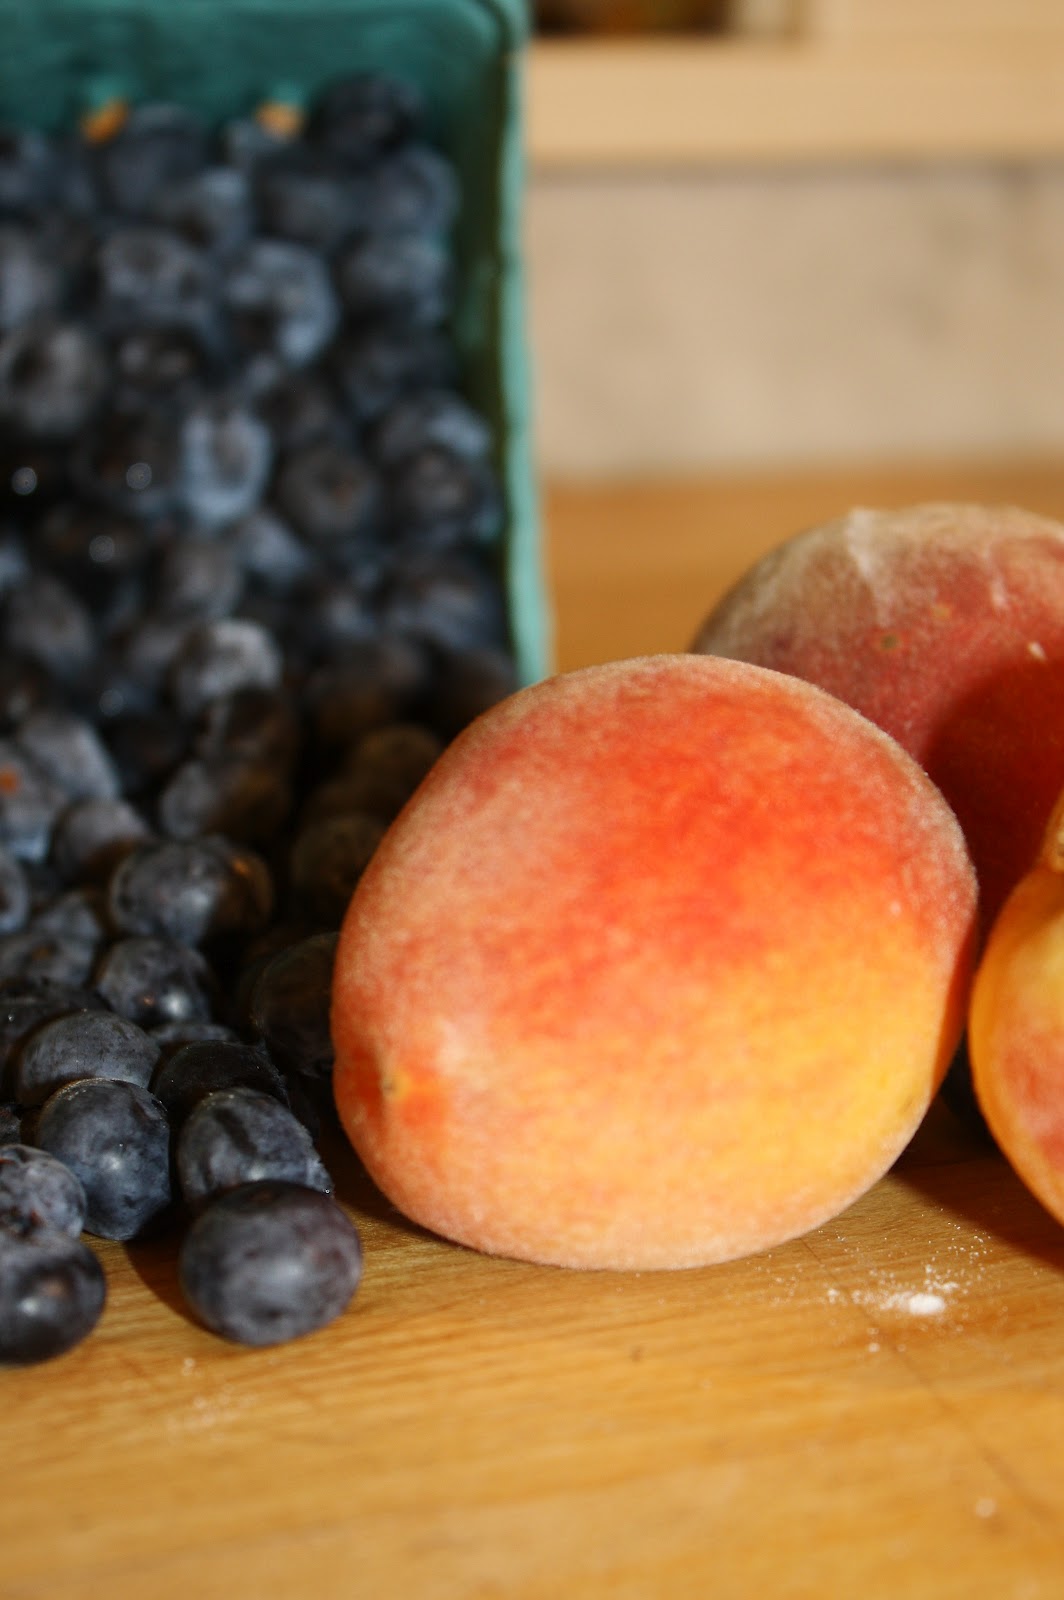
But when I discovered 7 very ripe-borderline too ripe-peaches in the back of my fridge today, I knew the universe was telling me something important.
And it involved pie, so.
See, the most recent Cook’s Illustrated (I have a love/hate/love relationship with this mag, but let’s not get into that) featured their most recent recipe for peach pie.
Obviously, I had to make it/test it for myself.
Fussy magazine instructions be damned.
So let’s talk about this pie.
It ain’t easy, that’s for damn sure. But then again, of course it’s not.
It’s Cook’s Illustrated, for God’s sake, and they can never let anything be easy.
There’s always ten million steps and I usually find there are ways to improve upon what they have given, despite all of their in-depth testing in their test kitchen.
(This may a poorly timed question… but that job sounds awesome. Where do I apply?)
Thus, another list: Things I Wish I Didn’t Have to Do to Make This Pie:
peel the peaches (Said it before, and I’ll say it again: I never peel peaches for pie. I love that fuzzy skin, and I totally approve of this message what it does texture-wise when cooked)
use 3 pounds of peaches (this just seems excessive because you have to peel each one like WHAT)
quarter and then thirds all the peaches (there has to be a more efficient way to do this. Peeled peaches are so very slippery and go shooting off the cutting board like soap)
macerate the peaches (I thought we wanted the juice to stay in)
cook down the resulting juice with pectin (thank God we canned the other weekend… or I would have been out of luck)
mash some of my macerated peaches that I worked SO HARD cutting up (not that hard, but whatever I’m trying to make this list long and dramatic)
use cornstarch (jk I love cornstarch)
ok I’m done

Plus, they gave me some lame-ass pie crust with shortening, giving an excuse about lattice pie crusts needing to hold up or something along those lines. I’m not sure ’cause I stopped reading when I saw Crisco.
I don’t know about you but I am really not down with shortening in pie crusts, but you probably know that because one of my earliest posts was dedicated just to all-butter all-good pastry doughs.
The low down: you can make flaky, flavorful, workable, pliable, tender pie crusts with just butter. You just gotta have the right technique.
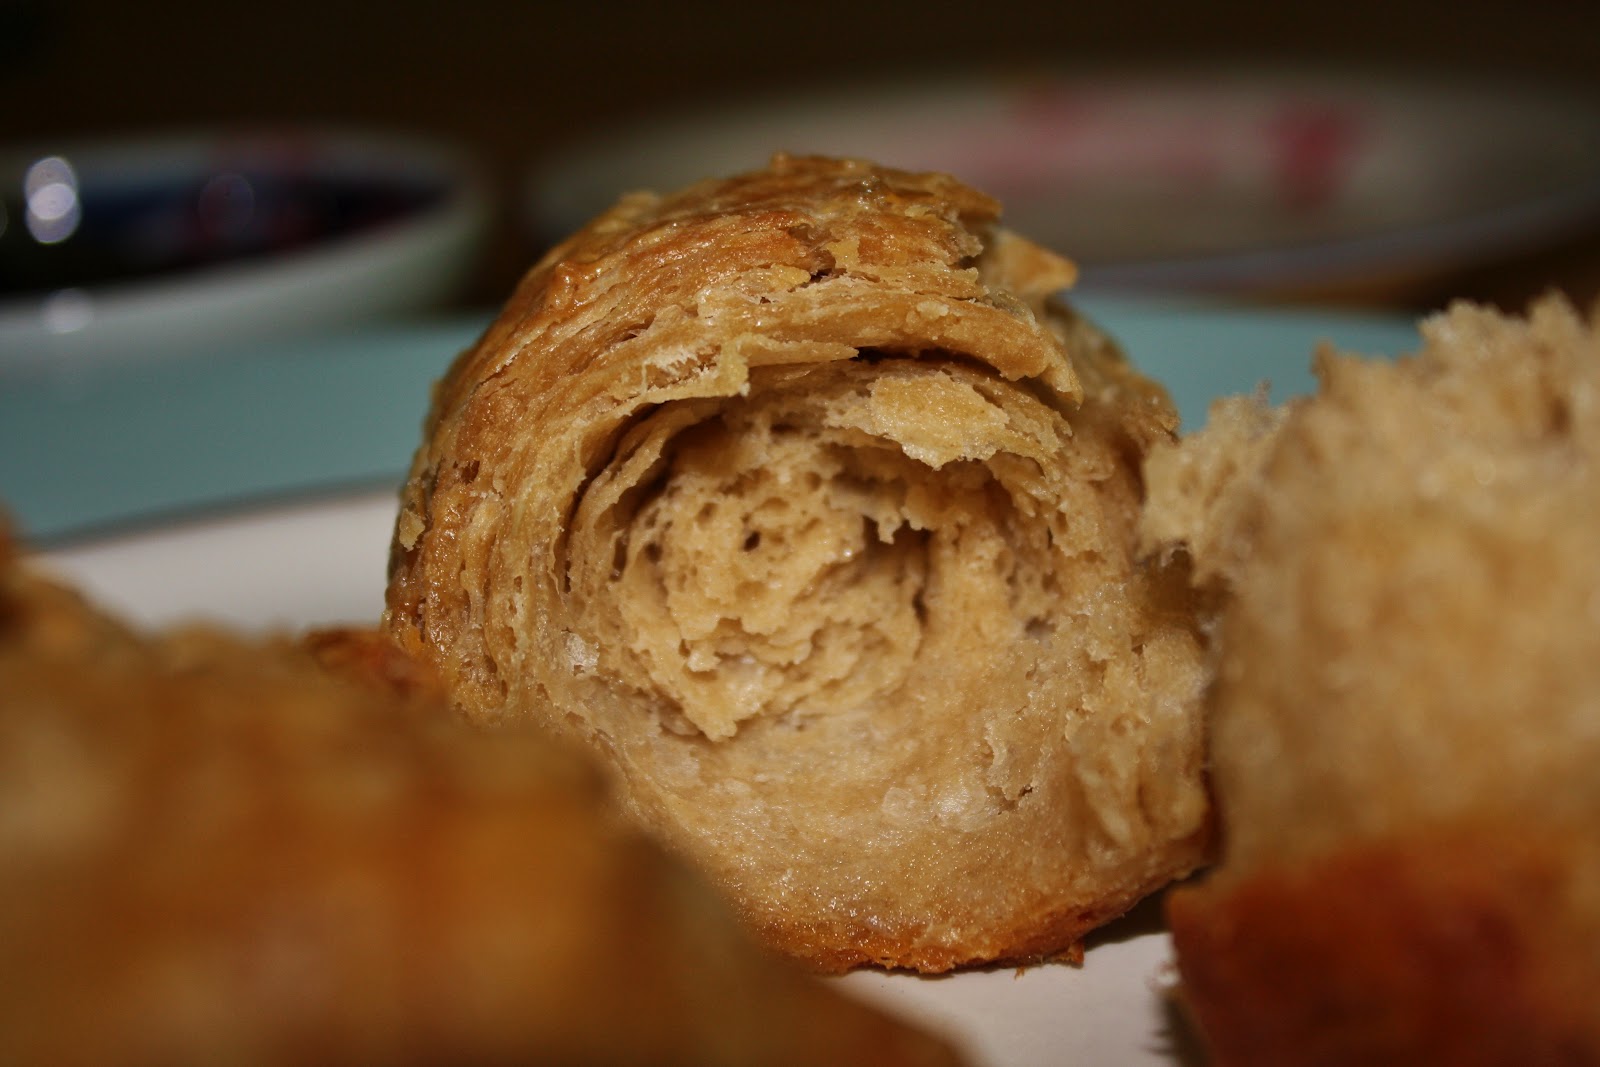
And I’m going to share my super-secret method for getting flaky, flaky, flaky pastry.
(Scroll down through the recipe and you’ll see it, as well as a poorly-lit shot meant to demonstrate how flaky the crust is.)
So to wrap this up: their pie filling was good. The texture was perfect, the flavor was too lemony and too sweet for my palette.
I generally use next to no sugar in my pies, but since I was trying to review the recipe, I made no changes to the filling and how it was prepared.
I used my own crust recipe, which has taken a lifetime to develop (practically), because I will always stay loyal to butter and buttermilk.
This was a fussy recipe. But altogether, I would recommend it.
I think I have to say that, because I had two fat wedges of this pie today.
Om nom nommedy nom.

^I ate that piece. Without a fork.
Cook’s Illustrated Peach Pie (with my flaky buttermilk pie crust)
for the buttermilk crust:
makes enough for a double or lattice crust
ingredients:
2 1/2 cups flour (315 grams)
1 tablespoon (15 grams) sugar
1 heaping teaspoon kosher salt
16 tablespoons (225 grams) unsalted butter, cold and cut into chunks
1/2 cup to 3/4 cup buttermilk, cold (leave it in the fridge until just before you need to use it)
directions:
Place the flour, sugar, and salt in a food processor and pulse to combine. (Or whisk them together in a large bowl)
Scatter the butter pieces over the flour mixture and pulse until the mixture has small chunks of butter the size of peas, about 5 2-second pulses or so. (Or cut the butter into the flour with a pastry blender.)
Slowly drizzle 1/2 cup of buttermilk into the mixer while giving 1 second pulses. (Or drizzle it over the butter/flour mixture and fold with a spatula)
Feel the dough- when you’ve added adequate liquid, it should be slightly tacky and hold together.
Add up to 1/4 cup more buttermilk if necessary.
Turn the dough out onto a floured surface and roll it into a rectangle about 1/2 inch thick.
Fold the rectangle into thirds and reroll into another rectangle.
Fold the new rectangle into thirds and reroll into another rectangle.
Fold the rectangle once more into thirds and then roll it into a rough rectangle.
Cut the block into two pieces, one slightly smaller than the other.
Chill for at least 30 minutes, wrapped well in plastic.
When you are ready to use the dough, roll the larger piece out until its diameter is about 4 inches larger than your pie pan, then gently place it in the pan, allowing the excess to drape off the edges.
Roll out the other chunk of dough into a rectangle and cut it into long strips.
Chill the strips and the dough in the pan before filling (roll them out before you start the filling).
Once filled, weave the strips into a lattice over the filling. (here is a picture tutorial)
for Cook’s Illustrated Peach Pie Filling:
ingredients:
3 pounds peaches, peeled, quartered, and pitted, each quarter cut into thirds
1/2 cup (3.5 ounces) plus 2 tablespoons sugar
1 teaspoon lemon zest plus 1 tablespoon lemon juice
1/8 teaspoon salt
2 tablespoons low- or no-sugar-needed fruit pectin
1/4 teaspoon cinnamon
pinch nutmeg
1 tablespoon cornstarch
directions:
Toss peaches, 1/2 cup sugar, lemon zest and juice and salt in a bowl; allow to sit for at least 30 minutes and up to an hour.
Combine pectin, 2 tablespoons sugar, and spices in a small bowl.
Transfer 1 cup of peach mixture to a bowl and mash into a coarse paste.
Drain the remaining peaches and measure out 1/2 cup of the liquid; discard the rest.
Place the juice into a pan with the pectin mixture and cook over medium heat until thickened and pectin has dissolved (3-5 minutes).
Toss the remaining peaches with the cornstarch, then add in the peach paste and the peach juice.
to assemble and bake the pie:
ingredients:
cream
turbinado or coarse sugar, or regular sugar
directions:
Preheat oven to 425 degrees F.
Remove the chilled bottom crust from the fridge and pour the filling into it.
Weave the chilled lattice strips over top of the filling.
Brush cream gently over the pie top and sprinkle liberally with coarse sugar.
Bake for 20 minutes at 425, then lower the temperature to 350 and bake 35-40 minute more, until the top is deeply golden brown and the filling is bubbling in the center.


