

There is indeed something magical about puff pastry’s exponential rise and versatility, but it’s no mystery.

It’s faster, easier, and, at least in my own experience, more idiot-proof reliable.
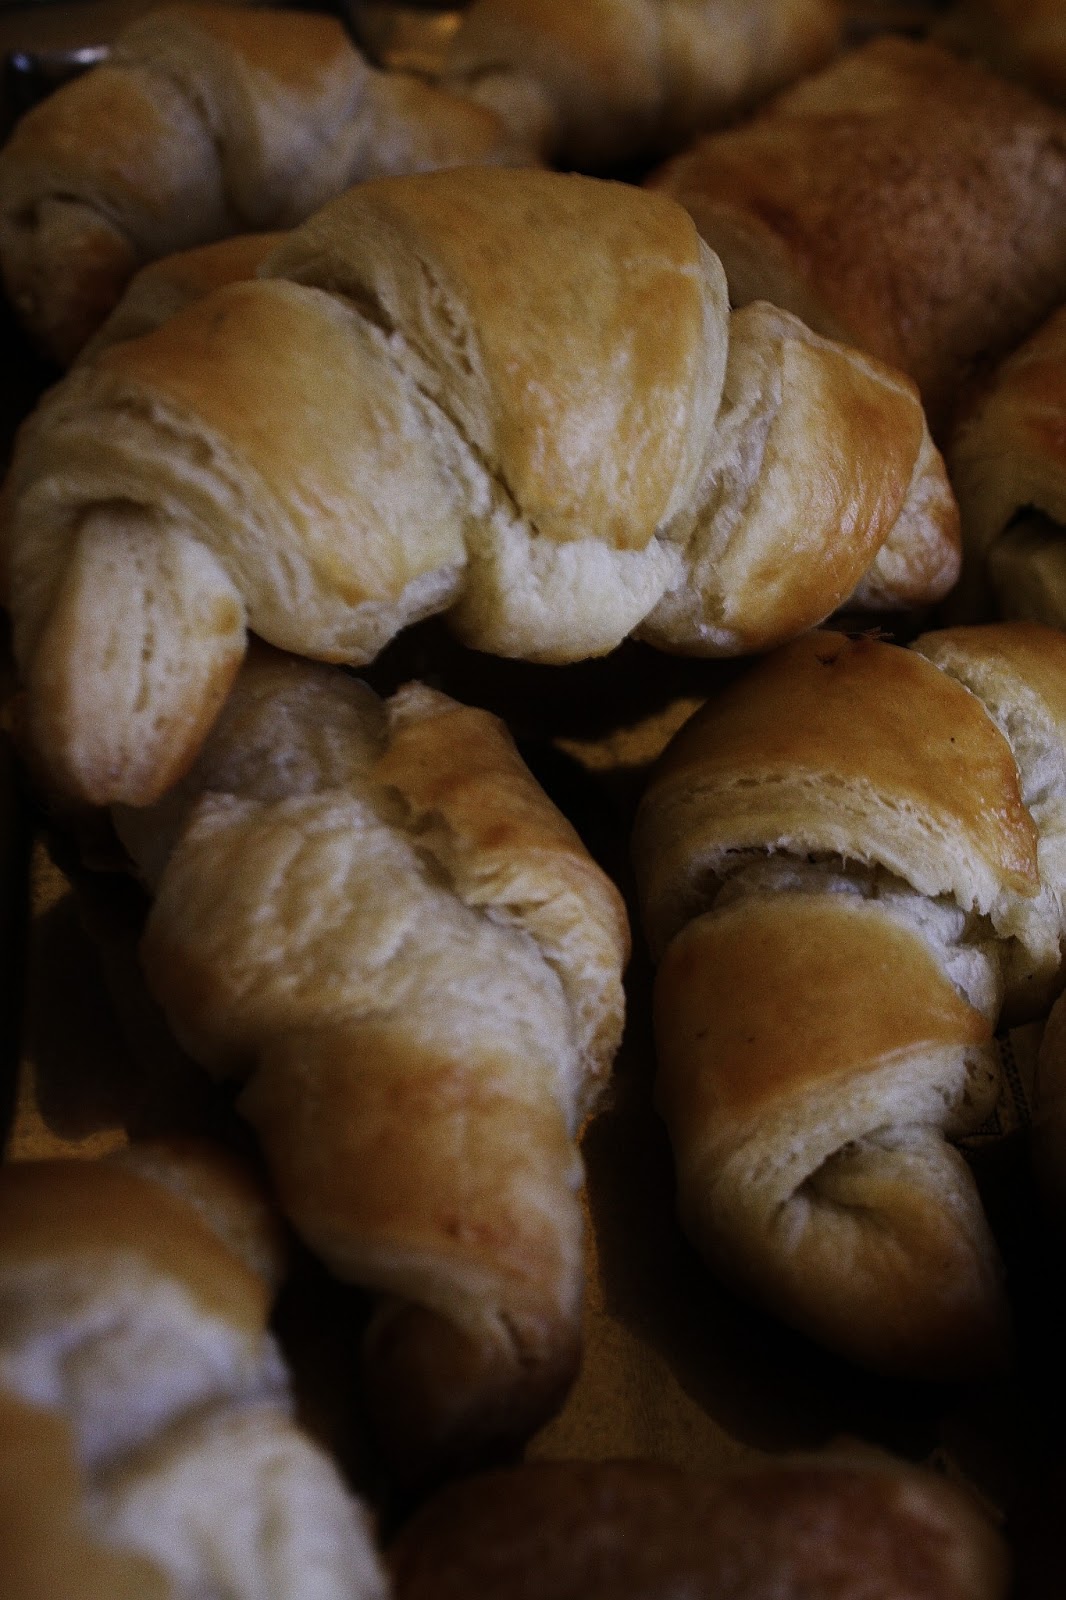
Flaky pastry enhances any dessert (Like… Duh?).


Still with me? Salivating yet?
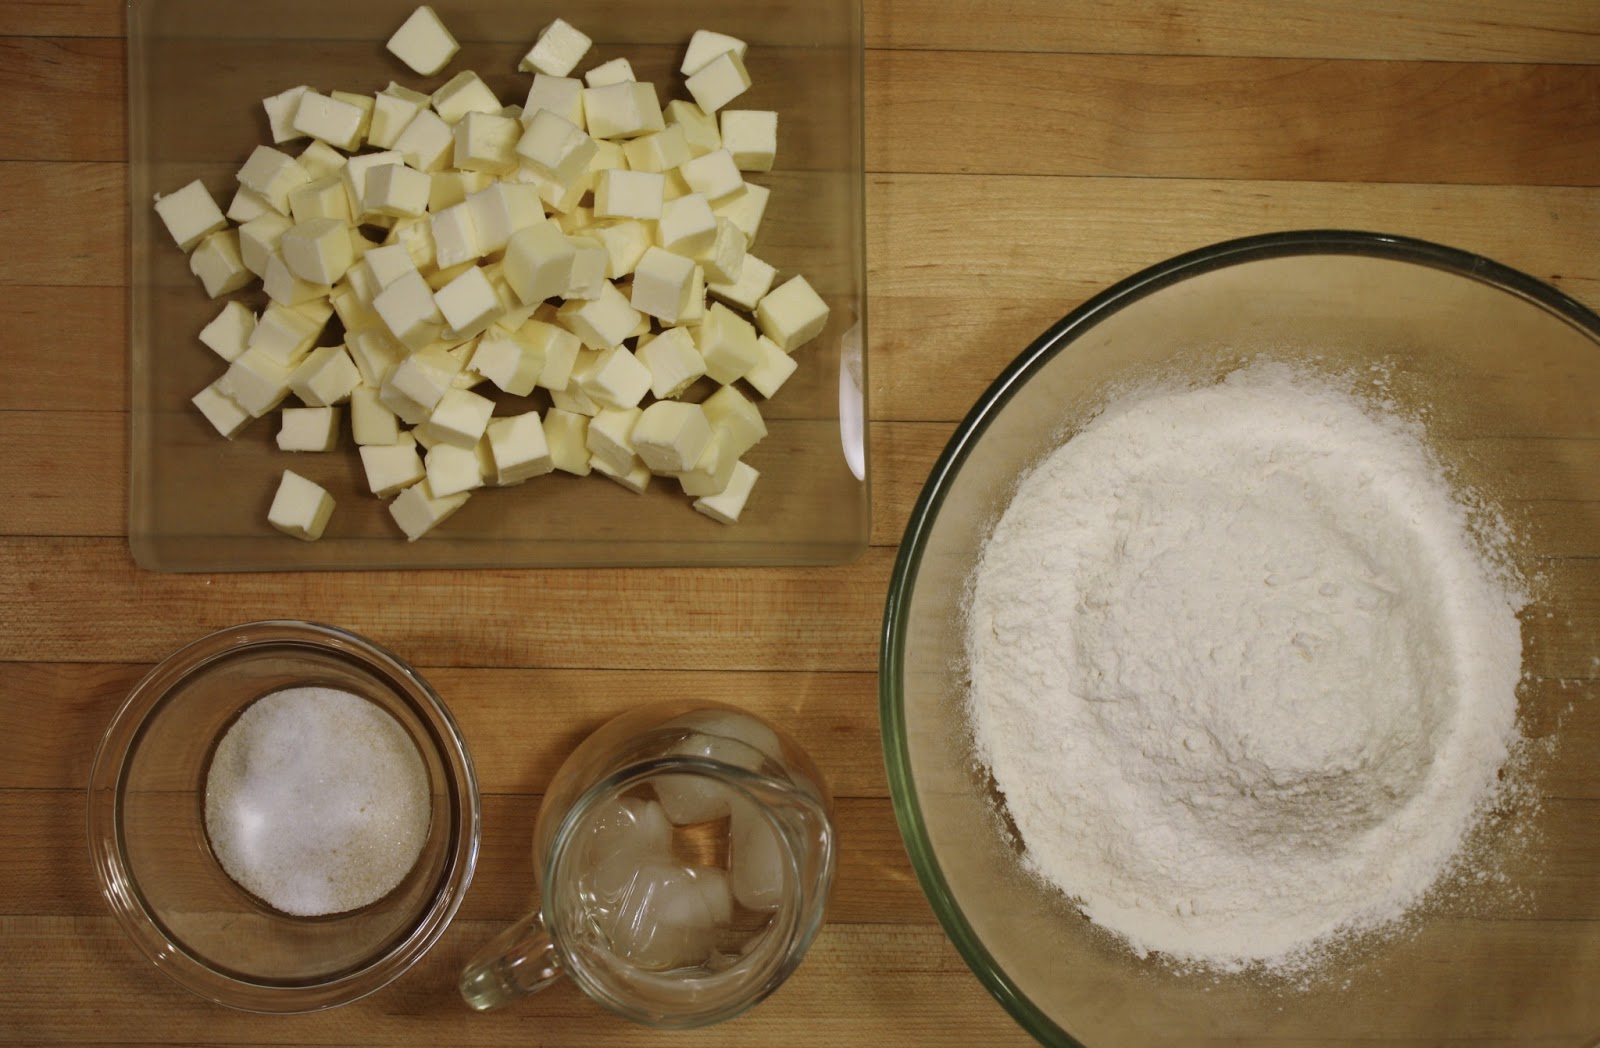
For the basic dough,
Whisk your flour, salt, and sugar together in the large bowl with a fork.
Break up any clumps.
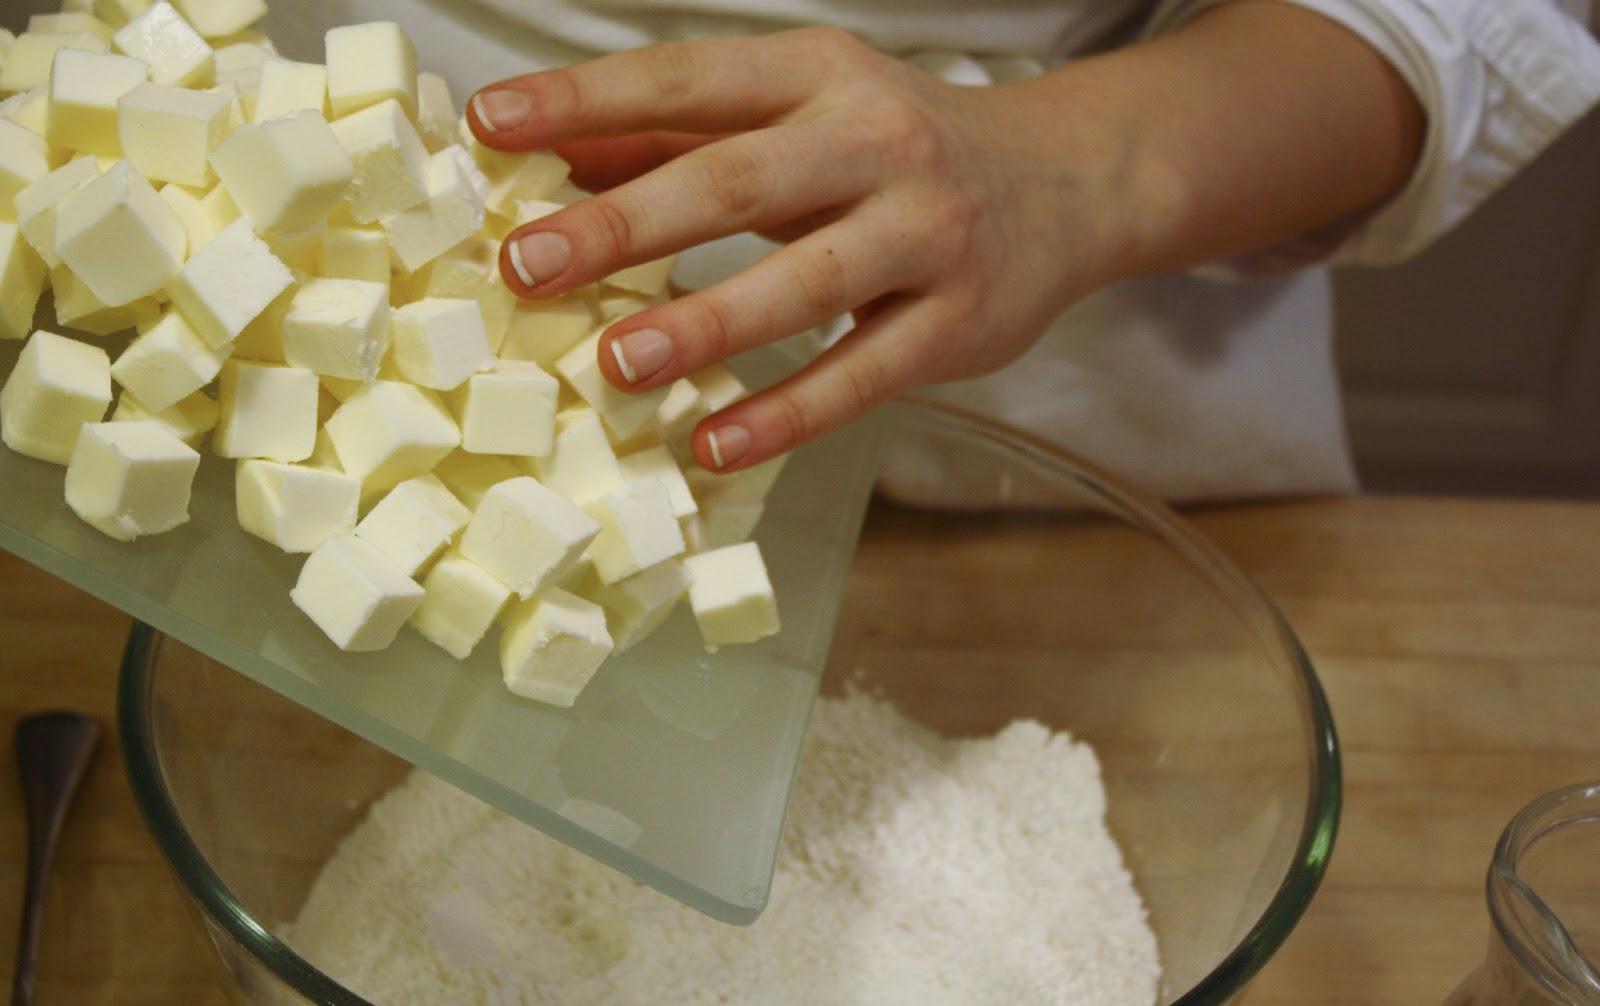
Dump all your cold butter onto the flour. Toss to coat.


With clean hands, roughly flatten all of the cubes of butter.
They do not have to be perfect sheets; that will happen in the next step. They should just be roughly flat.


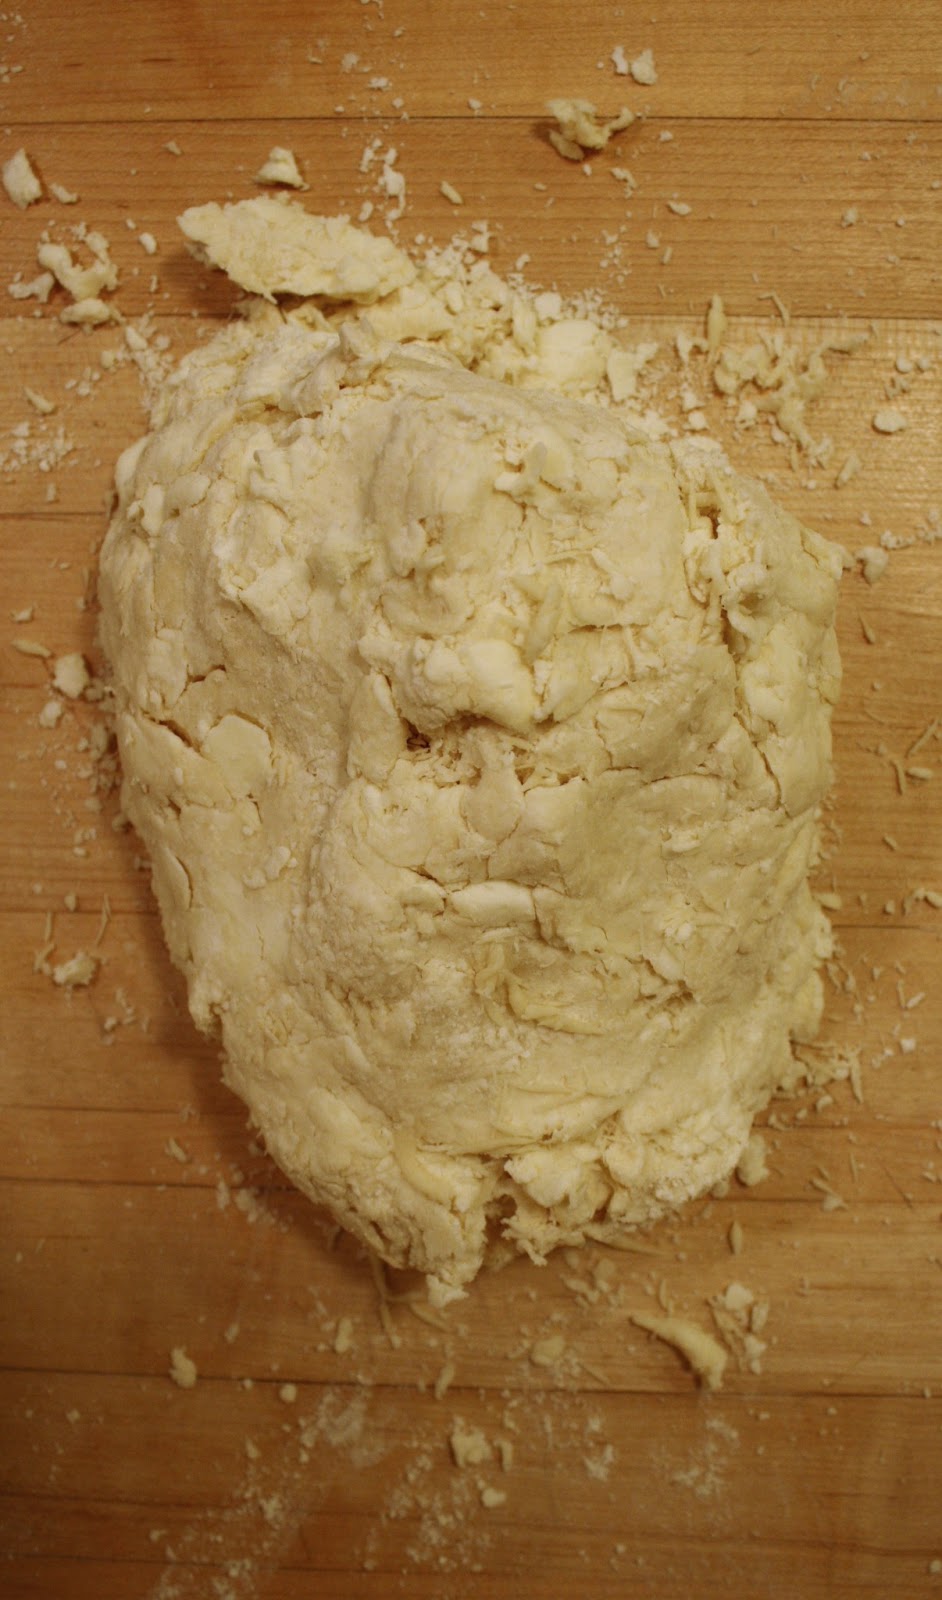
This is what your dough should now look like.
Make a well in the center and pour in some water.
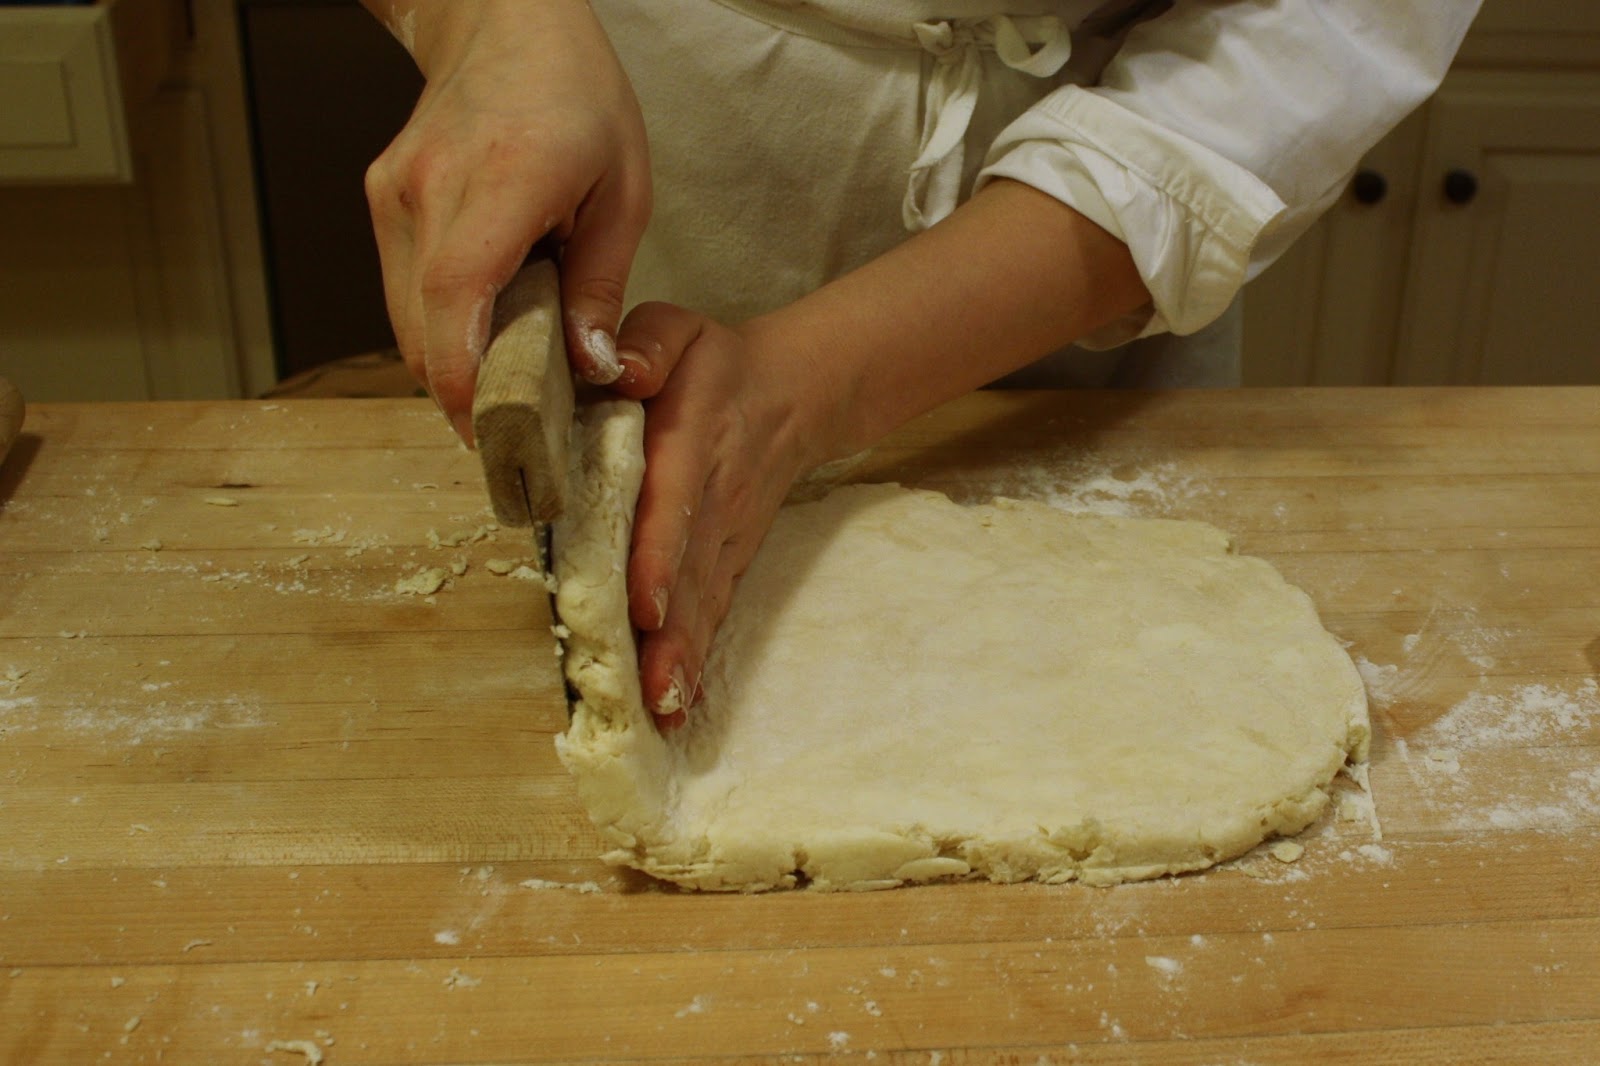
Knead lightly with your hands, using a bench scraper to help fold the dough over itself.
Continue to add water until your dough just barely comes together in a shaggy mess.
Do not add so much that it becomes slimy, but add enough that it is no longer crumbly.
This is a variable amount; you may need slightly more or less than 10 ounces of water. That’s okay. Ingredients and environments differ, and that’s what affects this measurement.
 |
| Finished adding water. Cohesive, still shaggy, but stays together. |
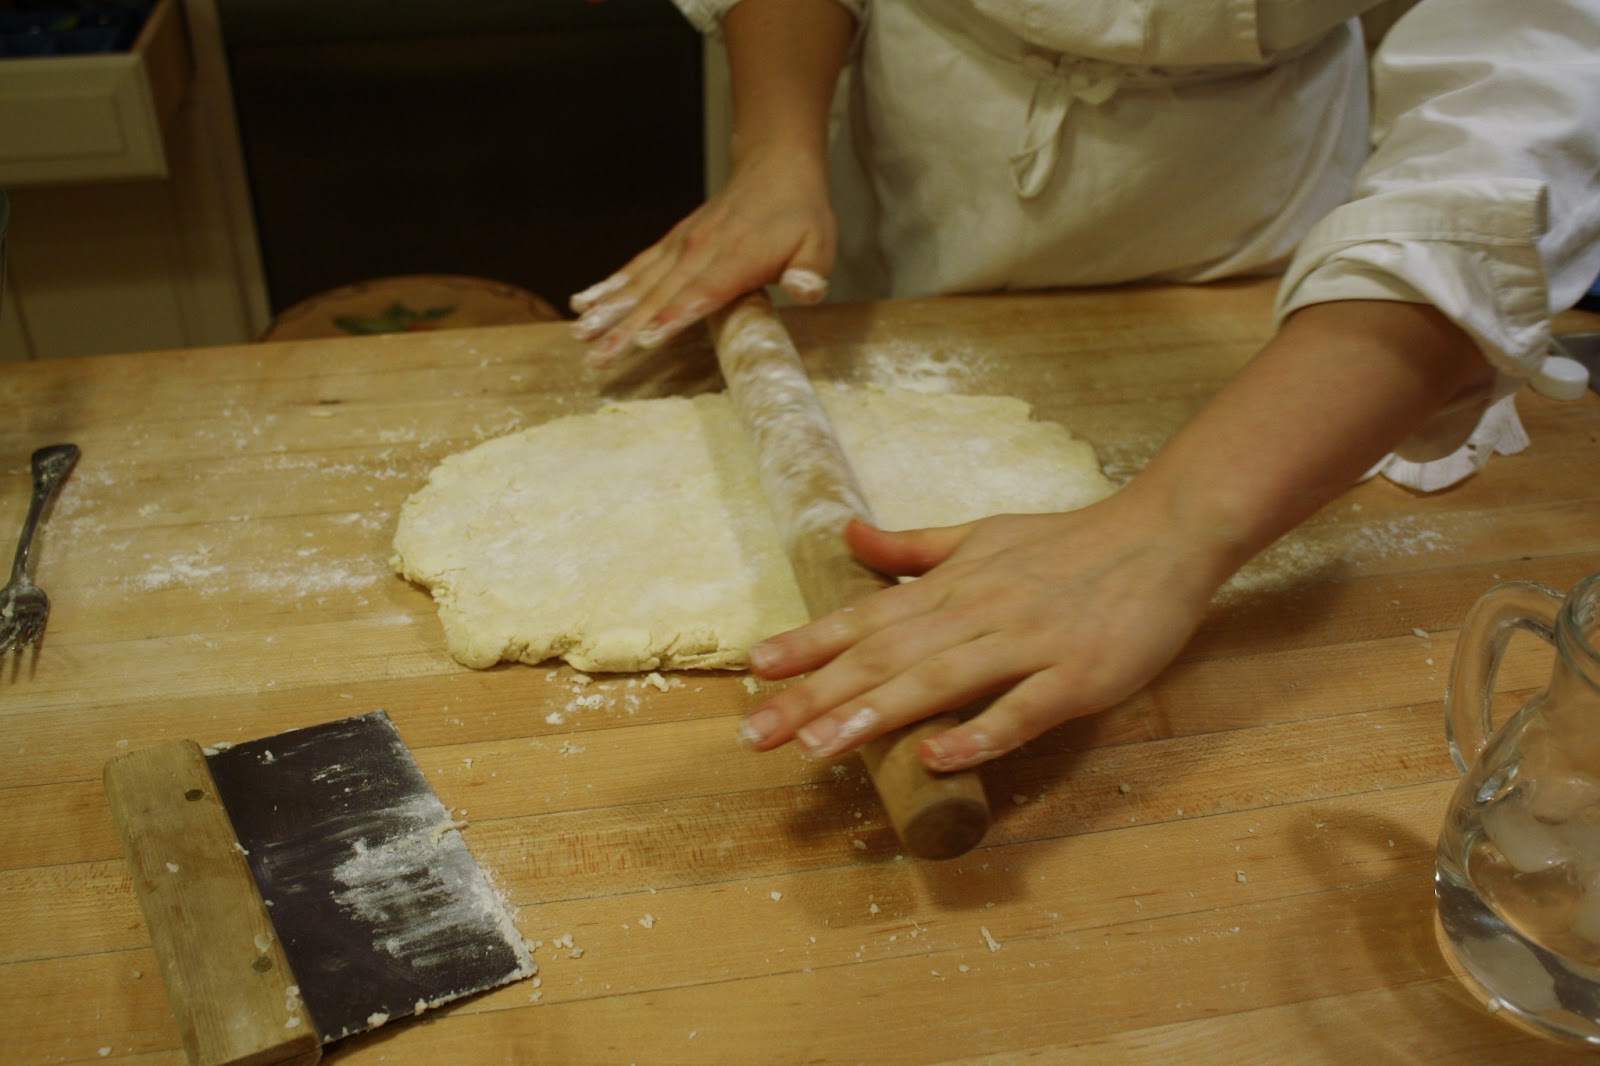
Next, roll out your dough to about a 3/4- 1 inch thickness, in the shape of a rough rectangle (not triangle, which is what I just wrote).
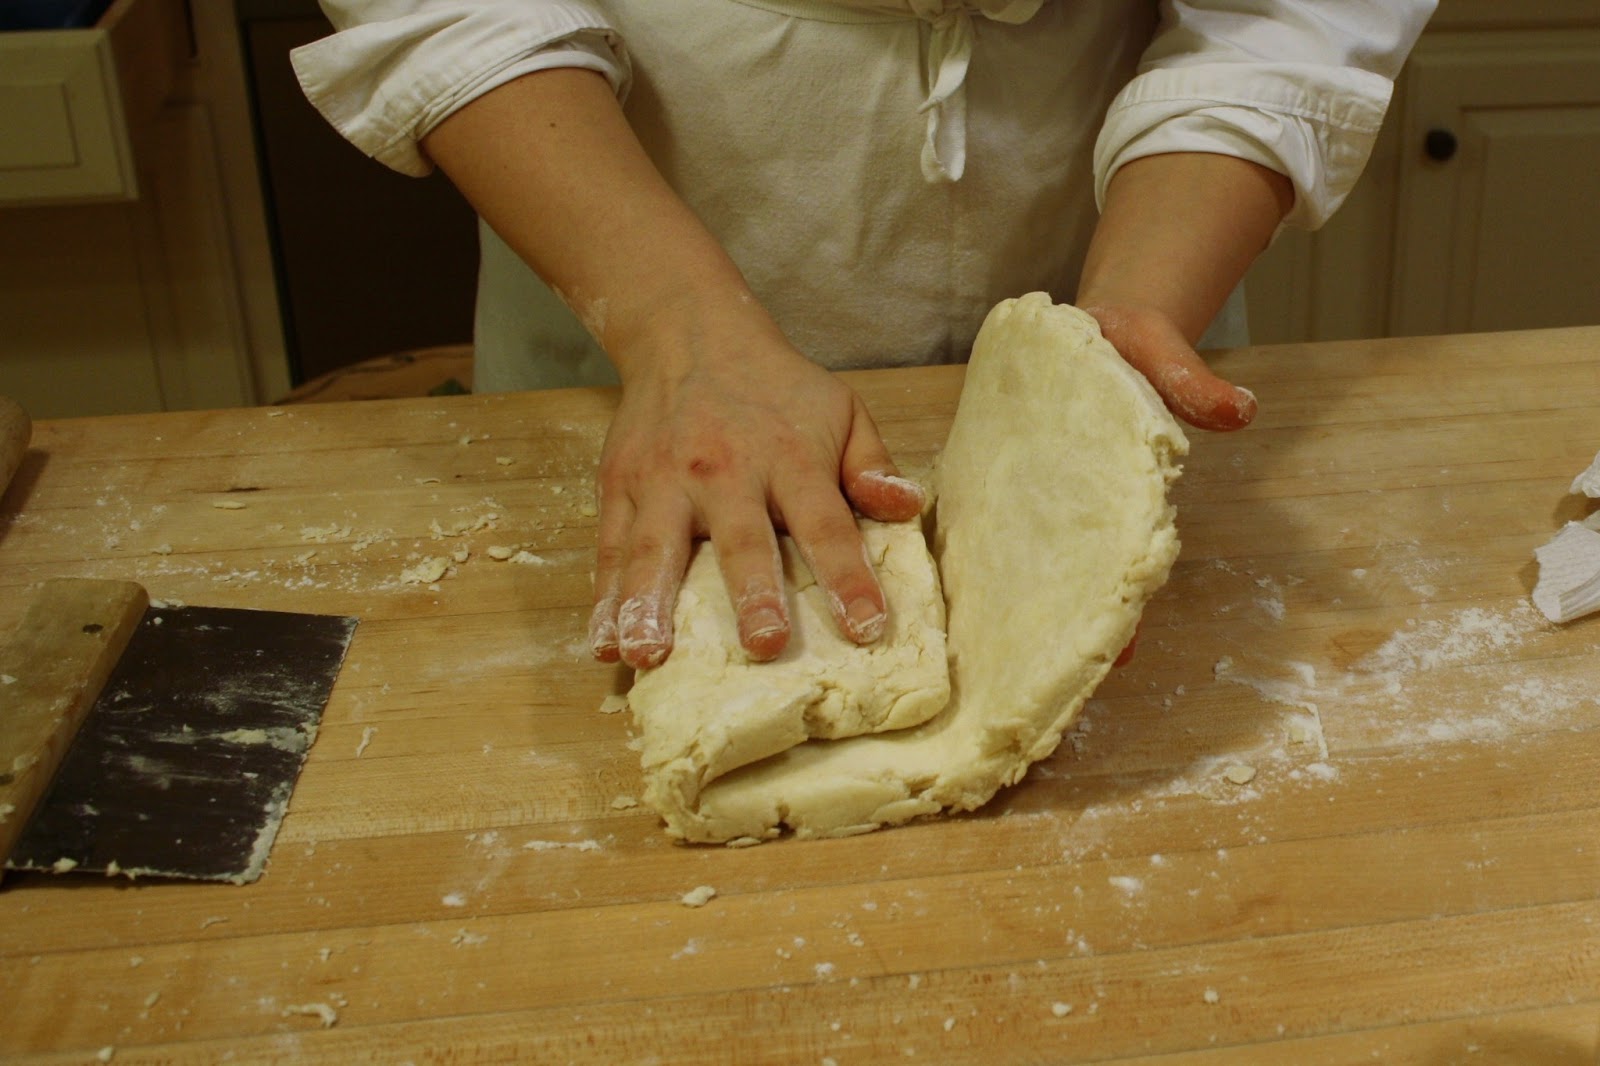

Fold your dough in thirds, like a business letter.
Wrap in plastic and stick in the fridge for 15 minutes.

After your dough has chilled out, take it out and roll it into another rectangle.
You can see the dimensions of mine in the above picture; it should be 1/2 inch thick and the rectangle should be relatively even in size.

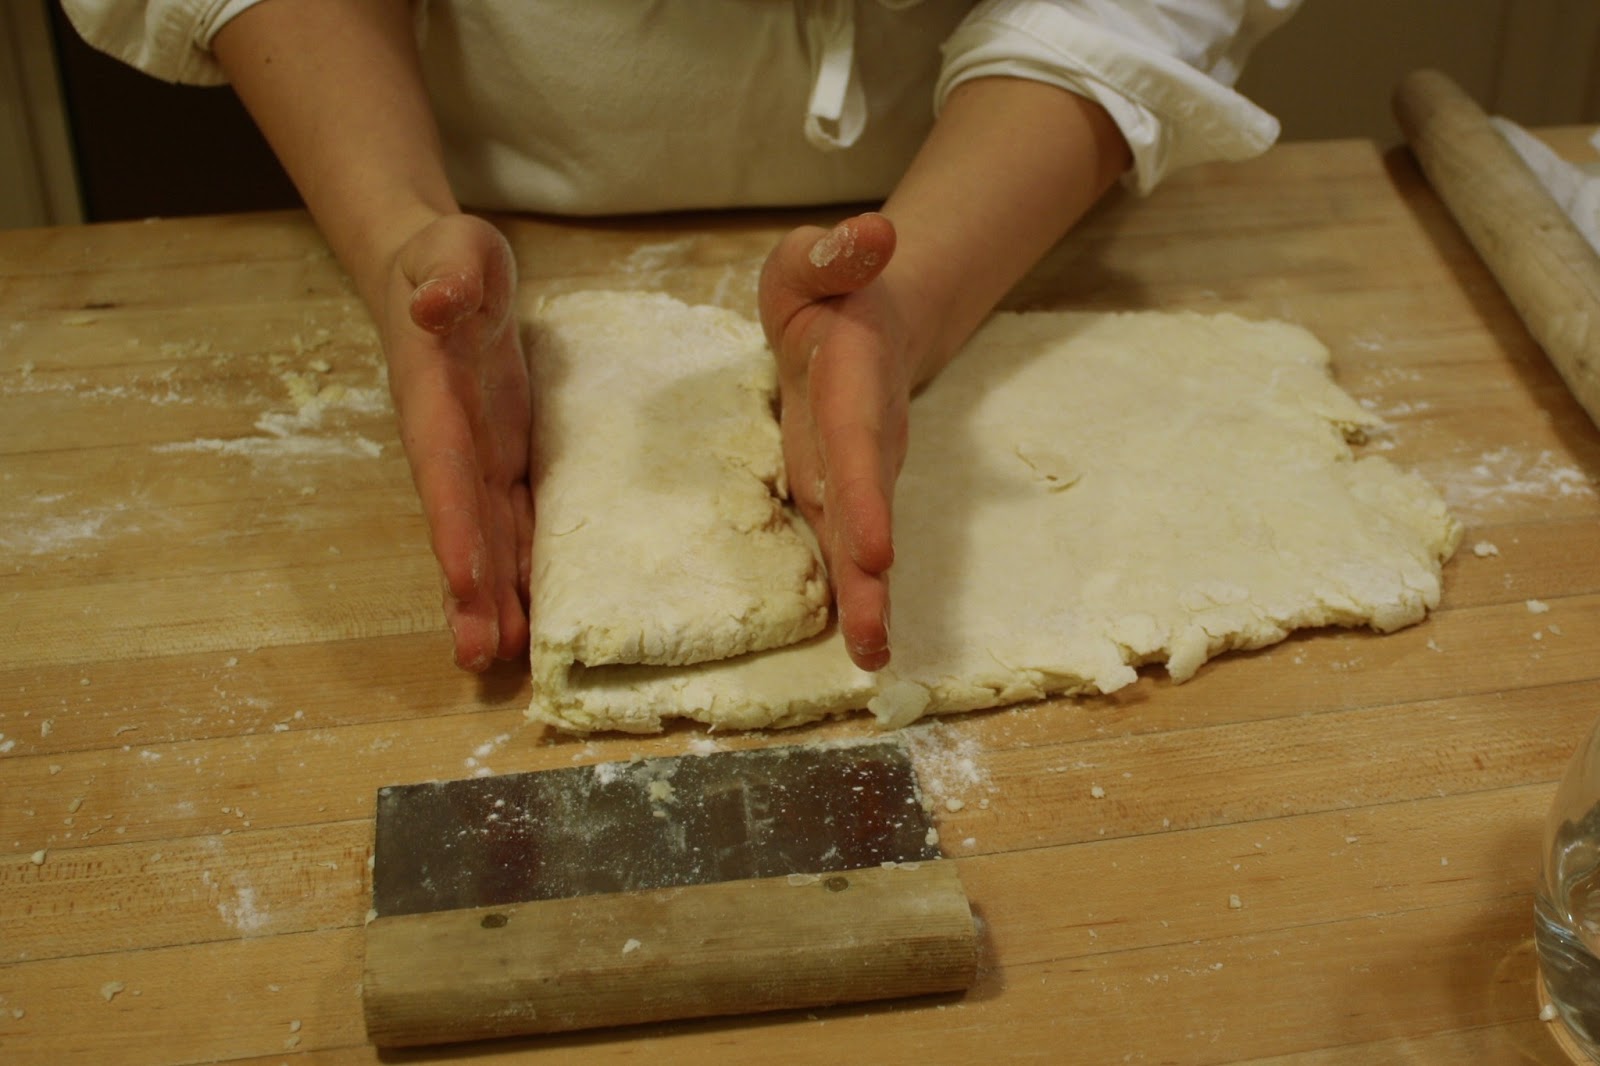


Next, do a double book turn. Visually divide your rectangle in half, then divide each half into two. You are going to fold it in quarters, but first fold the outer flaps in, to meet the center, then fold the flaps created by that fold onto each other, like a book.
Christina Tosi describes it by putting her arms out straight, folding in at the elbows, then folding the elbows together.
After one double book turn, stick the dough in the fridge for 15-30 minutes.
Do two more double book turns, rolling the dough out to 1/2 inch thick between each one.
After your third double book turn, your dough is ready to be used!
You did it! Now you can make all sorts of delicacies with it!
In general, to use your puff pastry, you will need to roll it out to a tiny bit more than 1/8 inch thickness.
When you cut it, never twist your cutters or knife- just like making biscuits.
If you do so, the layers of flour may fuse together on one side, causing uneven rising.
Don’t re-roll scraps. Just try to minimize them.
- Whisk your flour, salt, and sugar together in the large bowl with a fork. Break up any clumps. Dump all your cold butter onto the flour. Toss to coat.
- With clean hands, roughly flatten all of the cubes of butter. They do not have to be perfect sheets; that will happen in the next step. They should just be roughly flat.
- Dump the contents of your bowl out onto your clean surface. Using the heel of your hand, gather the dough, then push forward and down firmly, so that your butter is smeared along the flour and other bits and bobs on the counter.
-
Continue to do so until virtually all of the butter has been sheeted even further and thinner than before. Your dough should not yet be cohesive.
- Roll out your dough to about a 3/4- 1 inch thickness, in the shape of a rough rectangle.
- Fold your dough in thirds, like a business letter.
- Wrap in plastic and stick in the fridge for 15 minutes.
- After your dough has chilled out, take it out and roll it into another rectangle; it should be 1/2 inch thick and the rectangle should be relatively even in size.
- Next, do a double book turn. Visually divide your rectangle in half, then divide each half into two. You are going to fold it in quarters, but first fold the outer flaps in, to meet the center, then fold the flaps created by that fold onto each other, like a book. Christina Tosi describes it by putting her arms out straight, folding in at the elbows, then folding the elbows together.
- After one double book turn, stick the dough in the fridge for 15-30 minutes.
- Do two more double book turns, rolling the dough out to 1/2 inch thick between each one. After your third double book turn, your dough is ready to be used.
- In general, to use your puff pastry, you will need to roll it out to a tiny bit more than 1/8 inch thickness, before cutting it into desired shapes.