I’m going to miss you like mad when you’re in California, but I’m sure that we’ll visit each other often. I can’t imagine what it’s going to be like without you, but I know that you are going to enjoy yourself and have a great experience. You’re an integral part of the fam- and my life- and you will be sorely missed. (Side note to others: is it just me who finds it so hard to contemplate life without a loved one, even when you know they’re moving on to be more successful and happy? Maybe I’m just a wee bit bitter. Hm.)
 |
 |

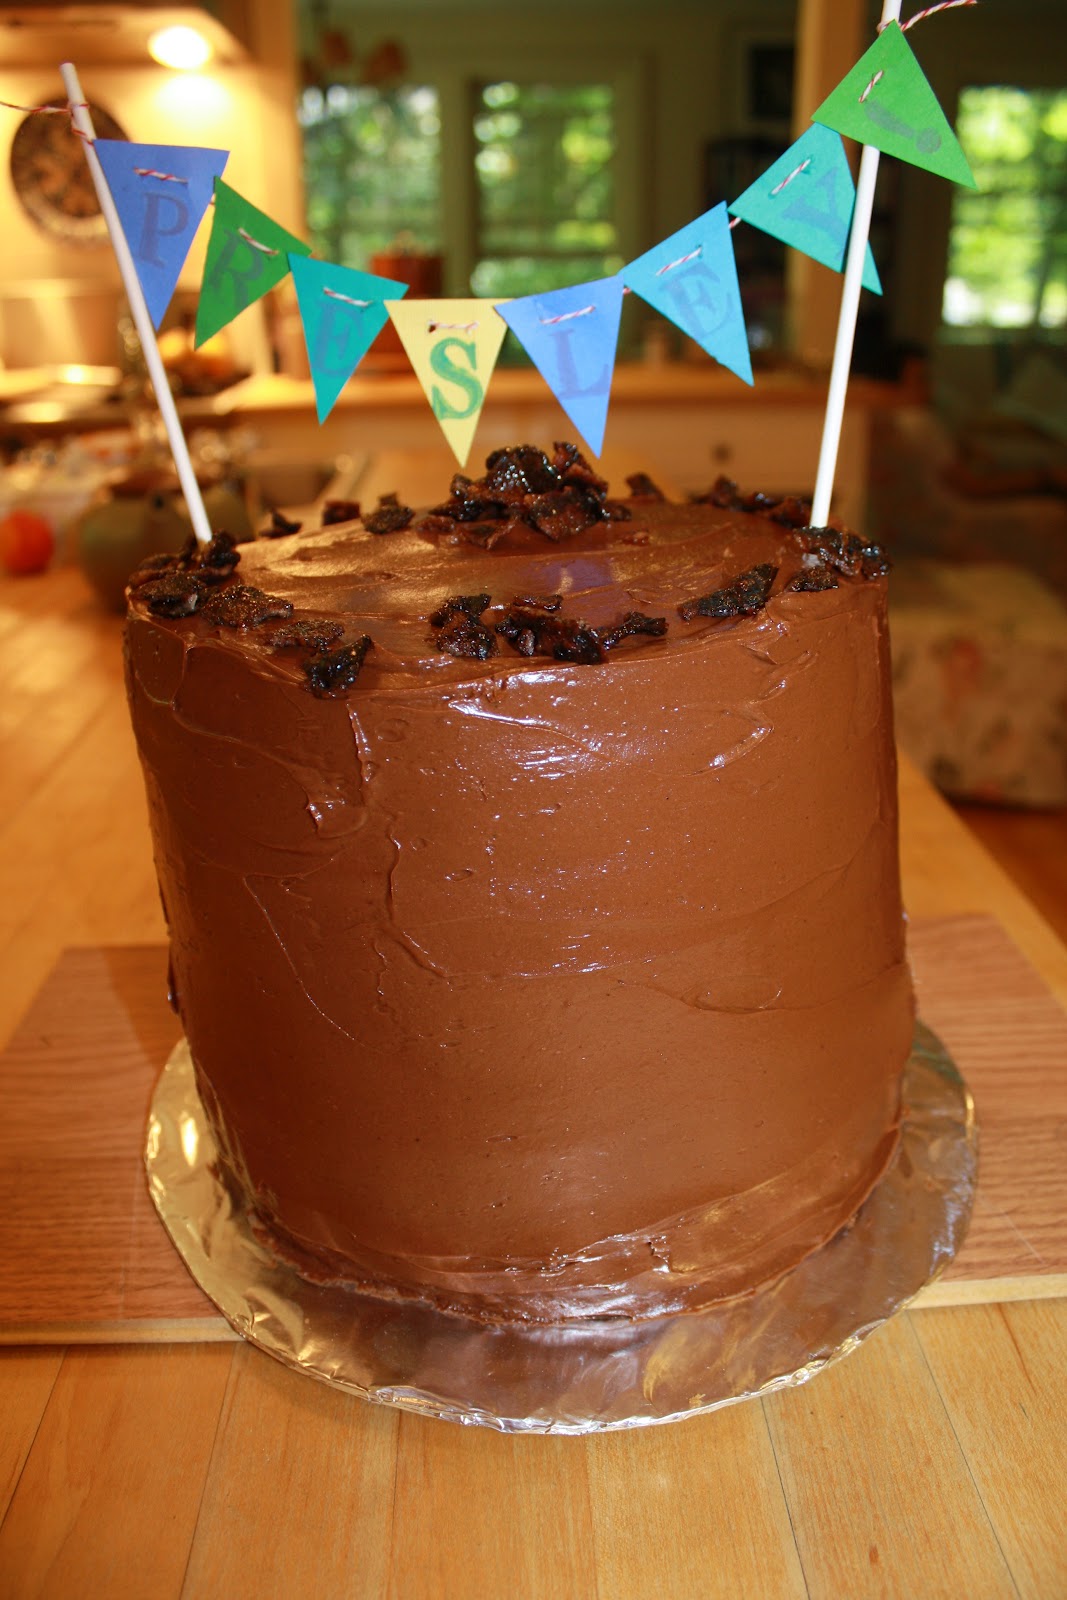 |
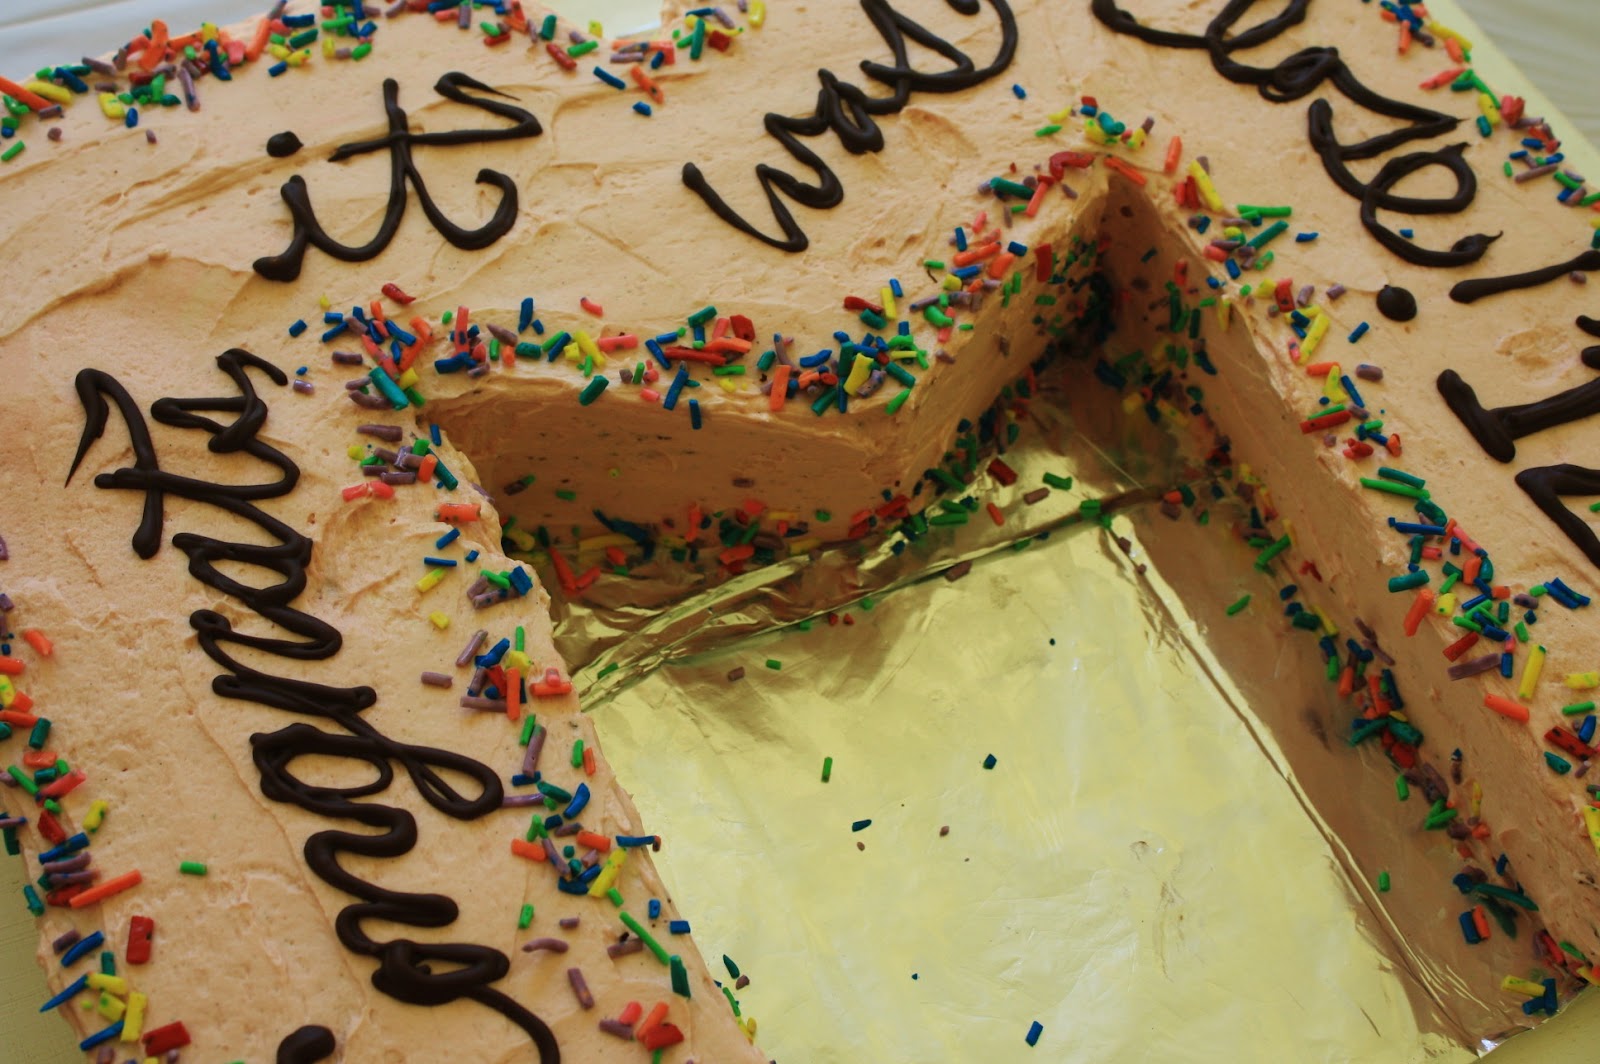
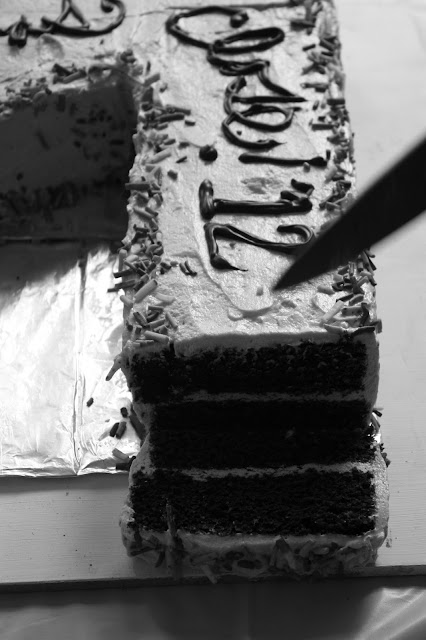
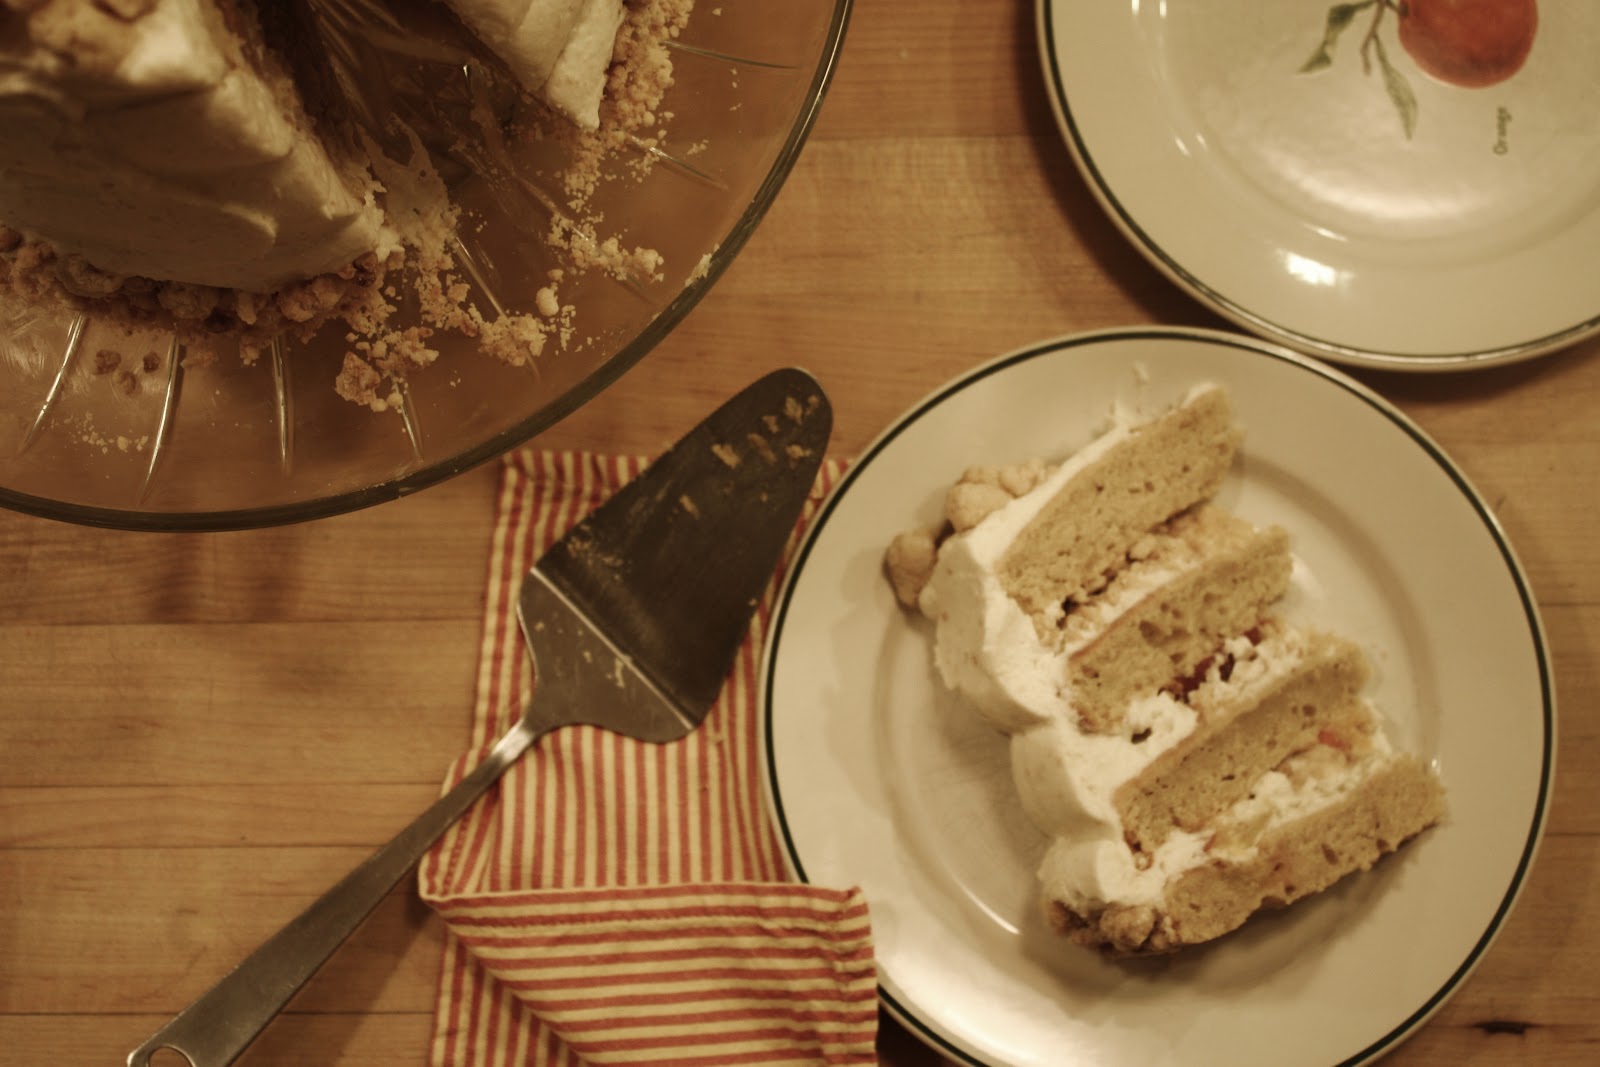
| Leaning tower of cake. Ugh. |
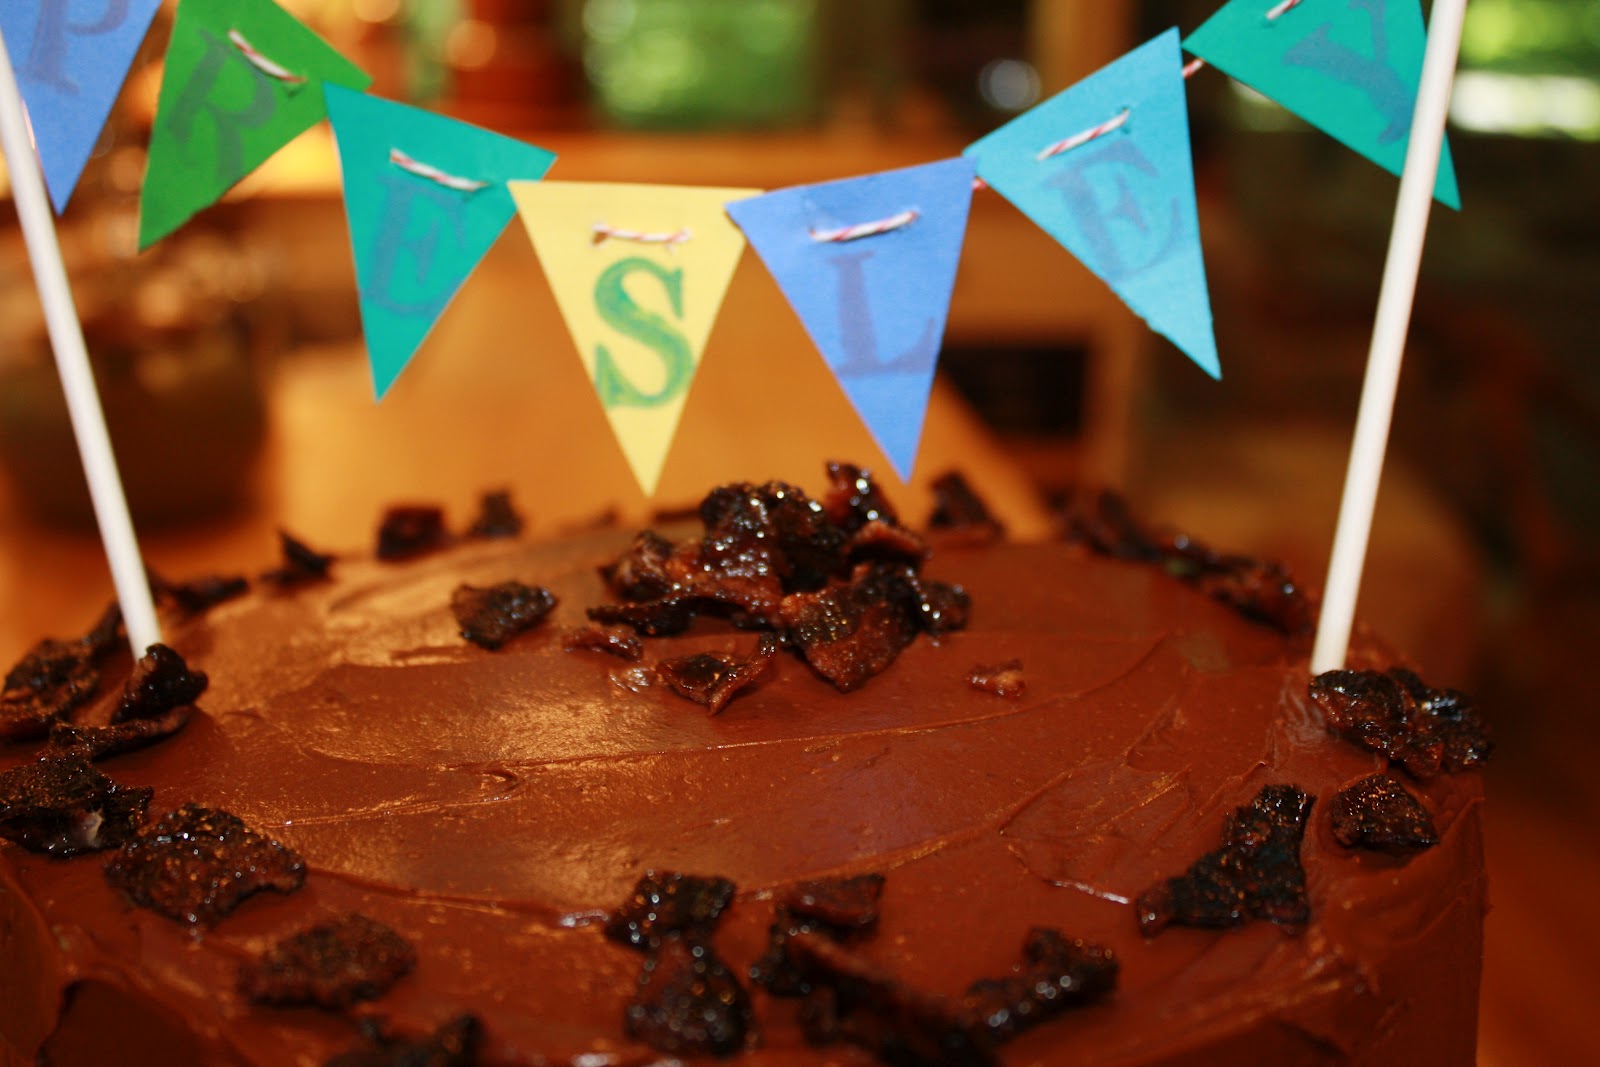
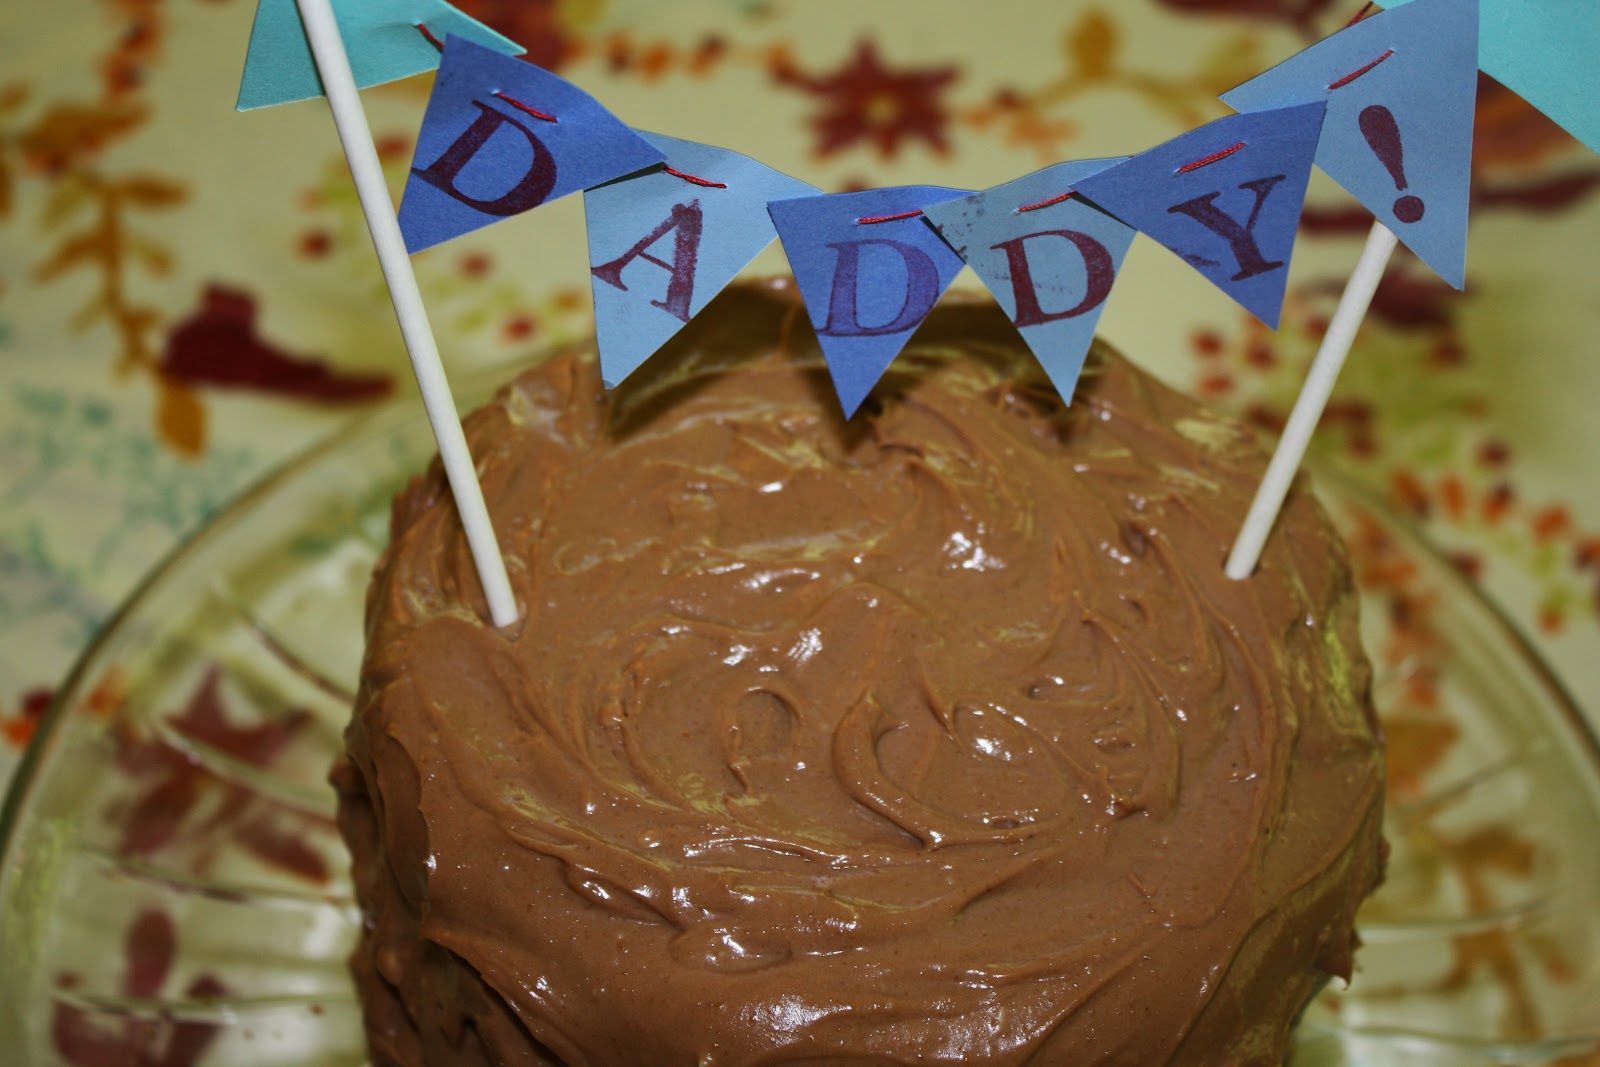
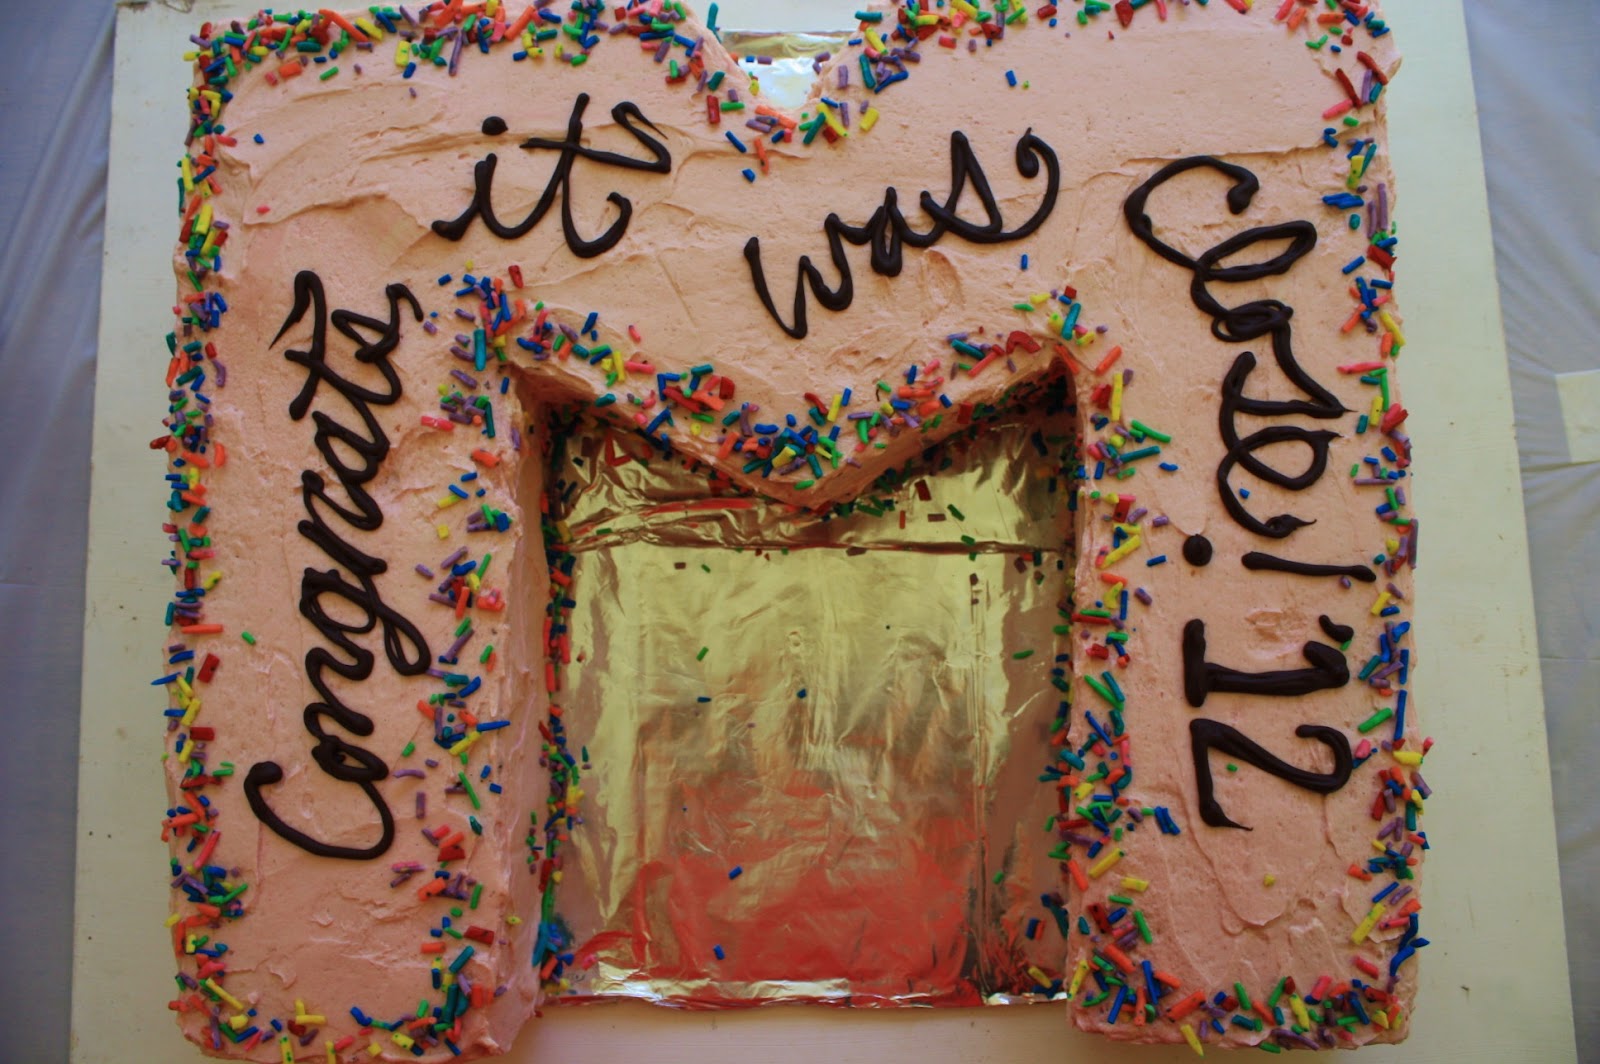
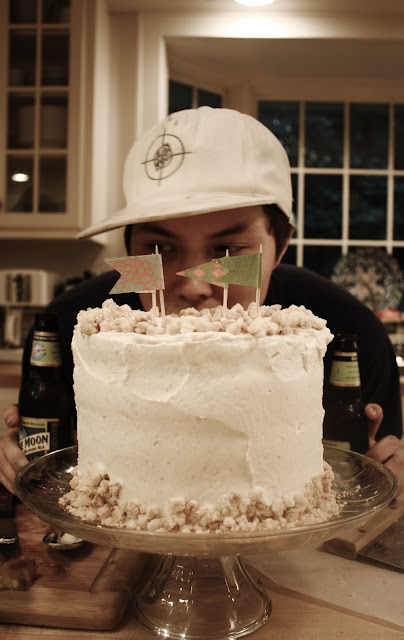
Mikala’s graduation party was last Friday and her family asked me to make her cake. I was also asked to make the “Elvis 2.0” for a baby shower for a couple who loves Elvis so much, they’re naming their baby girl after him (her name is Presley… Not Elvis). This time, I made an eight layer banana cake, filled with peanut butter buttercream and frosted with nutella buttercream rather than cream cheese frosting. To add to the over-the-top-ness, I made caramelized bacon and a banner in the shower’s theme colors (peacock). Thus was the huge cake topped off.
 |
| D’aww |
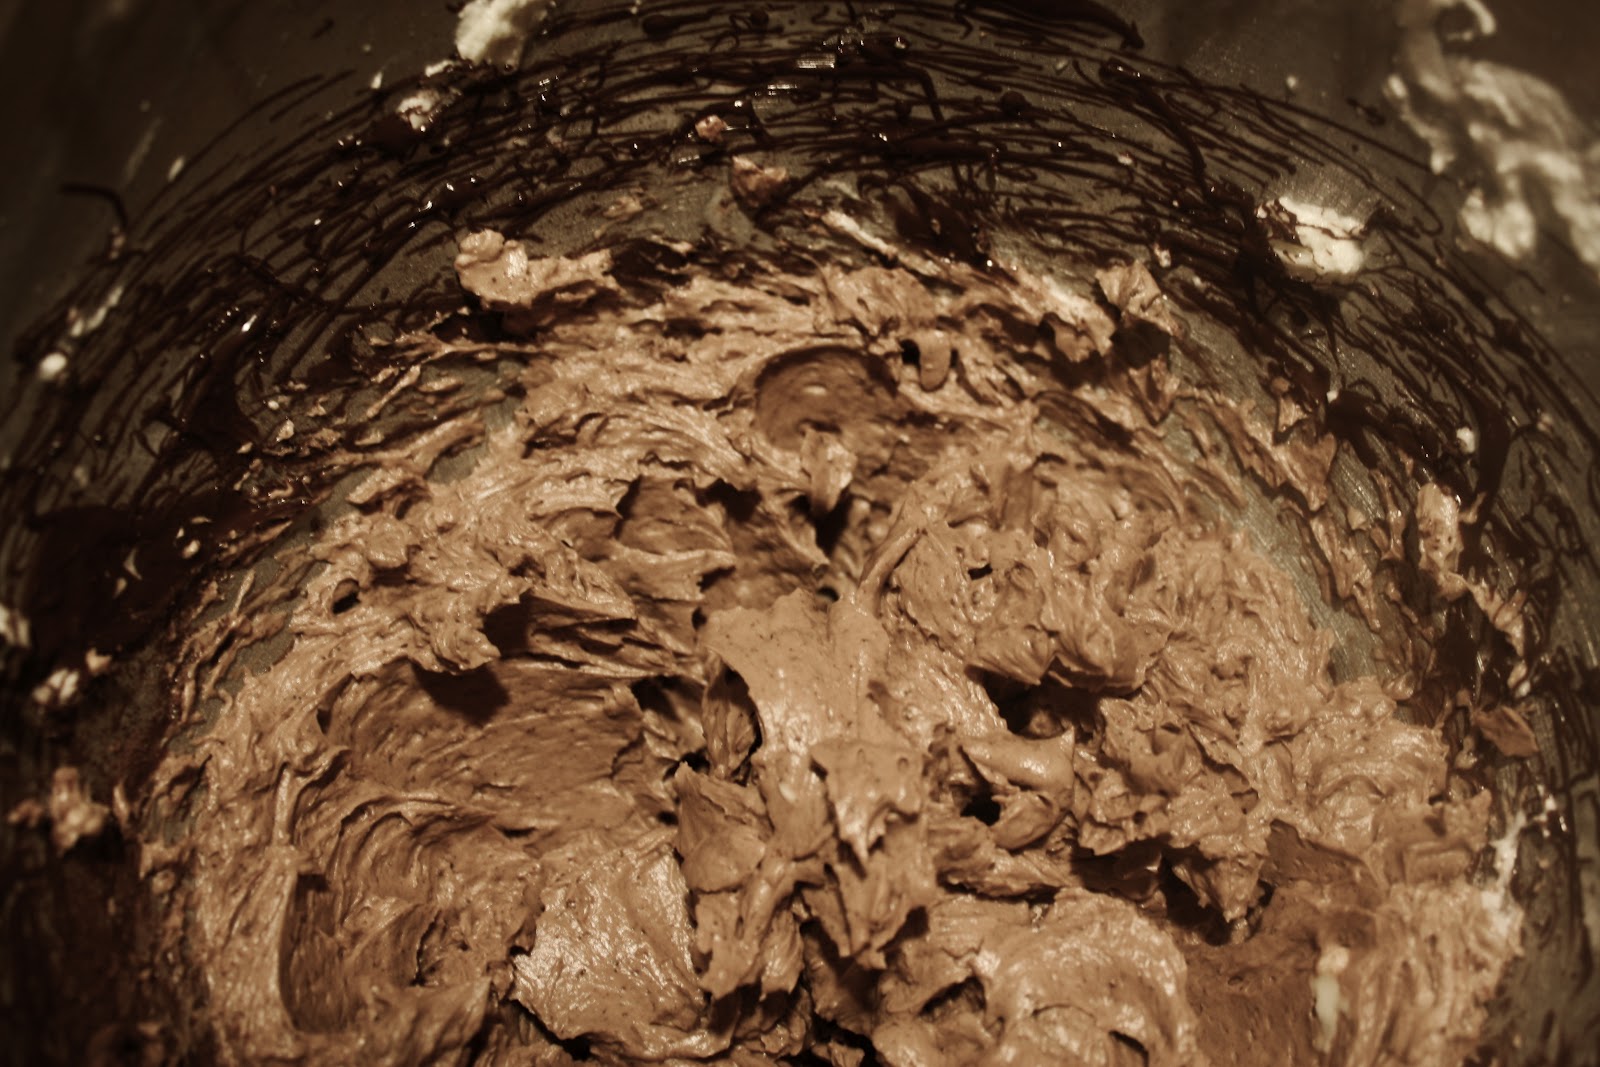
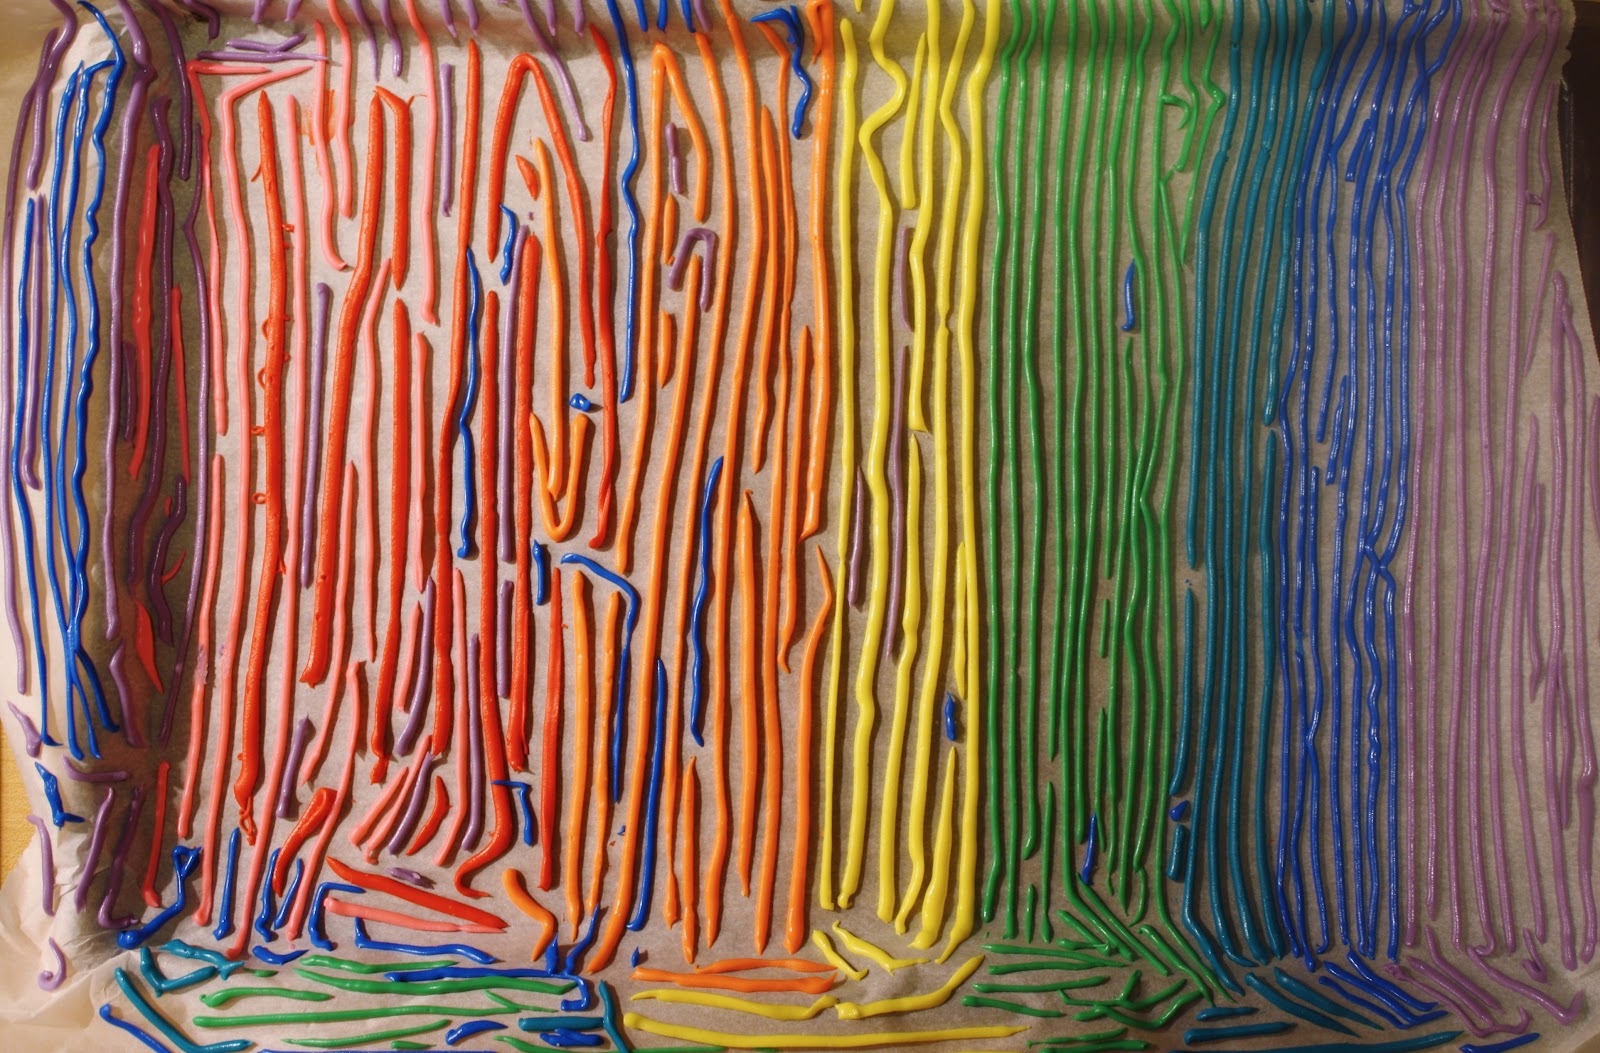
In addition, I used my homemade sprinkles to decorate the cake. Love these lil guys. Not only was I extremely proud of having accomplished making my own sprinkles, they also tasted much better than traditional machine-made ones. I’m sure it’s because of my blood, sweat, and piping tears that went into them, plus the fact that I’m 99% sure I now have piping-induced carpel tunnel. Kidding. I’m a hypochondriac. Also, now I can customize colors that I want for certain cakes! Another insane fun way to induce my O.C.D.
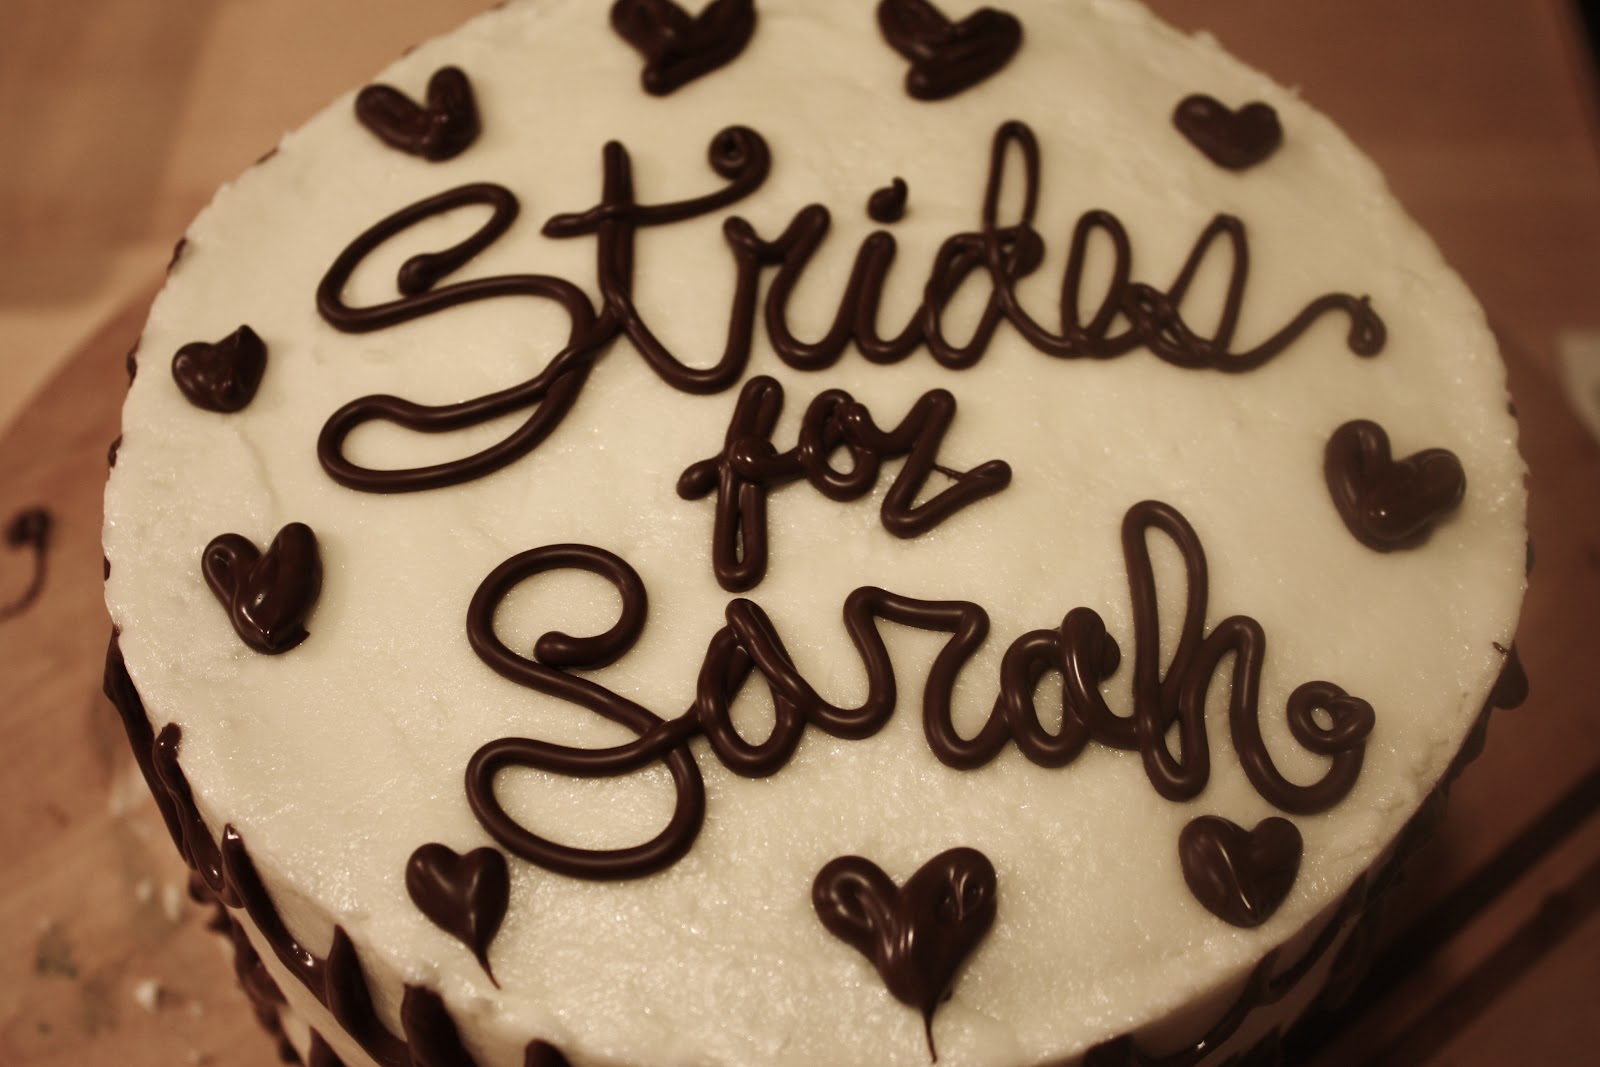
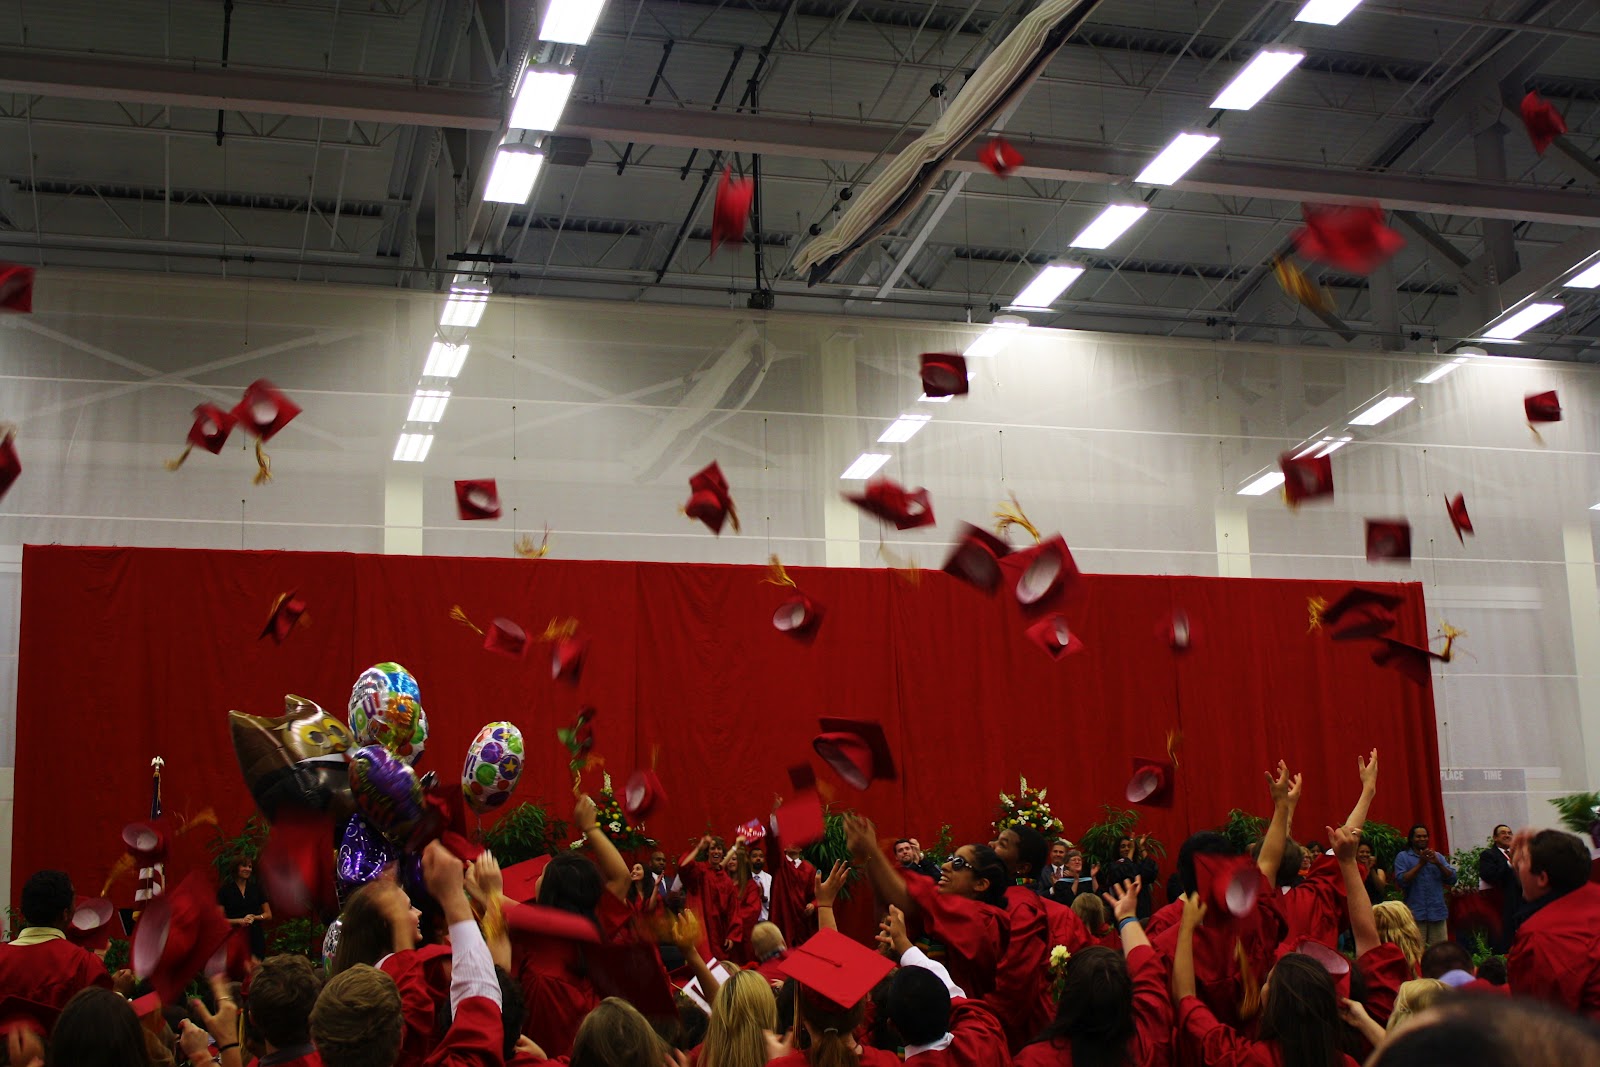
Congratulations Mikala, and the class of 2012, wherever you may be, I’m so so proud of you.
Chocolate Sheet Cake (x4 for a very large cake)
from the lovely Sweetapolita
Ingredients:
2 3/4 cups flour
2 2/3 cups sugar
2 3/4 teaspoon baking soda
2 3/4 teaspoon baking powder
1 cup cocoa powder
1 3/4 teaspoons salt
150 mL canola oil
280 mL buttermilk
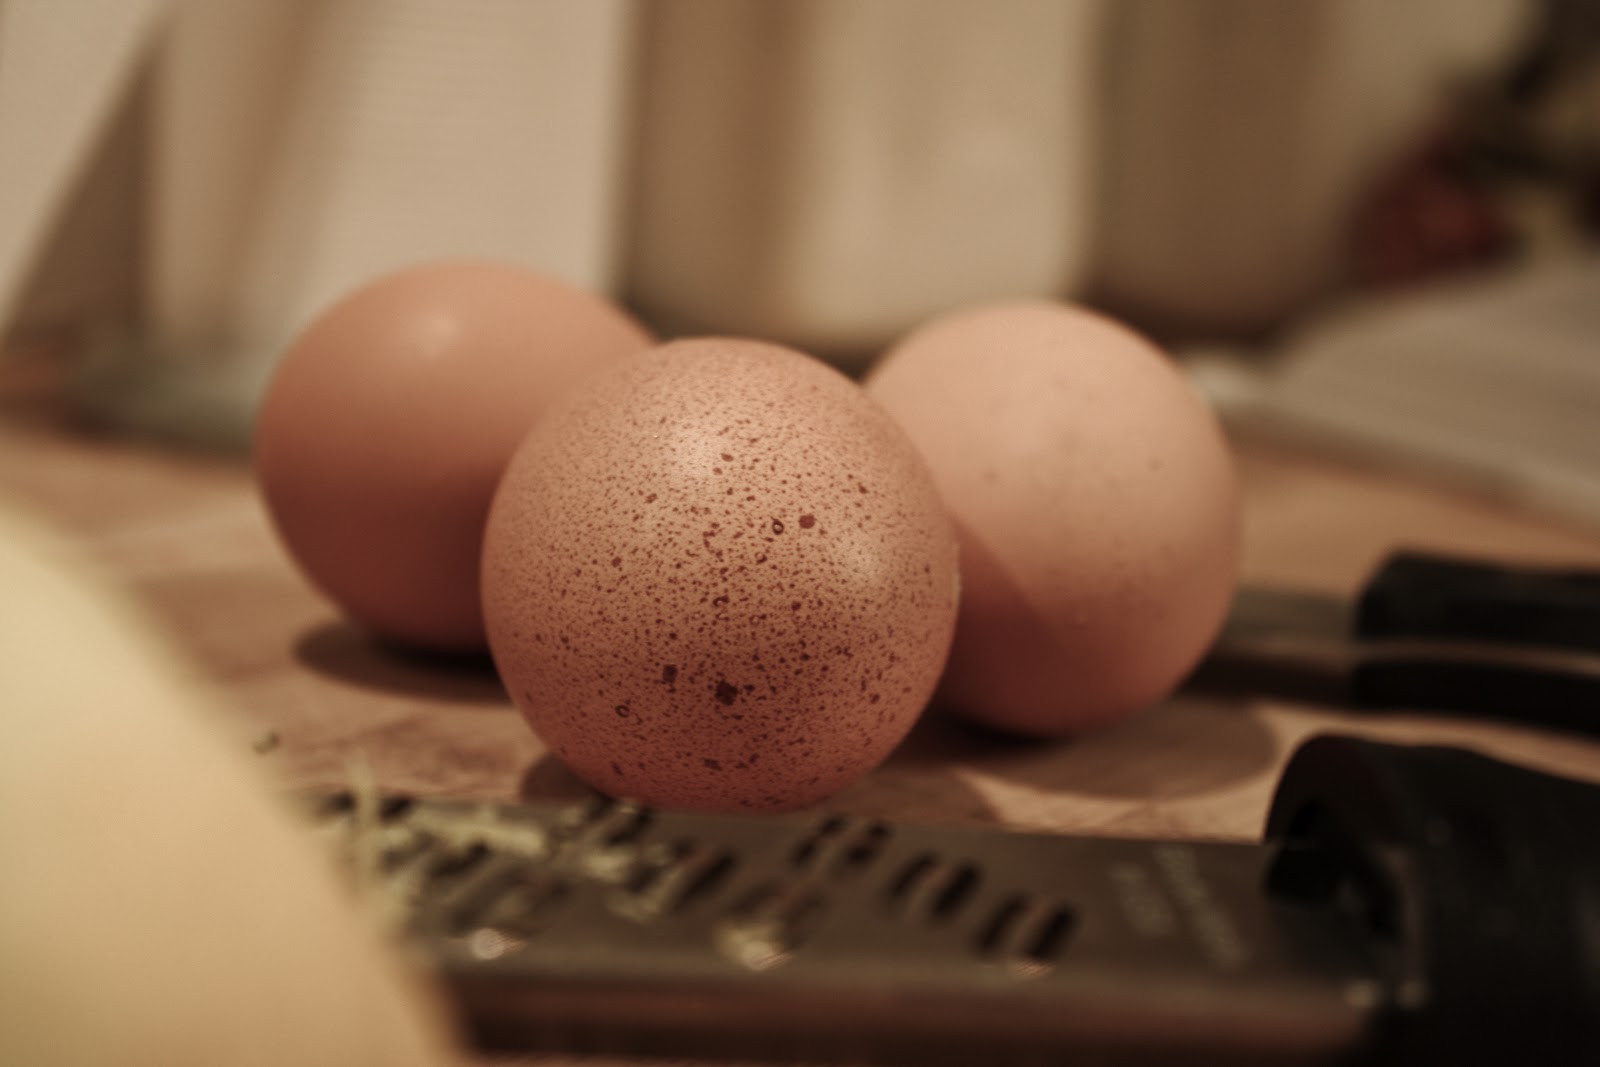
4 eggs
260 mL hot coffee
2 tablespoons vanilla
Directions:
Preheat oven to 350 degrees F. Line a sheet pan (with a lip) with parchment paper, then spray with cooking spray to coat. Whisk dry ingredients together. Measure out all wet ingredients in a large measuring cup. Whisk wet into dry ingredients, until fully combined. Pour into sheet pan and bake for 30-35 minutes, or until only a few crumbs stick to a skewer and the cake is springy to touch. Allow to cool on wire racks before cutting. (You can slide the parchment right off of the sheet pan onto a rack)
Raspberry German Buttercream
Adapted from Bravetart
(Makes a ton- about 10 cups. Feel free to downsize by 1.5)
Ingredients:
16 ounces milk (I used 1%)
8 ounces half-and-half (you could use full-fat cream, too)
15 ounces sugar
1 vanilla bean
2.25 ounces cornstarch
3 eggs
3 egg yolks
7 sticks butter
big pinch sea salt
14 ounces raspberry jam, or to taste (I used seedless and fruit-juice sweetened- no sugar)
pink or red food coloring, if desired
Directions:
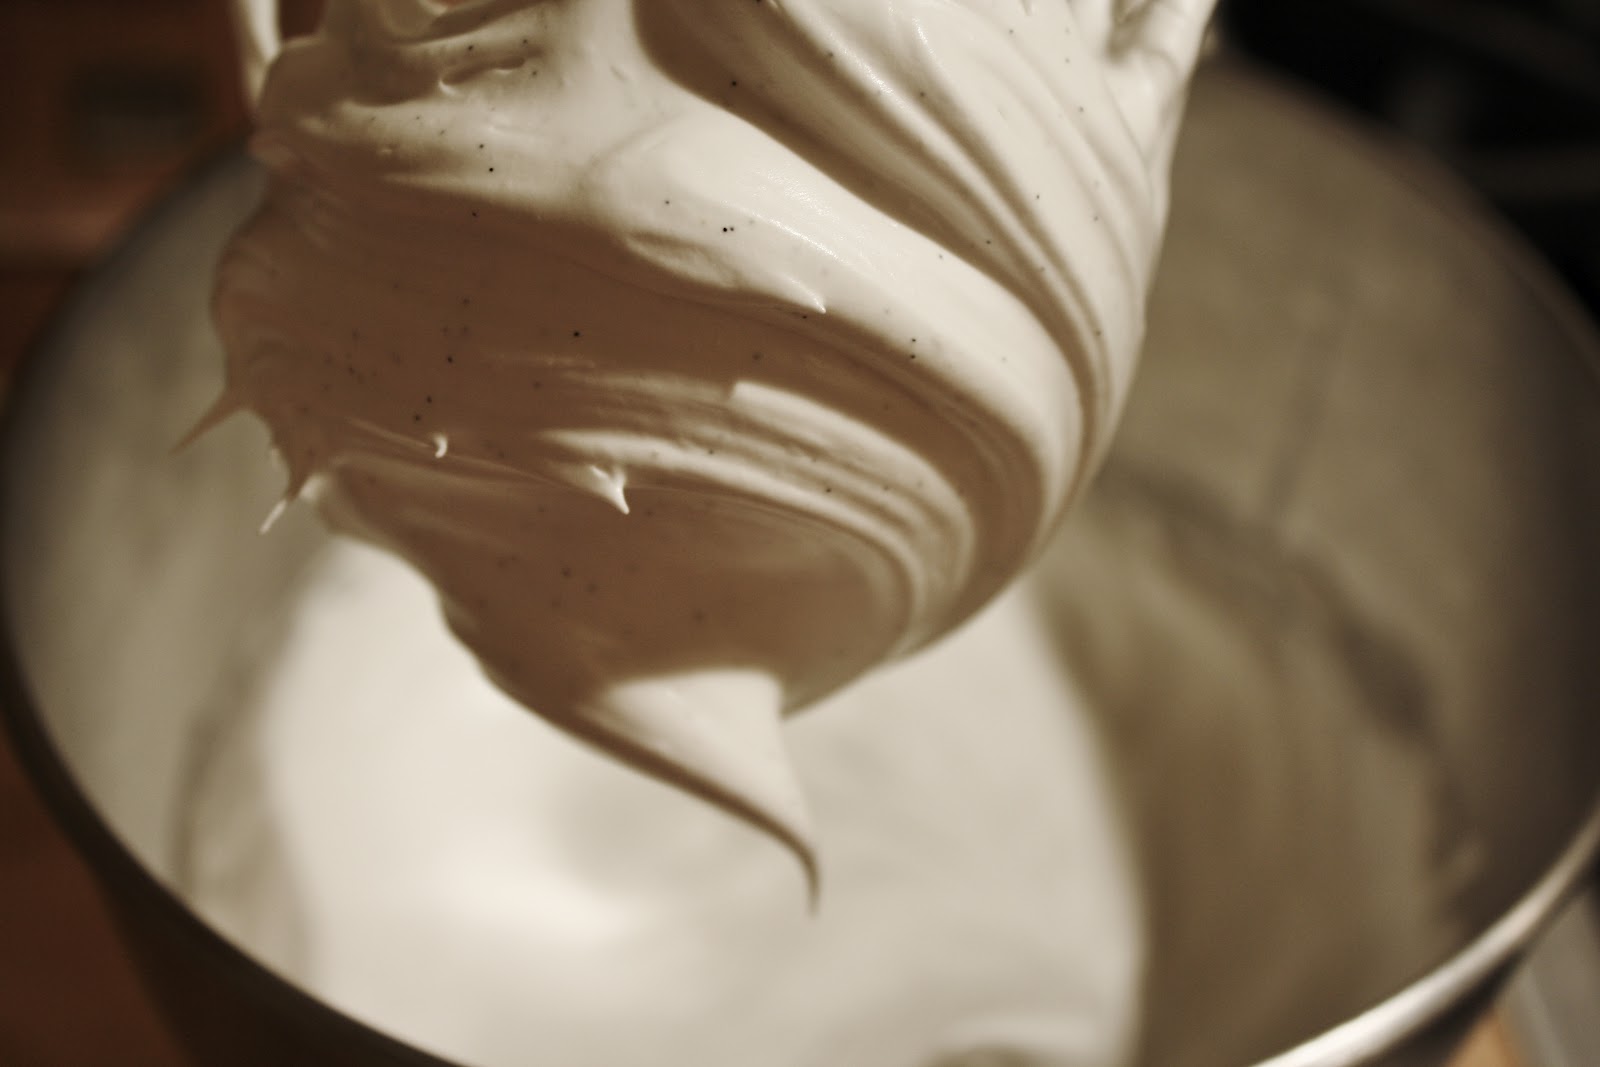
Heat milks up to a simmer. If you’re not lazy, like me, or have extra time, simmer with the vanilla bean (not the scrapings! Save those for later), and then let steep for an hour or more. If doing so, after the hour is up, scrape the insides of the beans clean of any milk goop, and discard. Return milk to a simmer. Meanwhile, whisk egg yolks, eggs, vanilla bean scrapings, cornstarch, and sugar together. Ladle in a bit of the hot milk, whisking all the while. Continue to add up to a cup and a half of the hot milk. Pour the egg mixture back into the pan with the rest of the milk, and cook on medium heat until thick and “bubbl[ing] sluggishly.” Remove from heat and pour into the bowl of a stand mixer. Chill until cool, approximately an hour and a half to two hours. Once cool, beat with the whisk attachment until somewhat fluffy. Add your butter, one tablespoon at a time, until all is incorporated and the buttercream is thick, fluffy, and light. Now, add in the raspberry jam and red food coloring and beat until combined. Refrigerate until ready to use. Before use, fluff it up a bit.
As for the sprinkles, I can do no better job than Bravetart. Check her out to see her tutorial; she’s seriously awesome.
 |
| Only a minimal waste of baggies. And time. |


.jpg)