It’s Not Delivery

IMG_4473

It’s Delgiorno!

IMG_4400

That was an uncharacteristically long break from posting, y’all.

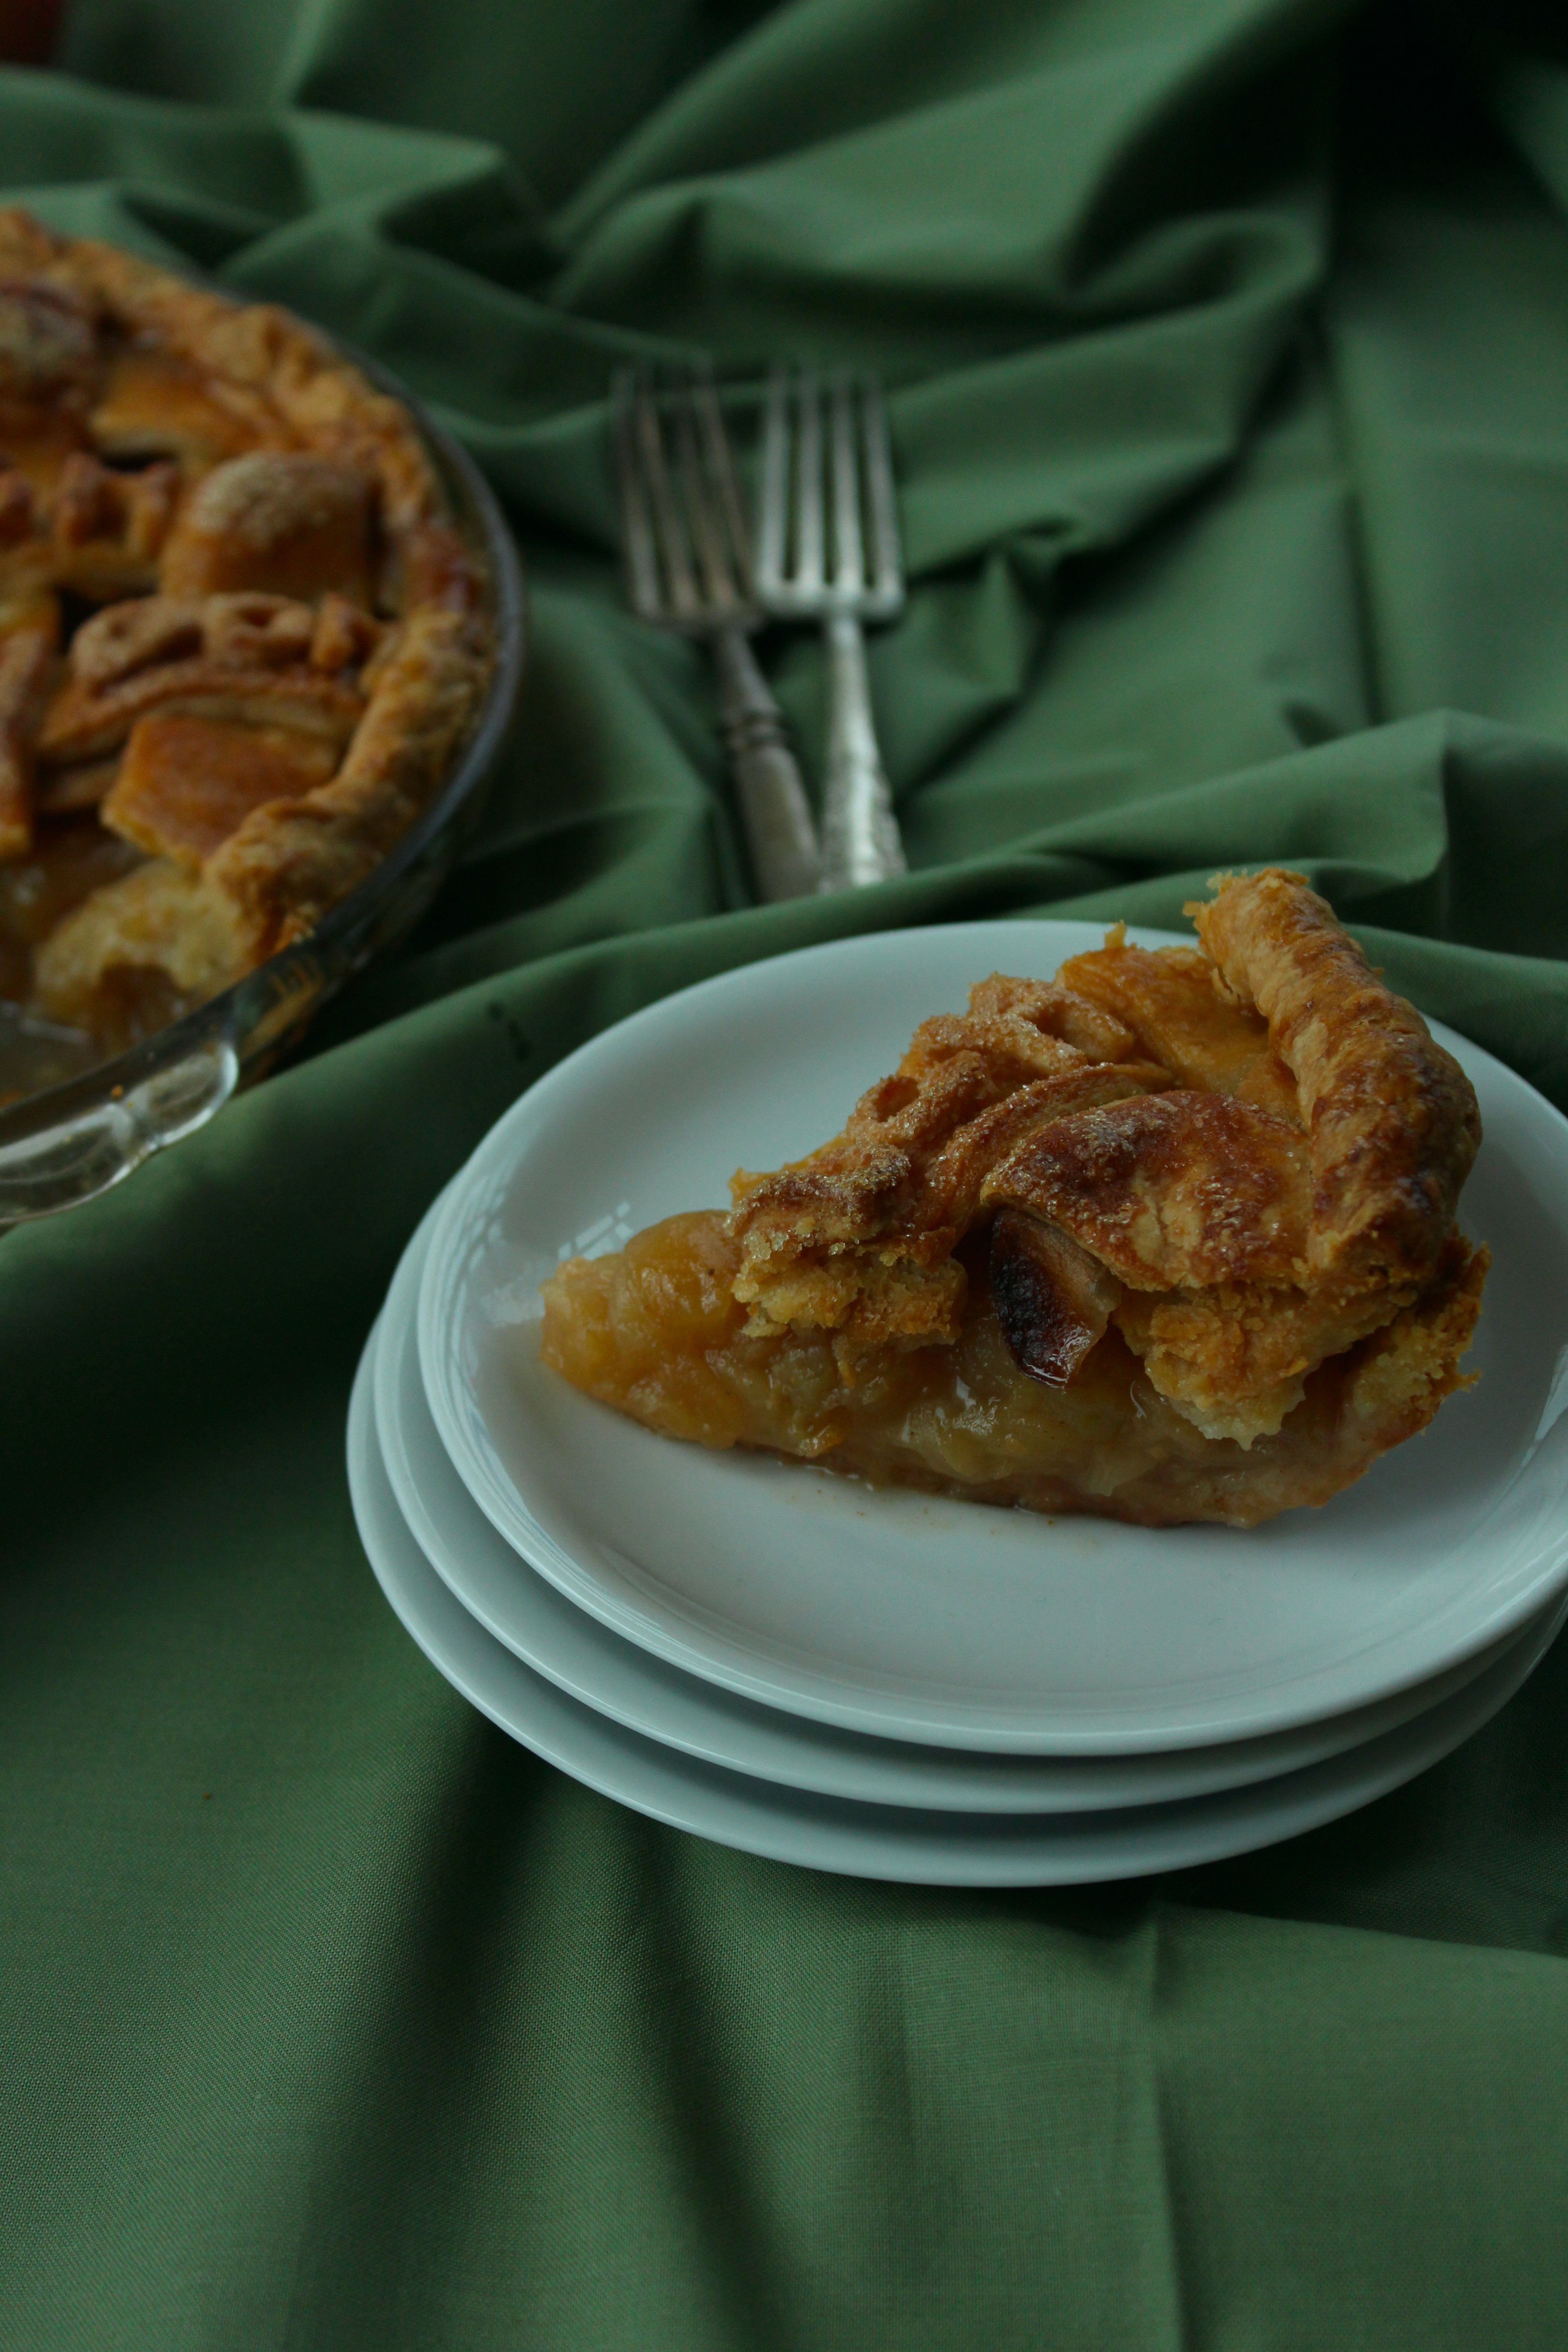
Sorry.  I brought pie.  (This is becoming a pattern… Remember when and why I made this peach pie?)

IMG_4447

This past week was craziness.  I slept very little, was very sick (I sounded like I had whooping cough…), had a midterm and a paper and not enough time or attention to sit and write a post.

I had time to bake, of course.

Yet again proving that it is words that elude me, not recipes or ideas.

IMG_4386

In other news:

I got a new mug (from Turtle Island Pottery, back home in Ithaca), which makes me miss my hometown dearly

I got new glasses from Warby Parker, which make me feel like a hipster

I woke up at 12 today

I received my first place plaque from that marathon that I ran that one time

I’ve rediscovered that I still have a problem with biting my lips when I’m stressed- anyone else have this?

Last night, I put my toothpaste on my toothbrush in the dark and got shaving cream all over my toothbrush.  I don’t know what’s worse- that it happened, or that I still brushed my teeth with it.  Shaving cream.  I brushed my teeth with shaving cream.

This list is nonsensical idk I’m sew tiyad.
Also I’m just realizing that I also made a list in that last post about pie… It probably made just as little sense.  Oh well.

IMG_4460

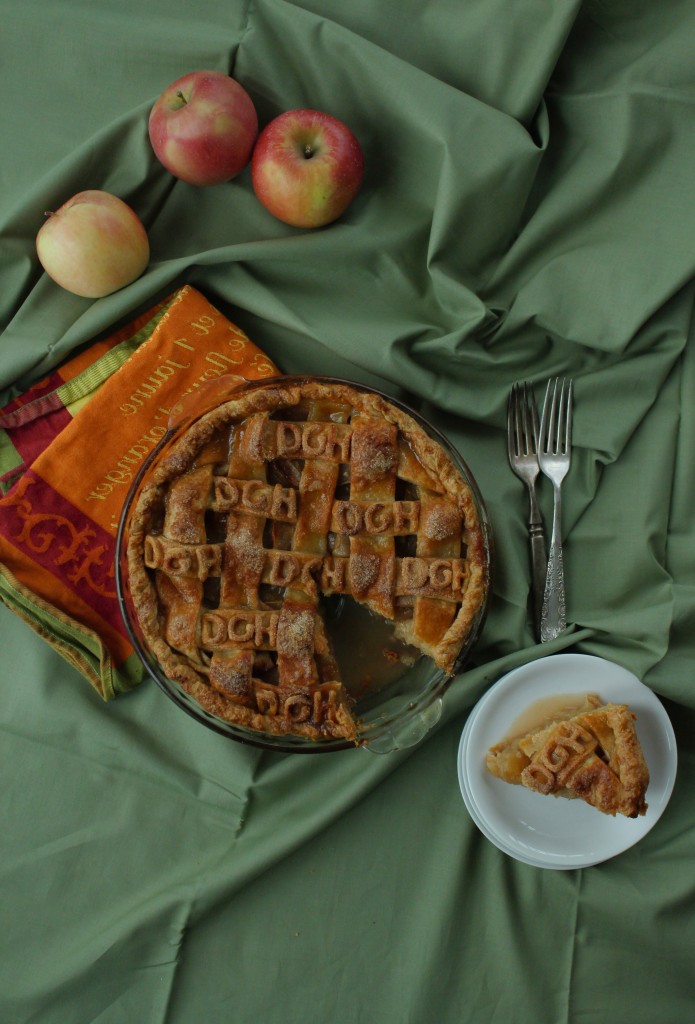
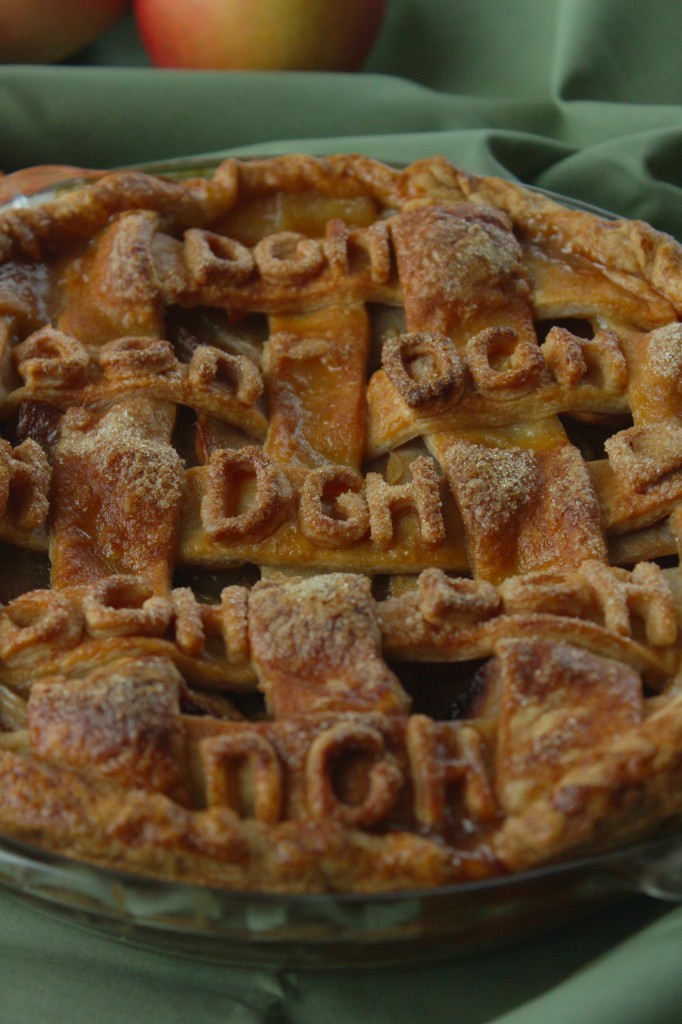
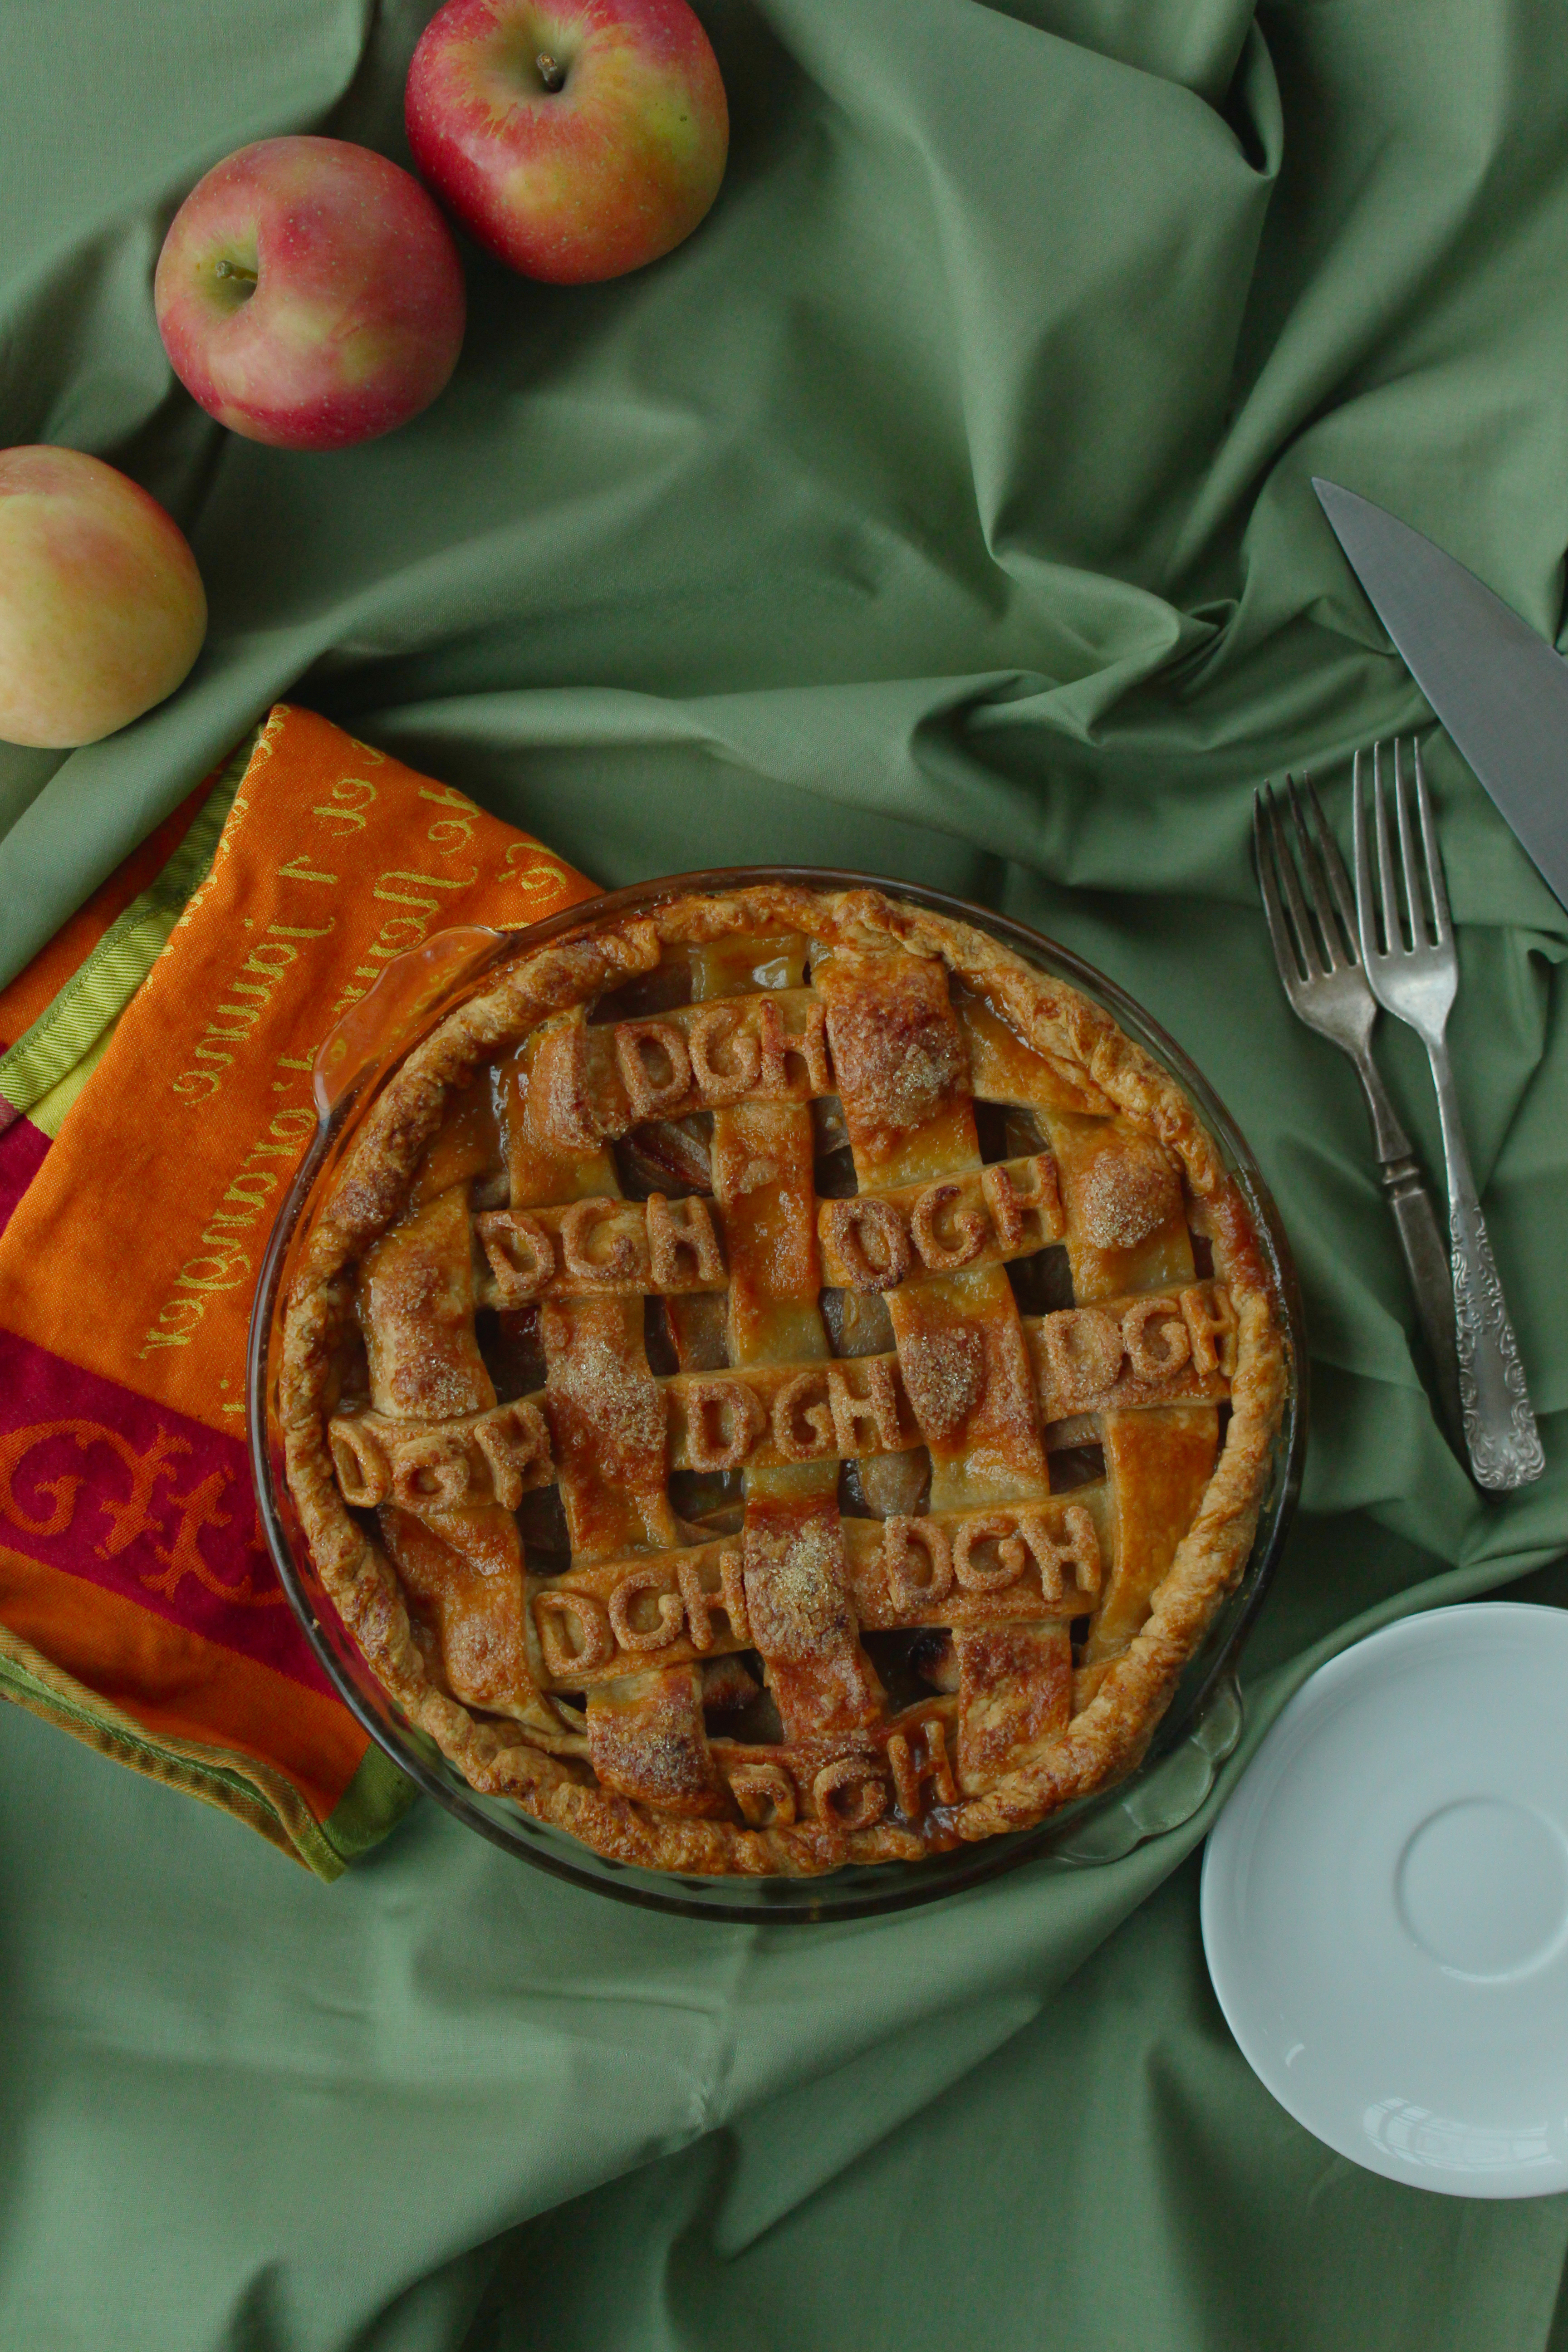
I’ve had the idea of decorating a pie with little cutout pie pieces instead of a lattice or top crust for a while, ever since seeing pretty maple leaves and polka dots topping pies.  When I got around to cutting out the little DGHs, though, I realized that it wasn’t feasible, because my letter cookie cutters are REALLY small.  So I changed angles and instead decorated the lattice with letters.

Why DGH?  Many of my friends who saw a picture of this pie on instagram thought it was a sorority (it’s not)… In reality, it’s the abbreviation (abbrev) for my house, Delgiorno.

Housing at uChic is broken up as such: we all live in residence halls (like dorms), and each of these is broken up into houses, which are like little communities.  Each house has a lounge and a kitchen, and we have house activities and competitions.
It’s really great; it made the transition to college much easier to have moved directly into a community.

Anyways, in a spurt of house pride, I made this pie.
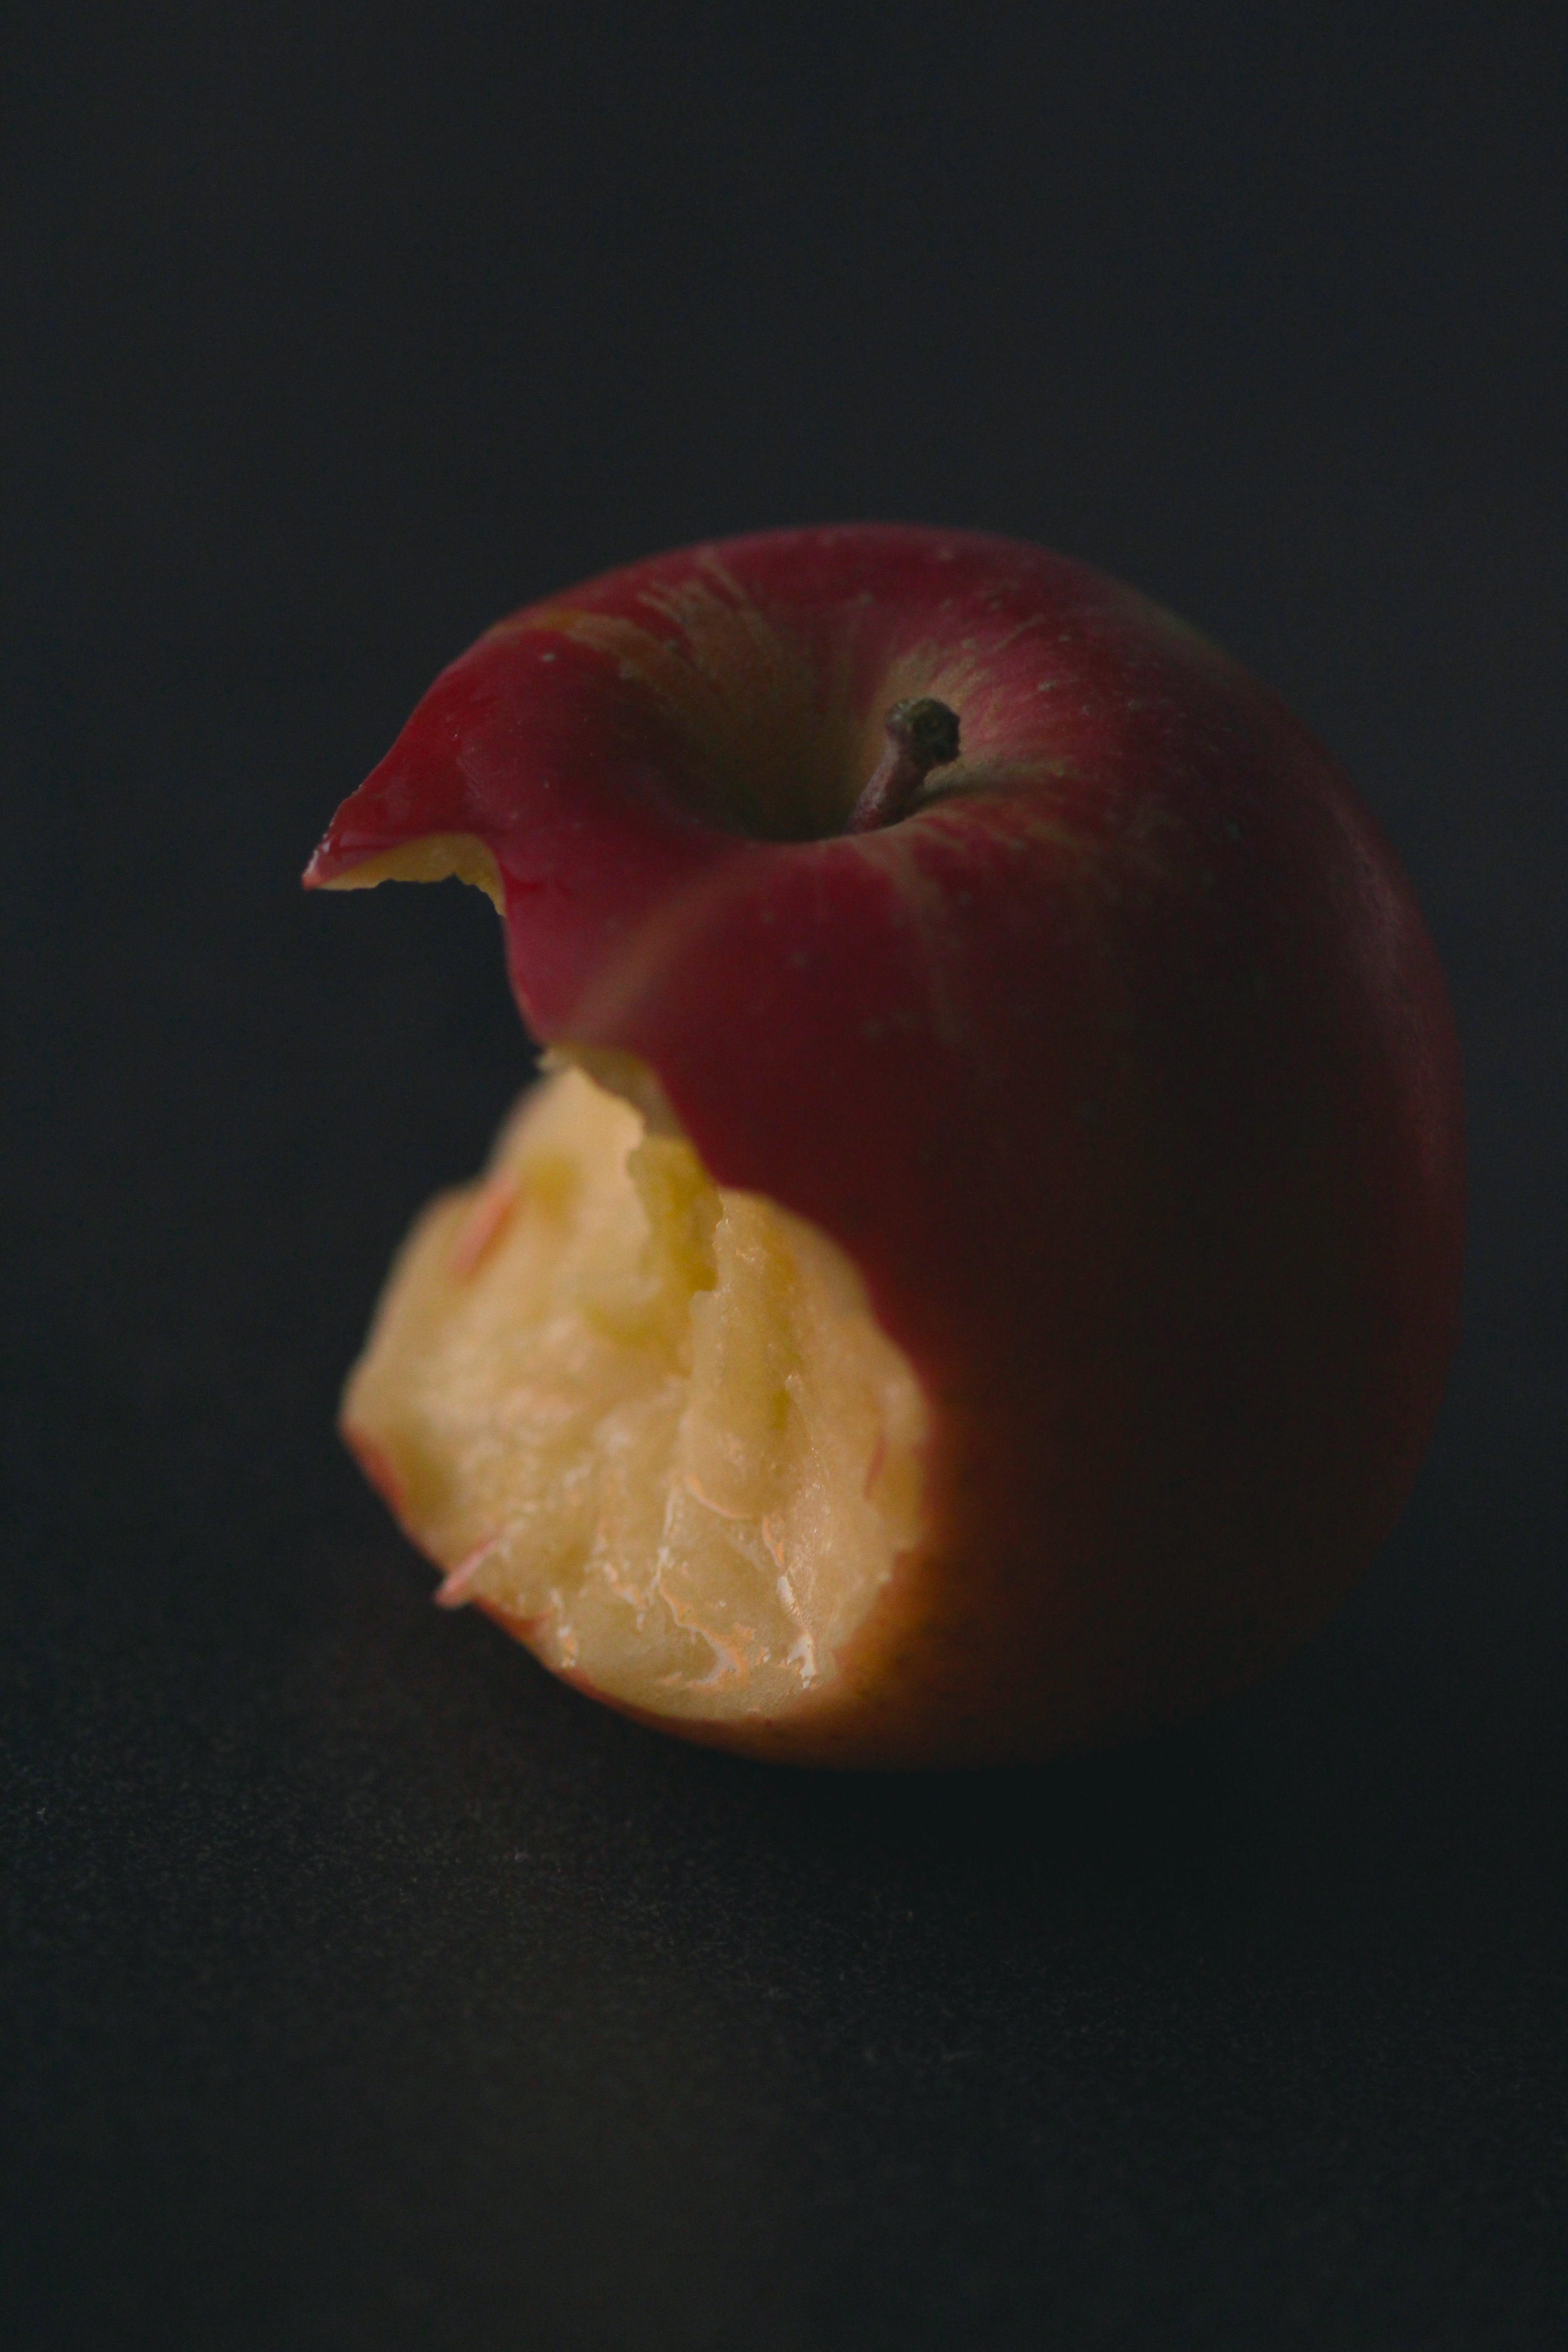
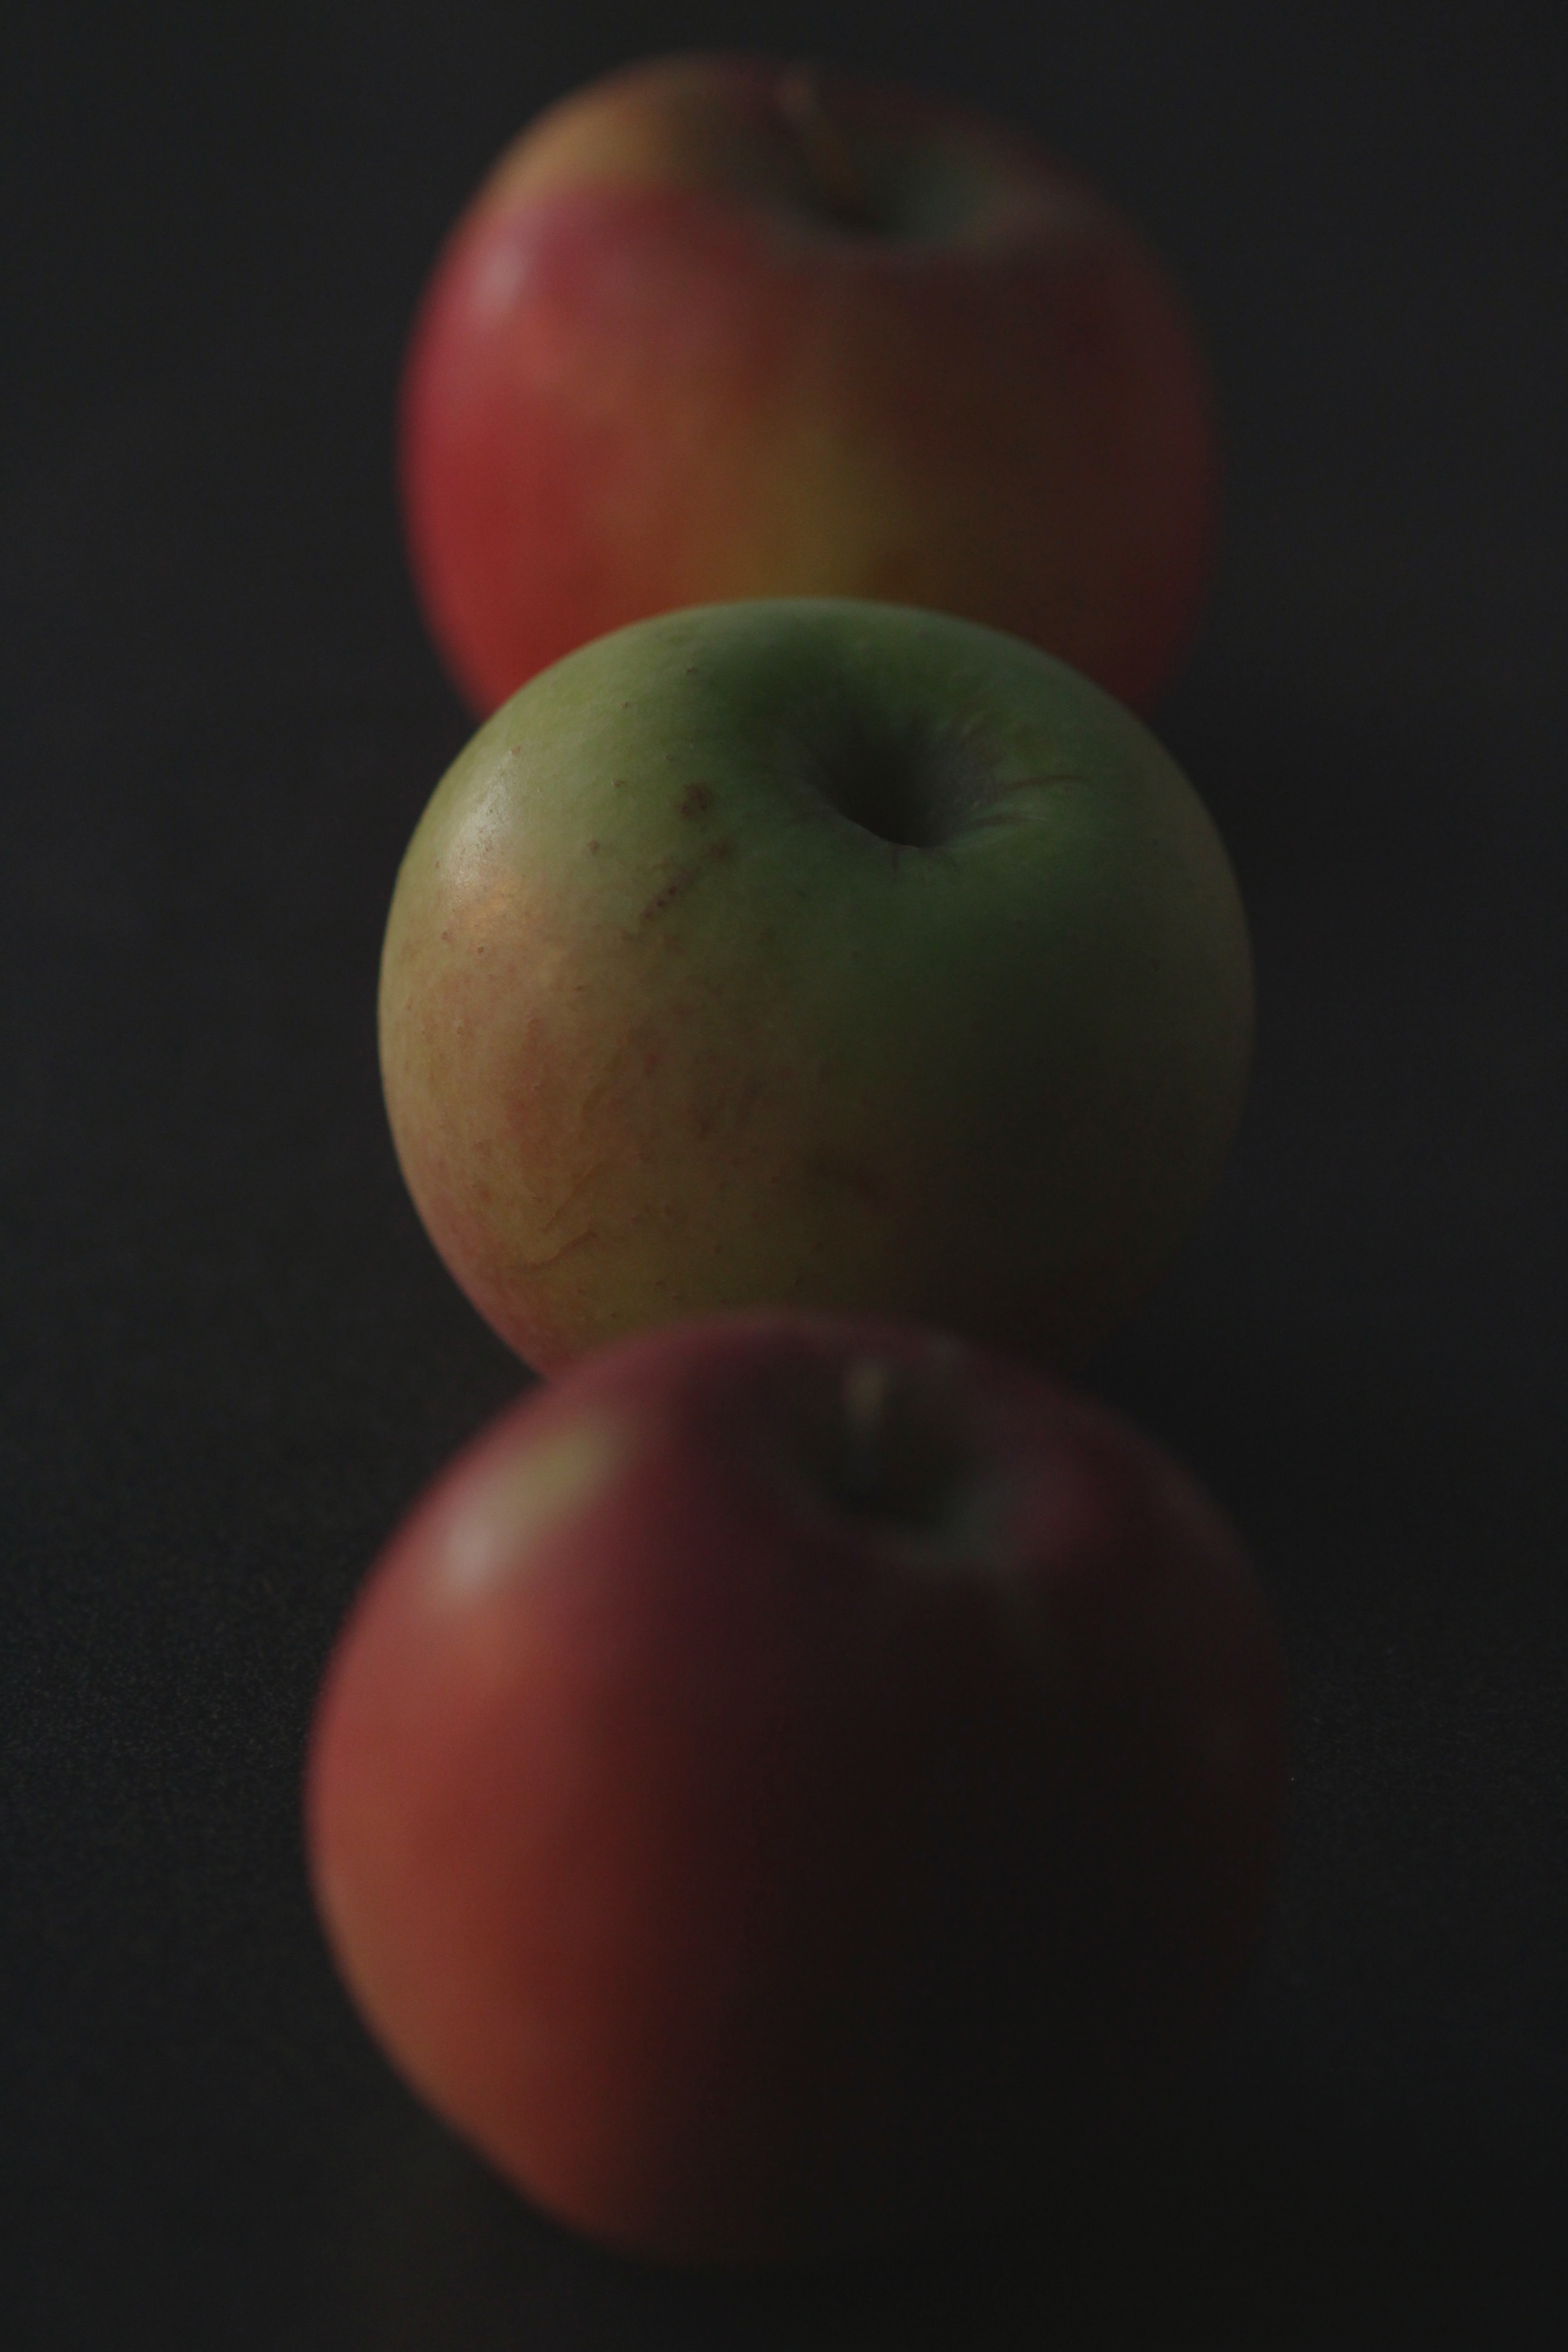
It makes sense, actually, because the apples for it came from a house trip to go apple picking (which I missed due to a yoga workshop); my roomie brought me back tons of great apples!

In return, I promised her a slice of this apple-honey-lime pie.

While it is a twist on a classic, it doesn’t deviate too much- the main swap is lime juice where you’d usually see lemon, and the main addition is a few tablespoons of honey into the spice and brown-sugar spiked apple marinade, if you will.

Top it off with flaky, crisp, and sugar-strewn pastry, and you done got yourself a right nice pie.
IMG_4430

Lime and Honey Apple Pie

ingredients:

1 recipe of flaky buttermilk pastry (enough for a double or lattice crust) (recipe here)
2 pounds fresh apples, peeled, cored, and sliced thinly
2 tablespoons honey
juice of 1 lime
1 teaspoon cinnamon
pinch each cloves, nutmeg, anise, ginger, etc. (sub pumpkin pie spice blend)
1 tablespoon granulated sugar
2 tablespoons brown sugar (adjust according to the ripeness and sweetness of your apples)
1/4 cup flour
big pinch sea salt
1 egg beaten with 2 teaspoons water
Sugar for sprinkling, if desired

directions:

Preheat oven to 400 degrees F.
Roll out the bottom crust and place in pan.
Toss thinly sliced apples with lime juice right after slicing.
Add spices, sugars, honey, and salt to the apples.
Allow to sit for 10 minutes, then drain off the excess liquid.
Meanwhile, roll out your top crust and prepare it either for a lattice or full top crust.
Place your (drained) apples in the bottom crust and top with the top crust (here’s a tutorial for lattice).
Brush with egg wash and sprinkle with sugar.
Bake for 15 minutes at 400 degrees F, or until the top has a dark golden color, then place aluminum foil over the pie and reduce the oven temperature to 350.
Bake until your home smells like heaven and the juices are burbling and thickened, about 1 hour.

Raspberry Beret

“Live each season as it passes; 
breathe the air, drink the drink, taste the fruit, 
and resign yourself to the influences of each.  
Be blown by the winds.  
Grow green with spring, yellow and ripe with autumn.  
For all Nature is doing her best each moment to make us well.  
Do not resist her.”
-Henry David Thoreau
Sonnet 65:
 
Since brass, nor stone, nor earth, nor boundless sea,
But sad mortality o’er-sways their power, 
How with this rage shall beauty hold a plea, 
Whose action is no stronger than a flower? 
O, how shall summer’s honey breath hold out 
Against the wreckful siege of battering days, 
When rocks impregnable are not so stout, 
Nor gates of steel so strong, but Time decays?
O fearful meditation! where, alack, 
Shall Time’s best jewel from Time’s chest lie hid?
Or what strong hand can hold his swift foot back? 
Or who his spoil of beauty can forbid? 
   O, none, unless this miracle have might,
   That in black ink my love may still shine bright. 
-Shakespeare
I adore Shakespeare’s Sonnet 65, mainly because I love the thought of Time, unstoppable and ravaging, racing through the seasons with little regard to the beauty of each.
I’m blessed to live in a place that experiences each of the four seasons so distinctly and so exquisitely.  
I appreciate each in turn, but it’s true that by the end of the season, I am yearning for the next.  
When the first flowers sprout, I am ecstatic for growth and life, but by the time May rolls around I’m ready for heat and sun.  
When it comes time, I dream of sweaters and long pants and the most beautiful season of all, autumn, with its fiery colors and chilly weather.  
Eventually, I crave the first snow, downy white and fluffy.
Of course, what follows- grey and brown slush- leaves me longing for grass and flowers and green- which completes the cycle quite nicely.
 
Right now, I’m doing my best to enjoy summer, keeping thoughts of jackets and boots out of my mind.  
It’s not as easy as it sounds, being a Fall baby leaves me constantly wishing for the cooling off.
I’ll be quick about the popsicles:
They’re cool, easy, and very refreshing.
They’re tangy and tart- not too sweet.
My favorite part about these is the fact that they’re made with nonfat Greek yogurt- it causes them to be icy on the outset, but once you take a bite, melt into creamy, tangy goodness.
 
Also, they take 10 minutes to put together and have 4 ingredients.
You could sub any type of berry here, just go by what looks good in your area, and taste for sweetness.
 
I ate two the other day, after returning home from a lovely, long and sweaty walk, while curled up on the couch reading a book.
 
Now that is a perfect summer afternoon.

Raspberry Yogurt Popsicles
makes 6 standard popsicles
ingredients:
1 1/2 cups raspberries, mashed
3 tablespoons honey, divided
1 cup Greek yogurt (I used non-fat)
2 tablespoons half and half or cream
directions:
Stir 1 tablespoon of the honey into the raspberries.  
Check for sweetness- you may need to add more if your raspberries aren’t very sweet.
Stir the rest of the honey into the Greek yogurt along with the half and half.
Layer the two mixtures into popsicle molds and swirl with a knife, if desired.
Freeze until solid; release from the molds by running hot water over the exterior.


Early Golden

 
These plums are so juicy sweet.
Out of this world juicy sweet.
 
My mama and I went fruit picking this morning.
It was the perfect day- breezy, sunny but slightly cloudy, and warm without being overbearing.
We returned a few hours later with two quarts of sour cherries, two quarts of delicate raspberries, a 1/2 peck of peach “seconds” and a quart of yellow summer plums.
Quite a haul.
(We only picked the raspberries and cherries, though.  Cheaters.)
 
 
We quickly threw the raspberries in a pot with some turbinado sugar and honey, something that was to become a jam, but, upon realizing that we could not for the life of us find that damn pectin, would have to be a thickened compote.
Oh well- I shall eat it swirled into thick, creamy Greek yogurt with hazelnuts and flax seeds.
A fine breakfast, if you ask me!
Then, we picked over the cherries and threw them in a pot with sugar and a spent vanilla bean.
 
I took charge of the plums.
After hastily eating 3, I decided to bake them into a quick cake.
This whole thing took, start to finish, about 45 minutes.  
I swirled some (measurements are not precise, here, people: I free pour.  Sorry.) maple syrup, honey, and a little nub of butter together, then nestled the plums among it.
I topped it with a quickly thrown together almond-olive oil cake batter.
 
The most wondrous thing happens with upside-down cakes: the caramel-syrup mixture melts into the fruit, creating jammy little pockets of heaven, and the cake, while crisp at the very top, absorbs some of the fruity, maple-honey syrup and becomes wonderfully perfumed.
 
These plums (called Early Goldens) turned from a pale yellow to an apricot orange.
The almond and vanilla pair just beautifully with these sweet little nuggets of summer.
If you can get your hands on some fresh, sweet stone fruit- I would suggest pluots or plums- make this cake.
It’s quick, moderately healthy, and delicious!
 
 
Psst… It’s also naturally gluten-free!
 
Upside-down Plum Cake
cake proportions adapted from Comfy Belly
ingredients:
8 small plums, halved and pitted
1/3 cup honey
1/4 cup maple syrup
1 tablespoon butter
pinch sea salt
1 1/2 cups almond flour
1 teaspoon baking soda
1/4 teaspoon kosher salt
scrapings of 1/2 a vanilla bean
1/3 cup honey
1/3 cup oil (I used olive)
1 teaspoon apple cider vinegar
2 eggs
directions:
Preheat oven to 350 degrees F.
Combine 1/3 cup honey, maple syrup, butter, and sea salt in a small pot and bring to a boil.
Pour into the bottom of an 8×8 pan.
Arrange the plums in the syrup mixture.
Make the cake: whisk almond flour, baking soda, salt, and vanilla scrapings.
Make a well and add the honey, olive oil, vinegar, and eggs into the center.
Whisk the entire batter together and then spread over the plums.
Bake until the top is deeply tanned and a cake tester comes out clean.
Allow to cool, then slide a knife around the edge and invert onto a serving platter.
 

Skywire

“There must be a better way to get a pole across the Grand Canyon…”
Did you guys watch the Skywire special on Discovery a few weeks back?
The one where a man walked across the Grand Canyon with a giant pole on a tightrope without a harness wearing slippers?
I watched it with a bunch of friends.
It really was attention-capturing.  We watched for 45 minutes without realizing there hadn’t been commercials.
I had a bet with one of my friends that they would cut off camera if he fell.
 My friend insisted that they would show it at least once- his reasoning was that they replayed Kevin Ware’s horrific leg injury twice, so falling 1500 feet to one’s death would be aired.
I was just glad we never settled the bet.  Ick.
Anyhow, that’s a bit off topic.  I was just reminded of that special because of this ice cream.  
It’s called “Graham Canyon,” because it’s a copycat, as far as I can tell, for BYU Creamery’s flavor of the same name.
People describe Graham Canyon (no, I’ve never had it, but the descriptions sounded so good that I had to try and make my own) as caramel-y, with dark chocolate covered honeycomb candy and a graham swirl.
My version is a graham ice cream, with graham ganache mixed in (unfortunately it didn’t swirl the way I wanted it to, but the graham cracker flavor was already prominent), along with honeycomb candy, both robed in chocolate and plain.
The non-chocolate coated honeycomb melts into the ice cream, creating a toffee flavor that pairs really well with the graham.
 
That said, this ice cream is still an endeavor to make, with lots of components.
However, it’s similar to store bought ice creams in that it has a rich flavor and lots of mix-ins.
I’m becoming more and more interested in trying to make ice creams like Ben and Jerry’s- inventive and flavorful… Stay tuned!
 
P.S. I’m thoroughly enjoying myself at a super hippie local music festival, Grassroots, for the weekend.
It’s hot as… all get out.
It’s wonderful.
Happy groots weekend to all!
Stay cool!  Eat ice cream!

“Graham Canyon” Ice Cream
ingredients:
1 batch graham ice cream, recipe below
1 batch graham ganache, recipe below
1 batch honeycomb candy, divided, recipe below
1 cup melted dark chocolate, mixed with 1 teaspoon coconut oil
directions:
Churn the graham ice cream in your ice cream maker.
Meanwhile, break the honeycomb into small bits.
Take approximately 1/3 of the honeycomb- (choose the bite sized pieces rather than the crumbs) and stir it into the dark chocolate.
Fish the bits out of the chocolate with a fork and place on a plate- chill until chocolate is set.
Take approximately 1/4 of the original amount of honeycomb (this measure should be mostly crumbs and tiny pieces) and mix it into the ice cream while it churns.
Once the ice cream is done churning, swirl the graham ganache into it.
Stir in the chocolate covered honeycomb and freeze until solid.
Enjoy!

Graham Crackers
adapted from smitten kitchen
ingredients:
188 grams (1 1/4 cups plus 1 tablespoon) white whole wheat flour
88 grams (1/2 lightly packed cup) brown sugar
3 grams (1/2 teaspoon) baking soda
2 grams (3/8 teaspoon) kosher salt
50 grams (3 1/2 tablespoons) butter, cold and cut into pieces

57 grams (1/6 cup) honey
38 grams (2 1/2 tablespoons)milk
14 grams (1 tablespoon) vanilla extract
directions:
Place the flour, sugar, baking soda, and kosher salt in the bowl of a food processor.
Add the butter and pulse until mixture resembles coarse sand.
Add the honey, milk, and vanilla and pulse until a dough forms.
Turn out and wrap in plastic; refrigerate.
Preheat oven to 350 degrees F.
Roll out dough on a well floured surface to 1/8 inch thickness.
Cut desired shapes and bake on a parchment lined sheet for 15-18 minutes.
 
Graham Crust
adapted from momofuku milk bar
ingredients:
graham crackers, above, pulsed and turned into crumbs (190 grams, if you want to use store bought, which is approximately 1 1/2 cups of crumbs)
20 grams (1/4 cup) milk powder 
25 grams (2 tablespoons) sugar
3 grams kosher salt (3/4 teaspoon)
55 grams (4 tablespoons) butter, browned
55 grams (1/4 cup) half and half
directions:
Pulse the graham cracker crumbs, the milk powder, sugar, and salt together. 
Add the butter and half and half and pulse until the mixture resembles damp sand.
 
Graham Ice Cream
adapted from momofuku milk bar
ingredients:
1 cup graham crust
380 grams (1 3/4 cups) half and half
1 teaspoon gelatin
35 grams (2 tablespoons) golden syrup
65 grams (1/3 cup) sugar 
40 grams (1/2 cup) milk powder
1 gram (1/4 teaspoon) kosher salt
directions:
Combine the half and half and graham crust and allow to steep for 20 minutes.
Strain out the graham crust with a fine mesh sieve; discard the mush.
Bloom the gelatin in 2 tablespoons of cold water.
Warm some of the graham milk and whisk in the gelatin to dissolve.
Add the gelatin/graham milk mixture back to the entire batch of graham milk, then add the rest of the ingredients. 
Blend with an immersion blender or a regular blender to combine.
 
Graham Ganache
inspired by Christina Tosi
ingredients:
the remainder of the graham crust from your graham ice cream 
half and half
directions:
Continue to pulse the graham crust, adding half and half a teaspoon at a time, until it turns into a very smooth, grit-free paste.  (Do not add too much half and half at any one time, it may turn the ganache liquid.)
The consistency should be thick and creamy and smooth, like a cooled chocolate ganache.
 
Honeycomb Candy
adapted from not so humble pie
200 grams sugar
10 grams honey
15 grams golden syrup
40 grams water
1 1/2 teaspoons baking soda
directions:
Line a baking pan with a silpat and spray with nonstick spray (do not use parchment; if you must, go bare with just nonstick spray).
Place the water in the bottom of a heavy, high-sided pot.
Add the sugar, honey, and golden syrup to the middle of the water, stir carefully to combine.
Heat over medium-high heat until it turns a very light golden color, or 300 degrees F, stirring constantly. (The color should be just barely turning; this took me 3 tries, 2 without a thermometer, so I just recommend going by temperature rather than looks.)
Moving quickly, stir in the baking soda with a whisk and pour the mixture onto your pan.
Allow to cool, then break into pieces.

Handle With Care

Here I was, thinking it was almost spring. 
I got bold, even walking my dog without a coat, exclaiming to passerby, “feels like spring!”
I thought greedy thoughts, about fresh strawberries and rhubarb, about green grass and flowers.
It’s been snowing intermittently for the past three days.
It’s cold and grey, once again.
And to be honest, not a one of my town’s inhabitants is surprised.
This weather is all too typical.
Our spring is fragile, tender.
Tonight, we may even have an ice storm.  I look outside right now and see flakes pouring down , whirling in strong gusts of wind.
But what is there to do but to enjoy the brief spans while we can? 
 Snow comes, melts, flowers spring forth, life begins again. 
 I’m patiently waiting.
In like a lion, out like a lamb.
These cookies are as fragile as Ithaca’s first sign of spring.
They’re crispy on the outside, and filled with a gloriously honey-laden curd.
They’re a relatively healthy little treat, one that is so light that it melts on the tongue.
 
I’ll enjoy these little snow caps for now, as I wait for those outside my window to melt.
Honey-Ginger Grapefruit Curd
adapted from 101 Cookbooks
ingredients:
1/2 cup freshly squeezed grapefruit juice
2 tablespoons butter
2 tablespoons honey
1 egg yolk
1 egg
big pinch sea salt
juice of 1/2 a lemon
juice from a 1/2 inch piece of ginger, grated and pressed through a strainer
directions:
Reduce the grapefruit juice by half in a small saucepan; bring to a simmer and allow to reduce.  Juice will still be thin- don’t worry.  Allow to cool for 2 minutes.
In another saucepan, whisk the eggs, butter, salt, and honey together.  
Slowly drizzle in grapefruit juice while constantly whisking, until all is incorporated.  
Stir in lemon and ginger juice.
Heat over low heat, whisking all the while, until curd has thickened (enough that when you drag a spatula across the bottom of the pan, the track stays clear for at least 3 seconds), butter has melted and incorporated, and the whole shebang looks very shiny and thick.
Remove from heat and press through a strainer. Discard any bits.
Chill until thickened. 
Enjoy spread between cookies, in yogurt, or by the spoonful!
 
Simplest Meringue Cookies:
ingredients:
2 egg whites
1/2 cup sugar, pulsed in food processor for 30 seconds to make superfine sugar, or 1/2 cup superfine sugar
1/8 teaspoon cream of tartar
directions:
Preheat oven to 200 degrees F.
Line two baking sheets with parchment.
Combine your egg whites and cream of tartar in a very clean bowl and begin to whip.  
Once they are foamy, slowly add about a tablespoon of sugar.  
Continue to add in the sugar very gradually until all the sugar is gone and the meringue has reached stiff peaks.
Place the meringue in a piping bag fitted with a star tip and pipe small stars, or use two teaspoons to portion out little mounds.  
Bake for 1 1/2 to 1 3/4 hours, rotating regularly to prevent overcooking in any one place.
Turn off the oven.
Once done, the meringues should still be white and should easily release from the parchment paper. 
Allow to cool in the oven; prop the door open with a wooden spoon.  
Allow to fully cool, then sandwich some curd between two and enjoy!

Honey Honey

 
You didn’t see my valentine; I sent it via pantomime…” 
-Fiona Apple
 
O! Be still my “beeting” heart! 
Have you hoarded enough chocolate for your valentine yet?
If he or she is anything like me, the answer is firmly no.
 
Here is the solution: a batch of (cheesily heart-shaped) deep, dark chocolate cakes.
Soft, tender, and yet perfectly chewy, these will melt hearts like butter in a hot pan.  
Melt, I tell you, melt.
 
These are a winning combination of simple and delicious.  
The chocolate shines through, highlighted with notes of salt and umami; the batter is mixed up in 1 bowl with 2 utensils; preparation is 15 minutes, tops, and, if baked in a little heart pan or in a mini muffin tin, is cooked through in just 20 minutes.
 
Beet-autiful! 
Picked up on the hint yet?  Am I obvious enough?
If you have, good for you.  Give yourself a nice pat on the back, and an extra little cake, while you’re at it.
 
These perfect chocolate cakes are made with beets!
Beets!
And honey and maple syrup!
And olive oil!
And whole-wheat flour!
Don’t be alarmed.  If you don’t like beets, I promise (pinky swear?) that you will love these cakes; the beets are undetectable.  
Beets are naturally very sweet (your sugar might actually come from beets, not sugar cane…), and carry a beautiful earthy note that is indescribable.
That very earthy note is what makes these cakes interesting; it’s a certain je-ne-sais-quoi that will leave your tastebuds humming with delight and wonder.
 
I personally love beets, so I grated mine slightly larger so I would occasionally get a little beet chunk in the cakes.  
 
My silver spoon has fed me good…” -Frank Ocean
These are too damn delicious to be as healthy as they are.  I made a light chocolate ganache to send them over the top.
 
Obviously, they’re health food.


Bears.  Beets.  Battlestar Galactica.
Chocolate Honey-Beet Cakes
adapted from Thyme, originally adapted from Green Market Baking Book
ingredients:
1 cup grated cooked beets (I used roasted beets; I needed about 2 medium sized beets)
4 tablespoons butter, browned
1/4 cup olive oil
1/4 cup honey
1/2 cup plus 2 tablespoons maple syrup
1 egg plus 1 egg yolk
(big) splash vanilla extract
1/2 cup white-whole-wheat flour (you could use regular old AP here)
1/2 cup all-purpose flour
1/2 cup plus 2 heaping tablespoons cocoa powder
1 teaspoon baking soda
1/4 teaspoon sea salt
directions:
Preheat oven to 350 degrees F.  
Whisk the olive oil, honey, butter, maple syrup, vanilla, and egg and egg yolk together until a thick emulsion forms.  
Dump the dry ingredients on top of the wet, with the baking soda added last, so it is on top.  
Mix until just combined, then fold in beets.  
Pour into prepared pan (I used this one, you could certainly use an 8 or 9 inch round tin or mini muffin tin), and bake for 20-25 minutes, or until a toothpick comes out clean (this cake is so moist that you want to be sure to cook it all the way through).
 
For the ganache that you see, I actually made a regular old ganache, but swapped low-fat milk for heavy cream to make it a bit lighter.  I also whisked in about 3 tablespoons of honey to keep it shiny and smooth.  It worked wonderfully!  
I then topped the still-warm ganache with Swedish pearl sugar.

Let Them Eat Cake


Hey y’all!
I hope you guys had a wonderful slew of holiday celebrations.
I’m here to give you some marvelous news: the good times keep on rollin’. 
Laissez les bons temps rouler!
 
Today is Epiphany, the celebratory feast of the last day of the twelve days of Christmas.  In the past, upcoming religious observances like Ash Wednesday, Lent, and Easter Sunday, were announced on Epiphany, when calendars were not readily available.
 
In France, today, Epiphany is often celebrated with one of two special cakes: un gâteau des rois or une galette des rois.  
 
The gâteau des rois (literally, cake of kings- indeed, this is where the New Orleans King Cake, which is eaten to signal the beginning of Lent, originated) is traditional in Provence, and consists of a brioche ring topped with crunchy pearl sugar and candied or dried fruit.  
 
The galette is a much slightly more indulgent affair, traditionally comprised of two rounds of buttery puff pastry sandwiching a layer of sweet almond frangipane. 
 
 
Now, keeping in mind the holiday feasts which have just passed, I chose to make un gâteau des rois, because brioche has about one tenth of the butter and far less sugar than puff pastry, and I used part whole wheat flour for an small but appreciated health boost.
So there you go!  You can have your cake, and eat it too.  Even if you’re in an early-January post-resolutions funk.  Yeah, you know what I’m talking about.


Gâteau des rois avec les kumquats confits
recipe lightly adapted from Tartelette
Ingredients:
75 mL (1/3 cup) milk, warmed to 110 degrees F
1 heaping teaspoon instant yeast
75 grams (3 tablespoons) sugar
1 small egg or 1/2 a large one (beat it and either weigh it and divide in two, or just eyeball it.  If you have jumbo eggs, a yolk will do just fine.  And if you cannot be bothered, just throw the whole egg in.  What I’m trying to say is that such a small amount of egg makes little difference here.)
small pinch sea salt (use 1/8 – 1/4 teaspoon)
1 tablespoon orange juice, or orange blossom water
140 grams (1 cup plus 2 tablespoons) flour (I used half white-whole wheat and half all-purpose)
35 g (2.5 tablespoons) butter, softened
1 egg yolk beaten with 1 teaspoon cream or milk, for egg wash
3 tablespoons jelly or preserves (I used a mix of meyer lemon and apricot)
Honeyed kumquats (see below)
Large pearl sugar (I used Belgian and Swedish)
Directions:
Measure out the warm milk in a glass measuring cup or bowl.  Stir the yeast and sugar in gently.  Let foam up for 5 or so minutes, then pour into the bowl of a stand mixer or just a large mixing bowl.  Stir in the egg, sea salt, and orange juice and mix until all combined.  Begin to add in flour (if you aren’t using a stand mixer, use a wooden spoon and gather all of your kneading strength and courage), until all is combined.  Knead for 1 minute, then begin to add in the butter, piece by piece, waiting until the previous piece is incorporated before adding the next.  Now, knead for at least 8 minutes.  It is a wet dough, so be aware.  Once the 8 minutes are up, the dough should be barely sticky and supple, and smell like sweet butter and yeast.  Either place in a lightly oiled bowl with plastic wrap pressed right onto the surface, and allow to age and mature overnight in the fridge (this will make for better flavor), or continue right on.  Divide the dough into 8 equal weight chunks- mine were 51 grams each and were approximately 1/4 cup in size.  Roll the chunks into smooth balls, (put a dried bean in the middle of one) and place on a sheet pan lined with parchment.  Make a circle of balls, then place a jelly jar in the middle of the ring.  Preheat oven to 350 degrees F.  Allow the brioche to rise until doubled in size and very puffy, about 1 hour, depending on the temperature of your kitchen.  Fill the jelly jar with water, so it does not crack in the oven, then brush the dough with the egg wash and bake until the internal temperature is 190 degrees F, or the dough is shiny and deep golden.  Remove from oven and let cool, then carefully remove the jelly jar.
Heat up the jam until liquid, and strain out any large pieces of fruit, if using preserves or jelly.  Brush hot glaze all over brioche, then sprinkle on pearl sugar and place the candied kumquats on each little bun.  Enjoy!

Honeyed Kumquats
ingredients:
1 tablespoon honey
1/2 cup sugar
1/4 cup water
1/2 pint fresh kumquats, washed and cut into thin rounds
directions:
place the honey, sugar, and water in a heavy, medium sized pot and bring to a boil.  Once the syrup reached 234 degrees F, place all the kumquat slices in and allow them to cook for 8-10 minutes, until translucent.  (If you double the recipe, do this in two stages so as not to overcrowd the pan.)  Remove from syrup with a slotted spoon, and place on a sheet of parchment until needed.

Moody Blues

When I woke up on Friday, the sky was covered with clouds heavy with rain, and a thick fog had settled low to the ground like a lush carpet.  Not the kind of morning that makes me want to jump out of my warm, cozy bed and run straight into the cold, cold rain.  
 
The past two mornings, however, have been utterly glorious.  People.  Take a moment to look around and take in the beauty that is autumn.  I mean, come on.  The hues of the trees are so brilliantly rich, it’s hard to believe they’re real.  I gather that the extra gorgeous colors are due to the strange growing season this year.  I can’t get over them.  
 
But there will be plenty more of that later on in this post.
 
Firstly, I bring dessert!  I’ve been baking a lot lately, but have been too lazy chosen not to write about most of them; “they” being a maple, walnut, and brown butter caramel cake (whew), a nutmeg maple cream tart, coconut chocolate banana bread, potato chip and dark chocolate bark… 
 
I did, however, save the best for the blog (but of course!).
 
Inspired by a classic cheese plate, I set out to make something that would reflect all the best elements of one:  crunchy crackers, slightly bitter nuts, smoky meat (if you’re into that sort of thing), tangy, salty, and rich cheese, sweet fruit, and just a whisper of honey.  
 
A few weekends ago, my family had bo ssam, a Korean lettuce wrapped, brown sugar encrusted-pork shoulder dish.  Though I (obviously) did not eat the meat, I was sure to save the rendered fat and gelatin (Why?!? Because I’m weird.)
 
And because I just knew it would come in handy sometime soon.  And it did!  Clearly I am learning to utilize some sort of frugality and foresight (neither being my… um… strong suit).
 
This tart is comprised of a brown sugar, wheat cracker, walnut, salted butter and pork fat crust, a mascarpone and blue cheese filling, figs, pears, and a drizzle of honey.
 
Blue cheese tart.
The revolution is coming, people.
Granted, I couldn’t taste all of the elements together because of the pork fat, but I know it was good.  I think everyone who has tasted it has had two pieces.   
 
Victory is mine.


And because I can’t resist… Here are some autumnal pictures I’ve taken.

Blue Cheese Tart
ingredients:
1 cracker crust, baked (I used equal parts wheat crackers, graham crackers, and walnuts, added 3 tablespoons of flour, then added half a stick of melted, salted butter, about 3 tablespoons of melted pork fat and gelatin, two tablespoons of brown sugar, and a hefty pinch of salt.  Mix it together, press into a buttered tart pan, and bake at 350 degrees F for 25 or so minutes, or until golden and slightly crunchy.)
8 ounces mascarpone cheese
2 ounces good quality blue cheese (taste as you go)
1 cup confectioner’s sugar (again, taste as you go.  Palettes vary.)
1/2 cup cream, whipped
figs, pears, and honey, for garnish
directions:
Once the crust is cool, whip the mascarpone and blue cheese together.  Add in the powdered sugar, slowly, tasting as you go, until homogeneous.  Fold in the whipped cream.  Spread into crust, and chill until set.  Top with fig and pear slices, and drizzle with honey.