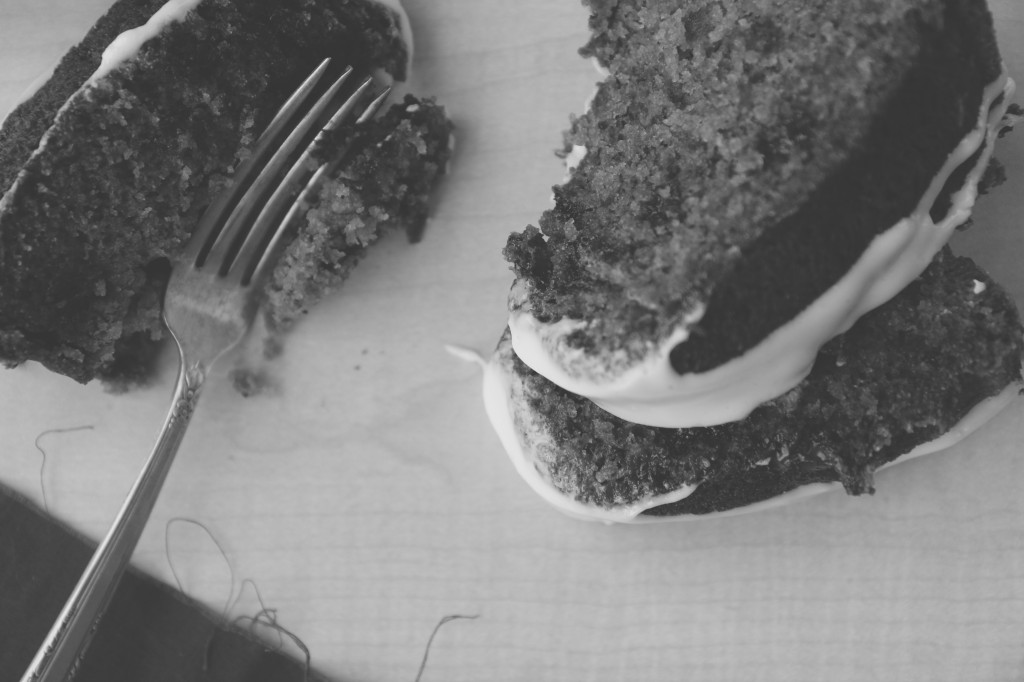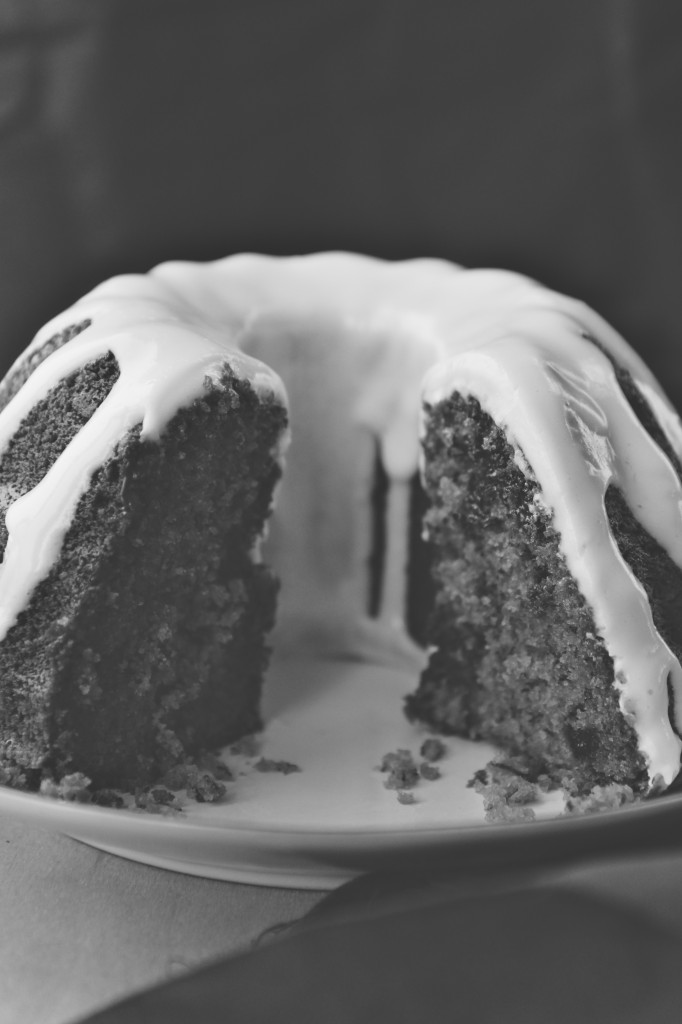
Ingots

IMG_7983_01

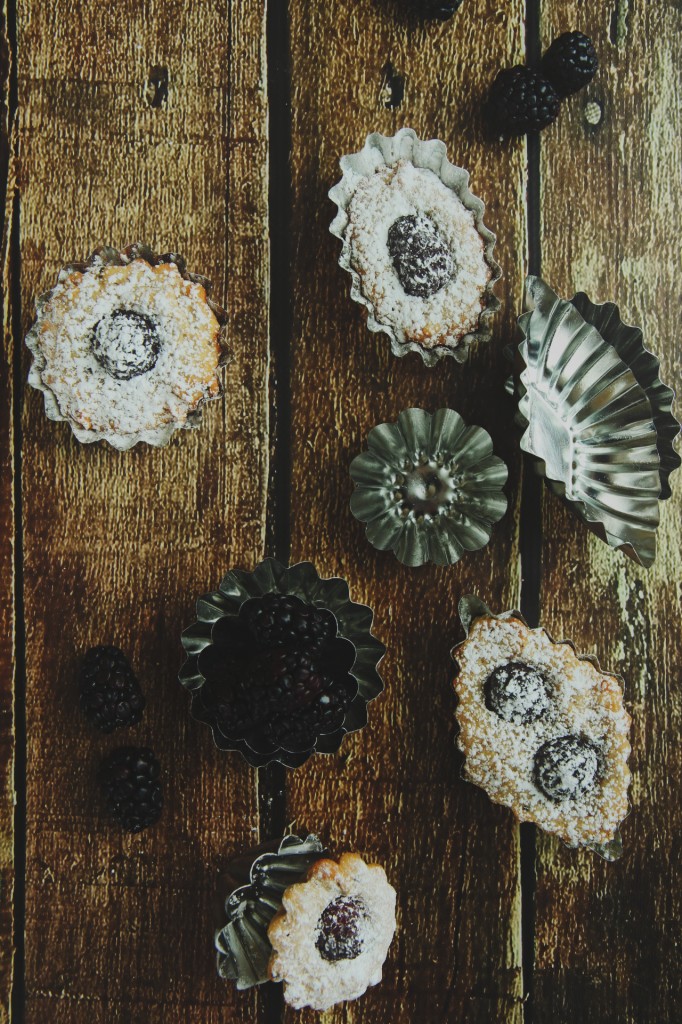
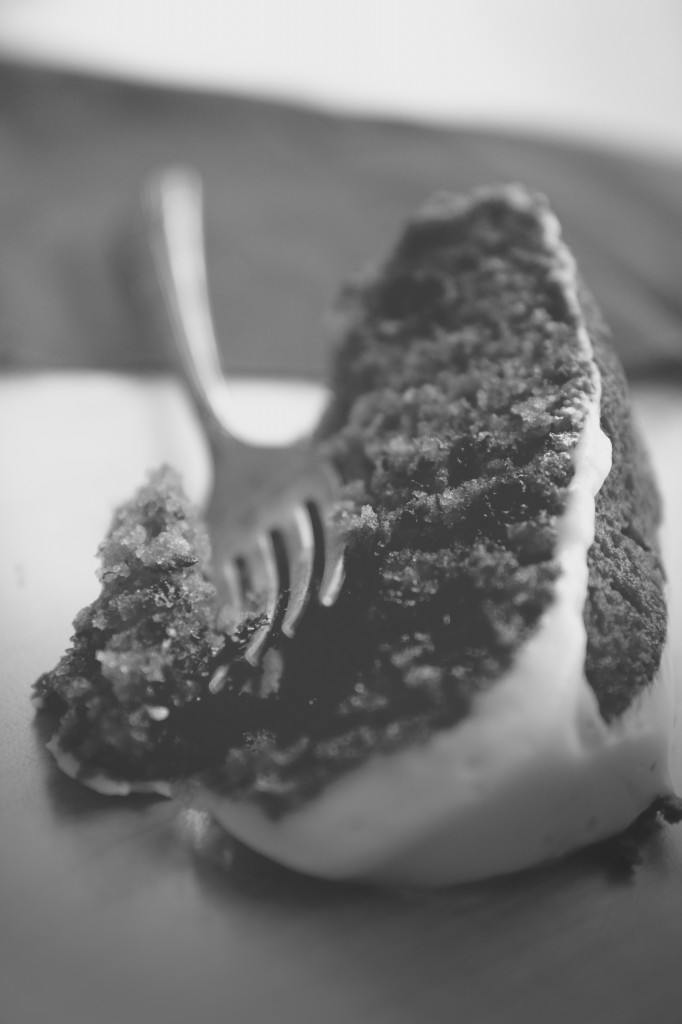
As if every cake weren’t worth its weight in gold.

IMG_7992_02

The story about financiers goes something like this:

A French boulanger named Lasne noted that the businessmen who frequented his shop, which was located near the Bourse (financial district of Paris) were in need of a sweet snack that could be eaten on the go, sans fourchette.

The rich little cakes named for the rich financiers of the Bourse were baked in rectangular molds, so as to shape them like bars of gold.

Little ingots of cake.  The only true currency in my world.

IMG_7980_01

Financiers, classically, are a simple almond cake base, made with egg whites, almond flour, and heaps of beurre noisette.
The high proportion of browned butter gives these little guys crisp edges, while the almond flour keeps the interior soft and pillowy.
The absence of leavening creates pleasantly dense cakes, packing tons of flavor into each little bite, yet keeping the pastries from feeling heavy or weighty.
They’re actually quite light, and not sweet at all.  Very French.

Other nuts can be used, and fruits or jam are often dolloped into the batter.
Here you can check out various pastry chefs’ takes on the financier.

It should be noted that financiers are essentially the same as friands from Australia, though they are shaped a little differently.

IMG_7995_02

Here, the classic almond base is updated with brown sugar,
a tablespoon of crushed jasmine tea, fragrant and fruity, with delicate floral overtones,
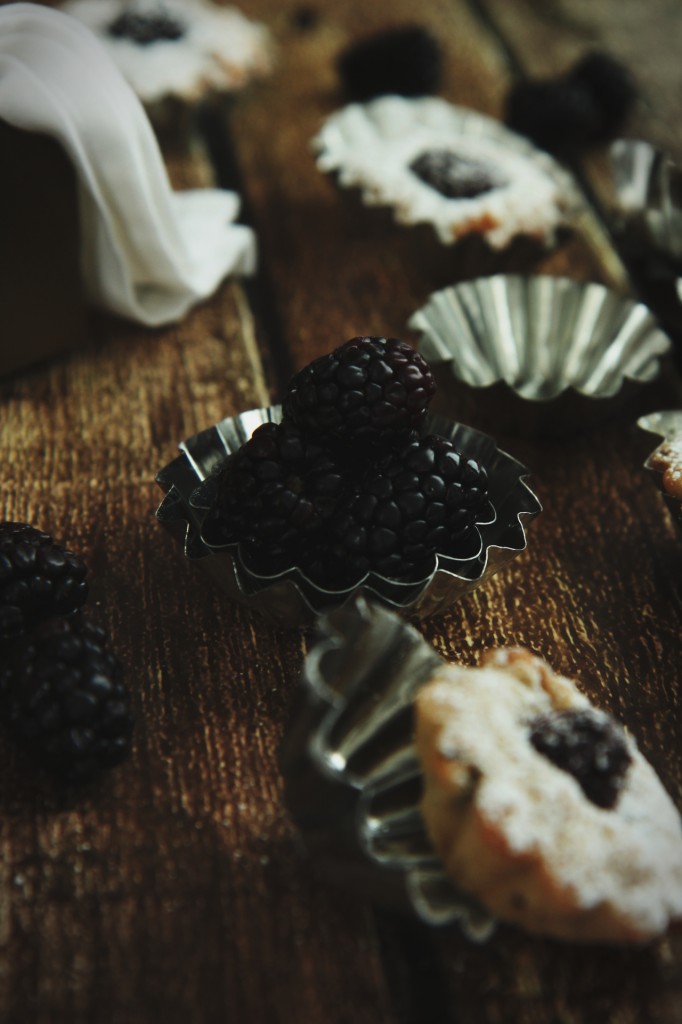
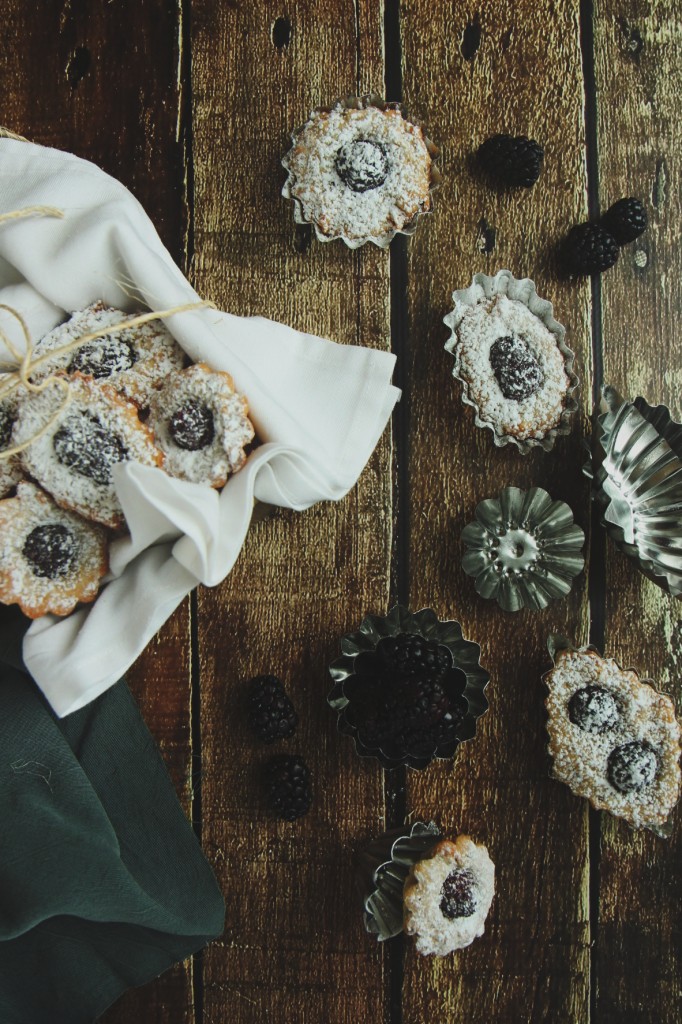
a couple of tart blackberries, pressed deep into the batter where they become jammy and sweet,
and is baked in adorable little tart molds.

They can be baked in mini muffin tins, friand molds, cupcake liners, tart molds, etc.
I could even see the batter becoming a sort of torte, baked in a larger pan.

I can’t emphasize how transcendent these would be with a cup of good, strong, milky black tea and a dollop of clotted cream.
The cakes aren’t too sweet, and are equally appropriate for breakfast (ahem) as for tea, as for an evening nibble.

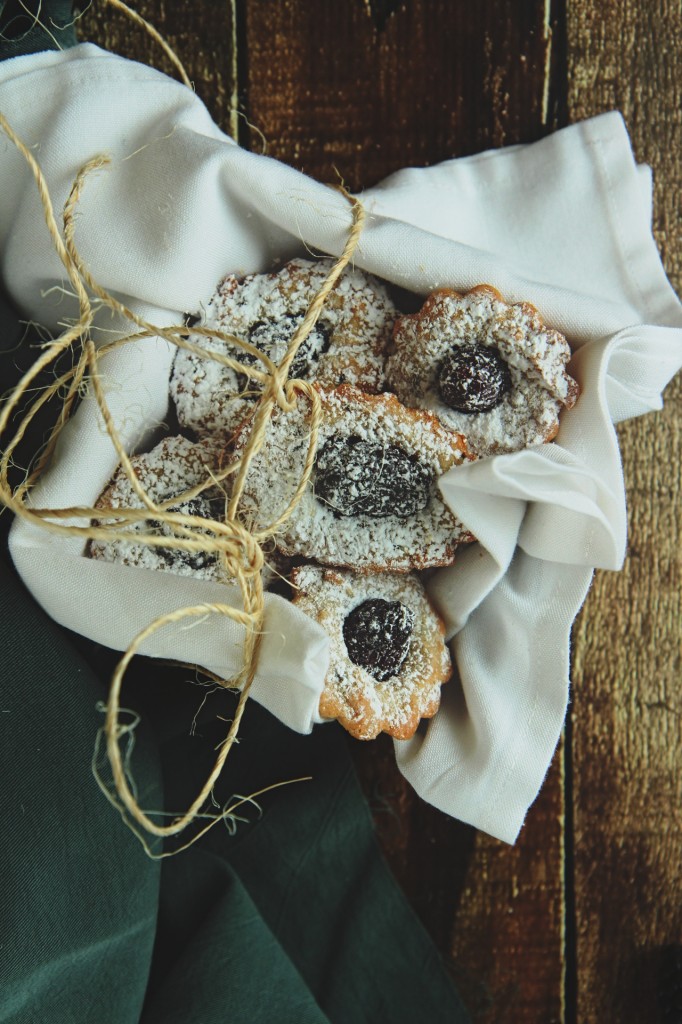
They keep supremely well, so you can dole them out as payment for favors.
That is, if they last long enough.
Mine didn’t…

IMG_7976_02

Jasmine and Blackberry Financiers
adapted from Kristen Kish via Food and Wine
makes around 18 small financiers

ingredients:
3.5 ounces (7 tablespoons) butter, browned
2 egg whites
1 tablespoon plus 1 1/2 teaspoons sugar
pinch of sea salt
3/4 cup brown sugar
1/2 cup plus 3 tablespoons flour
1 tablespoon cornstarch
1/2 cup almond flour
1 tablespoon finely crushed jasmine tea
30 or so blackberries

directions:
Preheat oven to 375 degrees F.
Grease and flour 18 small molds very well, or spray liberally with baking spray with flour.
Whisk egg whites with granulated sugar just until foamy; add in brown sugar and sea salt.
Dump dry ingredients over the egg white mixture; as you gently fold them in, add the brown butter all at once and fold until batter is homogeneous.
Spread the batter into the tins and press a few blackberries into each financier.
Bake for 15 minutes, until the edges are golden and the centers are risen but still slightly soft.
Remove from oven and let cool completely; dust liberally with powdered sugar and serve with extra blackberries and tea.

Maillard

IMG_7650_01

Some real fuckin’ foodie nerd shit is about to go down, y’all.
IMG_7641_01

This is the shit my chemistry T.A. and I talk about during lab discussion.
These cookies are bringing science back.
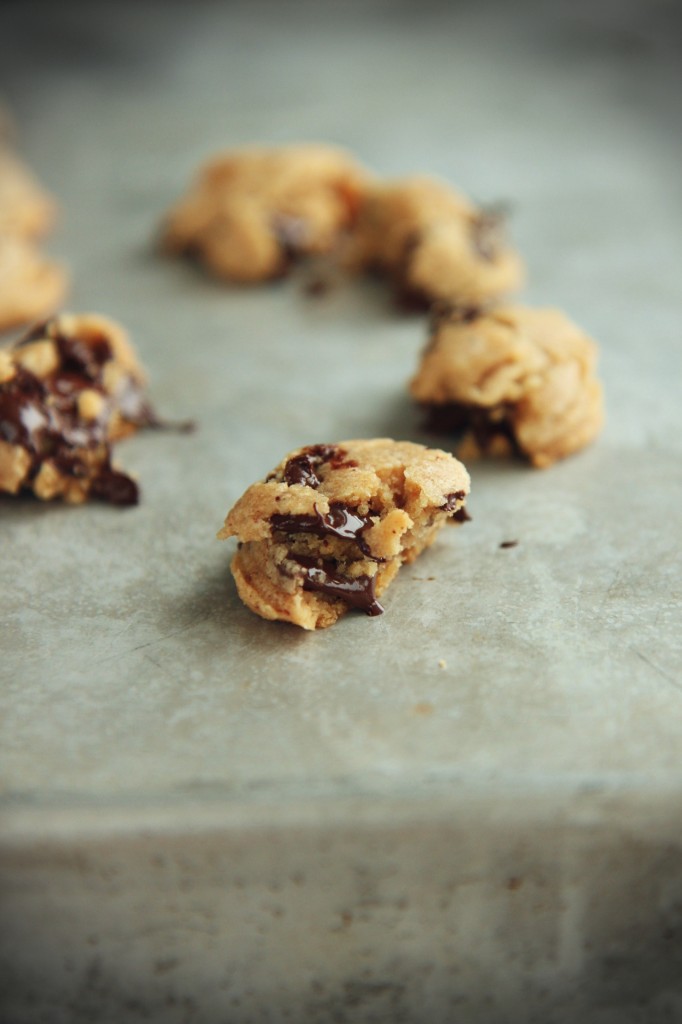
I am harnessing one of the most delicious reactions known to man and using its great and terrible power to make some kick-ass cookies.

And I’m SO excited to share these cookies and this technique with you.  Like, I can’t even.
I’ve been working on these here thangs for a while, now.
I’ve decided they’re ready to be unleashed upon the world.
The question is, are you ready?
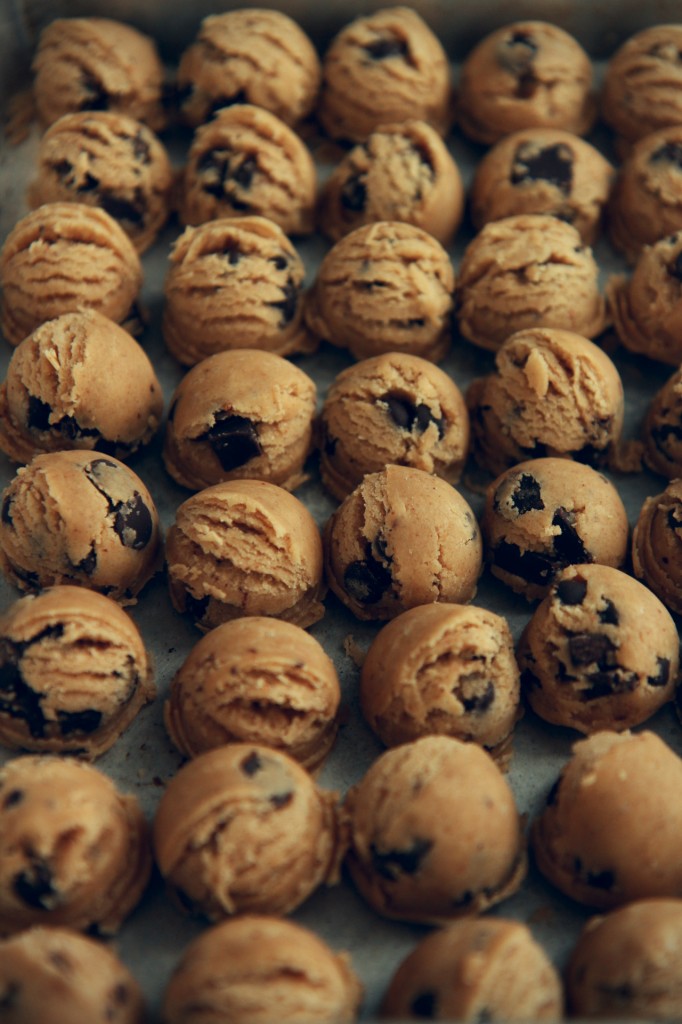
IMG_7636_01

Do you know how freaking awesome the Maillard reaction is, man?
This is what is responsible for the heaven that is the crust of a good bread, the browning of butter, the golden color of baked cookies, cakes, and biscuits, dulce de leche, the crust of a steak, caramelized roasted vegetables, french fries, the smell of roasted coffee, chocolate, soy sauce, maple syrup

The Maillard reaction creates essentially all good smells in the kitchen.  It is an aroma powerhouse.
Roasting, toasting, baking, frying and their accompanying intoxicating smells are all derived from this reaction.

Can I get an amen?!
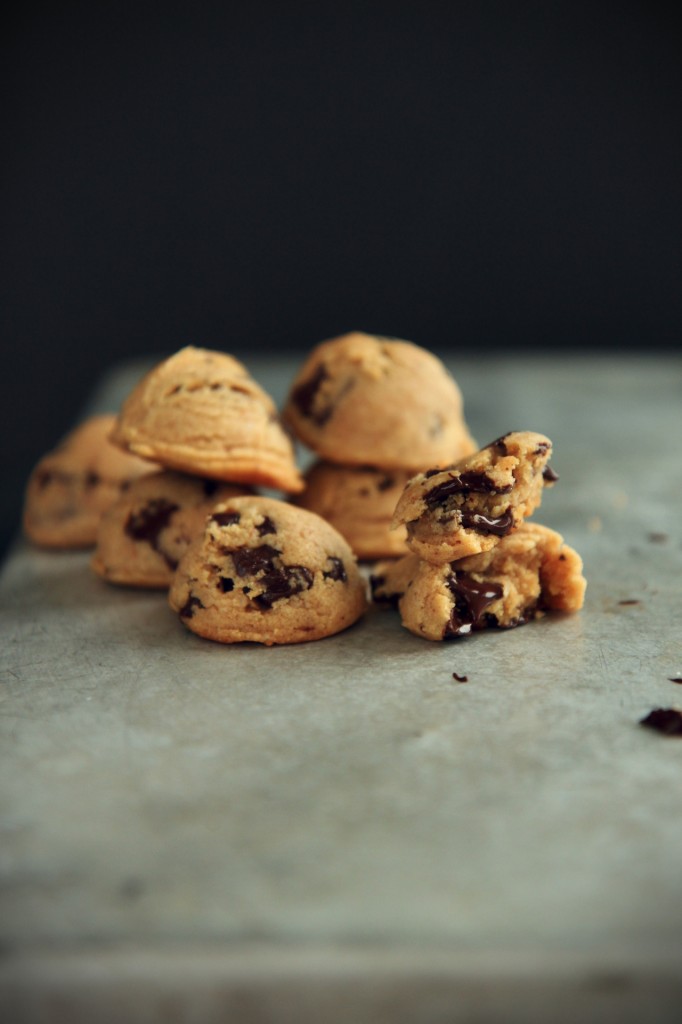
IMG_7668_01

The Maillard reaction describes the reaction between a single amino acid and a sugar.
It’s a form of nonenzymatic browning.
(The other main form of nonenzymatic browning is caramelization, which is the partial breakdown of a sugar.  The two reactions pair quite nicely, as both produce similarly delicious aromas, flavors, and colors.)
It’s favored in an alkaline environment, and requires heat to occur.
Because there are so many different combinations possible between amino acids and sugars, and because compounds can break down and form new combinations, the variety of aromas and flavors caused by the Maillard reaction is enormous.

Have you ever wondered why pretzels (les bretzels) are dipped in sodium bicarbonate (baking soda) solution before being baked?
It’s because the weak base of (CO3)2- creates an alkaline (basic) environment, facilitating and speeding up the formation of that lovely brown crust on the surface.
(I need to get a pretzel recipe on this blog, stat.)

Obviously, this interaction between amino acids and sugars has been happening since people started cooking and baking, but Louis-Camille Maillard first scientifically described the reaction in 1912, though he didn’t fully know the scope or details of it.
Oh damn! Hold up! That’s a French-ass name, Louis-Camille.  Yeah, my lil croissant, lil cheese on my croissant.

So as if we didn’t already know that the French dominate in the land of carbohydrates, they also pinned down the reaction that literally makes life and bread delicious.

Merci mille fois; mille fois merci.
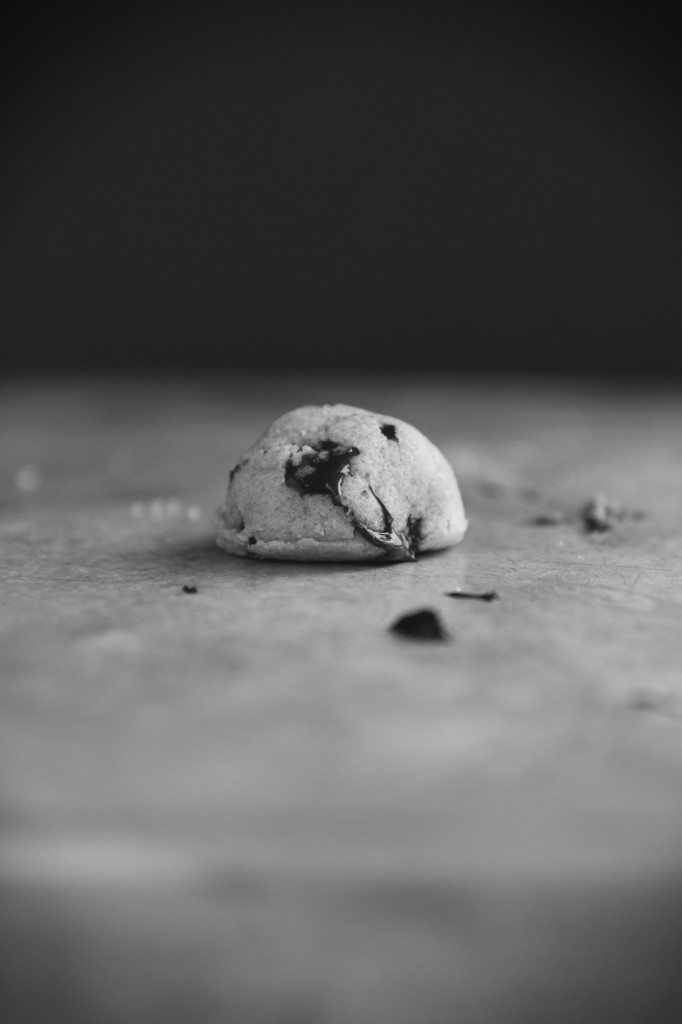
IMG_7674_01

Blah blah science blah no one cares.
Except when it comes to cookies.
If science is guaranteeing better cookies, all y’all are gonna hop on board.  I know it.  I know you.

Brown butter is a go-to.  Any recipe that calls for melted butter is a boon, because I automatically brown my butter for a boost of nutty, rich flavor.
Butter browns because the proteins and sugar in the milk solids of butter toast and go through a certain reaction. (Hmm, what was that called again?)
What happens if you toast just milk solids, then?

Magic.

Put some milk powder in a dry skillet, stir it around, and wait.  It will slowly turn brown and toasty, and begin to let off enticing smells.  Don’t stick your face too deep to inhale, though, because you’ll get a nose full of milk.
Put this toasted milk powder into already browned butter, and you’ve just amplified the amount of Maillardian flavors all up in that butter.  By a lot.
Browning a stick of butter gets you about a tablespoon of browned milk solids.
These cookies add 3 tablespoons of browned milk solids to that.
Meaning you get cookies with the flavor of a pound of browned butter.
AKA flavor punch bang pow mother truckers.

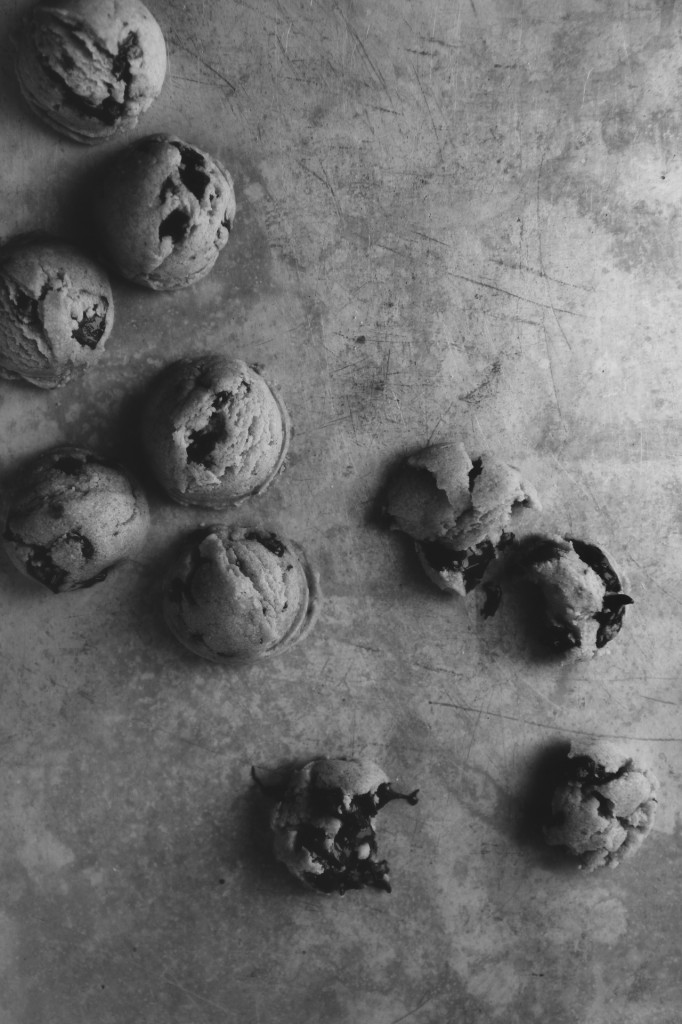
Super-charged brown butter, heaps of brown sugar, and a grand old dose of salt make up the base of these cookies, which will end up supremely soft and puffy, like little globes of deliciousness.
Stir in some chocolate chunks, portion out tiny little scoops, and prepare yourself for total cookie domination.
The alkaline batter (yep, we used sodium bicarb) goes into the oven, and even more Maillard reactions occur, both with the dough and with the chocolate.  Holy jeebus.  I’m drooling.

Eat them warm with a glass of cold, cold milk.
Cheers to Maillard.
Cheers to soft, salty, nutty, rich, profound cookies.
These ain’t no basic CCCs.
These are a chemist’s complex chocolate chip cookies.

It may be hard to mess chocolate chip cookies up, but it’s just as goddamn hard to make them freaking amazing.
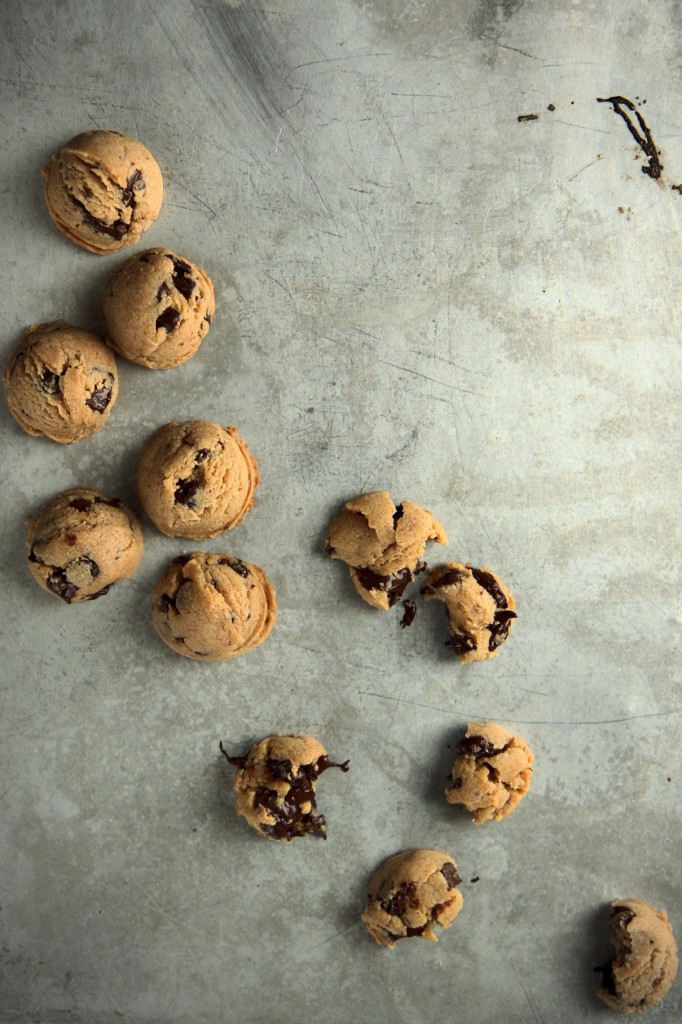
IMG_7646_02

tl;dr
**make these cookies**

Some thoughts if you do try them, which you ought to: if you don’t want your cookies to be as puffy, I bet another tablespoon of milk plus a teaspoon and a half of neutral oil would do it.  I’ll get back to you on that.
Mini chocolate chips distribute more evenly in mini cookies.  I personally like big chunks, so I stuck with ’em.  Just keep that in mind.
For late night cravings, keep a batch of these in the freezer.  All you have to do from frozen is bake ’em for an extra minute, and that way, you’ll have cookies on hand for every sort of problem and situation that might arise.  Wrap well in plastic and aluminum foil to prevent freezer burn!
Sandwiching these with vanilla ice cream is all I want to do with my life.
They would also make a perfect mix-in for ice cream, because they are so so soft.

Number one tip: consume while fresh and hot hot hot.

Shoutout to science and shit, baby.  Bang bang.

P.S. Did you notice the blog’s facelift?
I spent wayyyyy too long designing the new logo and updating fonts, etc.
Tell me what you think!
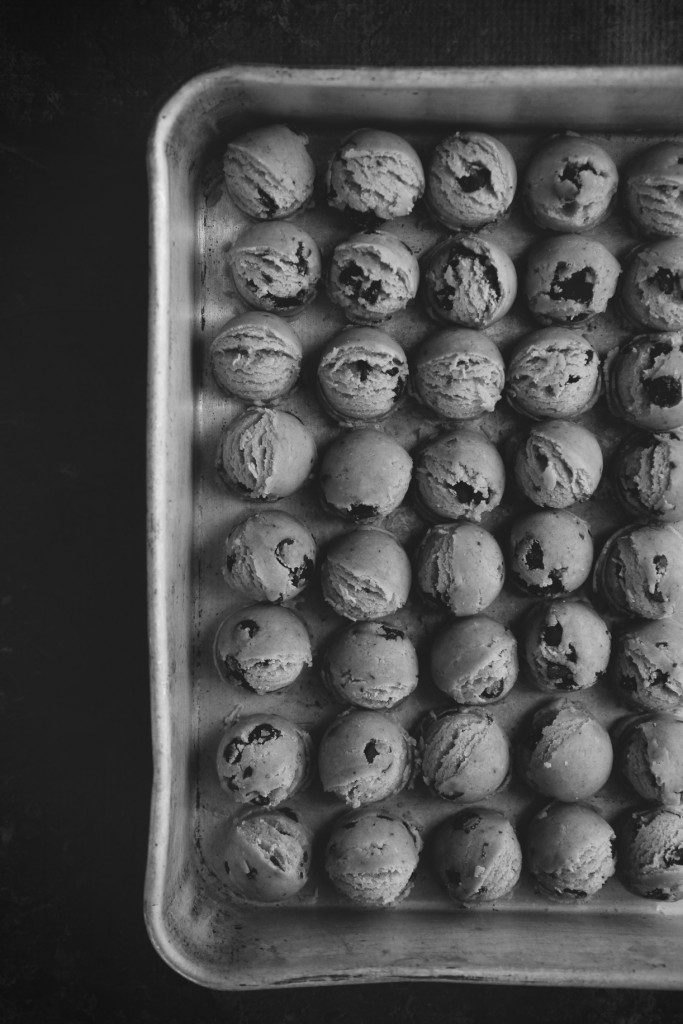
IMG_7632_02

Maillard Chocolate Chip Cookies
makes about 50 tiny cookies, or 12 large

ingredients:
3 tablespoons milk powder
3/4 cup unsalted butter, browned and then cooled until hardened
3/4 cup packed brown sugar
1/4 cup sugar
3/4 teaspoon kosher salt
1 egg
1 teaspoon vanilla extract
1 tablespoon milk
2 cups all purpose flour
2 teaspoons cornstarch
1 teaspoon baking soda
1 cup bittersweet chocolate chips or chunks

directions:
Brown the butter well ahead of time and set it in the fridge to cool back to a solid state.
Brown the milk powder: in a NONSTICK skillet over low heat, stir the milk powder gently until a deep tan color and very fragrant, about 10-15 minutes.
Be sure not to let it burn.
Scrape the solidified browned butter along with the browned milk powder into the bowl of a stand mixer fitted with the paddle attachment and beat until soft, about 2 minutes.
Add the sugars and the salt and beat for 2 more minutes.
Add the egg and vanilla and beat until very light and fluffy, 5 more minutes (stop to scrape the bowl after 3 minutes).
Add in the milk and beat for 30 seconds, just until incorporated.
Add the flour, cornstarch, and baking soda to the bowl with the mixer off.
Slowly stir in the flour, with the mixer or by hand.
Once the dough is completely homogeneous, add in the chocolate chips and stir to combine.
Portion out in 2 teaspoon (smallest cookie scoop) measures for tiny cookies, or in 1/3 cup (standard ice cream/cookie scoop) portions for standard size cookies. (The larger portion size will yield approximately 12 cookies.)
You can now chill the dough balls overnight, or freeze, well wrapped, for much longer.
Bake at 350 degrees F for 6 minutes for tiny cookies, 8 minutes for larger cookies.
Cookies will seem very doughy and underdone; as they cool, they will remain super soft.
Eat warmed up with cold milk.

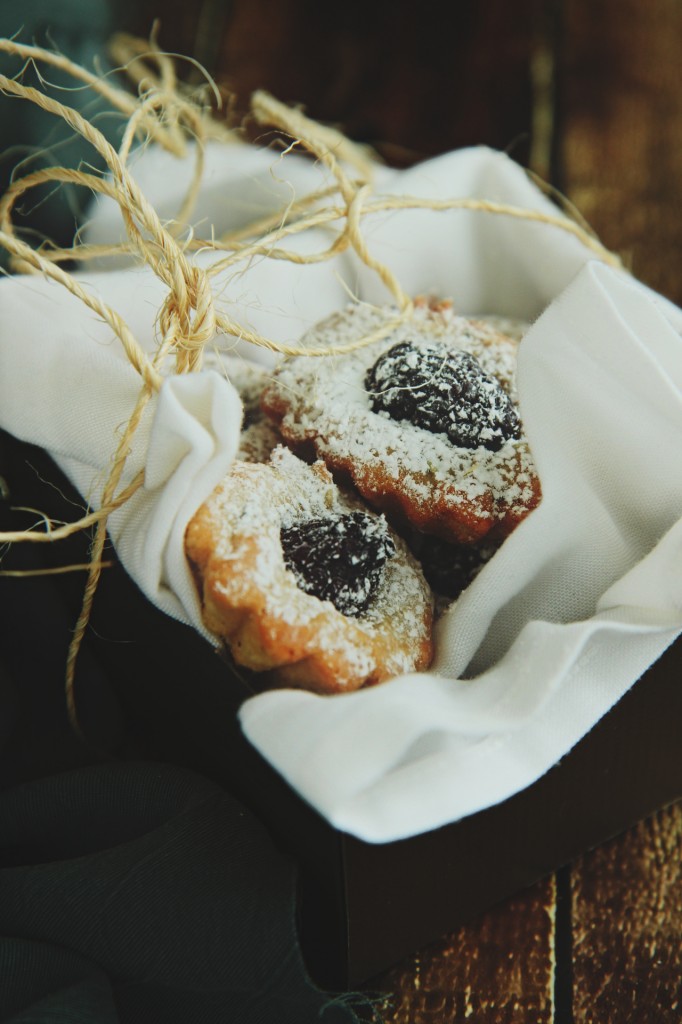
감사합니다

IMG_5995_01

I’m thankful for home.

IMG_6112_01

I’m grateful to be surrounded by love and warmth and family.

IMG_6016_01

This brief respite has been much needed, and much appreciated.

It saddens me to leave (tomorrow), but I am comforted with the knowledge that I will be back in just a few short weeks.

IMG_6152_01

I love my home: my house, my friends, my family, my town.

I love this place.

I was dearly missing this place.

IMG_6071_01_01

I thought I’d share some snapshots of home with you; the first photo is of my beloved bed, where I haven’t been spending enough time this break. (Too many things to do!  People to see!  Places to go!)

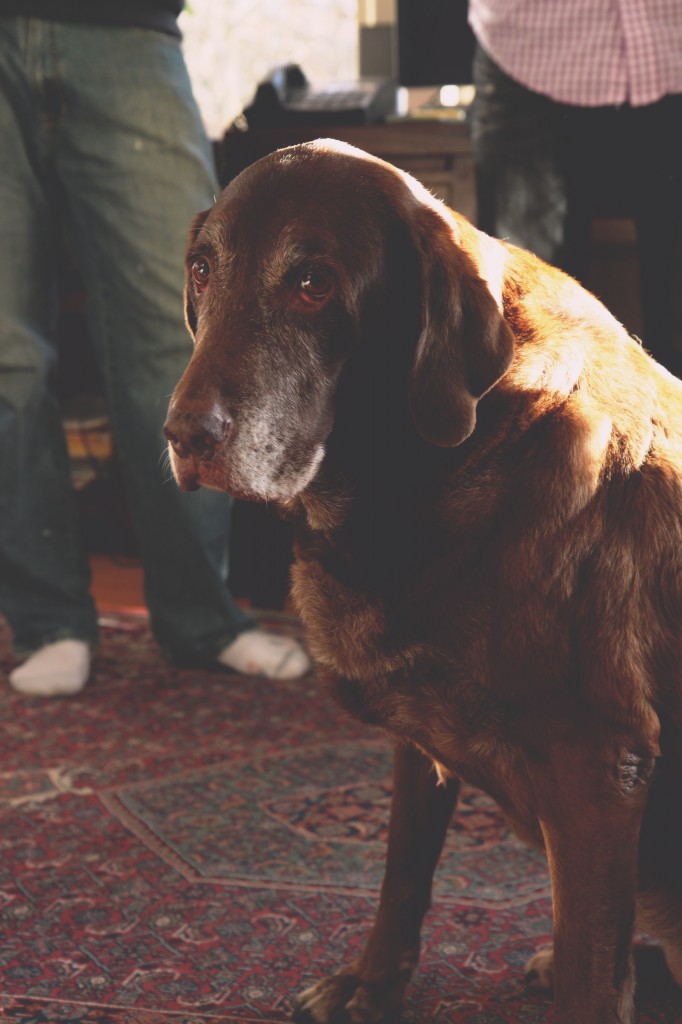
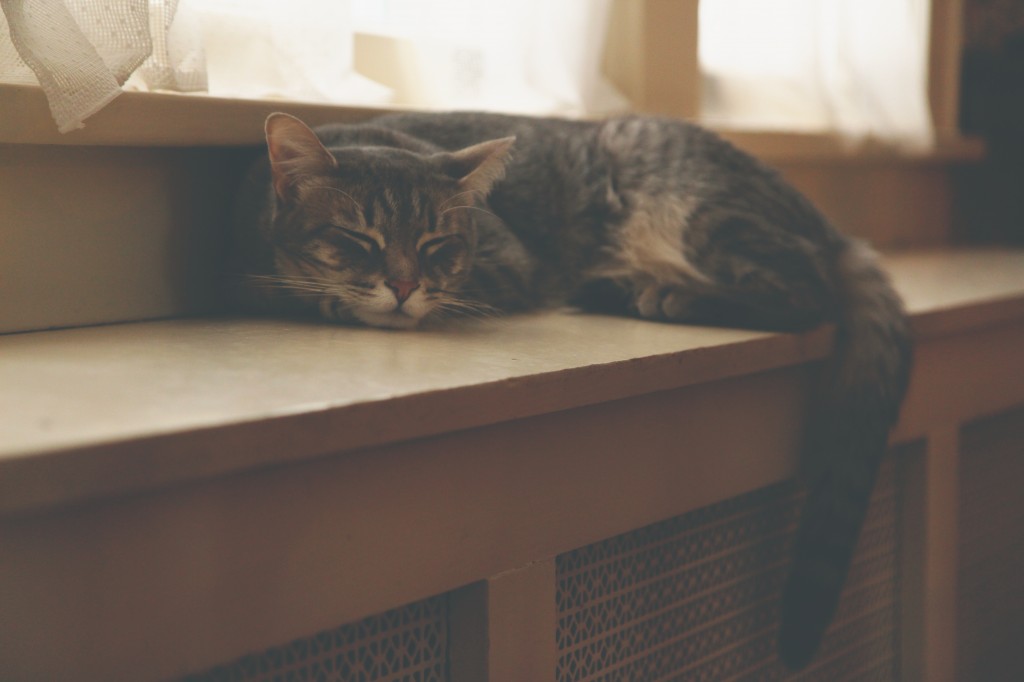
You get a preview of our holiday cards (blech) and some cute photos of my kitten and pup.

IMG_6149_01

Also, THANKS GUYS, for being awesome and reading these stupid posts of mine on this silly little blog.

You rock.  Thanks for that.  I sure do appreciate you.

Now, food.

IMG_6145_01

Thanksgiving Menu 2013:

Roasted roots: herbed sweet potatoes, parsnips, and carrots with honey mustard aioli (GF)

Roasted brown butter and maple Brussels sprouts (GF)

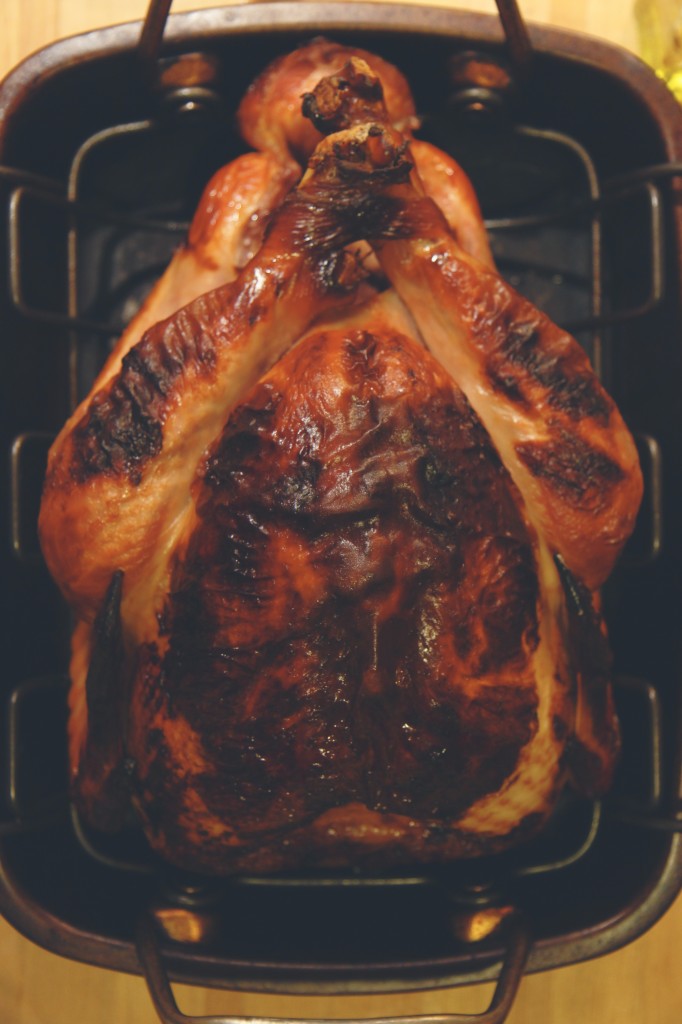
Honey glazed turkey with giblet gravy (GF)

Maple and apple cranberry sauce (GF)

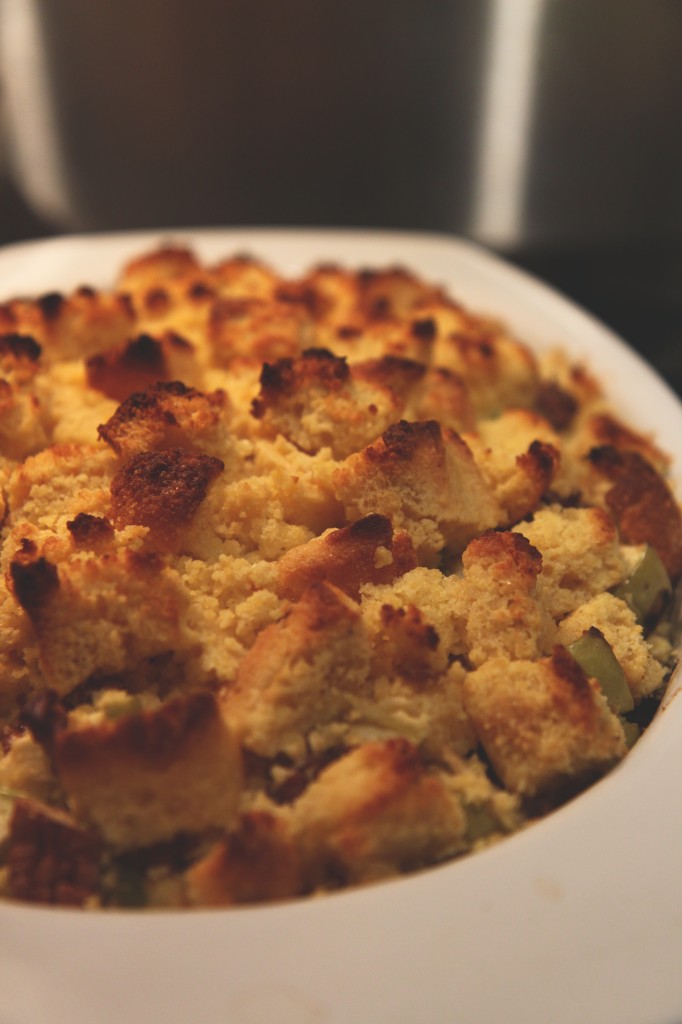
Cornbread stuffing with spiced sausages, pecans, sage, and celery (GF)

Goat cheese, buttermilk, and olive oil mashed potatoes (GF)

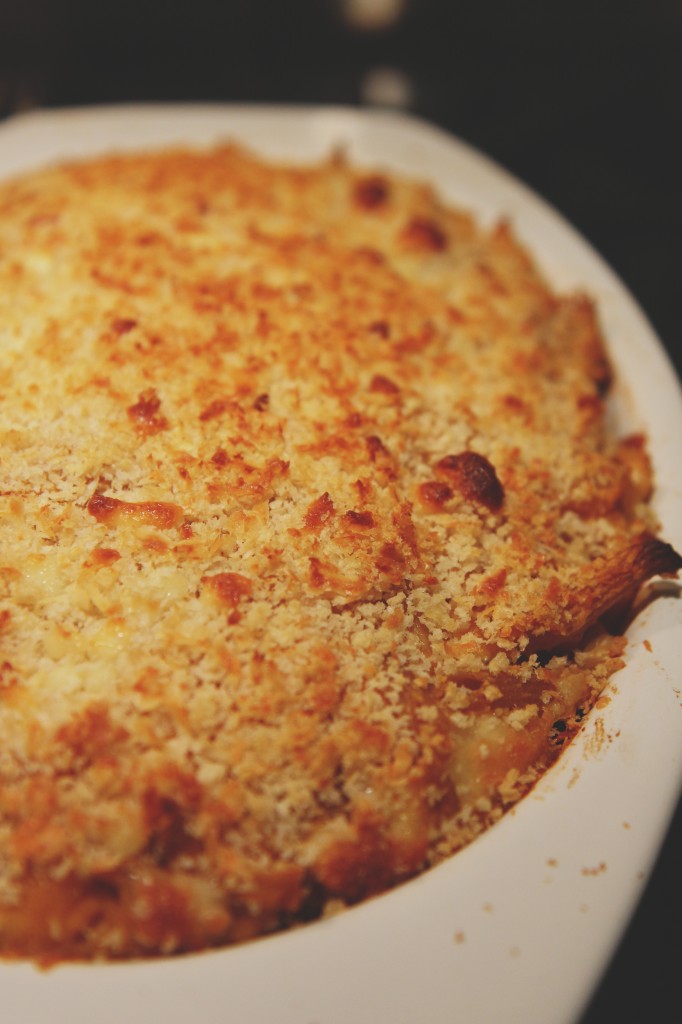
Whole wheat butternut squash mac and cheese

Mixed green salad with pomegranates, walnuts, shaved fennel, apples, and Parmesan with pomegranate dressing (GF)

Butterscotch and thyme apple pie (GF)

Maple kefir brûlée tart (GF)

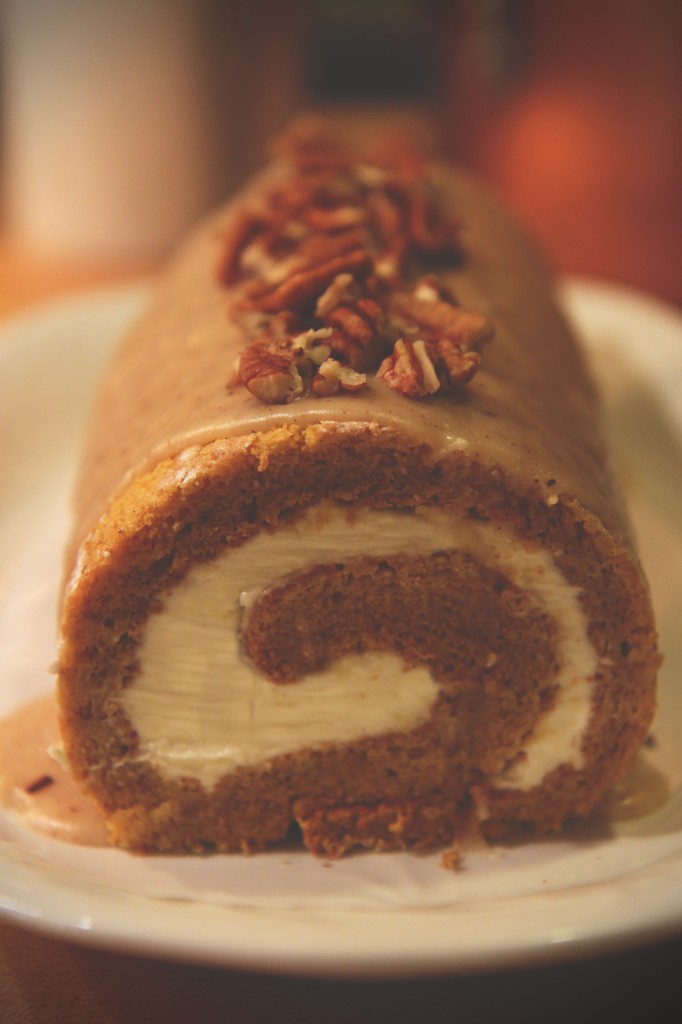
Pumpkin roll with Frangelico and mascarpone whipped cream, brown butter glaze, chopped pecans (GF)

IMG_6140_01

Yes, I made all of that myself.  Boy, was it a marathon.  A very, very, very, long and delicious haul.

My photos were all very rushed and poorly lit; I had hoped to show you pictures of all the gluten free goodies I made, but no such luck.

At least I got a picture of the pumpkin roll cake… So I can torture you with yet another pumpkin recipe!

IMG_6126_01

This will be the last pumpkin recipe of the year.

It’s one to remember: light, fluffy pumpkin sponge cake rolled around mascarpone and maple whipped cream, topped with brown butter and Frangelico glaze and chopped pecans.

You might just be inspired to pull out one last can of pumpkin.

Happy Thanksgiving (weekend), y’all.

Thanksgiving (scaled)

 Pumpkin Roll Cake

ingredients:
for the cake:
powdered sugar, for sprinkling on towel
90 grams (3/4 cup) flour
½ teaspoon baking powder
½ teaspoon baking soda
cinnamon, cloves, nutmeg, ginger, pepper, coriander
pinch salt
3 large eggs
200 grams (1 cup) sugar
2/3 cup pumpkin puree
for the filling:
1 cup whipped cream
1 cup mascarpone
¼ cup powdered sugar
2 tablespoons maple syrup
pinch salt

for the glaze:
4 tablespoons butter, browned
2/3 cup powdered sugar
1/3 cup powdered milk
2 tablespoons maple syrup
2 teaspoons Frangelico (optional)

For garnish:
Chopped pecans

Directions:
For the cake, preheat oven to 350 degrees F.  Grease and flour a sheet pan very well; line with parchment paper.
Sprinkle a dishtowel with powdered sugar.
Whisk the flour, leaveners, spices, and salt together.
Beat the yolks and ¼ cup of the sugar very well, then stir in pumpkin.
Sift the flour mixture over the yolks and fold in gently.
Whip the egg whites and remaining sugar to stiff peaks.
Fold into the pumpkin mixture, then spread the batter out onto your prepared pan.
Bake for 15 minutes, until set.
Flip over onto towel and let cool for 5 minutes.
Gently roll up the cake and set aside to cool completely.
For the filling, beat the whipped cream to soft peaks, then gently beat in the other ingredients.
Spread onto the cooled, unrolled cake, then reroll the cake.
For the glaze, mix everything together until no lumps remain; drizzle over the rolled cake.
Garnish with chopped pecans.

Nanners

IMG_5568_01

Hellooooo buttermilk-cream cheese glaze, I want to bathe in you omg.

IMG_5610_01

“Best thing I’ve ever eaten.” -#JonS

“Favorite thing you’ve made.” -Tom

“Oh my god.” -D. Frankel

“Mmmffm” -CJ

IMG_5577_01

It’s pretty hard to go wrong with bananas, brown butter, chocolate, buttermilk, and cream cheese.

Impossible, actually.  You could probably smush them all up and stick them in the microwave and it would taste good.
(Ugh. Banana mug cake?!?!?)

But more on that later: let’s talk technology!

Talk tech to me…

IMG_5685_01

Remember how I admitted to having a bad case of lens lust?

How all I wanted all I needed all I ever desired ever was a new lens?

Something shiny, big, and full of glass?

IMG_5655_01

I bought myself one!
After the horrors of 7th week (1 paper, 2 midterms, 3 p-sets and no sleep) I decided I was deserving.  Ahem.

But, y’all, let me tell you: I am bad at ebay.  I do not do ebay good.

I lost 4 (four!) auctions for various 17-55 mm f2.8 USM Canon lenses.

I had fallen into a pit of despair (FWP), when suddenly, I noticed a new BUY IT NOW lens and I jumped out of my seat and my pants and bought the damn thing.

I promptly put my pants back on and sat down
but nevertheless, my excitement was not dampered.

IMG_5587_01

The lens came super quickly (it only took the weekend to arrive!) and I was stunned.

It’s really a beaut; there is so much glass!  I’m unused to that, and I find it truly gorgeous.

It makes my camera look gigantic, yes, but ooooo mami that depth of field will getcha!
Compared to my lil’ eensy kit lens (which I still and will always love.  It’s got sentimental value, okay?  Sentimental value and no lens cap.  Oops.), this thing is a giant monster princess who will be treated with love and care and kept safe.

Very safe.  (She says as she smudges glaze all over it.)

IMG_5596_01

Obviously, I was very excited to bake something and take photos of it with my new toy.
Obviously, knowing me, I was going to choose something I hate photographing.

Whyyyyy am I so stubborn and ridiculous?

I hate bundt cakes.  Wait, no, I hate photographing bundt cakes.  We’ve been through this.  I’m bad at it.
And yet, I baked a bundt cake. Hmph.

This cake, doe.
It is a never fail.  I have made it so many different ways, and have yet to be displeased.
This is my favorite adaptation.

IMG_5680_01

First, I brown half the butter.  Half is creamed until light and fluffy, and then its nutty, flavorful, melted partner gets poured in.
The result?  All of the benefits of the brown butter with an accompanying light and fluffy crumb due to the aeration from creaming, which cannot be done with solely melted butter.
The cake would be much denser if all the butter were to be browned.

Next: I freeze my bananas.  Solid.  Then I melt them in the microwave and discard most of the banana water.  It will make your cake too wet and dense.  You concentrate the flavor of the bananas a bit with the heat of the microwave, then you get rid of the excess liquid: boom.
Bigger, bolder banana flavor.

Brown sugar makes up the majority of the added sweeteners here, and it gives depth and warmth thanks to the molasses.

Buttermilk keeps the crumb tender and soft; we only need a touch, as too much would make the cake soggy and crumbly.

Finally, a smattering of chocolate chips, because chocolate.

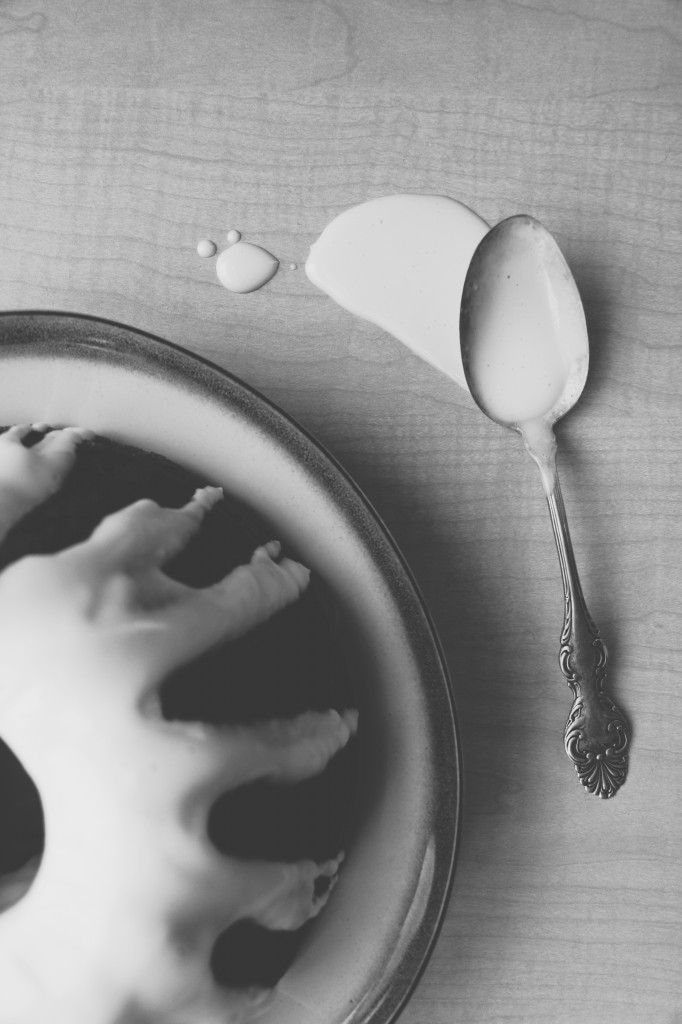
To top the cake, buttermilk, cream cheese, powdered sugar, and milk powder get whizzed together to make a thick glaze that is not too sweet and has just the right amount of tang.

‘Tis a beautiful bundt.  There.  I said it.  The interior makes up for the photos exterior.

IMG_5692_01

Perfect Banana Bundt
makes 1 bundt cake
adapted from Dorie Greenspan

ingredients:
225 grams (8 ounces, 16 tablespoons) butter, divided in two
150 grams (3/4 cup) granulated sugar
250 grams (1 1/4 cup) brown sugar
2 eggs
splash vanilla extract
4 medium bananas, frozen solid
120 grams (1/2 cup) buttermilk
big pinch salt
2 teaspoons baking soda
360 grams (3 cups) flour
200 grams (heaping 1 cup) chocolate chips, if desired

directions:
Preheat oven to 350 degrees F and grease and flour a bundt pan very thoroughly.
In a small saucepan, melt half the butter; keep cooking it until there are little brown pieces and it smells nutty; remove from heat and set aside to cool slightly.
Cream the other half of the butter with the sugars for at least 5 minutes, until light and fluffy.
Stream in the browned butter and beat until combined.
Beat in both of the eggs and the vanilla and beat for at least 3 more minutes, until the mixture is pale, fluffy, and very smooth.
Meanwhile, place your bananas in a microwave safe bowl and microwave for 30 seconds, or until the peels are just starting to soften; peel the bananas and return them to the bowl.
Microwave for about 1 1/2 minutes in 15-30 second bursts.
The bananas should be melty and should have let off a bit of liquid.
Using your hands to hold the bananas in the bowl, press and pour as much of the liquid out of the bananas as possible, without losing any banana pieces.
Pour the bananas into the creamed butter and sugar and beat until homogeneous; the mixture will look very curdled.
Pour in the buttermilk and beat to combine; the batter will still look curdled.
Dump the flour on top of the batter, then add the salt and baking soda to the top of the flour mound.
Mix on low until the batter is homogeneous and smooth; stir in the chocolate chips, if desired.
Spread the batter into the prepared bundt pan and bake for about 1 hour, or until a tester comes out completely clean; the top will be firm and dark brown, but due to a bundt pan’s shape, the interior might not be done.
Check in multiple places to ensure a completely cooked cake.
Allow the cake to cool for at least 15 minutes in the pan before inverting it onto a serving platter and glazing.

Buttermilk and Cream Cheese Glaze

ingredients:
120 grams (1/2 cup) buttermilk
140 grams (5 ounces) cream cheese, softened
200 grams (approximately 2 cups) powdered sugar, sifted
30 grams (approximately 1/3 cup) milk powder

directions:
In a food processor or with an immersion blender, process the cream cheese and buttermilk.
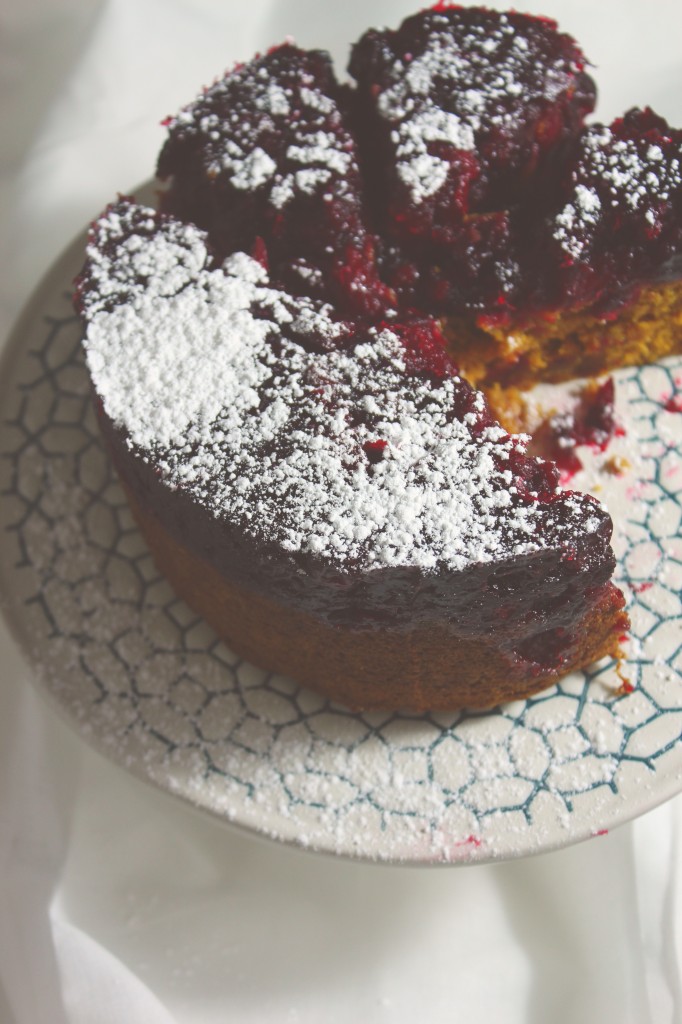
Add in the dry ingredients and process until a smooth glaze forms.

Estuaire

IMG_5424_01

The tides of autumn are flowing into winter;
great gusts of wind mix and swirl leaves and snow as waves do river and sea.

The glory of fall has long since faded,
the embers that set fires to hearts gone out;
tamped down by wind and rain and snow.

Trees stand, tall and stolid, bare branches creaking and cracking,
old men straightening their backs.

Creeping ivy creeps no more, its grip on wind whipped walls failing;
stripped bare, its leaves float forgotten, the last whispers of a season.

The wind breathes deep

and the trees sleep as deeply.

IMG_5381_01

It is here, in this seasonal limbo, that I am floating
waiting
for Thanksgiving.

Y’aaaaaalll I am so excited to go home home home.  You have no idea!! I’ve finalized my menu, typed out time tables, recipes, and shopping lists.
The entire document is 10 or so pages.

(Why can’t it be so easy to write a 10 page paper?  Hmm.)

IMG_5428_01

Everyone’s gearing up for Thanksgiving.
Do some clicking around the blogs and you’ll see gorgeous, tempting foods that make me want to restart my entire menu (I won’t) or make it a meal comprised entirely of pie (I might.)

I’m sharing some of the most tempting (and hopefully inspiring!) Thanksgiving-worthy posts/recipes I’ve seen thus far.

First of all, Pie Week.  Done.  Get me into Adrianna’s kitchen.  Let me live there forever eating her lovely, inventive pies.  Please.
I fainted at the thought of cornbread+biscuit stuffing.  Also, I want to move to Tennessee/see the world through Beth’s lens.  Gorgeous.

Brown butter crumbs.  On top of cauliflower.  Glory be.  Can you imagine eating this with a poached egg?!?!

Green beans with pomelo (I so did not know what the inside of a pomelo looked like, so thanks, Heidi!).  Vegan green beans.  Vegan spinach.

This stop motion video stopped my heart.  PUMPKIN.

Speaking of pumpkin, pie.

Cranberries are among my favorite fruits.  These adorable pâte des fruits confirmed that for me.

Good luck planning your Thanksgiving menus!

IMG_5443_01

Cranberries and pumpkin are both emblematic of their respective seasons, at least for me: I associate pumpkin with fall and cranberries with winter.

Perfect for Thanksgiving, which lies along the seasonal lines in my mind.

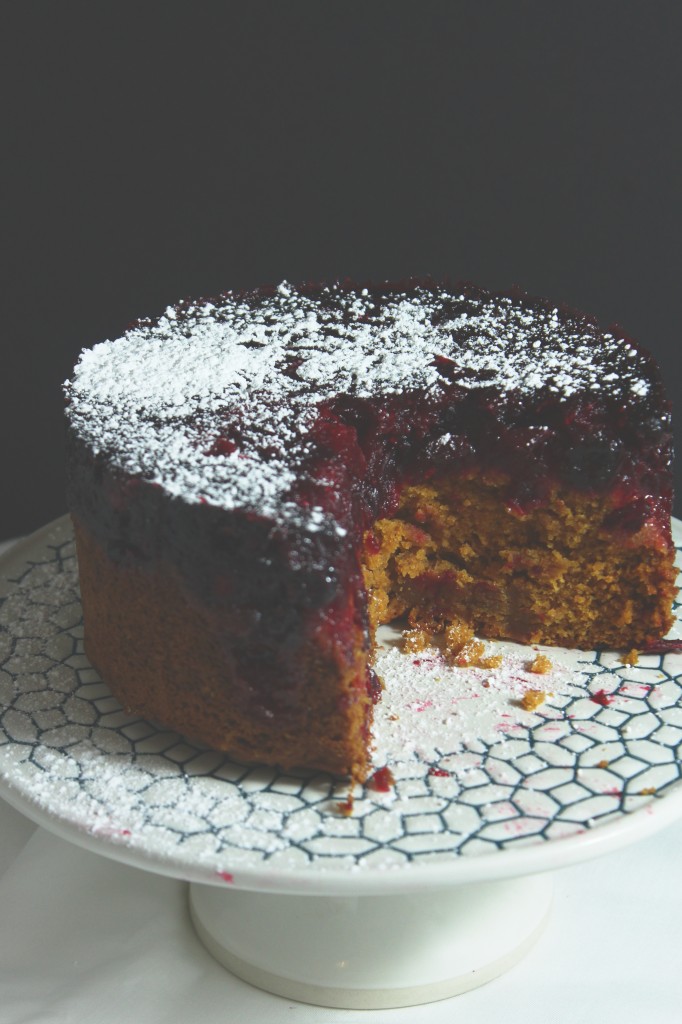
This cake boasts the best of both.
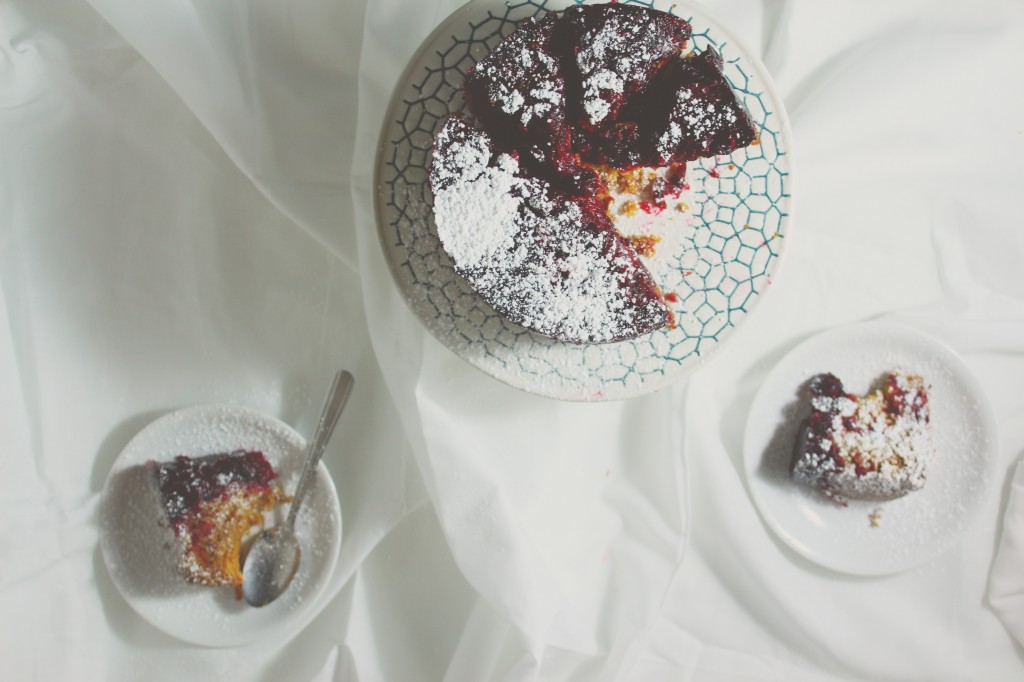
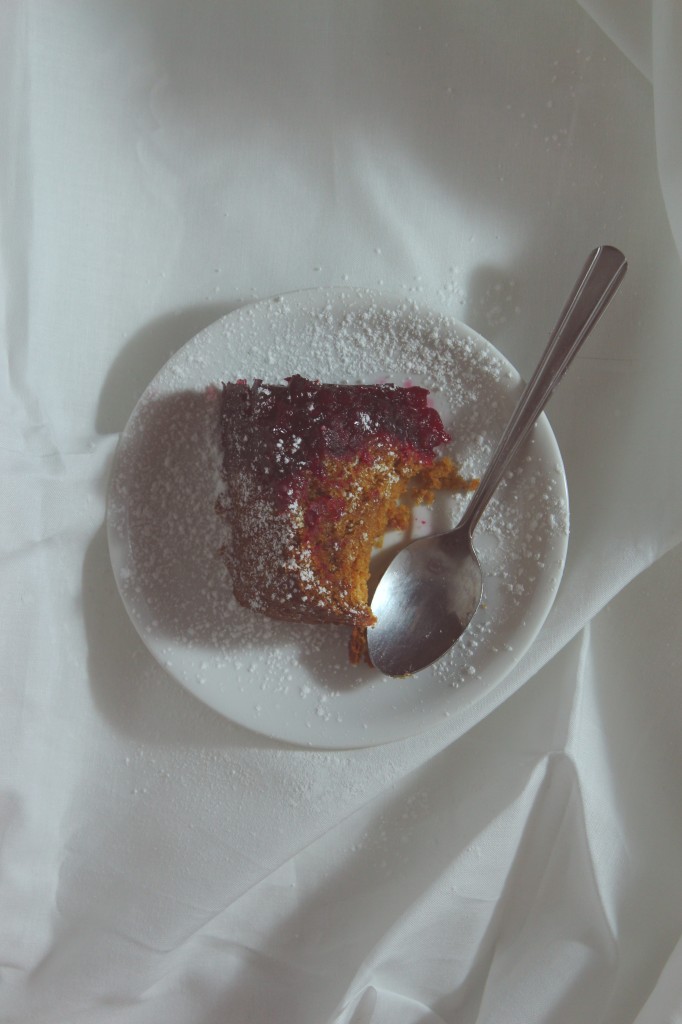
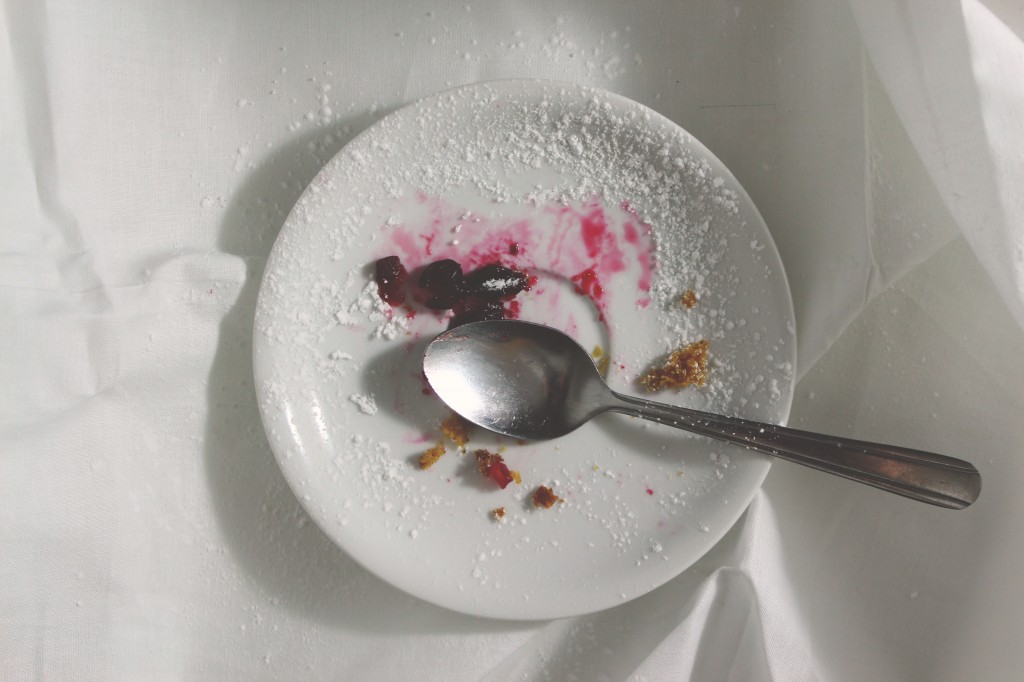
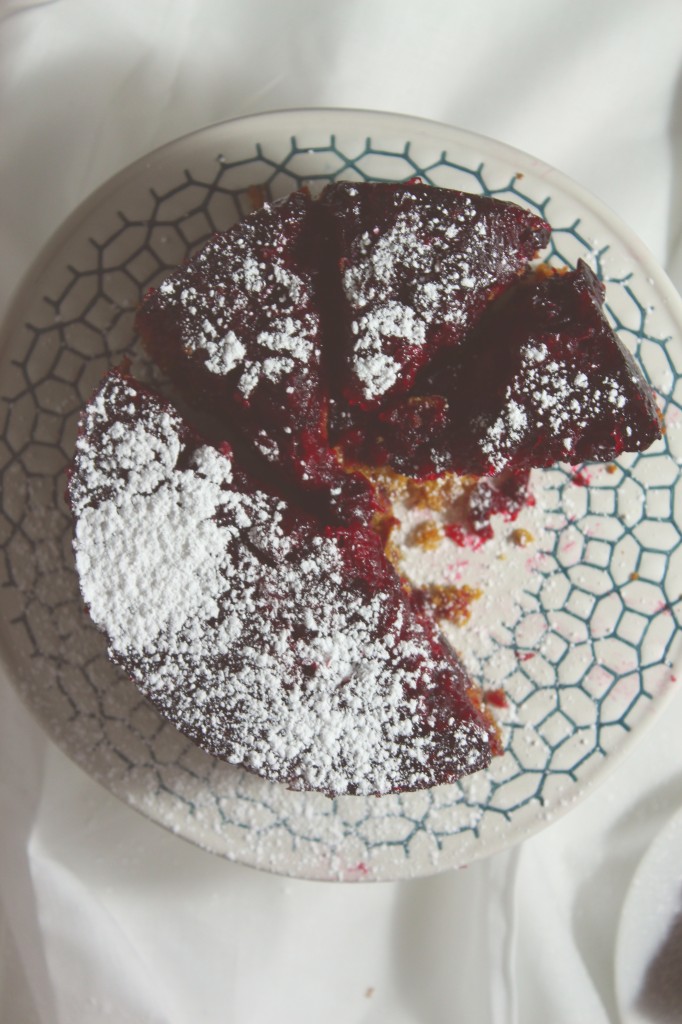
A soft, tender pumpkin cake, fragrant with brown butter and spice, is baked on top of bubbling, jammy cranberries.

The whole thing is inverted, resulting in gorgeous ruby gems lining the top of a sweet little cake.

If you don’t like cranberries, at least promise you’ll bake the pumpkin cake.
It’s the best pumpkin cake I’ve ever tasted!  So subtly sweet and soft, and not overwhelmingly spiced or dense.  It’s light and fluffy and buttery.
Best of all, it only requires a pan, a bowl, and a whisk!  Quick and easy clean-up, which is crucial when you’re in the midst of hectic holiday cooking, I know!

IMG_5408_01

This is ~maybe~ the last pumpkin recipe of the season. I’m making something pumpkin for Thanksgiving, though, and if my calculations are correct all goes as planned, I will make, shoot, and share the 3 (three!) desserts I’m making for the hollyday, and maybe even the 8 (eight!) savory dishes I’ll be preparing.
Which would mean one more pumpkin recipe.

Sorry!

notsorryboutitpumpkingangfolyfe.

IMG_5365_01

Brown Butter Pumpkin and Cranberry Upside-Down Cake

cranberry portion adapted from Zoe Bakes
makes 1 6×3 inch cake; could be doubled for a 2.5×9 inch cake

ingredients:
for the cranberries:
340 grams (3 cups) cranberries, picked over
100 grams (1/2 cup) sugar
for the pumpkin cake:
25 grams (2 tablespoons) oil
115 grams (1/2 cup, 8 tablespoons) butter, browned
50 grams (1/4 cup) brown sugar
100 grams (1/2 cup) sugar
200 grams (3/4 cup plus 1 tablespoon) pumpkin purée
180 grams (1 1/2 cups) flour
pinch kosher salt
1 teaspoon baking powder
1 teaspoon baking soda
1 heaping teaspoon pumpkin spice

directions:
Butter and flour your pan very well.
In a large pot, place cranberries and first measure of sugar.
Cook over medium heat until many of the cranberries pop and the sugar melts.
Pour cranberries into pan and set aside.
Preheat oven to 350 degrees F.
Whisk oil into browned butter, then whisk in sugars and pumpkin.
Whisk the flour, salt, baking soda and powder, and spices together.
Whisk them into the butter mixture; batter will be very thick and soft.
Spread the batter over the cranberries, being careful not to mix them too much; smooth the top.
Bake for 35-40 minute, until a tester comes out completely clean.
Allow to cool almost completely before turning upside down and unmolding.
Serve with powdered sugar.

Superstar

IMG_5221_01

Who wants to be a millionaire Thanksgiving superstar?

IMG_5158_01

Cause, like, this pie, yo.

GodDAMN.

Good gracious gravy!

Sorry.  I got excited.

IMG_5174_01

This pie… There’s just so much good stuff going on!  Yummy, delicious stuff.

First, let’s talk crust.  I know.  It’s the scariest part for most people.  But crust is your friend!

Buttery, flaky, tender crust.  How could it NOT be your friend?

The trick to a good pie crust is not a food processor, I’ve decided.

YesokokIknow, the food processor revolutionized pie crust because it shaved 5 minutes off the preparation time and allowed people to keep their hands clean.
Newsflash: you’re cooking and baking, your hands are going to get dirty sometime.  Pie crust is a good excuse to play around in flour and butter.
(BUTTER.  Not shortening.  As you can see in this pie, I’ve swapped my usual buttermilk for water to give a more sturdy crust, since it’s a custard pie that will not have par-baking.  That said, I could have swapped butter for shortening.  But why, oh why, would I want to sacrifice that flavor?  Oh, right.  I wouldn’t.  And neither would you.  I won’t have it any other way.)

By making your pie crust by hand, you get a good feel for the texture.  In a food processor, an extra 3 pulses gives you a gummy crust that will be tough and shrink during baking.  (Insert sad face here.)

Let’s take this chance to play with our food, no?  It’ll be fun.

Dump your flour, salt, and a pinch of sugar into a big bowl.
Cube your butter into little chunky chunks, then throw it back in the fridge for 5 minutes to re-chill.
Meanwhile, fill a small bowl with cold water, and chuck 2 ice cubes in it.  Keep a tablespoon near the ice water.
Stir the flour n’ stuff around with your hands.
Take your butter chunks and place them all in the flour, all snuggly and nested down in there.
Now, with your fingers and palms, start to smash the cubes into flat sheets.  Rub about half between your hands to create a coarse meal.  The others, leave as small, flattened chunks, the size of peas.
You should have a rough mish-mash of butter and flour and butter-flour meal.
Here comes the fun: dunk the tablespoon measure in the ice water and put 2 measures into your butter/flour.
Using your hands, gently stir the mixture together.  Some will stick to your hands.  Just scrape it off and put it back in the mix.
If there are still a lot of dry chunks at the bottom of your bowl, add up to 2 more tablespoons of water, but go slow.
When your crust is done, it will hold together and all of the flour will be hydrated, but it won’t be very sticky or gooey.  It should be smooth.
Give it a couple kneads, a little massage, and wrap it up nice and snug in some plastic wrap.
Back in the fridge she goes!

To roll the crust out, liberally sprinkle a clean countertop with flour, then place your crust in the middle.
Sprinkle the top with flour, and gently, starting from the middle, roll towards the edges, creating a rough circle shape.
Once it’s 3 inches larger in all directions than the bottom of your pie dish, roll it up on your rolling pin (like a roll of paper towels) and place it in the dish.  Crimp the edges by rolling the excess up underneath, then pinching to create pretty little ruffles.
Back to the fridge!  Keep it COLD, y’all!

IMG_5180_01

So you’ve got your awesome all-butter pie crust made and ready and chilling.

Let’s fill it with heavenly goodies.

Start with brown sugar and a friendly pinch of salt, and add the ambrosia of the gods nutty brown butter.

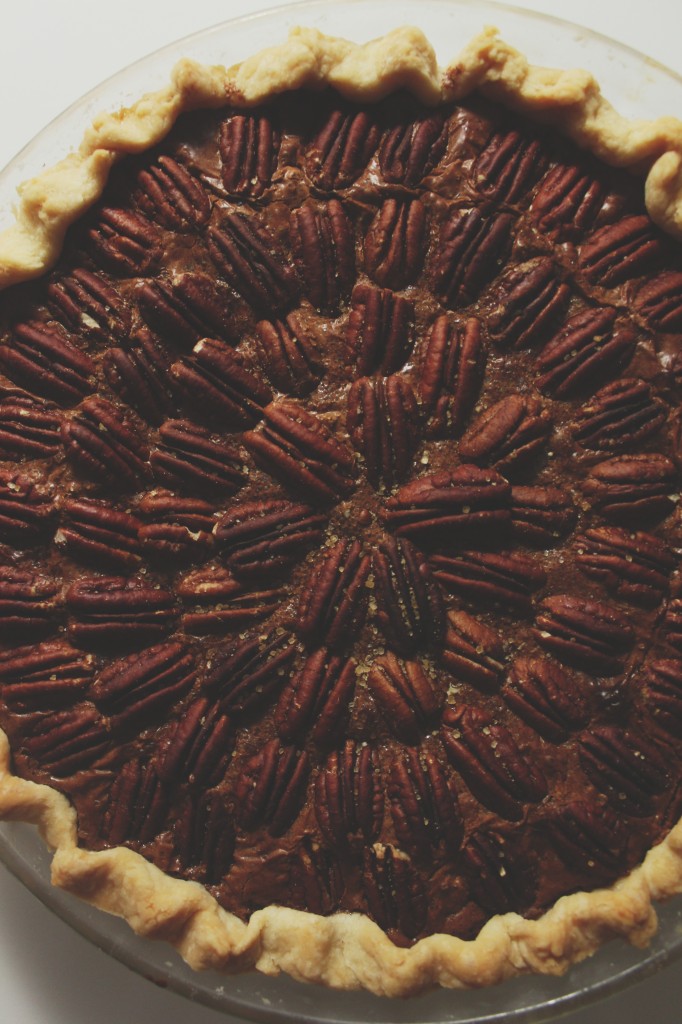
Whisk whisk whisk in warm, autumnal spices and six (6!) egg yolks to ensure a silky, custard-like texture.

Stir in 70% bittersweet chocolate, melted and luxurious.

Finish with a sprinkling of pecans and turbinado sugar.

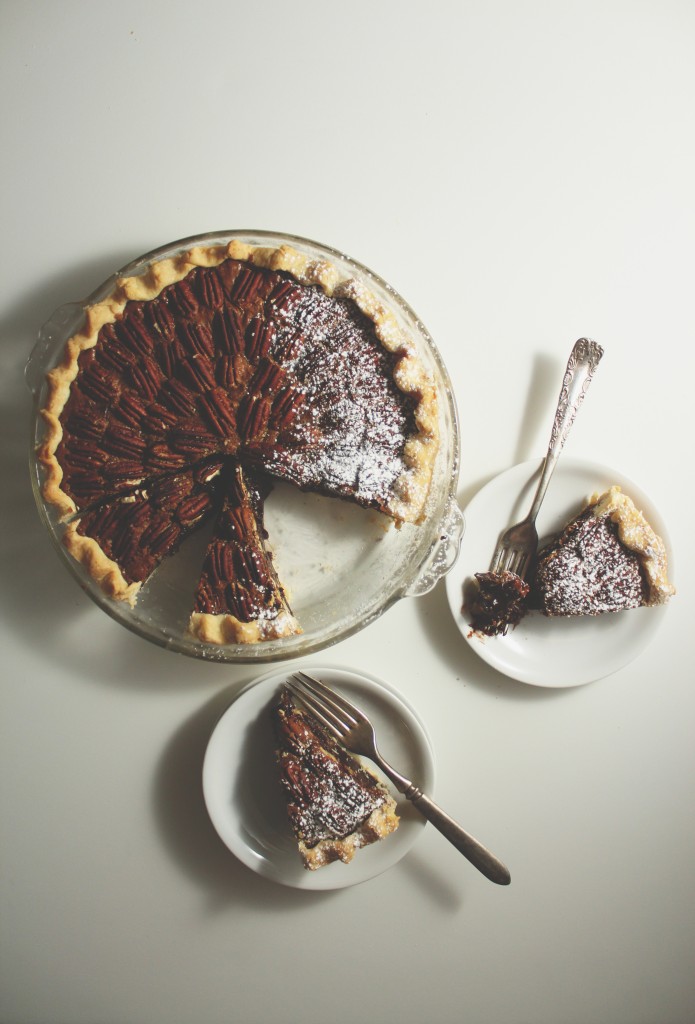
You’ll smell this pie long before it emerges from the oven.  It’s fragrant with the best things in life: butter, spices, and chocolate.
Once it’s partially cooled, you’ll stick it in the freezer and it will thicken into a custard-y pie, the smooth and gooey chocolate interrupted only by crisp pecans.

Serve this pie sprinkled with a touch of powdered sugar, and unsweetened whipped cream or barely sweetened vanilla ice cream.

I might have to make this again for Thanksgiving.

It is among the 3 best pies I’ve ever made.

It is that good, people.

tl;dr: MAKE THIS.

P.S. I posted this on 11/11 at 11:11.  My wish is for you to make this (JK! Then it wouldn’t come true!!)

IMG_5190_01

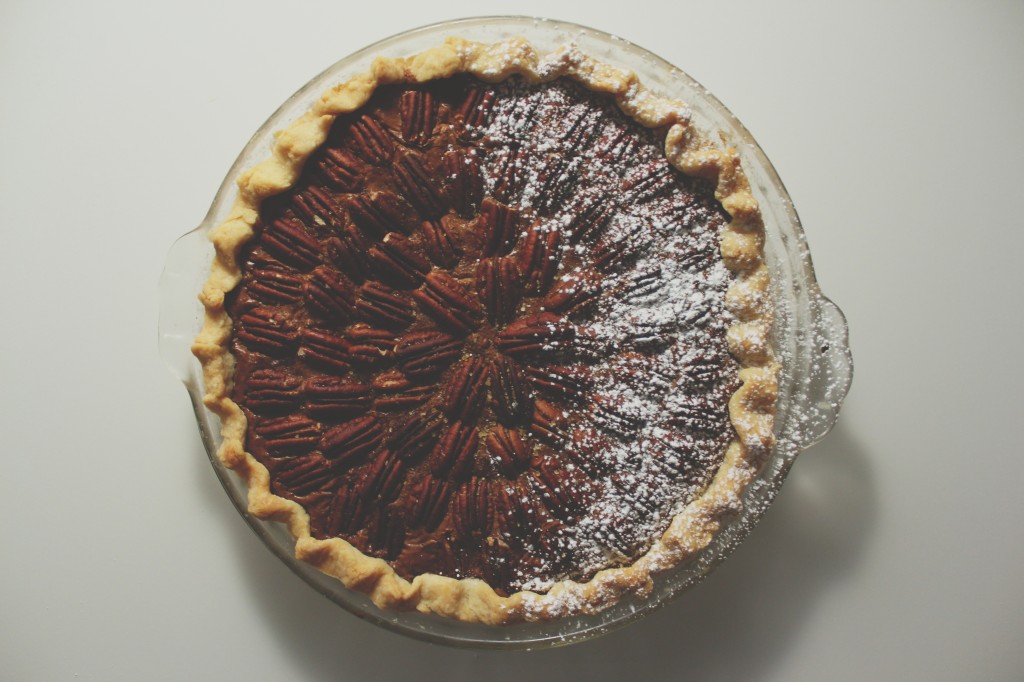
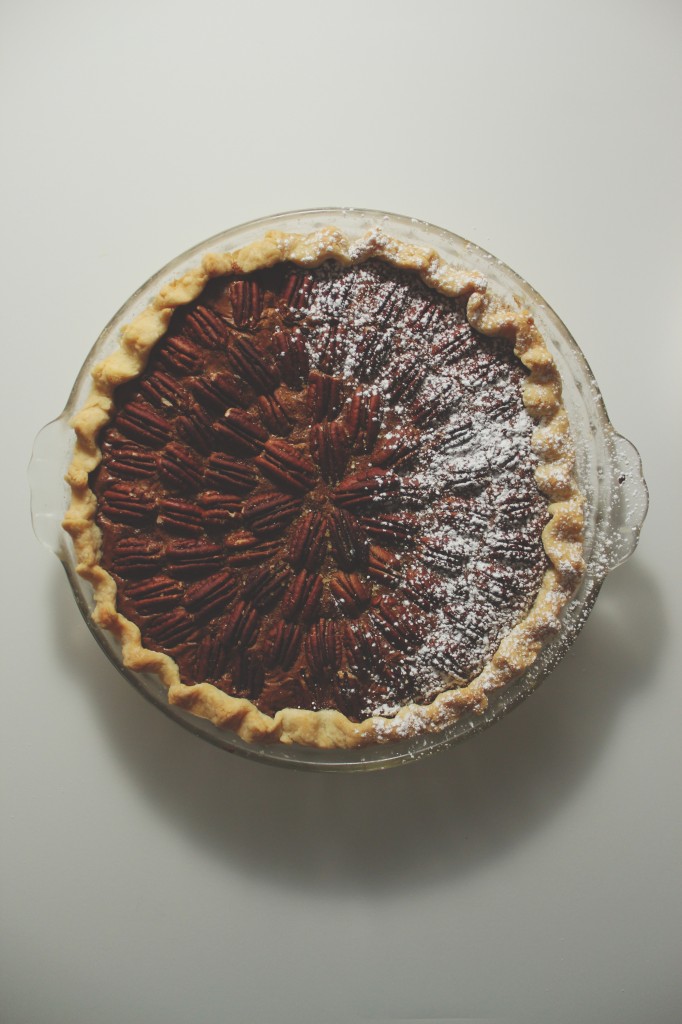
Pumpkin Spice Brown Butter Chocolate Pecan Pie

ingredients:
for the crust:
165 grams (1 1/2 cups)flour
8 grams (2 teaspoons) sugar
pinch salt
113 grams (8 tablespoons) butter, cut into small pieces and cold
45 grams (3 tablespoons ice water, or as needed)

for the filling:
140 grams (scant cup) bittersweet chocolate chunks or chips
220 grams (1 cup plus 2 scant tablespoons) sugar
150 grams (1/2 cup plus 3 tablespoons) brown sugar
17 grams (2 tablespoons plus 2 teaspoons) nonfat dry milk powder
1 1/2 teaspoons pumpkin pie spice, or a big pinch each cloves, nutmeg, and star anise, plus 2 pinches each cinnamon and ginger
big pinch kosher salt
180 grams (13 tablespoons) butter, browned
120 grams (1/2 cup) milk
6 egg yolks
approximately 300 grams (2 1/2 cups) pecan halves, the pretty ones saved for garnish and the rest chopped roughly
turbinado sugar, for sprinkling, if desired

directions:
Make the crust: stir the flour, sugar, and salt together in a large bowl.
Add the butter cubes in and cut them in with a pastry blender or your fingers, flattening some and rubbing others into the flour.
Leave pieces the size of peas; the rest should resemble a coarse meal.
Stir in the water, starting with 2 tablespoons, until the dough comes together; it shouldn’t be sticky or crumbly, but just barely hold together.
Knead gently 3 or 4 times, then pat into a disk and refrigerate.
Meanwhile, make the filling: begin by melting the chocolate, gently; do this in a microwave on partial power or over a double boiler.
When the chocolate is 2/3 melted, remove from heat and stir until all melted; set aside to cool slightly.
Whisk the sugar, brown sugar, milk powder, spices, and salt together until no little lumps remain.
Whisk the brown butter in vigorously. Whisk the yolks and milk together, then vigorously whisk them into the butter/sugar mixture.
Finally, whisk in the melted and cooled chocolate and stir in the chopped pecans.
Set aside to thicken and rest while you finish the crust.
Preheat oven to 350 degrees F. Roll the crust out, gently, to a 1/8 inch thickness.
Place it in a 9-inch pie pan that is about 2 inches in depth.
Flute or crimp the edges as desired, then place in the freezer until it is hardened, about 10 minutes.
Pour filling into the crust and decorate with the reserved pecan halves.
Top with a little turbinado sugar, then place on a cookie sheet in the oven.
Bake for 40 minutes, until top is shiny and filling is set; you may need to cover the top with aluminum foil to prevent the pecans from burning (mine got a little toasty…).
Remove from oven and allow to cool almost completely, then finish the chilling in the freezer to make the filling extra dense.
Enjoy with unsweetened whipped cream and a little powdered sugar!

Windy Wednesday

IMG_2744 (2)

Today’s post is brought to you by the letter W.

IMG_1964

Words are not one of the W’s.  They escape me today.

But rather: waffles, waterfalls, and wistful. (Wednesday, too, I suppose!)

Oh… and windy… Because, yes, I am in the Windy City.

IMG_2157

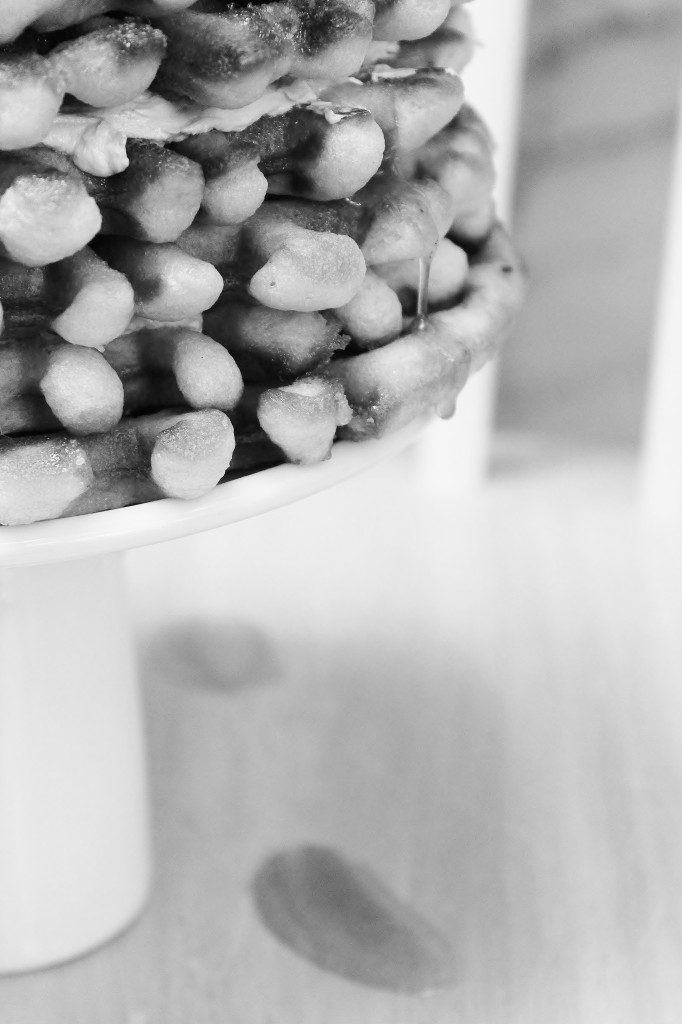
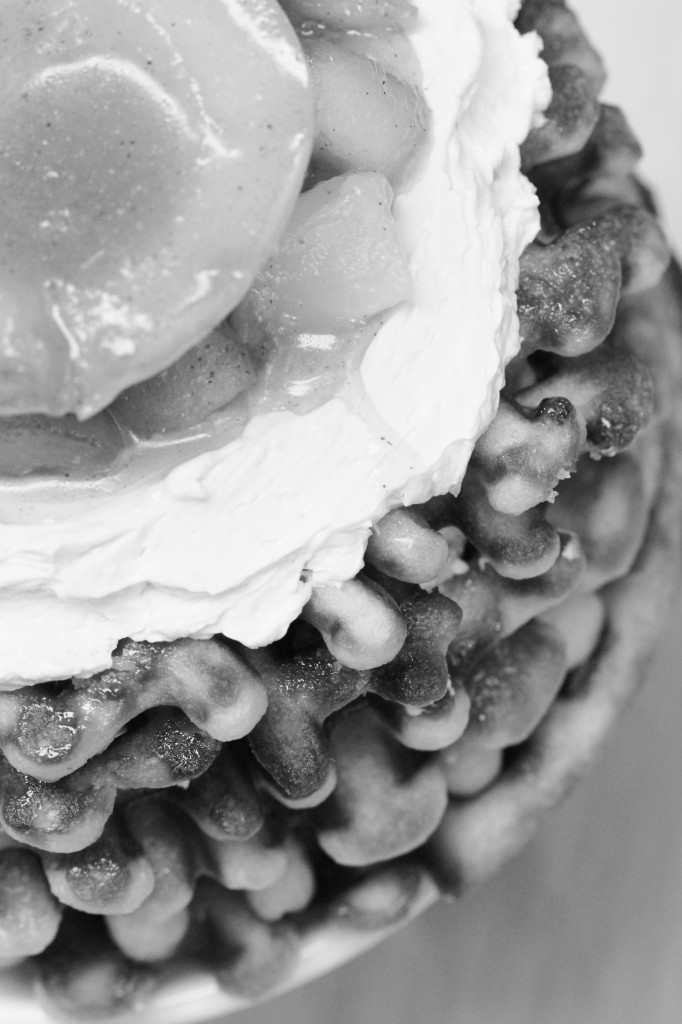
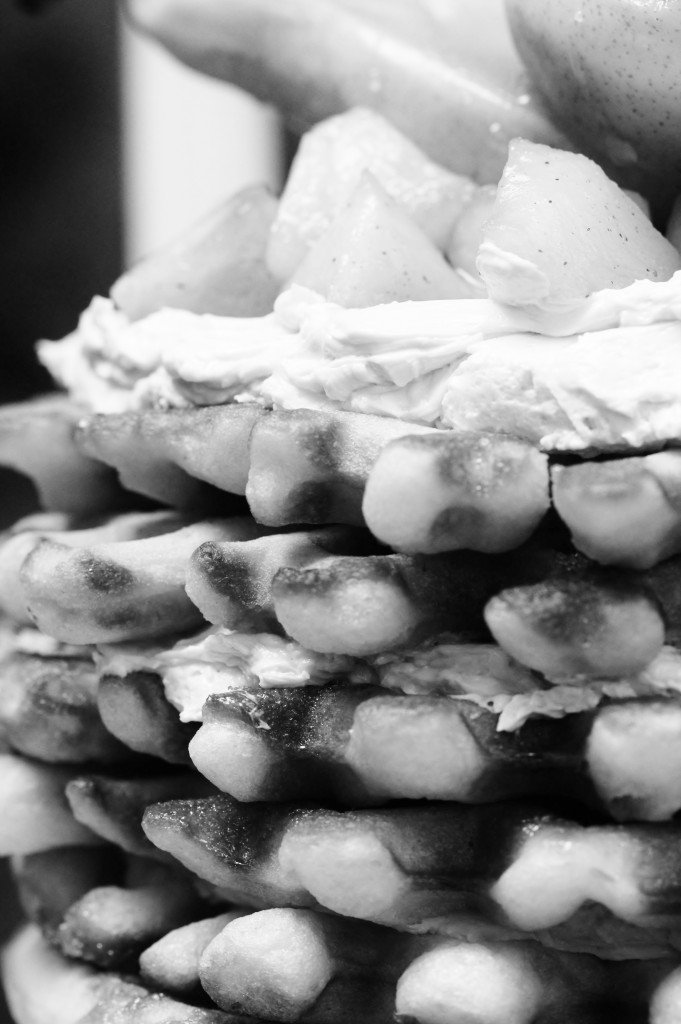
So, um, yes.  Here are some abstract pictures of a waffle cake.

And my dog, obviously.

IMG_2766 (2)

My waffle maker makes kind of smushed waffles.  It’s pretty old.  I don’t blame it.

The result of  stacking up these smushed waffles with a lightly spiced brown butter and maple pear-apple compote and a maple Italian meringue is a delicious but somewhat ugly cake.
I know!! So many ugly cakes lately.  Sorry.  Sometimes that’s how the cookie crumbles.
Whataryagonnado.

IMG_2772 (2)

Pssst… I even had a slice for breakfast!

(Ginger, on the other hand, did not.)
Which explains her facial expression.

IMG_1949


Pear and Apple Waffle Cake

for the waffles:
from King Arthur Flour
ingredients:
1 1/2 cups milk, warmed to 110 degrees F
6 tablespoons melted butter
2 tablespoons maple syrup
1 teaspoon kosher salt
1 teaspoon vanilla extract
2 eggs
2 cups flour
1 1/2 teaspoons active dry yeast
1 scant cup of Belgian pearl sugar

directions:
Sprinkle the yeast over the milk to prepare it for its job; after five minutes, whisk in the butter and maple syrup as well as the vanilla extract.
Stir in the eggs and the flour and salt; set the batter aside in a warm place, covered in plastic wrap, for one hour, to rest and rise.
Right before cooking, stir in the Belgian pearl sugar.
Cook the waffles in a waffle maker.
for the pear and apple compote:
ingredients:
2 medium pears, peeled and cored and chopped into small pieces
3 medium apples, peeled and cored and chopped into small pieces
3 tablespoons maple syrup
1/2 tablespoon butter
pinch salt
pinch cinnamon
pinch nutmeg

directions:
Brown the butter in a saute pan, then add all the apples and pears and saute them until they soften.
Add the maple syrup and allow it to reduce by 1/2.
Season to taste with salt, cinnamon, and nutmeg.
Allow to cool before using.

for the maple Italian meringue buttercream:
ingredients:
1 egg white
pinch salt
pinch cream of tartar
1/3 cup maple syrup
1 stick of butter, softened
directions:

Place egg white, salt, and cream of tartar in the bowl of a stand mixer.
Place maple syrup in a small pot and begin to heat it up.
Whip the egg white while heating the maple syrup to 240 degrees F.
The white should be at soft peaks when the syrup reaches temp; drizzle it in with the mixer running.
Once the meringue has cooled, beat in the butter.
Stack up the waffles with buttercream and compote.
Enjoy!

I Cannot Lie

IMG_1915

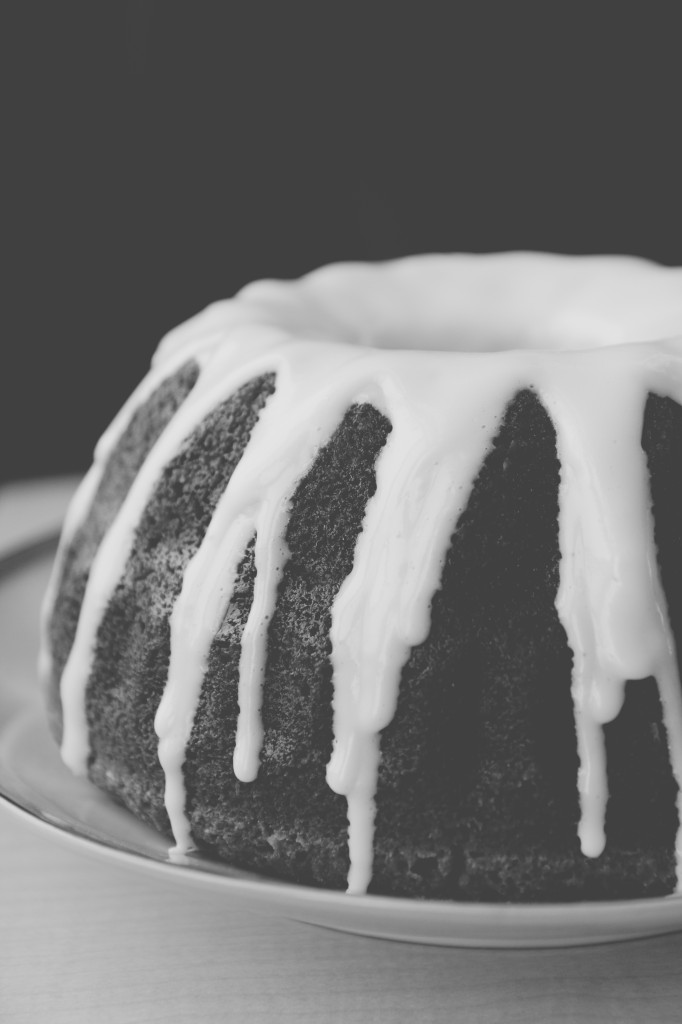
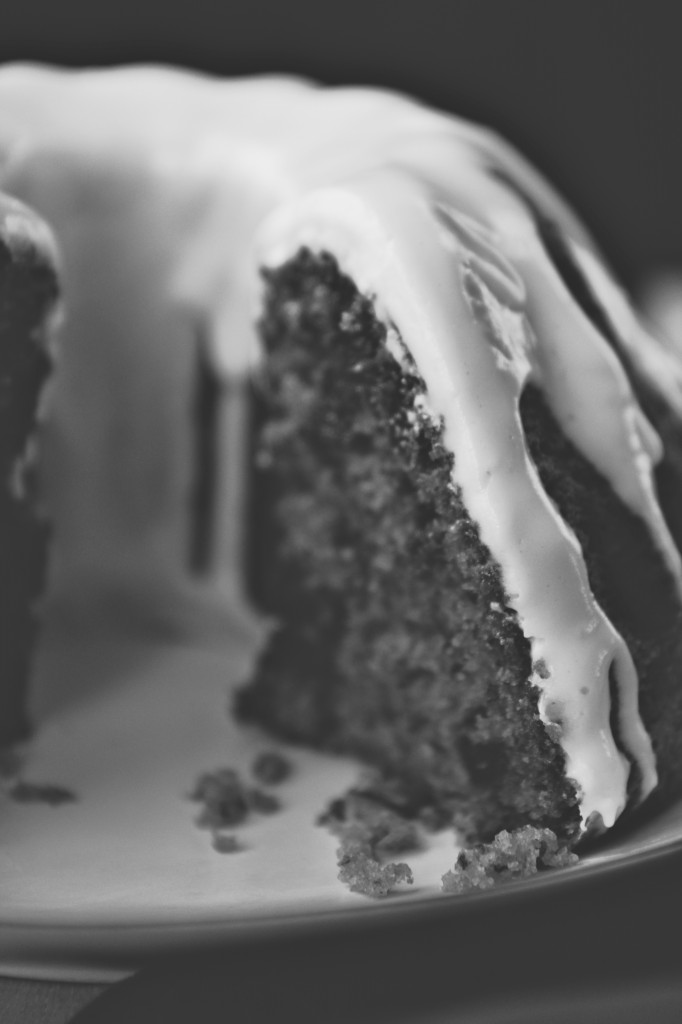
… I like big bundts and I cannot lie…

IMG_3049

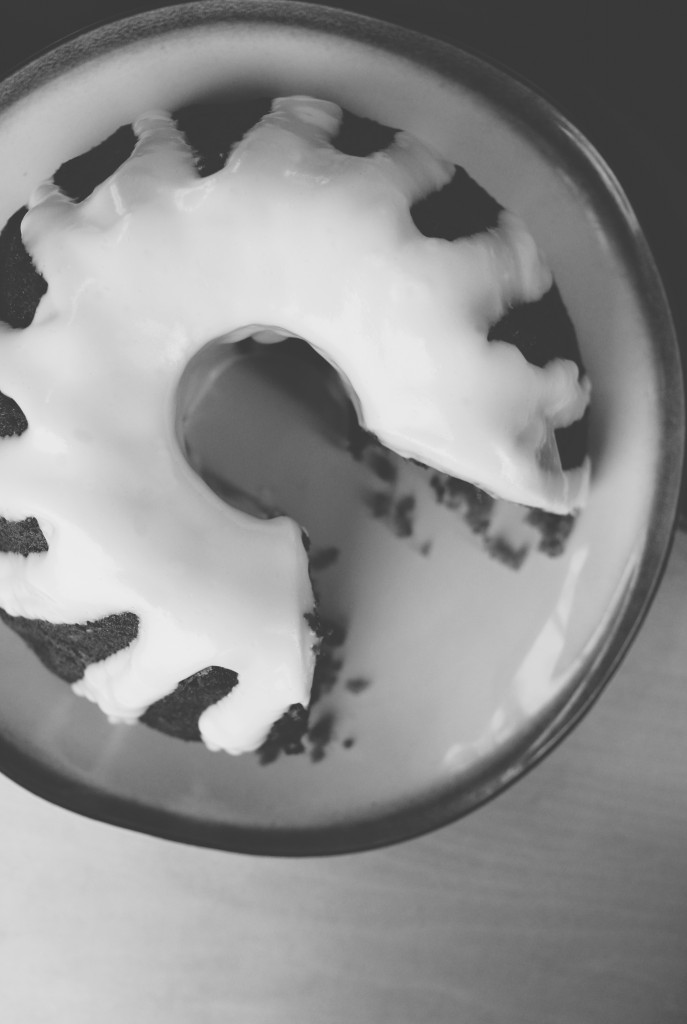
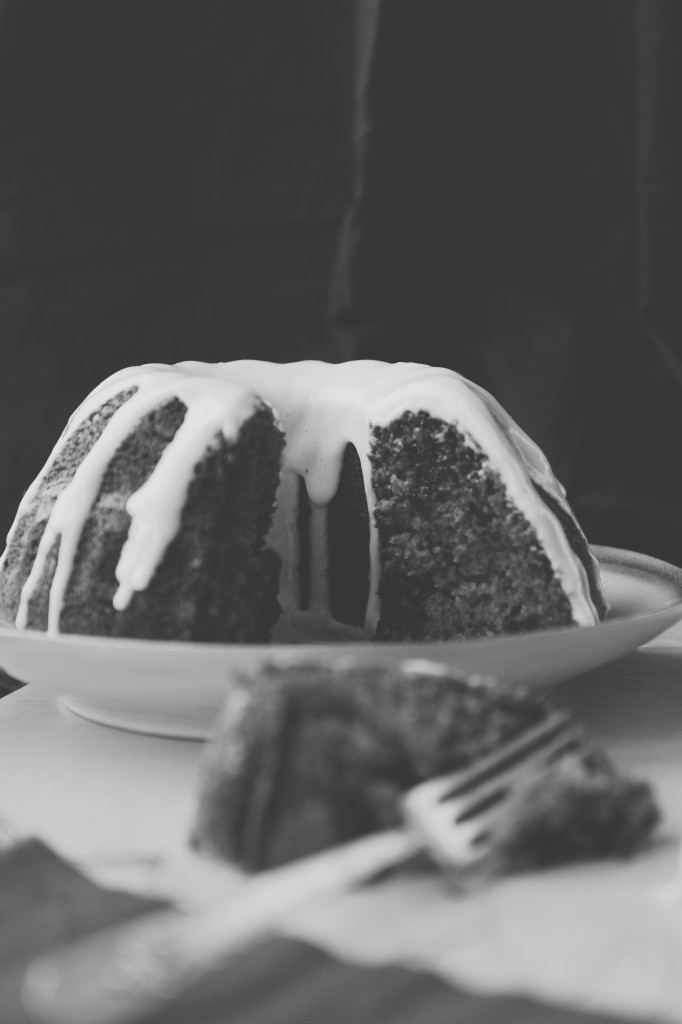
I just hate photographing them.  In fact, I gave up photographing both of these cakes, both primarily because I kind of hate the shape of my bundt pan.

It’s great for making a dramatic cake without needing layers, but I can’t get the knack of photographing them.

They’re so… large and in charge.  Sometimes I feel awkward taking photos of them.

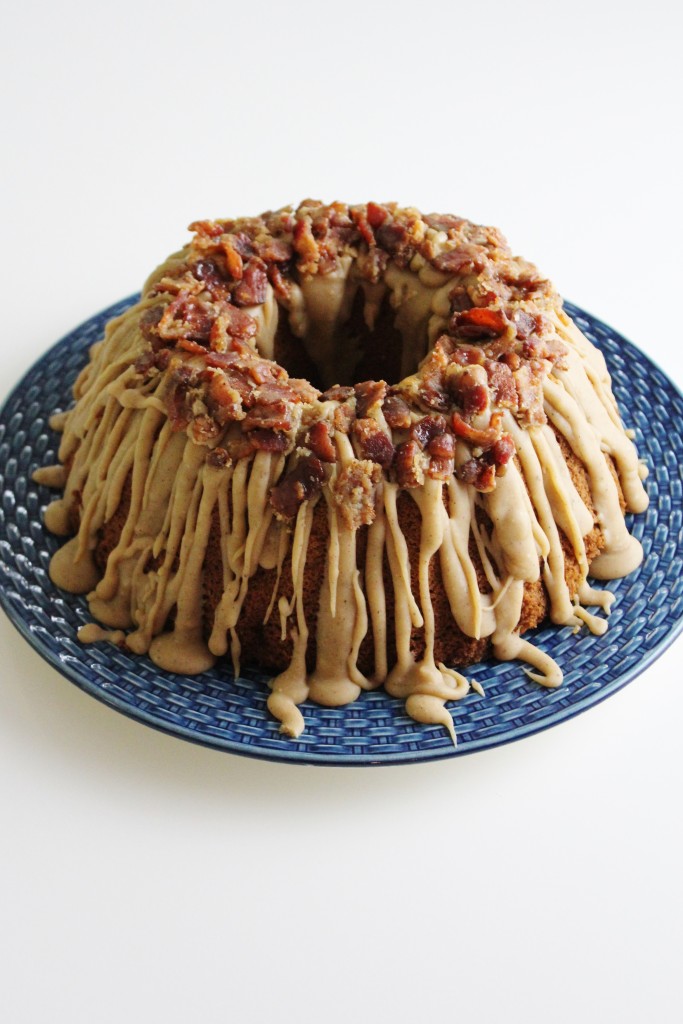
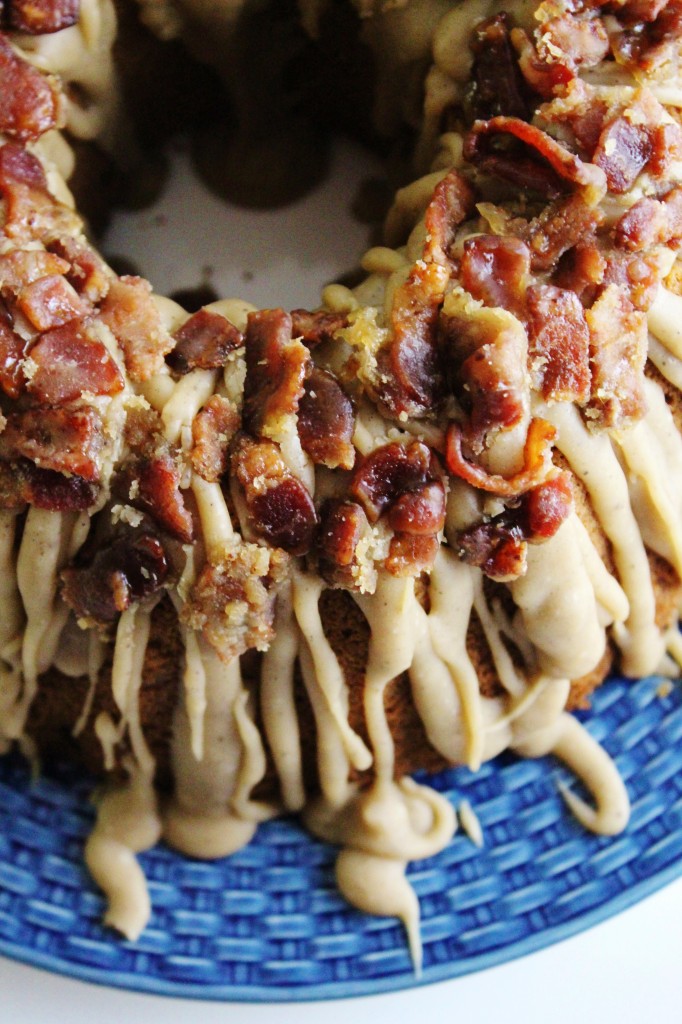
Like that maple bacon cake above and below?  I couldn’t get a single photo to not look lurid, so I threw in the towel, put in on a plain white floordrop, and took 3 photos of it.  Screw it. It’s not very attractive anyways.

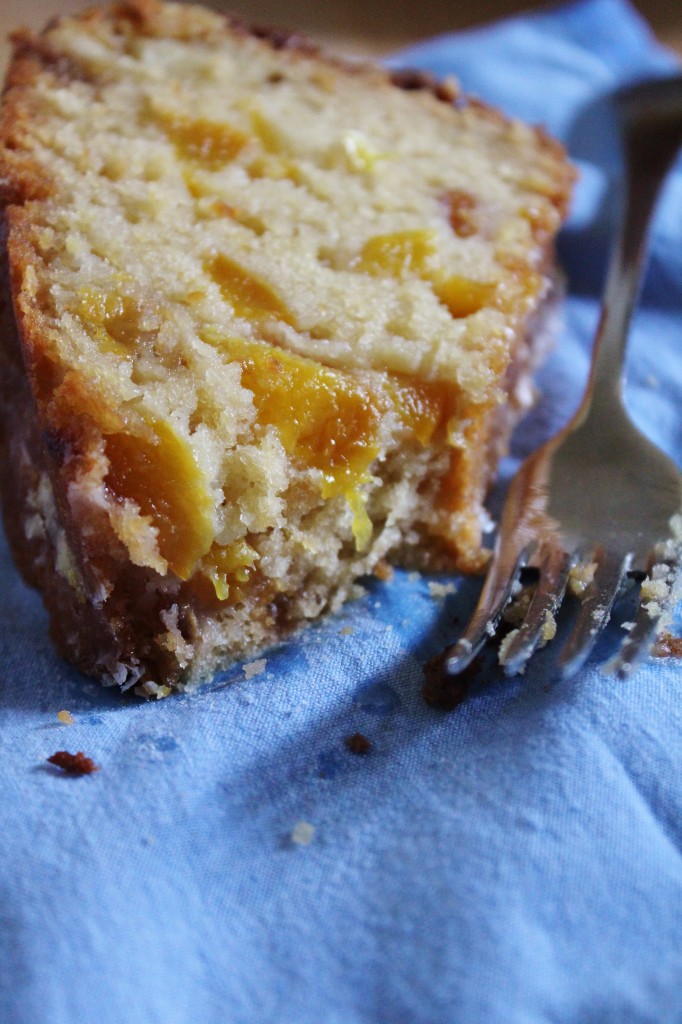
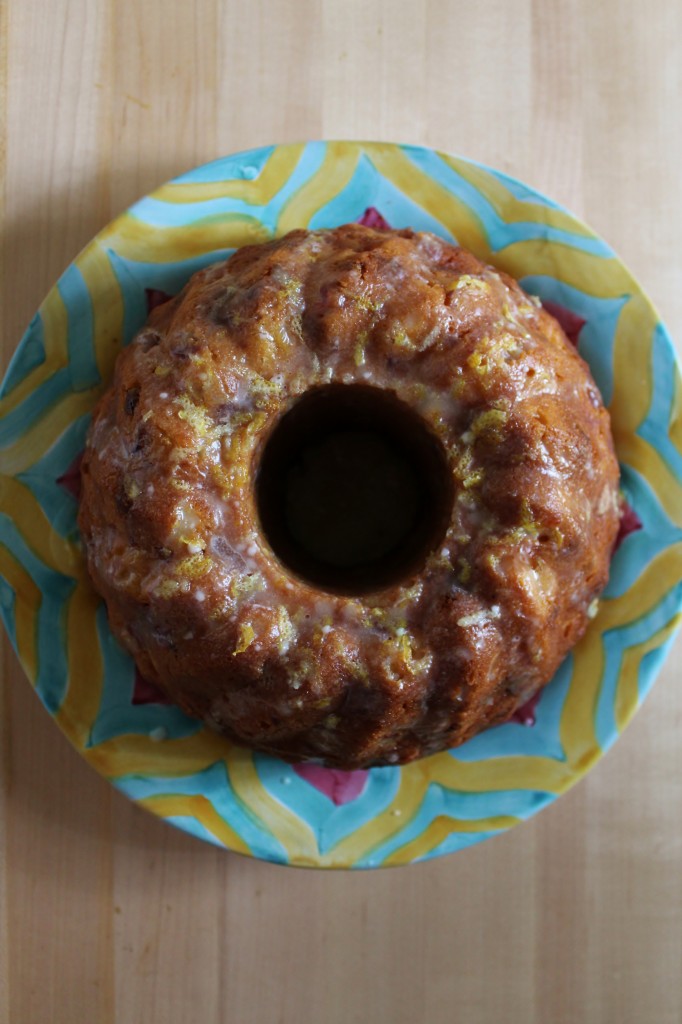
The ginger-peach-lemon cake, I had 5 minutes to take photos of before needing to go to yoga.  It was still steaming, but the light was fading and I didn’t have my new (!!!!) lighting setup just yet.

So, I put it on a wood board next to a window and took 5 photos of it.  Screw it.

IMG_1904

 Bundt cakes are meh fun.  They’re quick and easy, and if made correctly, they’re quite delicious.

However, I have had (and made) many a dense, rock-like bundt cake.

The peach-ginger-lemon bundt cake was quite the opposite.  It was fluffy, moist, and flavorful.

However, now that peaches are out of season, I’m going to instead share the recipe for the maple-bacon-brown butter bundt cake that I Jackson-Pollacked for my brother’s birthday.

It might very well have been dense… I couldn’t exactly slice into it and eat a piece before shipping it down to D.C. for his birfday.  That’s bad form.
To be honest, I also think it’s ugly.  So let’s pray that it tasted good…

The recipe came from Martha, though, and lord knows I trust her.

Here goes:

IMG_3065Maple Brown Butter Bacon Bundt
adapted from Martha Stewart
ingredients:
2 cups flour
2 teaspoons baking powder
1/2 teaspoon baking soda
1/2 teaspoon salt
12 tablespoons butter, browned
1/2 cup packed brown sugar
2 eggs
1/2 cup maple syrup
2 teaspoons vanilla
1 cup buttermilk
directions:
Preheat oven to 350 degrees F.
Grease and flour a bundt pan.
Whisk the flour, baking powder, baking soda, and salt together.
Whisk the butter, brown sugar, eggs, maple syrup, and vanilla together.
Whisk the flour and buttermilk into the maple syrup mixture, alternating between dry and wet.
Pour into prepared pan and bake for 35 to 40 minutes, until a cake tester comes out clean.
Top with glaze and glazed bacon.

for the glazed bacon:
ingredients:
4 ounces bacon, cut into little lardons
1 tablespoon brown sugar
directions:
Cook bacon until crispy.
Drain fat and reserve for use in the glaze.
Return bacon to pan and add in the brown sugar.
Heat just until sugar melts, then spread out onto a piece of wax or parchment paper and allow to cool completely.

for the glaze:
ingredients:
6 tablespoons butter
fat rendered from 4 ounces of bacon (sub 1 1/2 tablespoons butter)
3/4 cup confectioner’s sugar
1/4 cup nonfat dry milk powder
3 tablespoons pure maple syrup, or as needed
directions:
Brown butter in a saucepan.
Once brown, dump in the sugar and bacon fat and whisk, creating what I like to call a “sugar roux”.
Once a creamy paste has formed, add in the maple syrup and powdered milk and stir.
Stir in extra maple syrup, as needed, to create a pourable but thick glaze.

C.R.E.A.M.

Catz Rule Everything Around Me.
Meow.
I have a love/hate relationship with these two nasty little buggers.
See, Sasha and Kasha were both rescues of sorts- both rescued from dirty, teenage-boy apartments.
 
Sasha was a farm kitty who was bought on a whim by my older brother and his roommates.  
They brought her back to NYC and she promptly (and tragically) fell out of a four story window.
She survived with just a tiny cut on her chin…  She now has 8 lives left.
She’s the nicer of the two cats, but certainly lacks in the beauty department.
She also has a bad habit of escaping outdoors when you’re least expecting it (our cats are firmly indoor cats), and then manages to evade recapture for ages.  
She lets you get in very close, almost as if to catch her, then sprints away.
That little ratfink.  
Kasha was just a little kitten “rescued” from my friends’ apartment last summer.
They had initially rescued her from a field.
She is truly a feral cat… Raised among teenage boys, what else could one expect?
She’s a pretty one, covered in stripes and spots, but she’s very small.
I don’t expect she’ll grow much more.  We call her Peewee.  (More often than we use her real name!  She’s such a dinky little thing.)
Kasha is not very friendly, and doesn’t like to be held or pet.  Real lovely personality.
She eats like a starved and crazed animal, which she is not.
She’s even got a tiny pudgy little belly. 
If you even come near her eating her food, she will make a strange, high pitched gurgling/growling noise and proceed to try to fit everything in her bowl in her mouth.
It’s grotesque.  Seriously nauseous eating habits.
Also, Kasha tends not to purr.  Or meow.  She beeps.
She sounds like a bird mixed with a telephone.
I don’t know where this is going.
But basically, all I do is take photos of my cats and food.
And all I talk about are my cats.  I don’t even like them that much.
Welcome to my life, I guess.
It’s very exciting and instagram-worthy.
I don’t have a recipe for these cookies.  
I dumped a bunch of things in a bowl and hoped for the best.
When I experiment like that (which is very often), I always make notes on a post-it.
Trouble is, I have so many damn post-its that I can’t remember what they mean!
Also, I can only find two- I don’t know where the others go.
Somehow, I still have notes for an orange-olive oil cake, and I swear I’ve thrown this very one out three times.
It keeps coming back.
But alas, the search for the maple-bacon-brown butter-brown sugar cookie post-it has been in vain.  I will update this if I find it!
 
Be back soon… With ice cream!