

Where do you stand with Mr. S. Claus?
Worry not, my friend.
Though I have been a bad blogger and neglected to share any holly-day recipes around here (Oreo cupcakes?! In December? Ugh!), I am now swooping in clutching everything you need to go from the Naughty list to the Nice.
Say farewell to Santa’s shit list.
These cookies are a guaranteed hit.
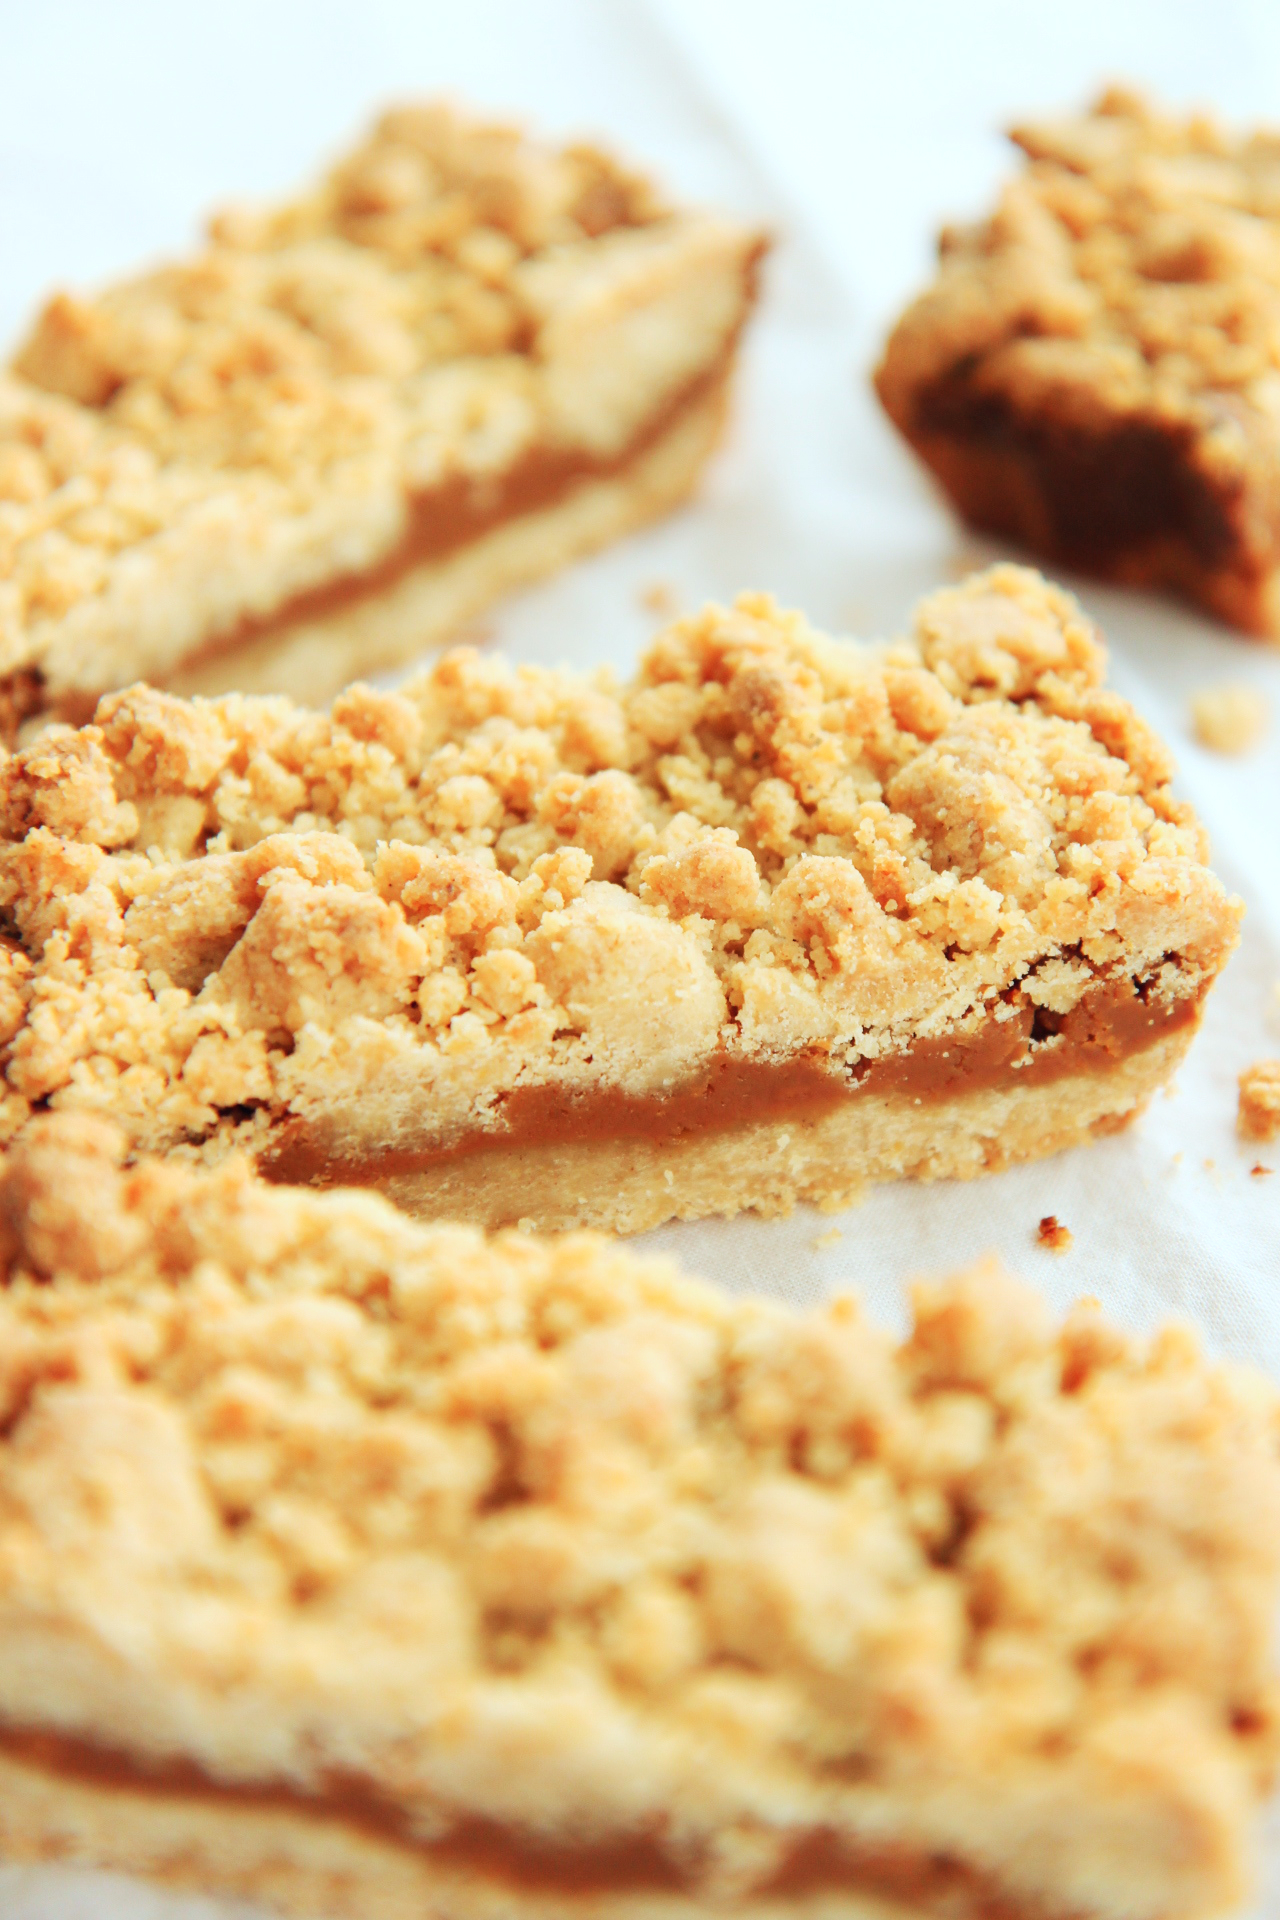
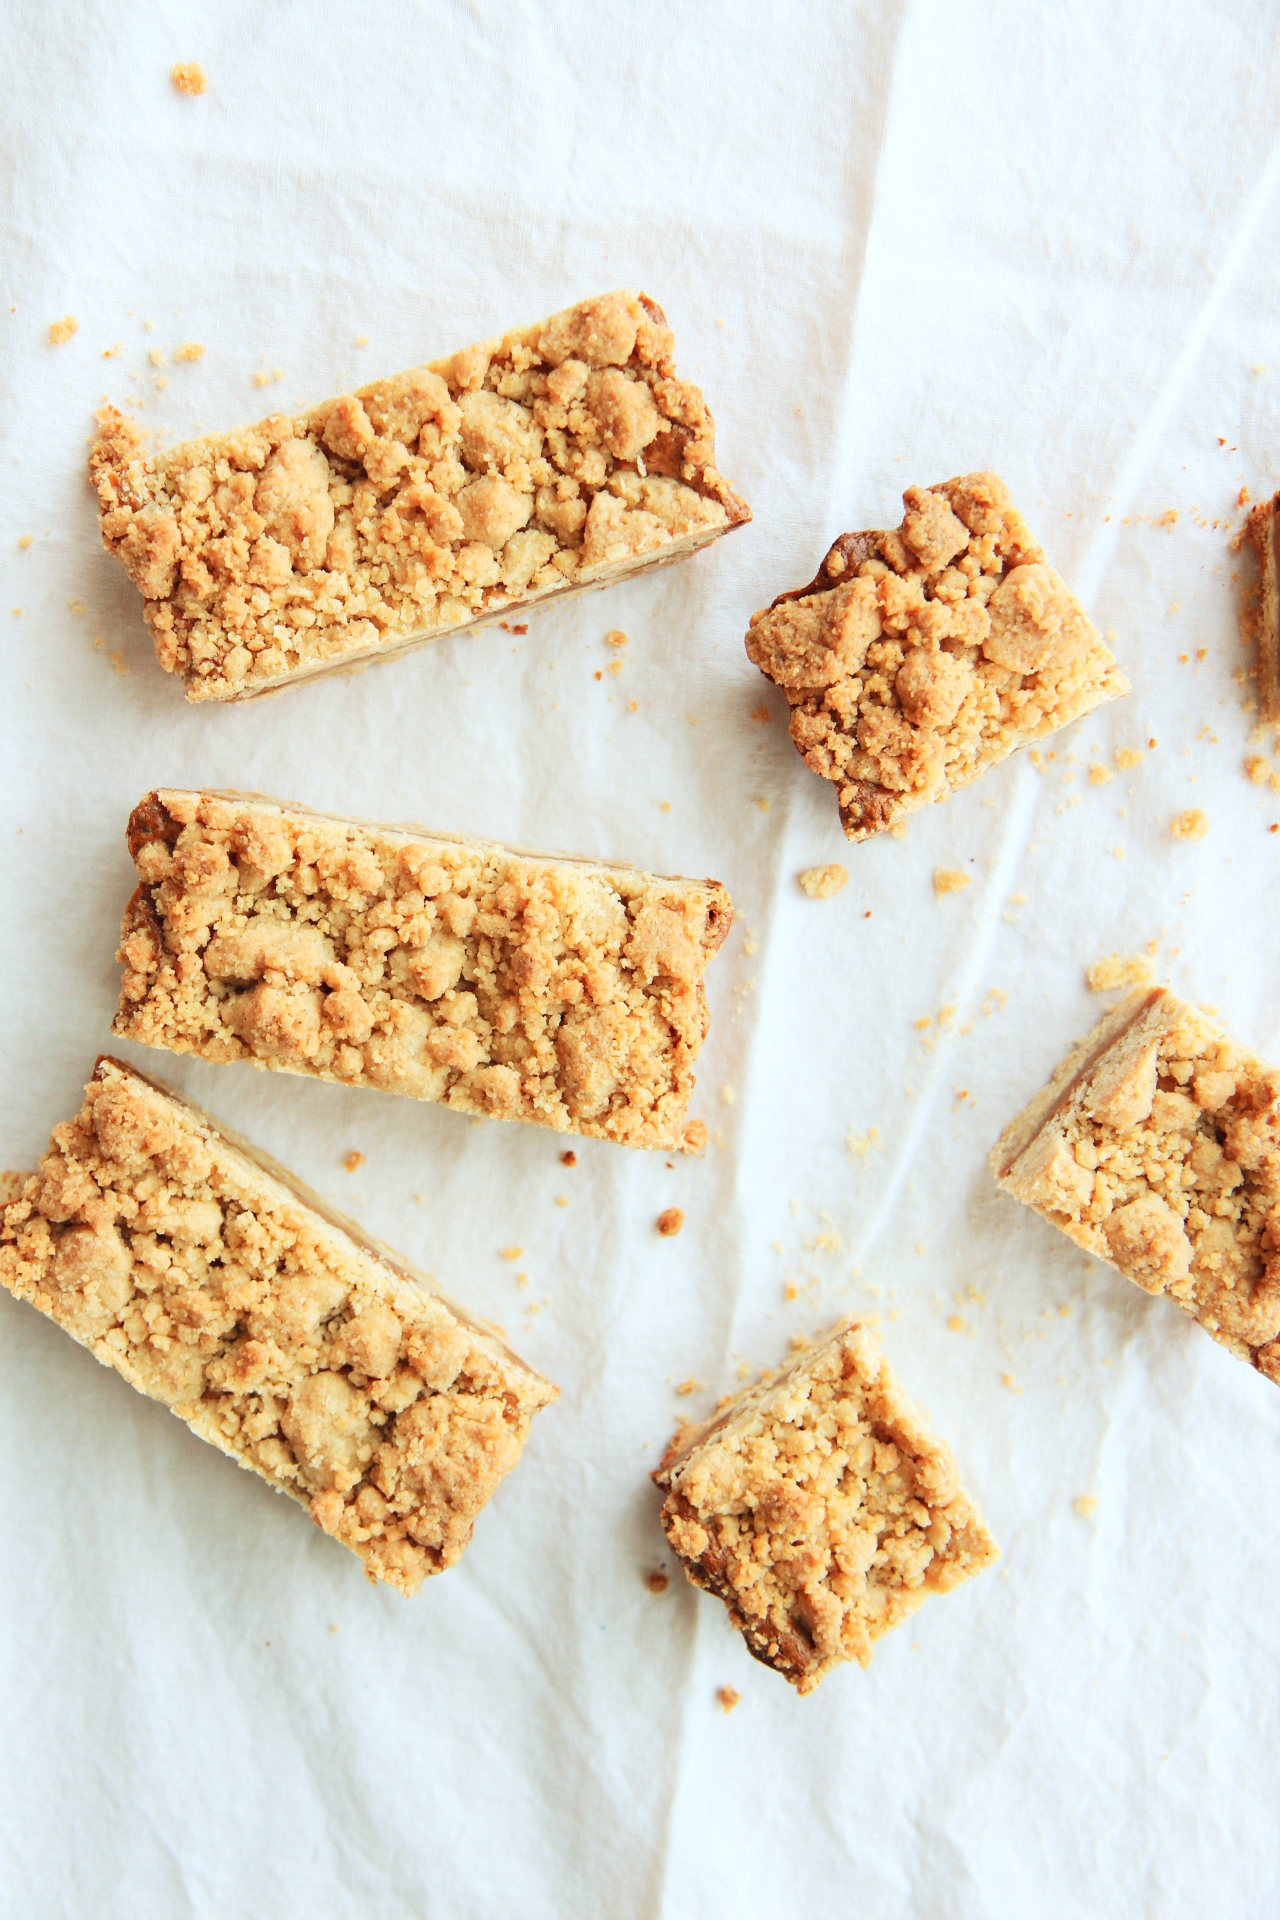
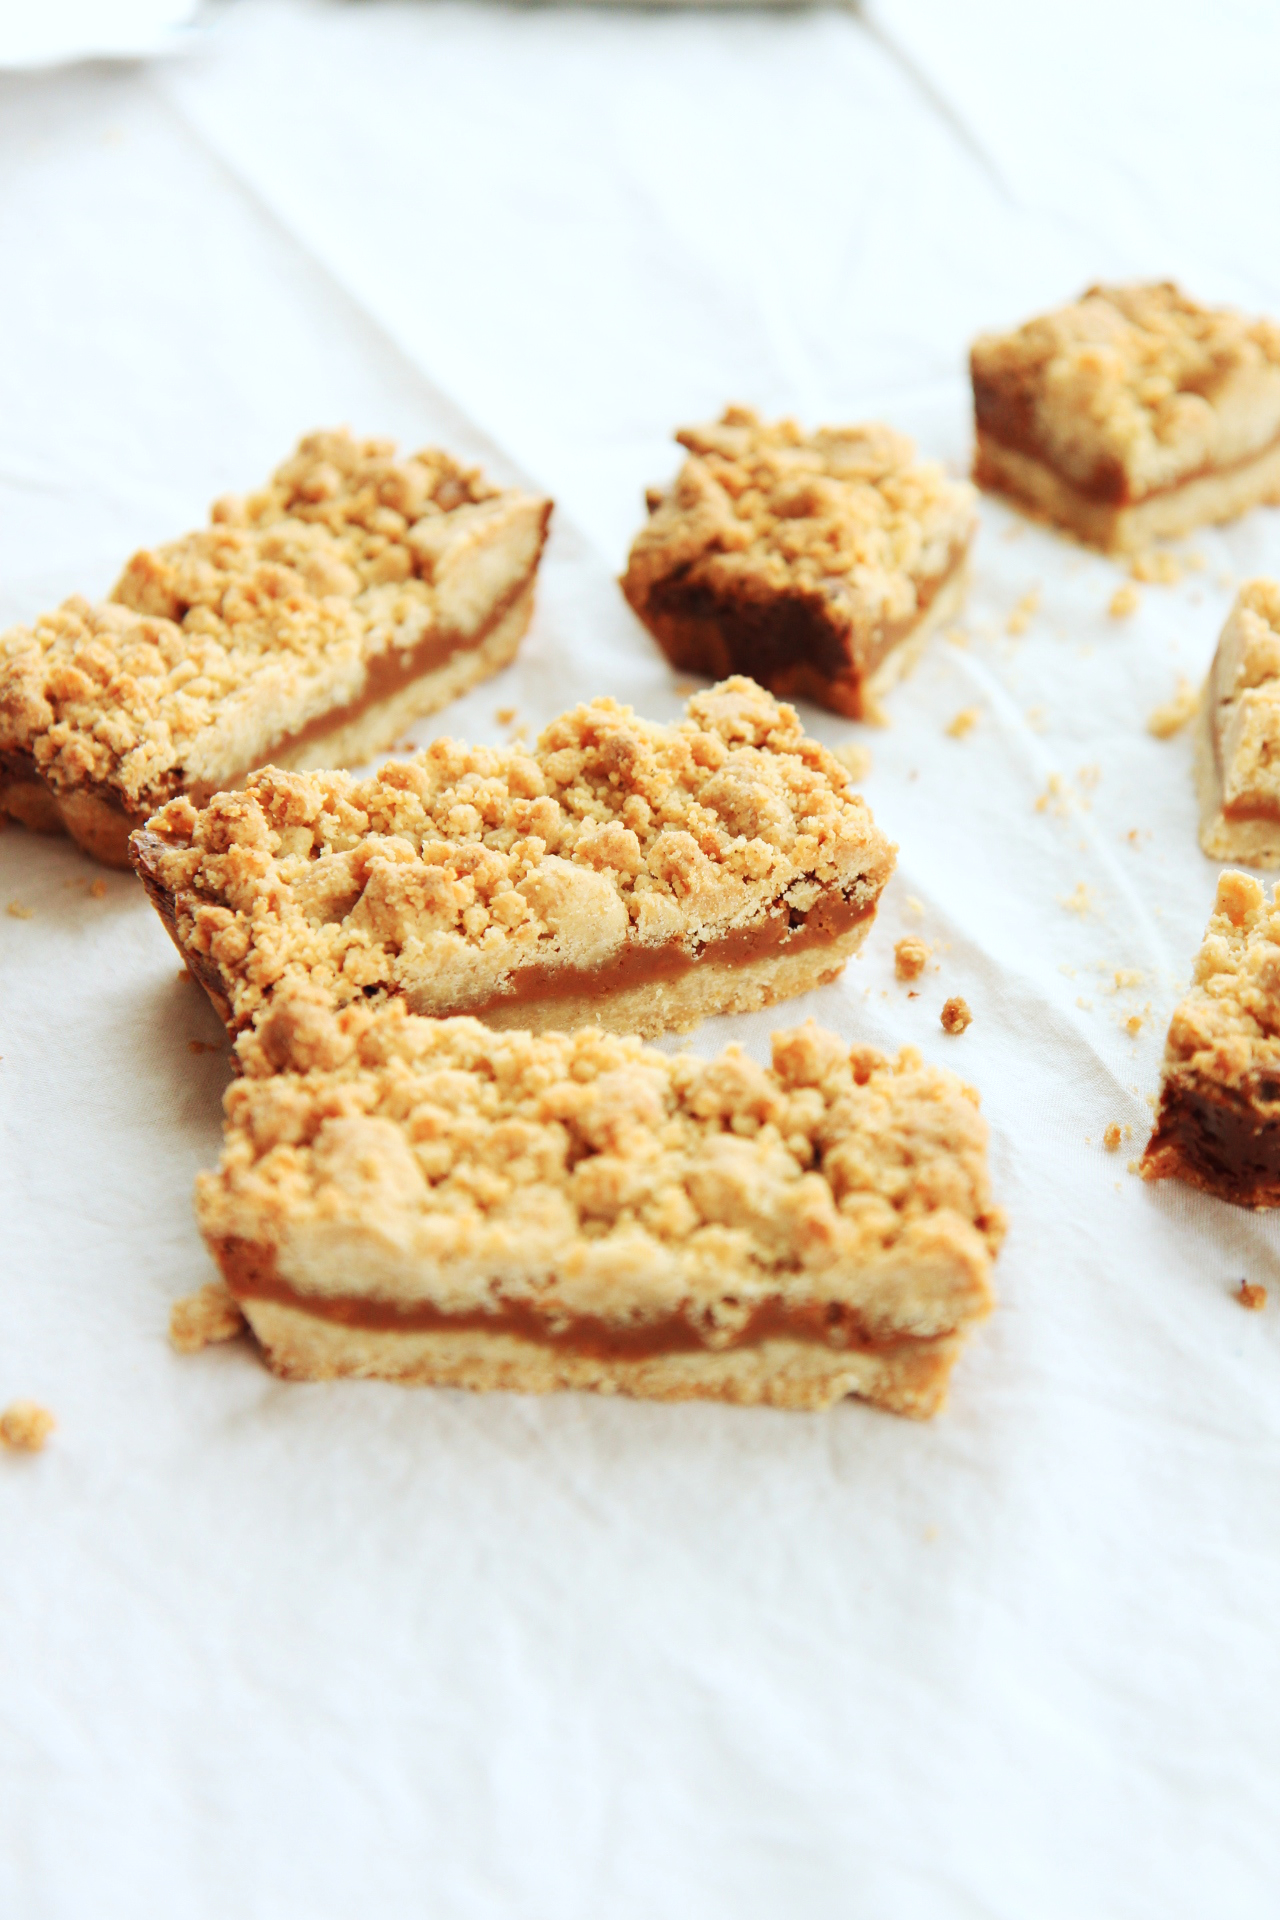
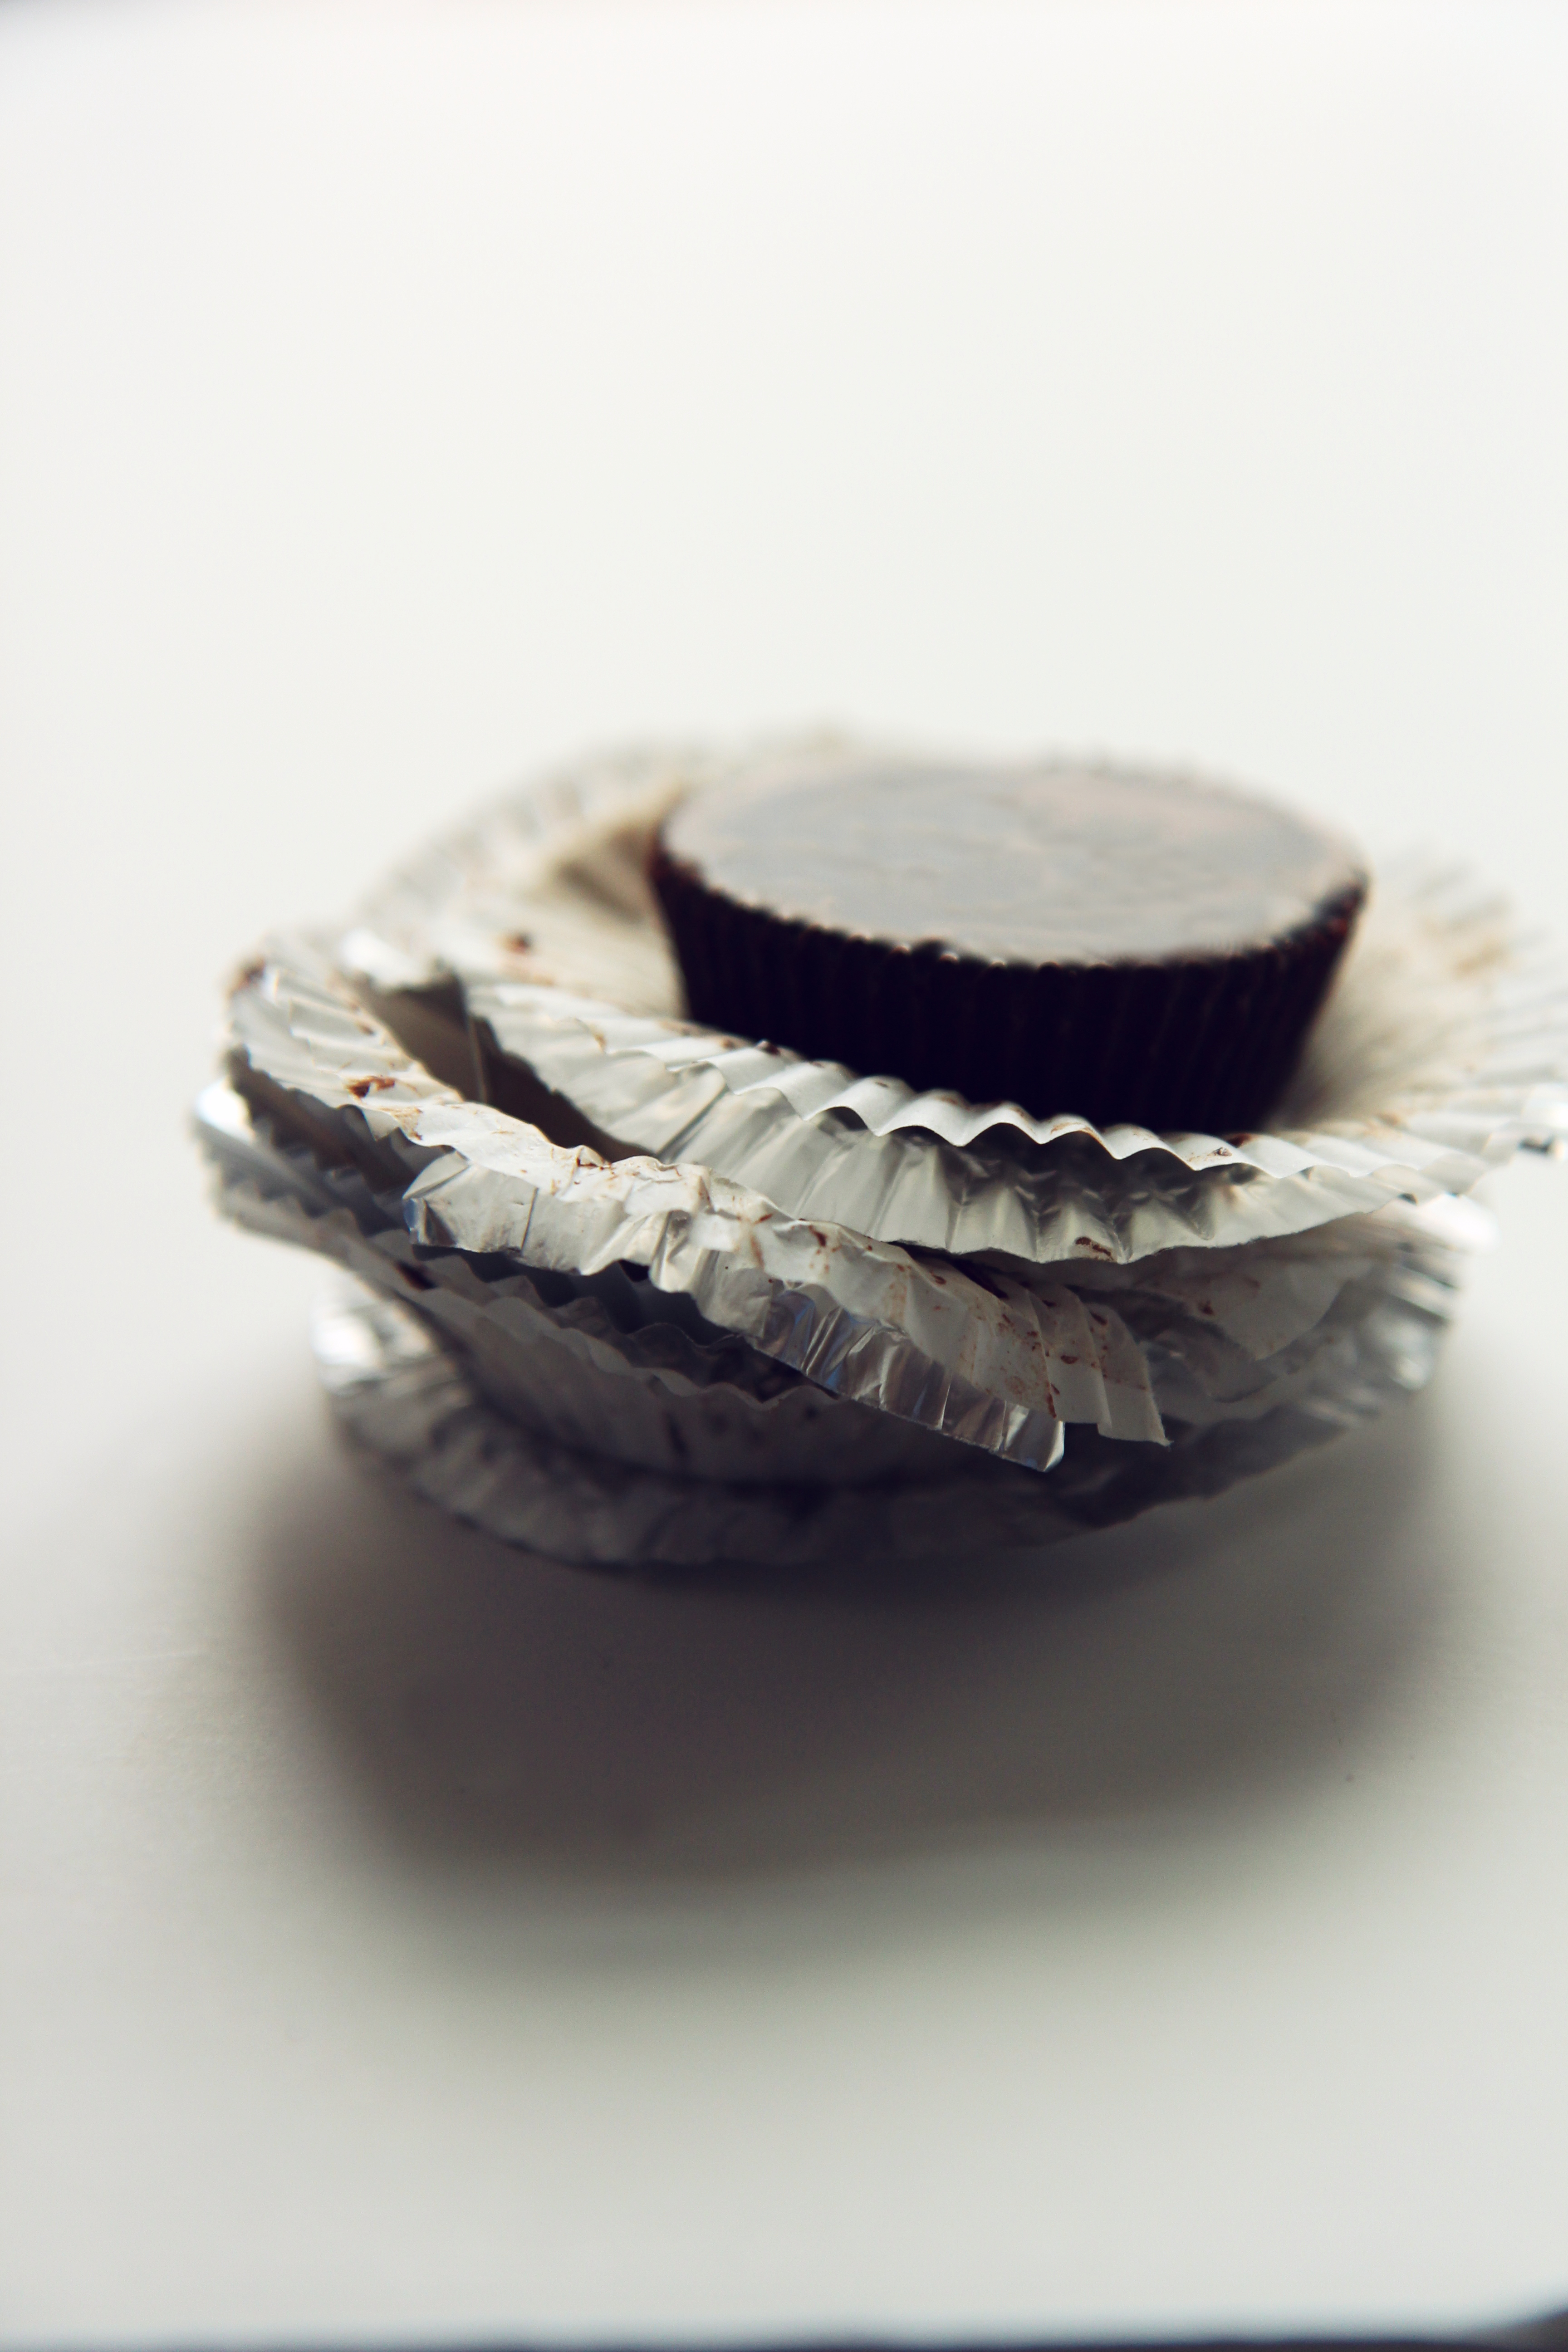
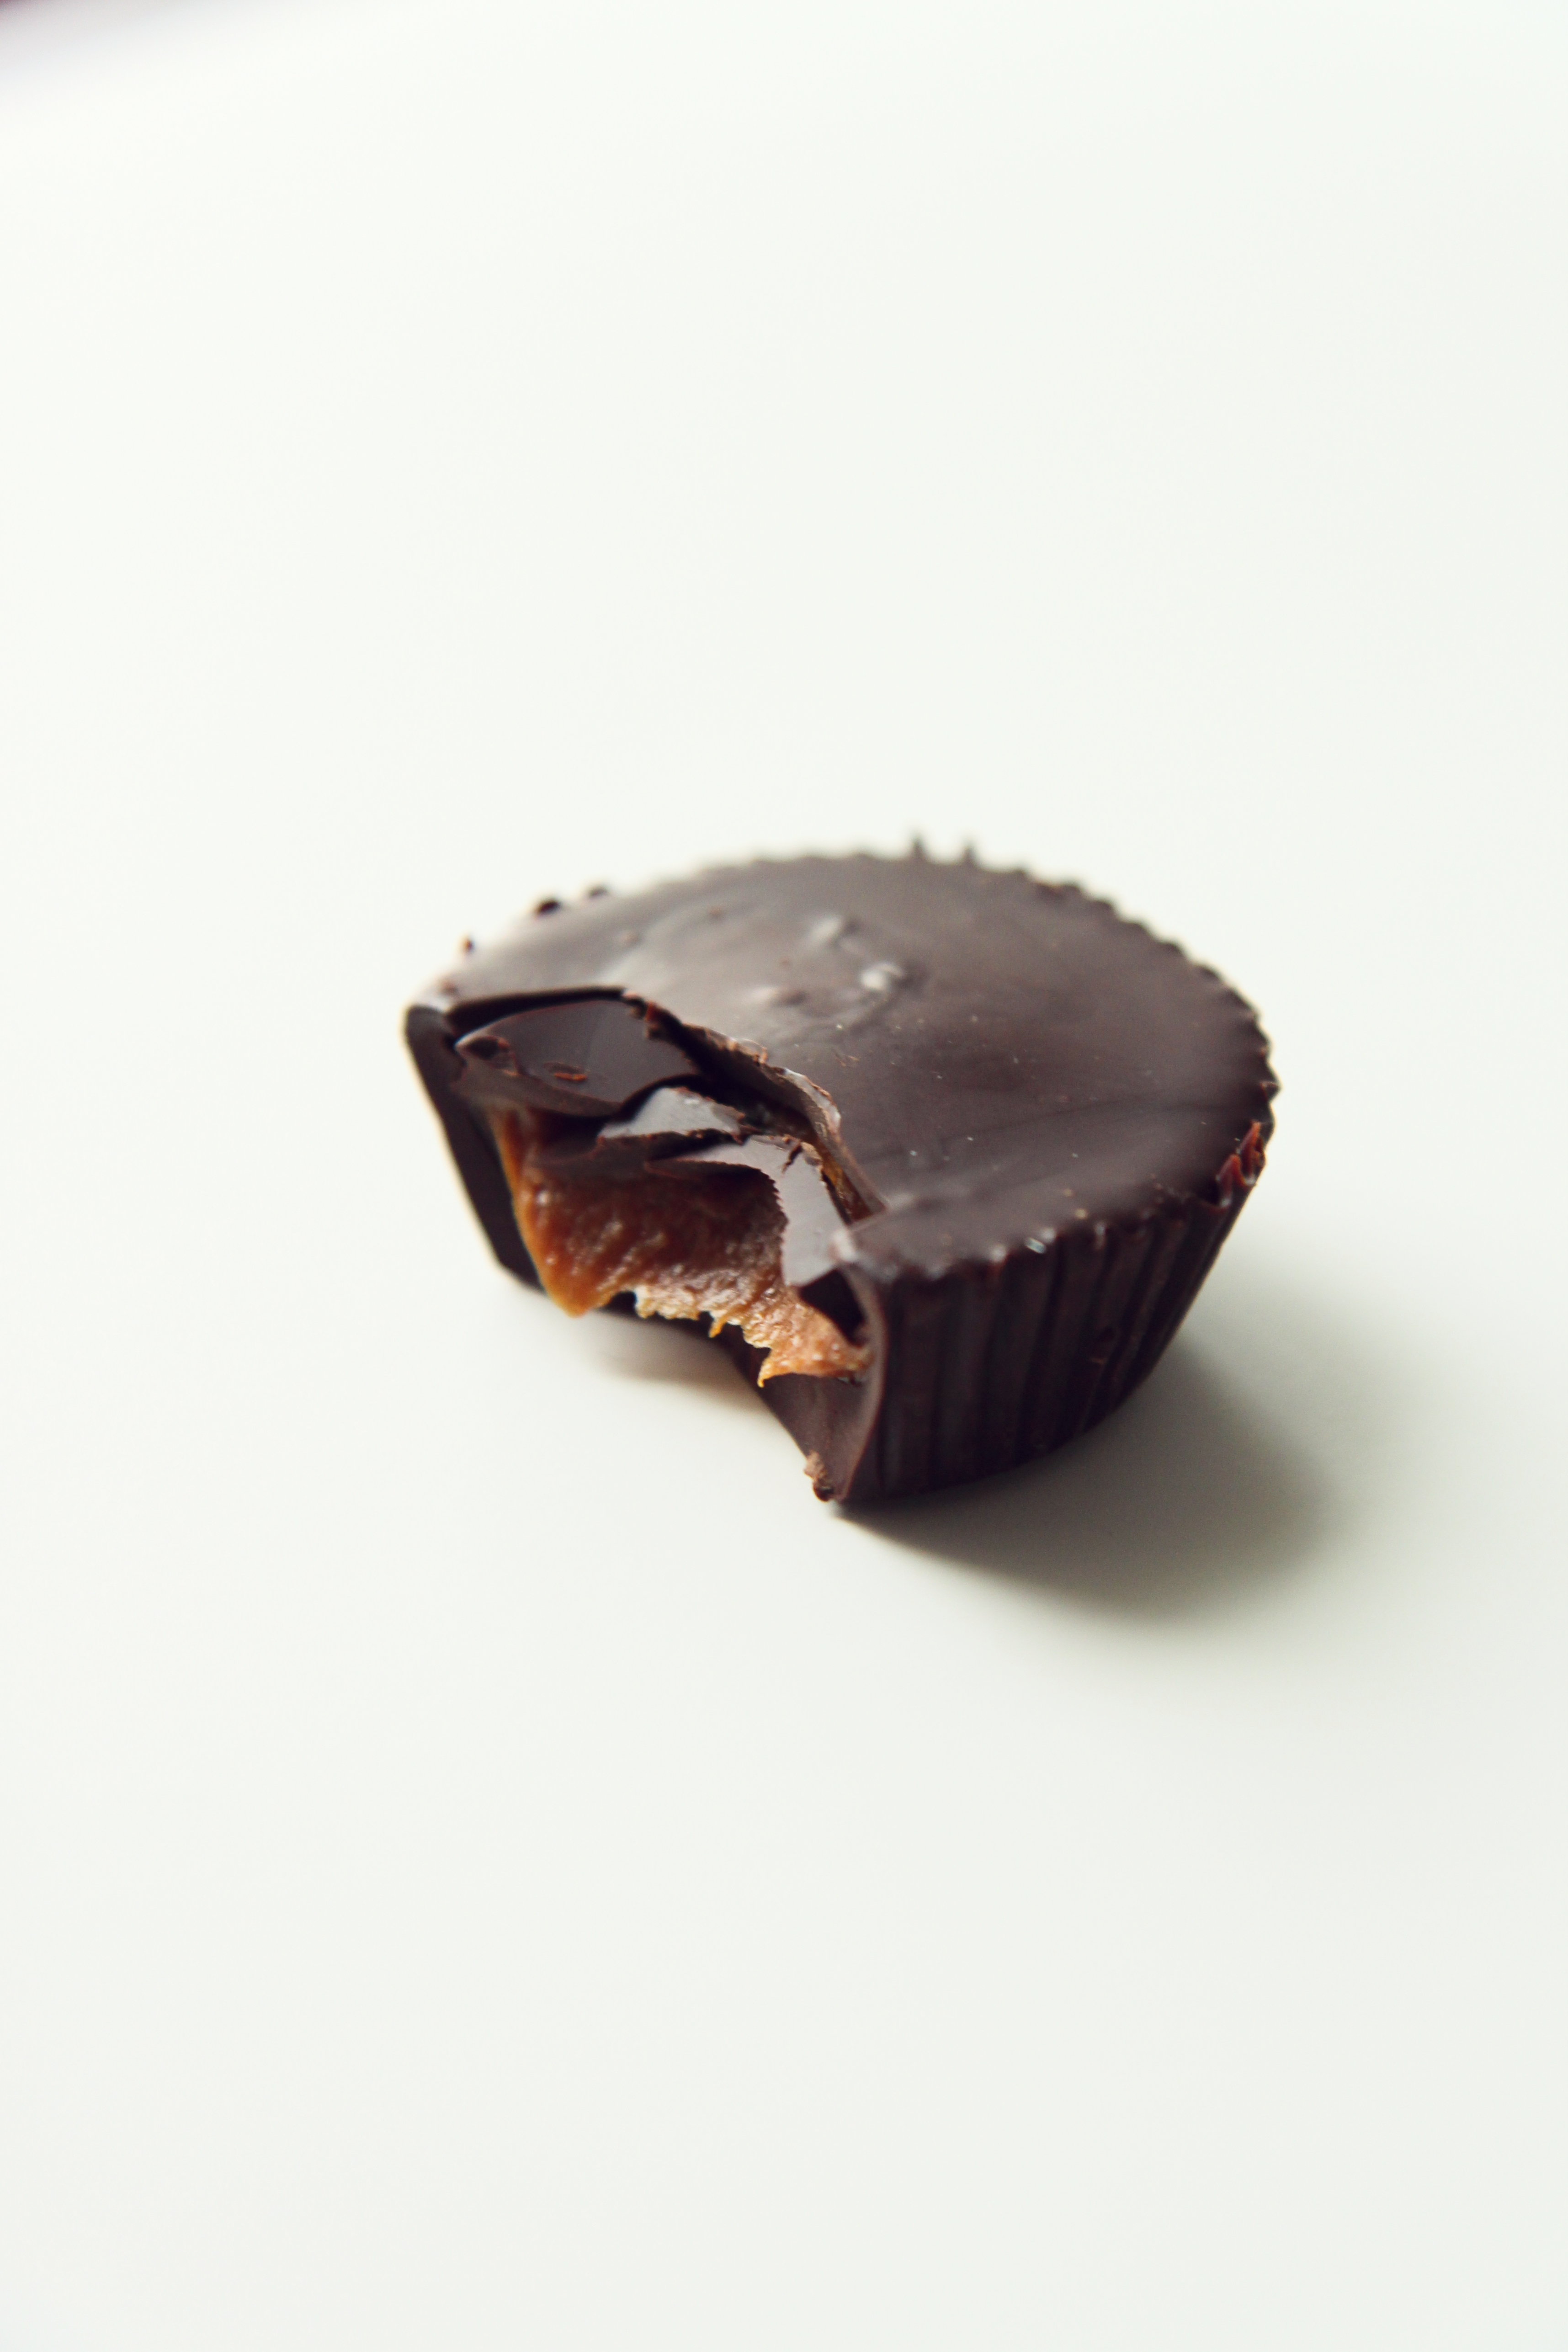
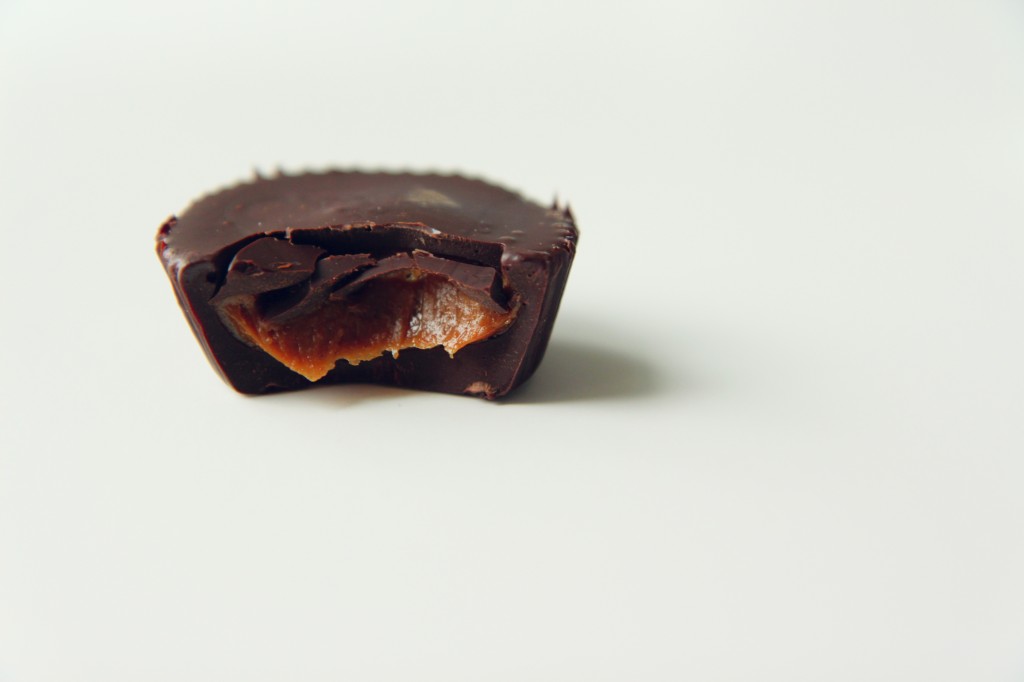
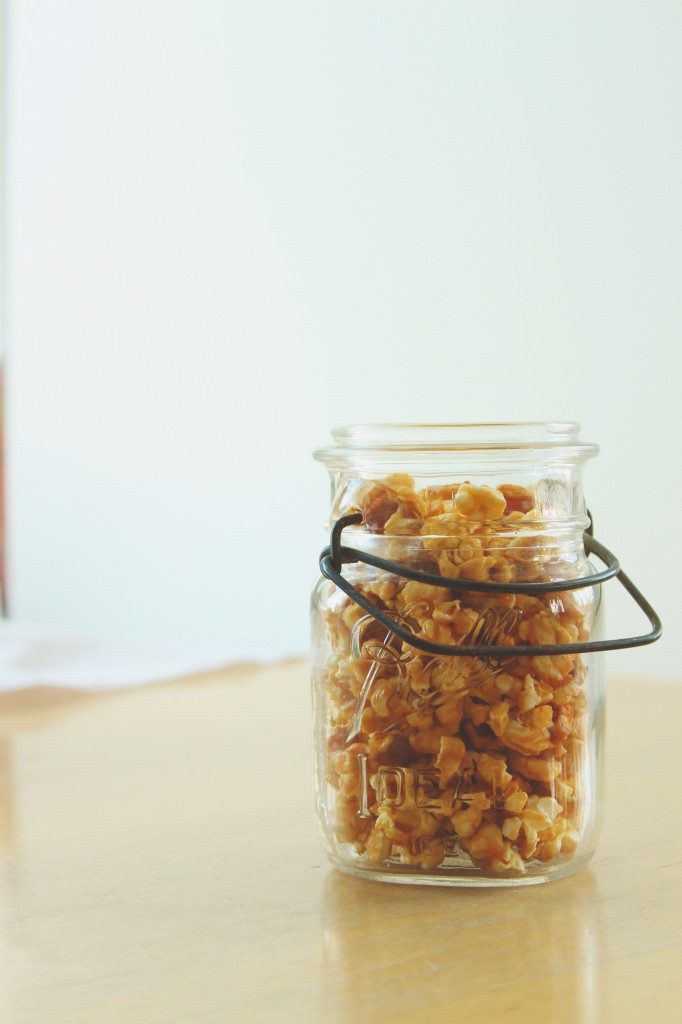
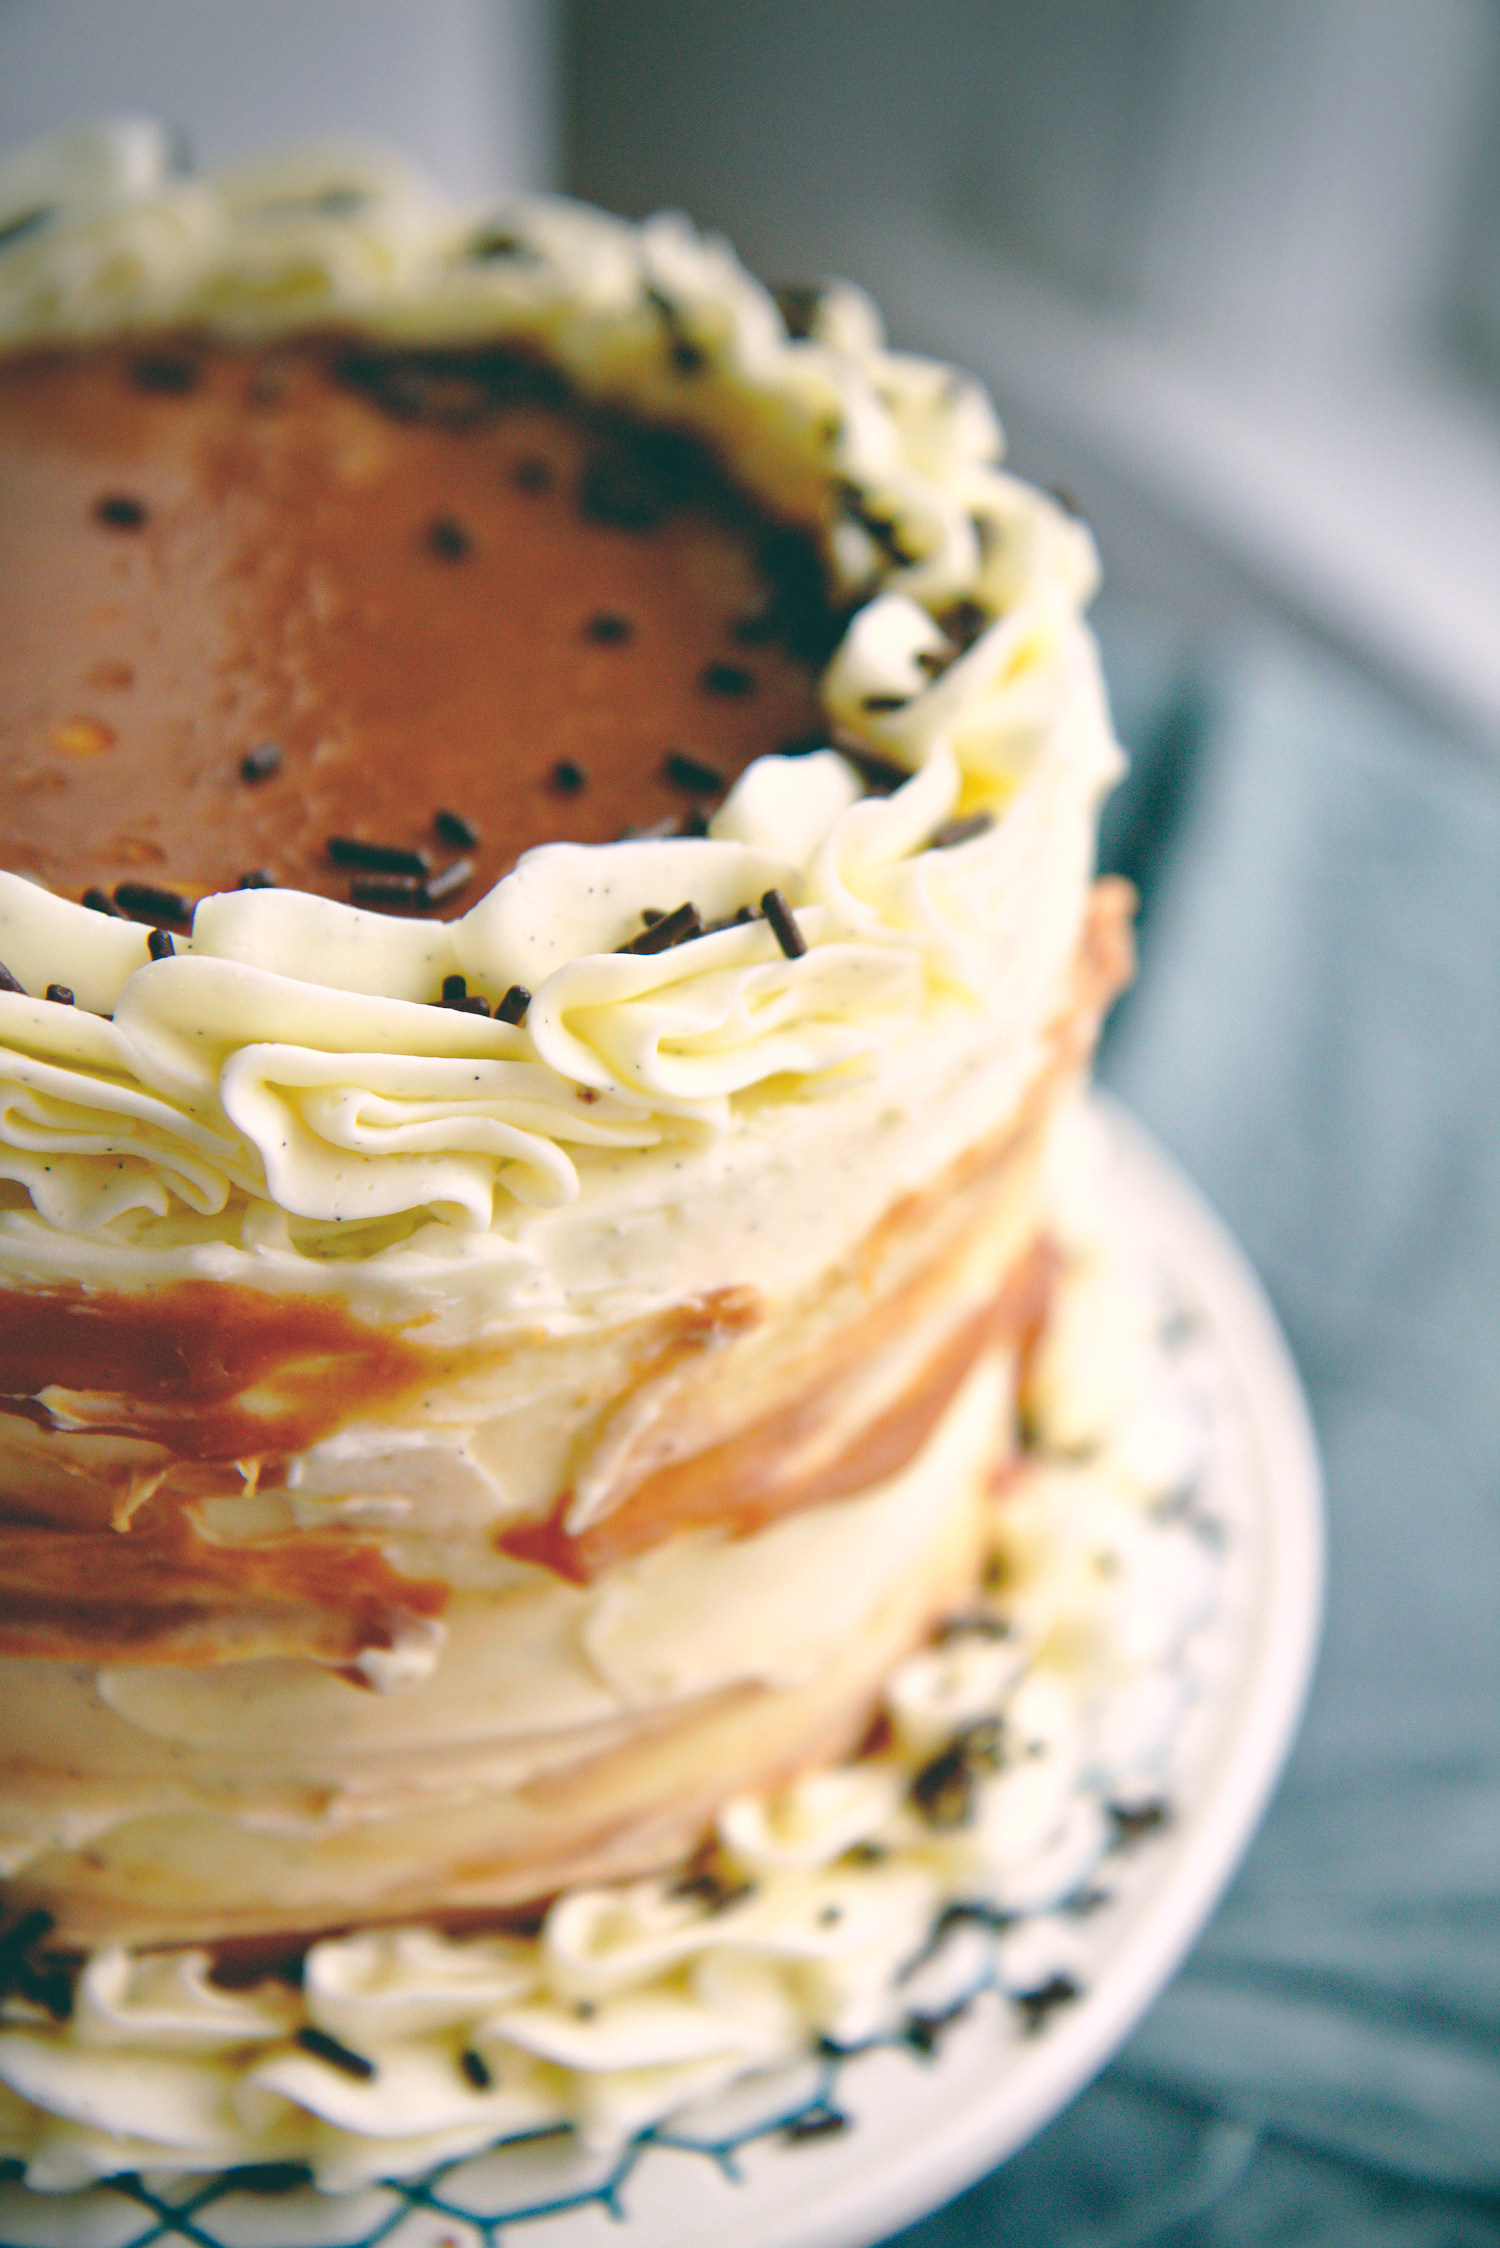
These cookies (and the caramels pictured, too) were bundled up and gifted to friends, all a jumble of holiday cheer and spirit sugar.
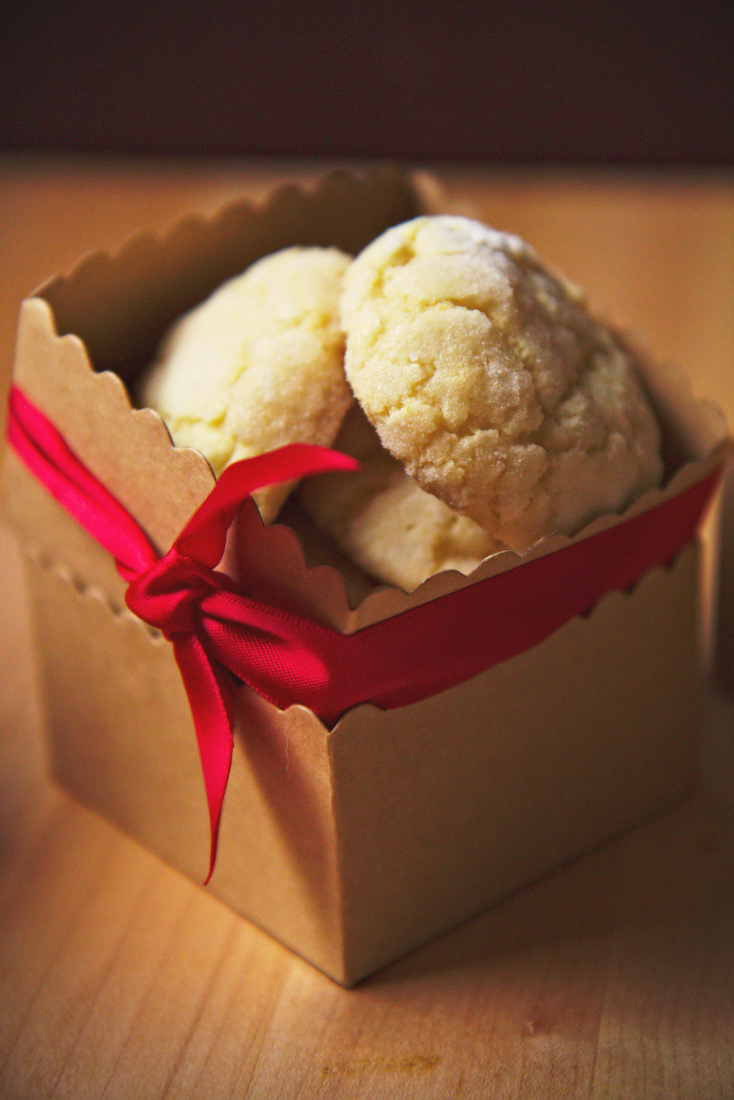
The first are grapefruit butter cookies, crinkled and cracked and crisp in their sugary coating. They’re ever so slightly fragrant thanks to grapefruit zest and juice, which cuts gently through their buttery richness.

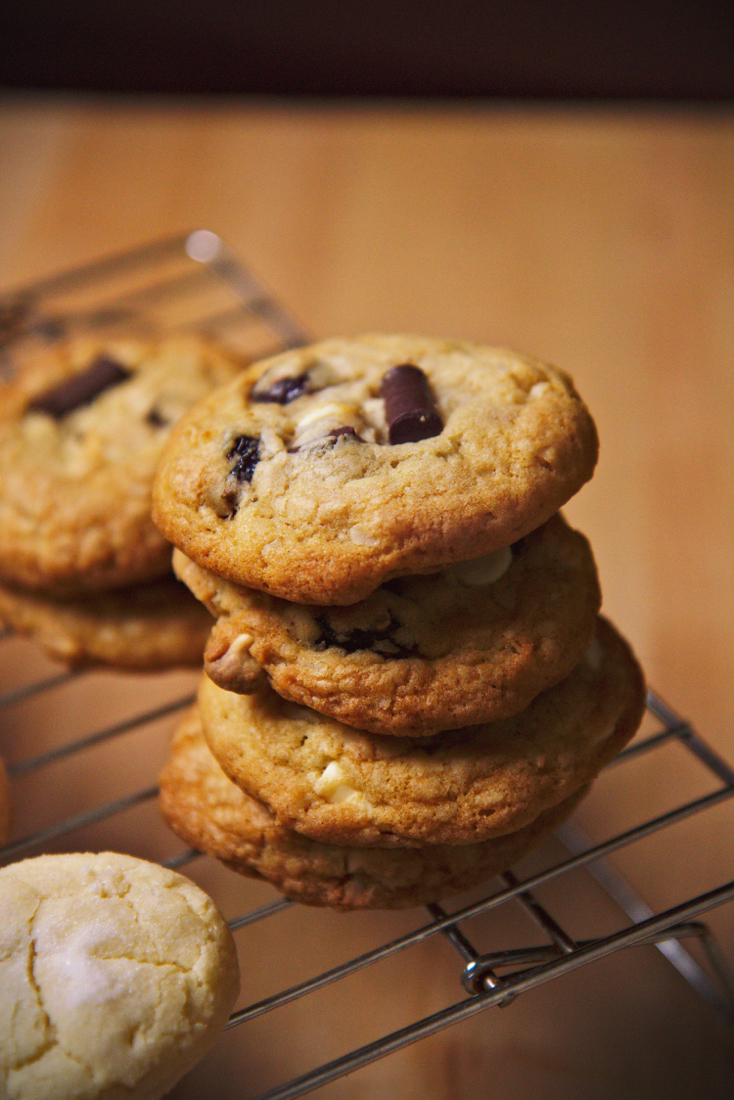
Next come soft and chewy dark and white chocolate, coconut, and sour cherry cookies. They’re full of brown sugar and stay soft for days (the trick is the cornstarch!). They strike a perfect balance between salty and sweet, and are chockfull of bits and pieces without being overwhelmed by additions.
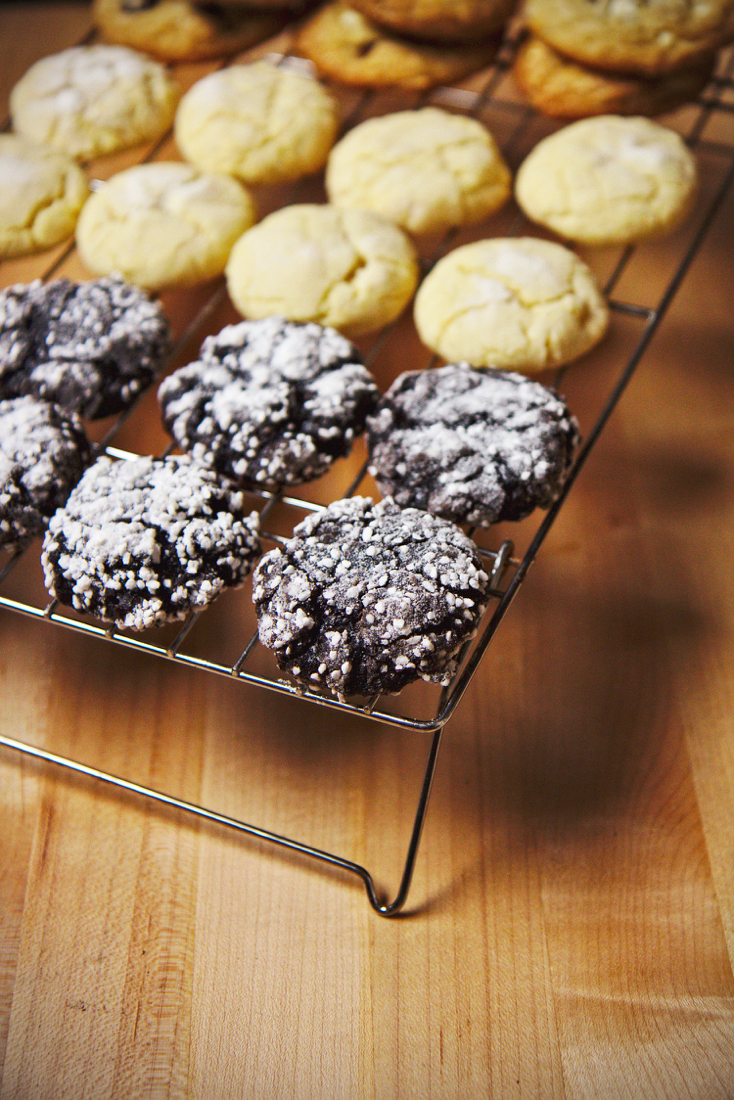
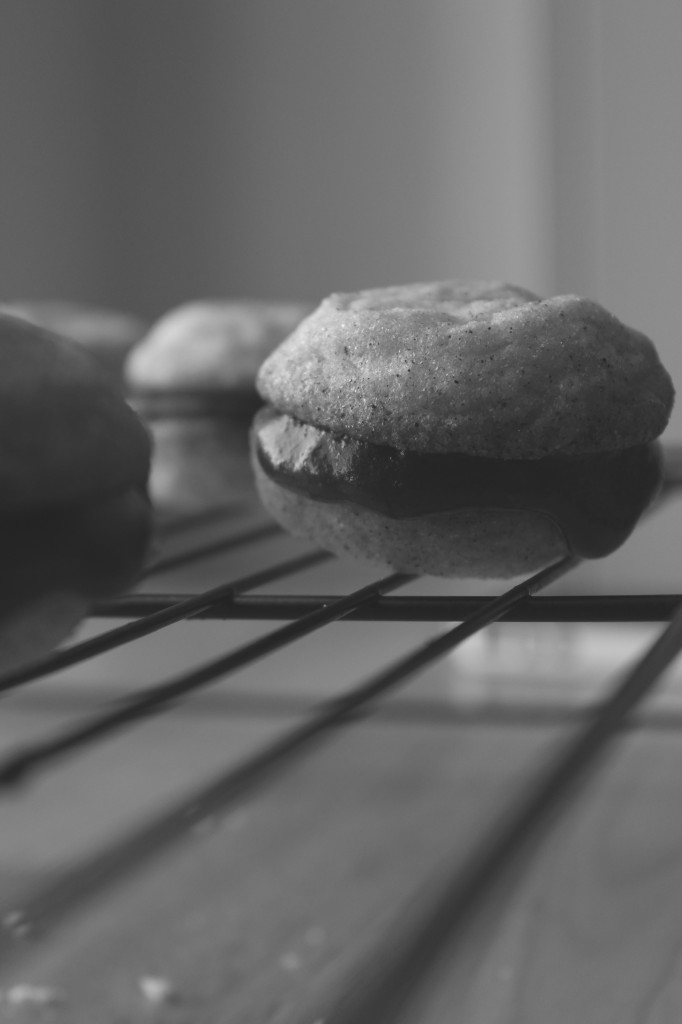
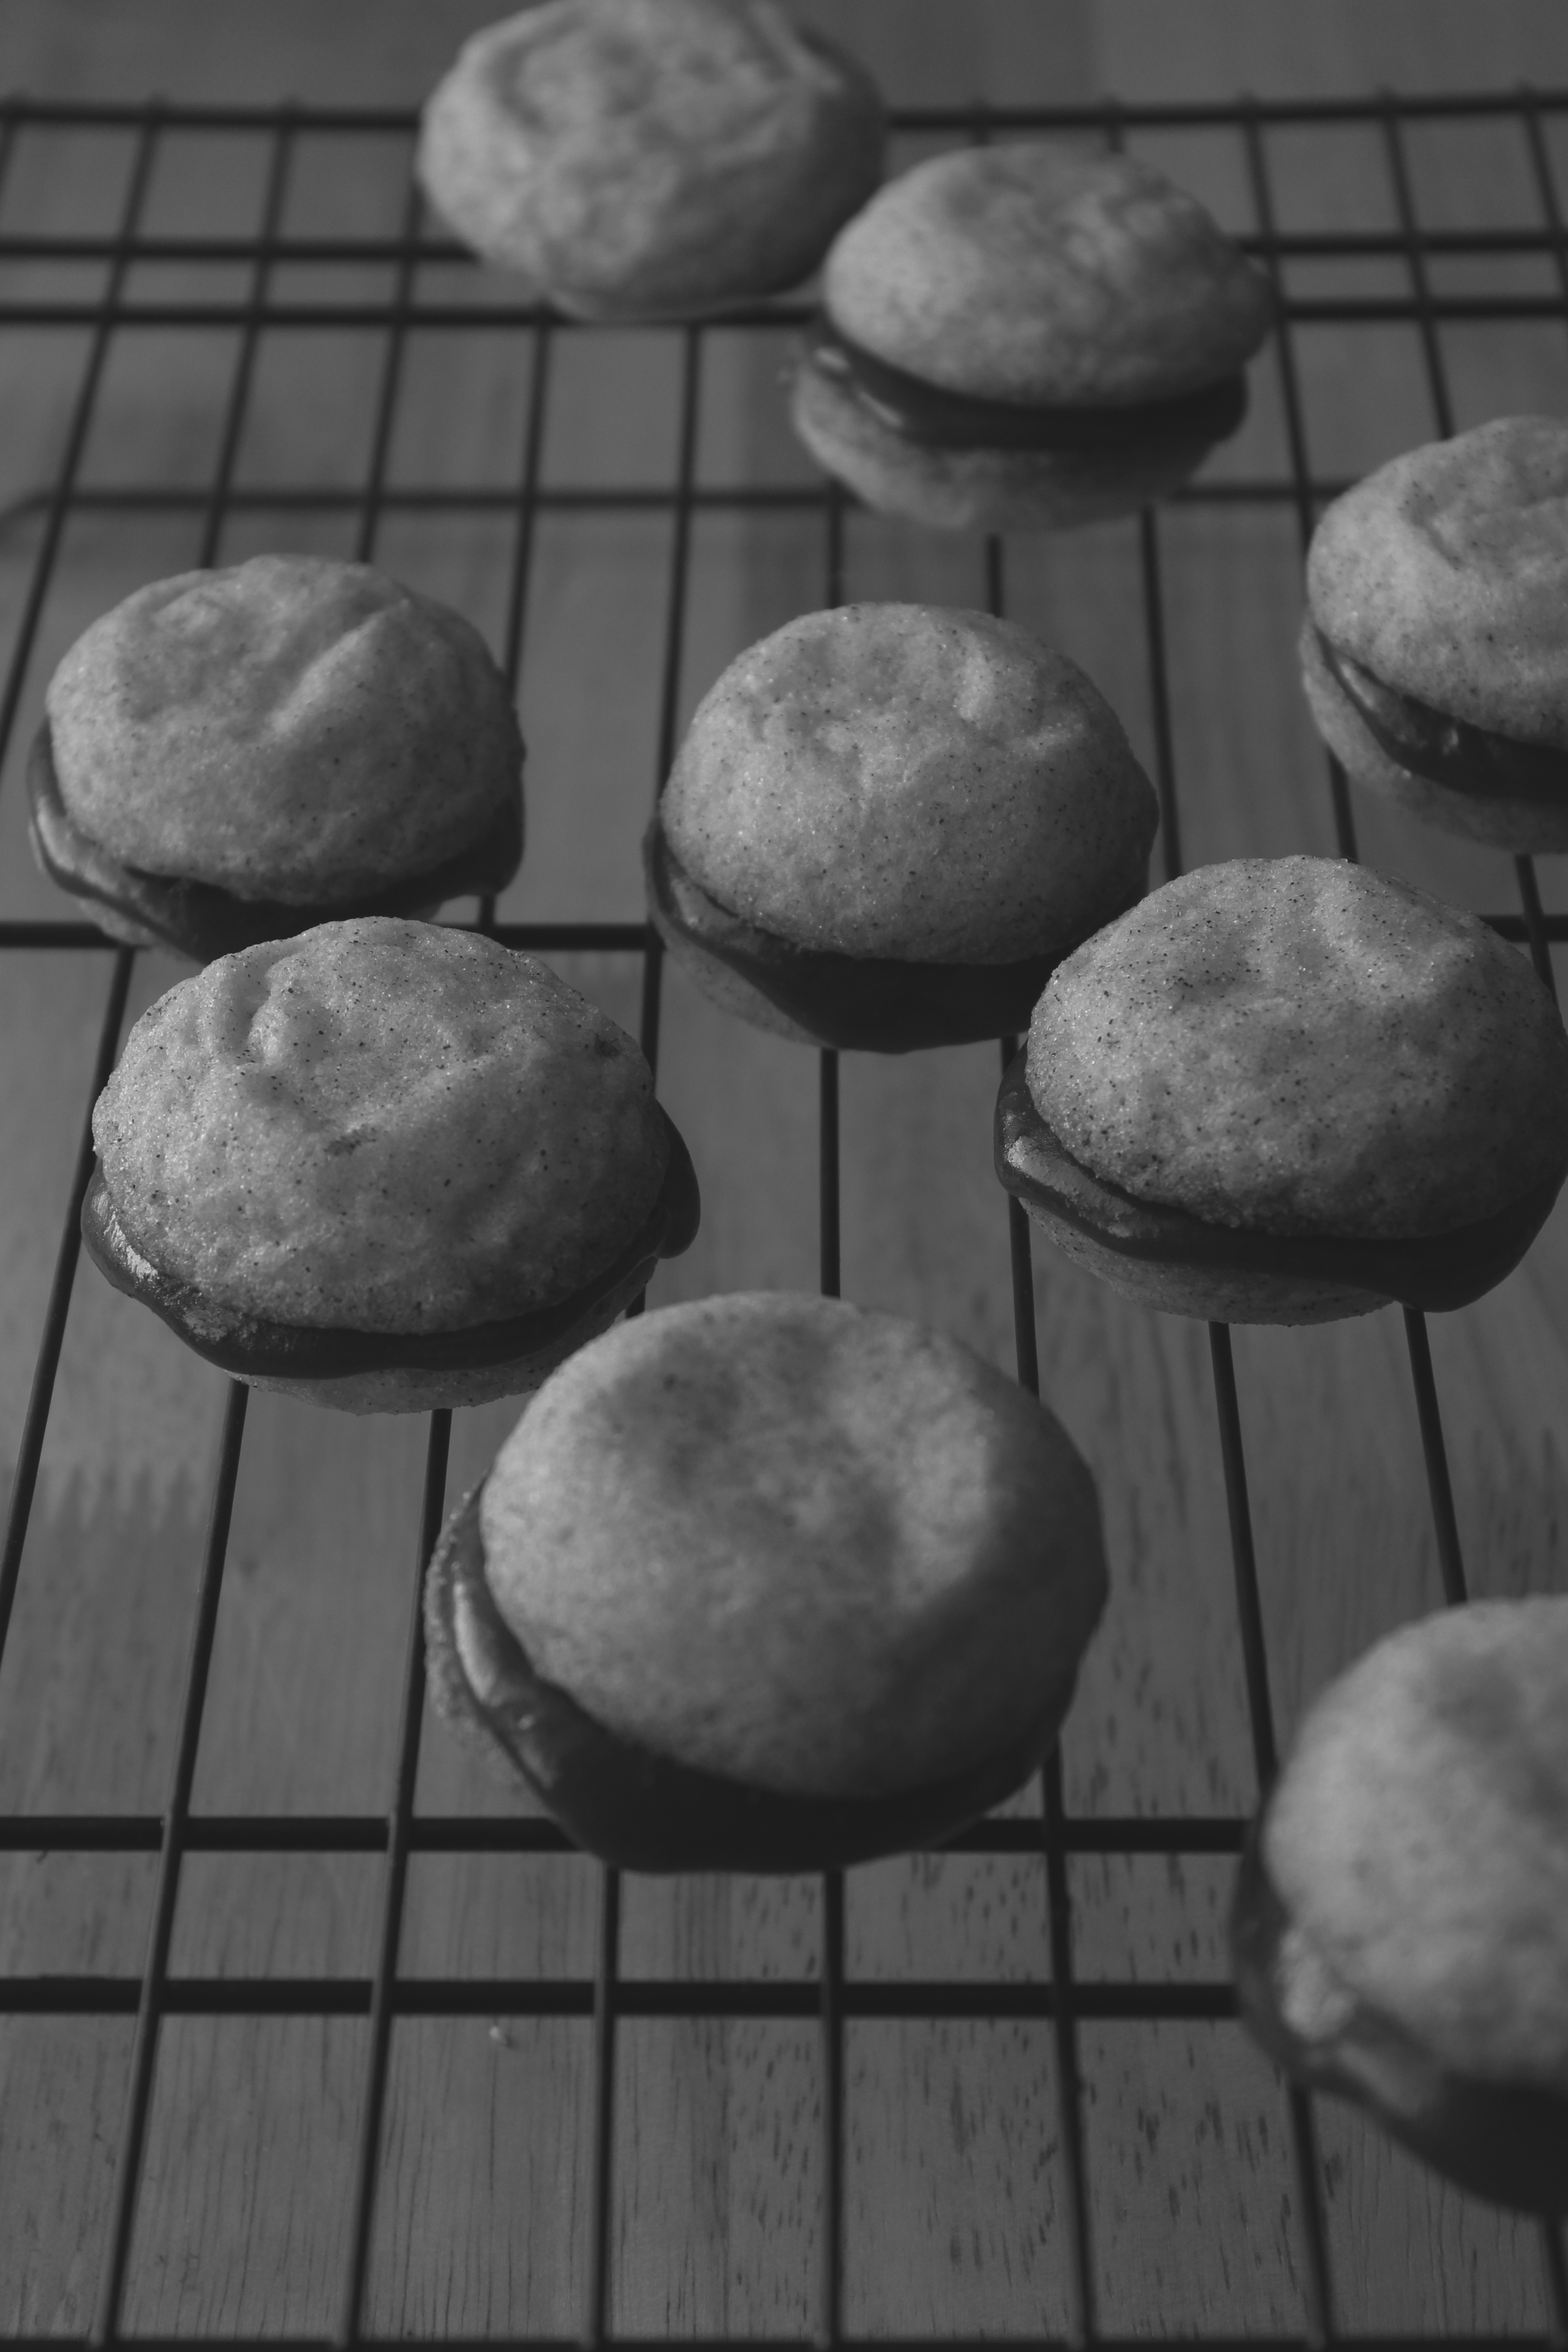
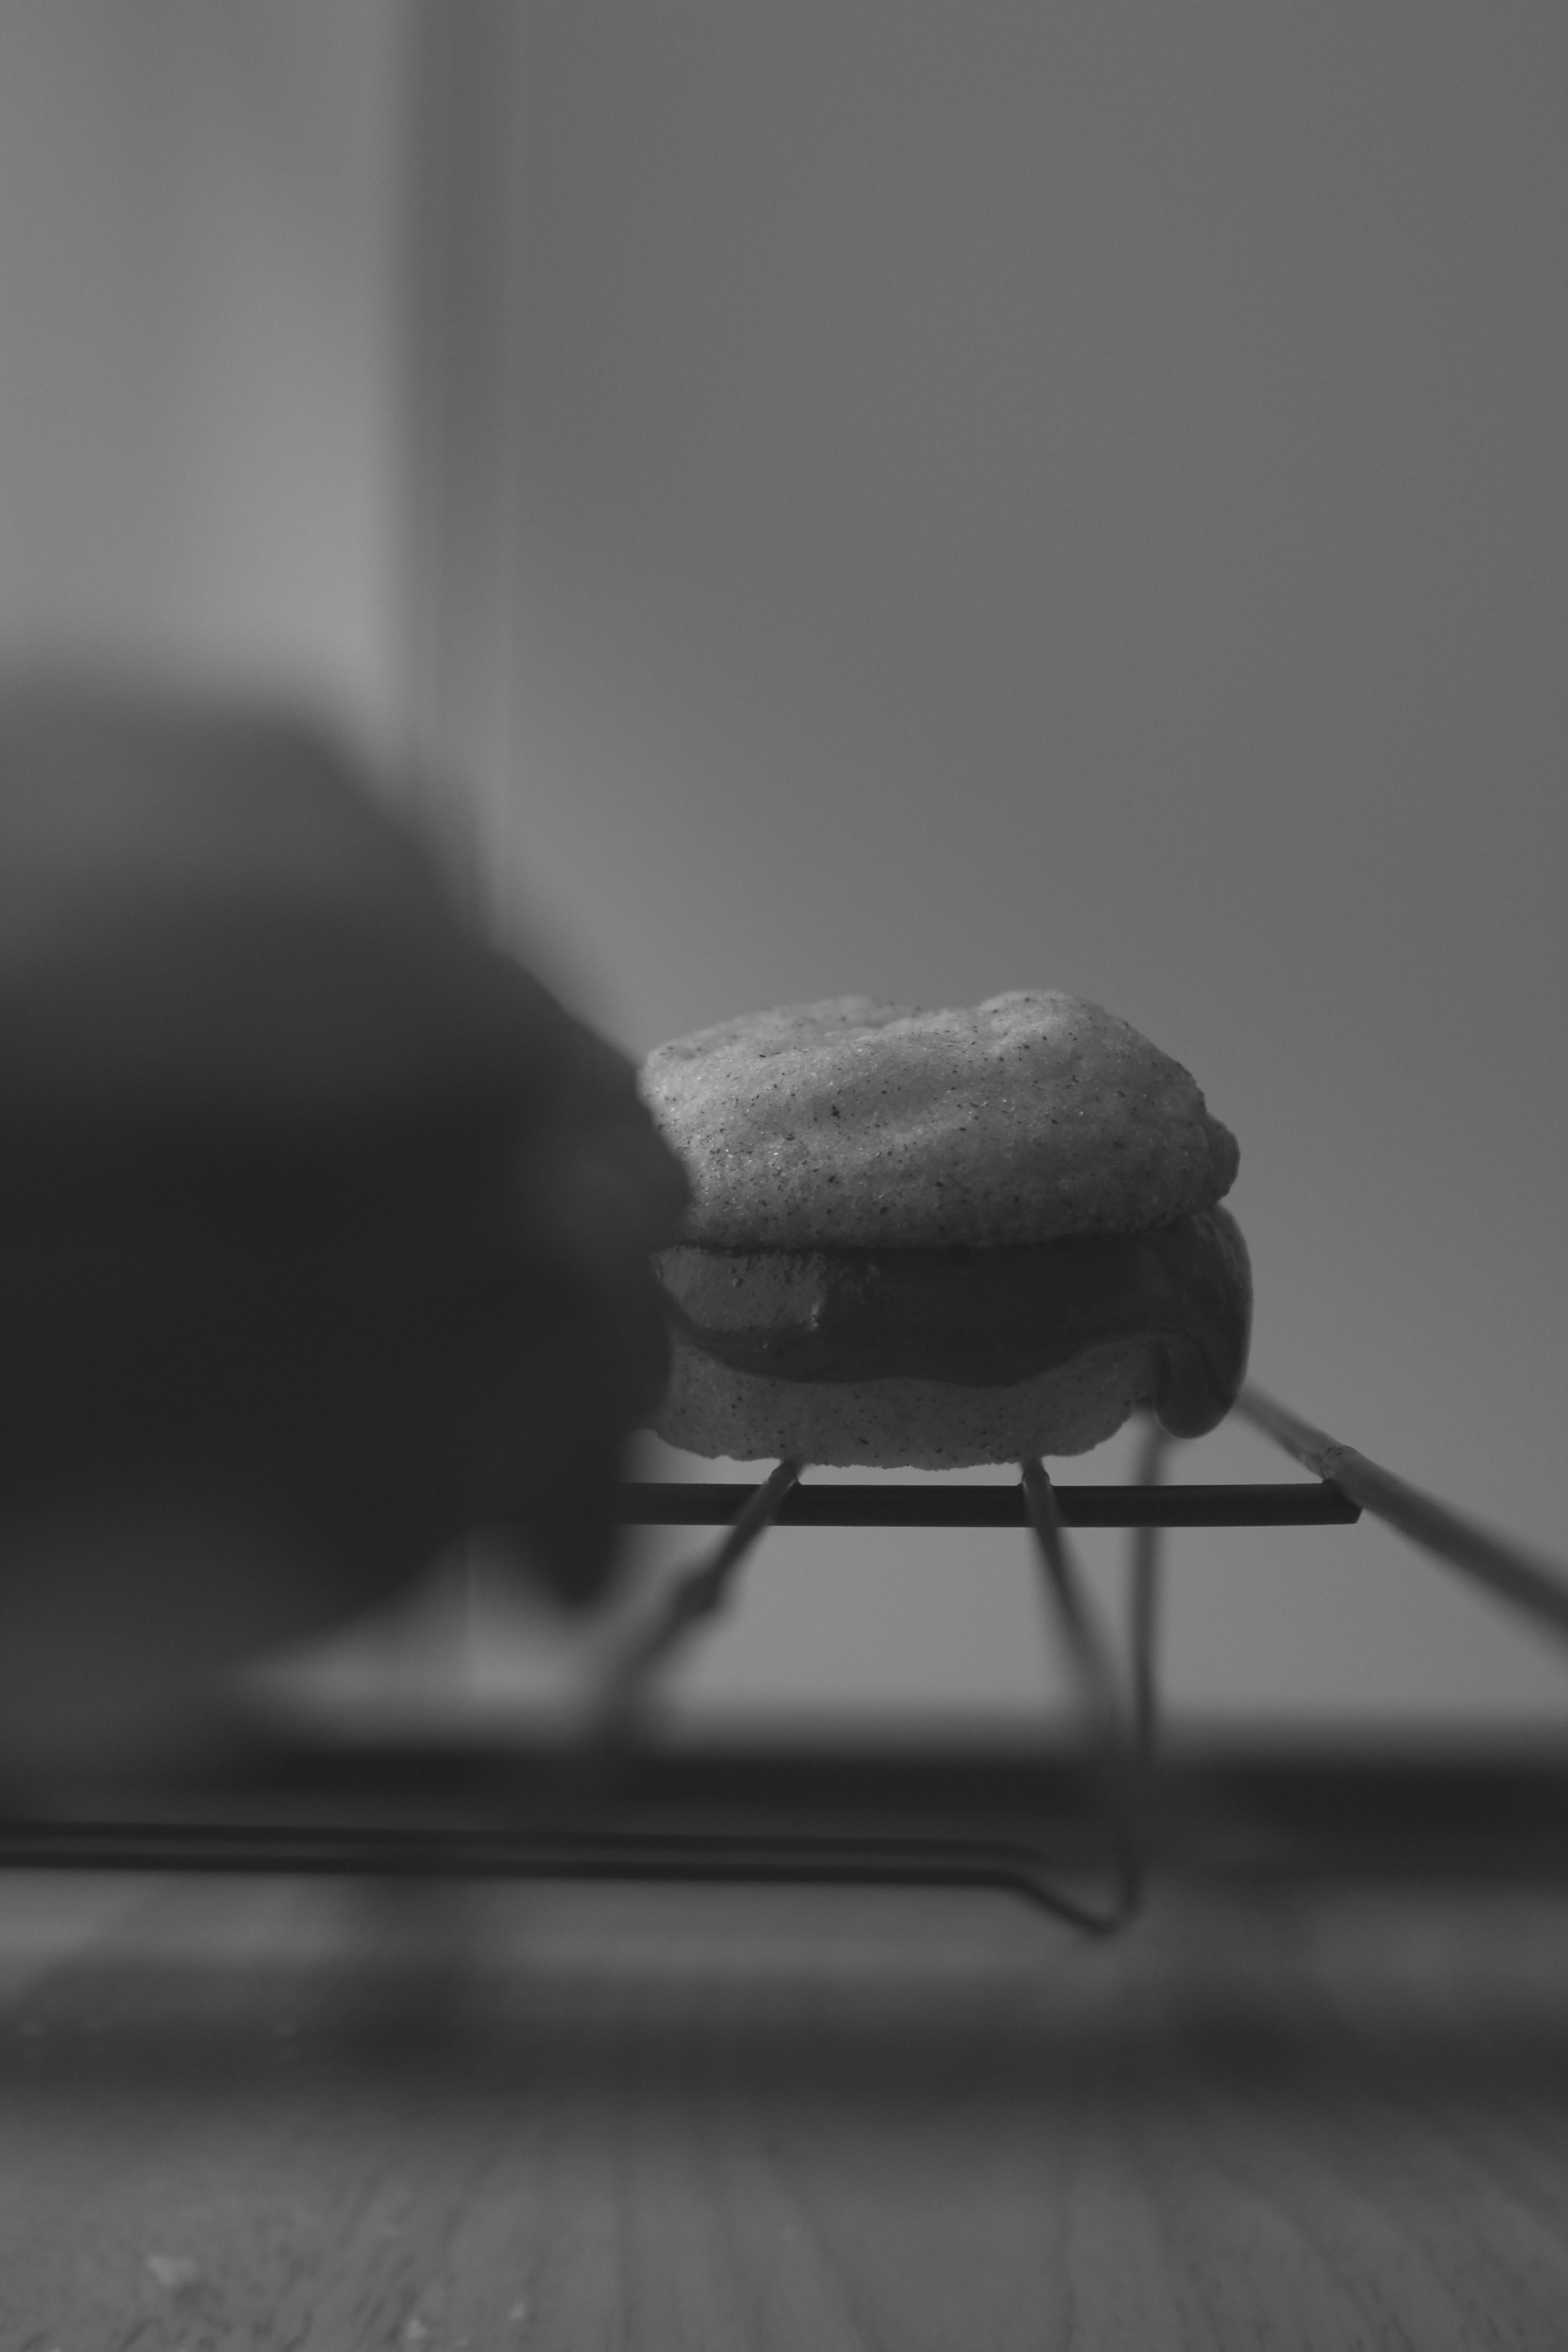
Finally, my favorite, and arguably the most interesting cookies I’ve made in a while: dark chocolate pecan snowcaps.
These cookies are made without butter or flour or any fat or grains—choose your chocolate correctly, and these are gluten and dairy free.
They’re dead simple: powdered sugar and dark cocoa powder, salt, pecans, chopped chocolate, egg whites.
The batter looks like thick black sludge, but once each piece of dough is rolled in Swedish peal sugar, it looks like a little snow ball.
Once baked, they’re crispy and ethereally light on the exterior, but soft and chewy on the inside. The chopped milk chocolate is sweet and a good contrast to the deeply chocolaty exterior; the pecans add a wonderful toasty flavor, and the sugar-coated, crackled outside is tempered by a pinch of salt in the cookie itself.
This is cookie perfection, guys.
Simple and surprising!
Here’s to cookie-filled holidays!
Stay posted for more giftable treats…

Chocolate, Sour Cherry, and Coconut Cookies
adapted from Sally’s Baking Addiction
makes 24 cookies
ingredients:
2 1/4 cups (280 grams) flour
1 teaspoon baking soda
1 1/2 teaspoons cornstarch
3/4 cup (170 grams) butter, melted
3/4 cup (135 grams) brown sugar
1/2 cup (100 grams) sugar
3/4 teaspoon kosher salt
1 egg plus 1 egg yolk
1 tablespoon vanilla extract
1/3 cup shredded coconut
1/2 cup sour cherries
1/4 cup dark chocolate chips
1/3 cup white chocolate chips
directions:
Line 2 baking sheets with parchment paper.
Whisk melted butter, sugars, and salt together.
Vigorously whisk in egg and egg yolk, then whisk in the vanilla.
Batter should be light colored and smooth.
Place flour, baking soda, and cornstarch on top of batter and stir to combine.
Stir in coconut, cherries, and chocolates until mixture is homogeneous.
Scoop out 2 tablespoon size balls and roll to uniform size.
Place on baking sheets and chill/freeze for at least 30 minutes.
Preheat oven to 350 degrees F.
Bake each sheet straight from the freezer for 12 minutes.
Remove and let cool for 10 minutes, then transfer to a wire rack to cool completely.
Grapefruit Butter Cookies
adapted from Cooking Classy
makes 30 cookies
ingredients:
2 cups flour
2 teaspoons baking powder
10 tablespoons butter, soft
1 cup plus 2 tablespoons granulated sugar
3/4 teaspoon kosher salt
zest of 1 grapefruit
1 egg plus 1 egg yolk
juice of 1/2 grapefruit (1 1/2 tablespoons)
1 teaspoon vanilla extract
granulated sugar, for rolling
directions:
Place butter, sugar, salt, and the grapefruit zest in the bowl of a stand mixer fitted with the paddle attachment.
Beat on high for 5 full minutes, until very light and fluffy and not gritty.
Scrape the sides of the bowl and add in the egg and egg yolk; beat for 5 more minutes.
Scrape the bowl and add the grapefruit juice and vanilla extract; mix briefly to combine.
Add in the flour and baking powder and stir until homogeneous.
Scoop out 2 tablespoon portions and roll to uniform size; gently roll in granulated sugar to coat.
Chill for at least 30 minutes.
Preheat oven to 350 degrees F and bake straight from the fridge or freezer for 12 minutes.
Move to wire rack immediately to cool.
Dark Chocolate Pecan Snowcaps
adapted from Kim Severson
makes 30 cookies
ingredients:
3 cups (300 grams) confectioner’s sugar
3/4 cup (90 grams) dark cocoa powder
3/4 teaspoon kosher salt
5 ounces (135 grams) chocolate, chopped (she suggests dark, I used what I had—milk—and they turned out fabulously)
1 1/2 cups (135 grams) chopped pecans
4 large egg whites
granulated and Swedish pearl sugar, for rolling
directions:
Preheat oven to 350 degrees F and line 2 baking sheets with parchment paper.
Whisk confectioner’s sugar, cocoa powder, and salt together.
Stir in the chopped chocolate and chopped pecans.
Using a wooden spoon, stir in the egg whites—keep stirring until the batter comes together in a very thick, shiny mass (this is an arm workout!).
Scoop out 2 tablespoon portions and roll in a 1/2 and 1/2 mixture of pearl and granulated sugar; shape into a uniform ball once the sticky dough has been rolled in sugar and is easier to handle.
Bake the cookies from room temperature for 12 minutes.
Allow to cool for 10 minutes on the sheet pan, then transfer to a wire rack to cool completely.


