I find myself standing on a precipice, peering down, cookie in hand.
I find myself staring at a page the color of milk, devoid of text.
I find myself adrift on the oceanic interwebs, floating, but not peacefully.
I have lots to write about. My thoughts just won’t come out as crisply and concisely as they are in my head.
I’ll be honest. I’m apprehensive. Scared, even.
I don’t know what will become of my blog now that I’ve introduced these WISE posts.
How much more thought and time will have to go into a post? (As of now, one post, comprised of just the writing, photoshopping, and formatting, let alone the preparation of the featured food, takes me roughly 1 1/2 hours.)
I have tried, and will continue to try, to put meaningful thought and time into a couple of my blog posts.
I don’t want to say it’s true, but it is: now that my blog is becoming, on a once weekly basis, a school-tool, I am more nervous about writing.
Do I sound silly and shallow? (Always.)
Am I proper enough?
Can I use y’all? And lol?
What will become of my “diva” and “stupid” labels?
Are they off limits?
I pray that you, my lovely, lovely, readers (or lookers… I know many come for the food porn photos only, [Editor’s note re: food porn: perhaps too callous?] and that is totally one hundred percent fine by me), will stick with me as I branch out into a new and distinctive field: creating blog posts that I know my teacher will see.
I shall have to test the waters; the waters I shall test.
In the meantime, let me talk about what I know best: dessert.
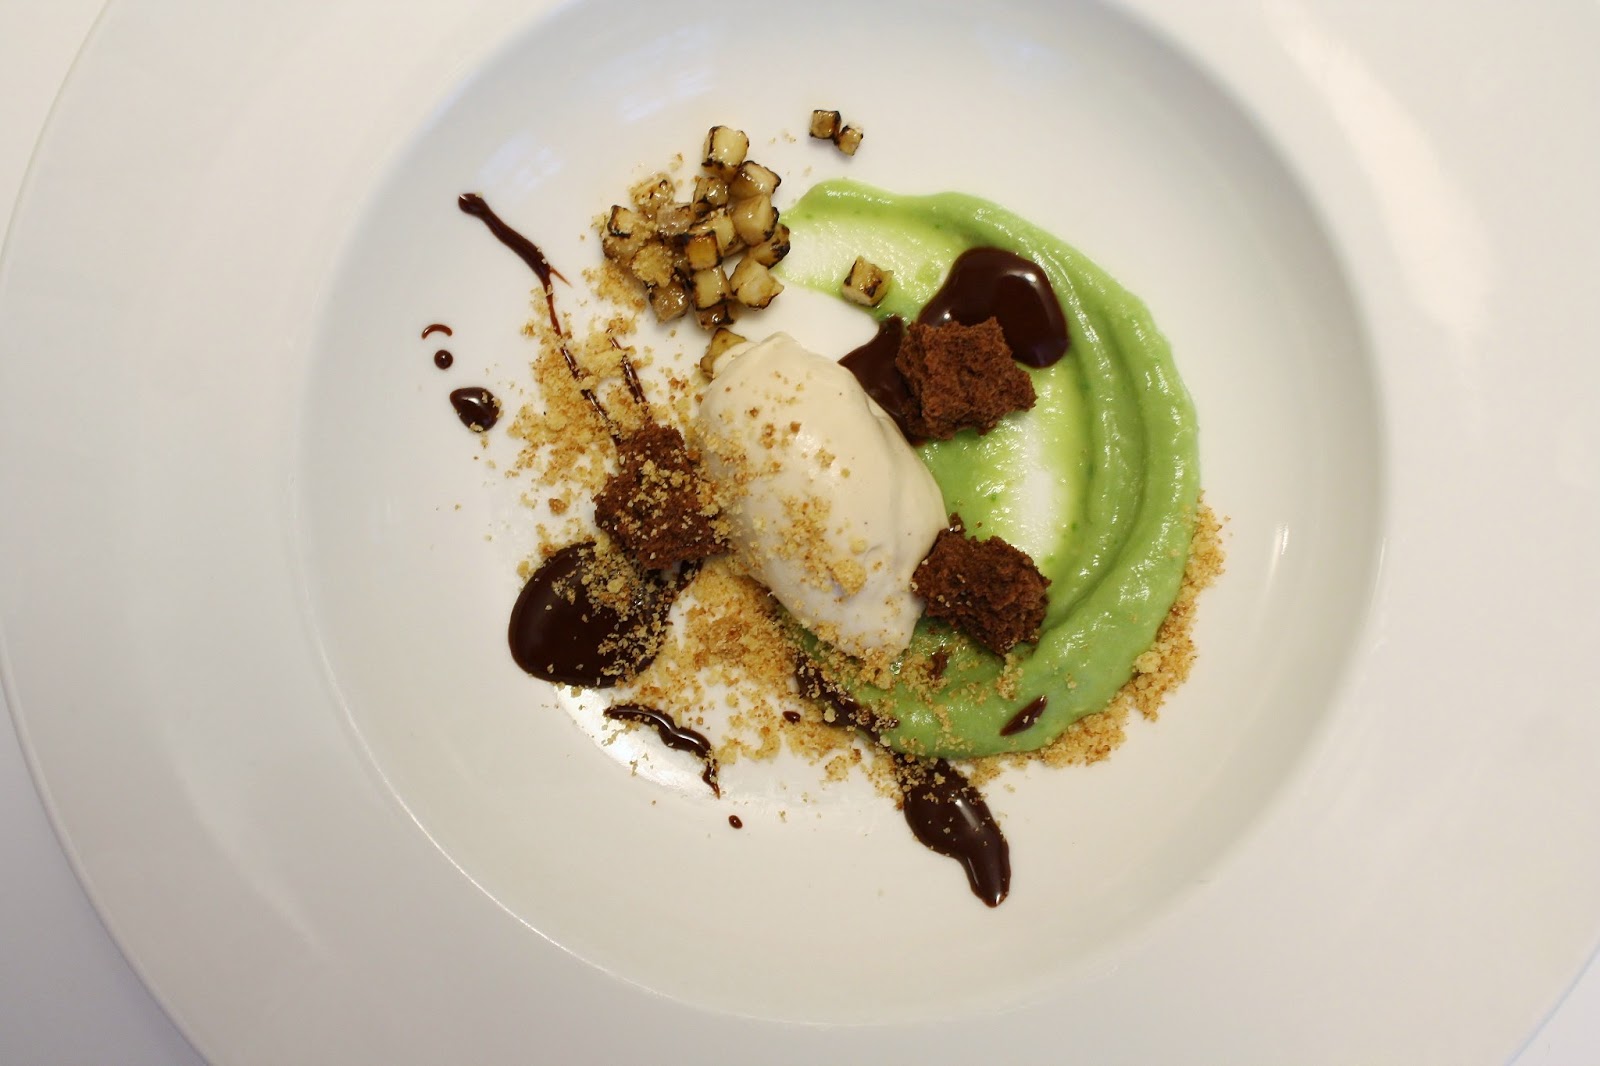
The inspiration for this dessert came from the idea of “Mexican hot chocolate,” which involves cocoa, cayenne, and cinnamon. From there, my mind jumped instantly to cajeta, the traditional goat milk-version of dulce de leche, which is often spiced with a pinch of cinnamon.
By then, I was spinning off on a Latin American tangent: I wanted to include corn (I had seen the wonderful corn cookies from Milk Bar recently), avocados, limes, bananas, etc.
With a firm flavor base in my head, I edited components out.
I knew I wanted to do a sweet “guacamole,” in the form of a lime-avocado purée.
I knew I wanted to use corn cookies.
I knew I wanted an ice cream.
I knew I wanted fluffy sponge cake and bittersweet ganache.
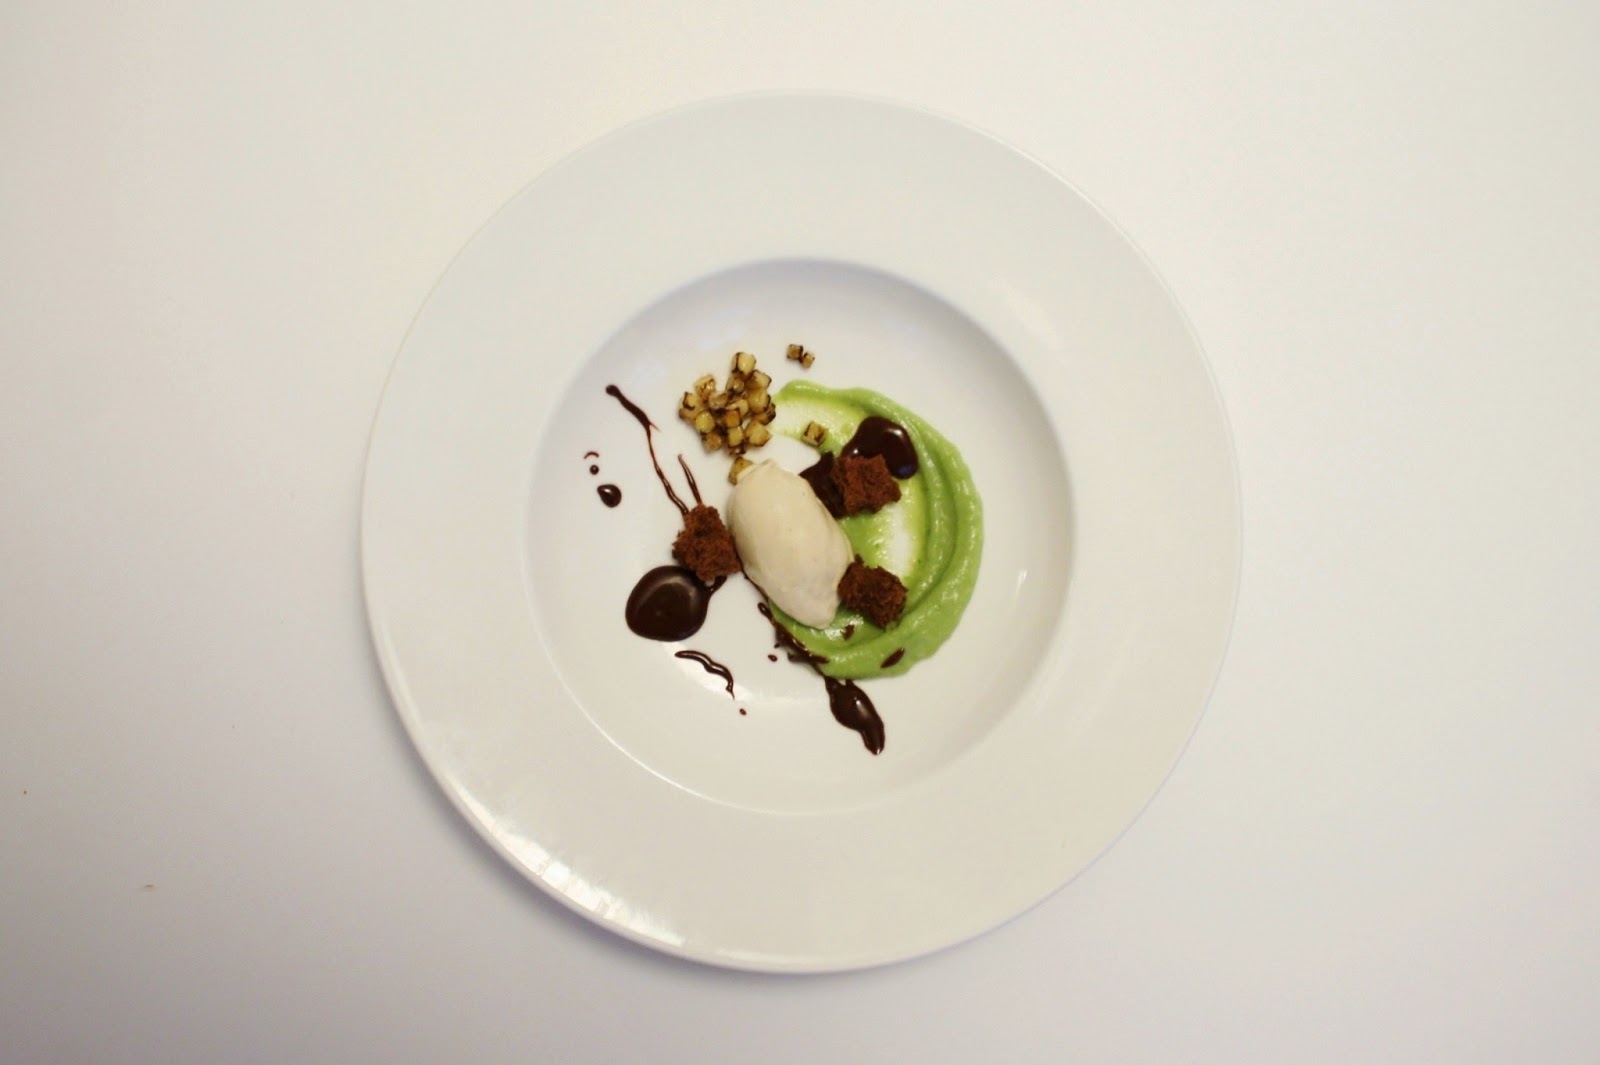
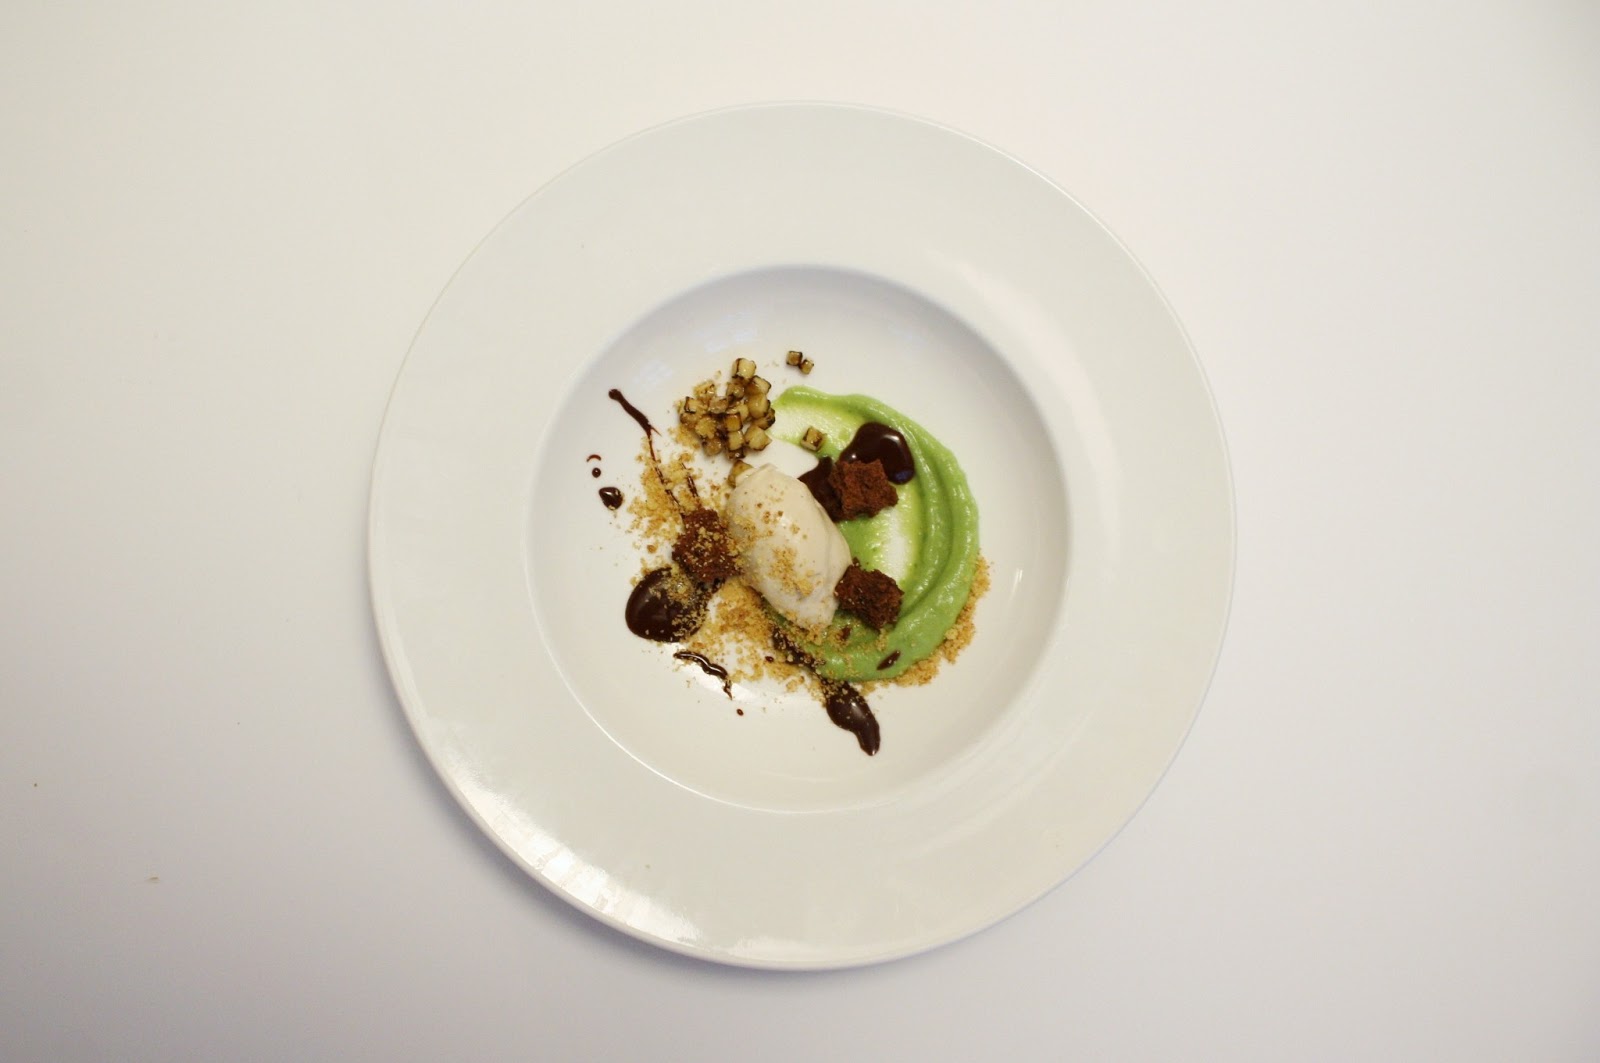
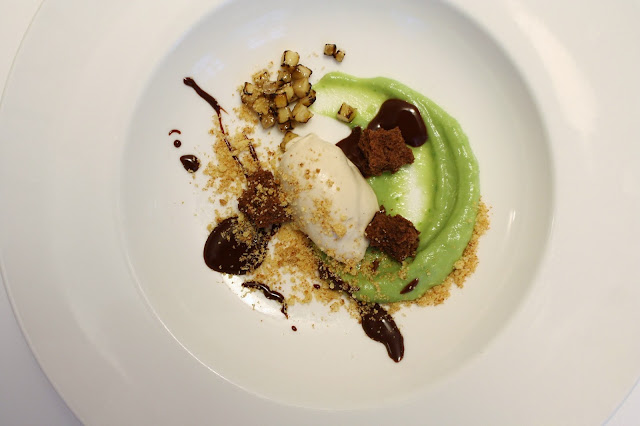
Here’s the result.

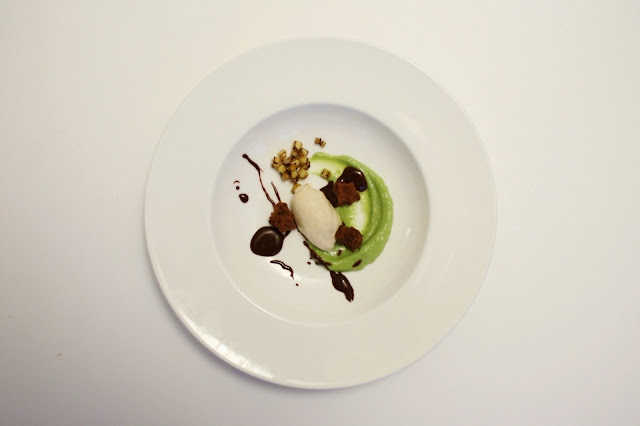
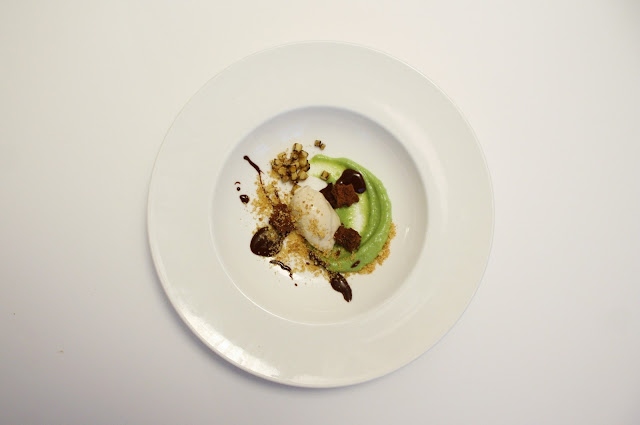
Brave New World:
1. Avocado lime purée
2. Bittersweet chocolate cayenne ganache
3. Brûléed banana brunoise
4. Cinnamon dulce de leche ice cream
5. Instant chocolate sponge cake
6. Crushed corn cookies
Instant Sponge Cake
ingredients:
1 egg white
1/4 cup sugar, divided
2 tablespoons cocoa powder
1/4 cup flour
3 tablespoons oil
3 tablespoons milk
2 paper cups (no plastic or wax)
directions:
Whip the egg white with 2 tablespoons of the sugar. Mix all of the other ingredients together, then fold the egg white into the batter. Poke slits in the bottom of your cups, and pour the batter in. Place on a plate and microwave for 2 minutes on high (This varies because microwaves are so variable. To check for doneness, touch the top of the cake with your finger. It should not be sticky and should not collapse; it should be fully cooked.).
For use in the dessert, rip into small, organically shaped pieces.
Avocado-Lime Purée
ingredients:
1/2 a hass avocado
3 tablespoons powdered sugar
Juice of 1 whole lime
Big pinch salt
directions:
Mash the avocado into a rough mush like guacamole. Stir in the sugar, lime juice, and salt. Purée the entire mixture, either with an immersion blender or food processor, until very smooth. Be sure to add all of the juice of the lime; the acid is what keeps the avocado a beautiful green color.
Chocolate cayenne ganache
ingredients:
1/2 ounce bittersweet chocolate
3 1/2 tablespoons cream
Pinch of cayenne pepper
directions:
Gently heat all ingredients together, either in a saucepan over low heat or in 20 second bursts in the microwave, until approximately 2/3 of the chocolate is melted. Remove from heat, let sit for 2 minutes, then stir together until silky and shiny.
For use in the dessert: heat up until smooth and free-flowing by nuking it for no more than 15 seconds.
Brûléed banana brunoise
ingredients:
1 banana, peeled.
Sugar
Torch
directions:
Cut the banana in half right in the middle (across the skinny part of the banana, not the long way). Trim off the sides of the banana so that they are plumb and cut 1/8 inch wide planks. Take the planks and trim off the ends so that the edges are straight, and cut 1/8 inch wide matchsticks. Take the matchsticks and cut them into 1/8 inch squares. You will now have 1/8 inch cubes. Place them on a plate, sprinkle liberally with sugar, and brûlée them with your torch, until the edges are dark and the sugar is caramelized.
Corn Cookies
ingredients:
225 g butter (8 ounces)
300 g sugar
1 egg
265 g flour
73 g freeze-dried corn, ground into a powder in a food processor or blender
3 g baking powder (3/4 teaspoon)
1.5 g baking soda (1/4 teaspoon)
6 g kosher salt (1 1/2 teaspoons)
directions:
Cream your butter and sugar together for 2 full minutes on medium speed. Scrape the sides, add the egg, and beat on medium high speed for 7 full minutes (set a timer). Scrape the sides of the bowl, add in all of the dry ingredients, and mix just until combined, and no longer- about 45 seconds. Portion out cookies with an ice cream scoop and flatten with your palm or a glass. Chill for at least 2 hours and up to 2 days. When you are ready to bake them off, preheat oven to 350 degrees F. Bake for 18 minutes.
To use in the dessert, once the cookies are cool, smash one or two of them into powder, either in a bag with a rolling pin or a food processor. Eat the others. Yum.
Cinnamon-Dulce de Leche Ice Cream
7 ounces (1/2 can) sweetened condensed milk plus 2 big pinches salt OR 7 ounces store bought dulce de leche (or cajeta!)
220 g milk
1 teaspoon gelatin+ 2 tablespoons cold water
160 g heavy cream
35 g corn syrup or 100 g glucose
65 g sugar
40 g milk powder
1 g kosher salt
directions:
Let cool completely.
Bloom your gelatin in the cold water by sprinkling it lightly over the surface and allowing it to sit for 3-5 minutes.
Blend the dulce de leche with the milk, over low heat, until completely homogenized (the heat helps the dulce de leche dissolve).
Blend in the bloomed gelatin (use a hand blender).
Remove from heat and blend in the rest of the ingredients until super smooth and homogeneous.
Allow to cool completely; chill for up to 1 week.
Once you are ready to make ice cream, spin the mixture in an ice cream maker, and put in an airtight container for up to a week.
To quenelle, use boiling hot water to heat up your spoon and allow the ice cream to temper for about 2 minutes before scooping.
To assemble:
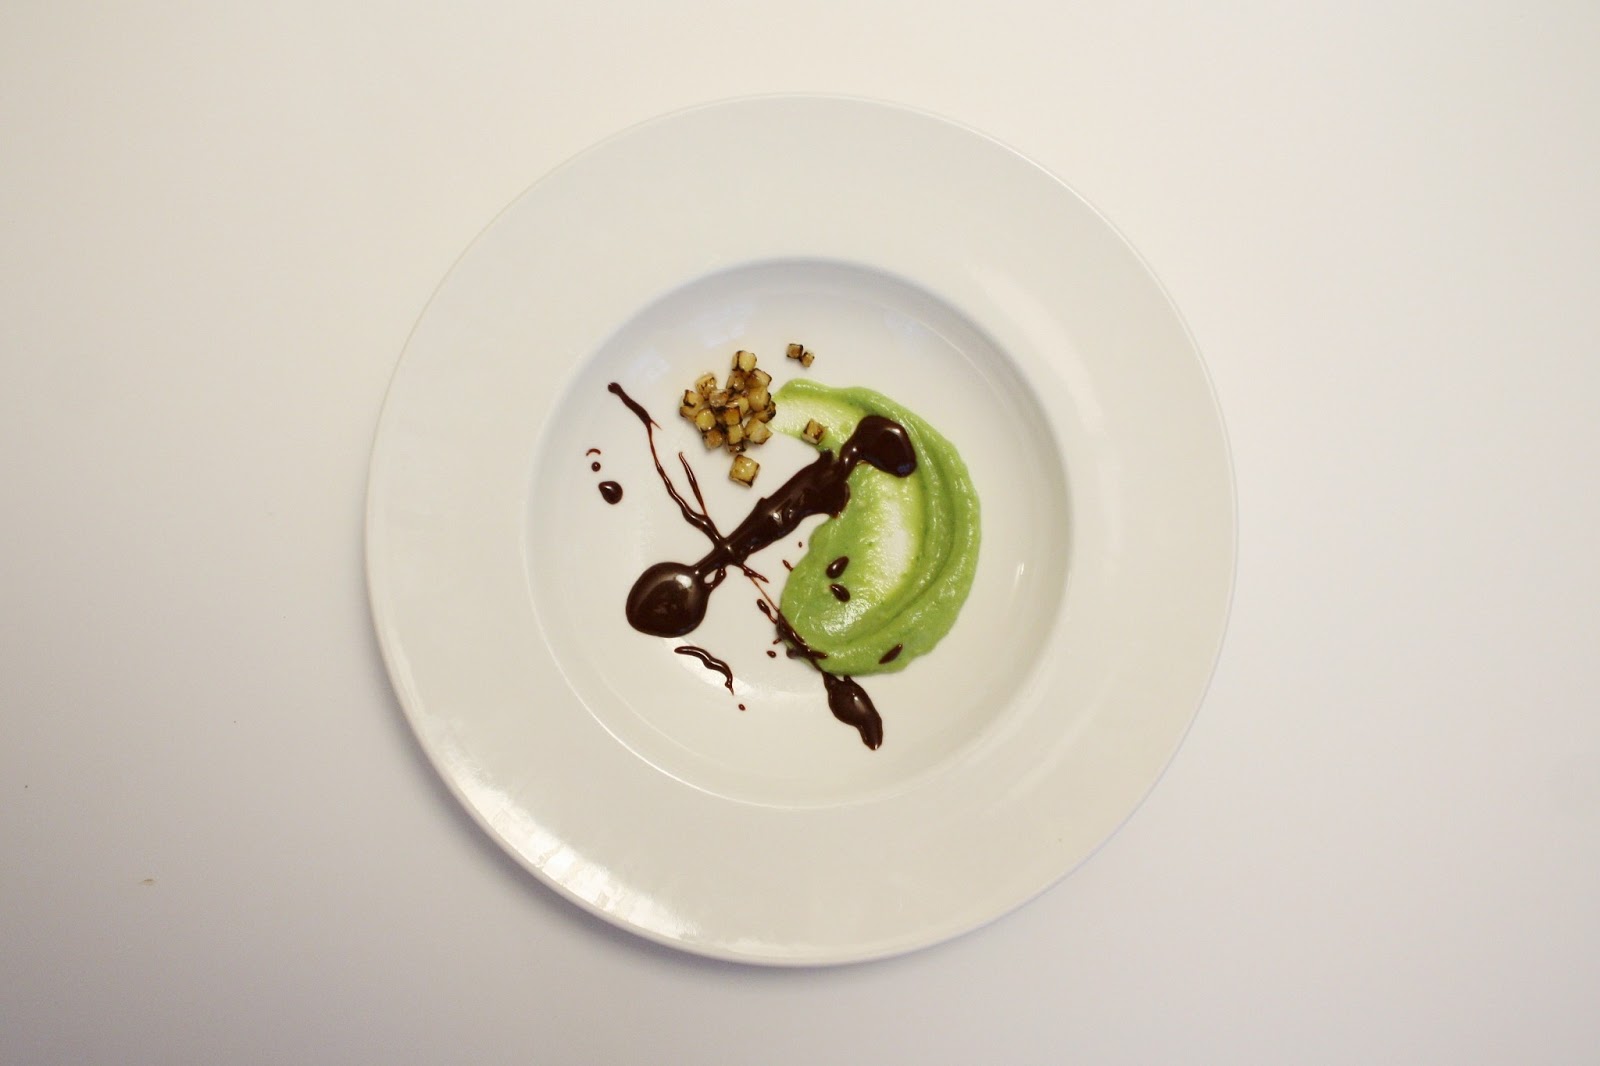
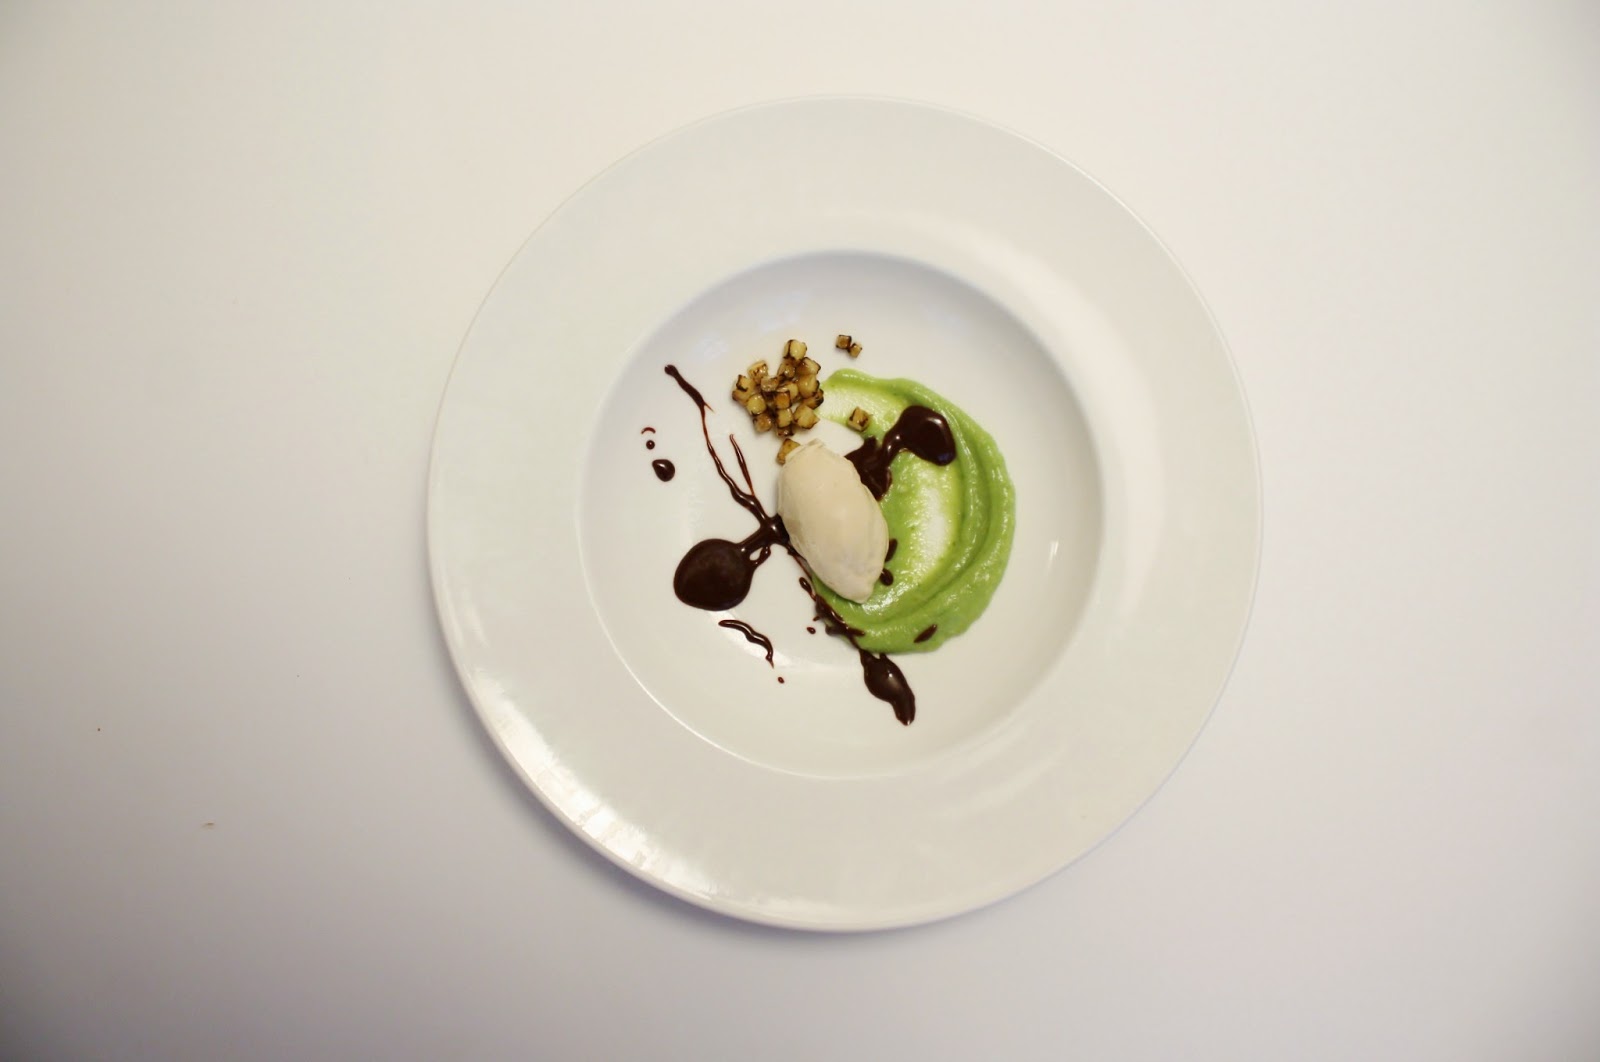
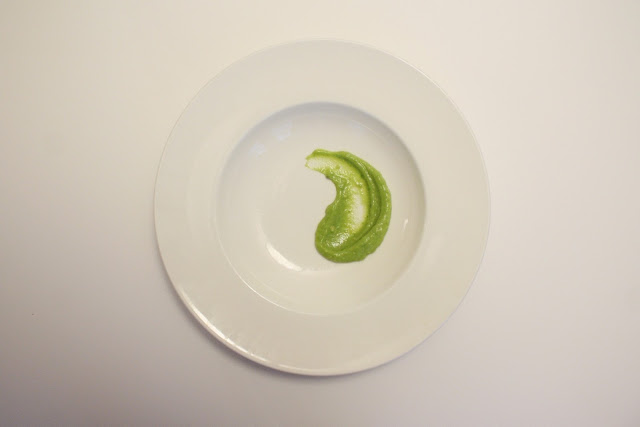
1. Place a dollop of avo-lime purée on the bottom of a plate, and, using the back of a spoon, swoop in an arc to create a schmear.
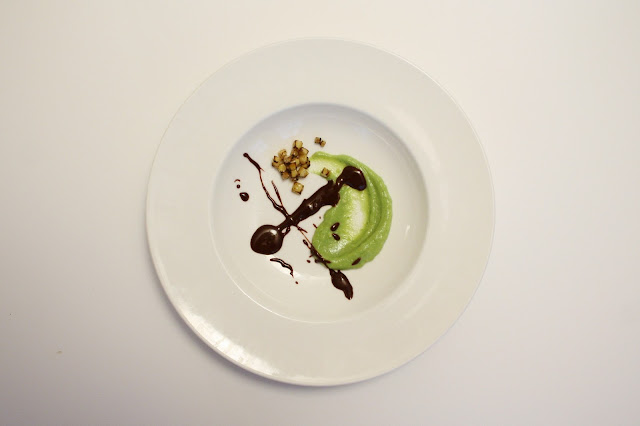
2. Splatter chocolate ganache on the plate.
3. Place your best cubes of banana onto the plate; pile them up into an organic pyramid.
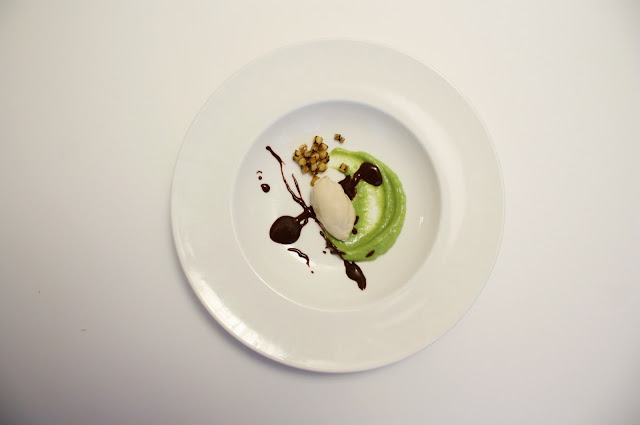
4. Place a quenelle of tempered ice cream in the center of the plate.
5. Place 3 pieces of sponge cake around the quenelle; do not make them symmetric.
6. Sprinkle corn cookies halfway onto the quenelle and around the plate.
Serve immediately.