Between Two Lungs

IMG_4859_01

“I’m so glad I live in a world with Octobers.”

-L.M. Montgomery, Anne of Green Gables
IMG_4838

Happy Halloween, y’all!

Have some cake.

Go ahead; dig right in.

IMG_4814_01

This cake won first place in a “study break”  competition in my residence hall!
Meaning it won my house points in the house cup (yes, just like the Harry Potter house cup!)!
!!!!!!!!!!!!!!

(DGH fo’ lyfe.)

I was so nervous/excited.
Now I’m excited/proud/tired.
Writing this at 2 am 3 am 4 am 10 am. FML.

(Yes, I actually tried to write this at all those times… I don’t want to talk about it.  I want to whine about it.)

IMG_4852

Guyyyyzzzzzz I was supposed to be doing a 12 problem calculus p-set last night, but I was at the study break celebration/competition (study break is a tradition at uChicago: it’s any treat that someone volunteers to make on Wednesday for the house to enjoy and take a break with) until 11, so I didn’t start the problem set until around then.

I did 6 problems in about an hour…

and then realized

that I did them

in the wrong section.

like WHAT I am taking calc at uChicago you would think I could tell the difference between

12.2 and 12.3 but NOPE no way so

I was up until 4am last night finishing this damn p-set for my 9am class this morning.

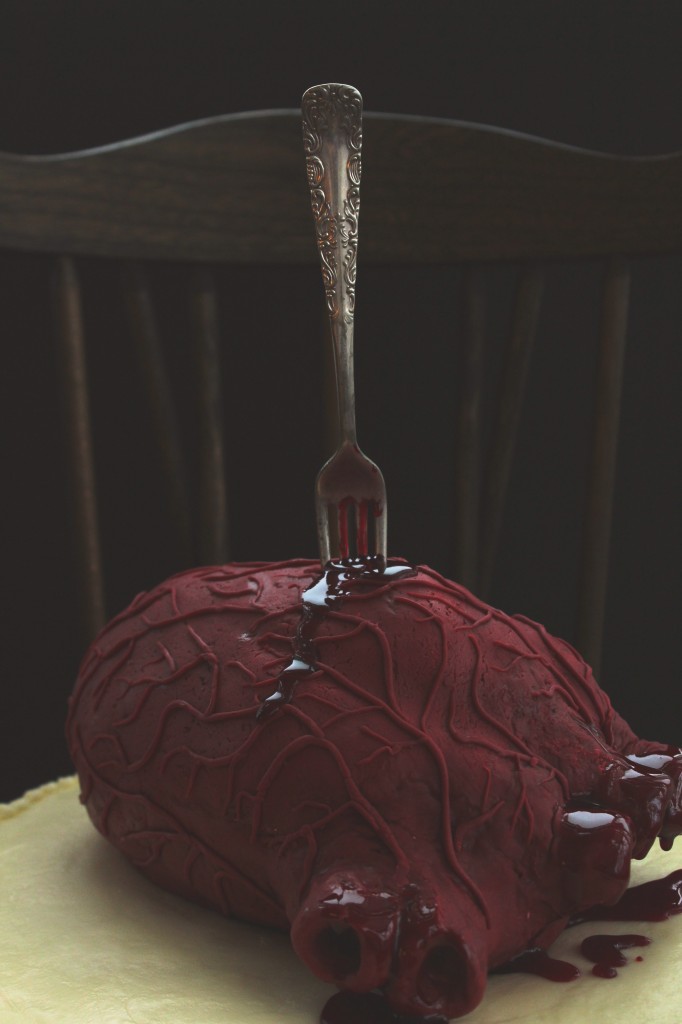
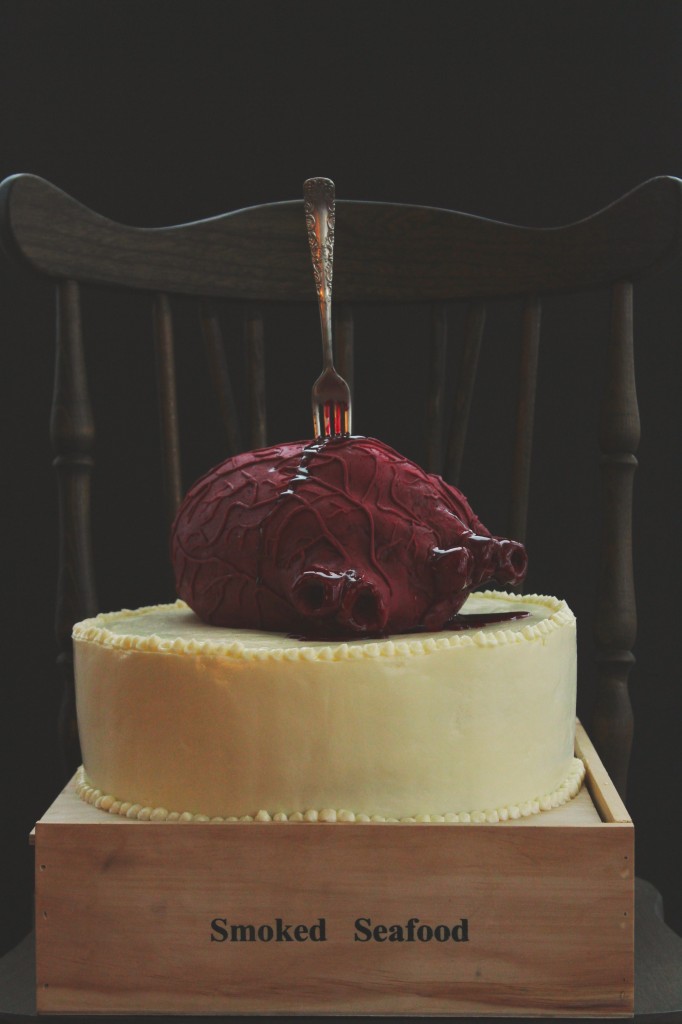
Moral of the story: I am a zombie and more so than ever, I want to eat this bloody heart cake.

IMG_4862

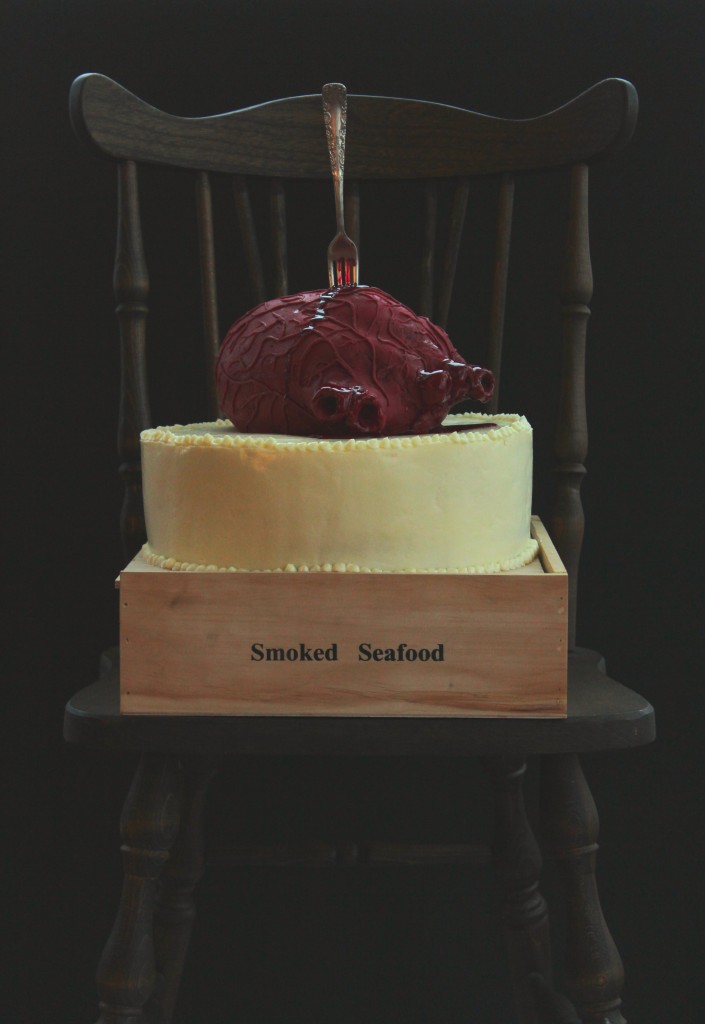
Let me give you a brief overview of this cake: (don’t be overwhelmed!)

it is a 12 inch, 5 layer cake

3 layers of tangy red velvet
2 layers of rich chocolate
enrobed in fluffy, silky Italian meringue buttercream
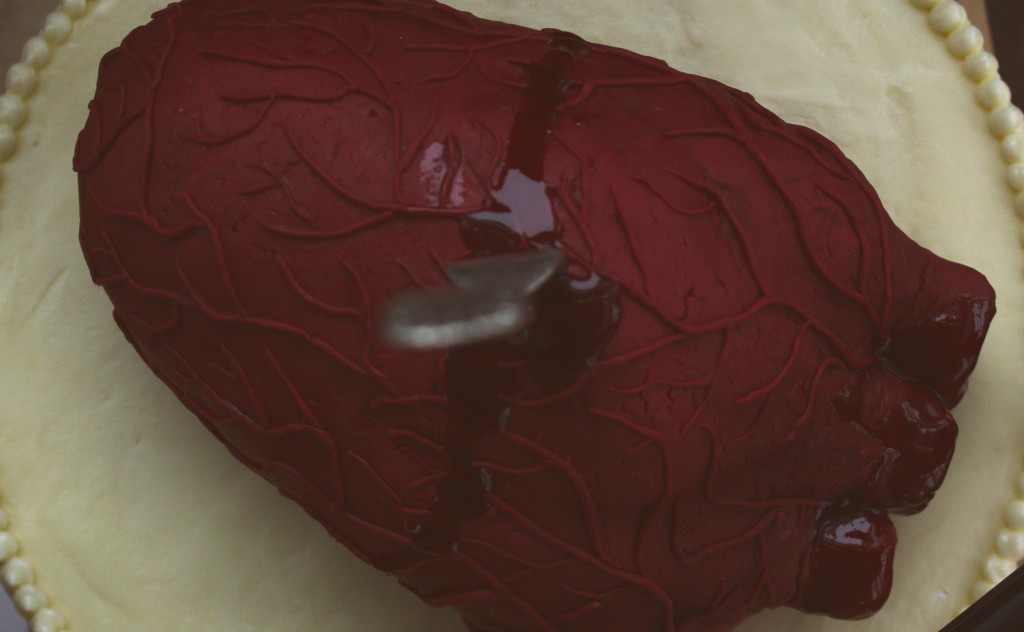
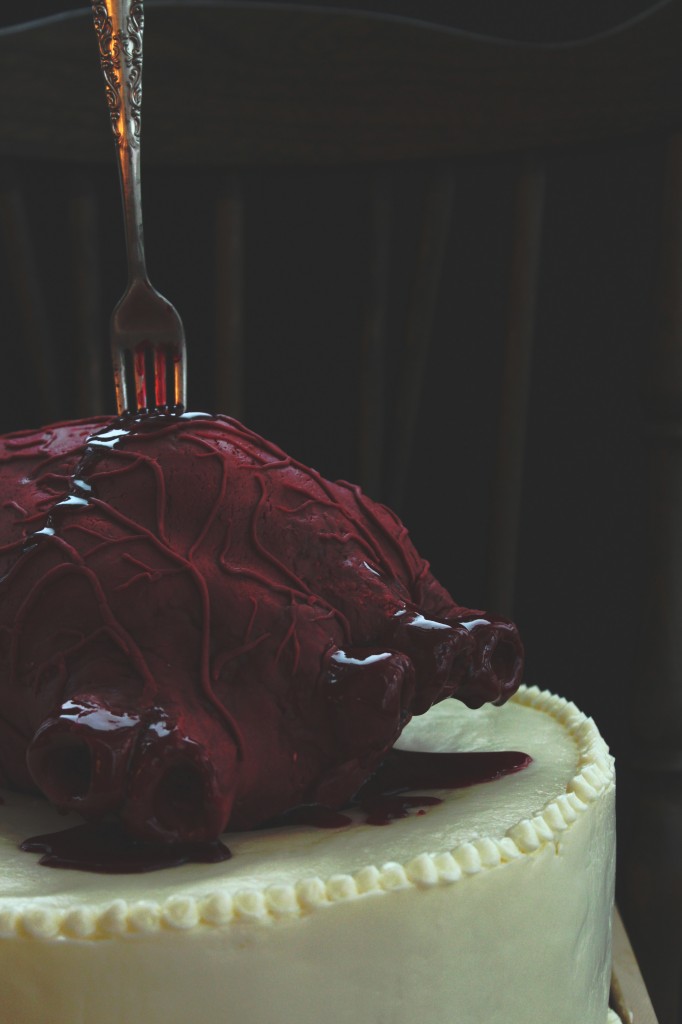
topped with a bleeding heart sculpted from rice krispies treats and covered in homemade marshmallow fondant.

It’s over the top, and somewhat grotesque.
But isn’t that what Halloween is all about?
I mean, c’mon.

Creepy bloody hearts are prime Halloween subjects.
Grab a fork and knife and tuck in!

IMG_4860

Bleeding Heart Cake

You’ll need:
3 batches red velvet cake (recipe below), baked in a 12×2 inch pan
2 batches chocolate cake (recipe below), baked in a 12×2 inch pan
2 batches Italian meringue buttercream (recipe below)
1 1/2 batches classic rice krispie treats (recipe from the Rice Krispie website, here) (I recommend only using a total of 2 tablespoons butter, instead of 4.5, to firm up your krispie treats)
1/2 batch royal icing (Bridget is the queen of royal icing… Go forth and prosper with her amazing and fail-proof recipe)
1/2 recipe marshmallow fondant, tinted red with a touch of green and purple (Annie’s directions are AWESOME and you should check them out… As well as the rest of her blog… It makes me swoon.  Love!)
Raspberry jam mixed with corn syrup and red food coloring to create a purple-red, thick fake blood (you have to eyeball this to your best ability)

directions:
While your krispie treats are warm, crunch them up a bit with oiled hands.
Begin to work the treats firmly, packing tightly, into an egg shape.
Mold a small, rectangular lump on the upper right “corner” of the heart; this will be your pulmonary artery and vein.
Make a slight indent that cuts from the upper right side to the middle/lower left side (refer to pictures!!!).
Freeze until hard; meanwhile, roll your fondant out to 1/4 inch thickness.
Cover the krispies with royal icing to smooth out any lumps, then cover in fondant, making sure there are no gaps where royal icing may seep through.
Seal the edges with a little bit of water and the dull side of a butter knife.
Begin to add on fondant on either sides of the diagonal indent to create slightly raised ventricles; adhere 3 balls at the top left “corner” and smooth them into cylinders to create your aorta- stick a dowel or pinky finger into the center to create the interior.
Do the same ball technique for the pulmonary vein and artery on the right upper corner.
Continue to smooth with water and a knife.
Once you are content with the shape (again, refer to pictures!), use the remaining fondant to roll tiny little veins, arteries, and capillaries.
Use a little bit of water to adhere the blood vessels to the outside of the heart, mapping them out so that all of the smaller vessels stem from a larger, central artery or vein.
Drape with plastic wrap and allow to dry slightly- I recommend overnight, but make sure it is covered in plastic lightly so that it doesn’t crack and dry out too much.
For the cake itself, layer a red velvet, then 1/3 cup frosting (the filling is very thin between the layers- they are moist enough that it is unnecessary, and too much filling will compromise the structure, so beware.), then a chocolate layer, then red velvet, and so on and so forth.
For red velvet and chocolate, a crumb coat is key.
Apply a thin layer of frosting to trap the crumbs, then refrigerate until completely set- about 30-45 minutes.
Ice the cake with the remaining buttercream, piping on details if you wish.
Place the heart in the center of the cake and stab it with a fork or knife, if desired.
Strategically drip some of your fake blood on the cake to give the illusion of a bleeding heart.
Go scare people!

Red Velvet Cake
adapted from the Food Network
makes 1 12×2 inch layer
ingredients:
150 grams (1 1/4 cups) flour
150 grams (3/4 cup) sugar
1/2 teaspoon baking soda
pinch salt
5 grams (1 tablespoon) cocoa powder
150 grams (1/2 cup plus 2 tablespoons) oil
120 grams (1/2 cup) milk, plus 1 tablespoon vinegar
1 egg
14 grams (1/2 ounce) red food coloring (the liquid kind)
directions:
Preheat oven to 350 degrees F and grease and flour a 12×2 inch pan.
Whisk the flour, sugar, baking soda, salt, and cocoa powder together.
Whisk the oil, milk, vinegar, egg, and food coloring together.
Whisk the wet into the dry ingredients and whisk well to combine.
Pour into pan and bake for 25-30 minutes, until a tester comes out clean.

Chocolate Cake
adapted from the Kitchn
makes 1 12×2 inch layer
ingredients:
200 grams (1 cup) sugar
105 grams (3/4 cup plus 2 tablespoons) flour
30 grams (1/4 cup plus 2 tablespoons) cocoa powder
3/4 teaspoon baking powder
3/4 teaspoon baking soda
big pinch salt
1 egg
60 grams (1/4 cup) oil
120 grams (1/2 cup) hot water
directions:
Preheat oven to 350 degrees F and grease and flour a 12×2 inch pan.
Whisk the sugar, flour, cocoa powder, baking powder, baking soda, and salt together.
Whisk the egg and oil into the dry ingredients.
Whisk the hot water into the batter; it will be very, very thin.
Pour into prepared pan and bake for 25-30 minutes, until a tester comes out clean.

Italian Meringue Buttercream
more in-depth directions here
ingredients:
5 egg whites
200 grams (1 cup) sugar, plus 20 grams (scant 2 tablespoons) (divided)
56 grams (scant 1/4 cup) water
500 grams (4 1/2 sticks) butter, cut into chunks and softened but still quite cool
directions:
Whisk the egg whites with 20 grams of sugar.
Meanwhile, heat the rest of the sugar with the water in a saucepan until it reaches 240 degrees F.
At this point, the meringue should be at softly stiff peaks.
Drizzle the hot syrup over the meringue and beat until cooled to body temperature.
Beat in the butter 1 tablespoon at a time; keep beating until frosting is light and silky.

Scavenged

IMG_4739_01

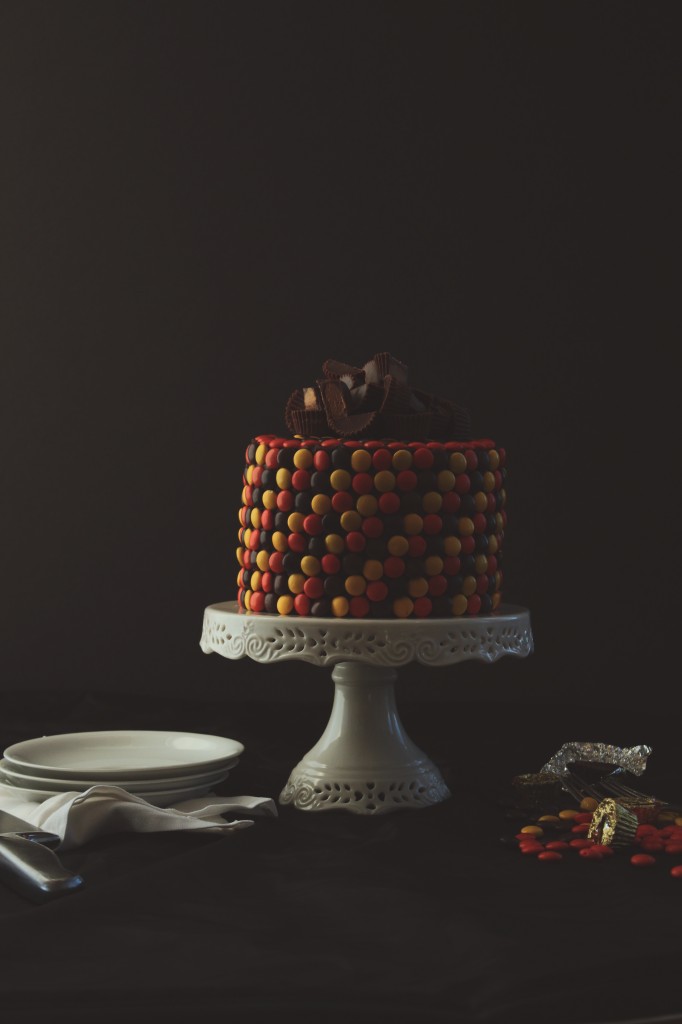
This cake soothed some of my OCD tics for a beatific hour or so.

IMG_4750_01

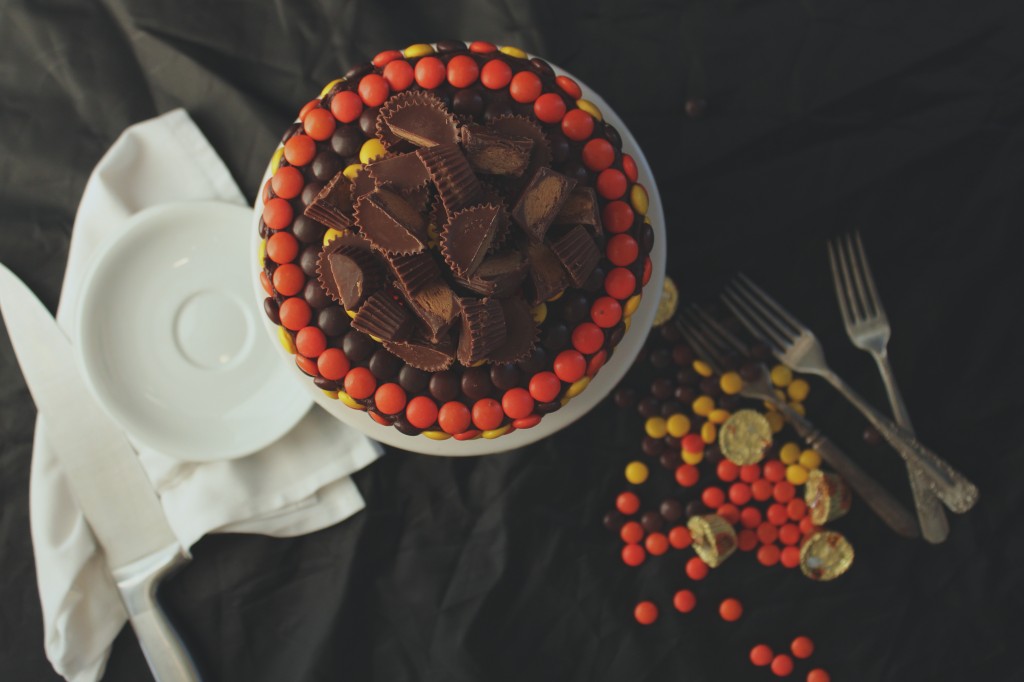
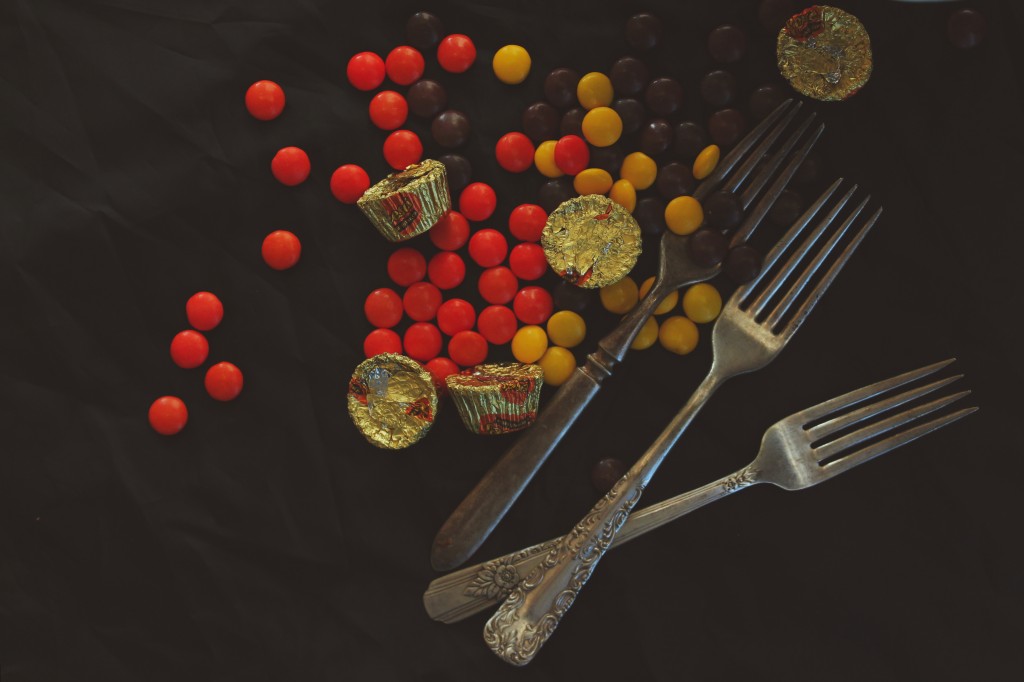
It was very fulfilling to separate the Reese’s Pieces by color.  I felt good, even though it ate away at 45 minutes of my free time, which is precious little here in college.

I ended up sorting through almost twice as many as I needed.  Oh well.

While I was mindlessly dropping each color into its own bowl, I stopped biting my lips, something which has become quite a subconscious and destructive tic.

Cake works wonders, I tell ya.

IMG_4736_01

The inspiration for this cake hit me in a CVS candy aisle, like all good ideas do.
I was buying Robitussin for this ridiculous cold I still have.
They were selling bags of Reese’s Pieces, 2 for $6.

My first thought was

CAKE.

IMG_4782_01

Reese’s Pieces have never been among my top candy choices.
To be honest, I would almost certainly choose m&ms over them any day.
That being said, they are purrrfect for Halloween treats.

Other times of the year, the colors leave something to be desired.
When Halloween rolls around, though, it’s go time.

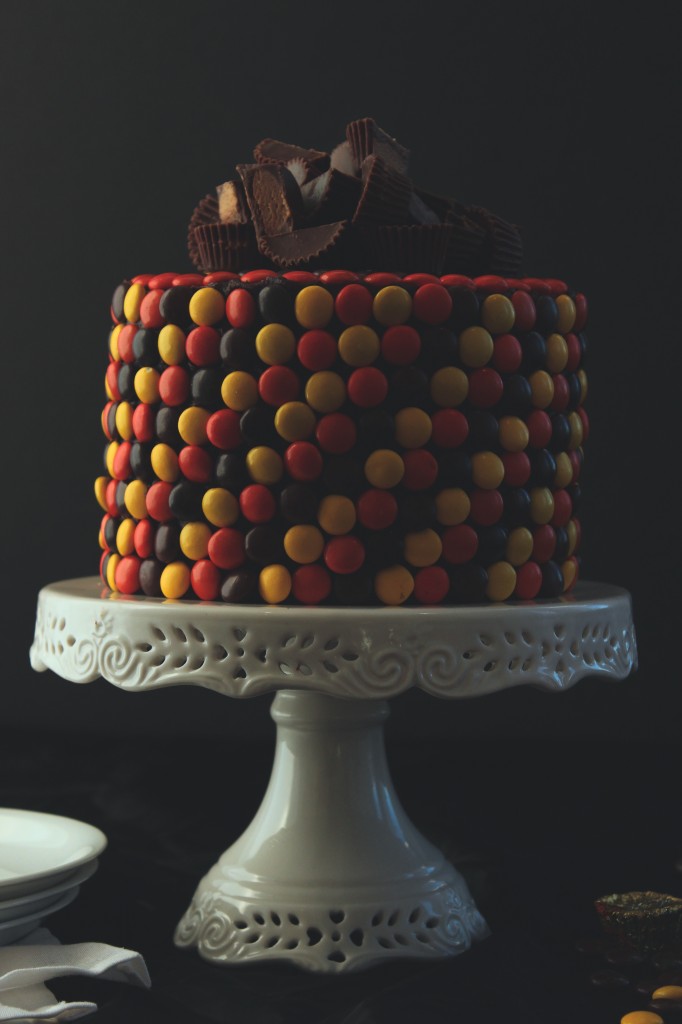
Armed with lots of Reese’s Pieces, I began to plan for a Halloween cake.

Obviously, it had to be peanut butter

and therefore

also chocolate.

But most recipes I found were chocolate cakes covered in some sort of peanut butter frosting.
I had my heart set on the opposite- peanut butter cake with chocolate frosting.

Mainly because, well, have you seen how many chocolate cakes are on this blog?  It’s a little ridiculous.
I feel like I make a chocolate cake every two weeks.

I needed change.

IMG_4733_01

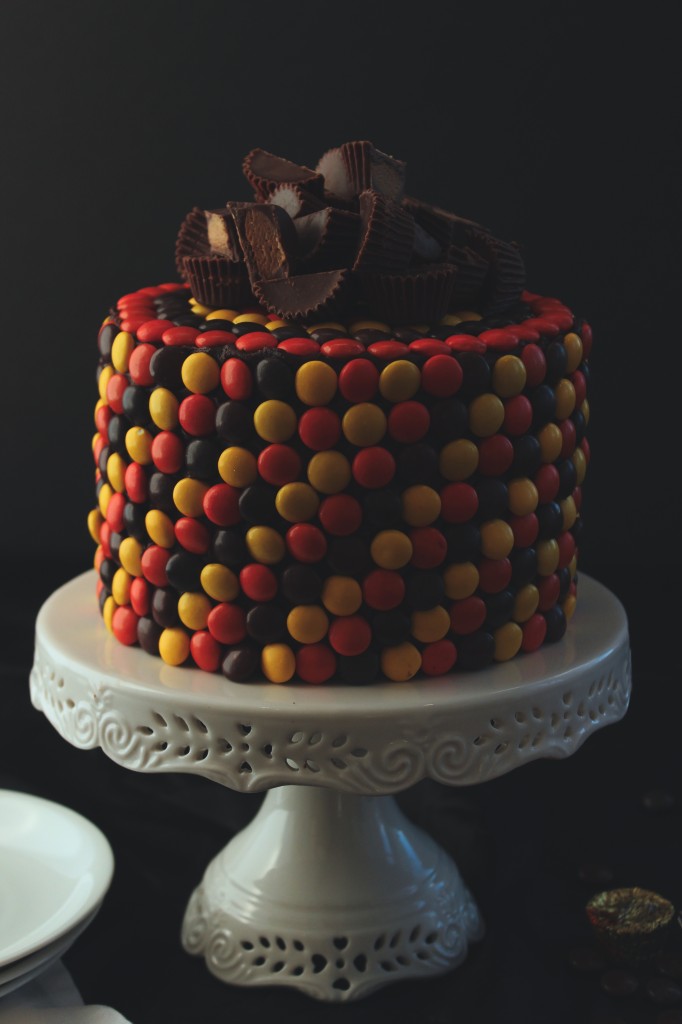
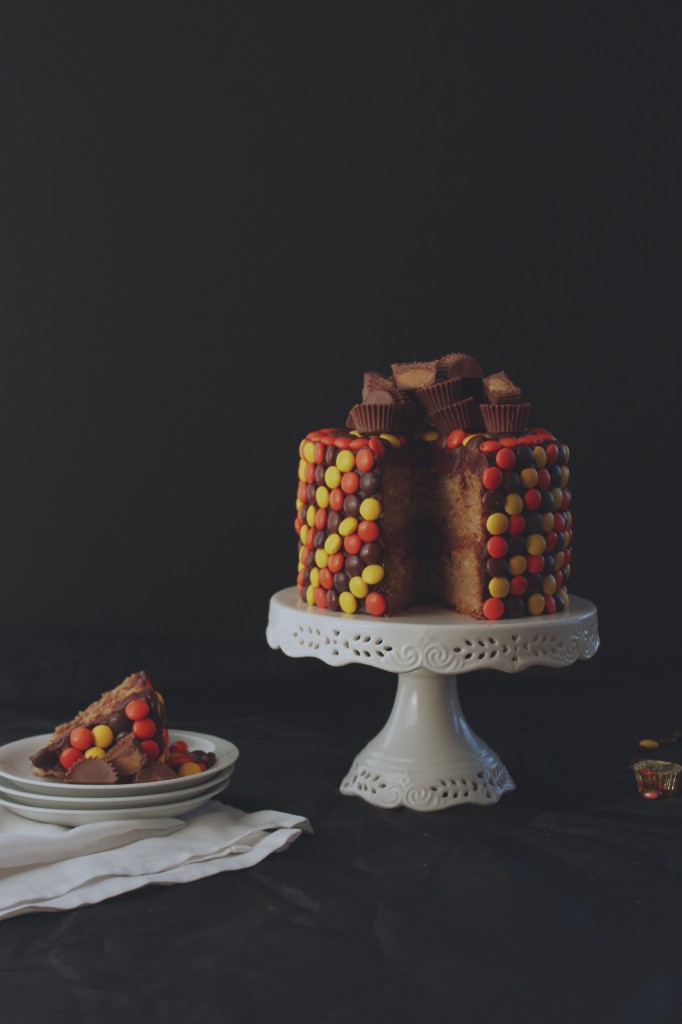
In the end, the cake was a two layer peanut butter cake which was soft and flavorful, covered in whipped peanut butter and bittersweet chocolate ganache, and decorated with Reese’s Pieces and PB cups.

It was supposed to be three layers

but

I dropped one of the pans and it fell on the ground and broke into a million pieces and my friends and I gobbled it up, fresh and hot, right then and there.  RIP.

This is a scavenged cake because I swiped the peanut butter for it from the dining hall.
I convinced my friends to each grab me a few of the little tablespoon-sized packets.

I myself grabbed a few and the resultant ridiculous amount of PB was smuggled out in my backpack, which ended up being the perfect amount for this cake.
Hooray!

P.S. note that this is another Halloween post sans pumpkin.  Ahem.

IMG_4735_01

Peanut Butter Cup Cake
cake portion adapted from Simply Gloria
ingredients:

for the cake:
1 cup creamy peanut butter
1/2 cup butter, softened
1 1/4 cup sugar
big pinch kosher salt
2 eggs
splash vanilla
1 cup milk, plus 1 1/2 teaspoons apple cider vinegar
2 1/4 cup flour
1 1/4 teaspoon baking soda
1 teaspoon baking powder

for the ganache:
1/2 cup plus 2 tablespoons cream
6 tablespoons butter
8 ounces (1/2 pound) chocolate, chopped
1/2 cup peanut butter

for decoration (optional):
Reese’s pieces
peanut butter cups, chopped

directions:
Make the cake: preheat oven to 350 degrees and grease and flour 3 6-inch pans.
Whisk flour, baking powder, and baking soda together; set aside.
Beat peanut butter and butter together until completely smooth, about 4 minutes.
Add in the sugar and salt and beat until combined well, about 2 minutes.
Scrape the sides of the bowl and add the eggs and vanilla; beat until completely combined, 2 minutes more.
While mixing very slowly, stream in the buttermilk while simultaneously shaking in the flour mixture.
Mix until completely combined then scrape the sides of the bowl and mix a little more.
Spread into your pans and bake for 25-27 minutes.
Allow to cool completely.

Meanwhile, make the frosting: melt the cream, chocolate, and butter together in a microwave safe bowl; gently stir together and put in fridge to cool.
Once the ganache is semi solid and chilled, whip it until it becomes fluffy; add the peanut butter and whip until the ganache is fluffy, light-colored, and spreadable.

Decorate to your heart’s content!

Orange You Glad

IMG_4561

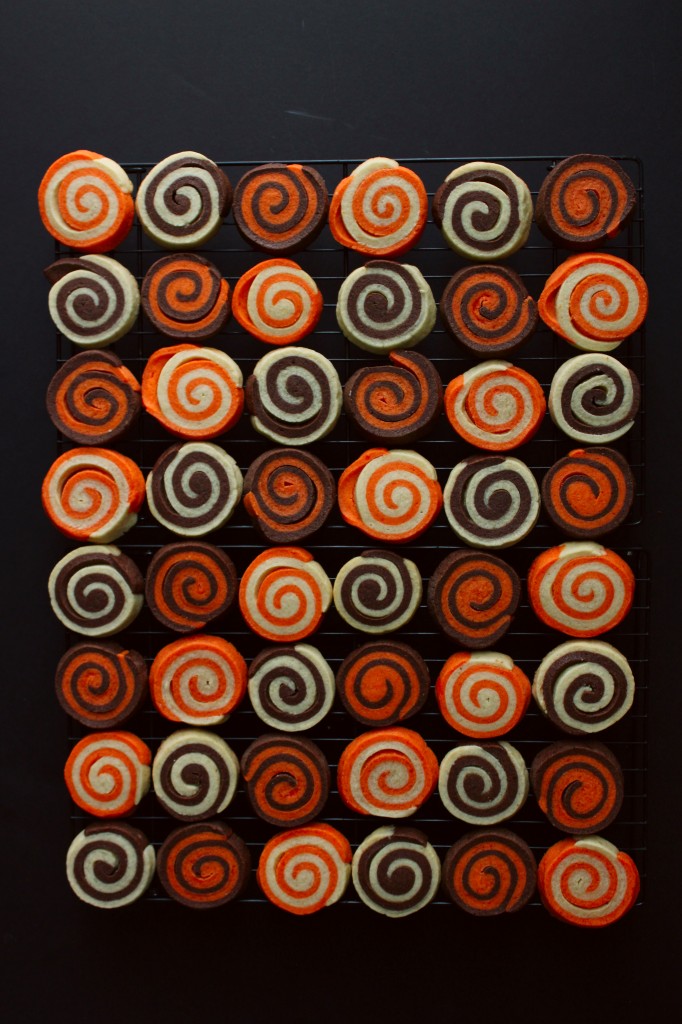
Orange you glad I didn’t make these with pumpkin?

IMG_4563

Because guys, seriously.  I know it’s fall.  You know it’s fall.  And pumpkin is exciting, (in fact, I have some yeast-raised pumpkin goodies coming for you soon…)
BUT good gracious gravy everyone has been blogging about pumpkin pumpkin pumpkin… Similar to all the white girls tweeting about PSL. (Sorry, not sorry.  At all.  lol.)

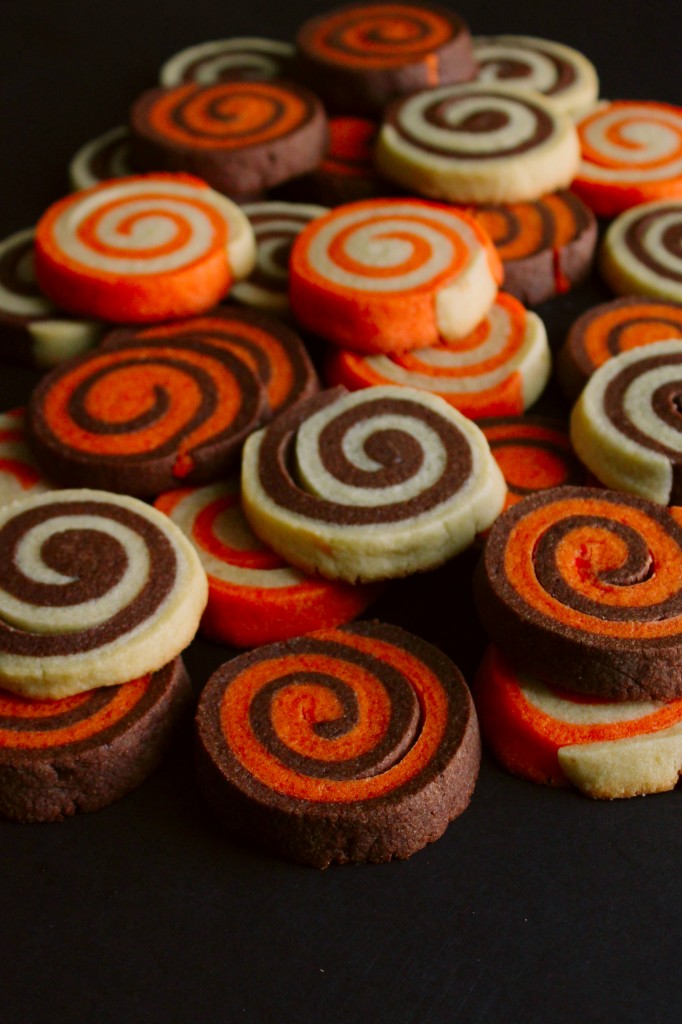
So, I rebelled.  These orange-colored cookies are actually made with oranges, not pumpkin.
I regret nothing.

These are super simple, using my 3-2-1 dough as a base recipe.  I made three batches- one vanilla, one chocolate, and one orange, then divided each in half.
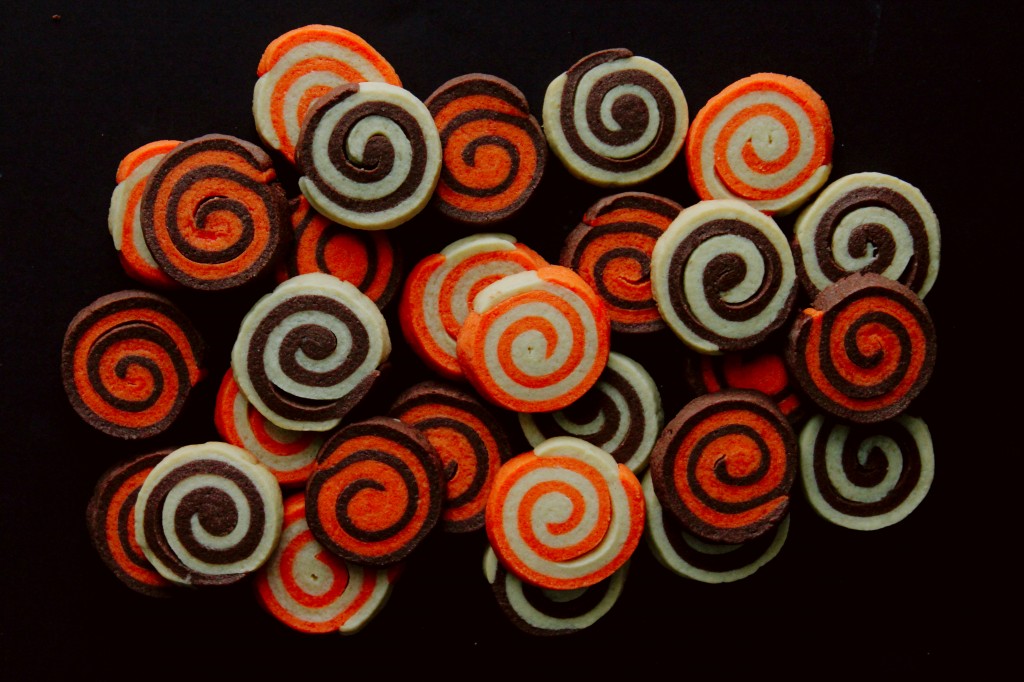
The doughs were rolled up tightly, sliced, and baked into adorable little spirals.
They’re so cute I could squeal!!
SO cute, SO easy, and SO yummy.  It’s the trifecta of cookie perfection!

Can we just talk about how great slice-and-bake cookies are?  In love.

Anyways, these cookies are perfect for a Halloween party.
You can make the dough in advance, keep in the fridge all rolled up and ready, and whenever you want cookies, all that you have to do is thaw the dough, cut however many cookies you want, and bake!
*Note: these cookies bake best (hold their shape best) when baked from room temperature.

See you soon for more spooky treats!

IMG_4582

Orange, Chocolate, and Vanilla Swirl Cookies 

ingredients:

For the vanilla dough:
225 grams (2 sticks, 16 tablespoons) butter
200 grams (1 cup) sugar
Two big pinches (scant 2 teaspoons) kosher salt
1 egg
Splash vanilla
360 grams (3 cups)flour

For the orange dough:
225 grams (2 sticks, 16 tablespoons) butter
200 grams (1 cup) sugar
Zest of 2 oranges
Orange gel food coloring (optional)
Two big pinches (scant 2 teaspoons) kosher salt
1 egg
Splash vanilla
360 grams (3 cups) flour

For the chocolate dough:
225 grams (2 sticks, 16 tablespoons) butter
90 grams (scant 1/2 cup unpacked) brown sugar
110 grams (heaping 1/2 cup) sugar
2 big pinches (scant 2 teaspoons) kosher salt
1 egg
300 grams (2 1/2 cups) flour
45 g (1/2 cup) cocoa powder

Directions (for all the doughs):

(For the orange dough only: rub the zest into the sugar with your fingertips before beating the orange sugar, butter, salt, and food coloring together)
Beat the butter, salt, and sugar(s) together for 3 minhtes.
Scrape the sides of the bowl, add the egg and vanilla, and beat for 2 more minutes.
Scrape the sides of the bowl and add the flour (or flour and cocoa powder, for chocolate dough).
Mix until a thick dough forms.
Divide into equal halves and form into rectangles.
Refrigerate, wrapped in plastic, for at least 30 minutes.
Roll out each half into a rectangle between 1/8 and 1/4 inch thick.
Layer one chocolate half over a vanilla half, the other vanilla half over an orange half, and the other orange half over the leftover chocolate half.
Working gently and slowly, roll each up very tightly, making sure not to crack the dough.
Refrigerate for at least 30 minutes.
Slice the cookies about 1/4 to 1/3 inch thick with a sharp knife, and place on a cookie sheet lined with parchment paper.
Do not chill your cookies!
Make sure they are room temperature; leave them on the counter as your preheat the oven to 350 degrees F.
Bake for 10-12 minutes, until the edges are set and the bottoms start to become lightly golden.