Beat the Heat Up

It’s hot.

I don’t know if you’ve noticed or anything, but a heat wave has swept over America, roasting every square inch from east to west.

It it is as hot as a furnace in the sun. I love it. Kinda.
Though it’s cooling off to some extent, I thought that everyone would appreciate a list of heat wave emergency solutions…

Eat a Popsicle.


Eat gazpacho.


Eat entire watermelons out of your refrigerator.


Lie in your cool basement in front of a fan.


Lie in your underwear in front of said fan.


Sleep nekked.


Banish pants from your vocabulary and your closet. See also: turtlenecks, sweaters, sweatshirts, etc. 


Bake bread on the grill.


Drink sweet tea.


Pant.


Seek out air conditioning (air-con, for Koreans), because the people who run your household have not bothered providing it in any rooms except for theirs, at movie theaters, supermarkets, hospitals, and your friends’ houses.


Do not, and I repeat, do not turn on your oven at any point in time.  Not that you’re stupid enough to do so.


Swim.


Whine.

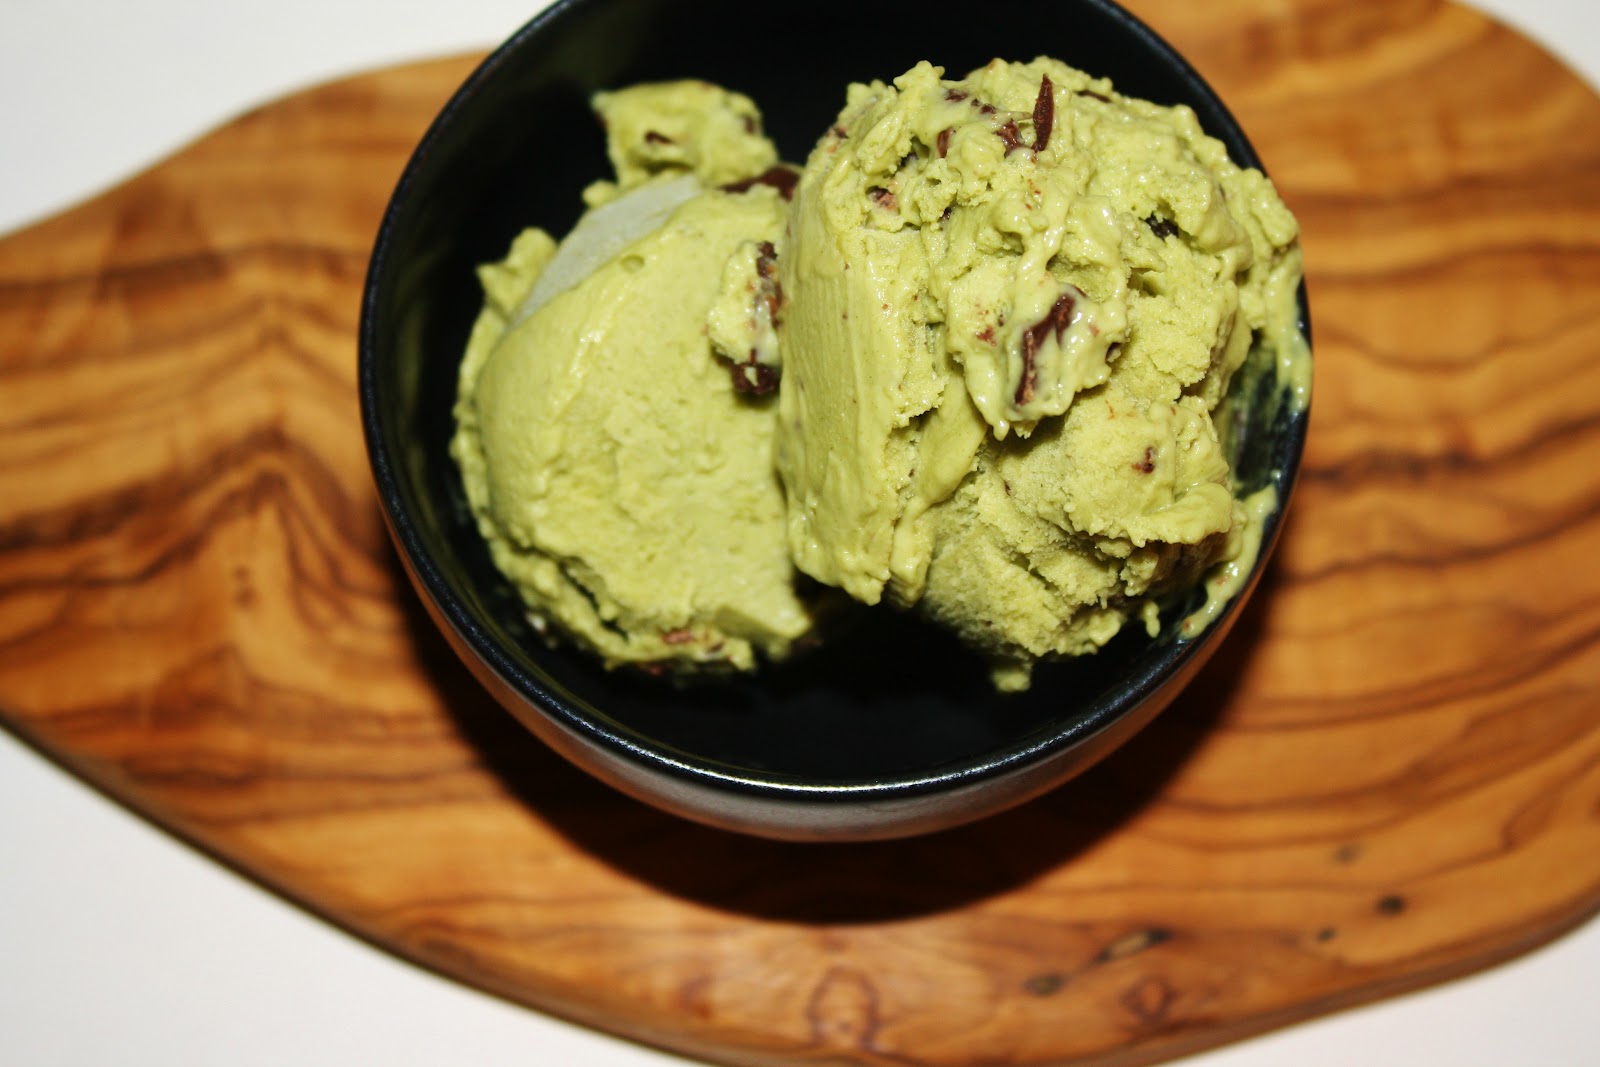
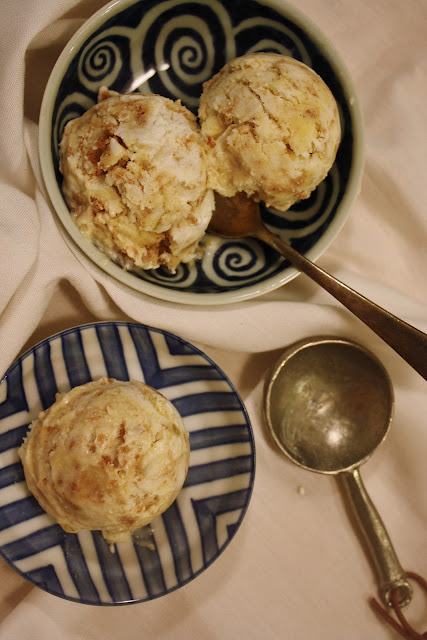
Make this ice cream.

It’s refreshing, cold, and easy to make. It tastes good, and it is super creamy. Perfect for this heat. 

Anyways, excuse me while I dissolve into a puddle of sweat and ice cream… Mmmm.

 Matcha Chocolate Chunk Ice Cream

Adapted from userealbutter
Ingredients:
6 egg yolks
3 cups whole milk (I used a mixture of half-and-half and 1%)
3/4 cup sugar
4 teaspoons matcha powder
Pinch of sea salt
1/4 cup cornstarch
1/3 to 1/2 cup heavy cream
8 ounces bittersweet chocolate, cut up into chunks
Directions:
Whisk the yolks, sugar, milk, salt, and matcha together in a medium saucepan. Cook on medium heat until mixture thickens. Soft cornstarch over the top and blend with an immersion blender. Cook until mixture is custardy and thick: you should be able to draw a line on the back of a custard-covered spatula with your finger and have the track remain intact.  Remove from heat and cool.  Once cooled, mixture will be a bit congealed.  Whisk in the heavy cream to loosen it up a bit.  Freeze according to your ice cream maker’s instructions, and when it is almost done, add in (or fold in) your chocolate chunks.  Ice cream will harden if you store it in your freezer for a long time, but if you take it out and let it thaw for 5 minutes, scooping should be a breeze.

Stoned

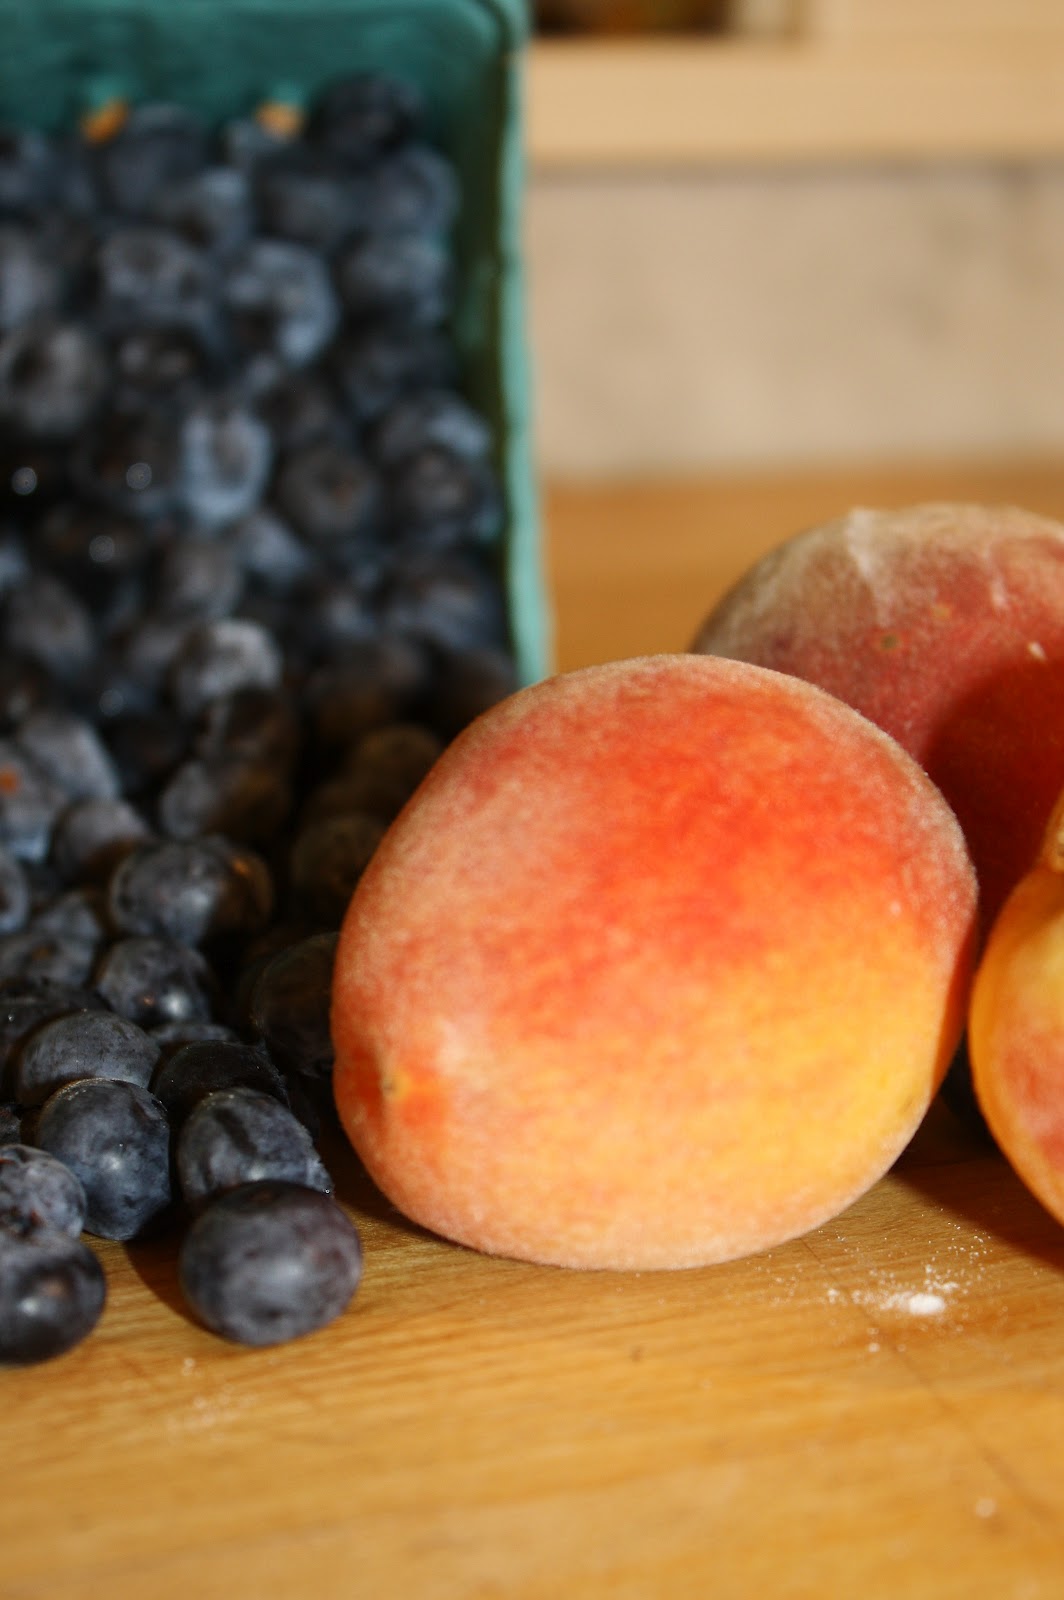
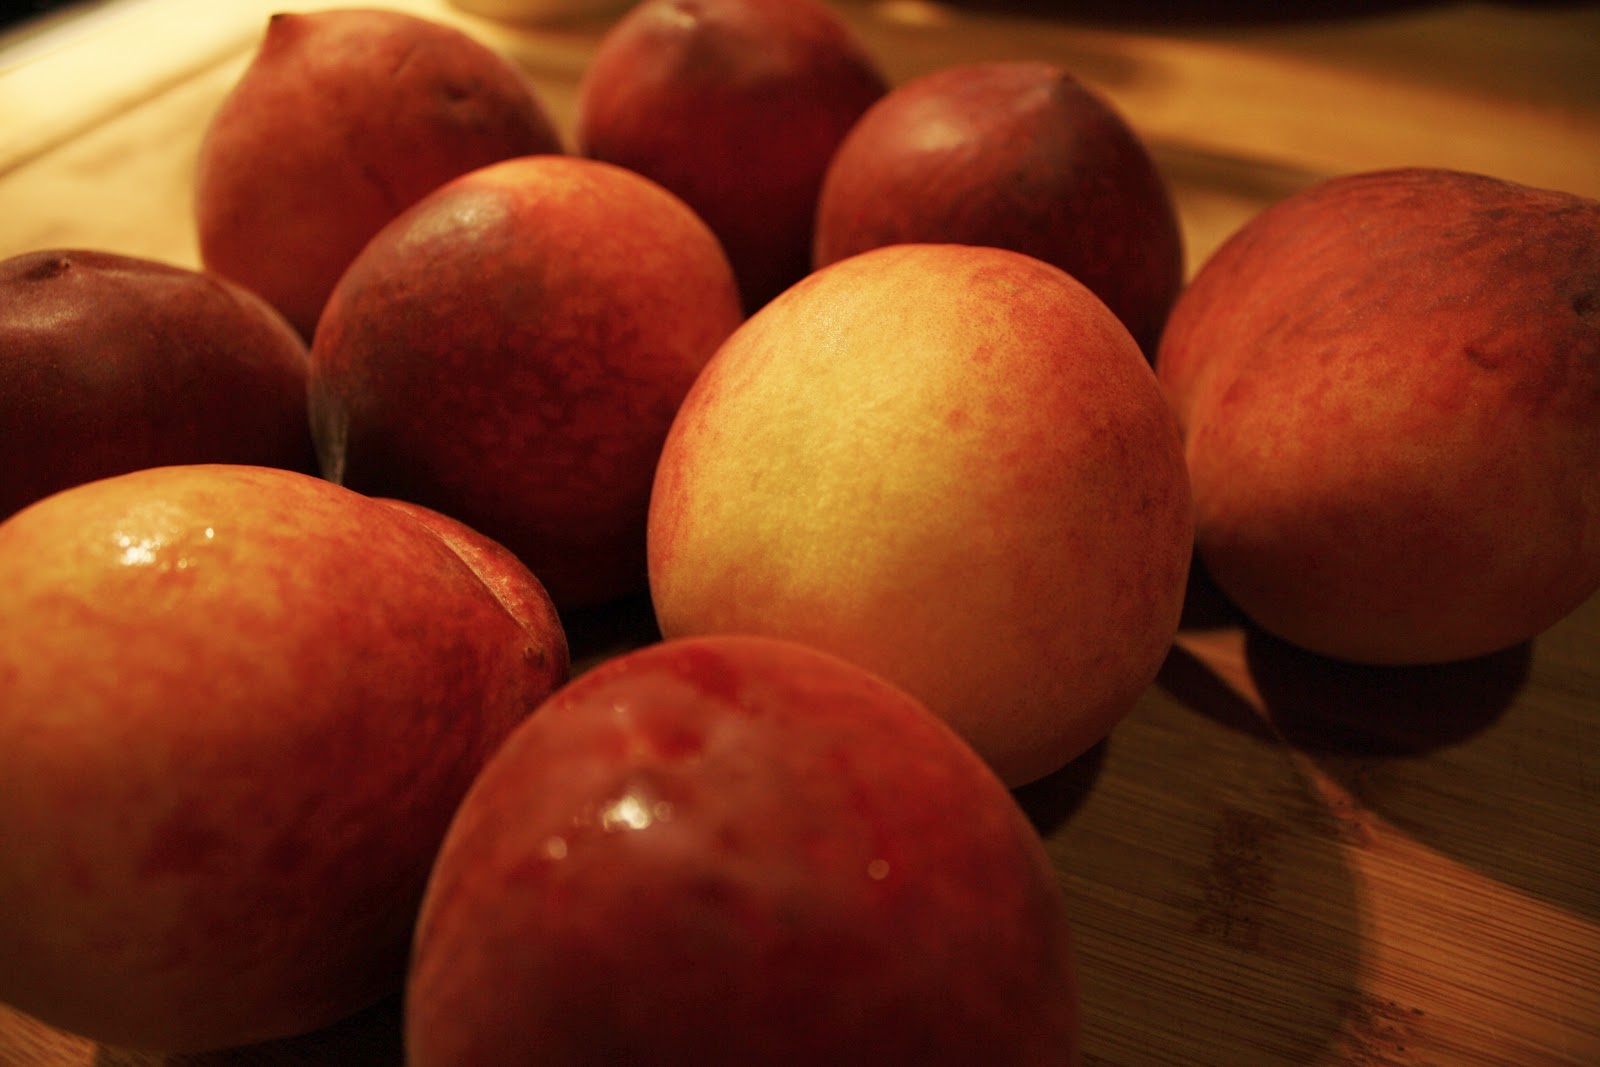
I’m referring to stoned fruits, of course: those token fruits of summer.  Juicy, sweet, ripe peaches, plums, nectarines, cherries, and apricots.

Now that summer has started and these fruits abound, I’m in heaven.  Seriously.  There is nothing better on a summer morning than some plain Greek yogurt with a sliced up white peach.  
Summer is a fruit lover’s dream.  Go to your local farmer’s market and take a look around: you’re sure to find some amazing fruits, right along with the towering piles of garlic scapes and swiss chard.  The other weekend, I picked up some beautiful red and green gooseberries and long, slender stalks of rhubarb, which I combined into an olive/pumpkin seed oil-polenta crumble.  It was divine… In fact, it was gone too quickly for me to photograph (ugh), but I’ll share the recipe anyways.  It’s a keeper, for those times when you might have some gooseberries and rhubarb lying around… Actually, it might be worth seeking out these seemingly esoteric ingredients.  Inquire around your local market, I’m sure you can get your greedy paws hands on some.
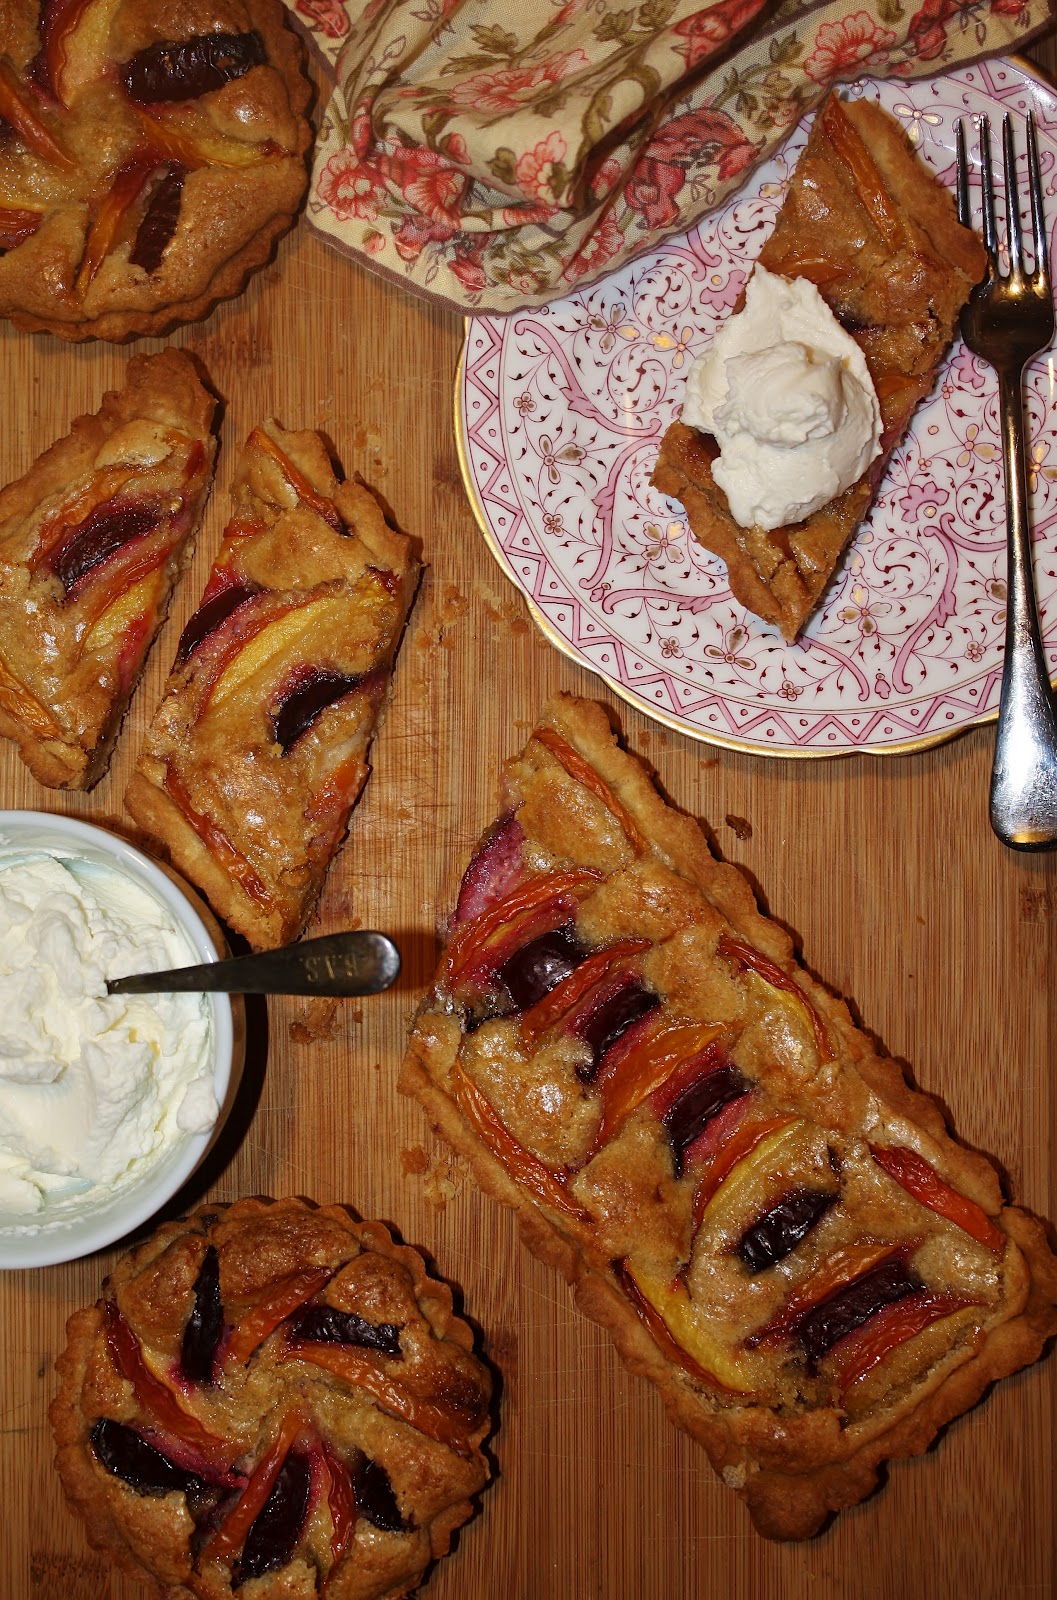
As for the tart(s) that are in the photos, they were quick almond-plum-nectarine tarts that I whipped up for a dinner guest.  Slightly sweet chantilly topped them off for a perfectly light summer dessert.  I was lucky that I took photos of them that very night, because the next morning not a crumb was left.  

Other than the aforementioned stone fruits, I’m looking forward to a summer bounty of beets, kale, tomatoes, raspberries, strawberries, blackberries, spicy carrots, an overwhelming amount of zucchini, melons, peppers, and squash.  I’m always somewhat surprised when I’m reminded of how bountiful the region where I live really is;  I’m always reminded to be thankful.  What are you looking forward to in your CSA baskets, grocery shopping carts, or gardens this summer?

Gooseberry, Rhubarb, and Polenta Crumble
Ingredients:
1 1/2 cups red and green gooseberries
6 small stalks of rhubarb, cut into 1/2 inch long pieces
2/3 cup turbinado sugar
1/4 cup plus 2 tablespoons whole wheat flour
1/4 cup stone-ground polenta
1/4 cup cornmeal
pinch of sea salt
1/3 cup+ oil (I used pumpkin seed and olive oil, and ended up needing just a splash more)
Directions:
Preheat oven to 375 degrees F.  Toss the gooseberries and rhubarb with 1/3 cup turbinado sugar in an oven-proof dish.  Put them in the oven while you prepare the crumble.  Mix the flour, salt, sugar, and cornmeals in a bowl.  While stirring, add in the oil until the mixture comes together and has a texture like wettish sand.  Pull the fruit out of the oven and top with the crumble.  Bake for 35-40 minutes, or until the juices are bubbling at the sides and the crumble is slightly crisp.

Nectarine and Plum Almond Tart
Bits and pieces from Dorie Greenspan’s Baking
Ingredients:
1 recipe tart dough
4 ripe nectarines
3 ripe plums
6 tablespoons butter, softened
2/3 cup sugar
3/4 cup blanched, ground almonds
2 teaspoons flour
1 teaspoon cornstarch
1 egg
splash vanilla extract
tiny splash almond extract
Directions:
Press your tart dough into your pan , prick with a fork, line with buttered foil, shiny side down, and freeze.  Preheat oven to 375 degrees F.  Bake tart dough for 15 minutes.  Pulse the butter and sugar in a food processor until the mixture is smooth.  Add the almonds, flour, and cornstarch and process, then add the egg.  Add the extracts and process for just 15 seconds.  Refrigerate.  Slice up your plums and nectarines into thin slices.  Remove the foil from the shells, pour in the almond cream, and arrange the slices as you desire.  Bake for 50-60 minutes, or until the almond cream has puffed up and become golden brown.  Let cool in pan, then remove to serve.  Serve with fresh chantilly if desired (whip cream with a touch of confectioner’s sugar until soft peaks form).  

She’s A Rainbow

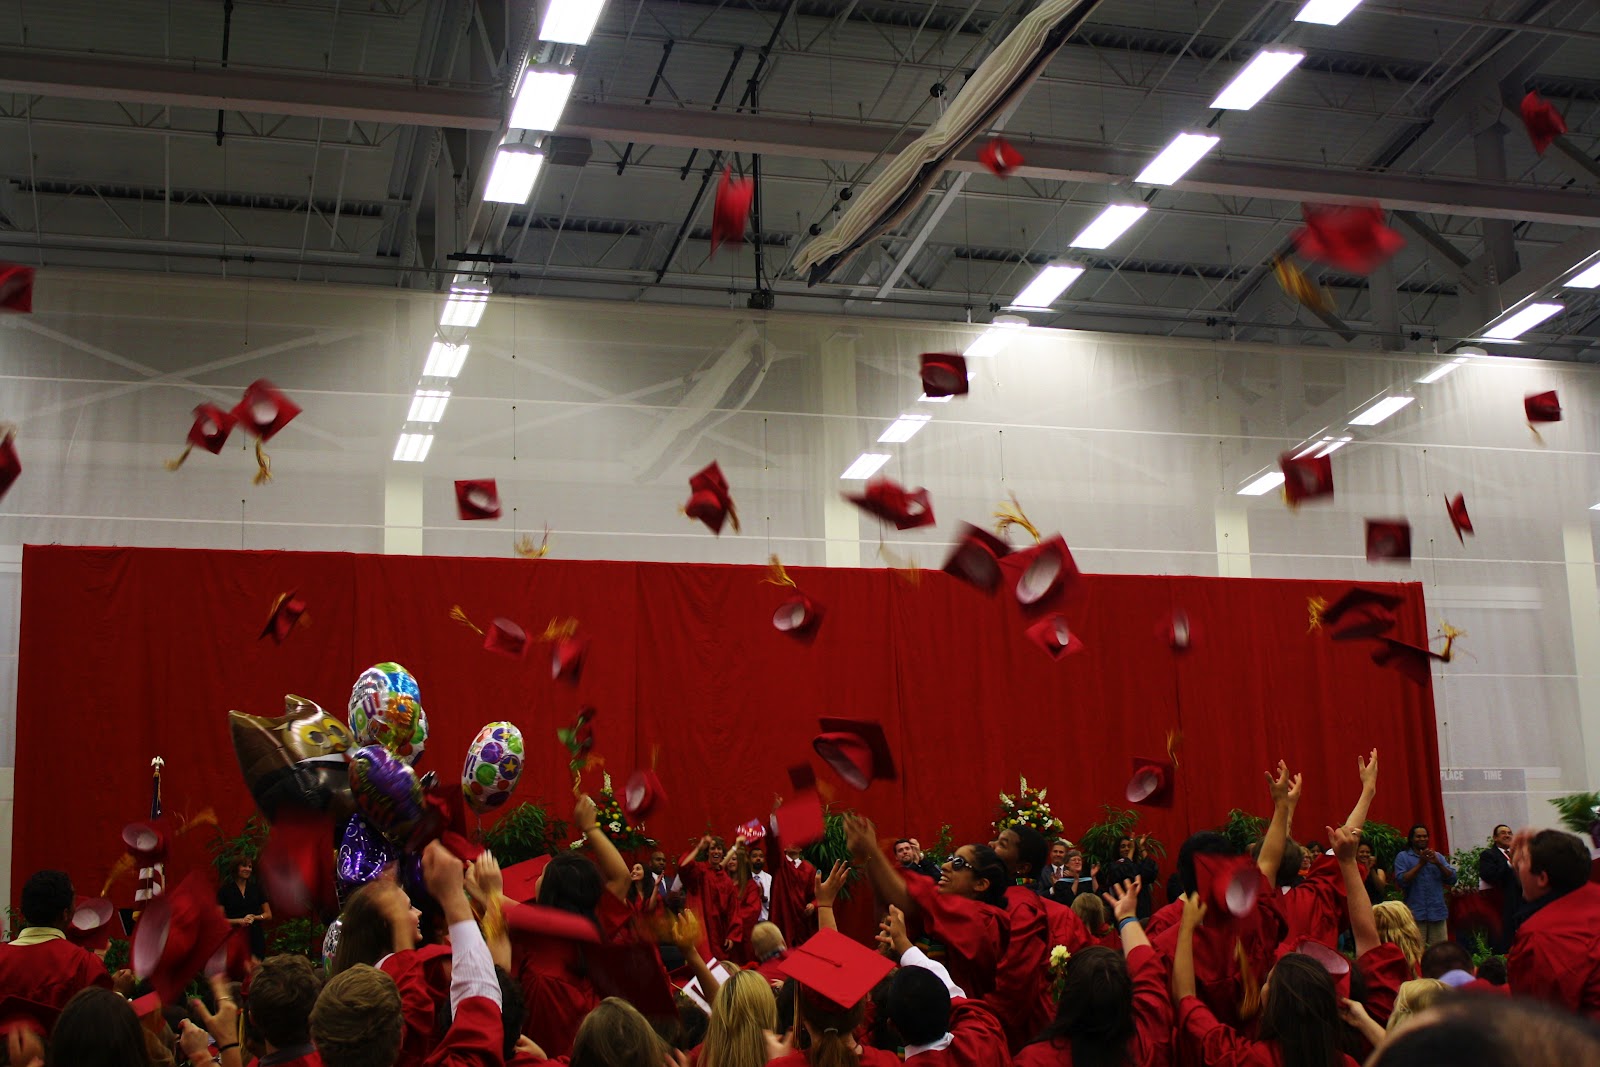
Last week, the class of 2012 graduated from my high school.  
This included my best friend, Mikala.  
Mikala, I’m so proud of you.  You’re moving up and out onto bigger and better things.  You have been an amazing friend for these four years (I still remember seeing you at CBC on that first, fateful day, and slowly inching closer and closer; how can I forget being “poked” by you?  I was so scared excited.)

I’m going to miss you like mad when you’re in California, but I’m sure that we’ll visit each other often.  I can’t imagine what it’s going to be like without you, but I know that you are going to enjoy yourself and have a great experience.  You’re an integral part of the fam- and my life- and you will be sorely missed. (Side note to others: is it just me who finds it so hard to contemplate life without a loved one, even when you know they’re moving on to be more successful and happy?  Maybe I’m just a wee bit bitter. Hm.)

Leaning tower of cake. Ugh.

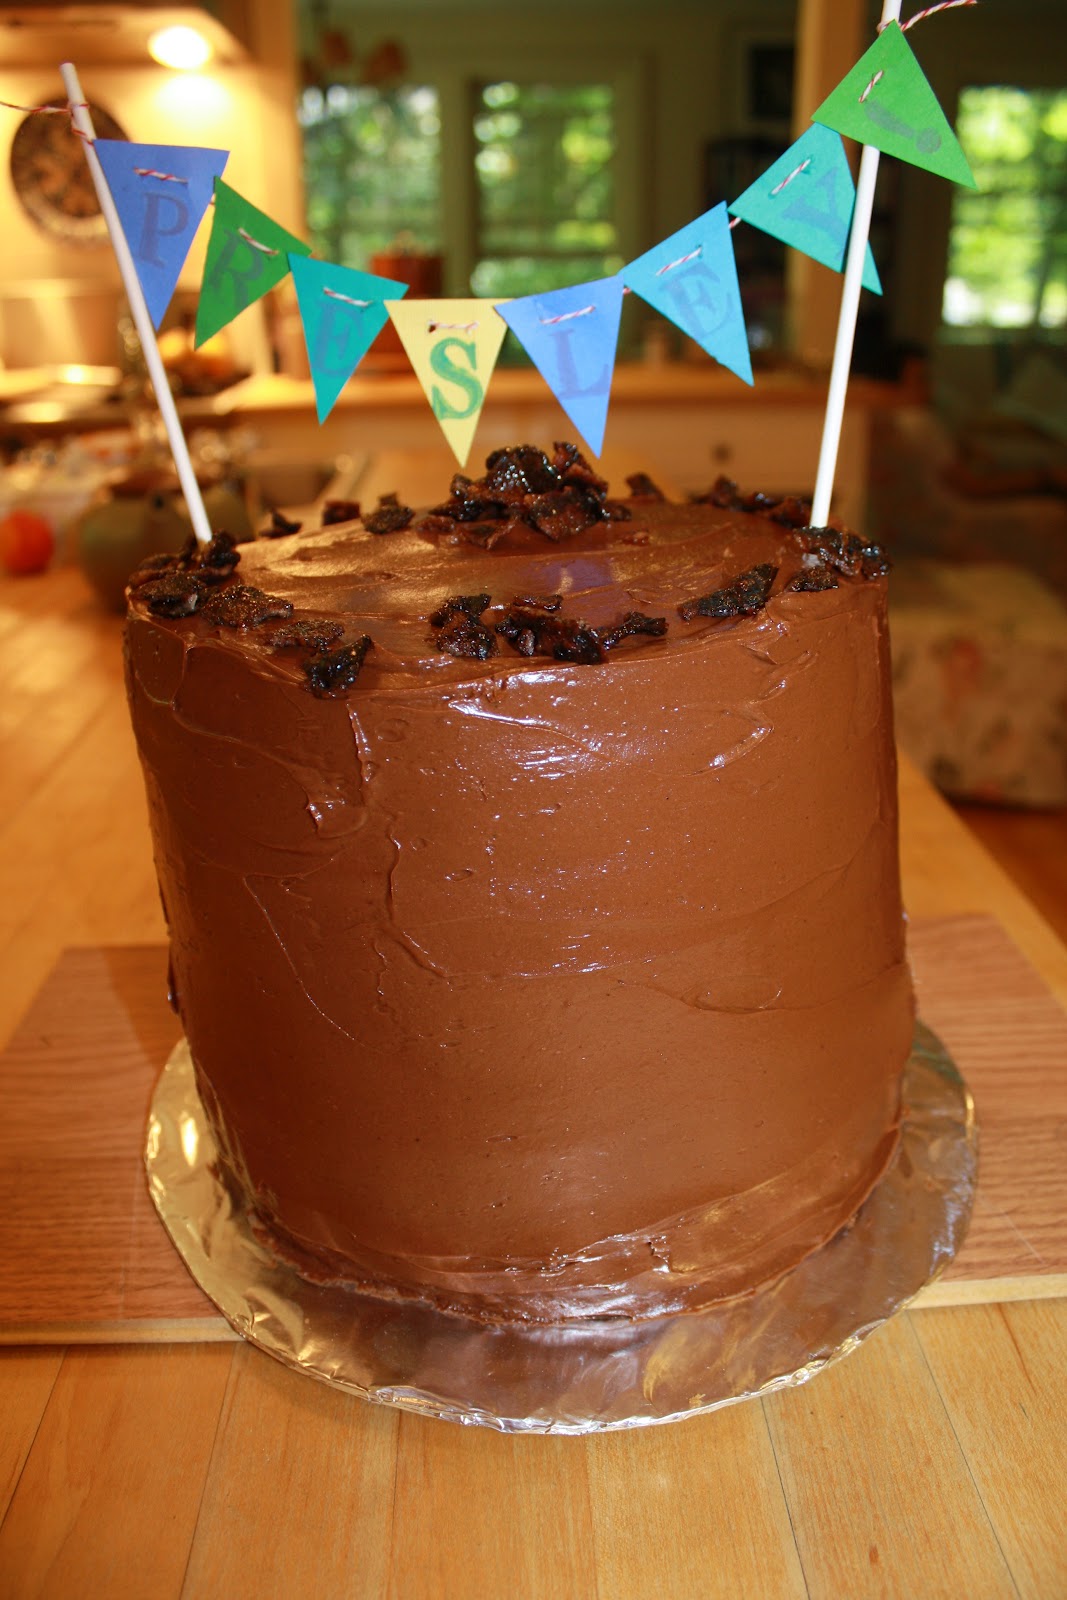
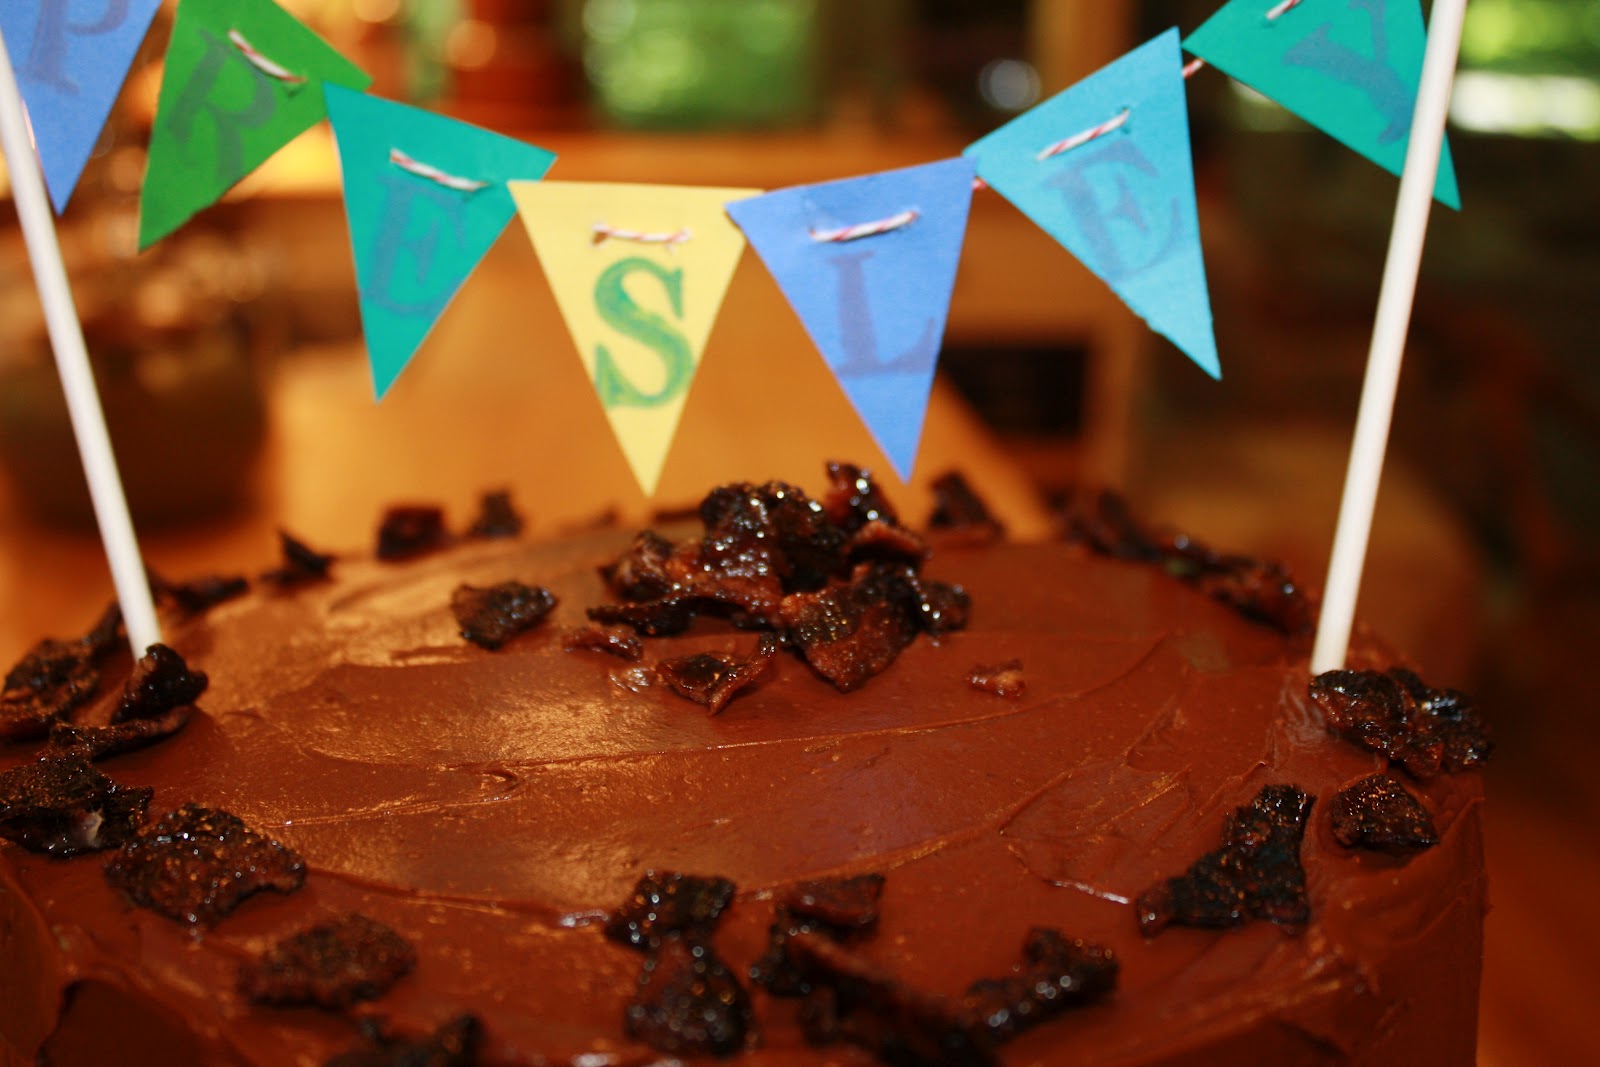
Mikala’s graduation party was last Friday and her family asked me to make her cake.  I was also asked to make the “Elvis 2.0” for a baby shower for a couple who loves Elvis so much, they’re naming their baby girl after him (her name is Presley… Not Elvis).  This time, I made an eight layer banana cake, filled with peanut butter buttercream and frosted with nutella buttercream rather than cream cheese frosting.  To add to the over-the-top-ness, I made caramelized bacon and a banner in the shower’s theme colors (peacock).  Thus was the huge cake topped off.

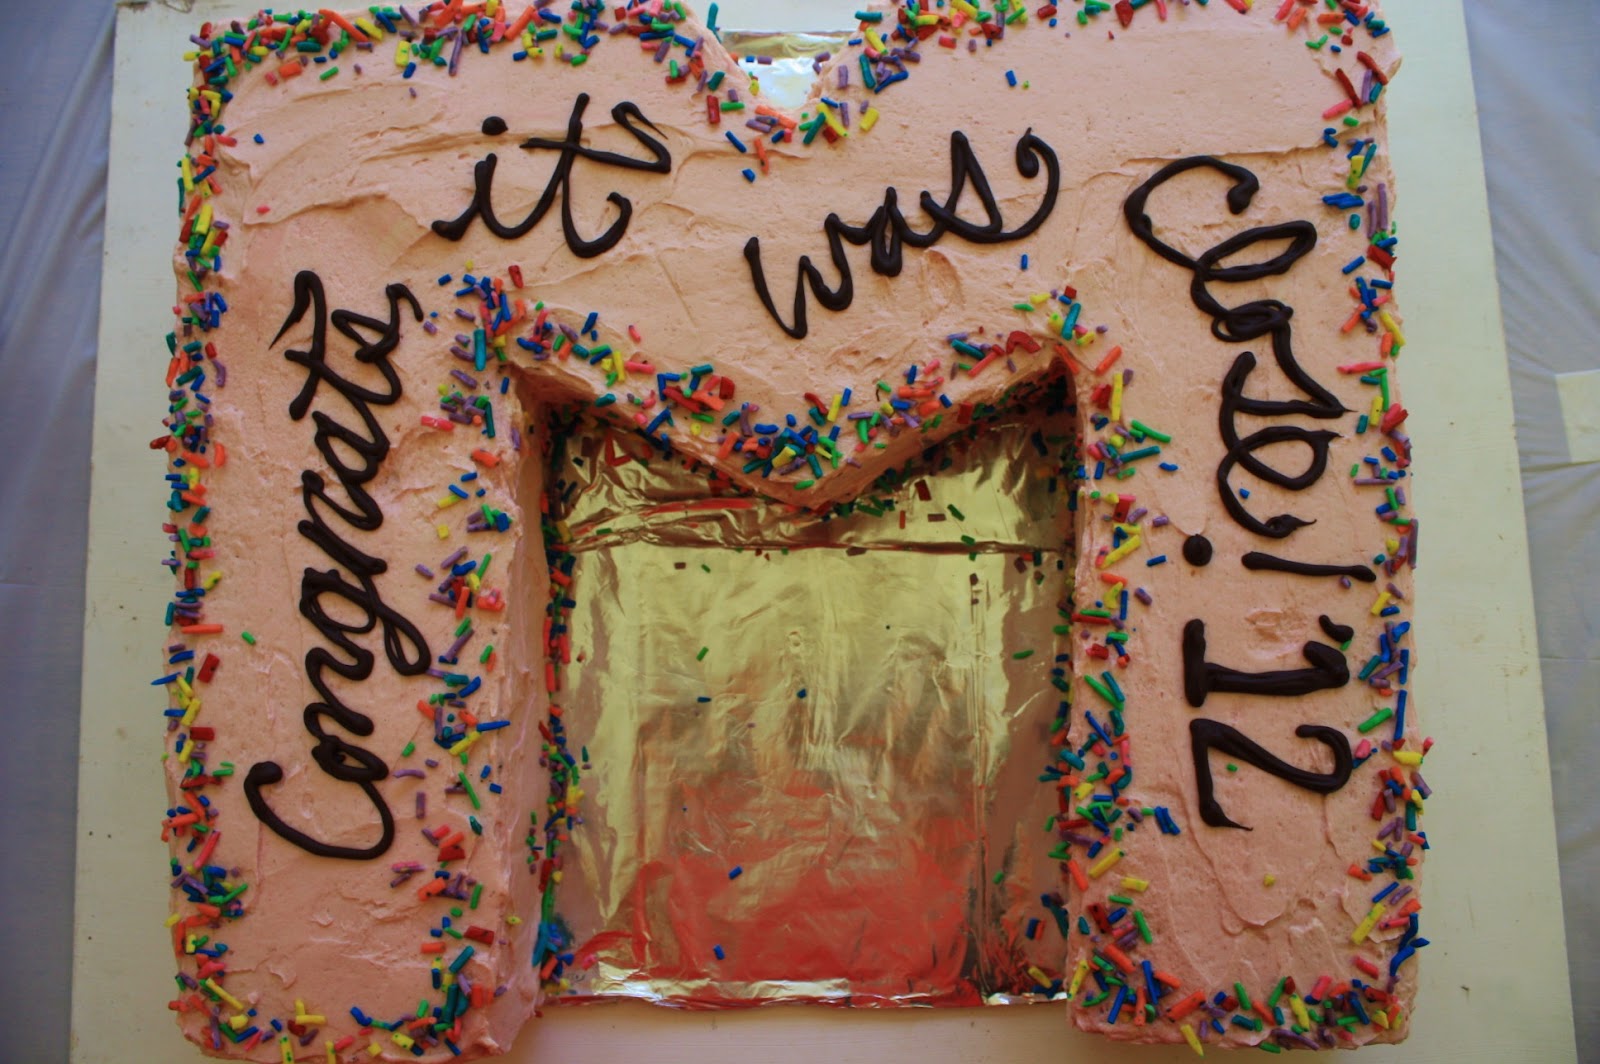
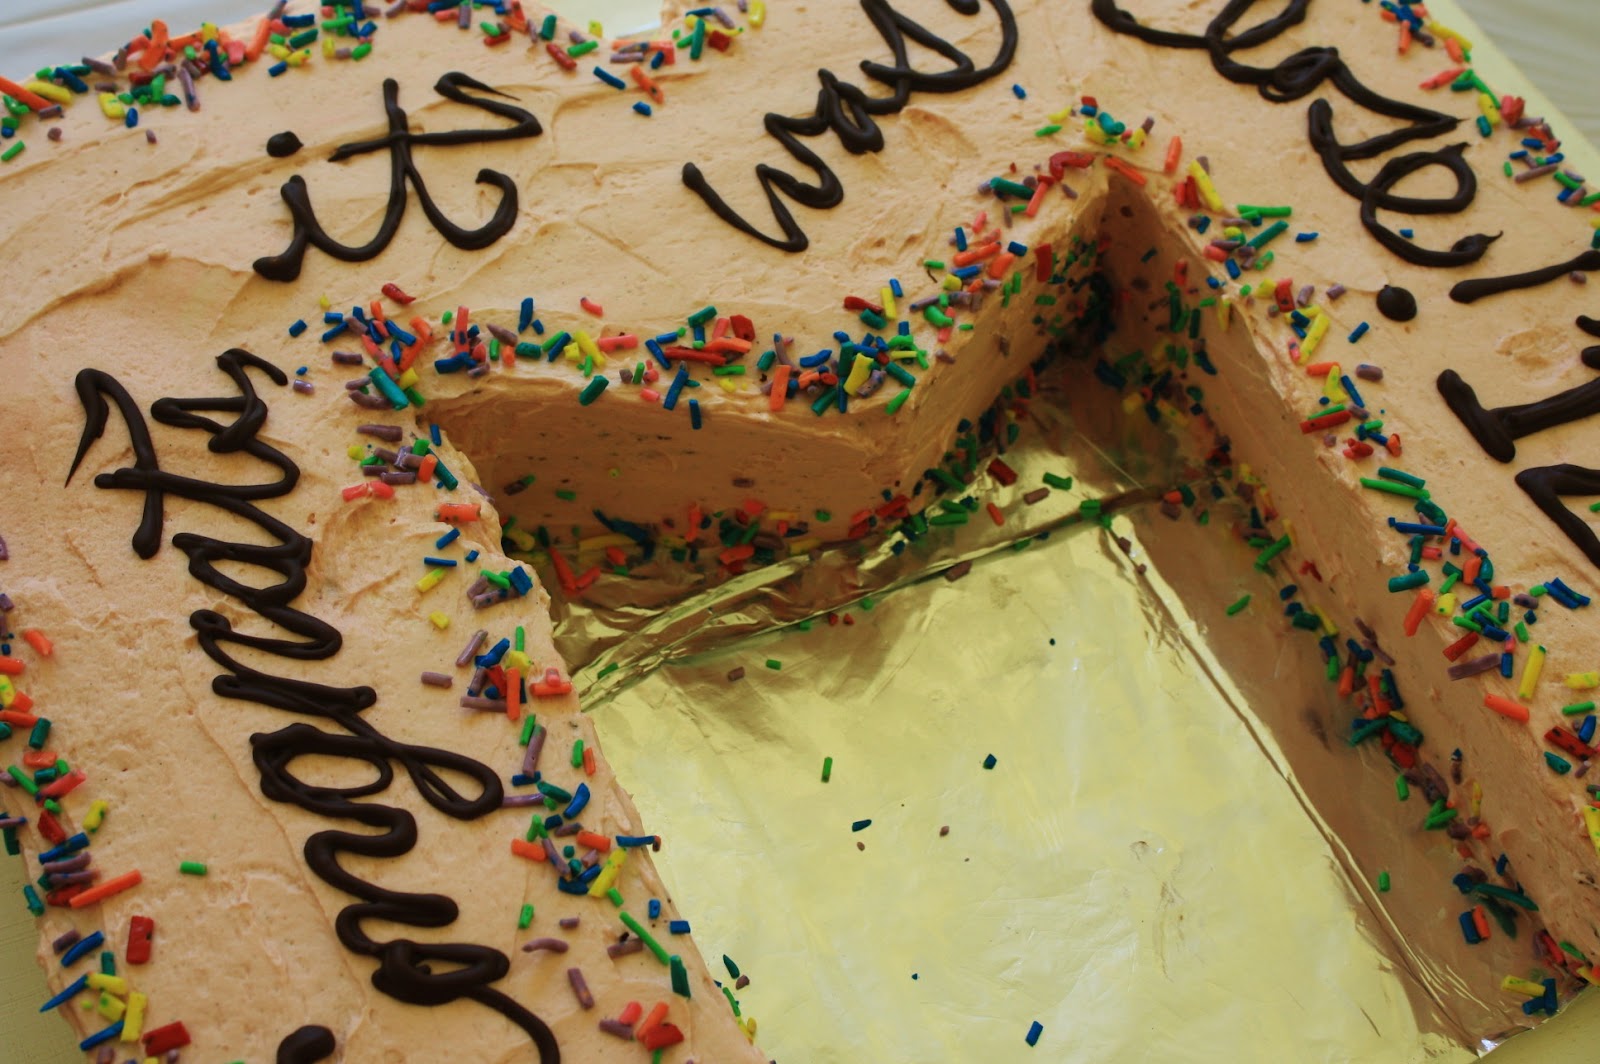
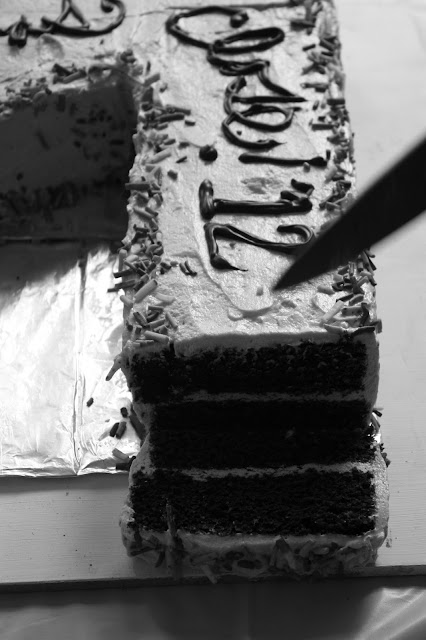
As for Mikala’s cake, I made four (count ’em… four) sheet cakes, which I then carved into the shape of an M and layered twice.  As it turned out, I really only needed three sheet cakes.  Darn  it all.  Anyways, Mikala loves dark chocolate and raspberry, so I made a raspberry German buttercream for icing the chocolate cake.  The rest of the cake scraps became cake truffles, dipped in chocolate and rolled in toasted coconut.
D’aww

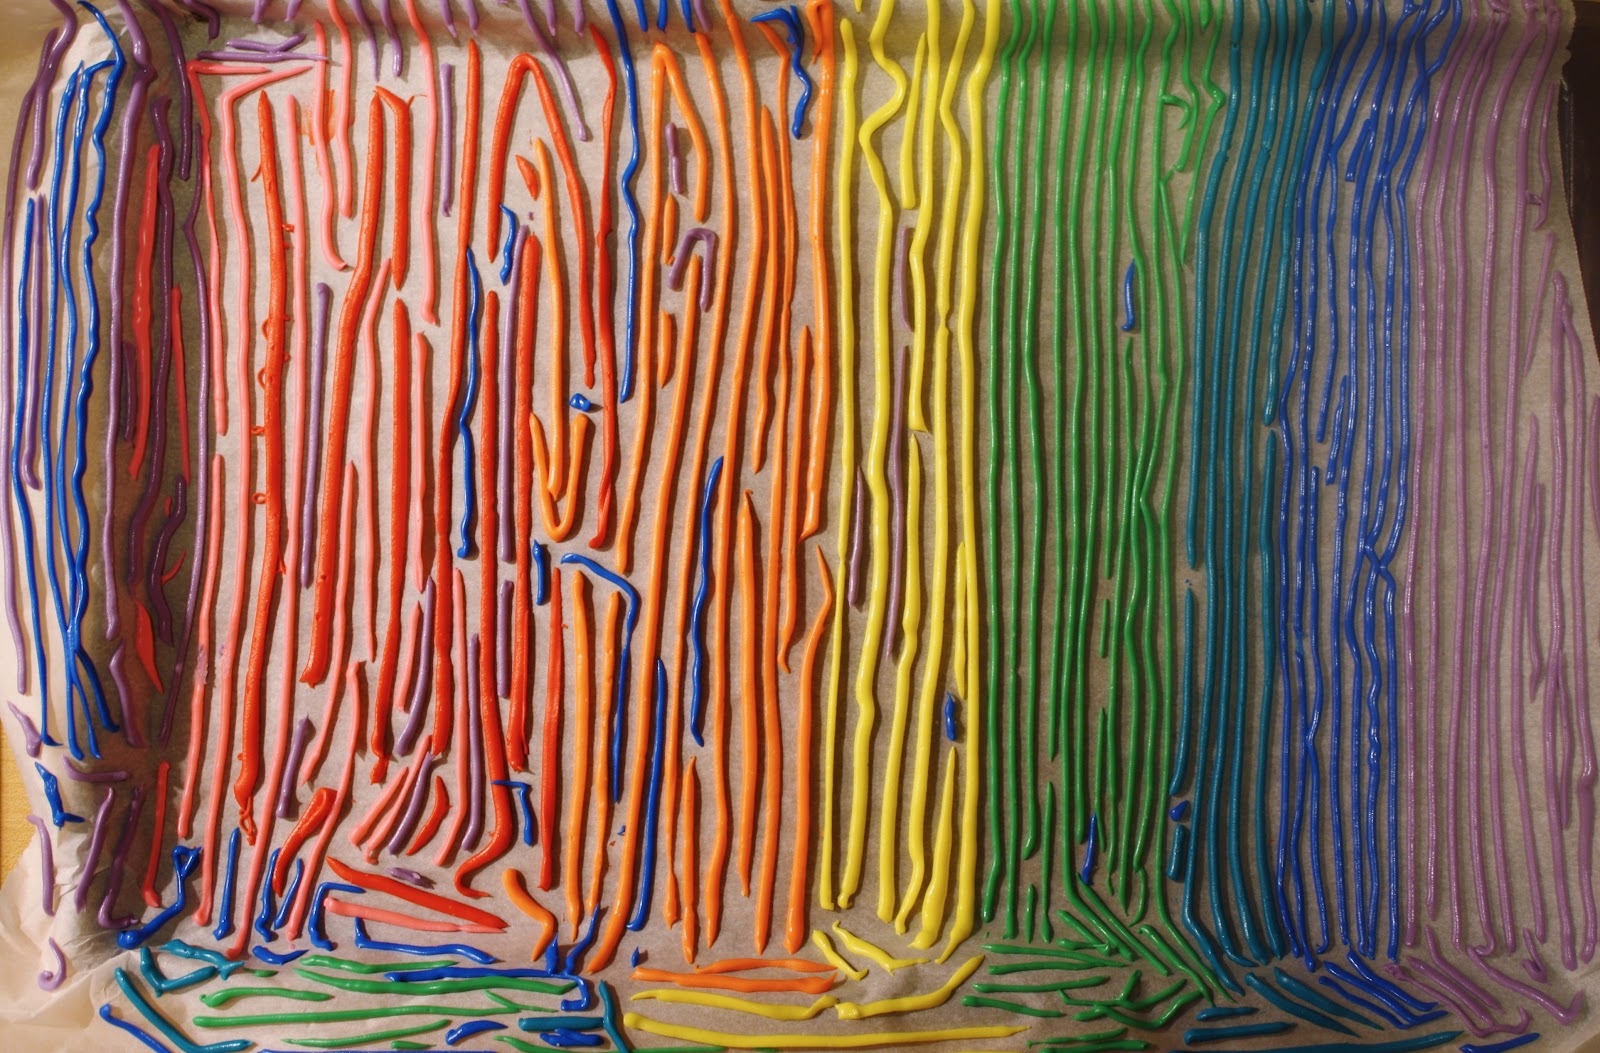
In addition, I used my homemade sprinkles to decorate the cake.  Love these lil guys.  Not only was I extremely proud of having accomplished making my own sprinkles, they also tasted much better than traditional machine-made ones.  I’m sure it’s because of my blood, sweat, and piping tears that went into them, plus the fact that I’m 99% sure I now have piping-induced carpel tunnel.  Kidding.  I’m a hypochondriac.  Also, now I can customize colors that I want for certain cakes!  Another insane fun way to induce my O.C.D.
Congratulations Mikala, and the class of 2012, wherever you may be, I’m so so proud of you.  


Chocolate Sheet Cake (x4 for a very large cake)
from the lovely Sweetapolita
Ingredients:
2 3/4 cups flour
2 2/3 cups sugar
2 3/4 teaspoon baking soda
2 3/4 teaspoon baking powder
1 cup cocoa powder
1 3/4 teaspoons salt
150 mL canola oil
280 mL buttermilk
4 eggs
260 mL hot coffee
2 tablespoons vanilla
Directions:
Preheat oven to 350 degrees F.  Line a sheet pan (with a lip) with parchment paper, then spray with cooking spray to coat.  Whisk dry ingredients together.  Measure out all wet ingredients in a large measuring cup.  Whisk wet into dry ingredients, until fully combined.  Pour into sheet pan and bake for 30-35 minutes, or until only a few crumbs stick to a skewer and the cake is springy to touch.  Allow to cool on wire racks before cutting. (You can slide the parchment right off of the sheet pan onto a rack)

Raspberry German Buttercream
Adapted from Bravetart
(Makes a ton- about 10 cups. Feel free to downsize by 1.5)
Ingredients:
16 ounces milk (I used 1%)
8 ounces half-and-half (you could use full-fat cream, too)
15 ounces sugar
1 vanilla bean
2.25 ounces cornstarch
3 eggs
3 egg yolks
7 sticks butter
big pinch sea salt
14 ounces raspberry jam, or to taste (I used seedless and fruit-juice sweetened- no sugar)
pink or red food coloring, if desired
Directions:
Heat milks up to a simmer.  If you’re not lazy, like me, or have extra time, simmer with the vanilla bean (not the scrapings! Save those for later), and then let steep for an hour or more. If doing so, after the hour is up, scrape the insides of the beans clean of any milk goop, and discard.  Return milk to a simmer.  Meanwhile, whisk egg yolks, eggs, vanilla bean scrapings, cornstarch, and sugar together.  Ladle in a bit of the hot milk, whisking all the while.  Continue to add up to a cup and a half of the hot milk.  Pour the egg mixture back into the pan with the rest of the milk, and cook on medium heat until thick and “bubbl[ing] sluggishly.”  Remove from heat and pour into the bowl of a stand mixer.  Chill until cool, approximately an hour and a half to two hours.  Once cool, beat with the whisk attachment until somewhat fluffy.  Add your butter, one tablespoon at a time, until all is incorporated and the buttercream is thick, fluffy, and light.  Now, add in the raspberry jam and red food coloring and beat until combined.  Refrigerate until ready to use.  Before use, fluff it up a bit.

As for the sprinkles, I can do no better job than Bravetart.  Check her out to see her tutorial; she’s seriously awesome.

Only a minimal waste of baggies.  And time.

Autant de Pêches

“Welcome to my herb garden…”


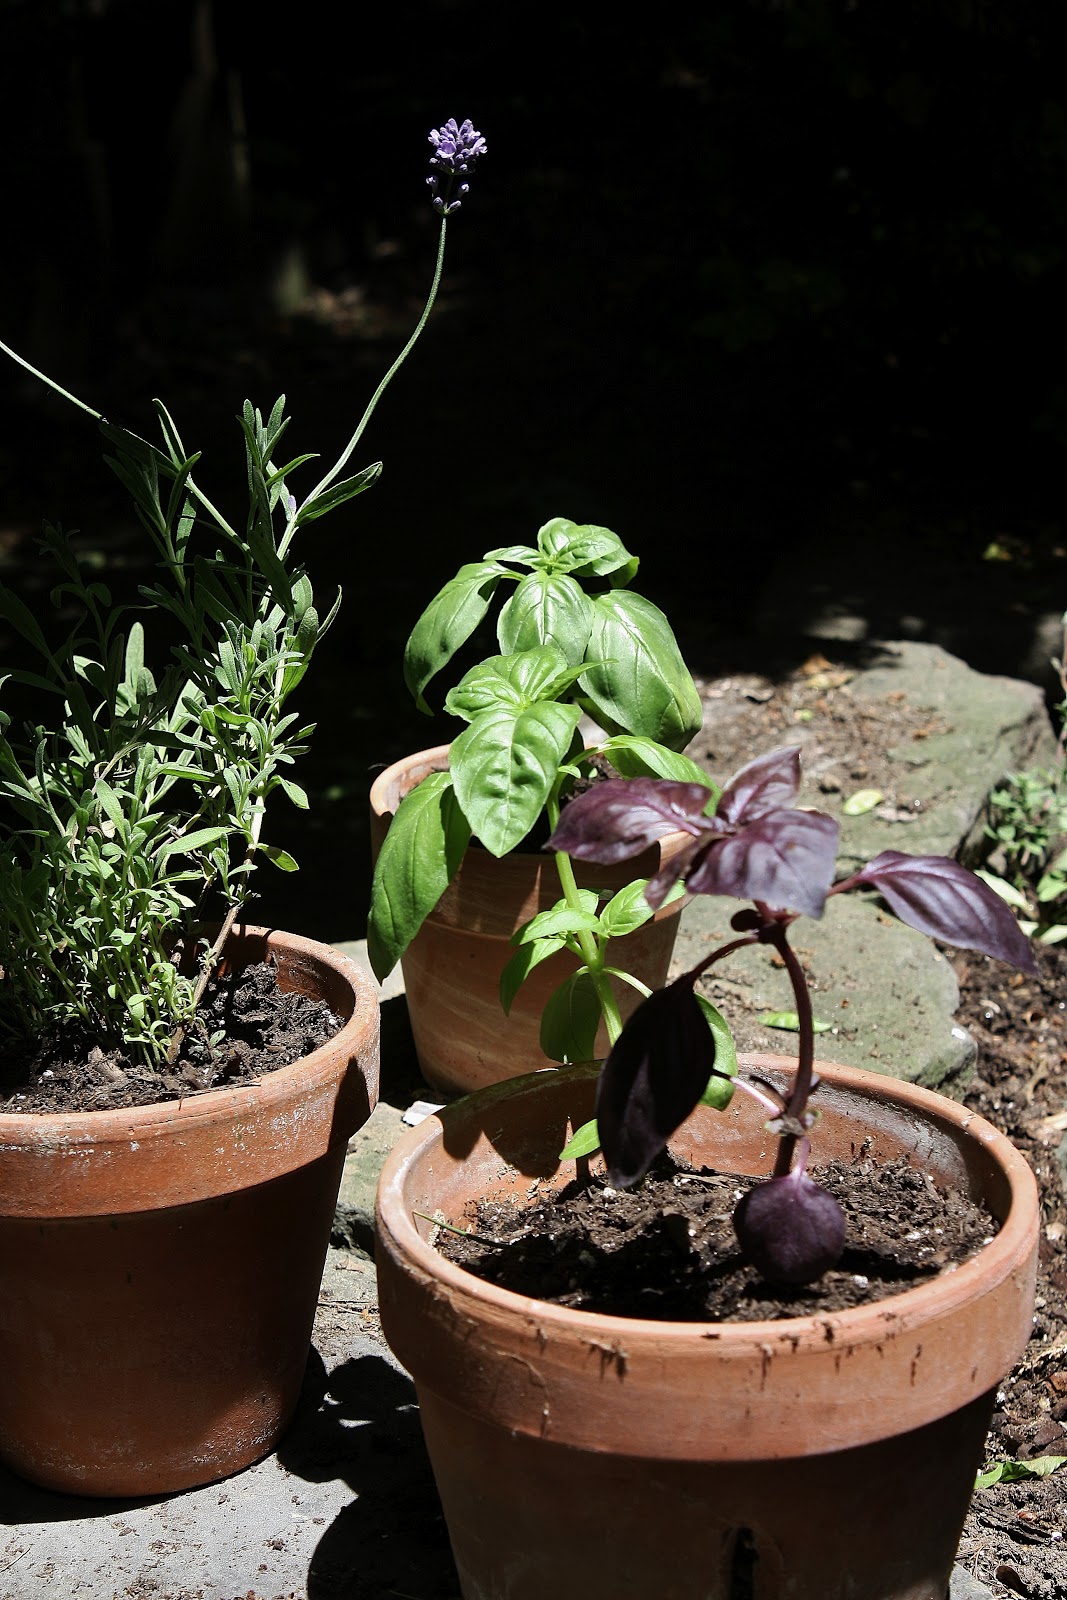
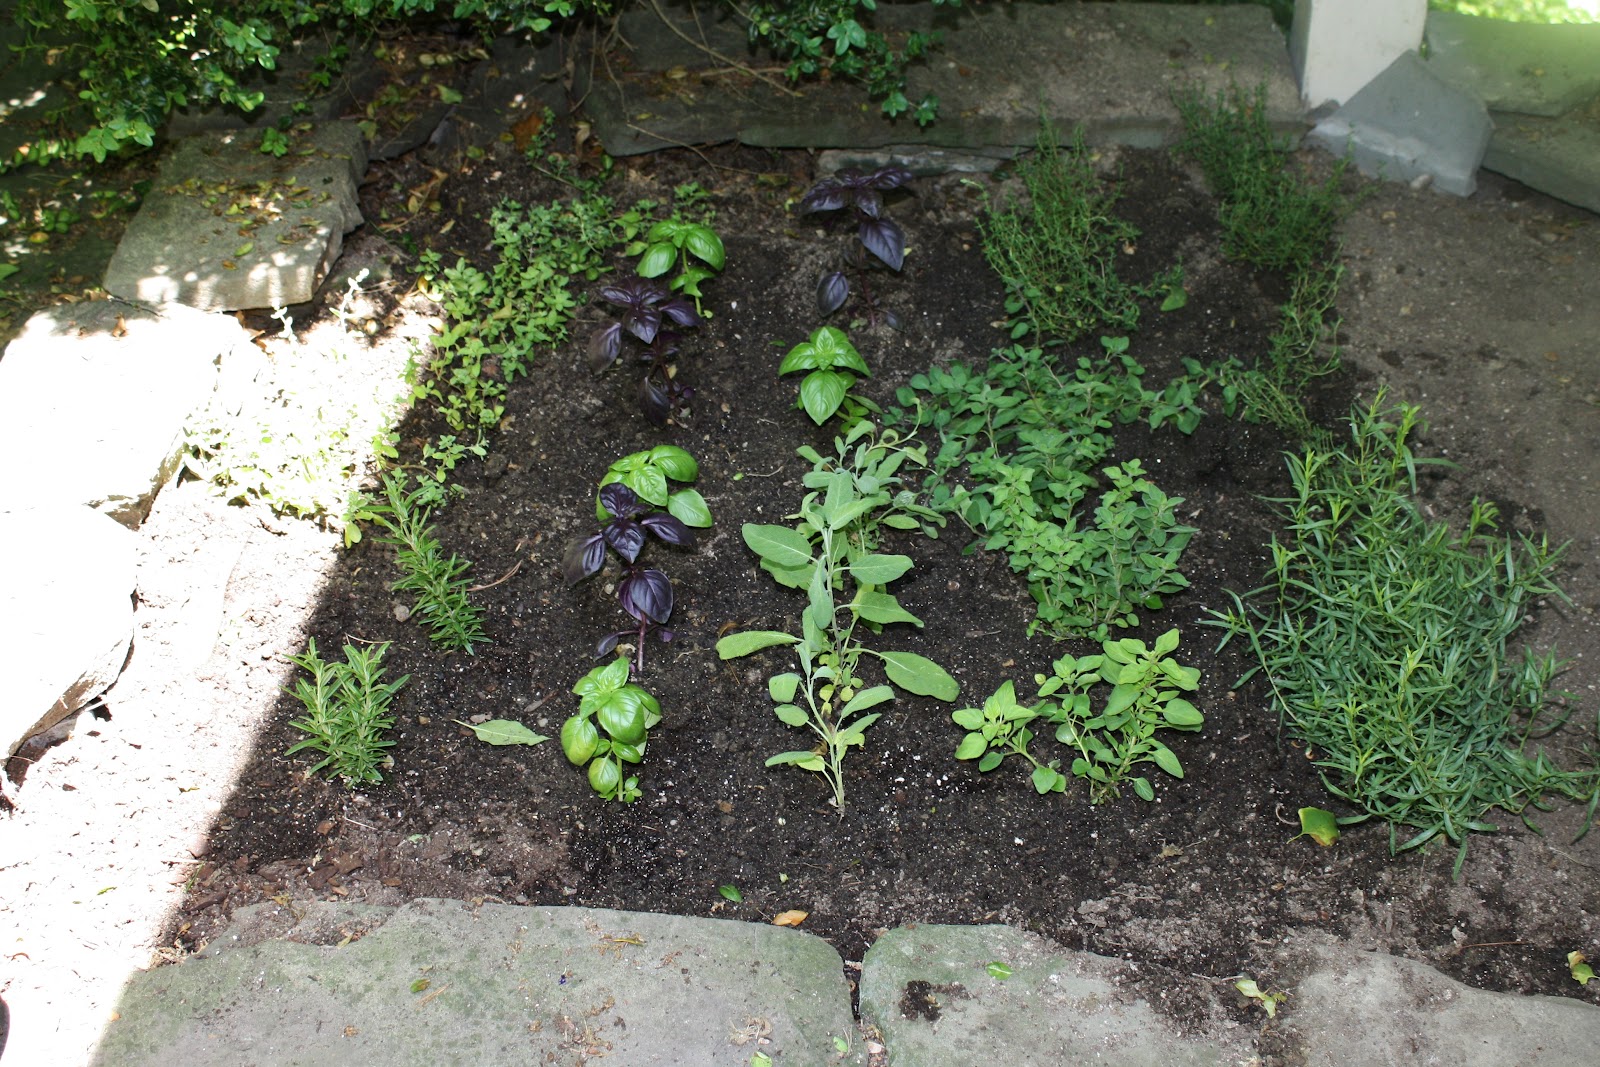
I planted my herb garden.  I’m very excited.  I have rosemary, basil, sage, French tarragon, oregano, marjoram, thyme, and what seems like endless lavender.  For some reason, I can’t stop singing “welcome to my herb garden” to the tune of this. (Warning: probably do not click if you are not within the age range of 14-32, or have a strong aversion to hiphop.  I’m not age discriminating, it’s for your own good.  Promise.)  
Okay, back to your regularly scheduled program: cake.


I don’t know if you’ve discerned this by now, but I lalalove peaches. And nectarines, because they’re the same fruit, minus that one itty-bitty fuzz gene. People always leave nectarines out of the discussion. It’s not their fault they don’t grow facial hair, people, it’s a mutation.  So don’t rub it in.
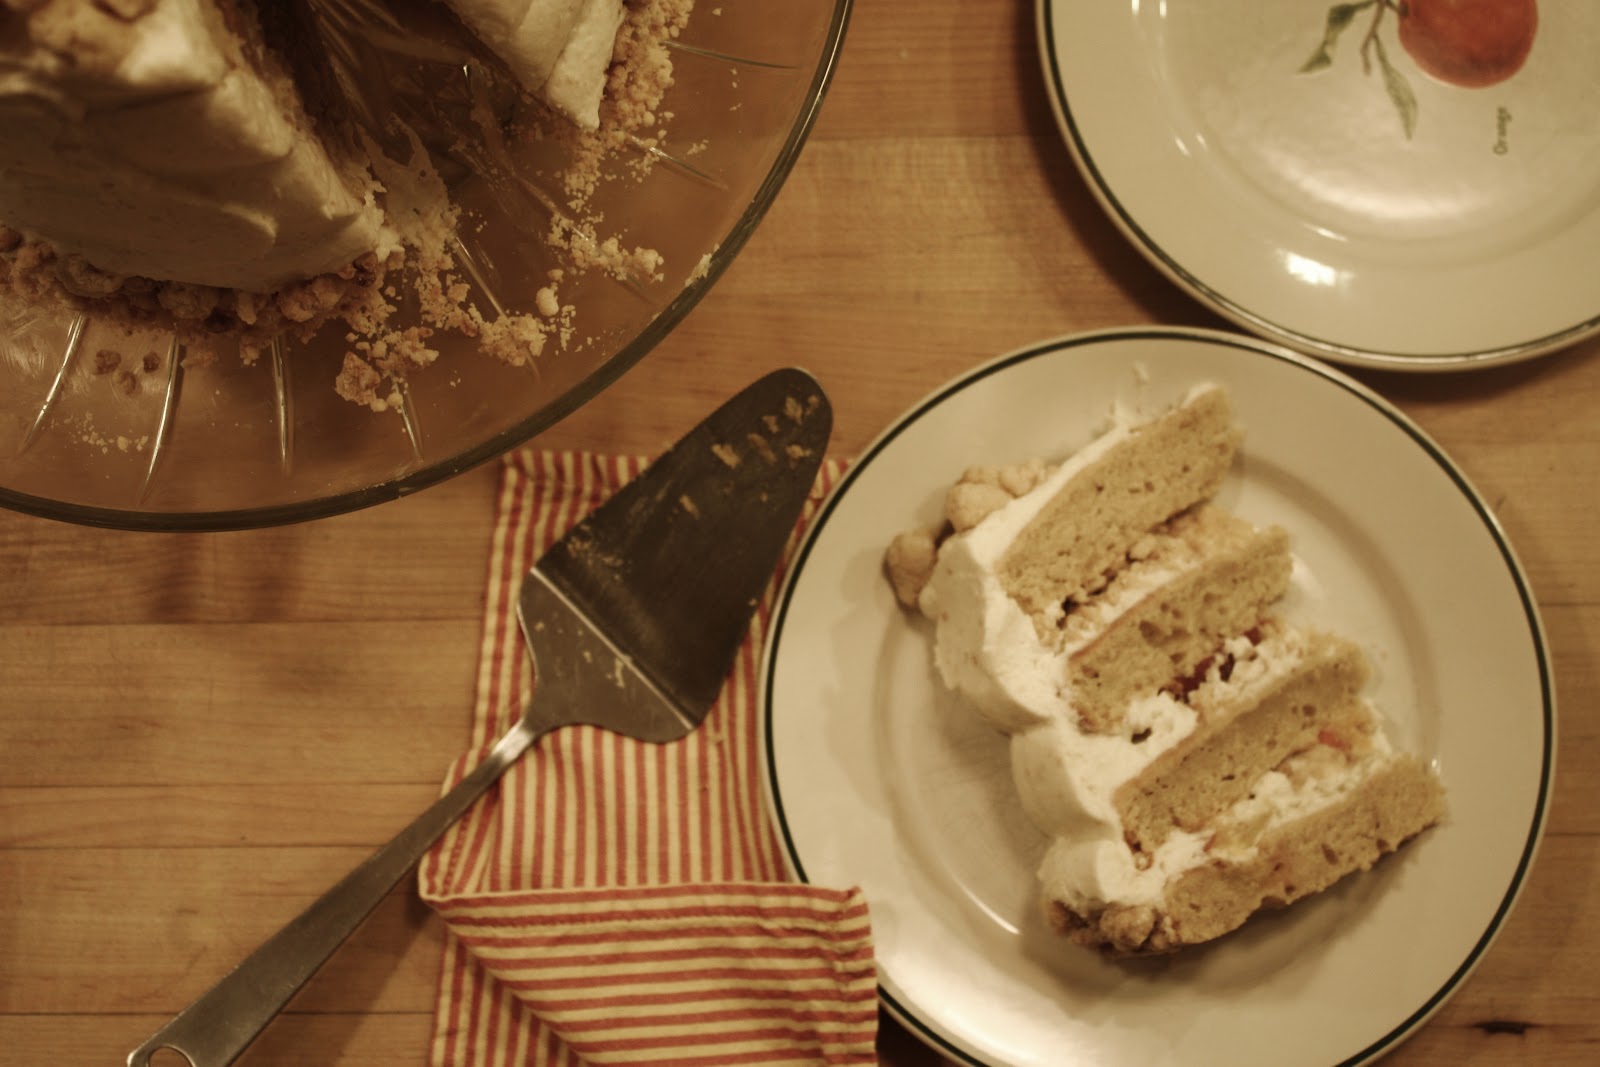
Anyways, my brother is a peach pie kinda guy (then again, who isn’t… Let’s be totally honest here), and he is always demanding asking for one.  His twenty-first birthday was a few weeks ago, in May, but he was in Korea, so we didn’t get to celebrate as a family.  I fancied the idea of a peach pie cake, but I wasn’t quite sure how I would pull it off, until I saw a recipe in Christina Tosi’s Momofuku Milk Bar for “pie crumb” and pie crumb frosting that I knew.  Eating a sweet, ripe peach with a dollop of tangy sour cream is one of life’s greatest pleasures, and whenever I do, it brings me back to a certain family vacation to Cape Cod, my mama slicing up white peaches and serving them to me with sour cream while my dad and brothers watched South Park in the other room (Did I mention that my family is dysfunctional?), so I knew I wanted to make a pie crumb frosting with sour cream for a tang.  I made a peach cake, filled with pie crumbs, peaches, and pie crumb frosting, and topped with more pie crumbs.  The slightly tart taste of the peaches and sour cream mixed with the buttery crumbs and sweet cake was top notch, if I do say so myself.  Because sour cream has a fat content similar to heavy cream, you can whip it into a pretty stable frosting.  I will definitely be using this more often to make cream cheesy frostings.  Christina Tosi is a genius: her pie crumbs are to die for.  I made a batch and a half because I knew I would need insurance against my raging snacking habit.  Yum.  

Peach Pie Cake
Bits and pieces from Momofuku Milk Bar
For the cake:
Ingredients:
2 cups pureed peaches
3 cups flour
2 cups sugar
1 tablespoon baking powder
1/2 cup milk powder
3 ounces butter
3 small eggs
2 teaspoons vanilla
3/4 cup buttermilk
Directions:
Preheat oven to 350 degrees F.  Butter and flour 2 or 3 eight inch rounds.  Sift the flour, salt, milk powder, and baking powder together.  Beat the butter and sugar together, then beat in eggs one at a time.  Add in the peach puree and vanilla, and beat until combined.  Add in the dry ingredients, alternating with the buttermilk.  Pour into prepared pans and bake for 25-30 minutes, or until springy and golden.
For the pie crumbs:

Ingredients:
320 g flour (2 1/4 cups)
27 g sugar (3 tablespoons)
5 g kosher salt (heaping teaspoon)
178 g butter, melted (1 1/2 sticks)
30 g water (2 1/4 tablespoons)
Directions:
Preheat oven to 350 degrees F.  Combine the flour, sugar, and salt in the bowl of a stand mixer.  Add the butter and water slowly, on low speed, until the mixture clumps up.  Spread the clusters out on a parchment lined sheet pan and bake for 25 minutes, or until light golden.  

For the frosting:
(makes enough to frost and fill one four layer cake)
Ingredients:
12 ounces mascarpone
16 ounces sour cream
8 ounces (1 cup) heavy cream
3/4 cup pie crumbs
3/4 cup powdered sugar
Directions:
Blend all ingredients in an immersion blender until thick, creamy, and homogeneous.  The pie crumbs should be broken up into almost invisible pieces.  

To assemble:
Torte the layers.  Frost each with 1/3 cup frosting.  Top with pie crumbs and thinly sliced peaches.  Crumb coat the cake, then put it in the fridge to chill.  Frost with remaining icing, and decorate with pie crumbs.  
Là voilà! Un gâteau de la tarte aux pêches!
 

Elvis

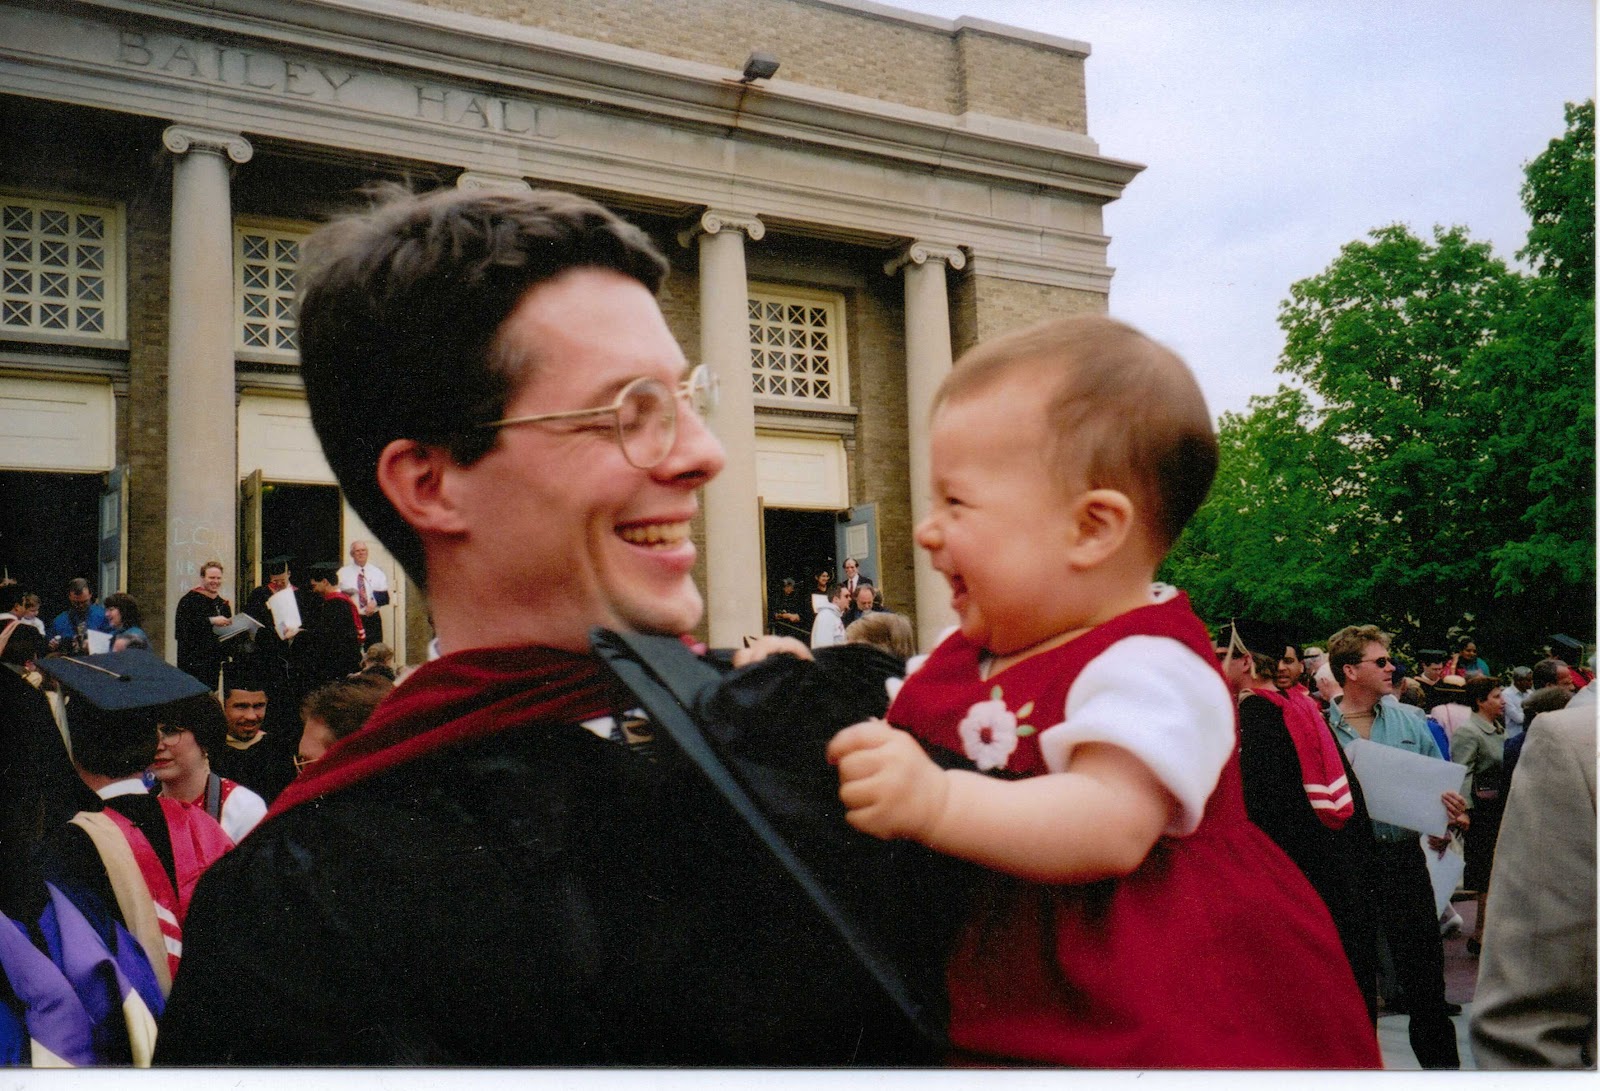
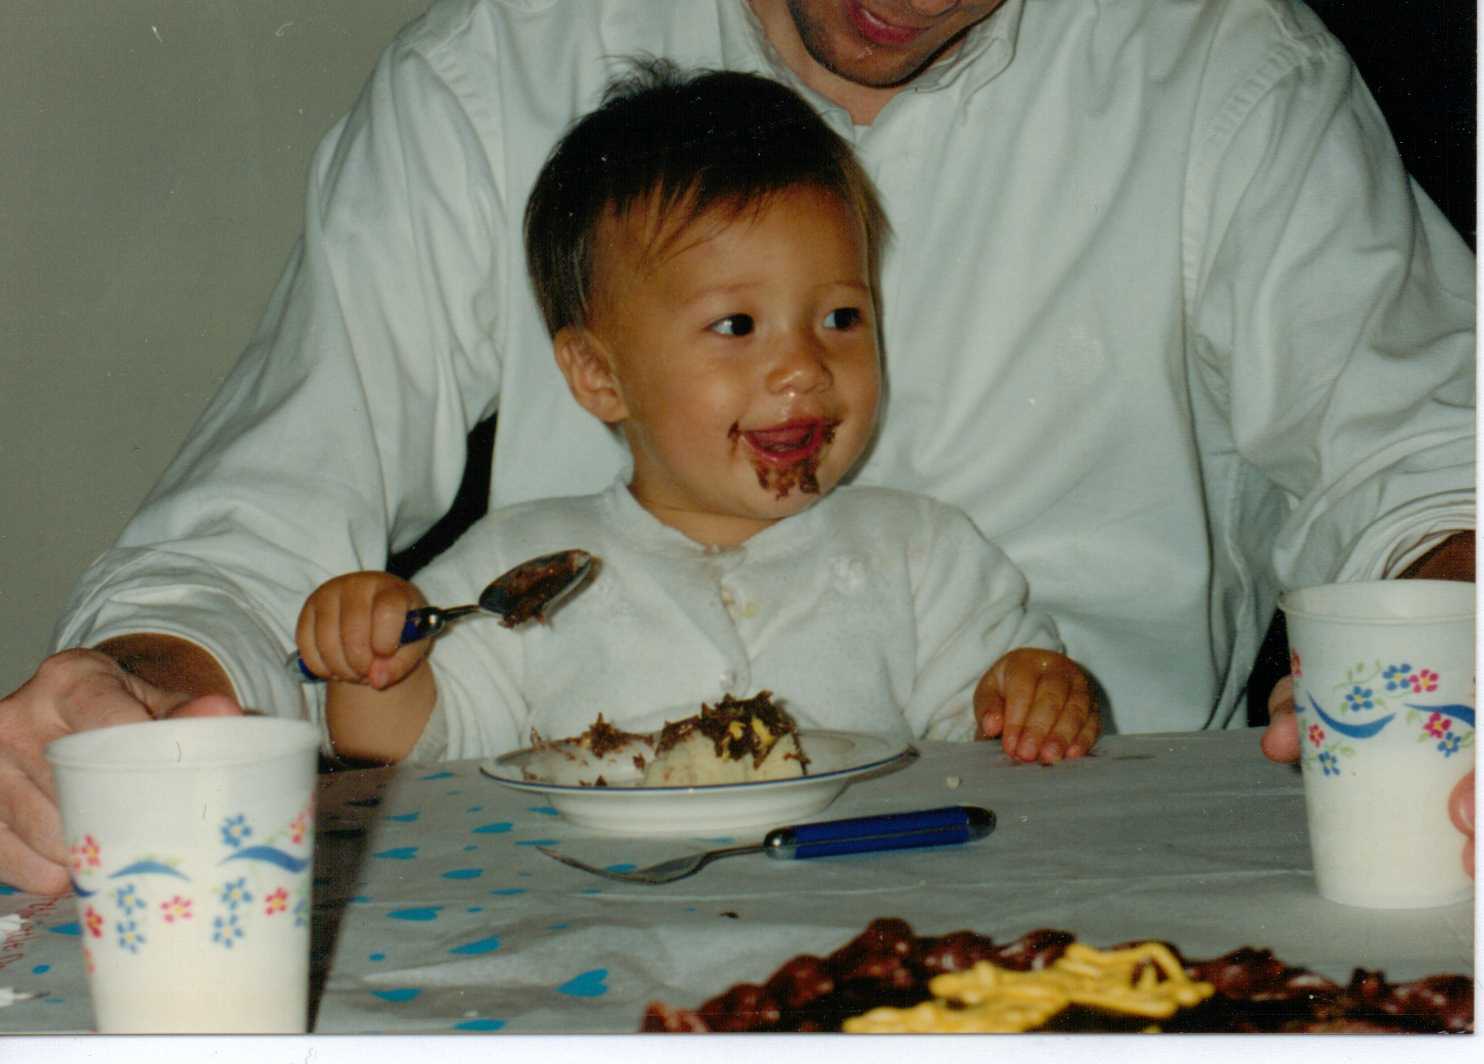
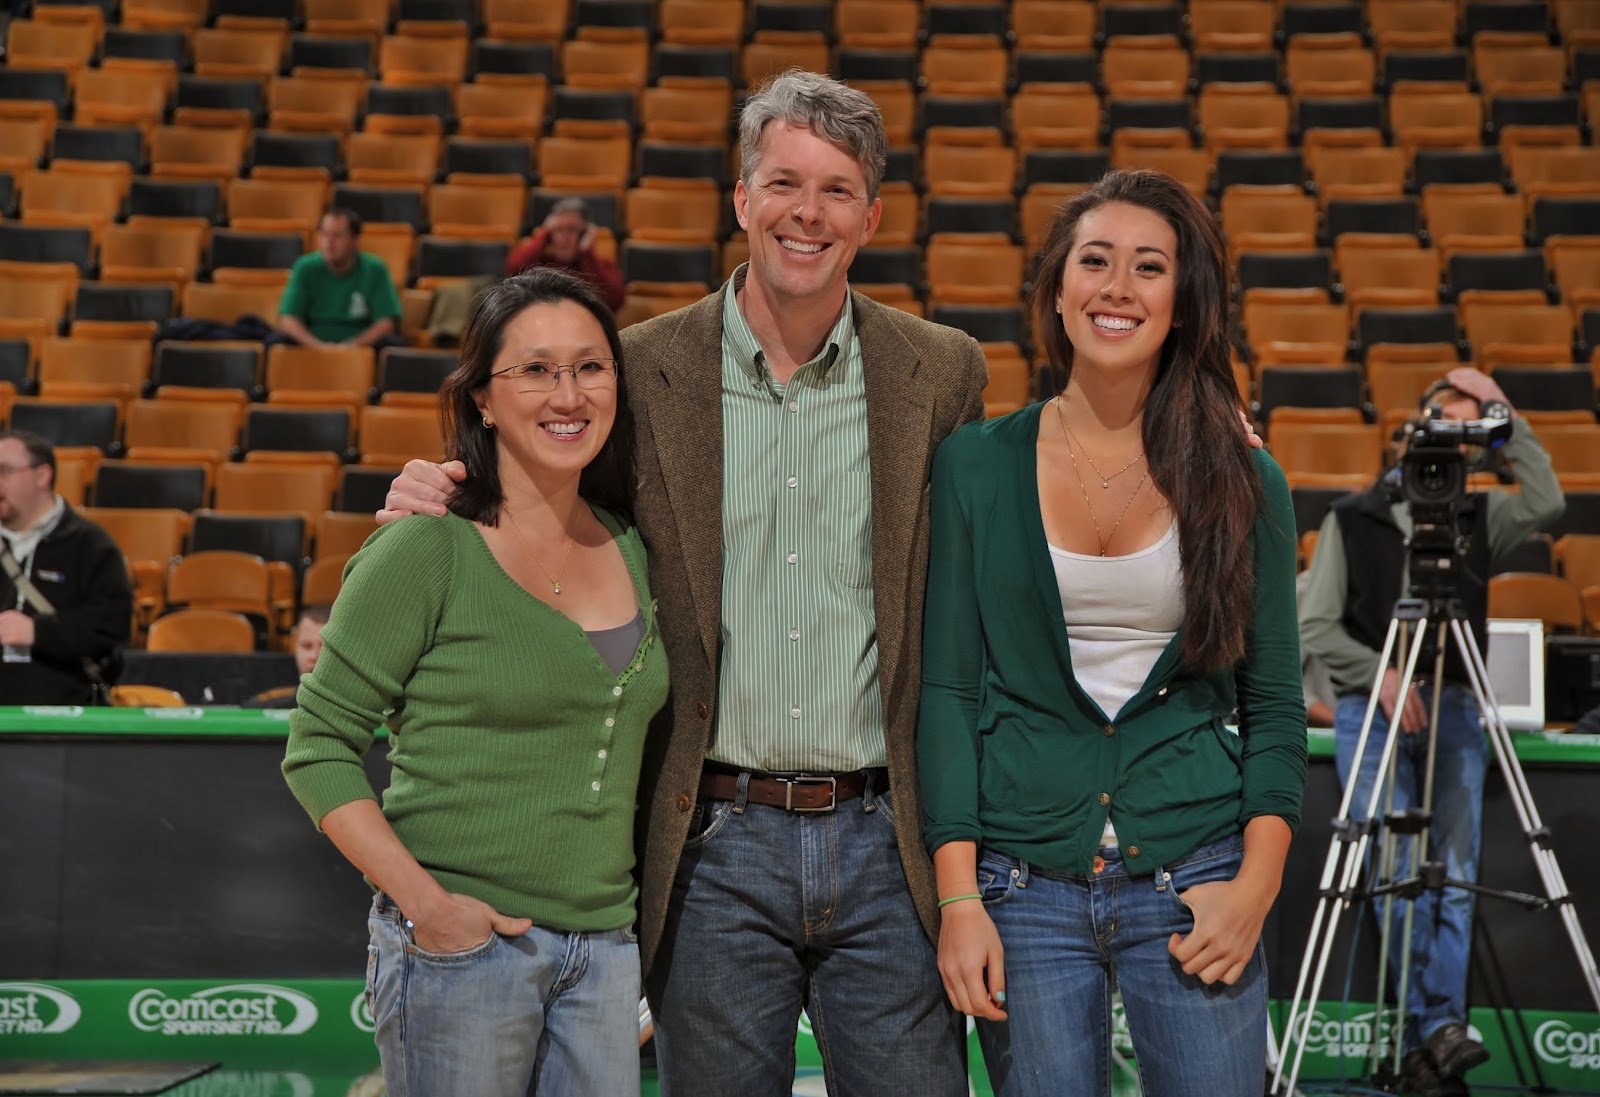
Happy father’s day to any and all dads out there, especially mine.  My dad is the best… Sorry everyone, but it’s true.  There is no contest.

I am a daddy’s girl, the little princess of my house.  I am openly admitting it… I’m not ashamed.  I am so grateful to have grown up with a dad who is so loving, caring, kind, and gentle.  He has the most generous soul and he is my rock- always has been.  I appreciate everything he’s given and taught me, done for me, and put up with from me; it’s not always easy being the father of a stubborn little diva.
Thank you, Daddy, for teaching me all that you have.  You’re the best man I will ever meet, of that I’m sure.  I love you more than words can describe; I will never be able to express how thankful and blessed I feel to have a dad like you.
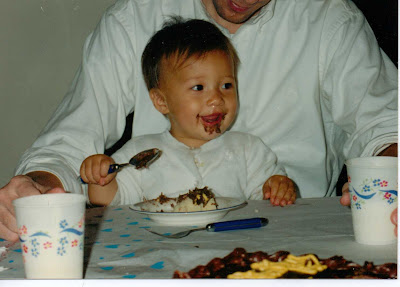
We like cake, okay? 
I spent the entire day at my parents’
renewal of their vows like this,
plus or minus a few chocolate strawberries.

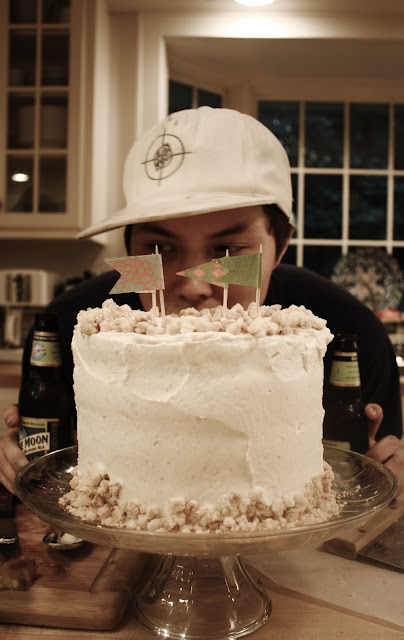
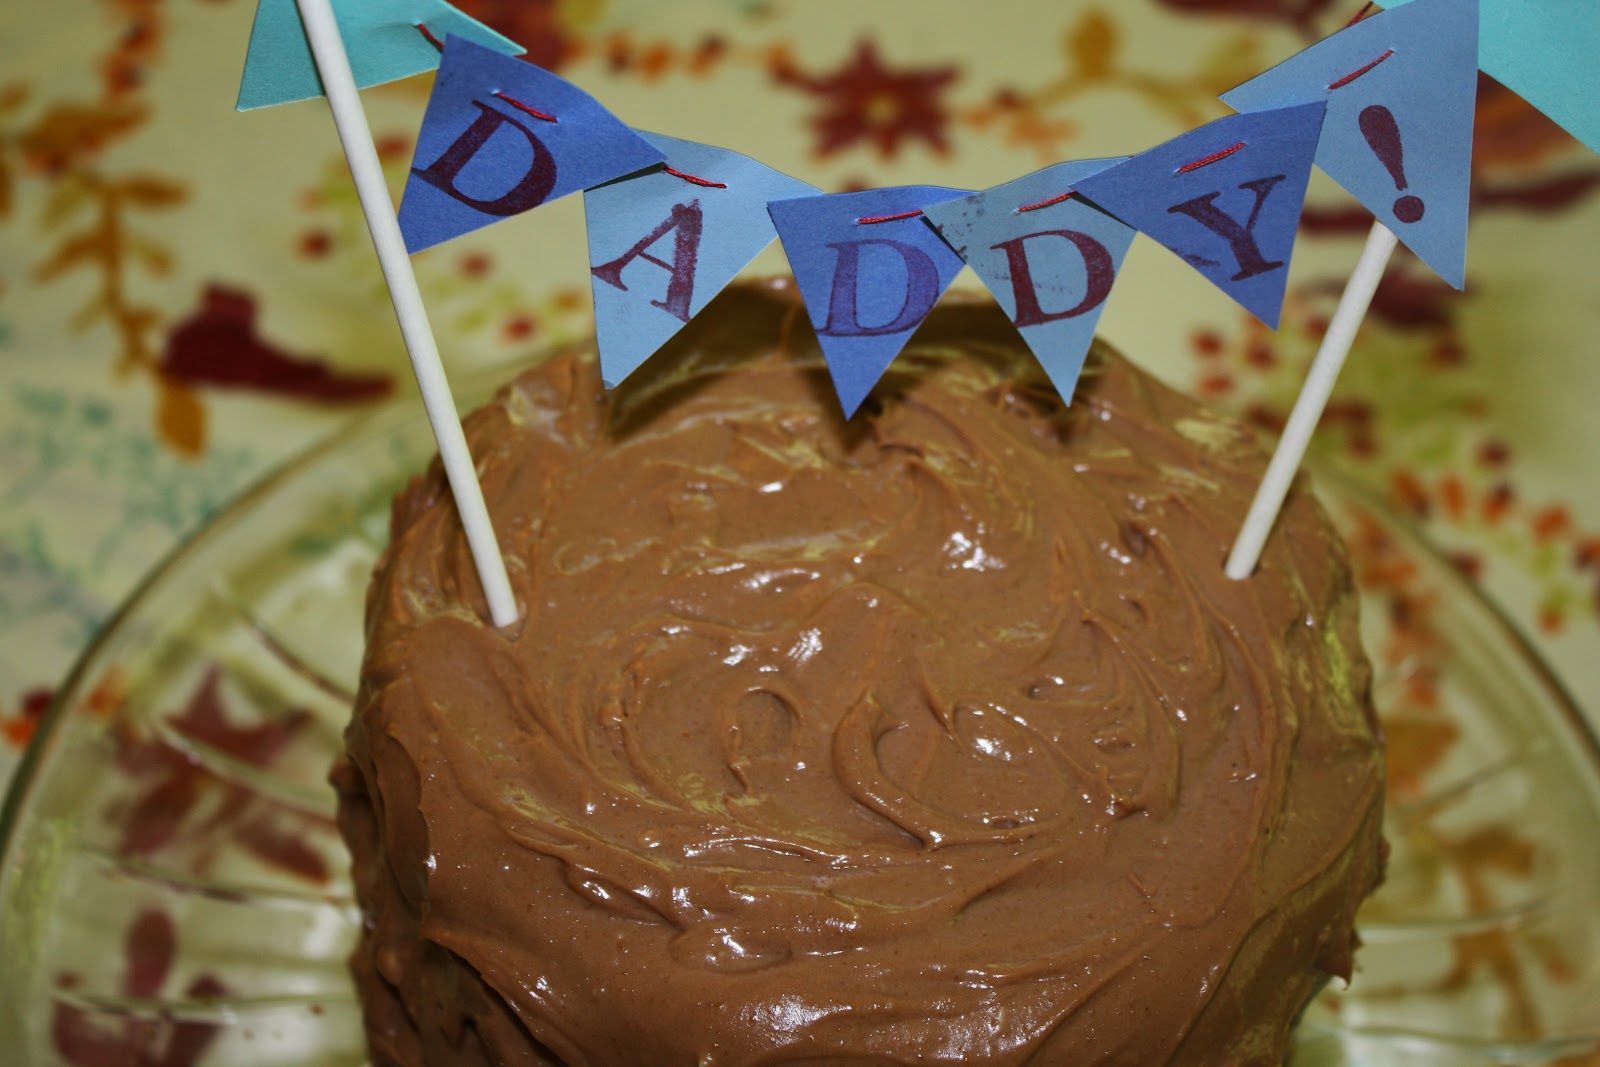
My dad loves peanut butter and jelly sandwiches like no one I have ever met.  Personally, I can do without them, but he could not live without peanut butter and perhaps some sandwich bread, too.  He also, no surprise here, loves peanut butter and banana sandwiches, akin to Elvis’ favorite meal.  I wanted to recreate a peanut butter banana sandwich in a cake for father’s day, so I made a brown butter banana cake (for the fried taste, reminiscent of buttery sandwich bread), filled with peanut butter cream cheese frosting and iced with homemade macadamia-hazelnut nutella cream cheese frosting (I’m sure the King would approve of a bit of nutella being added to the mix…).  Lawd have mercy this stuff is good.  This is not the kind of cake that demands intricate piping.  I opted for big, shaggy, home-style swirls instead, and I ended up liking the messy look.  I then affixed a little banner to the top of the cake, to give it a little more oomph: I love the way banners look, and you’re sure to see them pop up more soon.

I spent an entire week in France like this, 
plus or minus a few tartes au citron

 This one’s for you, Dad.  I love you.


The “Elvis” Cake
Makes 1 6×2 layer cake, or one 10 inch layer, adapted from Smitten Kitchen
For the Brown Butter Banana cake:
Ingredients:
11 tablespoons butter
1 cup cake flour
3/4 cup white whole wheat flour
pinch sea salt
3/4 teaspoon baking soda
1 teaspoon baking powder
1/4 cup + 1 tablespoon sugar
1/2 cup packed light brown
3 tablespoons yogurt
3 small eggs
2 large bananas, mashed (around 1 cup)
Hearty splash vanilla extract
Directions:  
Preheat oven to 350 degrees F.  Butter and flour two 6-inch rounds, or one 10-inch round.
Brown the butter in a large saucepan, being sure to scrape up all the yummy brown bits at the bottom of the pan.  While it browns, ready the bowl of a stand mixer in an ice bath.  Once the butter is brown, pour it and all of the brown goodness into the bowl, and let chill.  Once hardened, cream the butter with the sugars.  Sift the flours, baking soda and powder, and salt together.  Mix in the eggs to the butter and sugar one by one, making sure they are incorporated.  Mix in the yogurt, bananas, and vanilla, then, with the mixer on low, slowly add the flour mixture.  Once it is all homogeneous, beat on high speed for 20 seconds.  Pour into prepared pans and bake for 25-30 minutes, if using 6-inch pans.  For a ten inch pan, it will take slightly longer.  The cakes will be deeply tanned and springy when done.
Macadamia-Hazelnut Nutella:
Ingredients:
1/2 cup macadamia nuts (mine were salted, but if yours aren’t, add a big pinch of sea salt)
1/2 cup hazelnuts, skins removed and still warm (you can just warm them up in a pan if they’re pre-peeled)
5 ounces melted bittersweet chocolate
1/2 cup confectioner’s sugar
1/4 cup cocoa powder
Directions:
Blend the nuts in a food processor until a smooth paste forms, about 5-7 minutes.  It’s a long time, I know.  You can’t use a wimpy food processor here.  Once the nuts have formed a butter, add in the chocolate, sugar, and cocoa powder and mix until well blended.  Try not to eat all of it at once, and by that I mean save at least 1/2 cup for the frosting of the cake.  Eat the rest, fa sho.
Cream Cheese Frosting/Filling Base:
Ingredients:
12 ounces cream cheese
3/4 cup confectioner’s sugar
3/4 cup heavy cream
Directions:
Blend with an immersion blender (Seriously people, you need one of these in your life, STAT.) until thick, creamy, and well-mixed.
For the Filling:
Take 1 1/2 cups of the cream cheese mixture, and stir in 2/3 cup of creamy peanut butter.
For the Frosting:
Blend the rest of the frosting with 1/2-2/3 cup of the nutella.
To assemble:
Cut each layer in half, and fill with one third of the peanut butter.  Seeing as the frosting is a bit thin, and hard to smooth, I recommend dumping the entire thing on top and swirling it around the cake sides with an offset spatula, creating large, home-style swirls as you go.
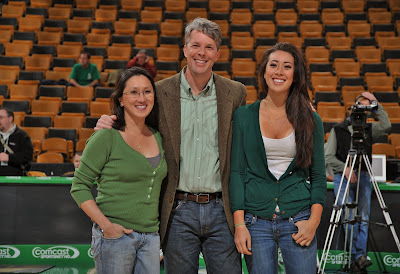
Shoutout to Momz too! You’re ma girl. Love you forever.


Strides for Sarah

Today’s will be a quick post because I have a more substantial one coming up tomorrow.
Last week, a project of a friend of mine, Rachel, came to fruition.  It was a 5K run/walk benefit to raise money for Camp Good Days, in memory of her cousin, Sarah, who recently lost a valiant battle with brain cancer. 

It took a tremendous amount of work and effort for her to put the fundraiser together, and she did an awesome job.
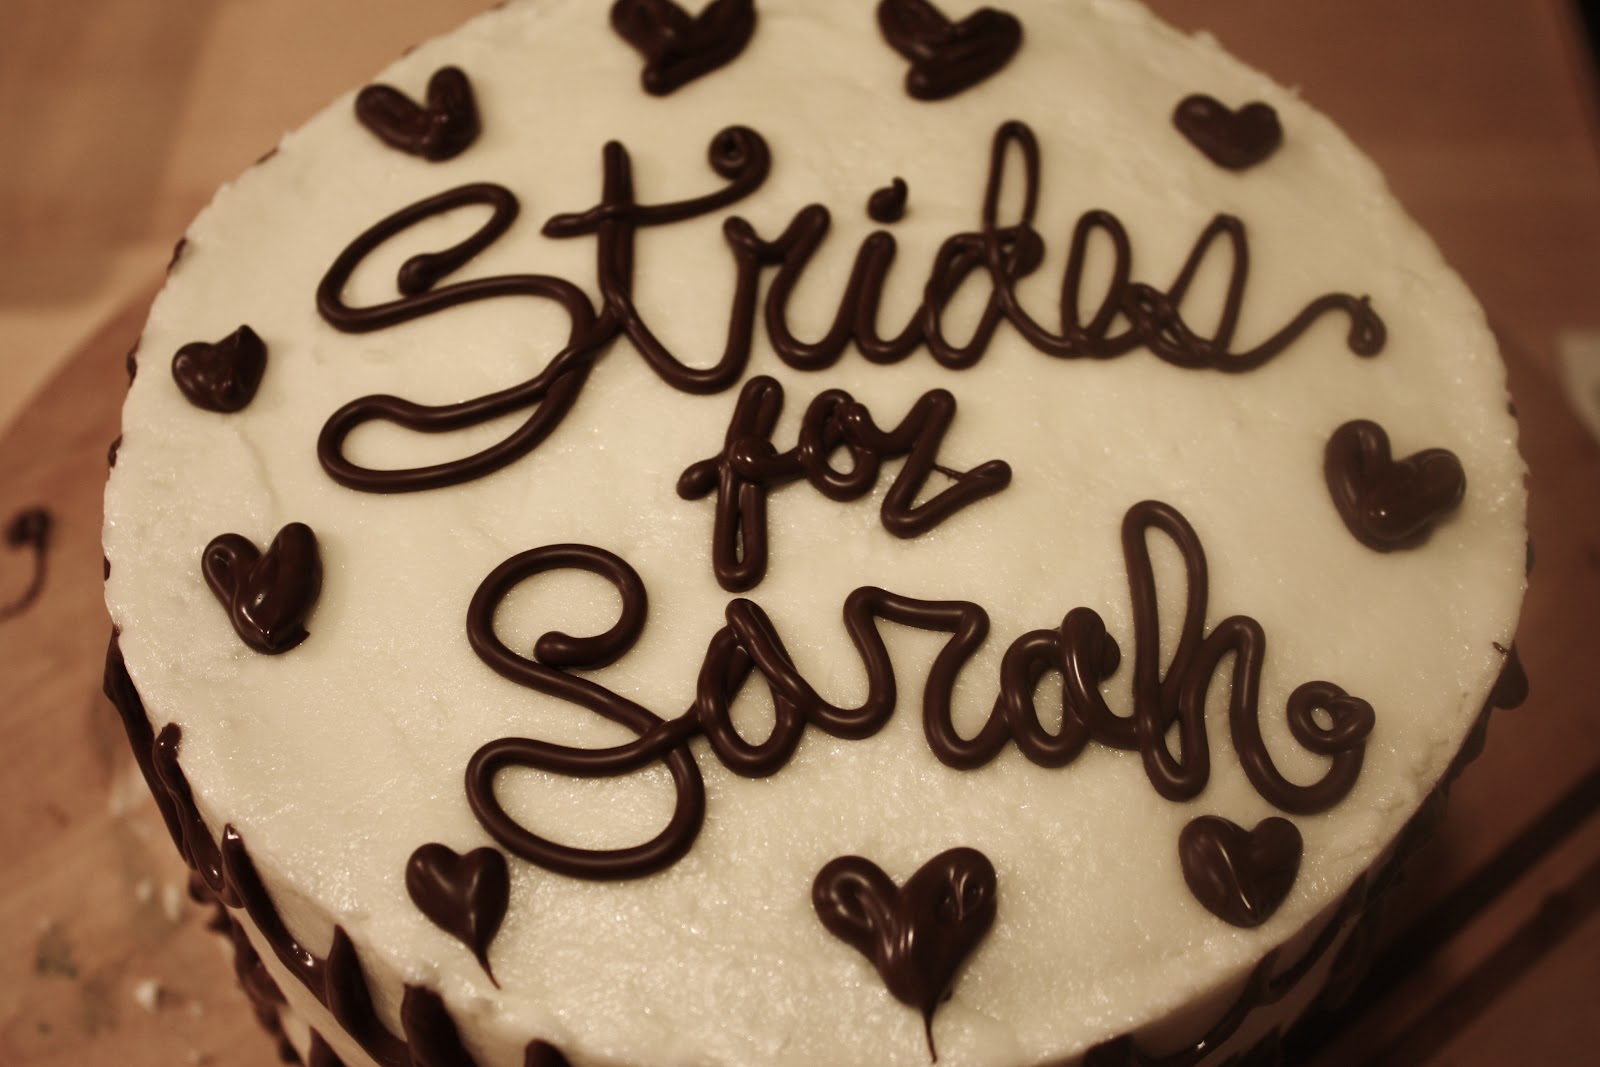
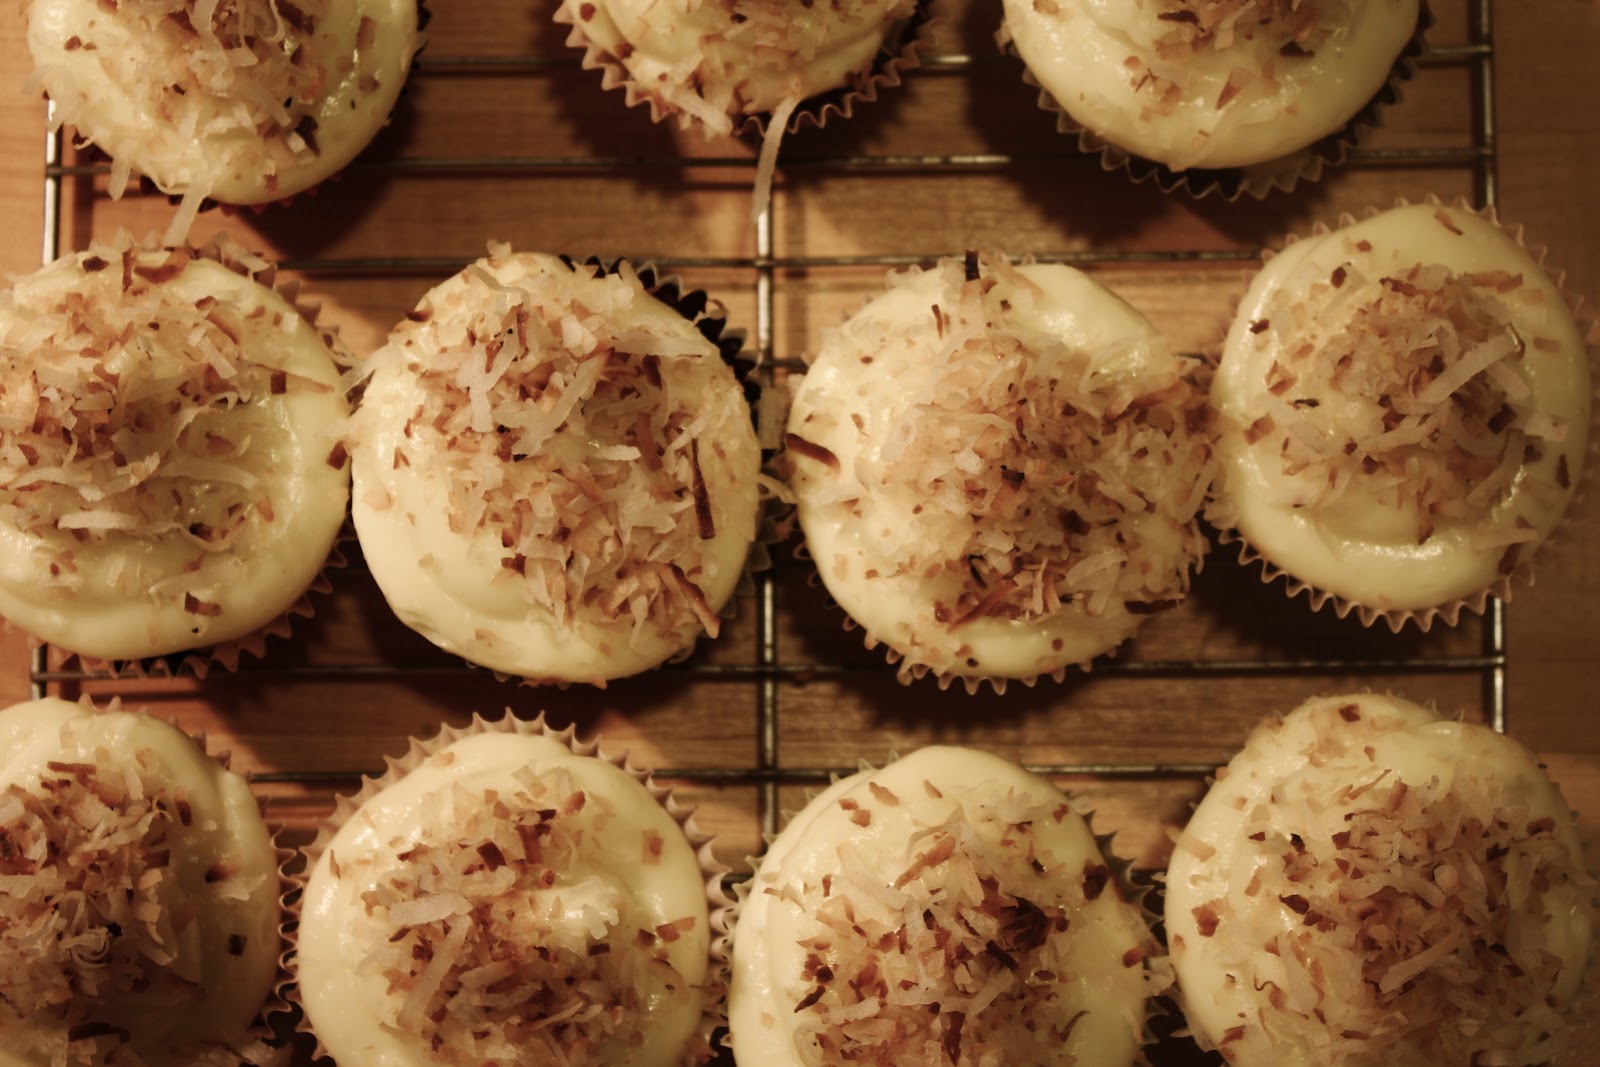
I ran in the race… And managed to pee my pants. Yes, you read that right.  I had to “go” so badly that in the middle of the race, well, yeah.  Now that more than fifty percent of my readers have closed the window and vowed never to read my blog again out of disgust, I will leave the rest of ye loyal followers with some delicious recipes that I whipped up to bring to the benefit’s snack table: blueberry lime coconut cupcakes, SprinkleBakes’ swirl cookies (she is amaaazzzinnnggg), and a “Hot Chocolate” cake. 


Sigh.  A flop.

Oh and also, a flop in the kitchen (lime tarts) turned on its head into a frozen treat.
Here’s to Sarah and her entire family, and here’s to Rachel, for working so hard on an inspiring event.  xx


Lime Curd
Makes 2 cups, adapted from userealbutter
Ingredients: 
2 cups water
1 cup sugar
1/2 cup cornstarch
4 egg yolks, beaten
1/2 cup butter
3/4 cup  fresh lime juice
1 tbsp lime zest
Directions:

Bring the water to a boil in a large saucepan.  Whisk in the cornstarch and sugar together, then whisk that mixture into the water.  Bring back to a boil.  It will be very thick and gooey. Add part of the hot mixture to the egg yolks, whisking constantly, to temper.  Then mix the egg yolk mixture back into the rest of the cornstarch-sugar goo.  Whisking constantly, bring back to a boil.  Then remove from heat, stir in butter, juice, and zest.  Cover with plastic wrap, making sure to press the plastic against the surface to prevent a skin, and chill until you need it.  

Blueberry-Lime Coconut Cupcakes
Makes around 12 regular size cupcakes (I, the genius that I am, managed to get a yield of 11 by filling a couple cakes too much)
Ingredients:
1 cup flour
1 teaspoon baking powder
Big pinch sea salt
1/2 cup sugar
zest of one lime
1/4 cup sour cream or yogurt
2 small eggs or 1 extra large
1/3 cup neutral oil
1/3-1/2 cup shredded sweetened coconut (depends how frisky you’re feelin’)
1/2-3/4 cup blueberries (Same goes here as for the coconut)
Directions:
Line a regular muffin tin with liners. Preheat oven to 375 degrees F.
Rub the zest of the lime with the sugar until fragrant.  Mix all the other ingredients, except the blueberries and coconut, (Dump n’ run!) together until homogeneous.  Then stir in the coconut and gently fold in the blueberries.  Fill each cupcake liner up approximately 2/3 of the way full (use an ice cream scoop for uniformity…).  Bake for 25-30 minutes, checking for doneness around 20 minutes.  Cupcakes are done when they spring back from a light touch.  

Coconut-Lime Cream Cheese Frosting

Enough to frost 12-ish cupcakes
Ingredients:
8 ounces cream cheese
2 tablespoons butter, softened
2 tablespoons coconut oil
1 1/2 cup confectioner’s sugar
1/3 cup lime curd
Directions: 
Beat all ingredients except the curd and sugar together until fluffy, then slowly add in sugar until incorporated.  Mix in the curd.

“Hot Chocolate” Cake

Makes 1 3×8 layer cake
For the cake: (adapted from Sweetapolita)
1 3/4 cups flour
2 cups sugar
3/4 cup cocoa powder
2 teaspoons baking soda
1 teaspoon baking powder
big pinch sea salt
2 eggs
1 cup hot black coffee
1 cup buttermilk
1/3 cup neutral oil
healthy splash vanilla extract
Directions: 
Preheat oven to 350 degrees F.  Butter and flour three 8-inch pans.
Mix everything together in a stand mixer with a paddle attachment. Divide evenly into the pans, and bake for 30-35 minutes (check around 25!).  Cake will be springy when done.
For the frosting and filling:
Ingredients:
7.5 ounces egg whites (it’s okay to go over)
7.5 ounces sugar
1/4 teaspoon salt
24 ounces butter, cut up into small pieces and at room temperature
3/4 cup Ovaltine
2 ounces melted and cooled bittersweet chocolate
Directions:
Heat egg whites, sugar, and salt in a double boiler until they reach 145 degrees F.  Remove from heat and beat until thick, glossy, and cool (bowl should be neutral to the touch).  using the paddle attachment, slowly add in the butter in pieces until all is incorporated.  Remove all but 2.5 cups of the buttercream and place in another bowl.  With the remaining buttercream, mix in the Ovaltine and melted chocolate.  Fill the layers with the Ovaltine buttercream, and frost the outside with the regular buttercream.  

Lime Meringue Pie Frozen Yogurt

Ingredients:
190 grams (1 1/2 cups) graham cracker crumbs
20 grams (1/4 cup) milk powder (optional)
25 grams (2 Tbsp.) sugar
3 grams (3/4 tsp.) kosher salt
55 grams (4 Tbsp. or 1/2 stick) butter, melted, or as needed
55 grams (1/4 cup) heavy cream
The rest of the lime curd (or just use the whole batch, and don’t make the cupcakes.)

3/4 cup sugar
2 1/4 cups Greek yogurt 

1/2 cup heavy cream
Directions:
Pulse the first 5 ingredients together in a food processor.  Spread on a baking sheet and bake at 350 degrees F for about 15-20 minutes.  Remove, let cool, and break into chunks.  Mix the other portion of heavy cream, the Greek yogurt, and the sugar, and let sit for a little while so the sugar can mingle with the dairy.  Then freeze in an ice cream maker, until frozen but ever so slightly soft.  Fold in the lime curd and graham crust.  When you stick it in your freezer to store, be sure to place a piece of plastic wrap on the surface to prevent ice crystals from forming.


Be prepared for some layer cakes coming up in the near future! Weeeee!  


I wish the sprinkles stuck on a bit better.

Easy As…

Alright guys.  It’s time to cut the B.S.  If I see or hear one more person committing themselves to a life of pre-made, store-bought, nasty, preservative-filled pie crust AKA junk in a box (literally), I’m going to lose it.  Think this kind of retaliation for the next lemming who jumps off the precipitous cliff of store-bought crustdom.  Seriously people.  It’s past time to stop.  There is no God-given reason to be afraid of pie crust.  It’s pastry, for heaven’s sake.  There is a reason that the saying is “easy as pie.”  So, without further ado, suck it up, don’t be whiny, and let’s make some pastries.
Yes, you can make this.
These, too!

Rule 1:  The Freezer is Your Friend
I do not care whether you are living in the Sahara or Siberia.  You need to chill your stuff.  Every little piece of it, from the food processor to the flour and especially the butter.  Chilling everything will help the pie or tart dough be flaky, because it will insure that the butter stays cold and in pieces.  Flaky crusts are a result of cold pockets of butter melting in the oven, creating pockets of steam in between layers of flour, thus stratifying your crust.  Yum.

See those pieces? That’s what you want.


Rule 2:  Just Say No to Shortening
I am not of the school of thought that believes shortening contributes to a mind-blowing crust.  And you shouldn’t be, either.  Shortening is icky.  Butter is yummy.  I believe that if you can’t spread something on a piece of toast and shove it in your mouth with a squeal of delight, then it should not be in your pie.  Butter is flavorful fat; shortening is greasy flavorless fat.  All-butter, all good.

Cold butter in, good dough out.

Rule 3:  More is Not Always More

This applies to a few facets of pies and tarts; both the elements and the formation.  Firstly, more butter does not always equal a better crust: a balance must be kept between fat and flour; more fat will only overwhelm the dough and leave you with a greasy mess in the oven.  Also, and this especially goes for pie dough, you don’t need more ingredients than butter, buttermilk, flour, and a pinch of salt and sugar.  No eggs in pie dough.  Please.  Tart dough, however, is a different animal; it needs an egg.  Secondly, fillings should be simple; the essence of a good pie or tart is in its elegant or rustic simplicity: showcasing good ingredients is the goal, not showing them up with too many competing flavors.  Overly sugared fillings are unappetizing and overwhelming.  In terms of the actual making of the stuff, more rolling and more mixing are bad.  More kneading?  Same deal.  This is because of the whole butter-pocket thing again.  If you mush all the butter into invisible pieces, there will be no pockets and you will have a dense mess in the oven.  Let the dough speak for itself; don’t work it to death.  
Fresh ingredients that you would willingly eat on their own.  

Rule 4:  Less is Not Always More

Do not underfill your pie crust.  No one wants to see or experience the gaping canyon between a few layers of cooked-down fruit and your beautifully risen pie dough.  Fill ’em up nice and full, because the fruit will shrink when baking.  Do not automatically add the exact amount of liquid that your recipe calls for: you must play it by ear and eye, because a slightly sticky dough is far better than a dry, crumbly mess that you can never roll out.  Add more if it looks like it needs more.  Simple as that.  

Pressed and ready to be pricked.
Crumbly is good only for tart shells.  Not pie dough

Rule 5: Relax.


Don’t freak out. If you find yourself panicking, shut the front door and take some deep breaths. If your crimps and lattices aren’t perfect… Who cares?  Certainly not the people who are going to be indulging in your delicious, buttery, flaky, fruity pie.  Trust me on this one… They don’t care how it looks.
Everything is going to turn out just fine.
You are now fully prepared to go out and make some great looking and tasting pies.  Go forth and prosper.   And take nary a look towards the refrigerated section of your grocery store.  But really.  I’ll be watching, ready to snatch that Pepperidge Farm crap out of your hands.


Unbeatable Pie Dough
Ingredients:
For a double crust: (halve for a single crust pie)
3 cups all-purpose flour, cold
2 sticks of unsalted butter (16 tablespoons, 8 ounces), cold or frozen, cut into pieces
1/2-1 cup ice cold buttermilk
Healthy pinch salt
1 teaspoon-1 tablespoon sugar, depending on your preference
Directions:
1. Put the flour, salt, and sugar in the bowl of a food processor and chill.  
2.  Once chilled, pulse butter in until the mixture has some butter pieces the size of peas.  
3.  Add the buttermilk in, slowly, with long pulses, until the dough forms a semi-cohesive ball.  If it is too sticky, do not worry, just sprinkle a little more flour on your clean surface when you turn the ball out, and roll it around a bit.  
4.  Divide the dough into two balls, pat into disks, wrap in plastic wrap, and put in fridge for at least 30 minutes, but for up to 3 days.  (Can be frozen for 1 month, just take it out and let it thaw when you want to use it, or, chill it in the fridge and roll it out and shape it to the pan before freezing (then you can go straight from the freezer to oven to mouth).)
5.  Roll the dough out.  When rolling dough out, don’t overdo it.  You want it to be the proper size to fit your dish (about 1 1/2 inches larger radius than the dish), but not any larger (and therefore, thinner), than that.
6.  To par-bake, put in a 350 degrees F oven (pricked with a fork)  for 10-15 minutes, or until palest golden.

Indefatigable Tart Dough
adapted from Dorie Greenspan’s Baking, helpful tips from Smitten Kitchen
Ingredients: 
Makes enough for one 9-inch tart crust1 1/2 cups all-purpose flour, cold1/2 cup confectioner’s sugar, cold1/4 teaspoon salt1 stick plus 1 tablespoon (9 tablespoons; 4 1/2 ounces) very cold or frozen unsalted butter, cut into pieces1 large egg

Directions:
1. Pulse the flour, sugar and salt together in the bowl of a food processor. 
2. Scatter the pieces of butter over the dry ingredients and pulse until the butter is coarsely cut in.
3. Beat the egg gently, and pulse it into the dough.   
4. When the egg is in, process in long pulses–about 10 seconds each–until the dough, which will look granular soon after the egg is added, forms clumps and curds. Just before you reach this stage, the sound of the machine working the dough will change–heads up. 
5. Turn the dough out onto a work surface and, very lightly and sparingly, knead the dough just to incorporate any dry ingredients that might have escaped mixing. Chill the dough, wrapped in plastic, for about 2 hours before using.  
6. Rolling this dough can be tricky, due to its crumbly nature, so instead of doing so, simply press it, gently, with your fingers or a cup measure, into a greased tart pan.  Prick all over with a fork (gently!).
7. Freeze the crust for at least 30 minutes, preferably longer, before baking.
8.  To fully or partially bake the crust: Center a rack in the oven and preheat the oven to 375 degrees F. Butter the shiny side of a piece of aluminum foil (or use nonstick foil) and fit the foil, buttered side down, tightly against the crust. And here is the very best part: Since you froze the crust, you can bake it without weights. Put the tart pan on a baking sheet and bake the crust for 20 to 25 minutes.9.  Carefully remove the foil. If the crust has puffed, press it down gently with the back of a spoon. Bake the crust about 10 minutes longer to fully bake it, or until it is firm and golden brown, brown being the important word: a pale crust doesn’t have a lot of flavor. (To partially bake it, only an additional 5 minutes is needed.) 
10.  Transfer the pan to a rack and cool the crust to room temperature, and proceed with the rest of your recipe.  
(This dough can be wrapped and kept in the refrigerator for up to 5 days or frozen for up to 2 months. While the fully baked crust can be packed airtight and frozen for up to 2 months, the flavor will be fresher if you bake it directly from the freezer, already rolled out.)

Brown-Sugar Peach Pie
Here’s the beauty of working with peaches for pies:  One, they are the most absolutely delicious fruit in a pie, in my opinion, at least, and two, you don’t have to peel them! In fact, the skin only adds to the deliciousness of the peaches, so none of this nonsense about boiling and shocking them to peel ’em.  Lawd have mercy this fruit is a miracle
Ingredients:
1 recipe Unbeatable Pie Dough (double crust)
6-8 ripe but firm peaches, depending on the size of your peaches
1/4 cup flour
2 tablespoons quick-cooking tapioca
1/3 cup brown sugar (you don’t need to pack it real tight if your peaches are nice and sweet)
1/4-1/3 cup granulated sugar (same deal as with the brown sugar in terms of quantity)
Healthy pinch of ground cinnamon
Healthy grating of nutmeg
Big pinch of sea salt
1 egg, beaten with 1 teaspoon water
1-2 tablespoons turbinado sugar
Directions:
After rolling out your pie dough and chilling it, cut up your peaches into 8ths and mix them, gently, with all the other ingredients.  Pour into pie crust and top with the other half of your crust, whether in lattice form or just whole, with some slits cut for steam escape routes.  Brush with the egg wash, and sprinkle, generously, with the turbinado sugar.  Bake at 375 degrees F for 45 minutes, or until the crust is golden brown, and you can see peach juice bubbling and peeking through the openings in the crust.

Peach Tart
Ingredients:
1 recipe Indefatigable Tart Dough
3-4 ripe but firm large peaches
1/2 cup granulated sugar
1/4 cup turbinado sugar
2 tablespoons plus up to one more tablespoon flour(depends how juicy your peaches are)
2 tablespoons butter
Pinch salt
Directions:
After preparing your tart shell (Par-bake it for about 10 minutes, until it’s starting to turn a very light golden color), cut up your peaches into relatively even, thin slices (about 16 pieces per peach).  Pulse the rest of the ingredients until there are small, oatmeal-flake sized pieces of butter.  Arrange the peach slices in a sunburst pattern, then top with the streusel.  It will seem like a lot, but just sprinkle it as evenly as possible over the peaches.  Bake for 35- 45 minutes at 375 degrees F, or until the peaches have released juices that have become thick and sauce-like.  


This pie lasted for a record 8 hours in my house. 

The Frenchman

So, here’s the thing:  I did  have a delicious recipe for burnt caramel ice cream, à la Toscanini’s, and a very sweet story about my father and his affinity for said ice cream.  Unfortunately, said father ate said ice cream faster than you can say Toscanini’s and therefore I had no opportunity to photograph it.  Glad at least someone enjoyed it…  Anyways, here’s something equally sweet.
Fresh from the garden

 J’ai un ami qui s’appelle Emile, et il adore la lavande; on blague que ça c’est car il est français.  Alors, il est le “Frenchman.”  C’était son anniversaire la lundi dernière, mais je n’étais pas à l’école ce jour là.  C’est dommage que je l’ait raté, mais j’ai fait ce gâteau pour lui hier.  C’est un gâteau de lavande et citron avec le glaçage de la gousse de vanille.

Du sucre avec la lavande et zeste d’un citron

    I have a friend named Emile, and he loves lavender; we joke that it’s because he’s French.  He is the Frenchman.  It was his birthday last Monday, but I wasn’t in school that day.  It’s too bad I missed it, but I made this cake for him yesterday.  It’s a lavender and lemon cake with vanilla bean frosting.

J’ai su immédiatement que j’ai voulu adapter un gâteau de yaourt français pour qu’il puisse avoir de la lavande; je fait ce gâteau souvent, et il est magnifiquement moelleux et de citron, grâce au yaourt.  Il n’y a pas de beurre dans le gâteau, mais on ne le sait jamais du saveur.

I knew straight away that I wanted to adapt a French yogurt cake to include lavender; I make this cake often, and it is wonderfully moist and lemony, thanks to the yogurt. There is no butter in the cake, though you wouldn’t know it from the taste.
Freckles like mine


 Anyways, I had a little issue with the decorating:  I dyed some sanding sugar lavender, and planned to use that on the cake.  Once on the frosted cake, it looked garish and simply awful.  So, I scraped it off and tried to save the frosting.  I then wanted to use lots of sprinkles to make it more festive, but somehow, Lord knows how, I was almost all out of sprinkles. This I only realized after putting some sprinkles on the cake.  So, I scraped that off and did a minimal sprinkling and tried to make those that stuck on the cake look purposeful.  Oh well.  You live, you learn.
Joyeuse anniversaire, mon ami.
 
Glossy, stiff peaks.  Parfait.
Lavender Lemon Yogurt Cake

adapted from Dorie Greenspan’s Baking
makes 2 8-inch rounds
ingredients:
1 cup flour
1/2 cup almond flour
2 teaspoons baking powder
healthy pinch sea salt
1 cup sugar
Zest of 1 lemon
3 tablespoons chopped fresh lavender
1/2 cup plain Greek yogurt
3 eggs
1/3 cup oil (I used equal parts olive and canola)
Directions:
Preheat oven to 350 degrees F.  Grease two 8-inch rounds.  Whisk the flours, baking powder, and salt together.  Rub the lemon zest, lavender, and sugar in a bowl with your fingers until it becomes fragrant; add to the flour mixture.  Add the yogurt, eggs, and oil, and mix together.
Bake for 45-50 minutes, or until the cake springs back to the touch and is golden.
Vanilla Bean Mascarpone Swiss Meringue Buttercream
makes 2.5 cups
ingredients:
5 ounces egg whites
5.5 ounces sugar
Scrapings of one or two vanilla beans
Pinch of salt
1 pound butter, slightly soft, in small pieces
5 ounces mascarpone
Directions:
Heat the egg whites, vanilla beans, salt, and sugar in a bain marie until they reach 145 degrees F.  Whip until a stiff, glossy meringue forms, and the bowl is cool to the touch.  Add in the butter slowly, one piece at a time, until all is incorporated (meringue will deflate).  Then add the mascarpone.
Didn’t bring my camera to school.  iPhone suffices.


Caramel Craze and Memorial Daze

It’s starting to feel a lot like summer


This past weekend, to the dismay of the entire cast and crew of my dysfunctional household, our backyard neighbors hosted their annual Memorial day children’s

bonanza.  Replete with a gigantic bounce house (I swear they started blowing that sucker up at nine AM), approximately thirty wee little tots under the age of seven, and innumerable honking bicycle horns, Sunday was looking to be a very dismal day.  That is, until I remembered my AP Chemistry project that was due after the long weekend: the assignment was to explore the chemistry of an edible compound, and most importantly, bring in samples.  My partner and I chose caramel.  (Just kidding.  I’m way too bossy to let someone else choose.  I chose caramel.  He agreed, especially when I promised him all the leftover samples.)  It wasn’t exactly the prospect of doing a chem project that excited me (yuck!), but rather the fact that I had a concrete purpose to bake.  


So I made these suckers.


Oh yeah.  Uh huh.  Those would be salted caramel cupcakes with salted caramel filling, a salted caramel cream cheese Swiss meringue buttercream, and a hard salted caramel topper.  Upon describing them to my classmates, I was met with whining protestations: “Why is there so much salt?!” “Is there any sugar?!”


Um, yeah.  There was plenty of sugar.  I made so much caramel, I swear I went through five pounds of sugar, thanks to the fact that I burned a few batches, letting them get to “monkey blood” stage AKA too dark for even that wonderful burnt caramel taste. 
I don’t care how or why this happens.  I only care about how it is getting to my mouth.
 

 I could tell you oh-so-much about caramelization and all of the wonderful chemicals produced in the poorly understood process, but to be honest, it’s a lot more boring than making or tasting caramel.  And that’s coming from a self-proclaimed chem geek.  

*Insert your favorite four-lettered word here*
By the way, try not to be as greedy as me.  Sugar burns hurt.  

Burned caramel and fingers aside, the project went off without a hitch, despite the ten decibel screaming that permeated my kitchen for twelve straight hours.  

I guess I’m glad I didn’t choose to study soufflés.
 

(Pourable) Salted Caramel
 makes 3 cups 
ingredients: 
2 cups sugar 
1 cup water 
generous 1 1/2 teaspoons fleur de sel
 2 cups heavy cream, warmed 
2 teaspoons pure vanilla extract 
Directions: 
Combine the sugar, water and salt in a heavy-bottomed pot.  In a separate pan, gently warm the heavy cream with the vanilla.  Don’t stir the sugar mixture.  Shake the pot once in a while to help the sugar and salt dissolve.  Allow to cook, shaking occasionally, for 8-10 minutes until the sugar has turned a deep amber color.  Immediately (you want to stop the cooking), but slowly, pour the cream mixture into the sugar, in a steady stream.  Be careful, as it will bubble up furiously.  Stir the caramel with a long spoon until it is smooth and homogeneous.  Pour into a heat-proof dish and allow to cool. 


Caramel Cupcakes:  

makes 24 mini cupcakes + 6 regular sized cupcakes  
ingredients:
 2 cups unbleached all-purpose flour 
1 1/4 cup + 2 tablespoons granulated sugar 
2 1/4 teaspoons baking powder 
1/2 teaspoon fleur de sel 
1 1/2 cup buttermilk or milk 
1 egg 
generous 1 tablespoon vanilla 
1/2 cup vegetable oil 
1/3 cup caramel sauce (see above) 
Directions: 
Sift flour, sugar, and baking powder into a bowl.  In a stand mixer, mix the buttermilk, salt, egg, vanilla, and vegetable oil.  Slowly add the dry ingredients into the wet, alternating with the caramel sauce.  Mix only until everything is incorporated.  It will be a thin batter.Bake at 350°F for 12-18 minutes, depending on what size your cupcakes are.  Check them often; when they are done, they will be springy, deeply tanned, and ever-so-slightly sticky.


Caramel Cream Cheese Swiss Meringue Frosting 

adapted from Bravetart’s SMB
makes 5-ish cups
ingredients:
5 oz egg whites
5 oz sugar
pinch salt
1 pound butter, cubed and slightly softened
1/3 cup caramel sauce (see above)
5 oz cream cheese
6 oz marscapone
Directions:
Combine egg whites, sugar, and salt in a clean, clean, clean bowl.  Set over a pan of simmering water, or a bain marie, and cook until the temp registers 145°F.  Remove from the double boiler and whip until stiff, glossy peaks form and the outside of the bowl is neutral to the touch.  (If you are super impatient, ahem, stick the bowl in the fridge for a minute.  It will cool down, but won’t deflate.)  Now, with the paddle attachment of your stand mixer, add in the butter, one cube at a time.  Once the buttercream is smooth, mix in the caramel.  It may look curdled: don’t panic! add in the cream cheese and marscapone in small batches until all is incorporated and smooth.  

Hard Caramel Topper

from Sprinkle Bakes (for that matter, these cupcakes are entirely inspired by her beautiful “Triple Salted Caramel Cupcakes”!)

1 1/4 cups granulated sugar
 
1/4 teaspoon fleur de sel
3/4 cup water
2-4 tablespoons of large-crystal sugar, mixed with 1/4 tsp fleur de sel

Lay out a large piece of parchment on your work surface and spray with cooking oil (such as canola). Put sugar, salt and cold water in a heavy pan; do not stir, but shake until the sugar has begun to turn light amber.  Remove from heat and, after stirring briefly, dip a spoon in the caramel and let it drip onto the paper, forming abstract shapes (or beautiful rounds like Heather’s!).  After a few minutes of leaving the caramel to dry, sprinkle the sugar/salt mixture over the caramels.  Once they are dried, gently lift them from the paper and adorn the cupcakes.

Assembling the cupcakes: once they are cooled, cut a small round from the top, and fill with a small amount of caramel sauce.  Put the top back on, and frost.  Top with the hard caramel!


I also made these delicious Salted Butter Caramels from David Lebovitz, but I replaced half of the cream with fresh peach juice, to make peachy, buttery, caramels that were to die for.  

Mr. Bear needed a bath


I know the caramel sauce makes a lot more than you’ll need for the filling, frosting, and batter, but trust me: I have a wonderful re-purpose for them coming soon!  Here’s a hint: it’s cold, creamy, and caramel-y.