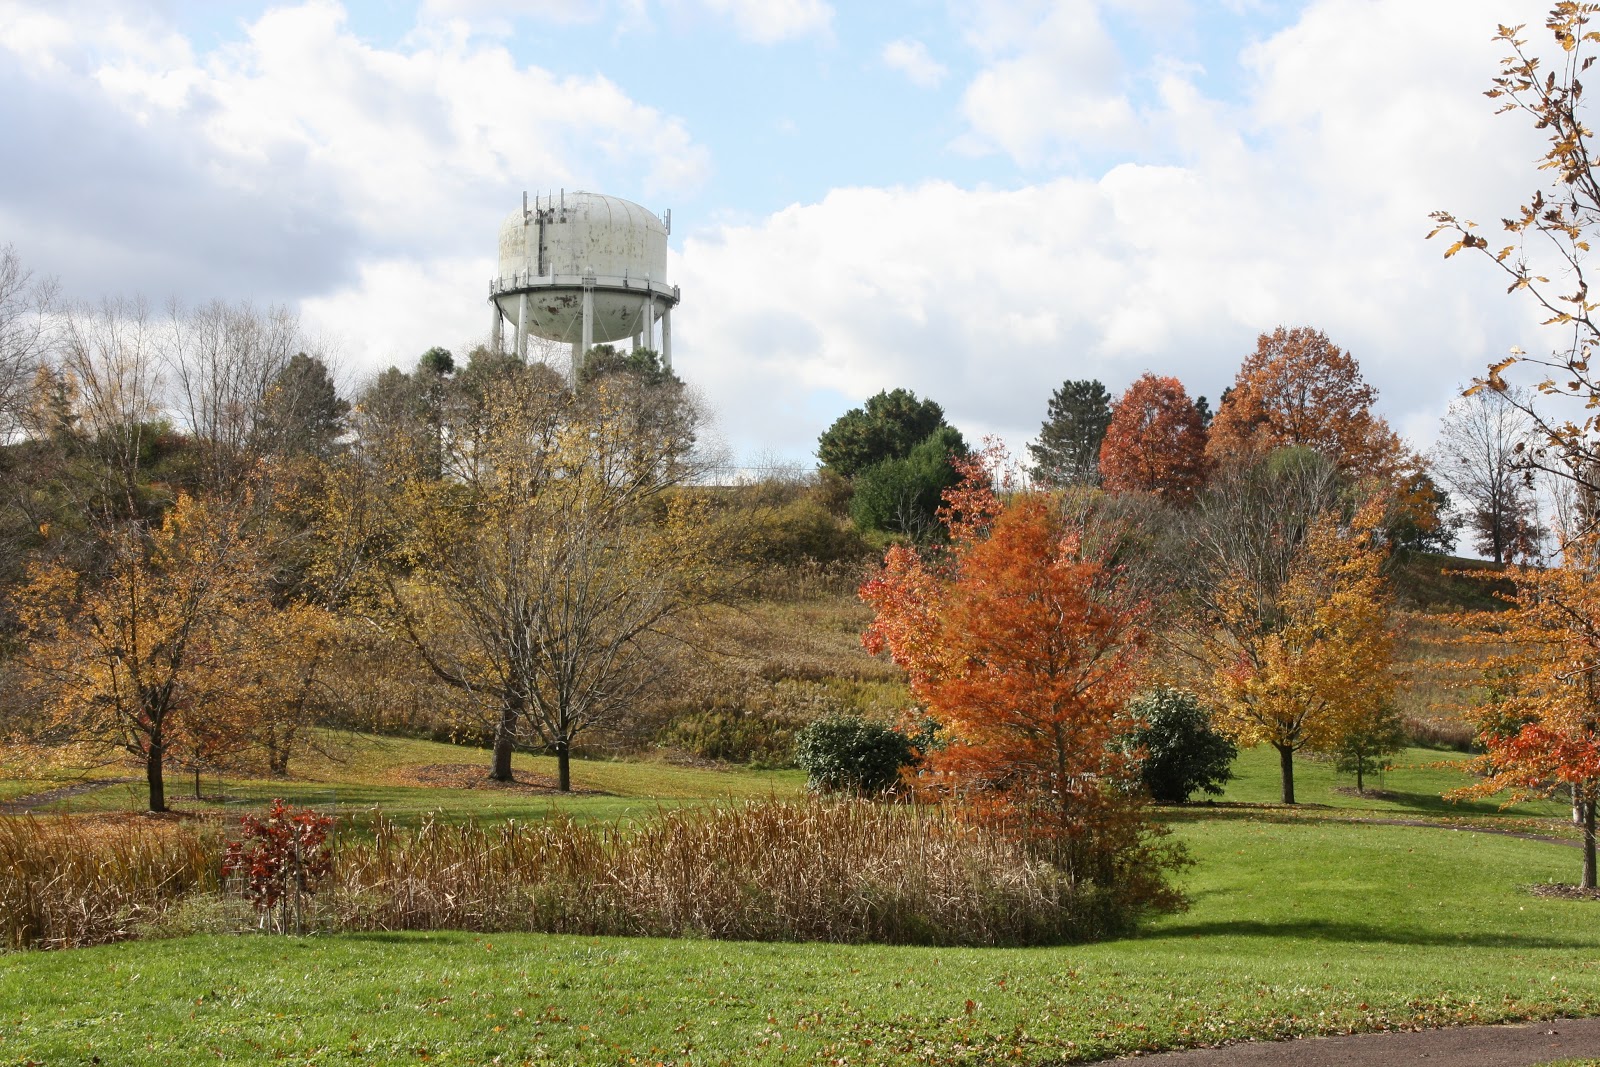
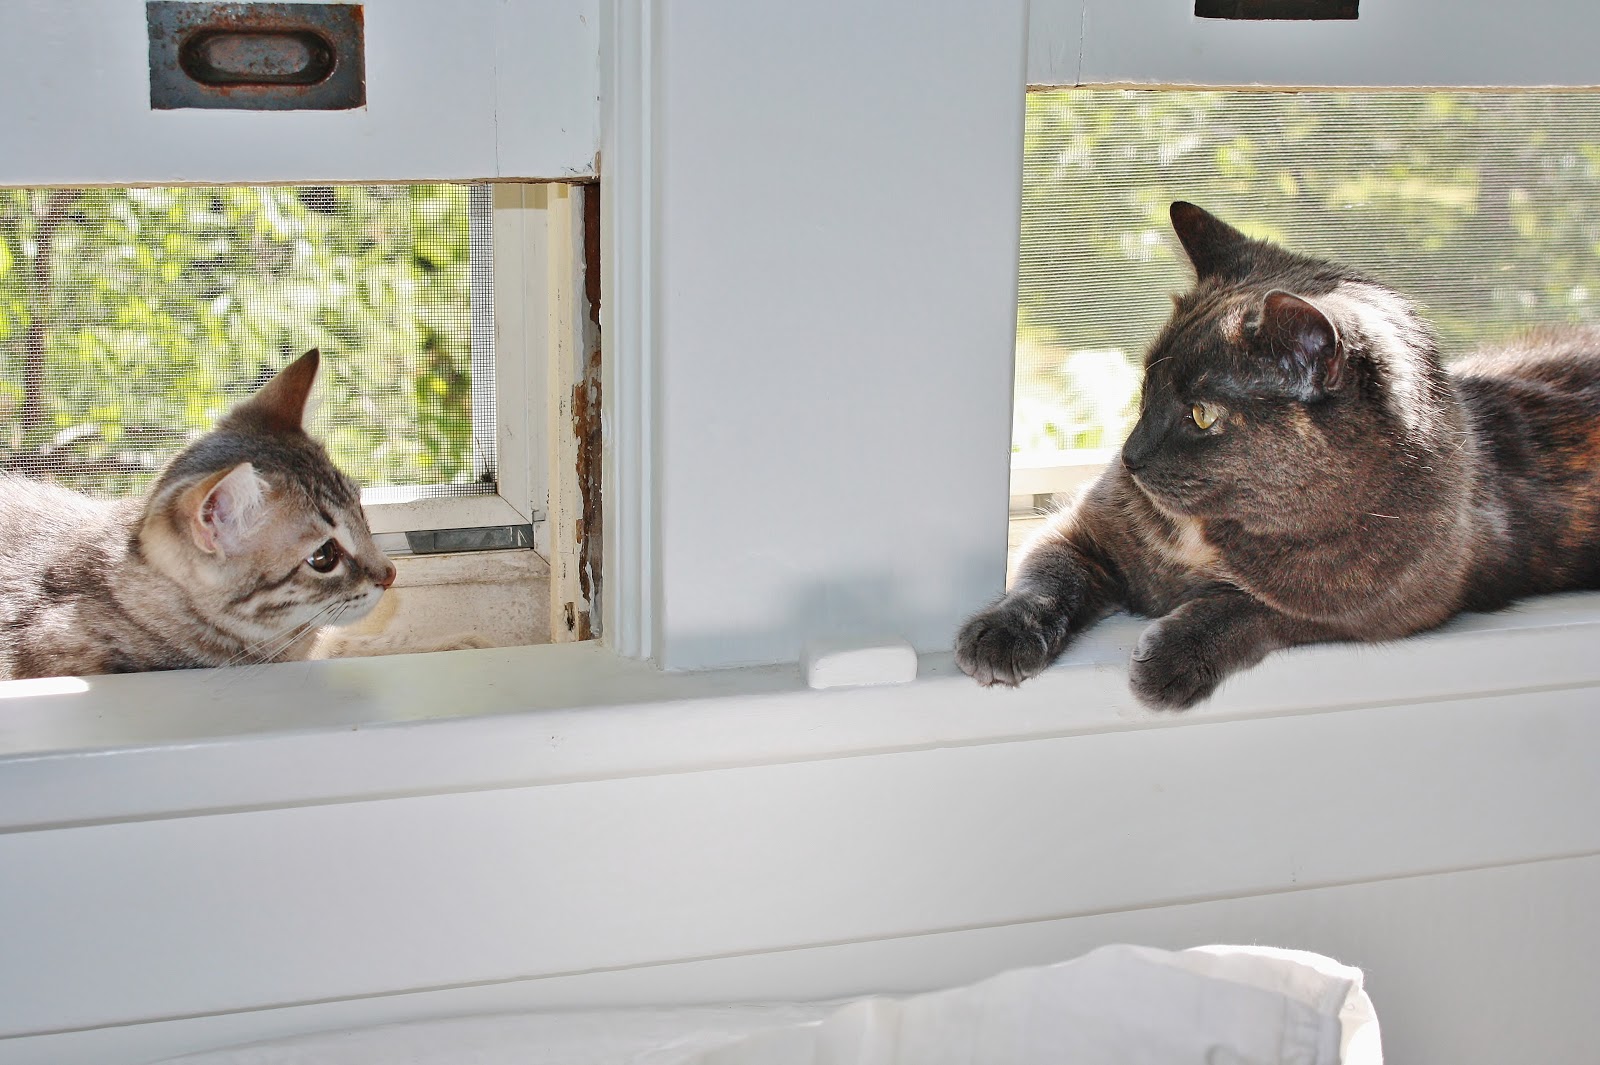
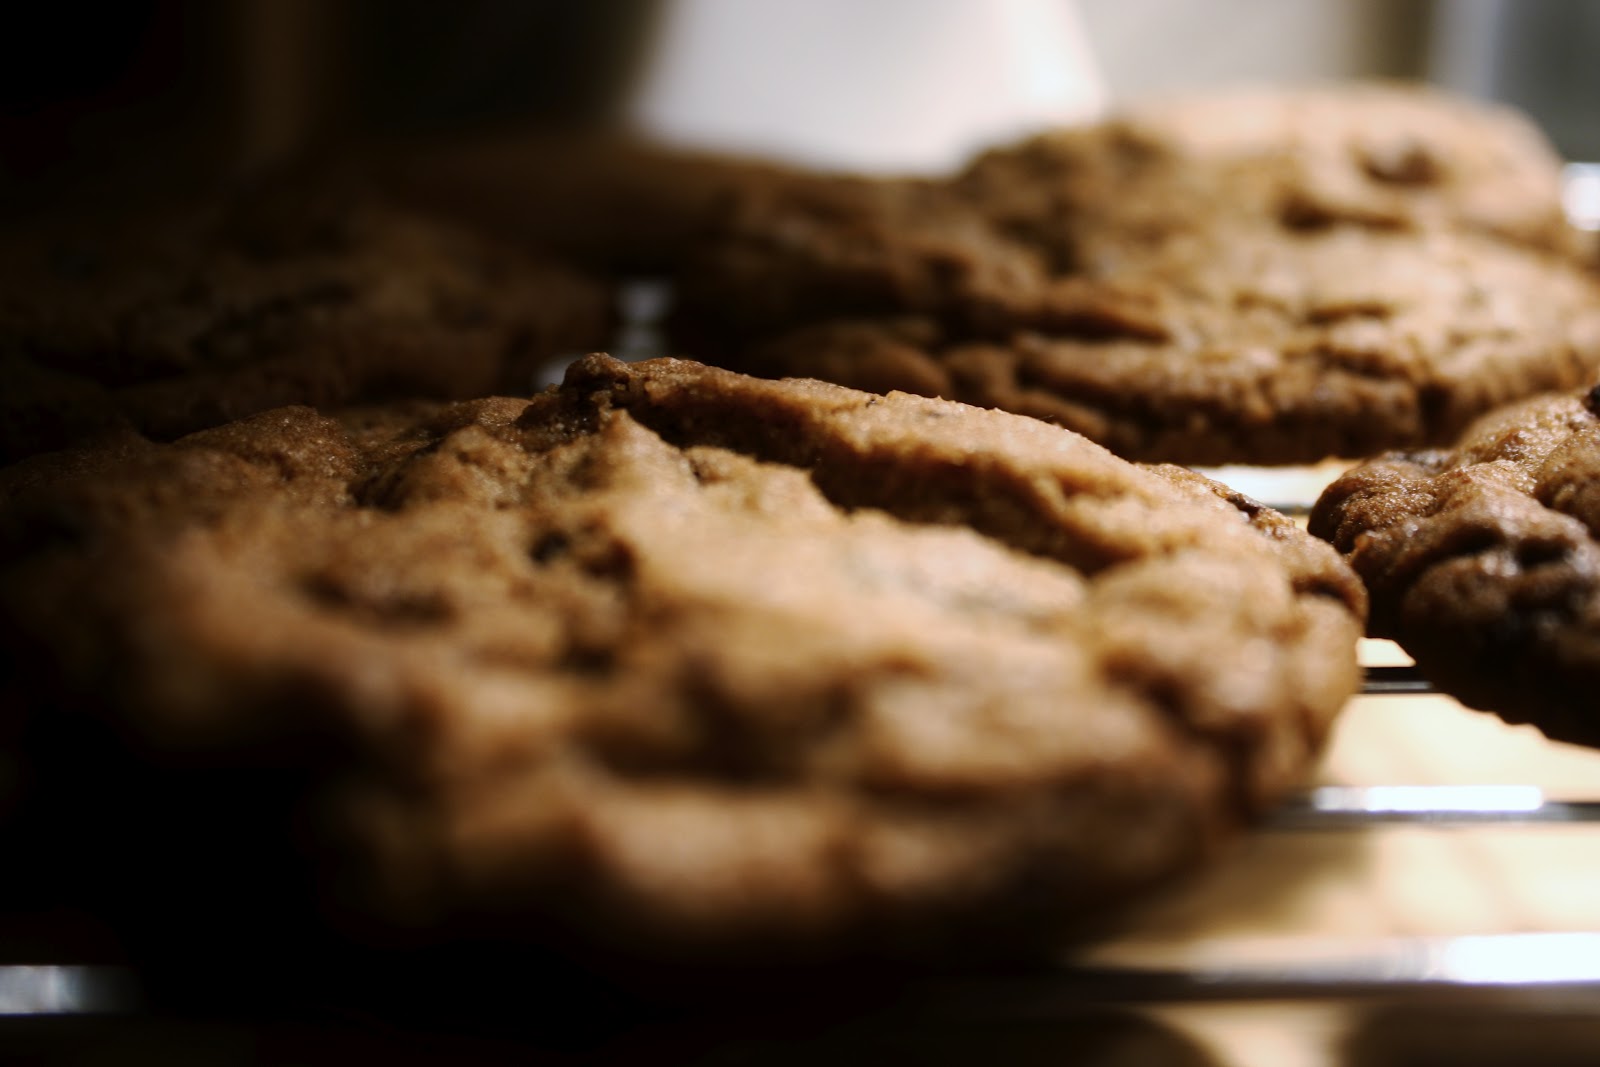
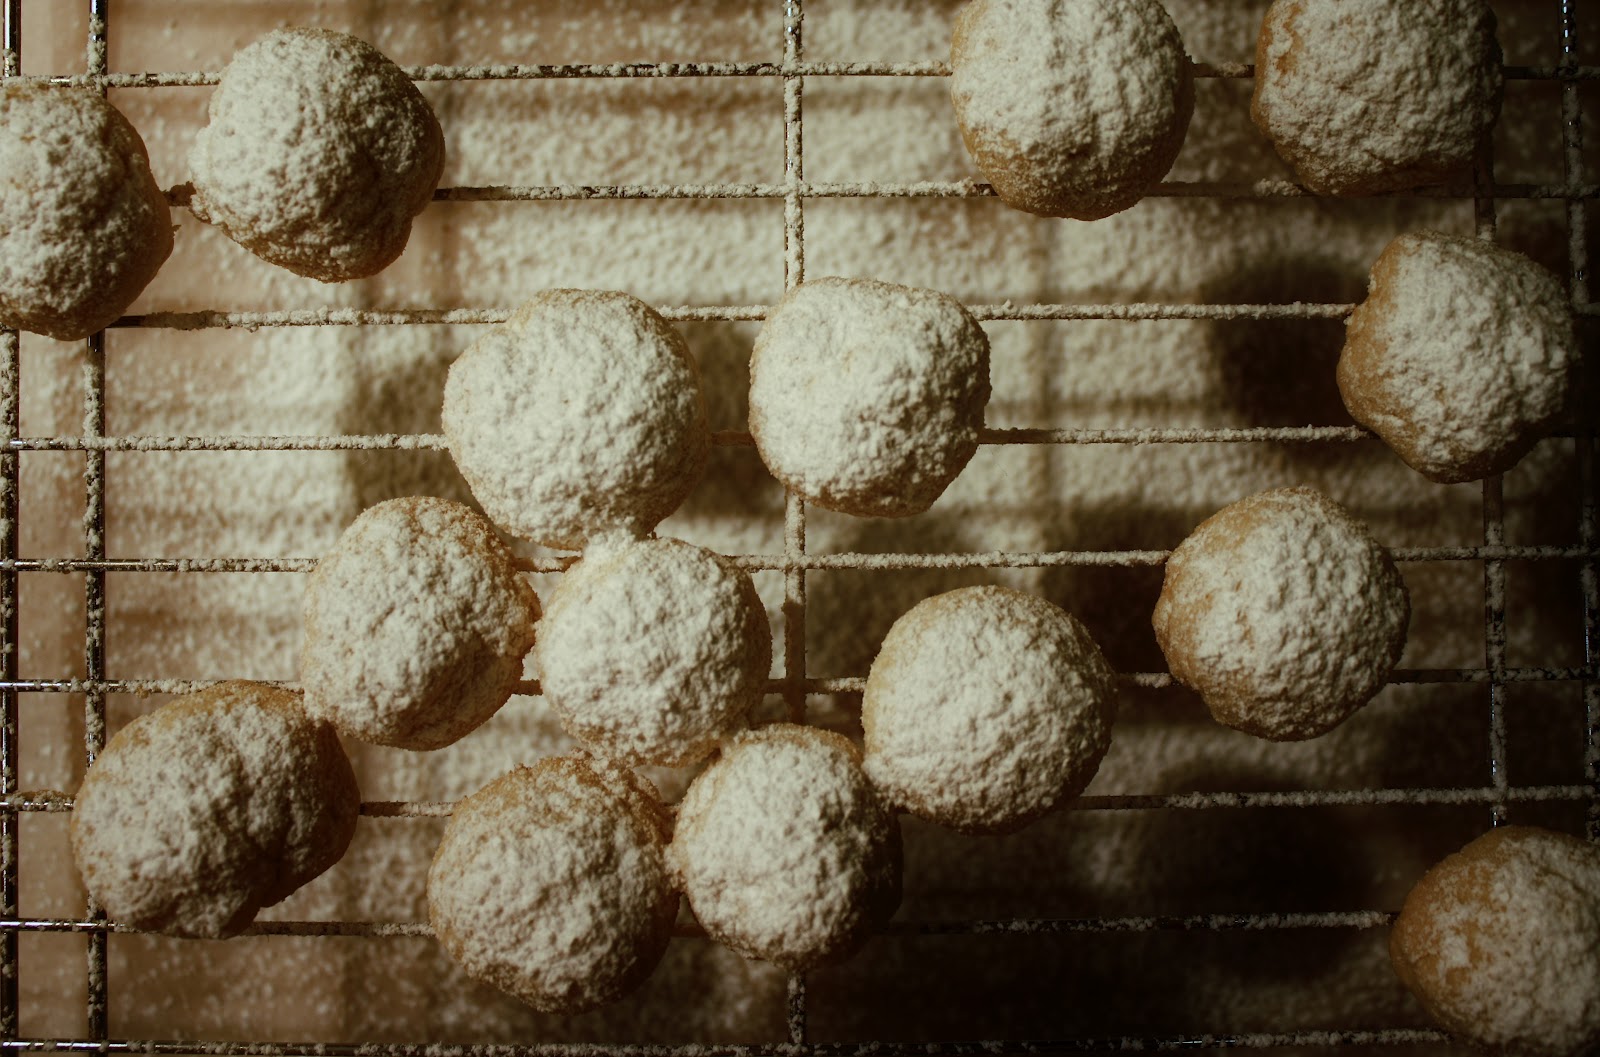
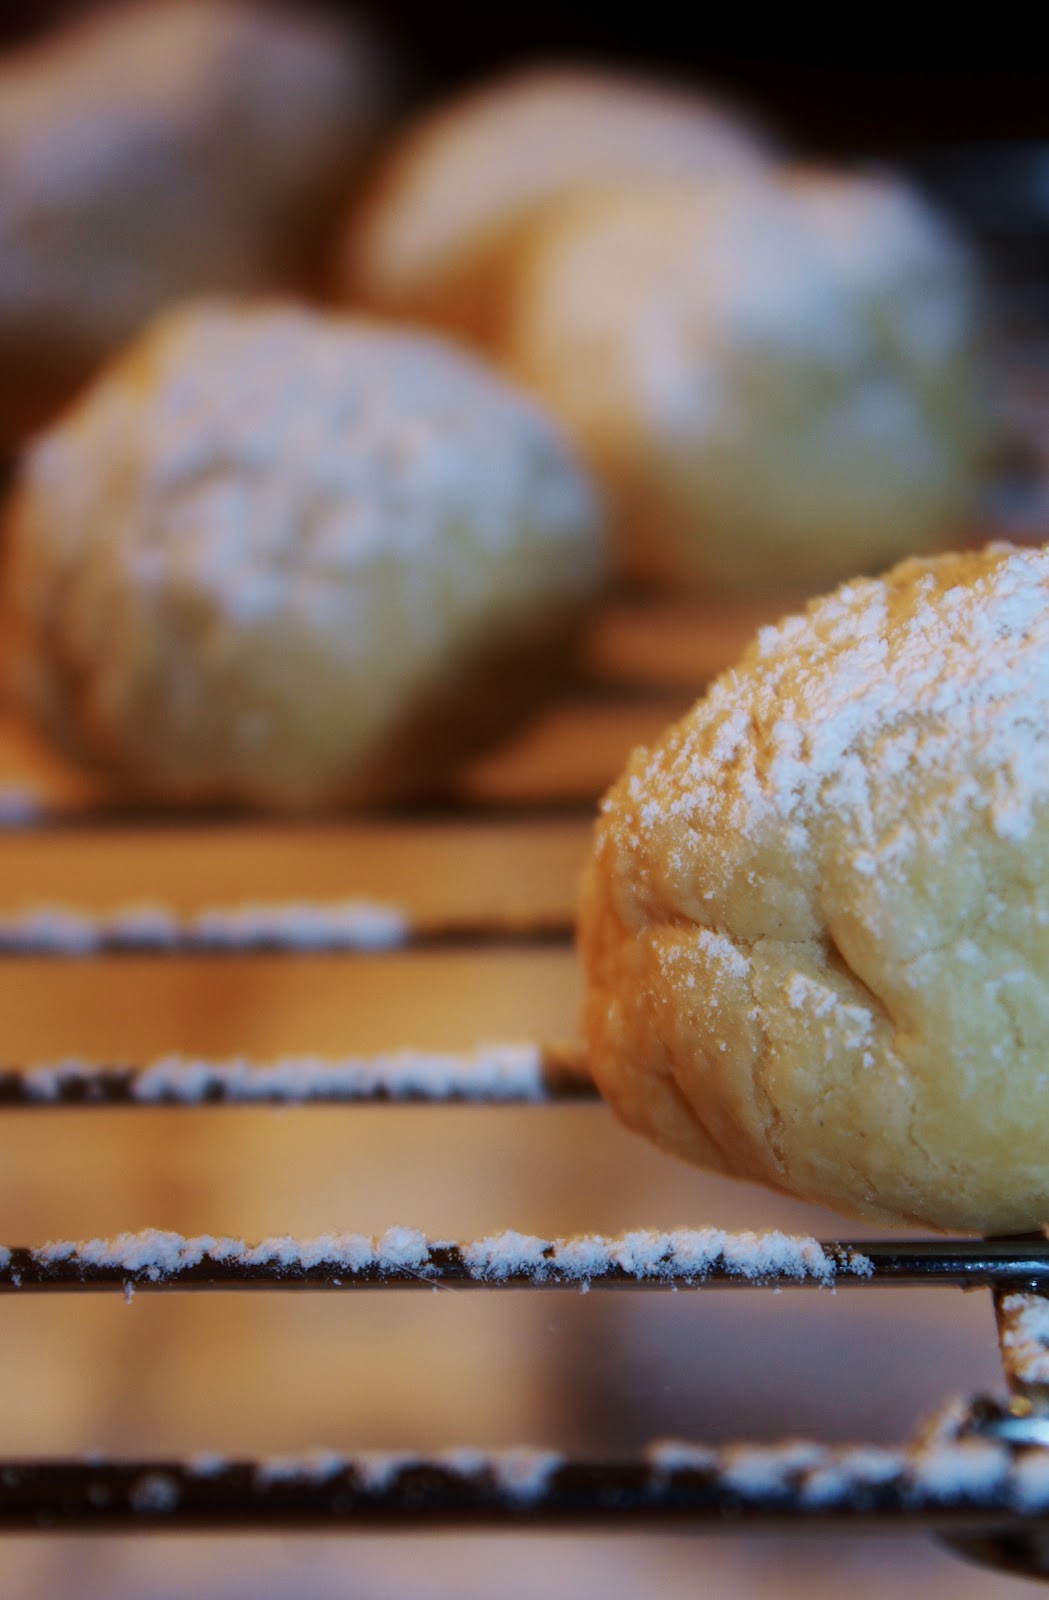
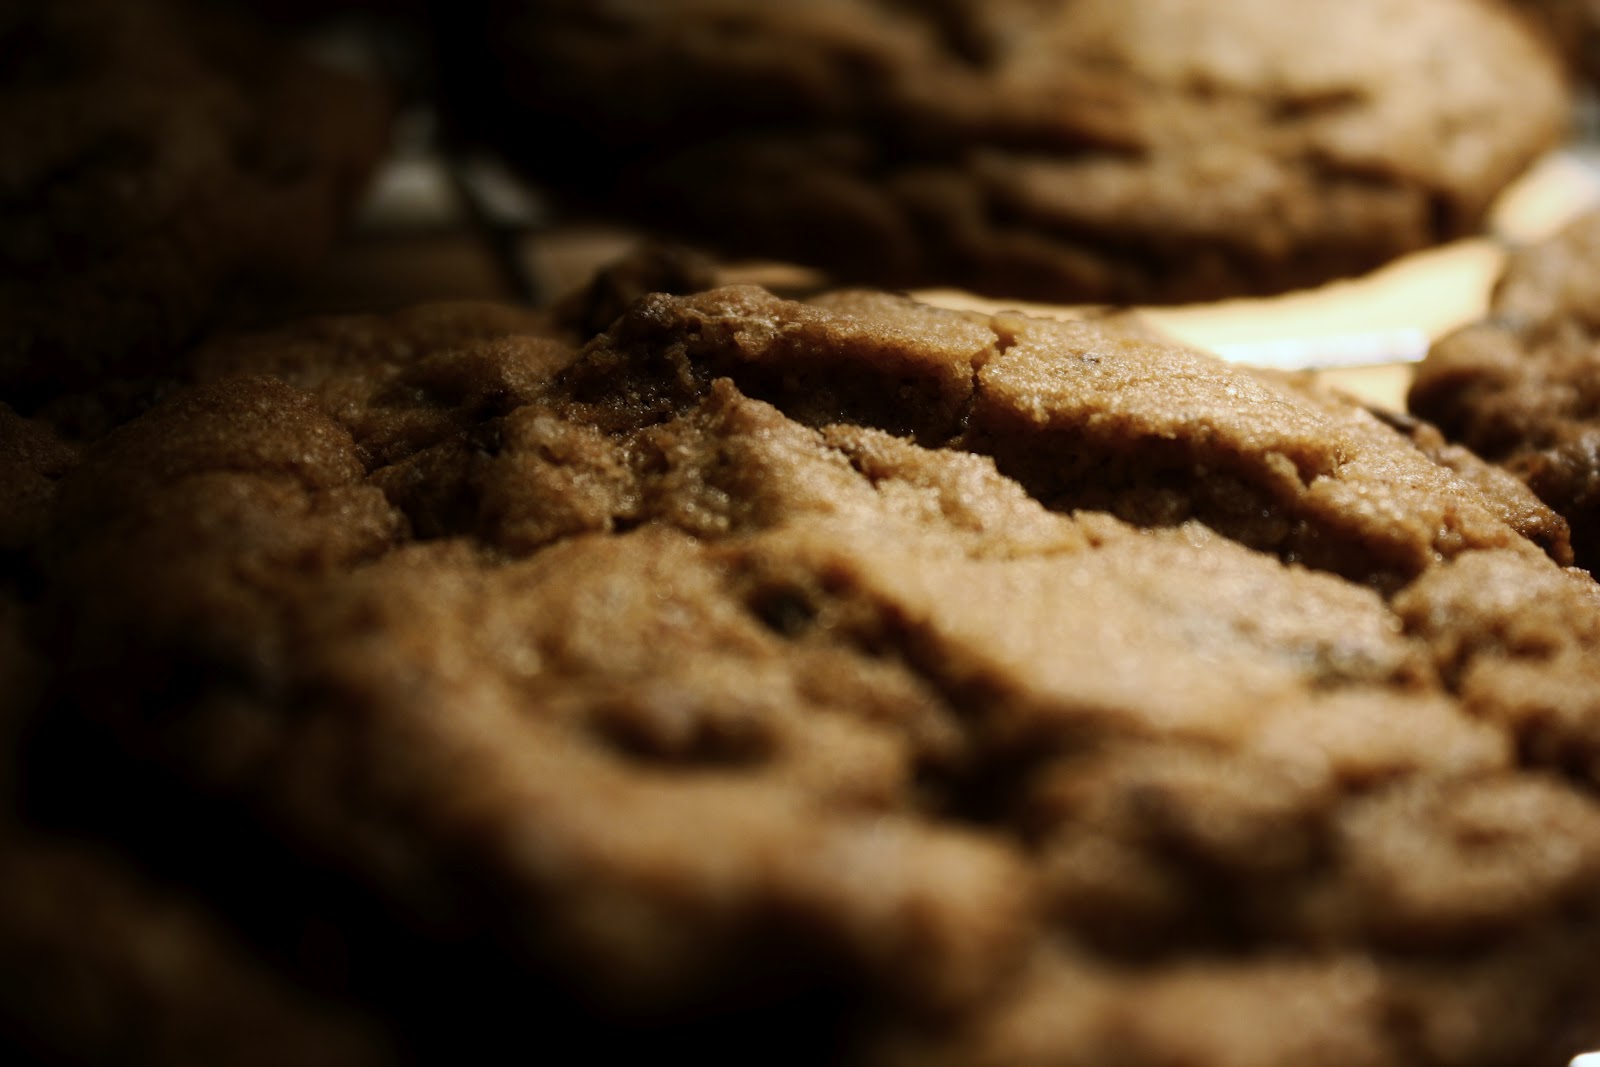
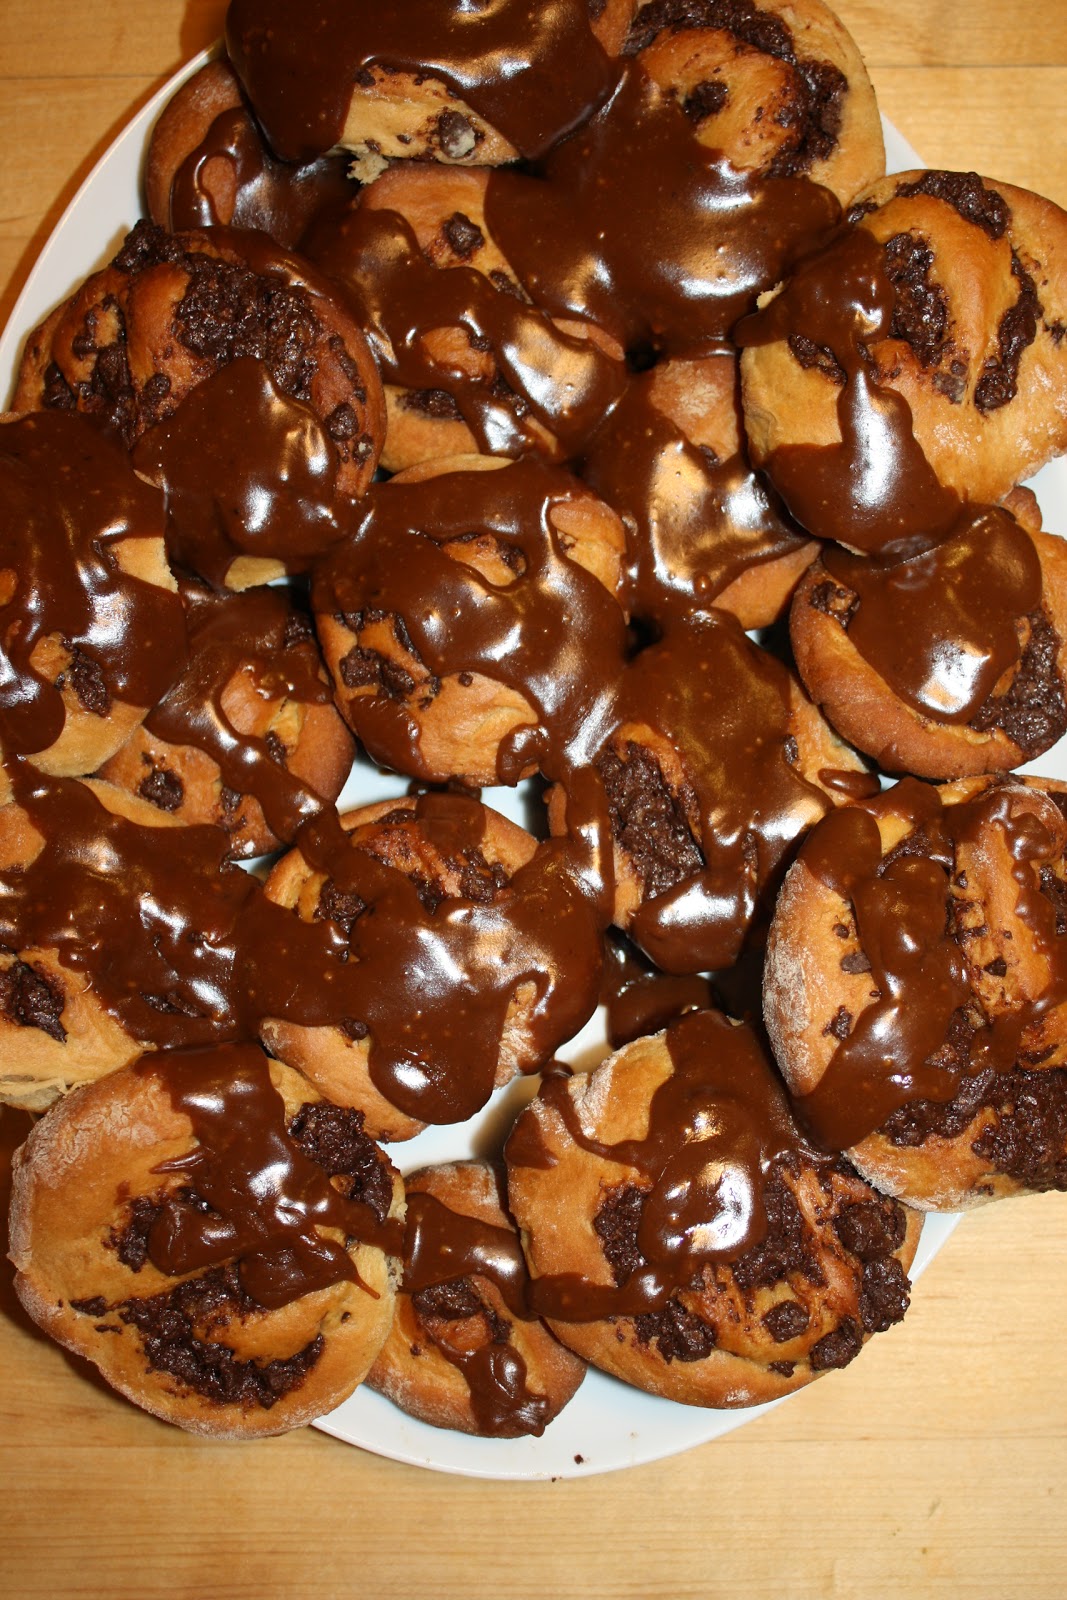
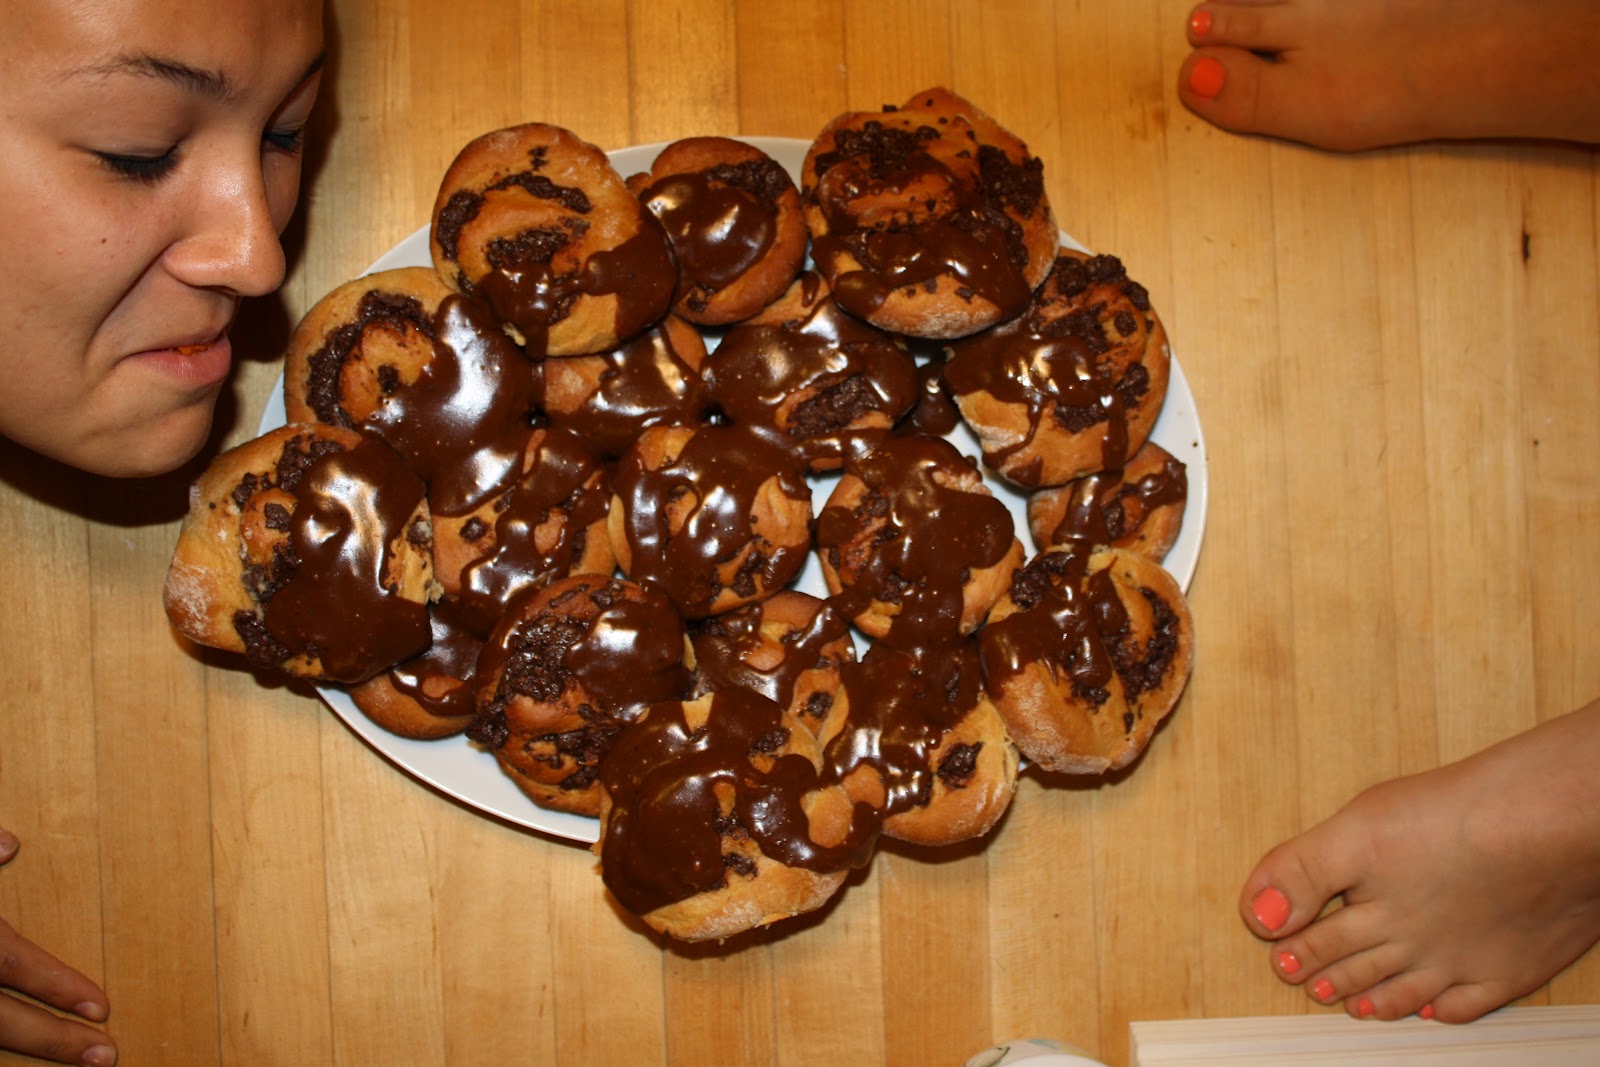
And because I can’t resist… Here are some autumnal pictures I’ve taken.
The stewardess just yelled at me for the third time to turn off my mobile device.
I’m that person. Oops.
Anyways, I’m going to London to enjoy this long weekend in the cold, gray U.K.
I like to pretend that people actually read this blog, and that these fictional readers would be very disappointed if I up and left the country without so much as an adieu.
I’ll be back on Thursday with a new recipe.
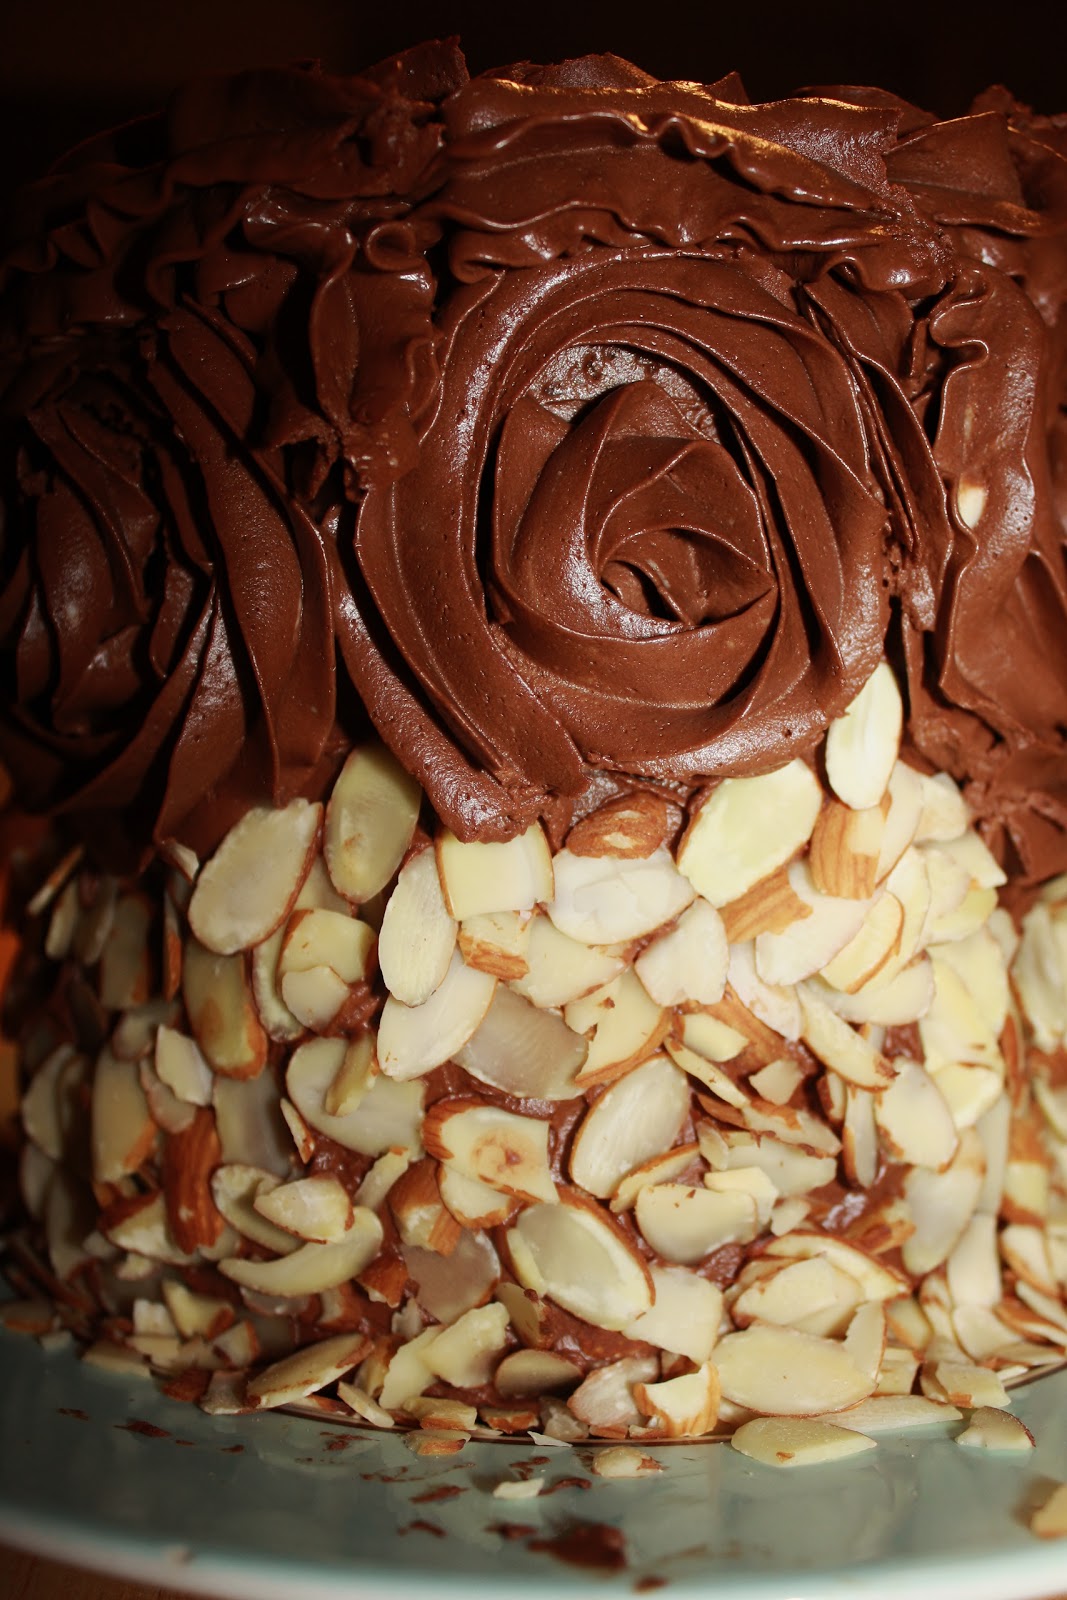
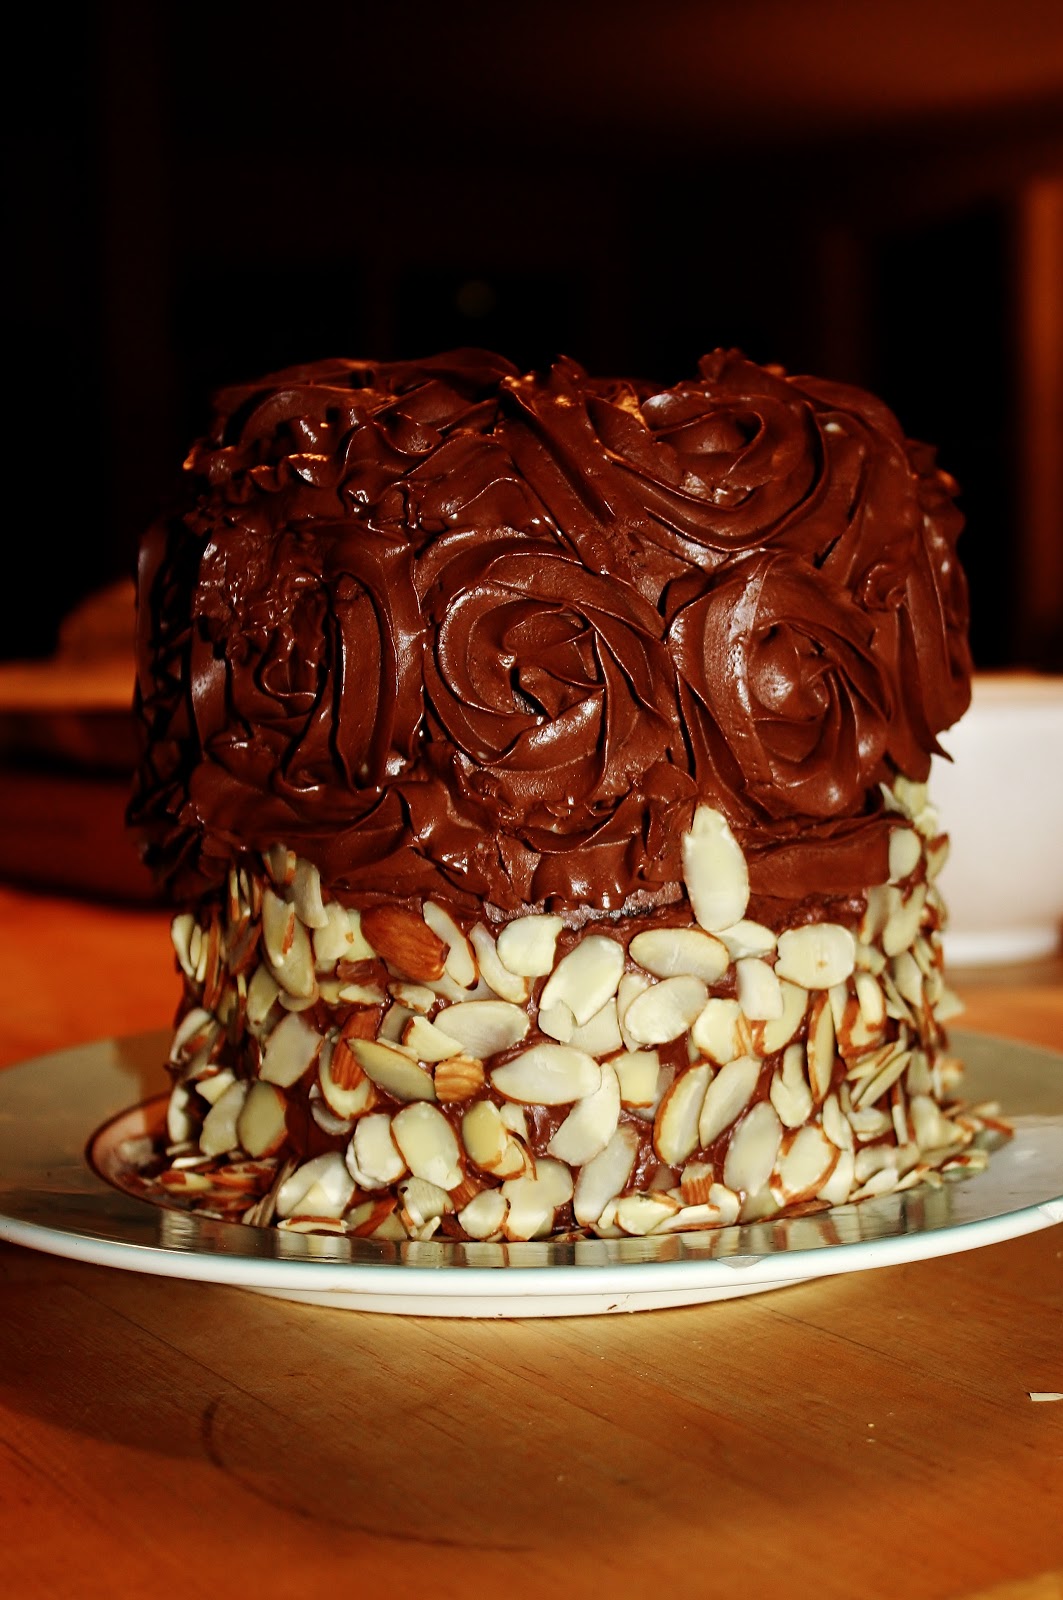
It involves lots of chocolate. Lots.
Cheerio!
Brown Butter Almond Bundt
for the cake:
ingredients:
2 sticks of butter
2 cups sugar
1/2 teaspoon kosher salt
5 eggs
1 cup milk
1 tablespoon vanilla extract
2 teaspoons baking powder
3 cups flour
1 cup slivered almonds (optional)
directions:
Generously butter and flour a 10 cup bundt pan. Preheat oven to 350 degrees F. Brown butter in a large saucepan. Meanwhile, combine sugar and salt in the bowl of a stand mixer. Once the butter is browned, add it to the sugar and mix until combined. Whisk the eggs and vanilla into the milk and slowly add to the sugar mixture. Once homogeneous, add in the flour and baking powder, and mix until combined. Stir in almonds. Bake for 45-55 minutes, or until a skewer inserted all the way into the cake comes out with relatively few crumbs.
for the glaze:
ingredients:
3/4 cup bittersweet chocolate chips
1/2 cup heavy cream
pinch sea salt
handful slivered almonds, toasted in a pan (optional)
directions:
Heat cream until almost boiling, pour over chocolate chips and salt and allow to sit for three minutes. Stir together until shiny and completely melted; pour over cooled cake and garnish with toasted slivered almonds.
English Tea Cake
Remember how I said I hate baking cookies? Ha, um well…
I have four different cookies to show you. Er… Tell you about.
Don’t look at me.
I wasn’t lying, but sometimes it’s necessary to bake cookies. What a drag, I know.
For instance, if your best friend is going back to school and leaving you, cold and alone, you might need to bake some spiced-up chocolate chip cookies, as a parting memento so she won’t forget about you too quickly, while having a private pity party. Just you and half of the cookie dough.
Loosen your belts, unbutton your jeans, and ready your stomachs.
Diners across the nation have been serving hundreds of different flavors of pie for ages. (And thank goodness for it!)
And with that, I’m hungry. Over and out.
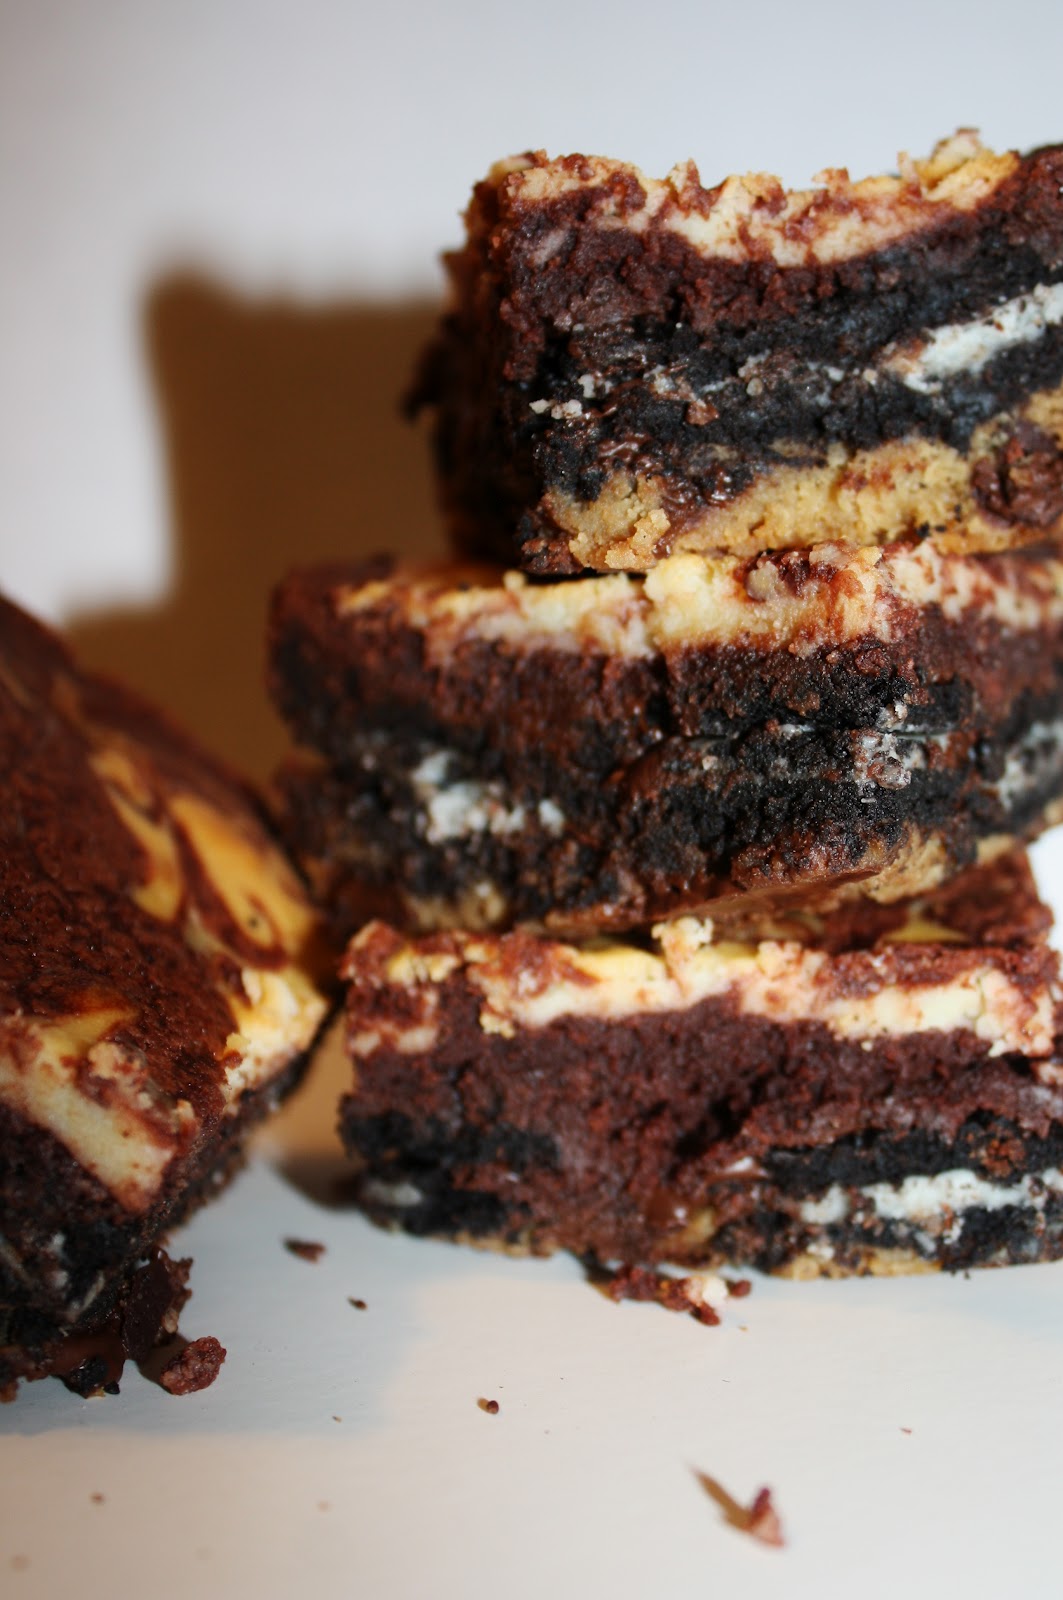
Super Freak Brownies
blondie layer from smittenkitchen, red velvet brownies adapted from varying online sources
for the blondie layer:
ingredients:
1/2 stick butter, melted
119 grams light brown sugar
1/2 a large egg (weigh it out, divide by two, and save the other half. You’ll need it.)
splash vanilla
pinch sea salt
1/2 cup flour
big handful bittersweet chocolate chips
directions:
Mix the butter, sugar, egg, vanilla, and salt together. Stir in flour, then chocolate chips. Spread over the bottom of a well-buttered 8×8 pan. Top with Oreos. (You’ll need 16)
for the ganache:
ingredients:
big handful of chocolate chips- I used bittersweet (use your discretion on how chocolaty you want it)
1/3 cup peanut butter
directions:
Heat chocolate and peanut butter together until melted and combined, either in a microwave or on a stove top. Spread over Oreos.
for the red velvet brownies:
ingredients:
1/2 stick melted butter
1/2 cup sugar
splash vanilla
bit of red gel food coloring
pinch sea salt
1/2 teaspoon white vinegar
2 tablespoons cocoa powder
1 egg
1/4 cup plus 2 tablespoons flour
4 ounces cream cheese, softened
1/2 a large egg
2 tablespoons sugar
splash vanilla
directions:
Mix the butter and the first measurement of sugar together with the vanilla, food coloring, sea salt, vinegar, and cocoa powder. Next, add in the egg, then stir in the flour. Pour 3/4 of the batter over the ganache, reserving the rest to dot the top of the cream cheese mixture. For the cream cheese swirl, beat the cream cheese, 1/2 egg, sugar, and vanilla together, then dollop it over the brownies. Dot the cream cheese with the remaining red velvet batter, then swirl to your heart’s content with a toothpick.
Bake at 350 degrees F for 30-35 minutes, or when a toothpick comes out clean.
Allow to cool, then cut into 9 squares.
Americana Dream Cream Pie:
ingredients:
all-butter pie dough for 1 single crust, (baked at 425 for 8 minutes lined with aluminum foil and loaded with pie weights, then at 350 without the aluminum/pie weights, but pricked with a fork, for 15-20 minutes longer, until golden) brushed with melted chocolate once cool
3 super ripe bananas
4 tablespoons sugar
2 tablespoons butter
1/4 cup flour
100 g bittersweet chocolate
1/3 cup half-and-half
1 can coconut milk
pinch salt
1/2 cup sugar
1/4 cup flour
4 egg yolks
splash vanilla and coconut extract
1 cup finely shredded unsweetened coconut
toasted chunk coconut, for garnish
directions:
Put bananas, sliced, into a pan with the butter, sugar, and flour. Allow to cook until the mixture is thickened and very, very fragrant, about 10 minutes on medium heat.
Pour into bowl and allow to cool. Once cool, pour into the cooled and chocolate-brushed pie crust. Make the pastry cream: heat up the coconut milk until simmering. Whisk the yolks, flour, sugar, and salt together in a bowl. Pour 2/3 cup of the hot milk over the yolks while whisking, then pour the yolk mixture back into the pan with the milk. Allow to come to cook (it will boil and bubble) until thickened significantly. Pour into another bowl, stir in the extracts and coconut, and allow to cool completely. Next, heat up the half-and-half until almost boiling (I nuked it). Pour it over the chocolate and allow to sit until the chocolate is melted, then stir until smooth. Pour/spread over the bananas, then spread the cooled pastry cream over that. Chill until well-set, then garnish with the toasted coconut.
It’s a bird! It’s a plane! It’s…
Sorry. It’s just me. Nothing special.
But often I am asked (yes, boring old me), with slight suspicion and narrowed eyes, “What are you?”
And when I answer that question, it is immediately followed with, “So what do you eat?”
Um, so, here goes: I am a nutritarian, which is a term I use loosely. I like to think that I follow a diet led by my principles, rather than solely my stomach. I am conscientious of my body and of the environment. I make choices that I hope will benefit them both. Technically, I am a strict lacto-ovo-vegetarian (I eat dairy (generally only cheese and yogurt) and eggs), a part-time vegan, and a lot of times, a raw foodist. I guess I’m also a locavore because I do my best to eat locally and sustainably.
| One very full, very sleepy little kitty |
I hate these labels. They’re restrictions that I don’t particularly care to have. I’m not one or the other one hundred percent of the time. (Except the no meat or bones deal. I’m not trying to proselytize, but if you are looking for more information, read up with some of the great books out there, like Jonathan Safran Foer’s Eating Animals (my favorite book), Hal Herzog’s Some We Love, Some We Hate, and Some We Eat, and Michael Pollen’s The Omnivore’s Dilemma. )
I believe the real truth about food and how we should view it finds its roots in the simplest fact of it all.
Food is, in and of itself, love. Cooking is an act of love. It represents the need and desire to feed and nurture those who you care about, including yourself. Live to eat, not eat to live. The act of eating is hugely important; feeding yourself and others represents an innate desire to nourish those whom you love. Most importantly, food is not just fuel; it is a vital social connection between all of us. It shouldn’t be used just to get by, nor should it be all about the labels.
There are so many fads going on nowadays that everyone feels pressured to define their way of life and way of eating with names. What’s the point? It doesn’t help you enjoy a fresh piece of fruit any more knowing that you are “raw” and “vegan.” You’re not really happy when you deny your body a treat because you’re on a diet, and your body sure isn’t happy either. If you’ve been drooling over chocolate for weeks and weeks, have a piece of cake. You’ll be happier and healthier for it. Treats are treats, and we all deserve them once in a while.
Our society has got it all twisted. Left and right, I see people going gluten-free, raw, vegan, paleo, vegetarian, dairy-free, nut-free, fat-free, low-fat, high-protein: doing the Atkins or the South Beach or Weight-Watchers or whatever. In my opinion, we could learn a lot about eating from Europeans and Asians, who take time to have a meal and enjoy what is put in front of them. Instead, we leap like lemmings off a cliff, plummeting towards “health” by following all sorts of wacky diets. A lot of times, we convince ourselves that we are doing or feeling better without gluten or dairy or carbs, but most times, it’s the placebo effect taking hold.
Give your body the nutrients it craves; don’t hold back on the foods you really desire because of a restrictive diet; feed your body, love your body, love yourself. Simple as that.
Phew. Anyways… I made this raw cheesecake a few weeks ago, because I had been longing after many of them online. I’m glad I did. It most certainly isn’t low calorie or fat-free, but it is damn delicious.
Raw Blueberry and Raspberry Cheesecake
adapted from a few places, namely Green Kitchen Stories
Makes 2 4.5 inch cakes, or (possibly, I haven’t tried it) one 8 inch cake
For the crust:
ingredients:
1 cup mixed nuts; I used walnuts, almonds, pecans, and a few bits and bobs I found in the pantry
6 Medjool dates, pitted
1 tablespoon virgin coconut oil
pinch sea salt
directions:
Pulse the nuts in a food processor until they are relatively finely chopped. Add in the rest of the ingredients and pulse until they begin to come together. Press into the bottom of your springform pan and place in freezer.
For the middle (cheese) layer:
ingredients:
1 cup raw cashews, soaked in water for at least 2 and up to 8 hours
zest and juice of one large lemon
pinch cinnamon, nutmeg, ginger, cloves, and cardamom
seeds of one vanilla bean
2 tablespoons plus 2 teaspoons coconut oil
2 tablespoons plus 2 teaspoons agave nectar
directions:
Gently heat agave and coconut oil together until liquid and uniform. Place everything in a food processor and puree until very smooth and thick. Pour over crust and place in freezer.
For the top (berry) layer:
ingredients:
about 3/4 cup mixed berries (I used raspberries and blueberries)
juice of 1/2 a lime
directions:
Puree until smooth, pour over chilled cakes, and freeze until set.
Hello, my name is Rachel, and I am a perfectionist and an obsessive-compulsive, bossy, unstable control freak.
Doesn’t that just make you want to live with me forever and ever?
Don’t answer that.
Alas, I admit it, I am. I’m so glad I have you all here to support me.
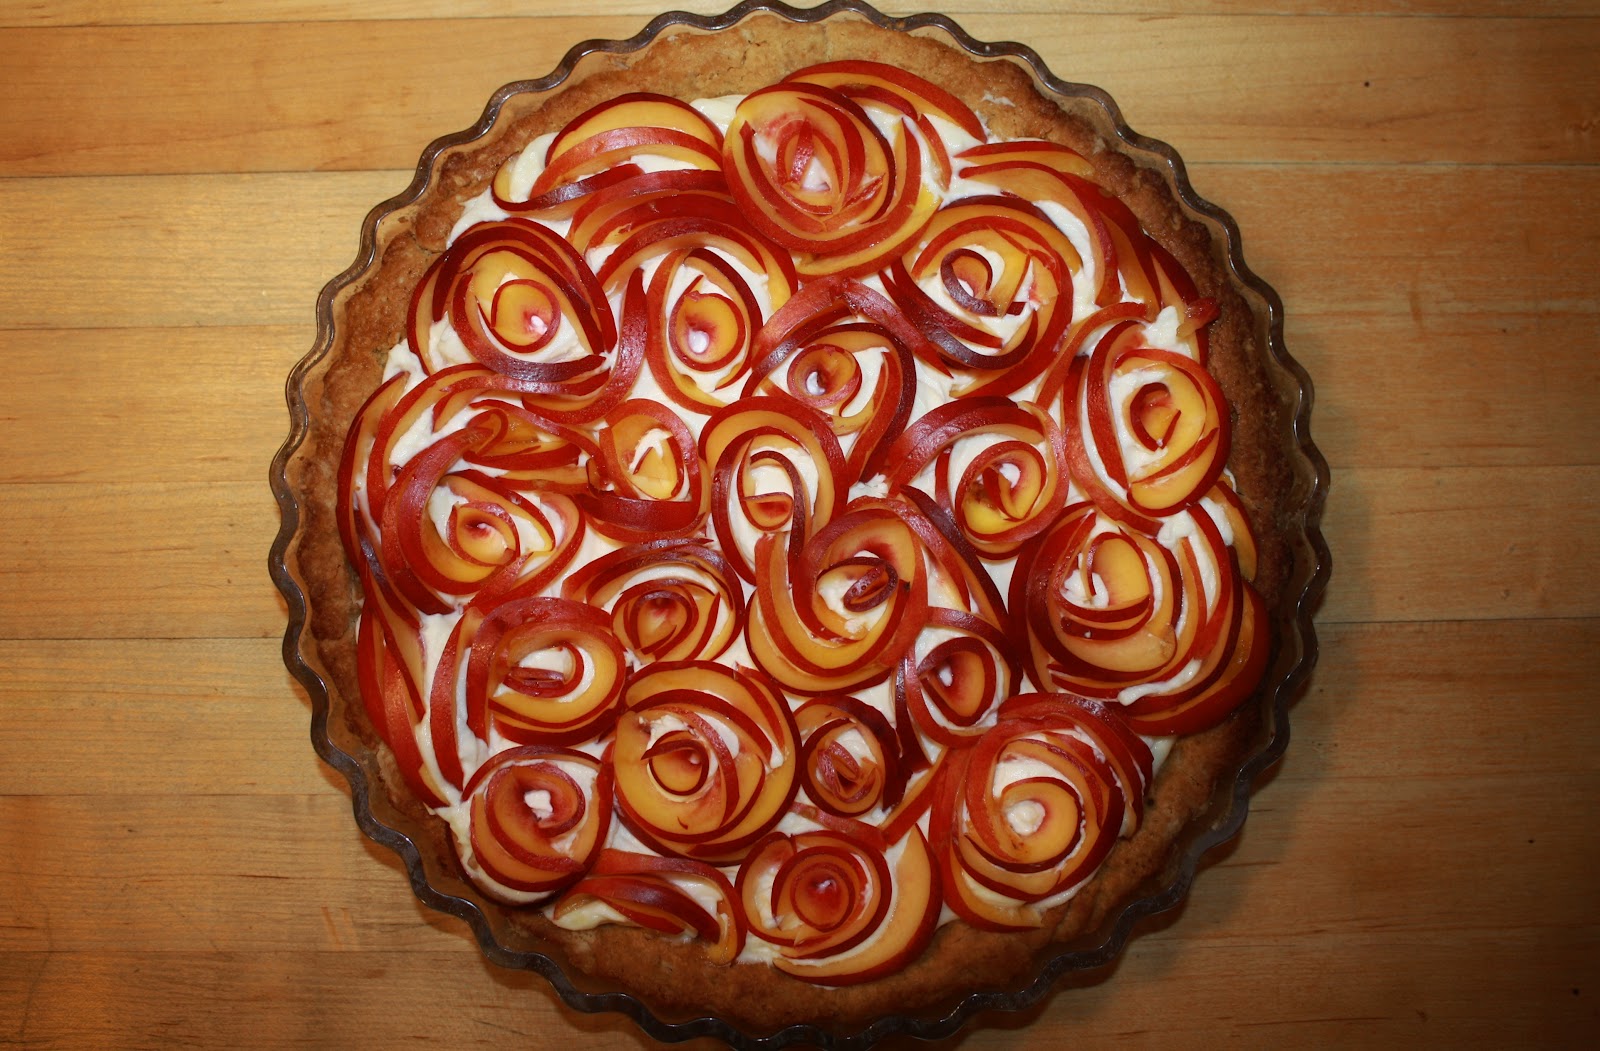
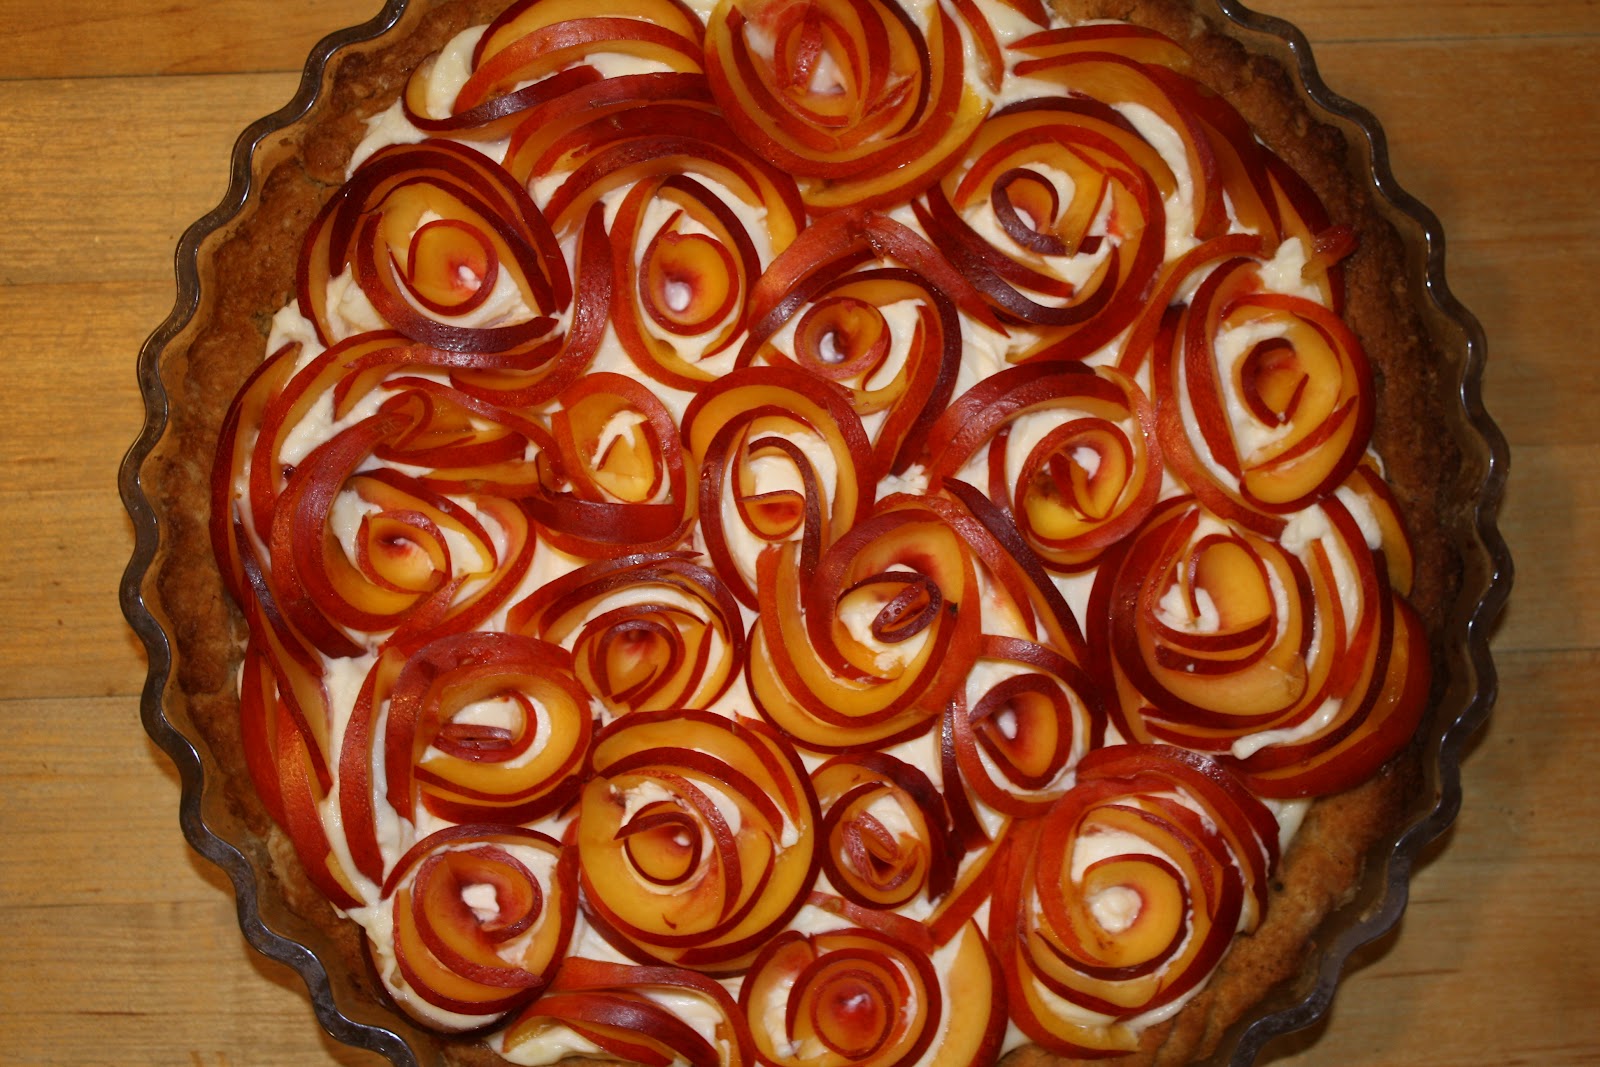
The thing is, when I get an idea up in my head, I can’t let go of it. I saw a picture on the dreaded interweb the other year day of little rosettes made of mangoes. On a pie.
I died.
In addition, my mind was wrapped around the idea of marrying nectarines and gingersnaps.
Oh yeah, and I was so very intrigued by peach pits that I wanted to do something with noyaux, à la Bravetart.
Besides, I had already been hoping to freeze some peaches, what with the abundance right now, to save for winter.
So yes, today I am presenting you with not only a laminated dough, but also a labor intensive tart.
If, by the off chance, you aren’t as… shall we say, crazy… as me, feel free to dump the nectarine slices on haphazardly. It tastes good. That’s what matters.
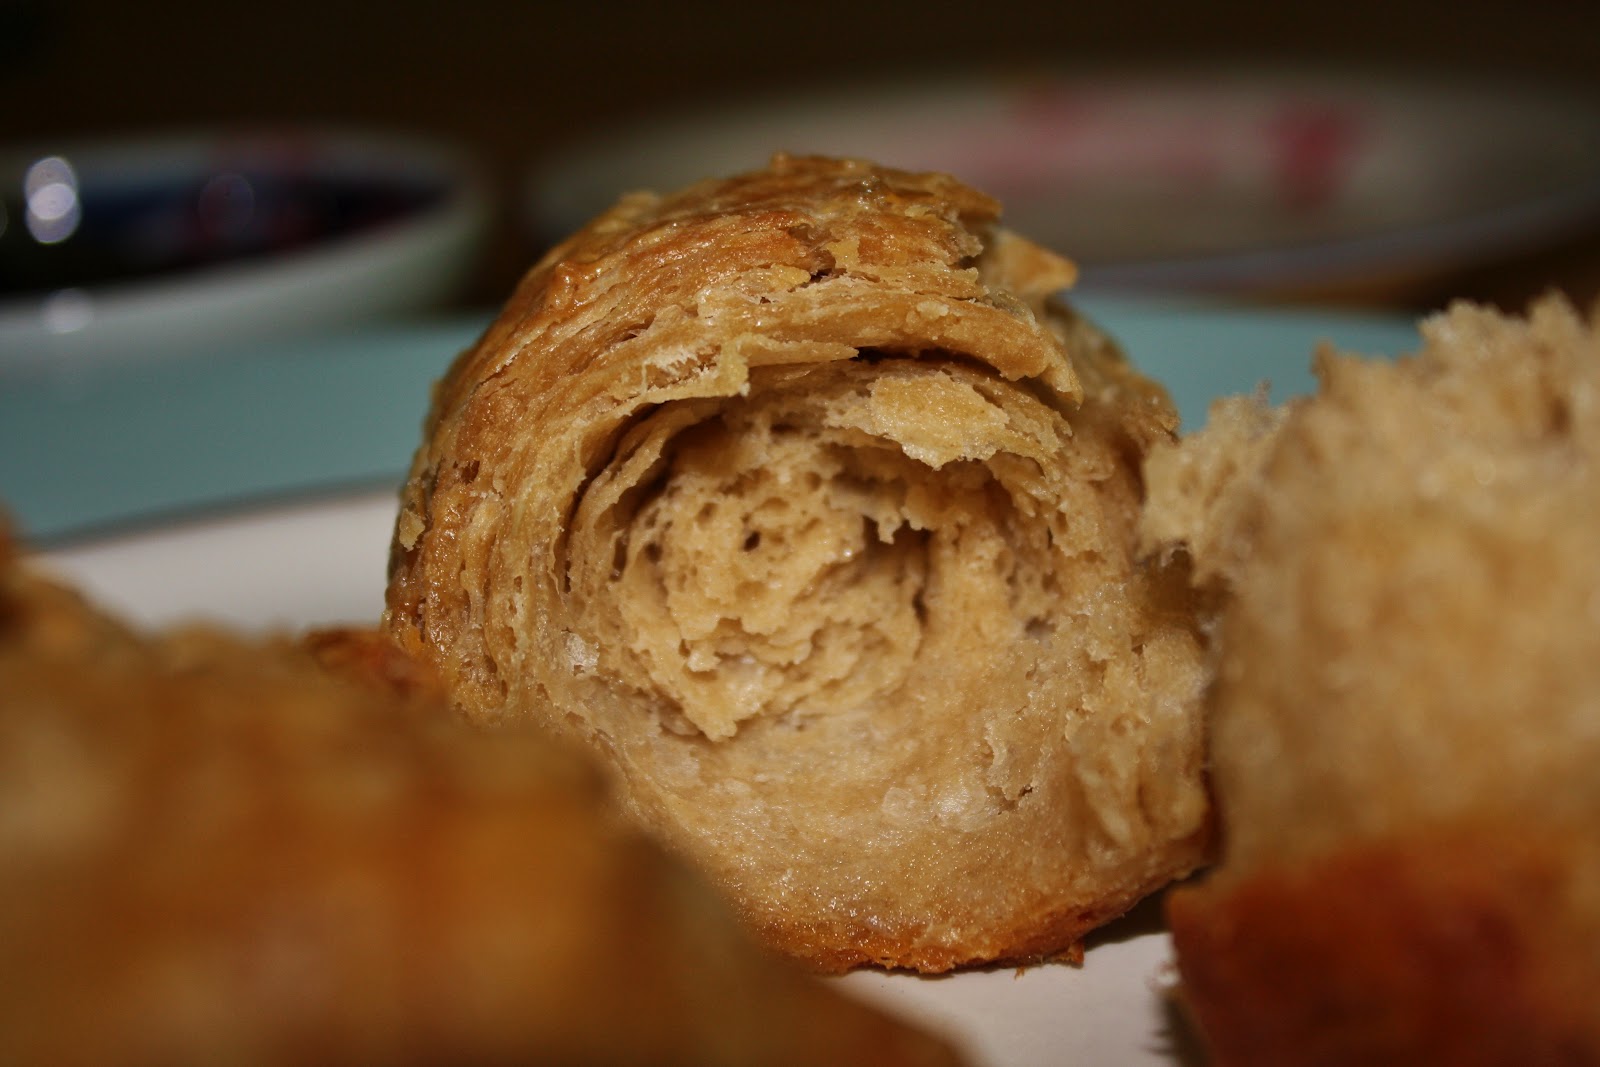
I suppose I understand if you don’t want to undertake making croissants, but please, put them on your bucket list. They aren’t half as hard as they’re made out to be, and they will impress your friends and terrify your enemies.
And as for the peach pits? I managed to crack two open, using a giant mallet and some pliers, but gave up when I discovered that I had rent a gash in my favorite bamboo cutting board. (Damn pits!) While I possibly could have done something with those two measly noyaux, when I awoke the next morning, all the peach pits had been trashed. Ah, well.
Nectarine, Lemon, and Gingerbread Tart
For the crust: (adapted from The Moosewood Restaurant Book of Desserts)
Ingredients:
1 1/2 cups flour
1/2 cup brown sugar
BIG pinch each of ginger, cinnamon, allspice, cloves, sea salt, and cardamom
1 teaspoon baking powder
1 stick very cold butter, cubed
1 tablespoon molasses
ice water as needed
Directions:
Put the flour, sugar, spices, and baking powder in the bowl of a food processor. Pulse to combine. Pulse in the butter and molasses until there are small bits of butter, ranging from sandy to pea-sized. If the dough is too dry, add in ice water, a tablespoon at a time, until it can stick together when pressed. Press the dough into a buttered tart pan, prick with a fork, cover with a sheet of aluminum foil that has been buttered (press the foil right down into the pan), and freeze, for at least 30 minutes, or up to 1 day. When ready to bake, preheat the oven to 350 degrees F, put some pie weights (you won’t need as many because the shell has been chilled) on top of the foil, and bake until deep golden brown and fragrant, 20-25 minutes. Allow to cool.
For the filling:
Ingredients:
3/4 cup lemon curd
1/2 cup to 2/3 cup mascarpone cheese
1/2 cup heavy cream
4 tablespoons powdered sugar (or to taste: it doesn’t need much)
Directions:
Whip the heavy cream and mascarpone and powdered sugar together (I used an immersion blender because it is super fast and effective). Fold in the lemon curd. I actually made this in two parts, folding the lemon curd into some of the whipped mixture, then layering that into the tart with the plain whipped cream/cheese on top of that.
To assemble:
Ingredients:
5 or 6 nectarines, sliced as thinly as possible
Directions:
Pour the whipped filling into the tart shell, and smooth the top. To make nectarine rosettes, gently curl the thinnest pieces of nectarine you can find, and stick them into the filling. Then begin to place other pieces around, with less curl. Once you are sick of rosettes, you can just place gently curled pieces around and in between, to take away the white space and act as filler.
Whole Wheat Sourdough Croissants:
adapted from Christina Tosi’s Momofuku Milk Bar
Ingredients:
for the dough:
550 g white whole wheat flour
12 g kosher salt
3.5 g active dry yeast
370 g water, at room temperature
for the butter block:
2 sticks butter
1 teaspoon kosher salt
Directions:
Mix all the dough ingredients together with a dough hook in a mixer, until smooth and supple. Place in an oiled container that is covered but still has air flow (like a bowl with a damp dish towel cover, or a plastic bucket with a top that has a few holes poked in it). If you want the sourdough component, stick the dough in your fridge for at least 2 days, but up to a week, then pull it out and let it come to room temp, then rise in a warm place until double its original size. If you don’t, allow the dough to rise to at least double its orignial size, then begin to make your croissants. When you’re ready to make the croissants, beat your butter in a stand mixer with the paddle attachment until fluffy. Pat it into a 8 x 12 rectangle between two sheets of parchment paper. Put it in the fridge to firm up. Meanwhile, punch down the dough on a smooth, floured countertop, and roll/stretch it gently into a rectangle 16 x 24 inches, and even in thickness. Put your slightly firm butter block on one half of the dough, then fold the other half of the dough over and pinch the edges shut. Let rest for 10 minutes. Now, you must do 3 double book turns to create the layers. Here’s how: Roll the the dough out again to a rectangle of 16 x 24 inches and even in thickness. Be gentle, so that you don’t have any butter mushing out. Visualize your dough divided into 4 quarters. Fold the outer two quarters to the center, then bring one edge over to meet the other (Tosi says: When I’m showing someone how to make a double book turn, I stretch my monkey arms out wide like I’m going in for a big hug, then I fold my arms at the elbow, so my fingers are touching my armpits, and fold my elbows in to touch one another.) Now transfer your dough to the fridge to rest, wrapped loosely in plastic wrap, for 30 minutes. Repeat the double book turn twice more. After the final rest in the fridge, roll your dough out to a 16 x 24 inch rectangle, then cut the dough into 10 triangles (like a backgammon board), putting a small notch on the base of each Isosceles triangle. Roll em up, allow to rise for about 45 minutes, or until puffed up, then brush them with an egg wash (1 egg+1 teaspoon water), and bake for 20-25 minutes at 375 degrees F.
| I want to face plant into this. |
Sorry. I’m just so overwhelmed.
Suddenly it’s cool enough that I broke out the yoga pants again… Great. I’ll be wearing those for the next six months. Then, just maybe, my legs will see the sunlight.
| I’ll be hibernating until next May, too, Sasha. |
I don’t mean to be fatalistic, but I just finished up my last day at the lab where I’ve been working, and I was expecting to command Siri to open my calendar and to see weeks of free, unrepentant sleep and relaxation stretching out in my future, only to be shocked by what seemed to be a two digit date beginning with a 2…
Surely you jest, Siri. But nay, she assured me of the date.
Guys, it’s the twenty first of August…
| Puff Daddy |
What?!? (Why the face?)
I swear that I work in a time warp zone. It’s the opposite of school.
Every time I think or talk about it, I realize that I’m so unnerved that I am sure to waste away the rest of my summer whining about how little is left. Nothing will be able to comfort me.
Except maybe these buns.
Jussss keeding, I meant these buns!
| This is what happens when I try to take a photograph from above. |
Coffee-Chocolate Swirl Buns
Adapted from smittenkitchen
Ingredients:
For the dough:
240 mL milk, warmed to 100-115 degrees F
1 tablespoon espresso powder
90 g sugar
15 g yeast
1 large egg plus one egg yolk
375 g flour
3/4 tsp salt
70 g butter
For the swirl:
70 g butter
75 g sugar
12 ounces dark chocolate
Pinch salt
For the glaze: (I know this isn’t properly measured. Deal with it.)
Bit of chocolate
Splash of cream
Tiny pat of butter
Pinch of salt
Spoonful of espresso powder
Directions:
For the buns:
Bloom the yeast in the milk with 30 g of the sugar. Once foamy, stir in the espresso powder. Add to the bowl of a stand mixer with the dough hook attached, and add the eggs, rest of the sugar, and salt and mix around a bit. Slowly add in the flour. The dough should be super soft and form a “tornado” at the bottom of the bowl, i.e. not stick to the sides but stick at the bottom. Once the dough has come together, add in the softened butter and allow the dough hook to work that in. Place dough in a lightly oiled bowl with a slightly damp dish towel over it and place in a moderately warm and draft-free place to rise for an hour or so. Meanwhile, chop up your chocolate and mix it with the sugar, salt, and butter for your filling. You can do this in a food processor or by hand. It should be chunky and should crumble but also be nice and moist. Preheat oven to 350 degrees F. Once the dough has doubled in size, roll it out into a large rectangle and spread the filling all over it. Roll up the dough, and slice it (It’ll be very difficult, because the dough is so soft, but they’ll be covered in glaze so don’t worry.) and place each bun into greased muffin tins. Allow to rise for a little bit (30 ish minutes depending on the warmth of your kitchen), until they have puffed up a bit, then pop them in the oven for 30-35 minutes.
For the glaze:
Melt the chocolate, add a pinch of salt and the espresso powder, and a small pat of butter and a splash of cream, enough to make it a pourable consistency, and pour over your warm buns (lol).
When I first started this blog, the most daunting hurdle that I thought I would have to overcome would be baking: when would I find the time, what different combinations could I possibly think of, and who would clean up all my messes eat all of the (sometimes) yummy results?
Well, that fear was unfounded. Not only do I have a long list of “things to make” saved onto my phone (I swear, there is no chance I’ll be able to make everything that I want to, no matter how old I live to be.), but I have sooo many already made recipes to share with y’all, and here I am, lacking in the posting department! Turns out, I have plenty of time to make things and (usually) photograph them, but when it comes to documenting it on the good ole Internet, I prefer eating them all instead of writing about them.
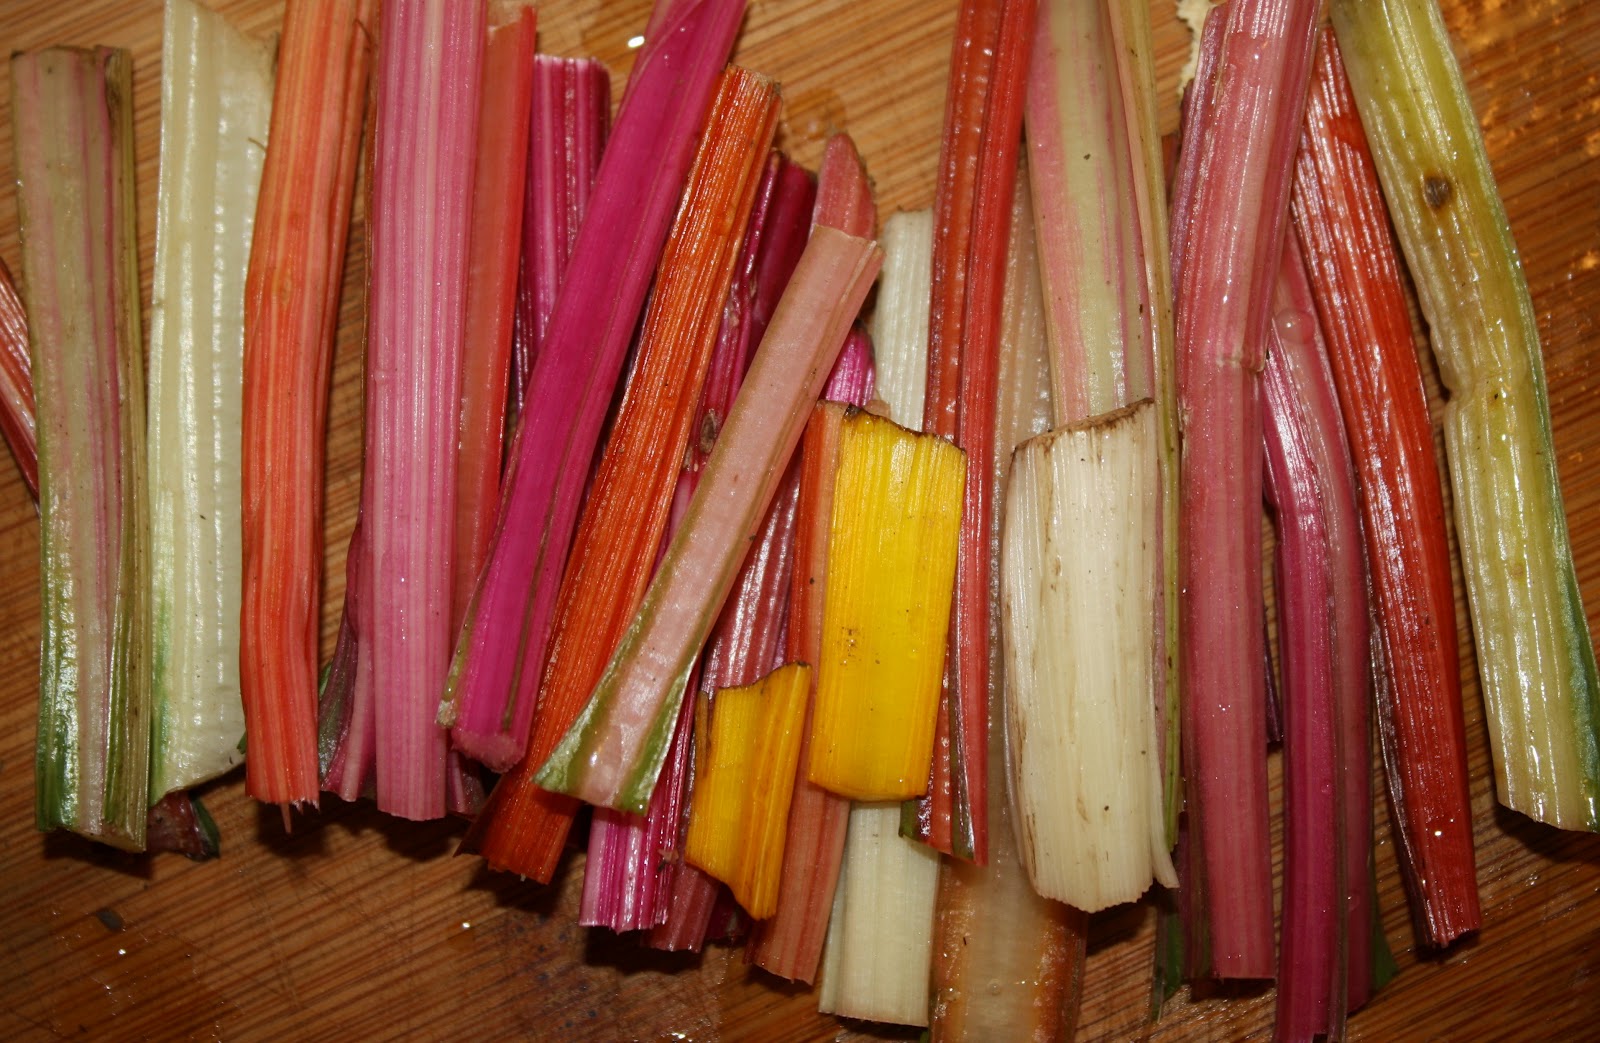
| Chard stalks |
So what has been going on in my kitchen? What recipes do you have to look forward to?
I’ve been…
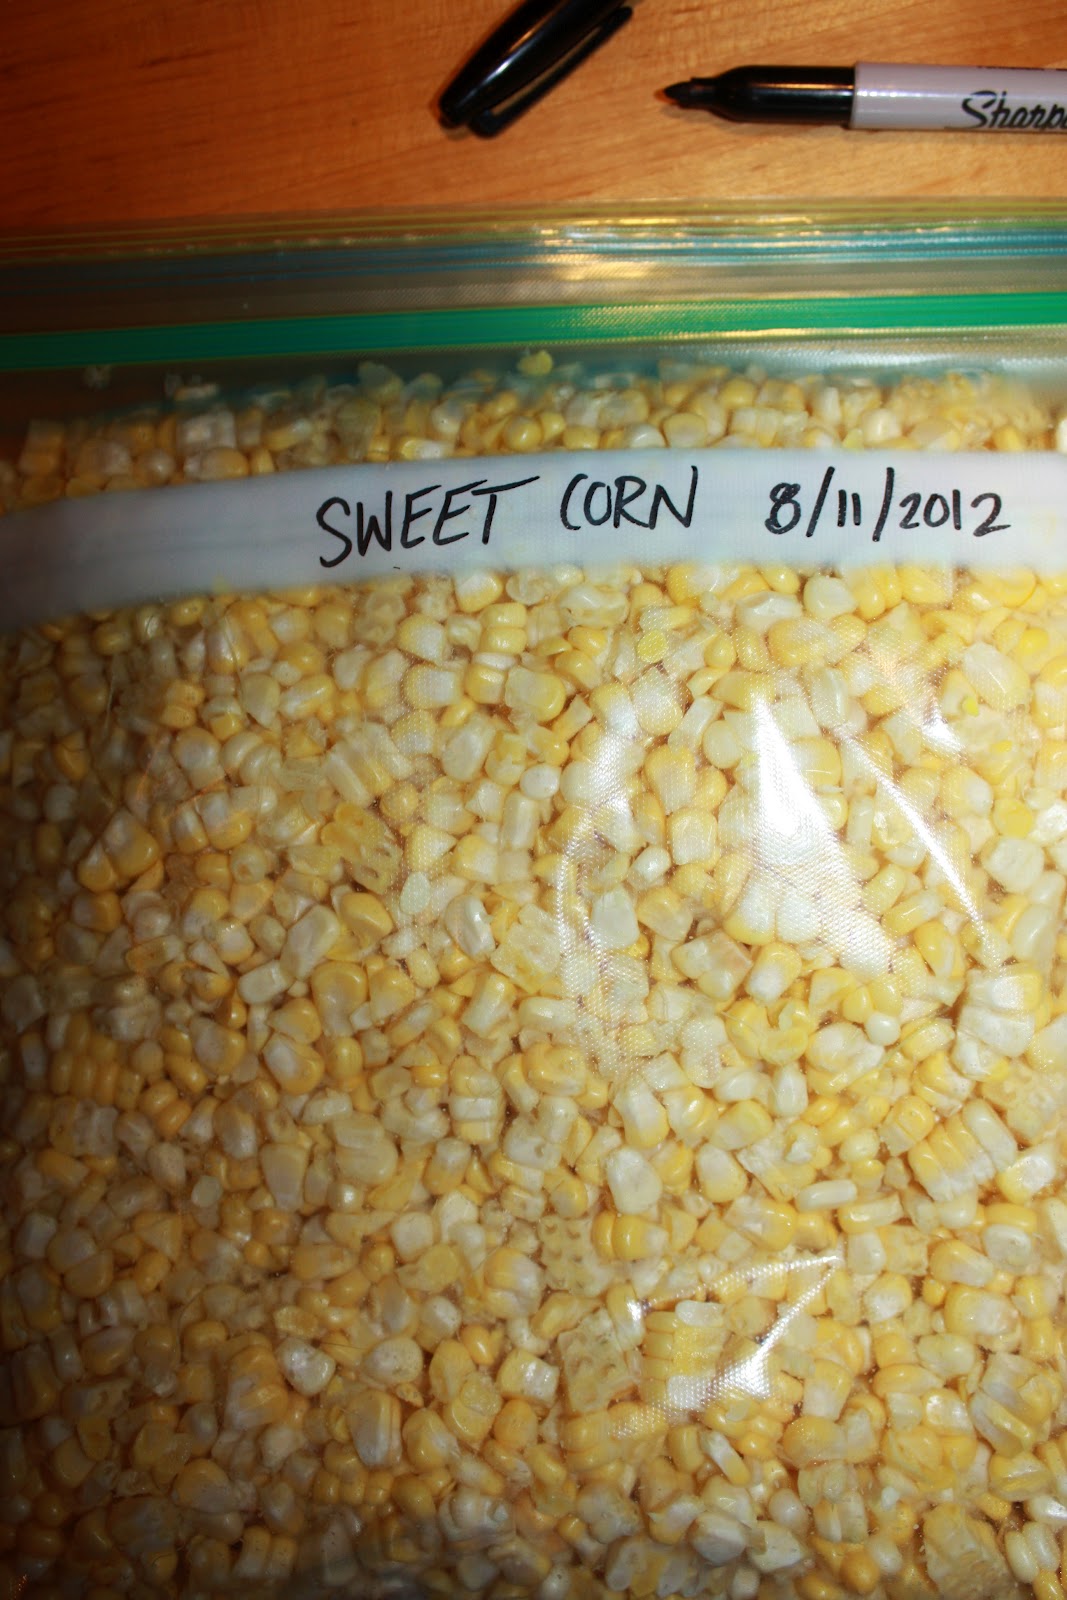
Freezing stocks of fresh local produce for the winter.
| An idea that didn’t pan out |
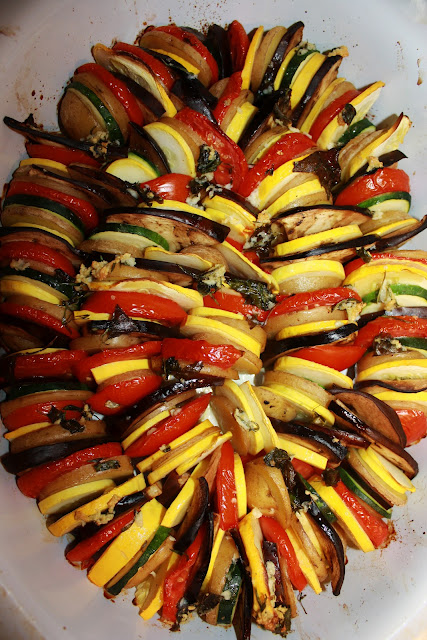
Cooking a lot of savory, as always.
| Tian
|
Making one ingredient ice cream.
Painting my nails.
Eating hundreds of blueberries.
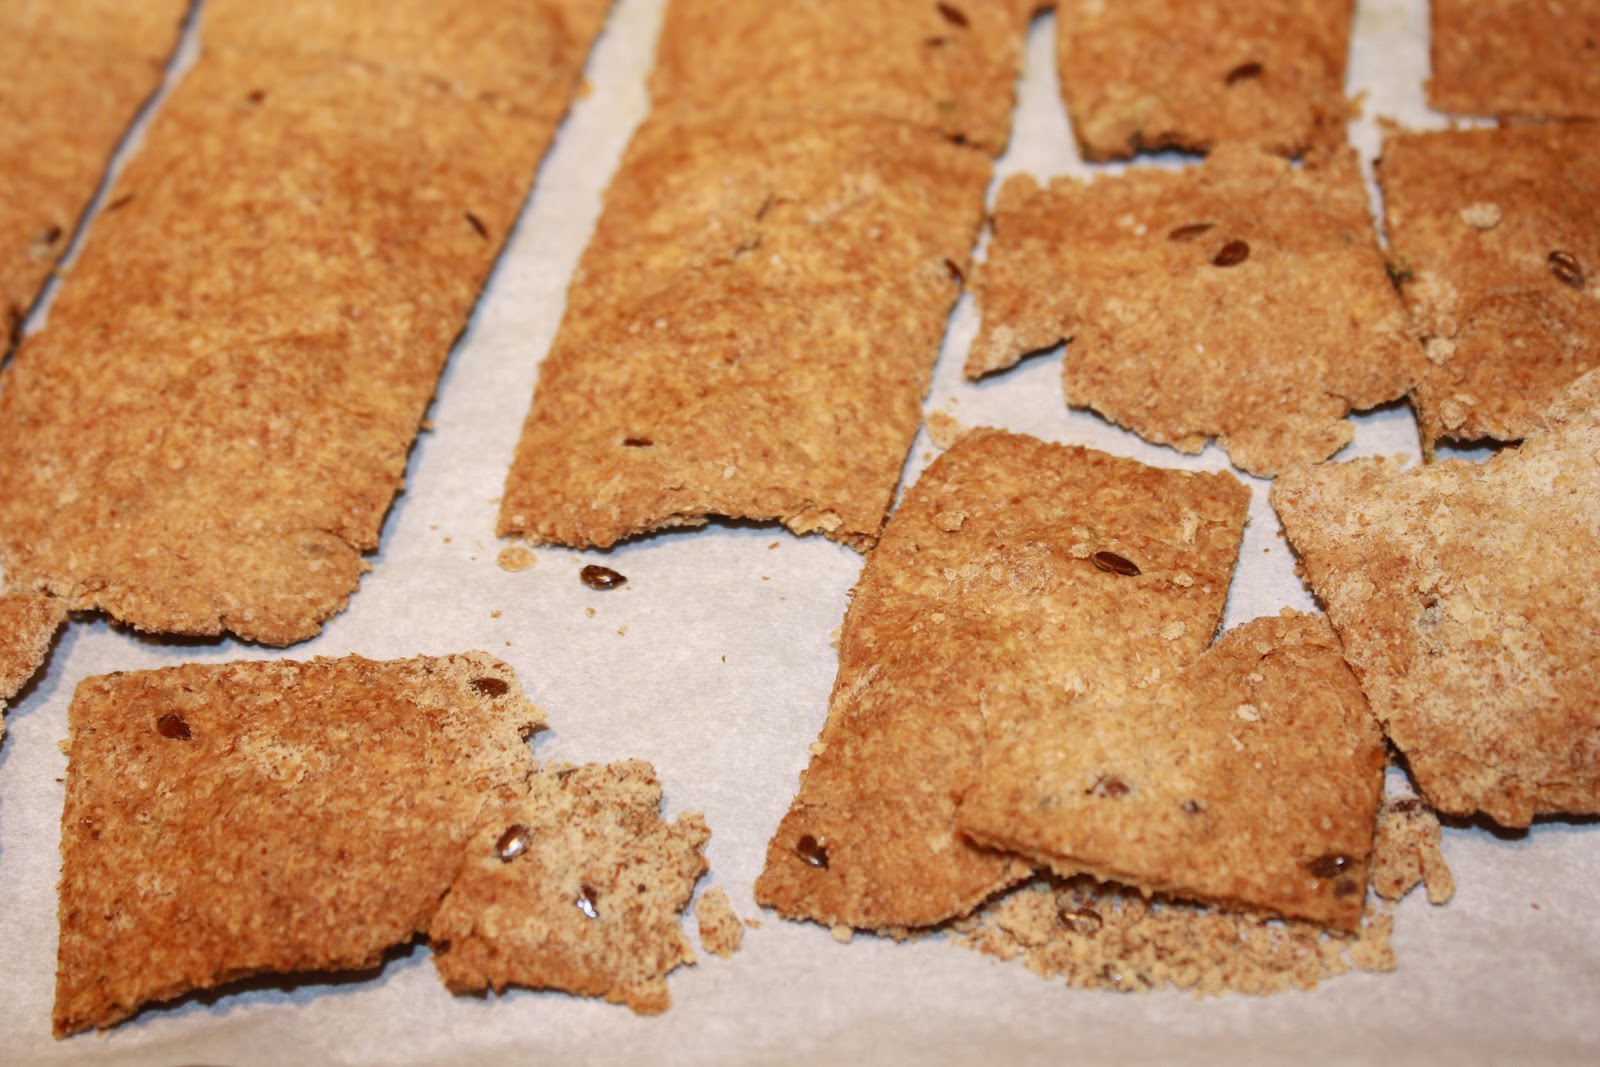
Making cakes, unphotographed cookies, and experimenting with raw goodies (More explanation about why will be saved for a later post).
| Raw |
Saying goodbye to this one. This was tough.
Playing with, introducing, and being chewed on by this one. Don’t let the pink nose fool you.
| Meet Kasha the Menace |
Generally, I’ve been enjoying the summer and the bounty of this wonderful season. I hope you all are, too.
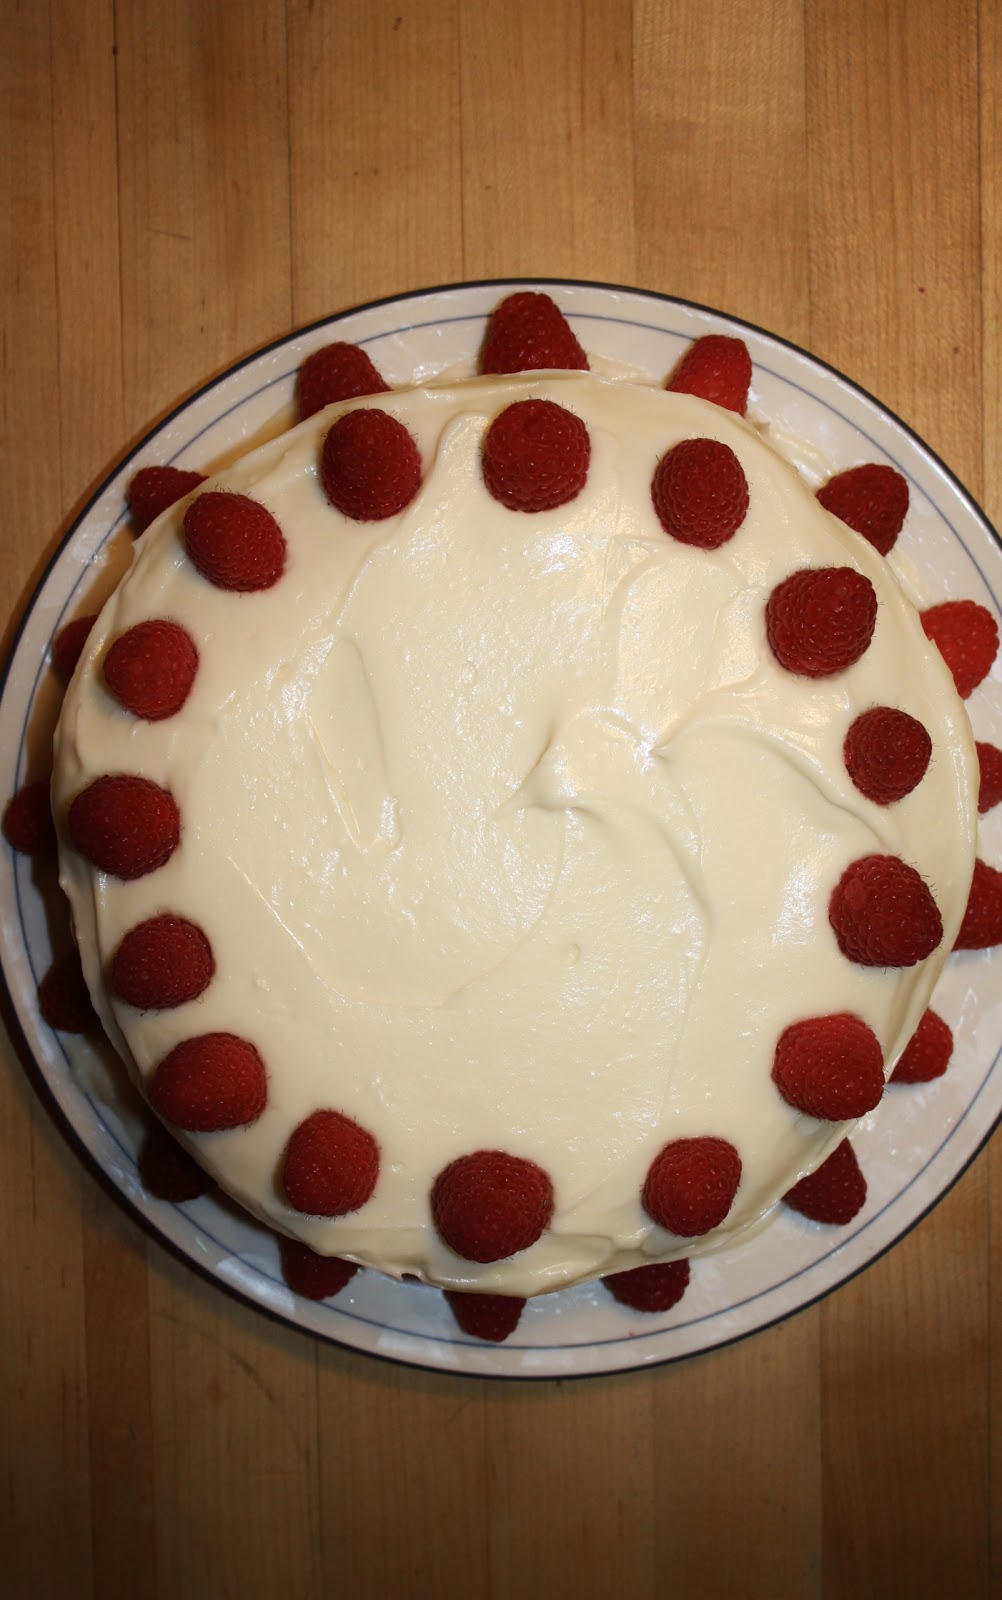
Go make this cake, in all of its lemony, raspberry-y goodness, and share it with someone you love. I did.
P.S. I’ve noticed that of all who read my blog, my very own family members read it the least! Sheesh. The irony is lost on me. Seriously, guys.
Lemon and Raspberry Cake
Adapted from King Arthur Flour and userealbutter
For the cake:
Fluffy Vanilla Cake
ingredients:
1 2/3 cups sugar
3/4 teaspoon salt
12 tablespoons unsalted, softened butter
4 large eggs whites plus 1 whole large egg (save the yolks!)
1 cup buttermilk
1 tablespoon vanilla extract
2 cups all-purpose flour
3/4 cup cake flour
1 tablespoon baking powder
directions:
Preheat oven to 350 degrees F. Grease and flour 2 8-inch pans. Set aside. In the bowl of a stand mixer fitted with a paddle attachment, beat butter and sugar and salt until fluffy. Add in the egg whites and the egg, and mix to combine. Add in the buttermilk and vanilla. Now add in the flour and the baking powder (I didn’t sift and it was quite alright) and mix until homogeneous. Pour into pans and bake for 30-35 minutes, or until light golden and springy to the touch.
For the filling:
Lemon Curd:
ingredients:
2 cups water
1 cup sugar
1/2 cup cornstarch
5 egg yolks
pat of butter (2-4 tablespoons, approximately)
3/4 cup fresh lemon juice
zest of 1-2 lemons
1 teaspoon vanilla extract
directions:
Put water and sugar and cornstarch in a large sauce pan. Bring to a boil. Whisk the egg yolks together in another bowl. Add in 1 cup of the hot sugar-cornstarch mixture, slowly, and whisk vigorously to temper the eggs. Dump back into the pot and bring back to a boil, whisking all the while. Once it comes to a boil, remove from heat and stir in the lemon juice and zest, as well as the vanilla extract. Once everything is incorporated, stir in the butter until the curd is silky smooth.
For the frosting:
American-Style Cream Cheese Buttercream
ingredients:
6 tablespoons butter, softened
6 ounces cream cheese, softened
4 ounces mascarpone cheese, softened (can be replaced with more cream cheese)
2-3 cups confectioner’s sugar, depending on your preference
up to 1/2 cup heavy cream, cold, depending on consistency
splash vanilla extract
directions:
Beat cream cheese, butter, and mascarpone together until just incorporated. Begin to add the powdered sugar. Once it is sweetened to your liking, add in enough heavy cream to make the icing a spreadable consistency. Stir in vanilla.
To assemble:
few handfuls of good raspberries
Place one cake layer on a plate, and level it out, if needed. Pipe a line of frosting around the edge of the cake to prevent a spillage of curd. Fill with curd (you will have lots of extra curd: fear not, it keeps beautifully and there are millions of uses for it), layer on some raspberries, and top with other cake. Frost cake with the icing, and decorate with the prettiest, most photogenic berries.
Enjoy!