Hoggy Warty Hogwarts

IMG_4250

IMG_4036

Ron: “Oh, c’mon Hermione.  Oops, sorry, Harry… You won’t get the Hogwarts house-elves sick leave by starving yourself!”
Hermione: “Slave labour.  That’s what made this dinner.  Slave labour.”
Ron: “Treacle tart, Hermione! Spotted dick, look! Chocolate gateau!”

IMG_4268

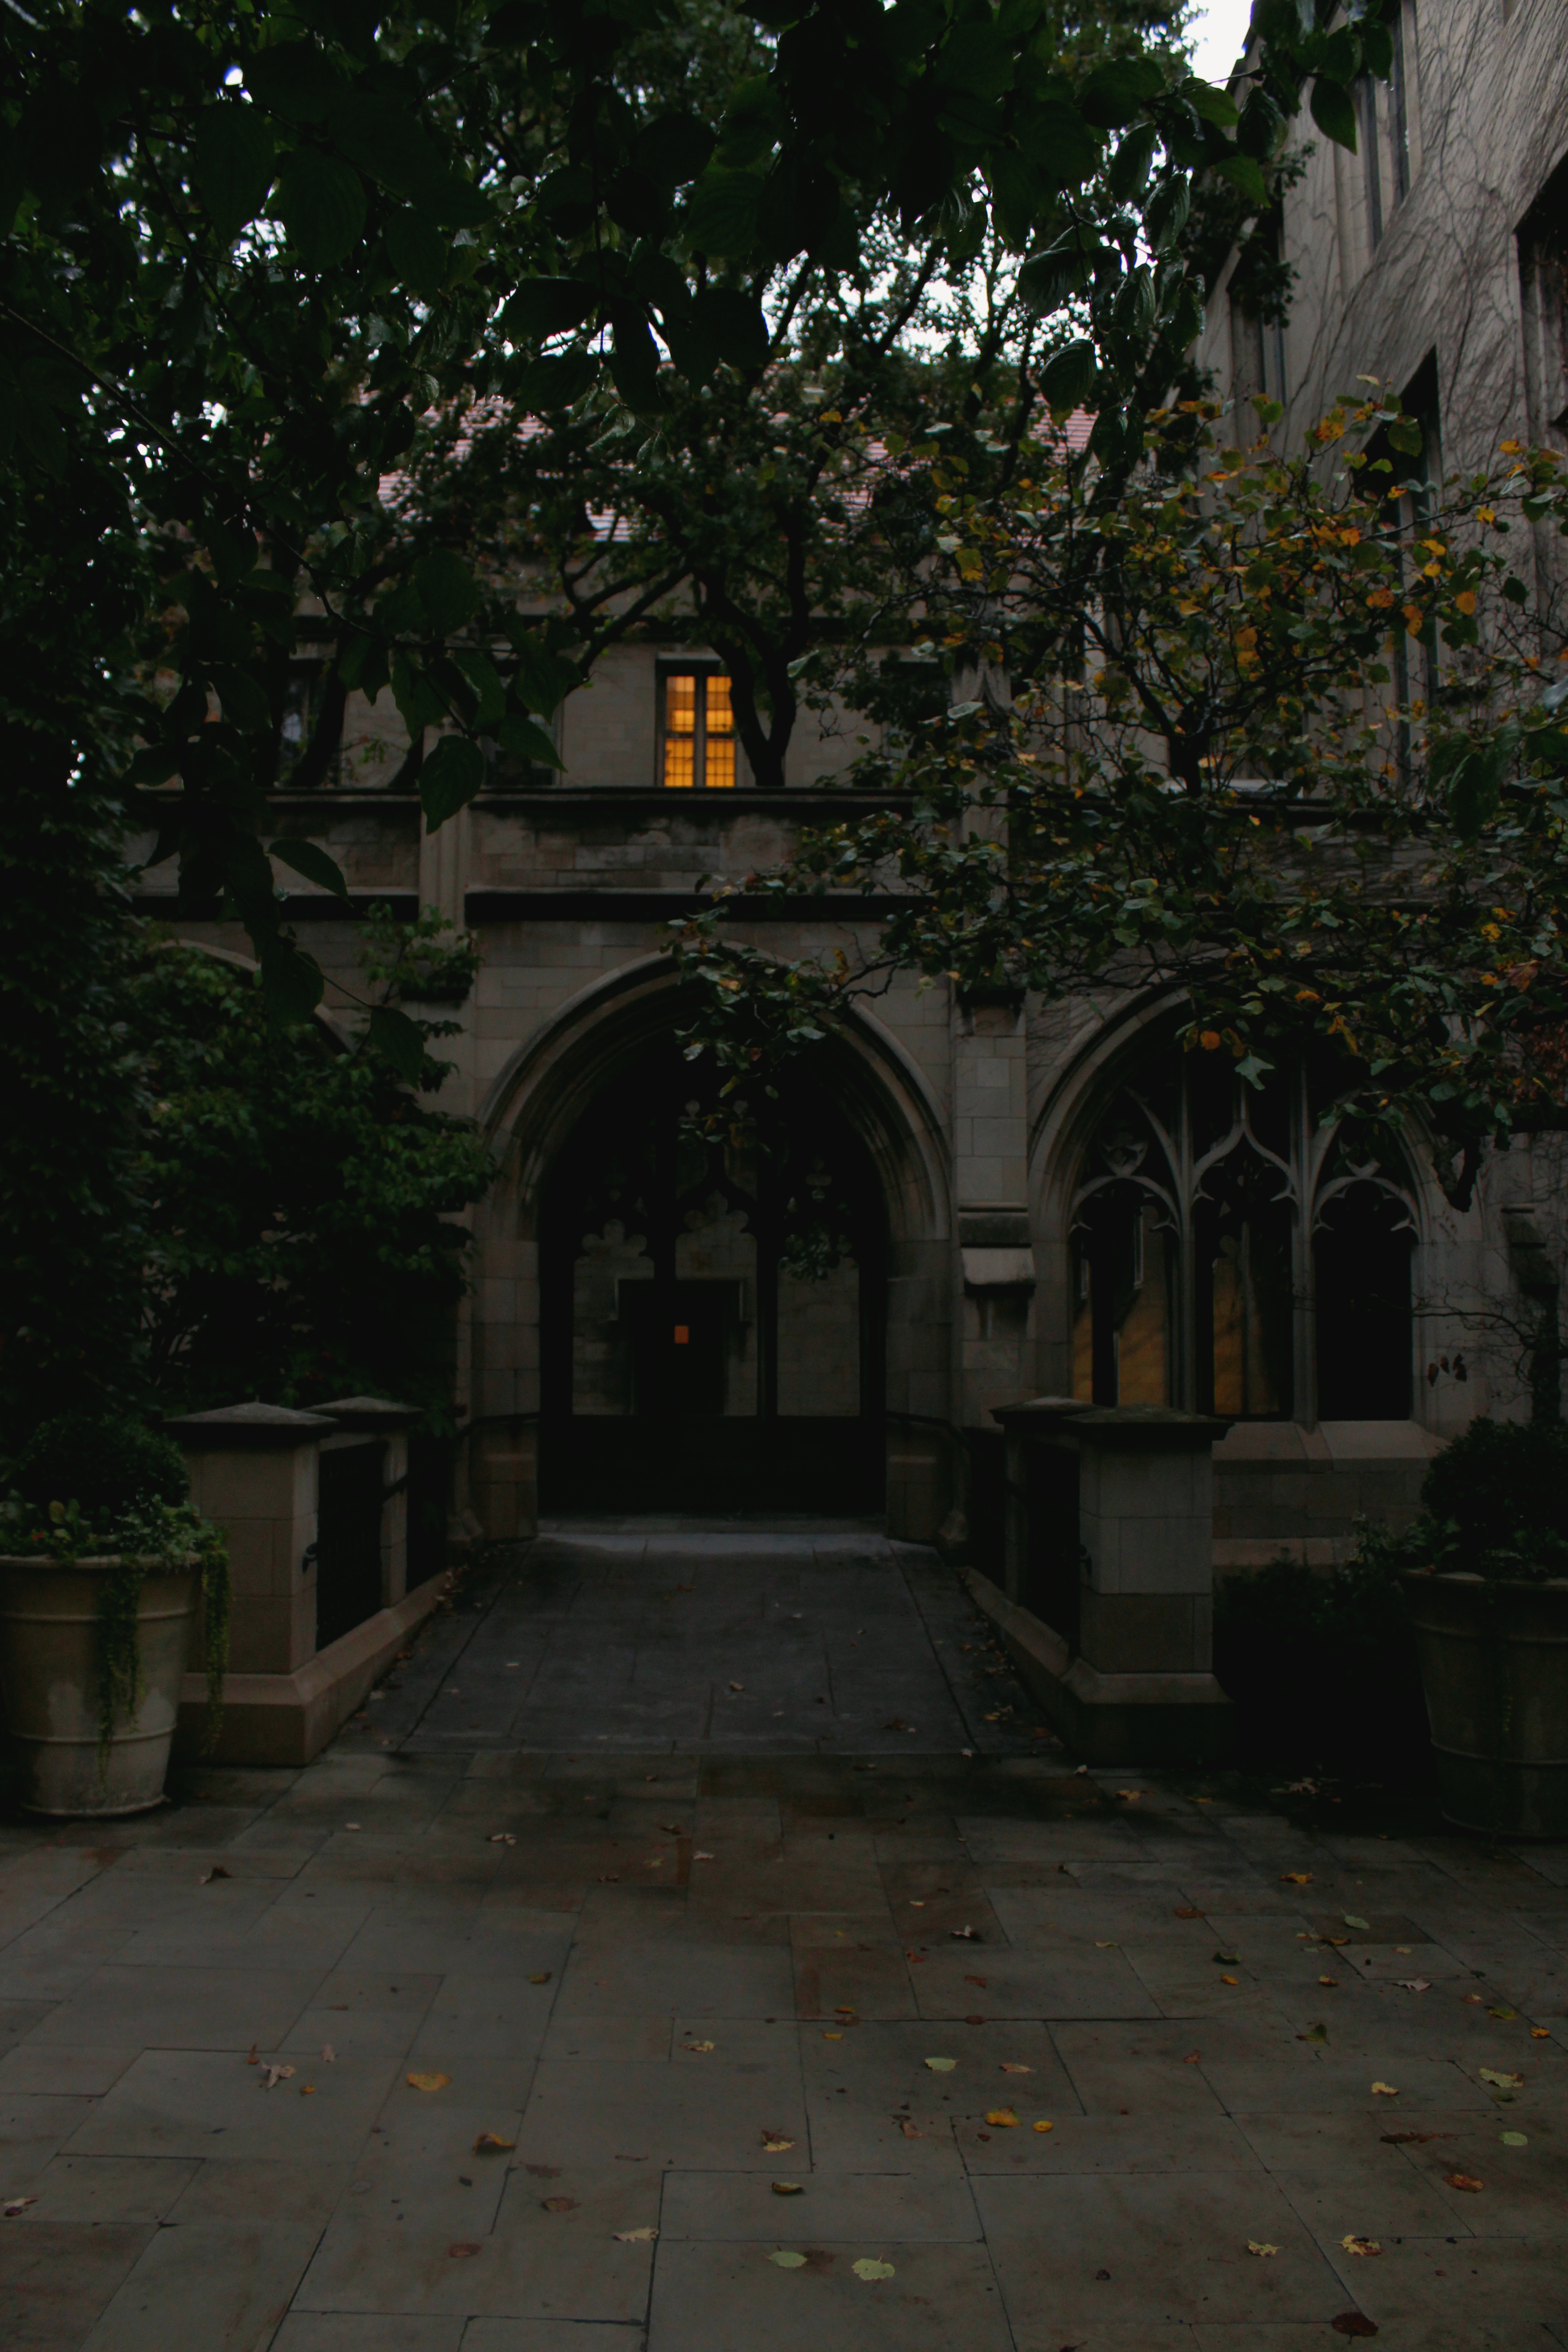
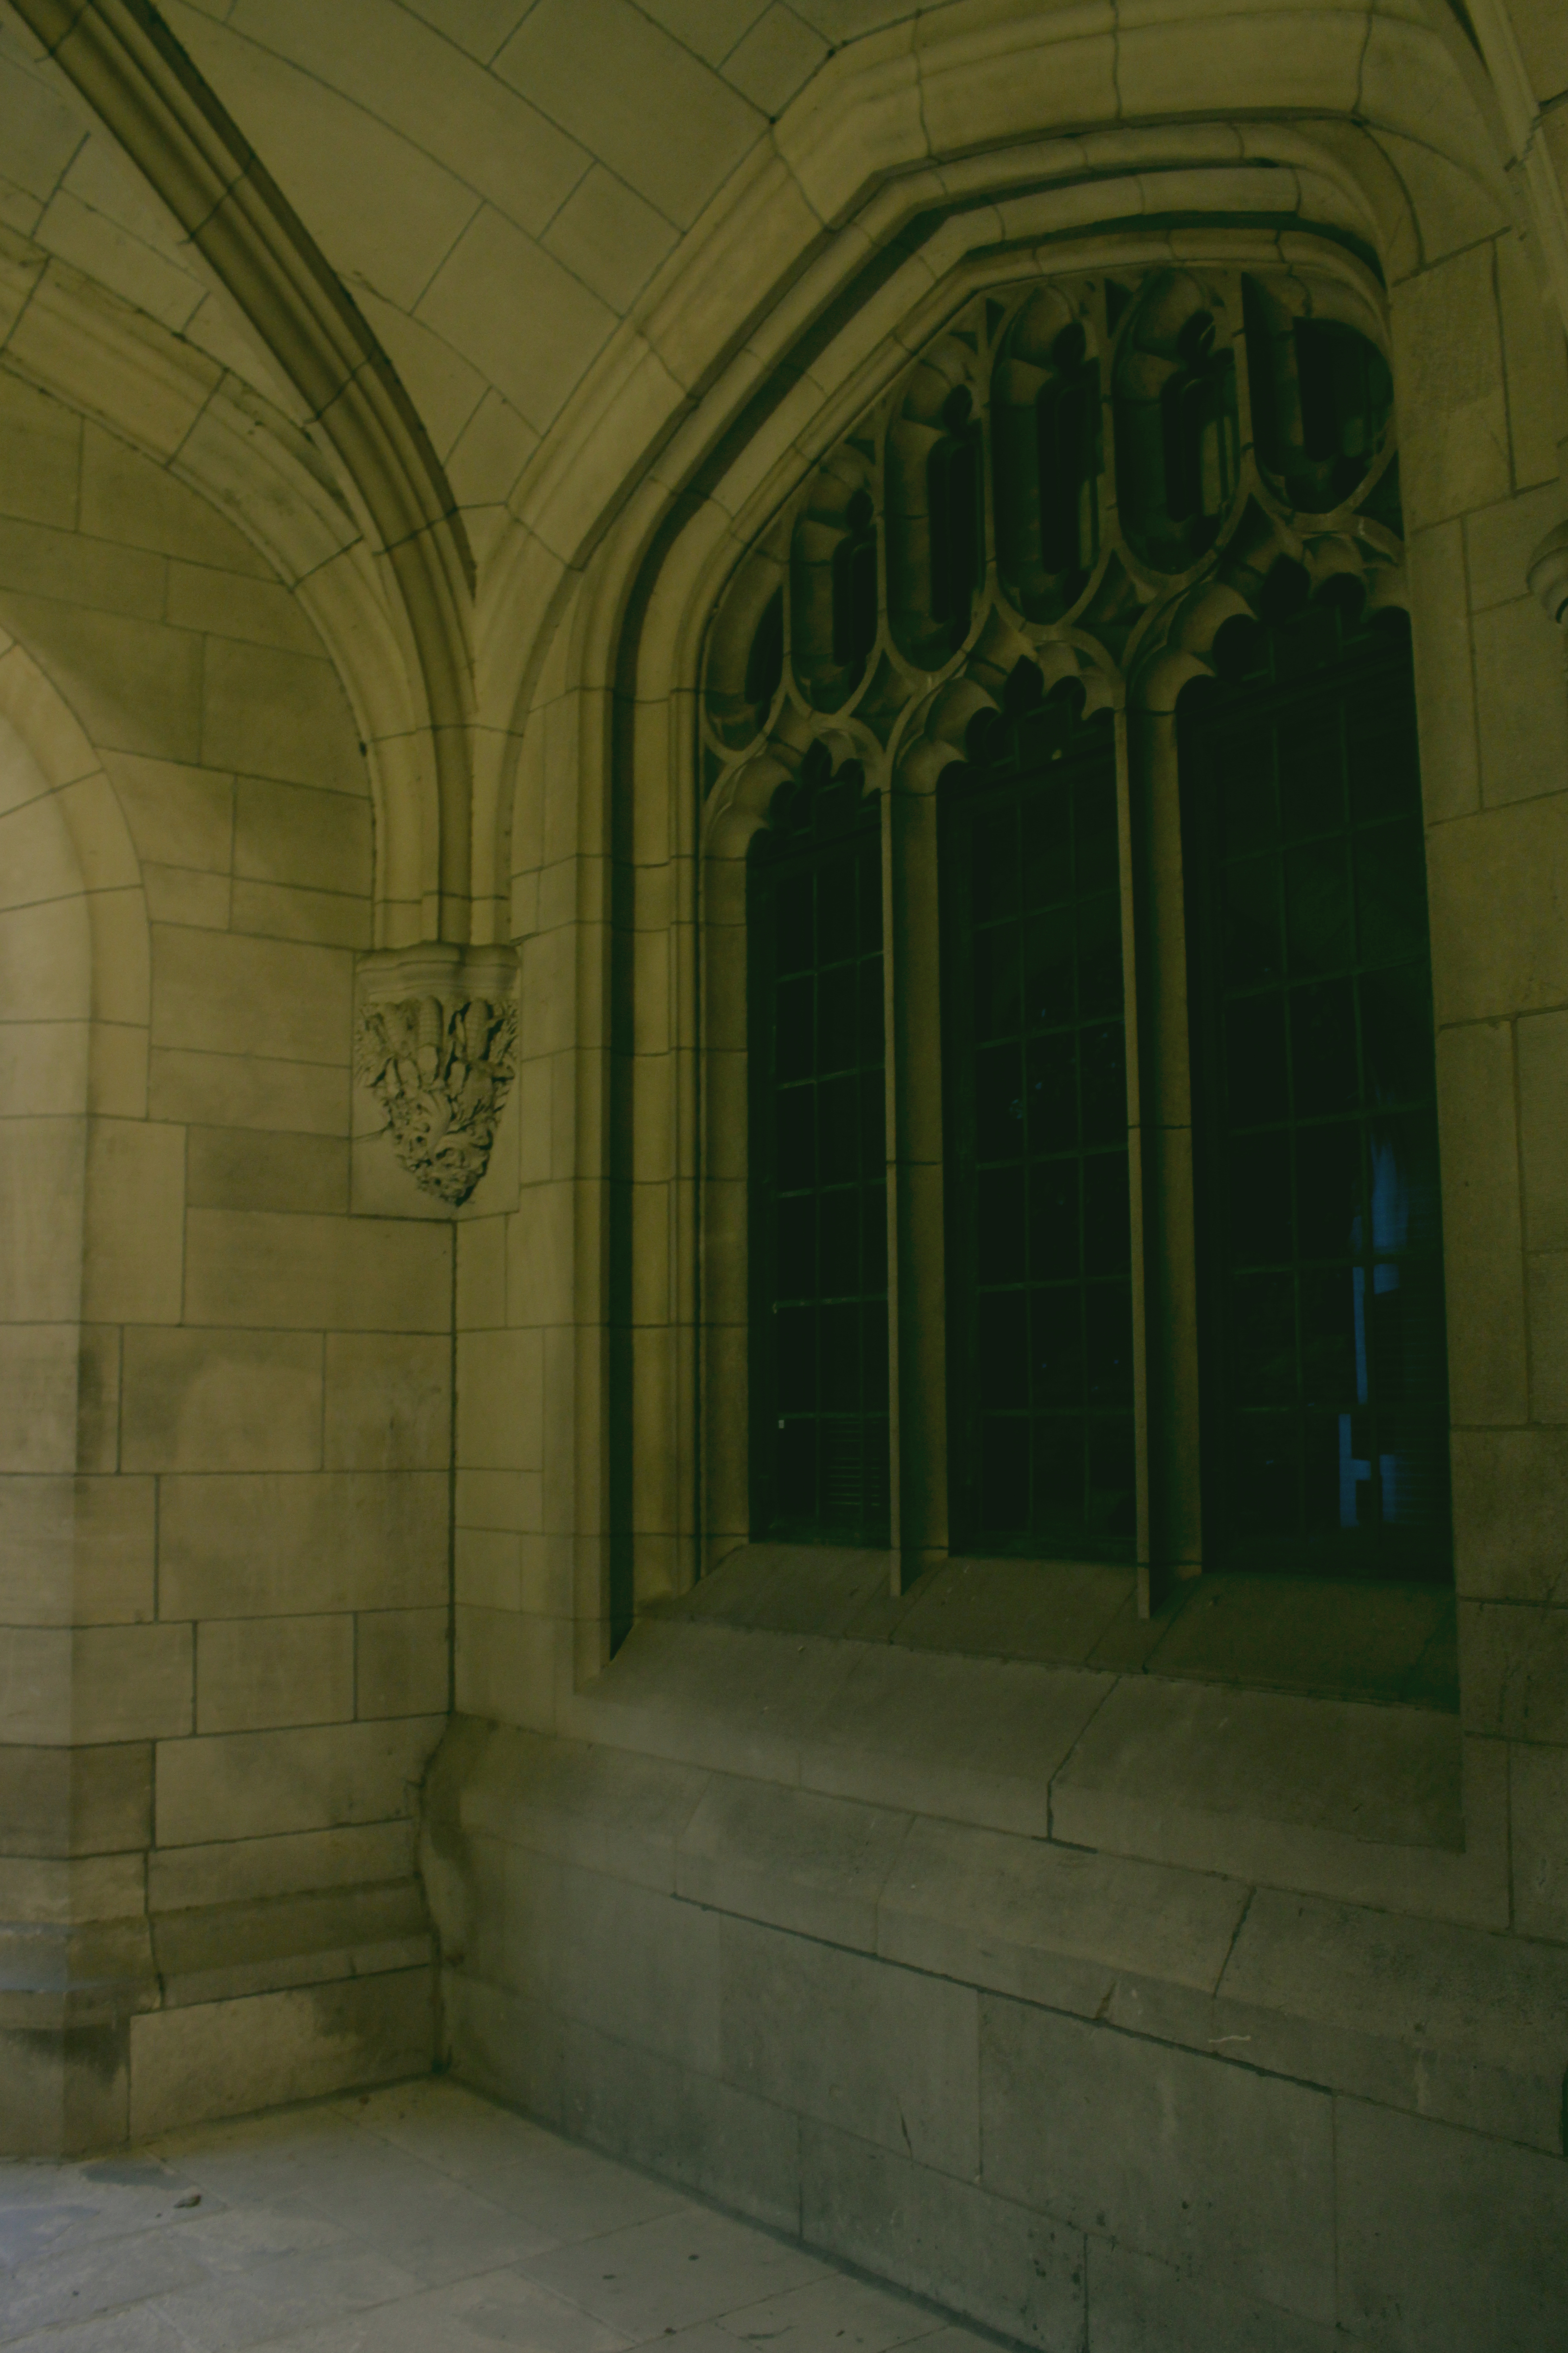
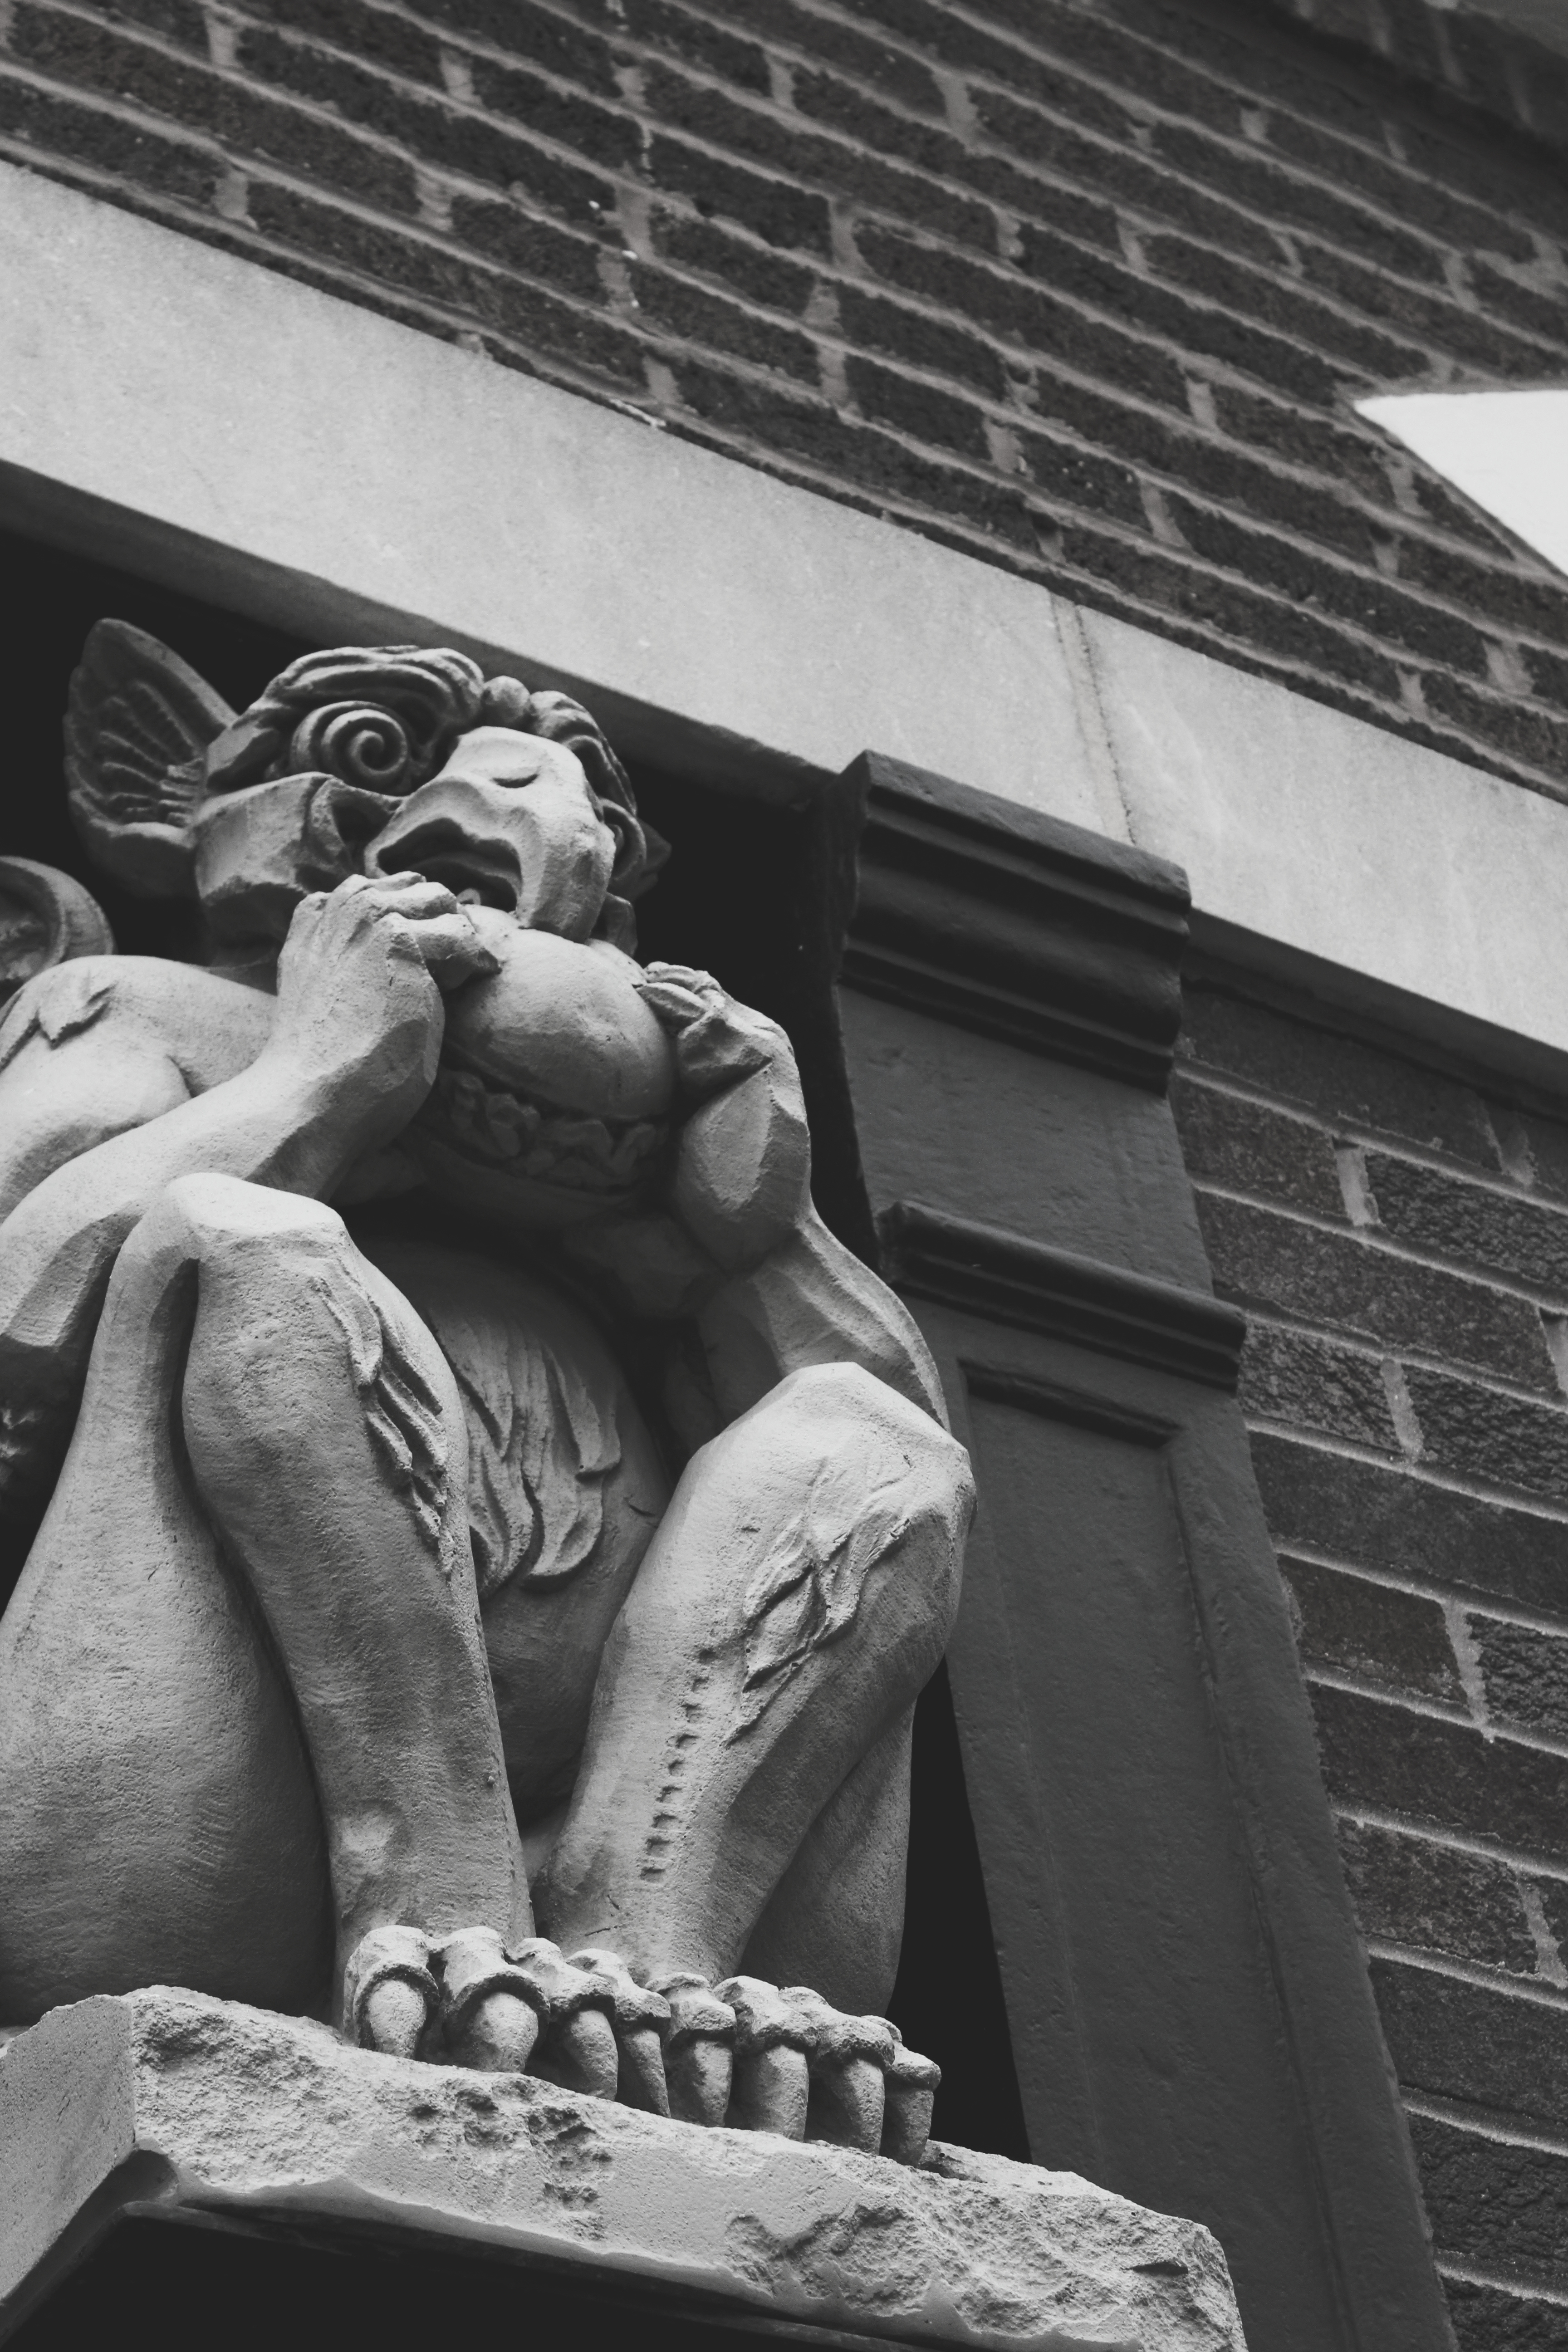
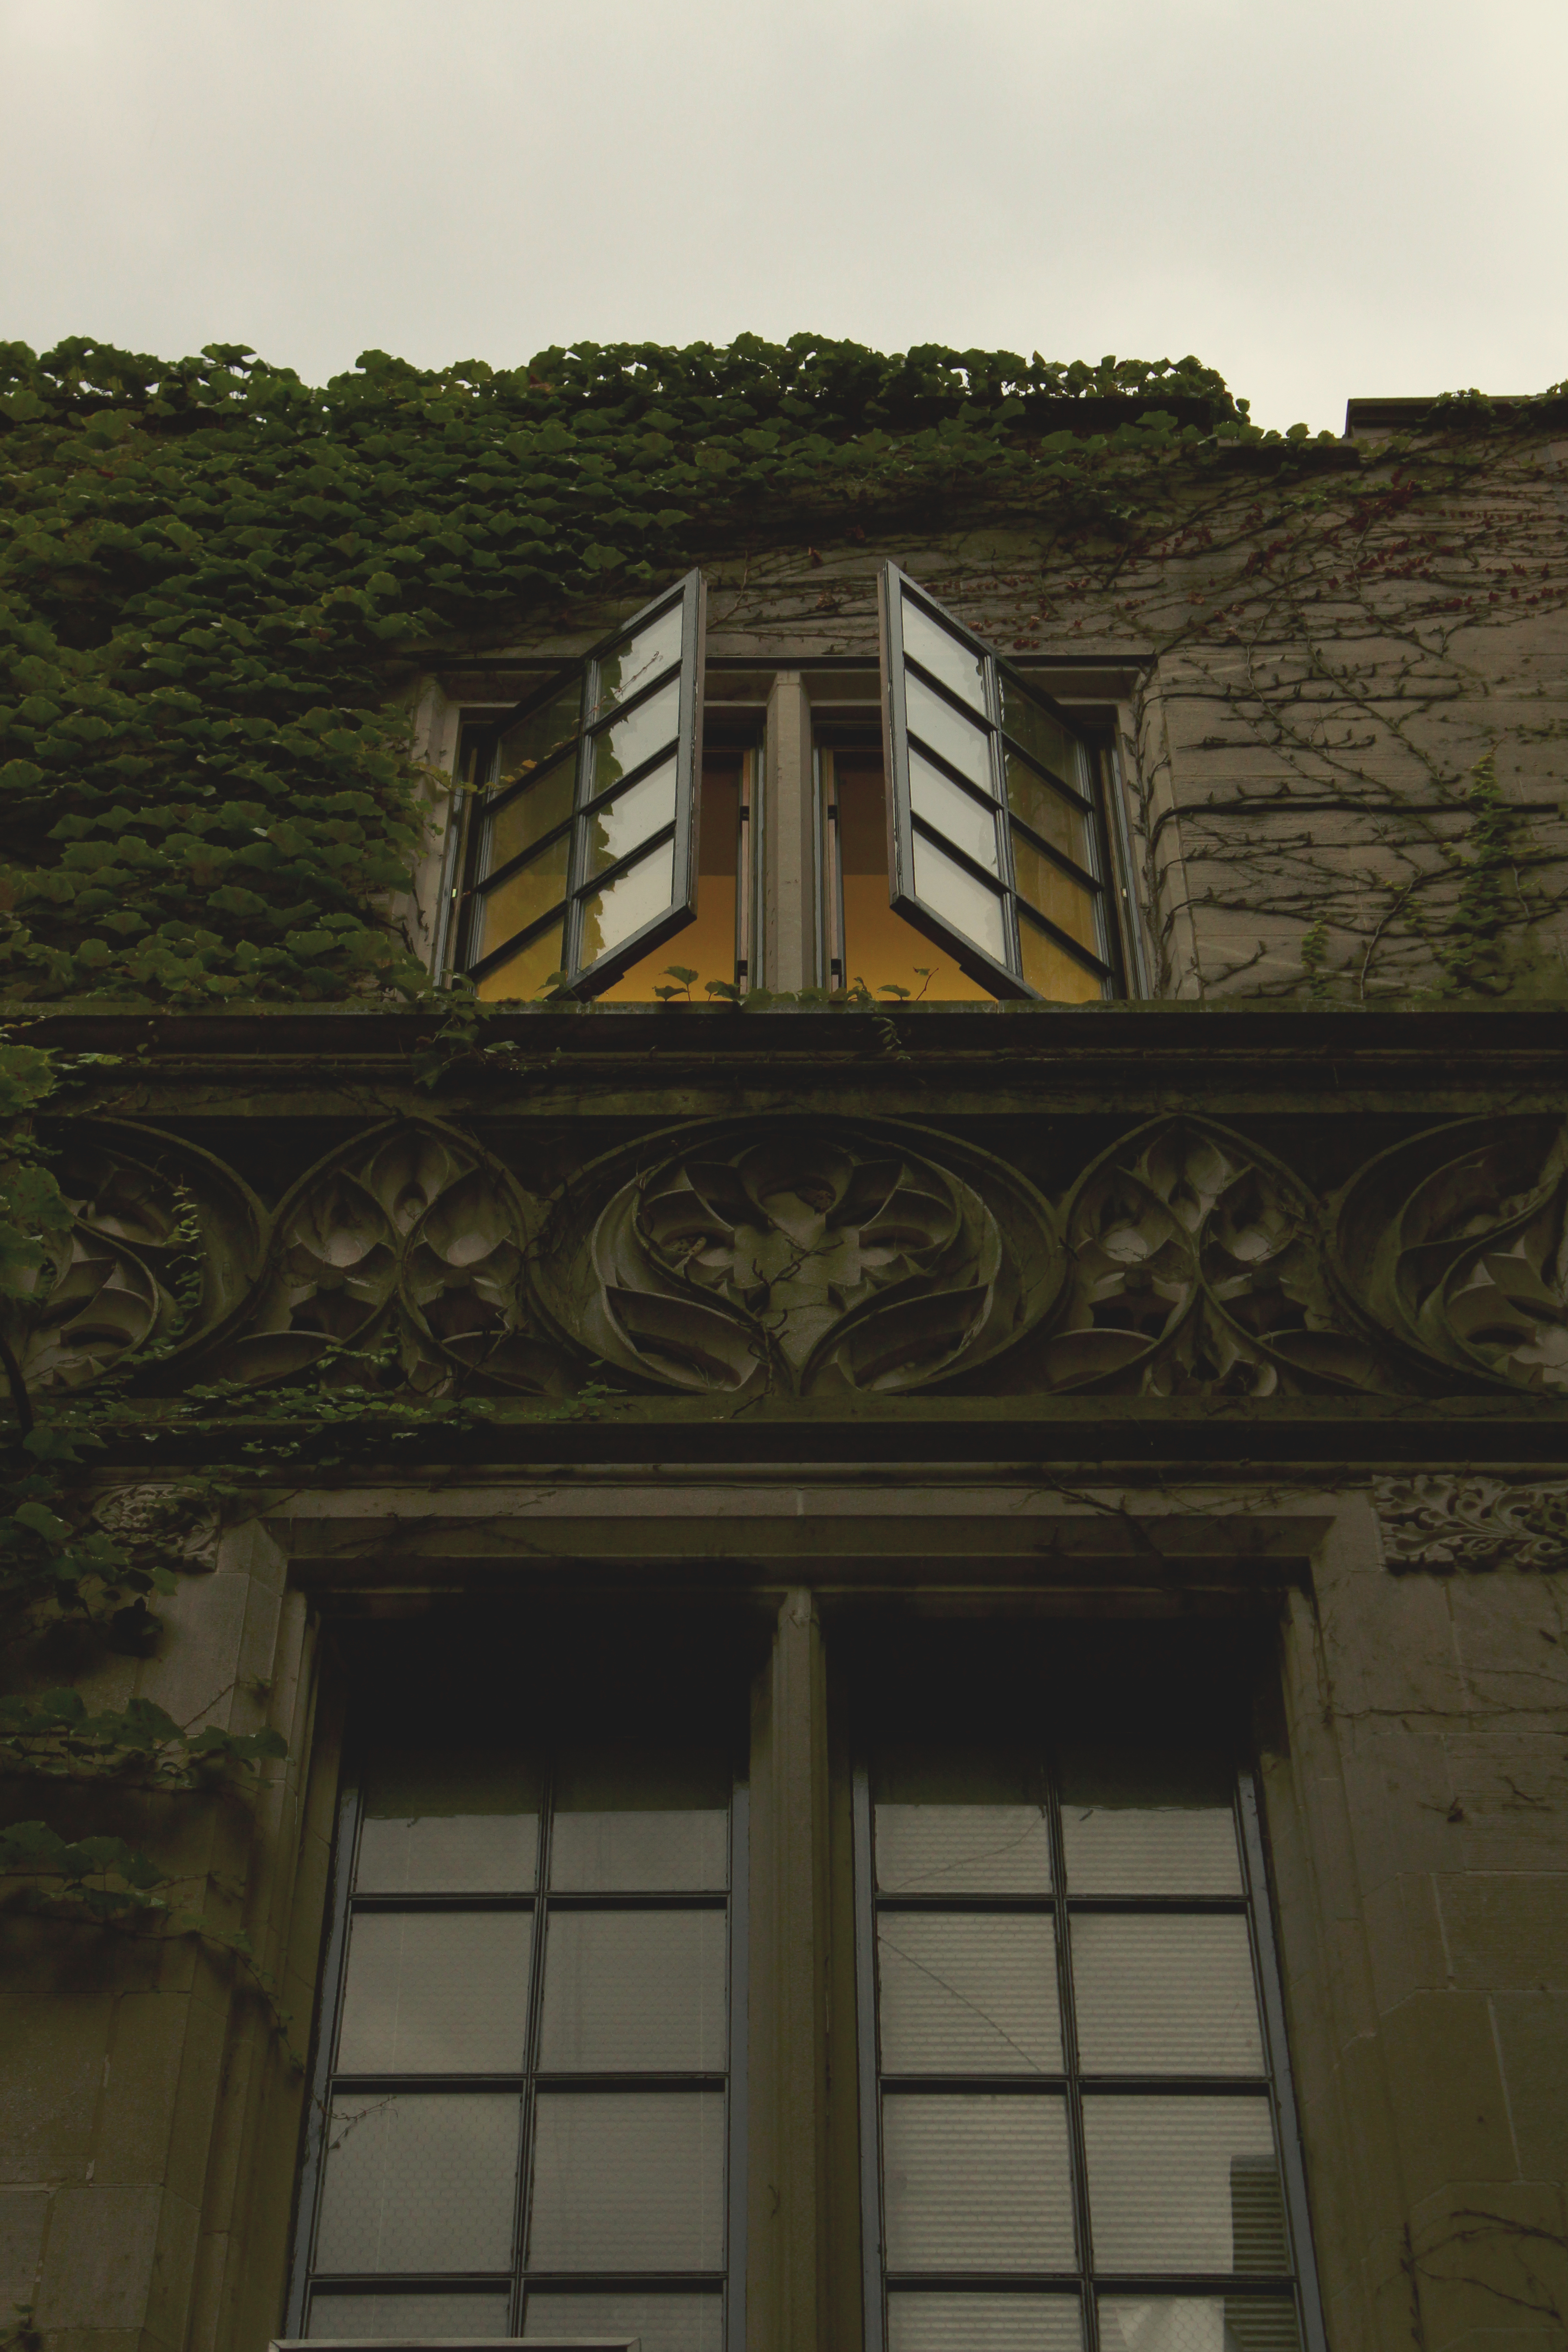
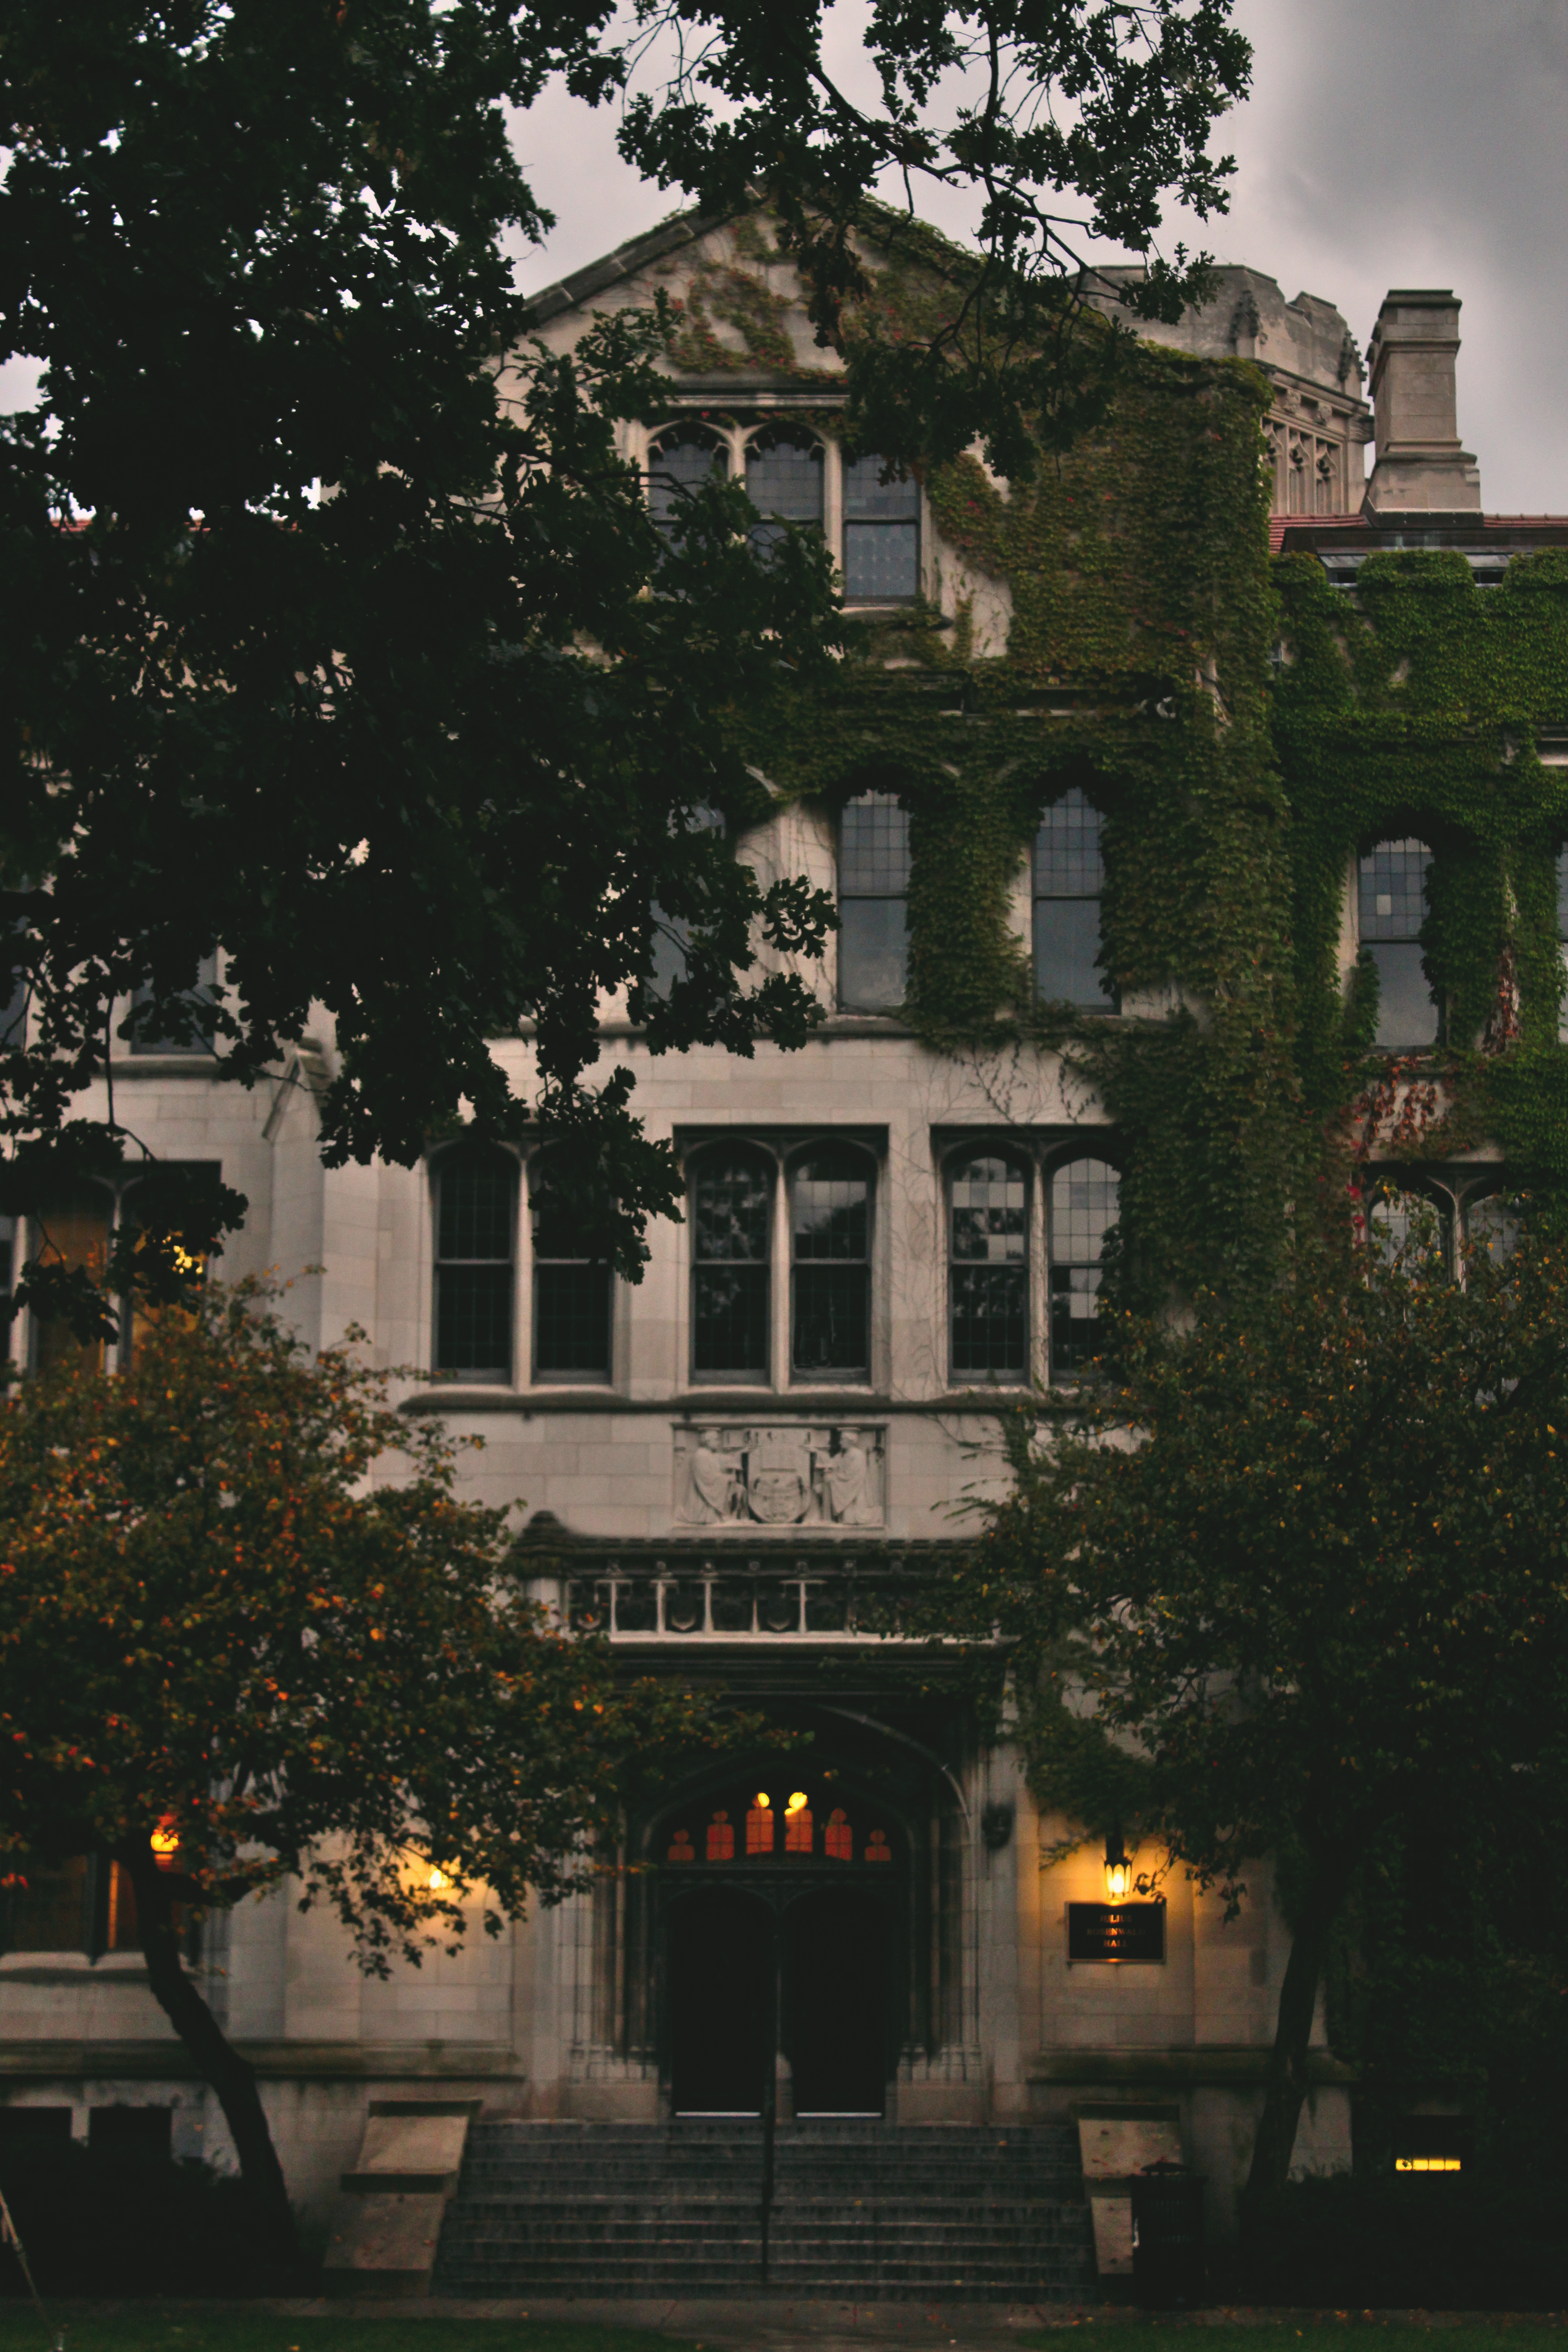
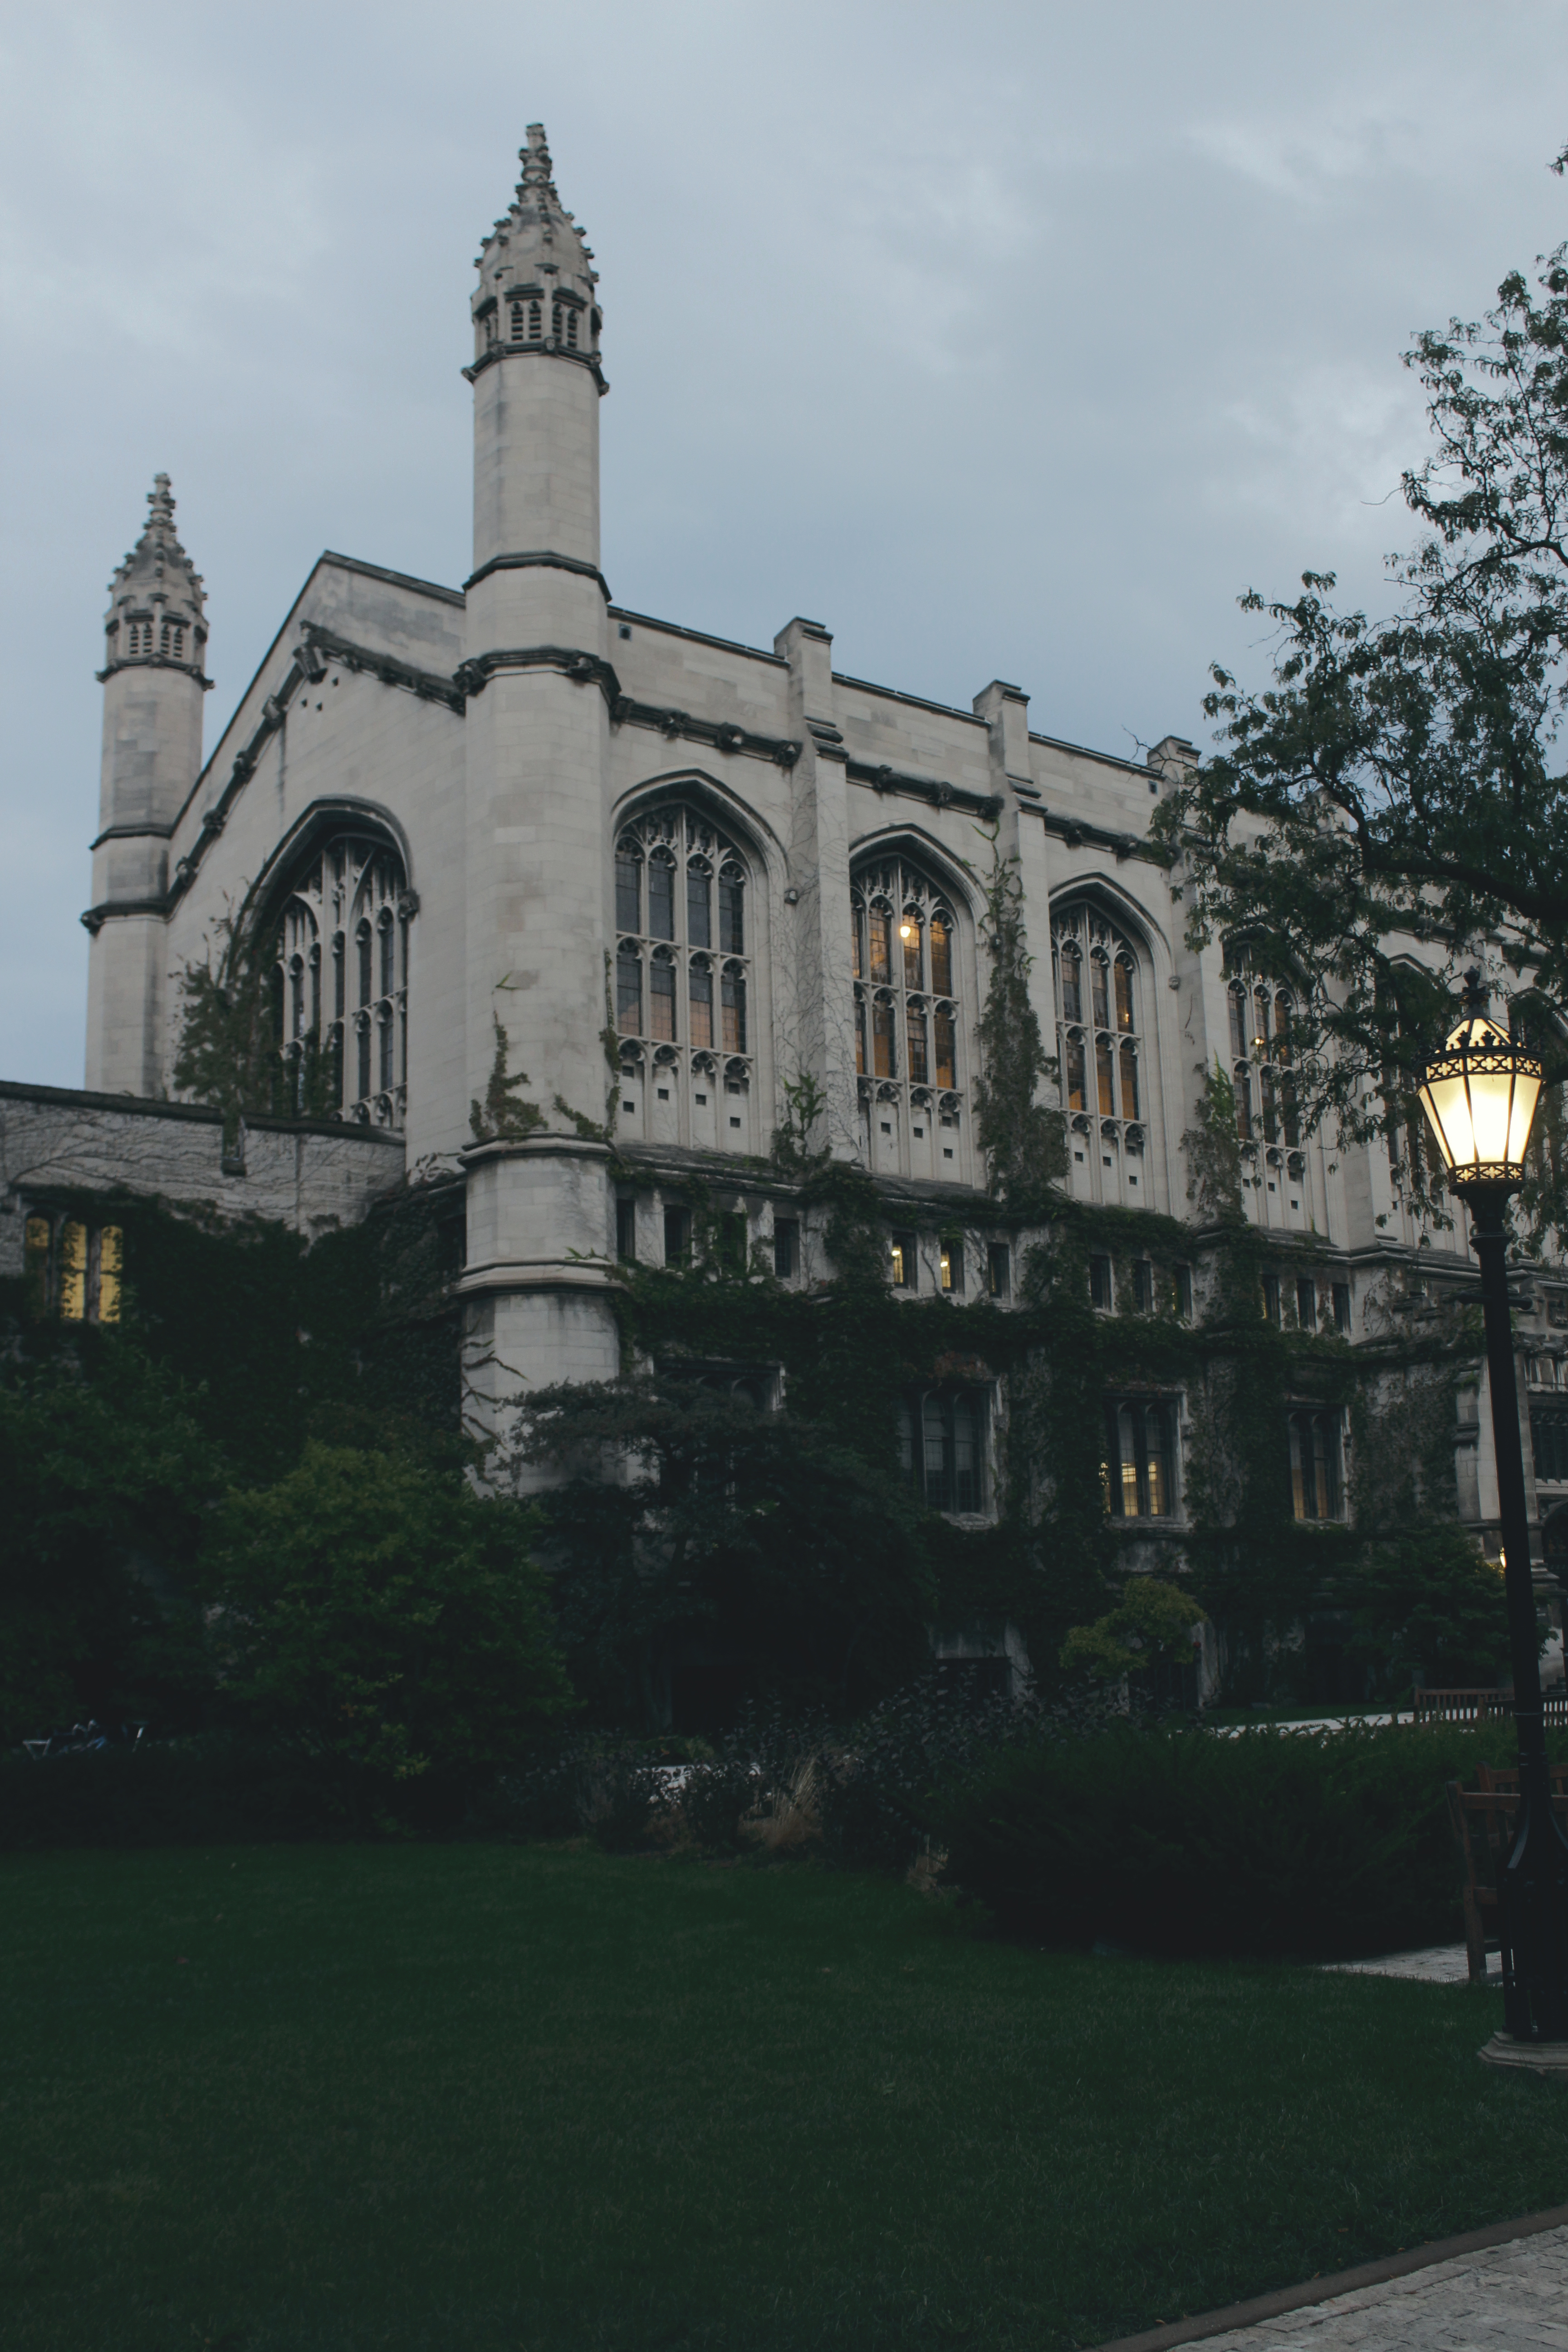
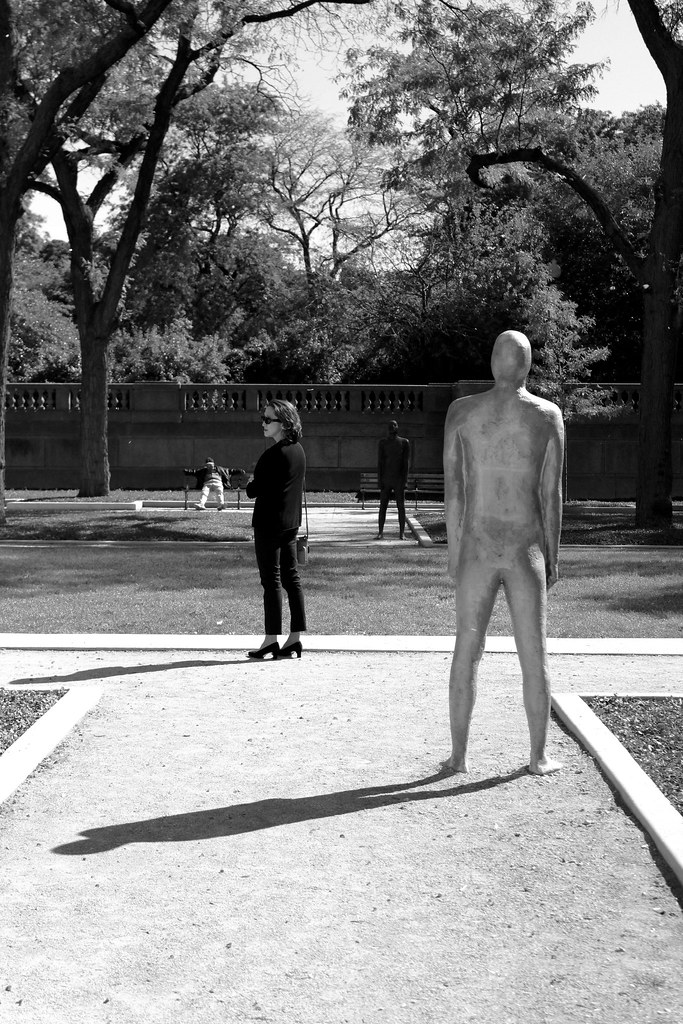
uChicago is a pretty amazing approximation of Hogwarts, something I am reminded of and awed by every morning when I go to class.
The main quad is the stuff of fairy tales.

IMG_4134

IMG_4280

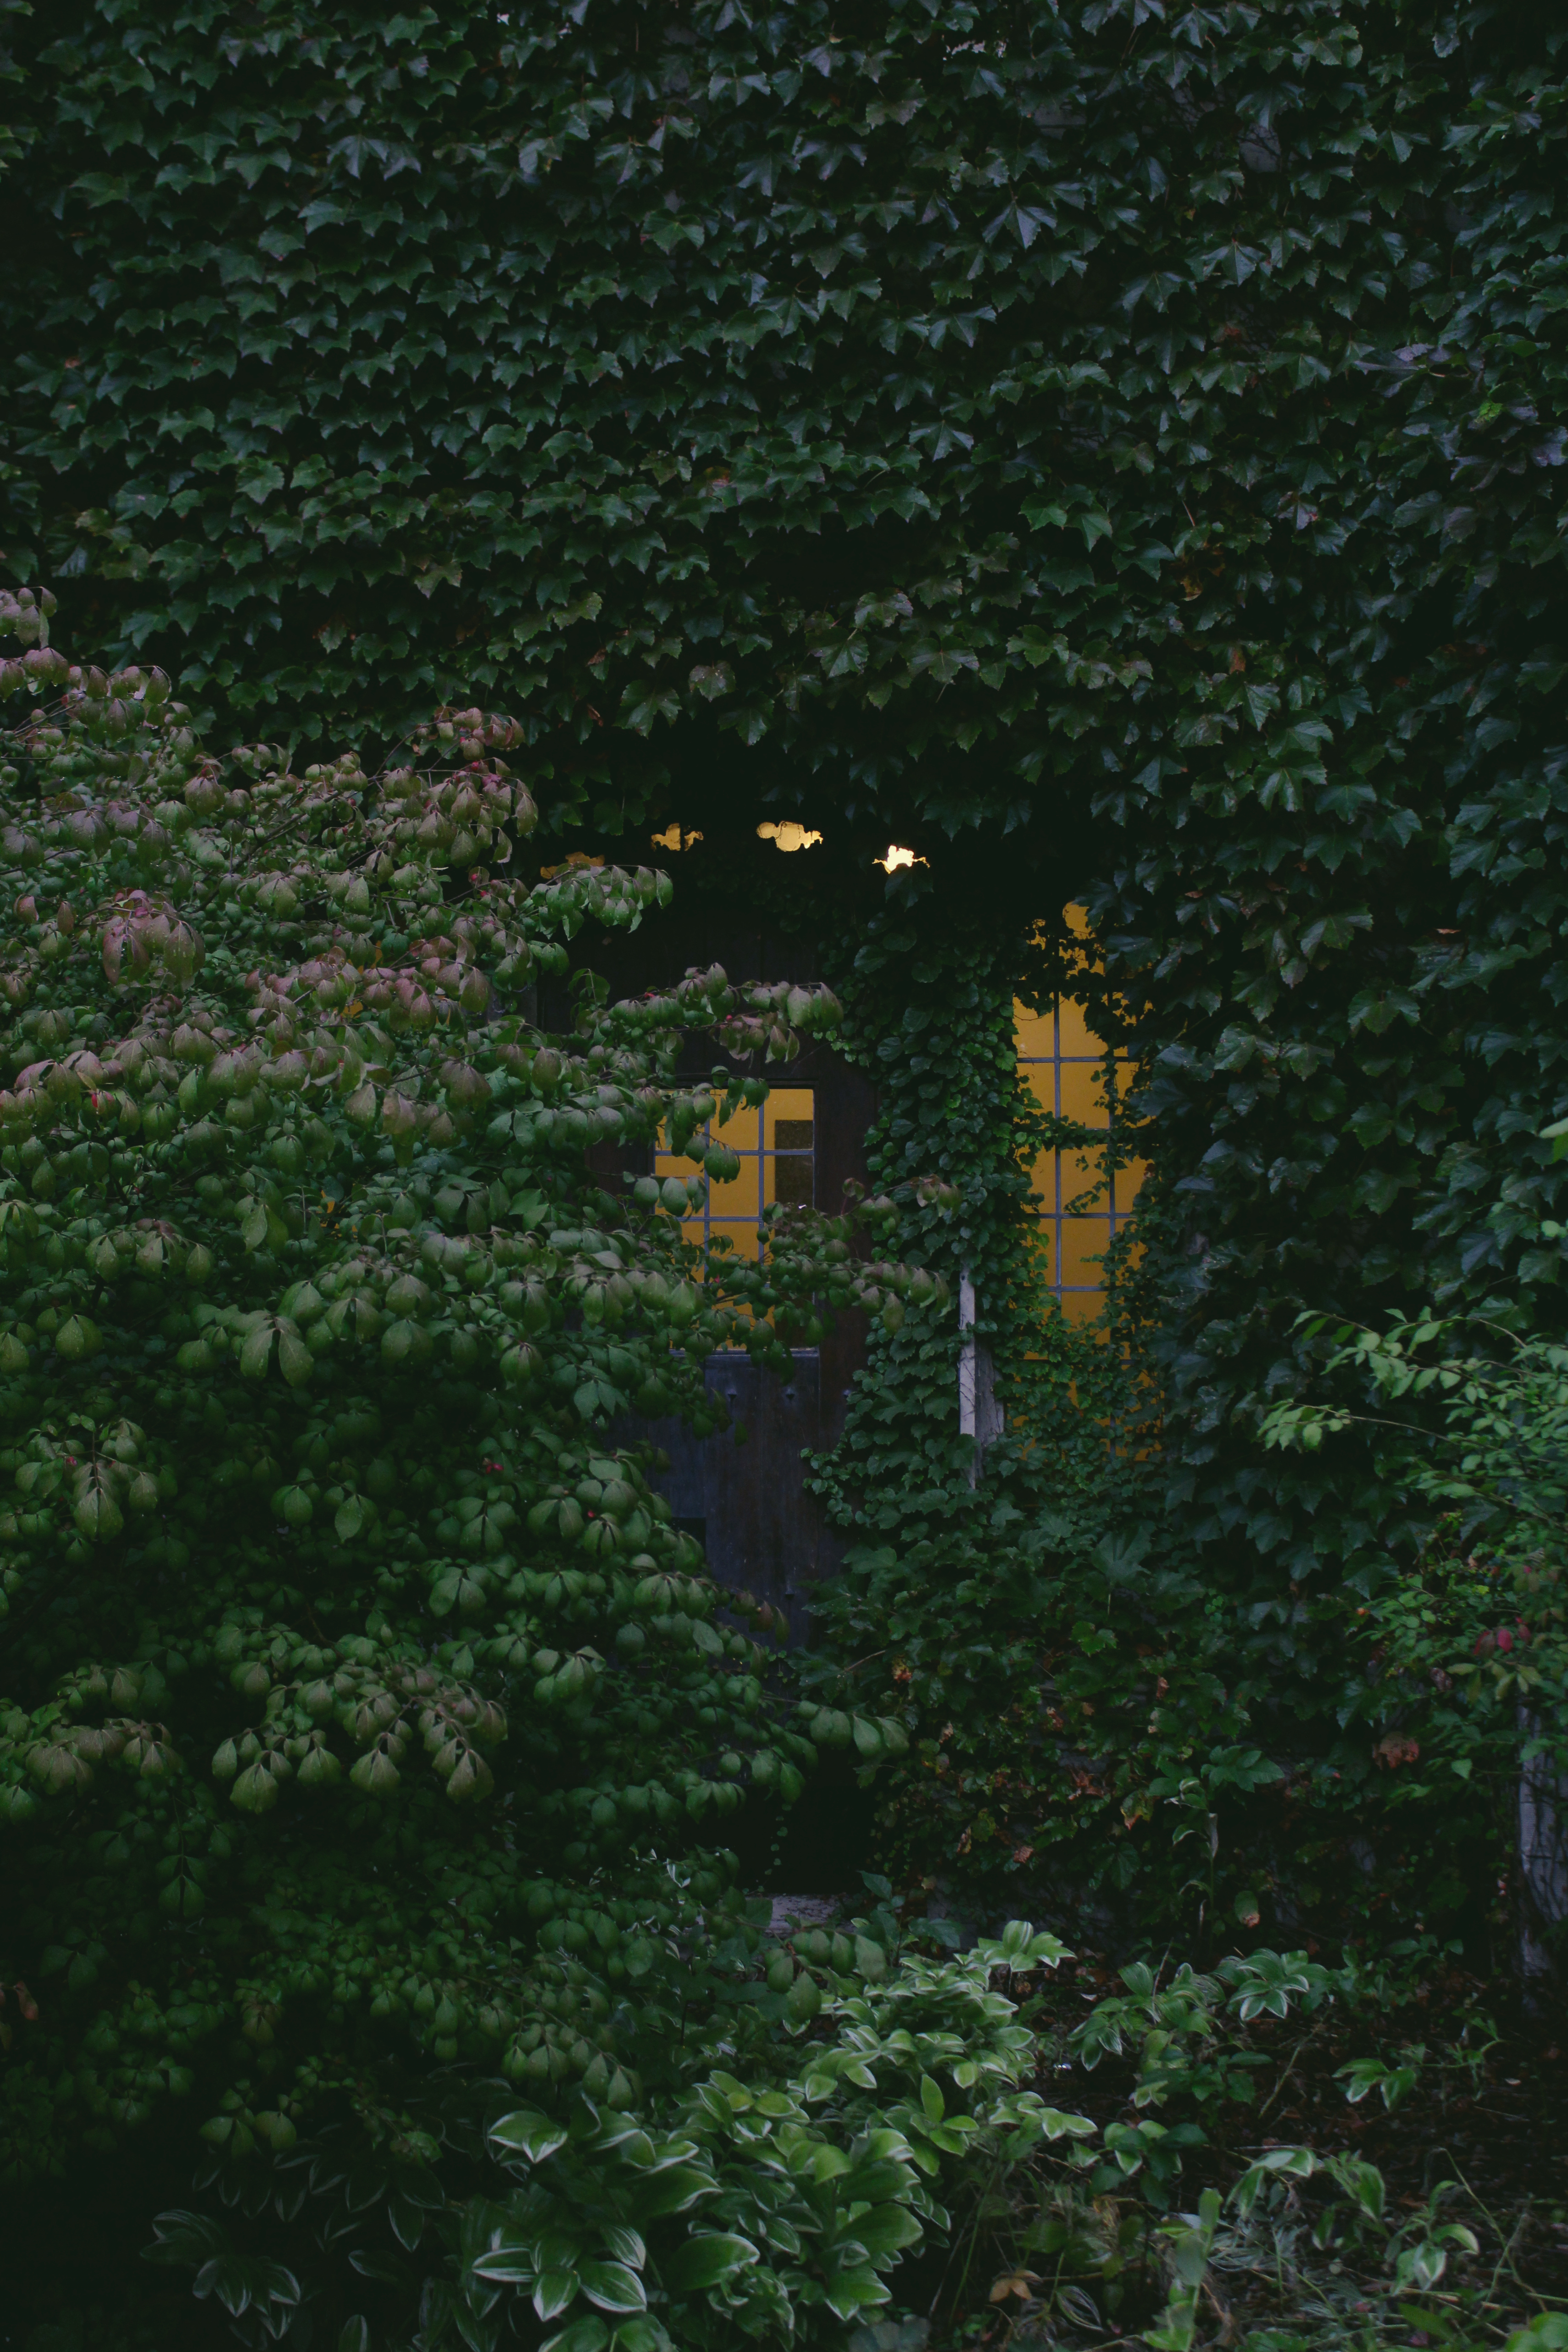
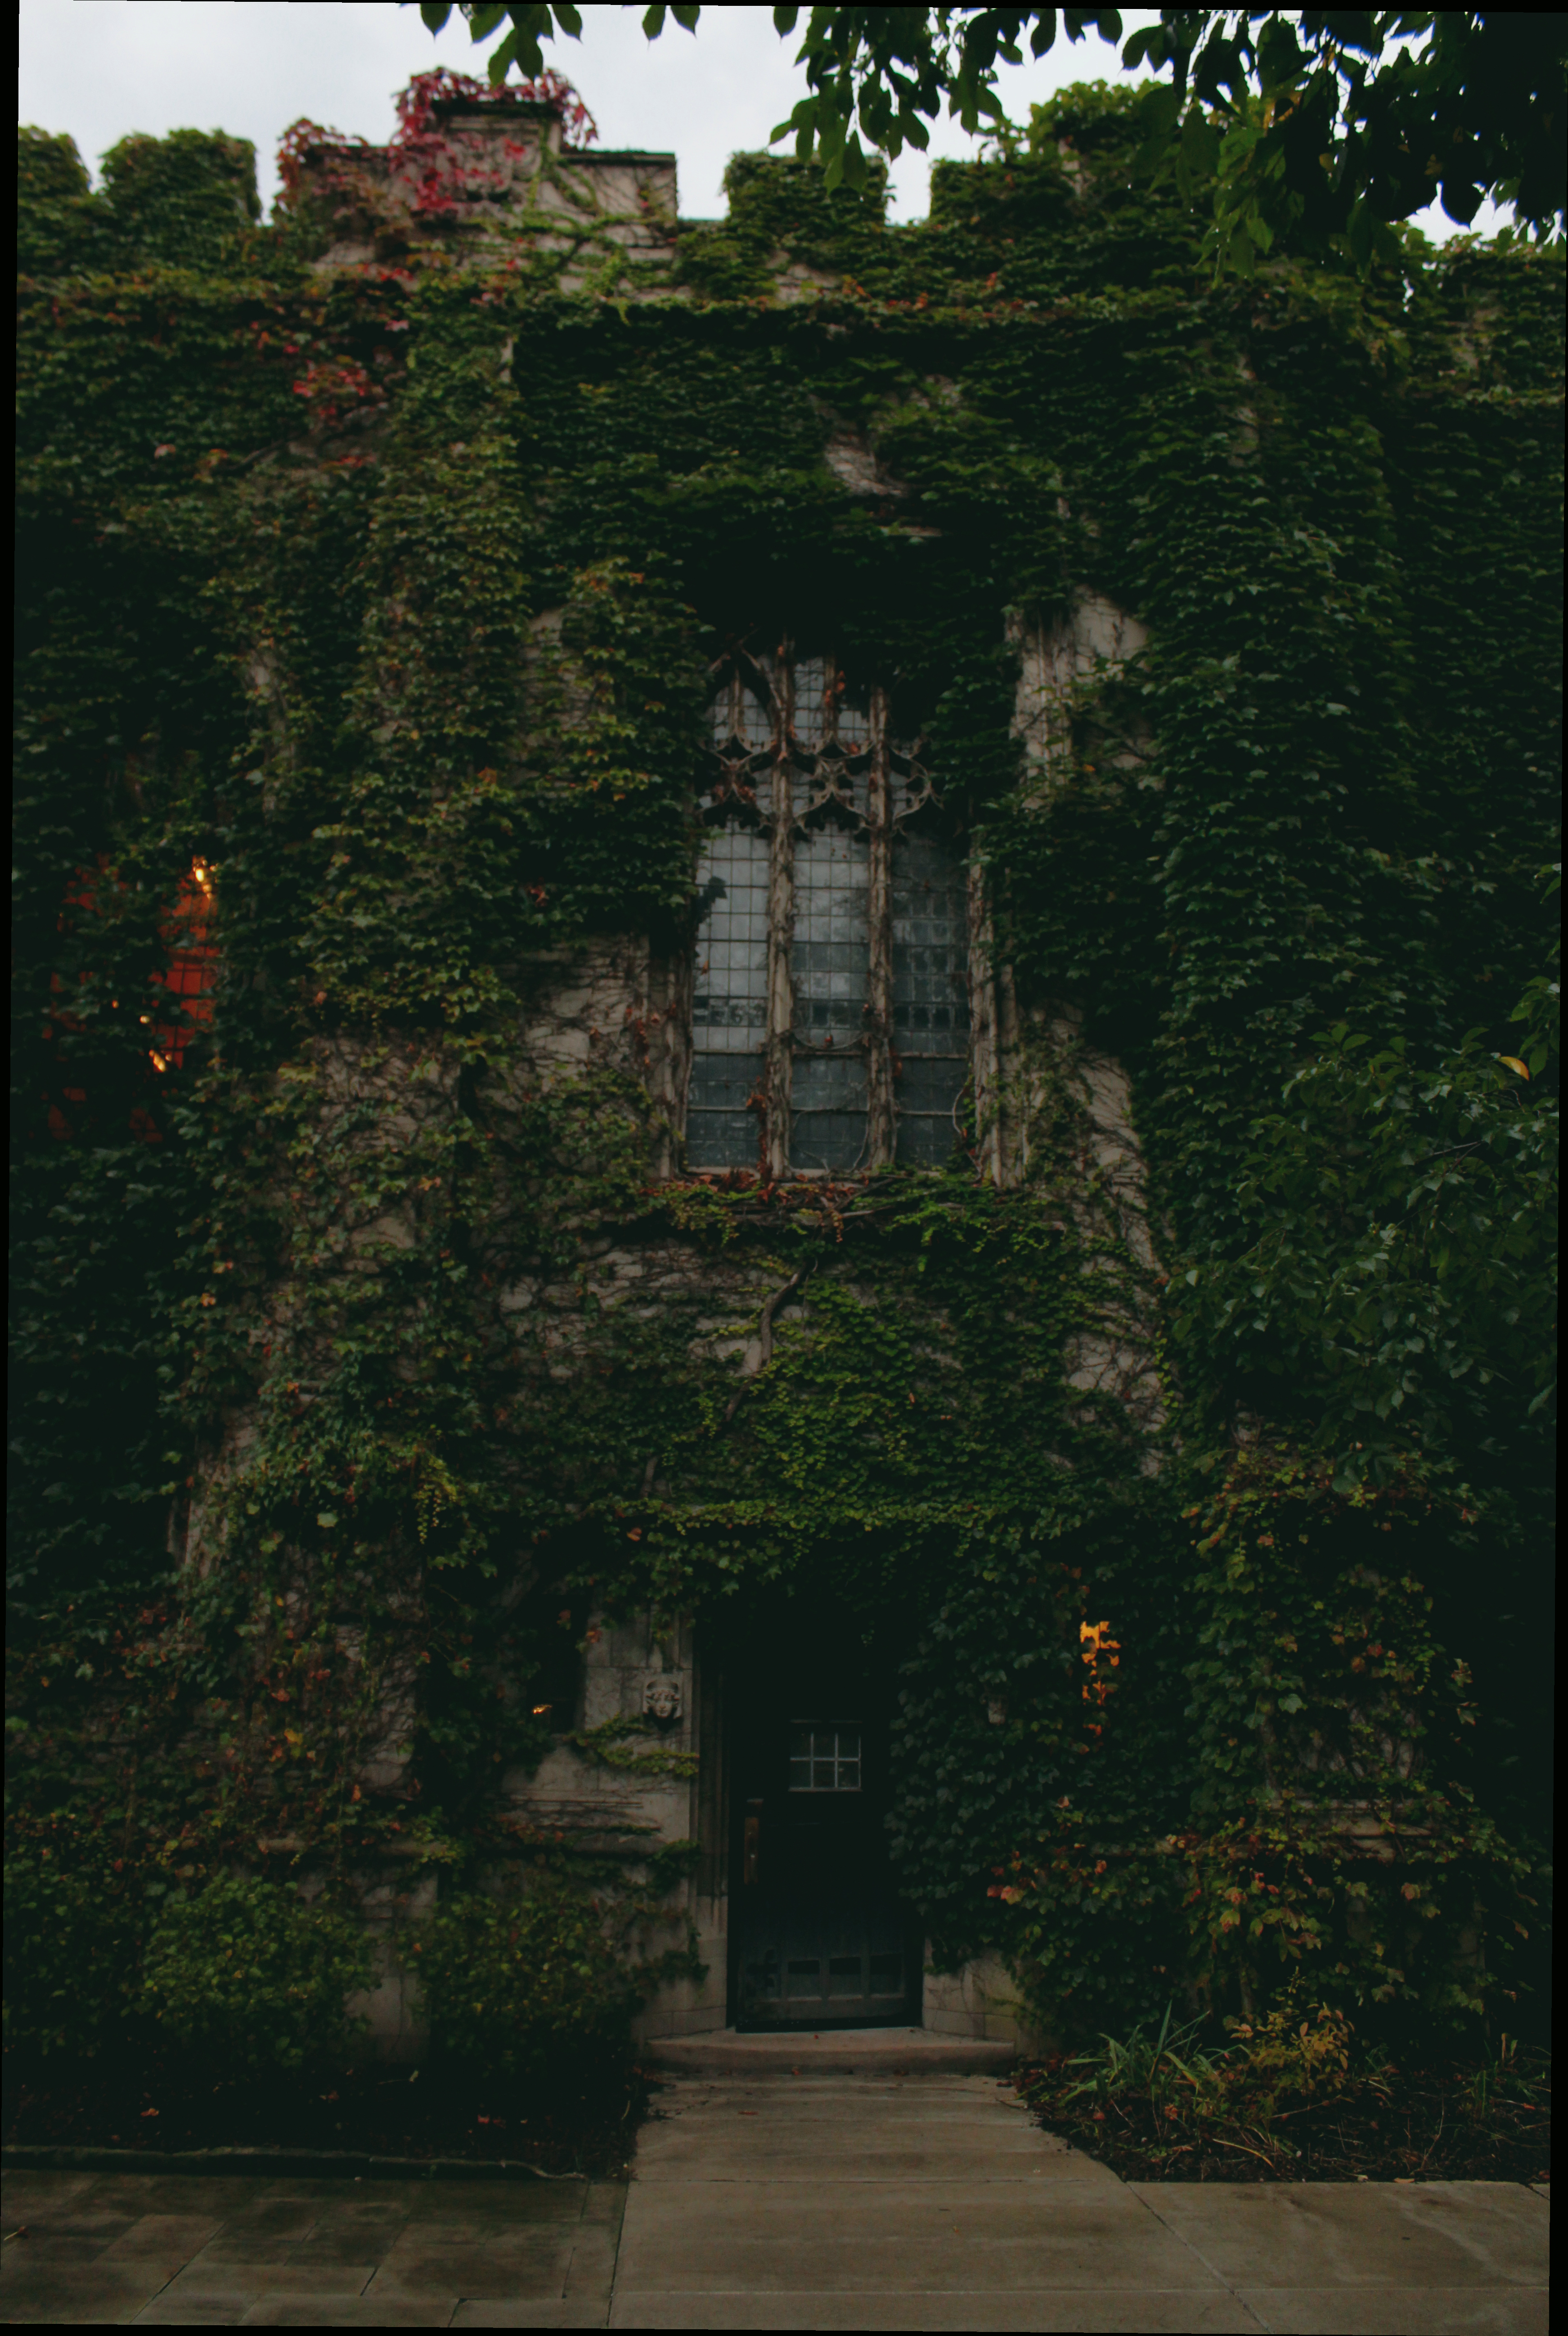
Tucked behind great towering buildings covered in ivy lie secluded chapels and corridors.
You could easily get lost in the quad.
It’s much larger than one would think, but broken up into quadrants- each ringed with gothic architecture.
It is quite a sight to behold, especially after a storm, in the early dusk, when the clouds are rolling out only to reveal the darkening skies.

IMG_4068

That’s precisely the time when the photos that you are about to be being bombarded with were taken.
Out exploring after a big lunch/dinner at the Med, I stumbled upon jaw-dropping lighting, which I could only amateurly capture.

I wish I could have done it more justice, but I am still learning.
Like everything else in this world, photography is a journey.

And, um… I’m pretty early on in my journey.

IMG_4243

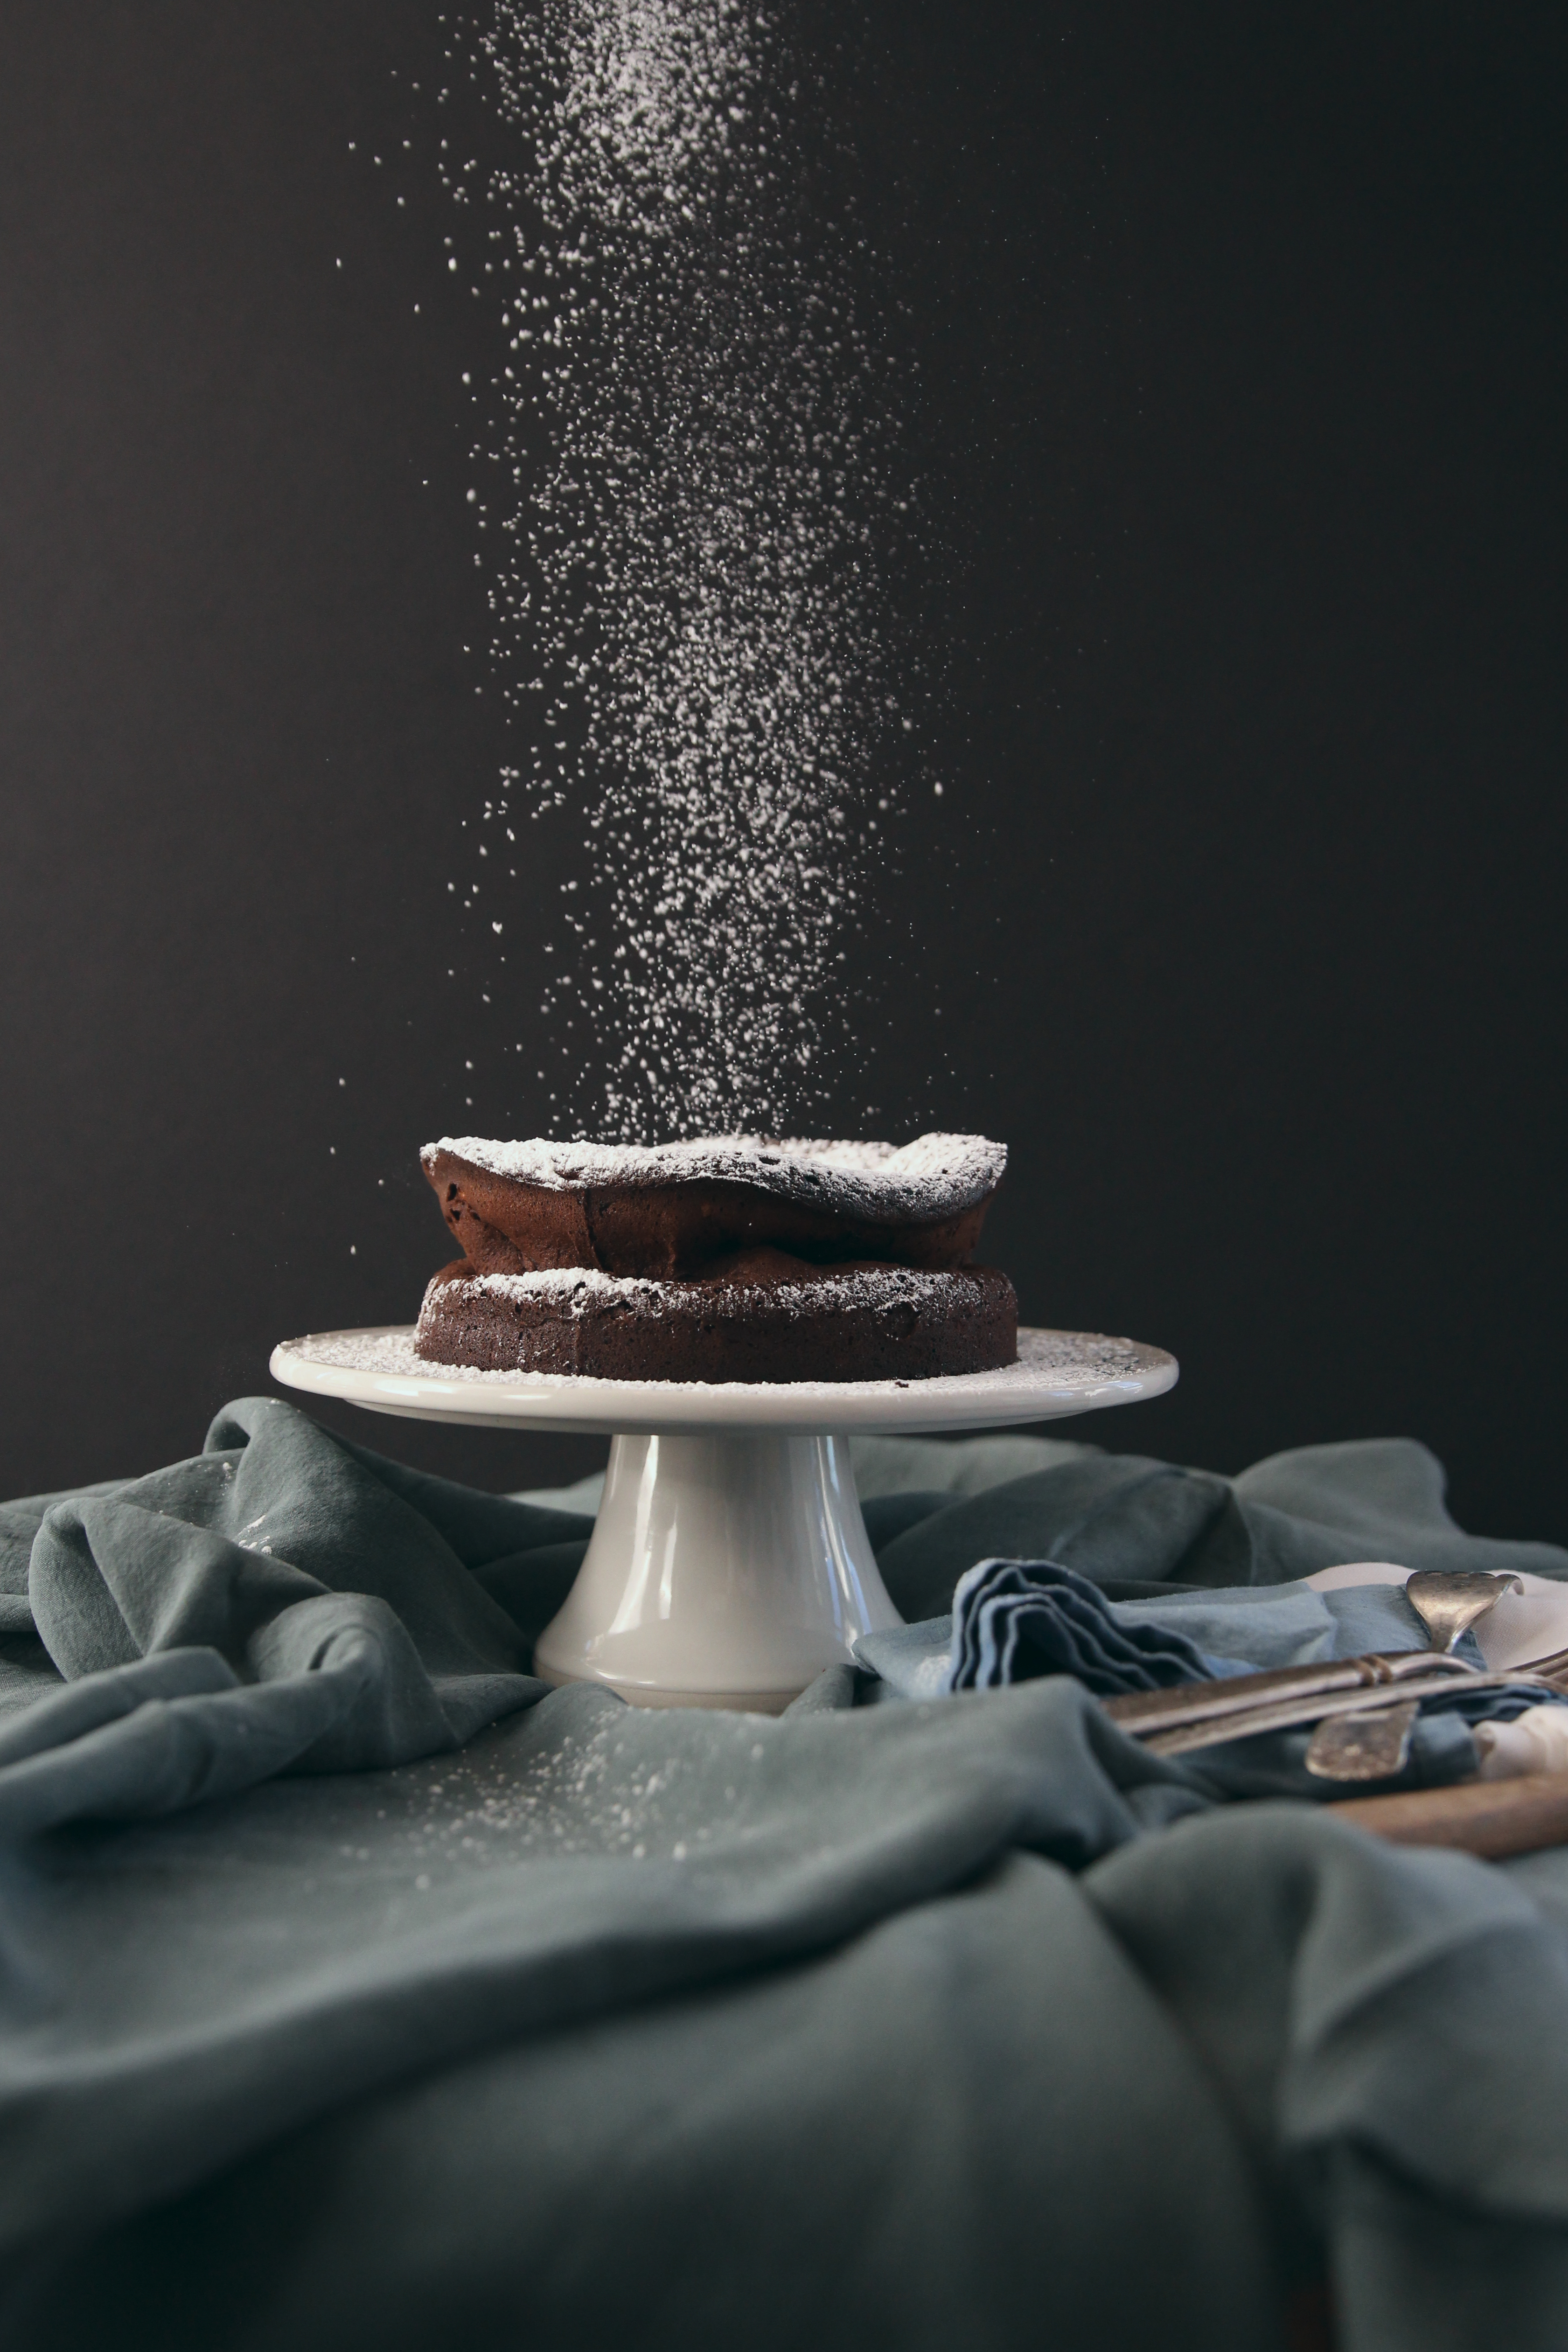
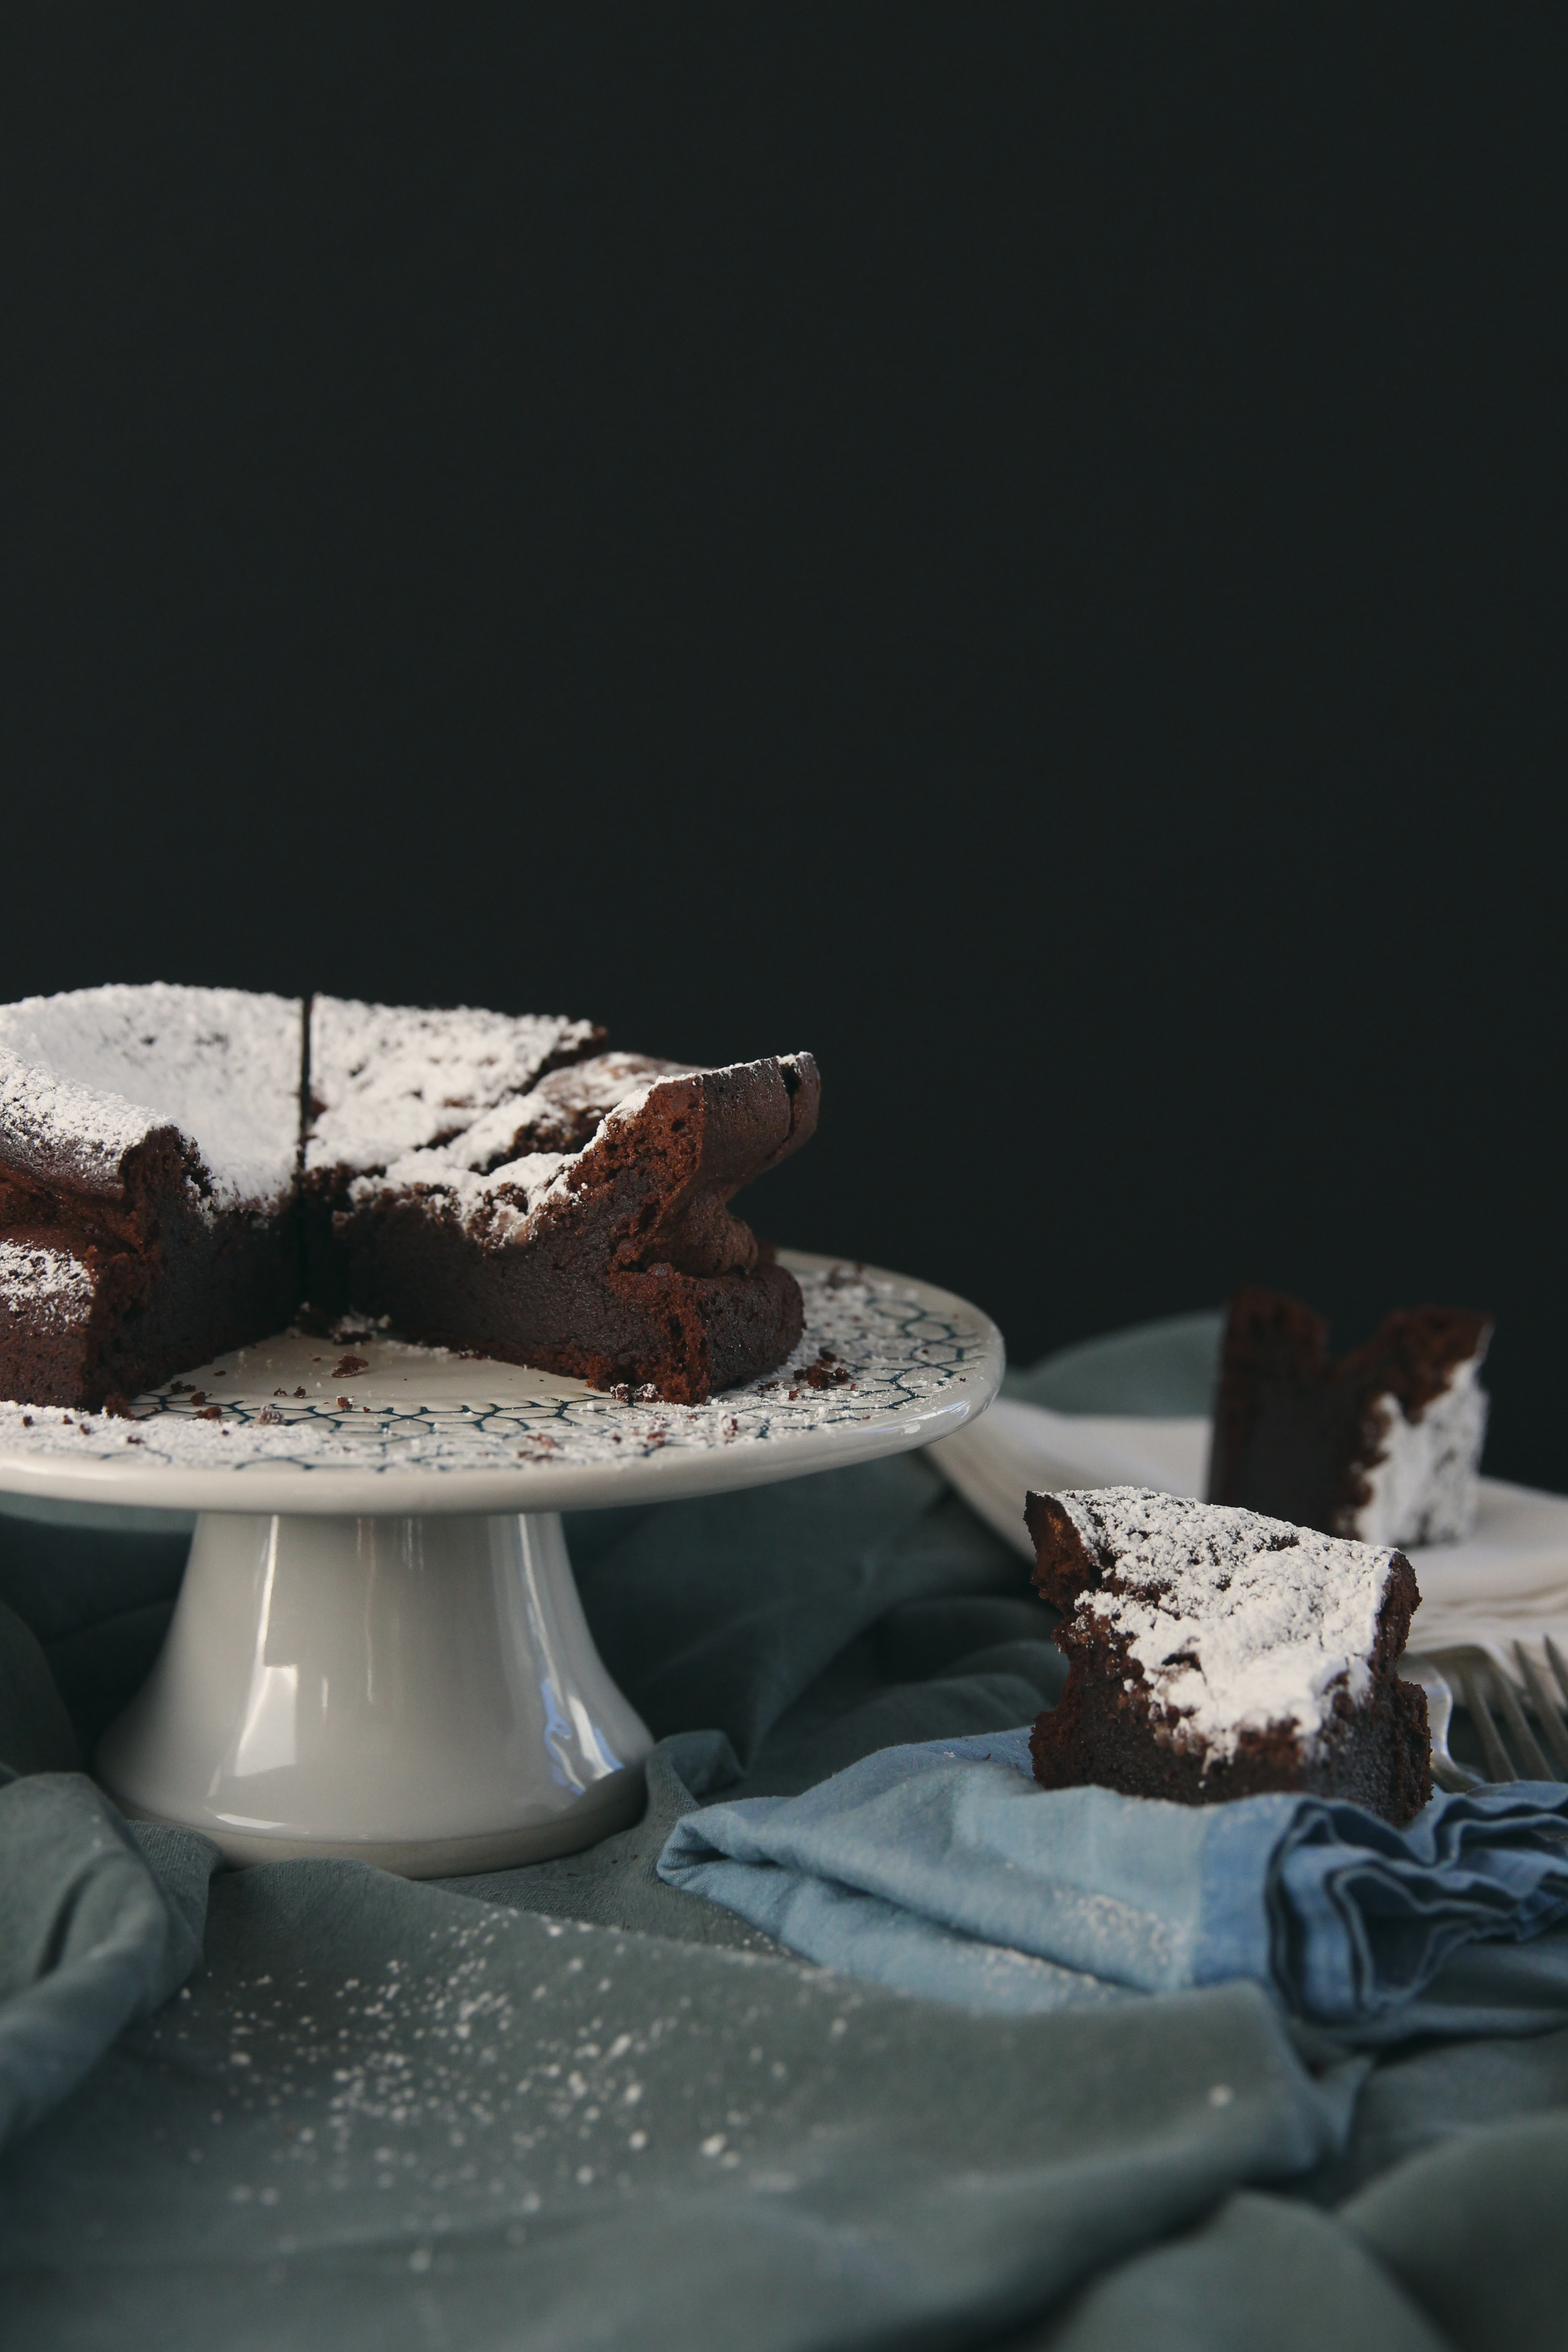
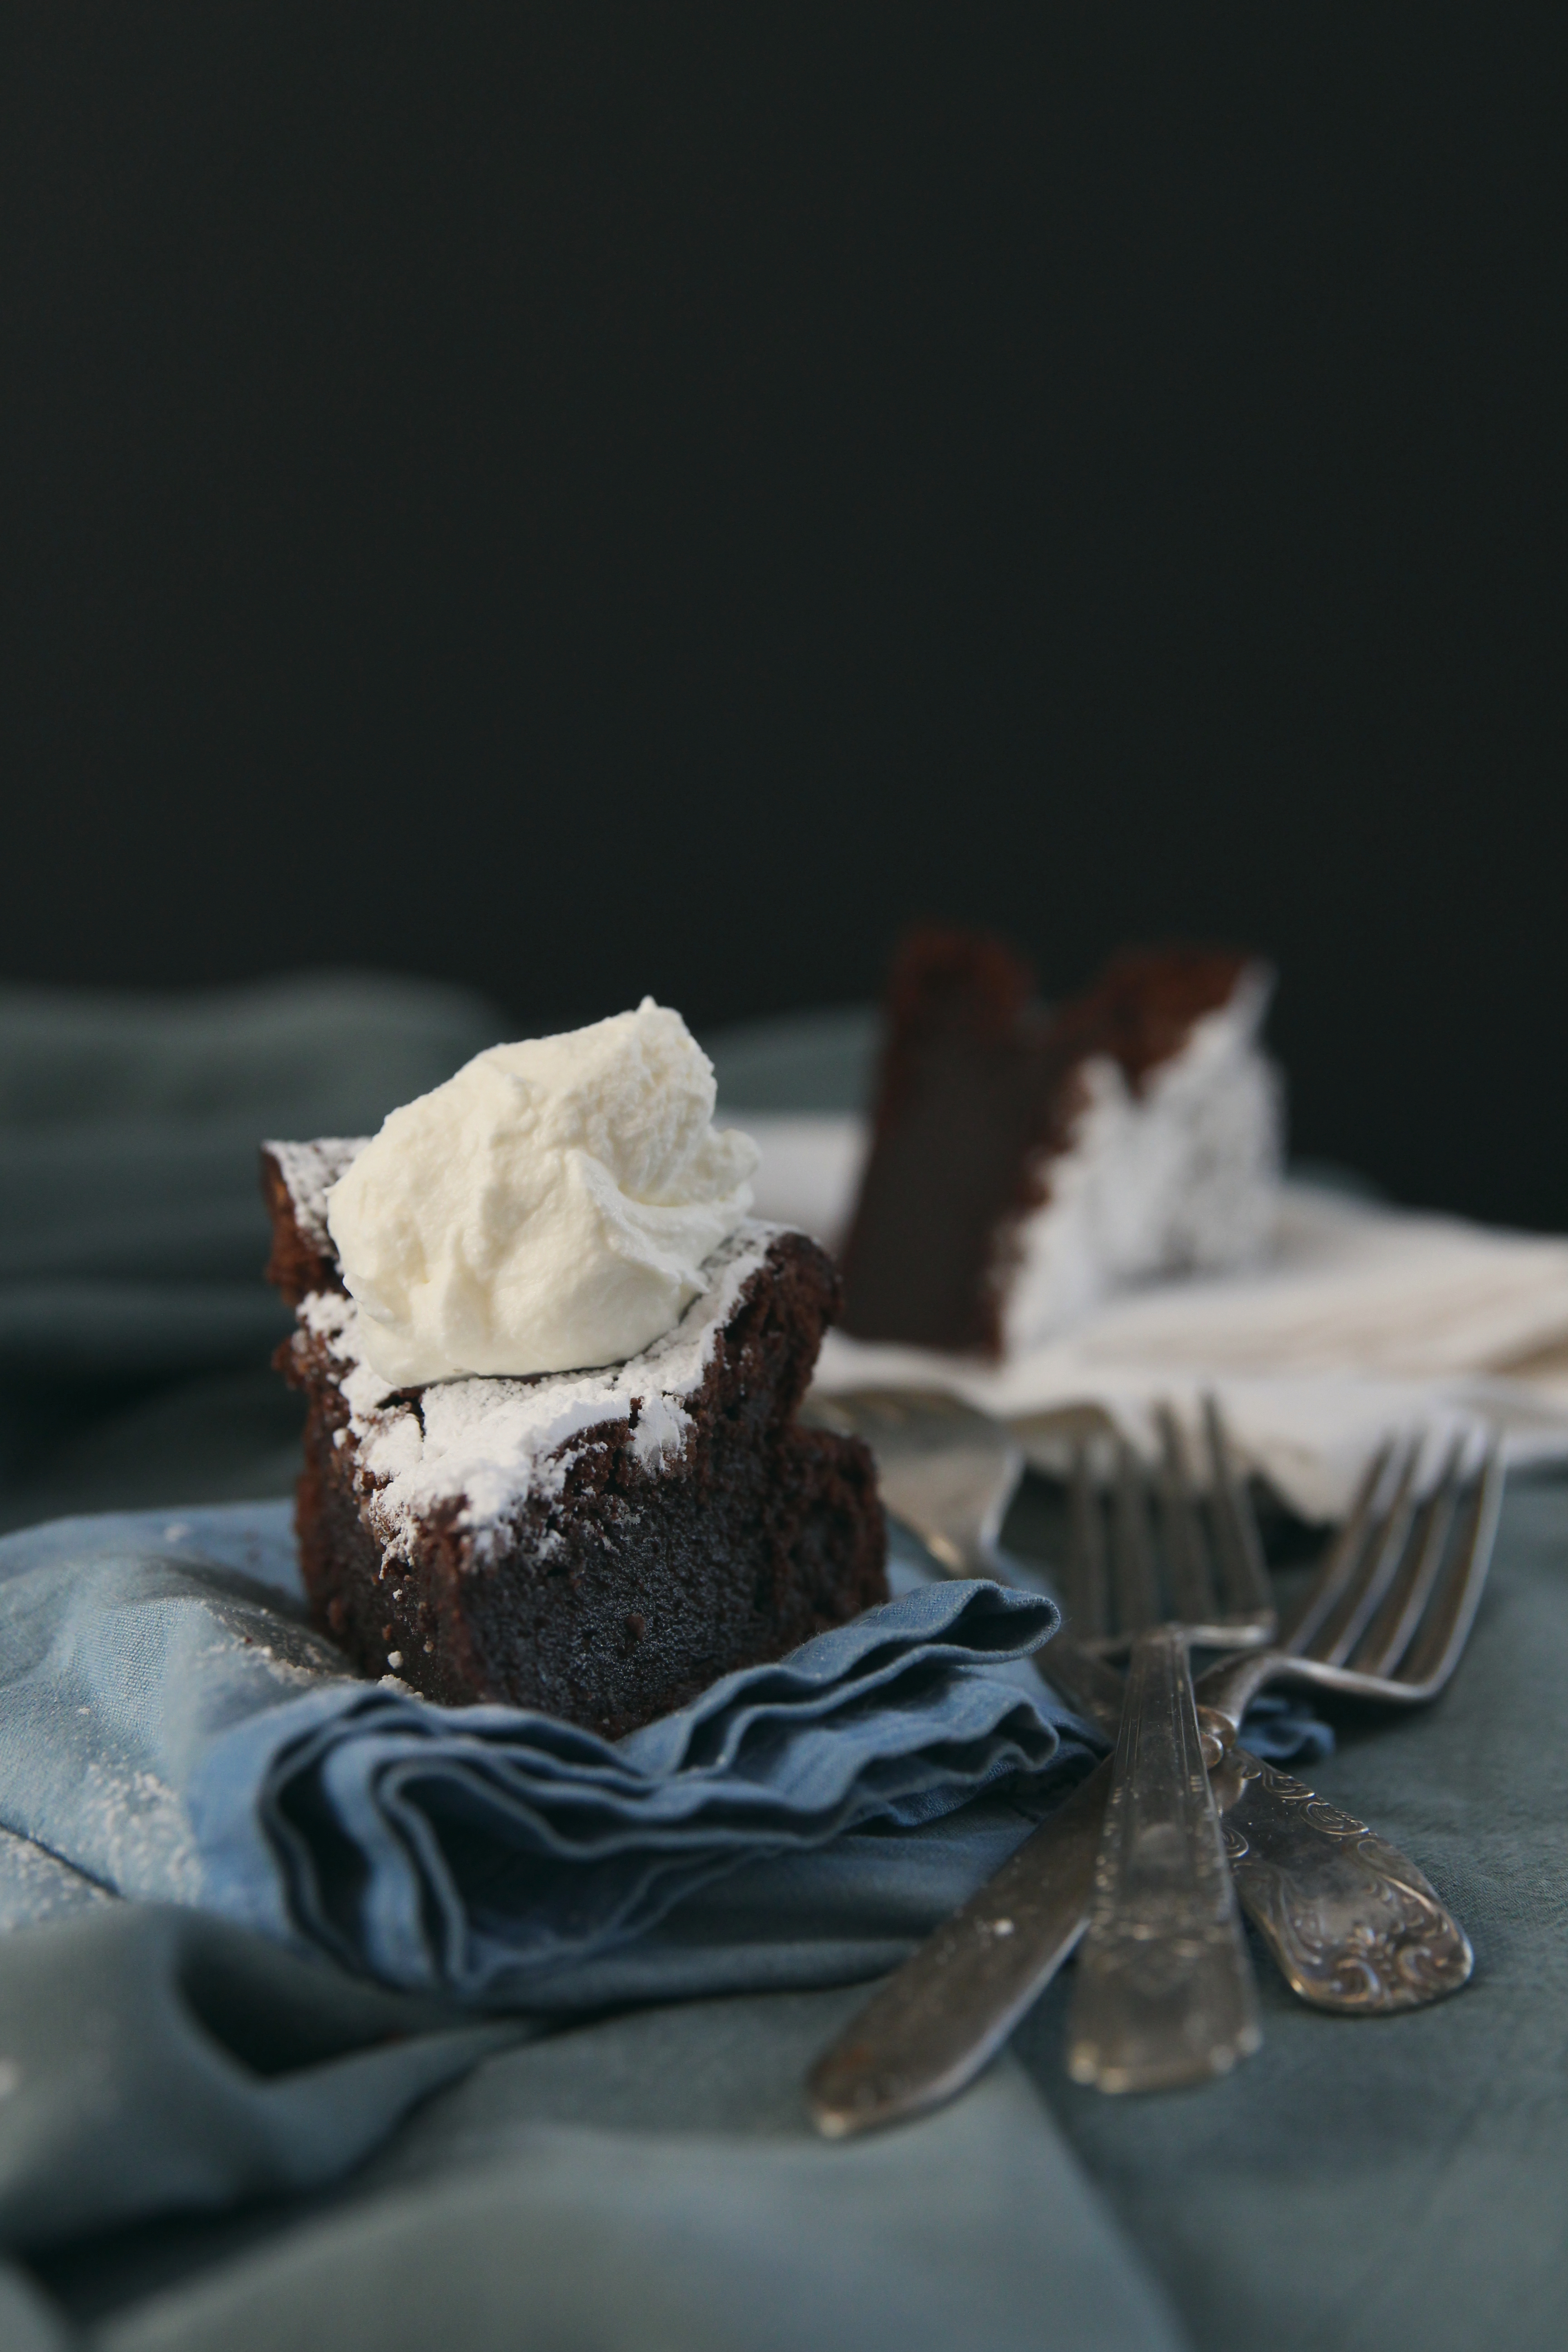
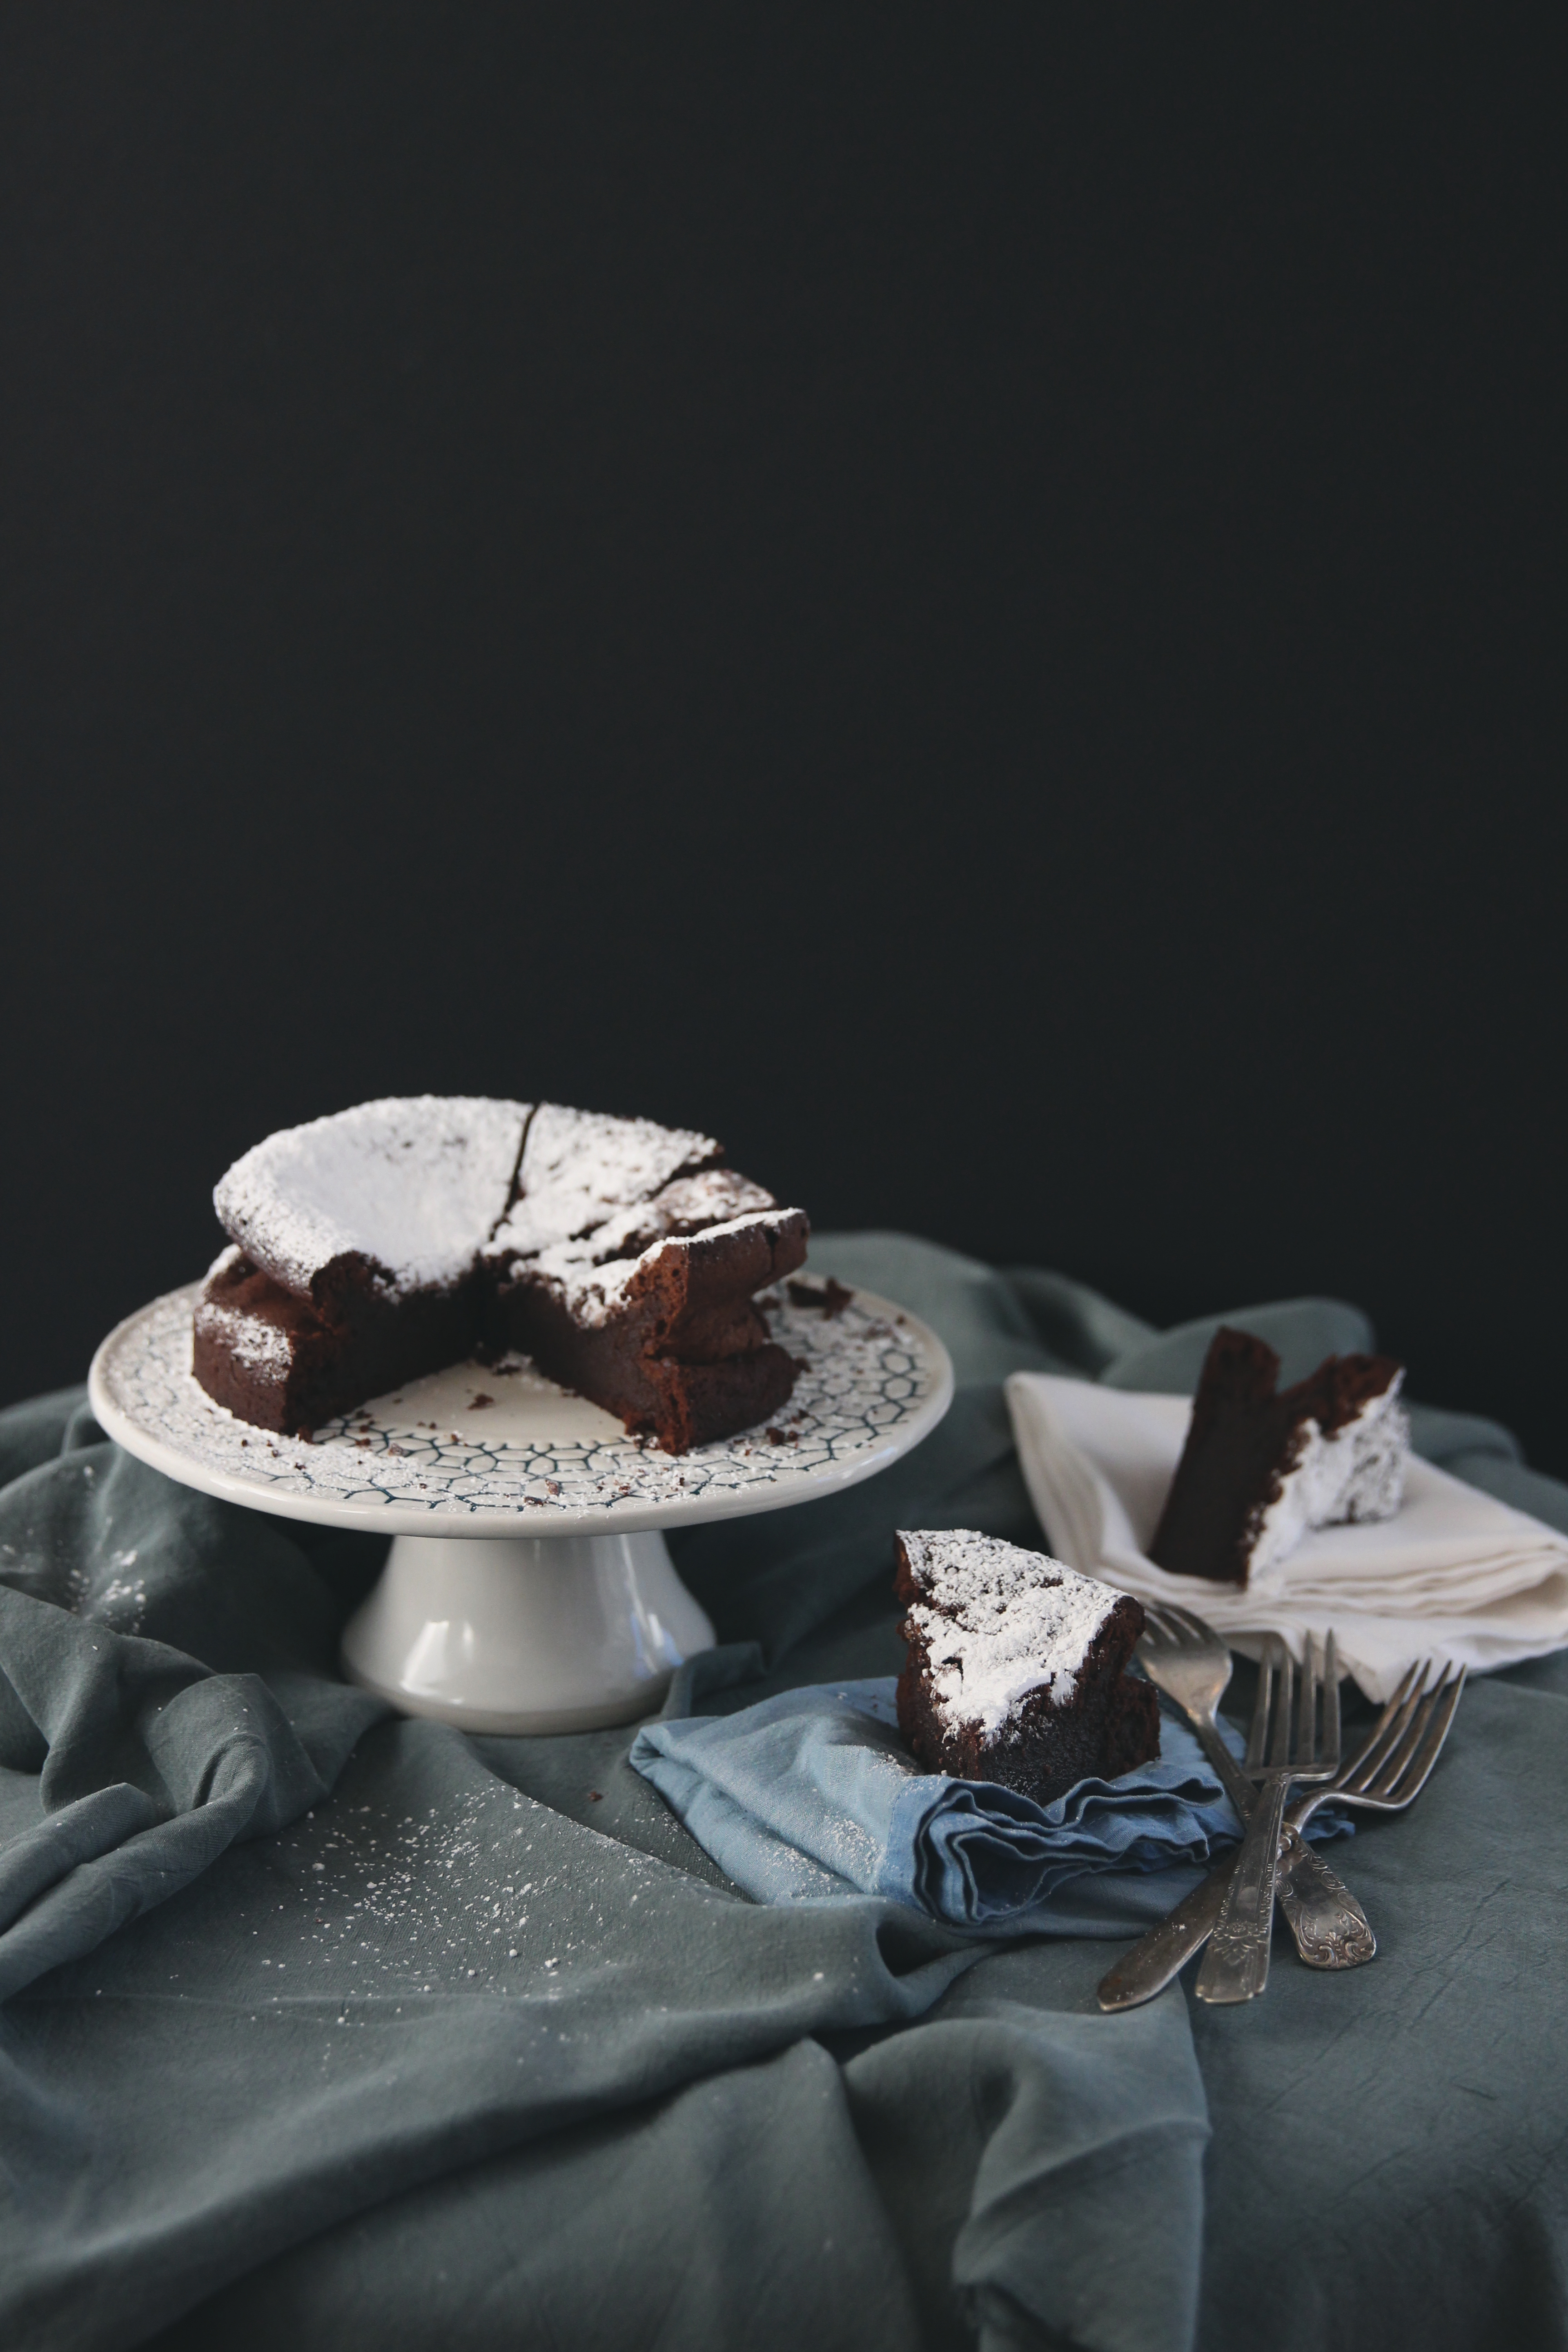
The photos of the cake- the chocolate gateau, as it were- were taken with a friend’s crazy nice lens (a 24-70mm f2.8, if I’m remembering correctly) and my T4i body.
Talk about life-changing.  This lens rocked my world and blew my mind.
(I’m really not being that dramatic.  It was amazzzingggg.)

Seriously!!  Remember how I invested in a macro lens merely a month or so ago?
WELL I am so in love with this lens (and according to my actual photographer pals, this lens, or rather, one more appropriately suited to my camera body, is the way to go for my type of photography and interests) that I am promptly going to sell my (new) macro lens to buy a 17-55mm f2.8 EF-S lens.
Unless, of course, one of you has one lying around that you’d like to gift me.

IMG_4128

The Hogwarts-esque photos were taken with a regular kit lens.

Not that I’m giving excuses or anything, but I sure do wish I could’ve taken them with a slightly upgraded lens.

Moral of the story: I’m just really greedy.

IMG_4257

Before I leave you to peruse the photos I have unceremoniously dumped at the bottom of this post, let me talk to you about this chocolate cake/torte/gateau.

I knew I was going to make this post Hogwarts-themed, so I wanted something that was a tried and true Hogwarts dessert.

Lo and behold, at the Welcoming Feast of the Triwizard Tournament (Harry Potter and the Goblet of Fire), chocolate gateau was served.
According to the HP wiki, chocolate gateau is a flourless chocolate cake.
I imagined it with a craggy top and lusciously fudgy interior.

I found just the recipe and made the cake.  It wasn’t quite as craggy as I had hoped, perhaps due to the very high pan that I used, but it was dramatic and intensely chocolaty and fudgy.

During baking, it rises over the sides of the pan like a souffle, which is what gives it the beautifully fallen quality after having been removed from the oven.  I was actually a little upset that my little cake didn’t collapse more.
It’s a simple torte, one that gets all of its leavening from eggs, a quality which I adore for the texture it imparts.

Use good quality chocolate.  I used Callebaut 70% bittersweet, which helps to contribute to the deep and dark cocoa flavor.
There isn’t much sugar, and I added quite a bit of salt, so the chocolate really shines.
A more perfect accompaniment could not be imagined than lightly sweetened whipped cream.

Eat the cake warm (nuke it if you must) with cold whipped cream (or even just pour a little chilled cream over the warm cake!) and you shan’t regret it.  It is really quite heavenly.

It’s the stuff of fairy tales.

IMG_4125

Oh, and P.S. if you like these photos, want to see more, or want to see them in higher resolution, head over to my flickr page in the uChicogwarts set!

IMG_4132

P.P.S. So I always thought it was Hoggy Woggy Hogwarts… but it’s Hoggy Warty.
(Here are the official Hogwarts theme song lyrics…)

Hogwarts, Hogwarts, hoggy warty Hogwarts,
Teach us something please,
Whether we be old and bald,
Or young with scabby knees,
Our heads could do with filling,
With some interesting stuff,
For now they’re bare and full of air,
Dead flies and bits of fluff,
So teach us things worth knowing,
Bring back what we’ve forgot,
Just do your best, we’ll do the rest,
And learn until our brains all rot.

 
IMG_4136IMG_4008 IMG_4028 IMG_4032
IMG_4039 IMG_4063
IMG_4072

Chocolate Gateau
adapted from Joy of Baking
makes 1 6-inch torte

ingredients:
3 eggs, separated
113 grams butter (1/2 cup, 8 tablespoons, 1 stick), cut into small chunks
126 grams bittersweet chocolate (4 1/2 ounces), cut into small chunks
100 grams sugar (1/2 cup), divided into 2 50-gram (1/4 cup) portions
splash vanilla
scant teaspoon kosher salt

directions:
Preheat oven to 350 degrees F.
Grease a 6×3 inch springform pan.
Combine the butter and chocolate in a bowl and microwave on low power until mostly melted.
Stir together until completely melted and set aside to cool slightly.
Place the egg whites in the bowl of a stand mixer with 50 grams of sugar and whip on high until stiff peaks form.
Meanwhile, place the egg yolks in a bowl with 50 grams of sugar and whisk until pale yellow and doubled in size.
Stir the vanilla and salt into the chocolate and butter mixture, then whisk the chocolate butter mixture into the egg yolks.
Gently fold in 1/3 of the whipped egg whites, then gently fold in the rest, incorporating all of the chocolate/yolk mixture and all of the egg whites; batter should be homogeneous but still light.
Pour into prepared pan and bake for 45-50 minutes, until a toothpick comes out with a few moist crumbs.
Allow to cool slightly before removing from pan, then enjoy warm with softly whipped, barely sweetened cream!

More Than Meets the Eye

IMG_4141
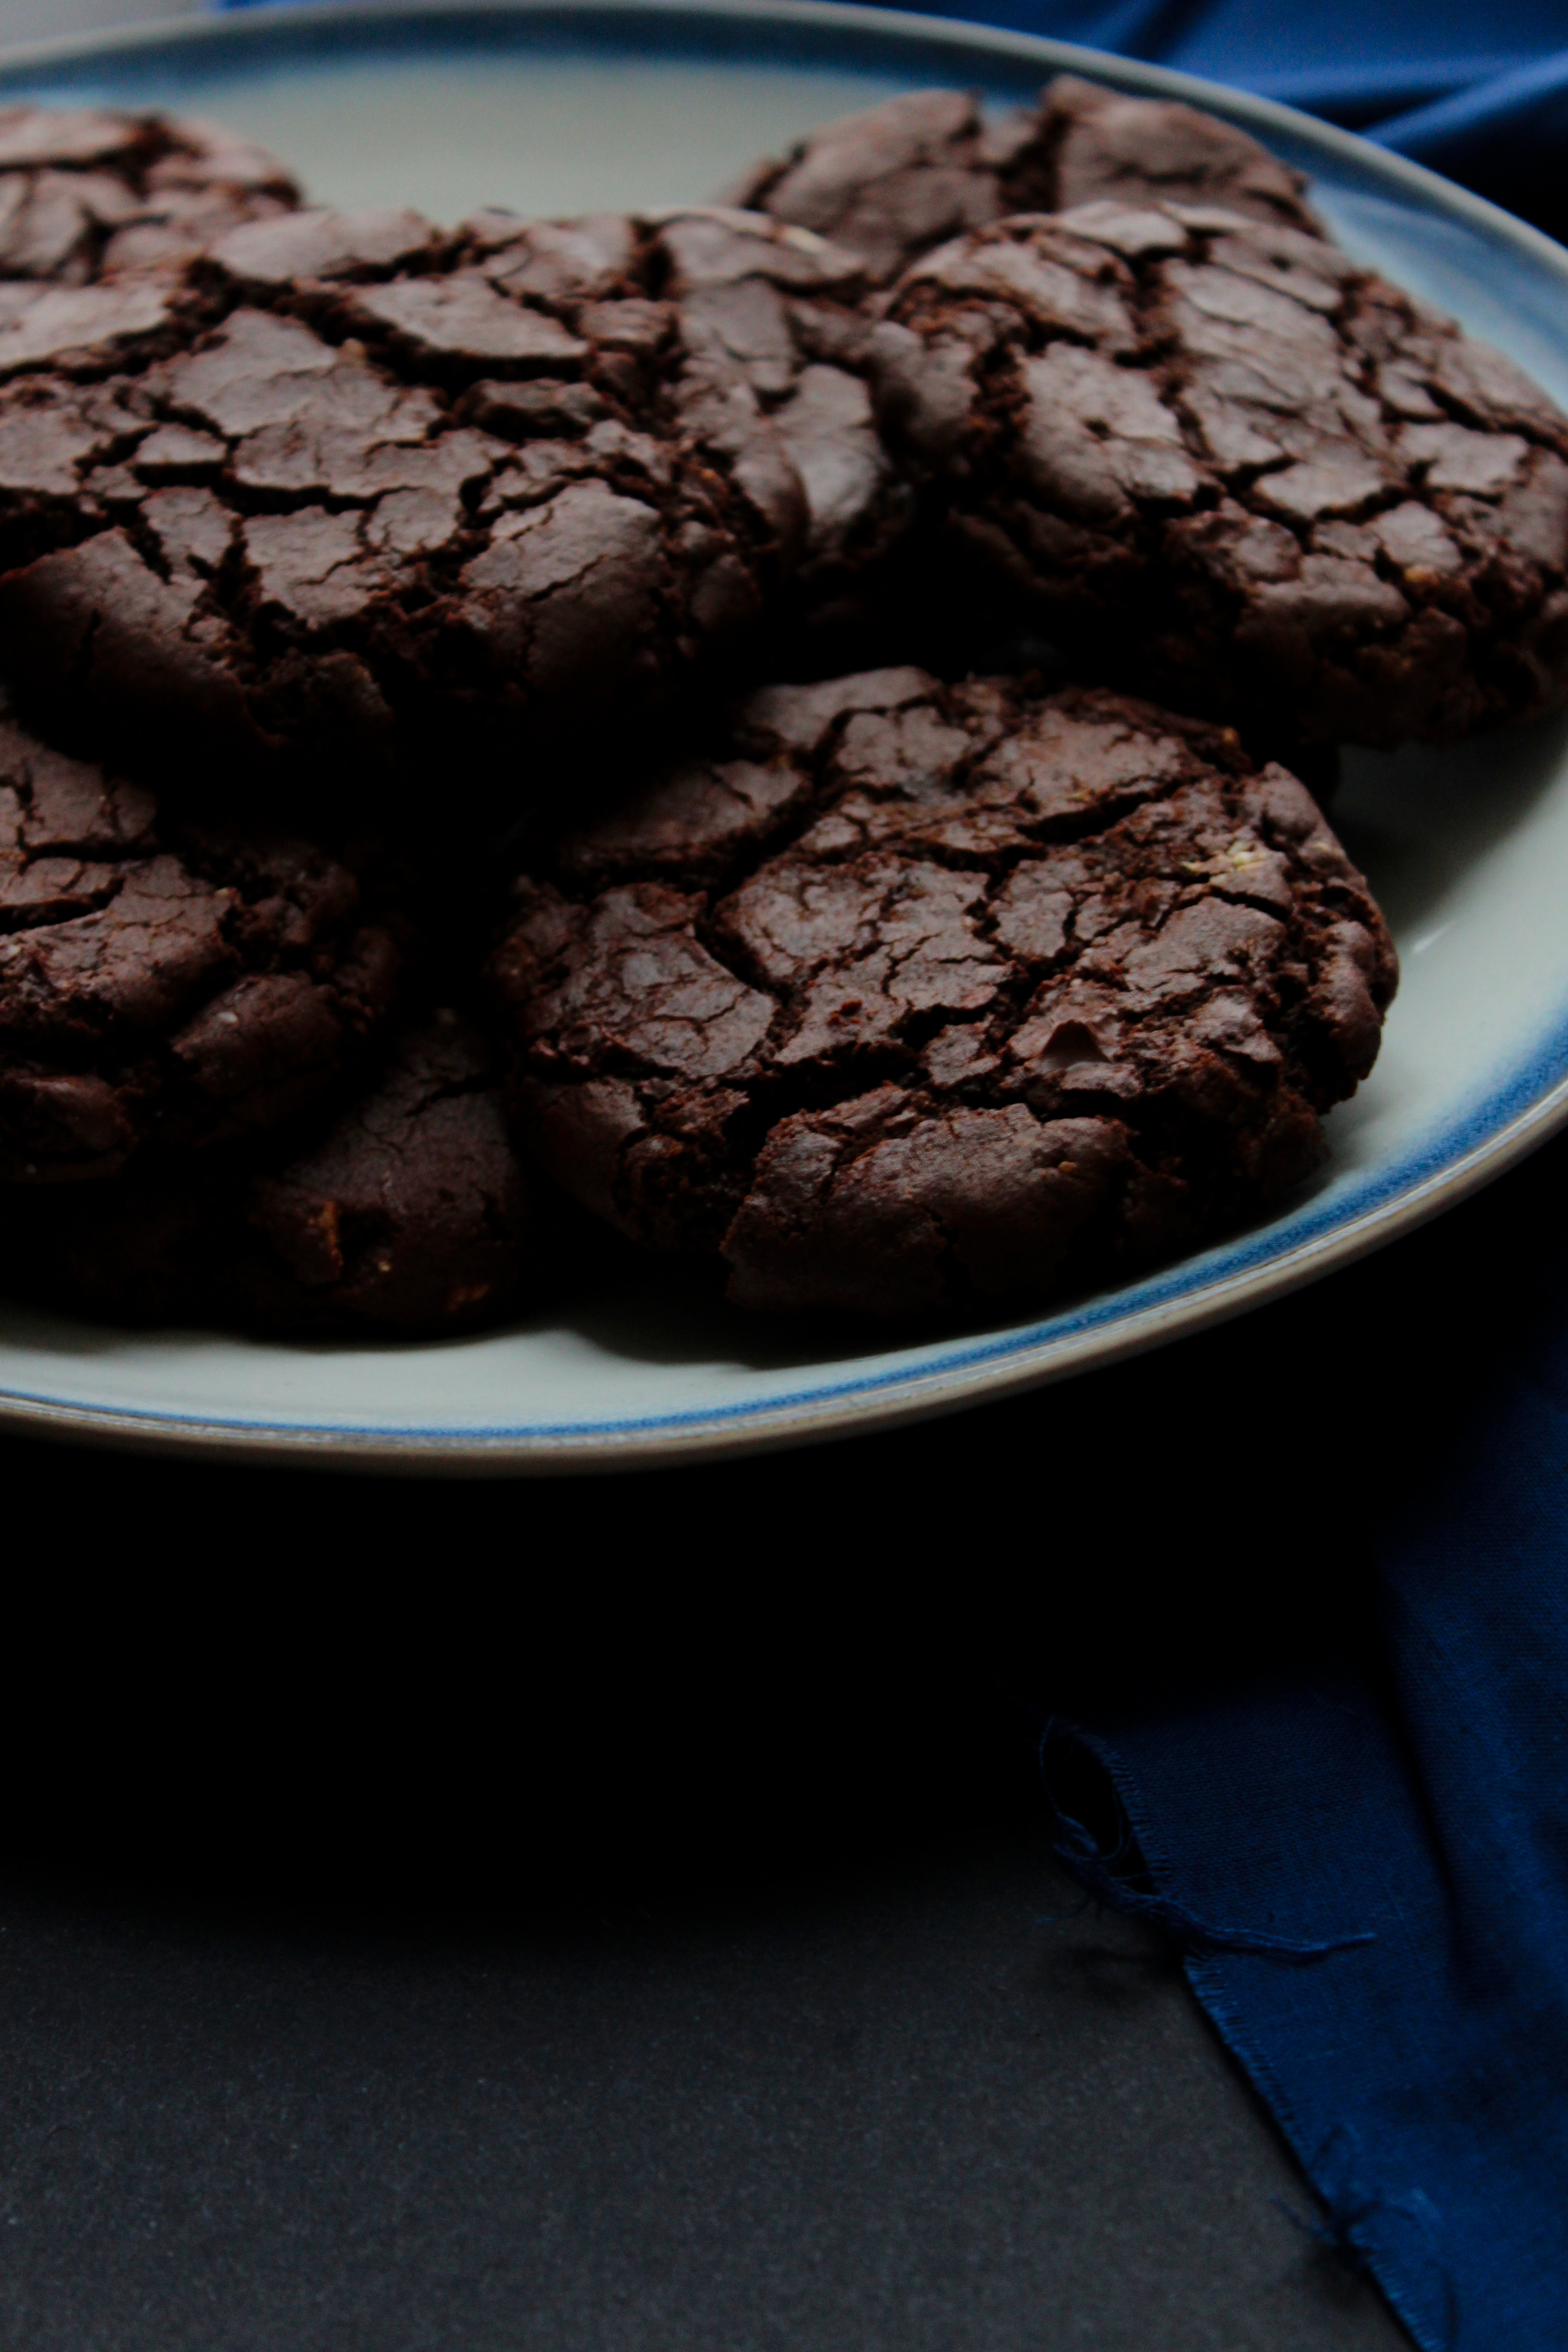
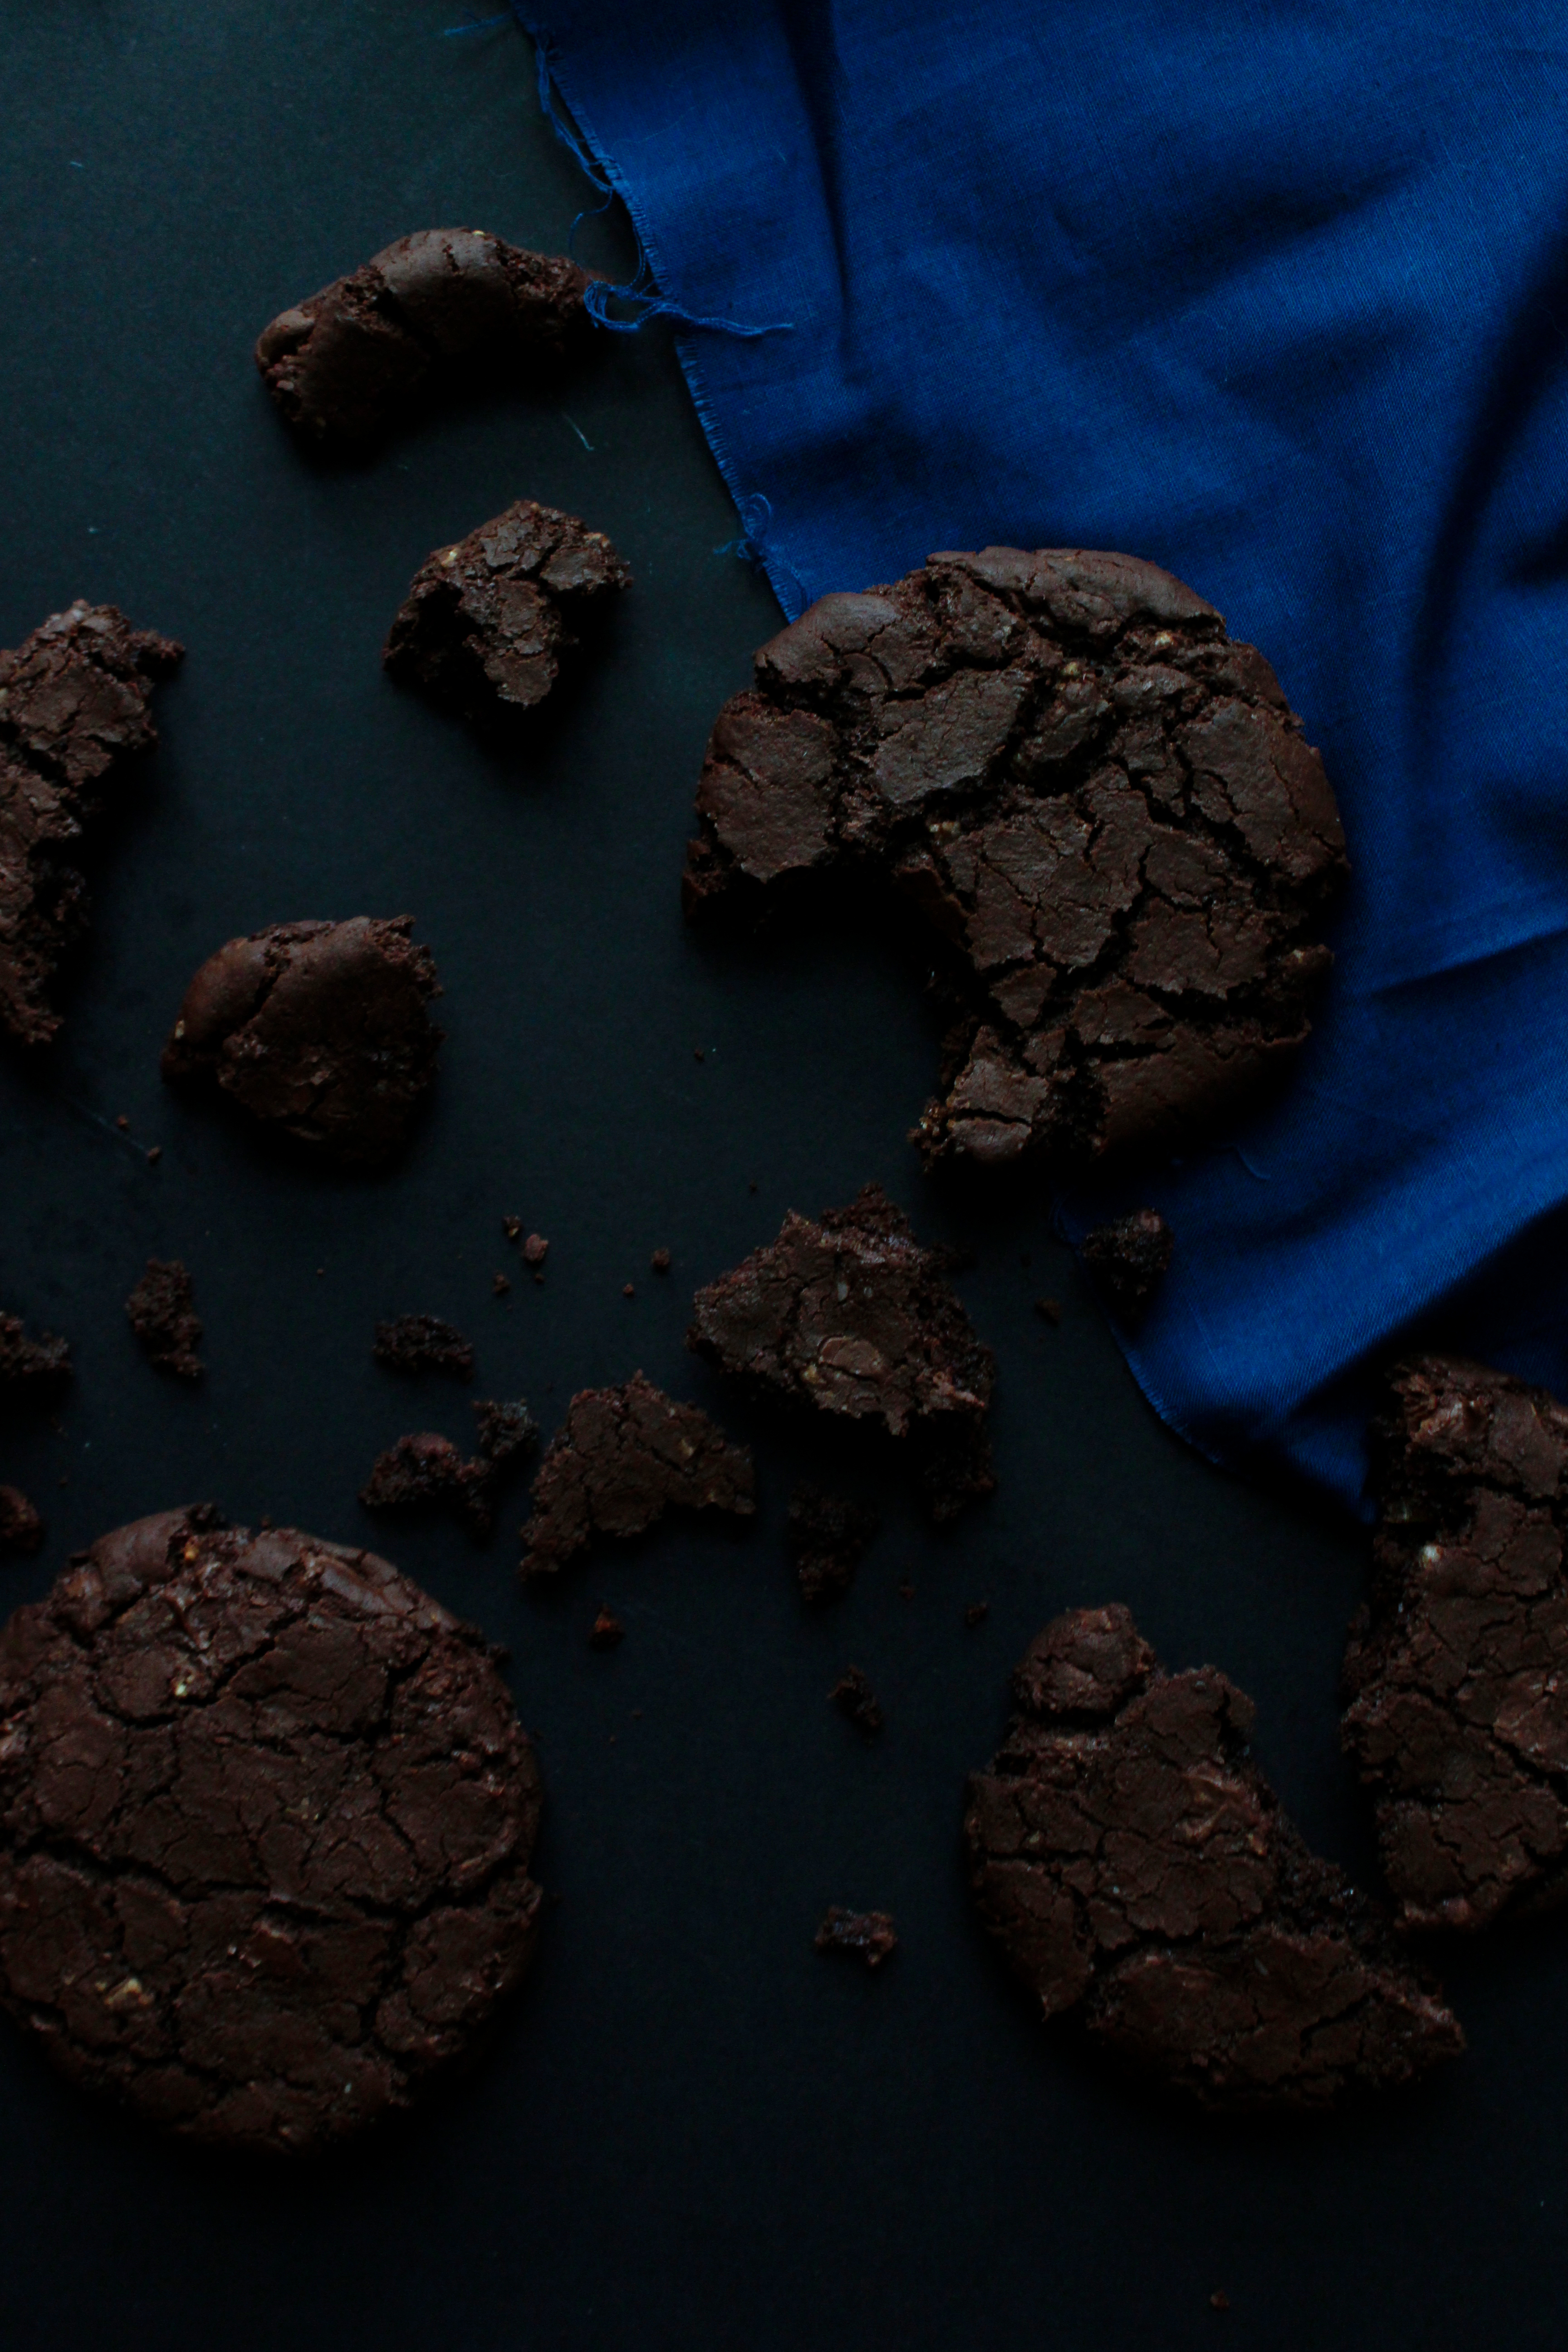
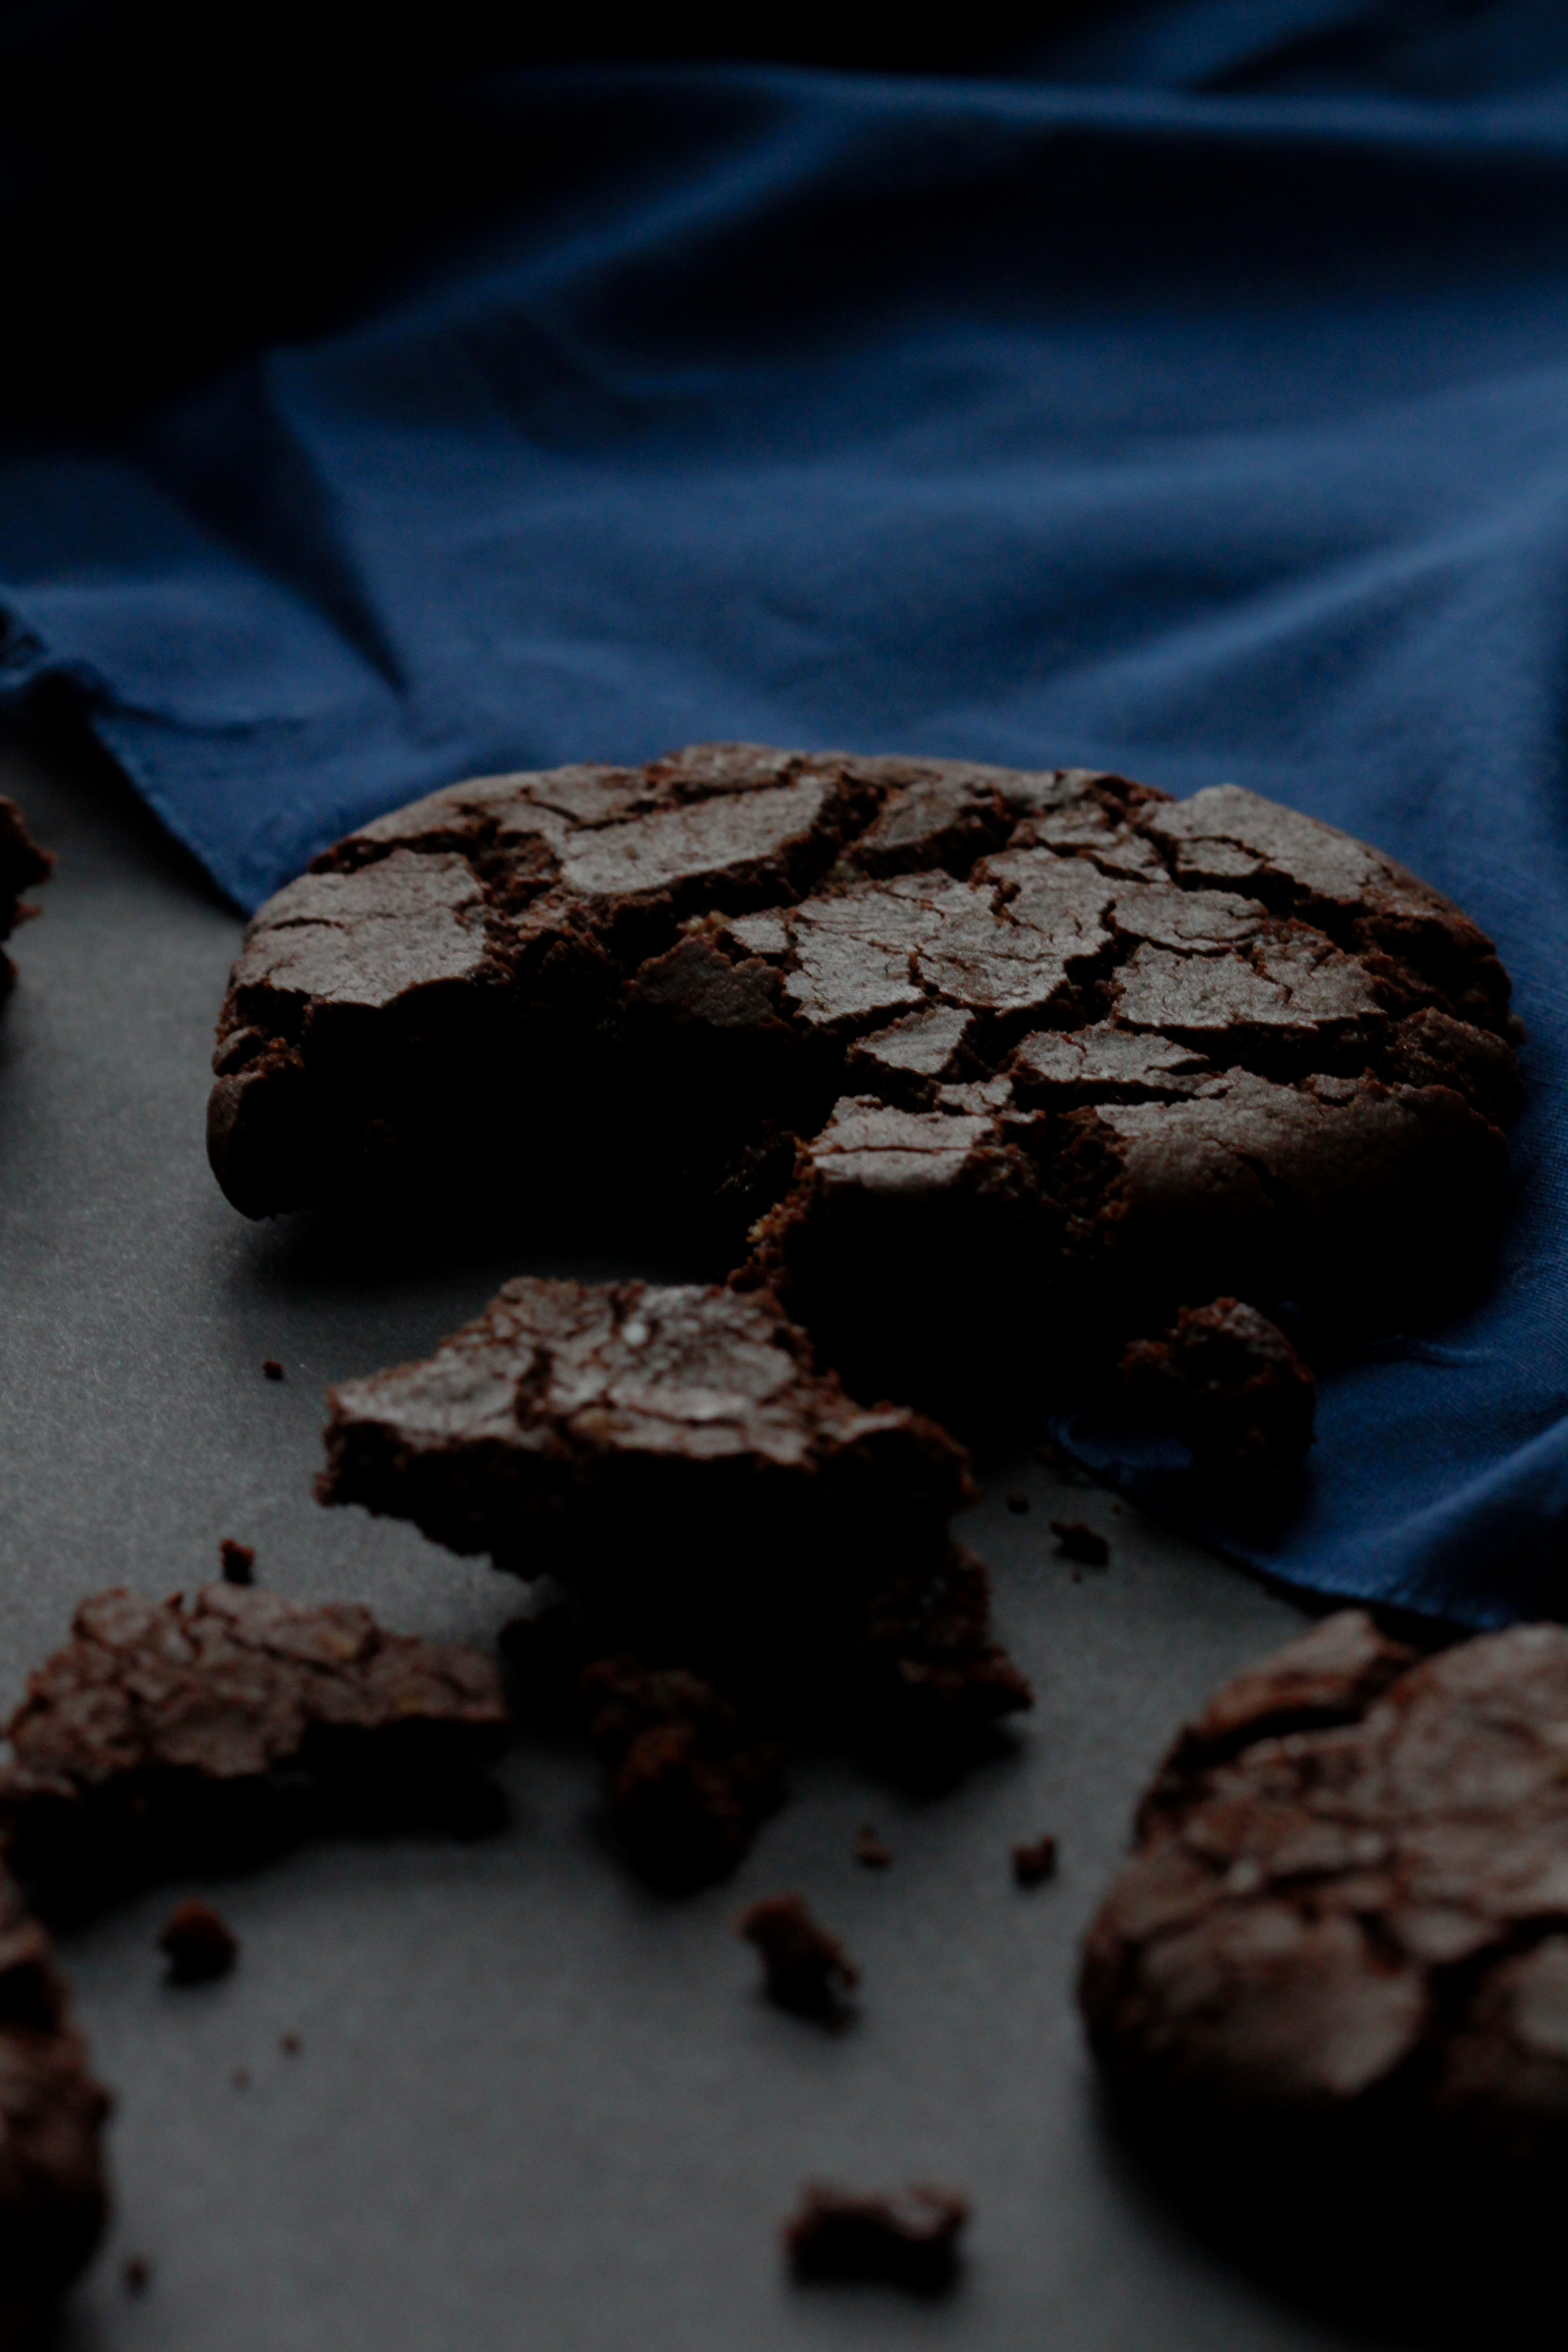
The chocolate in these cookies is just the tip of the iceberg.

IMG_4168

These are the kind of cookies best enjoyed with a cold, creamy glass of milk.  They’re deeply chocolaty, but not singularly or overwhelmingly so.
The cinnamon adds a layer of depth and warmth which is pleasantly unexpected.
The candied ginger punctuates the richness with characteristic sharp and spicy kicks.
The entire cookie dough is heavily salted, to play off the richness and sweetness.
Other than caramel (and maybe even more so than caramel), chocolate is my favorite flavor to pair with lots of salt.
Something is truly magical about salt and baked goods.  It can really make or break a dessert.

I’m studying rite na.  Actually, I’m procrastinating. (what’s new?!)
All I want is one of these cookies.  The most difficult part about college has been eating dining hall food, day in and day out.

Yesterday, I made my own *real* food and now I’m craving home-cooked meals.
I made roasted butternut squash with cinnamon, rosemary, and coconut oil with roasted chickpeas and sautéed kale, all served with lemon and Greek yogurt.  It was heavenly.
Of course, I’m already planning my Thanksgiving menu, something which I’m sure you’ll hear all about in the months to come.
I pre-ordered the bird for my family from Shelterbelt farm, in Caroline, NY, 15 minutes from my home.
They go really quickly.  The farm also has amazing honey!

(If you live in the area, check them out!!)

The only thing I want more than a fresh baked cookie right now is maple-roasted, garlicky brussels sprouts with cranberries.
As my friends all now say, I’m a goat.
Sorry bout it!
Have a cookie.

IMG_4205

Salted Cinnamon and Ginger Double Chocolate Cookies
adapted from Beth of the kick-ass Local Milk
makes 15 large cookies

ingredients:
195 grams (1 1/2 cups) AP flour
110 grams (1 cup) cocoa powder
10 grams (2 teaspoons) kosher salt
4 grams (3/4 teaspoon) baking powder
4 grams (3/4 teaspoon) baking soda
1 teaspoon cinnamon
218 grams (1 cup packed) light brown sugar
150 grams (3/4 cup) granulated sugar
165 grams (3/4 cup) butter, cut into small pieces
2 teaspoons vanilla extract
2 eggs
1 1/4 cup chocolate chips or chunks
1/2 cup chopped candied ginger (I used candied ginger that my chem TA made for the class!!)

directions:
Whisk flour, cocoa, salt, baking powder and soda, and cinnamon together.  Set aside.
In the bowl of a stand mixer fitted with a paddle attachment, place the butter.
Beat butter until softened, about 1 minute, then stream in sugars all at once.
Increase speed to medium and beat for 3 minutes.
Scrape the sides of the bowl, add the eggs, and beat for 3 more minutes on medium-high speed.
Scrape the sides of the bowl and add in the dry ingredients all at once.
Stir the batter together on low speed, then stir in the chocolate and ginger.
Chill the dough for at least 30 minutes in the refrigerator, and up to overnight. (You will have to let it warm up a bit the next day if you refrigerate it all night.)
When ready to bake, line 2 baking sheets with parchment and preheat oven to 375 degrees F.
Scoop out large portions of dough with a large cookie/ice cream scoop (about 1/3 cup), and roll into balls.
Place 1 1/2 inches apart on the baking sheets.
Bake for 4 minutes, then pull them out of the oven and flatten to about 1/3 inch height with a flat spatula.  (This will give soft centers and nice craggy outsides.)
Return to the oven and bake for approximately 6 more minutes, until the tops are cracked but the centers are still soft.
Remove from the oven and allow to cool slightly; enjoy warm with a glass of milk!

My Kind of Town

IMG_3598

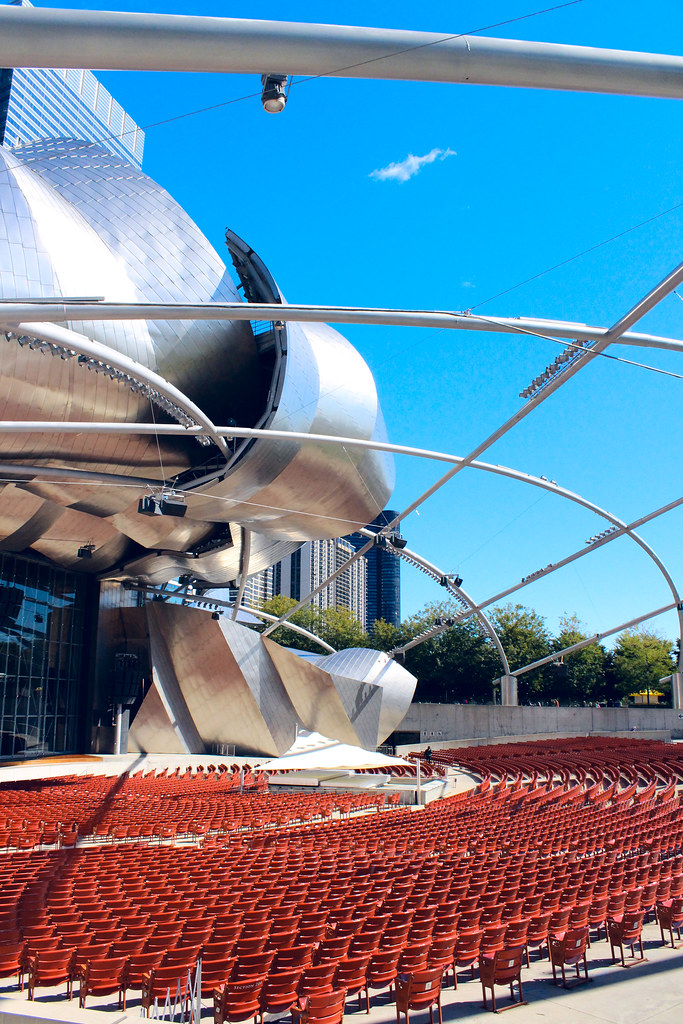
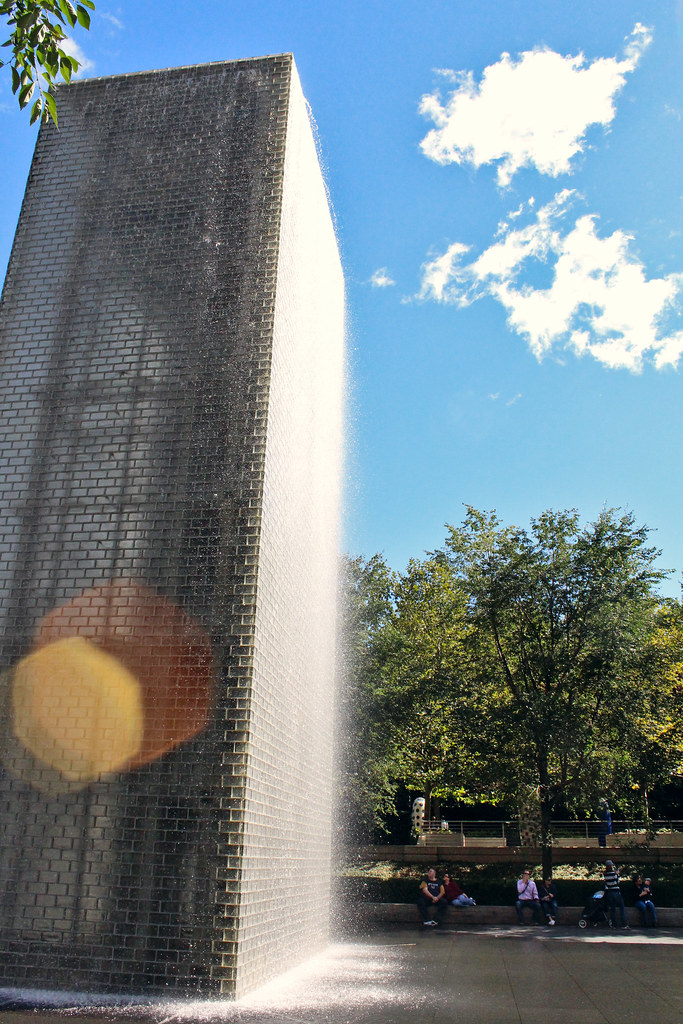
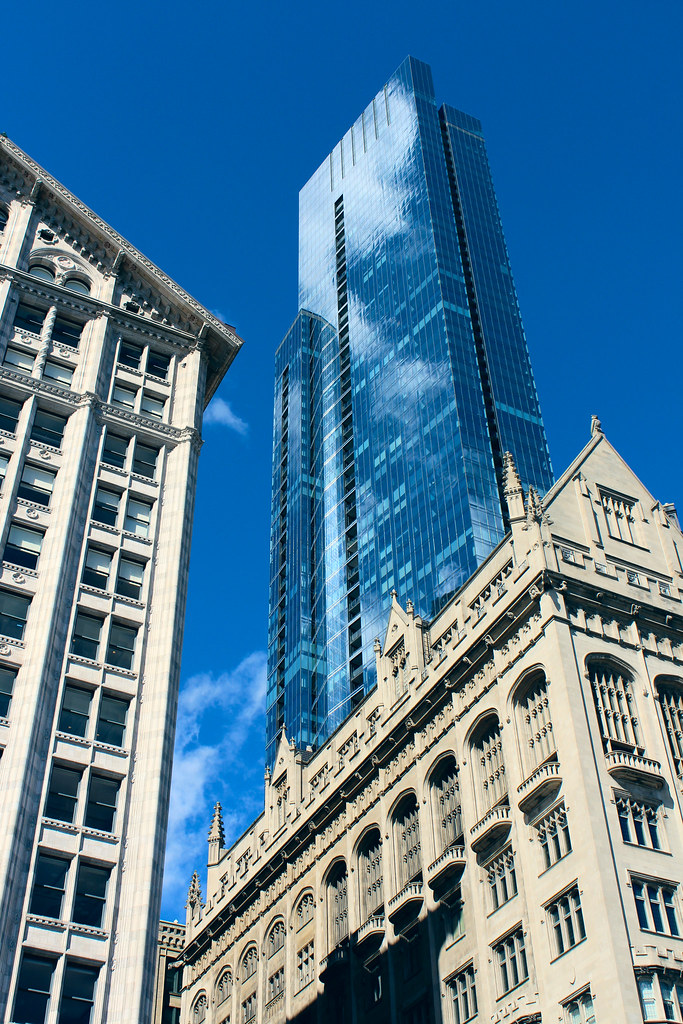
Warning: cliché tourist-y Chicago pictures ahead.
IMG_3663

It’s weird to think that I live in a city now.
I’m a small town girl, born and raised in heaven Ithaca.
Living in a city is different.  I’ll grow used to it (I already have) but there is a lot more hustle and bustle and many fewer friendly faces.  (It’s true!)

IMG_3749

I miss Ithaca.  I love my hometown.  It’s, well… my home!
This weekend, I missed the apple festival, which is my favorite fest in Ithaca.
I miss fall/nature.  Cities are kinda weird for me in terms of the absence of animals.
I’ve seen, like, 3 squirrels since I’ve been here.
I miss my fam.
I really, really, really miss my dog.
And I kinda sorta miss my cats.

IMG_3640

So I’m still getting used to being away from home, and also being in a city.
Pretty standard college stuff… I ain’t stressed.
I must say, though, the architecture in Chicago (and uChic, but that’s for another post… Coming attractions!) is amazing.
I love walking around this city.  It’s inspiring and so, so beautiful.
So, photos.  Tourist-y photos.  Sorry not sorry.
IMG_3626

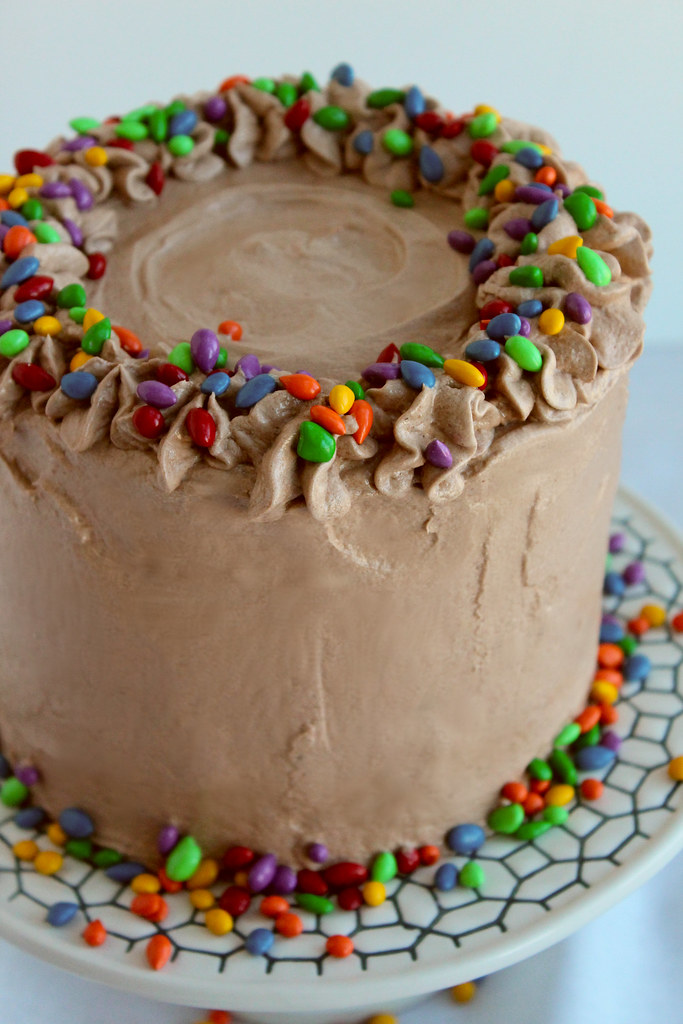
The cake you see here was the first thing I made upon arriving at college.
It was for someone in my house; their birthday was in the middle of o-week.
It was a disaster.
The first batch I made didn’t seem to be setting up, and was overflowing like crazy out of the pans.
Aside from new kitchen jitters, I knew something else was going on.
Upon further inspection, I realized I had used whole milk in the batter, which had added enough fat that the gluten never properly formed, resulting in overflow and explains the never-setting-up part.
Oh well.  My friends and I ate the molten cake and I made up another batch the next day; only one of the first cakes was salvageable.
The frosting is a simple Italian meringue buttercream with a few ounces of chocolate mixed in.
IMG_3553IMG_3586

P.S. You can see some more Chicago/tourist photos on my flickr, in the Chi-Town set.

Click here.

IMG_3574

The recipe for the cake is here.
I spread raspberry jam in between the layers.
For chocolate Italian meringue buttercream, halve this recipe and, right after whipping in the butter, add in 4 ounces of melted and cooled chocolate.

Clean Chakra, Good Karma

IMG_3512

“Let’s trade in our judging for appreciation.  Let’s lay down our righteousness and just be together.”
-Ram Dass
IMG_3503

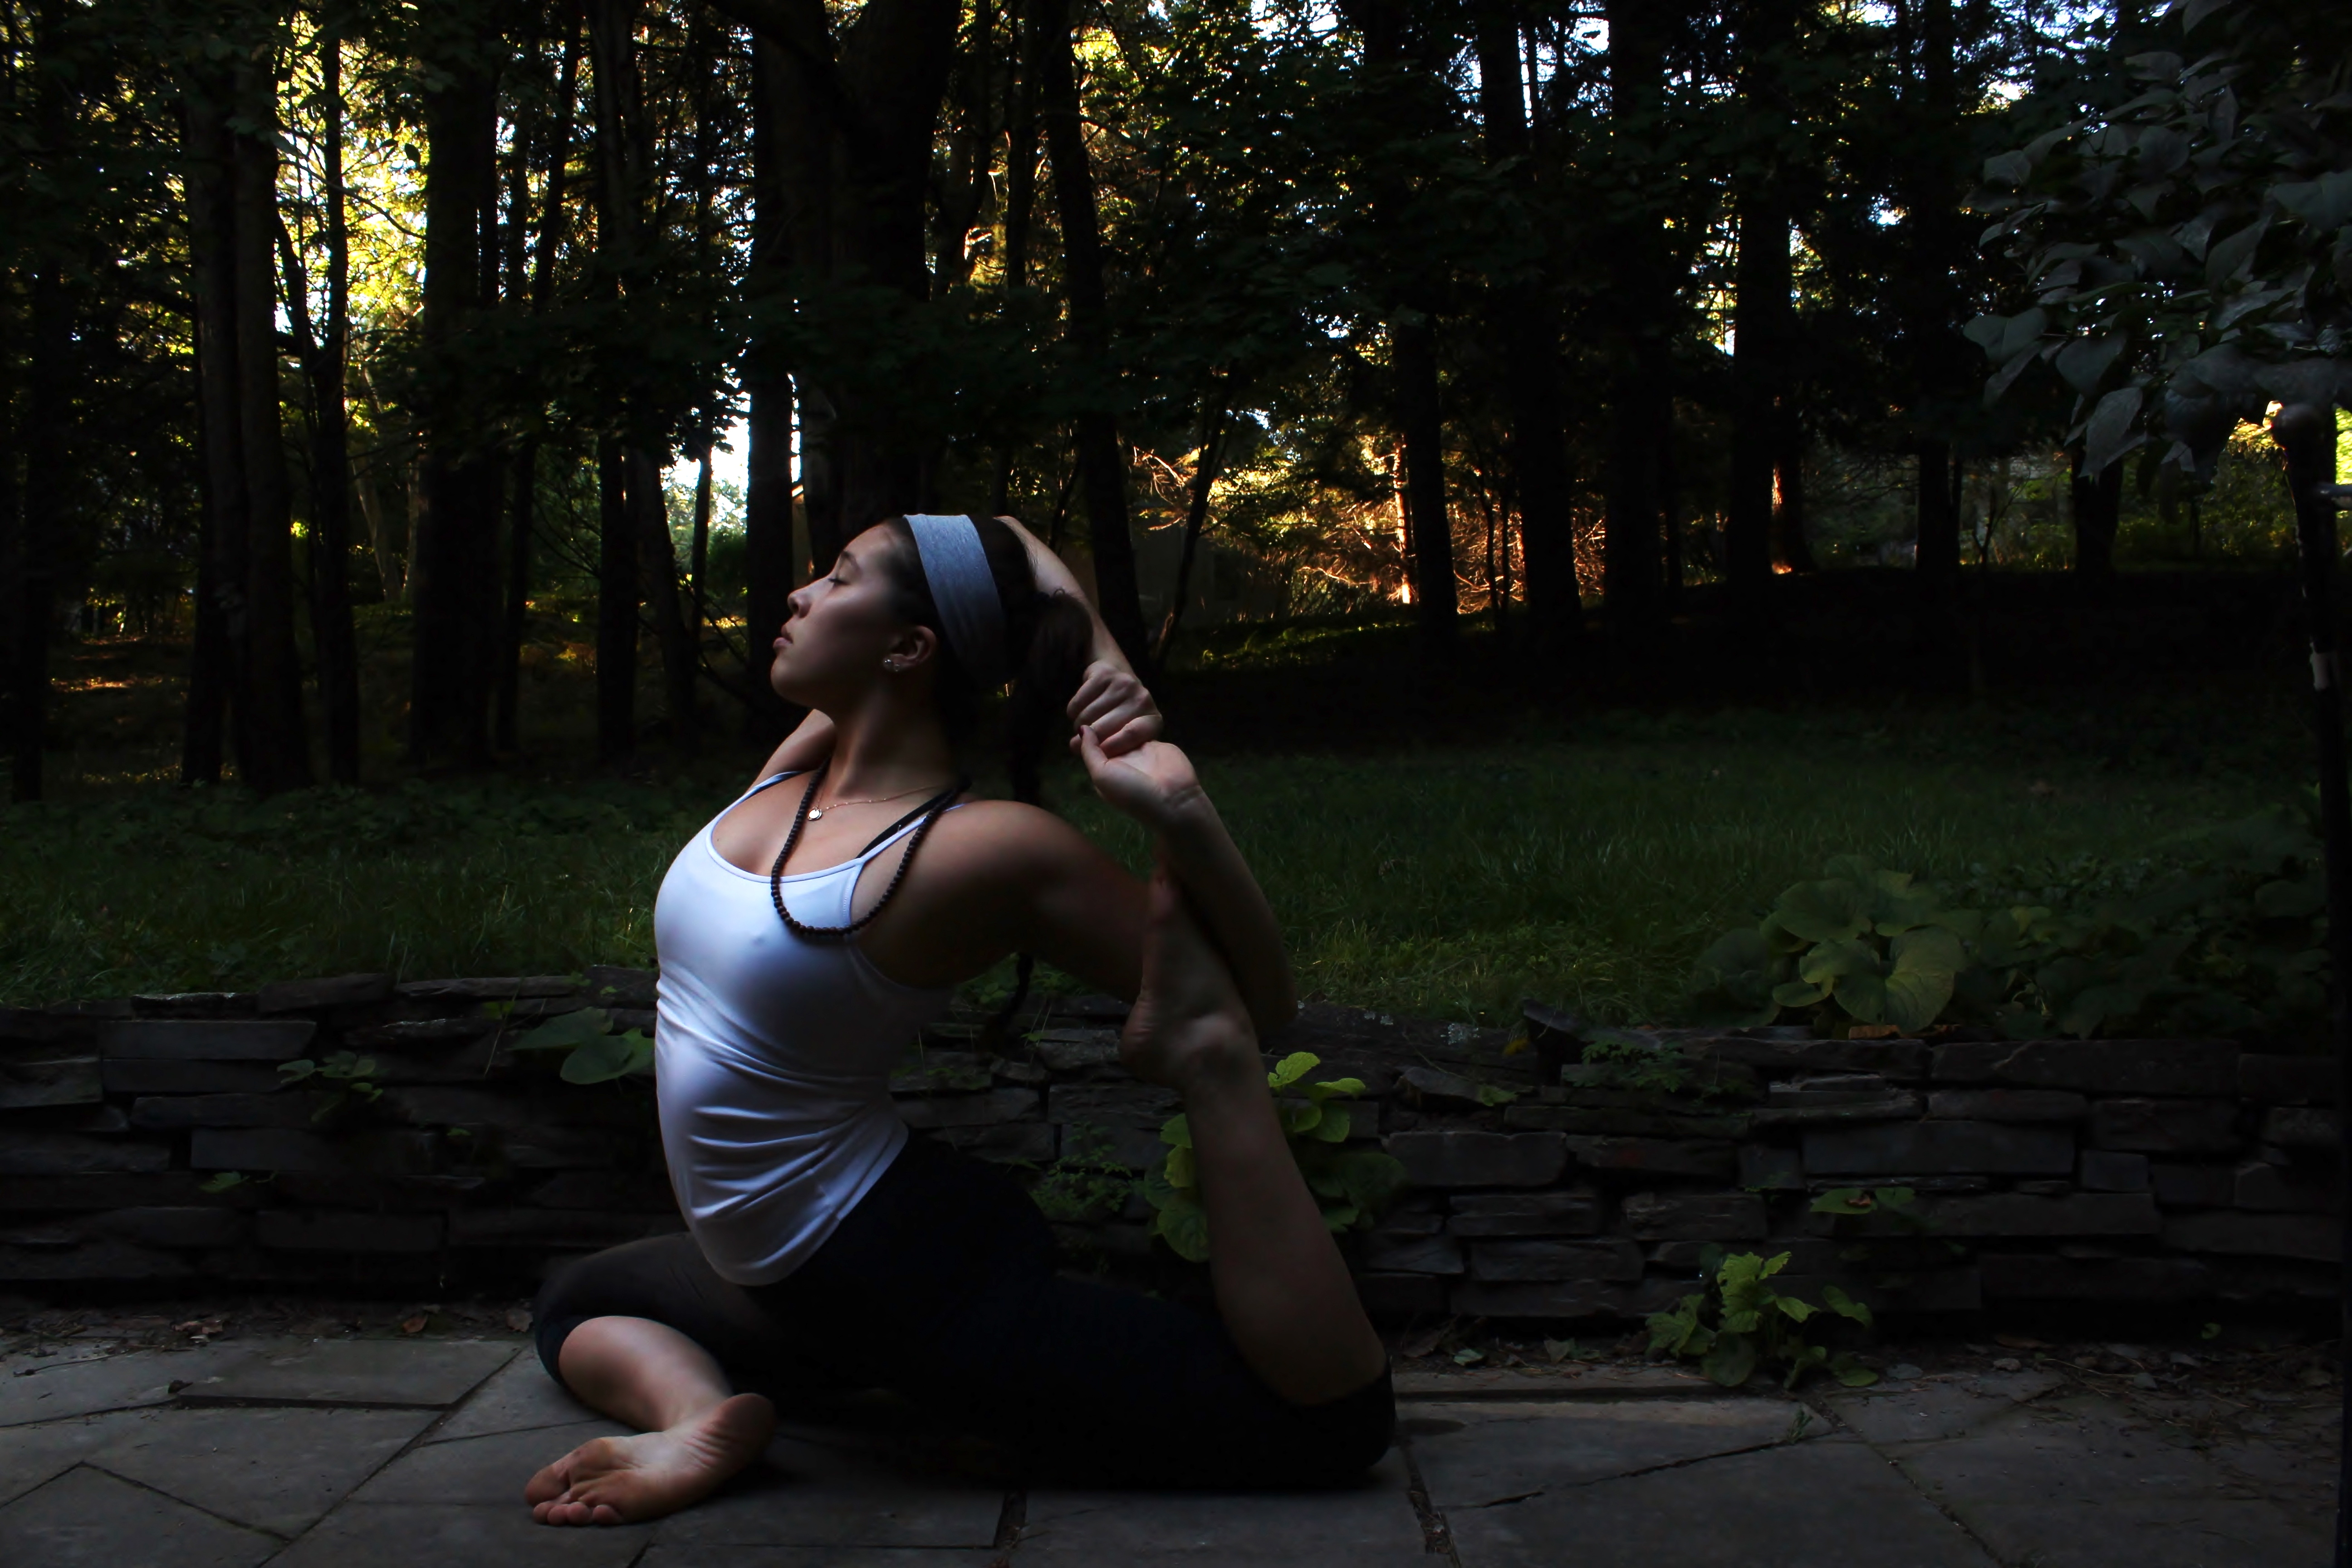
As some of you may know, yoga plays a huge role in my life.
I practice 5-7 days a week.  You could say I’m addicted.
Yoga has shown me a part of myself that doesn’t need competition to thrive.
Normally, I live for competing and comparison.
In yoga, I am given the opportunity to learn to appreciate and grow with the people around me who are also sharing in the experience.
Another beautiful part of yoga is the idea of self-study, which allows you to be both the teacher and the student, which is a unique and eye-opening experience.

Leaving Ithaca meant leaving a studio which I had grown to not only love, but feel at home in.
Mighty Yoga is not a yoga studio.  It is a yogic community based on pure love; they welcome new students in with open arms and keep a place for returning students.
I miss my Mighty Yogis something fierce.  All of the teachers there are amazing and bring a different and new sense of wonder to the practice.
I try to hold the sense of community and love that I received/receive from Mighty Yoga in my heart and mind as I try to set down roots in a new studio, which is a different community and a different vibe.
Not bad, or worse, just different.

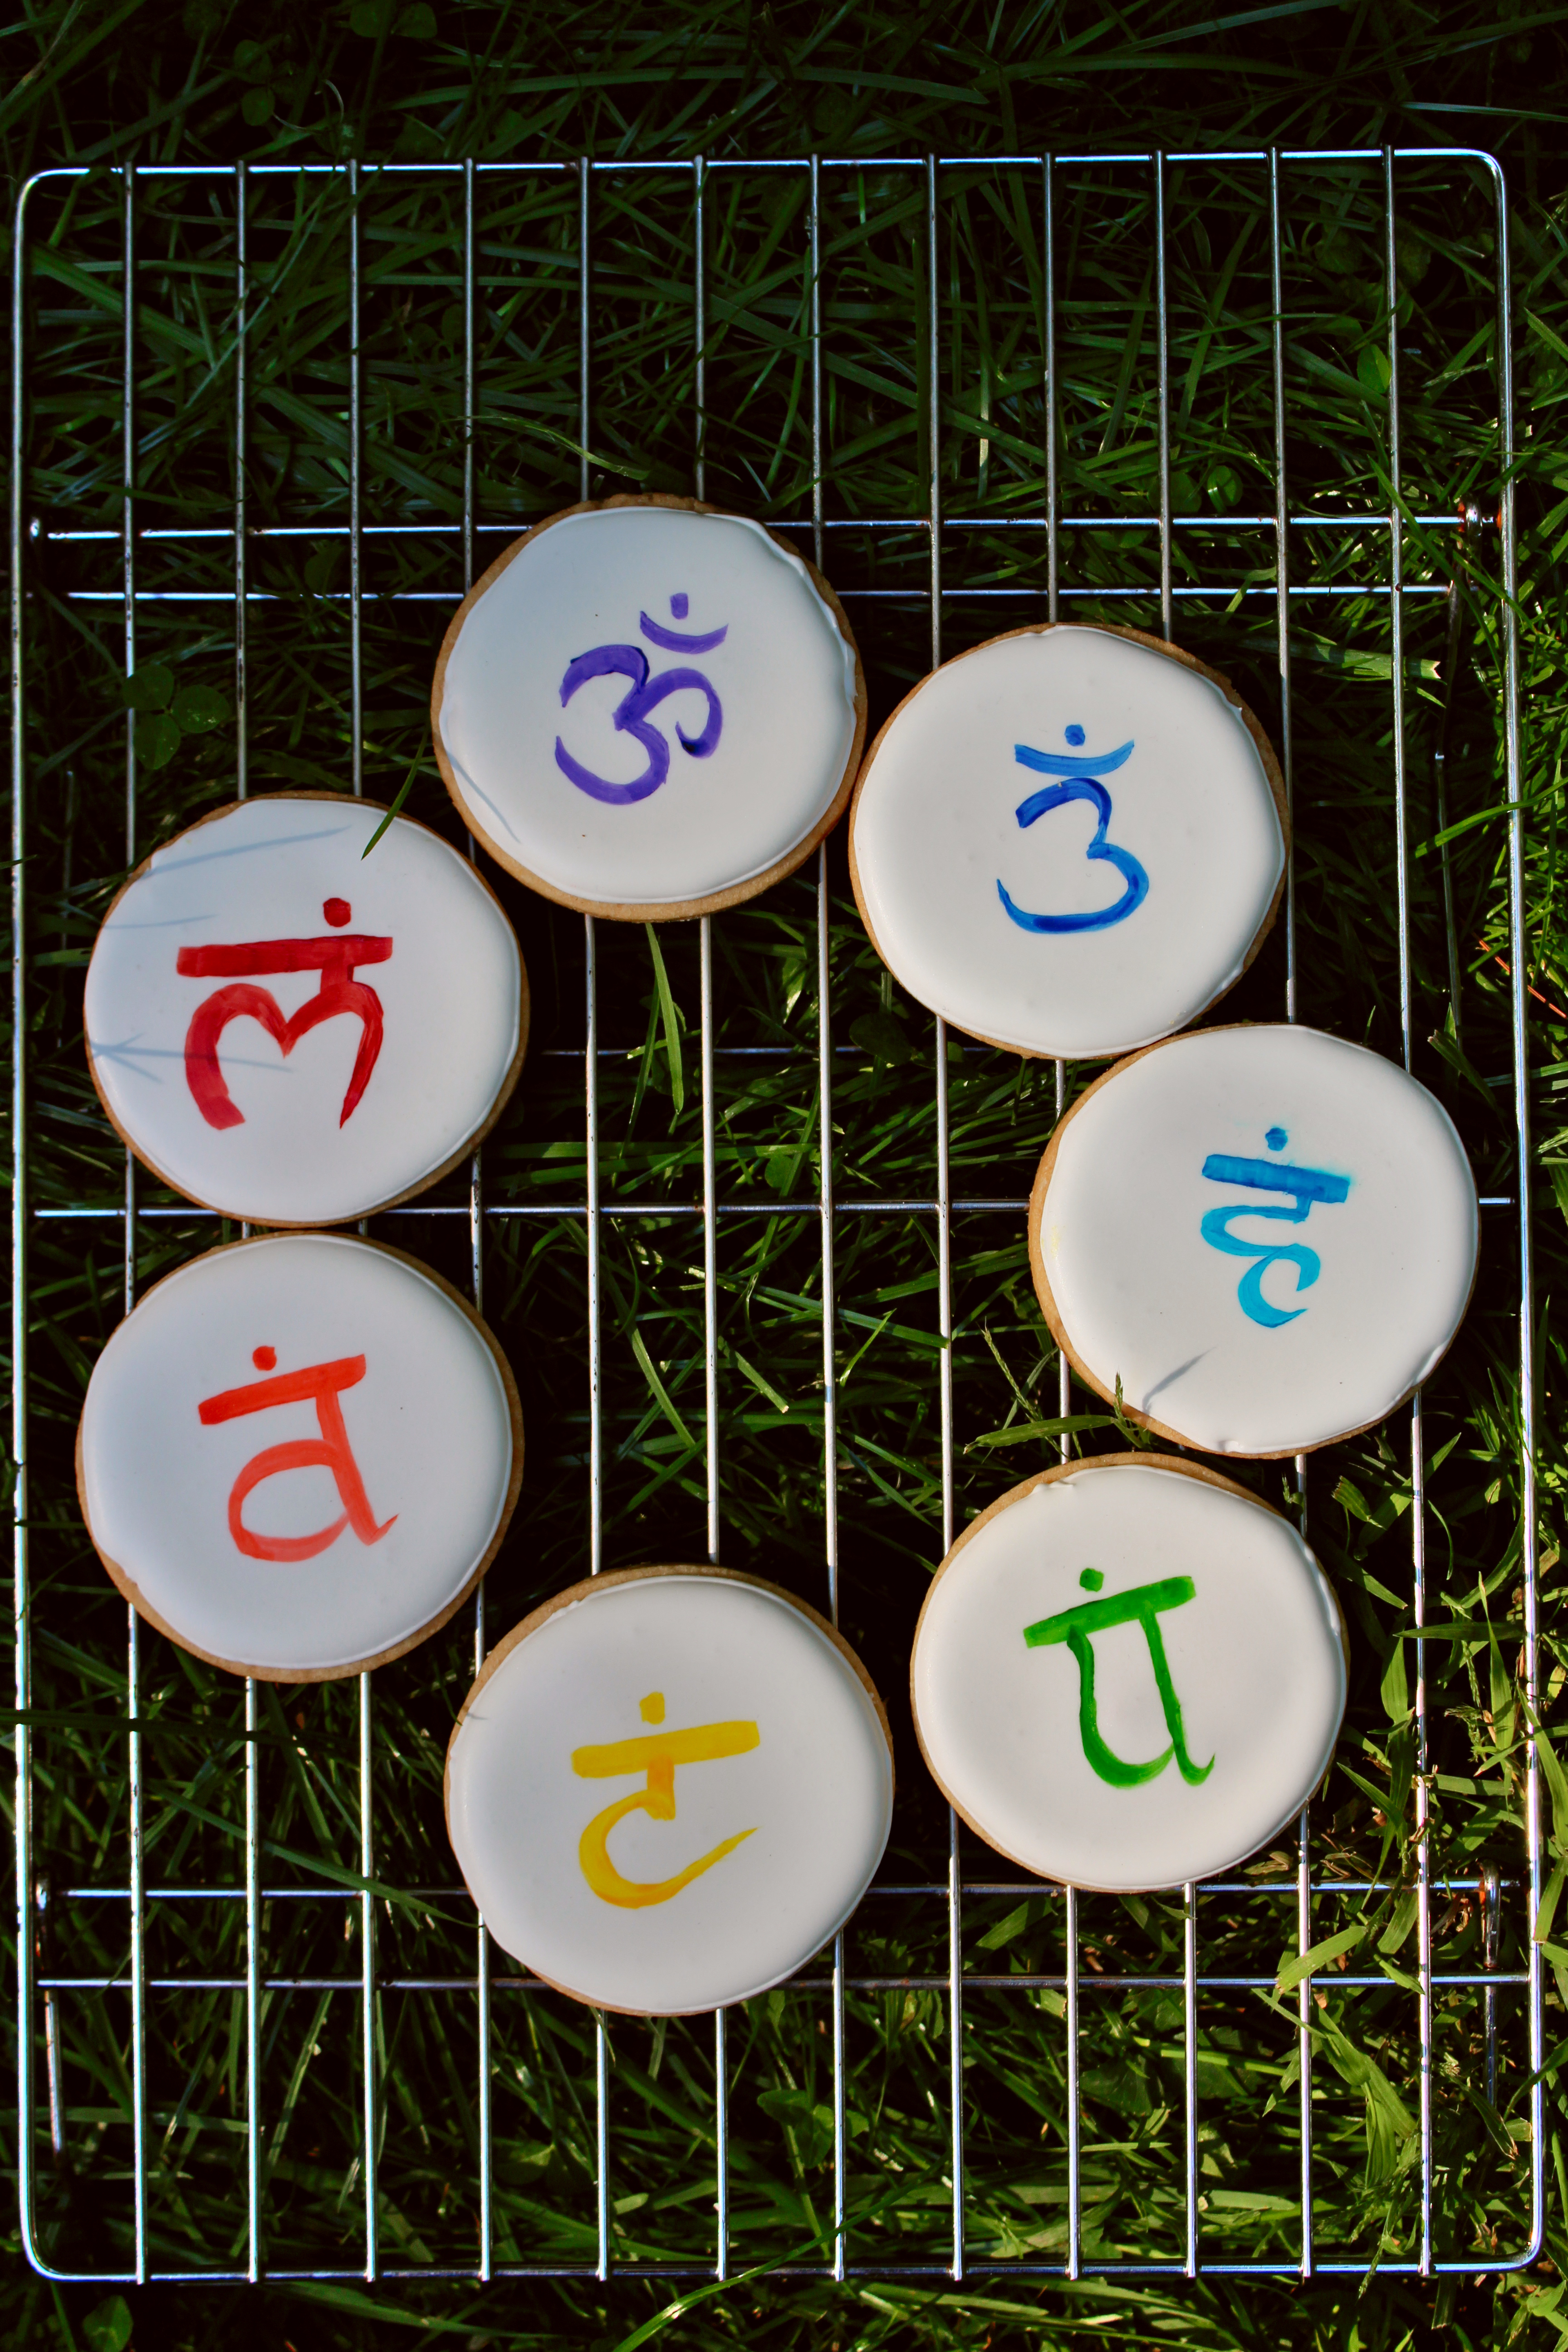
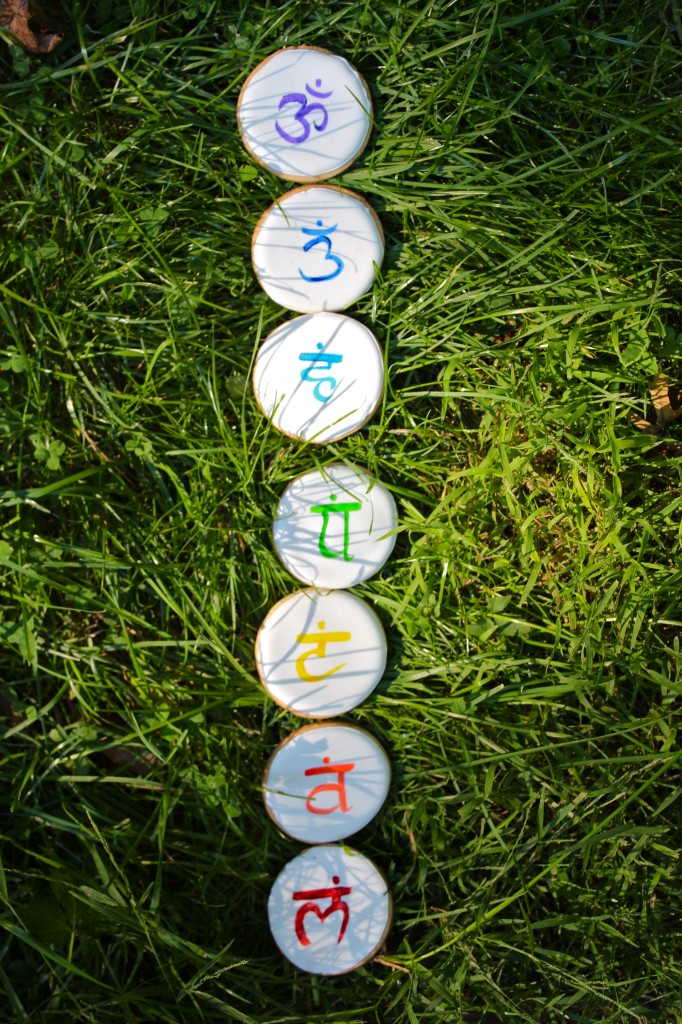
I made these hand-painted, chai-spiced and rosewater-frosted cookies as a goodbye gift for all the yogis at the studio.
Buttery sugar cookies are dosed with cinnamon, cloves, nutmeg, and ginger, and the royal frosting is tinged with rosewater.
They are delightfully crisp and equally buttery.
I painted each with one of the seven chakras.

Namaste.

P.S. Yes that’s me in the above photo… The pose is eka pada rajakapotasana II.

IMG_3533

Chai-Spiced Butter Cookies with Rosewater Royal Icing

for the cookies:
ingredients:
3 cups flour
2 sticks butter
1 cup sugar
pinch each cinnamon, cloves, nutmeg, ginger
1 egg
2 scant teaspoons kosher salt
3 splashes vanilla

directions:
Beat butter and sugar together until softened and pale yellow.
Add in the egg and beat until super fluffy and shiny and not gritty, about 3 minutes.
Add in the salt and vanilla extract and beat for 20 seconds.
Add in all the flour and stir slowly, mixing until a homogeneous dough forms.
It should not be overly sticky, nor should it be very crumbly.
Roll it out to 1/4 inch thickness and cut it into shapes.
Refrigerate or, even better, freeze, for at least 30 minutes while you preheat your oven to 350 degrees F.
Bake cookies for 8-10 minutes, until golden and easily lifted from the sheet.for the frosting:
use this kick ass recipe from Bake at 350, replacing rosewater for the extracts

Fallin’ For You

IMG_3382

“Best of all he loved the fall
The leaves yellow on the cottonwoods
Leaves floating on the trout streams
And above the hills
The high blue windless skies
Now he will be a part of them forever.”

-Ernest Hemingway

IMG_3391
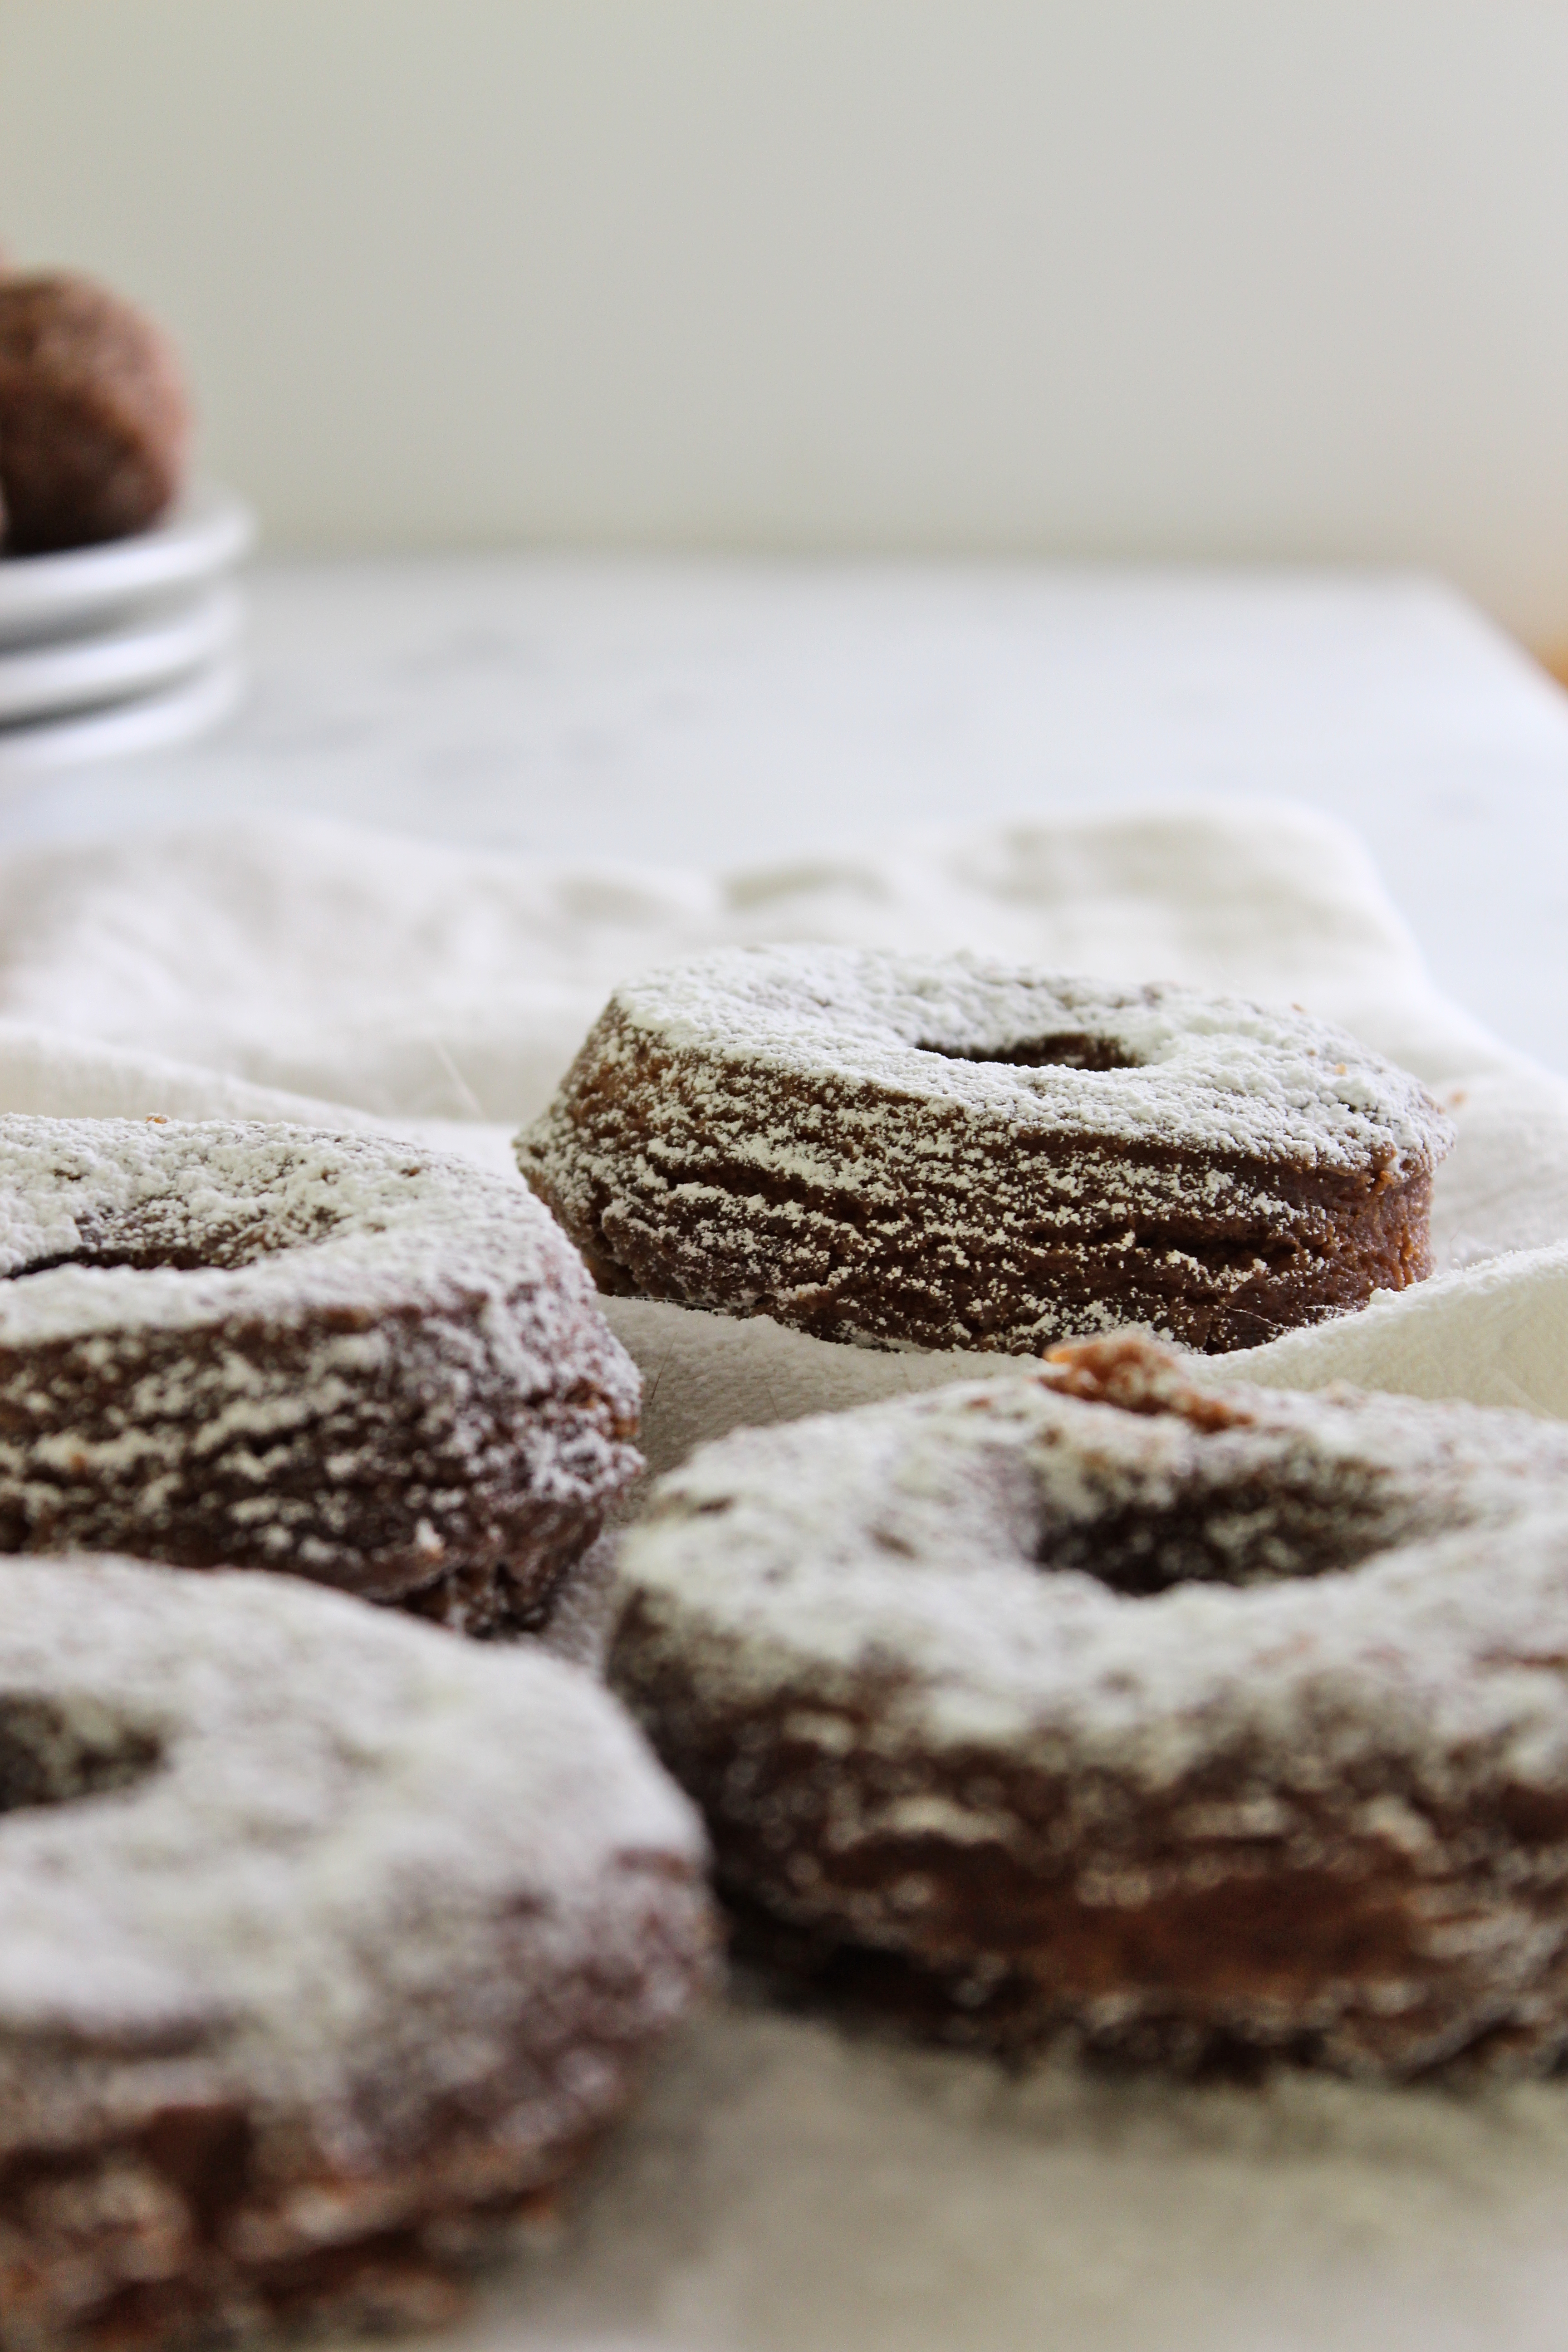
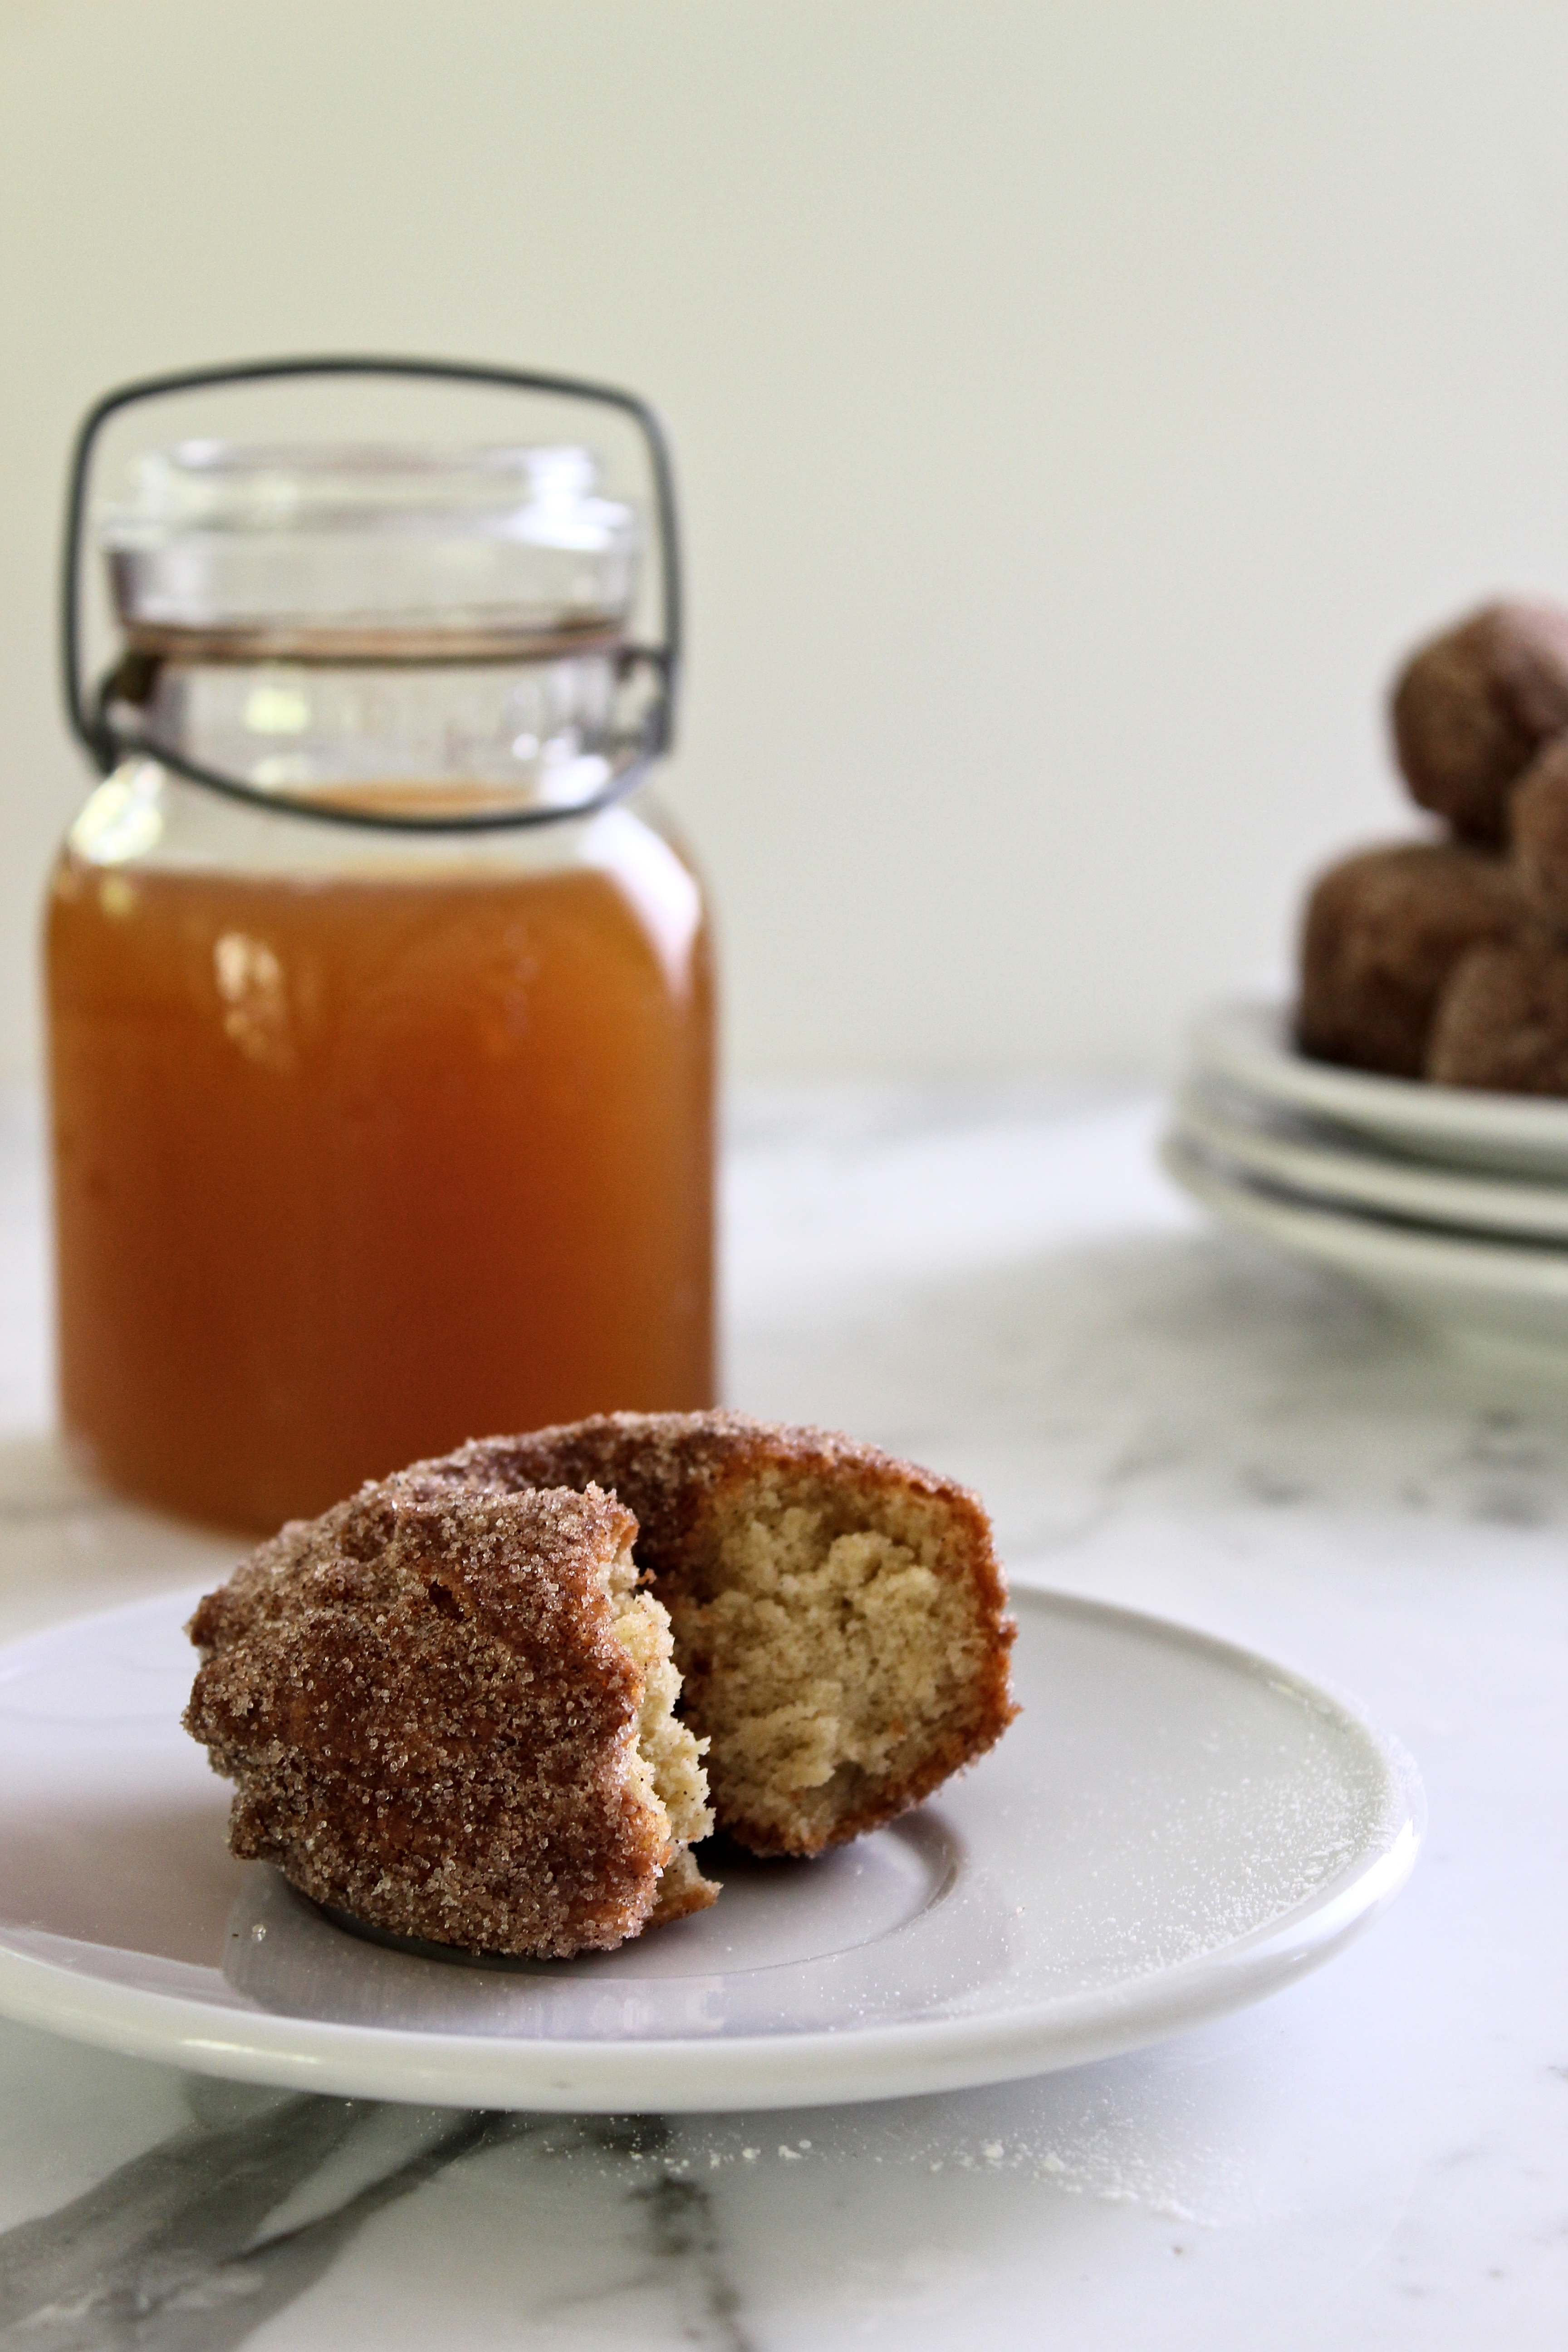
I have very distinct and fond memories of apple cider donuts.
They epitomize fall for me.

Going to Hollenbeck’s to get cider and hot, fresh apple cider cake donuts… That’s heaven.

The scent of fried dough and cinnamon, mixed with hot, sweet apple cider… That’s autumn.

IMG_3392
I made these donuts prior to leaving *my* kitchen for college.
Most of my posts for the next week or so will be like this… I somehow managed to plan ahead, which makes each of these posts a rare bird.
However, my first real-time, real-life, real-talk college (cawledgeeeee) post may very well be coming soon, because one of my new friends (I know… Whaaa?!?) has a birthday in a few short days and has requested chocolate cake… It may be a good excuse to get into the kitchen!
(As if I needed one.)

IMG_3398
The recipe for these donuts (doughnuts?) comes from the wonderful Deb of Smitten Kitchen.
They’re a bit different from apple cider donuts that one would get at a cider mill or apple orchard, because most of those operations have donut droppers that can release a perfect donut shaped ring of loose cake batter into hot oil.
Most people at home don’t have these contraptions, so homemade fried cake donuts have to be made with a thicker dough, like an extra puffy, soft cookie dough.
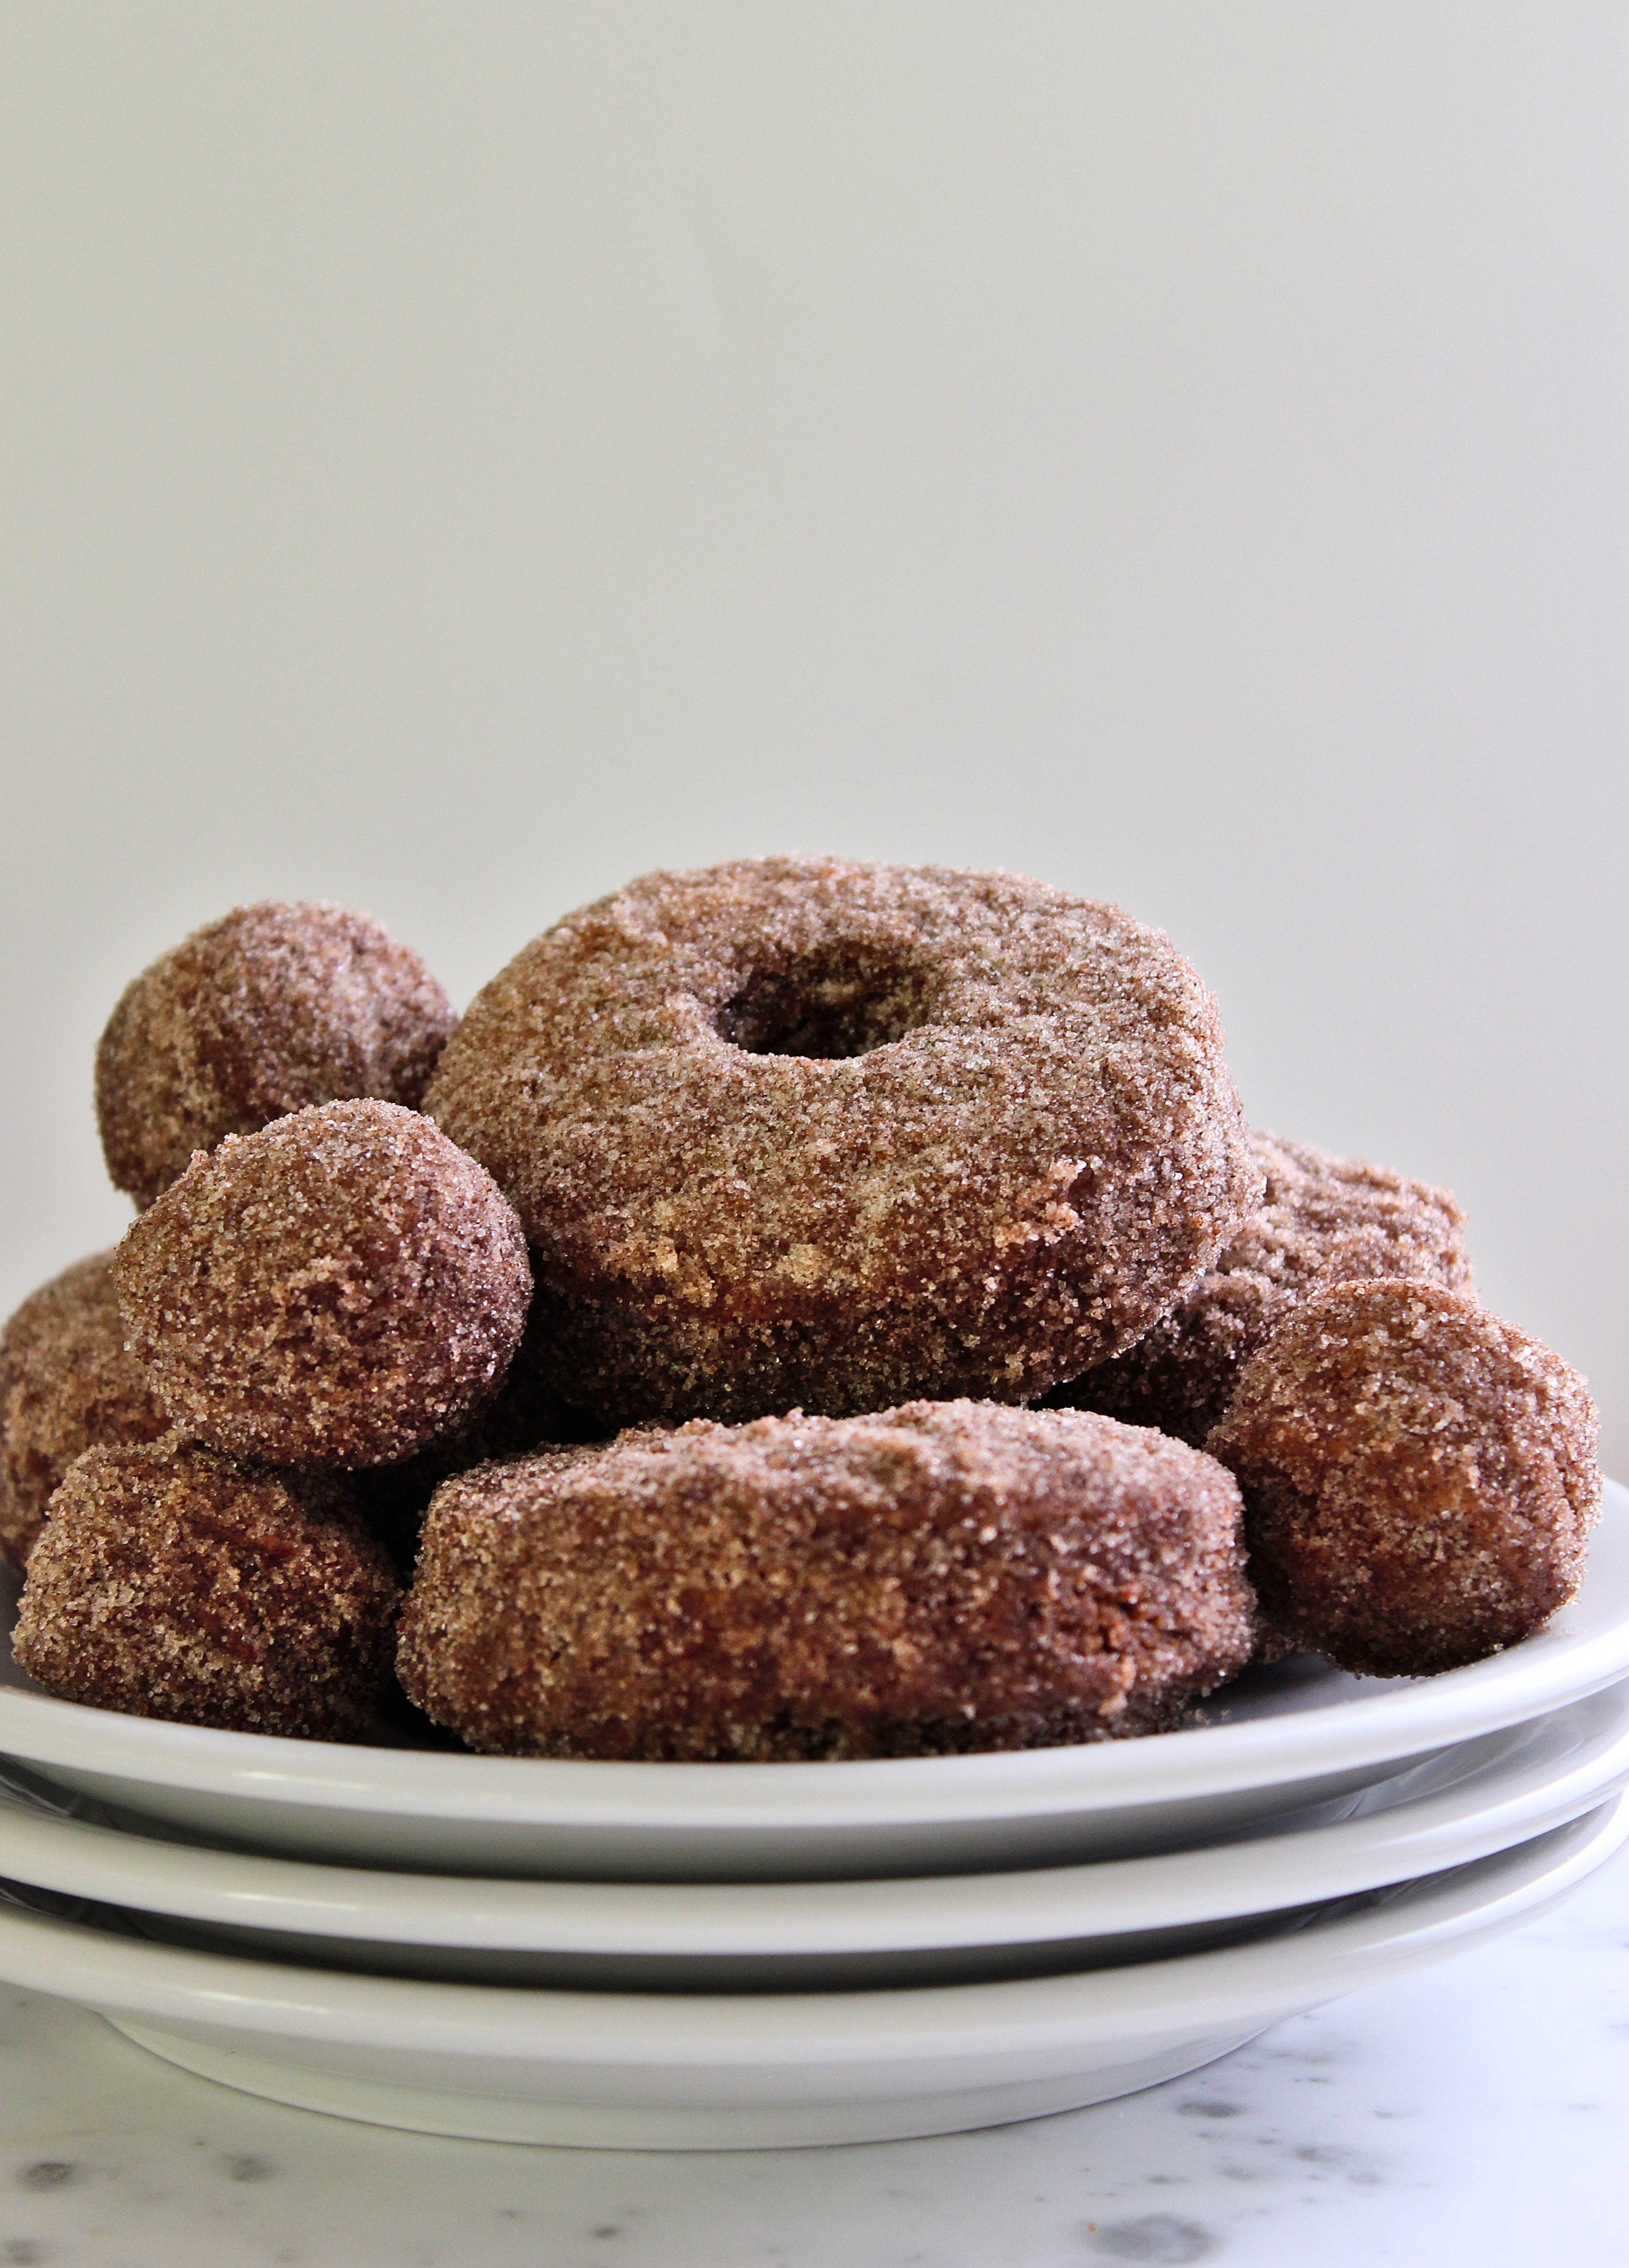
Due to this fact, the donuts aren’t smooth and curvy.  They’ve got edges.  It’s okay.  It happens.
Ugly donuts are still donuts.  Trust me on that one.
They still taste like a piece of fried fall heaven.

IMG_3409

Apple Cider Doughnuts
makes about 16
from Smitten Kitchen
ingredients:
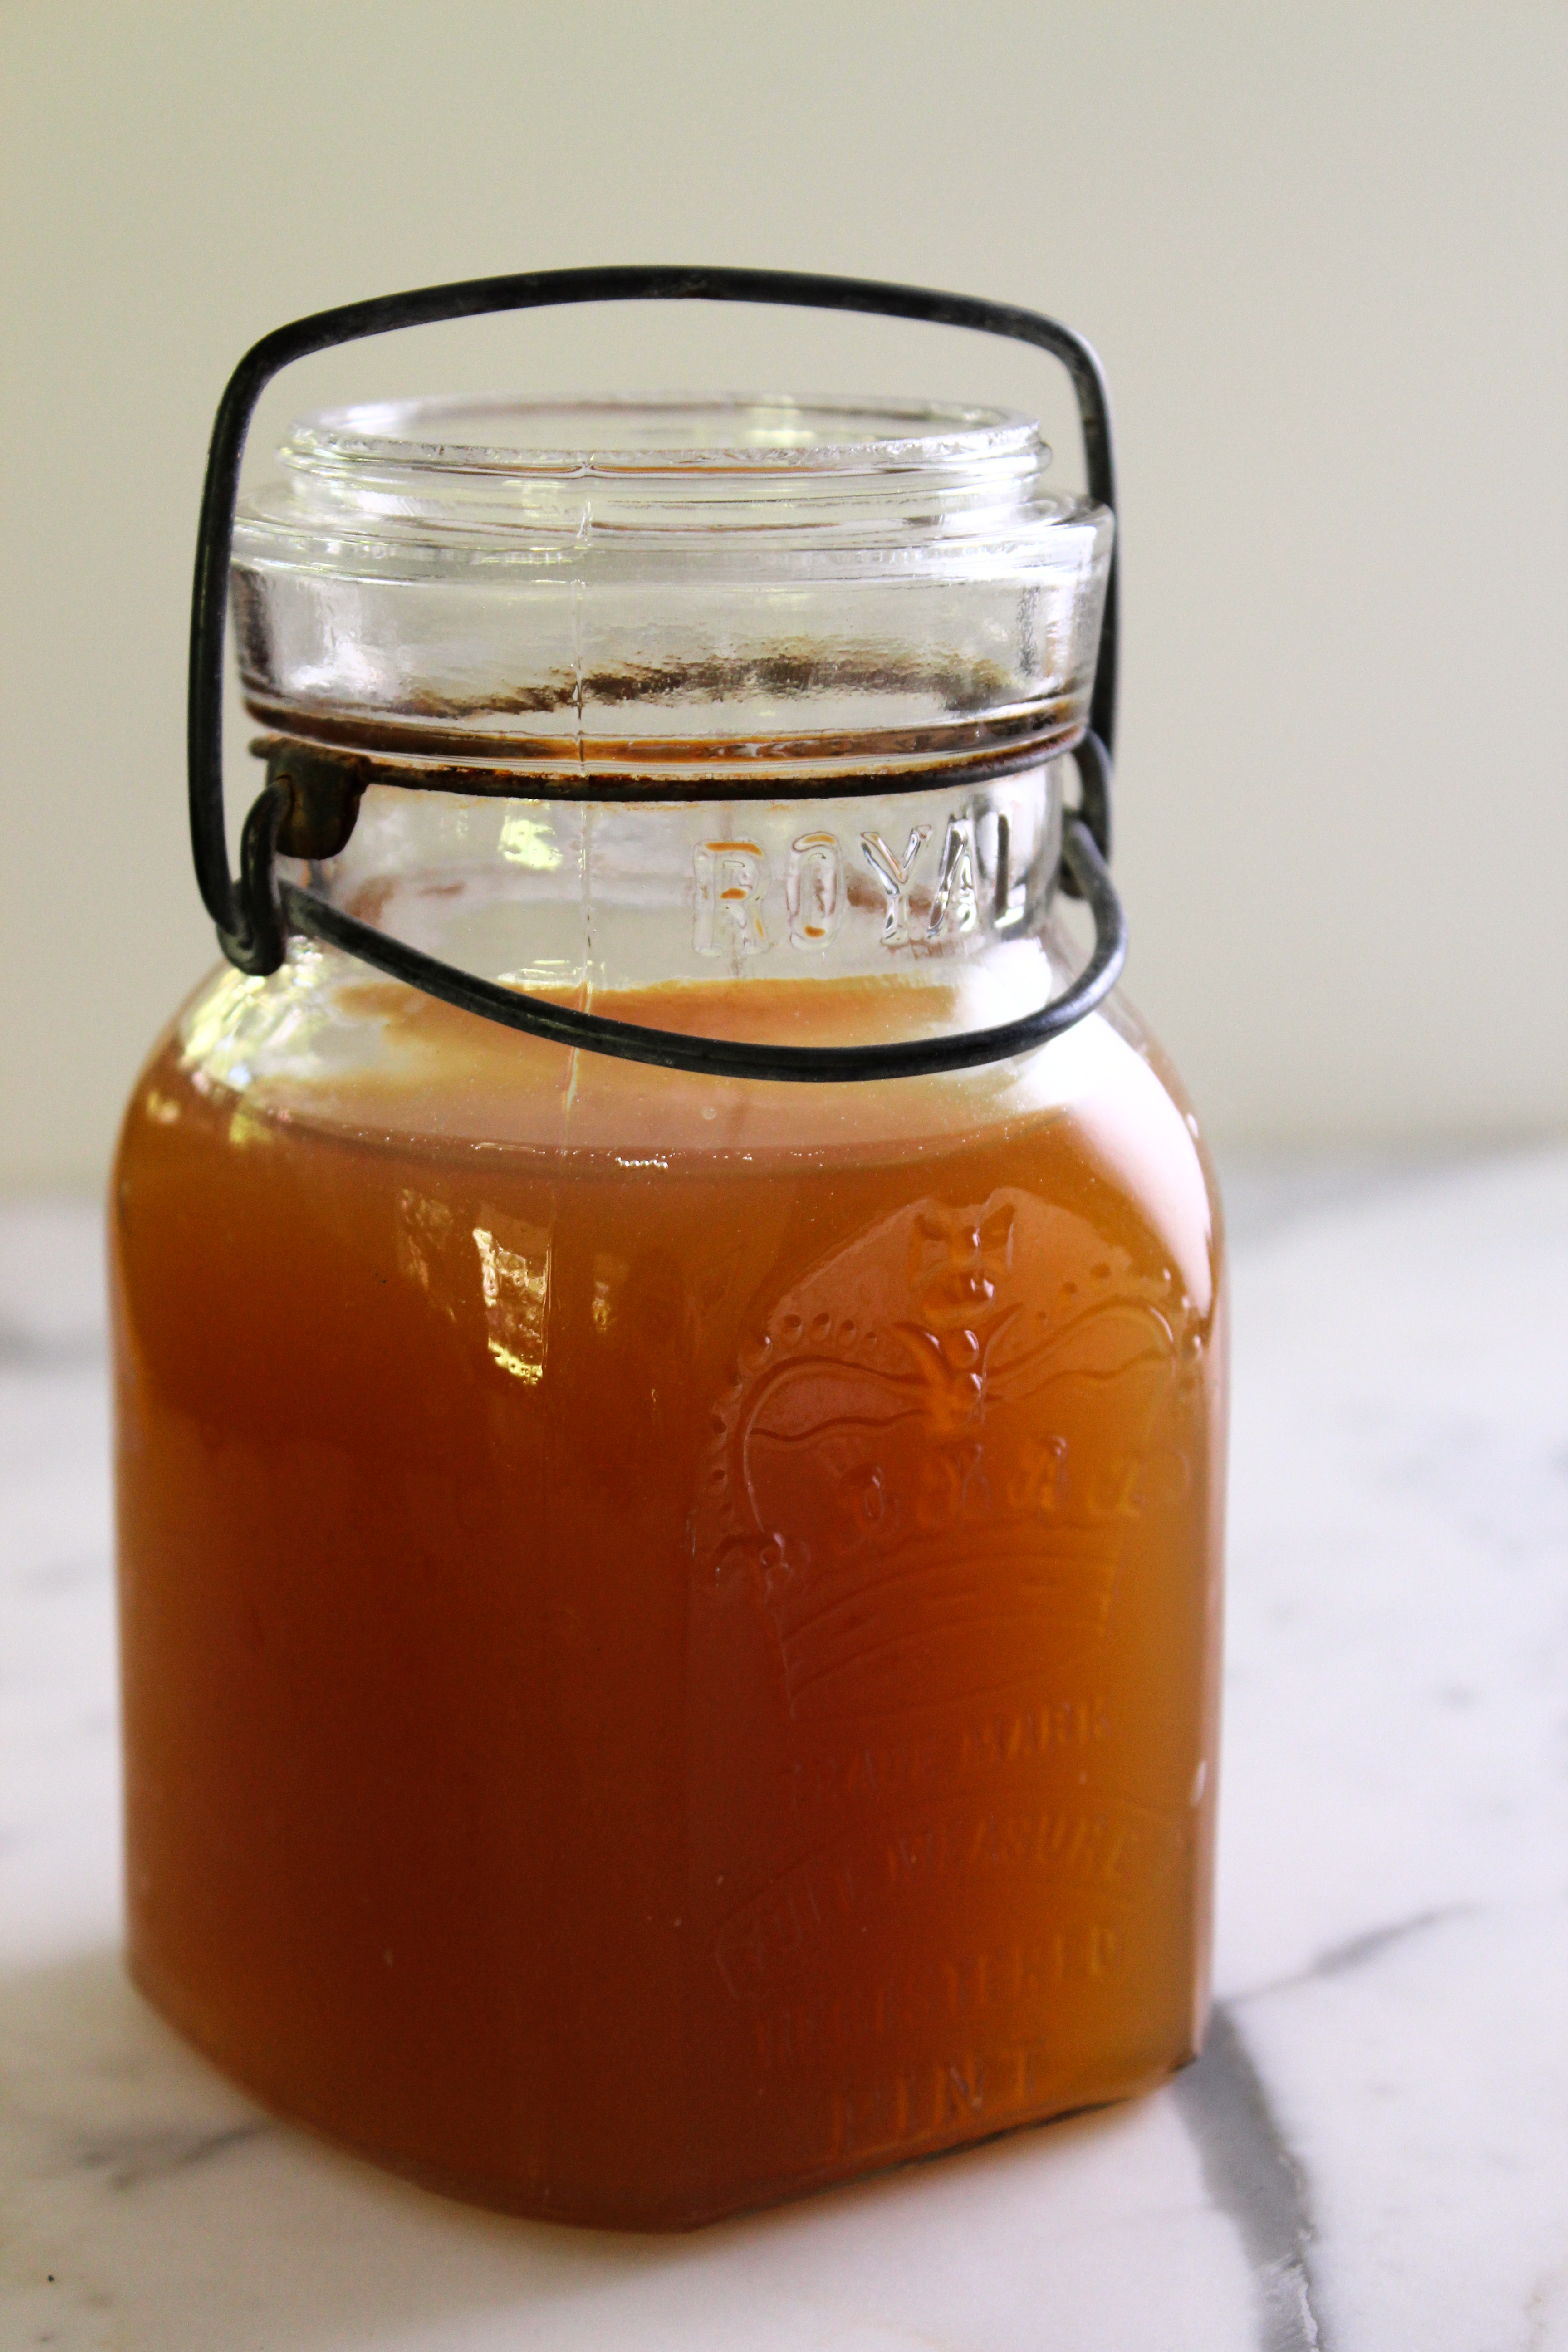
1 cup apple cider
3 1/2 cups AP flour, plus extra from dusting
2 teaspoons baking powder
1 teaspoon baking soda
1/2 teaspoon ground cinnamon
scant 1 teaspoon kosher salt
1/8 teaspoon freshly ground nutmeg
4 tablespoons butter
1 cup sugar
2 eggs
1/2 cup buttermilk
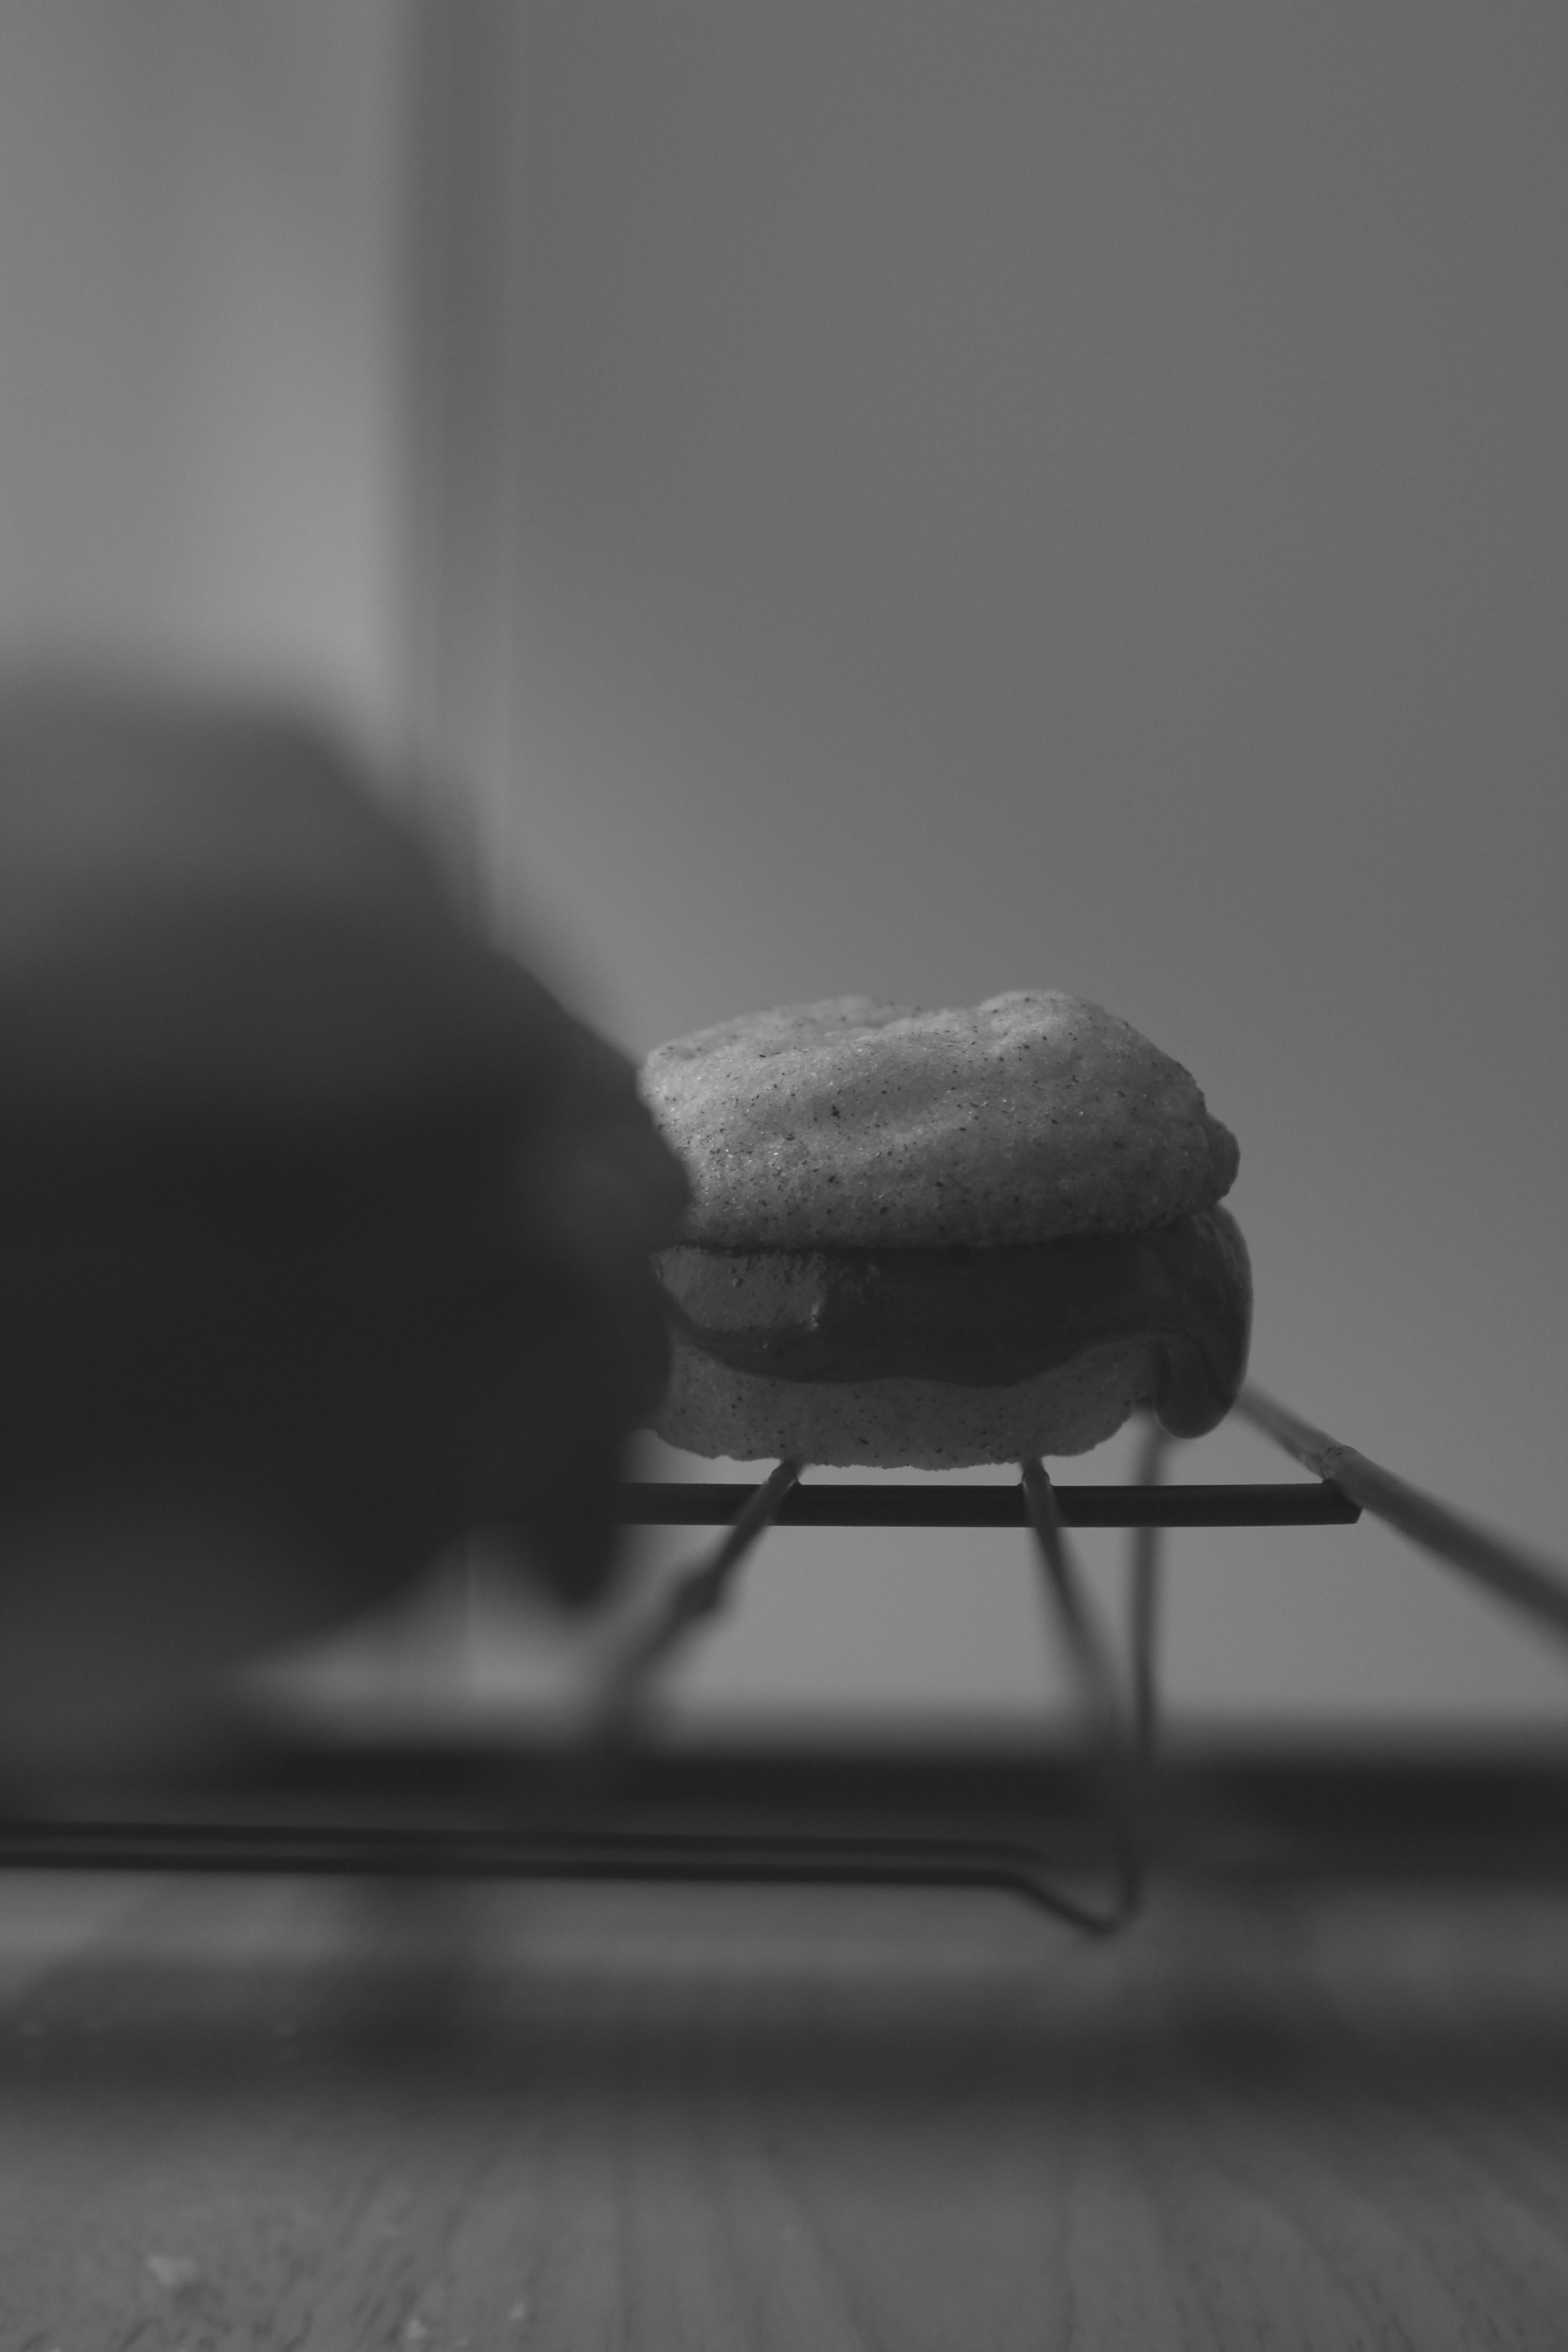
shortening, for frying
Cinnamon sugar (1 cup granulated sugar+1 1/2 tablespoons cinnamon)
Powdered sugar

directions:
Reduce the apple cider by 4, so that you have about 1/4 cup of thickened cider, about 30 minutes over low heat.
Whisk the flour, spices, baking powder, baking soda, and salt together.
Cream the butter and sugar together until light and fluffy.
Add the eggs one at a time, then whisk the buttermilk and cider together and pour into the butter mixture.
Scrape the sides very well, and beat to make sure everything is incorporated before adding the dry ingredients in.
Mix only until the dough comes together.
Turn it out onto a very well floured and parchment-lined baking sheet and pat to a thickness of 1/2 an inch.
Freeze for 20 minutes, then cut out your doughnut shapes.
Put them in the fridge to rest while you heat the oil.
Heat the oil to 350 degrees F and line a baking sheet with plenty of paper towels.
Whisk the sugar and cinnamon together while the oil heats up.
When the oil comes to temp, fry your donuts until they are golden brown on each side, about 1 minute on the first side and 30 seconds to 1 minute on the second.
Remove them to the paper towel lined sheet for a minute or two before rolling them in the cinnamon sugar.
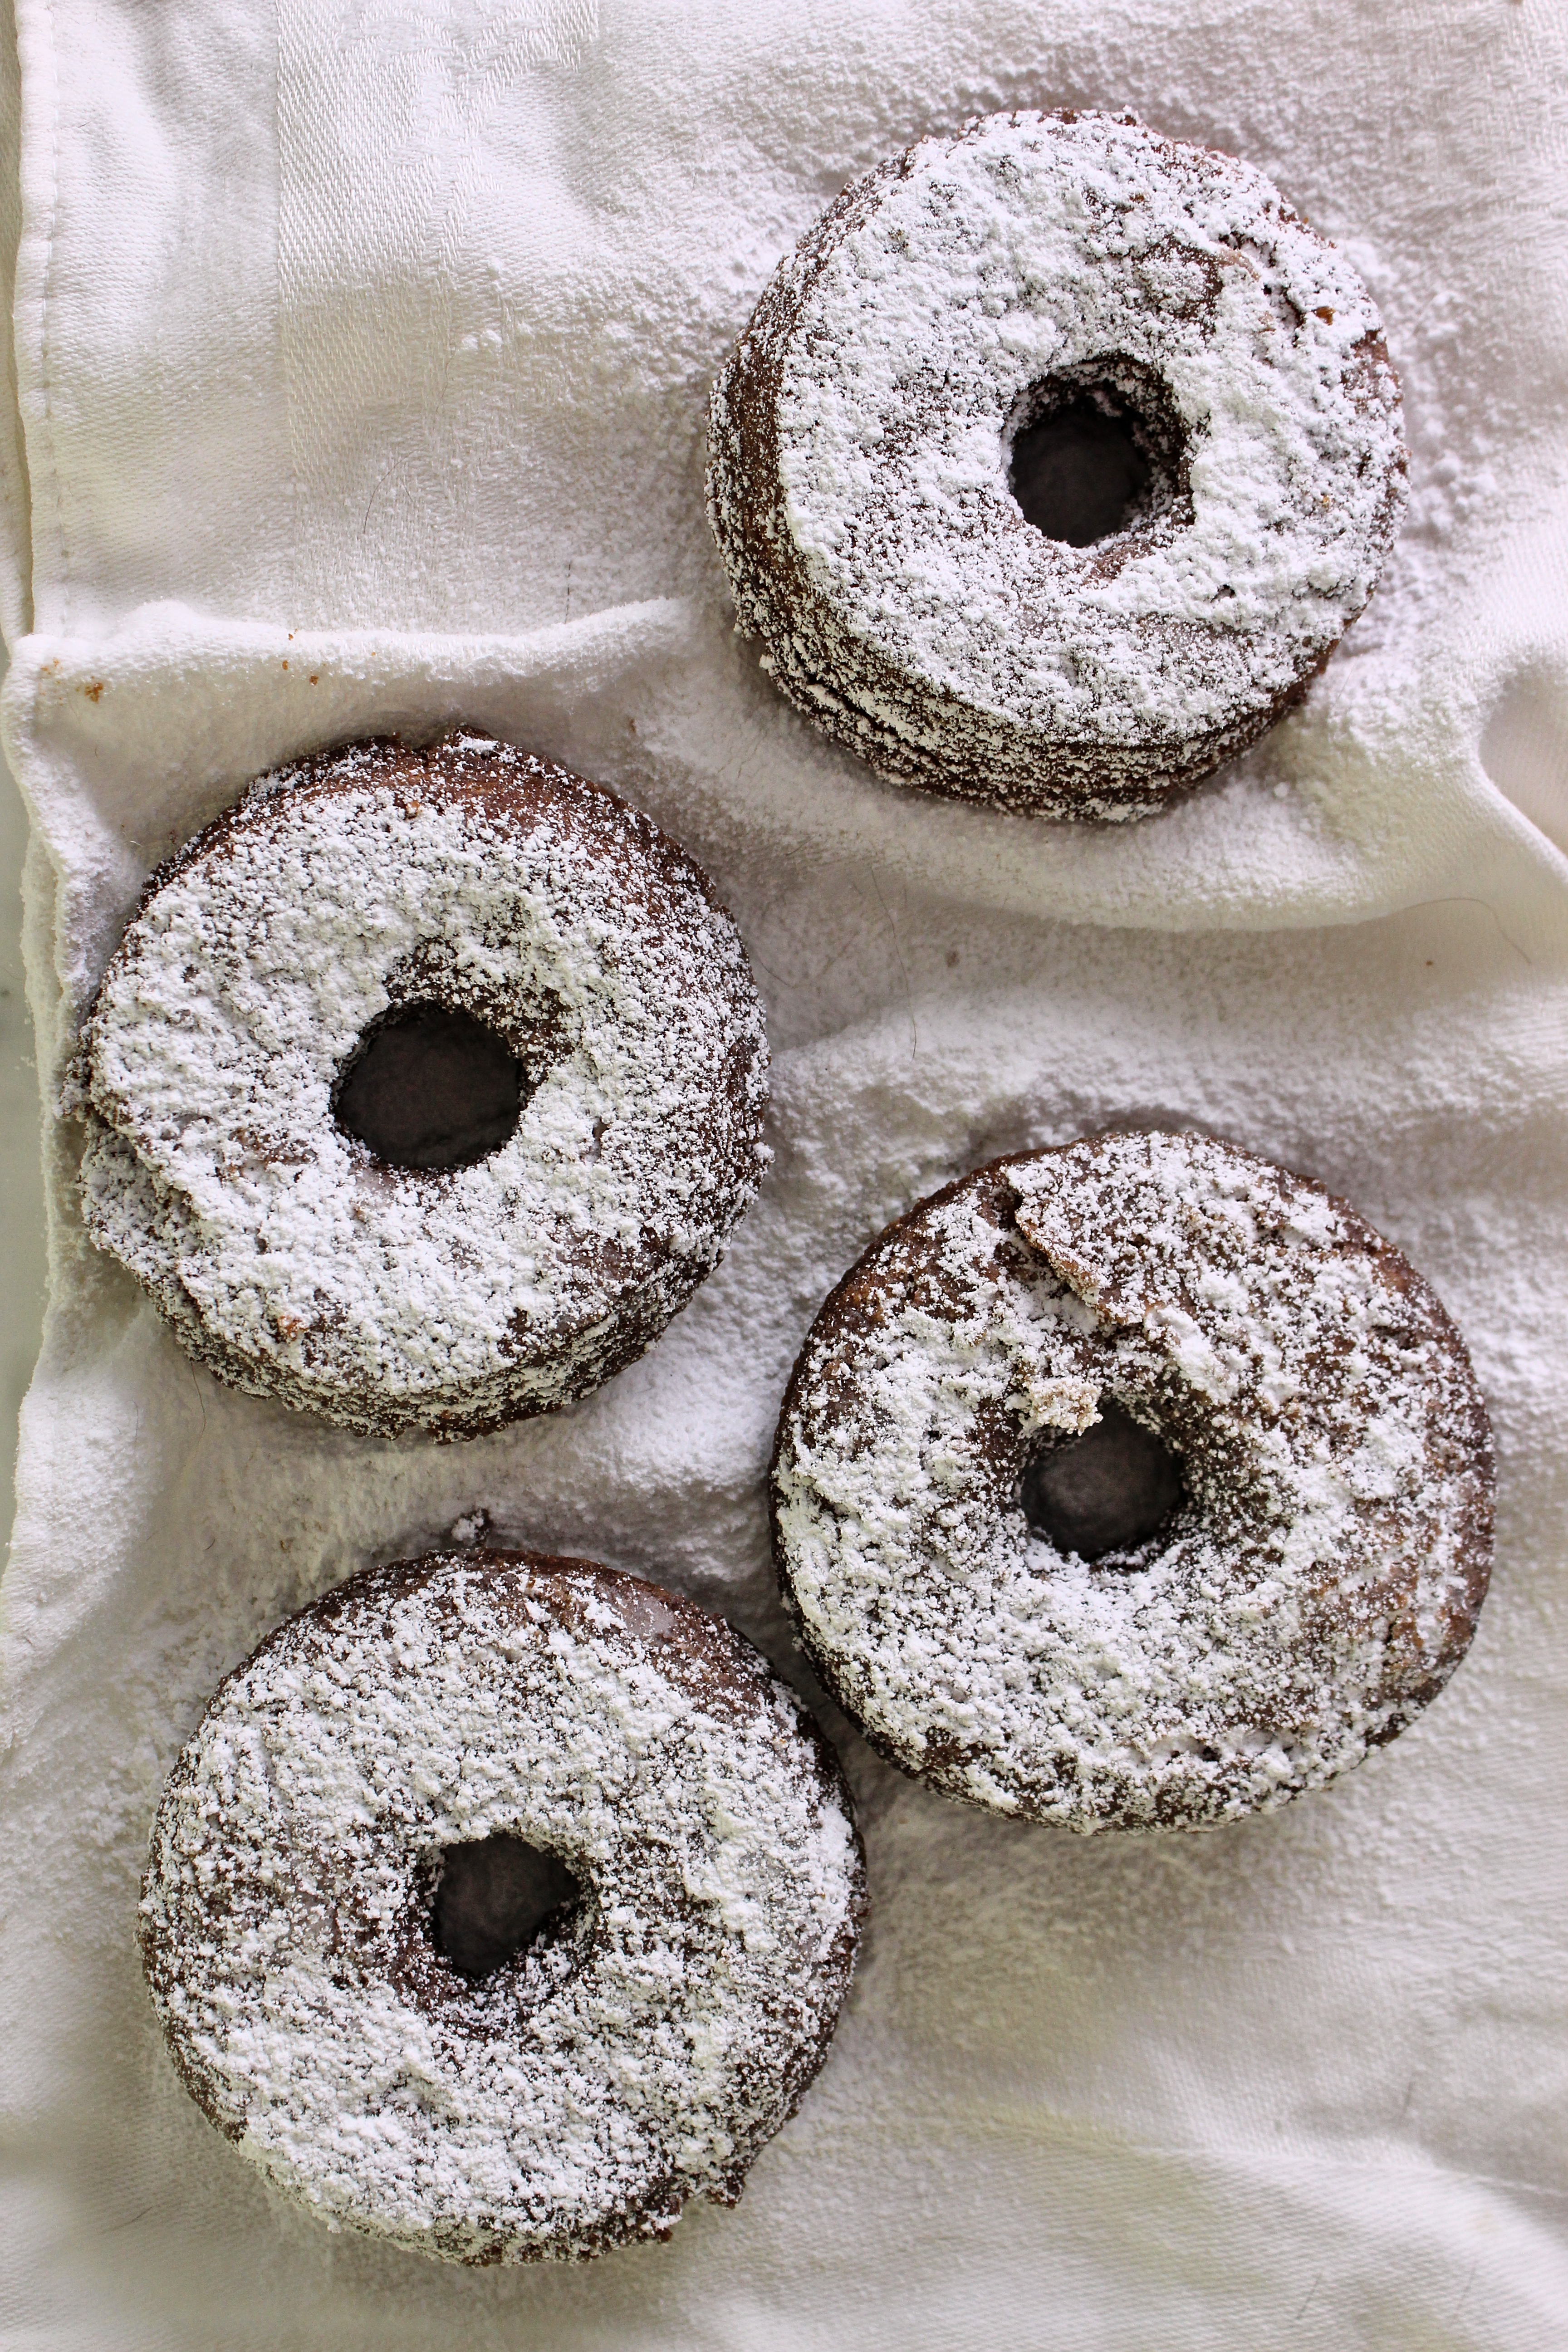
If you’re dusting them in powdered sugar, let them chill on the paper towels for 3 minutes before dusting.
If you don’t eat them right away, you’ll have to dust them in powdered sugar again before serving, as it will sink into the doughnuts.


Windy Wednesday

IMG_2744 (2)

Today’s post is brought to you by the letter W.

IMG_1964

Words are not one of the W’s.  They escape me today.

But rather: waffles, waterfalls, and wistful. (Wednesday, too, I suppose!)

Oh… and windy… Because, yes, I am in the Windy City.

IMG_2157

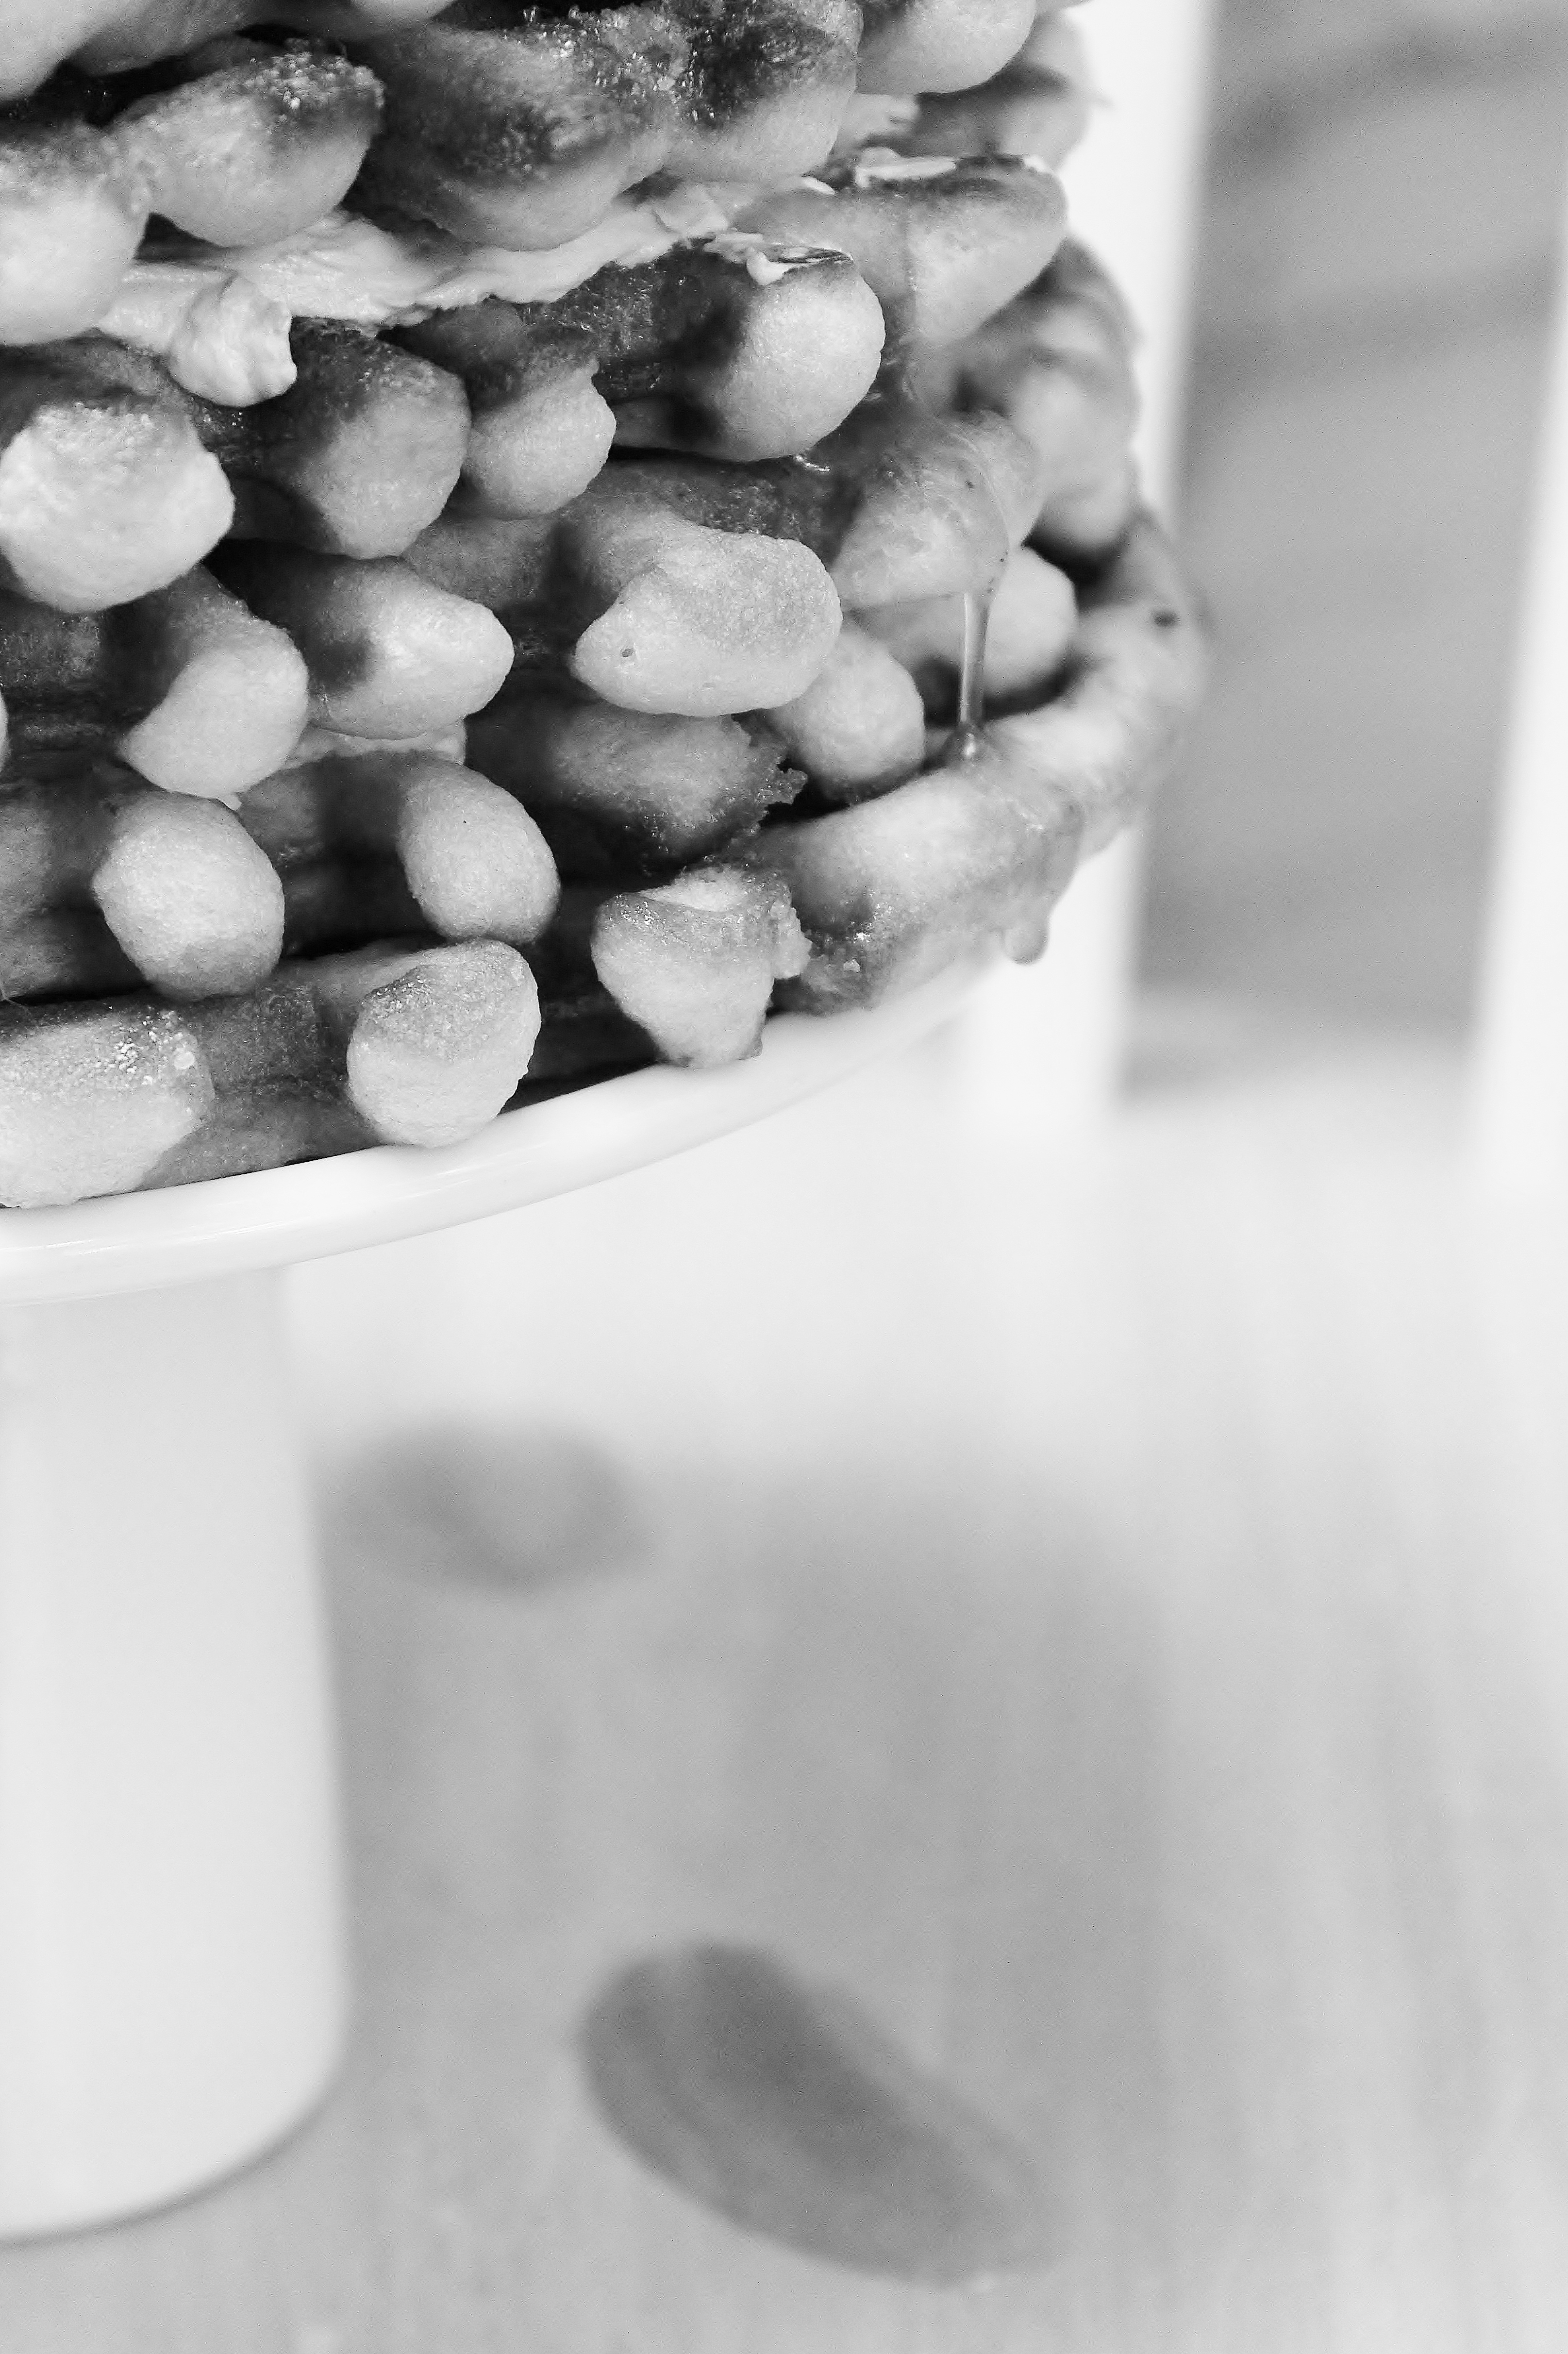
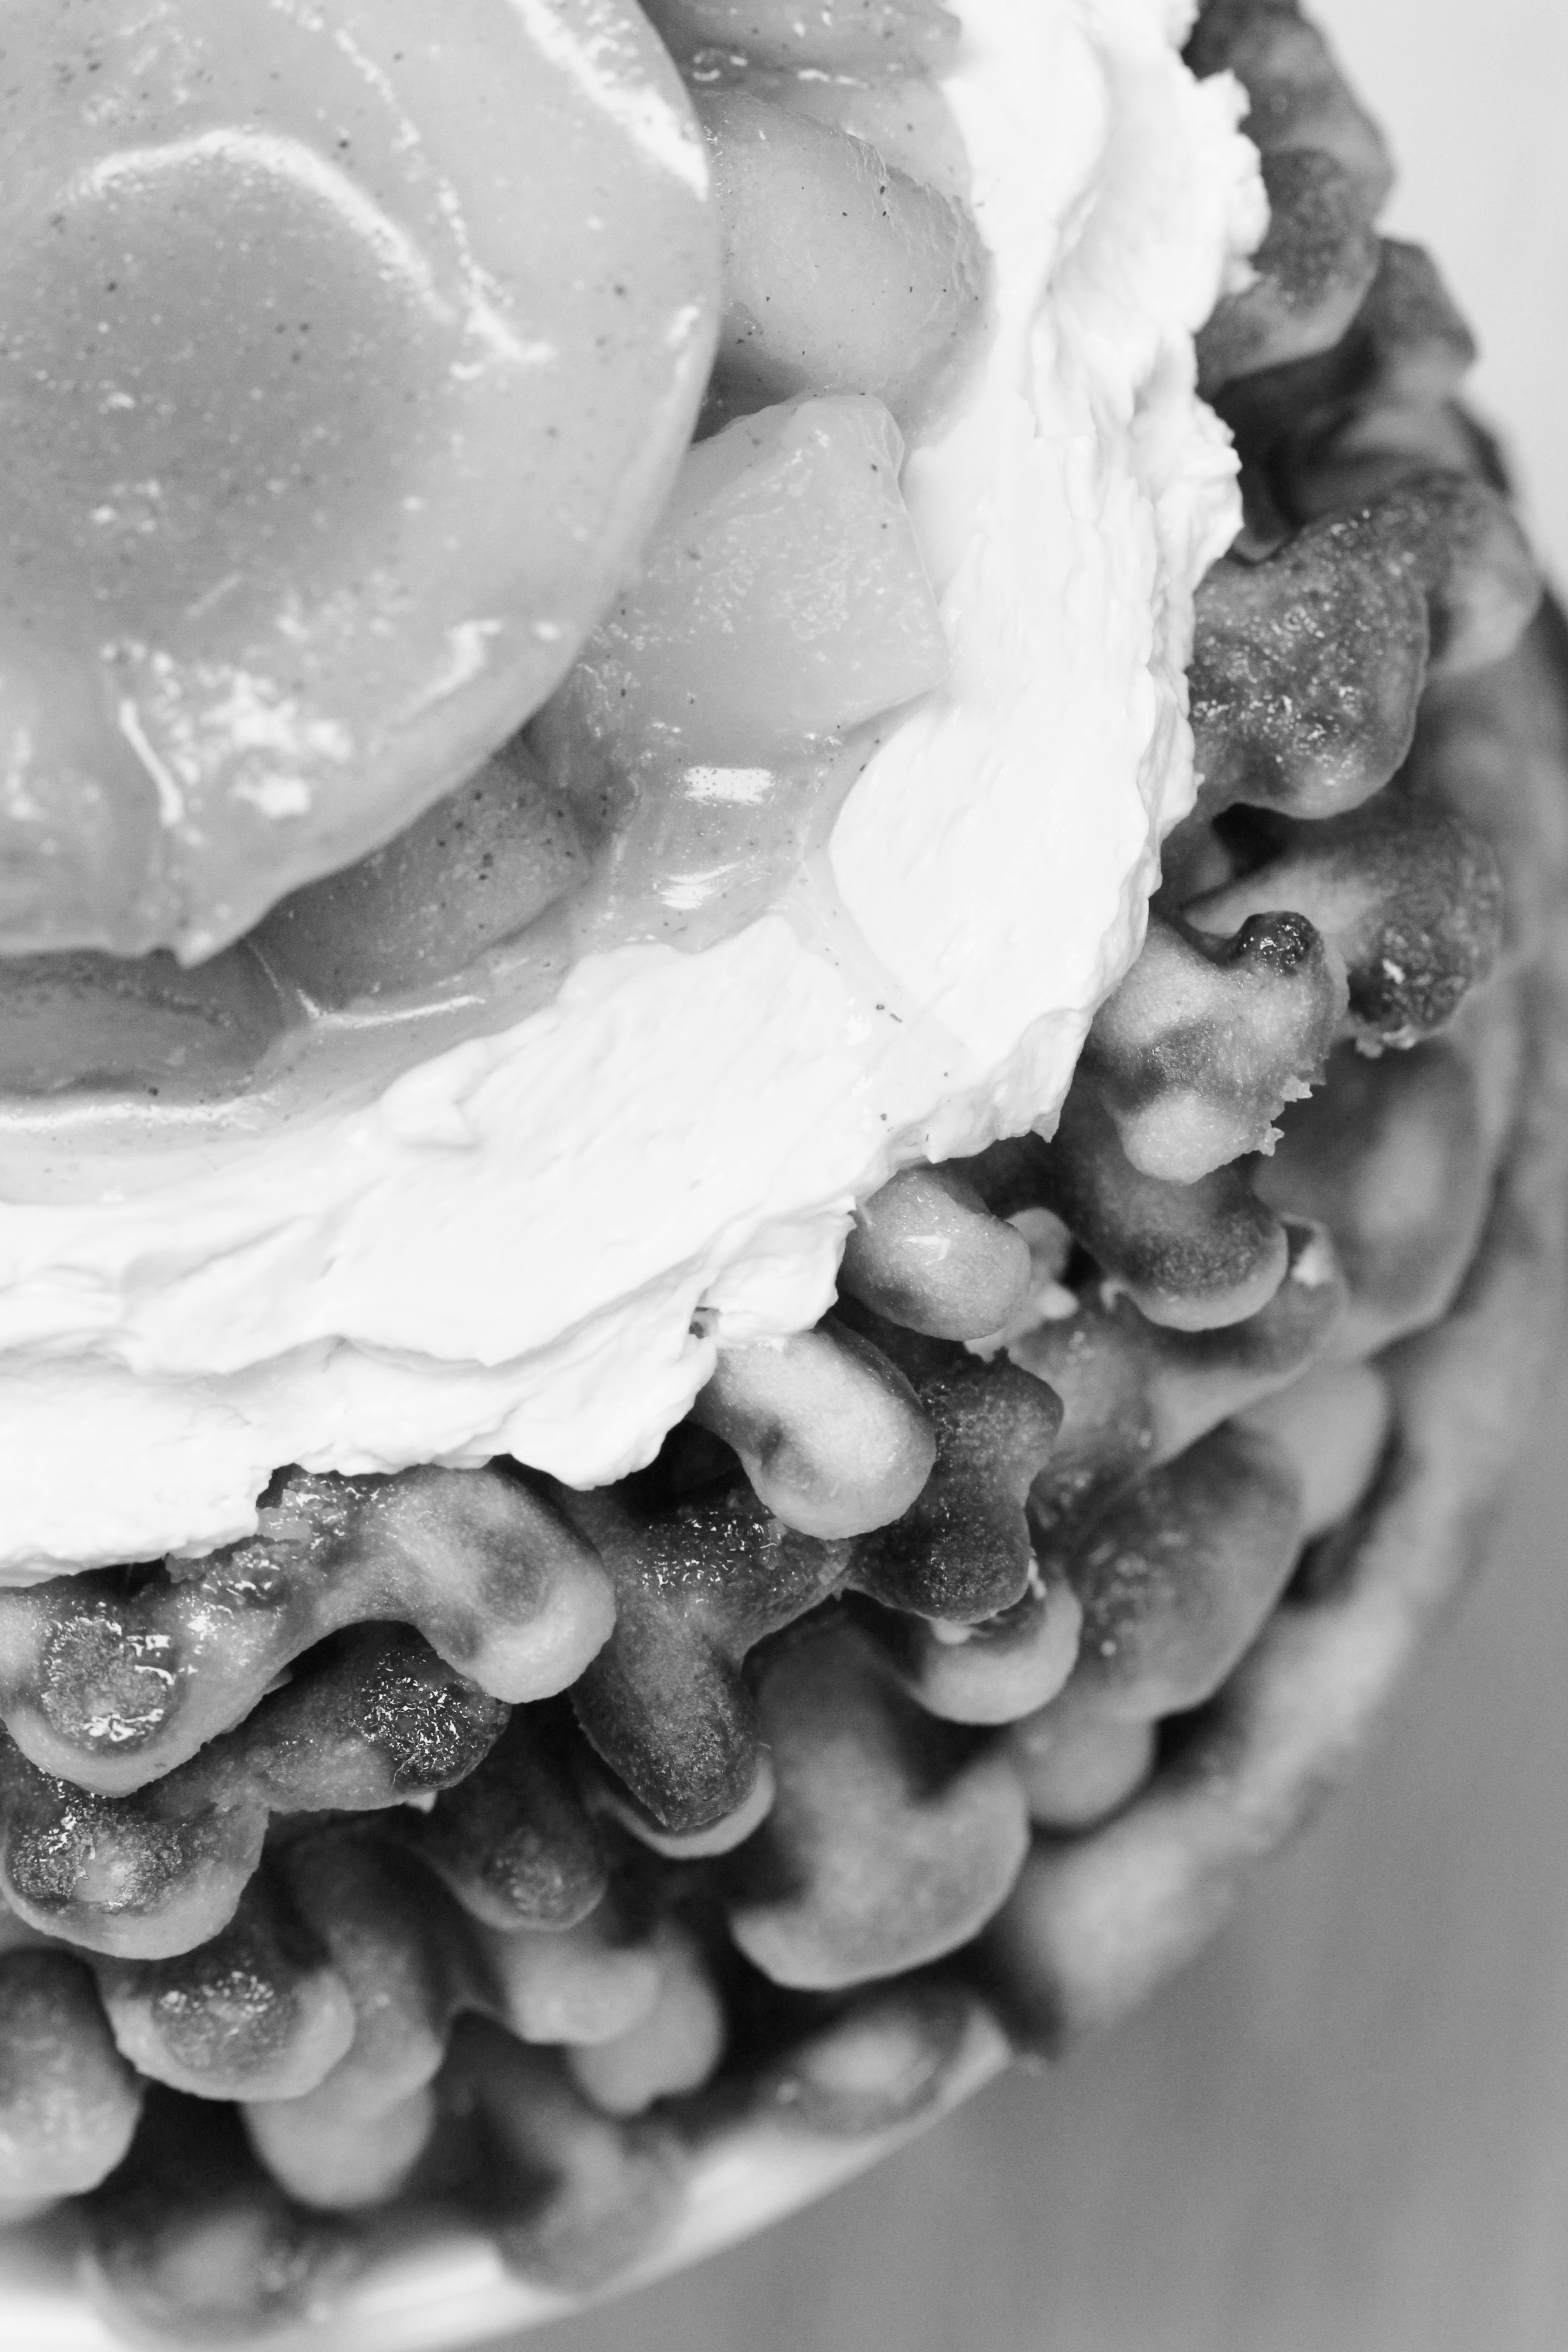
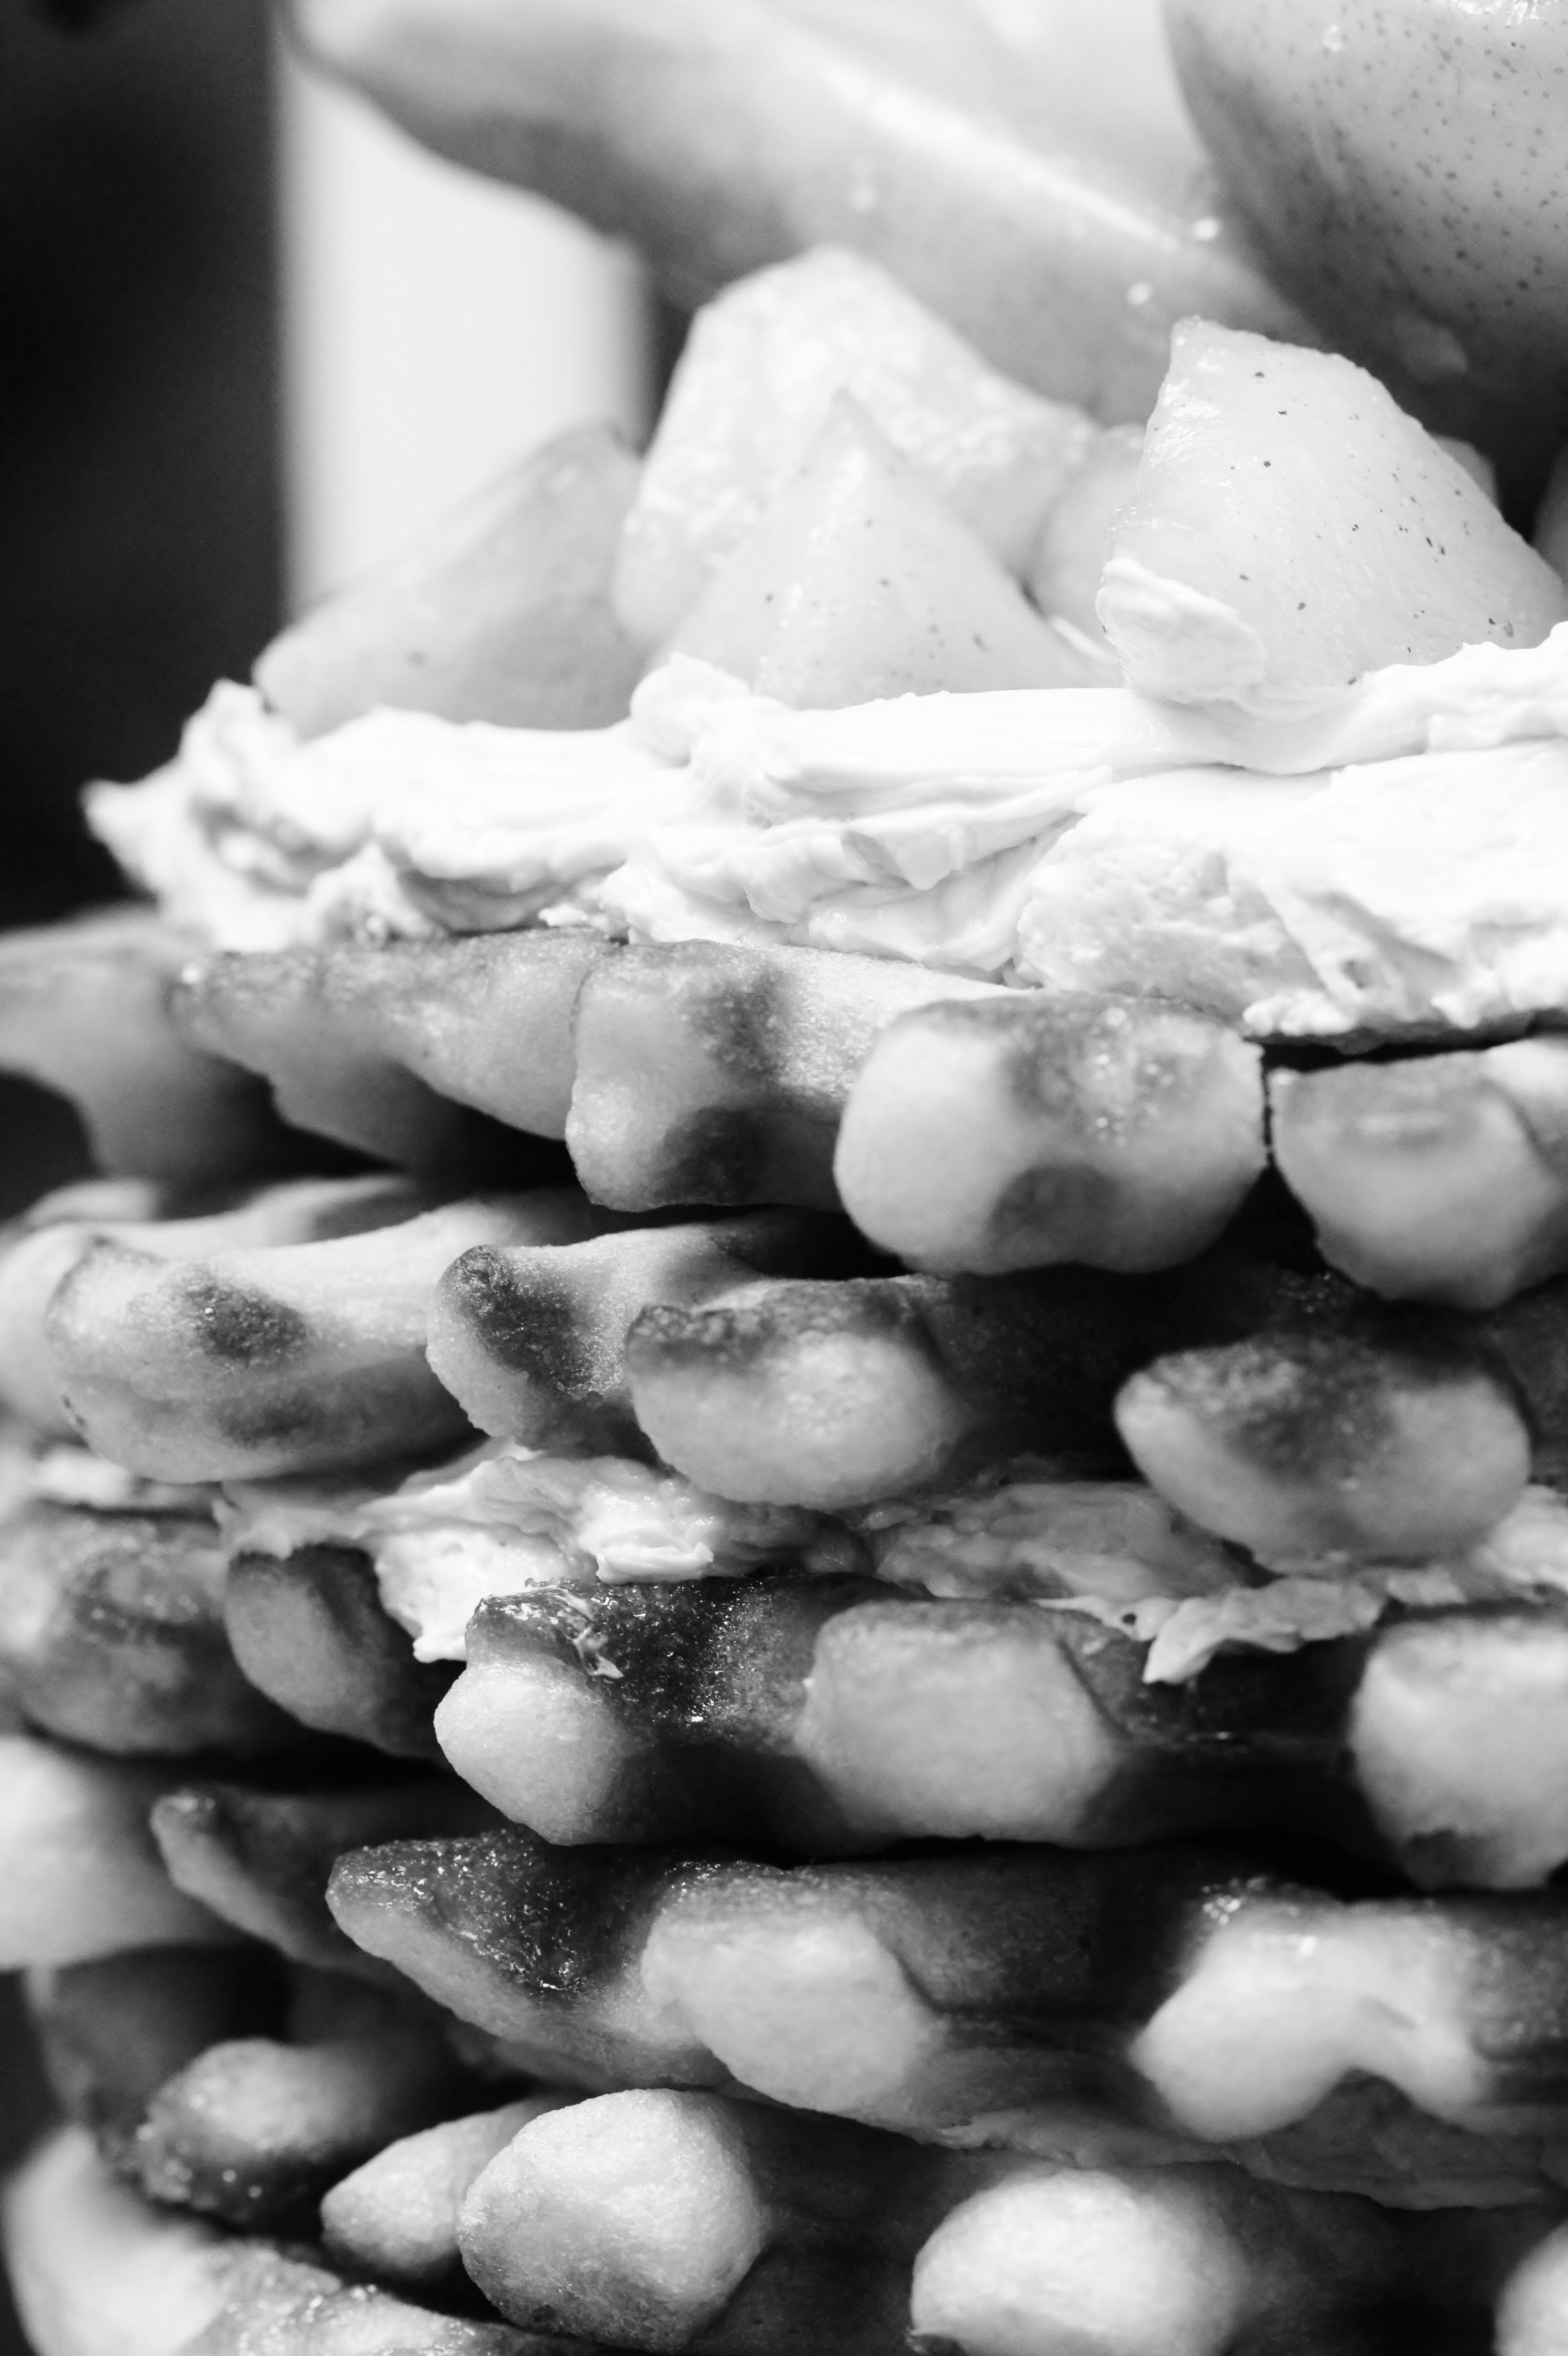
So, um, yes.  Here are some abstract pictures of a waffle cake.

And my dog, obviously.

IMG_2766 (2)

My waffle maker makes kind of smushed waffles.  It’s pretty old.  I don’t blame it.

The result of  stacking up these smushed waffles with a lightly spiced brown butter and maple pear-apple compote and a maple Italian meringue is a delicious but somewhat ugly cake.
I know!! So many ugly cakes lately.  Sorry.  Sometimes that’s how the cookie crumbles.
Whataryagonnado.

IMG_2772 (2)

Pssst… I even had a slice for breakfast!

(Ginger, on the other hand, did not.)
Which explains her facial expression.

IMG_1949


Pear and Apple Waffle Cake

for the waffles:
from King Arthur Flour
ingredients:
1 1/2 cups milk, warmed to 110 degrees F
6 tablespoons melted butter
2 tablespoons maple syrup
1 teaspoon kosher salt
1 teaspoon vanilla extract
2 eggs
2 cups flour
1 1/2 teaspoons active dry yeast
1 scant cup of Belgian pearl sugar

directions:
Sprinkle the yeast over the milk to prepare it for its job; after five minutes, whisk in the butter and maple syrup as well as the vanilla extract.
Stir in the eggs and the flour and salt; set the batter aside in a warm place, covered in plastic wrap, for one hour, to rest and rise.
Right before cooking, stir in the Belgian pearl sugar.
Cook the waffles in a waffle maker.
for the pear and apple compote:
ingredients:
2 medium pears, peeled and cored and chopped into small pieces
3 medium apples, peeled and cored and chopped into small pieces
3 tablespoons maple syrup
1/2 tablespoon butter
pinch salt
pinch cinnamon
pinch nutmeg

directions:
Brown the butter in a saute pan, then add all the apples and pears and saute them until they soften.
Add the maple syrup and allow it to reduce by 1/2.
Season to taste with salt, cinnamon, and nutmeg.
Allow to cool before using.

for the maple Italian meringue buttercream:
ingredients:
1 egg white
pinch salt
pinch cream of tartar
1/3 cup maple syrup
1 stick of butter, softened
directions:

Place egg white, salt, and cream of tartar in the bowl of a stand mixer.
Place maple syrup in a small pot and begin to heat it up.
Whip the egg white while heating the maple syrup to 240 degrees F.
The white should be at soft peaks when the syrup reaches temp; drizzle it in with the mixer running.
Once the meringue has cooled, beat in the butter.
Stack up the waffles with buttercream and compote.
Enjoy!

I Cannot Lie

IMG_1915

… I like big bundts and I cannot lie…

IMG_3049

I just hate photographing them.  In fact, I gave up photographing both of these cakes, both primarily because I kind of hate the shape of my bundt pan.

It’s great for making a dramatic cake without needing layers, but I can’t get the knack of photographing them.

They’re so… large and in charge.  Sometimes I feel awkward taking photos of them.

Like that maple bacon cake above and below?  I couldn’t get a single photo to not look lurid, so I threw in the towel, put in on a plain white floordrop, and took 3 photos of it.  Screw it. It’s not very attractive anyways.

The ginger-peach-lemon cake, I had 5 minutes to take photos of before needing to go to yoga.  It was still steaming, but the light was fading and I didn’t have my new (!!!!) lighting setup just yet.

So, I put it on a wood board next to a window and took 5 photos of it.  Screw it.

IMG_1904

 Bundt cakes are meh fun.  They’re quick and easy, and if made correctly, they’re quite delicious.

However, I have had (and made) many a dense, rock-like bundt cake.

The peach-ginger-lemon bundt cake was quite the opposite.  It was fluffy, moist, and flavorful.

However, now that peaches are out of season, I’m going to instead share the recipe for the maple-bacon-brown butter bundt cake that I Jackson-Pollacked for my brother’s birthday.

It might very well have been dense… I couldn’t exactly slice into it and eat a piece before shipping it down to D.C. for his birfday.  That’s bad form.
To be honest, I also think it’s ugly.  So let’s pray that it tasted good…

The recipe came from Martha, though, and lord knows I trust her.

Here goes:

IMG_3065Maple Brown Butter Bacon Bundt
adapted from Martha Stewart
ingredients:
2 cups flour
2 teaspoons baking powder
1/2 teaspoon baking soda
1/2 teaspoon salt
12 tablespoons butter, browned
1/2 cup packed brown sugar
2 eggs
1/2 cup maple syrup
2 teaspoons vanilla
1 cup buttermilk
directions:
Preheat oven to 350 degrees F.
Grease and flour a bundt pan.
Whisk the flour, baking powder, baking soda, and salt together.
Whisk the butter, brown sugar, eggs, maple syrup, and vanilla together.
Whisk the flour and buttermilk into the maple syrup mixture, alternating between dry and wet.
Pour into prepared pan and bake for 35 to 40 minutes, until a cake tester comes out clean.
Top with glaze and glazed bacon.

for the glazed bacon:
ingredients:
4 ounces bacon, cut into little lardons
1 tablespoon brown sugar
directions:
Cook bacon until crispy.
Drain fat and reserve for use in the glaze.
Return bacon to pan and add in the brown sugar.
Heat just until sugar melts, then spread out onto a piece of wax or parchment paper and allow to cool completely.

for the glaze:
ingredients:
6 tablespoons butter
fat rendered from 4 ounces of bacon (sub 1 1/2 tablespoons butter)
3/4 cup confectioner’s sugar
1/4 cup nonfat dry milk powder
3 tablespoons pure maple syrup, or as needed
directions:
Brown butter in a saucepan.
Once brown, dump in the sugar and bacon fat and whisk, creating what I like to call a “sugar roux”.
Once a creamy paste has formed, add in the maple syrup and powdered milk and stir.
Stir in extra maple syrup, as needed, to create a pourable but thick glaze.

Seeking Comfort

IMG_3128

“You are braver than you believe, and stronger than you seem, and smarter than you think.”

-Christopher Robin, Winnie the Pooh

IMG_3136

The leaves are only just starting to turn.

Usually, by now, they’d be bursting full of vibrant colors.

Things are slow to change, this year.

My surroundings are as reluctant as I am, even in this year of many changes.

I leave for college tomorrow.

I’m wracked with nerves… I don’t know what to expect, other than a homesick few weeks, as I’ve been warned by my friends, ever the experts.

Thus, I am seeking comfort wherever I can find it.

Sleeping late, appreciating every soft, enveloping minute in my wonderful bed.

Taking hot, drawn-out showers, reveling in the steamy, private, fruitily fragrant confines of my bathroom.

Snuggling with my animals (or, rather, forcing them to snuggle with me) for just a little longer, just a little longer, just…

I’m nervous, but I’m not scared.  There’s an important difference there.

IMG_3032

There may be nothing more cozy and comforting in this world than a freshly baked, still-warm chocolate chip cookie with a glass of cold milk.

These aren’t anything new or surprising- they’re classics, which isn’t to say they’re not amazing.

After all, they are classics for a reason.

They’re chewy, soft, and have a perfect twang of salt to complement the chocolate and brown sugar.

These are perfect chocolate chip cookies, if you’re into soft cookies.

Which I am.  Very much so.

Comfort cookies, indeed.

IMG_3109

Classic Chocolate Chip Cookies

adapted from the awesome Sally’s Baking Addiction

makes 16

ingredients:

170 grams (3/4 cup) butter

150 grams (3/4 cup, packed) brown sugar

50 grams (1/4 cup) granulated sugar

1 egg

2 teaspoons vanilla

240 grams (2 cups) flour

2 teaspoons cornstarch

1 teaspoon baking soda

1 teaspoon kosher salt

1 heaping cup chocolate chips

directions:

Place butter and sugars in the bowl of a stand mixer.

Beat on low until just combined (about 1 minute), then increase speed and beat for 4 minutes.

Scrape the sides of the bowl and add the egg; beat for 5 minutes (set a timer).

Scrape the sides of the bowl, add the vanilla, and mix until combined.

Whisk the salt, baking powder, cornstarch, and flour together, then add to the batter with the mixer running on low.

Mix just until combined (30 seconds-1 minute), then add the chocolate chips and stir just until evenly distributed.

Portion out the dough with a large cookie scoop (1/3 cup capacity) onto parchment-lined sheet pans; 8 cookies per sheet.

Preheat oven to 350 degrees F.

Chill the scooped cookies, either in the freezer or in the fridge.

Once the oven comes to temperature, remove the cookies from the freezer/fridge and place in the oven.

Bake for 12 minutes, rotating once in the middle.

Cookies will be puffy when you take them out of the oven, then will deflate as they cool.

Enjoy warm!

16 September

IMG_3302

It’s my 18th birthday, today.

IMG_3352

Today is the only day of the year

where everyone writes

on my facebook wall.

Rejoice.

IMG_3306

I secretly hate my birthday.

IMG_3373

This may seem trite coming from a teenager, but I’ve always been acutely aware and afraid of growing older.

Each birthday that passes, a wave of fear and anxiety passes over me.  I’ve always been the baby.
I’m the baby of my family; I’m almost always the baby among friends.

Getting older makes me feel uneasy scares the shit out of me.

IMG_3358

Birthdays have hung heavy with regret, especially as I come close to adulthood.  (Am I an adult yet?)

I’m a worrier.  It’s my nature.

I worry that I haven’t done enough
haven’t enjoyed enough
haven’t appreciated enough
haven’t taken each and every last moment of my life, this precious and fleeting thing, and lived it to the fullest.

It’s futile, of course.

IMG_3314

That doesn’t stop me from thinking about it, waking in the dead of night, sweating, crying, scared, worried, tangled in the sheets, blinking like a bird roused from its nest.

IMG_3364

So, yes.  But birthdays come with cake.

And I love cake.

So.

IMG_3374

This was my birthday cake.

It’s a pavlova, which means it’s a baked meringue base, topped with whipped cream and fruits.

Mine is a simple French meringue, baked until the outside is crispy but the inside is still billowy and marshmallow-y, topped with a coconut/mascarpone whipped cream and pucker-inducing passion fruit sauce, and finished with raspberries and coconut flakes.

I love meringue cakes; this one is exactly how I like my cakes: light, airy, but packed with a walloping punch of vibrant flavors.

It was divine.

It almost made me like my birthday.

IMG_3235

Pavlova

ingredients:
4 large egg whites
pinch cream of tartar
1 cup sugar
2 teaspoons cornstarch
1 teaspoon white vinegar

1 cup passion fruit purée, liquid
1/3 cup sugar
1/2 teaspoon cornstarch

1 can of full-fat coconut milk, refrigerated and UNSHAKEN (see here)
1 cup of heavy cream, cold
2 tablespoons mascarpone
1 tablespoon confectioner’s sugar

1 pint of raspberries
coconut flakes, optional

directions:

Preheat oven to 175 degrees F.
Draw a 8 inch circle on a piece of parchment with a pencil and place it pencil side down on a sheet pan.
Combine egg whites and cream of tartar.
Beat until soft peaks form, then slowly stream in the sugar while beating at high speed.
Beat until stiff peaks form, then beat in the cornstarch and vinegar.
Spread out on the parchment, staying within the circle.
Bake for 2 hours, then turn the oven off and allow to cool completely in the oven.
Meanwhile, make the passion fruit sauce.
Place passion fruit, 1/3 cup sugar, and 1/2 teaspoon cornstarch in a saucepan and whisk to combine.
Bring to a boil and allow to boil for 1 1/2 minutes.
Remove from heat and allow to cool completely before using.
Make the coconut whipped cream by beating the separated coconut fat (detailed instructions here or here) until soft peaks form, then beating in the mascarpone and confectioner’s sugar.
Beat the heavy cream to stiff peaks separately, then beat it into the coconut/mascarpone mixture.
Chill until you need to use it.

Assemble the pavlova no more than 30 minutes before serving (don’t worry, it’s really simple).
Place the meringue on a serving dish, then pile the coconut whipped cream high on top of it.
Drizzle with the passionfruit sauce, and top with raspberries and coconut flakes, if desired.
Enjoy!

P.S.
As you may have noticed, you can now pin my photos simply by rolling over them and clicking the Pinterest symbol.
In addition, there are social media buttons at the bottom of each post.
You can share posts via twitter, linkedin, Google+, instagram, Pinterest, facebook, and email.
(Right below this!)