Superstar

IMG_5221_01

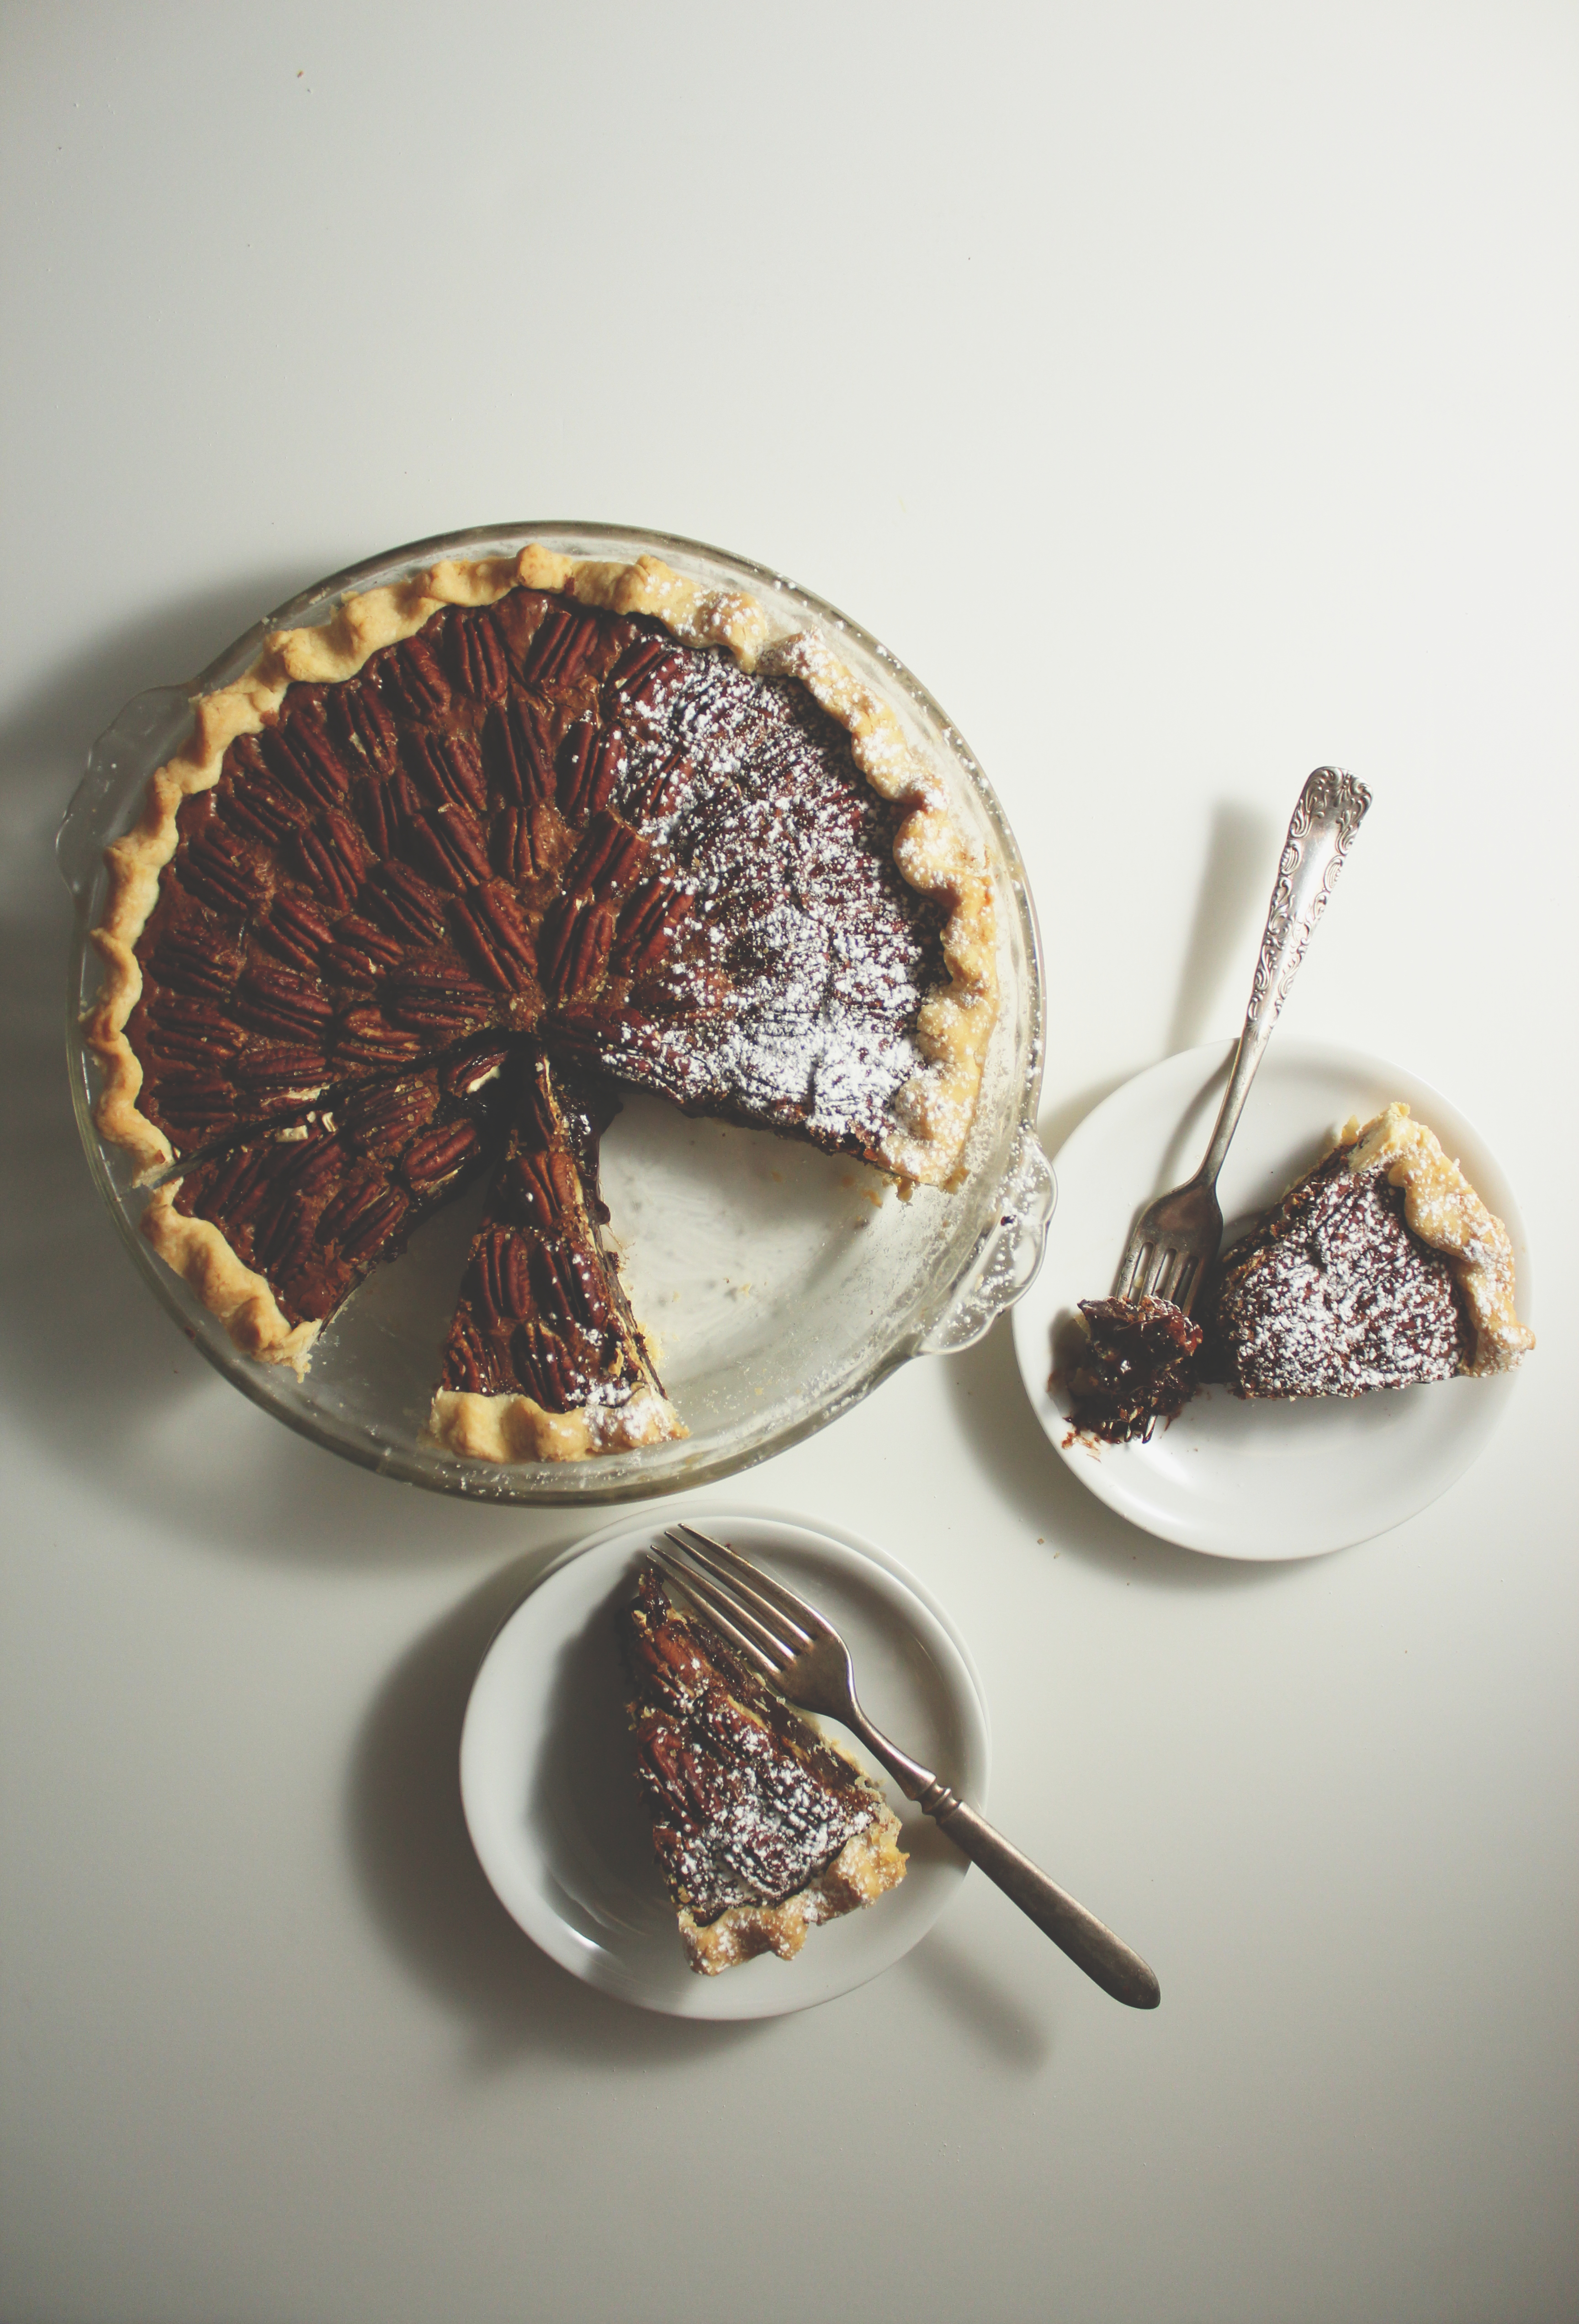
Who wants to be a millionaire Thanksgiving superstar?

IMG_5158_01

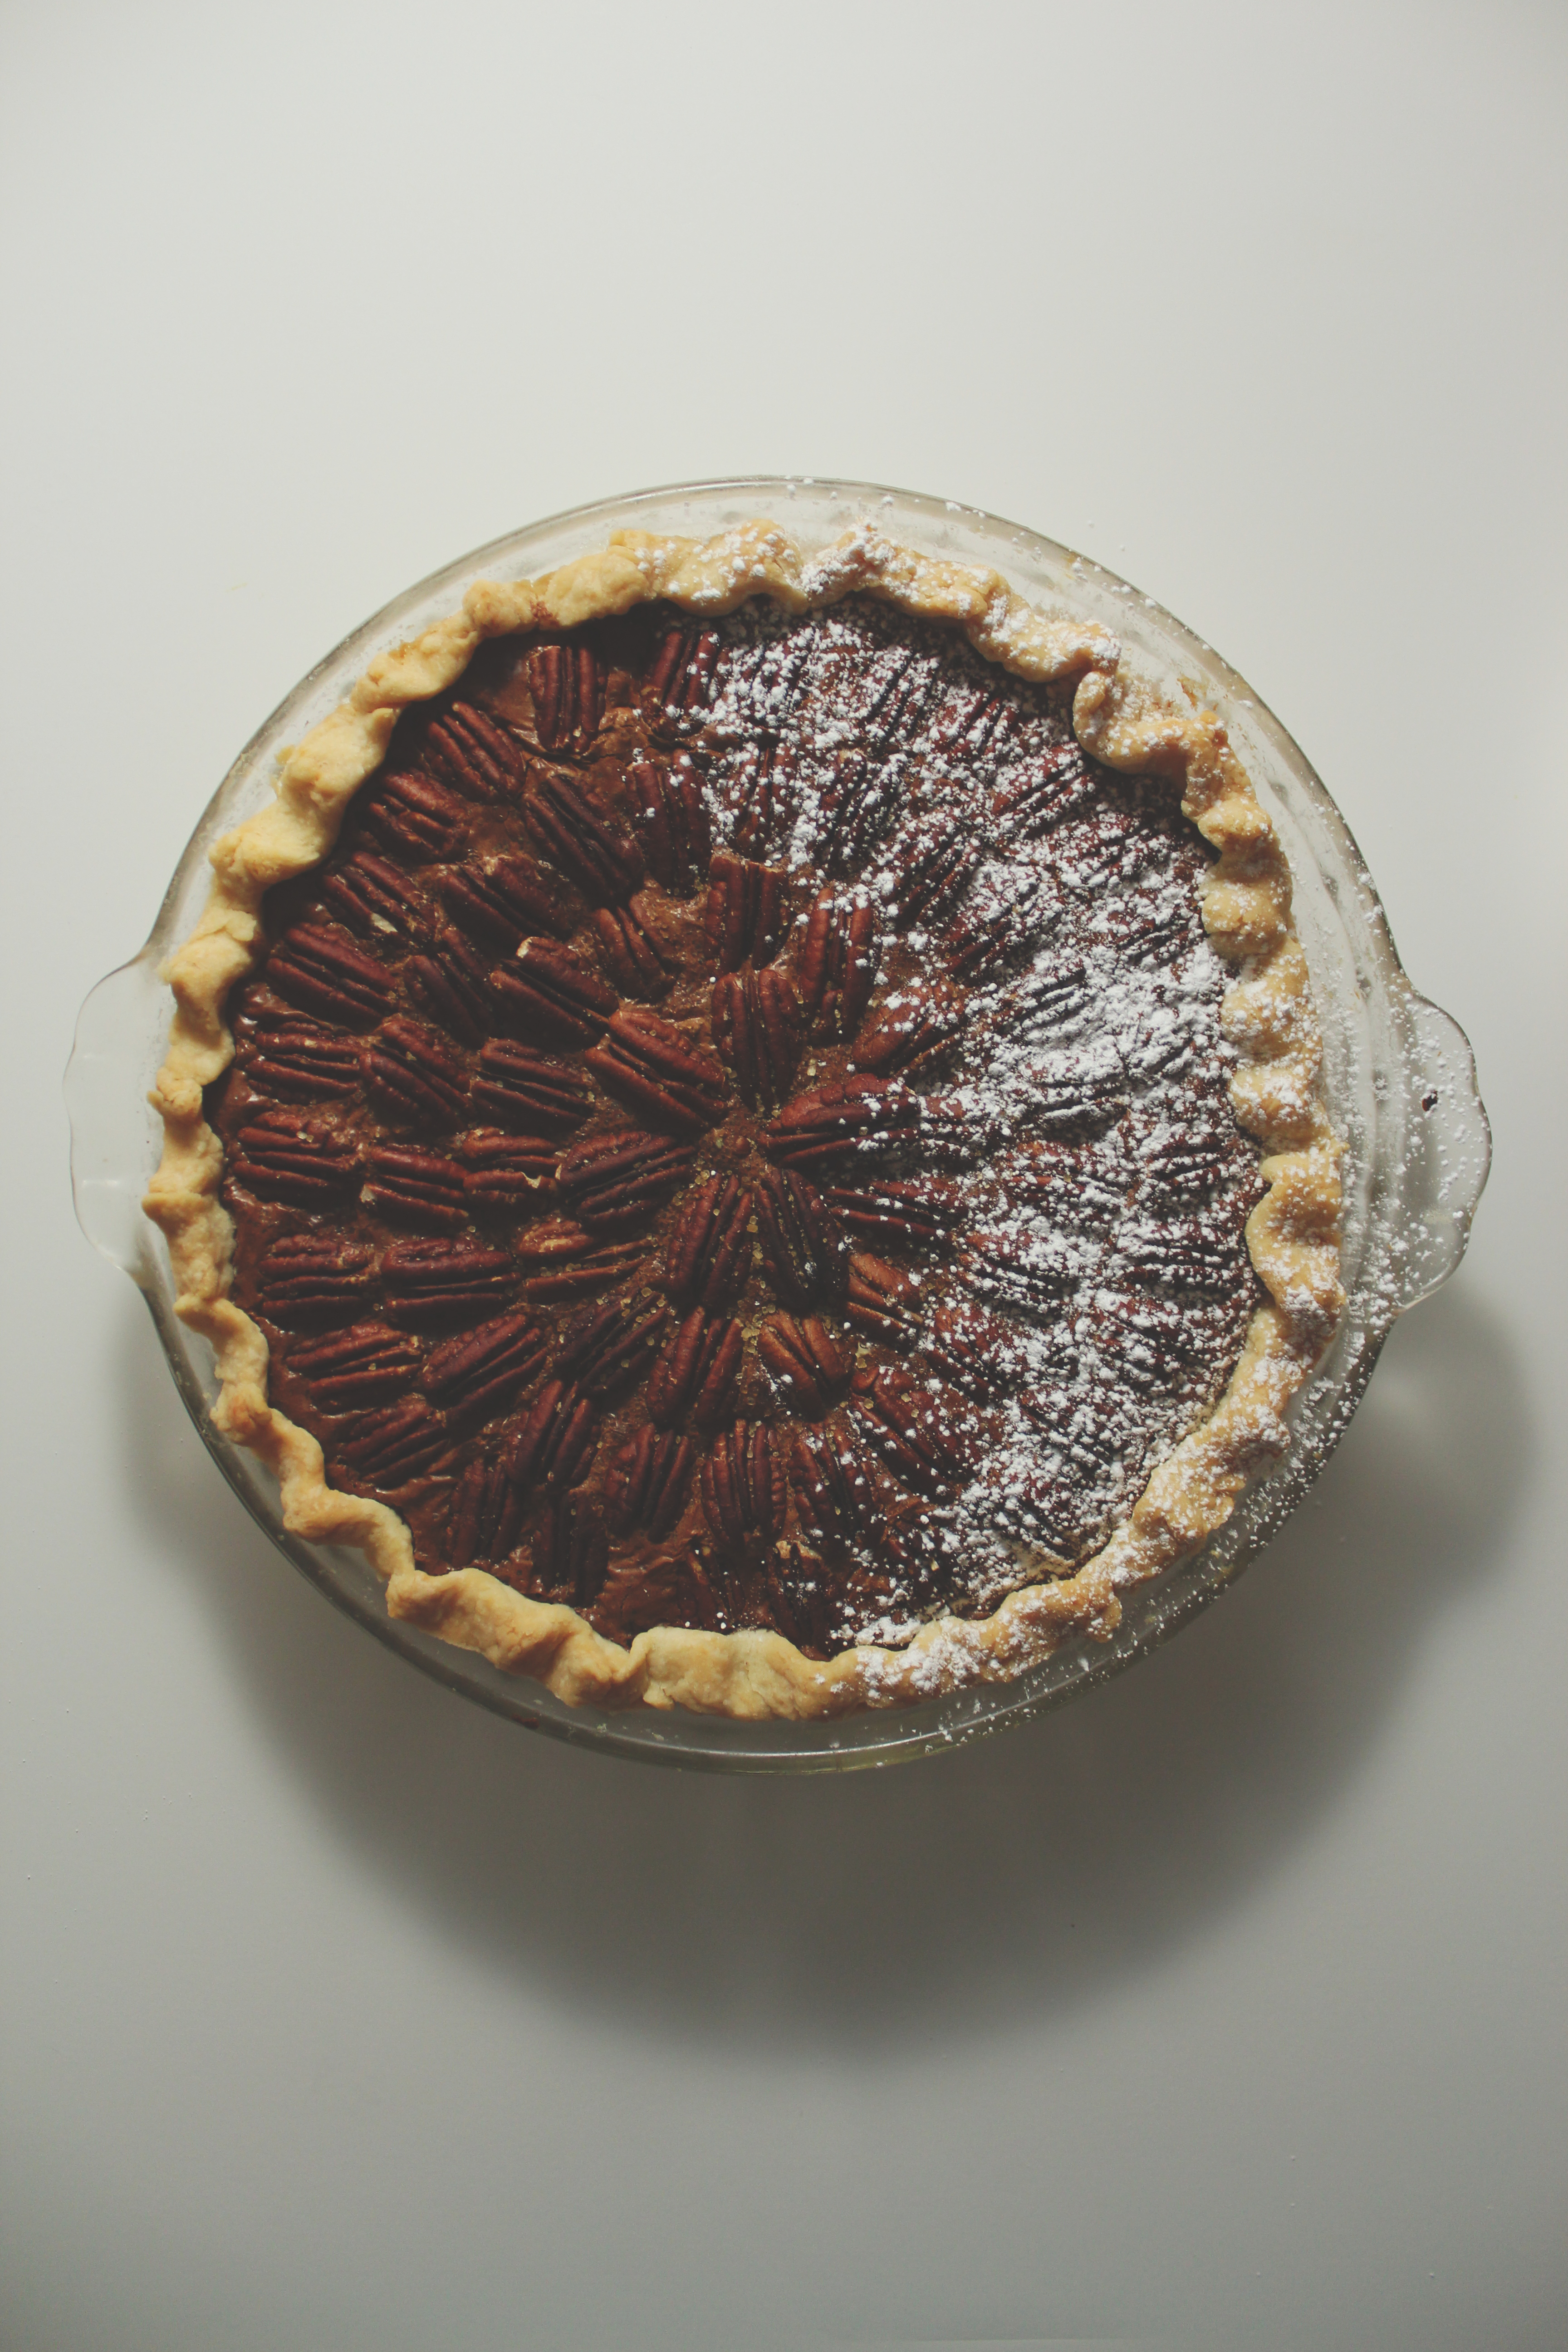
Cause, like, this pie, yo.

GodDAMN.

Good gracious gravy!

Sorry.  I got excited.

IMG_5174_01

This pie… There’s just so much good stuff going on!  Yummy, delicious stuff.

First, let’s talk crust.  I know.  It’s the scariest part for most people.  But crust is your friend!

Buttery, flaky, tender crust.  How could it NOT be your friend?

The trick to a good pie crust is not a food processor, I’ve decided.

YesokokIknow, the food processor revolutionized pie crust because it shaved 5 minutes off the preparation time and allowed people to keep their hands clean.
Newsflash: you’re cooking and baking, your hands are going to get dirty sometime.  Pie crust is a good excuse to play around in flour and butter.
(BUTTER.  Not shortening.  As you can see in this pie, I’ve swapped my usual buttermilk for water to give a more sturdy crust, since it’s a custard pie that will not have par-baking.  That said, I could have swapped butter for shortening.  But why, oh why, would I want to sacrifice that flavor?  Oh, right.  I wouldn’t.  And neither would you.  I won’t have it any other way.)

By making your pie crust by hand, you get a good feel for the texture.  In a food processor, an extra 3 pulses gives you a gummy crust that will be tough and shrink during baking.  (Insert sad face here.)

Let’s take this chance to play with our food, no?  It’ll be fun.

Dump your flour, salt, and a pinch of sugar into a big bowl.
Cube your butter into little chunky chunks, then throw it back in the fridge for 5 minutes to re-chill.
Meanwhile, fill a small bowl with cold water, and chuck 2 ice cubes in it.  Keep a tablespoon near the ice water.
Stir the flour n’ stuff around with your hands.
Take your butter chunks and place them all in the flour, all snuggly and nested down in there.
Now, with your fingers and palms, start to smash the cubes into flat sheets.  Rub about half between your hands to create a coarse meal.  The others, leave as small, flattened chunks, the size of peas.
You should have a rough mish-mash of butter and flour and butter-flour meal.
Here comes the fun: dunk the tablespoon measure in the ice water and put 2 measures into your butter/flour.
Using your hands, gently stir the mixture together.  Some will stick to your hands.  Just scrape it off and put it back in the mix.
If there are still a lot of dry chunks at the bottom of your bowl, add up to 2 more tablespoons of water, but go slow.
When your crust is done, it will hold together and all of the flour will be hydrated, but it won’t be very sticky or gooey.  It should be smooth.
Give it a couple kneads, a little massage, and wrap it up nice and snug in some plastic wrap.
Back in the fridge she goes!

To roll the crust out, liberally sprinkle a clean countertop with flour, then place your crust in the middle.
Sprinkle the top with flour, and gently, starting from the middle, roll towards the edges, creating a rough circle shape.
Once it’s 3 inches larger in all directions than the bottom of your pie dish, roll it up on your rolling pin (like a roll of paper towels) and place it in the dish.  Crimp the edges by rolling the excess up underneath, then pinching to create pretty little ruffles.
Back to the fridge!  Keep it COLD, y’all!

IMG_5180_01

So you’ve got your awesome all-butter pie crust made and ready and chilling.

Let’s fill it with heavenly goodies.

Start with brown sugar and a friendly pinch of salt, and add the ambrosia of the gods nutty brown butter.

Whisk whisk whisk in warm, autumnal spices and six (6!) egg yolks to ensure a silky, custard-like texture.

Stir in 70% bittersweet chocolate, melted and luxurious.

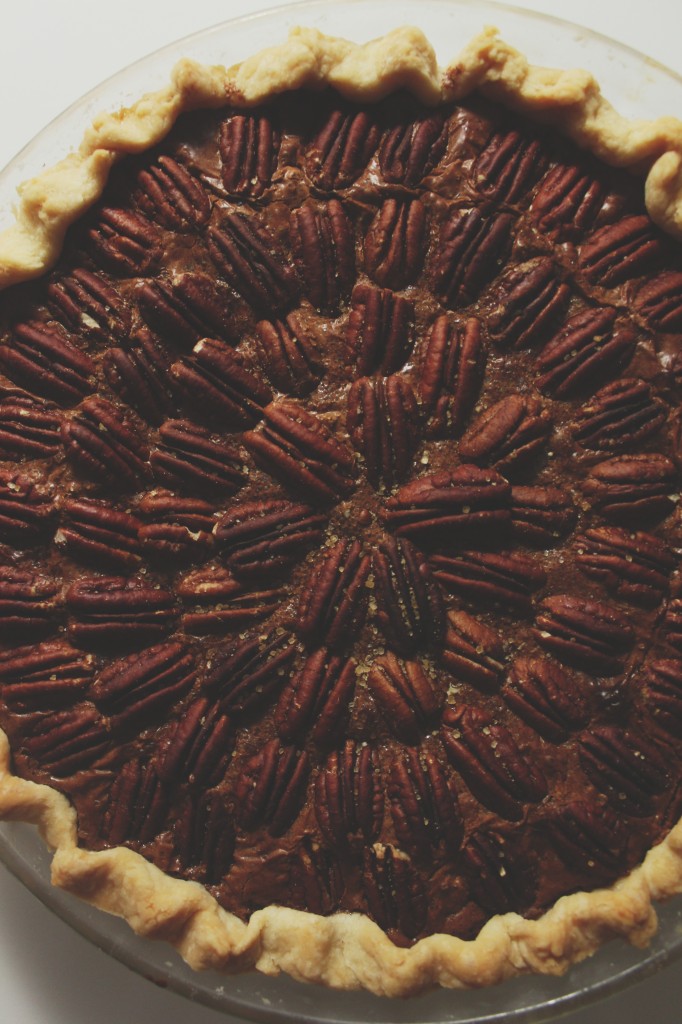
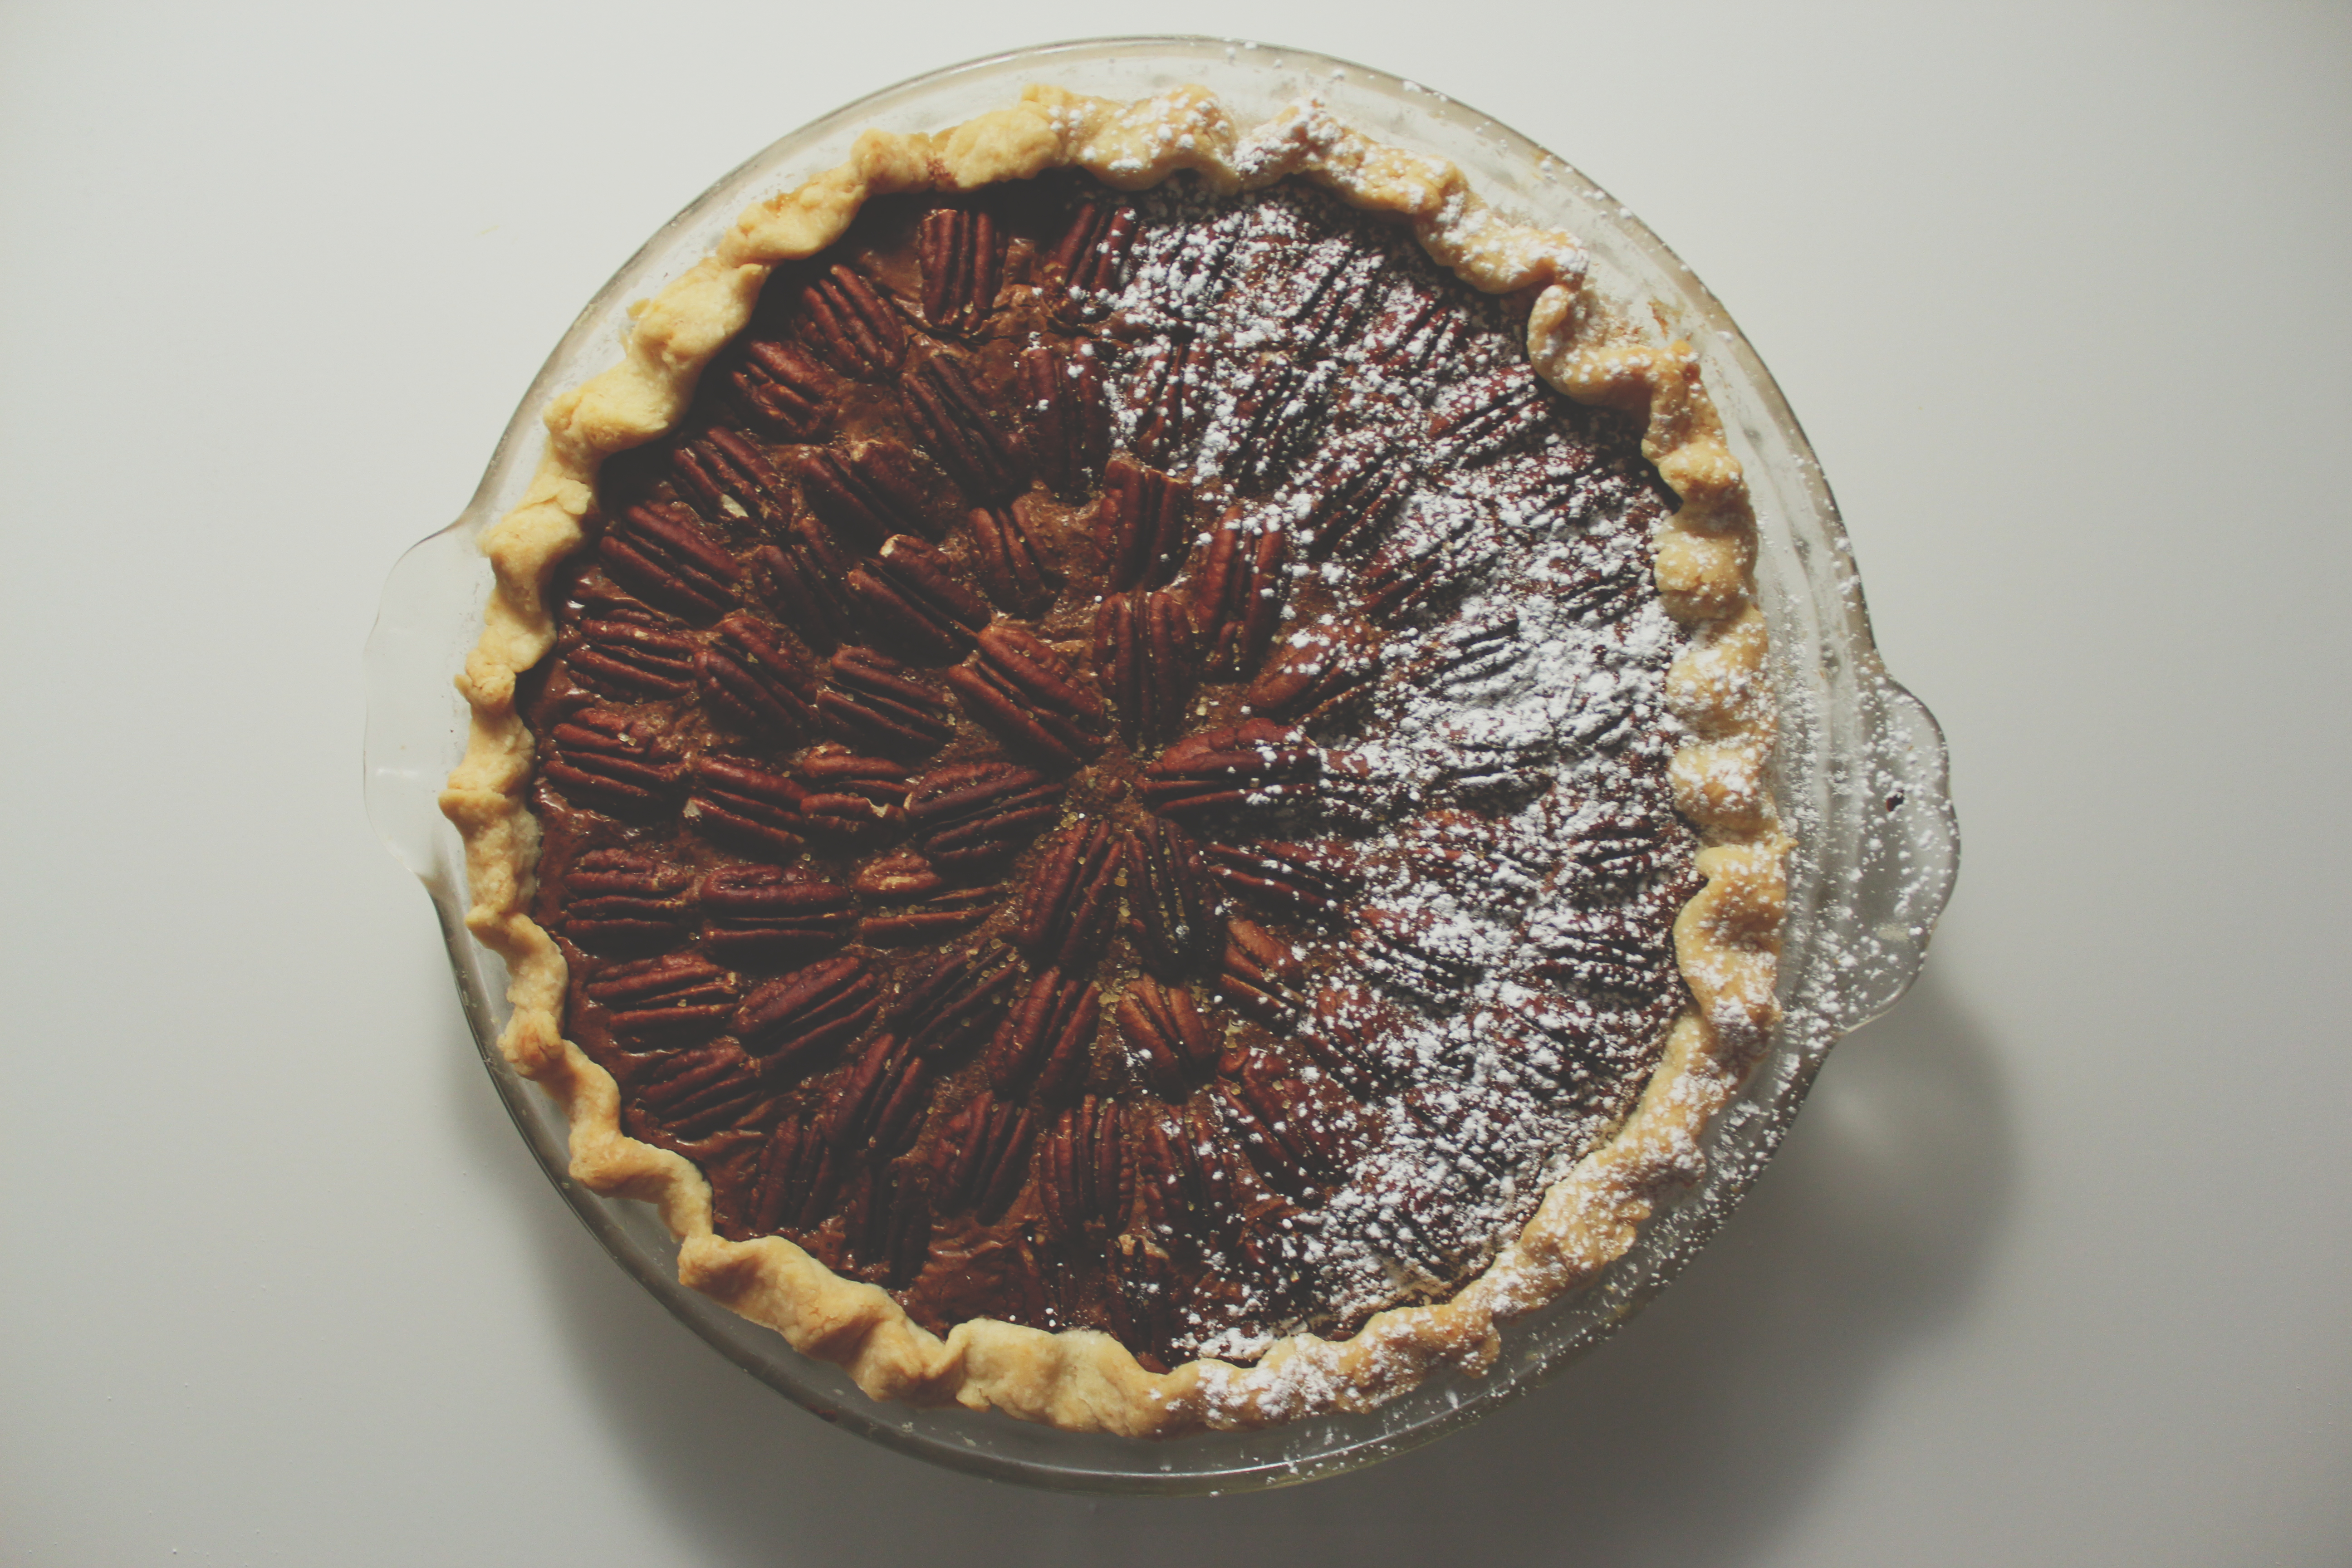
Finish with a sprinkling of pecans and turbinado sugar.
You’ll smell this pie long before it emerges from the oven.  It’s fragrant with the best things in life: butter, spices, and chocolate.
Once it’s partially cooled, you’ll stick it in the freezer and it will thicken into a custard-y pie, the smooth and gooey chocolate interrupted only by crisp pecans.

Serve this pie sprinkled with a touch of powdered sugar, and unsweetened whipped cream or barely sweetened vanilla ice cream.

I might have to make this again for Thanksgiving.

It is among the 3 best pies I’ve ever made.

It is that good, people.

tl;dr: MAKE THIS.

P.S. I posted this on 11/11 at 11:11.  My wish is for you to make this (JK! Then it wouldn’t come true!!)

IMG_5190_01

Pumpkin Spice Brown Butter Chocolate Pecan Pie

ingredients:
for the crust:
165 grams (1 1/2 cups)flour
8 grams (2 teaspoons) sugar
pinch salt
113 grams (8 tablespoons) butter, cut into small pieces and cold
45 grams (3 tablespoons ice water, or as needed)

for the filling:
140 grams (scant cup) bittersweet chocolate chunks or chips
220 grams (1 cup plus 2 scant tablespoons) sugar
150 grams (1/2 cup plus 3 tablespoons) brown sugar
17 grams (2 tablespoons plus 2 teaspoons) nonfat dry milk powder
1 1/2 teaspoons pumpkin pie spice, or a big pinch each cloves, nutmeg, and star anise, plus 2 pinches each cinnamon and ginger
big pinch kosher salt
180 grams (13 tablespoons) butter, browned
120 grams (1/2 cup) milk
6 egg yolks
approximately 300 grams (2 1/2 cups) pecan halves, the pretty ones saved for garnish and the rest chopped roughly
turbinado sugar, for sprinkling, if desired

directions:
Make the crust: stir the flour, sugar, and salt together in a large bowl.
Add the butter cubes in and cut them in with a pastry blender or your fingers, flattening some and rubbing others into the flour.
Leave pieces the size of peas; the rest should resemble a coarse meal.
Stir in the water, starting with 2 tablespoons, until the dough comes together; it shouldn’t be sticky or crumbly, but just barely hold together.
Knead gently 3 or 4 times, then pat into a disk and refrigerate.
Meanwhile, make the filling: begin by melting the chocolate, gently; do this in a microwave on partial power or over a double boiler.
When the chocolate is 2/3 melted, remove from heat and stir until all melted; set aside to cool slightly.
Whisk the sugar, brown sugar, milk powder, spices, and salt together until no little lumps remain.
Whisk the brown butter in vigorously. Whisk the yolks and milk together, then vigorously whisk them into the butter/sugar mixture.
Finally, whisk in the melted and cooled chocolate and stir in the chopped pecans.
Set aside to thicken and rest while you finish the crust.
Preheat oven to 350 degrees F. Roll the crust out, gently, to a 1/8 inch thickness.
Place it in a 9-inch pie pan that is about 2 inches in depth.
Flute or crimp the edges as desired, then place in the freezer until it is hardened, about 10 minutes.
Pour filling into the crust and decorate with the reserved pecan halves.
Top with a little turbinado sugar, then place on a cookie sheet in the oven.
Bake for 40 minutes, until top is shiny and filling is set; you may need to cover the top with aluminum foil to prevent the pecans from burning (mine got a little toasty…).
Remove from oven and allow to cool almost completely, then finish the chilling in the freezer to make the filling extra dense.
Enjoy with unsweetened whipped cream and a little powdered sugar!

Golden Seams

IMG_5083

“Sea lion woman,
dressed in green
silver lining and golden seams.”

-Feist

IMG_5146

I’ve been listening to all the Feist in my iTunes library, hitting repeat like it’s going out of style.
I can’t help it!  I love Feist.  I love her lyrics and I LOVE her voice.  Ohmagah.

I’m really digging the album “The Reminder” in particular.  It helps me during these (many) late nights studying, studying, stuDYING.

(The second round of midterms has descended upon uChicago.  We mortals are withering.  Or, I am, at least.)

IMG_5075

If I were more patient, this post would be happening in, like, a month.

But.
Like, have you met me read this blog?
I am not about that waiting life.

So, these cookies are kind of Christmas-y.  Deal with it.  Now that Halloween is come and gone, you’re going to see winter holiday celuhbrayshuns popping up left and right.  I guarantee it.

Besides, who says spritz cookies have to be for Christmas only?
Traditionally, sure.  WHATEVER. I don’t care.  I firmly believe there is nothing wrong with wanting buttery, sugary, little cookies at all times.

Right?

IMG_5125

I had a luxurious package of Kerrygold in the fridge calling to me to make something buttery, something that would showcase its richness.
Butter cookies seemed like a good place to start.  (Ugh. Duh.)

I wanted something different from my standard, go-to 1-2-3 cookies (although those are still my favorites).

Something with a high butter content, so that the extra fat in the Kerrygold would really shine: European butters make especially crisp, tender, and yet soft baked goods.

Spritz cookies were just the ticket.

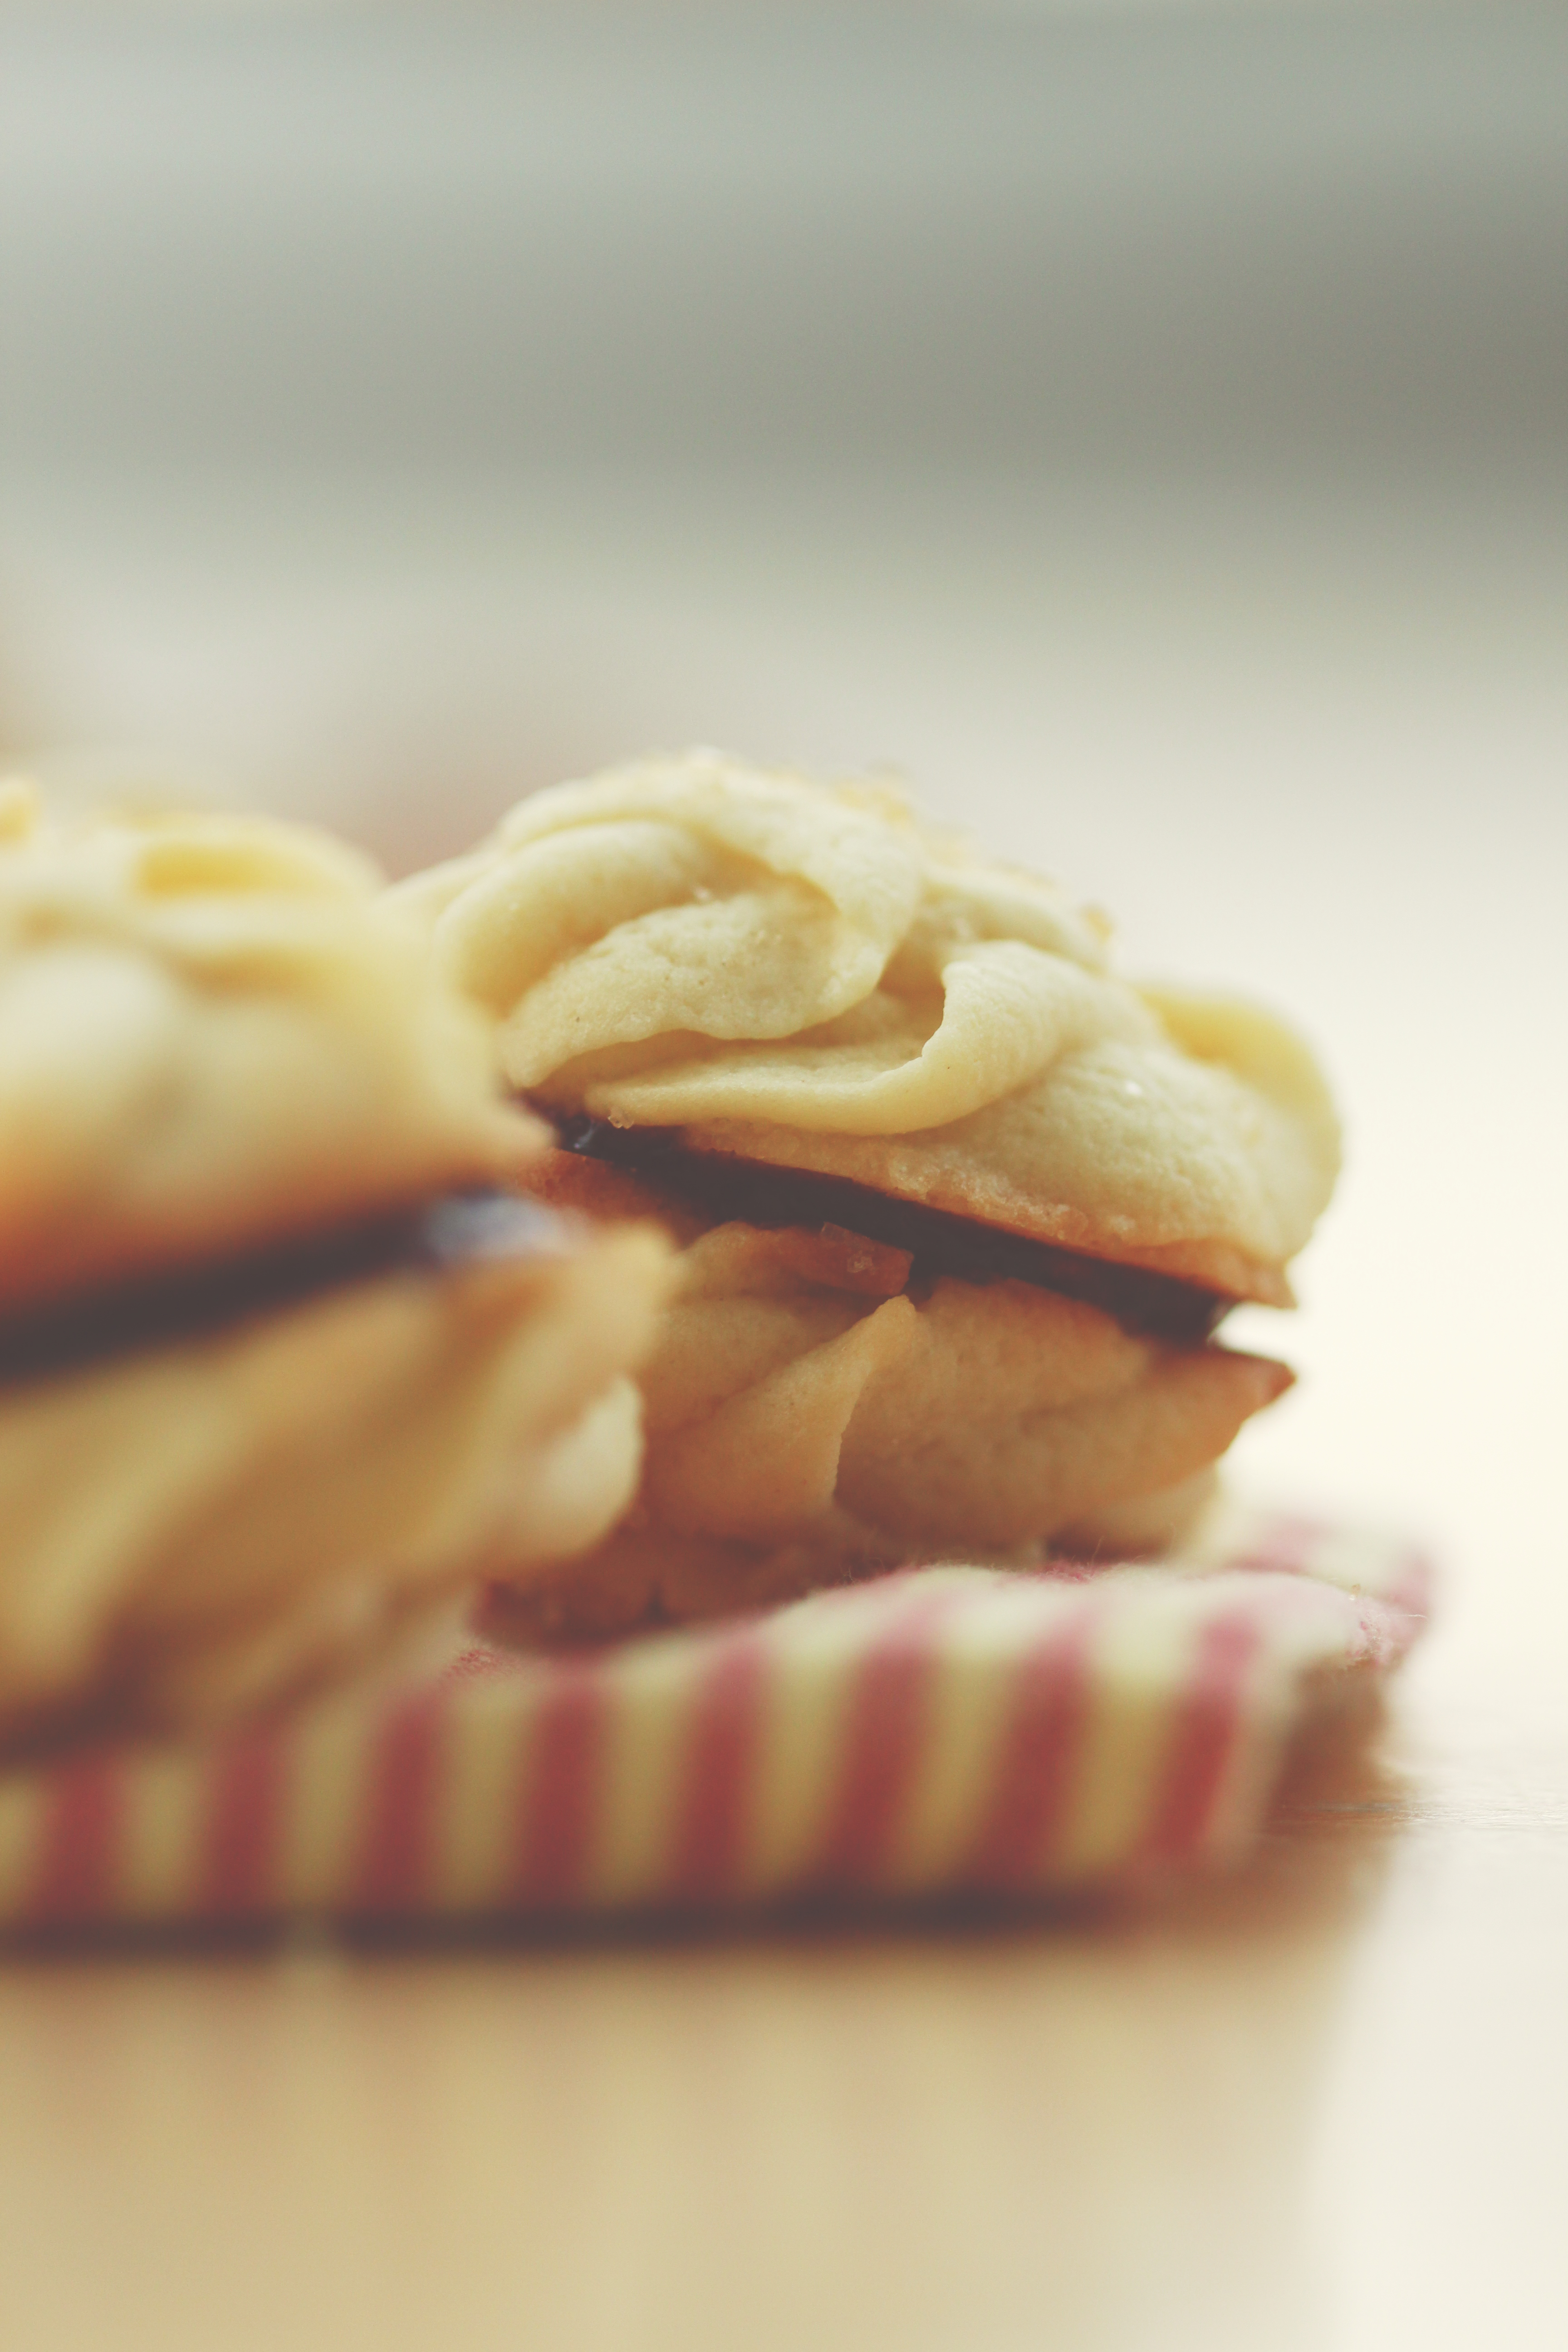
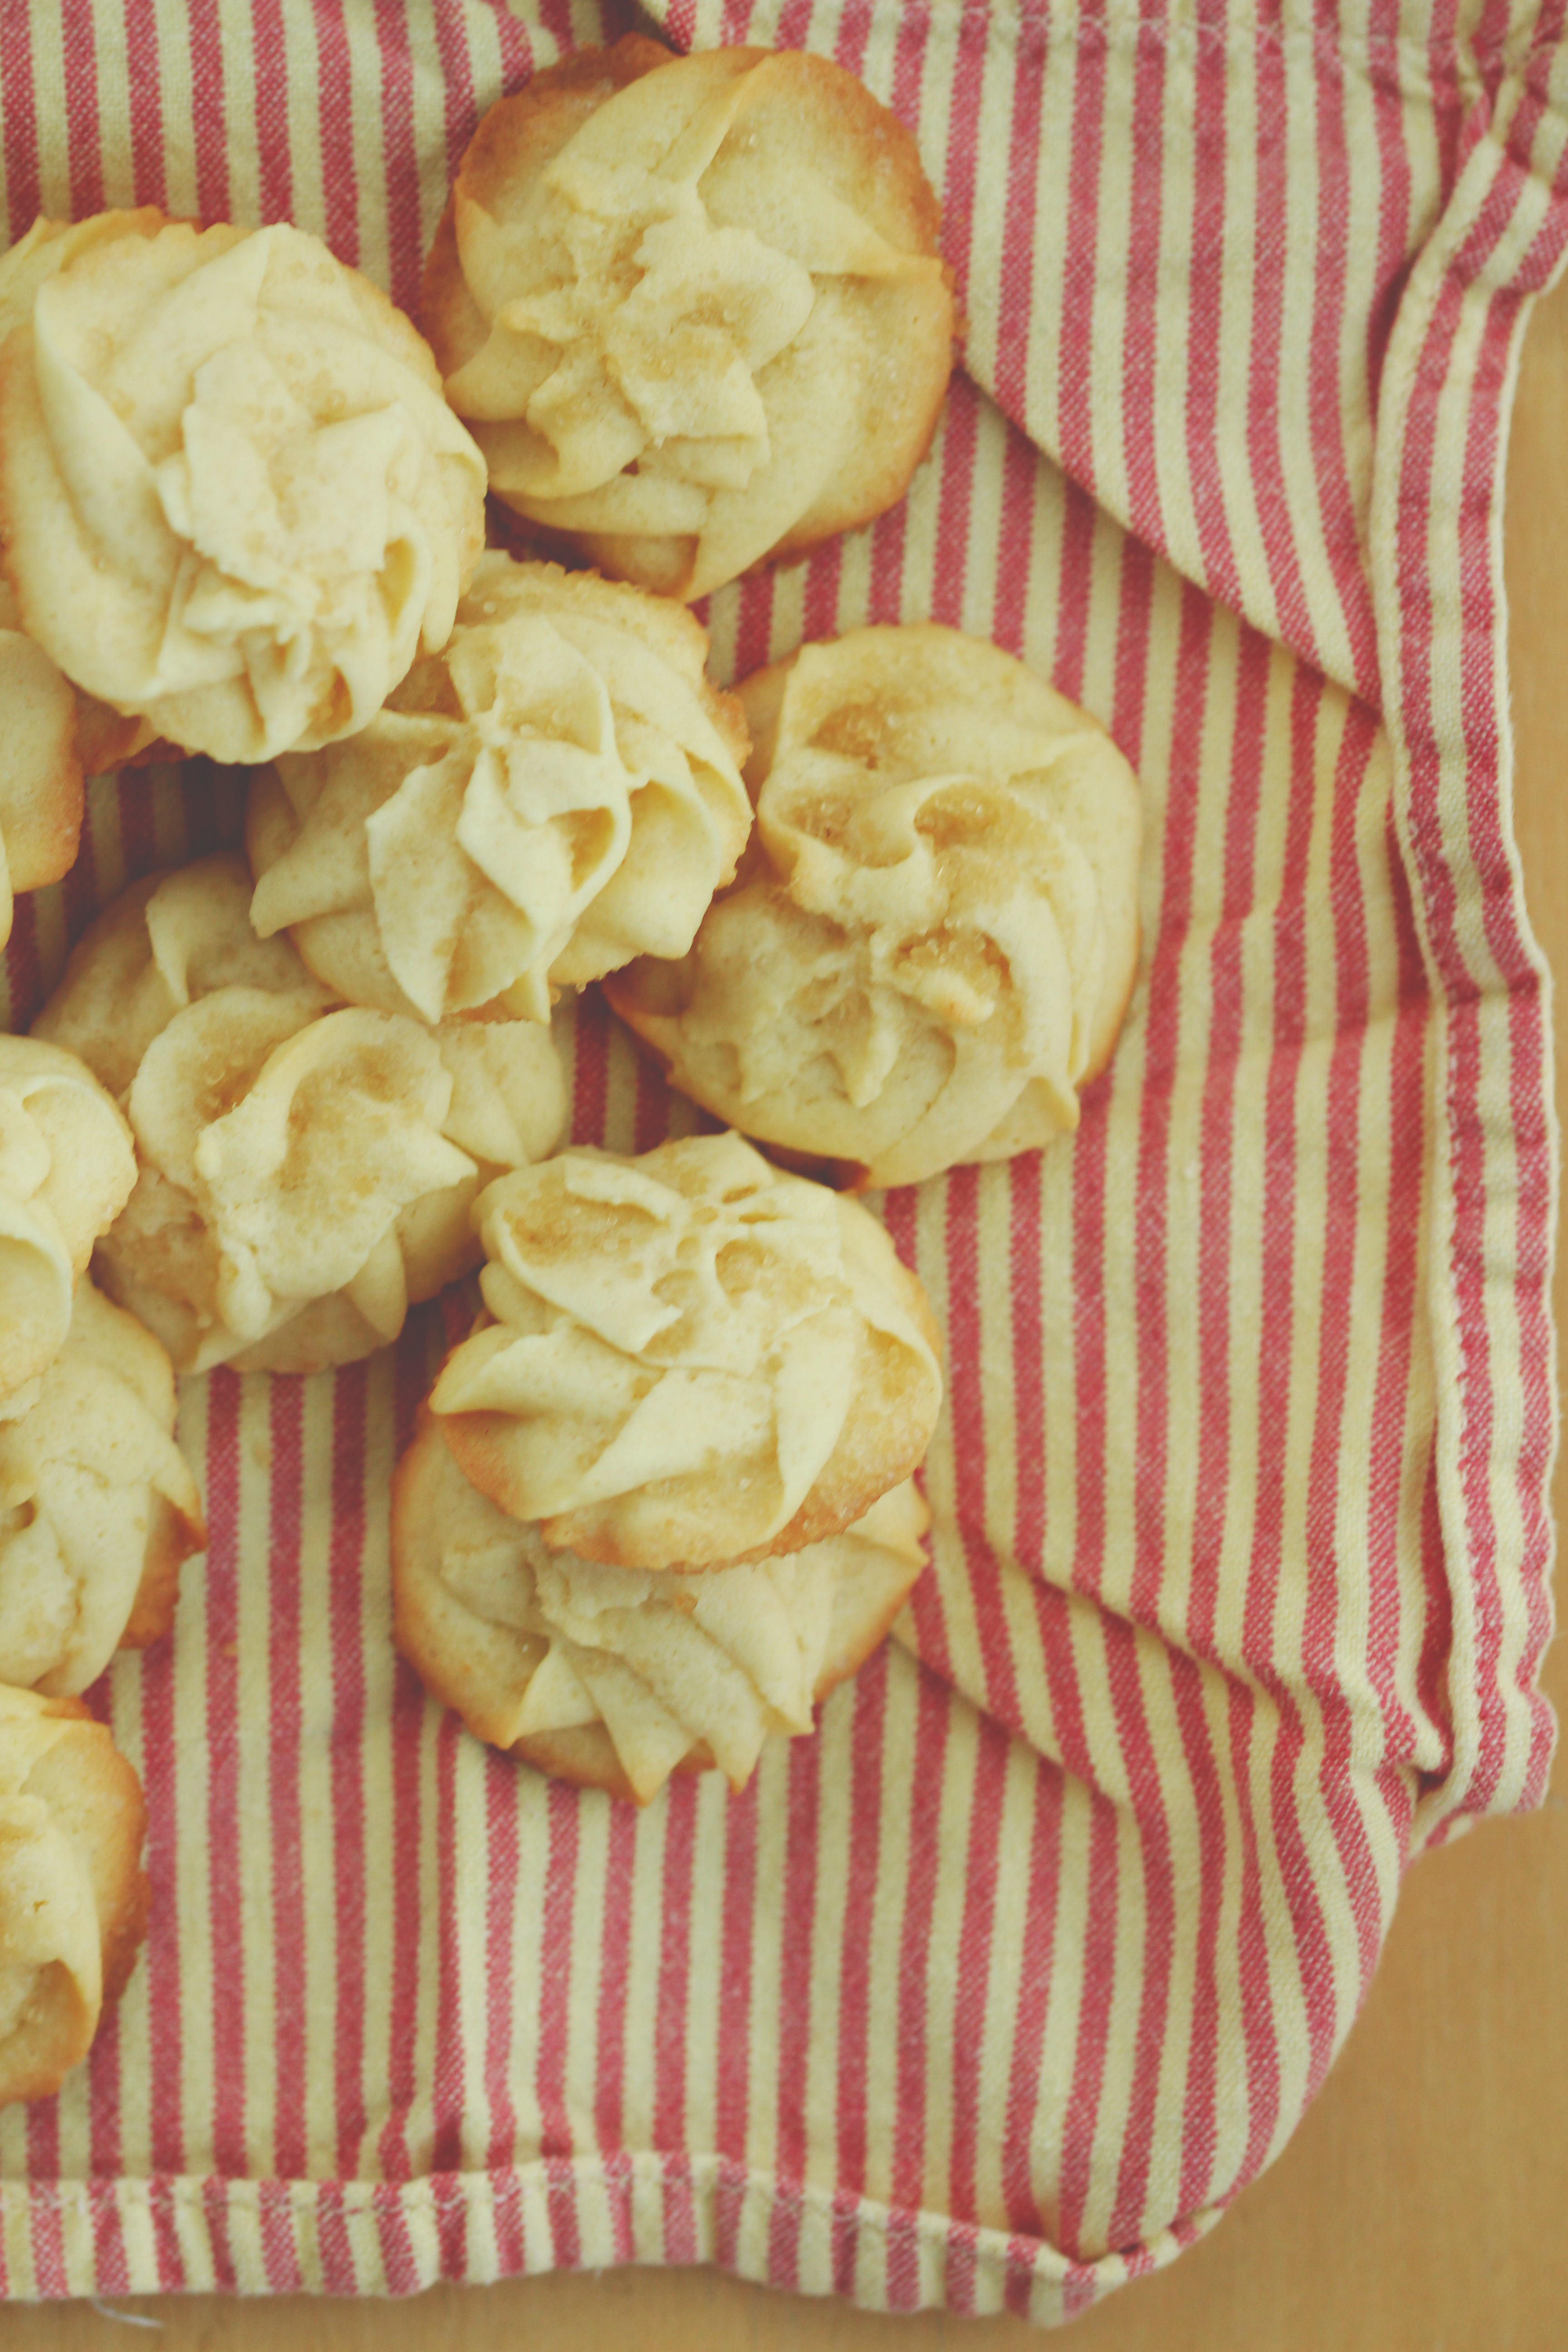
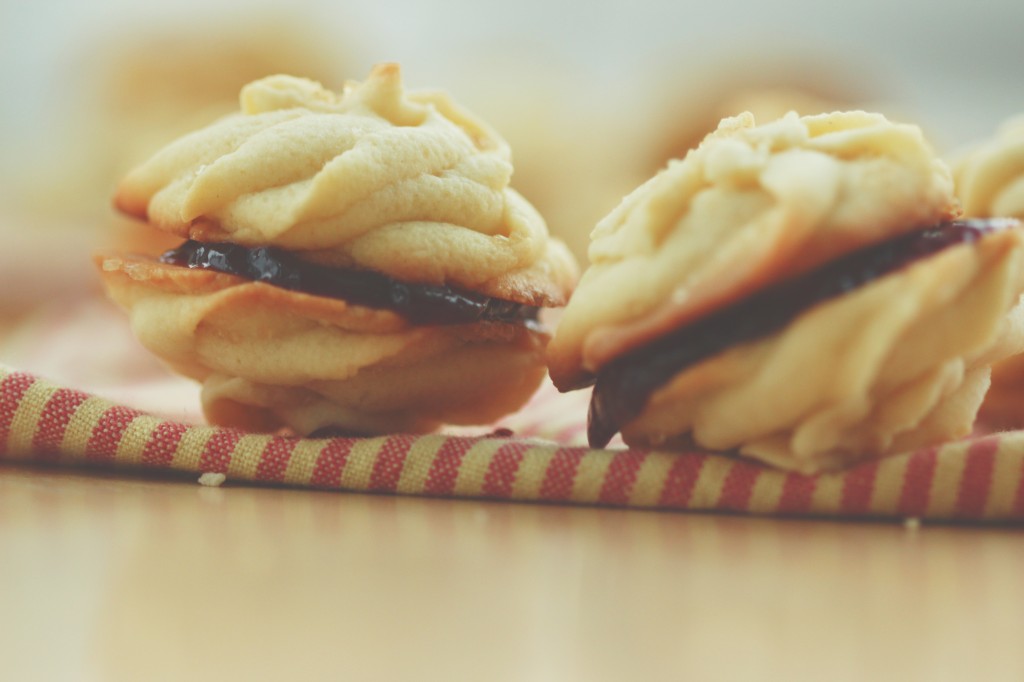
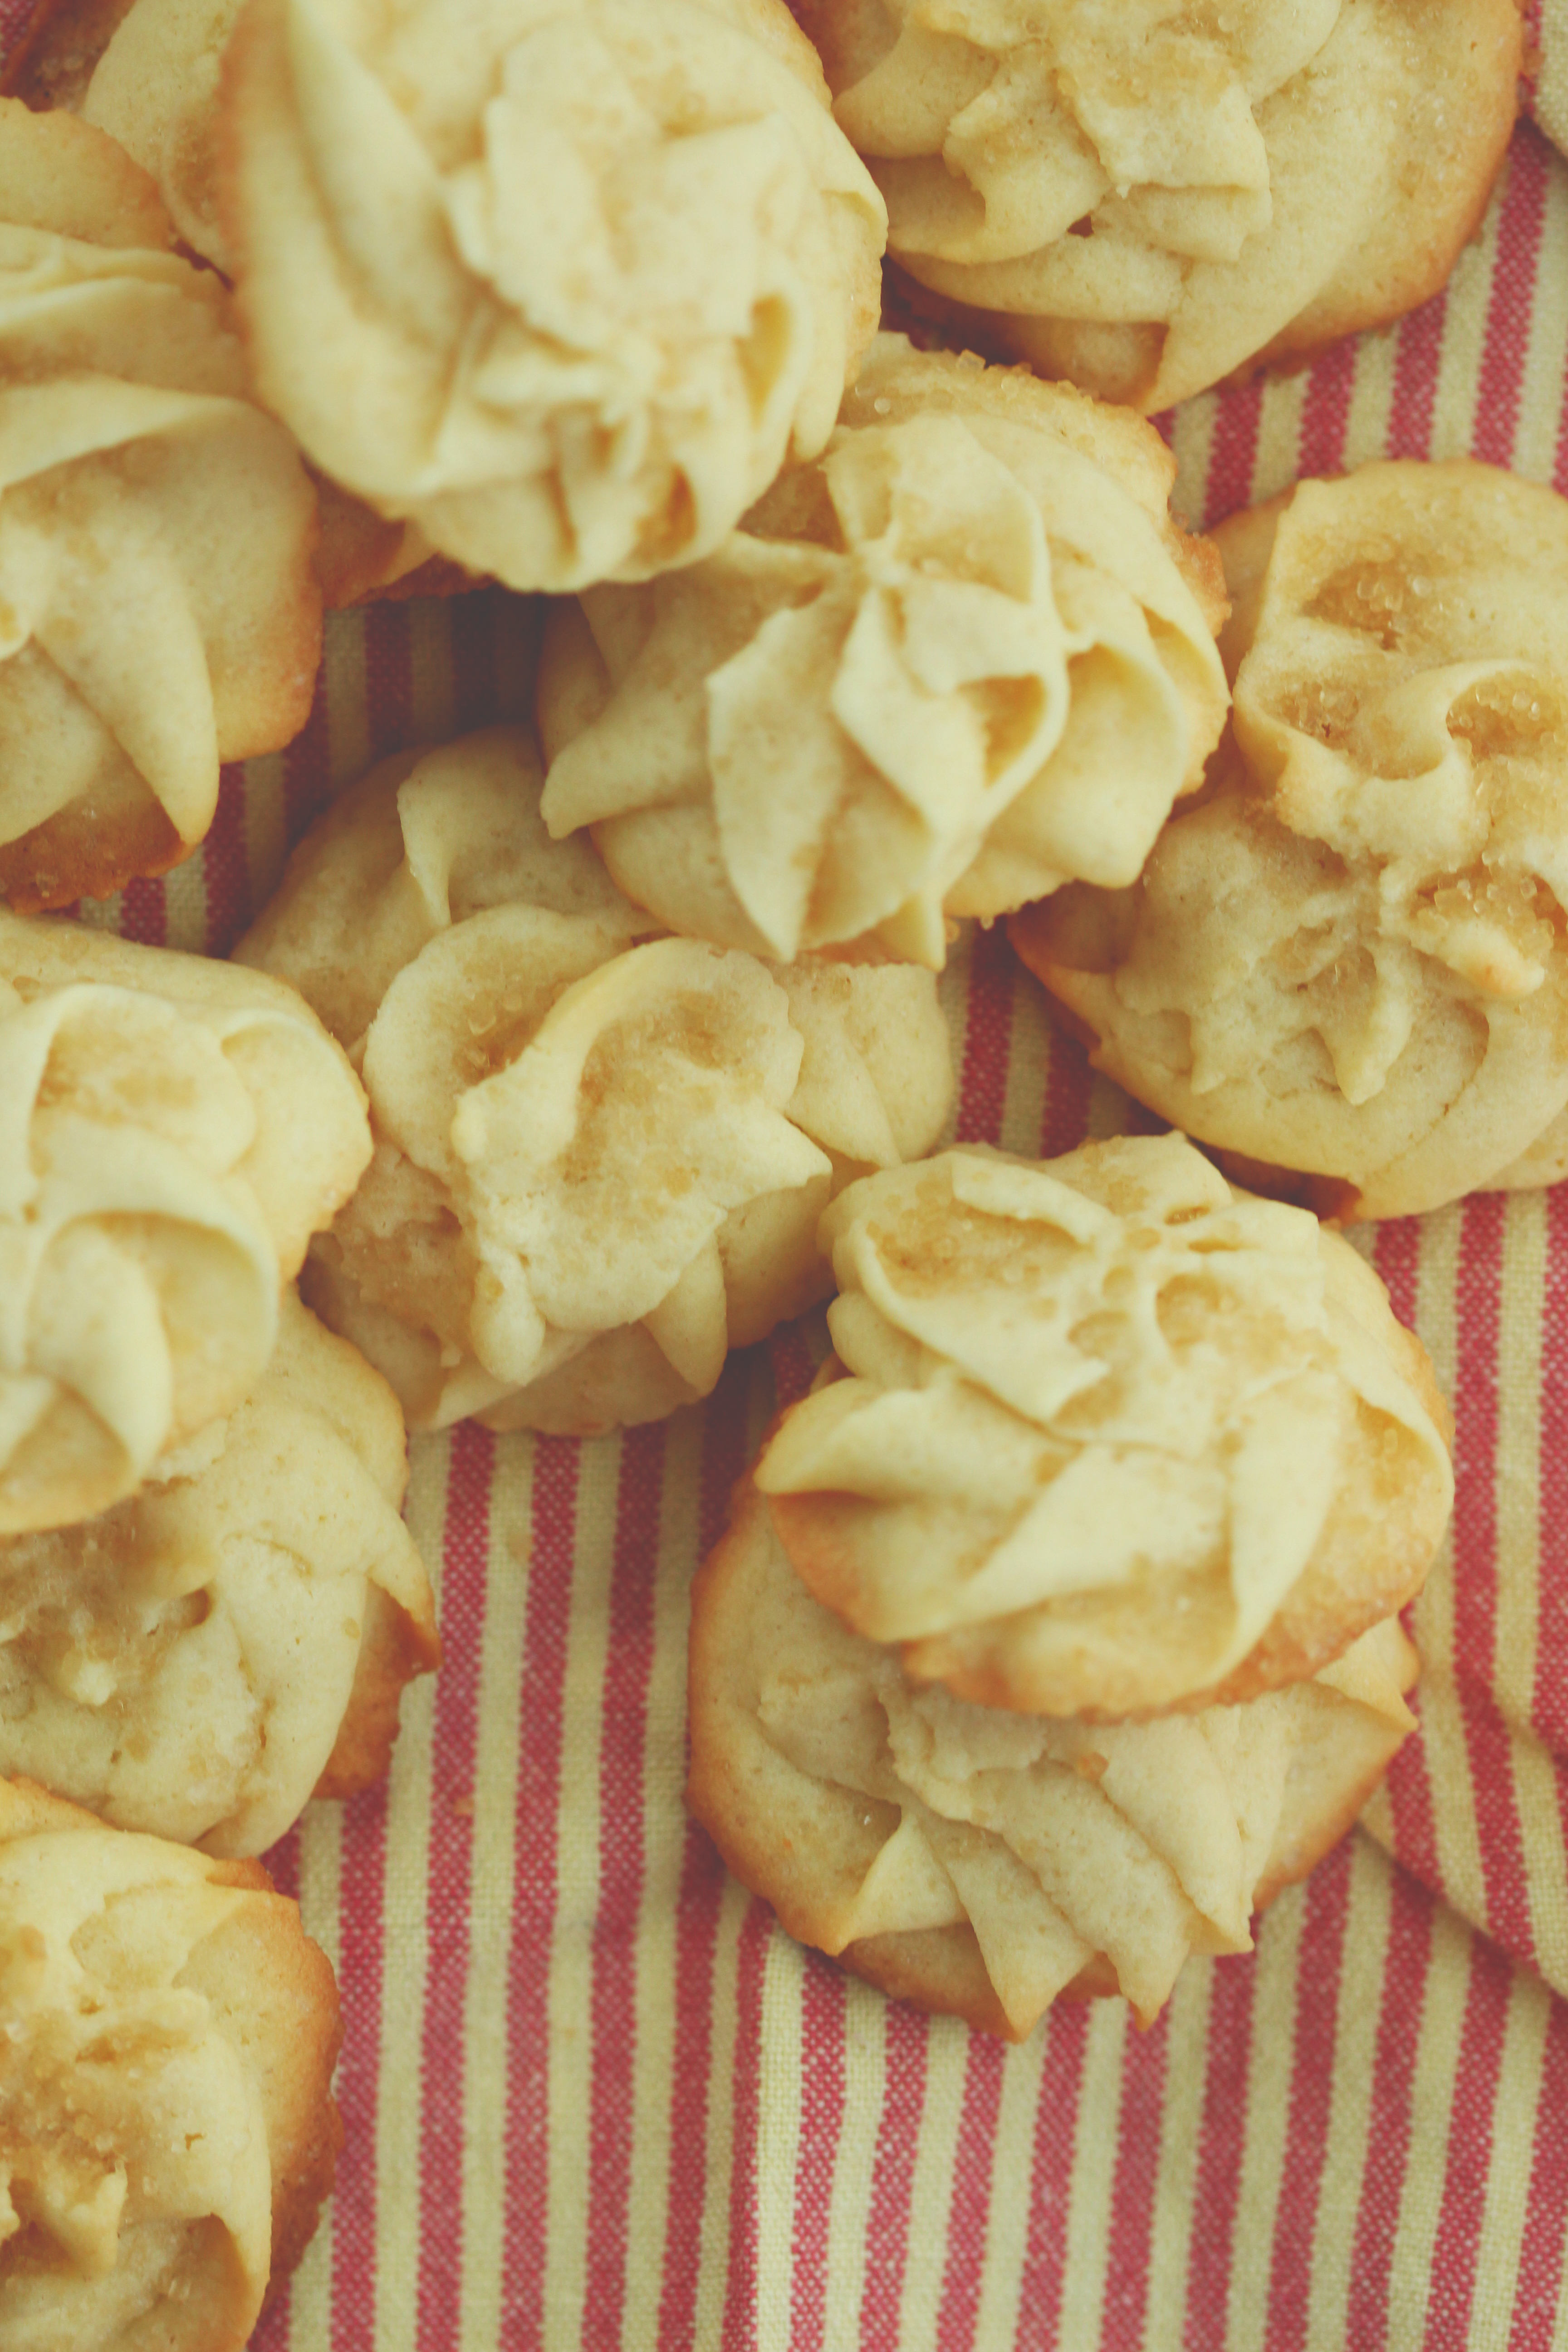
Little golden pinwheels, piped out and sprinkled liberally with turbinado sugar.

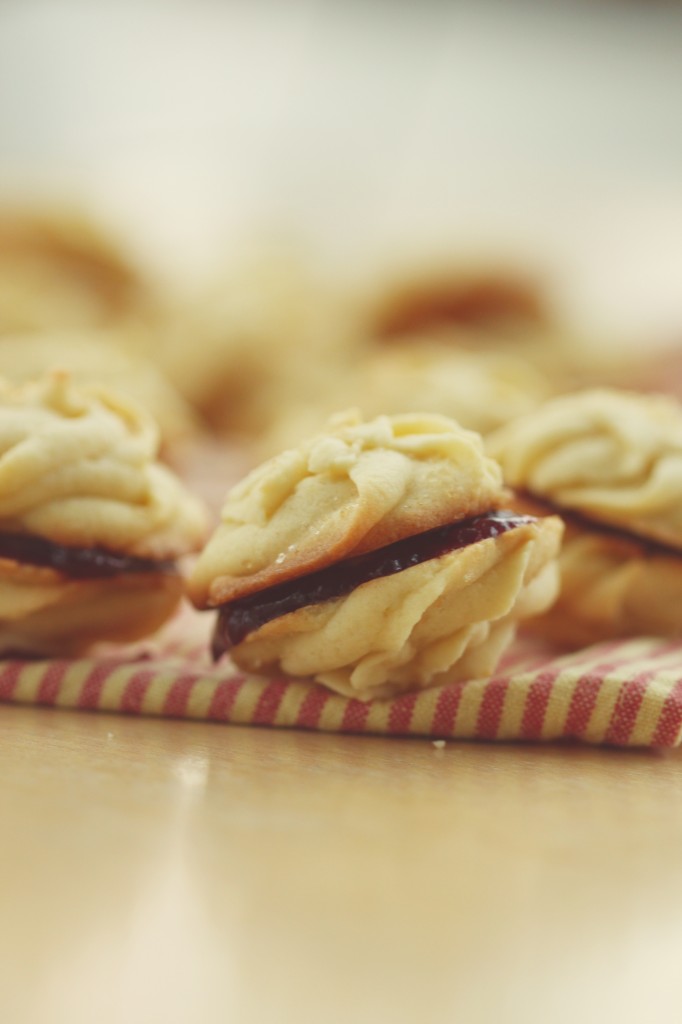
Sandwiched with raspberry jam, they’re like little gems.  Bite sized cookies=snacky, addictive cookies.

Make them now, make them in a month.  Butter is ALWAYS seasonable.

P.S. IS THIS REAL LIFE.  OMG.

IMG_5064

Spritz Sandwich Cookies
adapted from Baker’s Royale

ingredients:
1 cup (16 tablespoons) good quality unsalted European butter, like Kerrygold, cut into small chunks
2/3 cup granulated sugar
pinch kosher salt
1 cup powdered sugar
1 egg plus 1 egg yolk
1 teaspoon vanilla
6 tablespoons milk
3 cups flour, plus 2 tablespoons
6 tablespoons cornstarch
turbinado sugar, for sprinkling
jam, for sandwiching, if desired

directions:
Preheat oven to 350 degrees F.
Line 2 baking sheets with parchment or silpat.
Prepare a pastry bag with a star tip, or any desired tip, or prepare a spritz cookie press.
In a stand mixer fitted with the paddle attachment, beat the butter with the granulated sugar and salt for 3 minutes, until soft, light, and fluffy.
Scrape the sides of the bowl and add the powdered sugar, egg, egg yolk, and vanilla; mix on low to combine, then beat for 2 minutes.
Scrape the sides of the bowl and add the milk; mix until homogeneous.
Add in the flour and cornstarch in two additions, mixing slowly to combine after each one.
Fill the pastry bag with the batter (you’ll have to fill it multiple times), and pipe out desired shapes.
Sprinkle with turbinado sugar, and bake for 8 minutes, until set and lightly golden.
Allow to cool, then sandwich with some jam!

Pop!

IMG_4626_01

This cake is certainly cheerier than the last to be posted here, though it was made prior to that one.

IMG_4631_01

This cake was for my best friend (haaay I have friends y’all), Alexa.
She is an incredibly picky eater, but she loves popcorn.

Annnnnd it was her birthday (October 24th), so I made cake+popcorn.

(Note: the last 3 posts have been cake on this here blog.  Gettin’ real wild.)

Although this post is late (I had Halloweenie matters to attend to, after all), we still had a wonderful time celebrating her birfday.

Happy, happy (belated) birthday, Alexa love, I hope you enjoyed your cake!!

IMG_4695_01

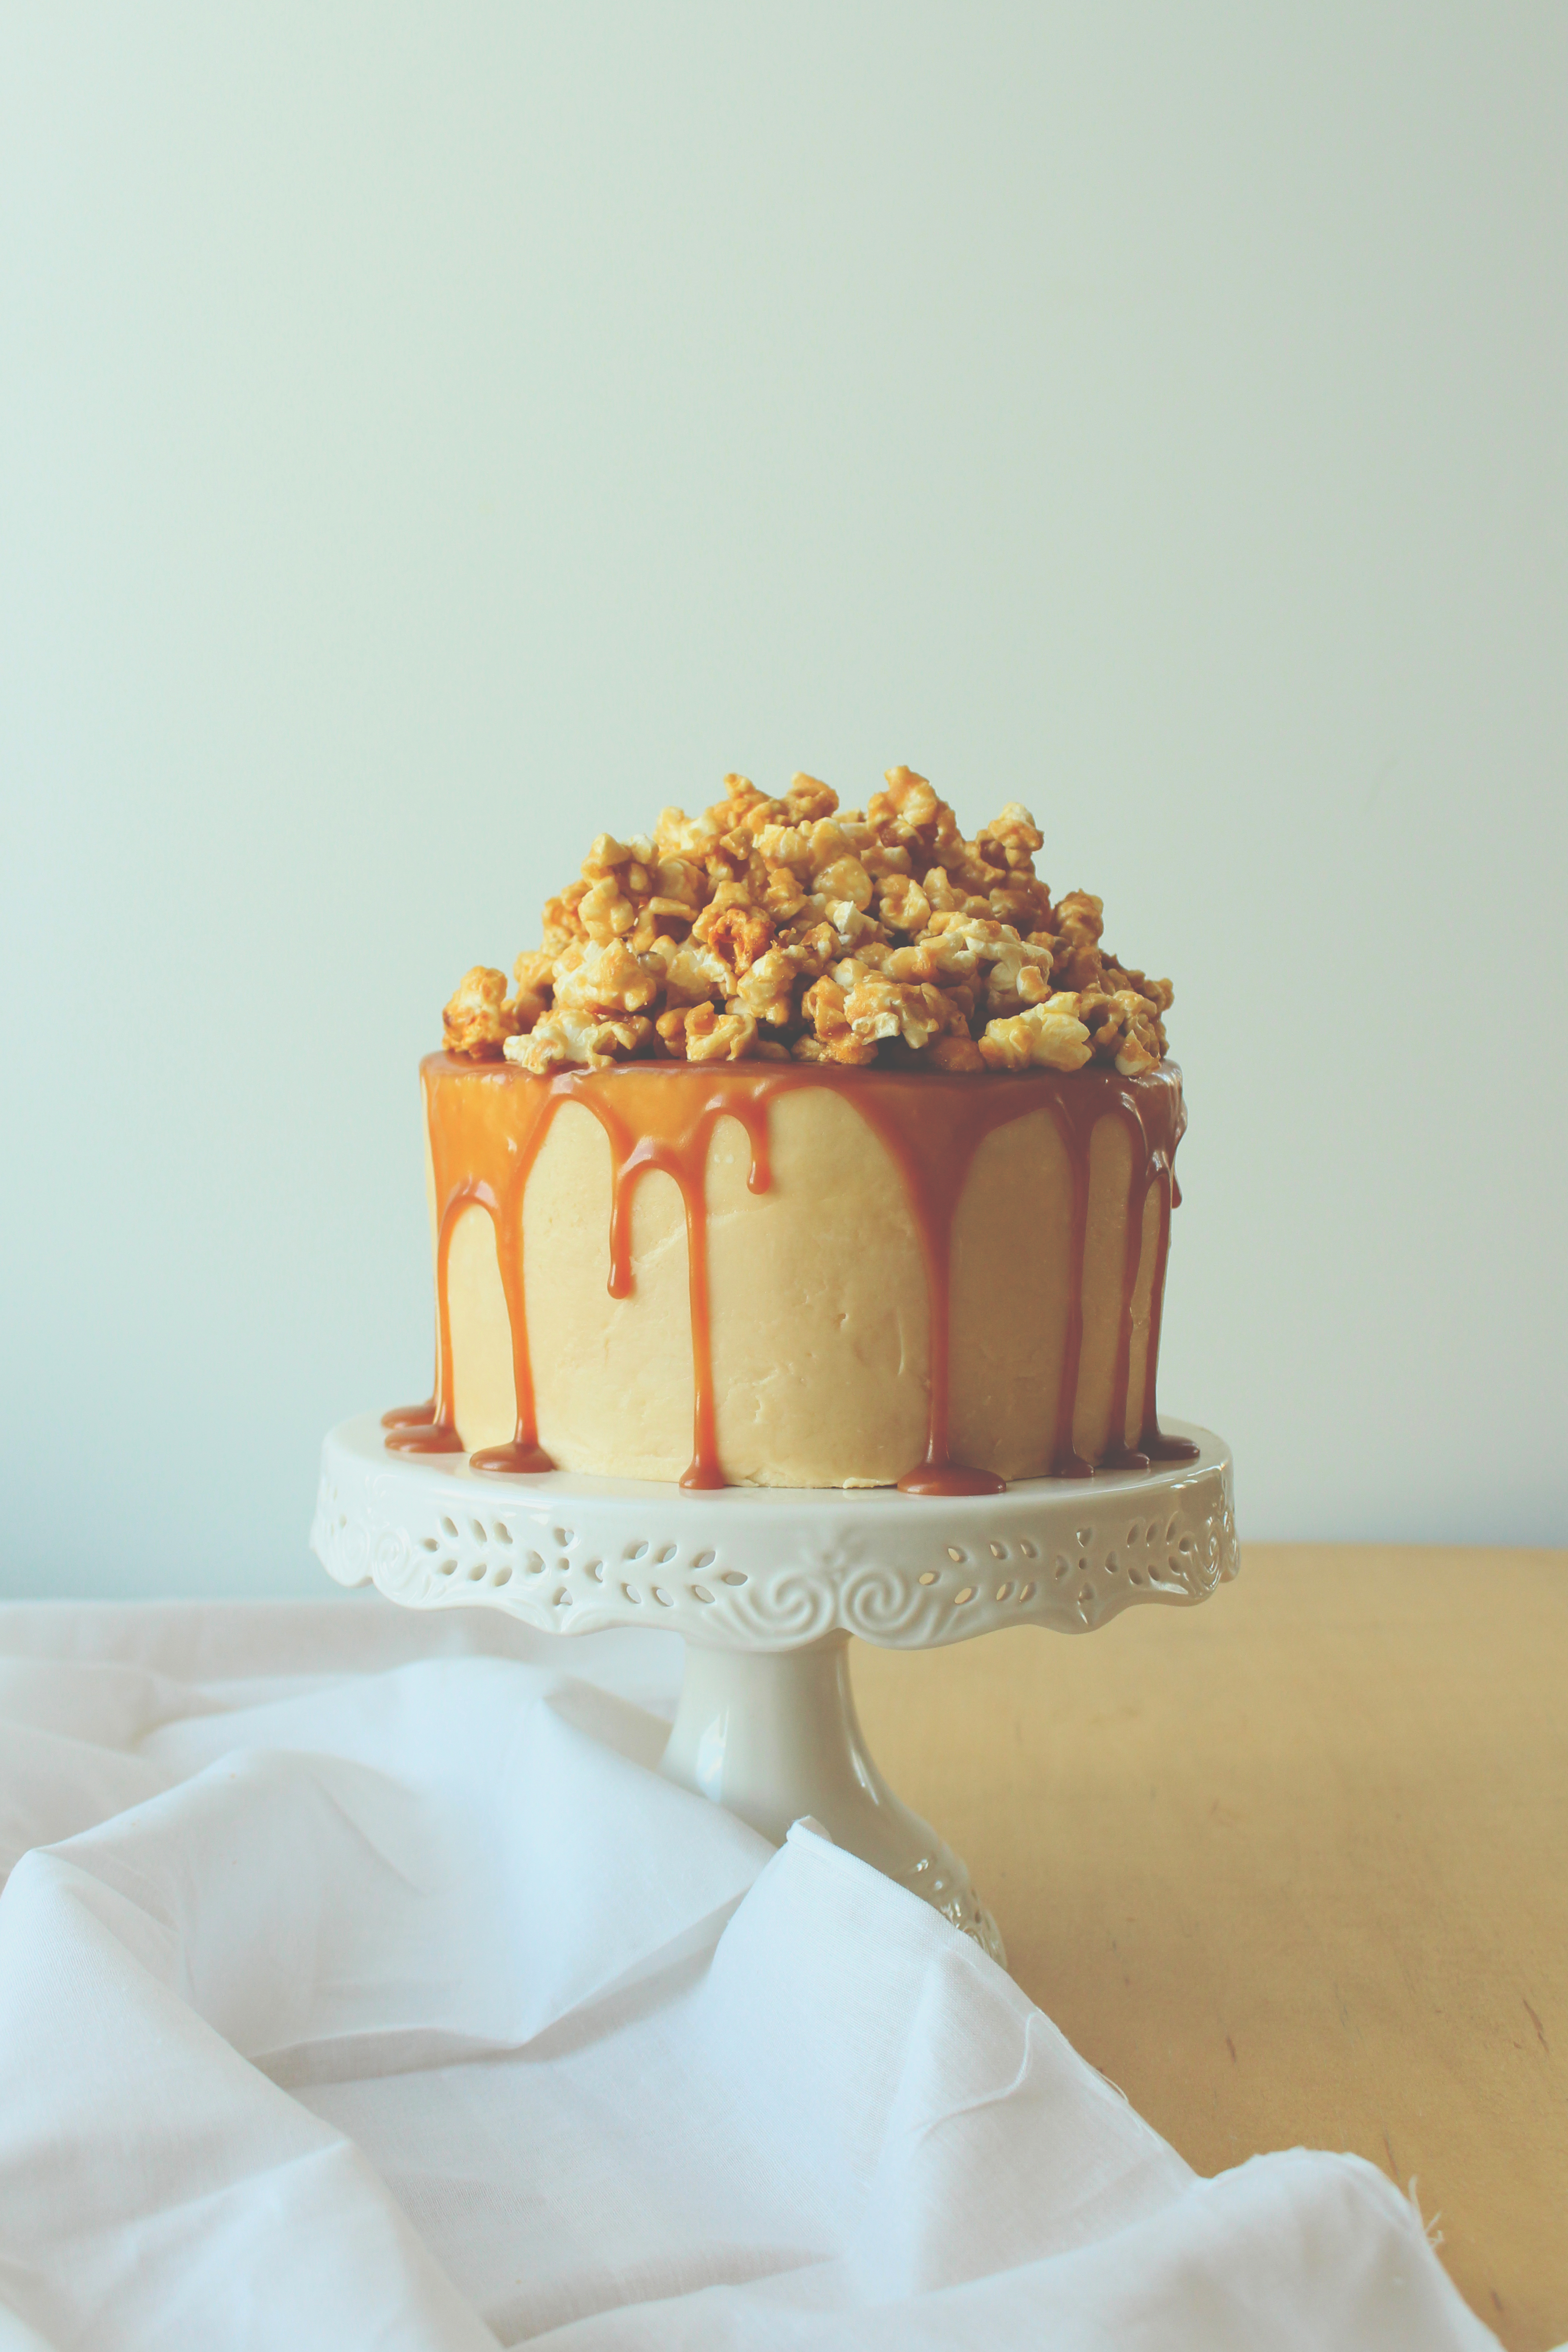
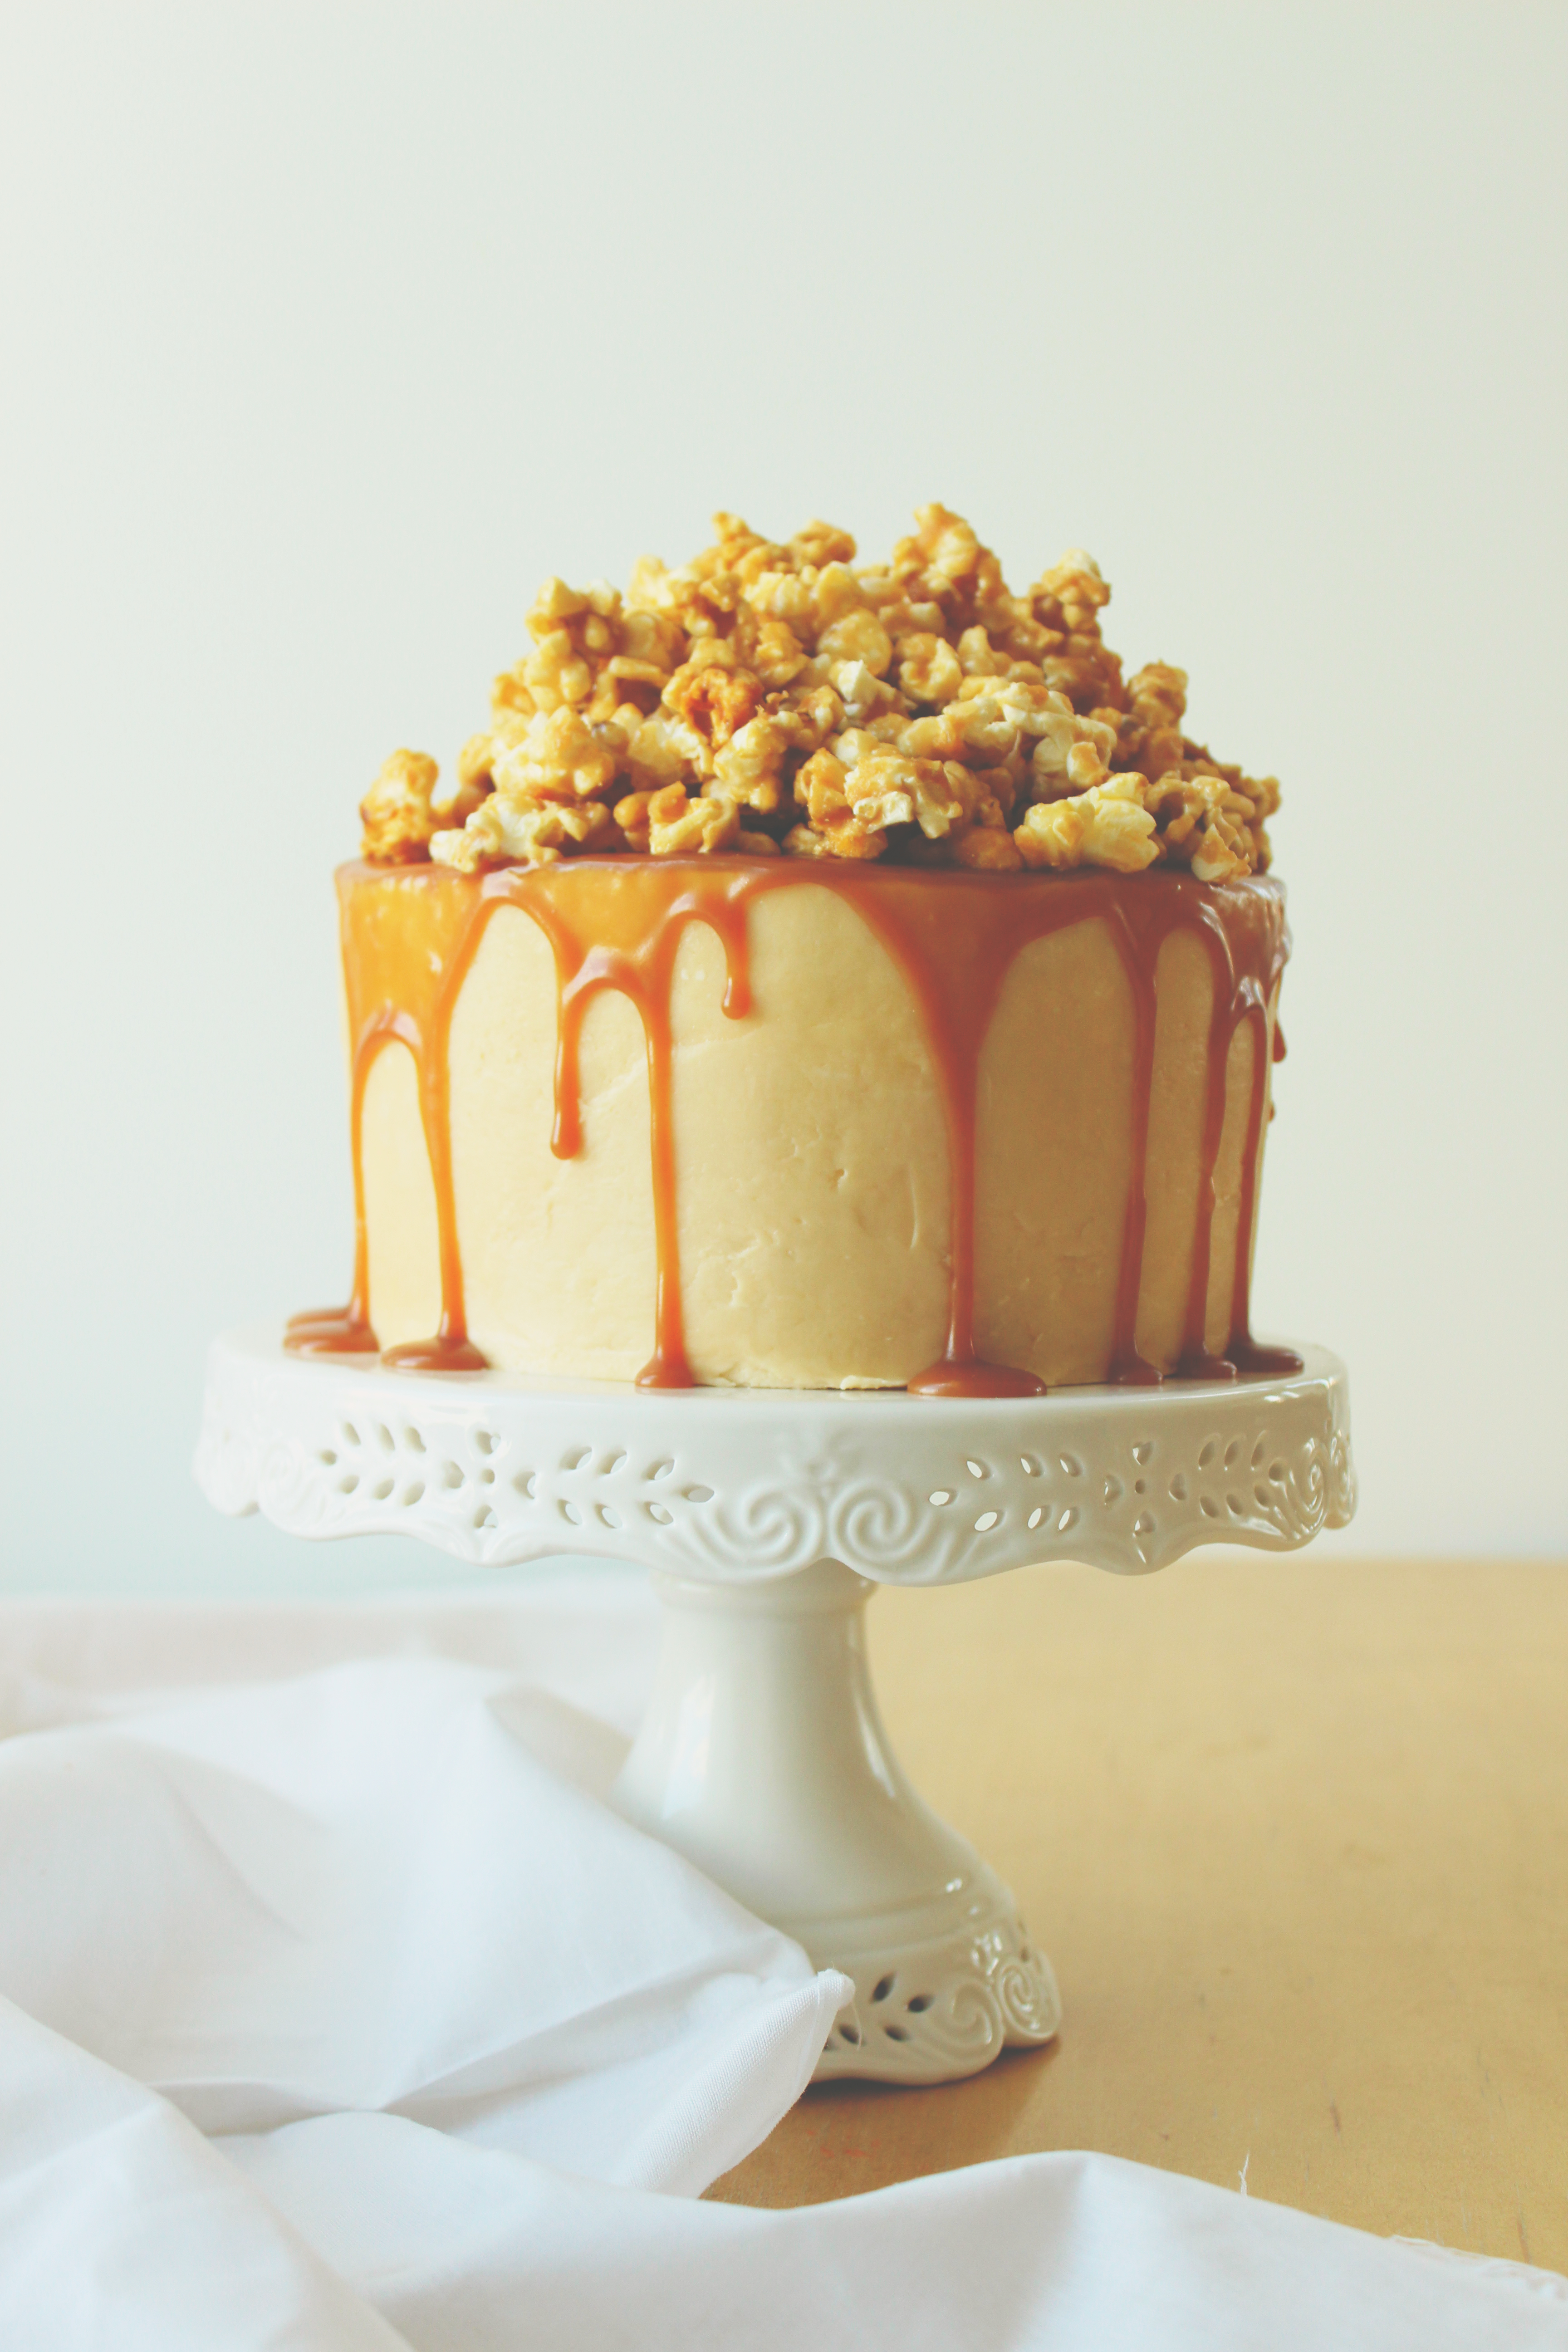
The cake itself emulates salted, buttery caramel corn.

The base is a simple yellow butter cake, with a soft, tight crumb and pronounced yellow color from egg yolks.

Their companion egg whites are whipped into a flurry with lots of butter and salted caramel to make a salted caramel Italian meringue buttercream.  Um, salivating.  It is deeeelicious.

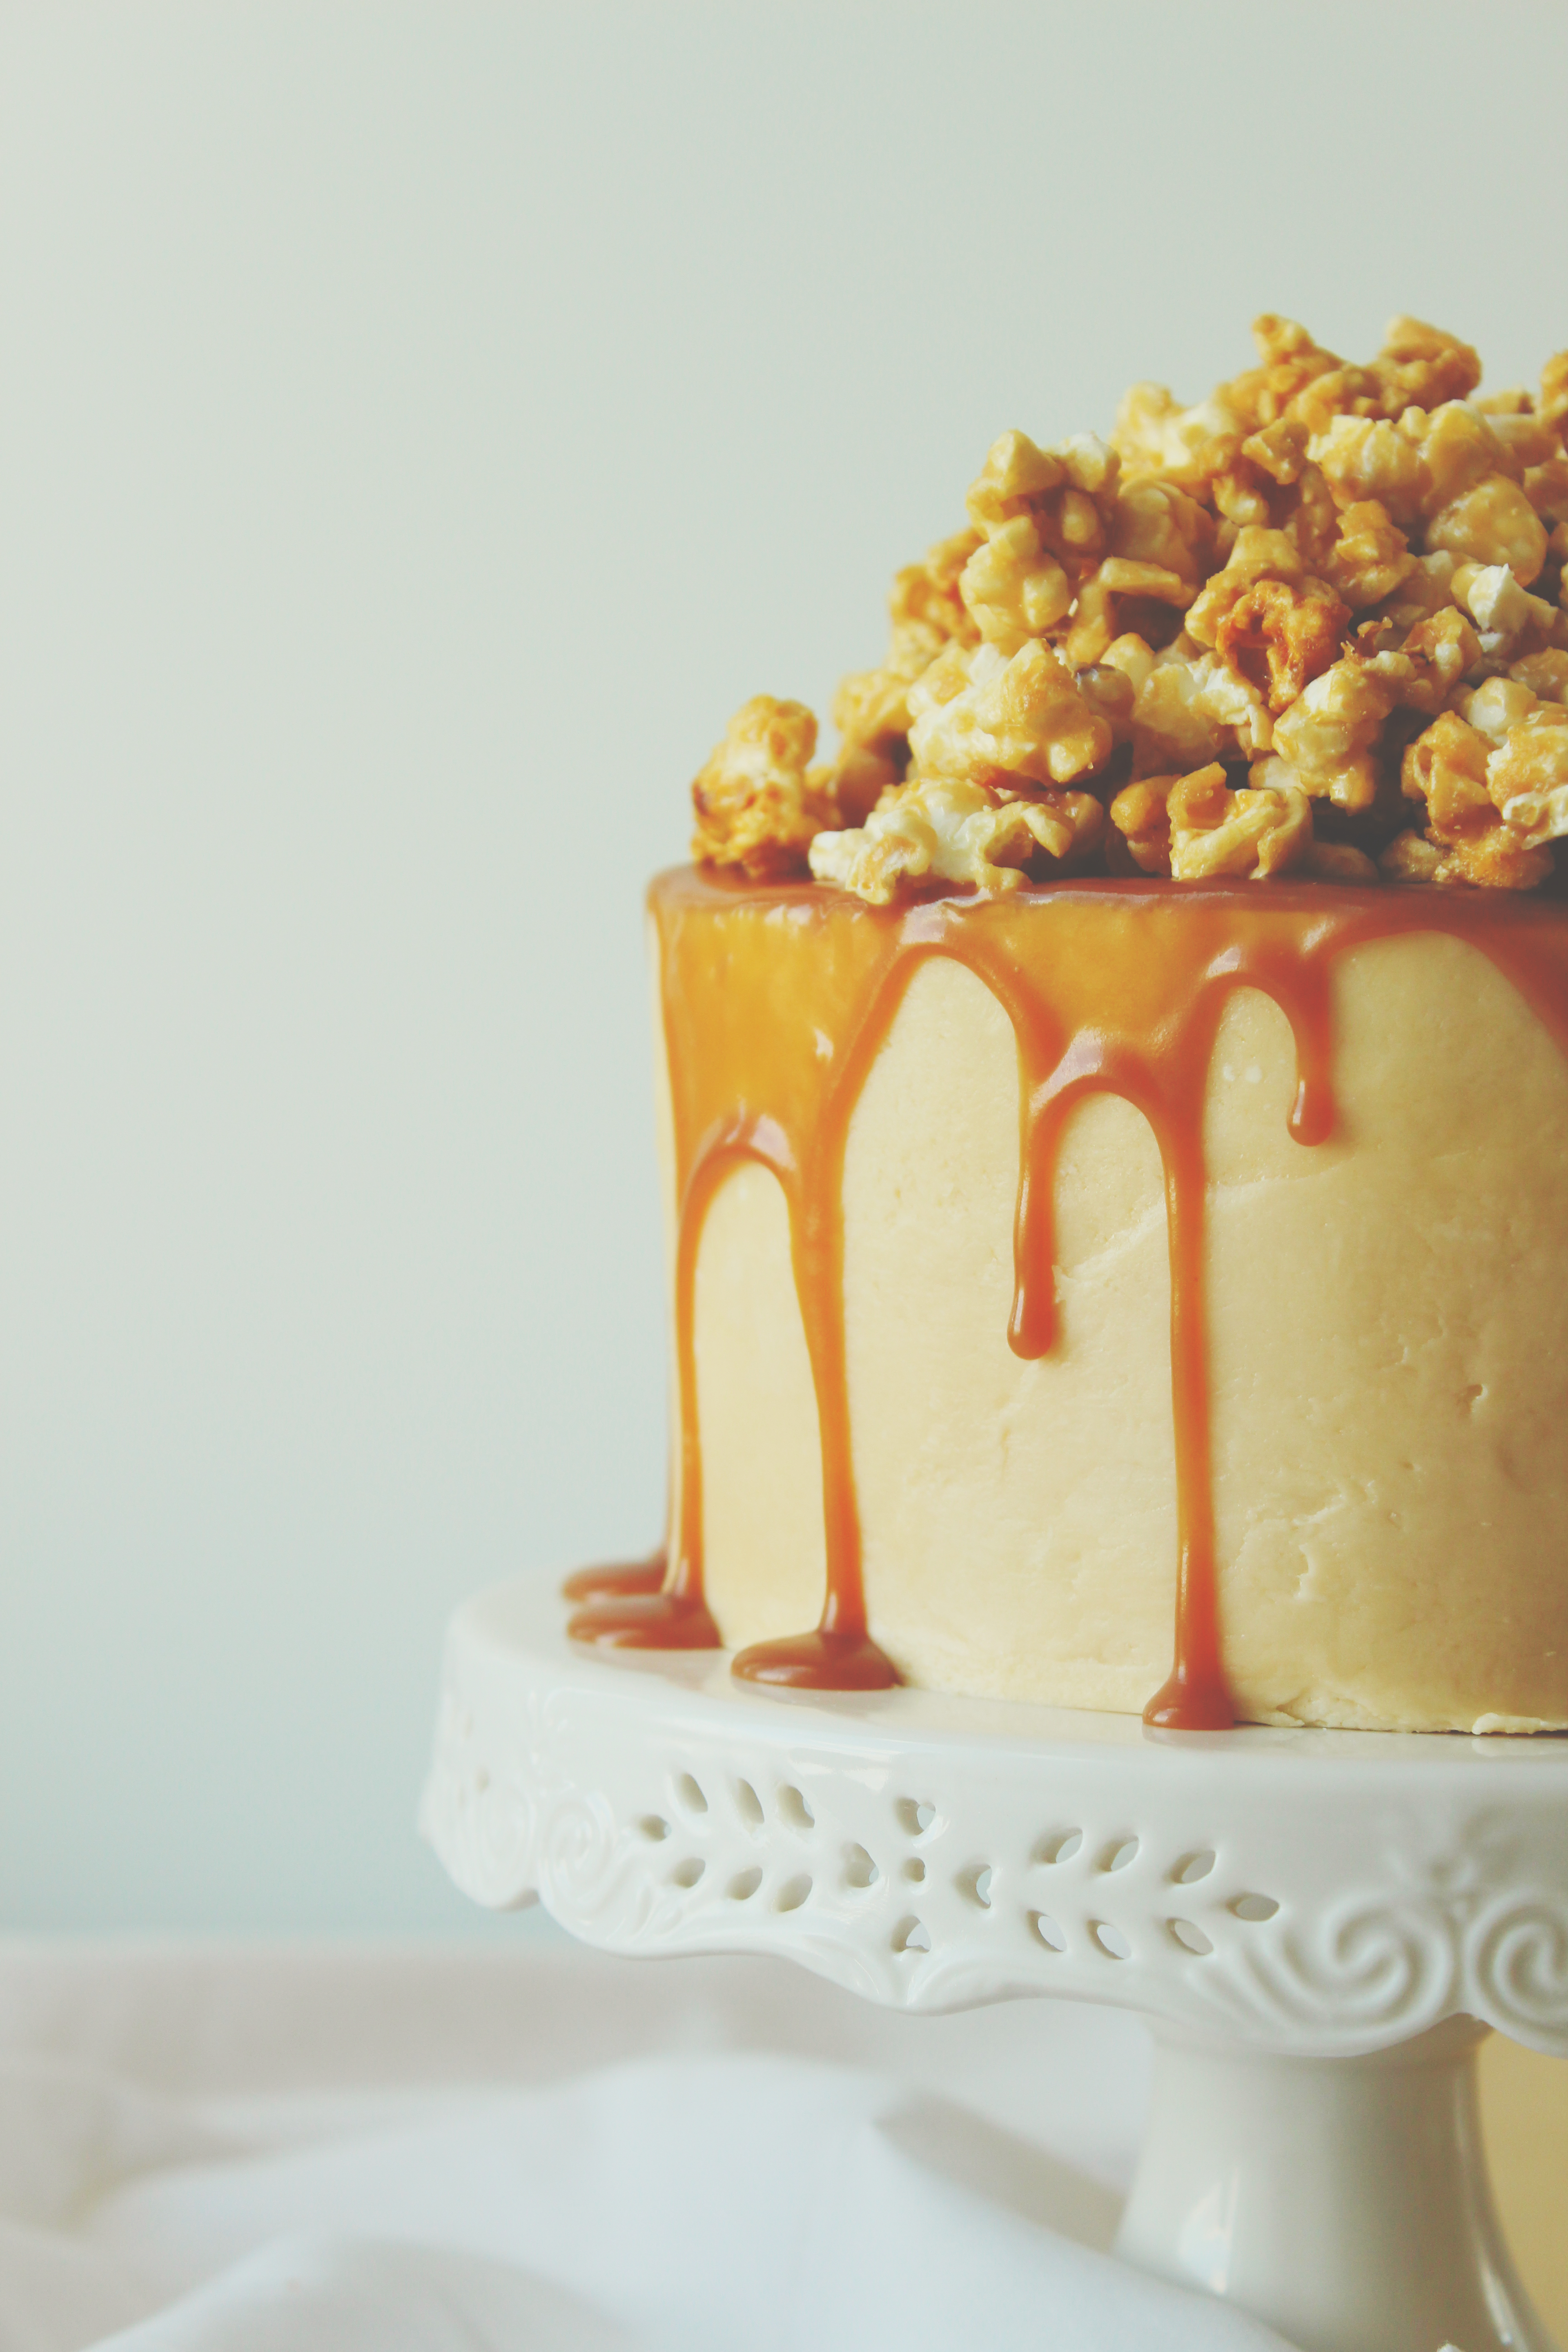
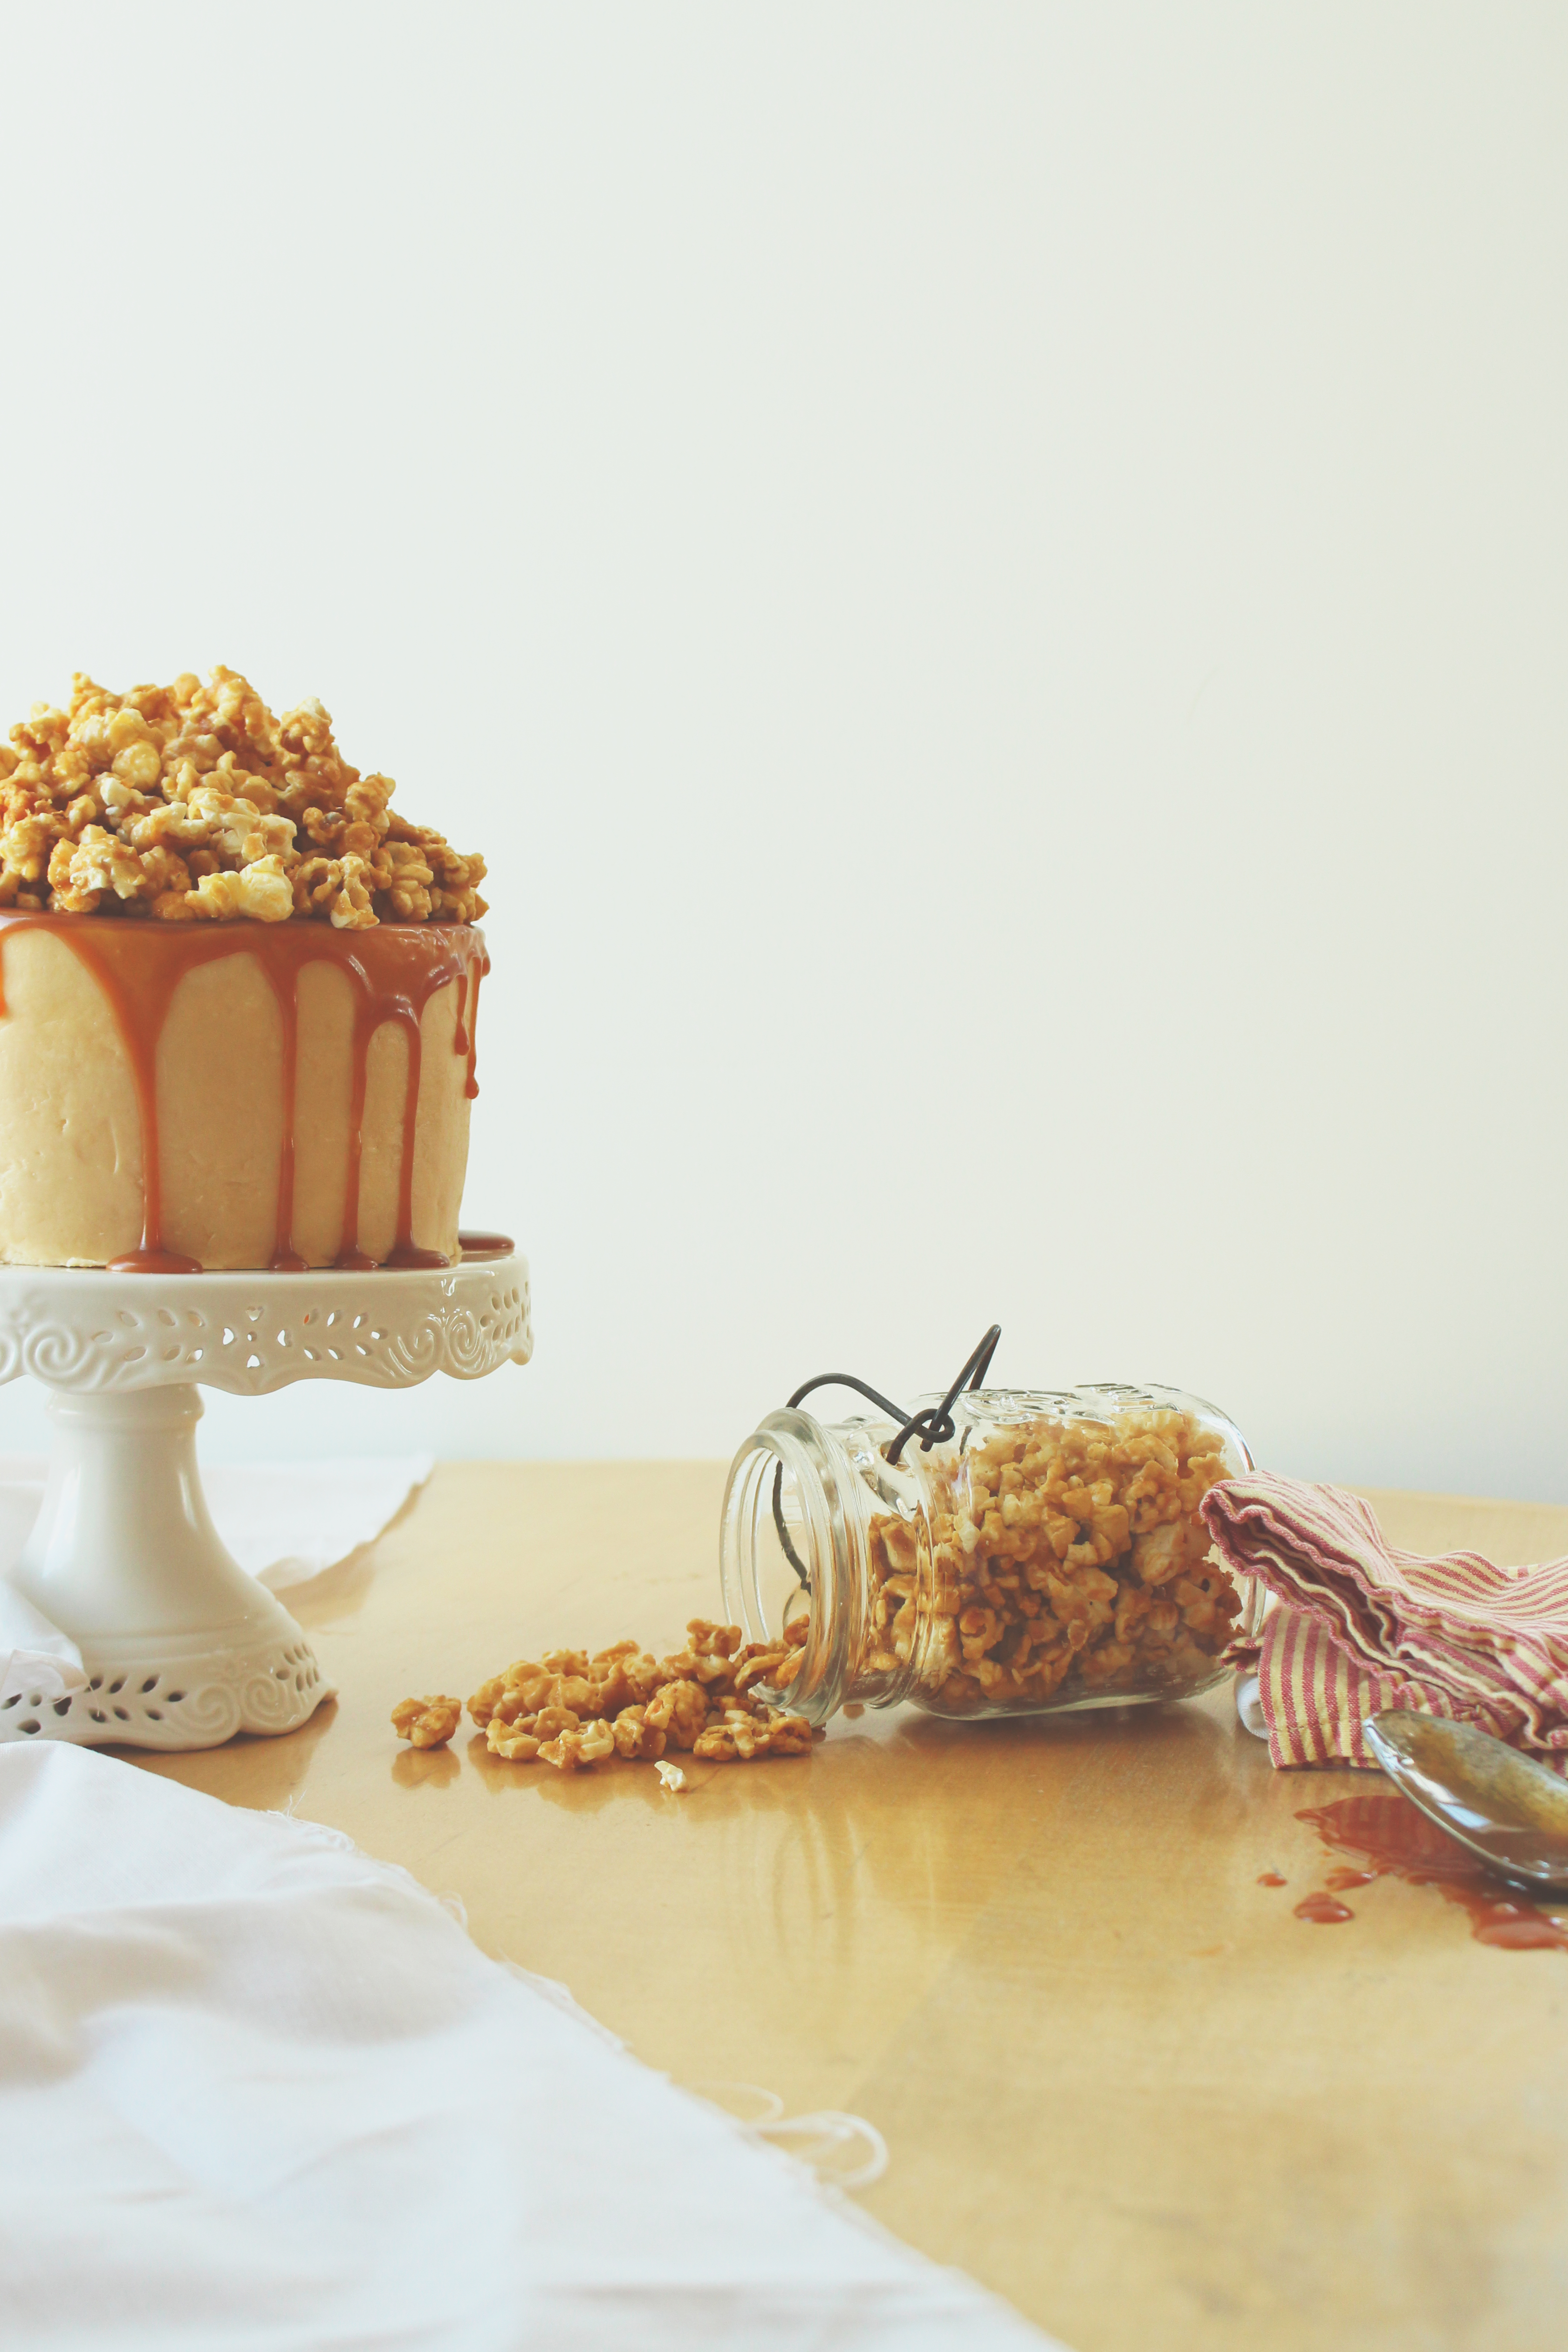
Extra salted caramel is gratuitously drizzled over the edge, dripping lazily to pool at the bottom.

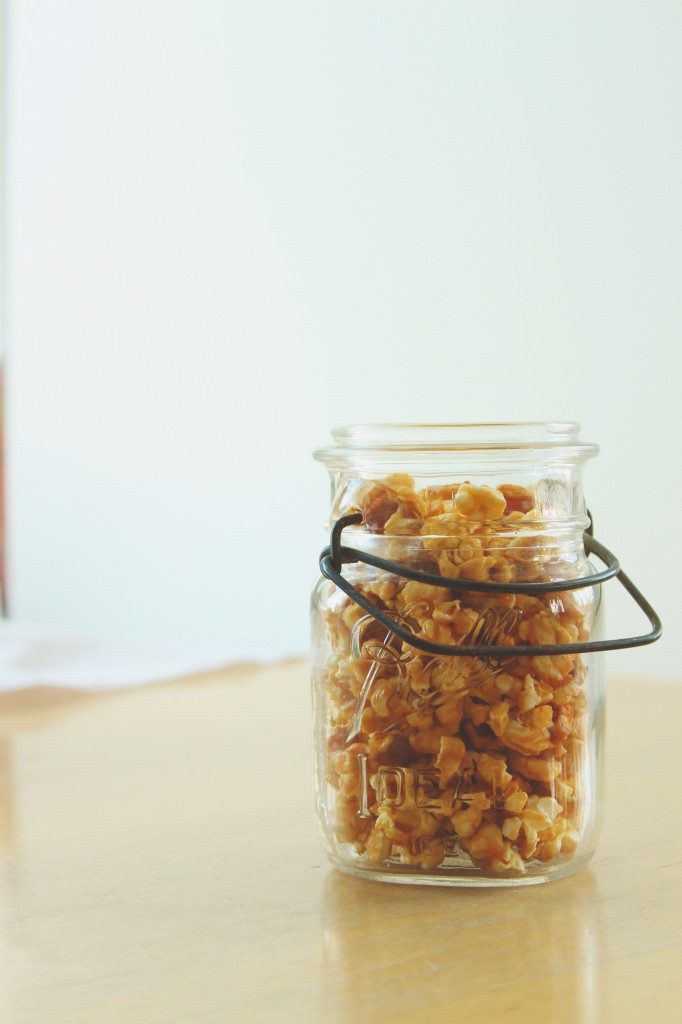
The cake is topped with a veritable mountain of salted butter caramel corn, which is crunchy and light and sweet and salty and amaaaazing.

(The recipe I’ve included makes, like, 2 times more popcorn than you really need, because, well.  Trust me.)
IMG_4640_01

A boring tech-y update: you can now subscribe by email at the very bottom of the page, where the search bar and tag cloud also reside.
Don’t worry- you won’t get any spam– it’s just an easier way for people to visit the blog for fresh posts, rather than checking back and finding stale crumbs they’ve already read.

Also, many of you have been pinning photos (I love you for it!  Seriously!!), and I wanted to let you know that there are two ways to do it: you can click on the pin button on the photos themselves, or click on the pin button at the bottom of each post.

Pin away!

xo

IMG_4648_01

Buttered Caramel Popcorn Cake

for the yellow butter cake:
makes 2 6-inch layers
to make a 2 layer 9-inch cake, double this recipe
adapted from Joy of Baking
ingredients:
150 grams (1 1/2 cups) flour
1 3/4 teaspoons baking powder
1/4 teaspoon salt
85 grams (6 tablespoons) butter
132 grams (1/2 cup plus 1 scant 1/4 cup) sugar
3 egg yolks
120 grams (1/2 cup) milk
1 teaspoon vanilla

directions:
Preheat oven to 350 degrees F.
Grease and flour 2 6×2-inch pans.
Whisk the flour, baking powder, and salt together.
Beat the butter and sugar together for 4 minutes, until light and fluffy.
Scrape the sides of the bowl and add the egg yolks; beat for 2 more minutes.
Add in the milk and vanilla and stir gently to combine.
Dump in the dry ingredients all at once and stir gently until the batter comes together.
Pour and scrape the batter into your pans.
Bake for 20-25 minutes, until a tester comes out clean.
Allow to cool, then frost.

For the salted caramel Italian meringue buttercream:
makes about 3 cups
adapted from FoodSwoon
ingredients:
3 egg whites
60 grams (1/4 cup) water
225 grams (1 cup plus 2 tablespoons) sugar
splash corn syrup (approximately 1 teaspoon)
small pinch salt
350 grams (3 sticks) butter, cut into small chunks
1/2 of a batch of salted caramel, cooled, the rest reserved for drizzling, recipe below

directions:
Place water, sugar, corn syrup, and salt in a medium, deep-sided pot.
Place the egg whites in the bowl of a stand mixer fitted with the whip attachment; start to beat them on a medium-low speed.
Begin to heat the syrup; when it reaches 240 degrees F, the egg whites should be at soft peaks.
Slowly stream the syrup into the egg whites with the mixer going.
Beat the meringue until cooled to body temperature, then beat in the butter 2 tablespoons at a time.
Continue to whip until buttercream is silky, then beat in half of the caramel.

for the salted caramel:
adapted from FoodSwoon
ingredients:
100 grams (1/2 cup) sugar
30 grams (2 tablespoons) water
1 tablespoon corn syrup
90 grams (1/4 cup plus 2 tablespoons) heavy cream
2 tablespoons butter
1/4 teaspoon kosher salt

directions:
Heat the sugar, water, corn syrup, and salt together, whisking at the beginning until they dissolve.
Stop stirring and allow to caramelize into an amber color, then remove from heat and quickly whisk in butter and cream, being careful of the splattering.
Whisk until completely smooth, then allow to cool before using.

For the salted caramel corn:
adapted from the Kitchn
ingredients:
popped popcorn from about 1 1/2 bags of popcorn
130 grams (1 stick plus 1 tablespoon) butter
160 grams (3/4 cup) brown sugar
big pinch kosher salt, plus a little for sprinkling
1/4 teaspoon baking soda

directions:
Preheat oven to 250 degrees F, and line 2 baking sheets with parchment or silpats.
Place popcorn in a a big bowl, being sure to not include any unpopped kernels.
In a deep sided pot, heat the butter, brown sugar, and salt until they begin to caramelize.
Whisk well to combine, then add in the baking soda and quickly pour over the popcorn.
Toss and mix well to coat, then scrape out onto the baking sheets.
Lightly sprinkle with a touch of salt, then bake for about 30 minutes, or until the caramel is completely dry and crunchy. (Be careful not to burn the caramel; your oven shouldn’t be too hot.)

to assemble:
Stack your cake on a cake stand and frost it with the buttercream; run a warm offset spatula or butter knife over the exterior to smooth it.
Drizzle the remaining caramel on the edges of the cake, then top the cake with a mountain of caramel corn!

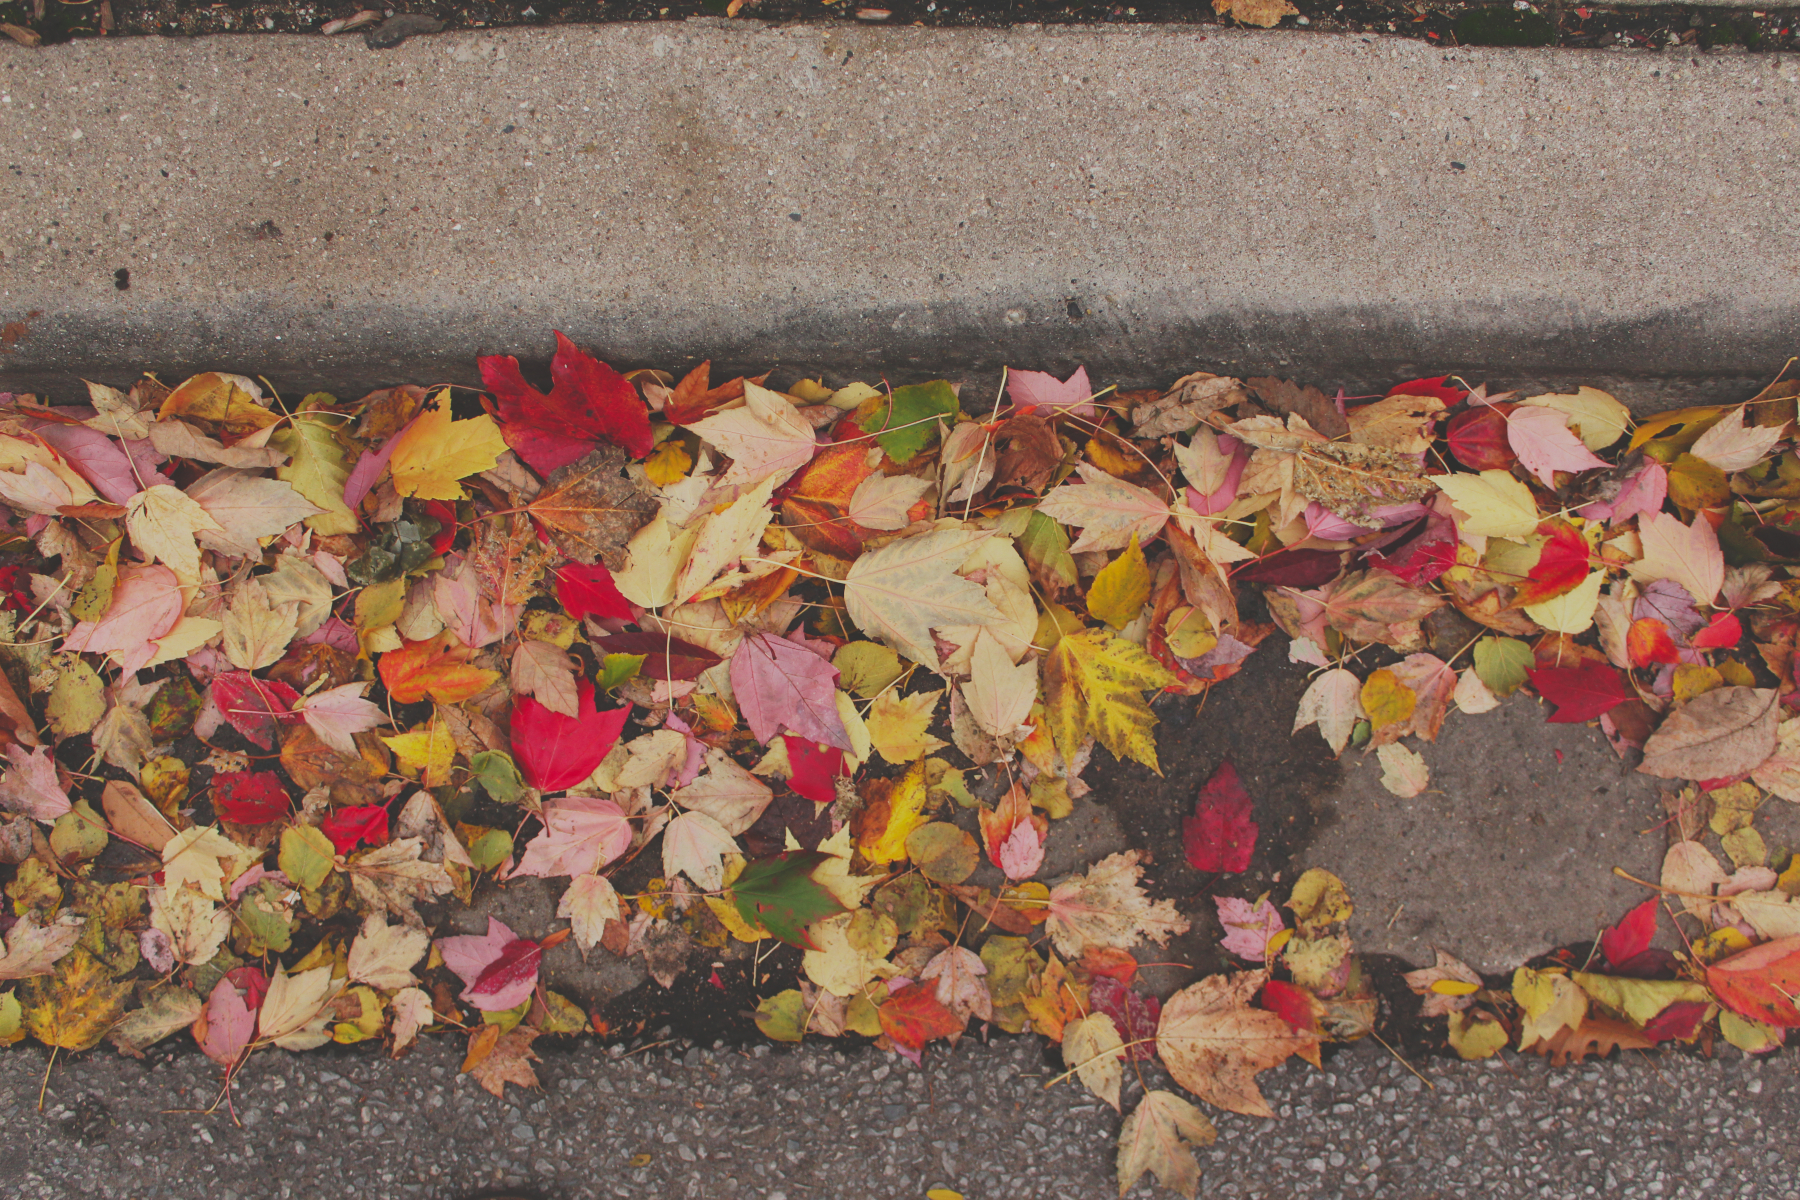
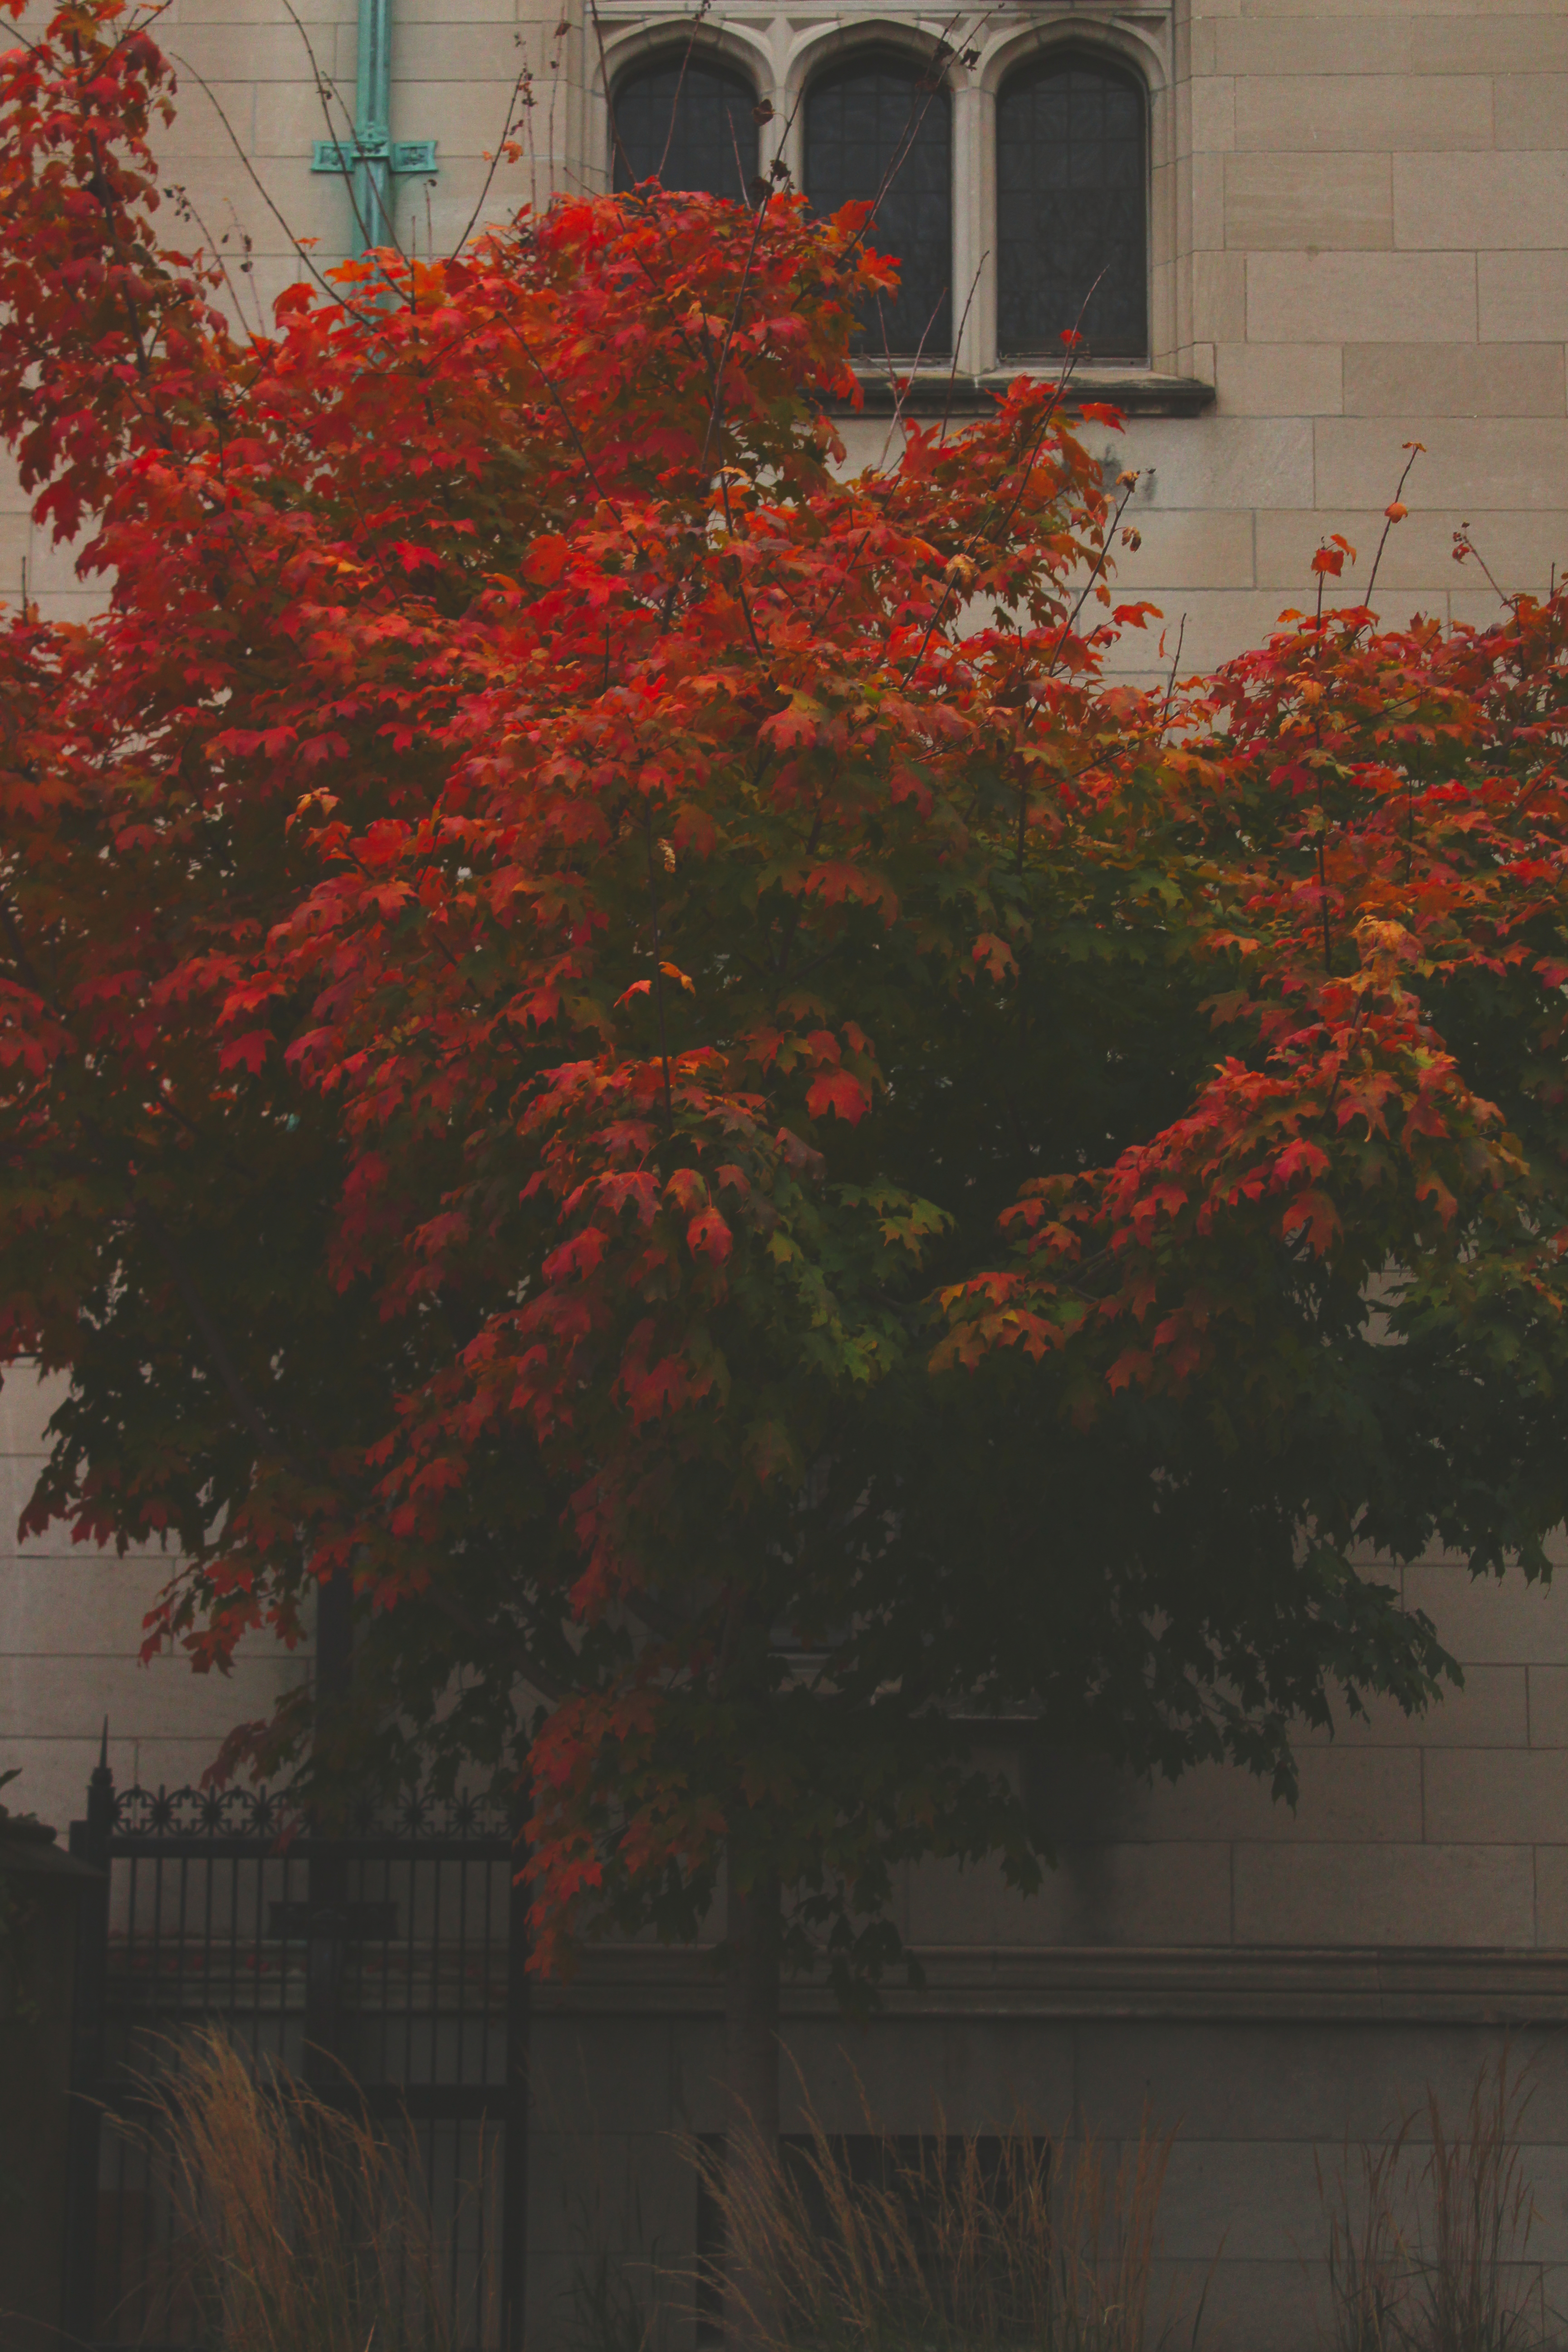
L’Automne

IMG_4905_01

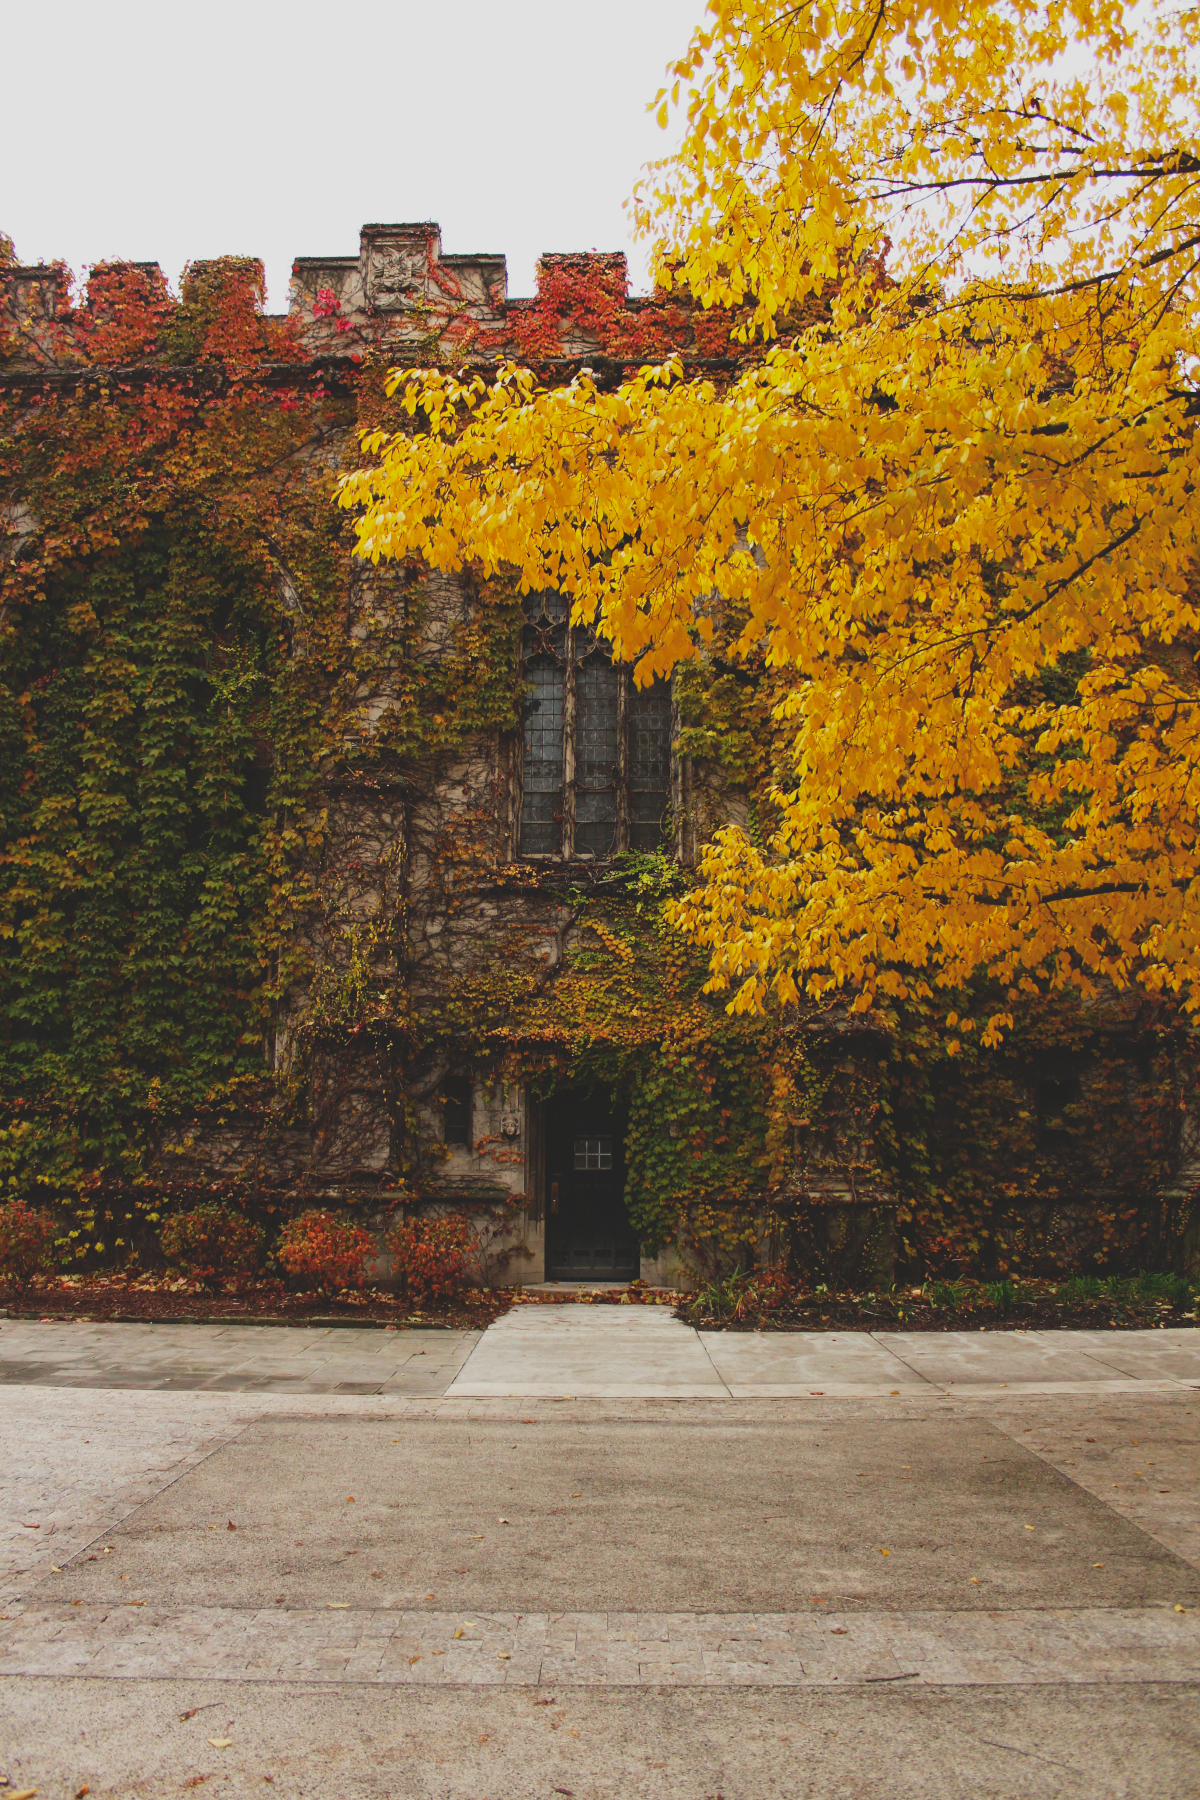
“Autumn is a second spring when every leaf is a flower.”

-Albert Camus
IMG_4918_01

IMG_4969_01

Mon âme a été enflammée par les feuilles embrasées.

Elles tombent comme la braise, et tapissent le sol en des couleurs riches.

Tous les pas sont douces, seulement trahis par un craquement occasionnel.

Les arbres bruissent de vente froid,

et puis: l’automne est arrivée.

IMG_5006_01

My soul has been set afire by the blazing autumn leaves.

They fall like so many embers, carpeting the ground in rich colors.

Feet pad along softly, betrayed only by the occasional crunch.

The cold wind rustles through the trees;

autumn has arrived.

IMG_4938

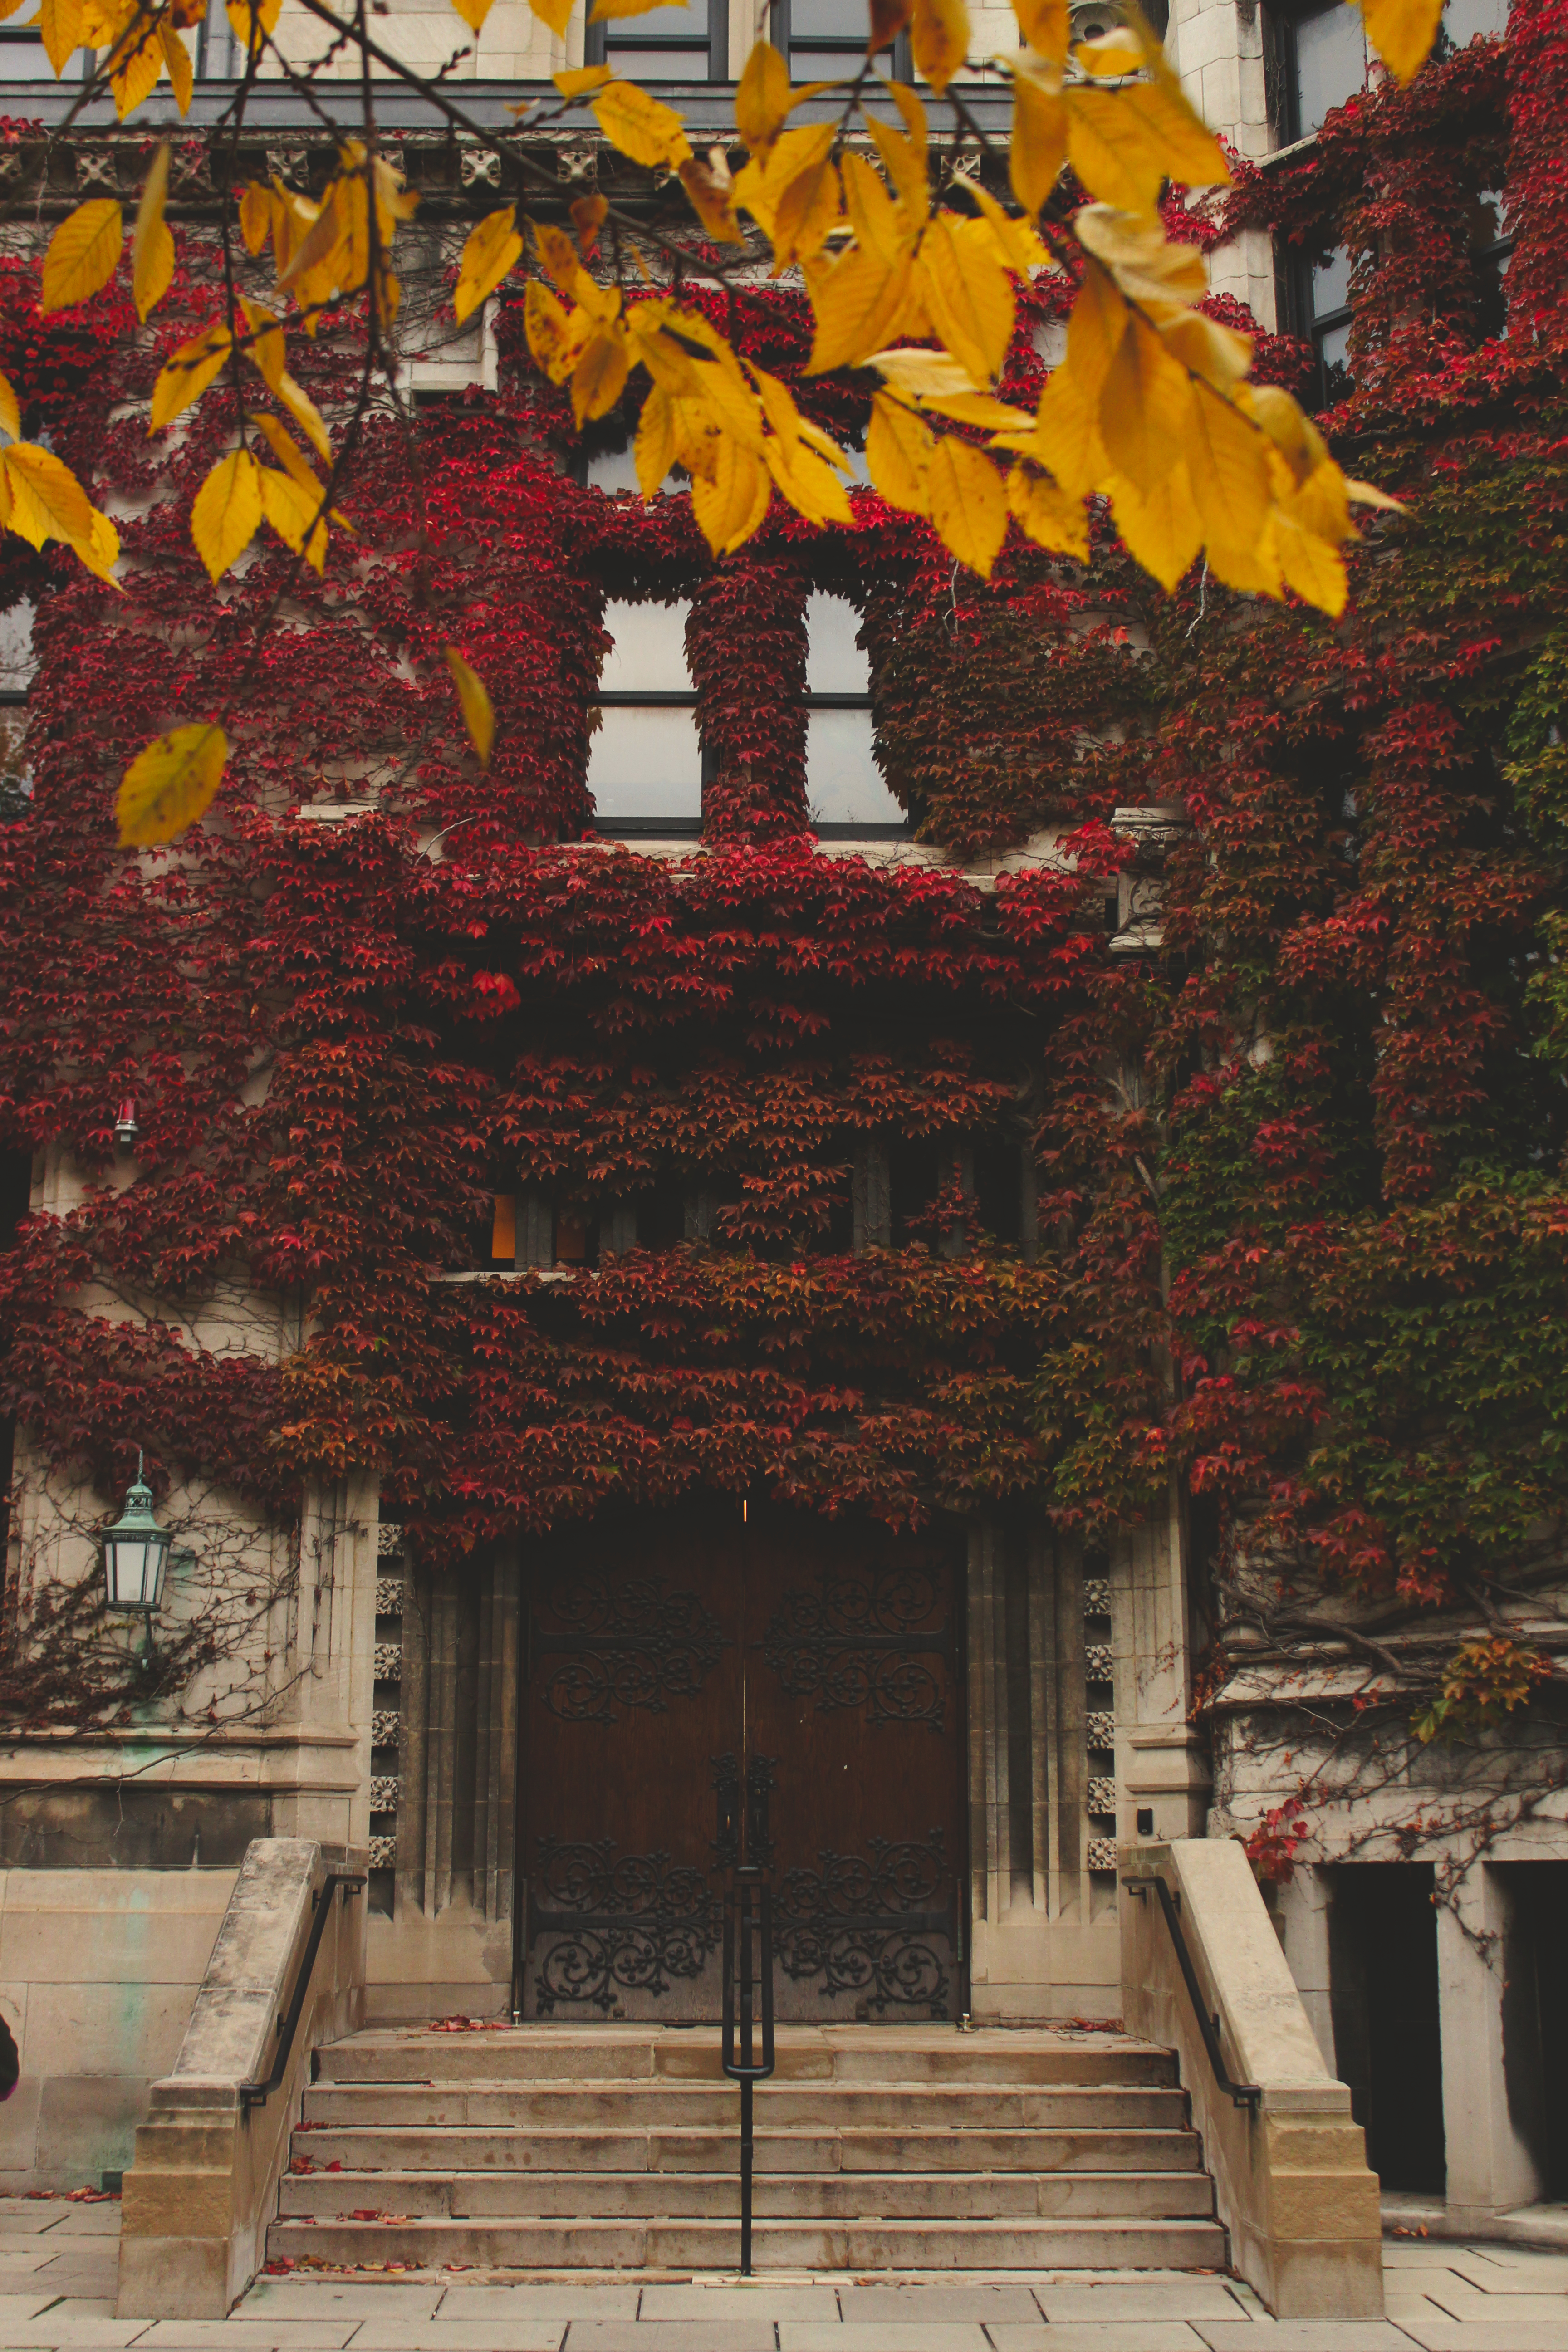
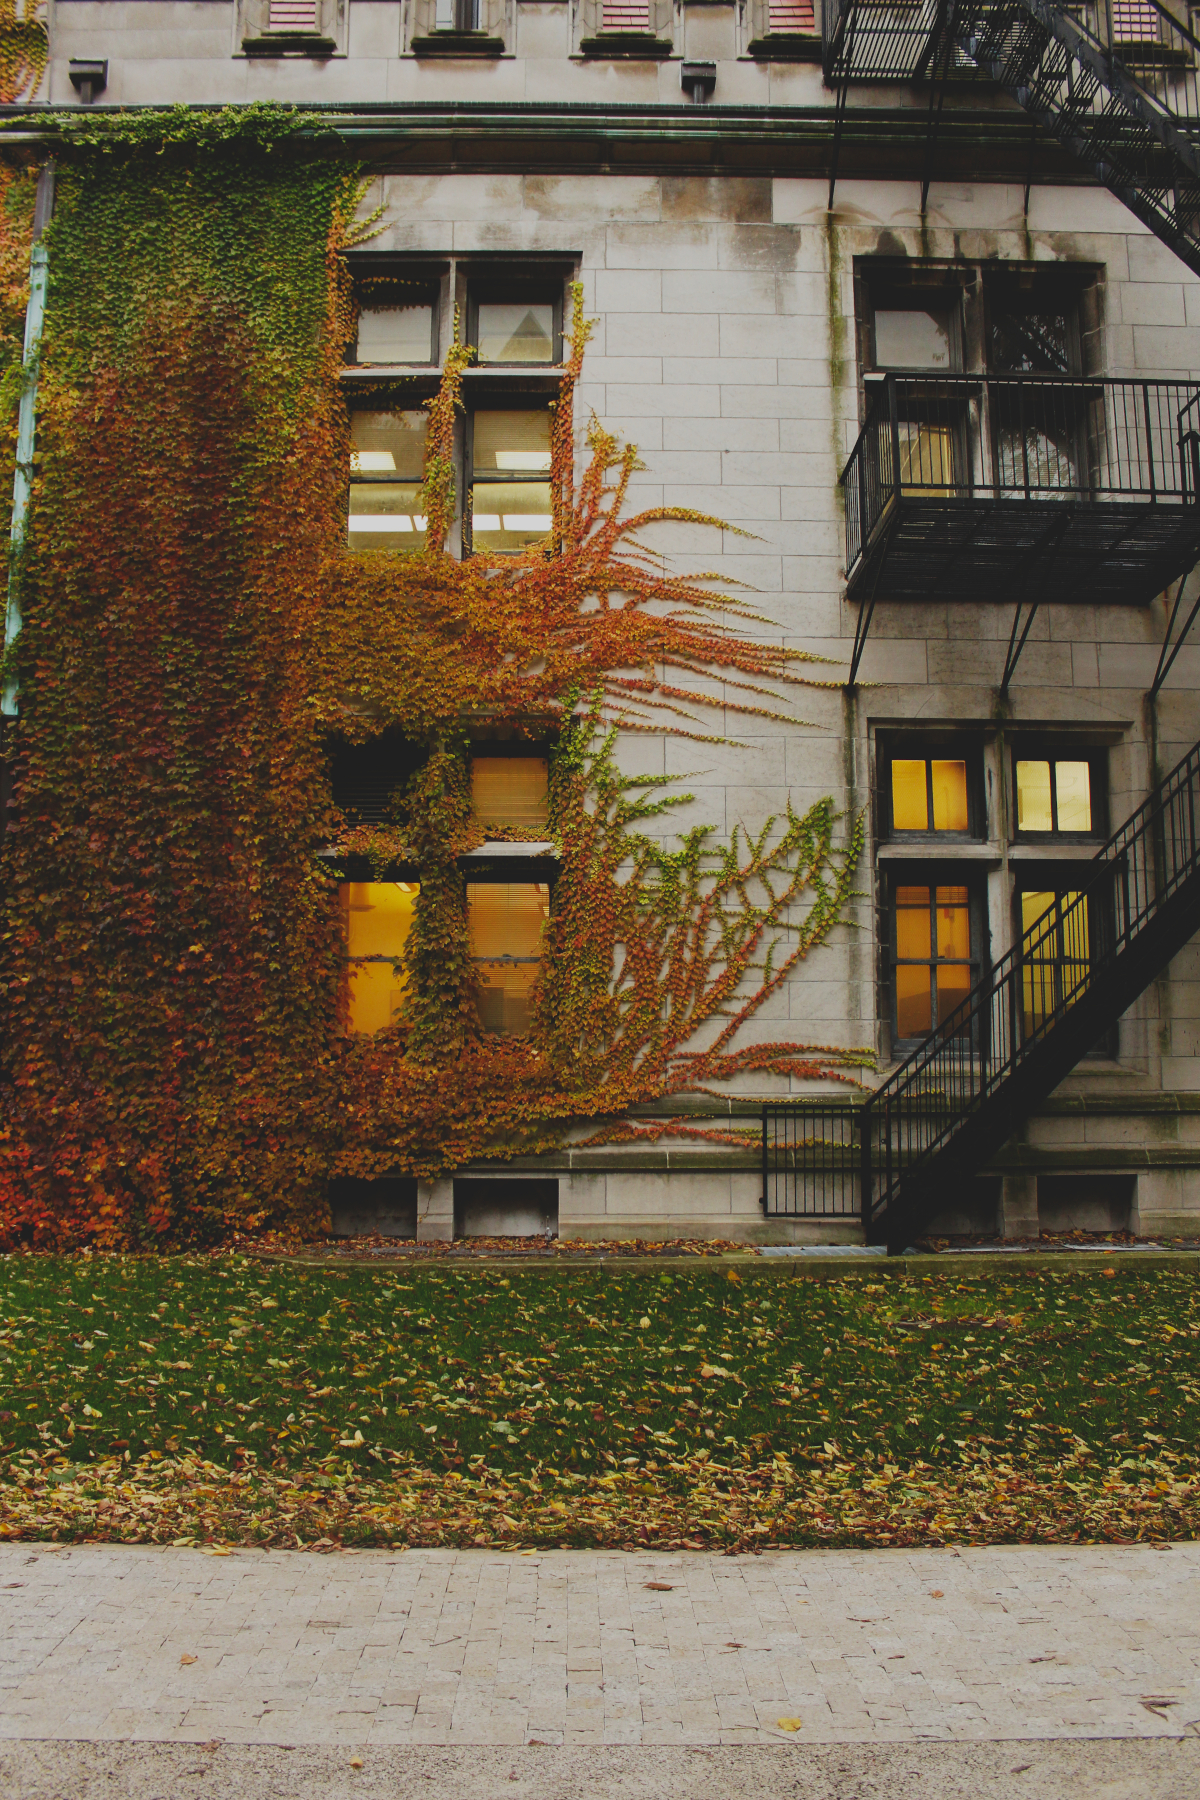
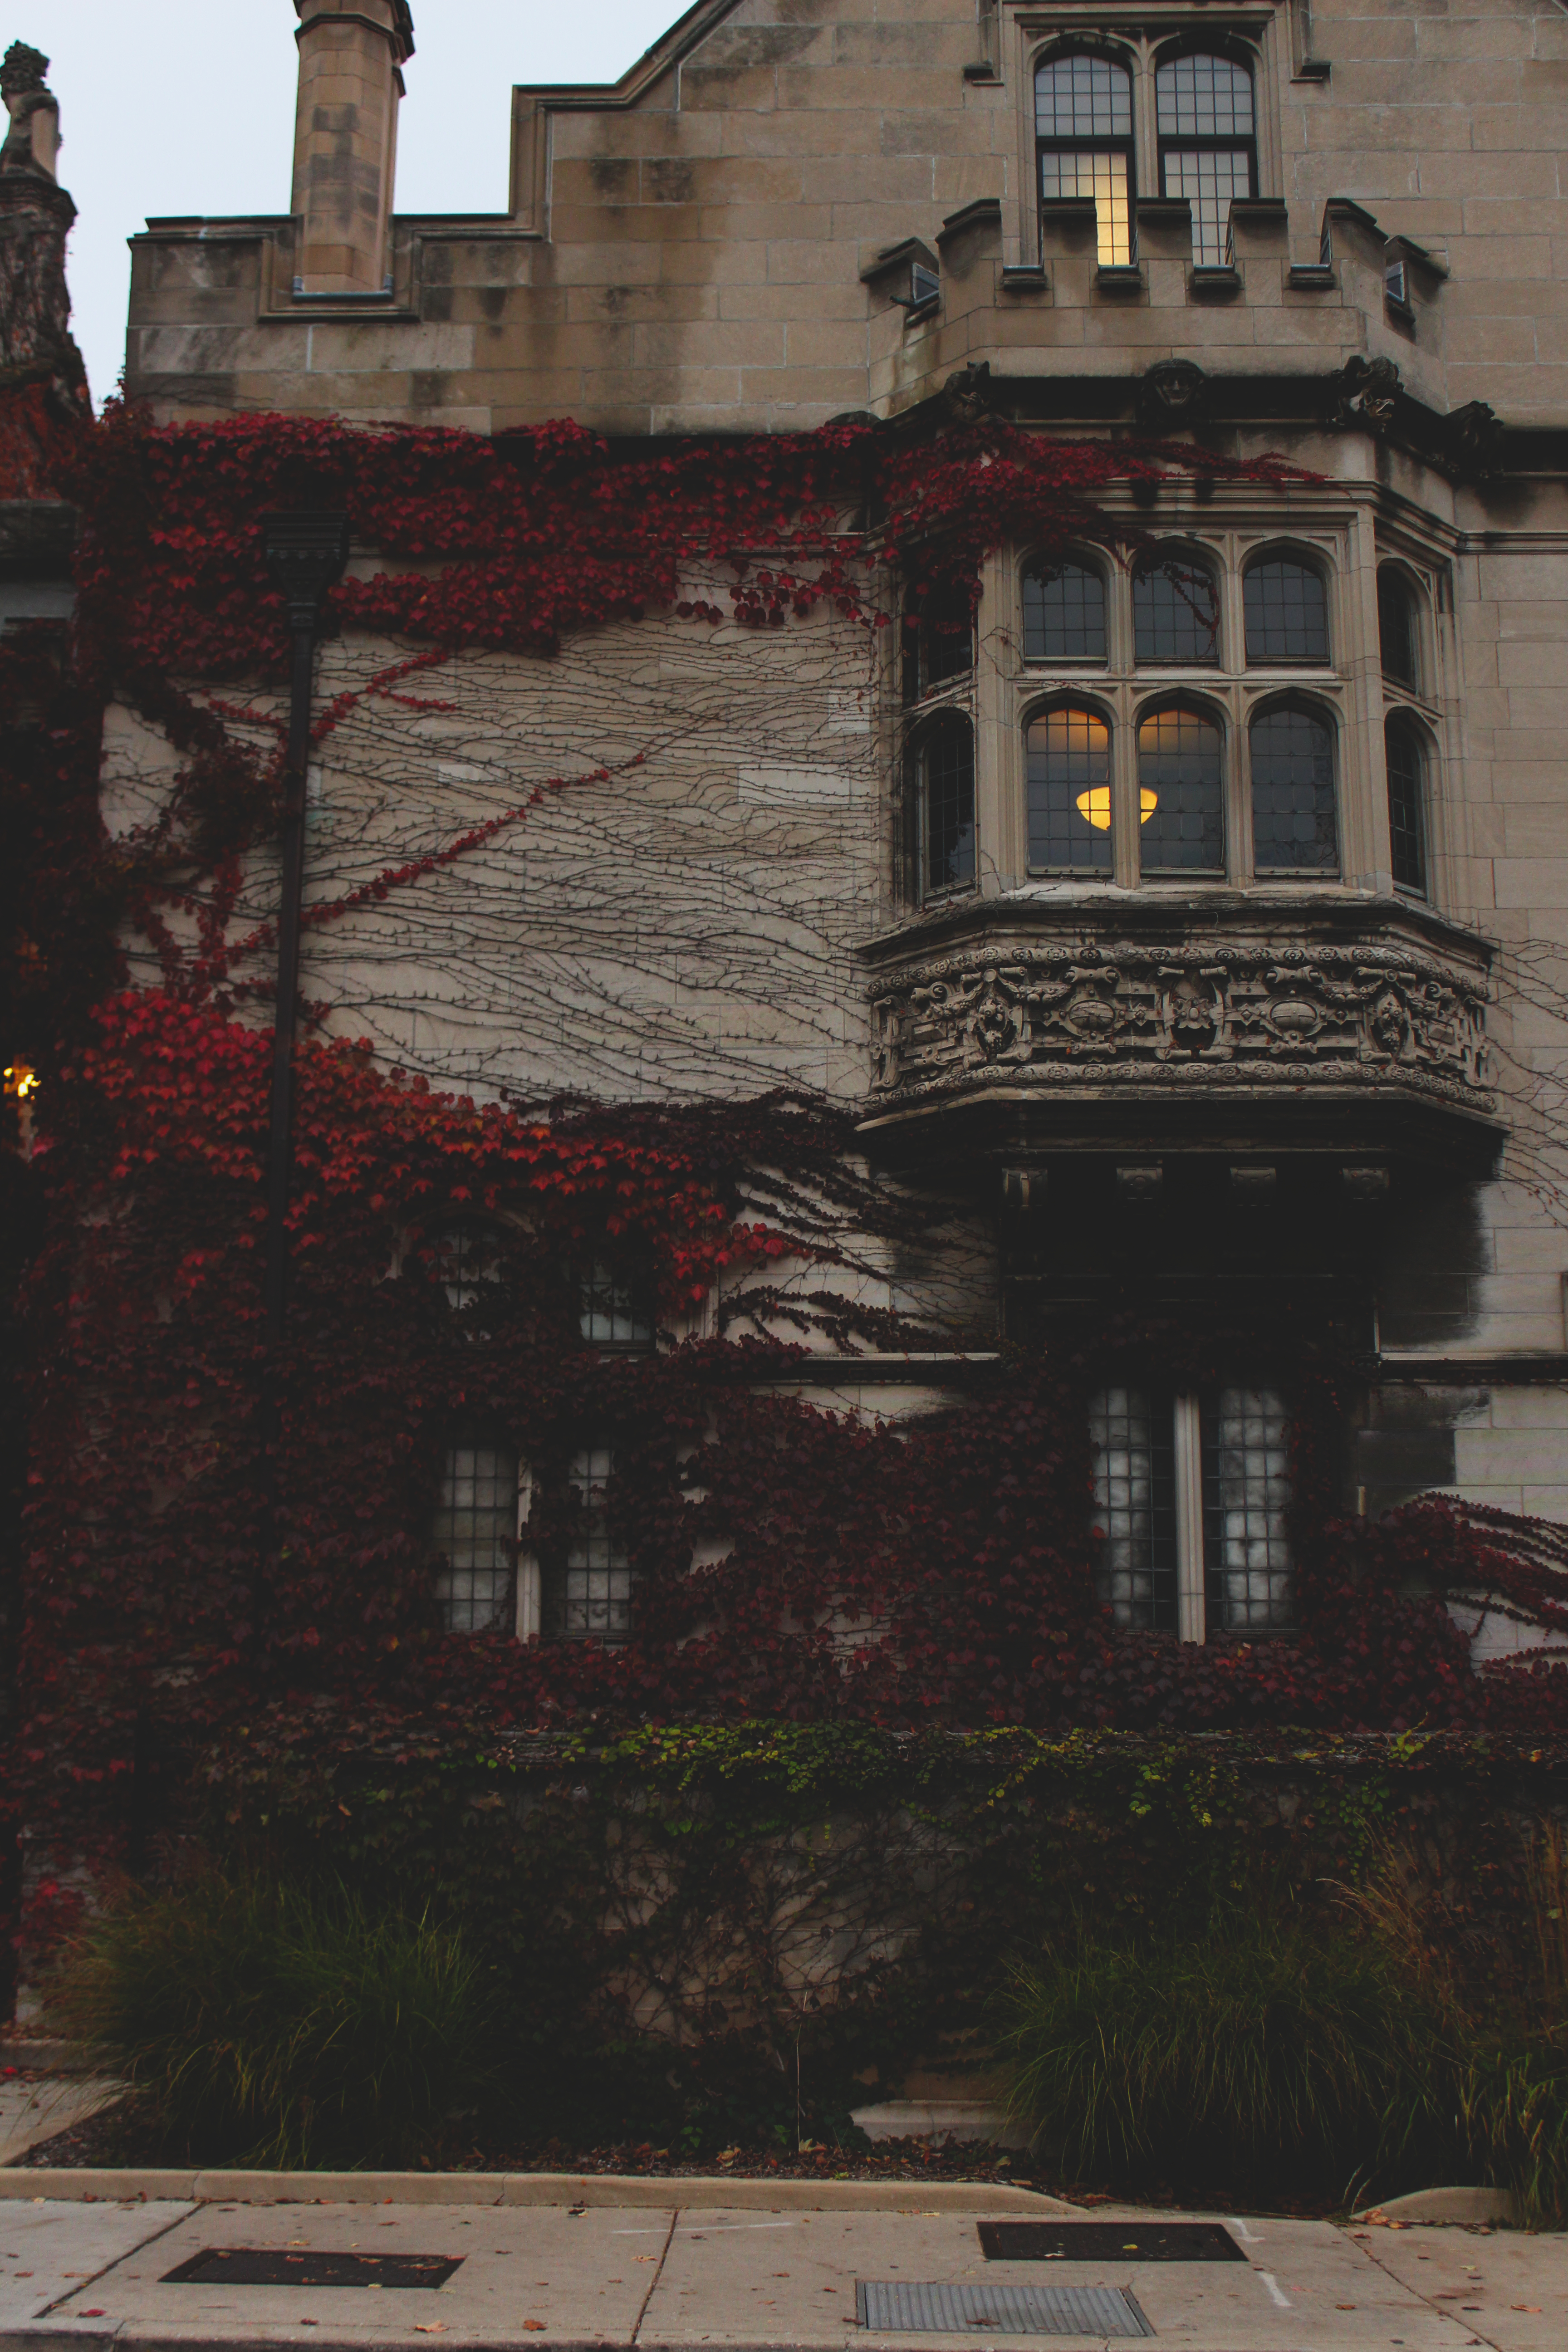
True life: I’m addicted to photographing ivy.

Send help.

IMG_4920_01I have taken way too many autumnal pictures.

Everything is just so damn beautiful right now! (Life is hard.)

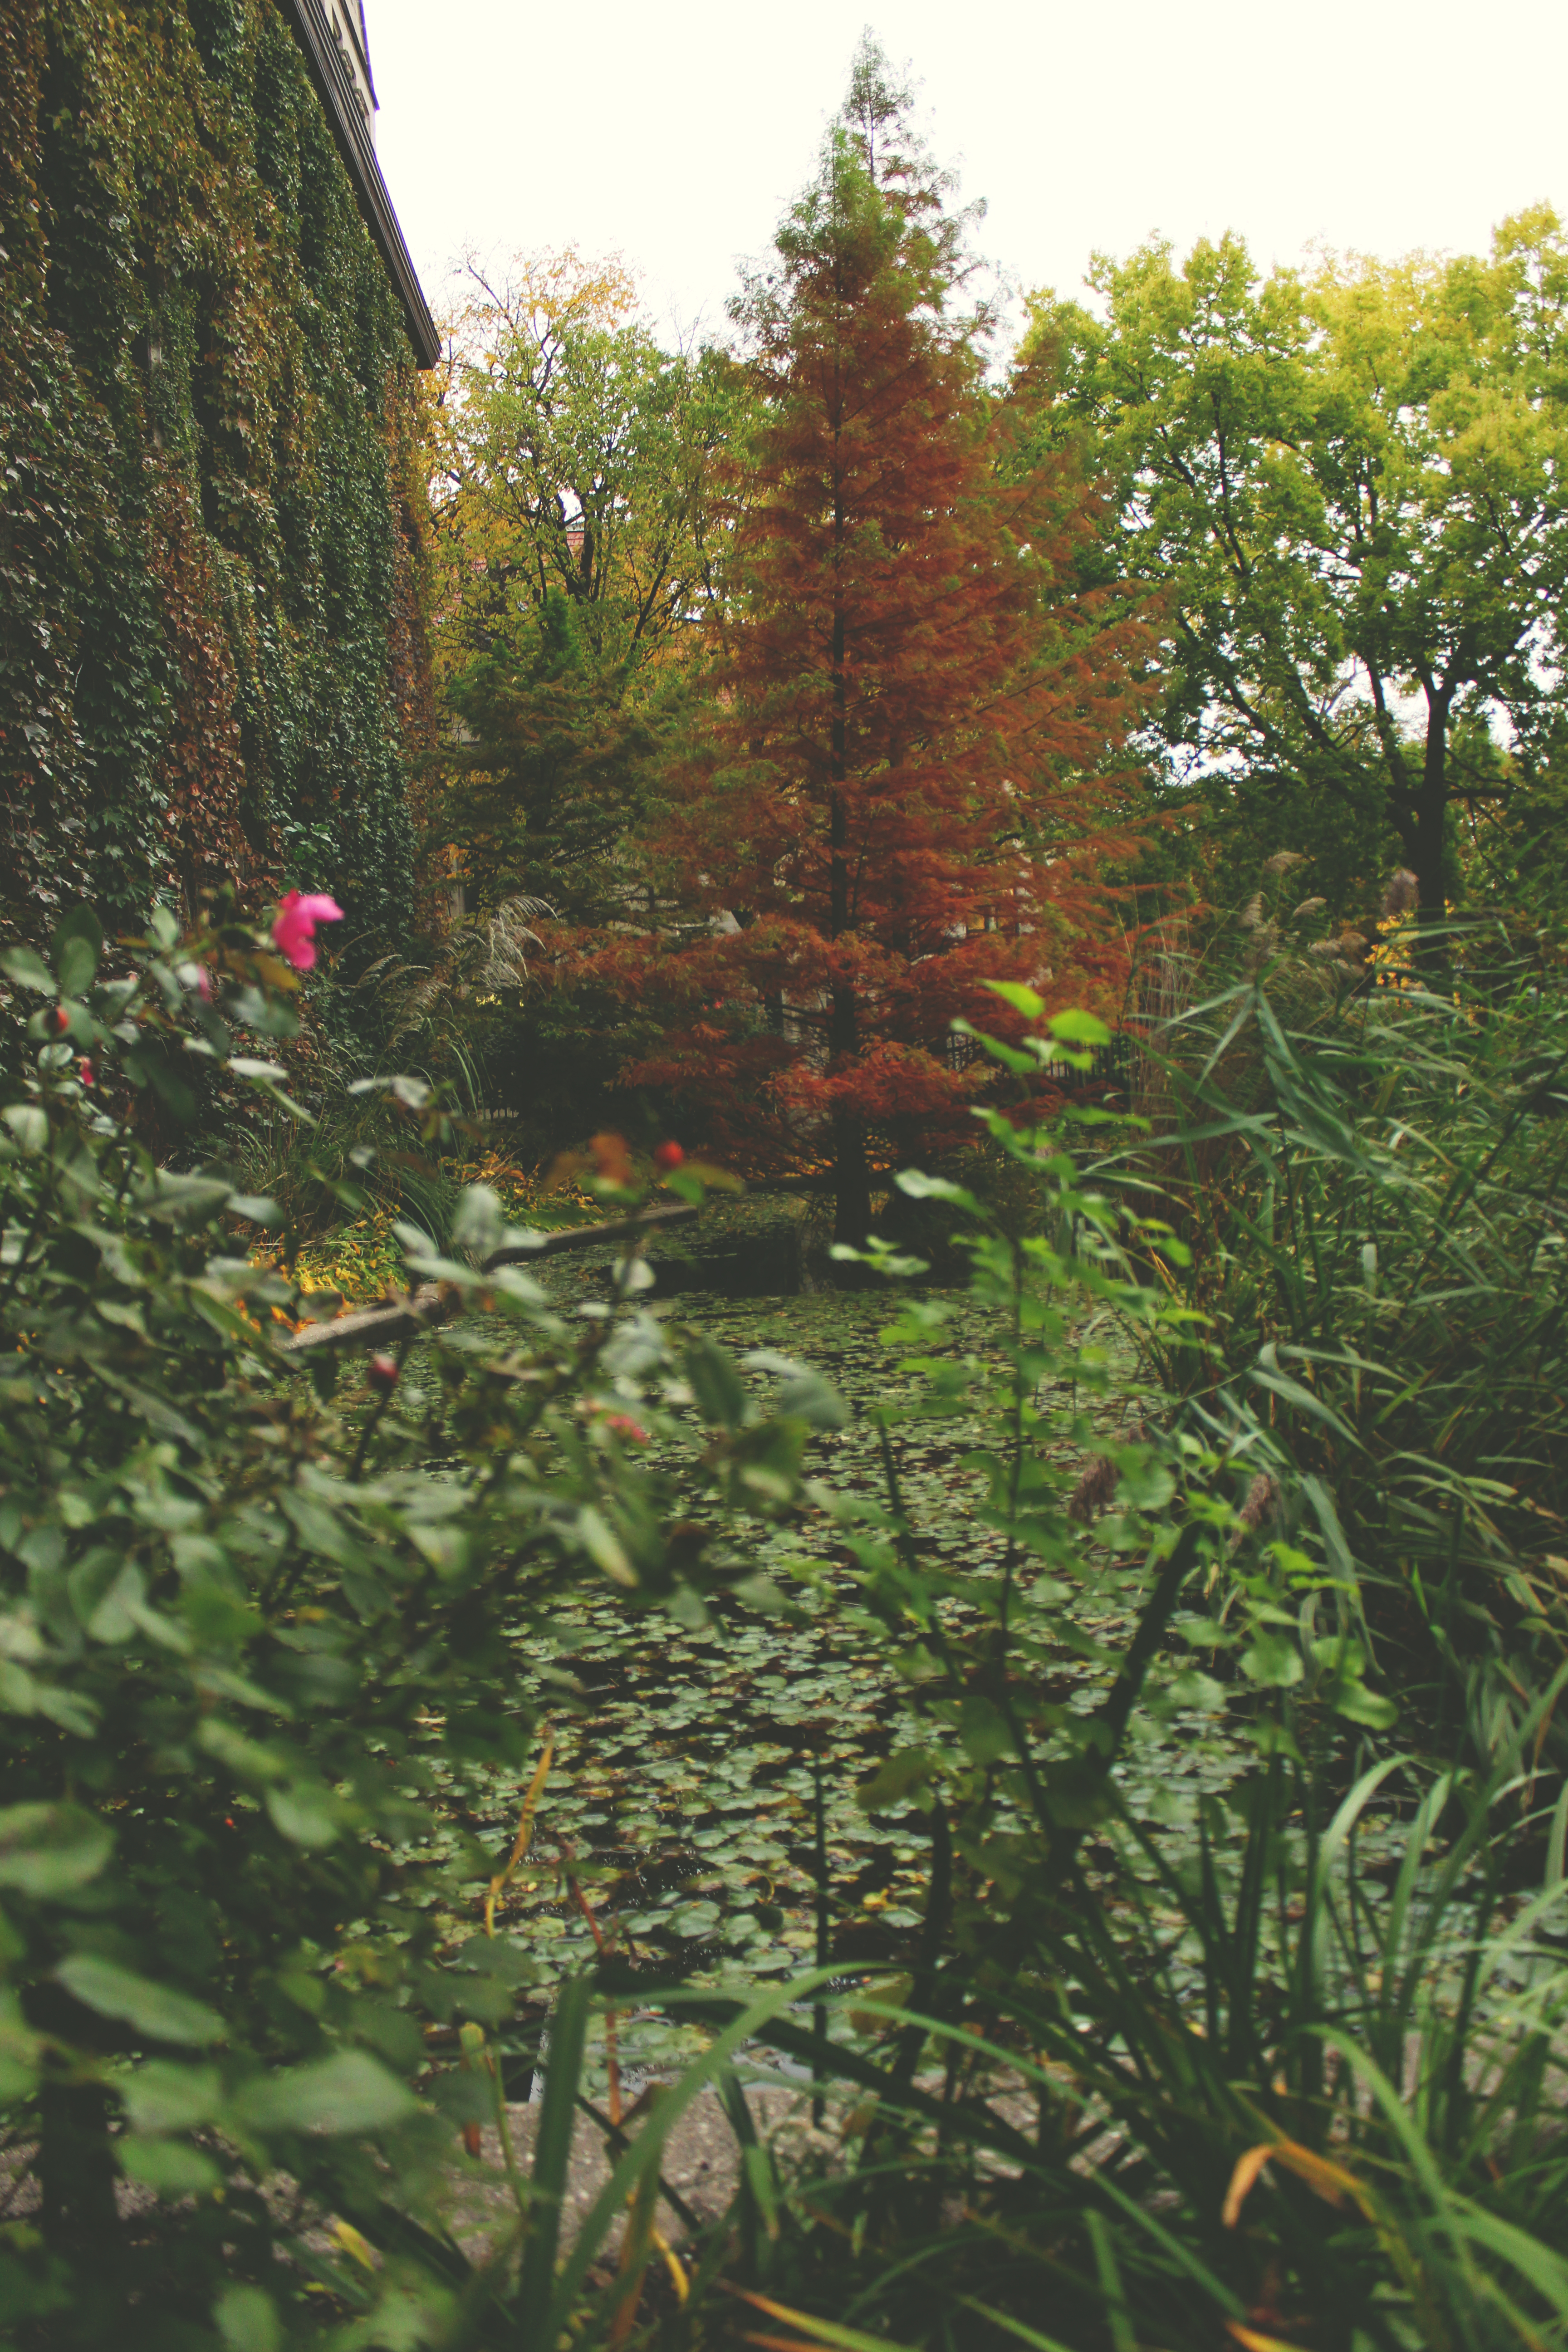
So, although I have another cake to share with y’all, I’m giving you this photo essay.
Fall all up in yo face.
IMG_4944_01

IMG_5023_01

There are tons more fall pictures on my flickr feed.

See them here.

Okay, no more words for today.

(Back soon with cake!)

IMG_4974_01IMG_4978IMG_5000

IMG_5009_01 IMG_5013_01

IMG_4984_01 IMG_5028_01 IMG_5031_01

Between Two Lungs

IMG_4859_01

“I’m so glad I live in a world with Octobers.”

-L.M. Montgomery, Anne of Green Gables

IMG_4838

Happy Halloween, y’all!

Have some cake.

Go ahead; dig right in.

IMG_4814_01

This cake won first place in a “study break”  competition in my residence hall!
Meaning it won my house points in the house cup (yes, just like the Harry Potter house cup!)!
!!!!!!!!!!!!!!

(DGH fo’ lyfe.)

I was so nervous/excited.
Now I’m excited/proud/tired.
Writing this at 2 am 3 am 4 am 10 am. FML.

(Yes, I actually tried to write this at all those times… I don’t want to talk about it.  I want to whine about it.)

IMG_4852

Guyyyyzzzzzz I was supposed to be doing a 12 problem calculus p-set last night, but I was at the study break celebration/competition (study break is a tradition at uChicago: it’s any treat that someone volunteers to make on Wednesday for the house to enjoy and take a break with) until 11, so I didn’t start the problem set until around then.

I did 6 problems in about an hour…

and then realized

that I did them

in the wrong section.

like WHAT I am taking calc at uChicago you would think I could tell the difference between

12.2 and 12.3 but NOPE no way so

I was up until 4am last night finishing this damn p-set for my 9am class this morning.

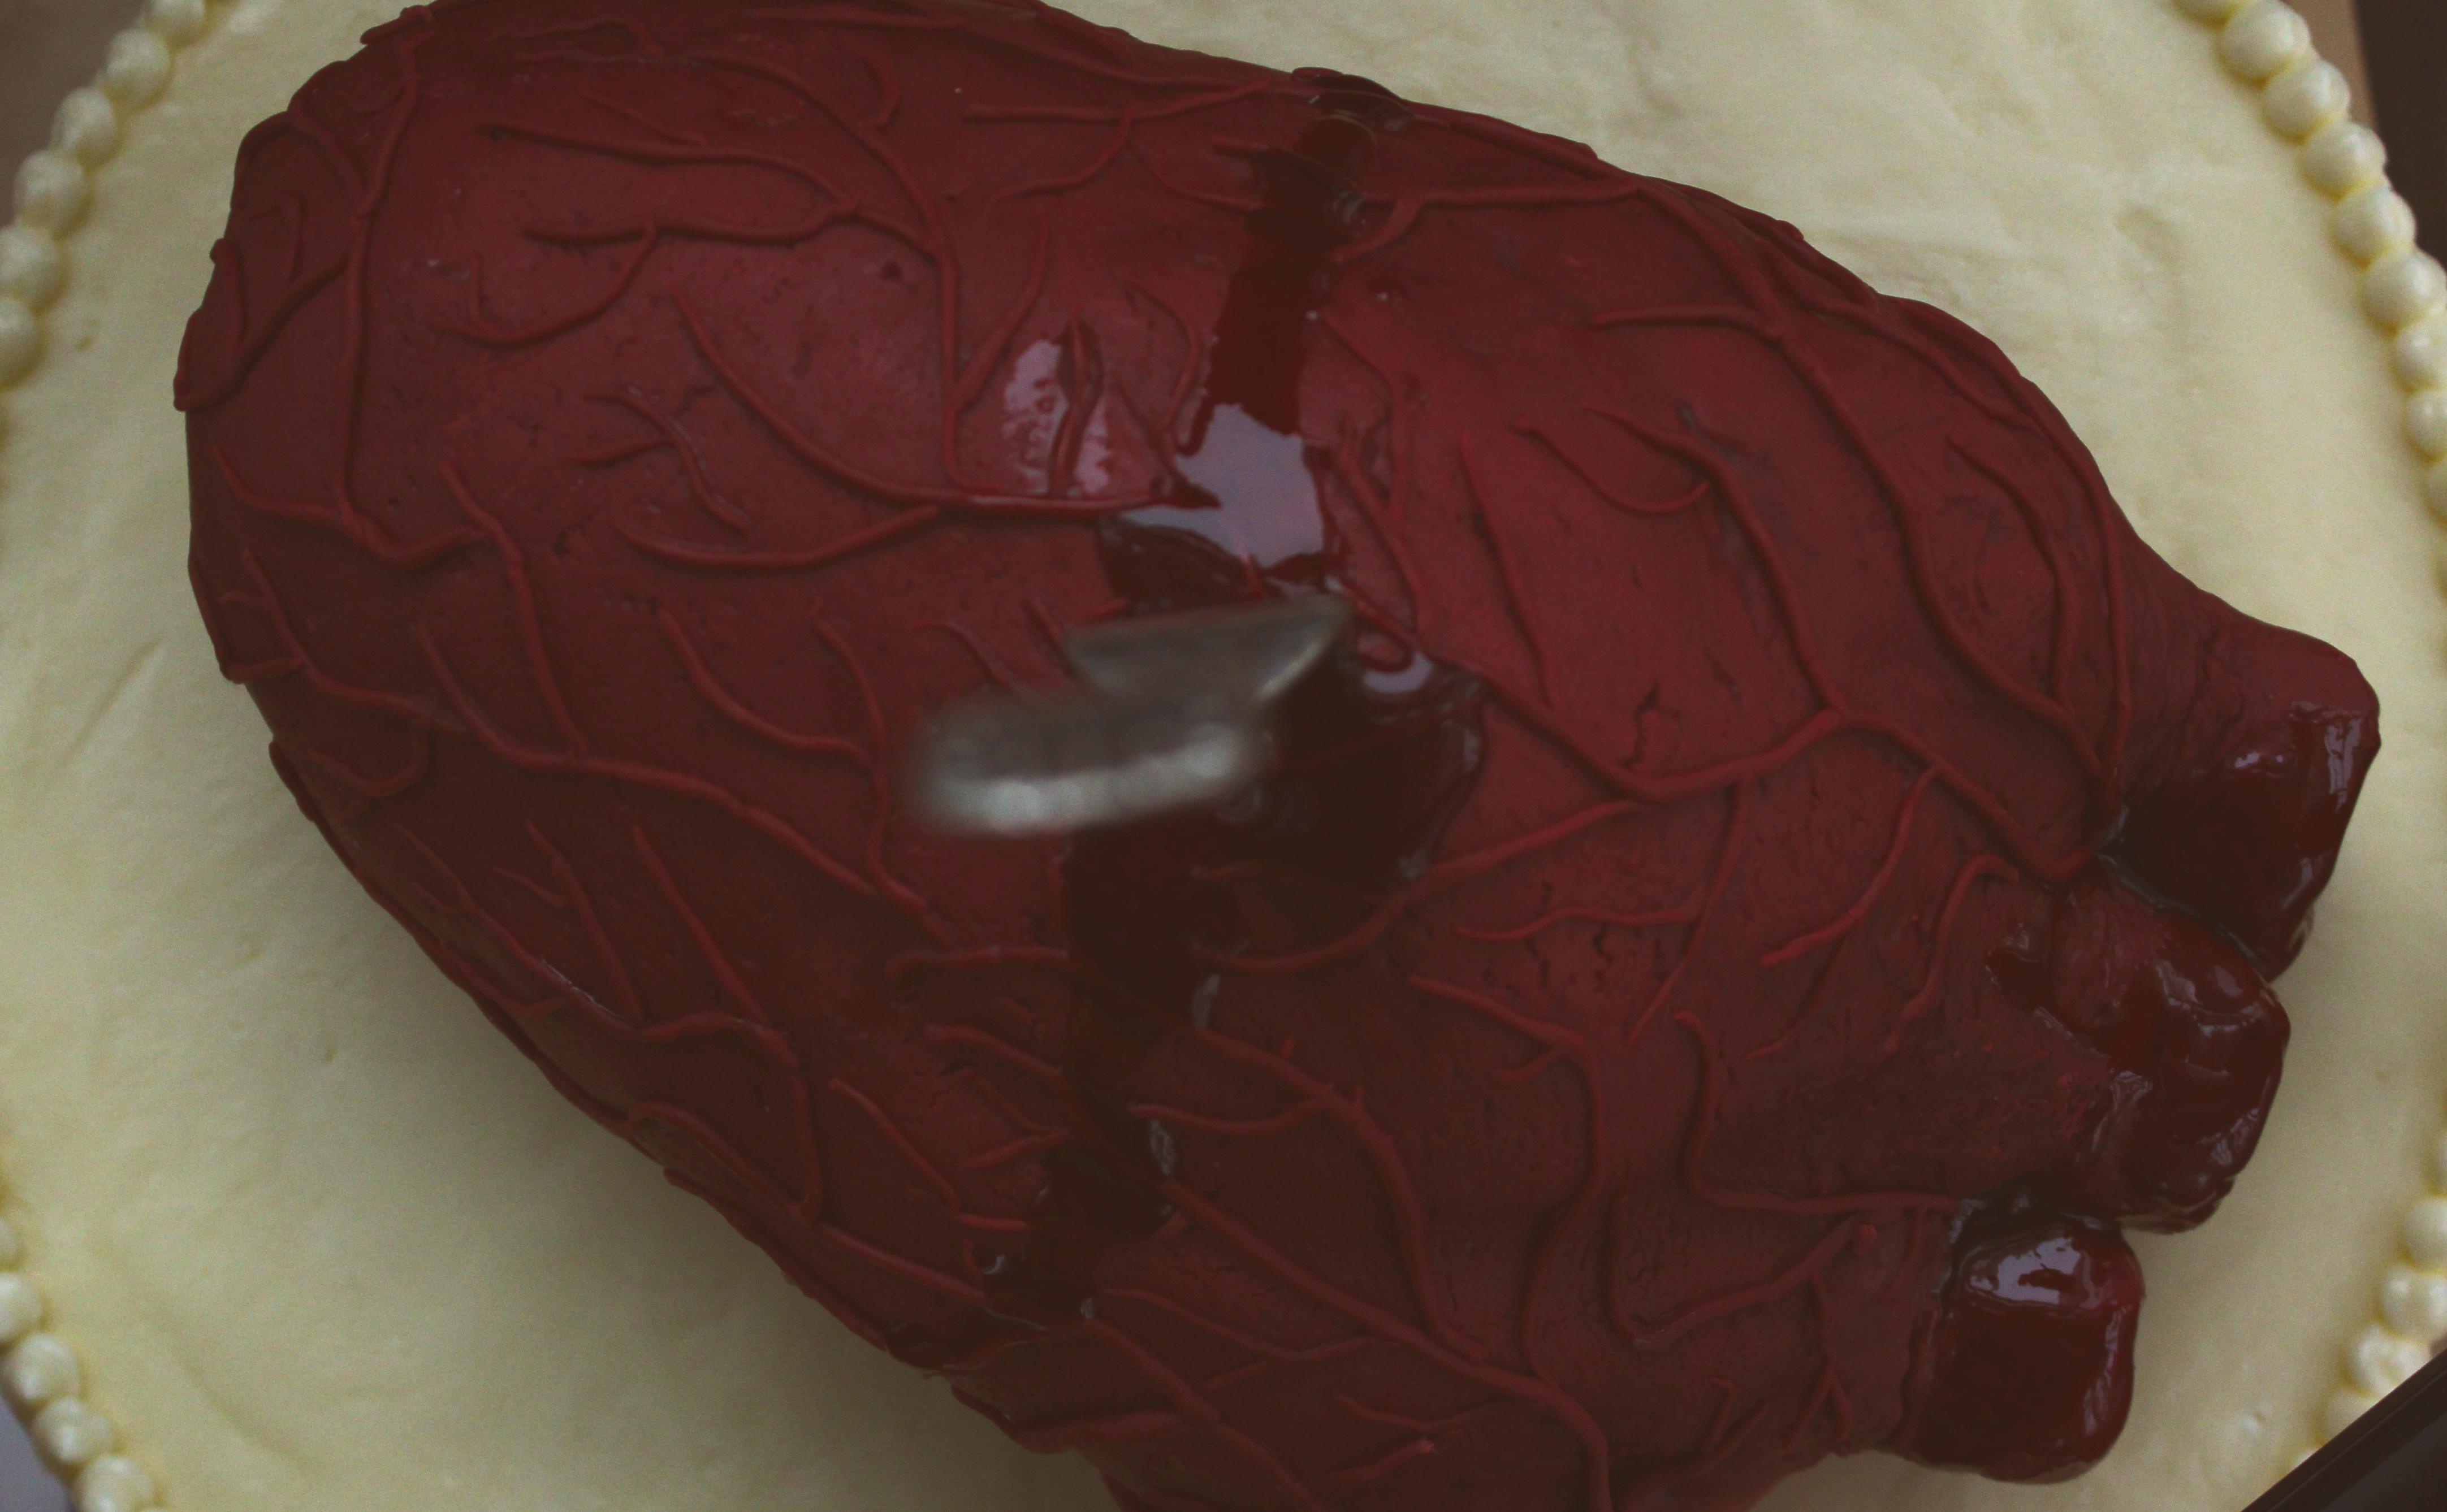
Moral of the story: I am a zombie and more so than ever, I want to eat this bloody heart cake.

IMG_4862

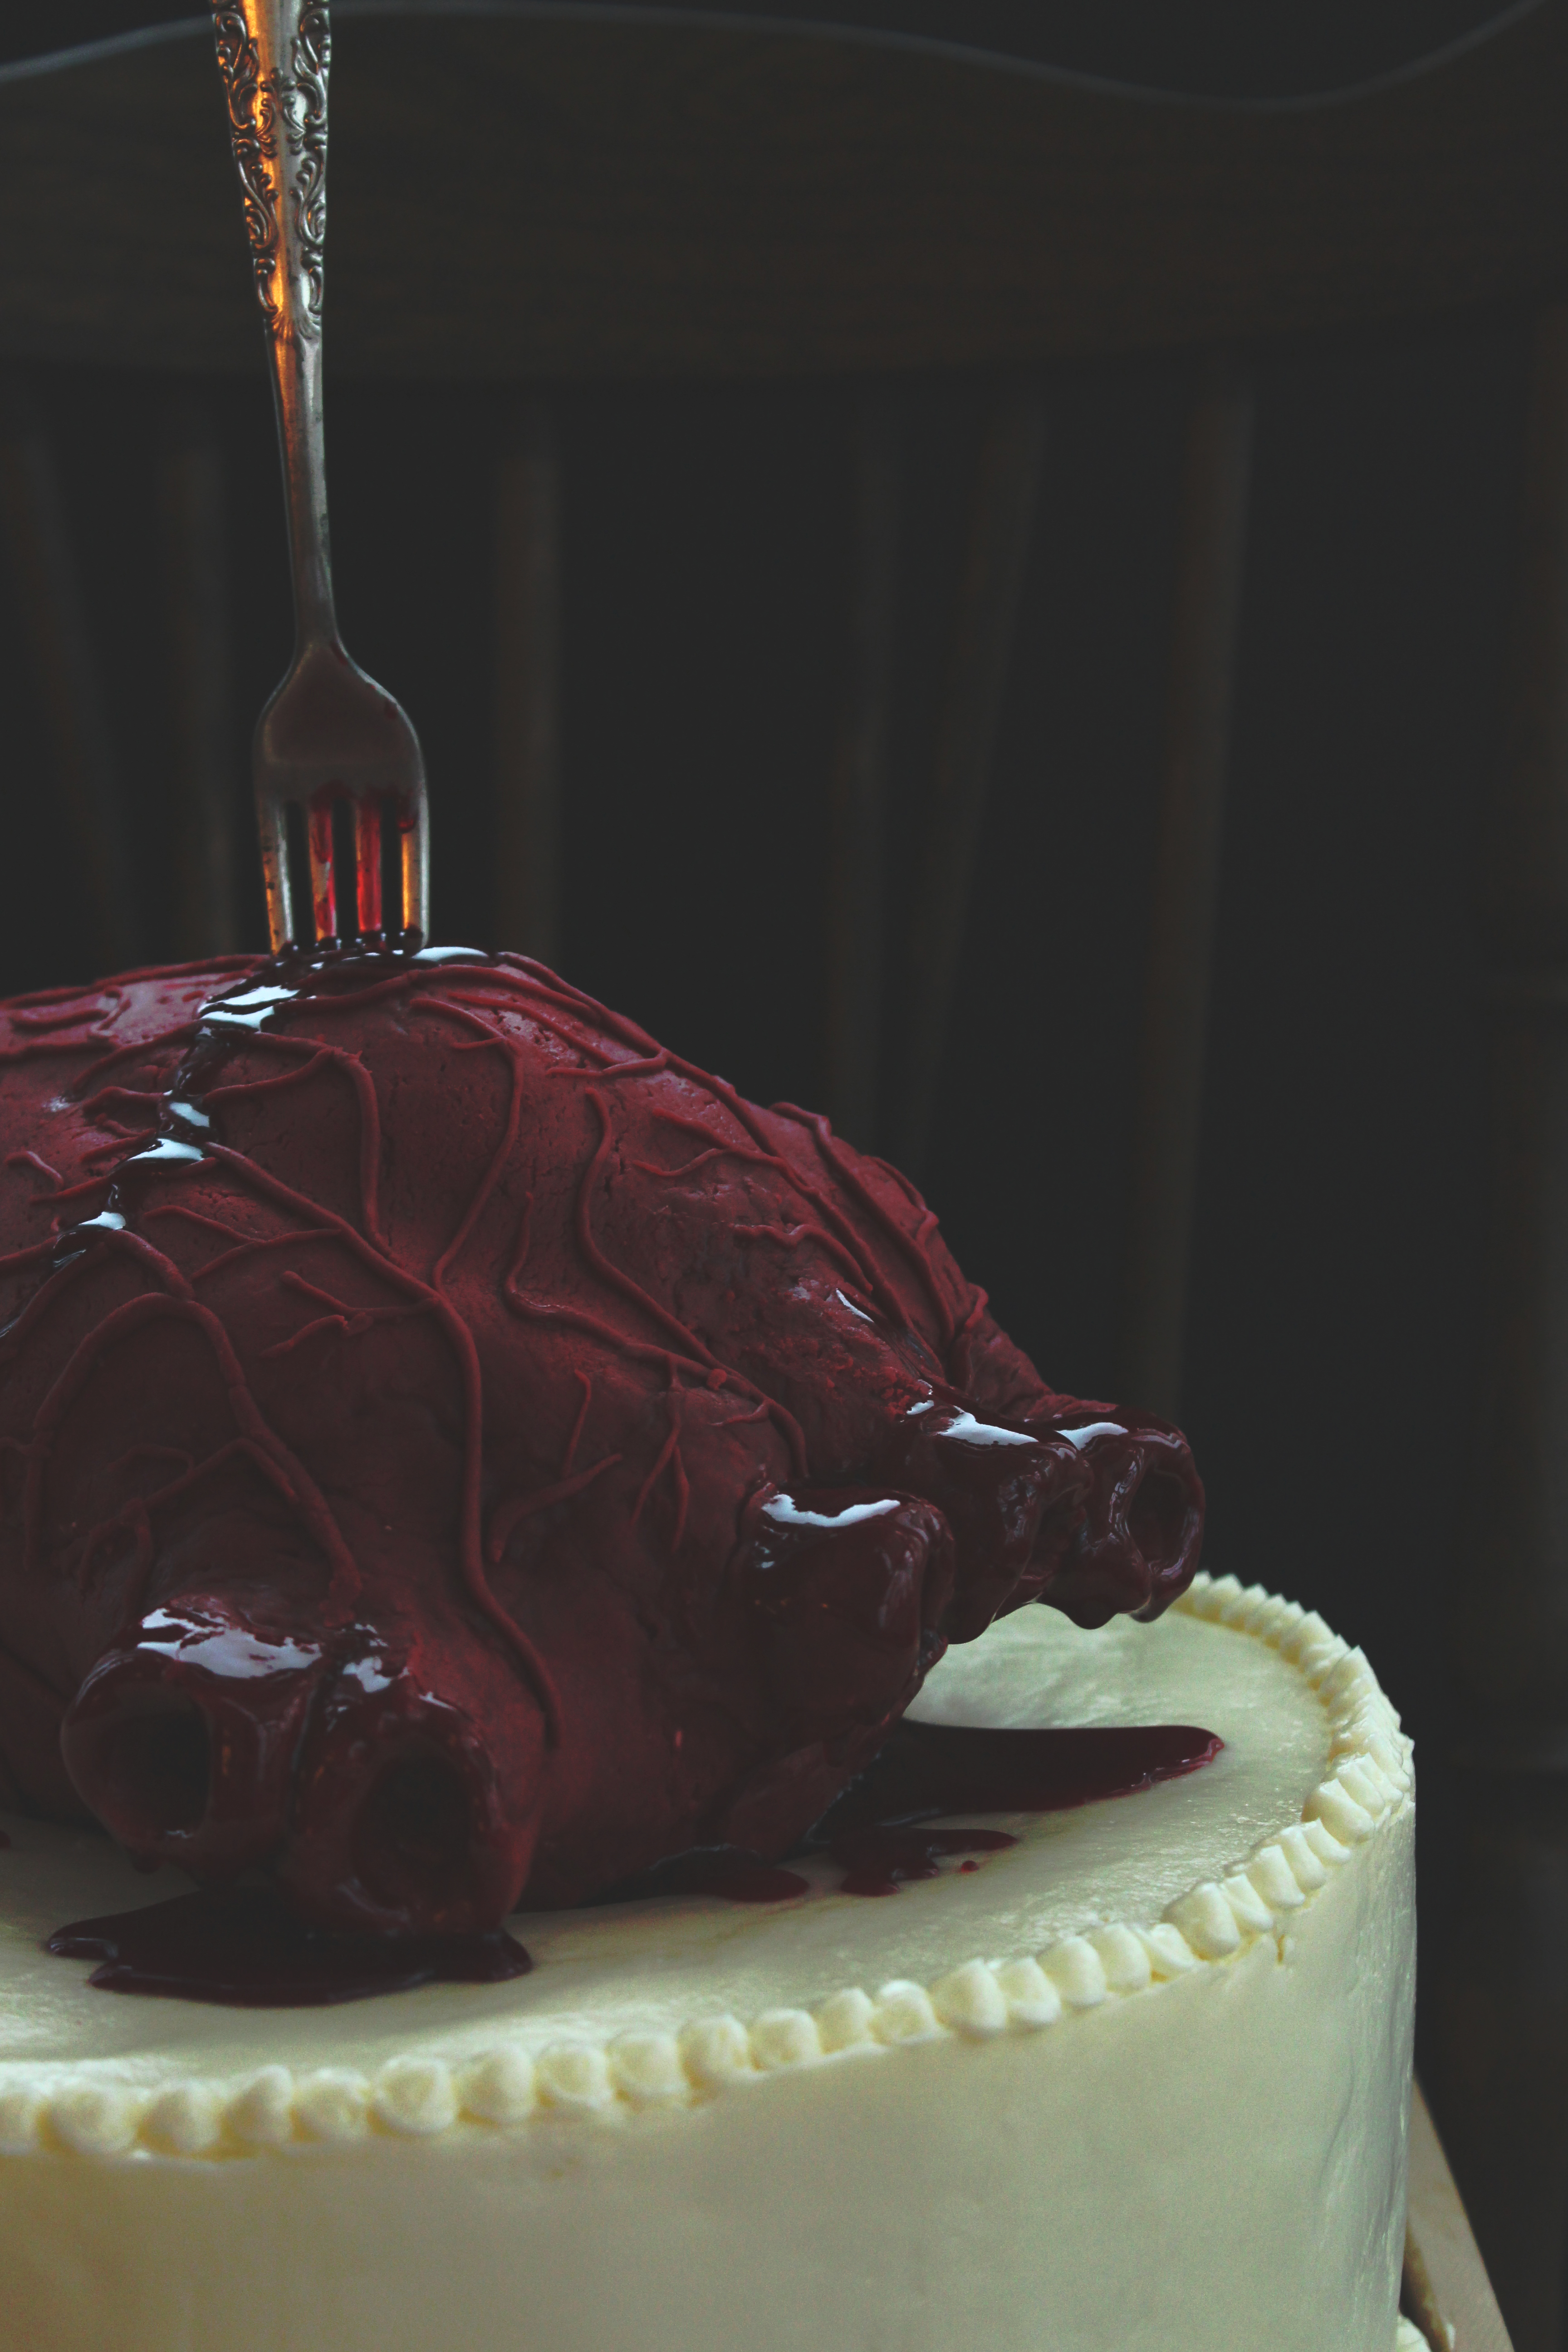
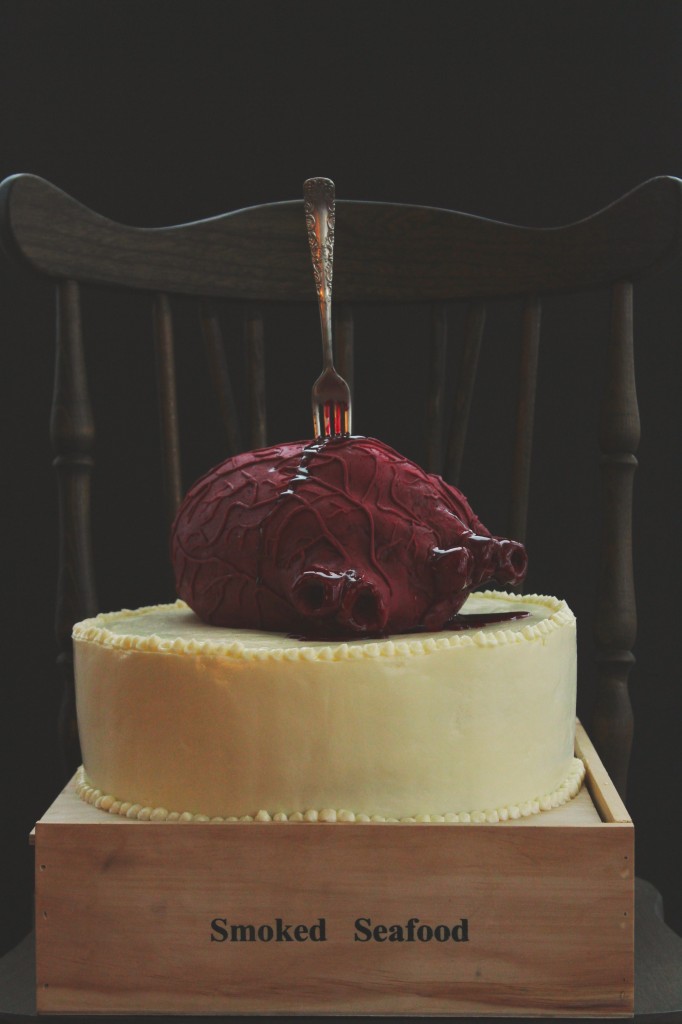
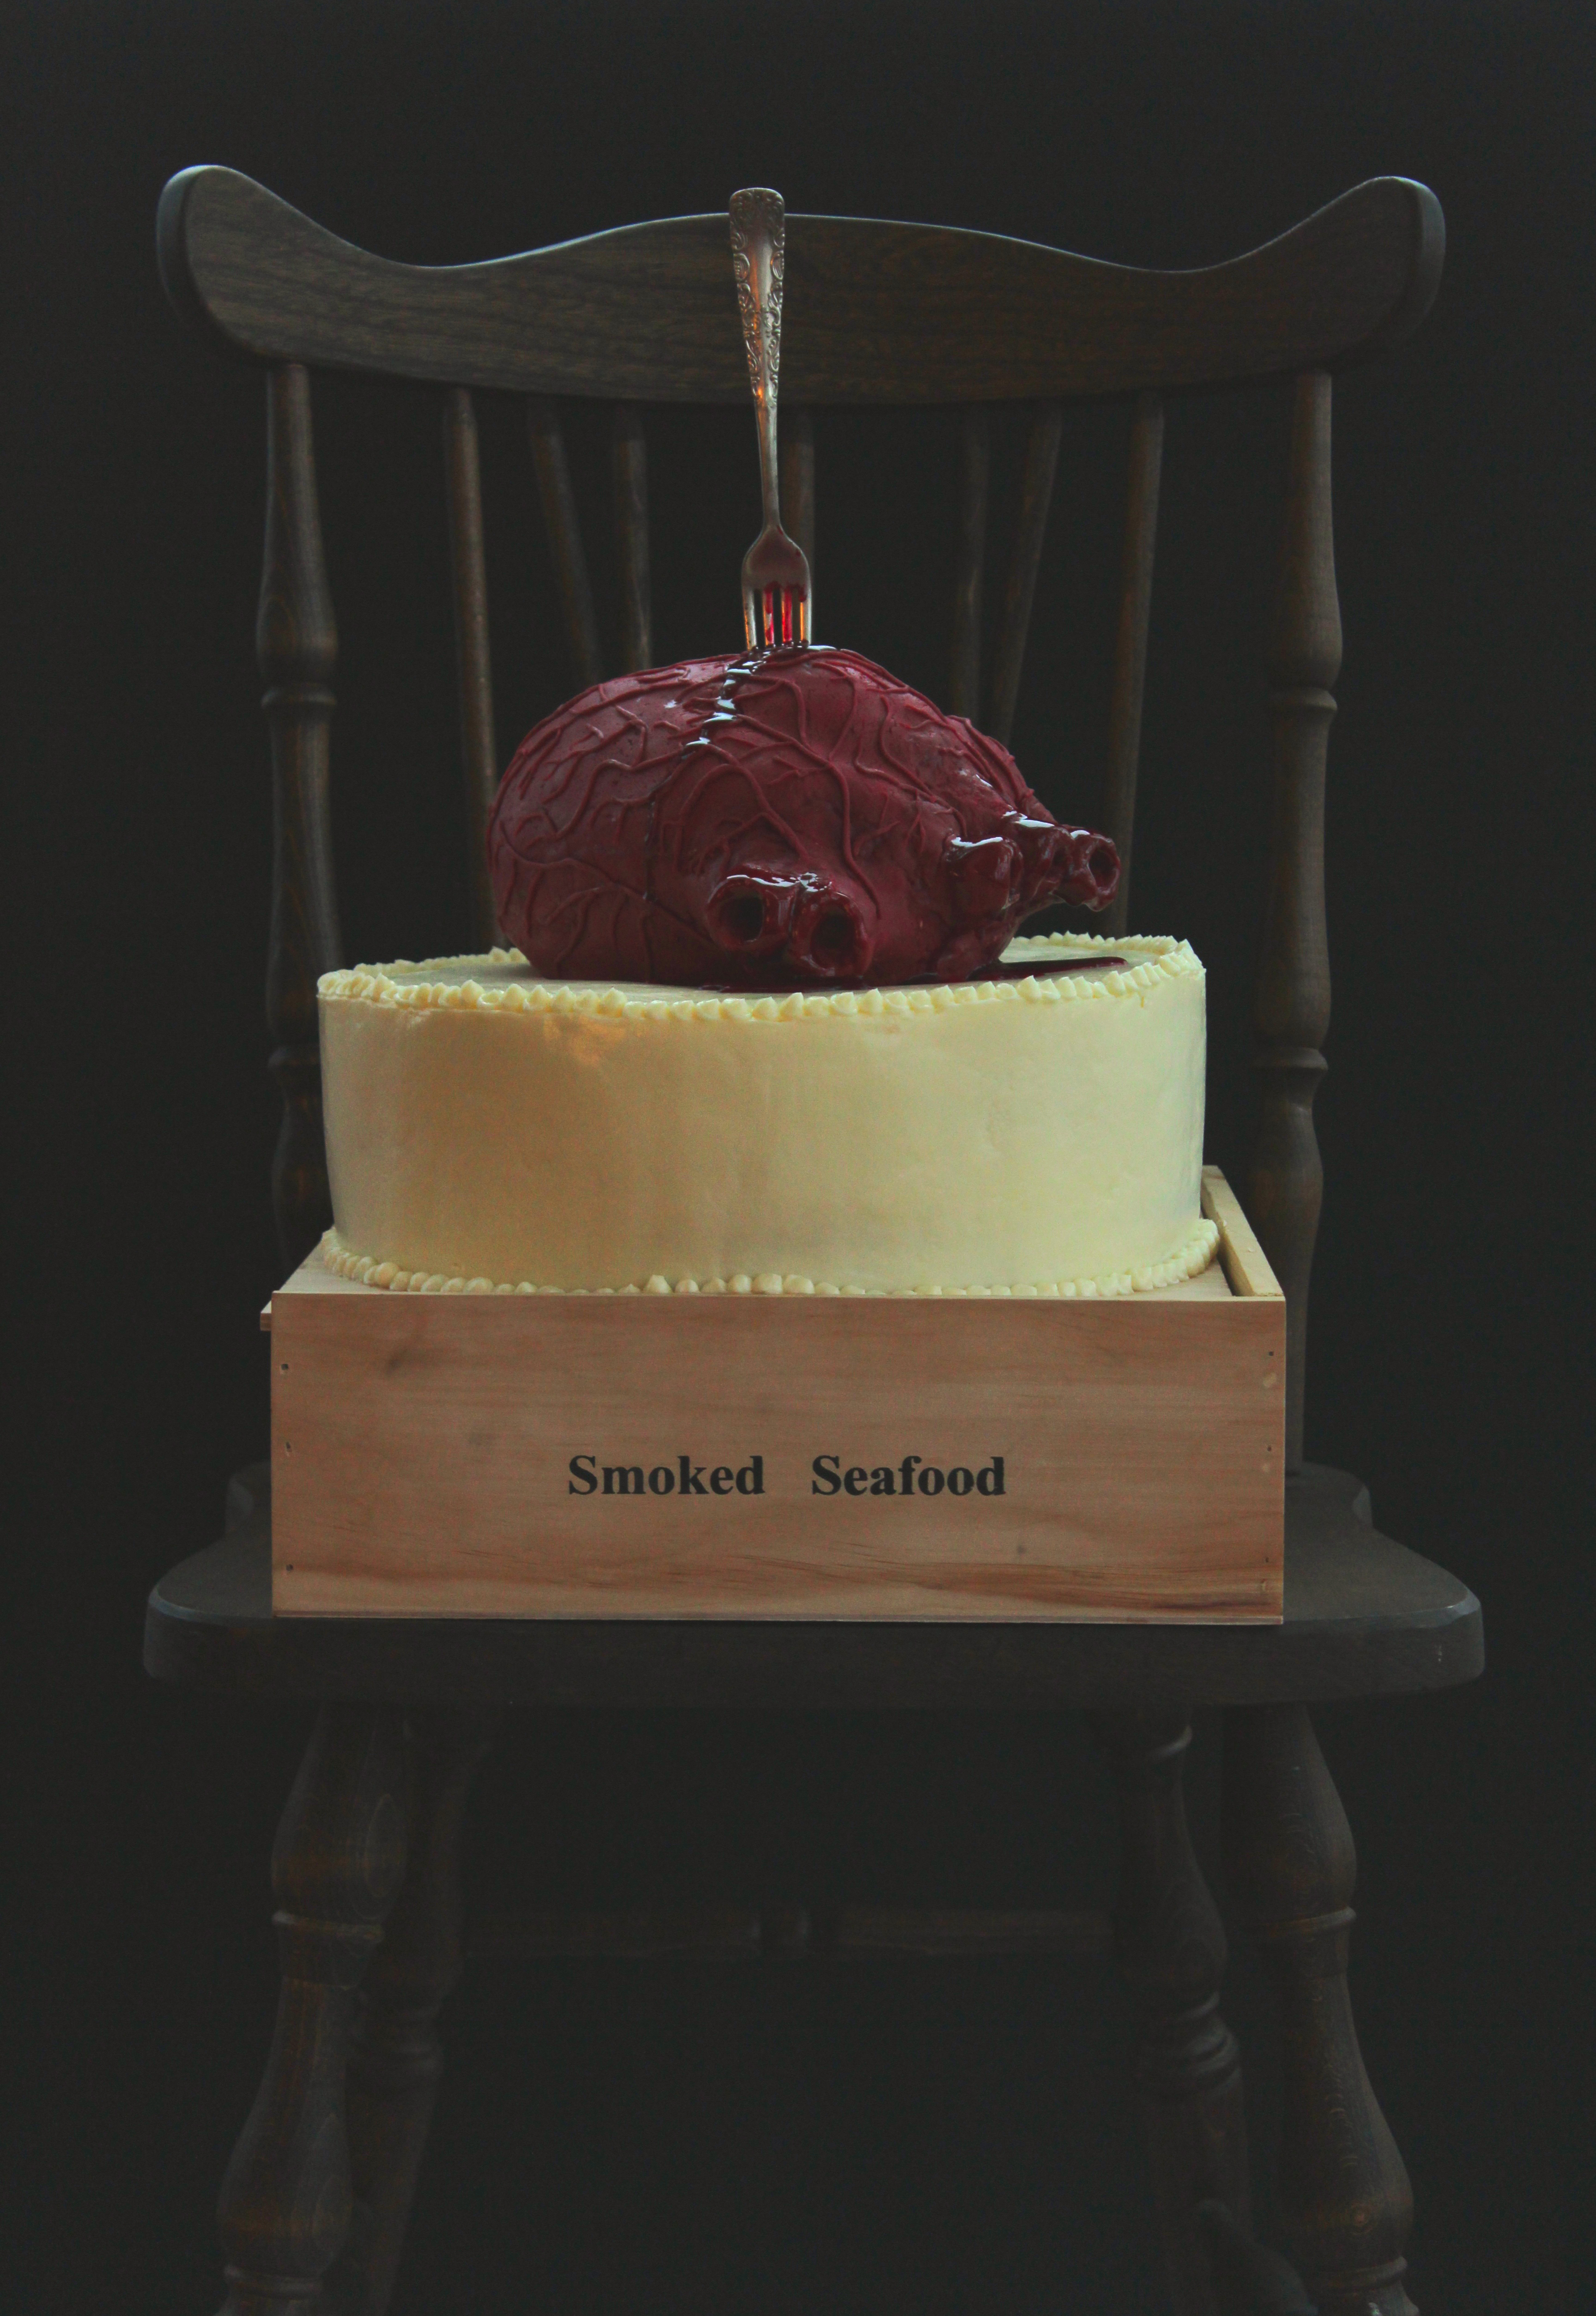
Let me give you a brief overview of this cake: (don’t be overwhelmed!)

it is a 12 inch, 5 layer cake

3 layers of tangy red velvet
2 layers of rich chocolate
enrobed in fluffy, silky Italian meringue buttercream
topped with a bleeding heart sculpted from rice krispies treats and covered in homemade marshmallow fondant.

It’s over the top, and somewhat grotesque.
But isn’t that what Halloween is all about?
I mean, c’mon.

Creepy bloody hearts are prime Halloween subjects.
Grab a fork and knife and tuck in!

IMG_4860

Bleeding Heart Cake

You’ll need:
3 batches red velvet cake (recipe below), baked in a 12×2 inch pan
2 batches chocolate cake (recipe below), baked in a 12×2 inch pan
2 batches Italian meringue buttercream (recipe below)
1 1/2 batches classic rice krispie treats (recipe from the Rice Krispie website, here) (I recommend only using a total of 2 tablespoons butter, instead of 4.5, to firm up your krispie treats)
1/2 batch royal icing (Bridget is the queen of royal icing… Go forth and prosper with her amazing and fail-proof recipe)
1/2 recipe marshmallow fondant, tinted red with a touch of green and purple (Annie’s directions are AWESOME and you should check them out… As well as the rest of her blog… It makes me swoon.  Love!)
Raspberry jam mixed with corn syrup and red food coloring to create a purple-red, thick fake blood (you have to eyeball this to your best ability)

directions:
While your krispie treats are warm, crunch them up a bit with oiled hands.
Begin to work the treats firmly, packing tightly, into an egg shape.
Mold a small, rectangular lump on the upper right “corner” of the heart; this will be your pulmonary artery and vein.
Make a slight indent that cuts from the upper right side to the middle/lower left side (refer to pictures!!!).
Freeze until hard; meanwhile, roll your fondant out to 1/4 inch thickness.
Cover the krispies with royal icing to smooth out any lumps, then cover in fondant, making sure there are no gaps where royal icing may seep through.
Seal the edges with a little bit of water and the dull side of a butter knife.
Begin to add on fondant on either sides of the diagonal indent to create slightly raised ventricles; adhere 3 balls at the top left “corner” and smooth them into cylinders to create your aorta- stick a dowel or pinky finger into the center to create the interior.
Do the same ball technique for the pulmonary vein and artery on the right upper corner.
Continue to smooth with water and a knife.
Once you are content with the shape (again, refer to pictures!), use the remaining fondant to roll tiny little veins, arteries, and capillaries.
Use a little bit of water to adhere the blood vessels to the outside of the heart, mapping them out so that all of the smaller vessels stem from a larger, central artery or vein.
Drape with plastic wrap and allow to dry slightly- I recommend overnight, but make sure it is covered in plastic lightly so that it doesn’t crack and dry out too much.
For the cake itself, layer a red velvet, then 1/3 cup frosting (the filling is very thin between the layers- they are moist enough that it is unnecessary, and too much filling will compromise the structure, so beware.), then a chocolate layer, then red velvet, and so on and so forth.
For red velvet and chocolate, a crumb coat is key.
Apply a thin layer of frosting to trap the crumbs, then refrigerate until completely set- about 30-45 minutes.
Ice the cake with the remaining buttercream, piping on details if you wish.
Place the heart in the center of the cake and stab it with a fork or knife, if desired.
Strategically drip some of your fake blood on the cake to give the illusion of a bleeding heart.
Go scare people!

Red Velvet Cake
adapted from the Food Network
makes 1 12×2 inch layer
ingredients:
150 grams (1 1/4 cups) flour
150 grams (3/4 cup) sugar
1/2 teaspoon baking soda
pinch salt
5 grams (1 tablespoon) cocoa powder
150 grams (1/2 cup plus 2 tablespoons) oil
120 grams (1/2 cup) milk, plus 1 tablespoon vinegar
1 egg
14 grams (1/2 ounce) red food coloring (the liquid kind)
directions:
Preheat oven to 350 degrees F and grease and flour a 12×2 inch pan.
Whisk the flour, sugar, baking soda, salt, and cocoa powder together.
Whisk the oil, milk, vinegar, egg, and food coloring together.
Whisk the wet into the dry ingredients and whisk well to combine.
Pour into pan and bake for 25-30 minutes, until a tester comes out clean.

Chocolate Cake
adapted from the Kitchn
makes 1 12×2 inch layer
ingredients:
200 grams (1 cup) sugar
105 grams (3/4 cup plus 2 tablespoons) flour
30 grams (1/4 cup plus 2 tablespoons) cocoa powder
3/4 teaspoon baking powder
3/4 teaspoon baking soda
big pinch salt
1 egg
60 grams (1/4 cup) oil
120 grams (1/2 cup) hot water
directions:
Preheat oven to 350 degrees F and grease and flour a 12×2 inch pan.
Whisk the sugar, flour, cocoa powder, baking powder, baking soda, and salt together.
Whisk the egg and oil into the dry ingredients.
Whisk the hot water into the batter; it will be very, very thin.
Pour into prepared pan and bake for 25-30 minutes, until a tester comes out clean.

Italian Meringue Buttercream
more in-depth directions here
ingredients:
5 egg whites
200 grams (1 cup) sugar, plus 20 grams (scant 2 tablespoons) (divided)
56 grams (scant 1/4 cup) water
500 grams (4 1/2 sticks) butter, cut into chunks and softened but still quite cool
directions:
Whisk the egg whites with 20 grams of sugar.
Meanwhile, heat the rest of the sugar with the water in a saucepan until it reaches 240 degrees F.
At this point, the meringue should be at softly stiff peaks.
Drizzle the hot syrup over the meringue and beat until cooled to body temperature.
Beat in the butter 1 tablespoon at a time; keep beating until frosting is light and silky.

Scavenged

IMG_4739_01

This cake soothed some of my OCD tics for a beatific hour or so.

IMG_4750_01

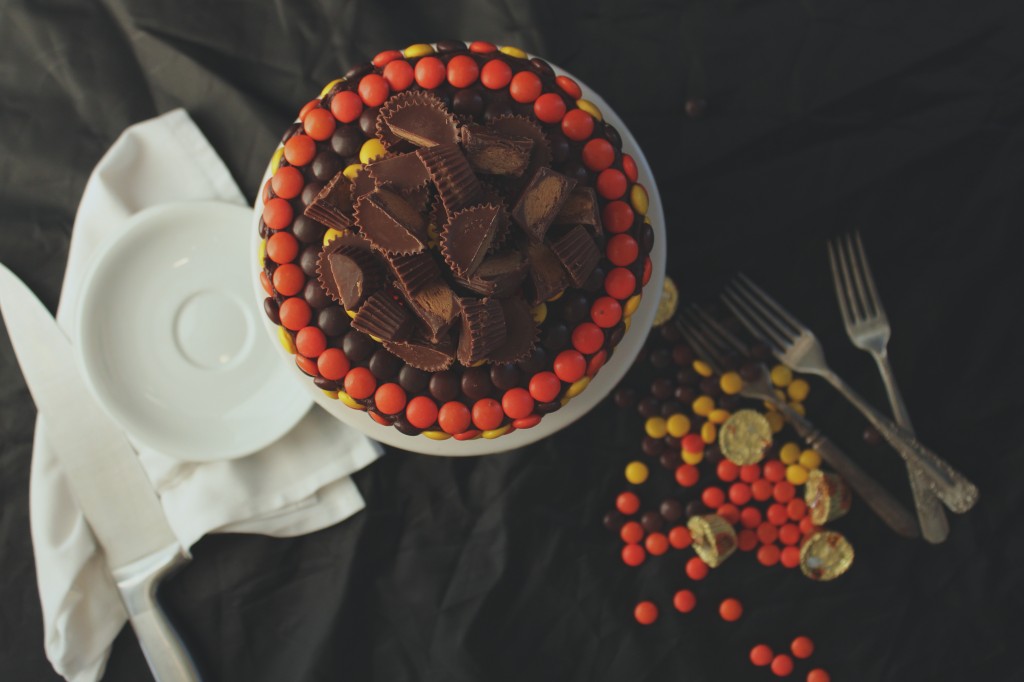
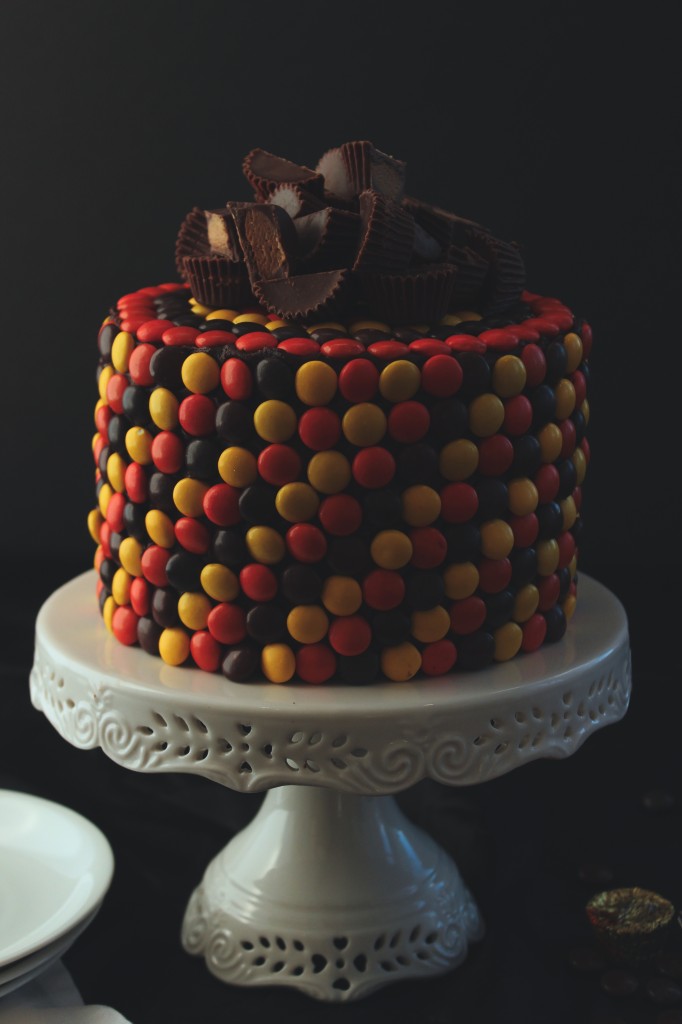
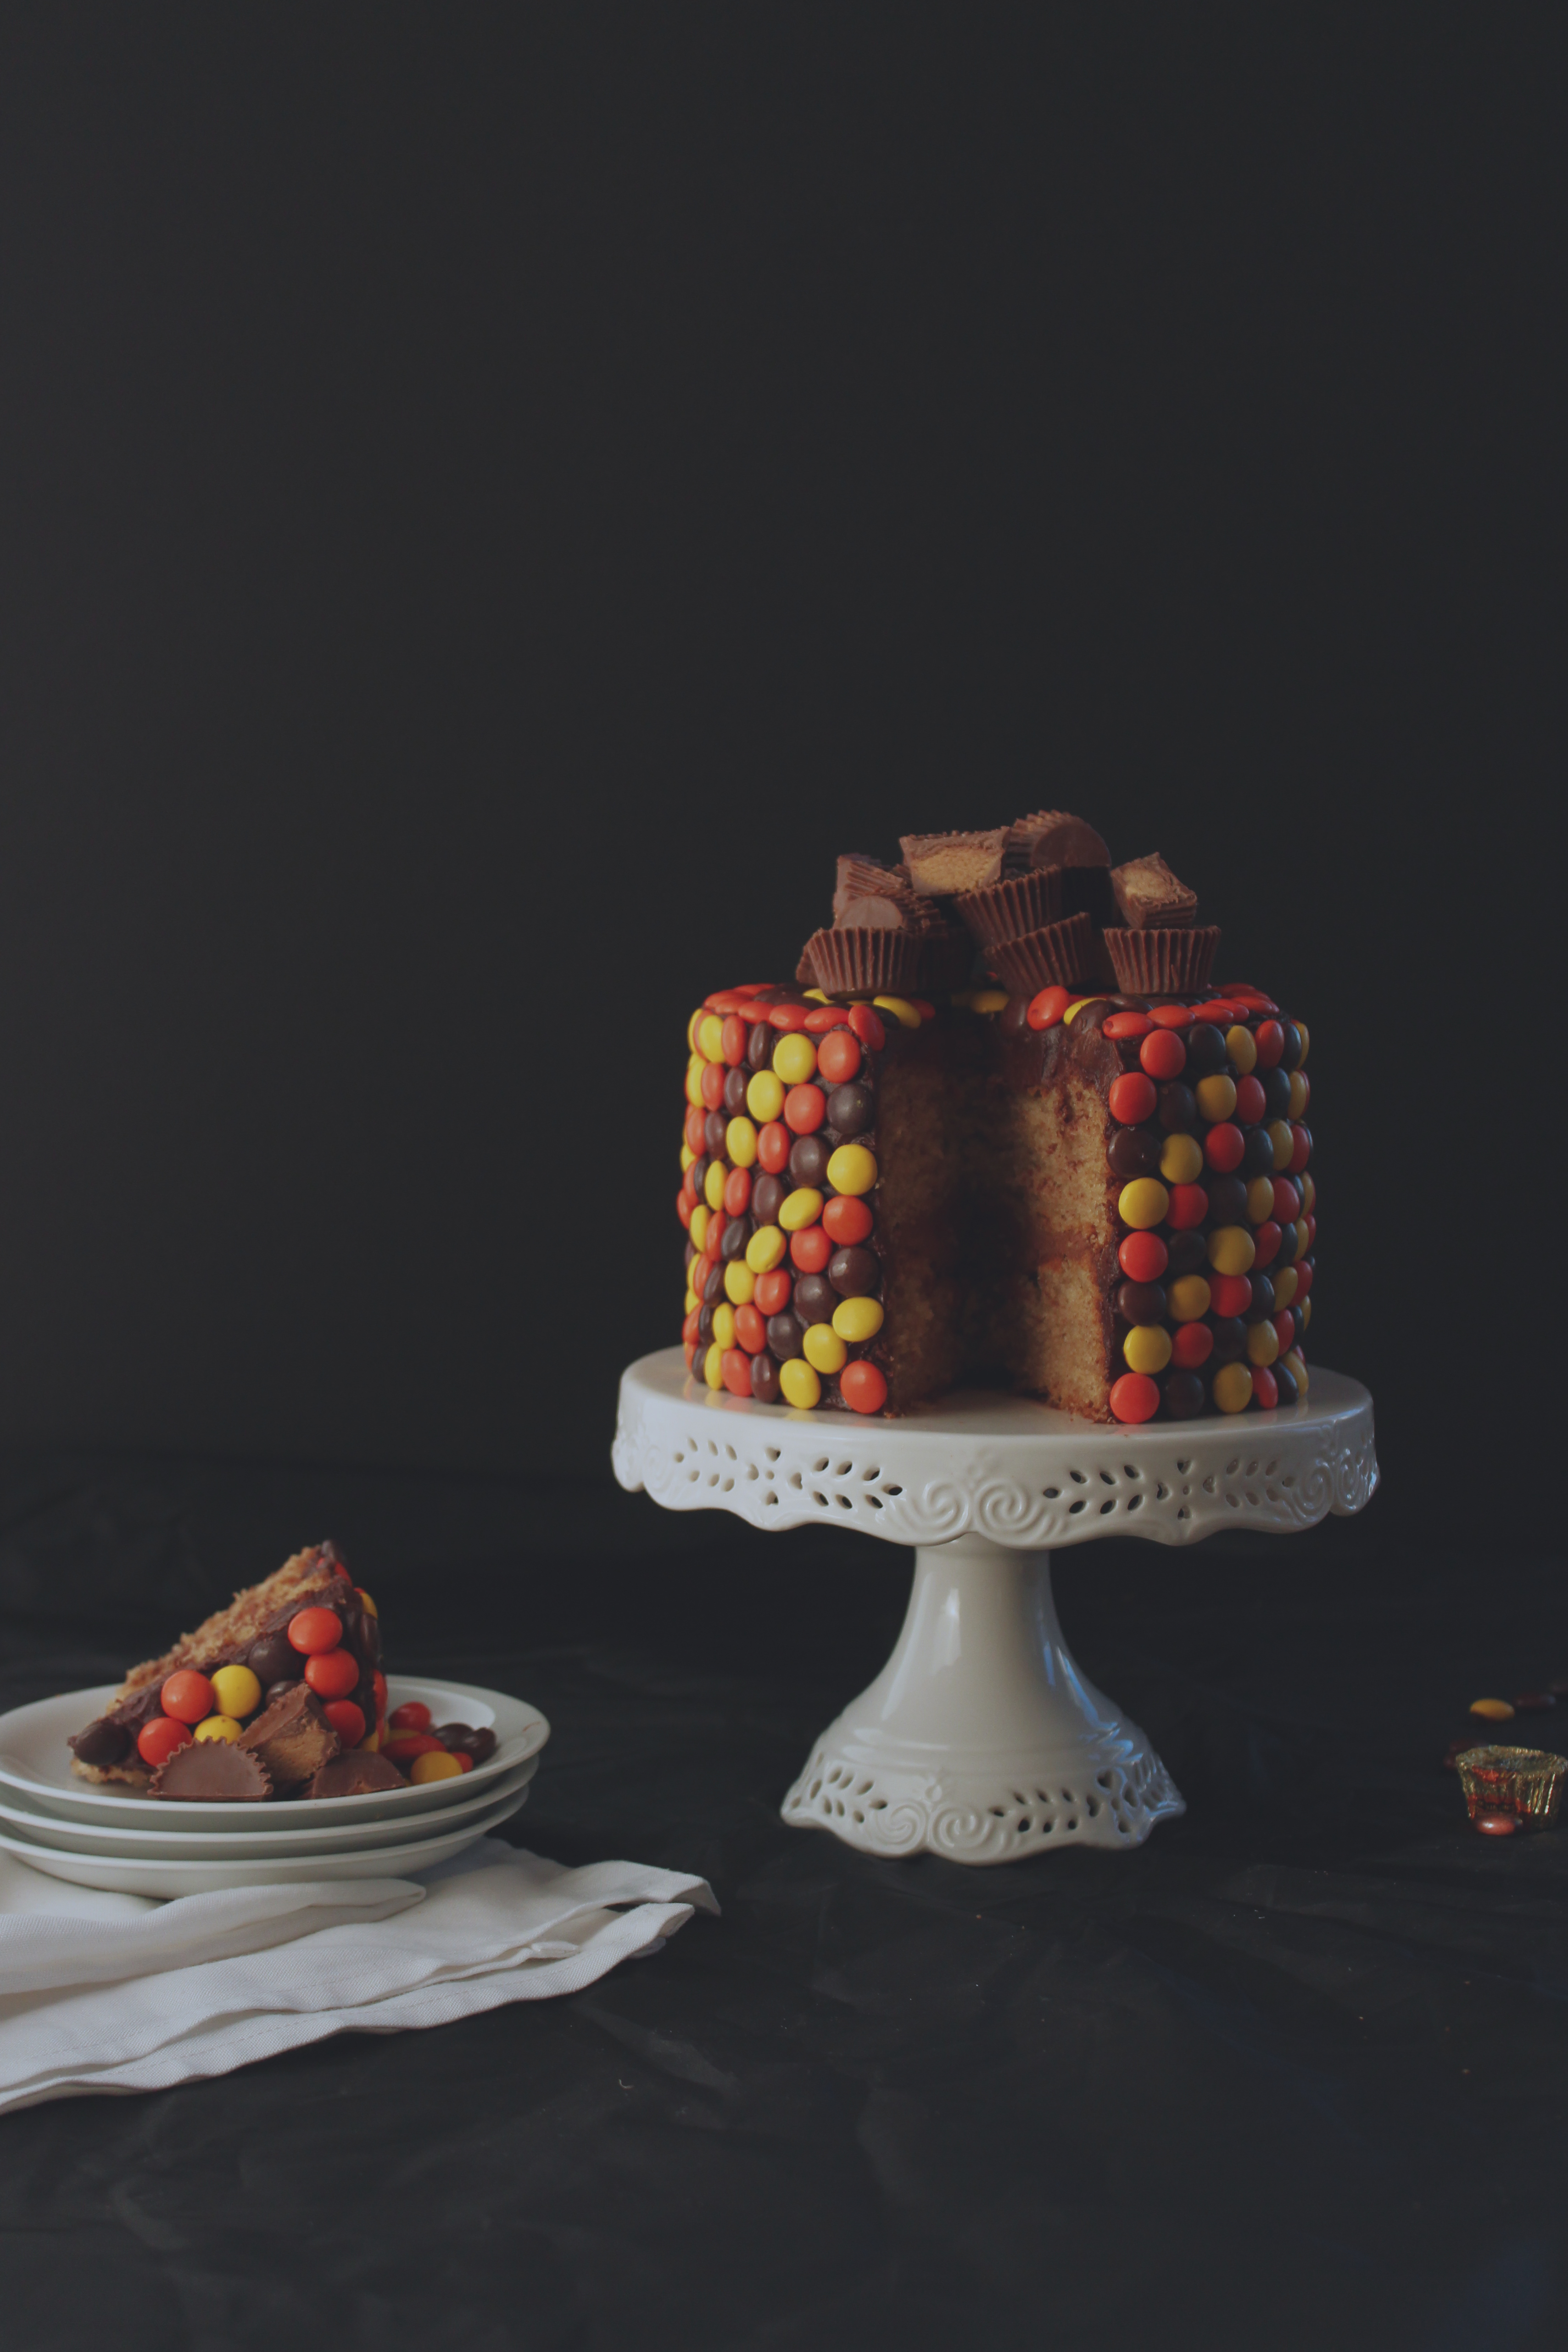
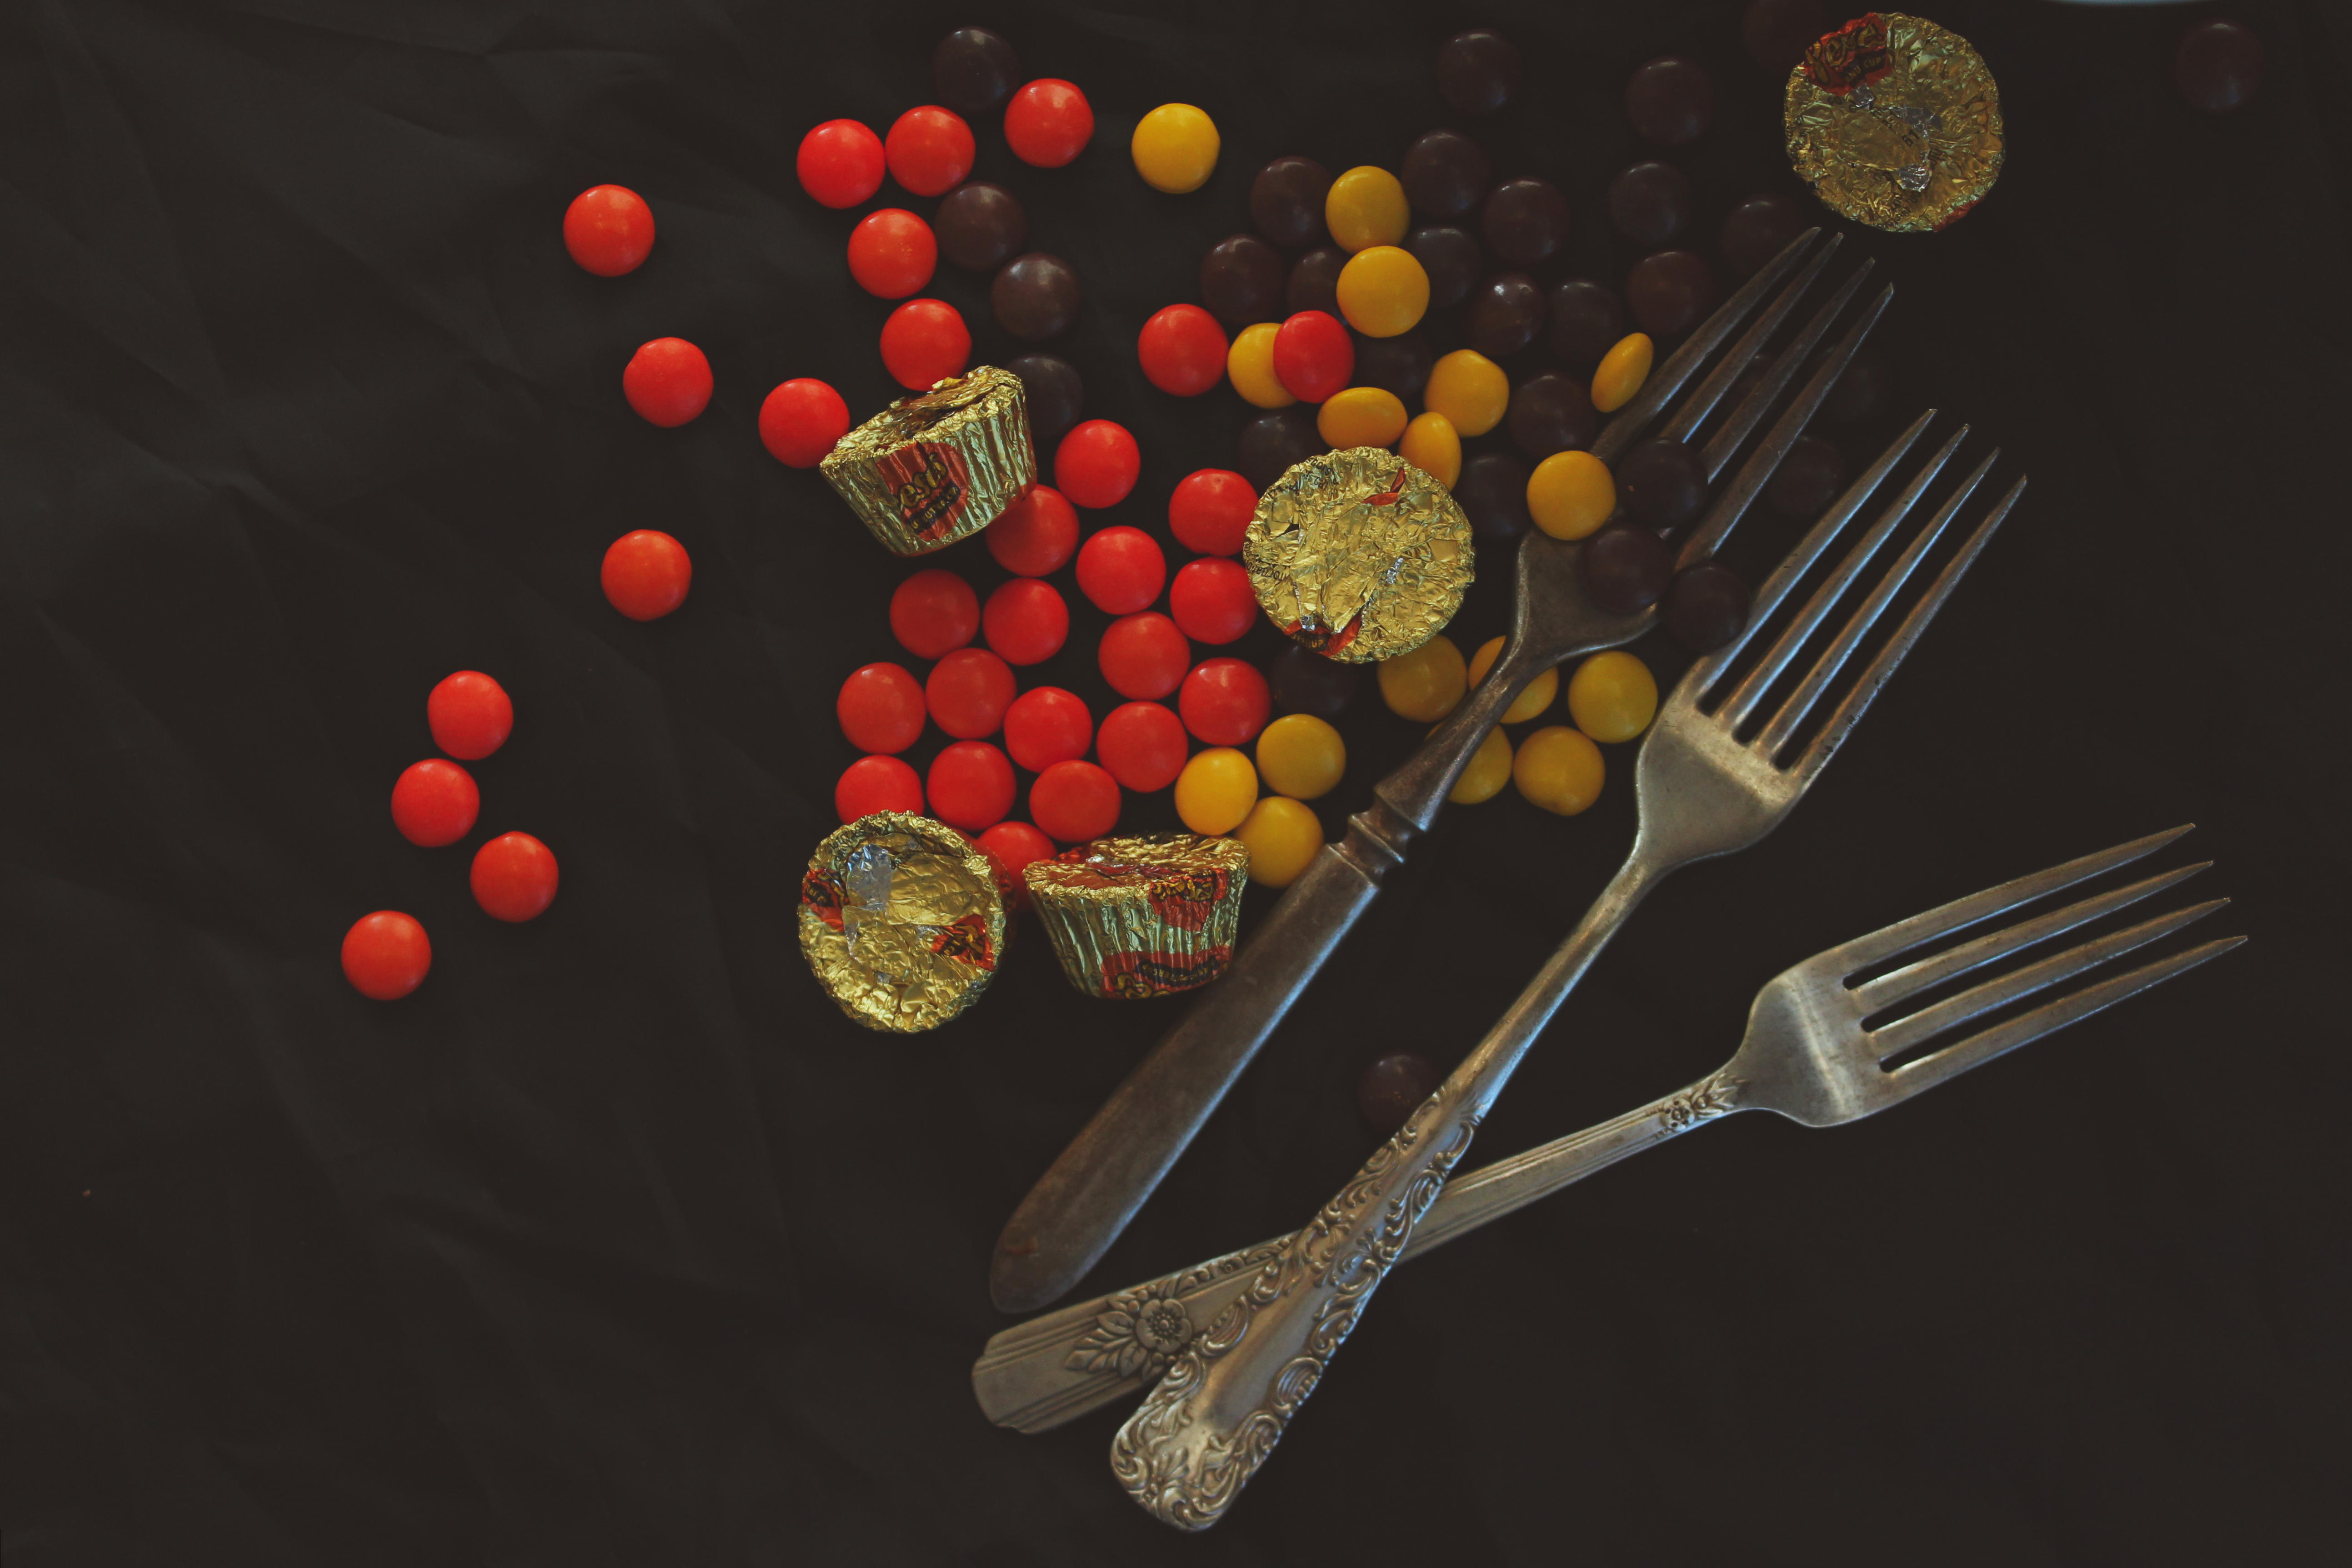
It was very fulfilling to separate the Reese’s Pieces by color.  I felt good, even though it ate away at 45 minutes of my free time, which is precious little here in college.

I ended up sorting through almost twice as many as I needed.  Oh well.

While I was mindlessly dropping each color into its own bowl, I stopped biting my lips, something which has become quite a subconscious and destructive tic.

Cake works wonders, I tell ya.

IMG_4736_01

The inspiration for this cake hit me in a CVS candy aisle, like all good ideas do.
I was buying Robitussin for this ridiculous cold I still have.
They were selling bags of Reese’s Pieces, 2 for $6.

My first thought was

CAKE.

IMG_4782_01

Reese’s Pieces have never been among my top candy choices.
To be honest, I would almost certainly choose m&ms over them any day.
That being said, they are purrrfect for Halloween treats.

Other times of the year, the colors leave something to be desired.
When Halloween rolls around, though, it’s go time.

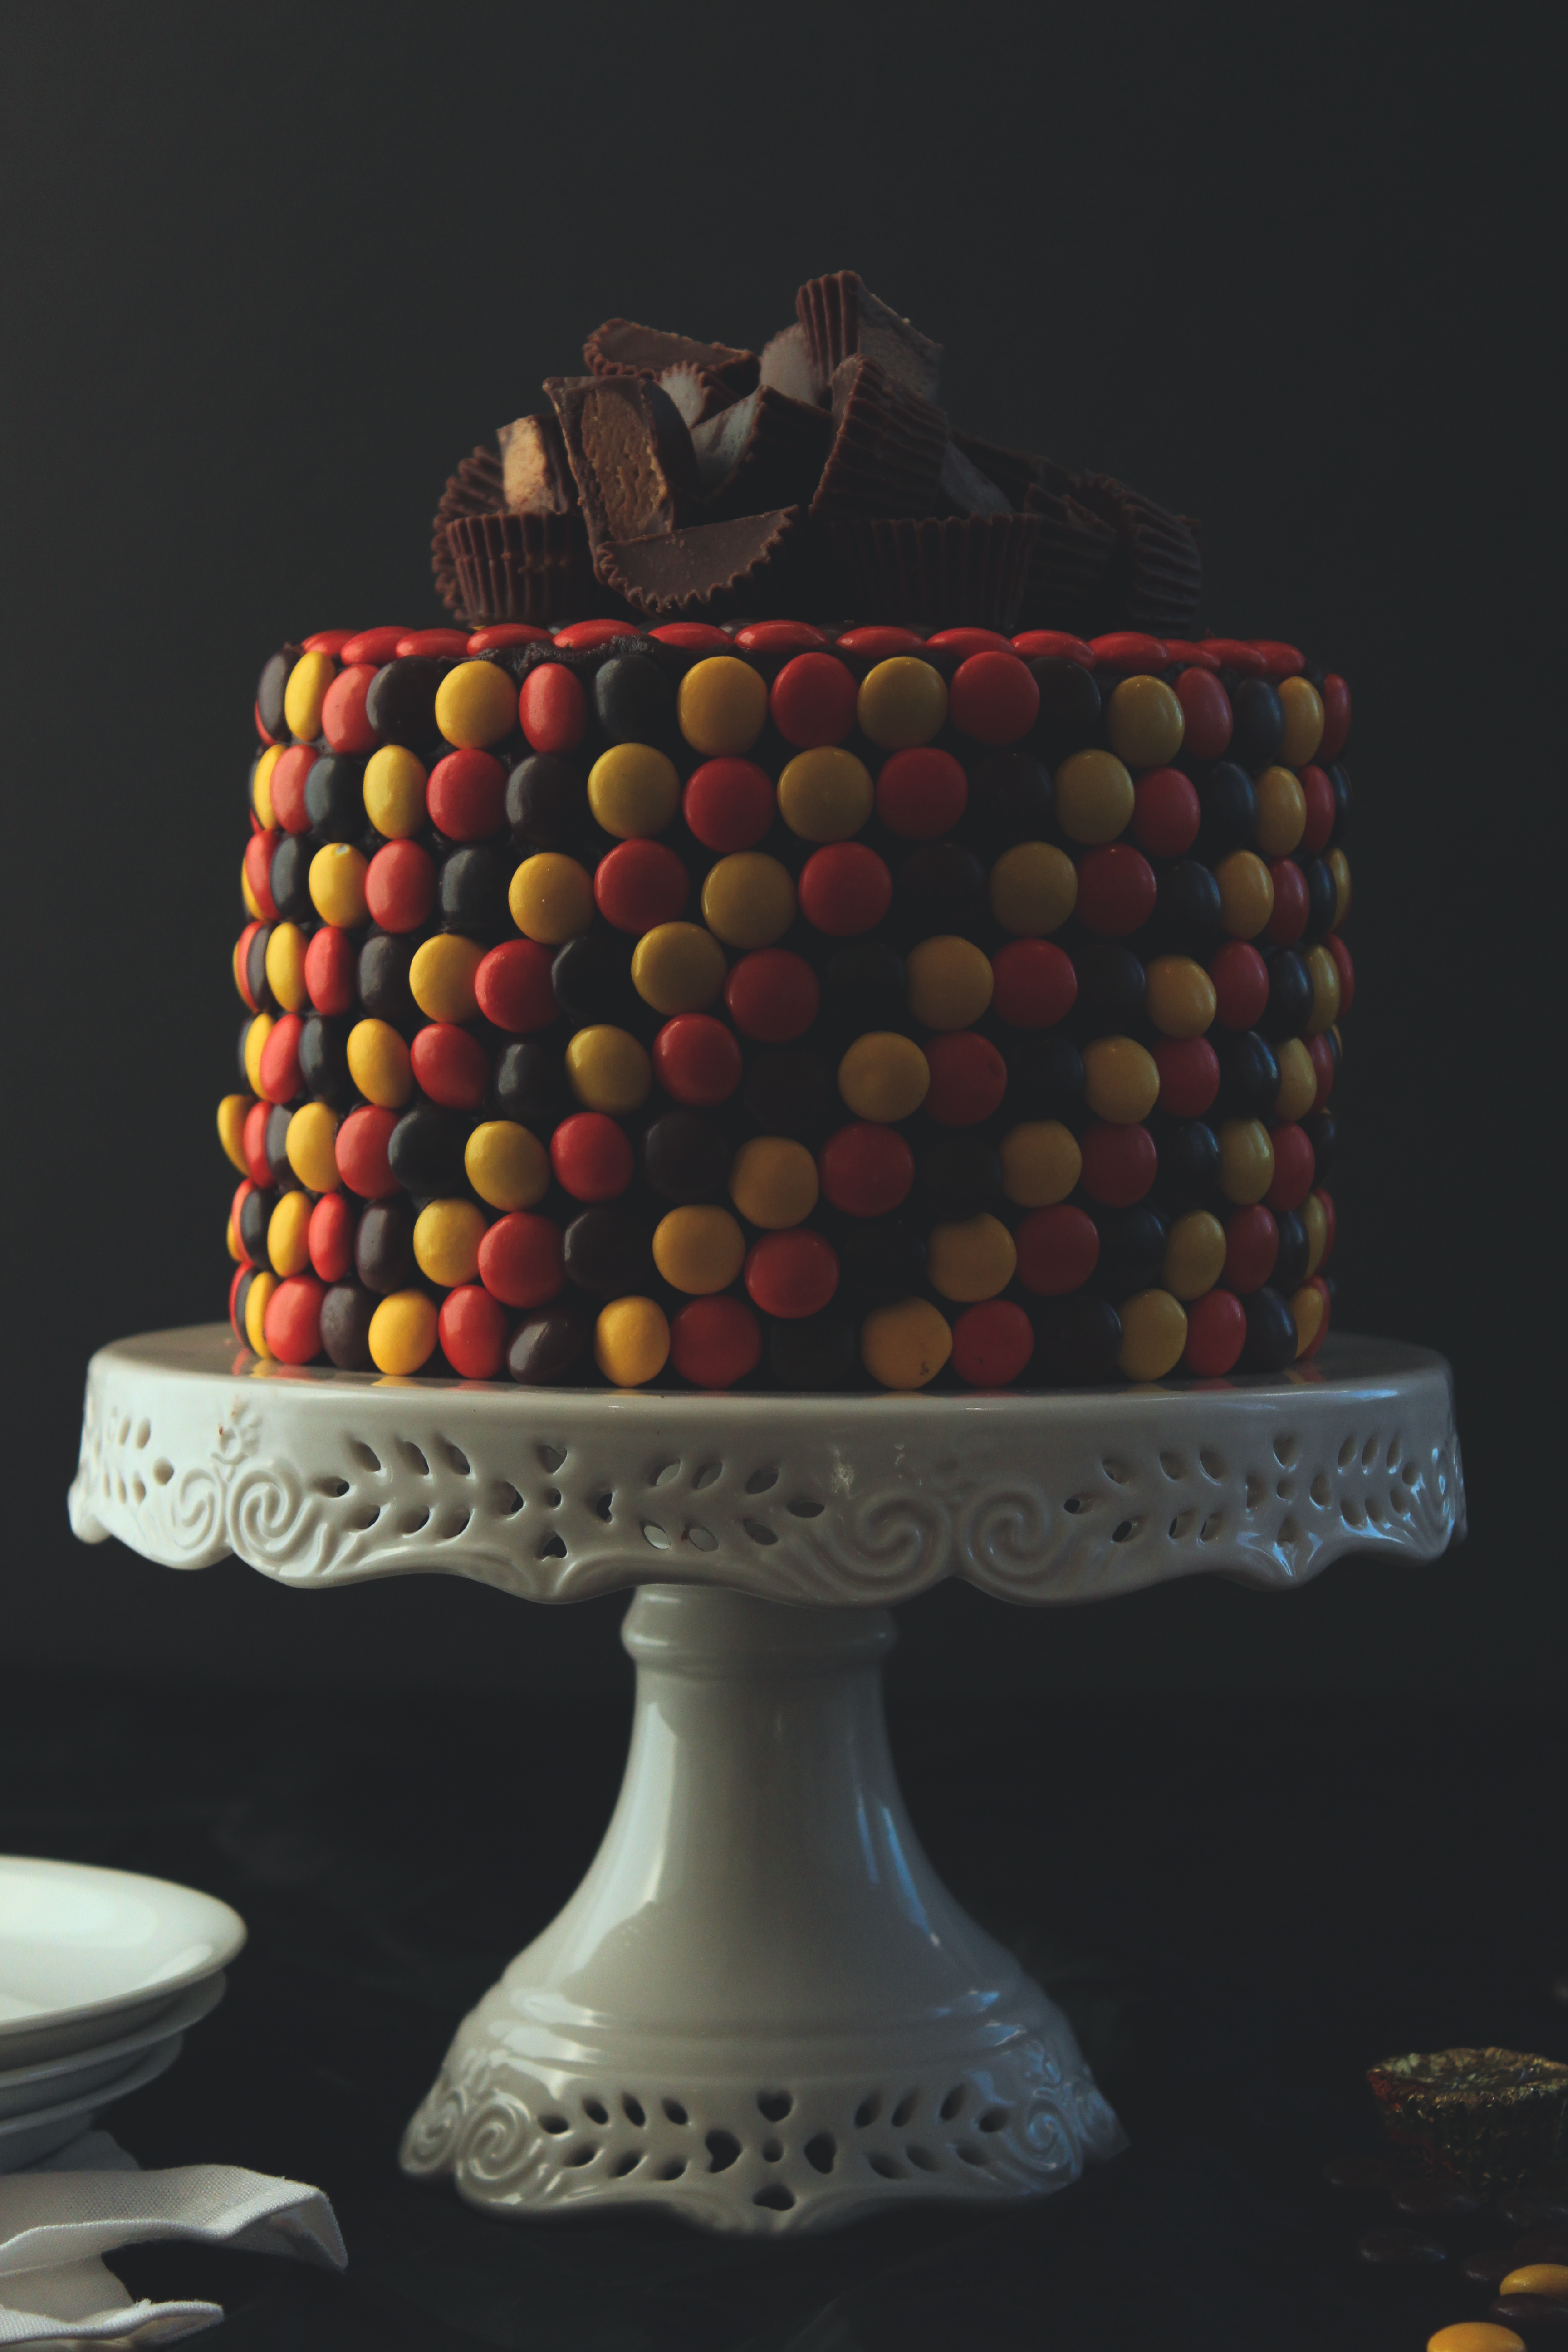
Armed with lots of Reese’s Pieces, I began to plan for a Halloween cake.

Obviously, it had to be peanut butter

and therefore

also chocolate.

But most recipes I found were chocolate cakes covered in some sort of peanut butter frosting.
I had my heart set on the opposite- peanut butter cake with chocolate frosting.

Mainly because, well, have you seen how many chocolate cakes are on this blog?  It’s a little ridiculous.
I feel like I make a chocolate cake every two weeks.

I needed change.

IMG_4733_01

In the end, the cake was a two layer peanut butter cake which was soft and flavorful, covered in whipped peanut butter and bittersweet chocolate ganache, and decorated with Reese’s Pieces and PB cups.

It was supposed to be three layers

but

I dropped one of the pans and it fell on the ground and broke into a million pieces and my friends and I gobbled it up, fresh and hot, right then and there.  RIP.

This is a scavenged cake because I swiped the peanut butter for it from the dining hall.
I convinced my friends to each grab me a few of the little tablespoon-sized packets.

I myself grabbed a few and the resultant ridiculous amount of PB was smuggled out in my backpack, which ended up being the perfect amount for this cake.
Hooray!

P.S. note that this is another Halloween post sans pumpkin.  Ahem.

IMG_4735_01

Peanut Butter Cup Cake
cake portion adapted from Simply Gloria
ingredients:

for the cake:
1 cup creamy peanut butter
1/2 cup butter, softened
1 1/4 cup sugar
big pinch kosher salt
2 eggs
splash vanilla
1 cup milk, plus 1 1/2 teaspoons apple cider vinegar
2 1/4 cup flour
1 1/4 teaspoon baking soda
1 teaspoon baking powder

for the ganache:
1/2 cup plus 2 tablespoons cream
6 tablespoons butter
8 ounces (1/2 pound) chocolate, chopped
1/2 cup peanut butter

for decoration (optional):
Reese’s pieces
peanut butter cups, chopped

directions:
Make the cake: preheat oven to 350 degrees and grease and flour 3 6-inch pans.
Whisk flour, baking powder, and baking soda together; set aside.
Beat peanut butter and butter together until completely smooth, about 4 minutes.
Add in the sugar and salt and beat until combined well, about 2 minutes.
Scrape the sides of the bowl and add the eggs and vanilla; beat until completely combined, 2 minutes more.
While mixing very slowly, stream in the buttermilk while simultaneously shaking in the flour mixture.
Mix until completely combined then scrape the sides of the bowl and mix a little more.
Spread into your pans and bake for 25-27 minutes.
Allow to cool completely.

Meanwhile, make the frosting: melt the cream, chocolate, and butter together in a microwave safe bowl; gently stir together and put in fridge to cool.
Once the ganache is semi solid and chilled, whip it until it becomes fluffy; add the peanut butter and whip until the ganache is fluffy, light-colored, and spreadable.

Decorate to your heart’s content!

Orange You Glad

IMG_4561

Orange you glad I didn’t make these with pumpkin?

IMG_4563

Because guys, seriously.  I know it’s fall.  You know it’s fall.  And pumpkin is exciting, (in fact, I have some yeast-raised pumpkin goodies coming for you soon…)
BUT good gracious gravy everyone has been blogging about pumpkin pumpkin pumpkin… Similar to all the white girls tweeting about PSL. (Sorry, not sorry.  At all.  lol.)

So, I rebelled.  These orange-colored cookies are actually made with oranges, not pumpkin.
I regret nothing.

These are super simple, using my 3-2-1 dough as a base recipe.  I made three batches- one vanilla, one chocolate, and one orange, then divided each in half.
The doughs were rolled up tightly, sliced, and baked into adorable little spirals.
They’re so cute I could squeal!!
SO cute, SO easy, and SO yummy.  It’s the trifecta of cookie perfection!

Can we just talk about how great slice-and-bake cookies are?  In love.

Anyways, these cookies are perfect for a Halloween party.
You can make the dough in advance, keep in the fridge all rolled up and ready, and whenever you want cookies, all that you have to do is thaw the dough, cut however many cookies you want, and bake!
*Note: these cookies bake best (hold their shape best) when baked from room temperature.

See you soon for more spooky treats!

IMG_4582

Orange, Chocolate, and Vanilla Swirl Cookies 

ingredients:

For the vanilla dough:
225 grams (2 sticks, 16 tablespoons) butter
200 grams (1 cup) sugar
Two big pinches (scant 2 teaspoons) kosher salt
1 egg
Splash vanilla
360 grams (3 cups)flour

For the orange dough:
225 grams (2 sticks, 16 tablespoons) butter
200 grams (1 cup) sugar
Zest of 2 oranges
Orange gel food coloring (optional)
Two big pinches (scant 2 teaspoons) kosher salt
1 egg
Splash vanilla
360 grams (3 cups) flour

For the chocolate dough:
225 grams (2 sticks, 16 tablespoons) butter
90 grams (scant 1/2 cup unpacked) brown sugar
110 grams (heaping 1/2 cup) sugar
2 big pinches (scant 2 teaspoons) kosher salt
1 egg
300 grams (2 1/2 cups) flour
45 g (1/2 cup) cocoa powder

Directions (for all the doughs):

(For the orange dough only: rub the zest into the sugar with your fingertips before beating the orange sugar, butter, salt, and food coloring together)
Beat the butter, salt, and sugar(s) together for 3 minhtes.
Scrape the sides of the bowl, add the egg and vanilla, and beat for 2 more minutes.
Scrape the sides of the bowl and add the flour (or flour and cocoa powder, for chocolate dough).
Mix until a thick dough forms.
Divide into equal halves and form into rectangles.
Refrigerate, wrapped in plastic, for at least 30 minutes.
Roll out each half into a rectangle between 1/8 and 1/4 inch thick.
Layer one chocolate half over a vanilla half, the other vanilla half over an orange half, and the other orange half over the leftover chocolate half.
Working gently and slowly, roll each up very tightly, making sure not to crack the dough.
Refrigerate for at least 30 minutes.
Slice the cookies about 1/4 to 1/3 inch thick with a sharp knife, and place on a cookie sheet lined with parchment paper.
Do not chill your cookies!
Make sure they are room temperature; leave them on the counter as your preheat the oven to 350 degrees F.
Bake for 10-12 minutes, until the edges are set and the bottoms start to become lightly golden.


Giggling

IMG_4502

Actually, these were not giggle-inducing cookies to sort out.  They were kind of a pain in the ass.

Although very worth the headache.
IMG_4493

Lately, all the cookies I’ve been making have been quite annoying.

By all I mean two batches.  One of which you see here.

Delicious, yes.  In the end, worth it, yes.  But testing recipes isn’t always smooth going.
Especially when you make it up as you go.

Sans thermometer, no less!

ALSO, I hate photographing cookies (I’m soooo bad at it someone teach me SOS).  My cookie skills (in all realms) clearly need brushing up.

(Good thing I have 6 rolls of slice and bake cookies in the fridge right now…)
IMG_4501

These cookies struck me in the middle of a autumnal daydream.

Gooey, spicy pumpkin caramel+buttery, soft, cinnamon cookie pillows?

Good grief.

Somehow, I waited days!!!  I had no time.  I longed to make these lil guys.
I gathered my ingredients round, assuring them in hushed whispers, “You will be great.  Magical, even.  Just a little longer now.”

Pumpkin, spices, cream, sugar, butter…

The problem- the caramel was supposed to be stuffed inside the stupid cookies.  But it kept heating up and becoming hot molten lava that burbled and puddled out of the cookies.
Delicious puddles.

But ugly puddles.  I mean, come on… I can’t very well post a picture of an ENTIRE cookie sheet merged into ONE giant mutant cookie and expect people to be attracted, can I?
Yes.  That happened.

So I tried and tried again.  It didn’t work.  I gave up, rolled the snickerdoodles into little puffy balls, and spread gooey caramel in between them.

As I licked my fingers clean of salty-sweet-spicy caramel after biting into one of these little sandwiches, I regretted nothing.

Stuffed cookies are overrated anyways.  Hmph.

IMG_4514

Soft Snickerdoodle Sandwiches with Pumpkin Caramel

cookie portion adapted from Joy of Baking

ingredients:
for the cookies:
360 grams (2 3/4 cups) flour
pinch salt
2 teaspoons baking powder
225 grams (16 tablespoons) butter, cut into pieces
300 grams (1 1/2 cups) sugar
2 eggs
1 teaspoon vanilla
1/3 cup granulated sugar mixed with 2 teaspoons cinnamon

for the pumpkin caramel:
110 grams (scant half cup) pumpkin
2 teaspoons pumpkin pie spice
150 grams (1/2 cup plus 2 tablespoons) heavy cream
40 grams (2 tablespoons) butter
225 (1 cup plus 2 tablespoons) grams sugar
60 grams (scant 3 tablespoons) corn syrup
45 grams (3 tablespoons) water
7 grams (big, big pinch) salt

directions:
Preheat oven to 350 degrees F.
For the cookies, cream the butter and sugar together for 3 minutes, then scrape the sides of the bowl, add the eggs and vanilla, and beat for 4 more minutes.
Meanwhile, whisk the baking powder, flour, and salt together.
Scrape the sides of the bowl and add in the flour mixture all at once.
Gently stir to combine, just until a dough forms.
Use a 2 teaspoon cookie scoop to make little balls; roll them between your hands and roll in the cinnamon sugar.
Place on a cookie sheet and freeze for 10 minutes.
Bake for 10-12 minutes, until slightly spread out and puffed.
Allow all of the cookies to cool completely before filling them.

For the caramel, whisk pumpkin, spices, and heavy cream together.
Microwave for 30 seconds, until warm but not hot, and set aside.
Place the sugar, corn syrup, salt, and water into a small, deep pot.
Heat over medium-low heat until the caramel is a deep tan, about 10 minutes, then remove from heat and whisk in butter (careful!).
Once the butter is melted, whisk in the cream mixture (careful).
Heat over low heat, whisking almost constantly, until the temperature reaches 240 degrees F.
Allow to cool completely before touching the caramel or filling the cookies.

To assemble, place a small spoonful of caramel onto one cookie, and place another one on top.
Easy-peasy!  Enjoy!

It’s Not Delivery

IMG_4473

It’s Delgiorno!

IMG_4400

That was an uncharacteristically long break from posting, y’all.

Sorry.  I brought pie.  (This is becoming a pattern… Remember when and why I made this peach pie?)

IMG_4447

This past week was craziness.  I slept very little, was very sick (I sounded like I had whooping cough…), had a midterm and a paper and not enough time or attention to sit and write a post.

I had time to bake, of course.

Yet again proving that it is words that elude me, not recipes or ideas.

IMG_4386

In other news:

I got a new mug (from Turtle Island Pottery, back home in Ithaca), which makes me miss my hometown dearly

I got new glasses from Warby Parker, which make me feel like a hipster

I woke up at 12 today

I received my first place plaque from that marathon that I ran that one time

I’ve rediscovered that I still have a problem with biting my lips when I’m stressed- anyone else have this?

Last night, I put my toothpaste on my toothbrush in the dark and got shaving cream all over my toothbrush.  I don’t know what’s worse- that it happened, or that I still brushed my teeth with it.  Shaving cream.  I brushed my teeth with shaving cream.

This list is nonsensical idk I’m sew tiyad.
Also I’m just realizing that I also made a list in that last post about pie… It probably made just as little sense.  Oh well.

IMG_4460

I’ve had the idea of decorating a pie with little cutout pie pieces instead of a lattice or top crust for a while, ever since seeing pretty maple leaves and polka dots topping pies.  When I got around to cutting out the little DGHs, though, I realized that it wasn’t feasible, because my letter cookie cutters are REALLY small.  So I changed angles and instead decorated the lattice with letters.

Why DGH?  Many of my friends who saw a picture of this pie on instagram thought it was a sorority (it’s not)… In reality, it’s the abbreviation (abbrev) for my house, Delgiorno.

Housing at uChic is broken up as such: we all live in residence halls (like dorms), and each of these is broken up into houses, which are like little communities.  Each house has a lounge and a kitchen, and we have house activities and competitions.
It’s really great; it made the transition to college much easier to have moved directly into a community.

Anyways, in a spurt of house pride, I made this pie.
It makes sense, actually, because the apples for it came from a house trip to go apple picking (which I missed due to a yoga workshop); my roomie brought me back tons of great apples!

In return, I promised her a slice of this apple-honey-lime pie.

While it is a twist on a classic, it doesn’t deviate too much- the main swap is lime juice where you’d usually see lemon, and the main addition is a few tablespoons of honey into the spice and brown-sugar spiked apple marinade, if you will.

Top it off with flaky, crisp, and sugar-strewn pastry, and you done got yourself a right nice pie.
IMG_4430

Lime and Honey Apple Pie

ingredients:

1 recipe of flaky buttermilk pastry (enough for a double or lattice crust) (recipe here)
2 pounds fresh apples, peeled, cored, and sliced thinly
2 tablespoons honey
juice of 1 lime
1 teaspoon cinnamon
pinch each cloves, nutmeg, anise, ginger, etc. (sub pumpkin pie spice blend)
1 tablespoon granulated sugar
2 tablespoons brown sugar (adjust according to the ripeness and sweetness of your apples)
1/4 cup flour
big pinch sea salt
1 egg beaten with 2 teaspoons water
Sugar for sprinkling, if desired

directions:

Preheat oven to 400 degrees F.
Roll out the bottom crust and place in pan.
Toss thinly sliced apples with lime juice right after slicing.
Add spices, sugars, honey, and salt to the apples.
Allow to sit for 10 minutes, then drain off the excess liquid.
Meanwhile, roll out your top crust and prepare it either for a lattice or full top crust.
Place your (drained) apples in the bottom crust and top with the top crust (here’s a tutorial for lattice).
Brush with egg wash and sprinkle with sugar.
Bake for 15 minutes at 400 degrees F, or until the top has a dark golden color, then place aluminum foil over the pie and reduce the oven temperature to 350.
Bake until your home smells like heaven and the juices are burbling and thickened, about 1 hour.