This cake is certainly cheerier than the last to be posted here, though it was made prior to that one.
This cake was for my best friend (haaay I have friends y’all), Alexa.
She is an incredibly picky eater, but she loves popcorn.
Annnnnd it was her birthday (October 24th), so I made cake+popcorn.
(Note: the last 3 posts have been cake on this here blog. Gettin’ real wild.)
Although this post is late (I had Halloweenie matters to attend to, after all), we still had a wonderful time celebrating her birfday.
Happy, happy (belated) birthday, Alexa love, I hope you enjoyed your cake!!
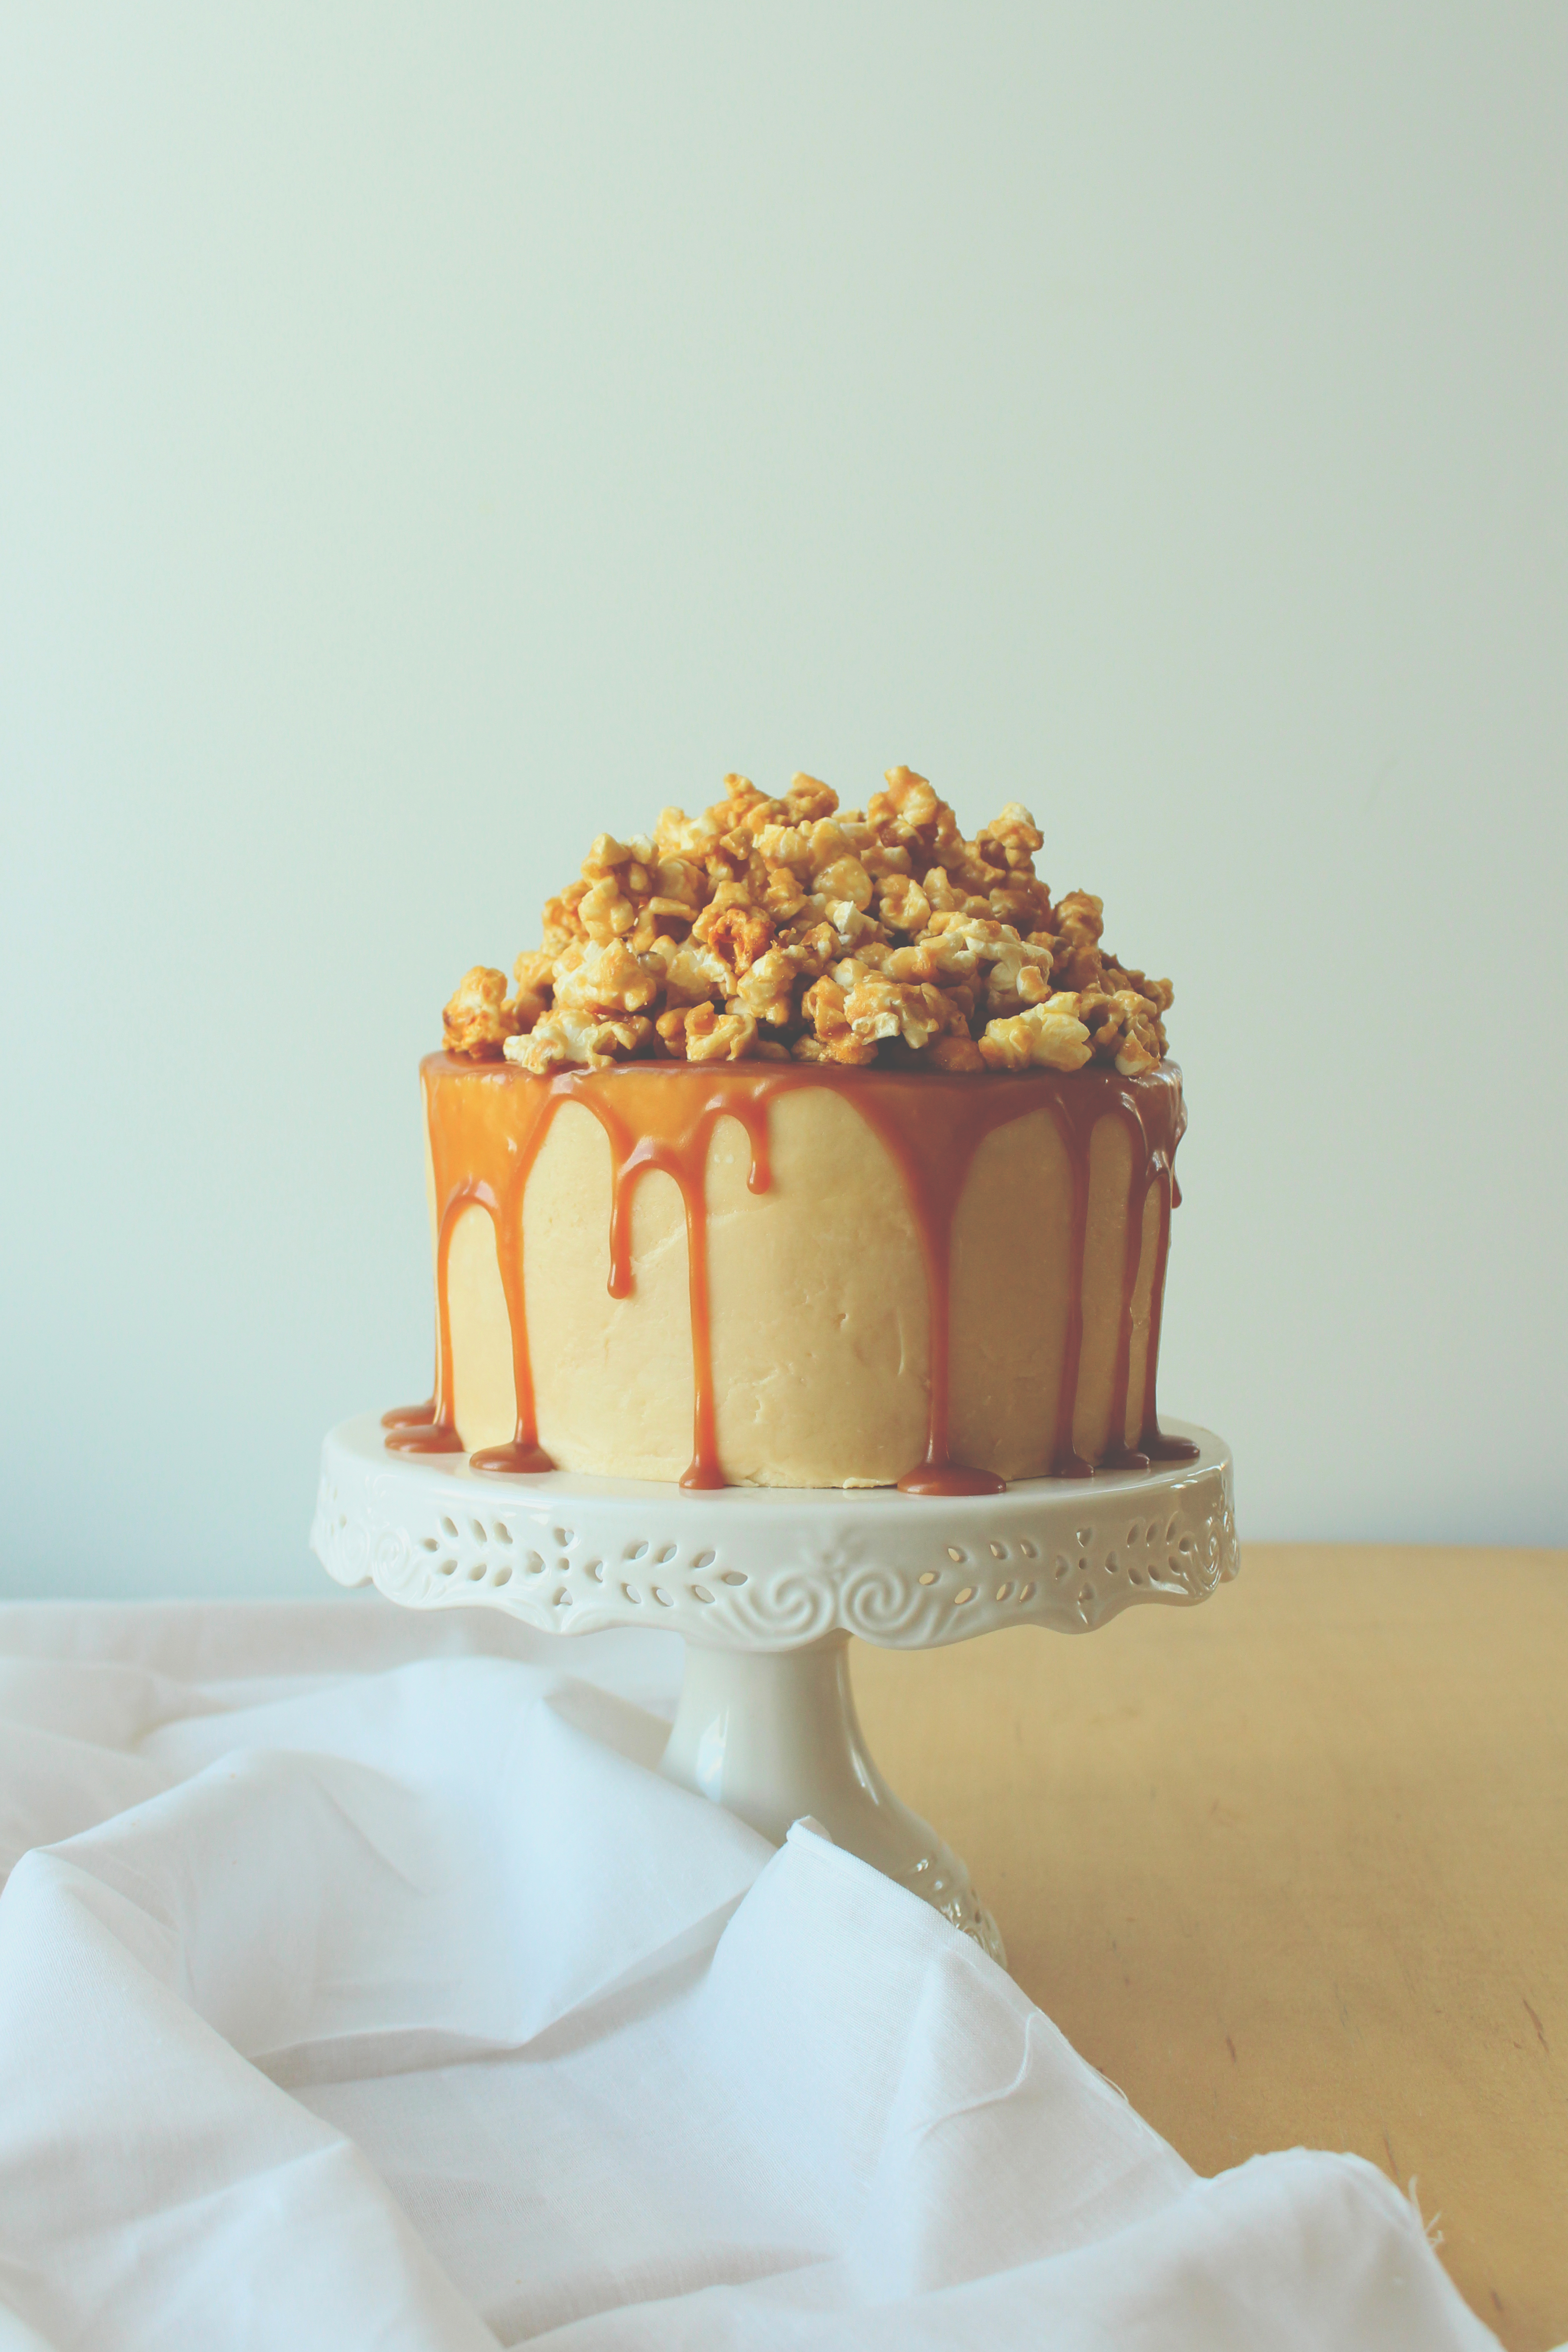
The cake itself emulates salted, buttery caramel corn.
The base is a simple yellow butter cake, with a soft, tight crumb and pronounced yellow color from egg yolks.
Their companion egg whites are whipped into a flurry with lots of butter and salted caramel to make a salted caramel Italian meringue buttercream. Um, salivating. It is deeeelicious.
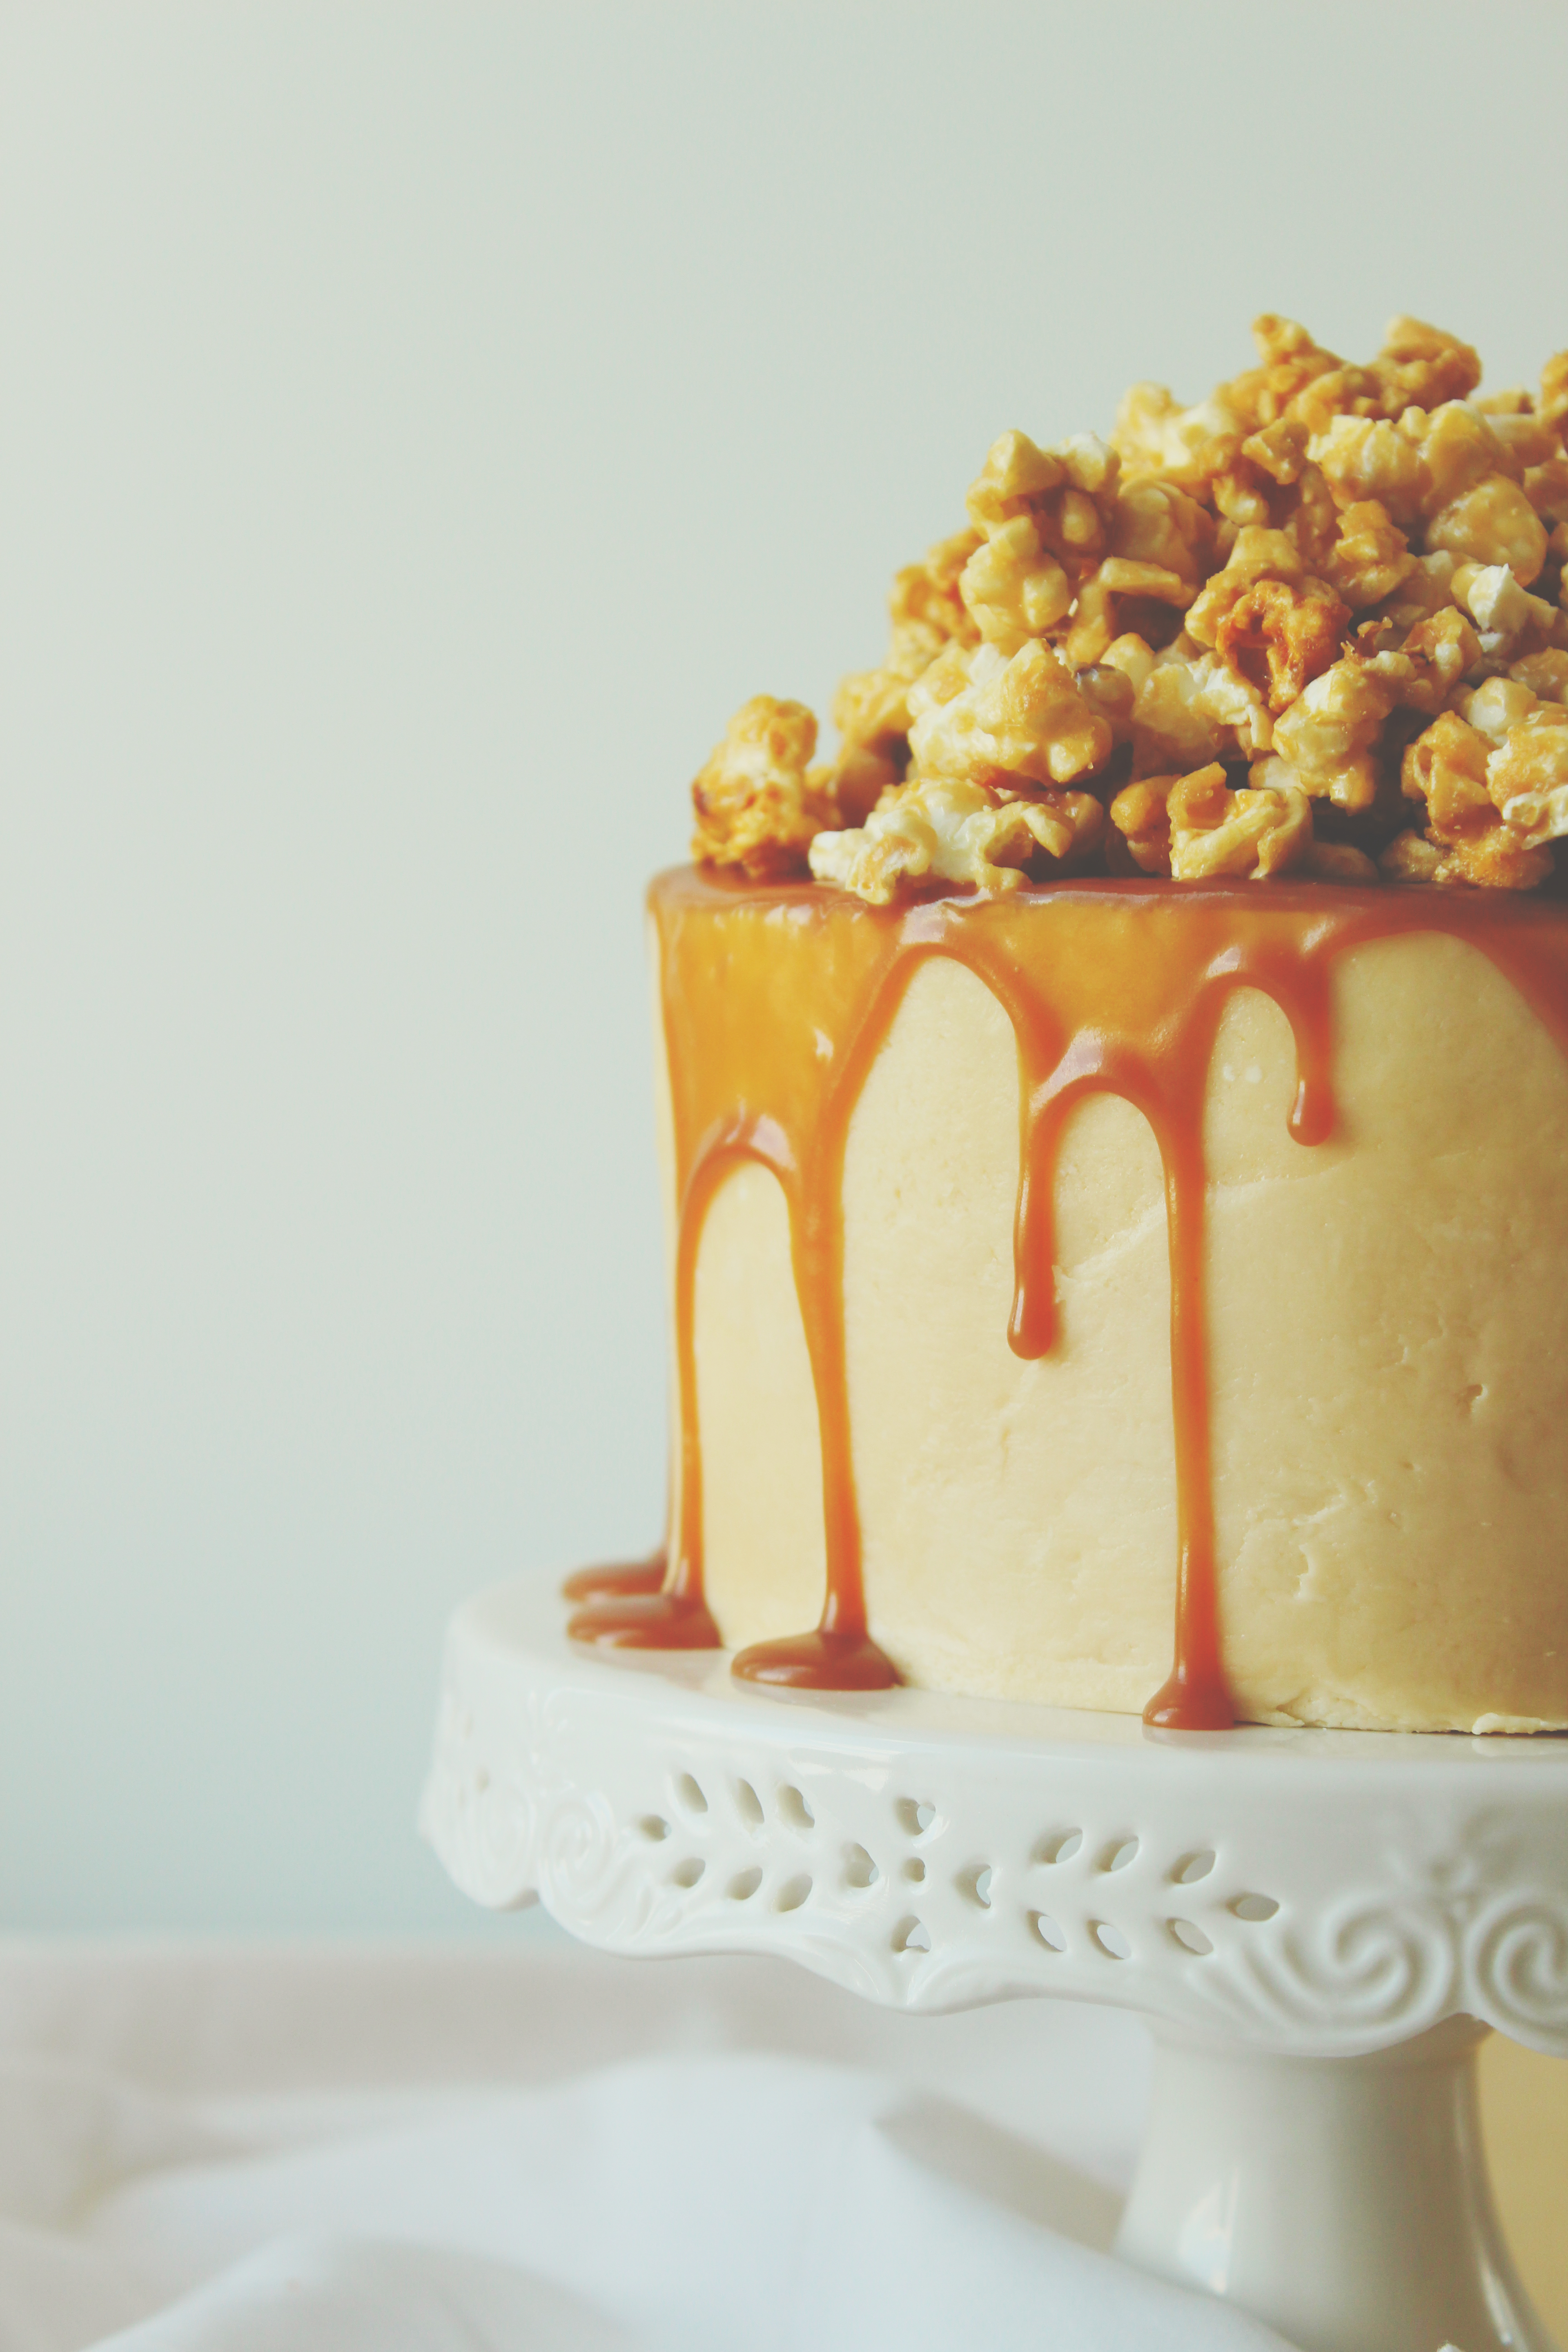
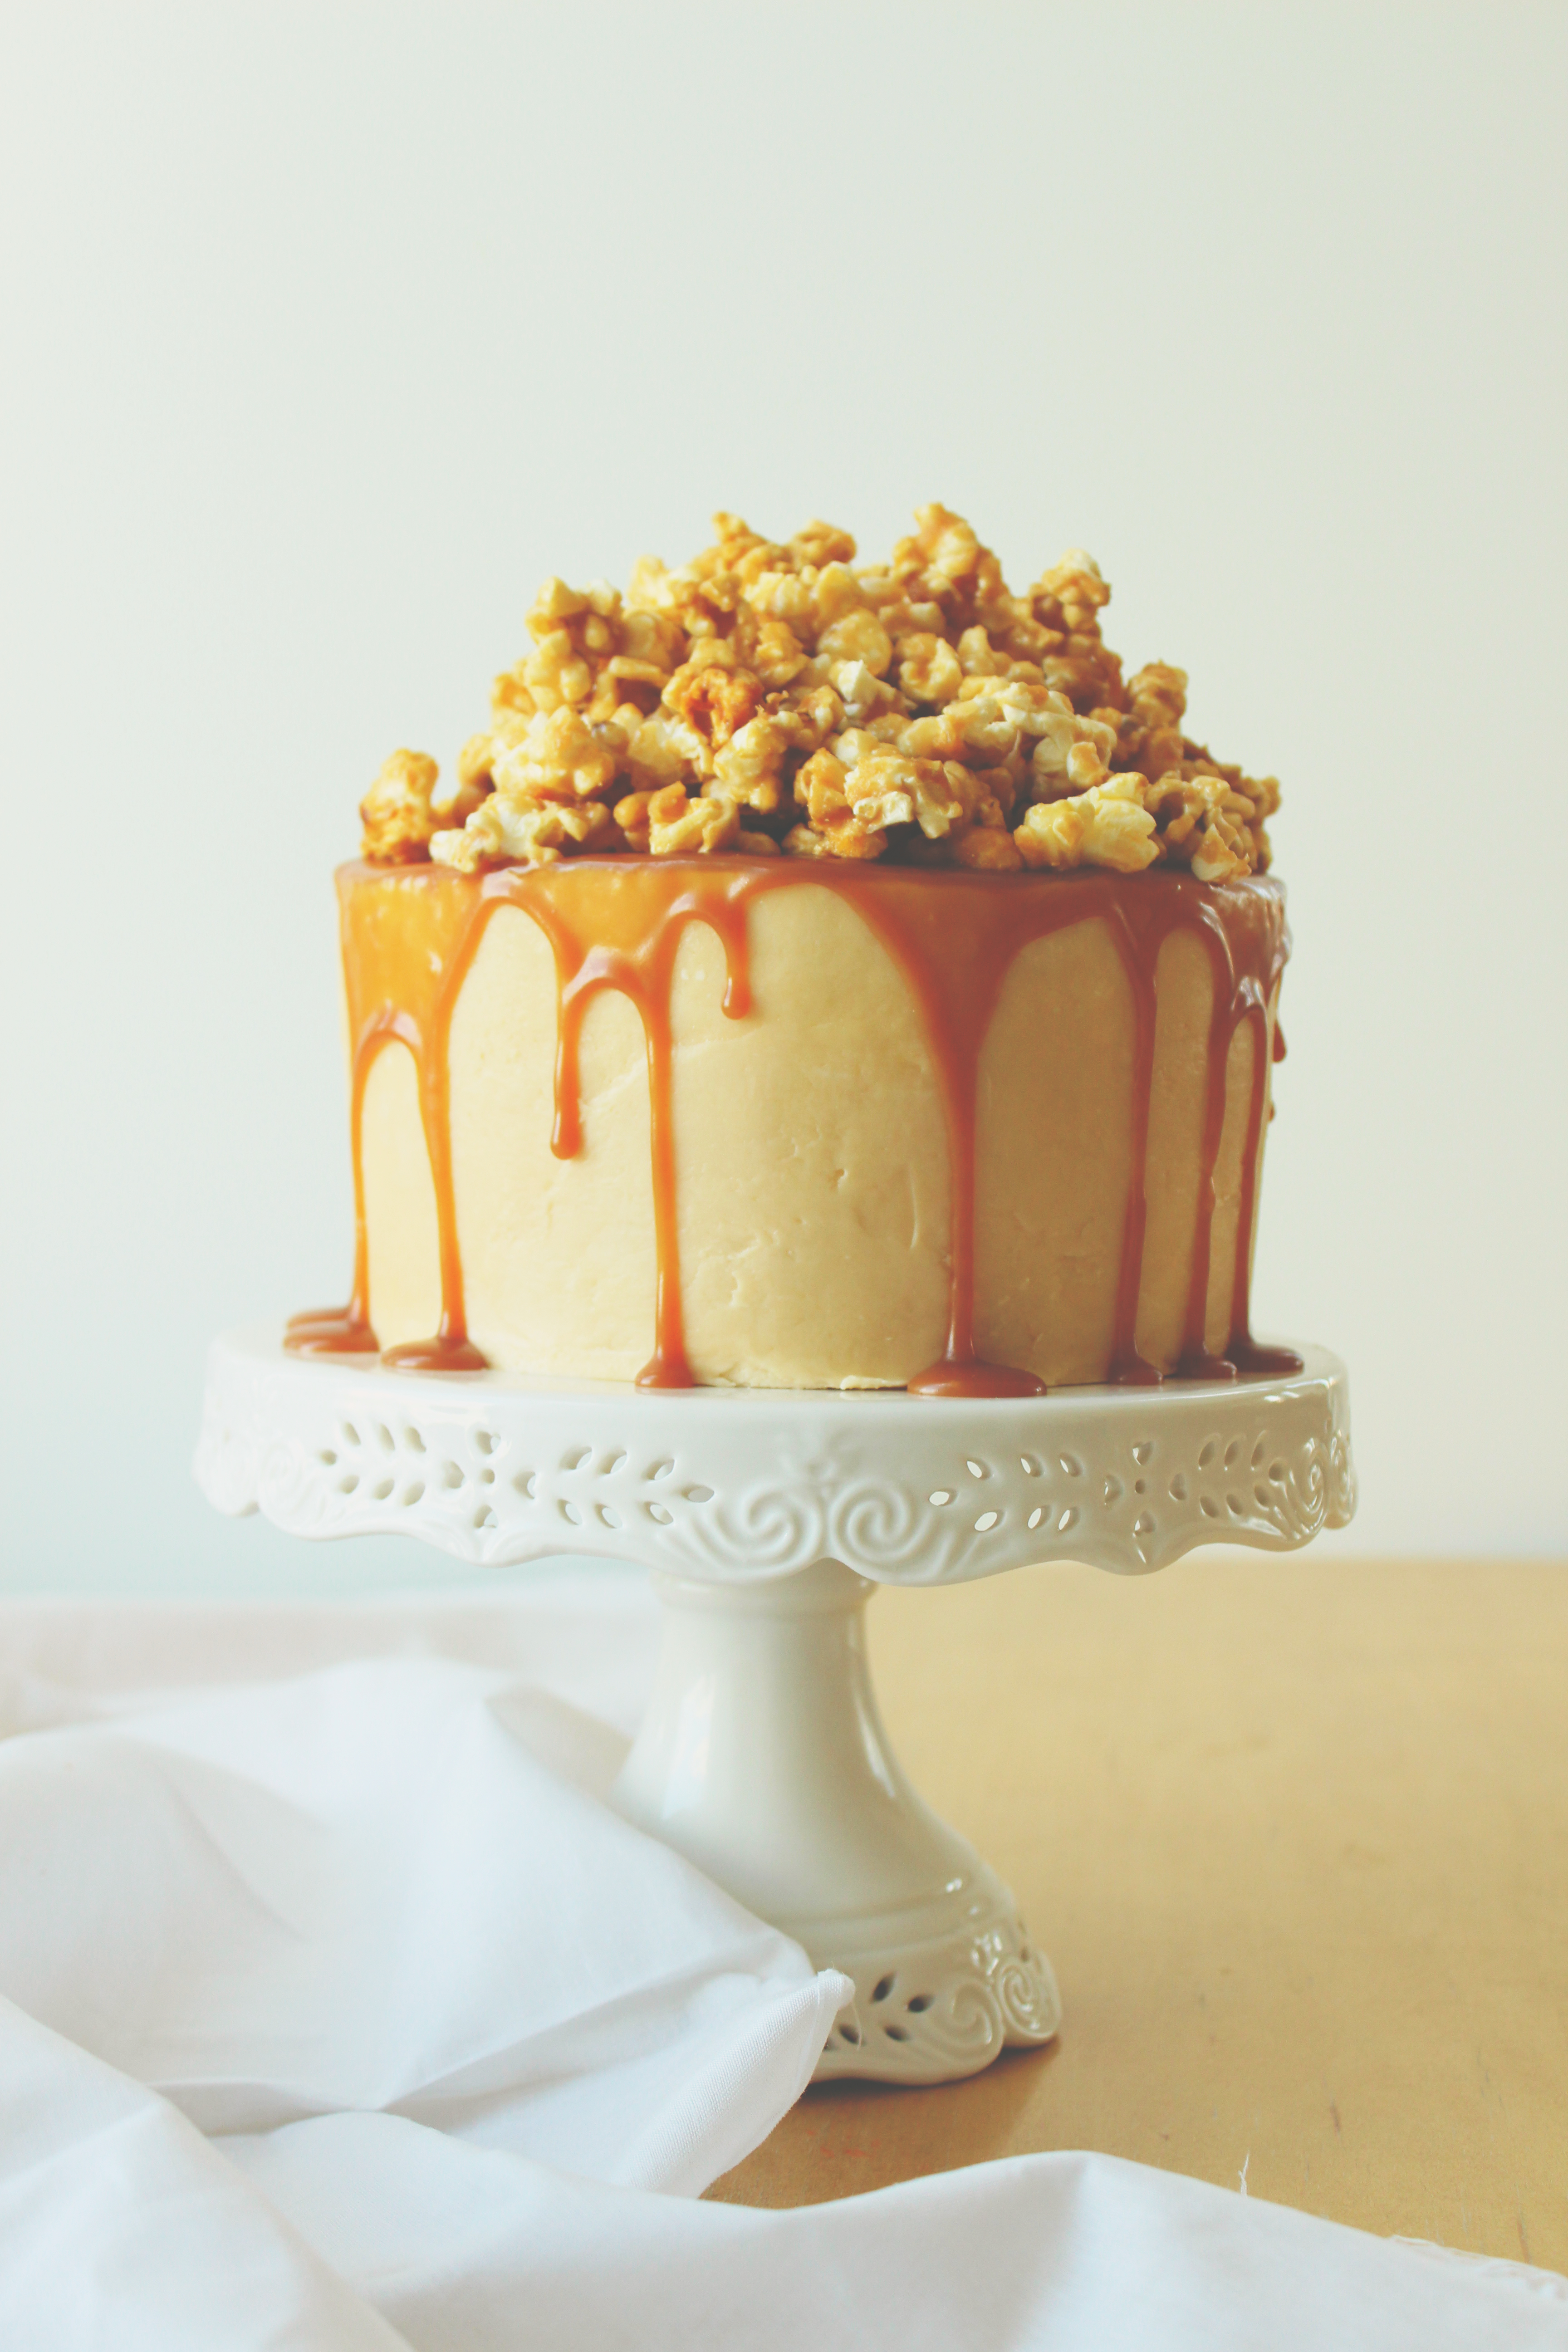
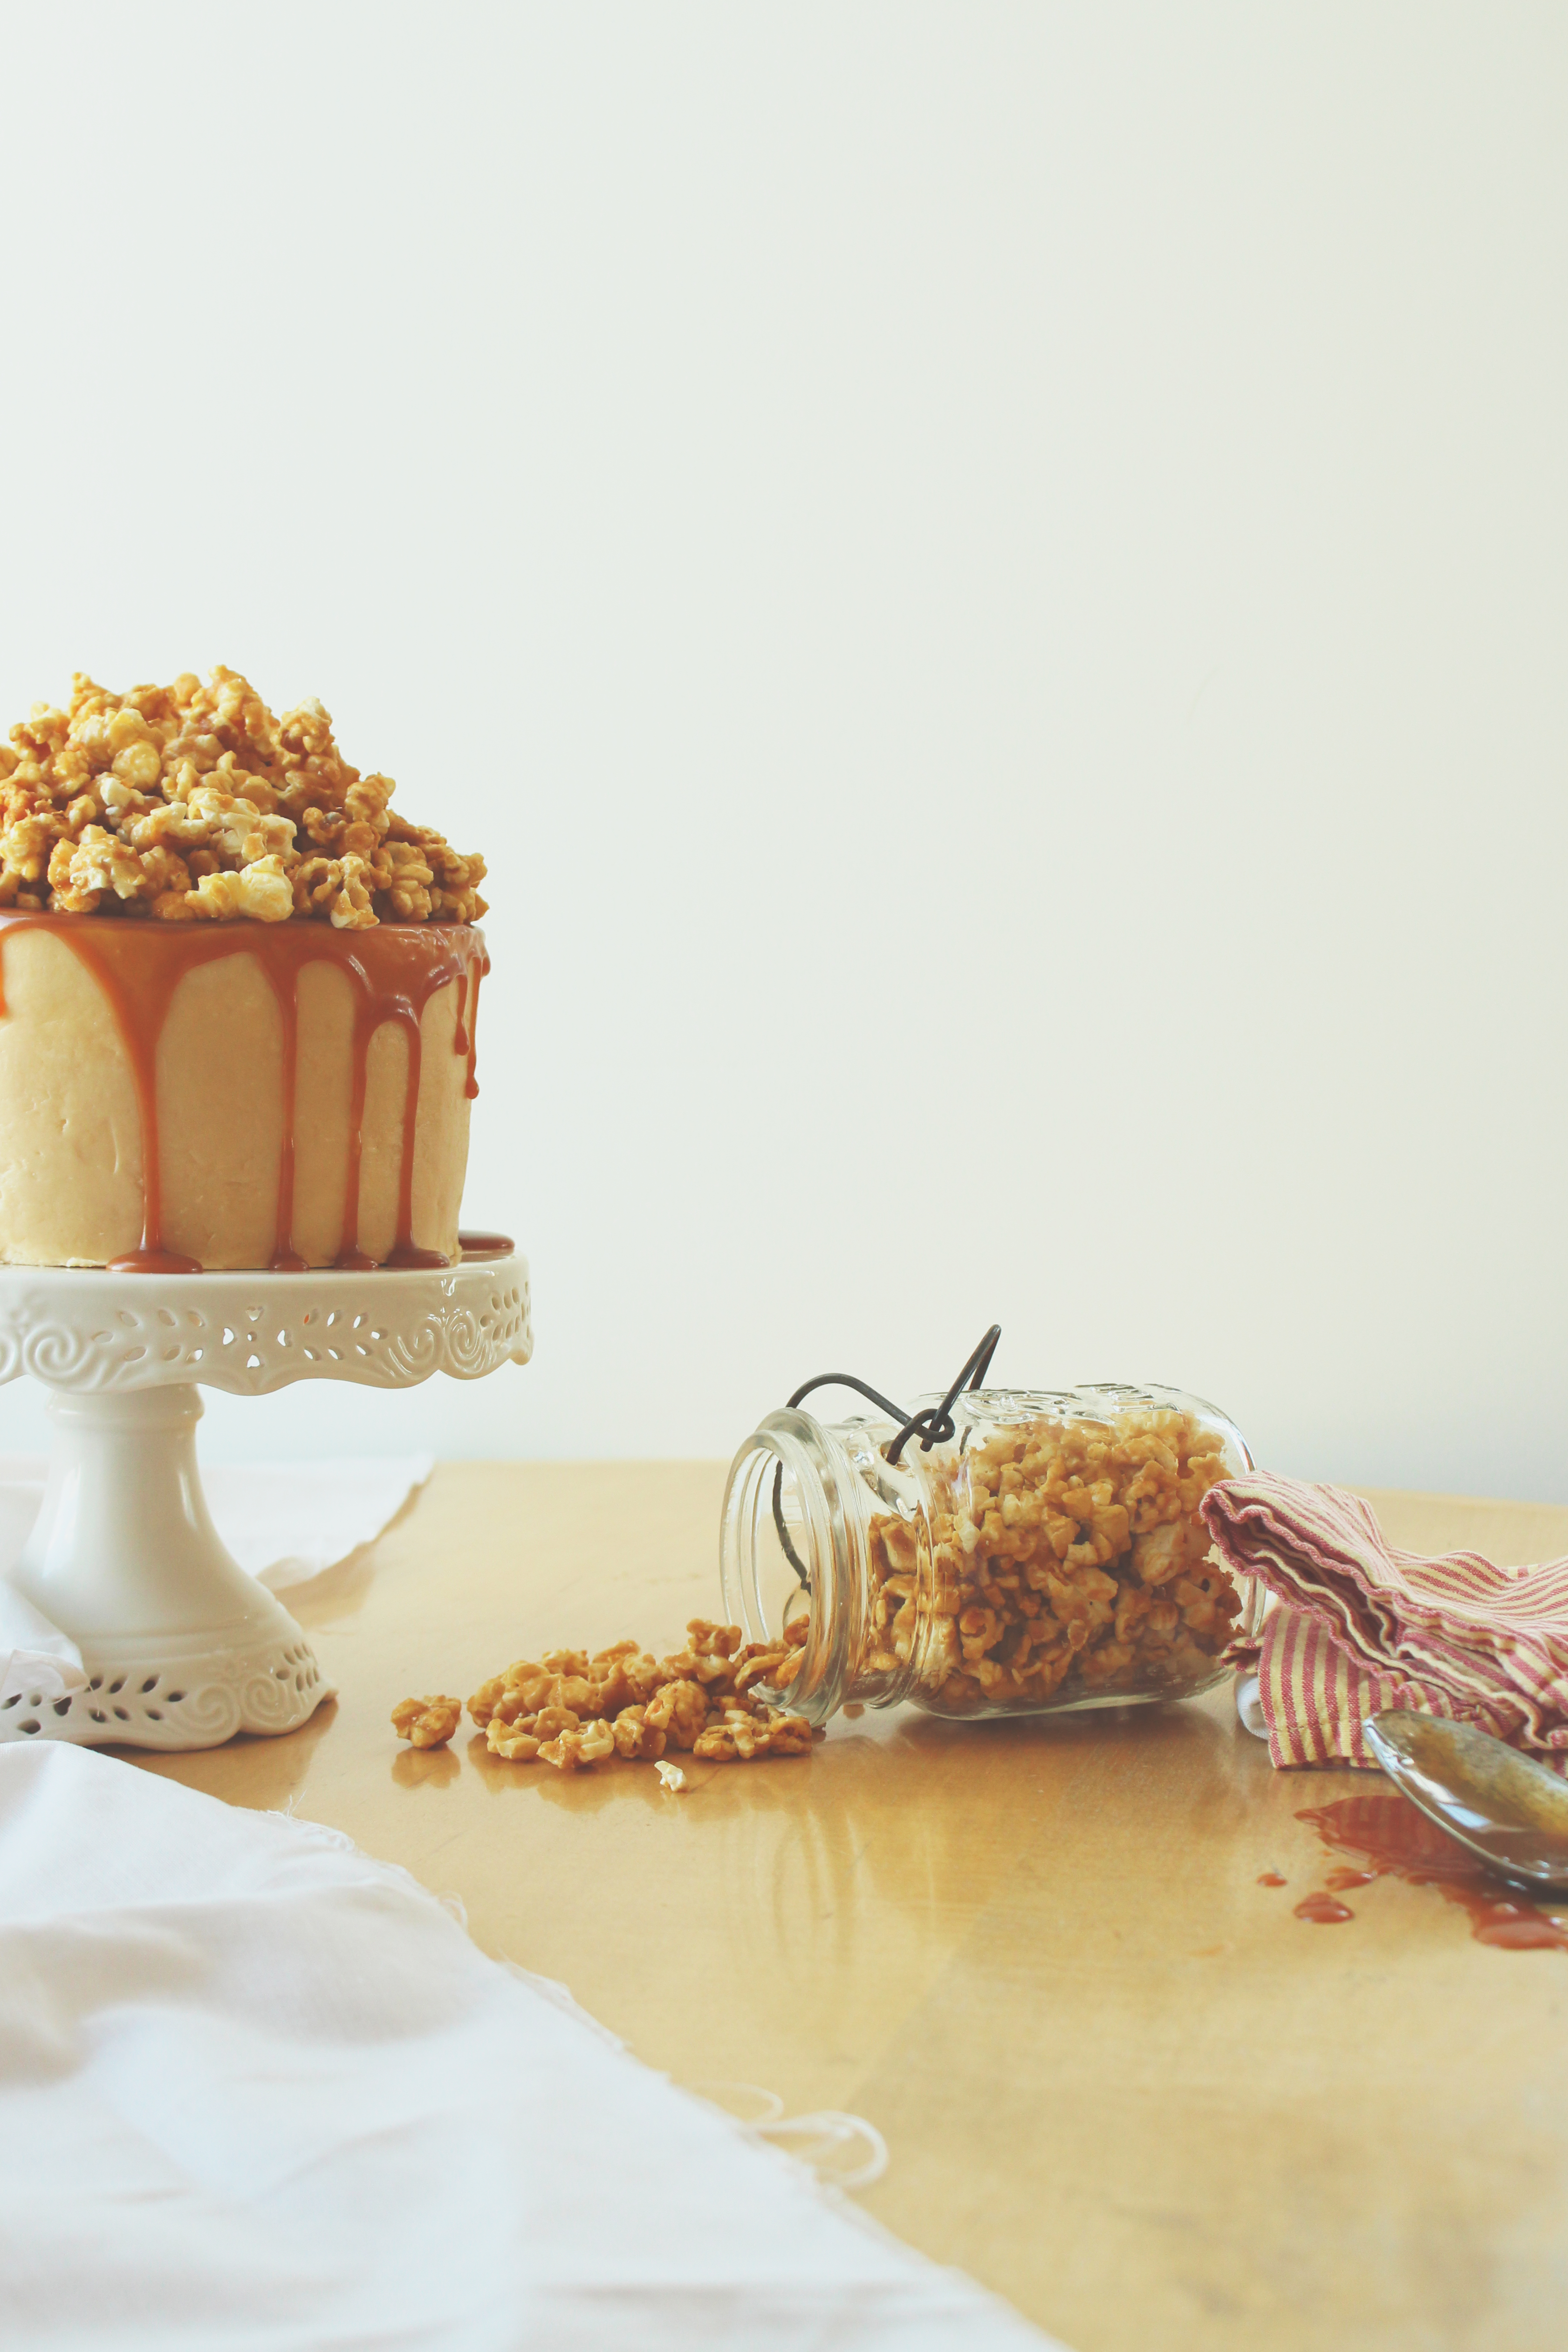
Extra salted caramel is gratuitously drizzled over the edge, dripping lazily to pool at the bottom.
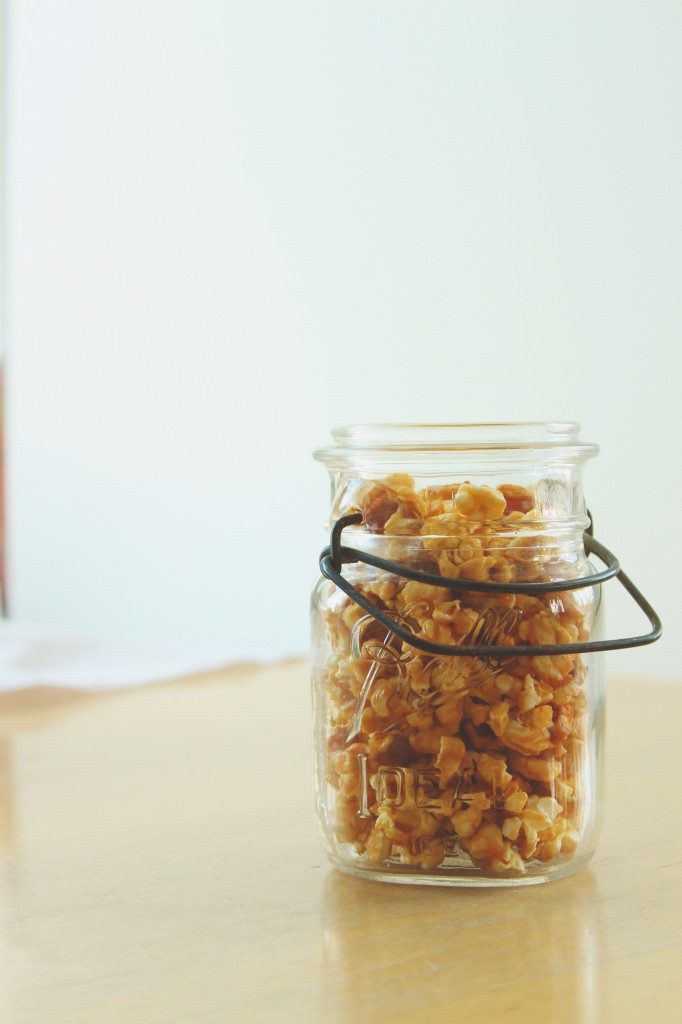
The cake is topped with a veritable mountain of salted butter caramel corn, which is crunchy and light and sweet and salty and amaaaazing.
(The recipe I’ve included makes, like, 2 times more popcorn than you really need, because, well. Trust me.)
A boring tech-y update: you can now subscribe by email at the very bottom of the page, where the search bar and tag cloud also reside.
Don’t worry- you won’t get any spam– it’s just an easier way for people to visit the blog for fresh posts, rather than checking back and finding stale crumbs they’ve already read.
Also, many of you have been pinning photos (I love you for it! Seriously!!), and I wanted to let you know that there are two ways to do it: you can click on the pin button on the photos themselves, or click on the pin button at the bottom of each post.
Pin away!
xo
Buttered Caramel Popcorn Cake
for the yellow butter cake:
makes 2 6-inch layers
to make a 2 layer 9-inch cake, double this recipe
adapted from Joy of Baking
ingredients:
150 grams (1 1/2 cups) flour
1 3/4 teaspoons baking powder
1/4 teaspoon salt
85 grams (6 tablespoons) butter
132 grams (1/2 cup plus 1 scant 1/4 cup) sugar
3 egg yolks
120 grams (1/2 cup) milk
1 teaspoon vanilla
directions:
Preheat oven to 350 degrees F.
Grease and flour 2 6×2-inch pans.
Whisk the flour, baking powder, and salt together.
Beat the butter and sugar together for 4 minutes, until light and fluffy.
Scrape the sides of the bowl and add the egg yolks; beat for 2 more minutes.
Add in the milk and vanilla and stir gently to combine.
Dump in the dry ingredients all at once and stir gently until the batter comes together.
Pour and scrape the batter into your pans.
Bake for 20-25 minutes, until a tester comes out clean.
Allow to cool, then frost.
For the salted caramel Italian meringue buttercream:
makes about 3 cups
adapted from FoodSwoon
ingredients:
3 egg whites
60 grams (1/4 cup) water
225 grams (1 cup plus 2 tablespoons) sugar
splash corn syrup (approximately 1 teaspoon)
small pinch salt
350 grams (3 sticks) butter, cut into small chunks
1/2 of a batch of salted caramel, cooled, the rest reserved for drizzling, recipe below
directions:
Place water, sugar, corn syrup, and salt in a medium, deep-sided pot.
Place the egg whites in the bowl of a stand mixer fitted with the whip attachment; start to beat them on a medium-low speed.
Begin to heat the syrup; when it reaches 240 degrees F, the egg whites should be at soft peaks.
Slowly stream the syrup into the egg whites with the mixer going.
Beat the meringue until cooled to body temperature, then beat in the butter 2 tablespoons at a time.
Continue to whip until buttercream is silky, then beat in half of the caramel.
for the salted caramel:
adapted from FoodSwoon
ingredients:
100 grams (1/2 cup) sugar
30 grams (2 tablespoons) water
1 tablespoon corn syrup
90 grams (1/4 cup plus 2 tablespoons) heavy cream
2 tablespoons butter
1/4 teaspoon kosher salt
directions:
Heat the sugar, water, corn syrup, and salt together, whisking at the beginning until they dissolve.
Stop stirring and allow to caramelize into an amber color, then remove from heat and quickly whisk in butter and cream, being careful of the splattering.
Whisk until completely smooth, then allow to cool before using.
For the salted caramel corn:
adapted from the Kitchn
ingredients:
popped popcorn from about 1 1/2 bags of popcorn
130 grams (1 stick plus 1 tablespoon) butter
160 grams (3/4 cup) brown sugar
big pinch kosher salt, plus a little for sprinkling
1/4 teaspoon baking soda
directions:
Preheat oven to 250 degrees F, and line 2 baking sheets with parchment or silpats.
Place popcorn in a a big bowl, being sure to not include any unpopped kernels.
In a deep sided pot, heat the butter, brown sugar, and salt until they begin to caramelize.
Whisk well to combine, then add in the baking soda and quickly pour over the popcorn.
Toss and mix well to coat, then scrape out onto the baking sheets.
Lightly sprinkle with a touch of salt, then bake for about 30 minutes, or until the caramel is completely dry and crunchy. (Be careful not to burn the caramel; your oven shouldn’t be too hot.)
to assemble:
Stack your cake on a cake stand and frost it with the buttercream; run a warm offset spatula or butter knife over the exterior to smooth it.
Drizzle the remaining caramel on the edges of the cake, then top the cake with a mountain of caramel corn!