
Promise me
you will not spend so much time treading water and
trying to keep your head above the waves that you forget,
truly forget, how much
you have always loved to swim.
–Tyler Knott Gregson
I’ve had a shit week.
A shit fucking week. Actually, the last two weeks have been pretty fucking terrible.
I think. I find it difficult to pinpoint exactly what I want to complain about.
Clearly, something is wrong, because this is unheard of.
I can make whine out of, well, nothing.

Busy. Running running running can’t stop. Balance. One toe, two toes, one fine wire.
Teeter, totter, fall on my ass. Climb back up and repeat with markedly diminishing grace.
It never ends, this race to the finish. I’m sick and I’m fucking tired and I don’t want to run anymore.
I don’t want to bother with the balance and the business and the busyness.
Doors are slamming shut left and right; doors slam shut right in my face. Fine. Fuck you, too.
I didn’t want to come in anyways; happy to stand in the soaking spring rain.
Happy to keep myself company in my confused, delighted misery.
The words don’t come, don’t flow, don’t exist.
The sentences have dissipated, dissolved, disappeared.
My brain is a microcosm of unproductive stagnant energy; it refuses to spit out even the shortest string of words, preferring instead to brood in dark, dank spaces that exist far below the surface.
I miss this stupid, time-consuming blog so very dearly.
Posts await, impatiently, glaringly unwritten but filled with photos and sugar and longing.
Why can’t I write? Where are the words that so easily filled pages just months ago?
I miss my family.
Even the words meant for them, short snippets of text messages, have slowed.
Can’t find what to say. Utterly foreign for a needy, demanding, over-sharer.
I miss home, but that’s a given.
Stretched too thin.
The sum total is too great: two major art/food projects, four classes spanning two majors, one new and important person, three incredibly important friends with as much on their plates as mine, one blog, one body, one mind to hold it all in.
I’m happy, I’m sad. I feel things deeply and profoundly.
Cry while listening to the Civil Wars–listen to them a lot, on repeat, even– and squeal while watching baby bunnies hop around–too few this spring, too few after a harsh winter.
Cry while thinking about my grandfather; cry and laugh, delighted, at his memorial.
Giddy while holding hands and smile while my hair is gently smoothed back from my face.
Sadness, anger, and regret all stab deeply into my stony heart, just as satisfaction, peace, and joy buoy me upwards, make me light as air and malleable as clay. Ballooned upward, only to be popped by a pin that feels more like a baseball bat.
But thank the gods that I do feel.
A very wise woman said sadness is raw skin, painful and present.
Depression is a down parka, muffling and silencing, blocking and numbing life.
Fuck those stupid fucking “Depression Hurts” commercials.
Depression dulls; sadness hurts– sadness feels.
And oh!– do I feel.
Wake up–Friday–sheets already sticking sticking stuck to sweaty skin. Wake up, drool smeared up one cheek and into one ear; wake up feeling disgusting but alive, so alive. Sick of being refrigerated anyways. Grateful for the sweet breeze.
The heat and soupy humidity and smell of rain in the air set my soul to singing.
Spring reminds me to live. Reminds me not to let a single moment escape unnoticed, unappreciated.
Spring refuses to let me crawl back under my winter parka, refuses to let me burrow deep and hibernate.
Spring is life. Life in bloom.
Open eyes, breathe deep, smile, cry, whatever the fuck this feeling is at this moment, and embrace it. Own it.
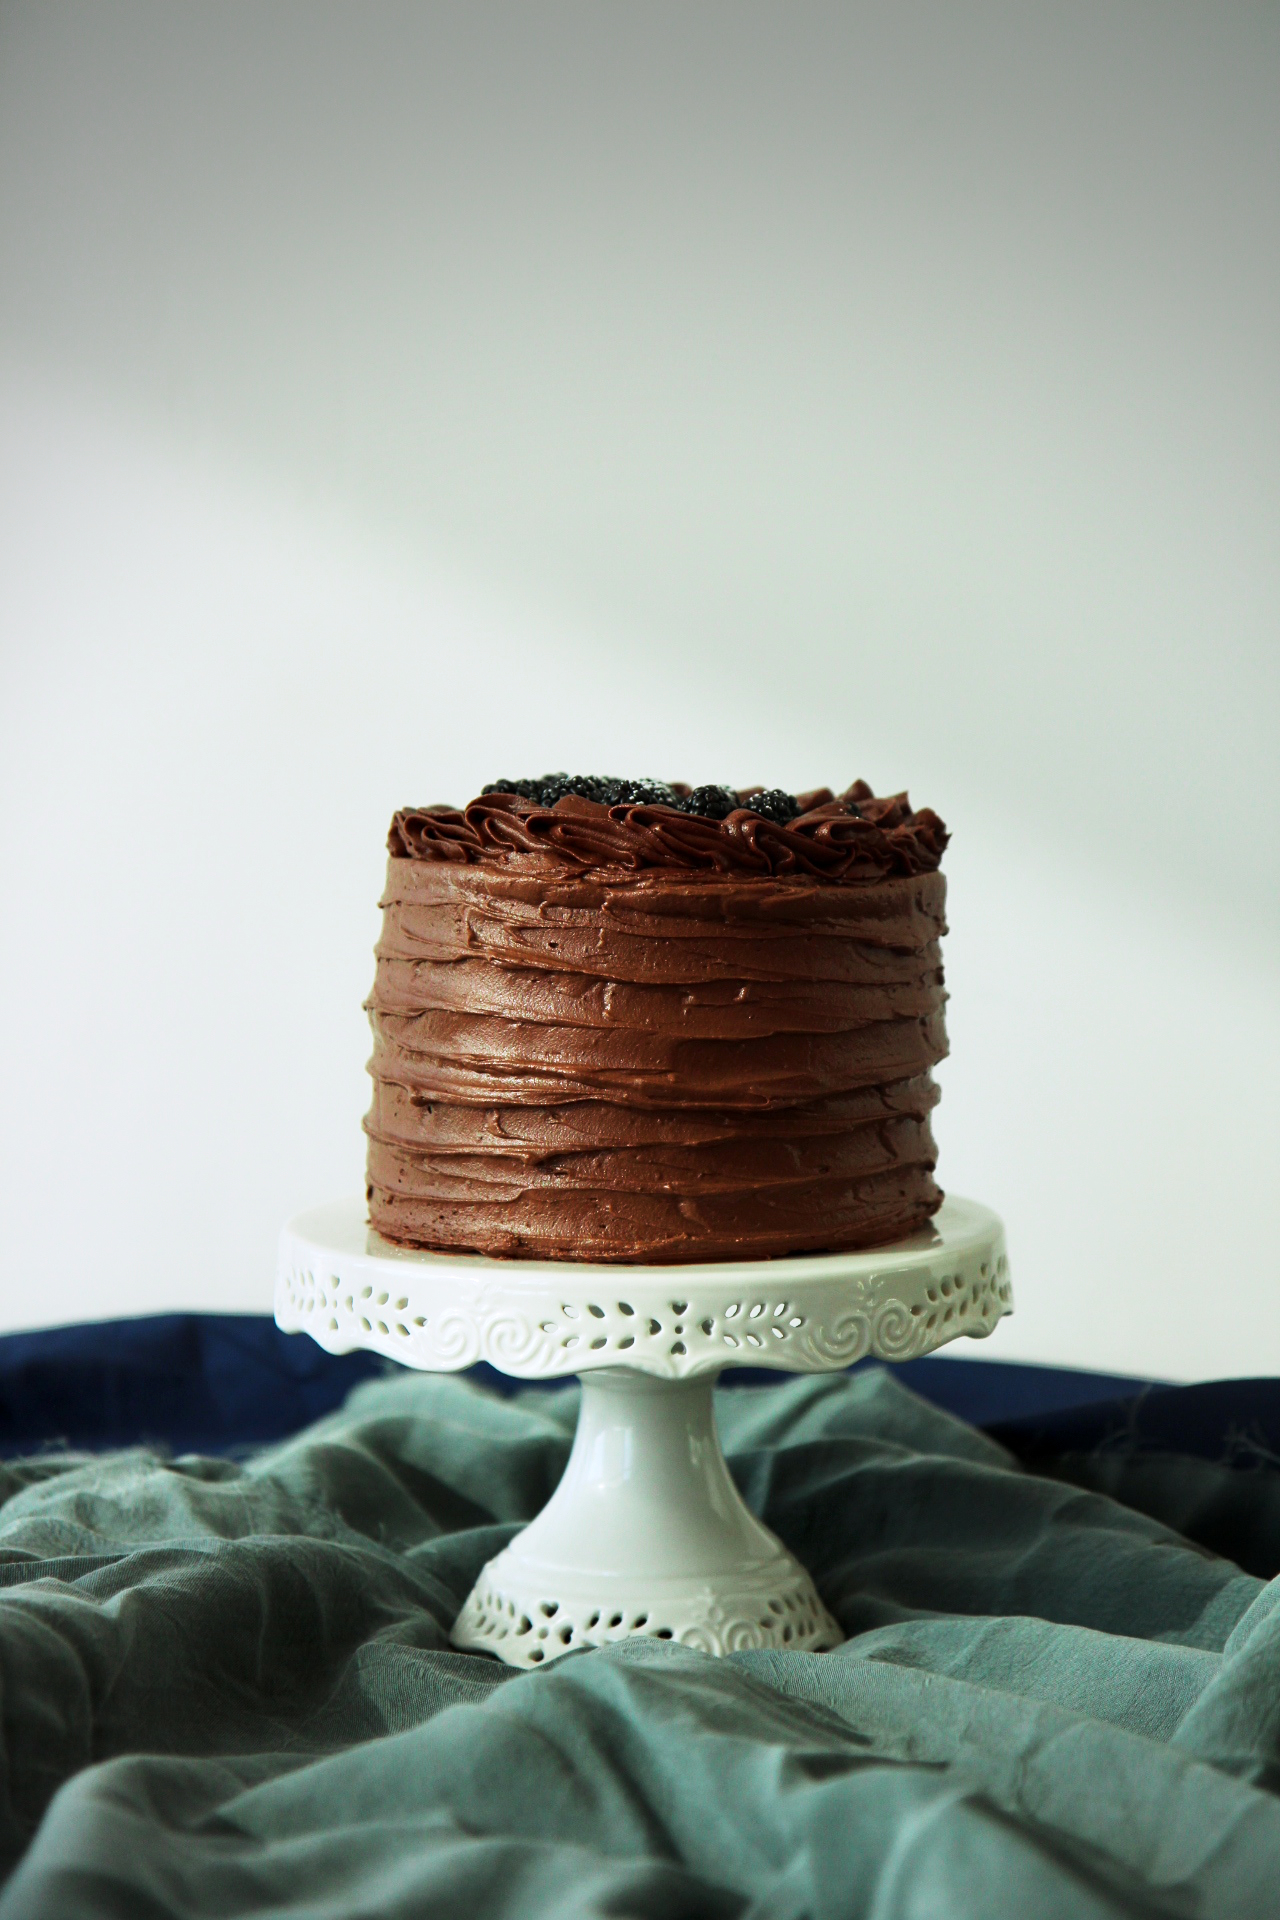
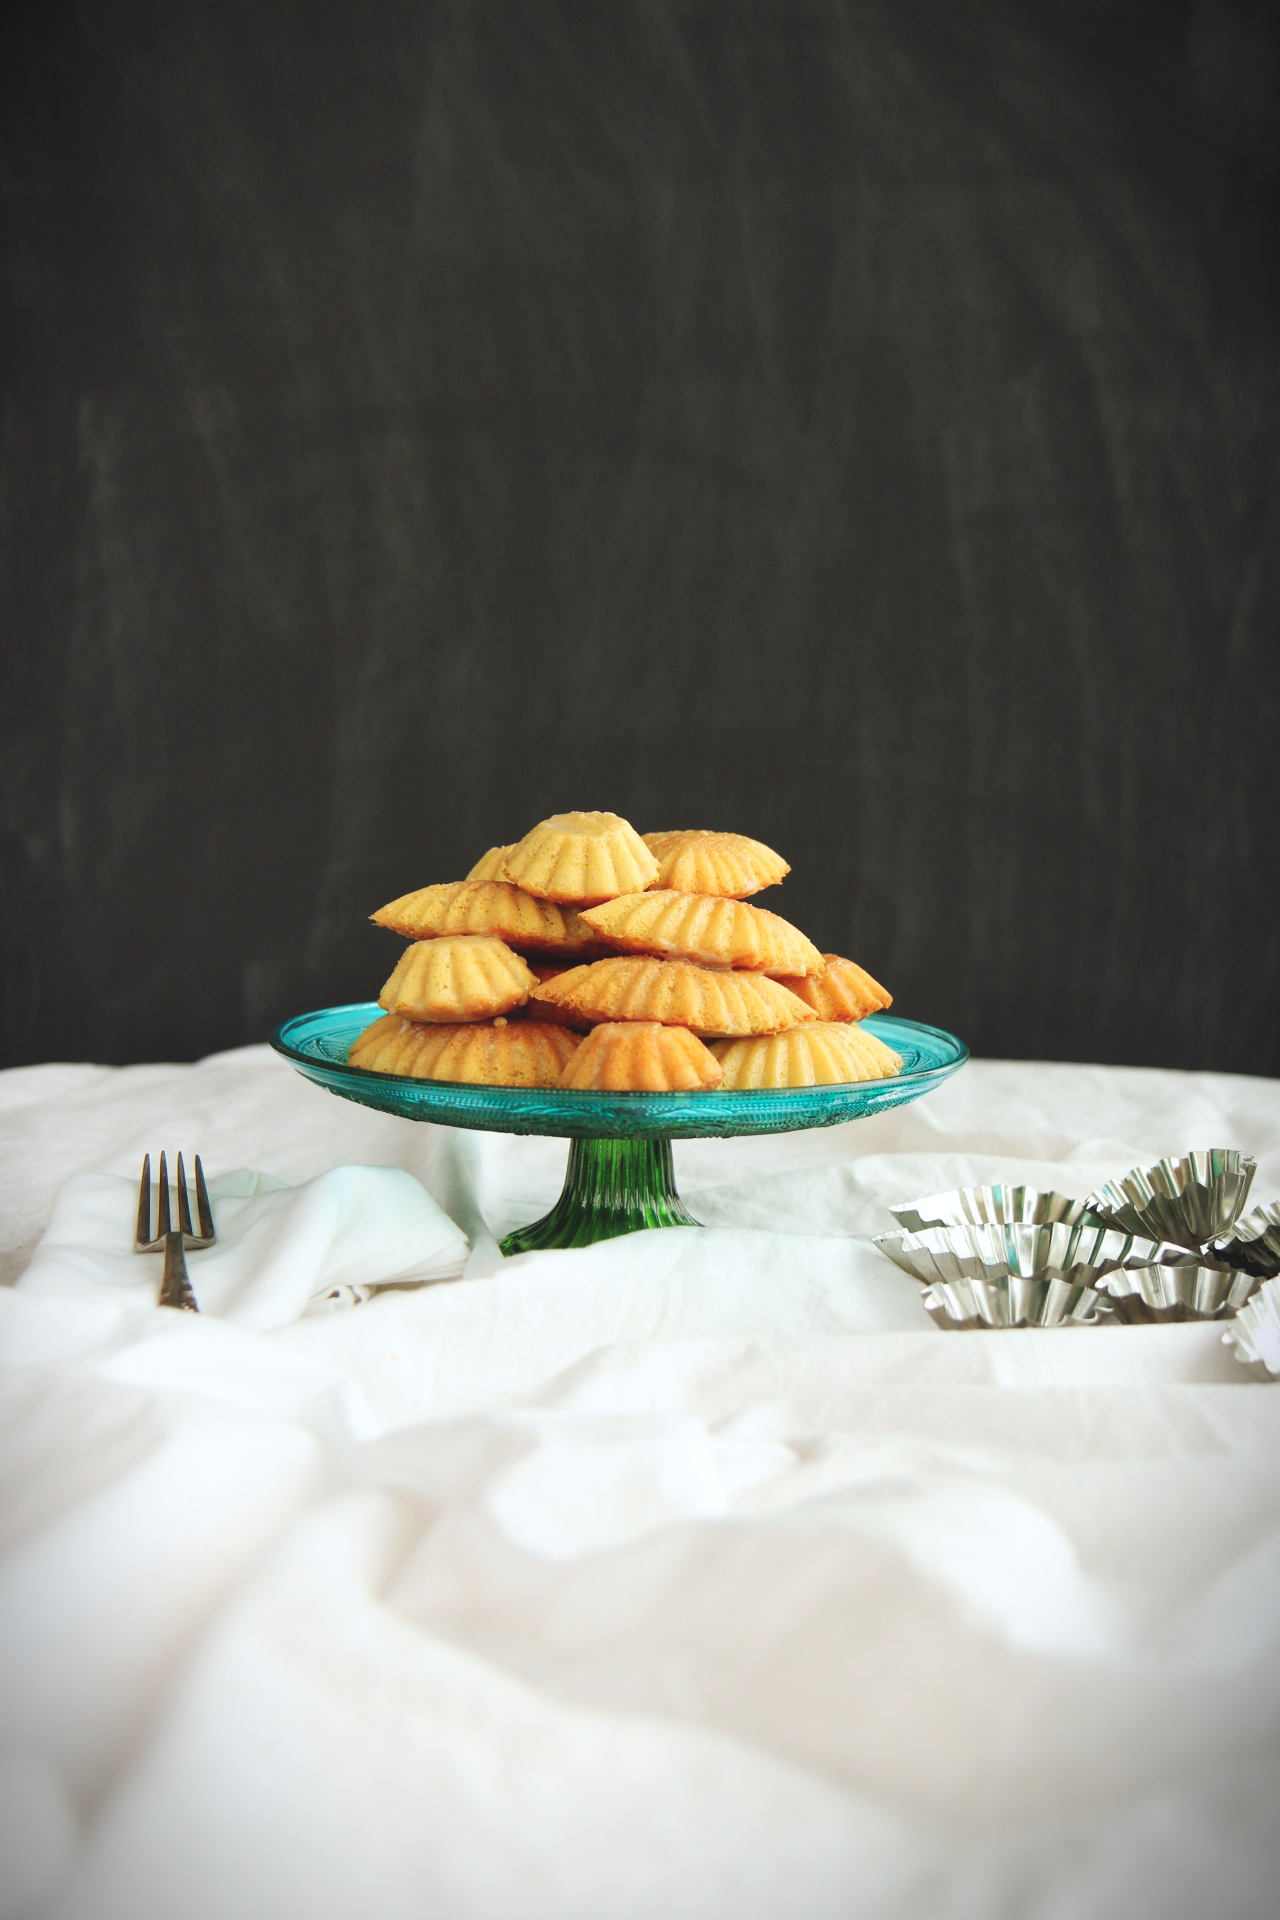
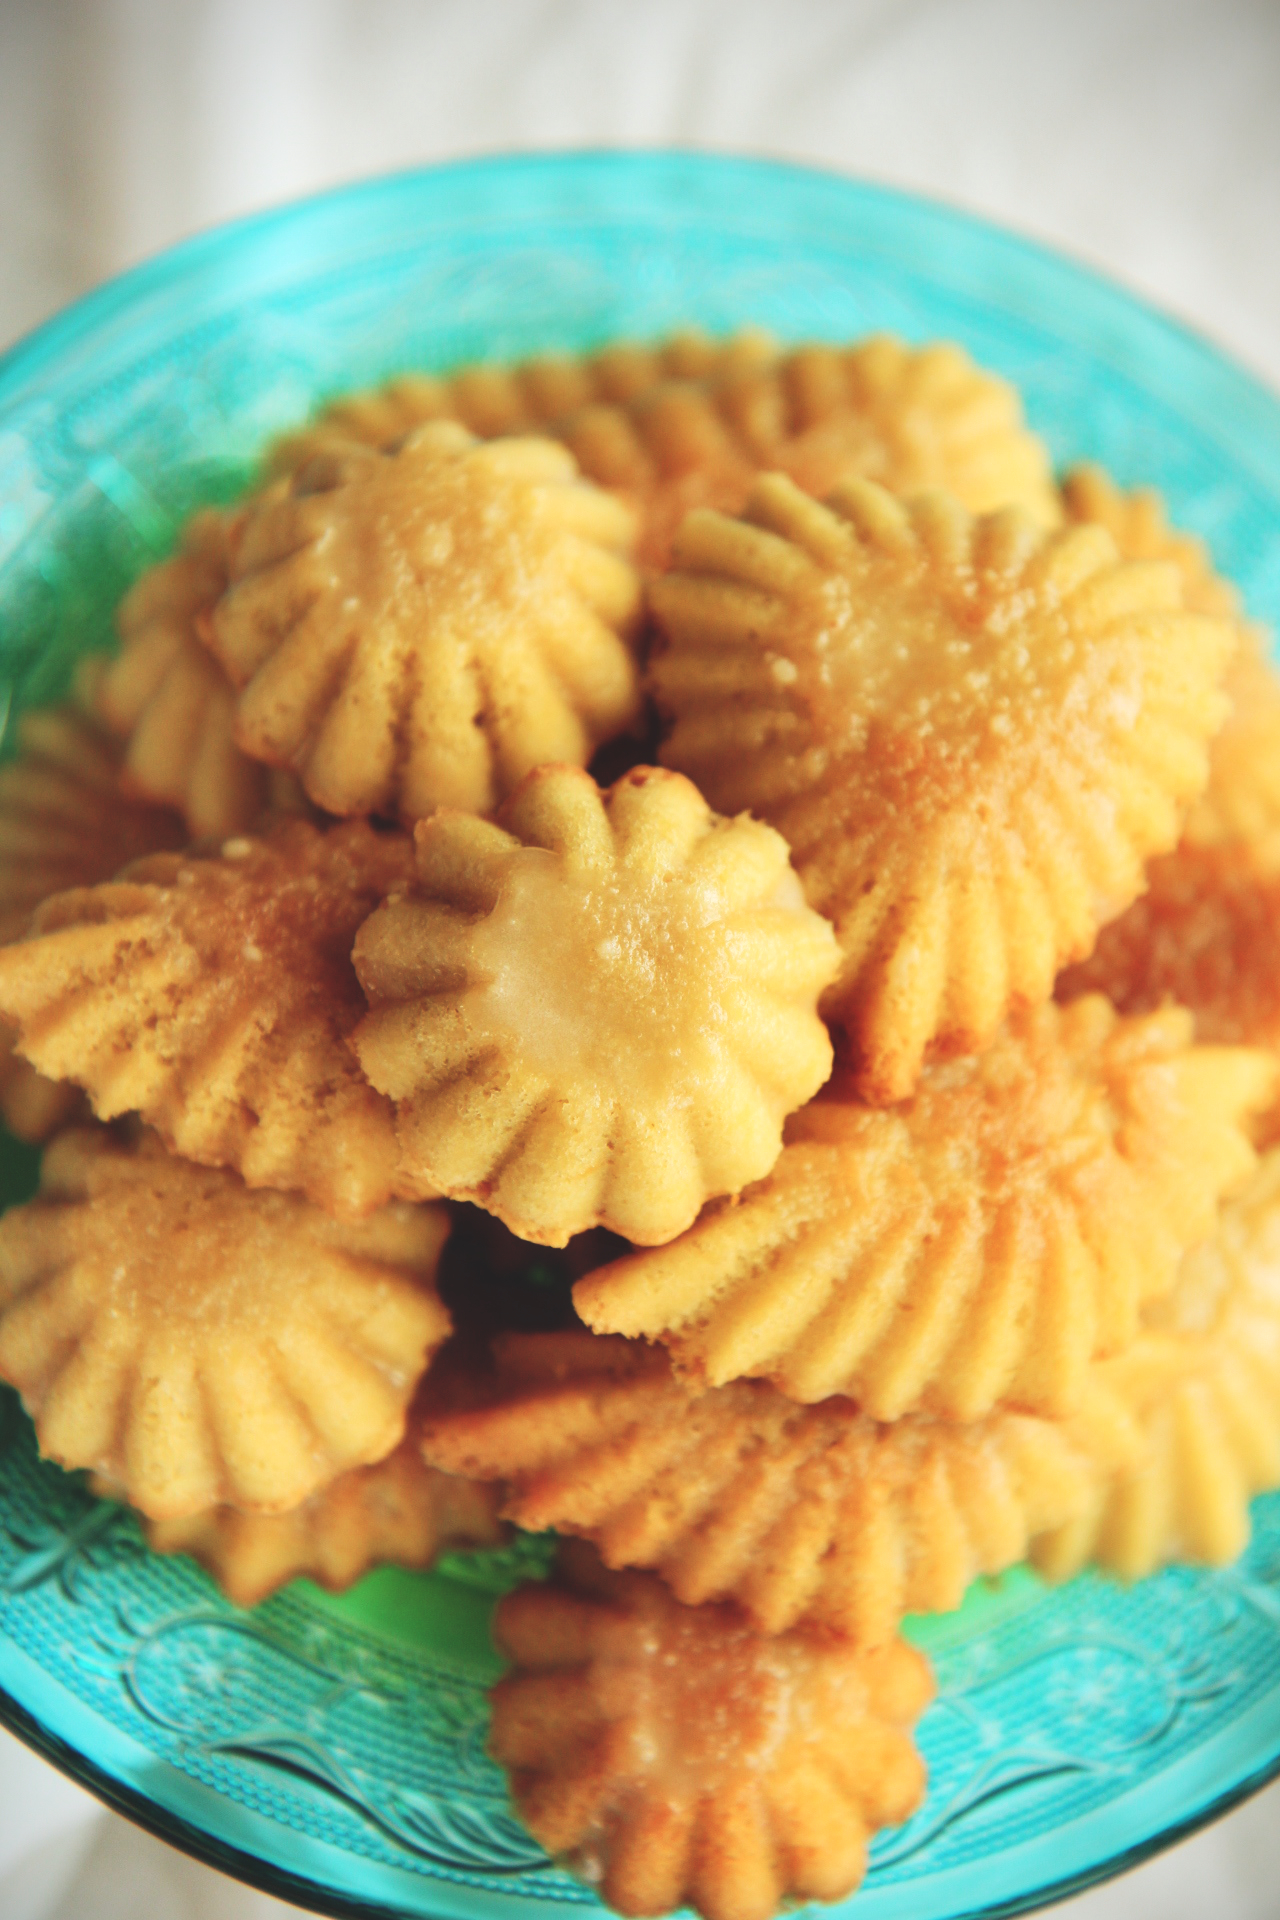
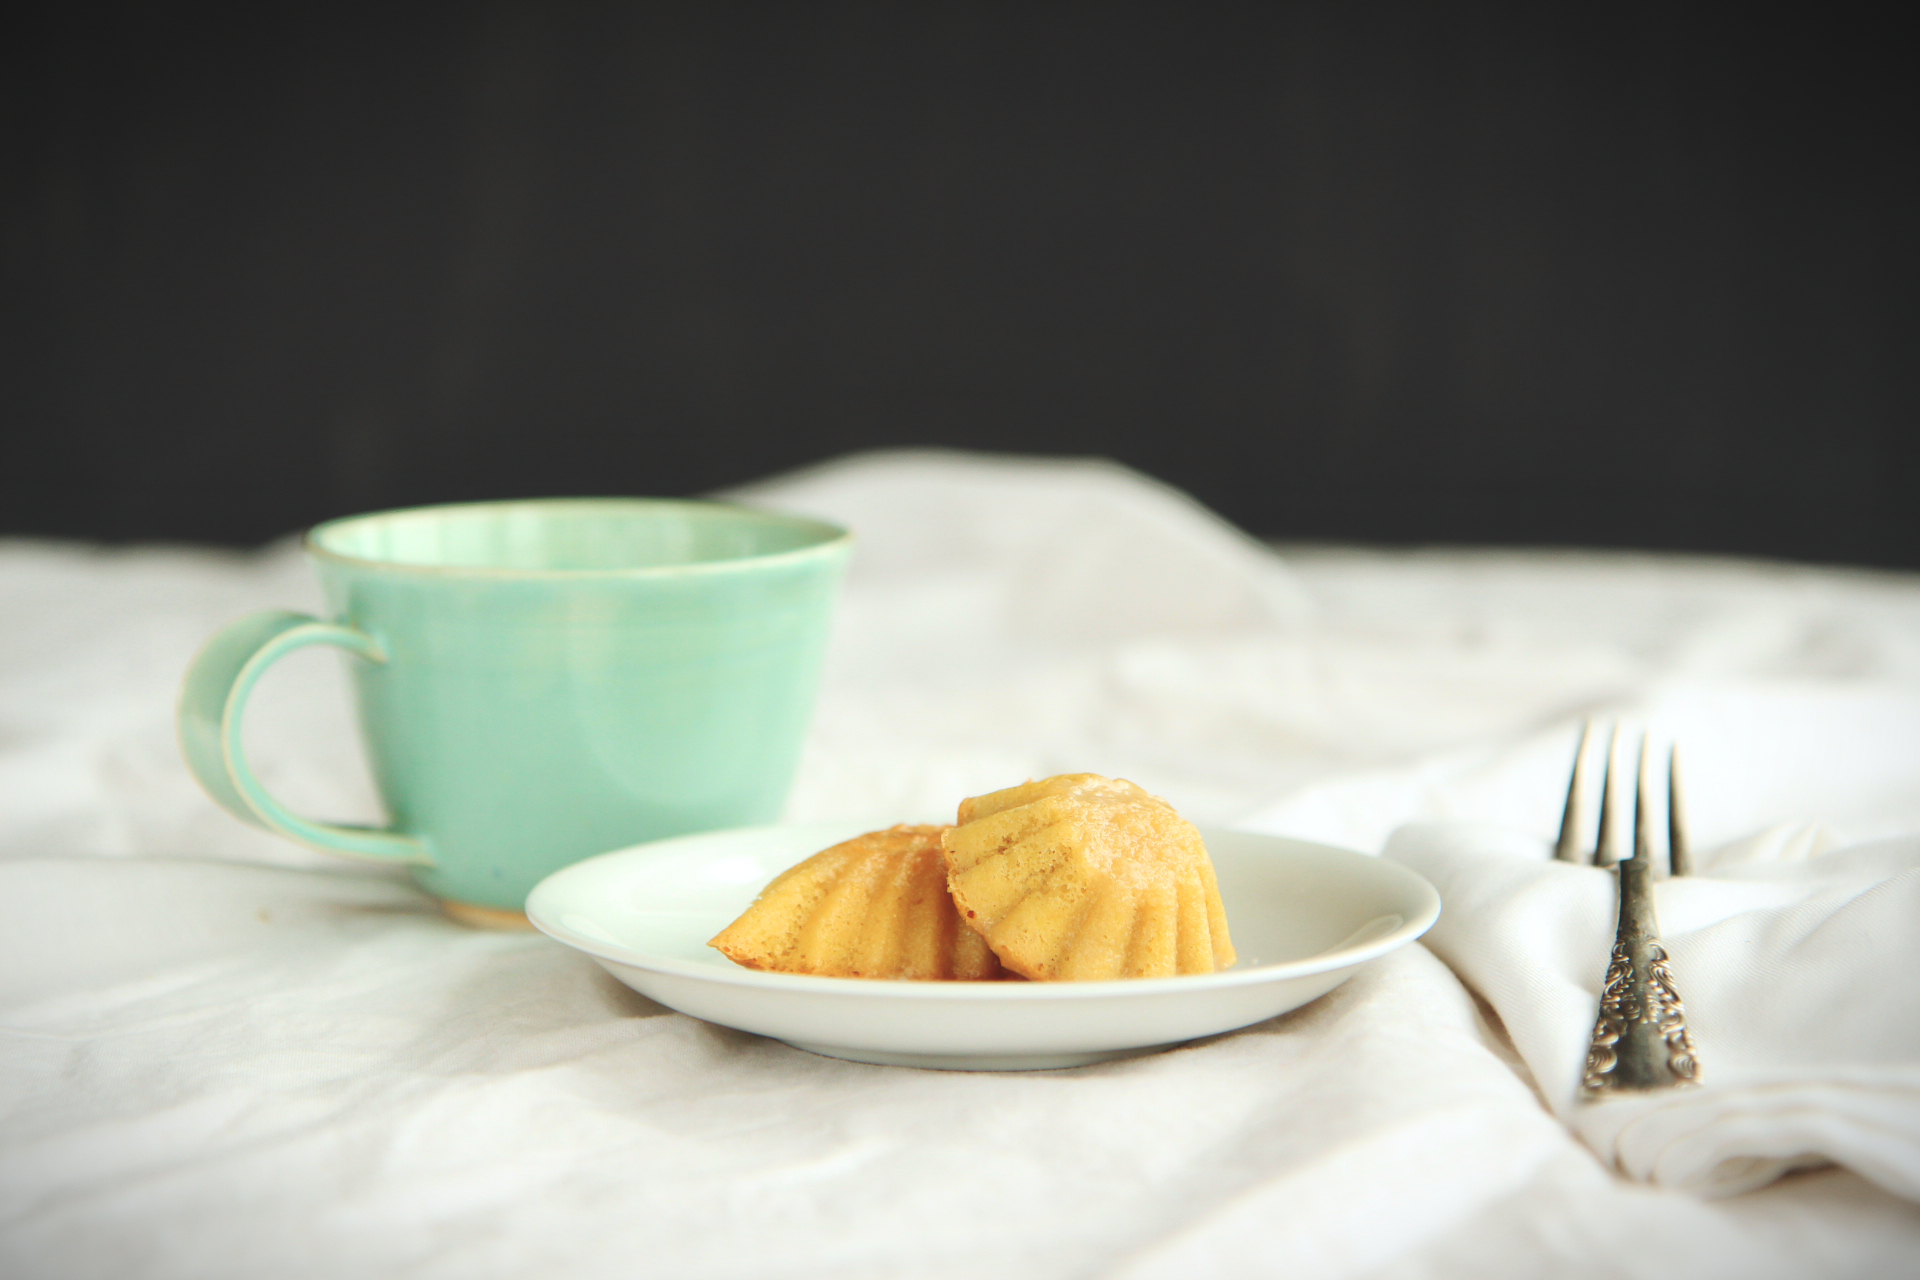
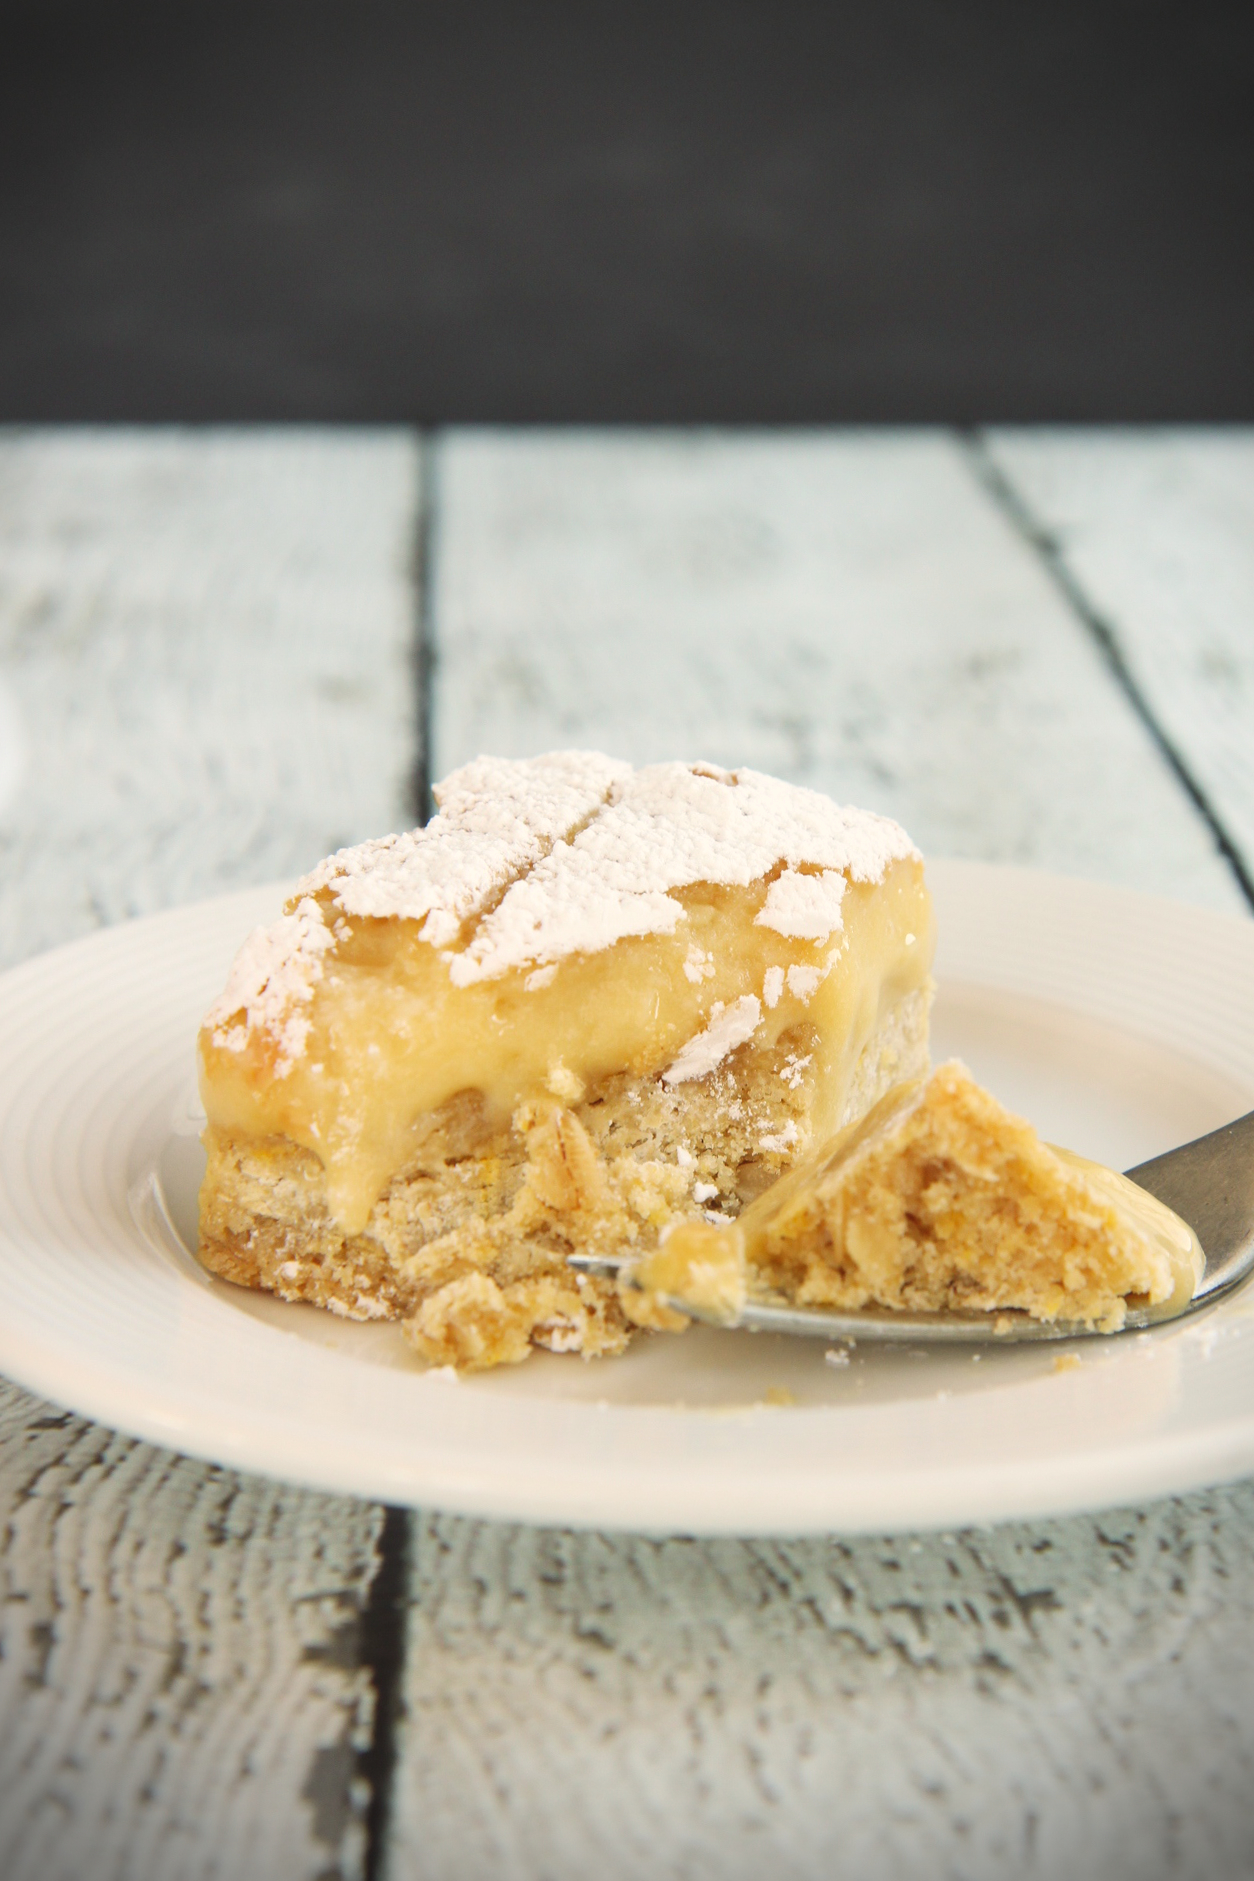
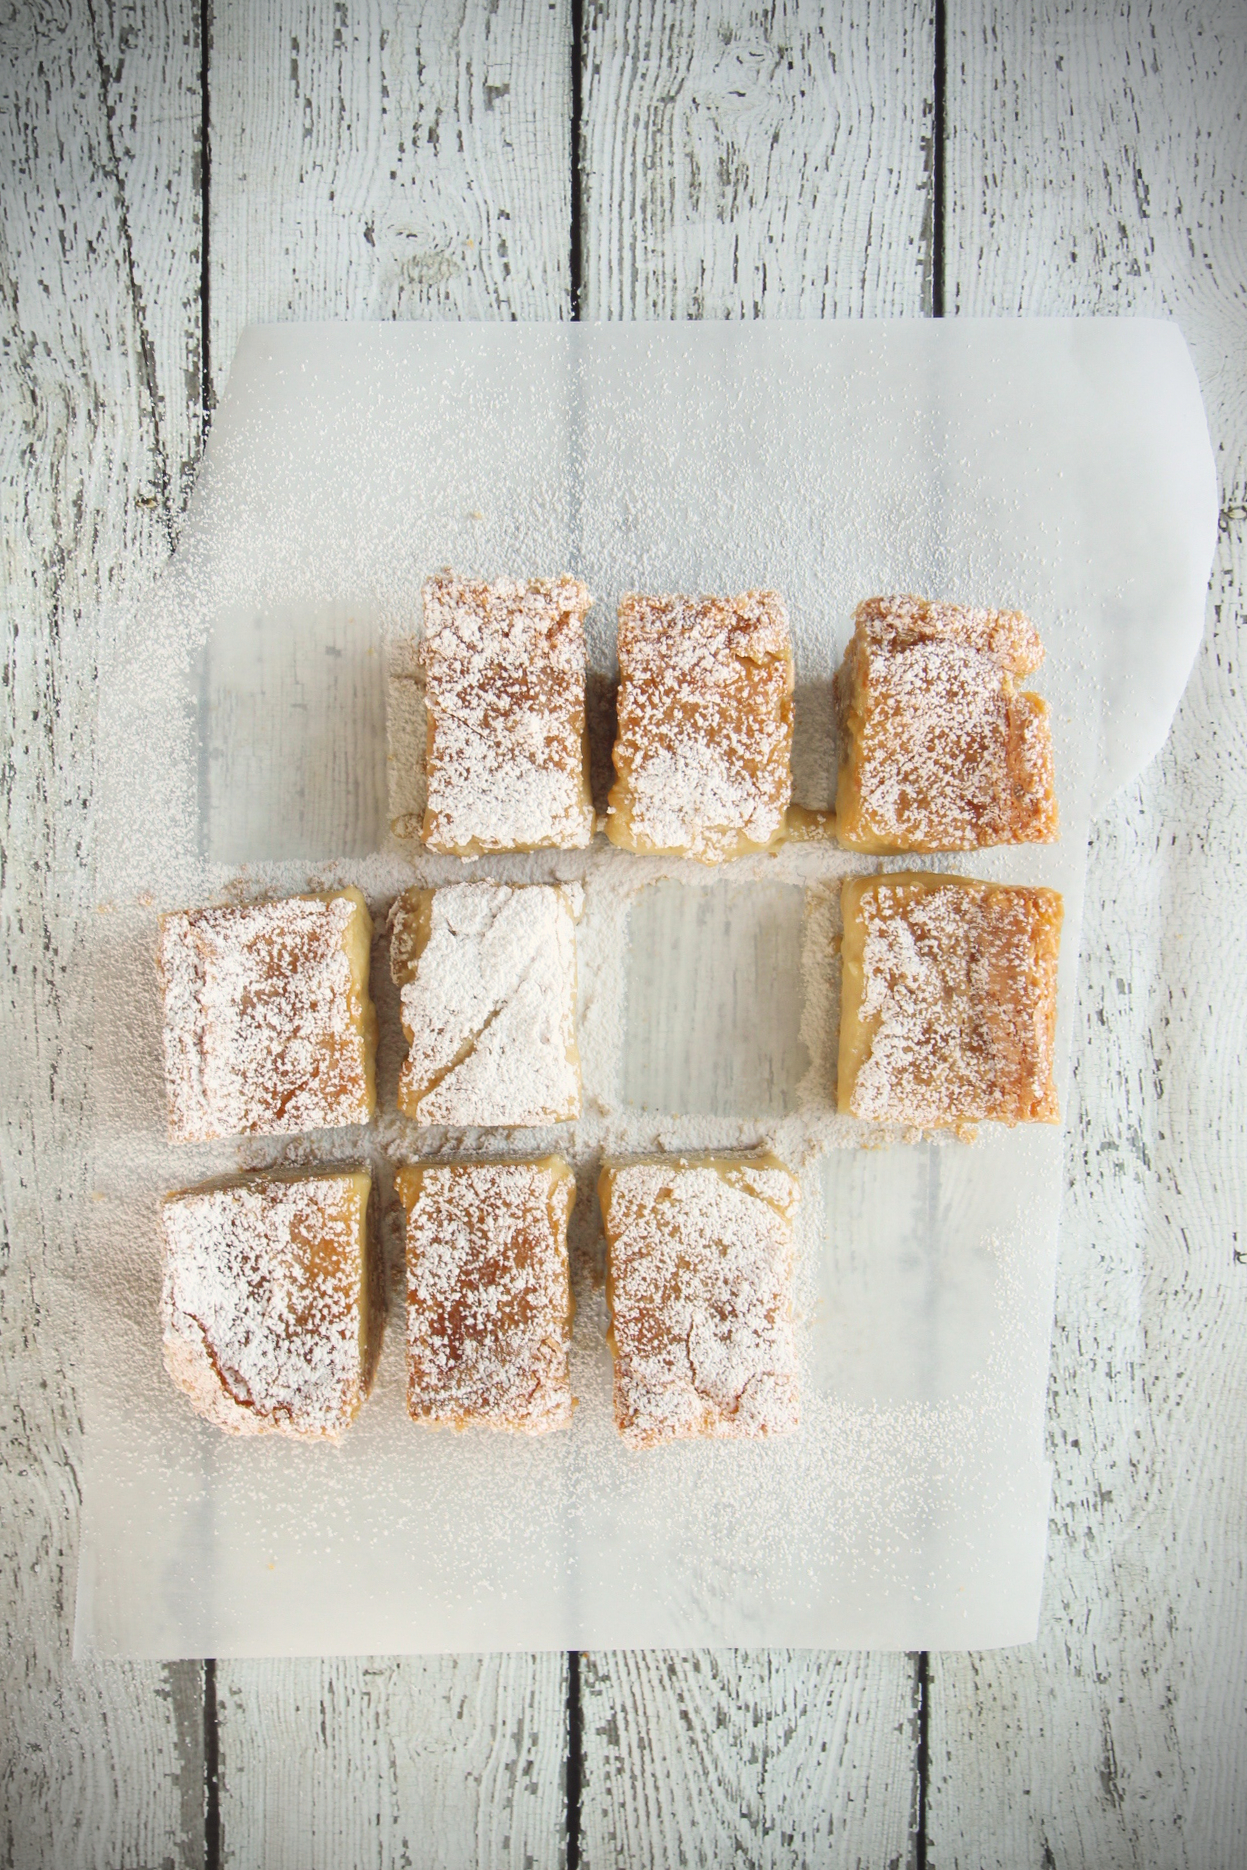
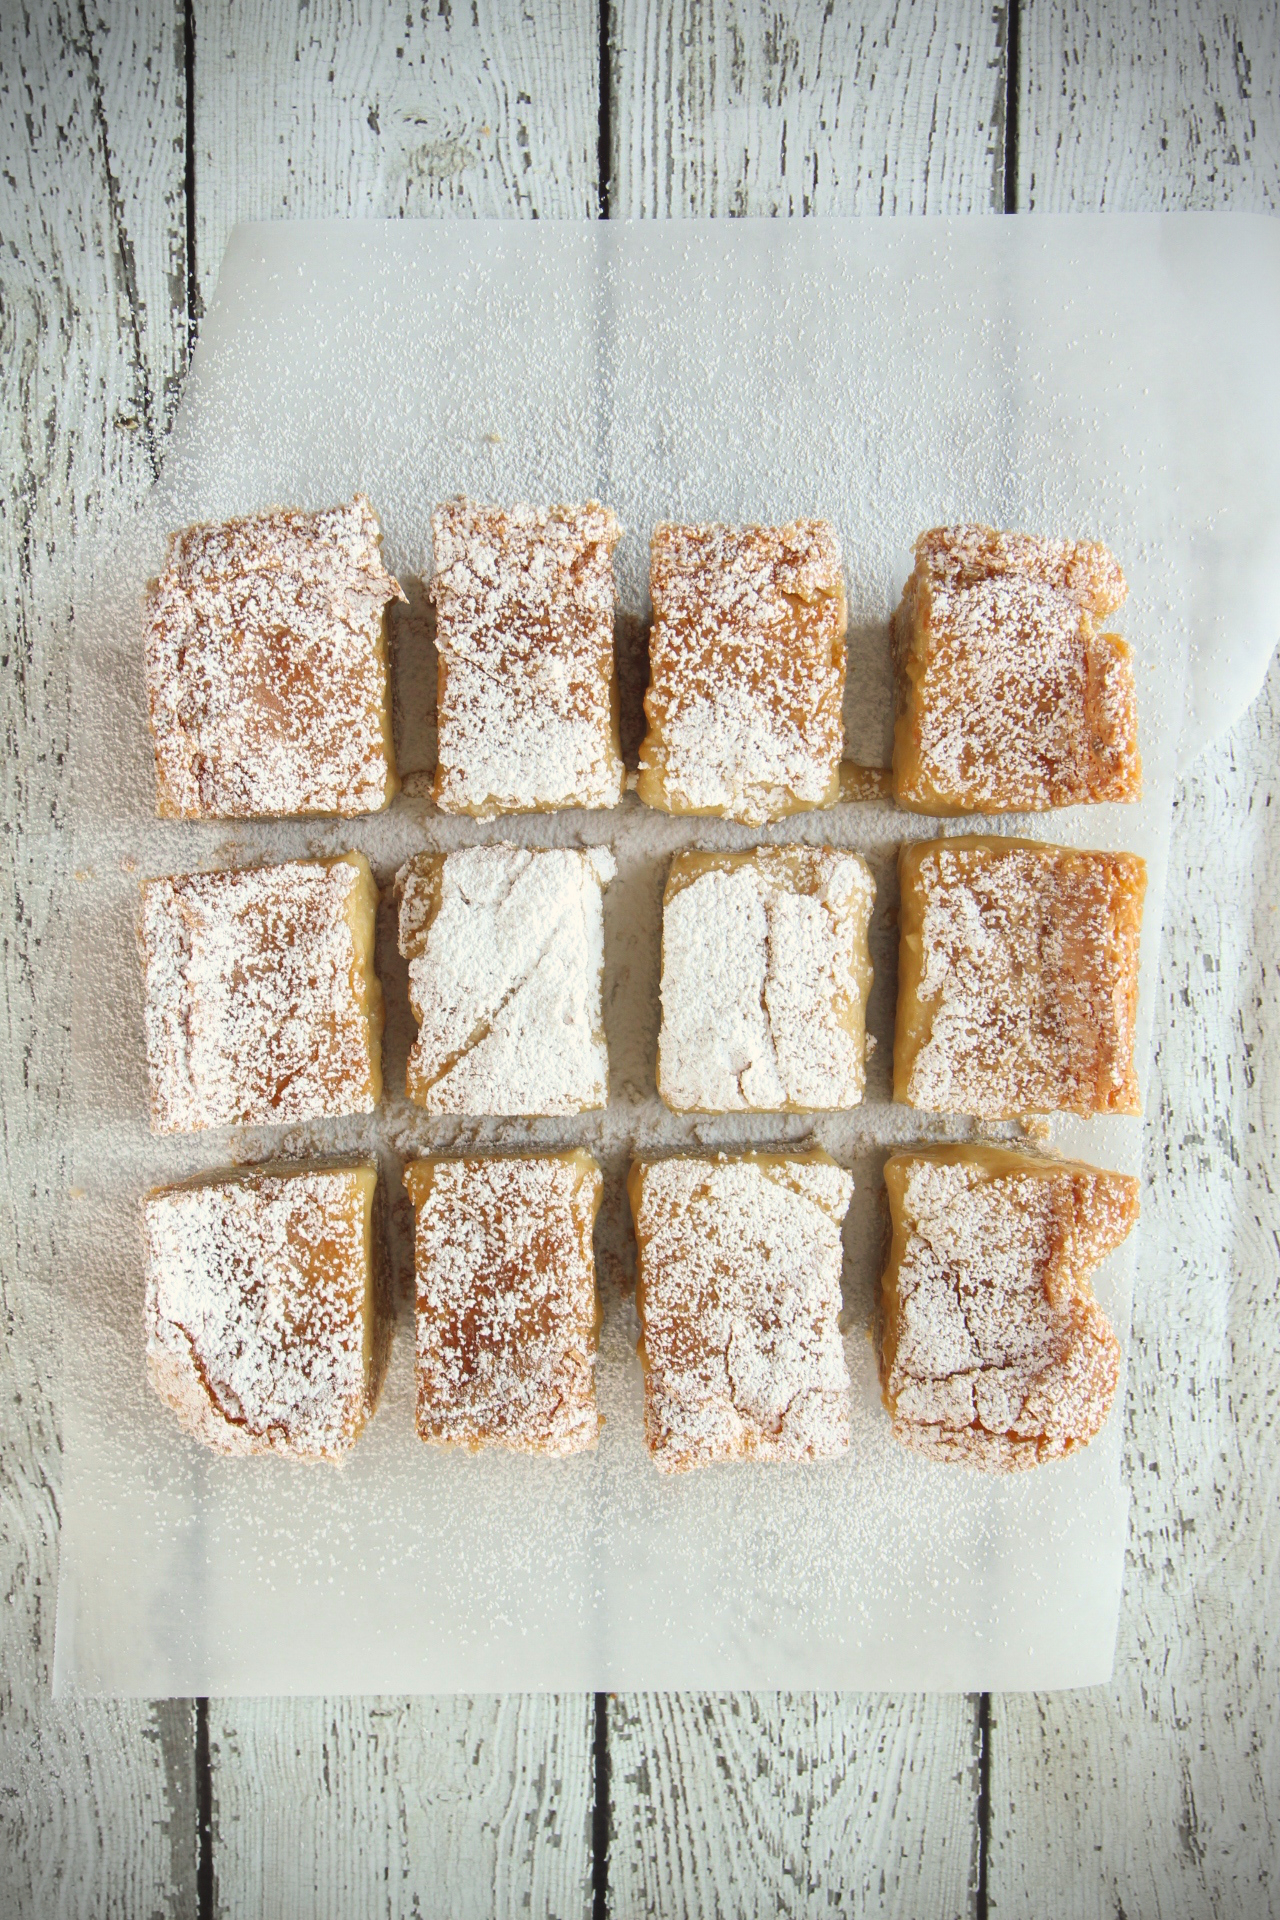
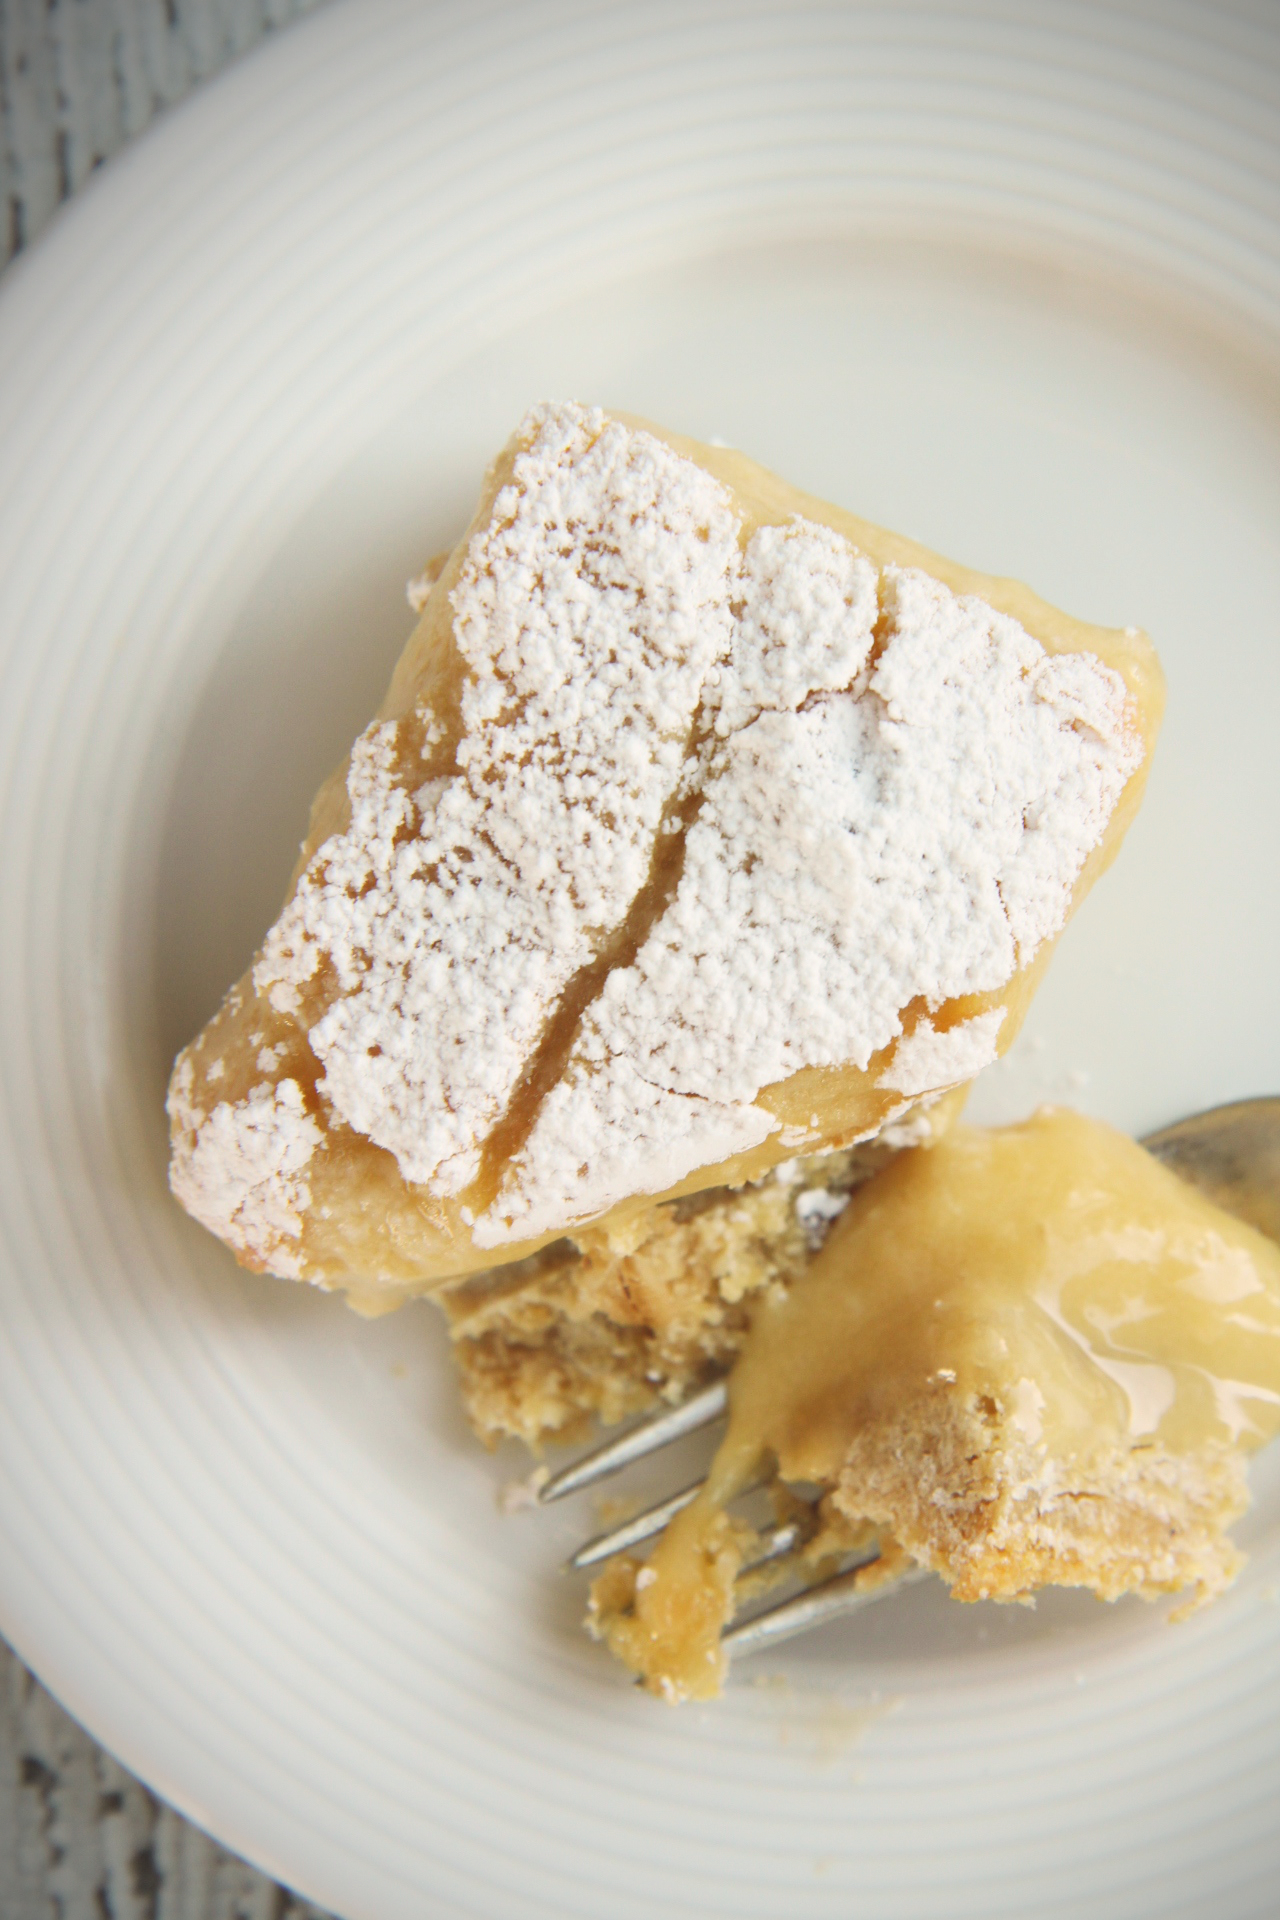
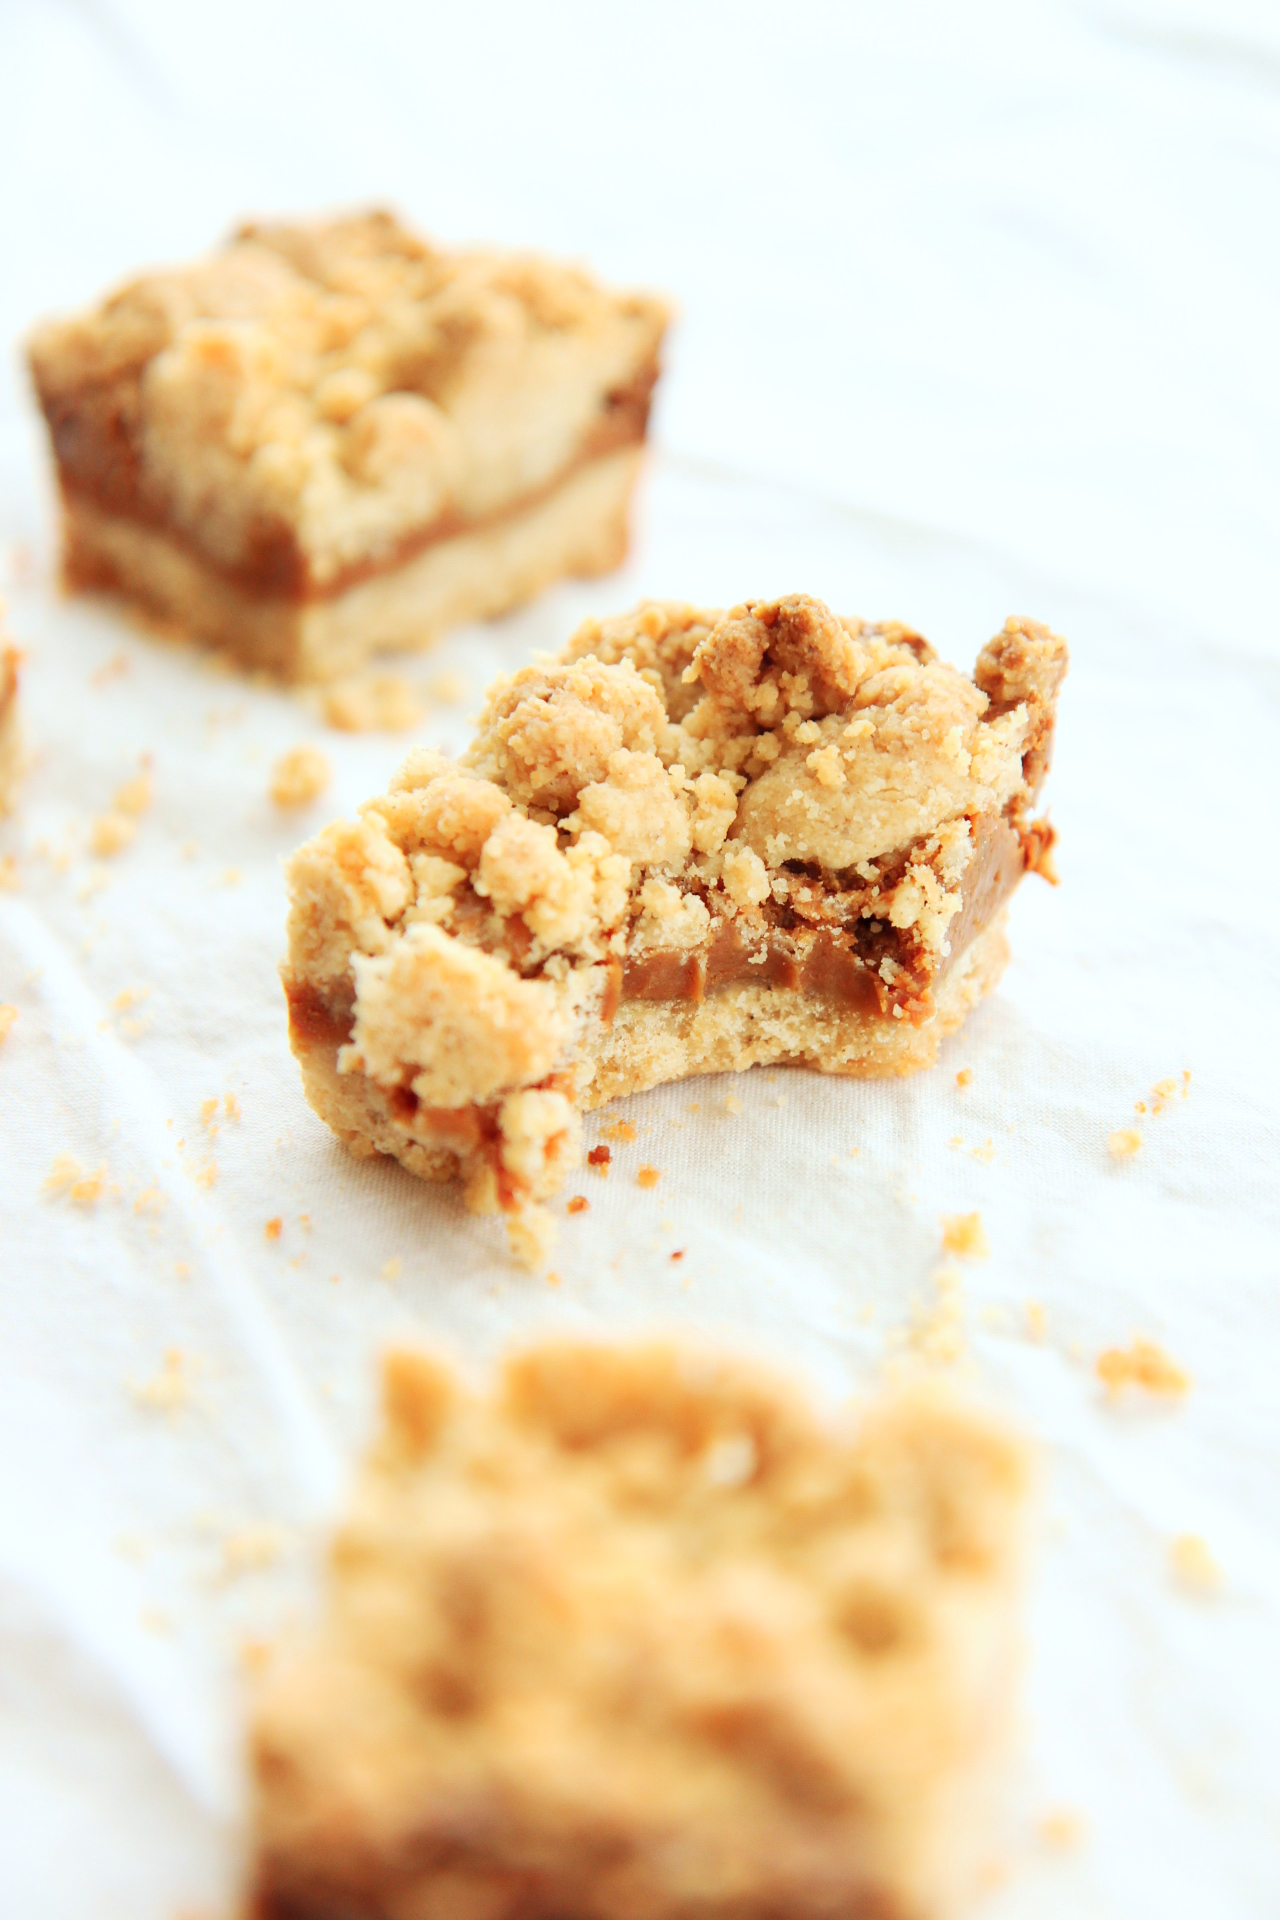
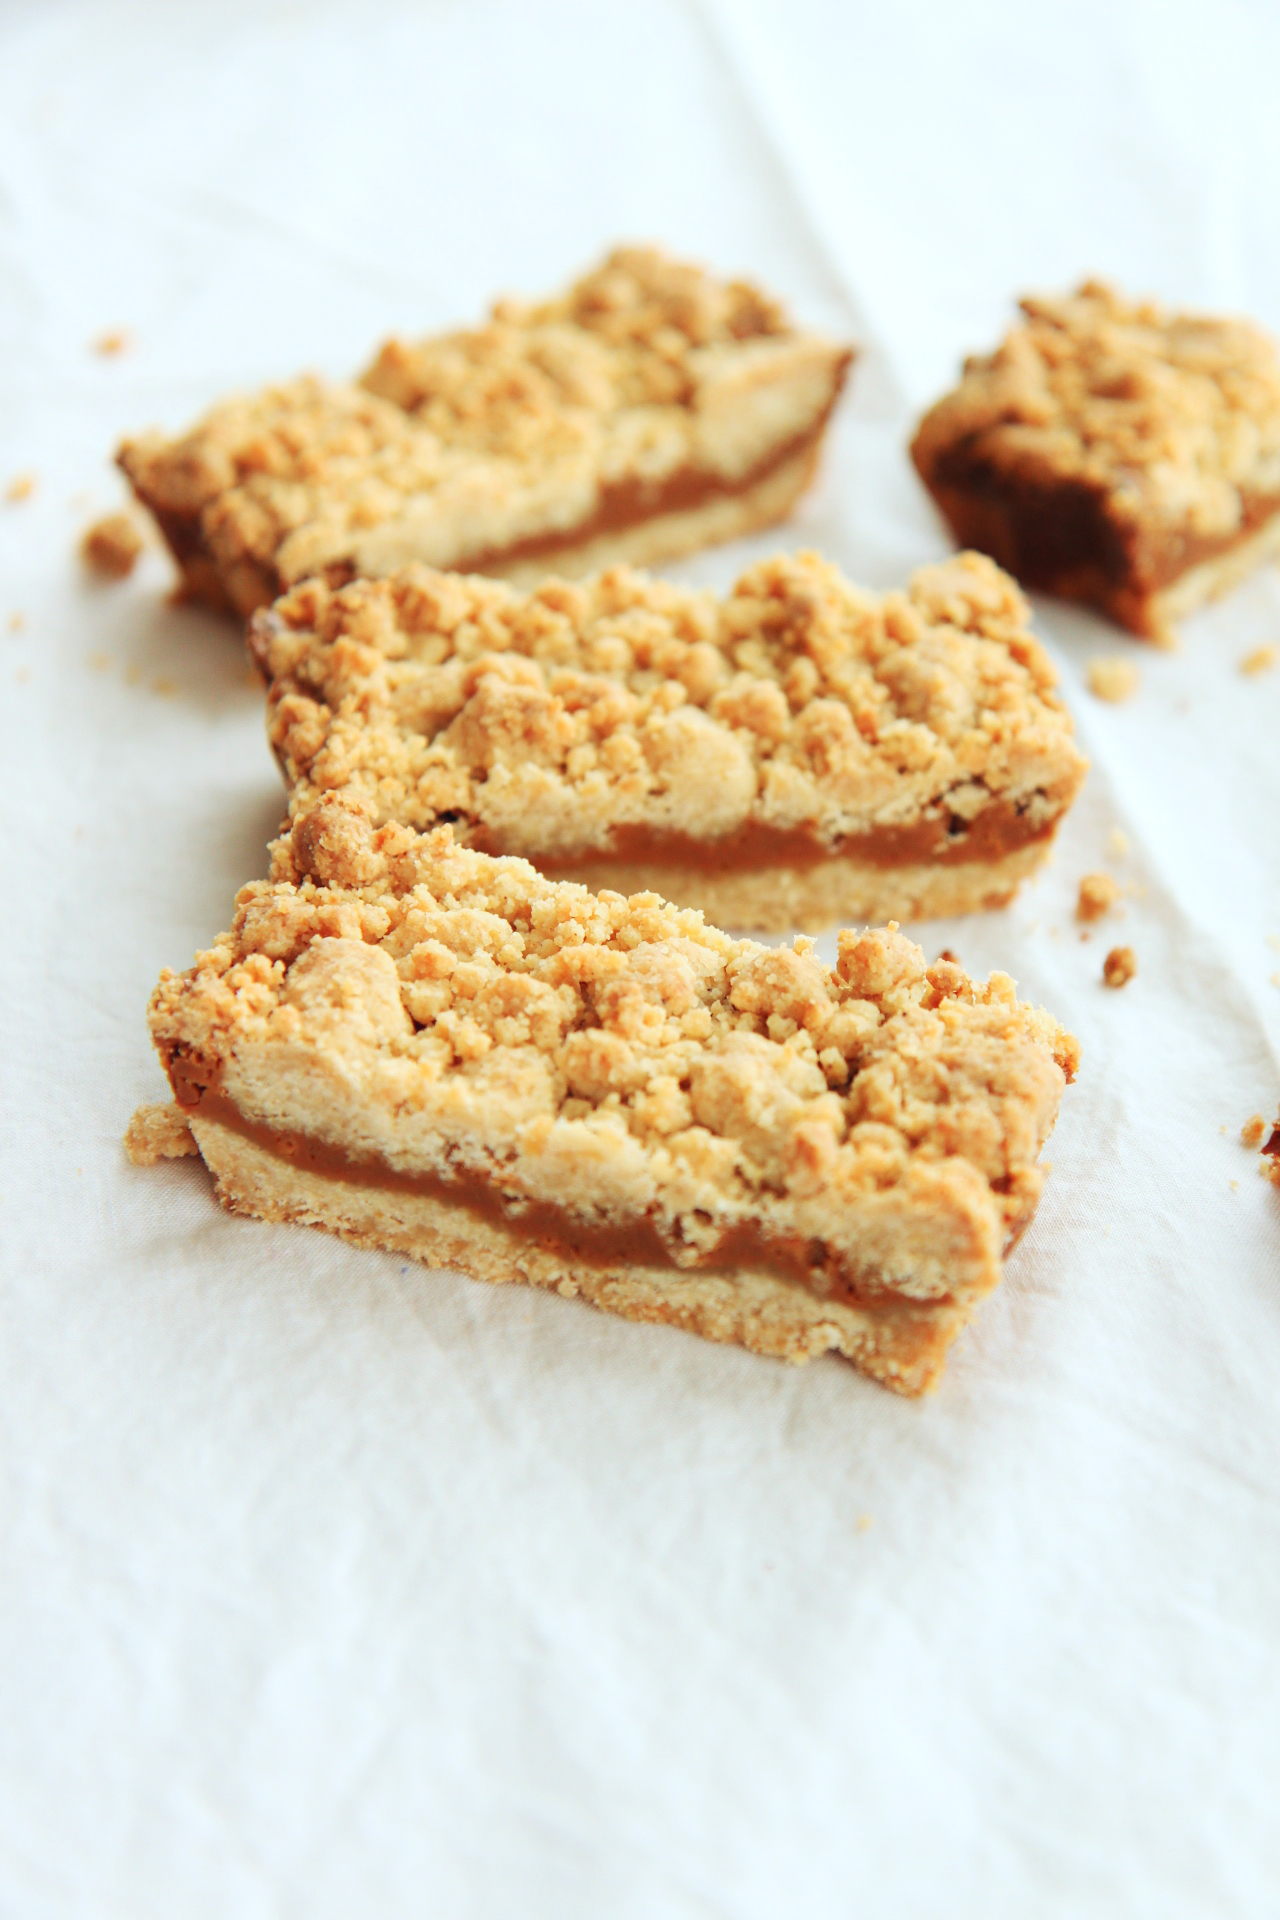
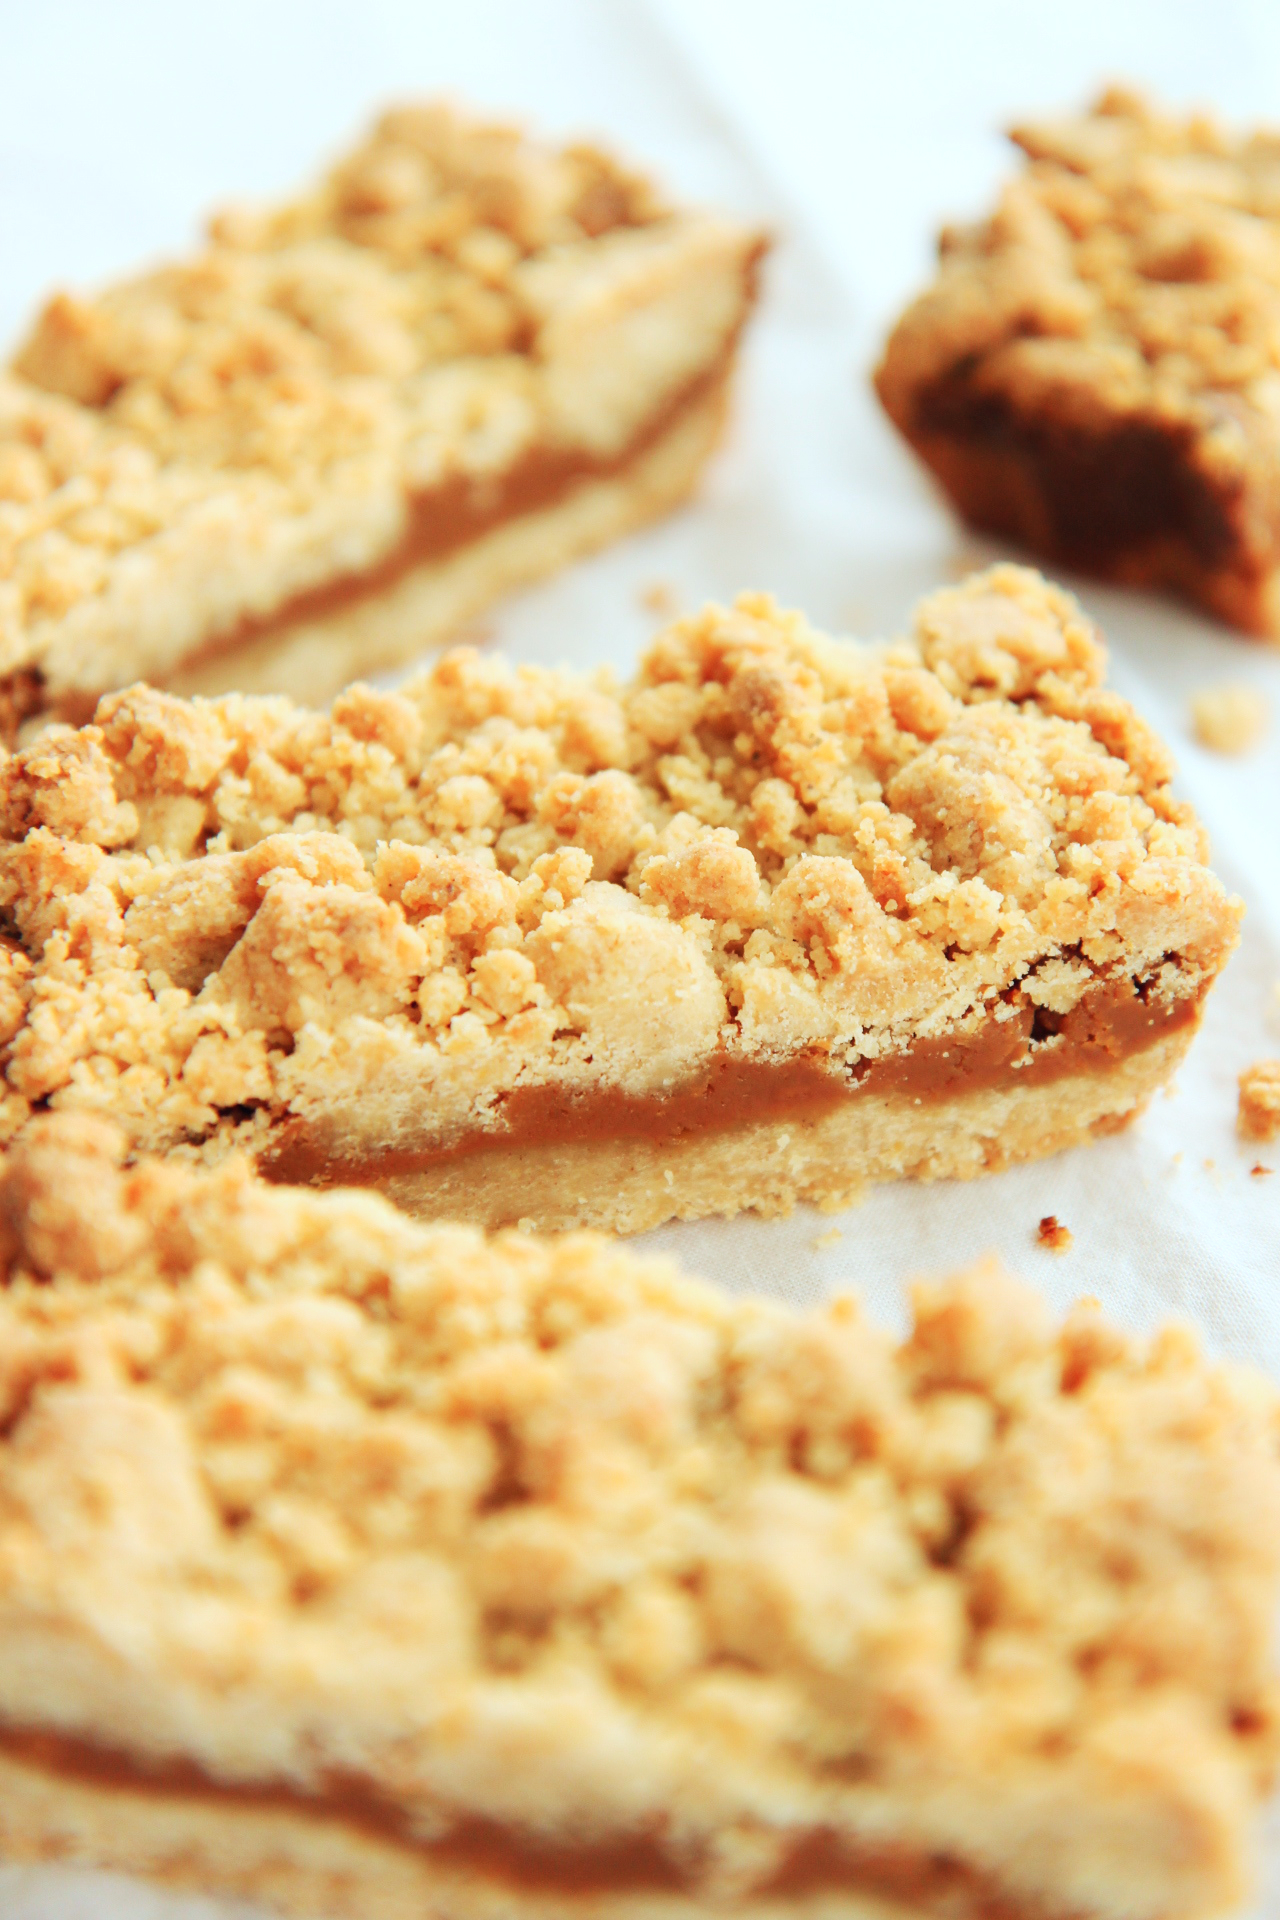
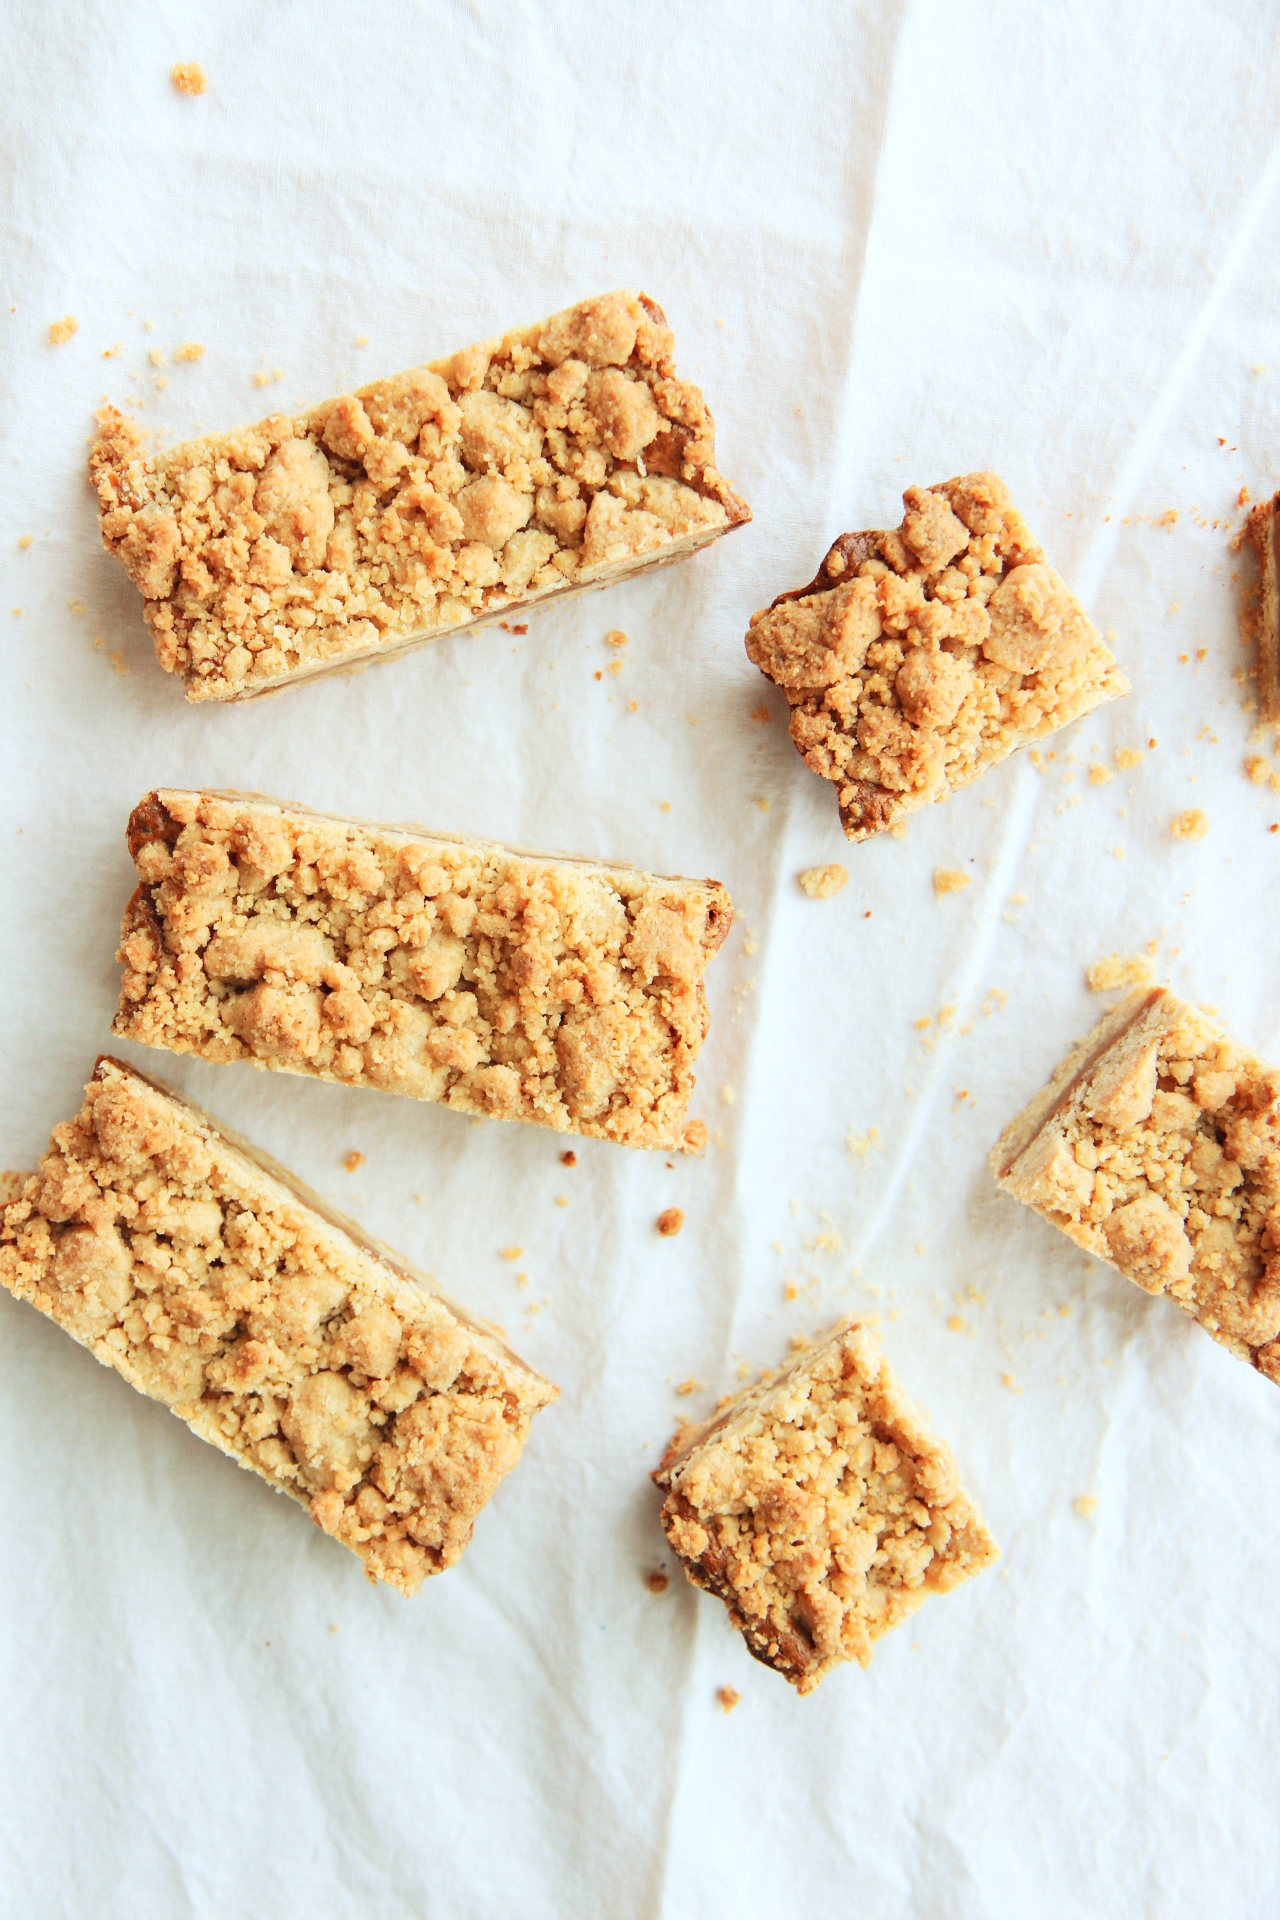
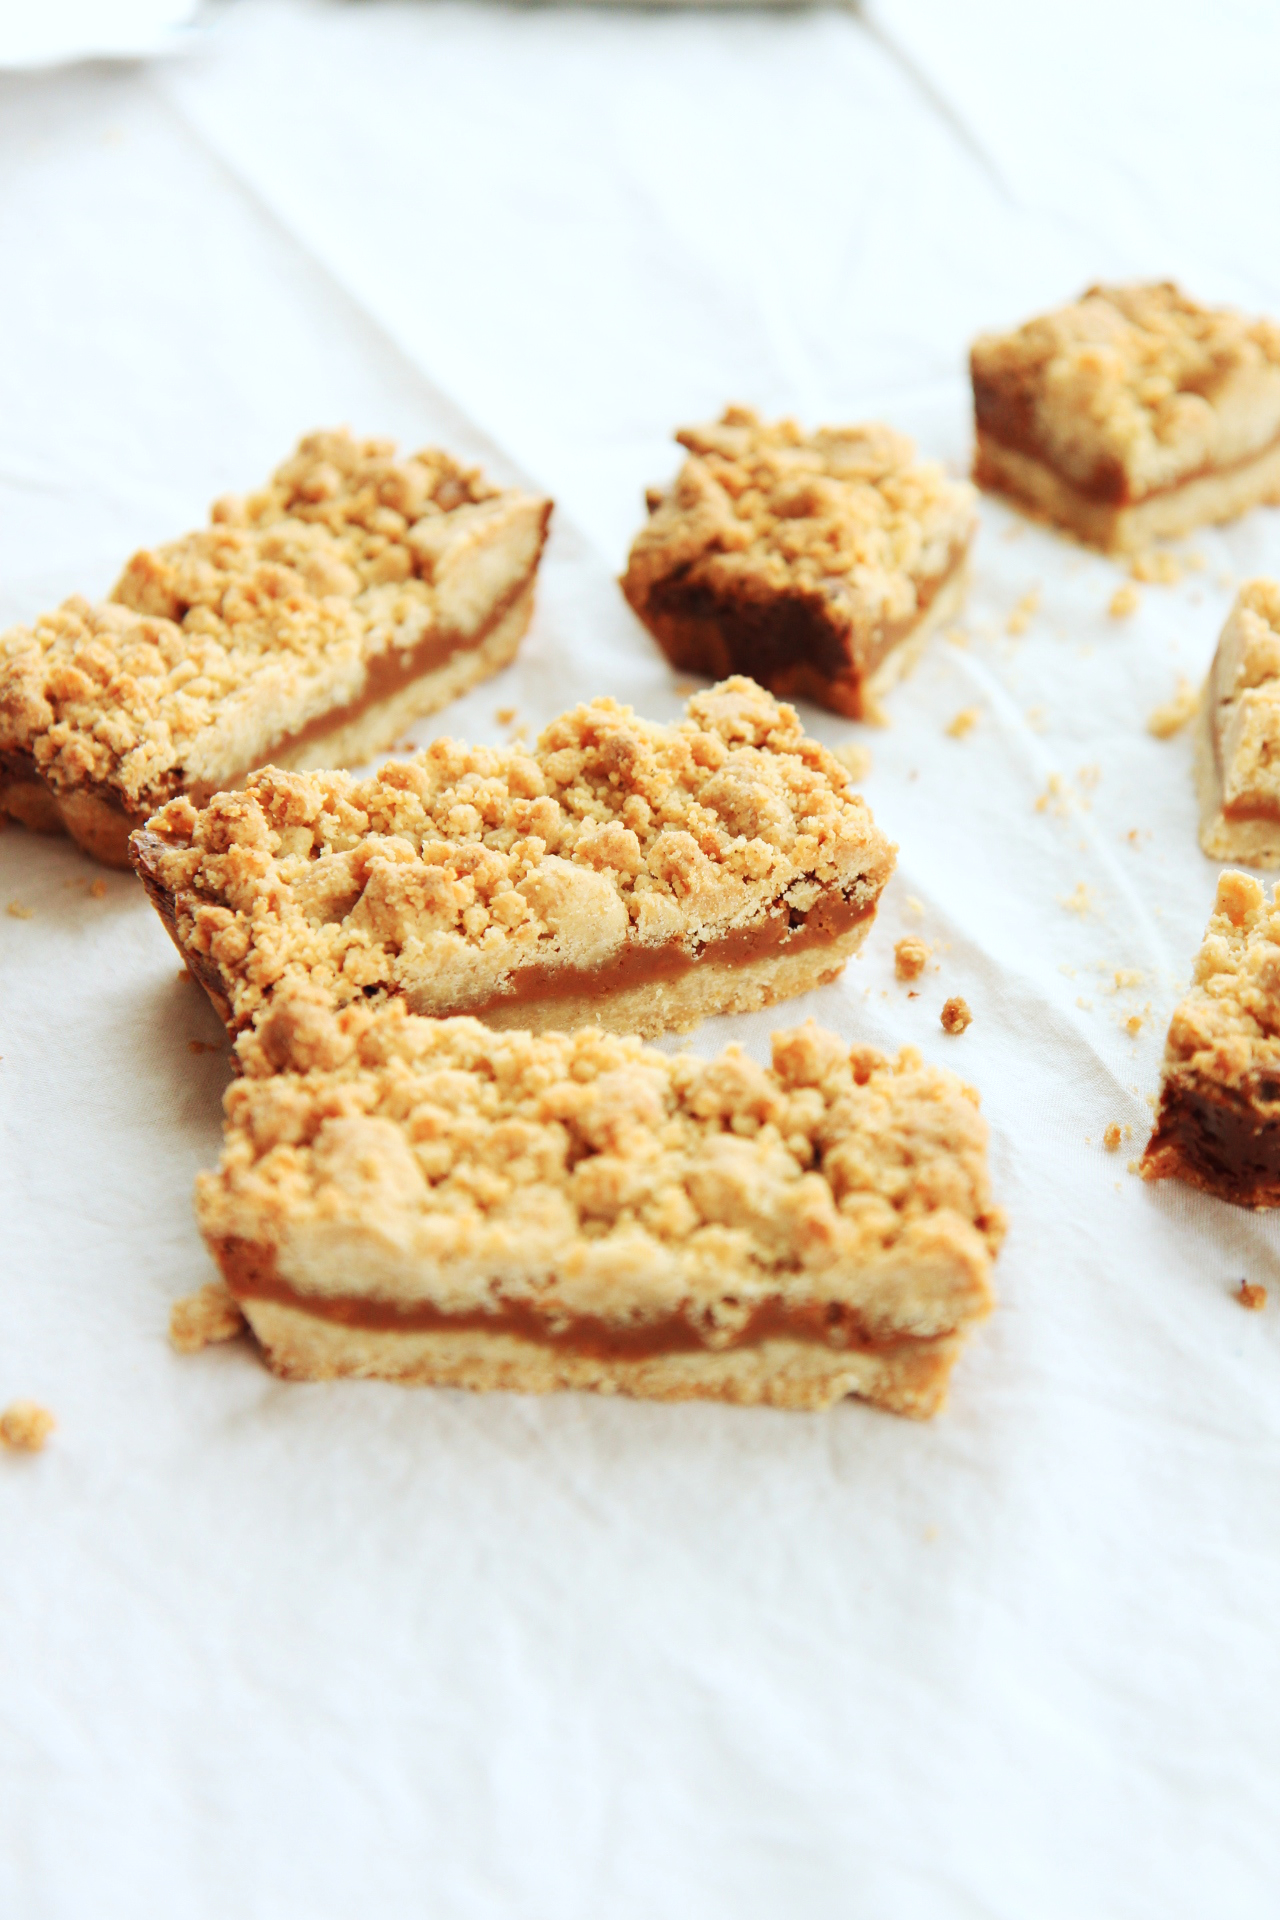
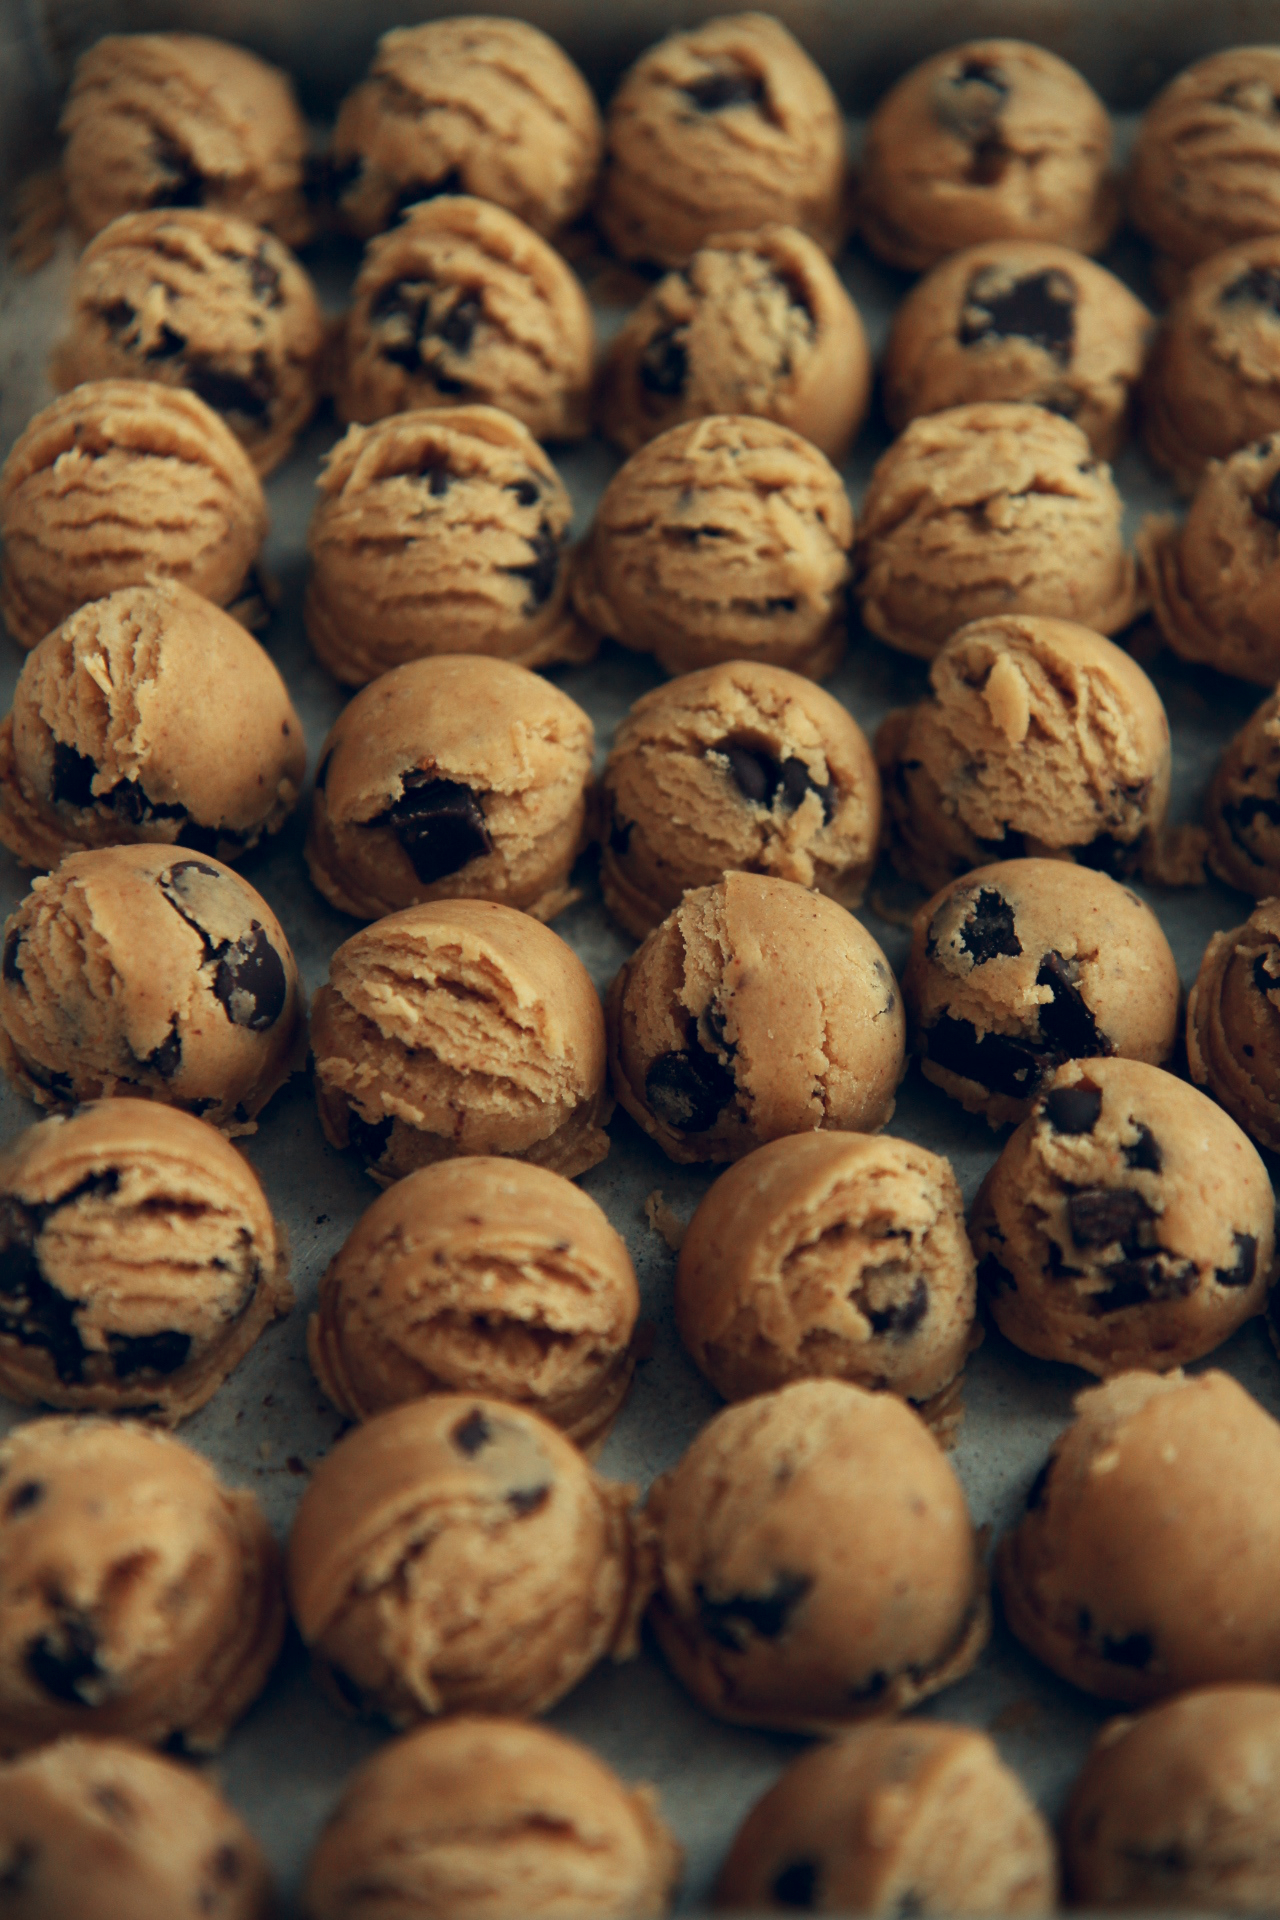
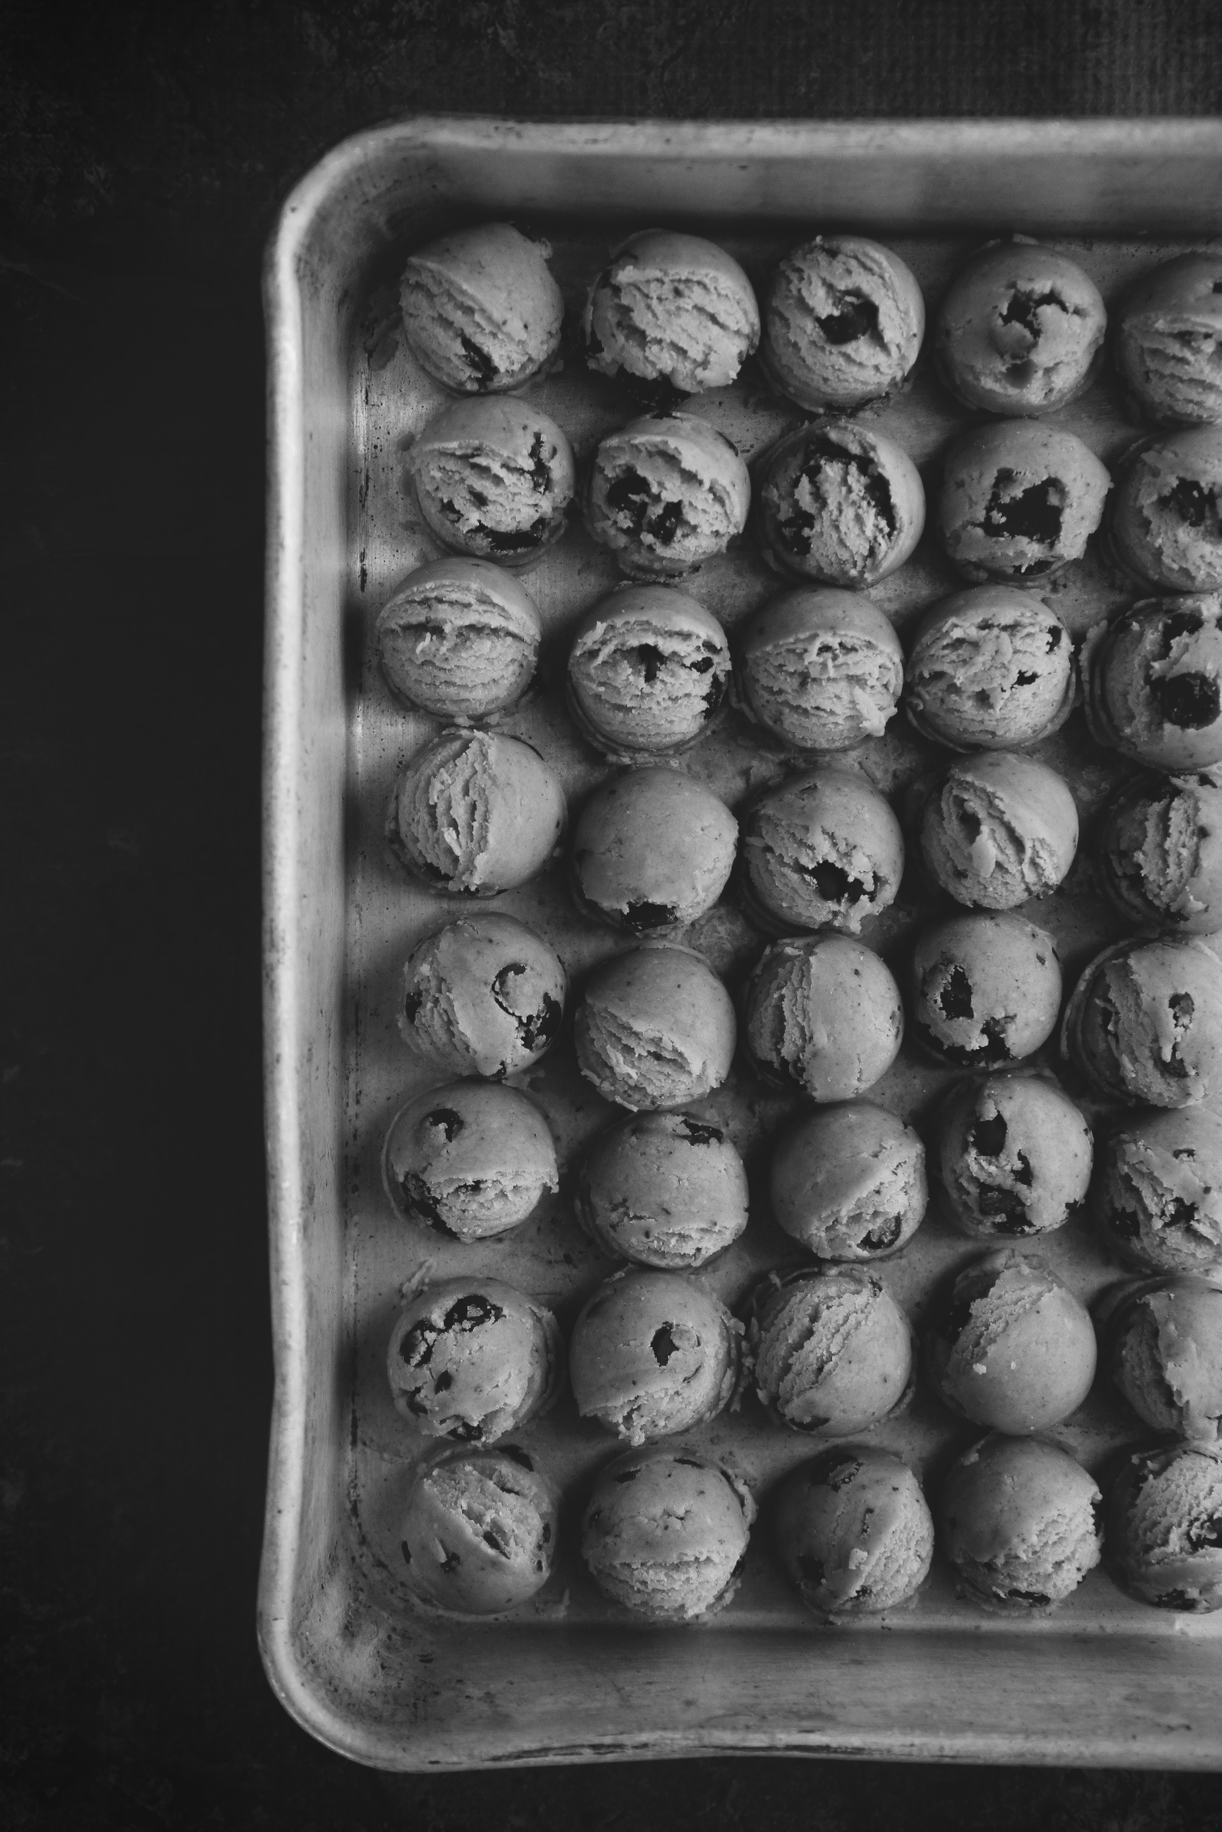
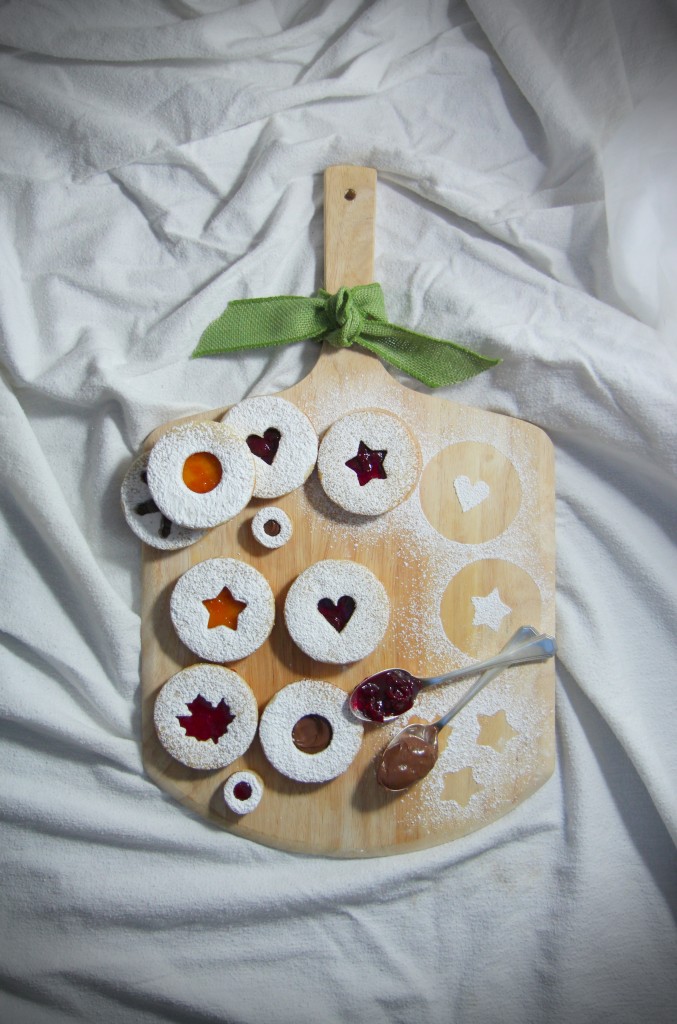
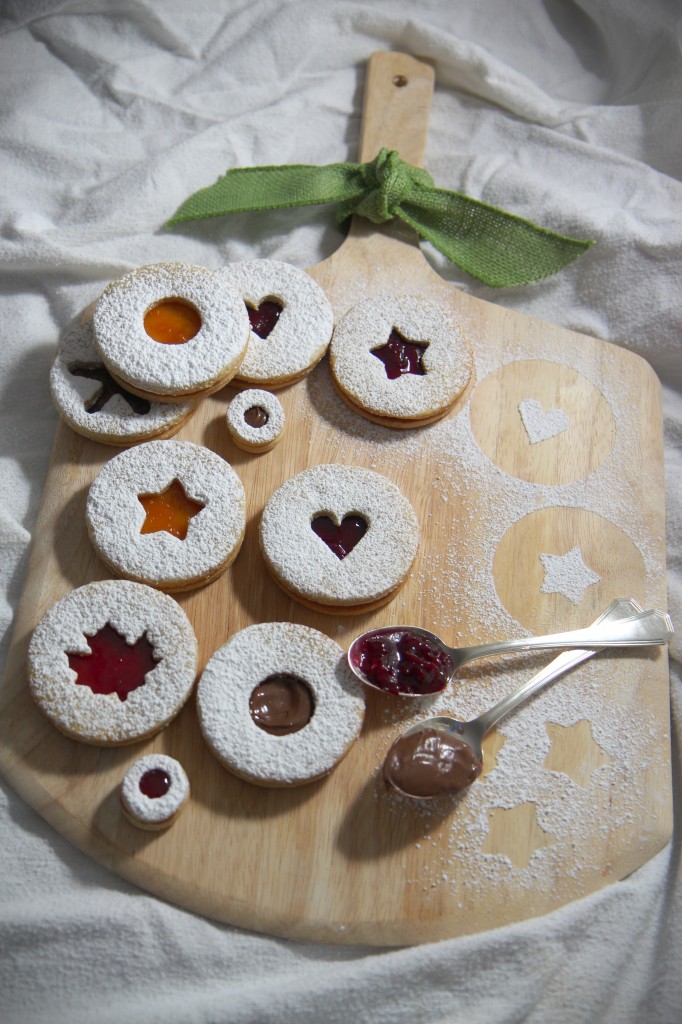
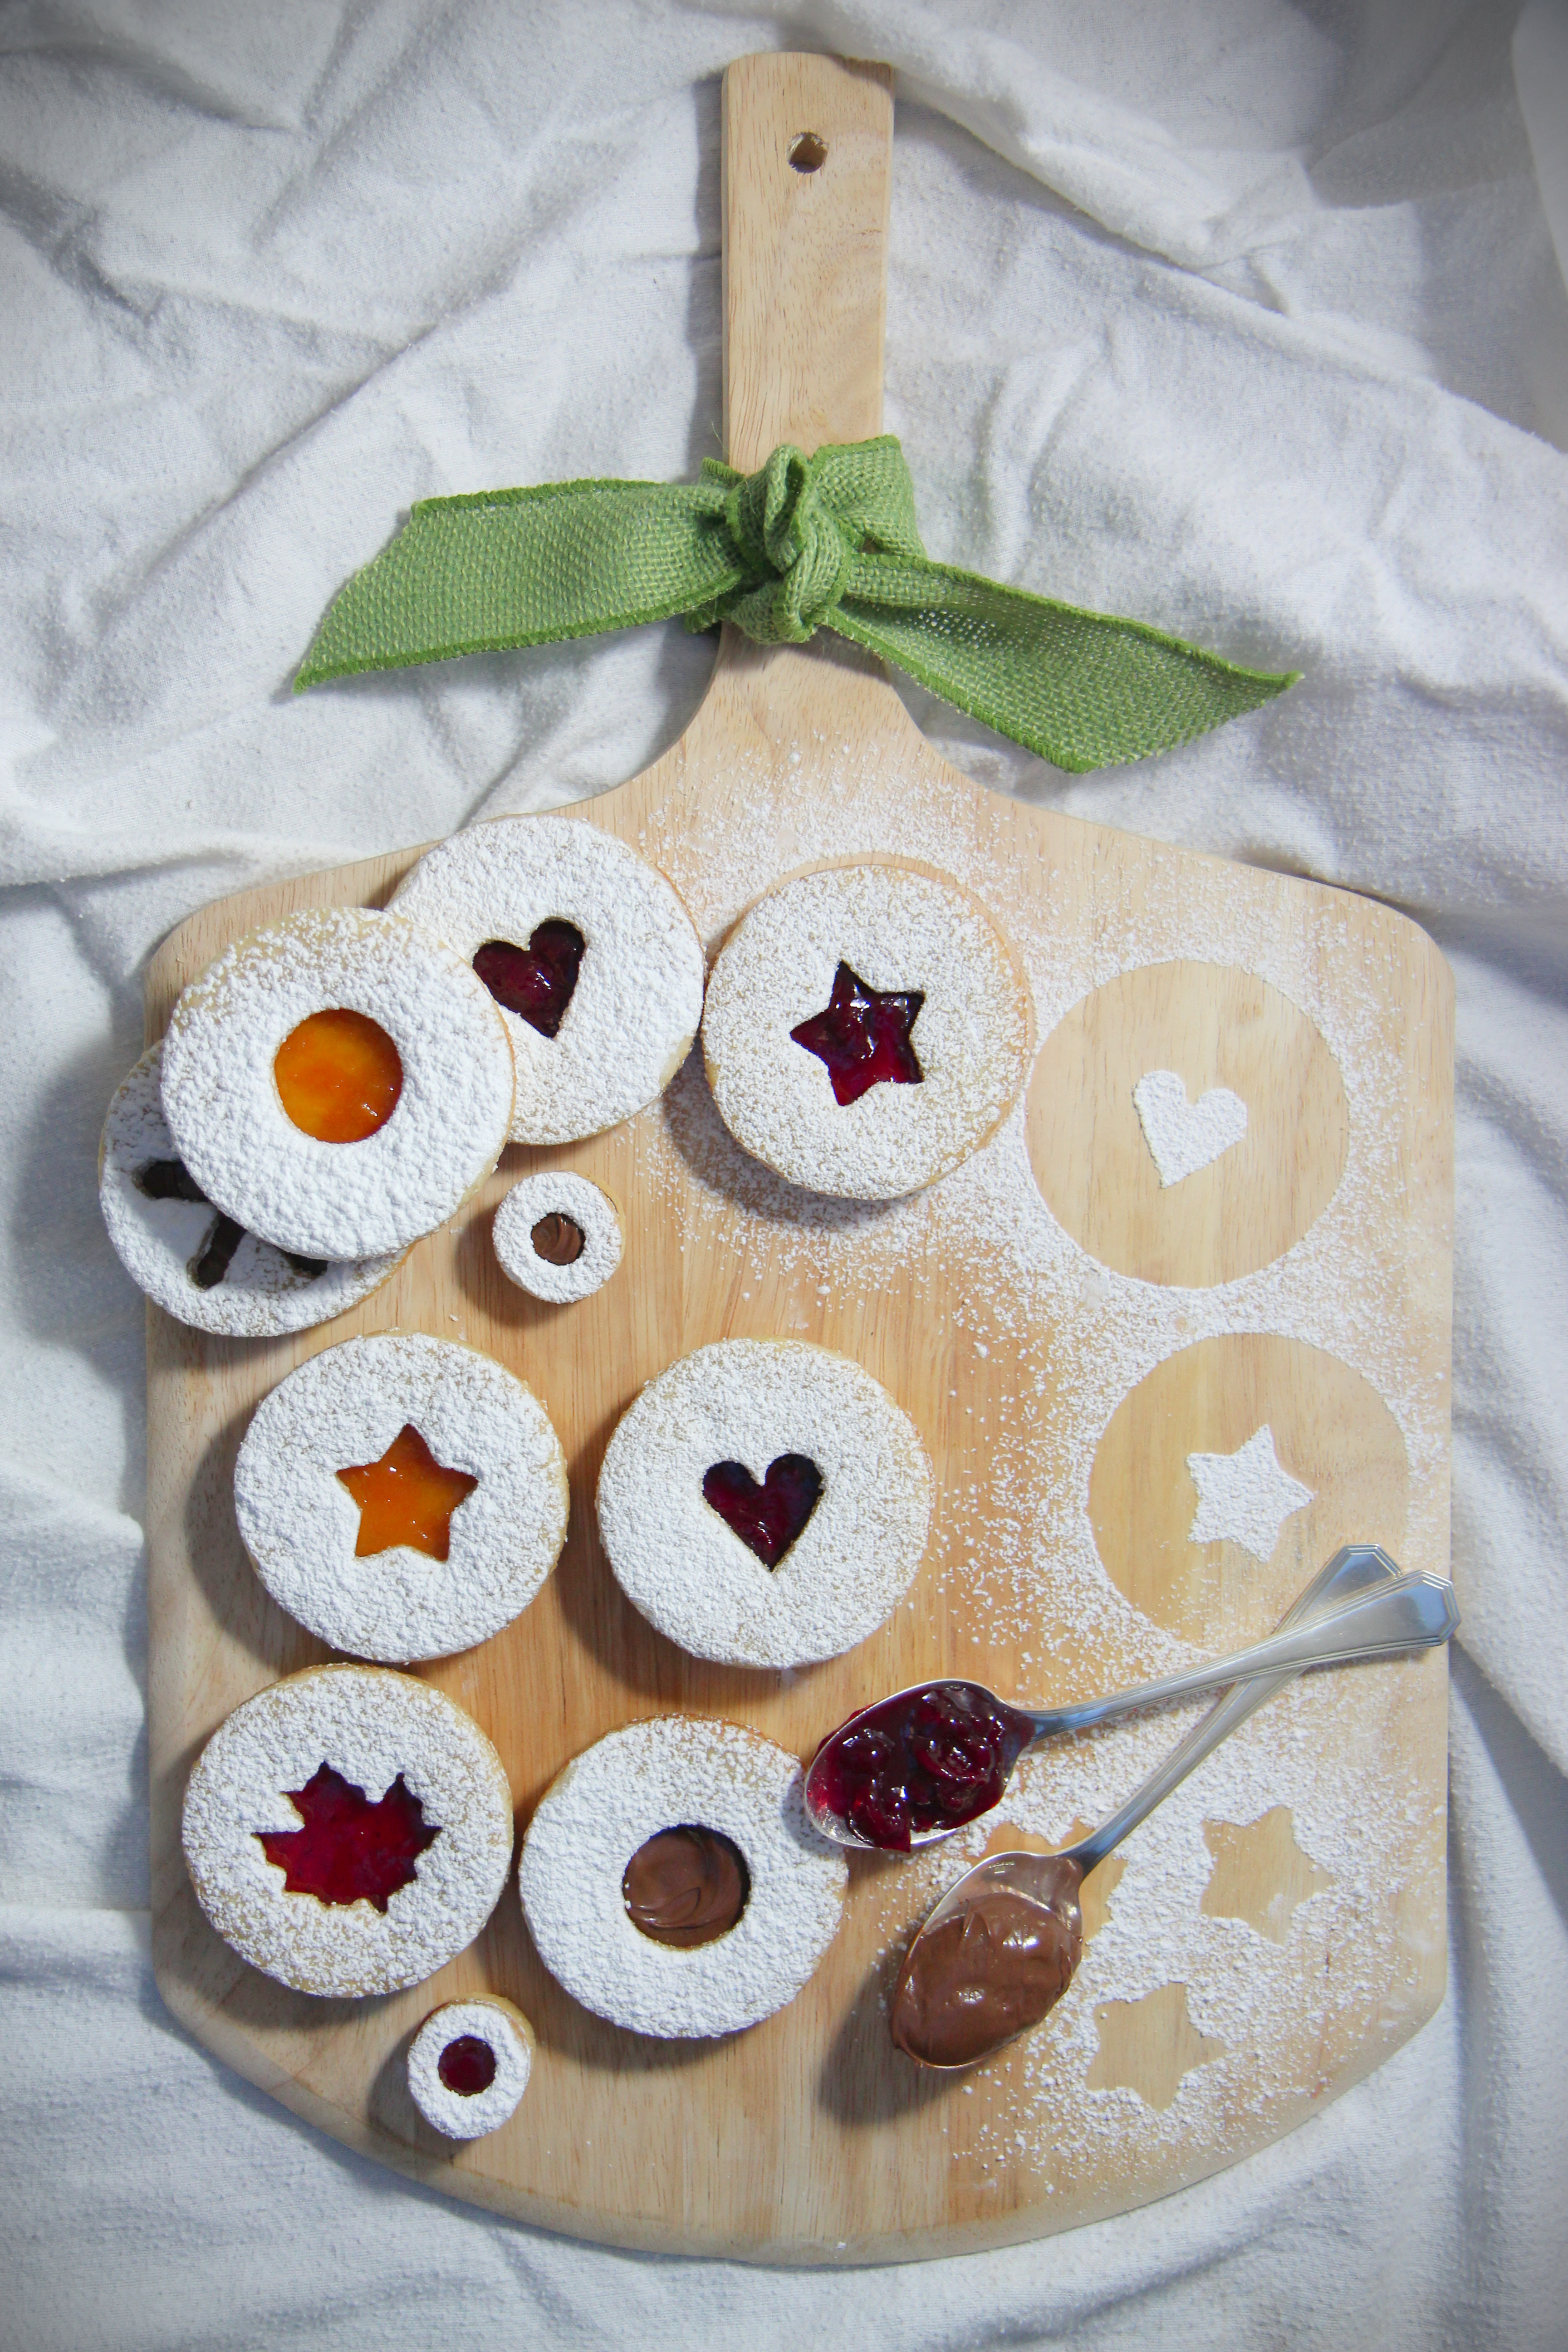
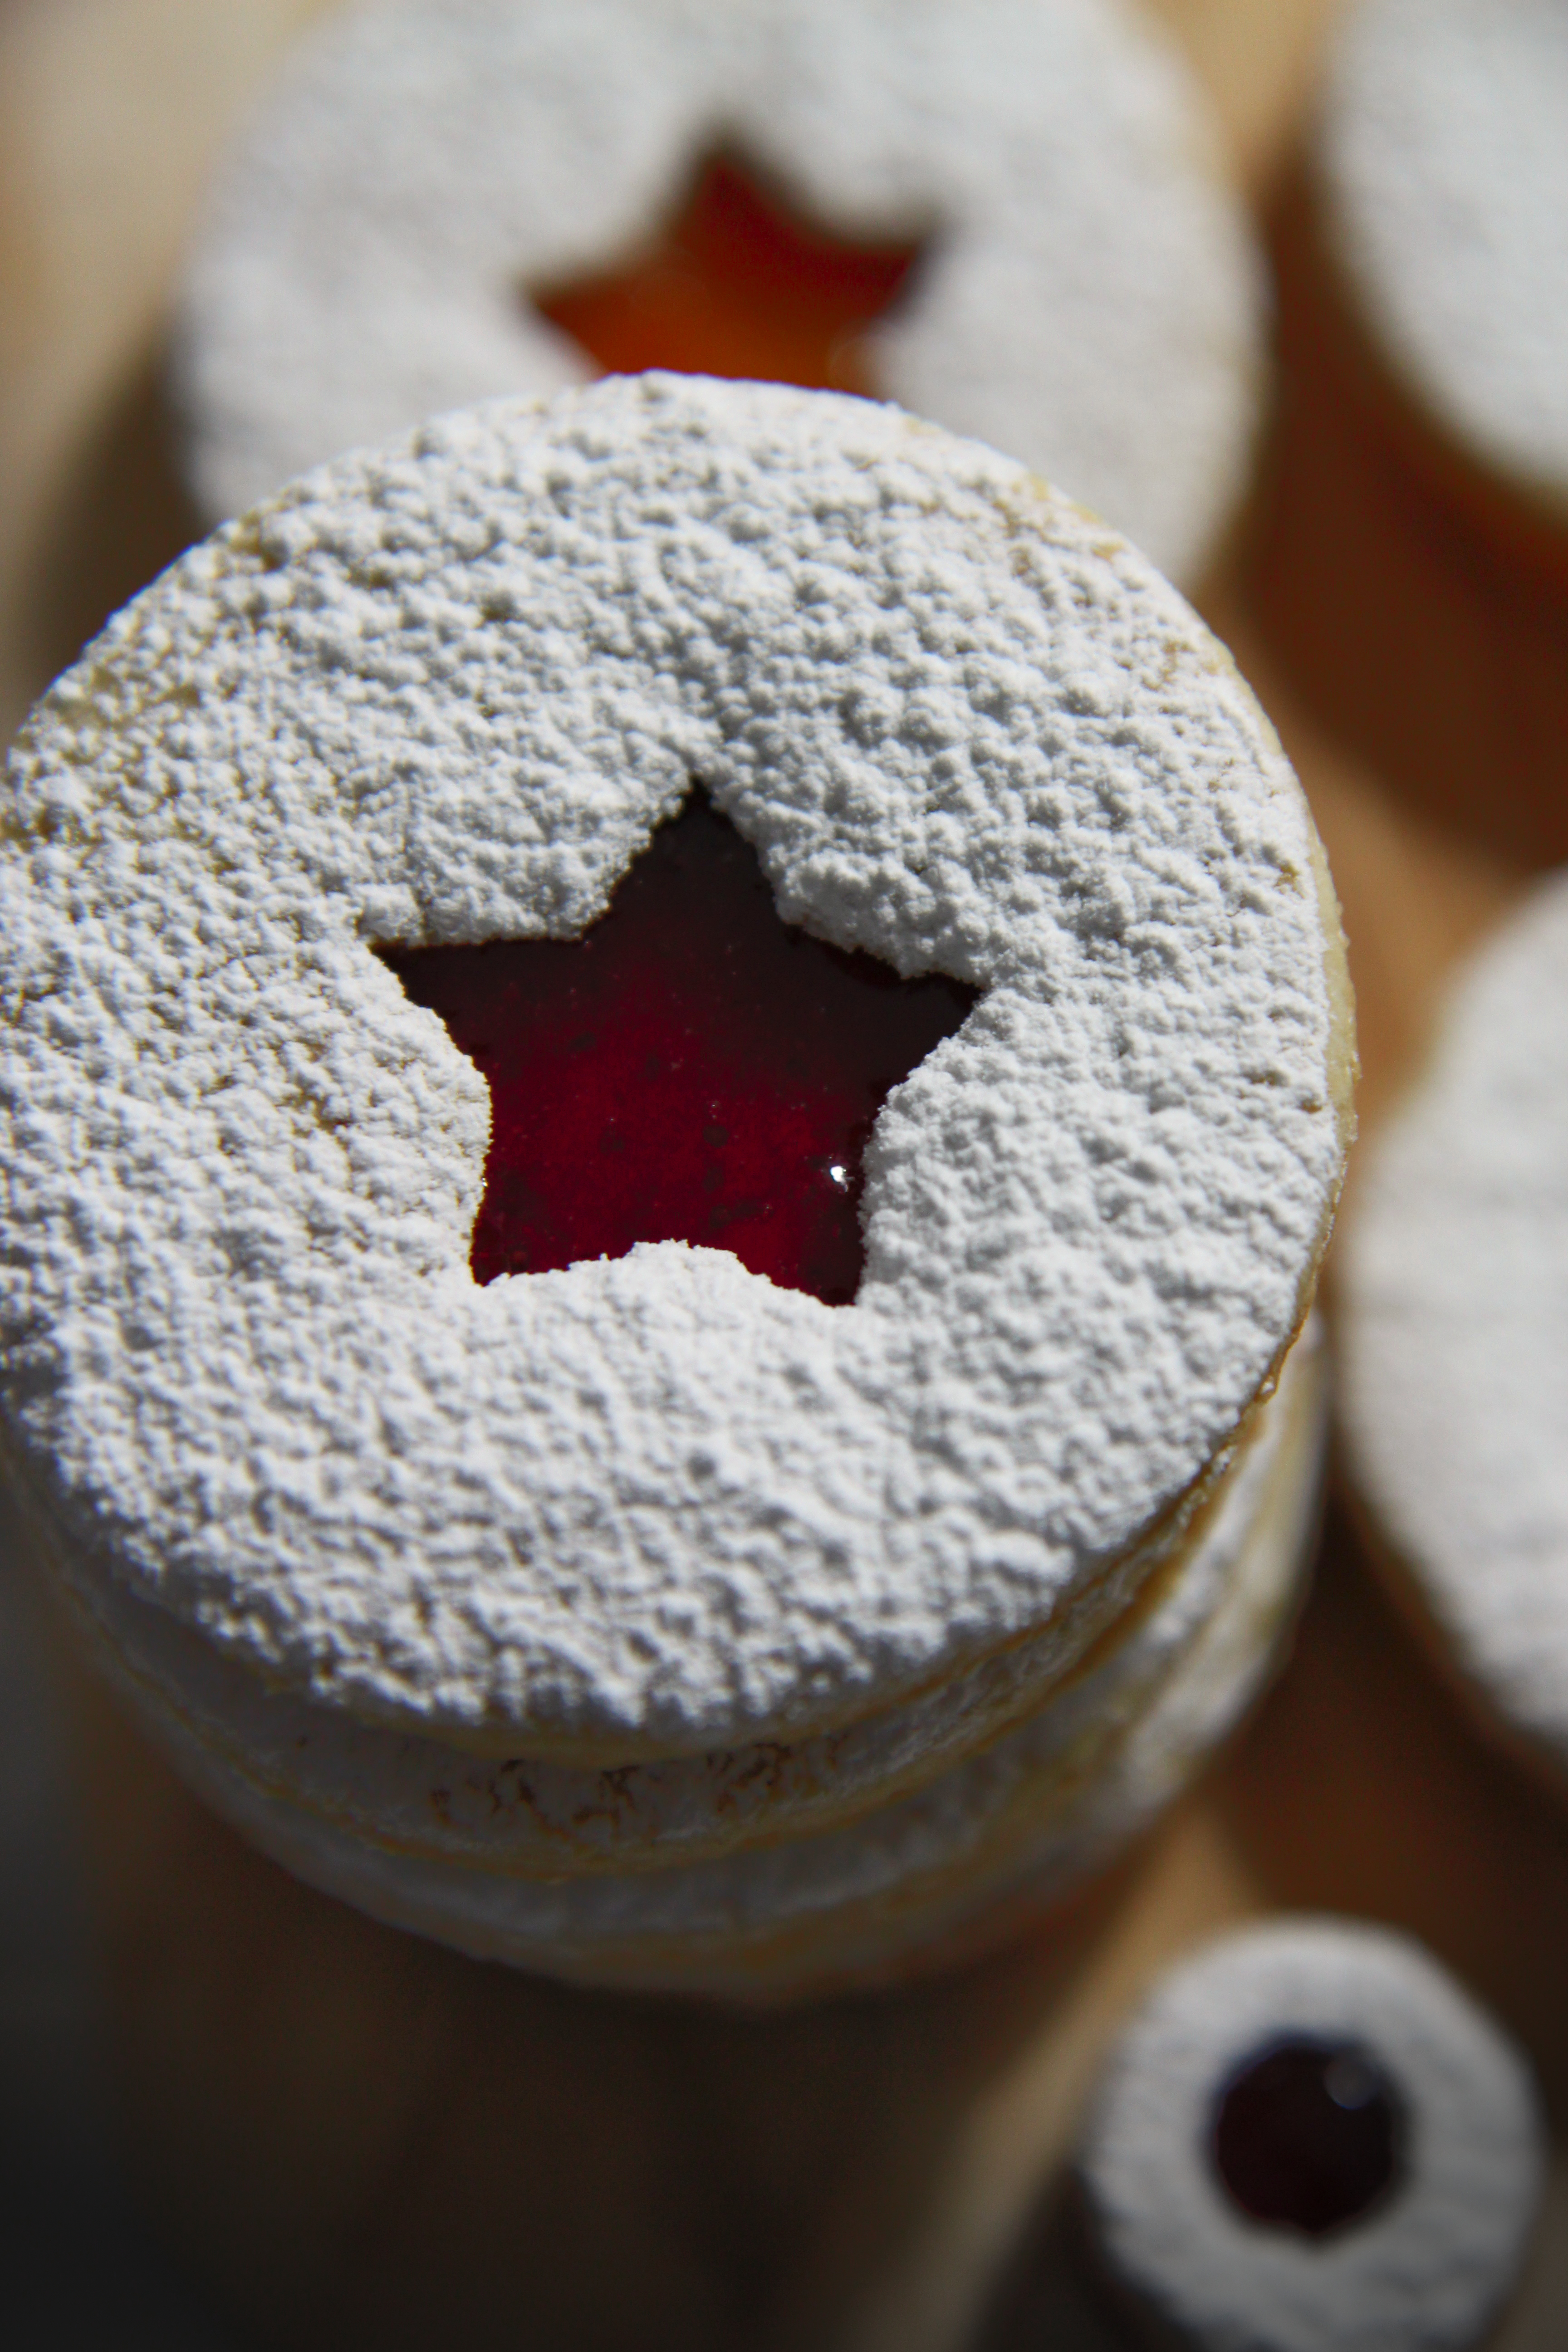
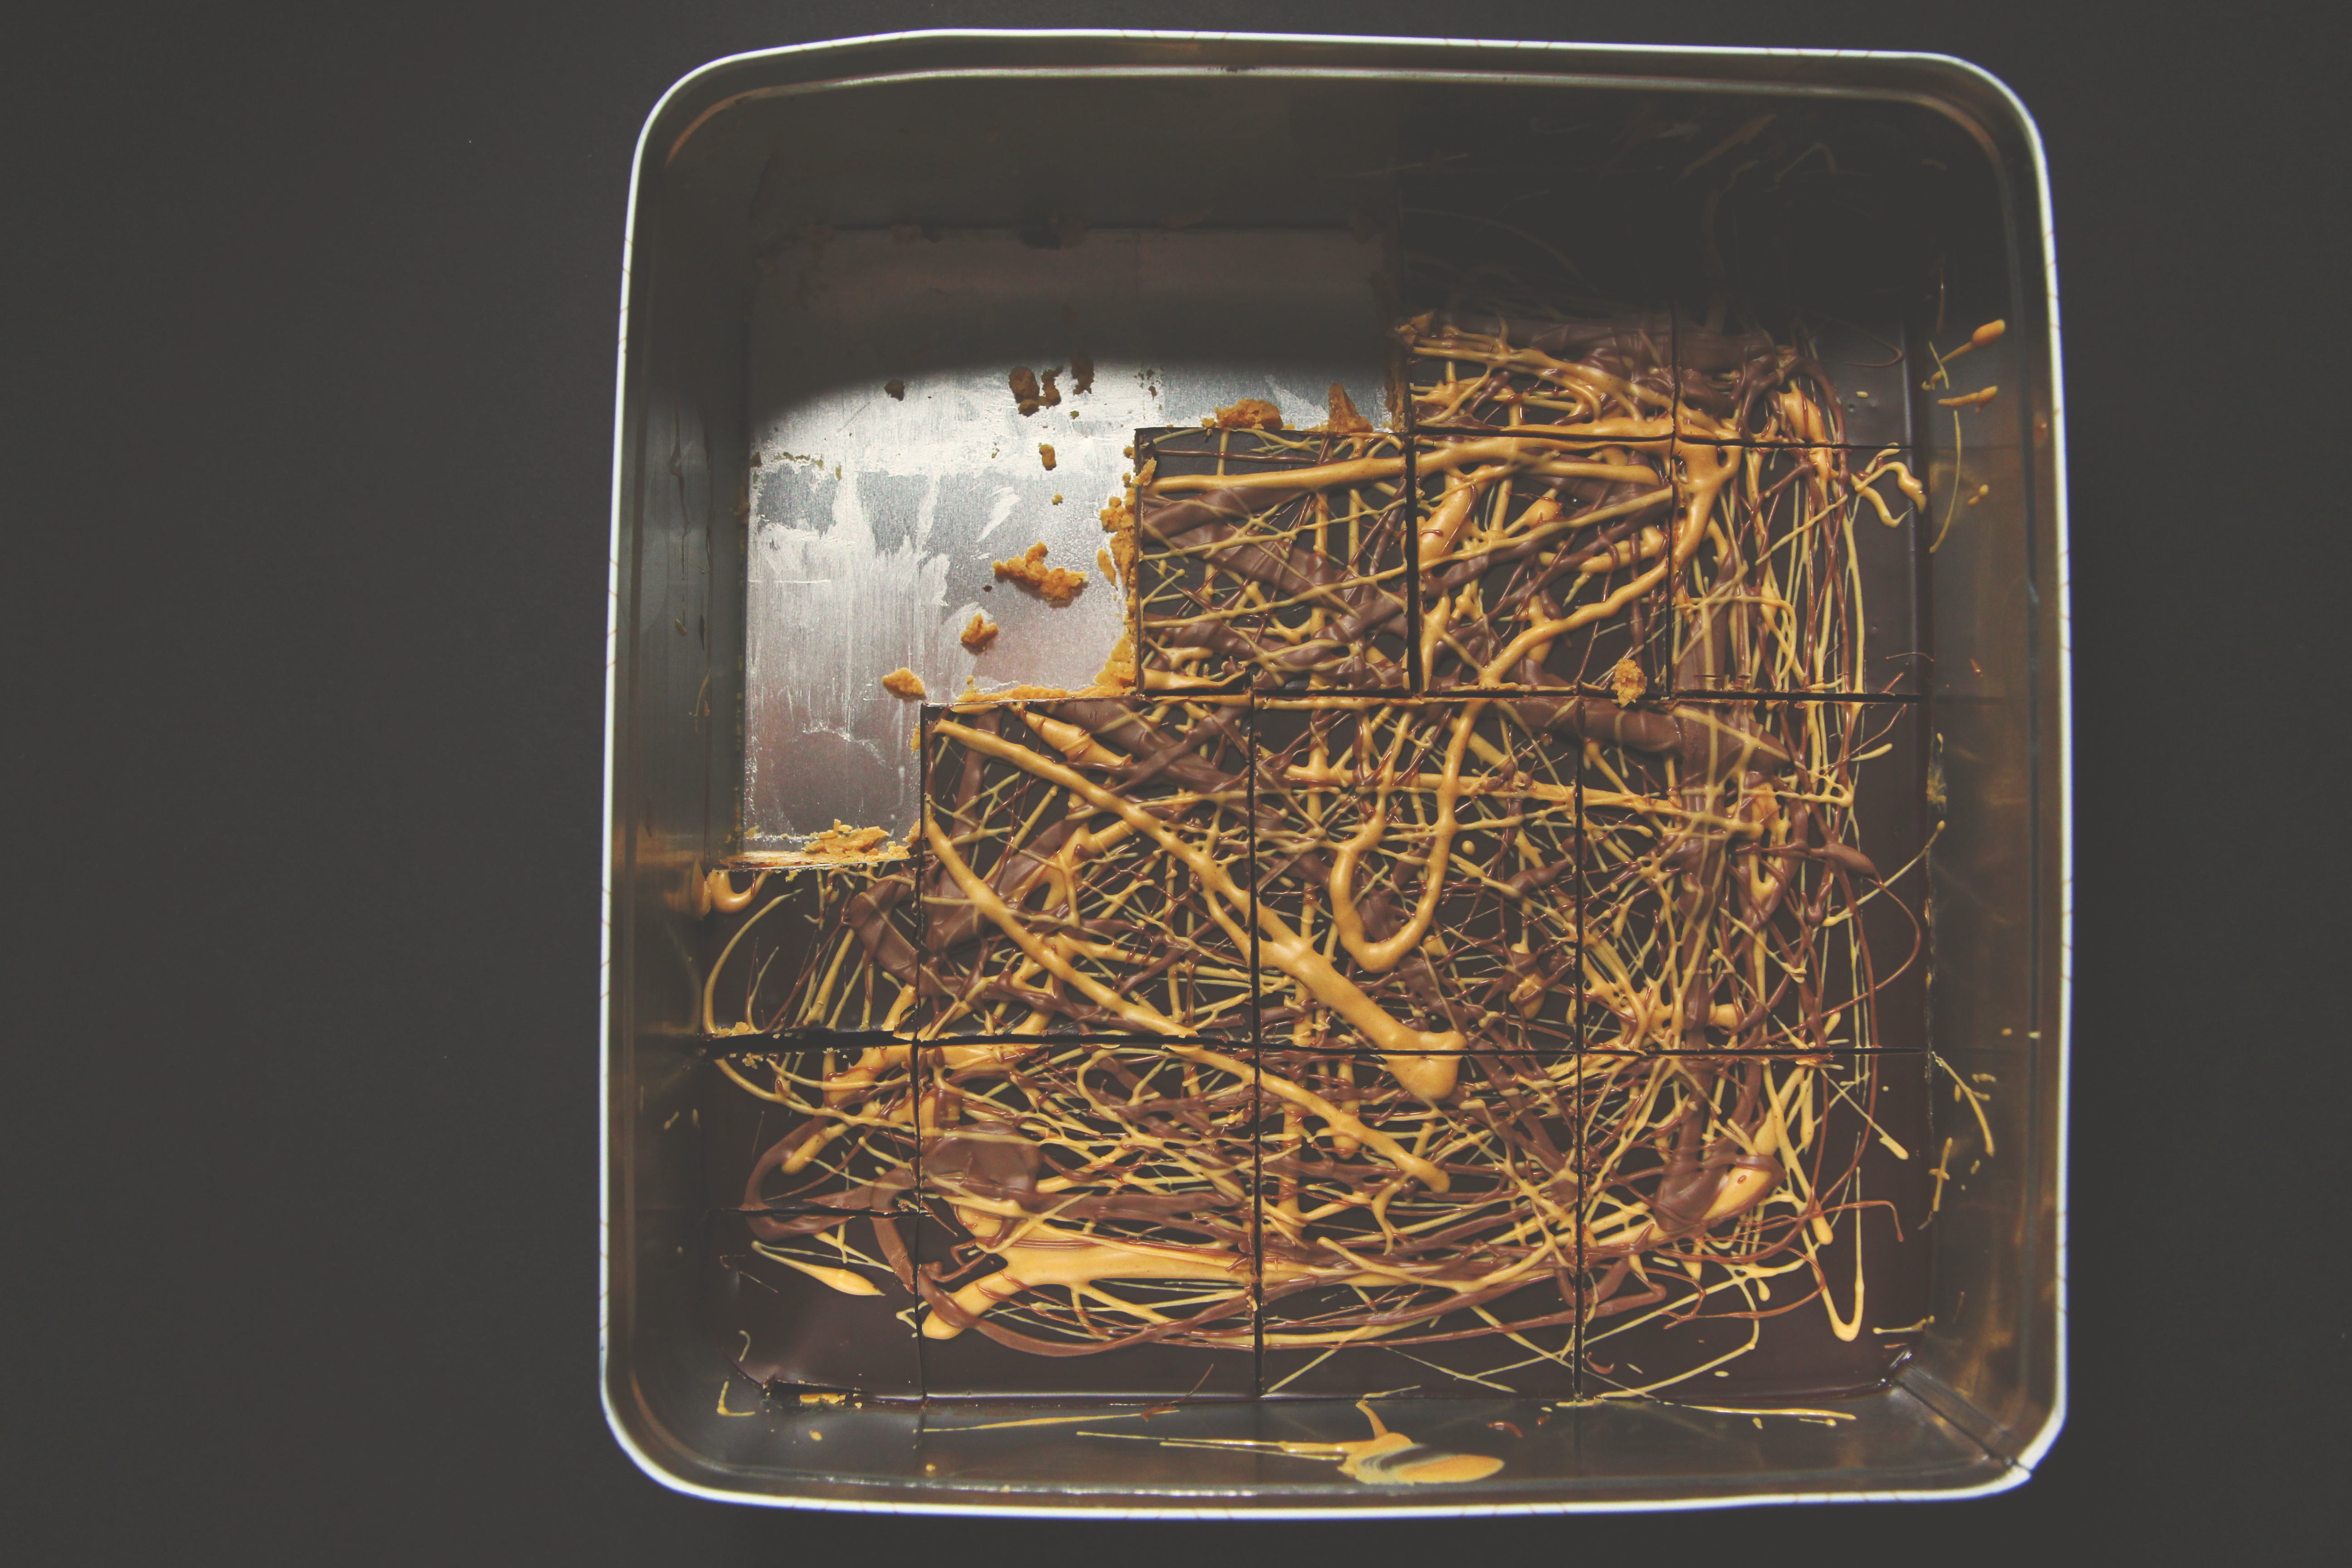
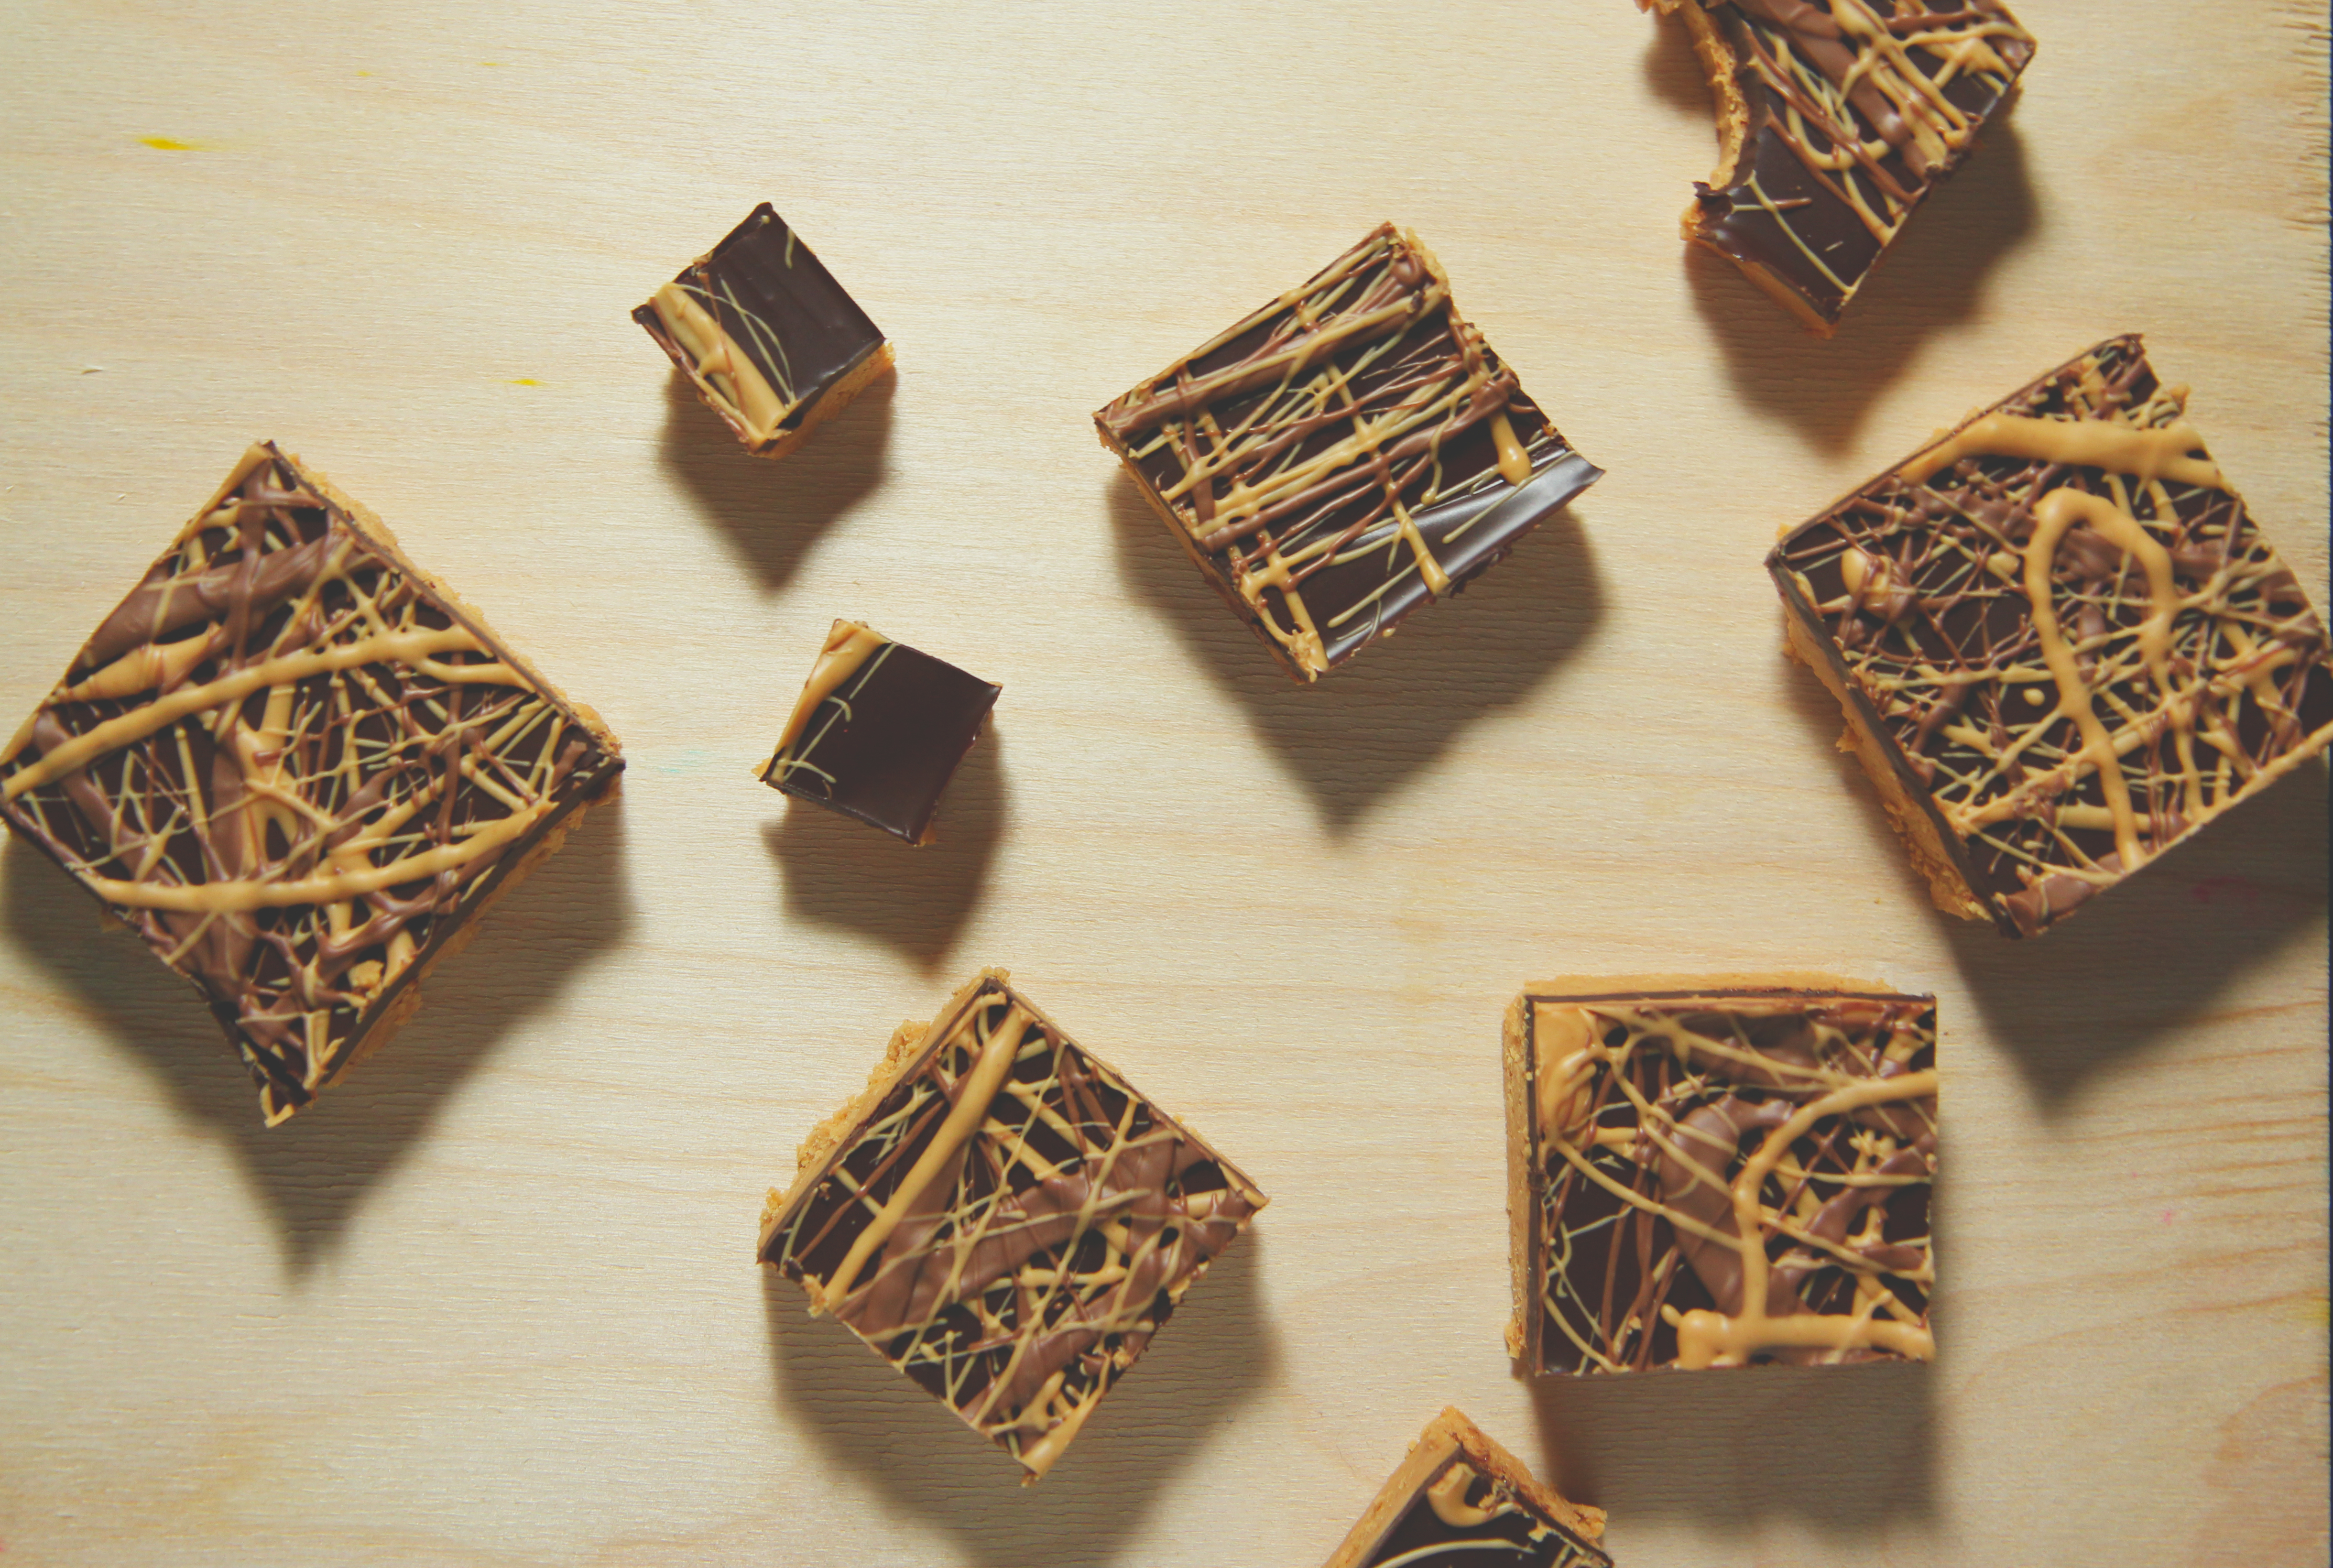
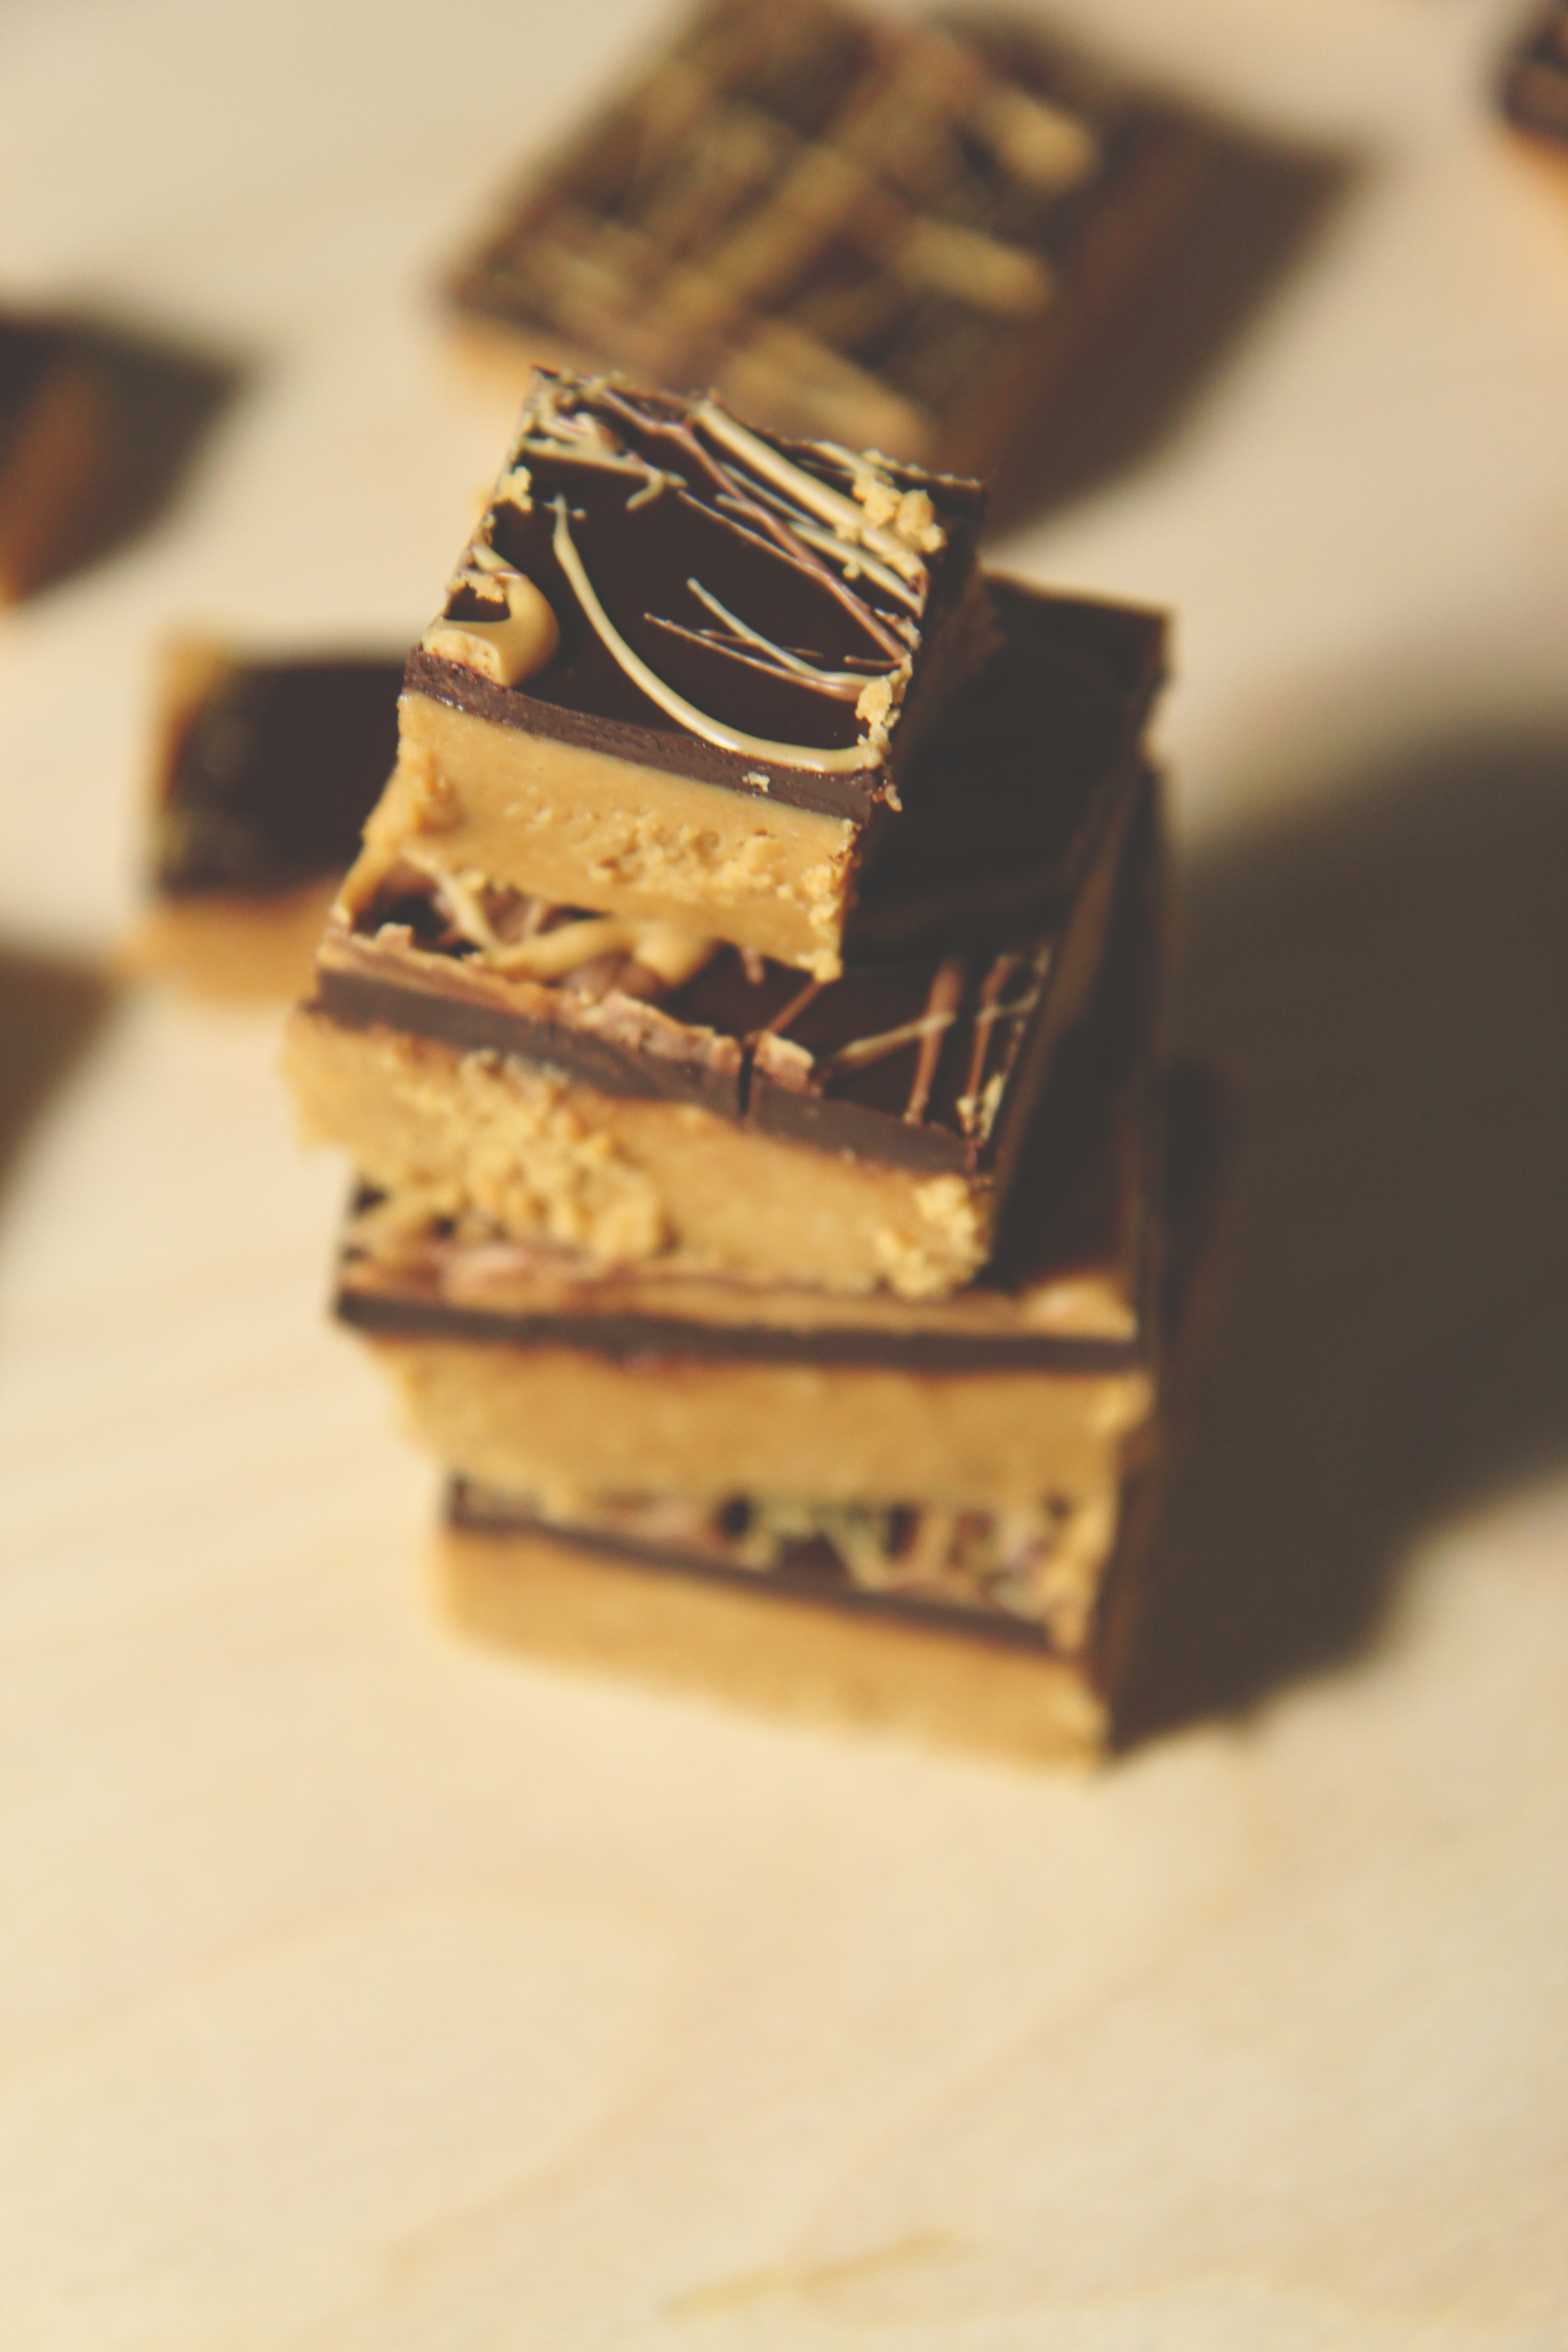
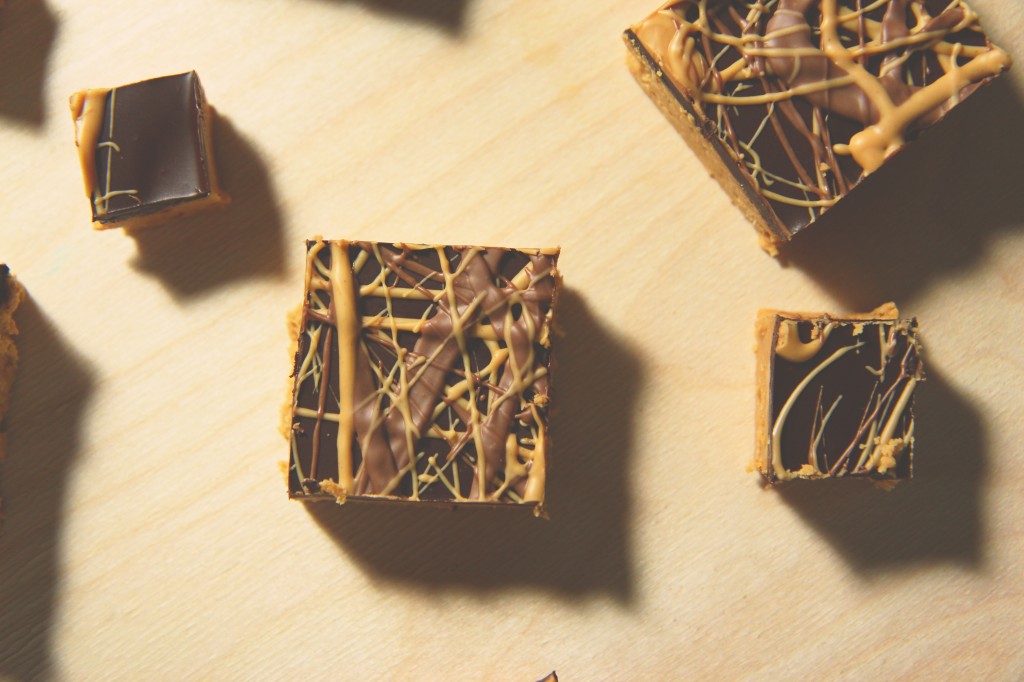
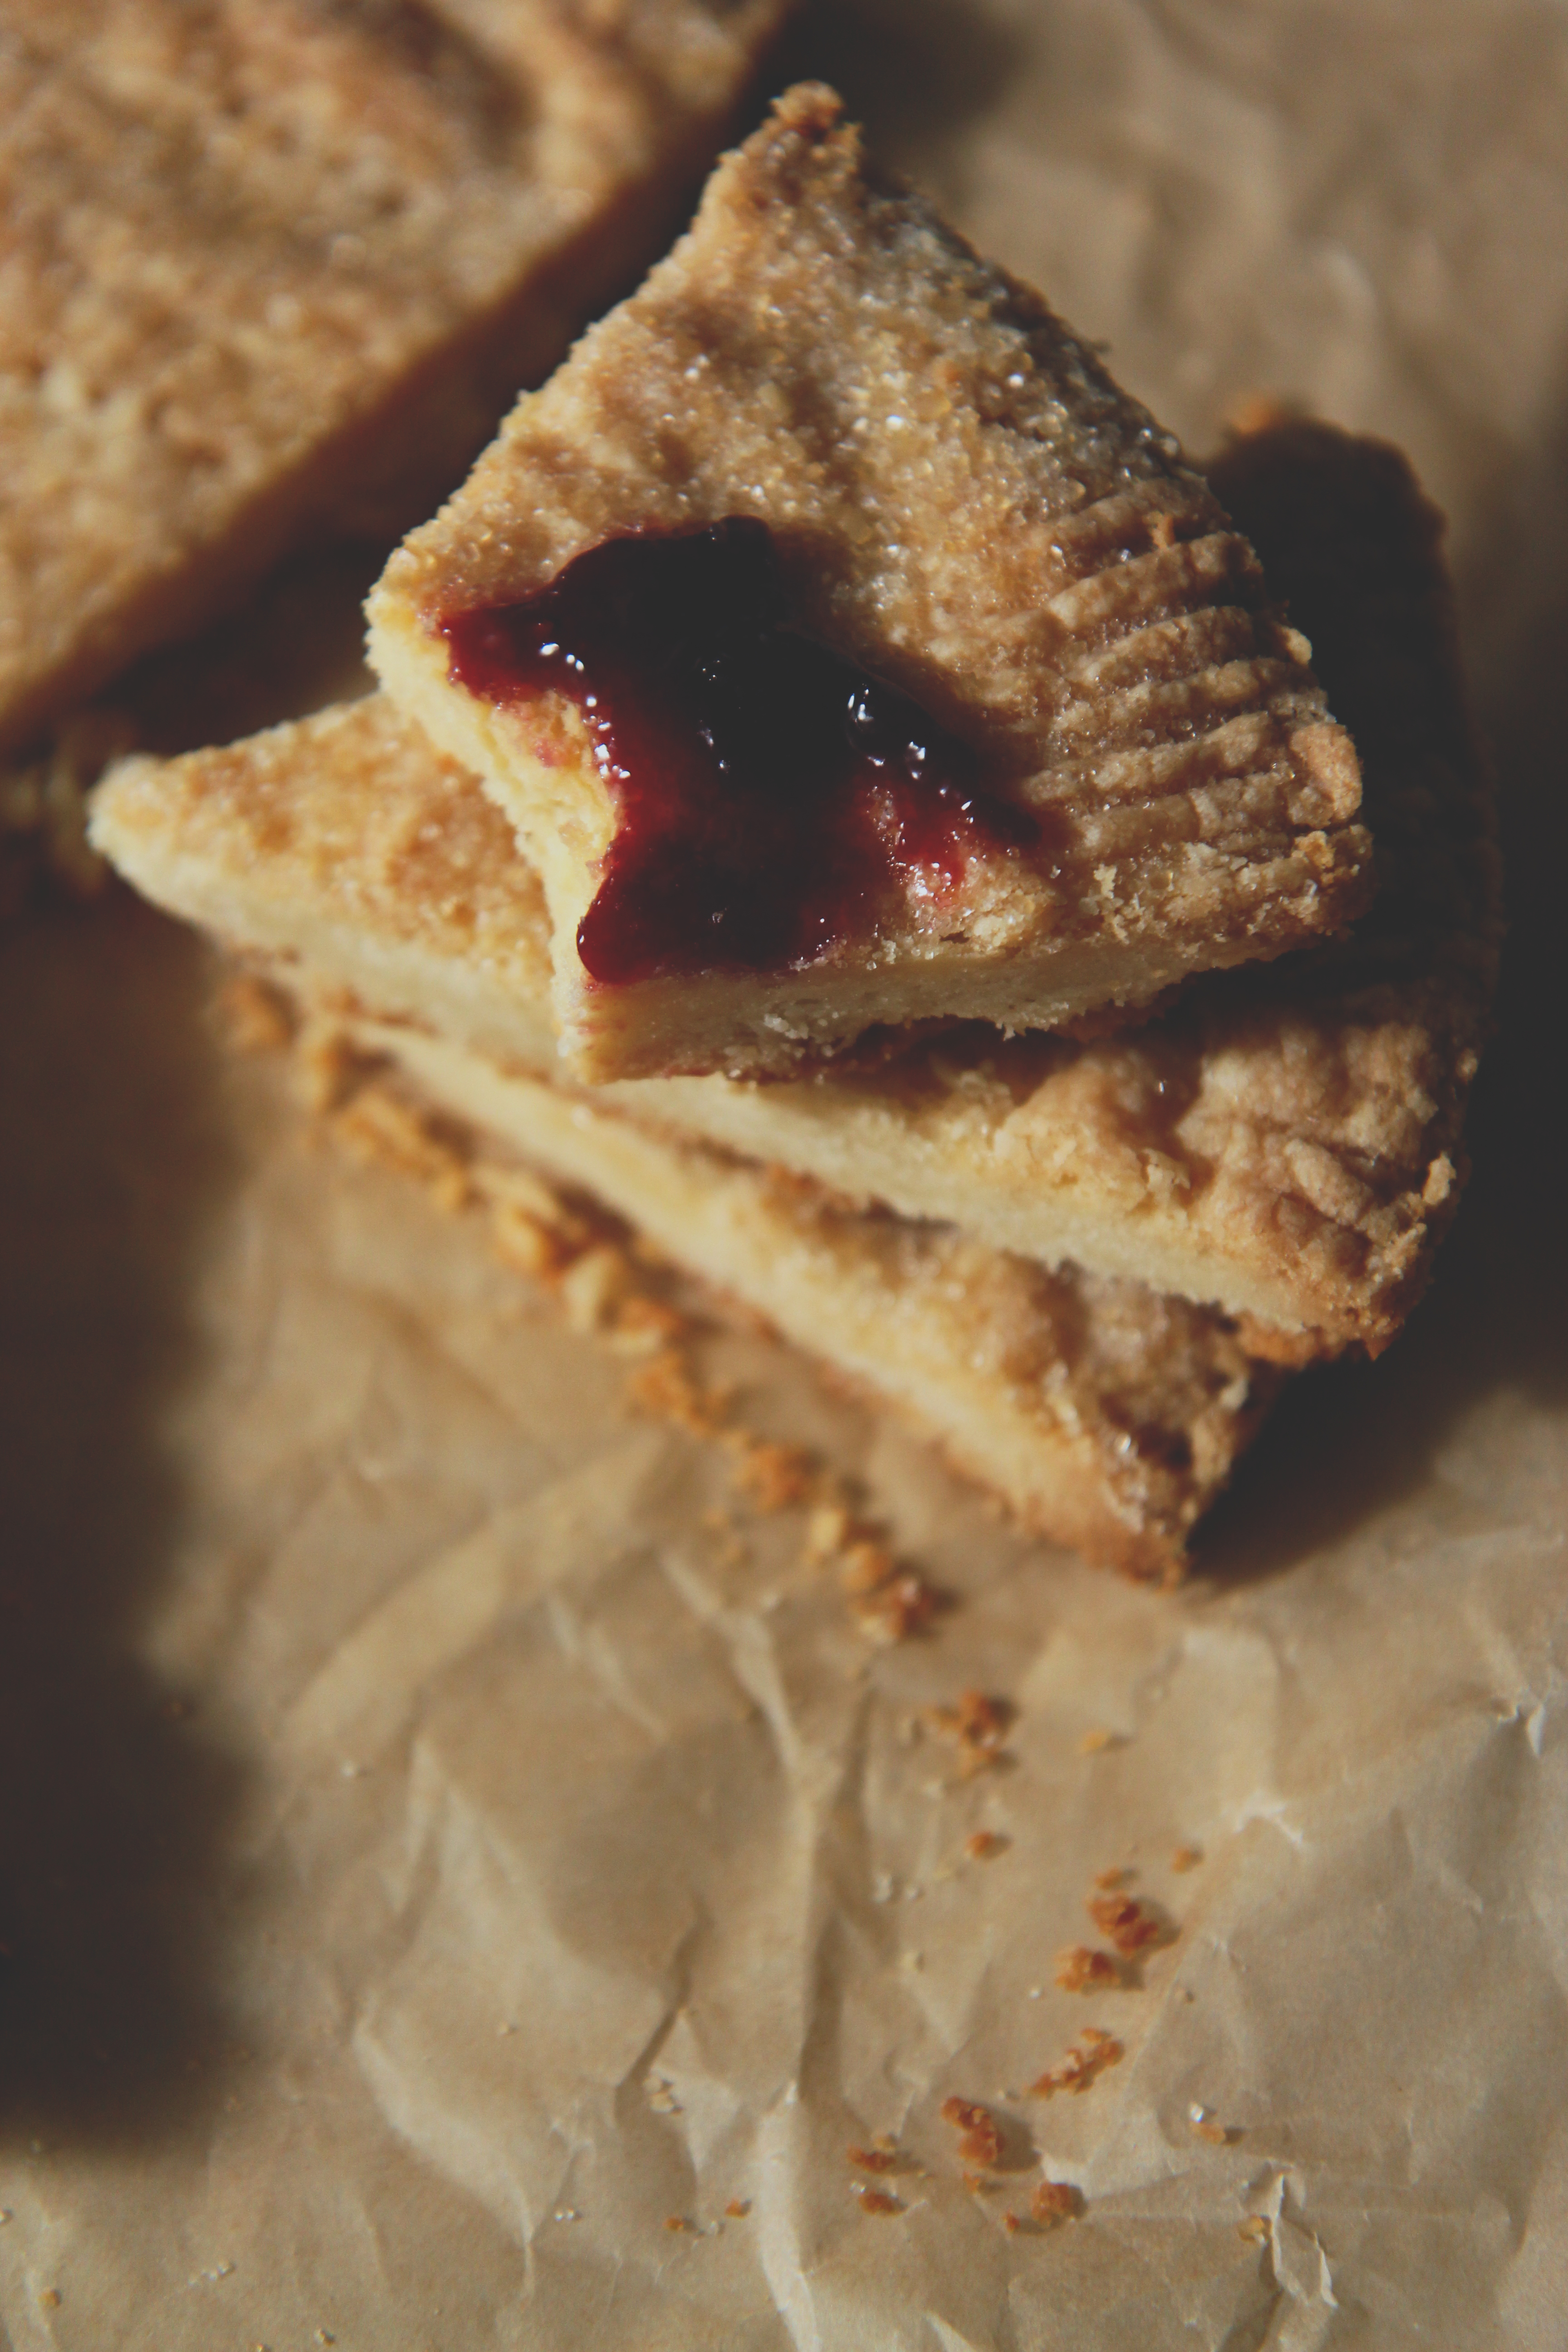
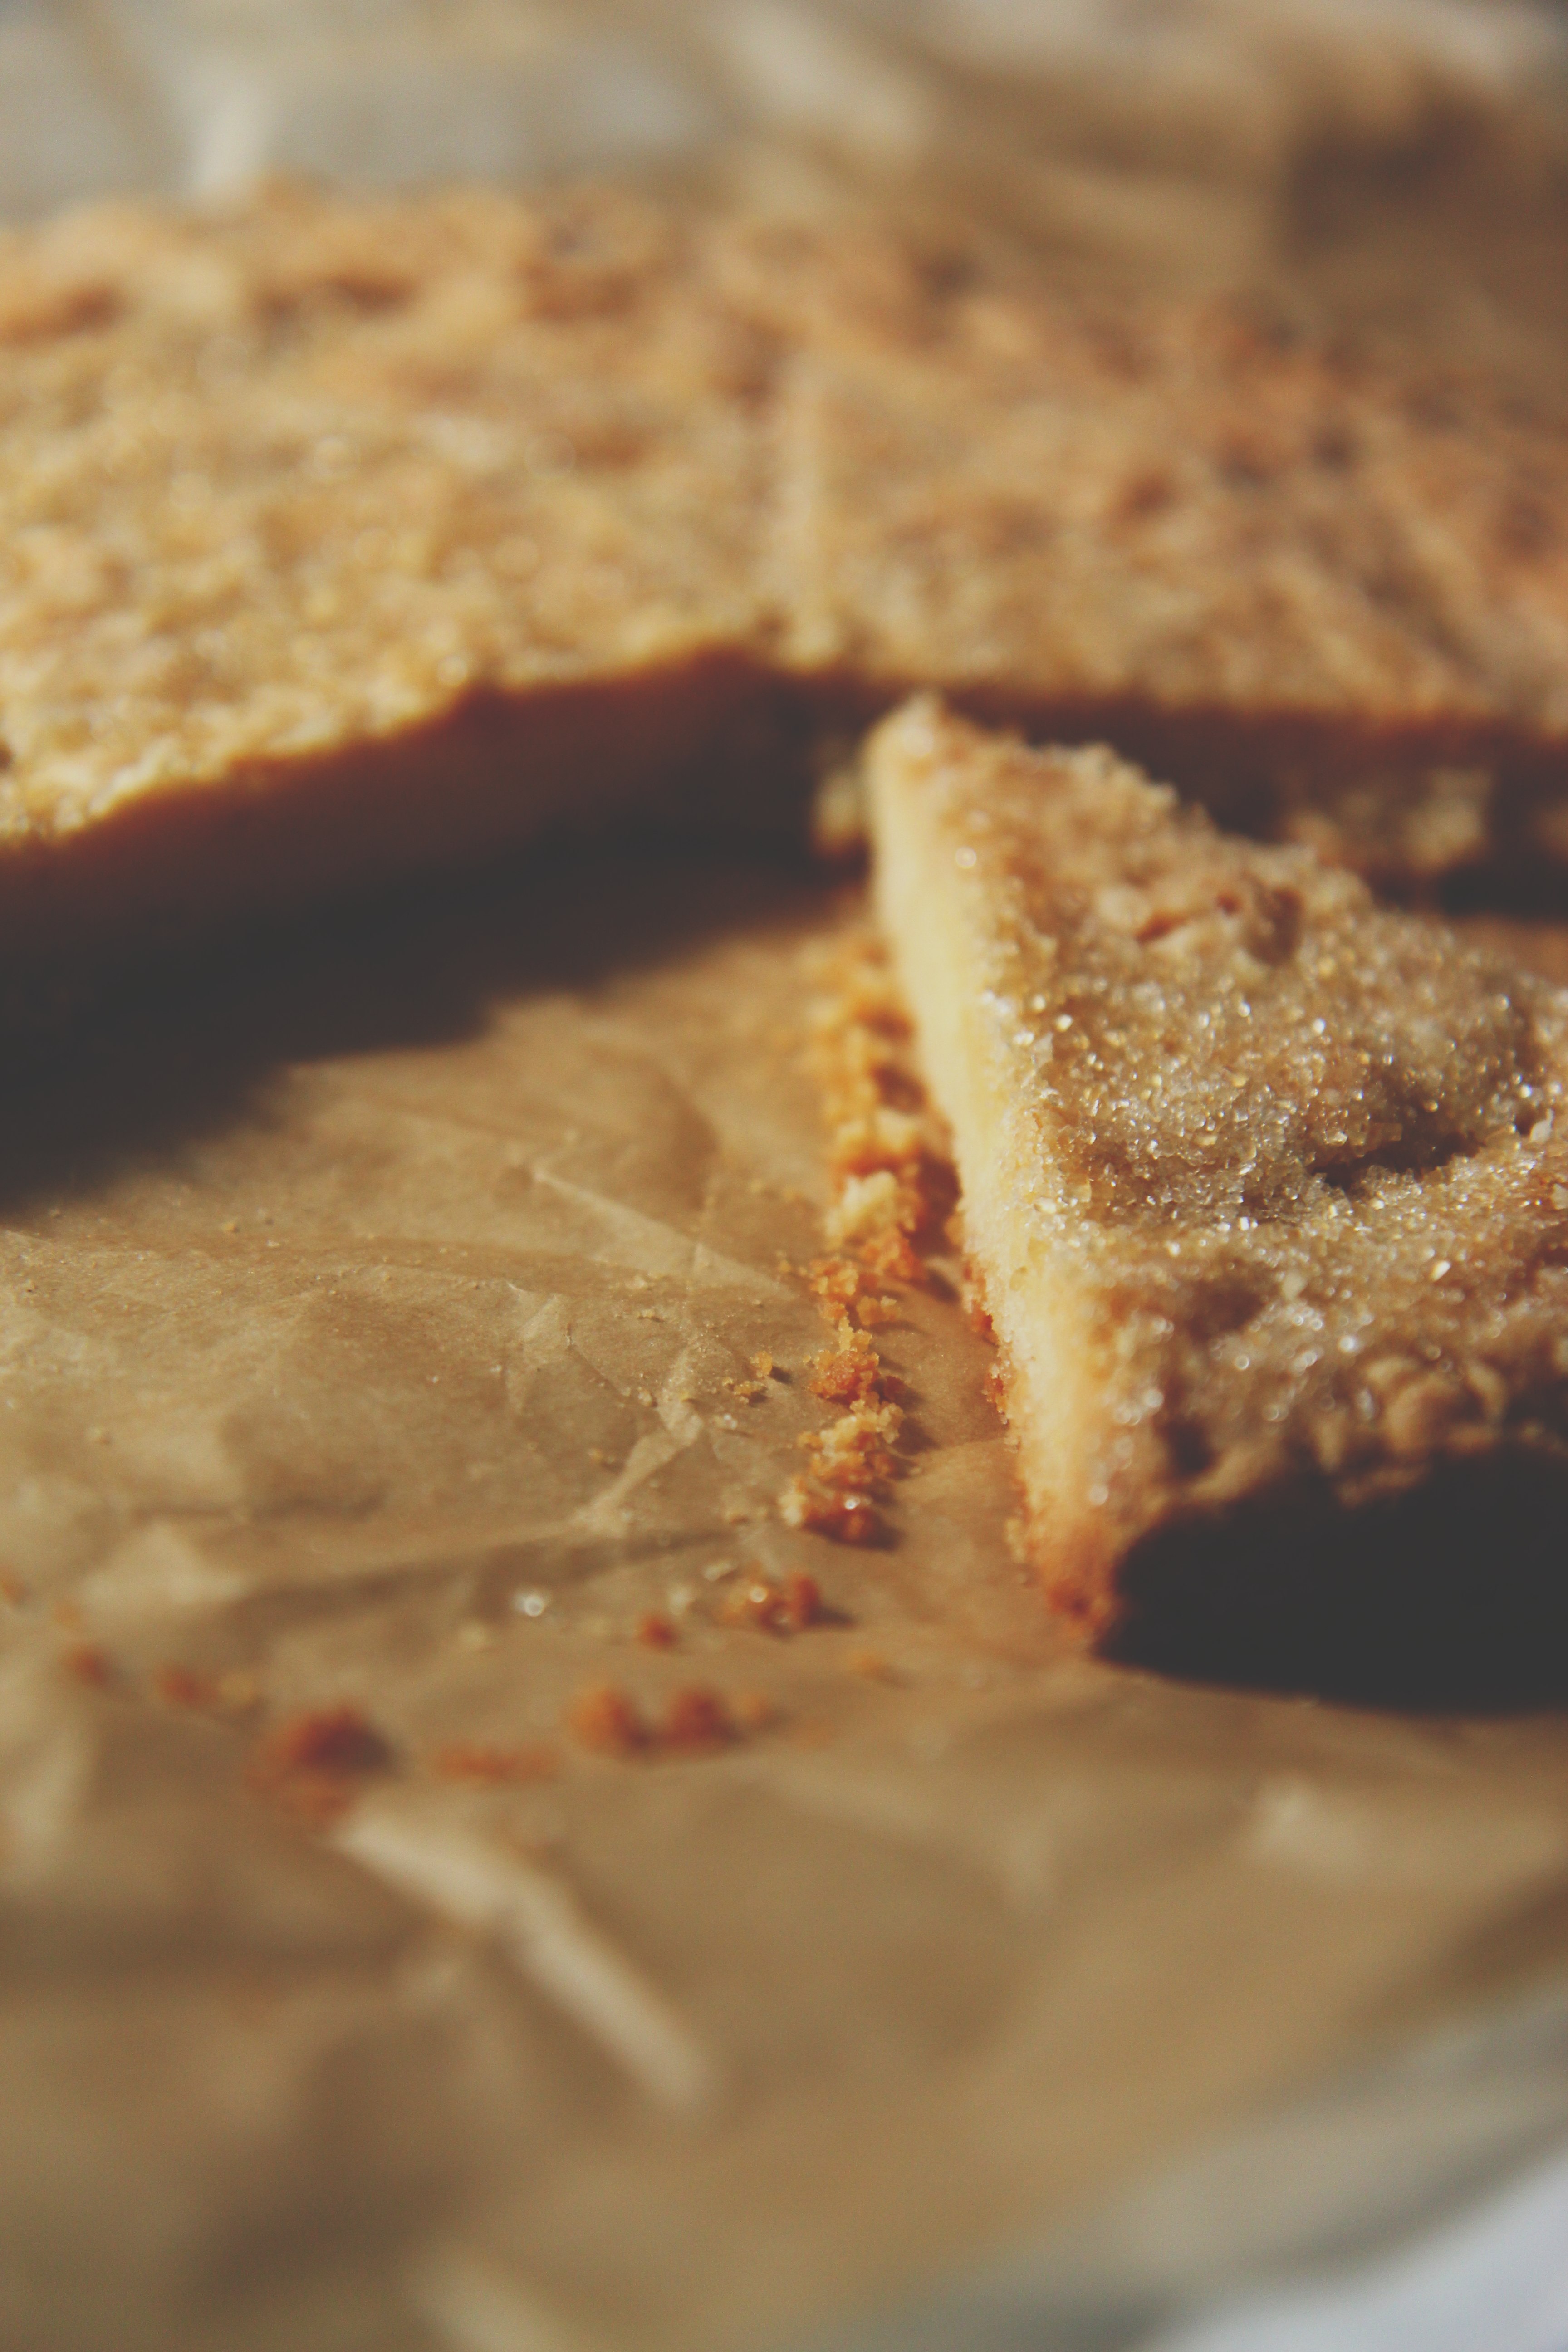
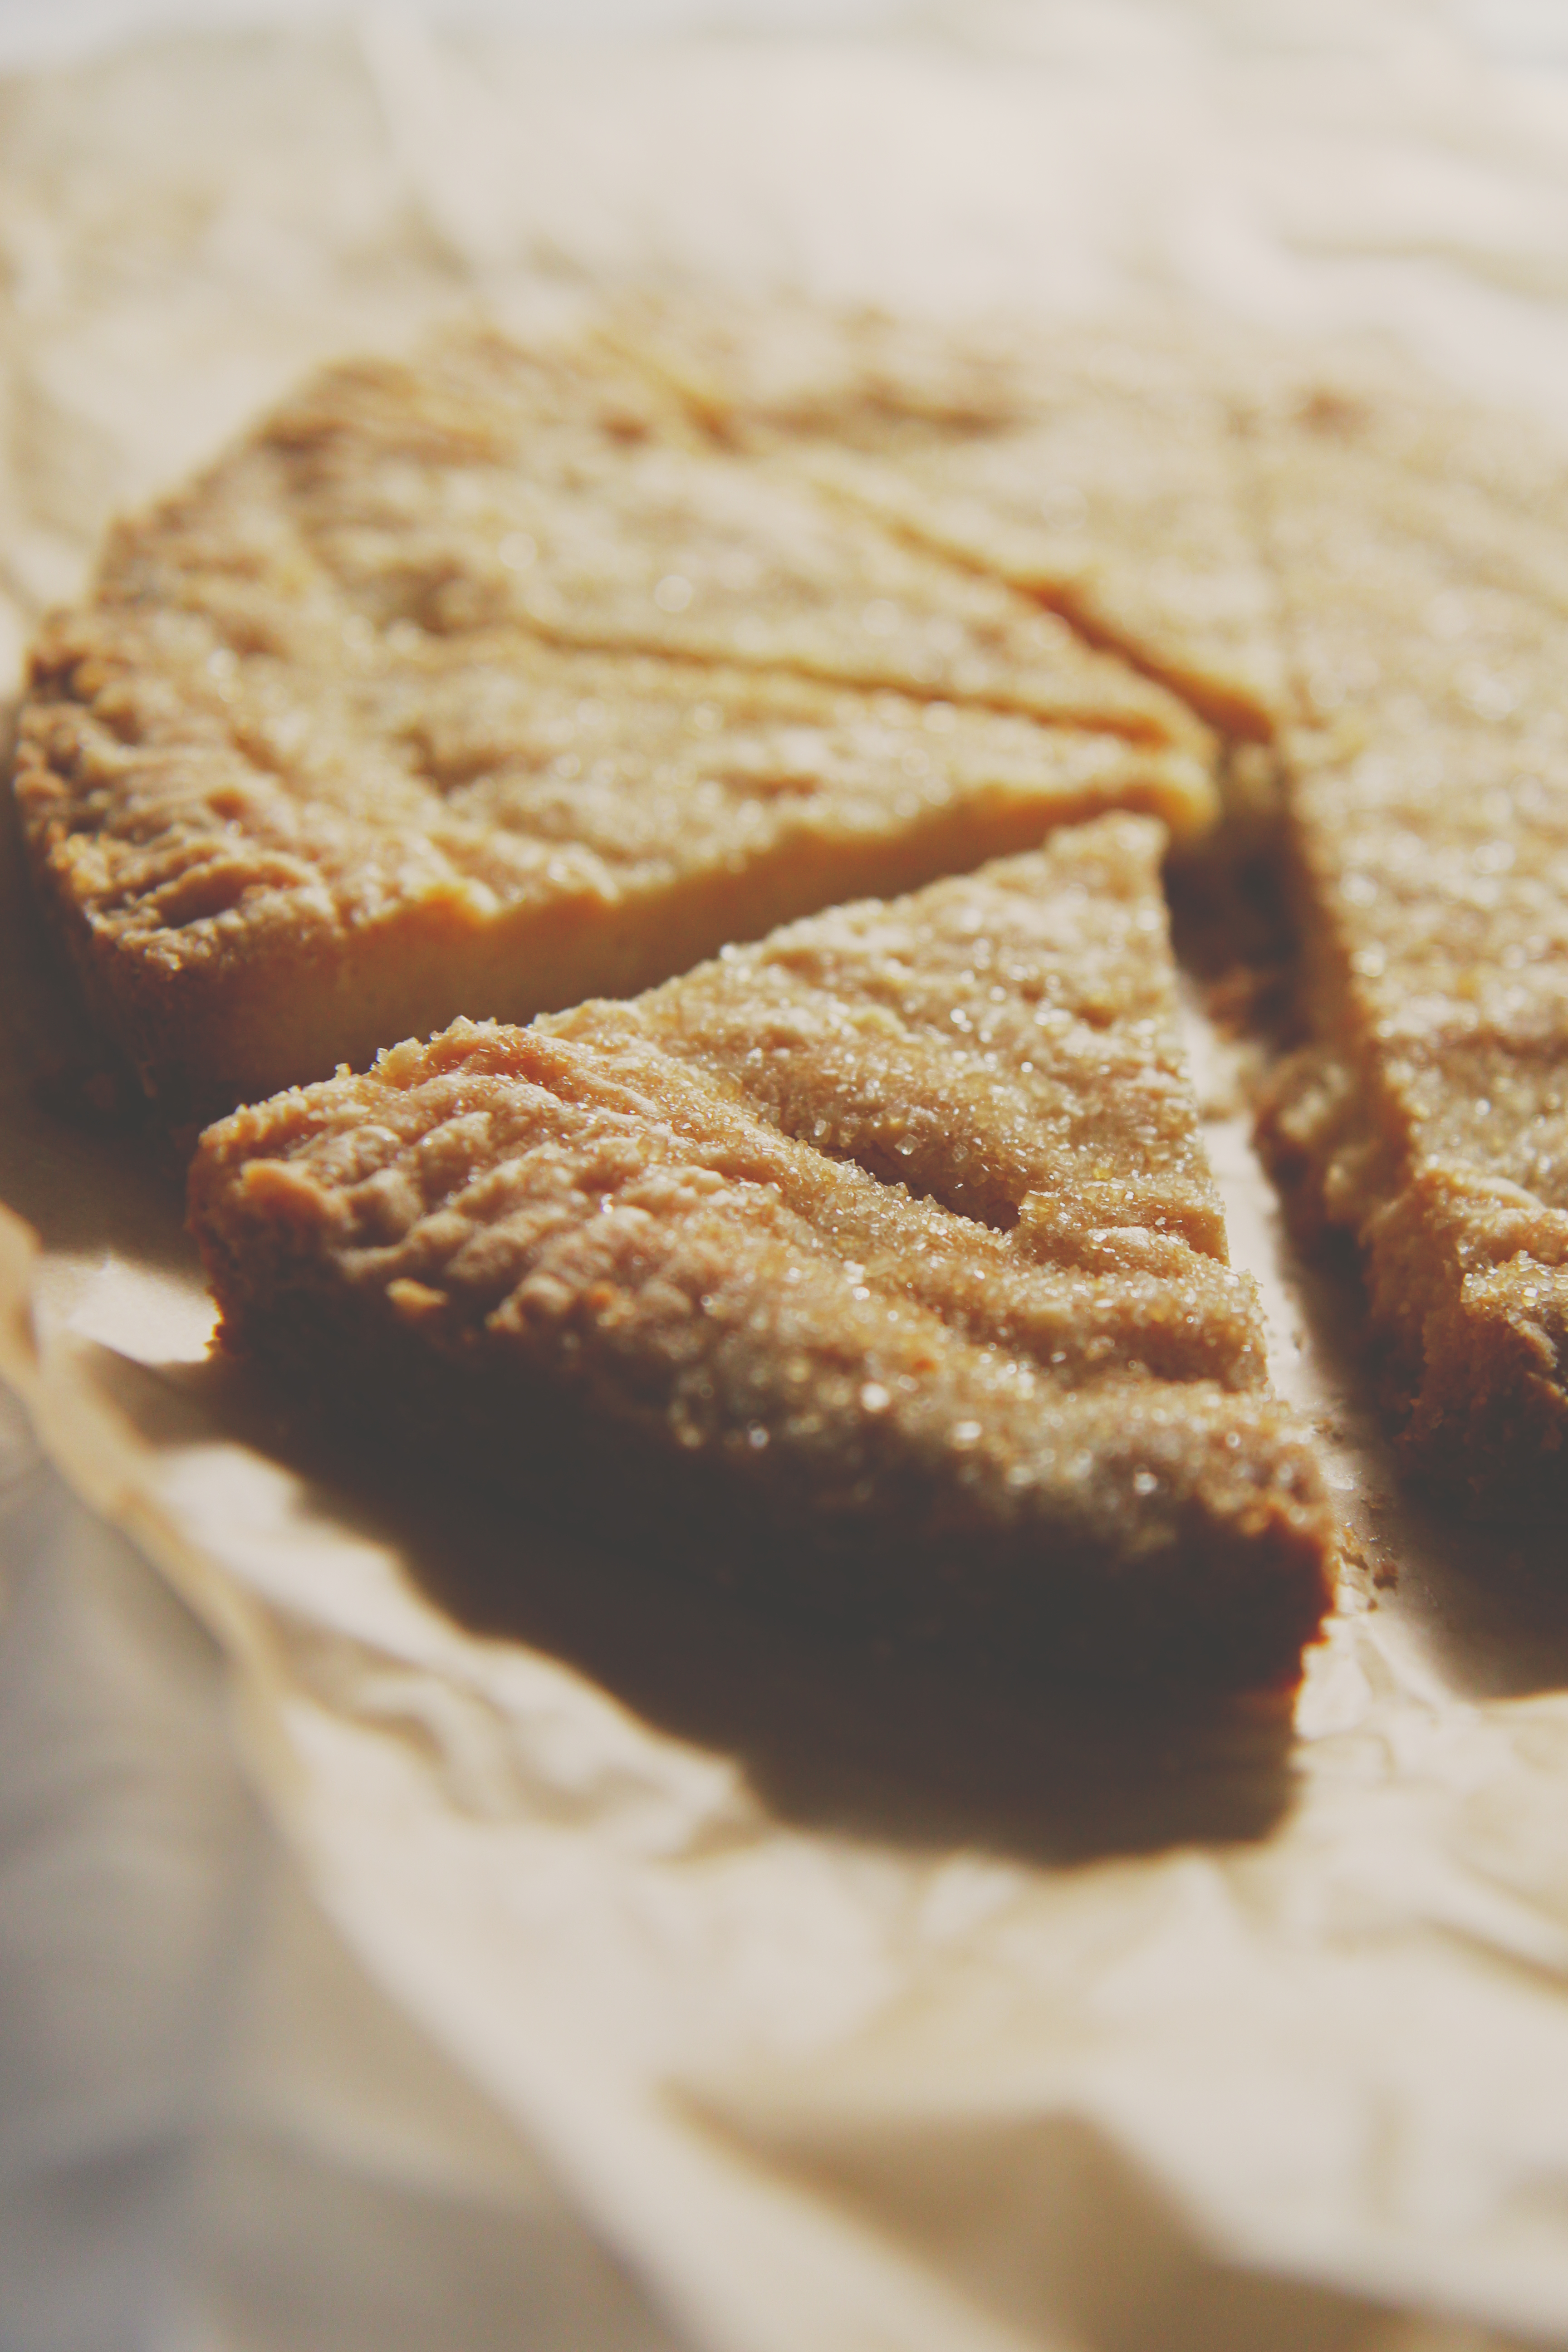
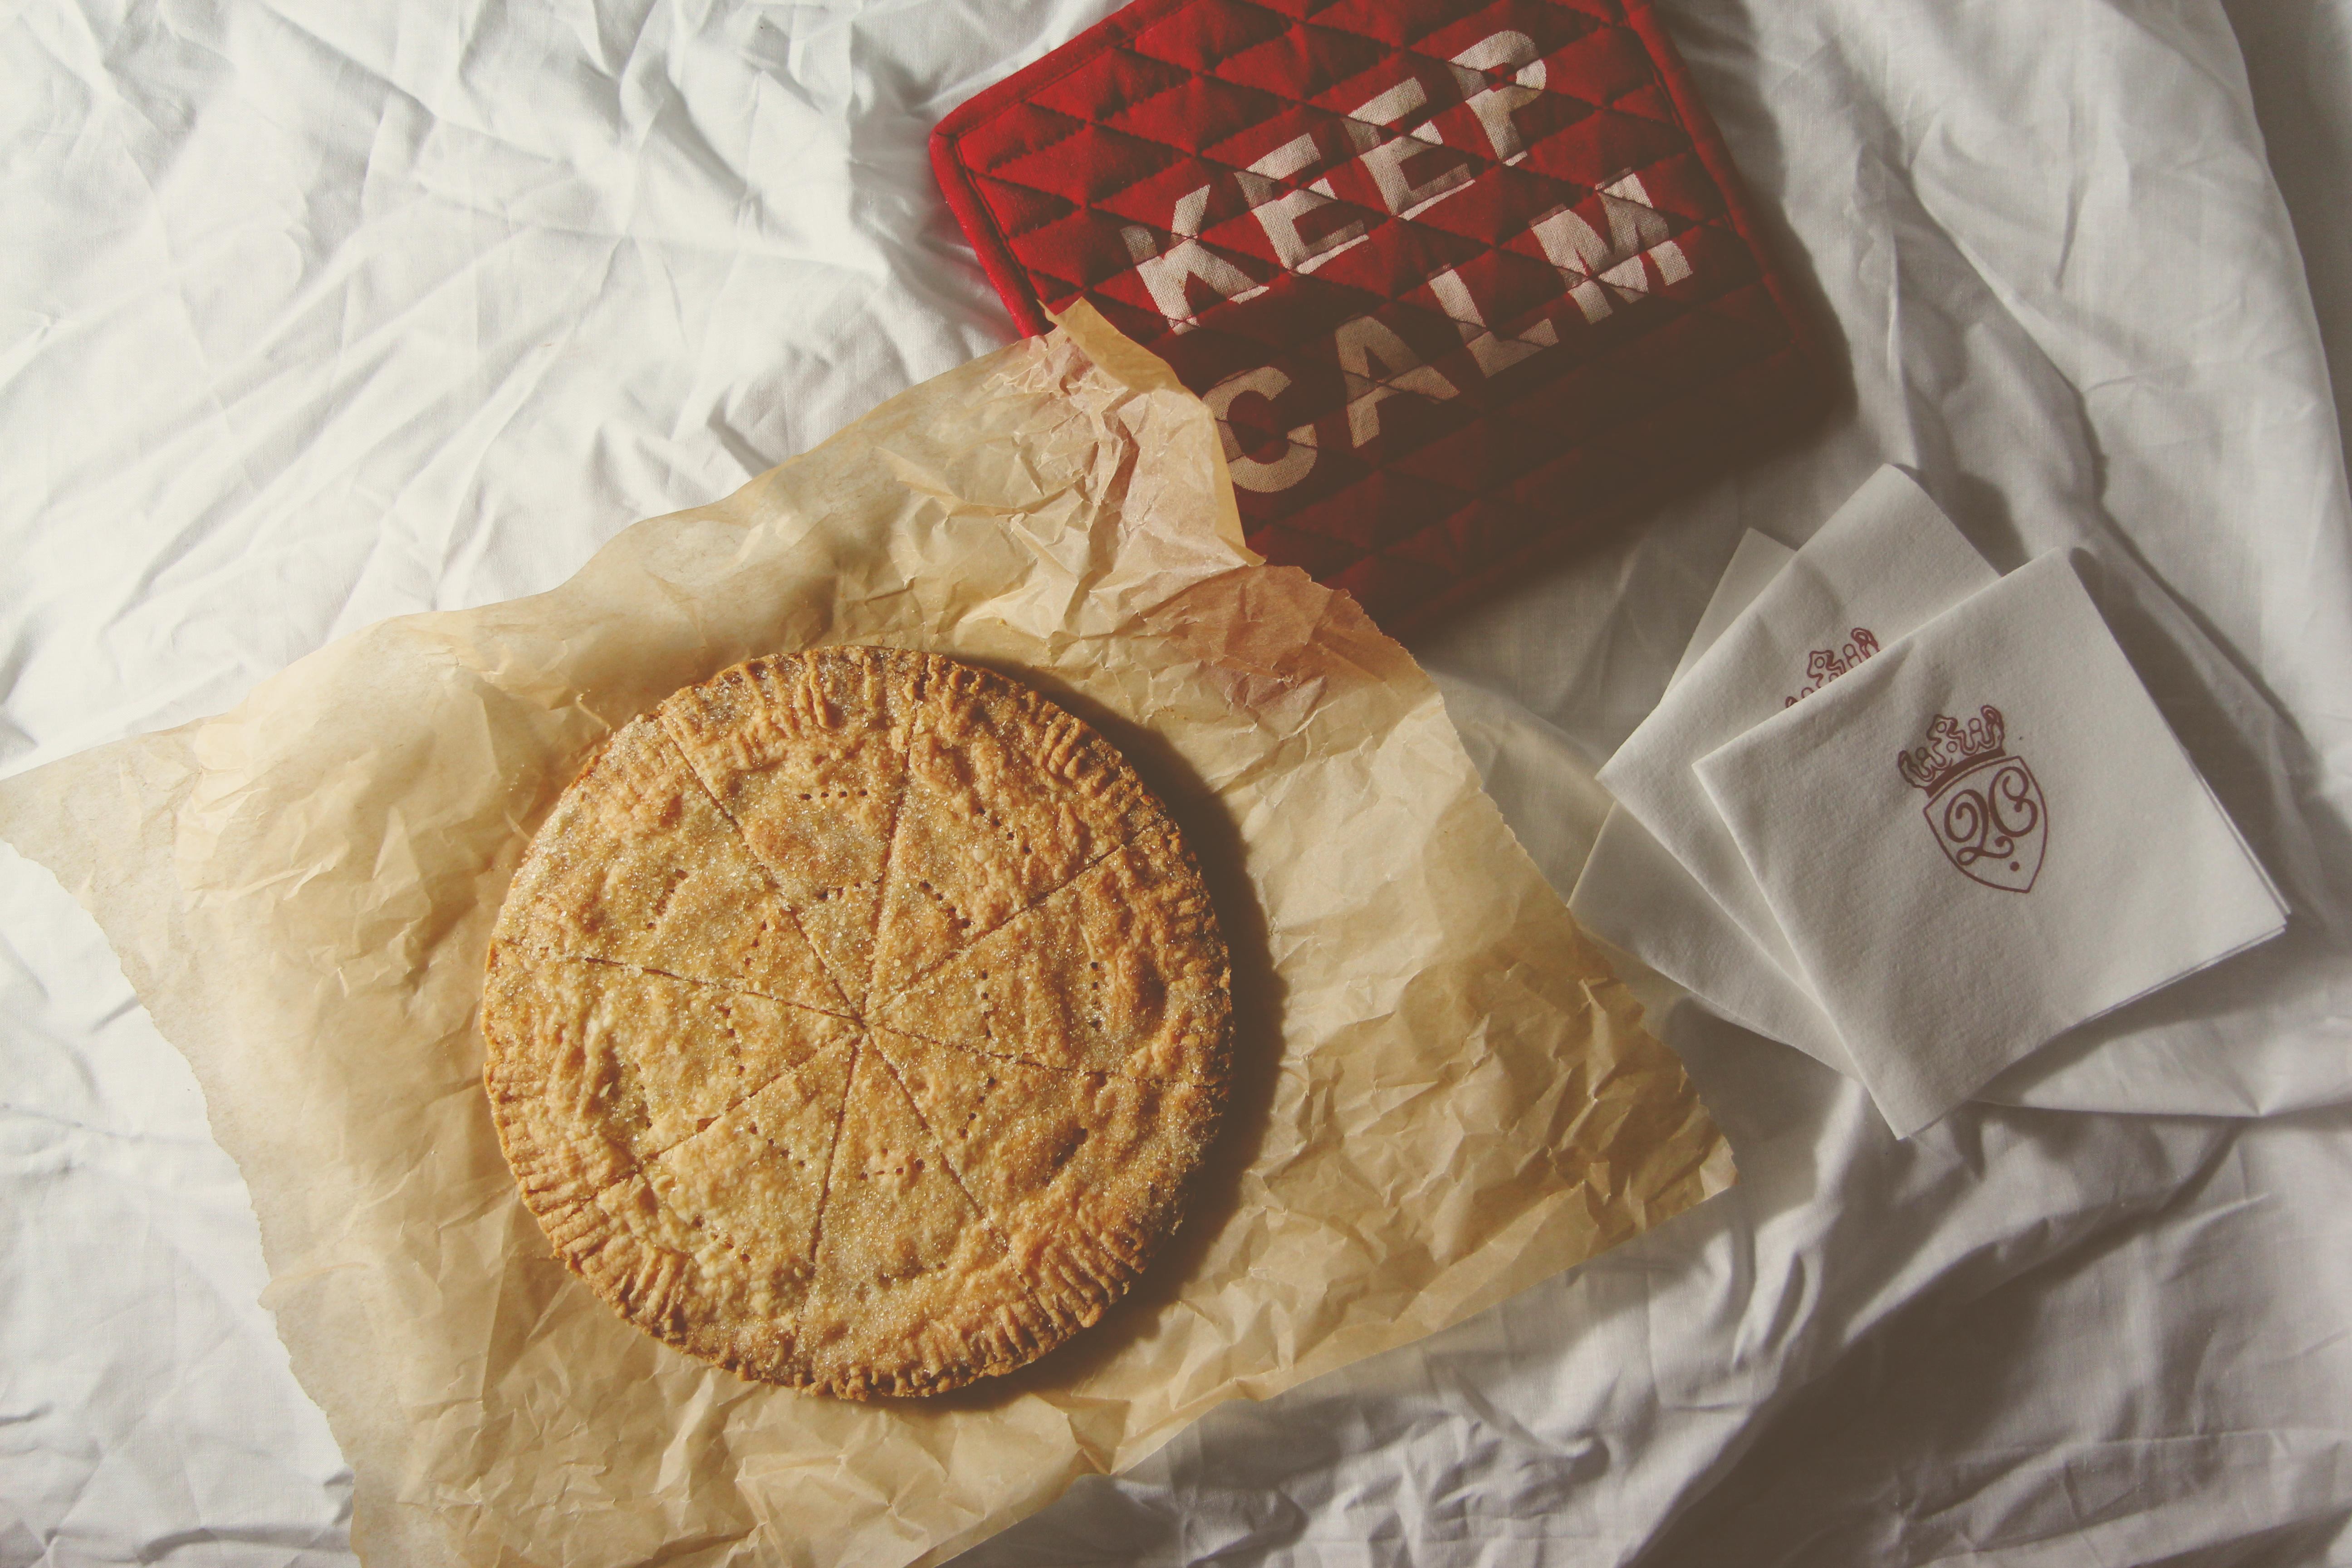
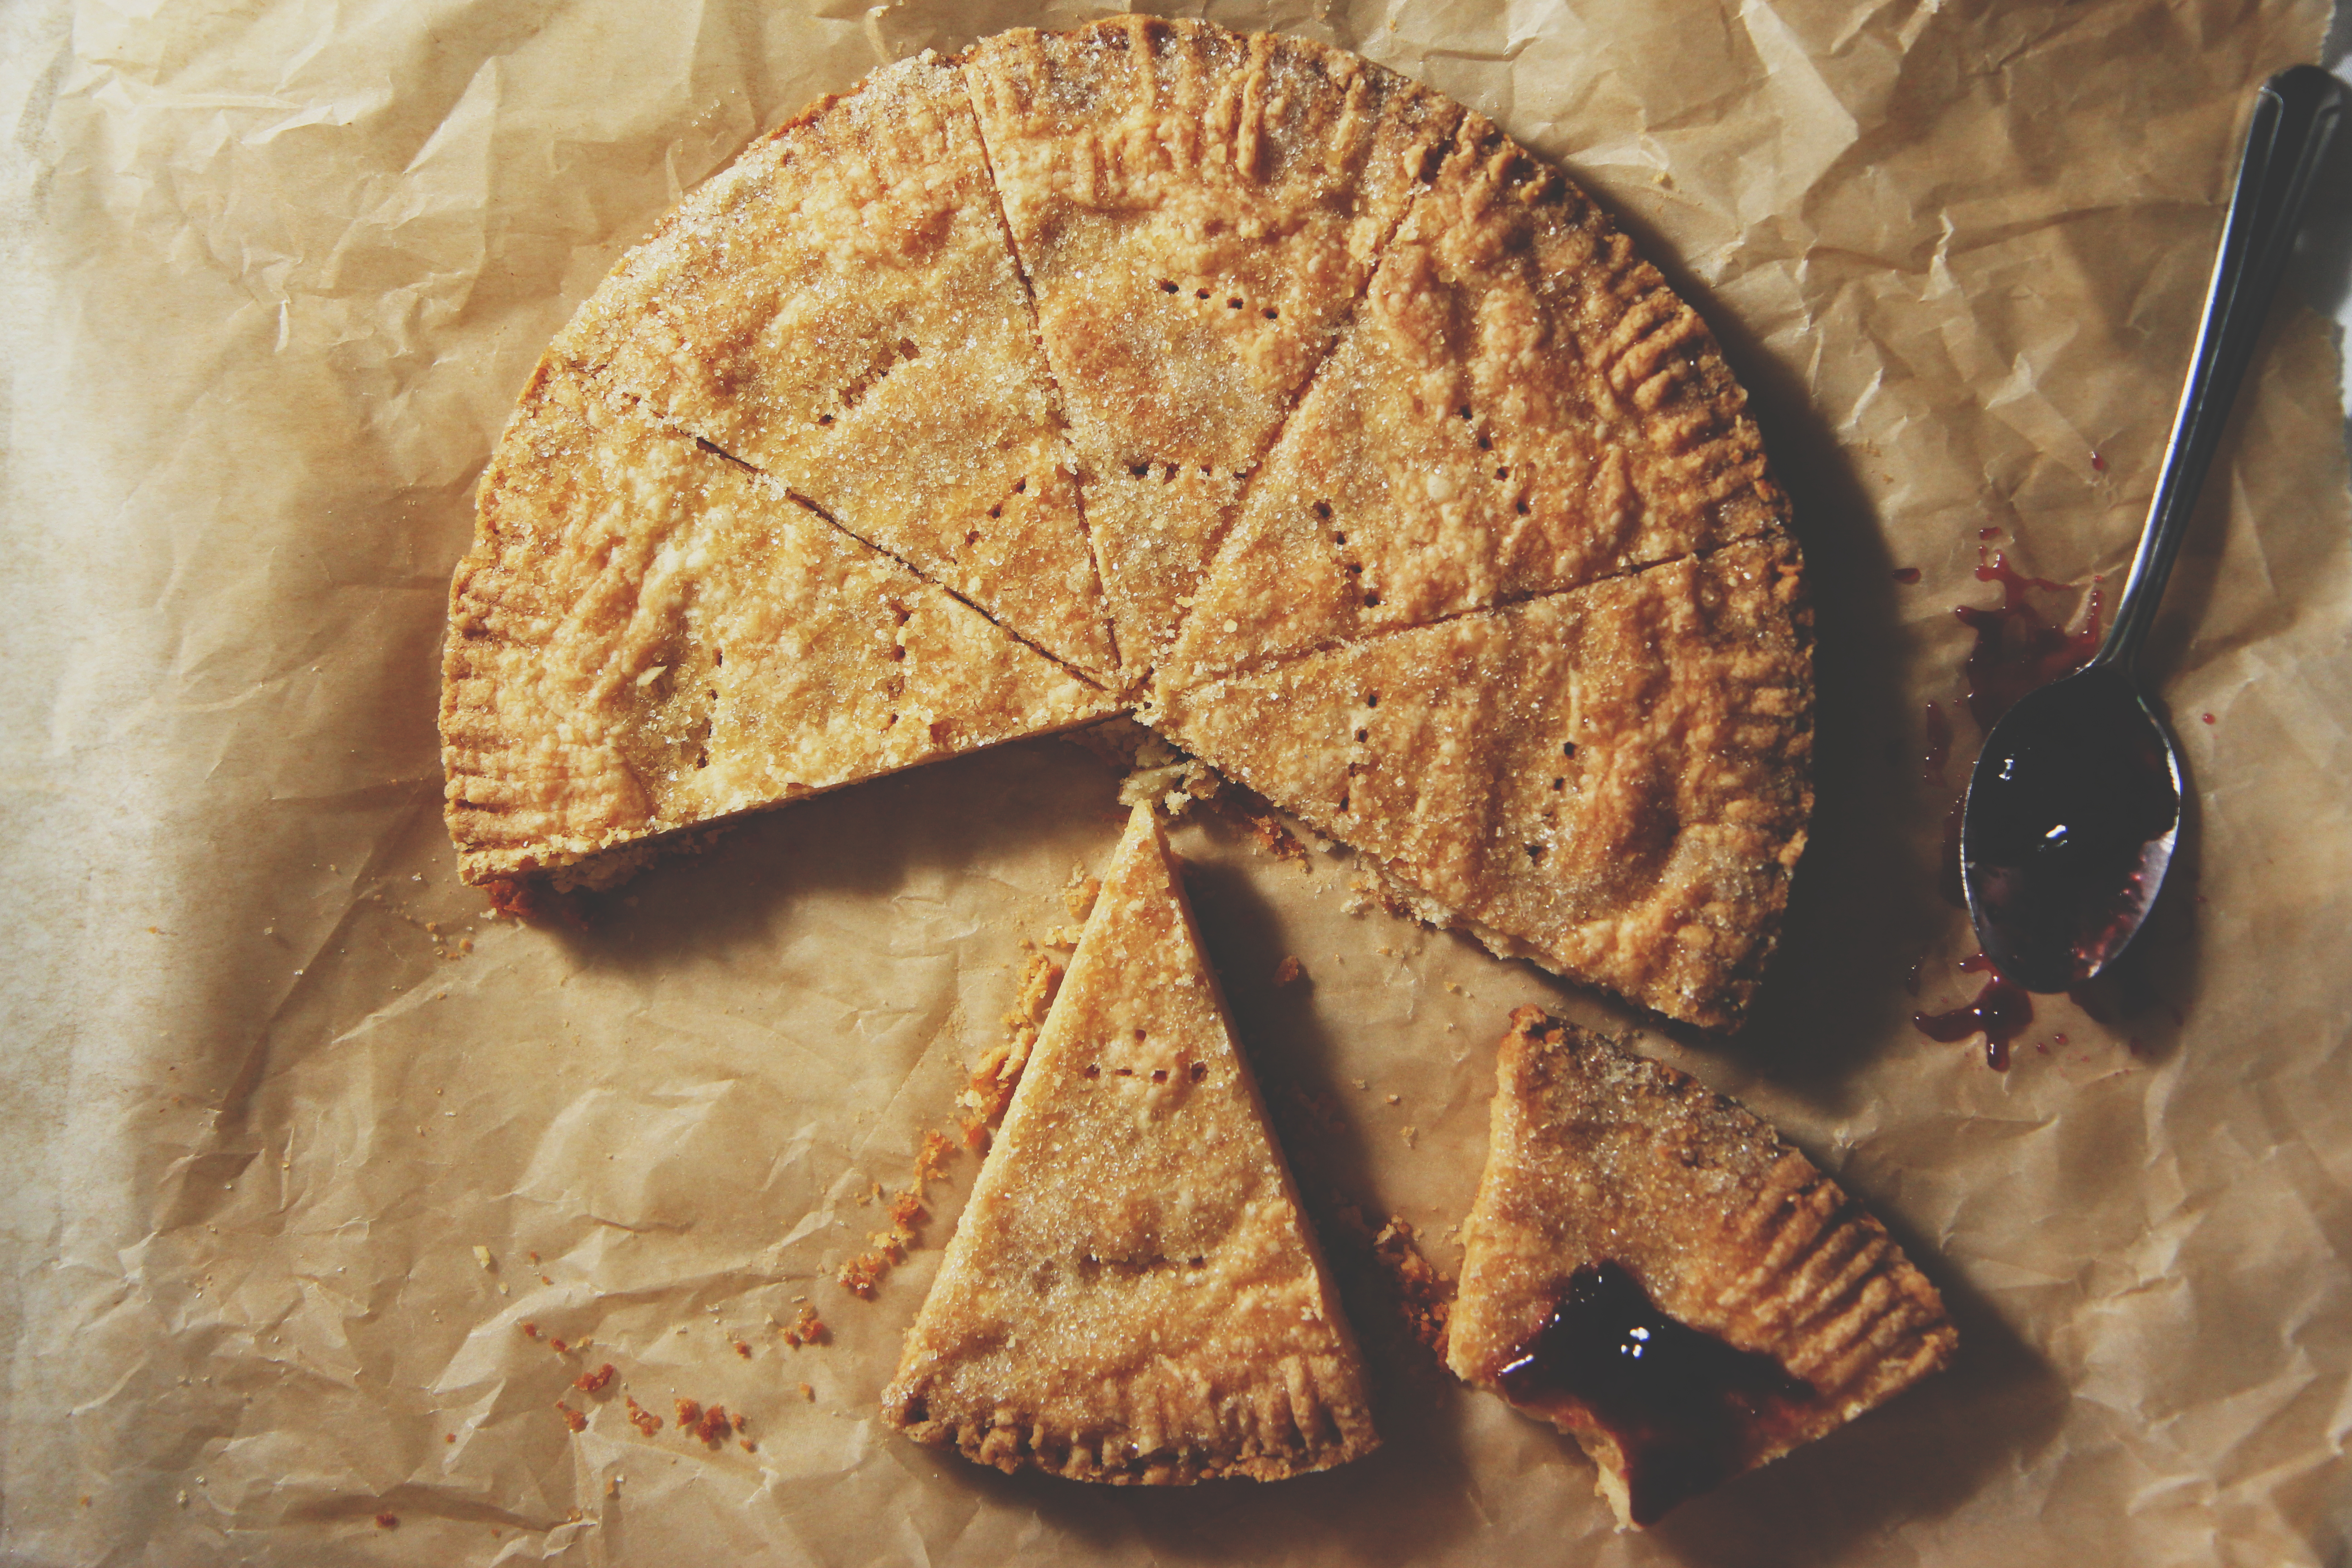
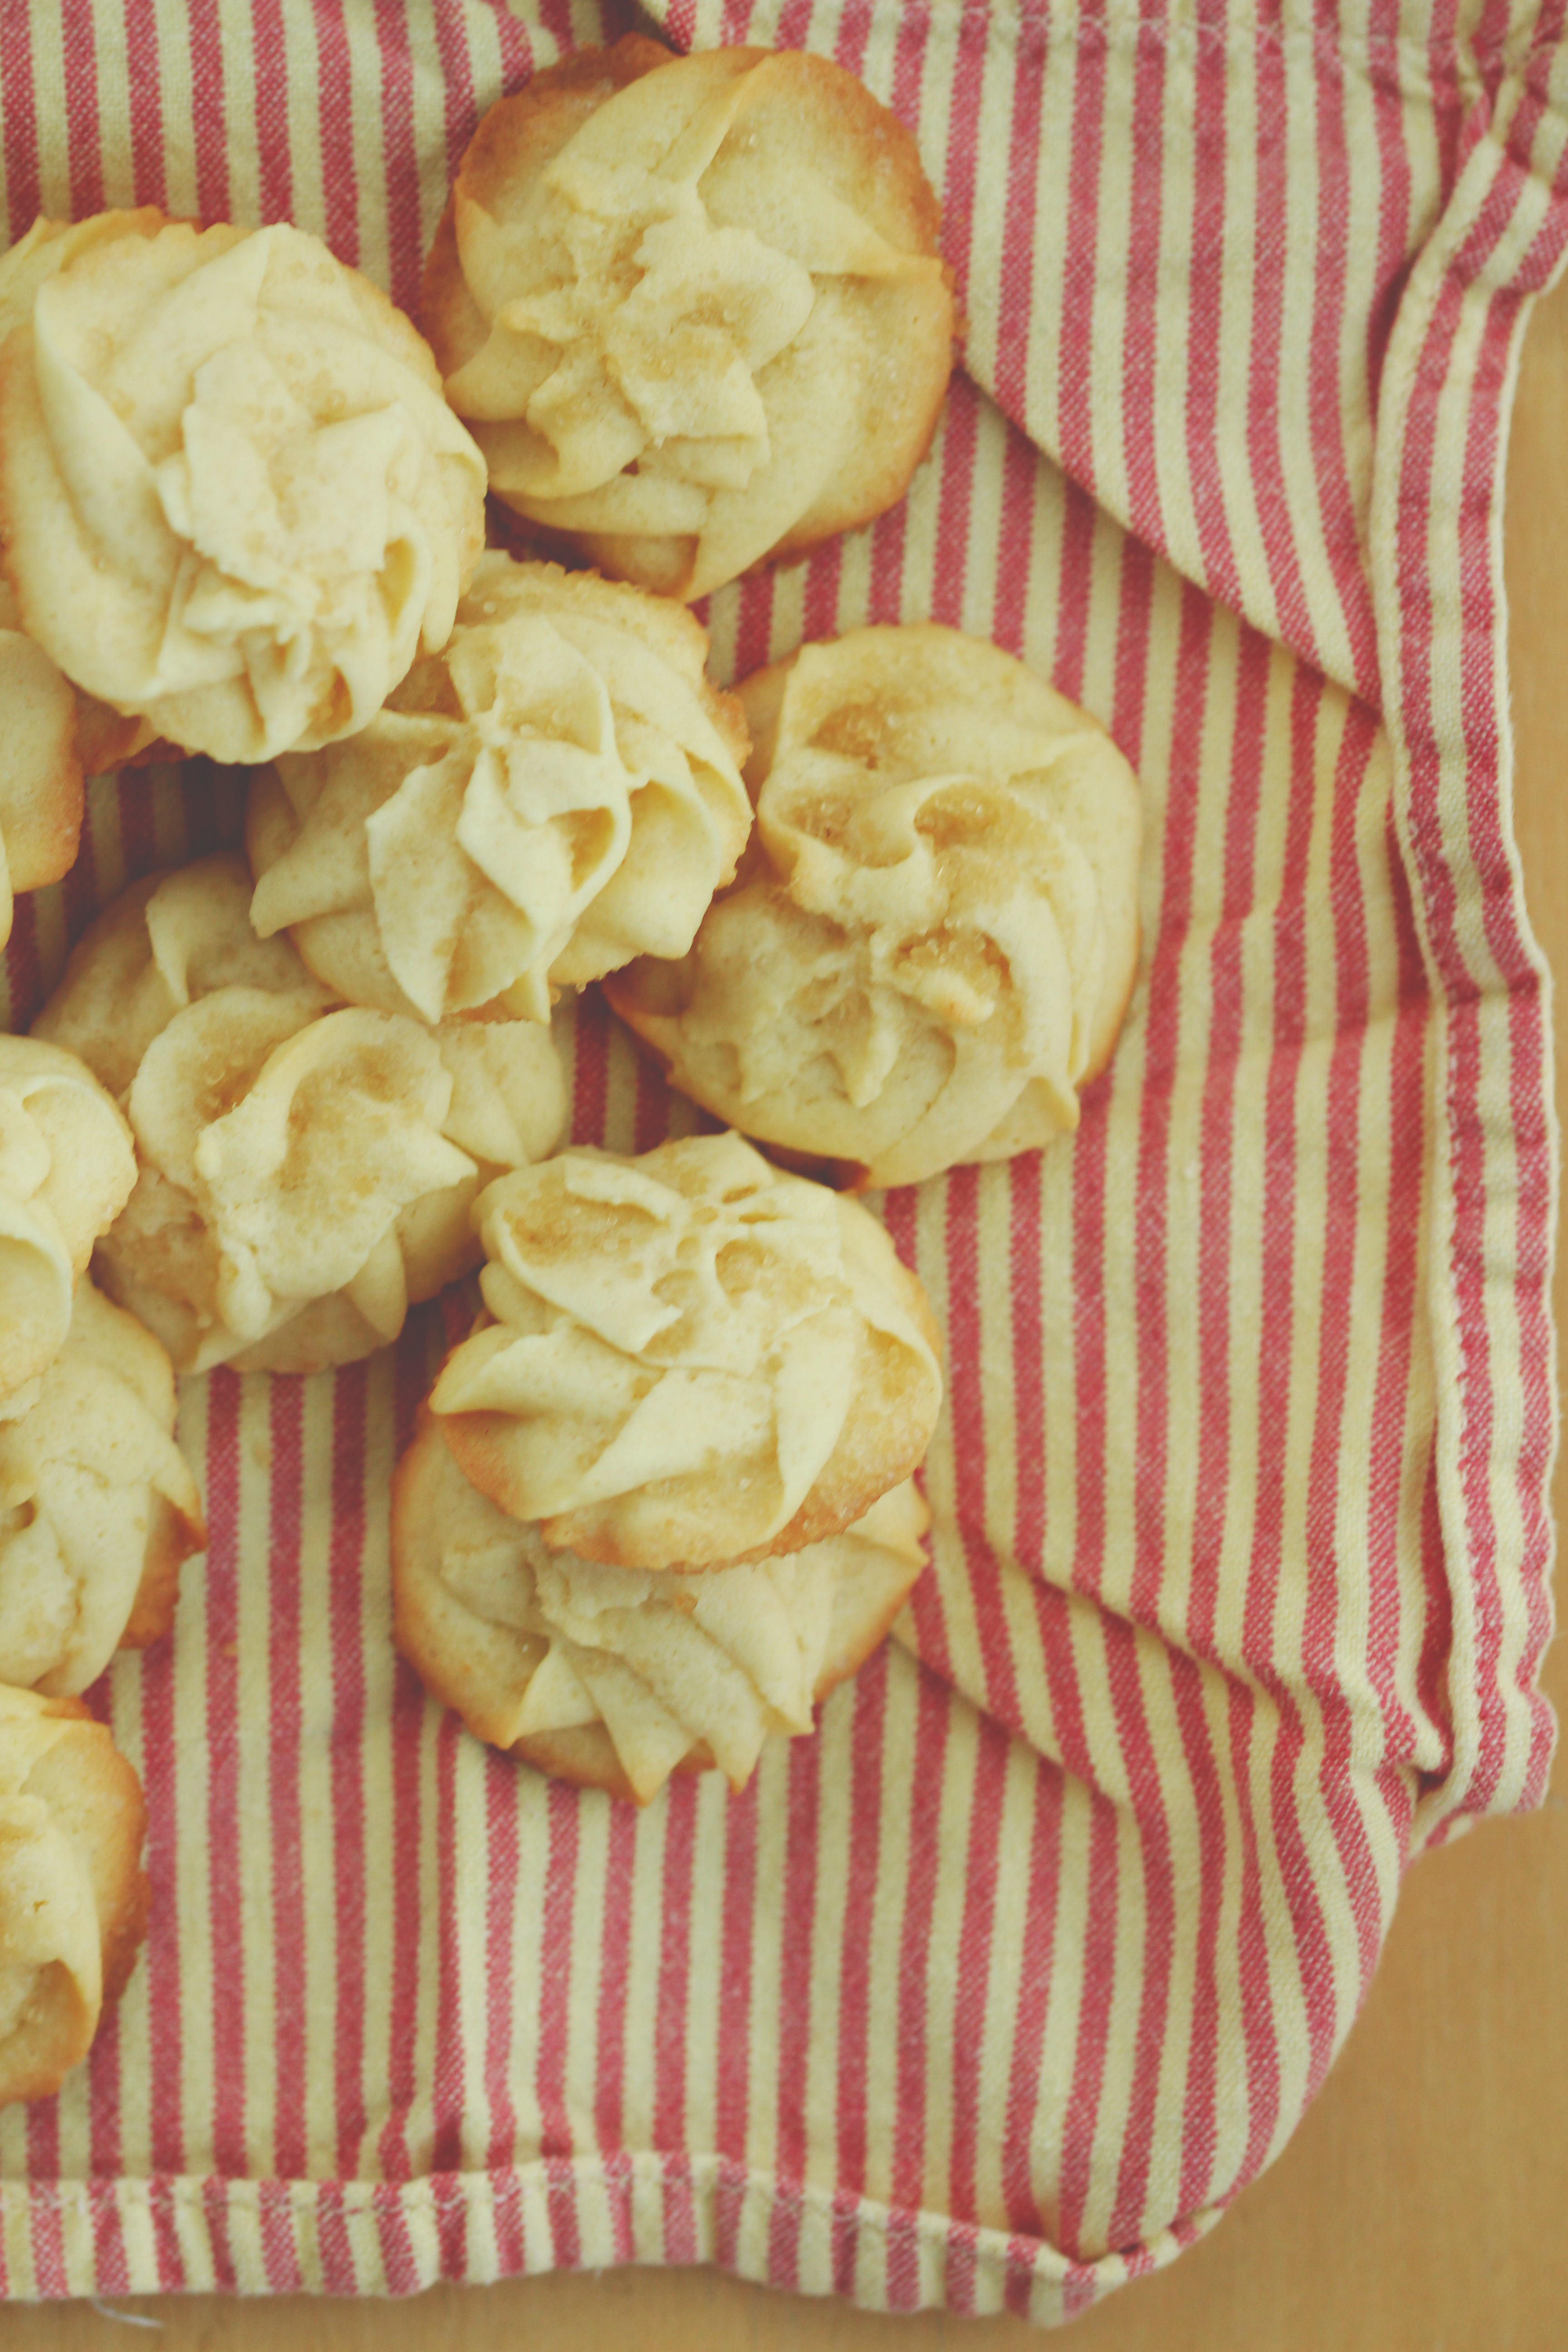
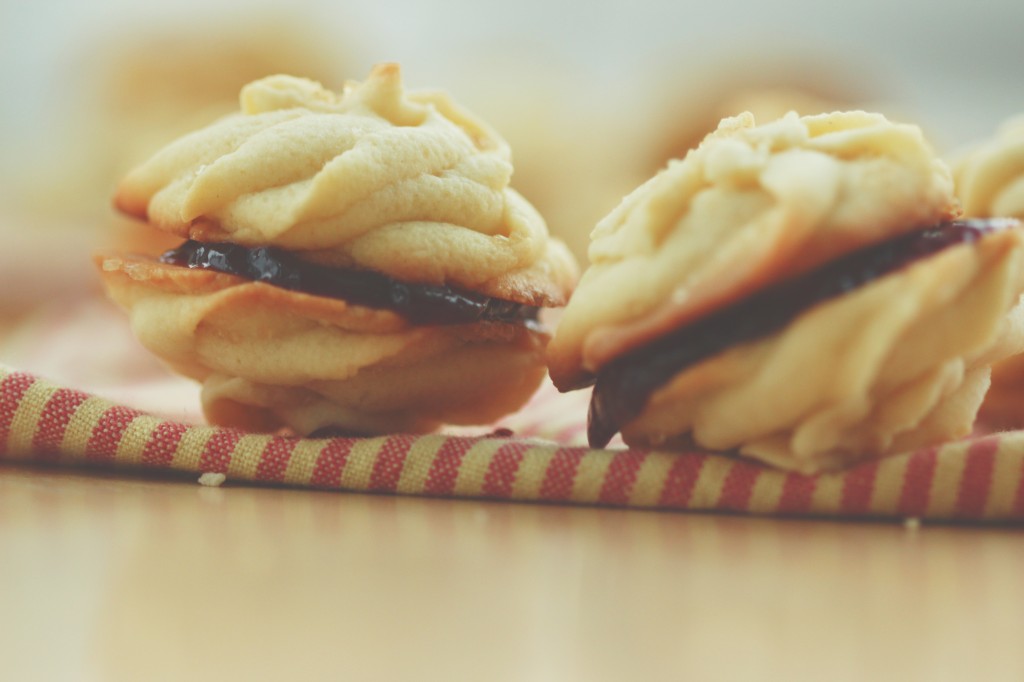
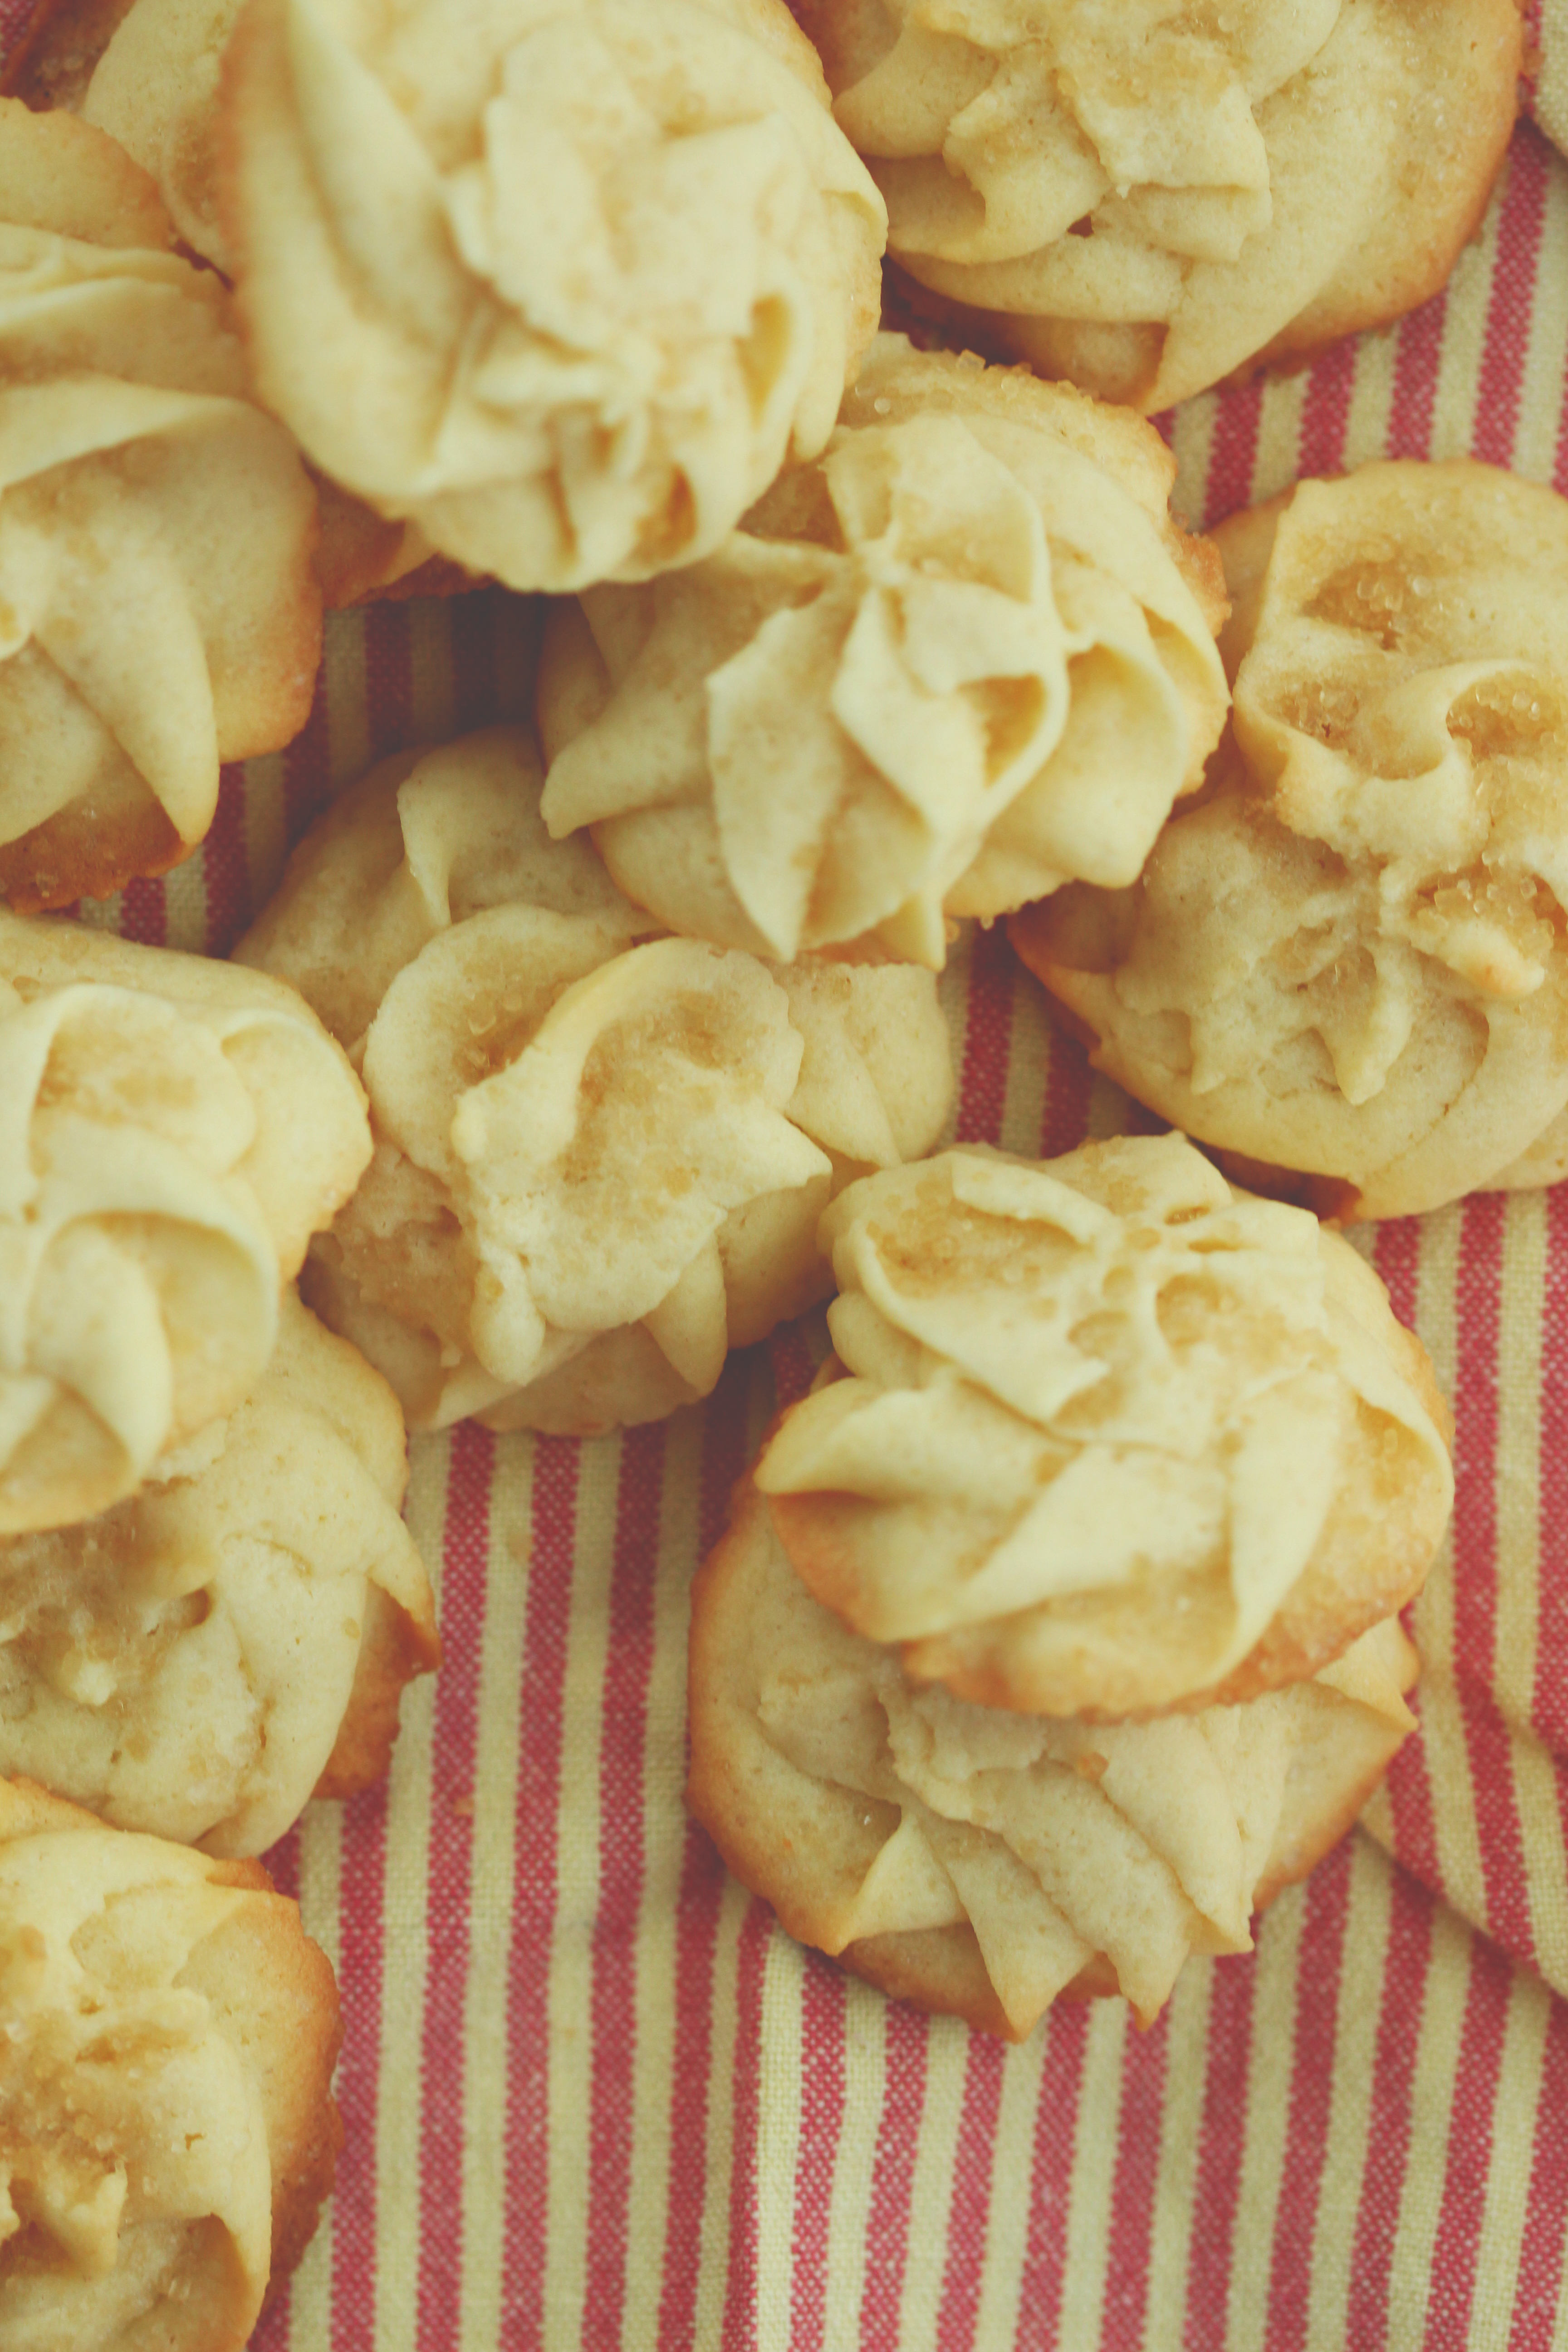
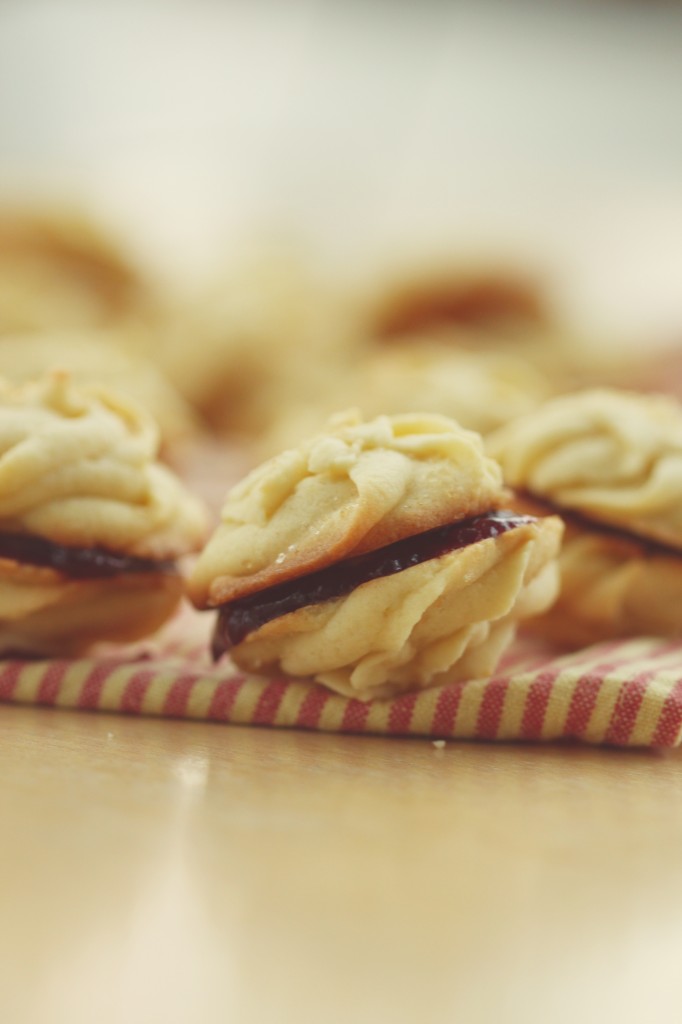
These photos are a little preview of an article I wrote for a fabulous food magazine here on campus, Nonpareil.
Stoked to work with them. I had a super fun interview over coffee with their lovely editor, Jenny.
Reading the article she wrote, I was a touch embarrassed but crazy flattered. It’s an exciting feeling, to be sure.
To my UChicago readers, I do hope you’ll pick up a copy when it’s published. (Translation: pick one up and read it cover to cover or else.)
To my other readers, sucks to suck. Just kidding. I’m sharing the recipe here so you can be included, too.
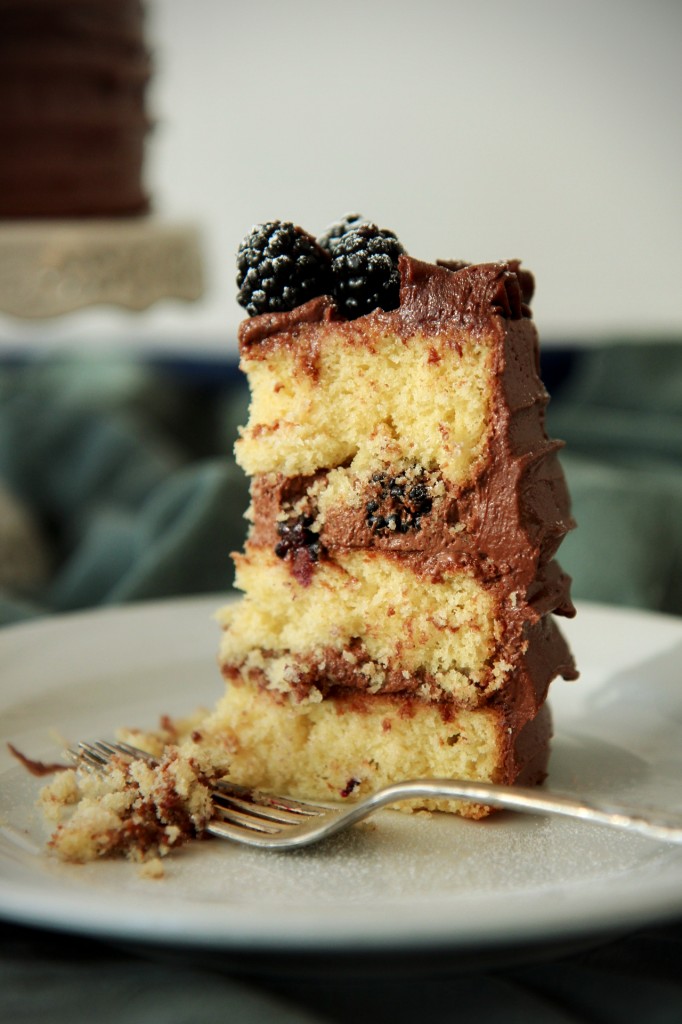
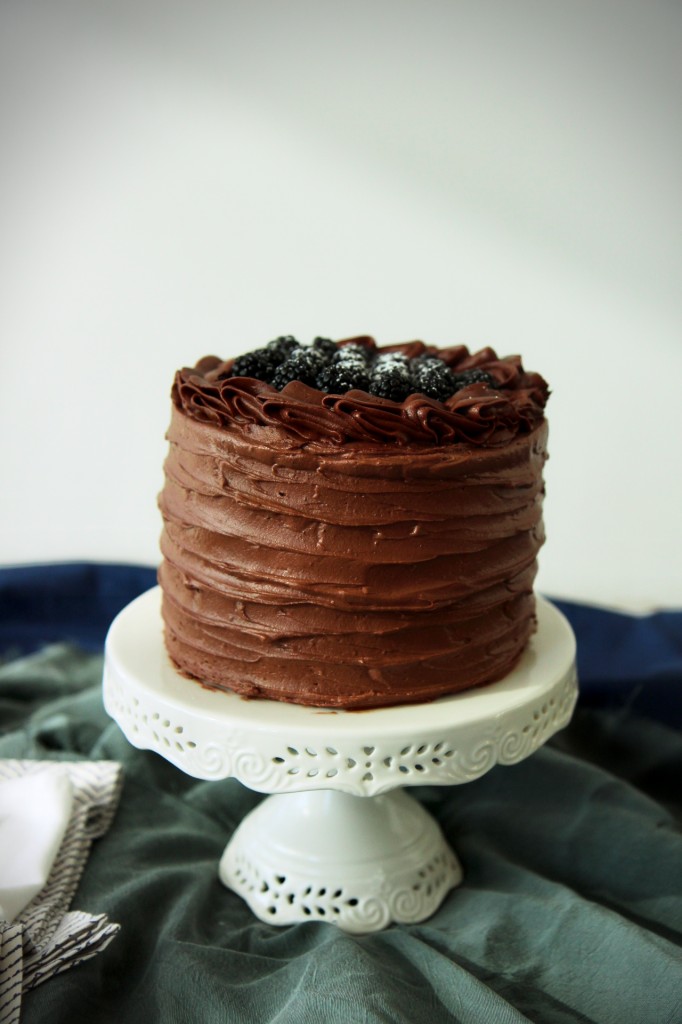
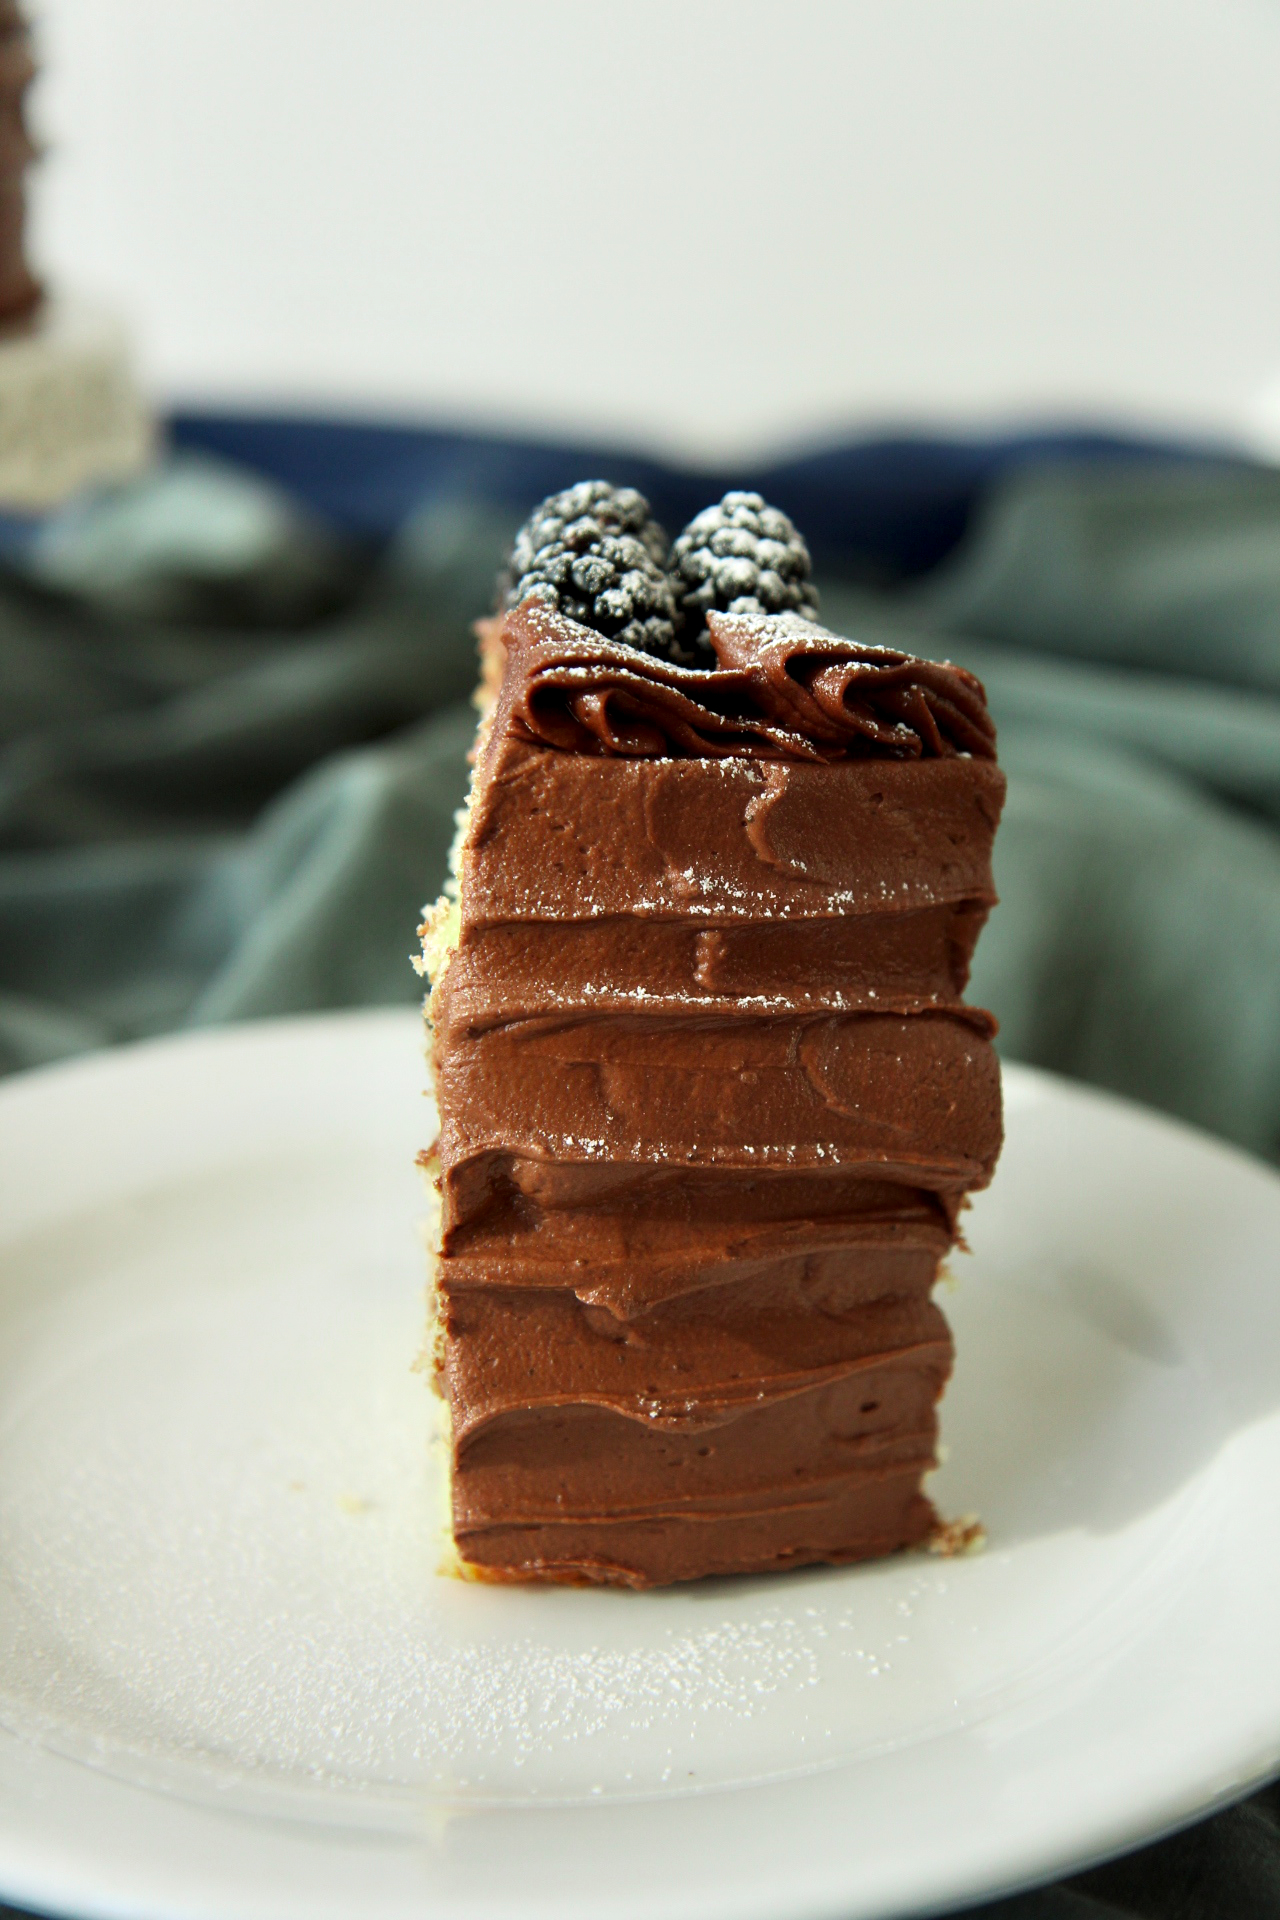
This cake takes the traditional American birthday cake– yellow, with chocolate buttercream, and elevates it ever so slightly.
Buttery yellow coconut cake, gently scented with coconut oil, with threads of coconut and egg yolks creating the tenderest and softest of crumbs.
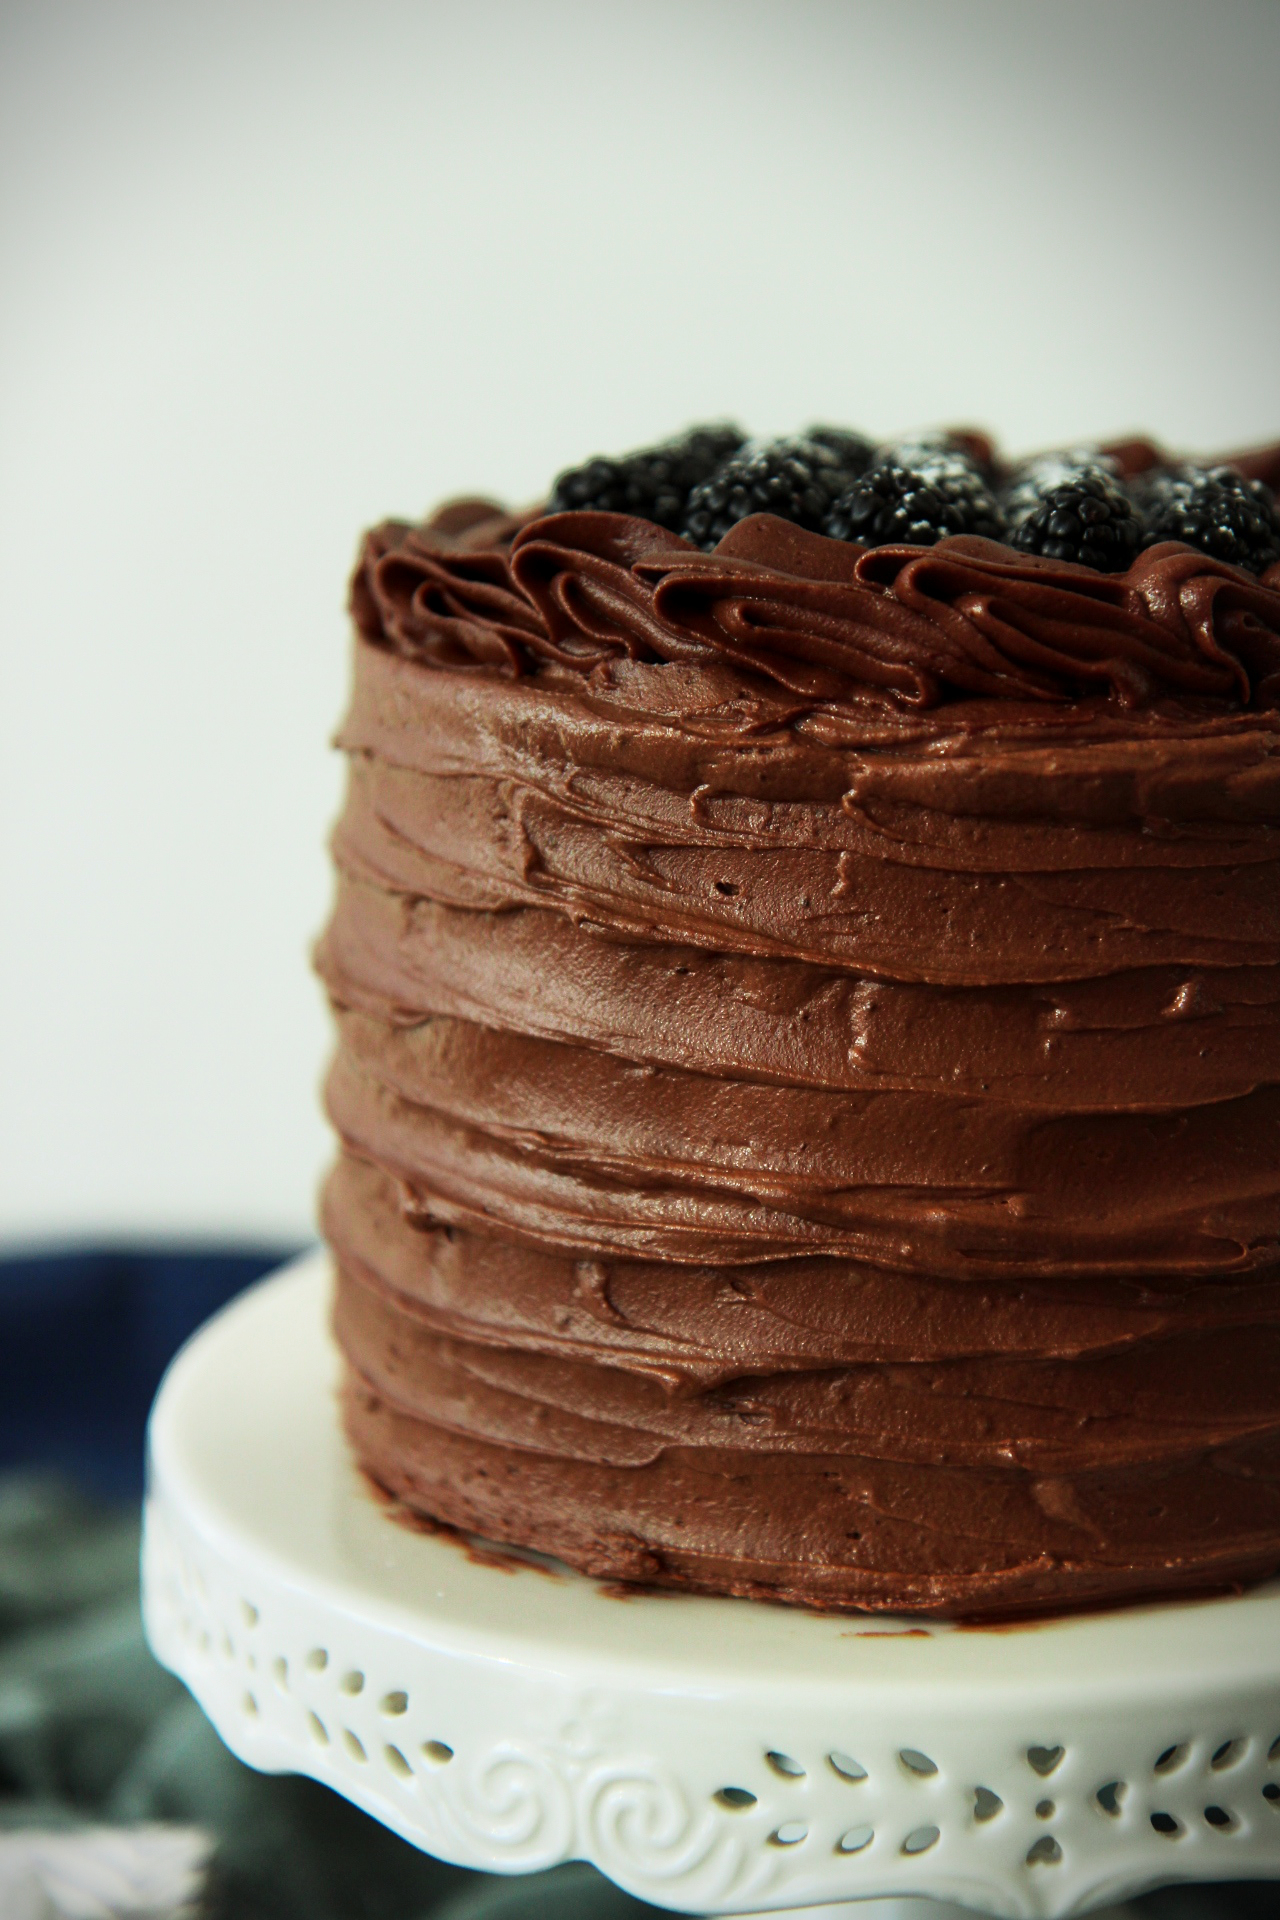
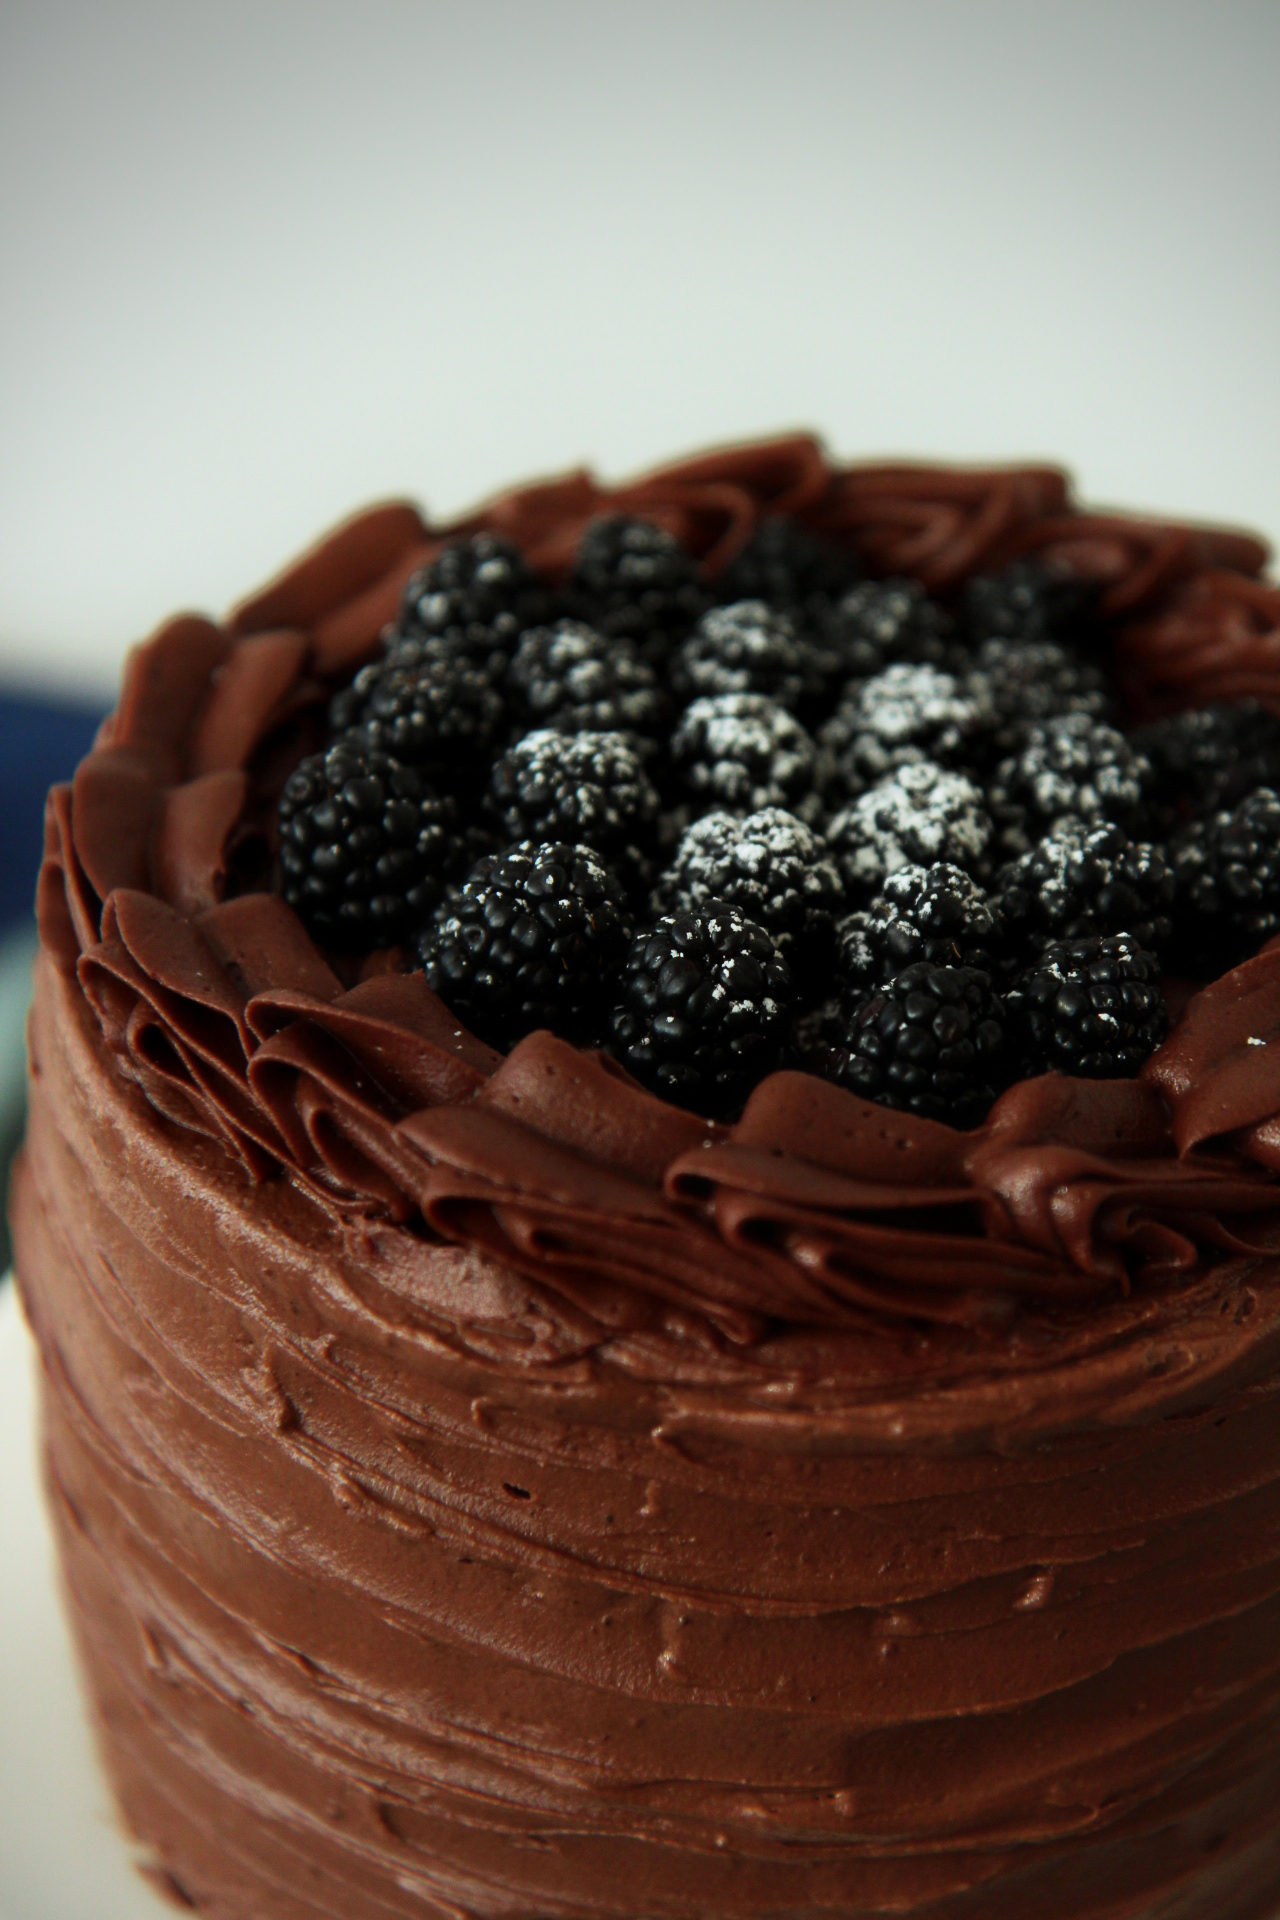
Salted chocolate buttercream, whipped and fluffy, rich with deep, dark, fruity chocolate cocoa powder and enhanced with a pinch of espresso powder and three pinches of salt.
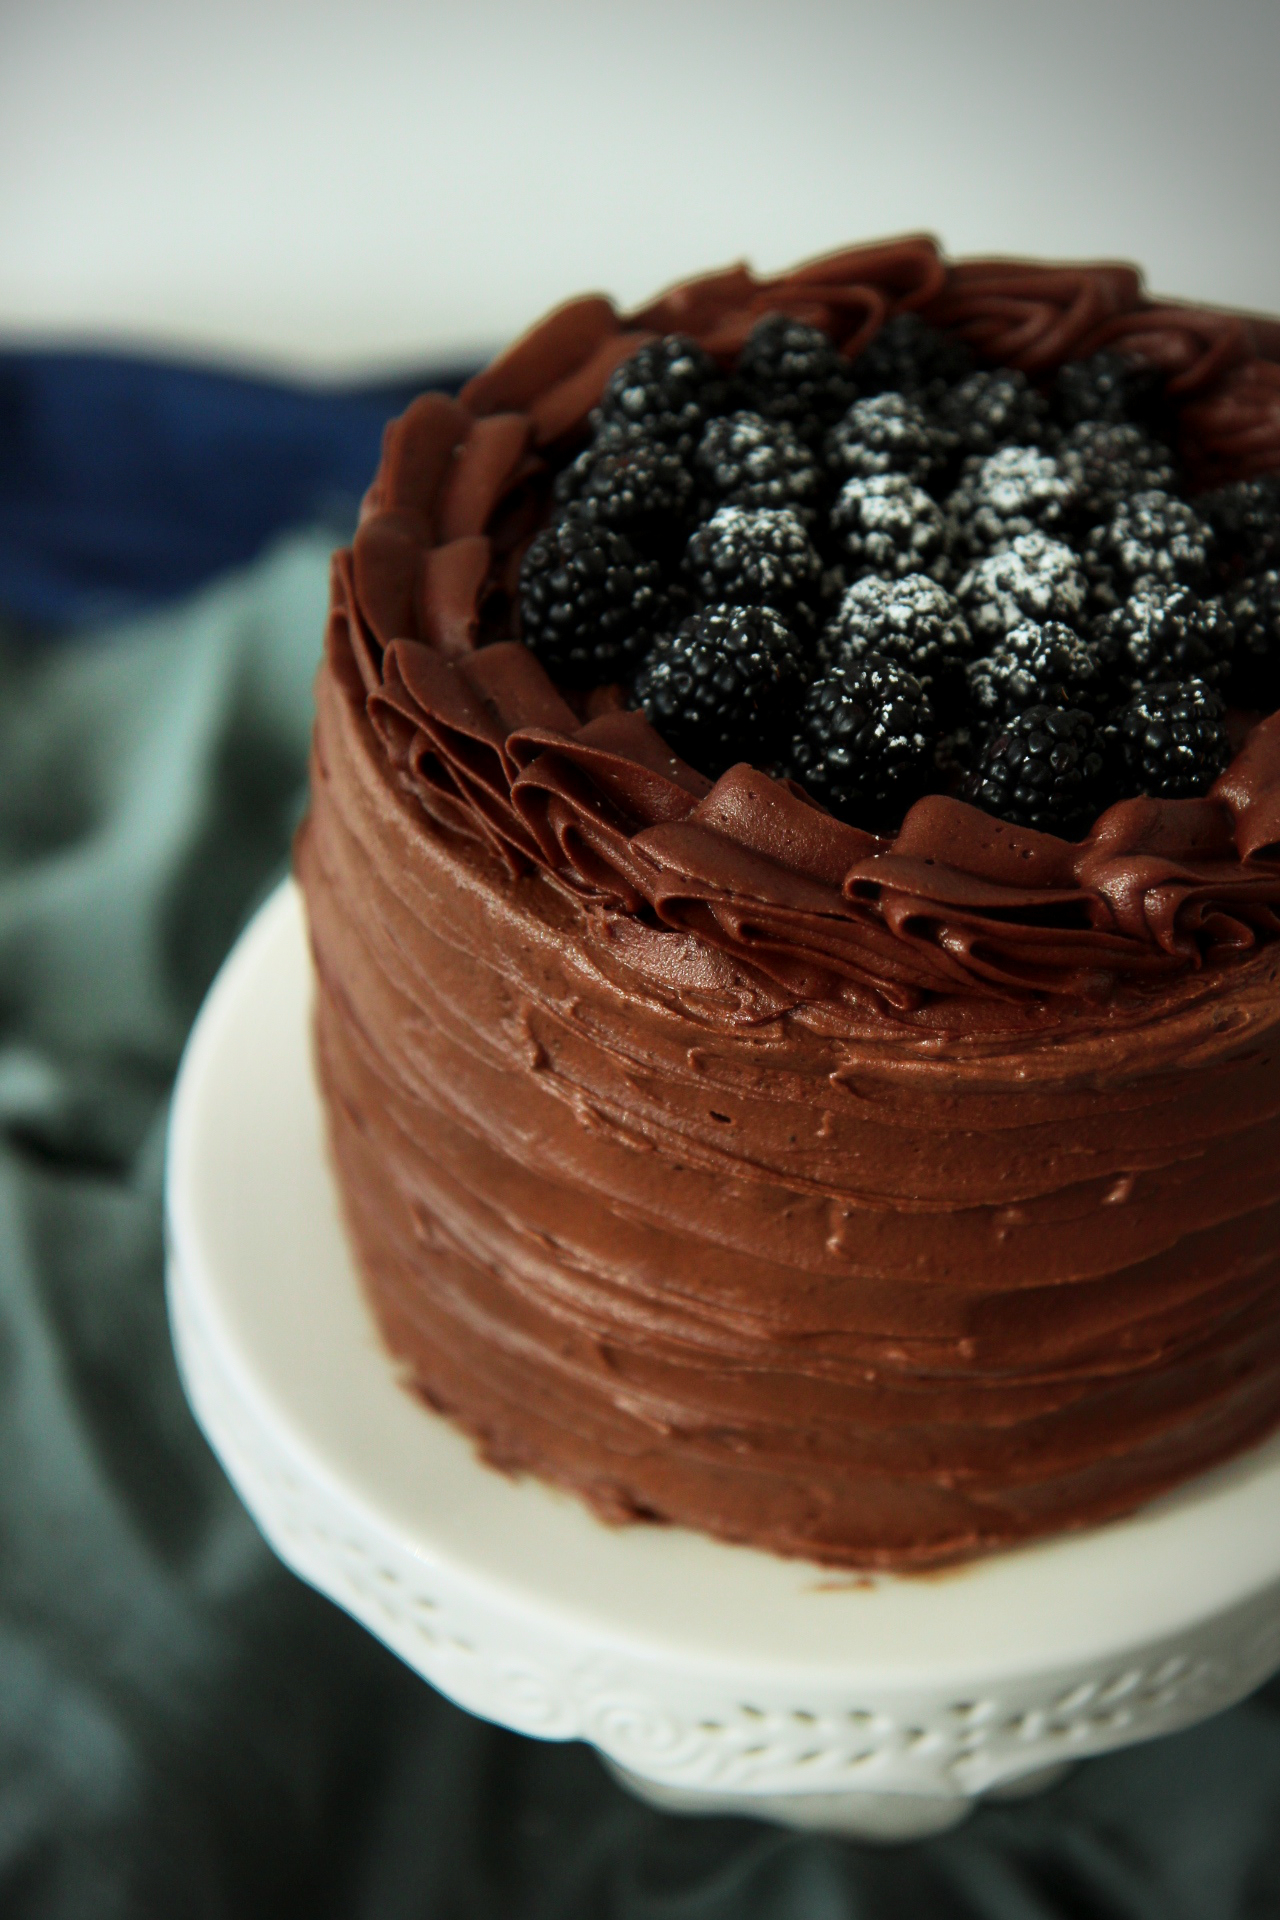
Blackberries, tart and juicy, pair gorgeously– they play a perfect foil for the heaps of butter and chocolate, and add a fresh, lively element to the cake.
You could substitute raspberries very easily, light coconut milk in the cake batter, and coconut cream in the frosting, as well.
You do, however, need the bittersweet chocolate. It’s the key to getting a truly chocolaty buttercream.
This has birthday cake written all over it.

P.S. Happy mother’s day. My mama and my grandmas are true inspirations.
(HI GRANDMA shout out to you, I know you’re reading this. You’re the BEST and I miss you dearly. Hope you got my cards and letters– did I put enough stamps on?– Love you SO much. I will call you later today, but I expect an email about 5 minutes after you finish reading this…)
My mama inspires me to work hard; she teaches me to balance on the thin wire of life and not take shit from idiots.
She reminds me to let little things go and not let myself be bullied by the patriarchy.
She comforts me when I’m down– “fuck them”– and makes me laugh with pictures of my badly behaved cats– again, “fuck them”.
She begs me to not be like her, but I know I am my mother’s daughter.
And I am blessed for it.
I love you, mama. See you in a few weeks.
ingredients:
for the yellow coconut cake:
200 grams (1 2/3 cups) flour
2 1/8 teaspoons baking powder
85 grams (6 tablespoons) butter
30 grams (2 tablespoons) coconut oil
1/2 teaspoon kosher salt
200 grams (1 cup) sugar
4 egg yolks
1 teaspoon vanilla extract
180 grams (3/4 cup) reduced-fat milk
3/4 cup desiccated coconut, optional
for the salted chocolate buttercream:
50 grams (2 ounces) bittersweet chocolate, chopped
315 grams (2 3/4 sticks) butter
1 teaspoon kosher salt
1/4 teaspoon espresso powder, optional
110 to 140 grams (4 to 5 cups) powdered sugar, sifted
50 grams (1/2 cup) cocoa powder, sifted
30 to 60 grams (2 tablespoons to 1/4 cup) heavy cream
to assemble:
blackberries
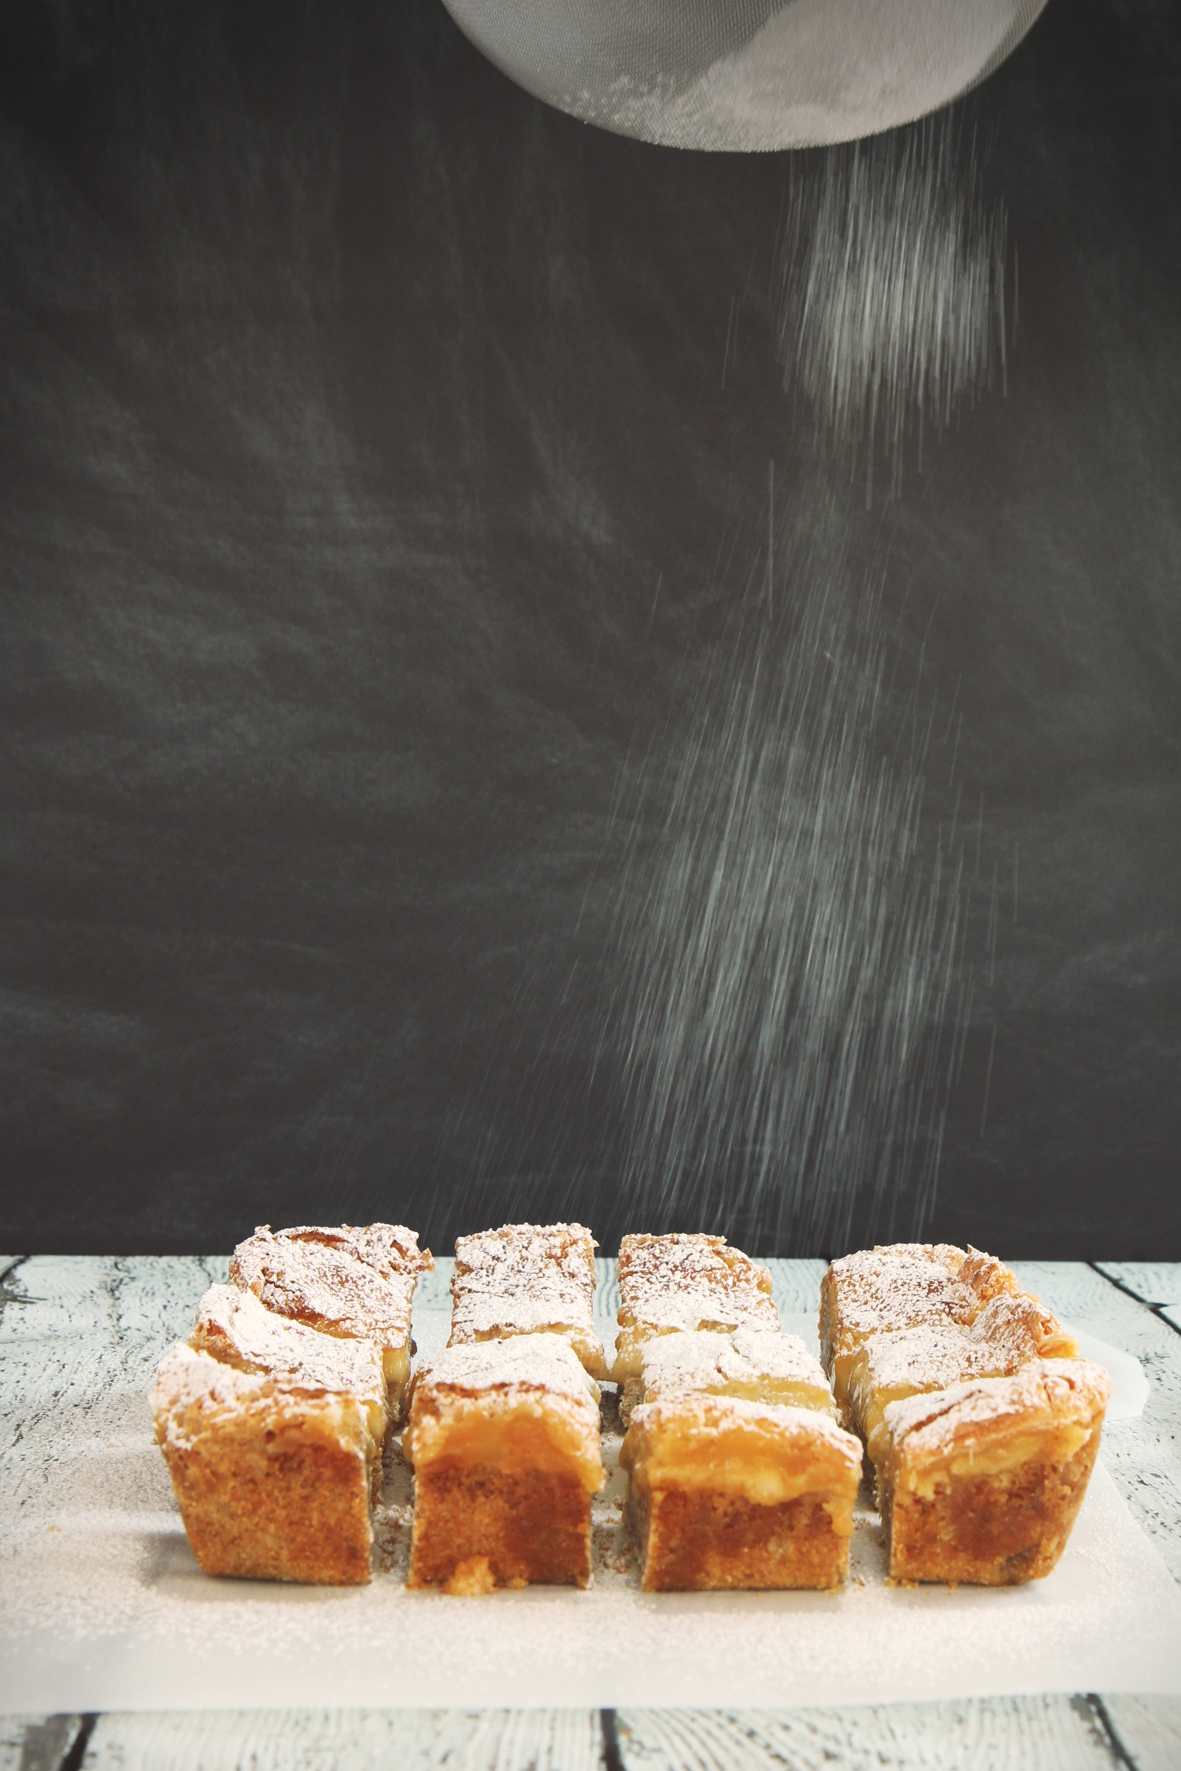
powdered sugar, for dusting
directions:
Make the cake: preheat oven to 350 degrees F.
Butter and flour 3 6-inch pans or 2 8-inch pans
Stir together flour and baking powder.
Cream butter and coconut oil with salt for 3 full minutes.
Add the sugar in a stream and cream for 4 more minutes (set a timer).
Scrape the sides of the bowl and add in the egg yolks and vanilla extract.
Beat for 3 more minutes.
Scrape the bowl; while mixing slowly, alternate adding in the flour mix and the milk, beginning and ending with the dry.
Stir in the coconut.
Scrape the batter into the prepared pans.
Bake for 22-25 minutes, until golden and springy to the touch.
A tester should come out nearly clean, with just a few crumbs sticking to it.
Allow to cool completely.
Make the frosting: melt the chocolate in a double boiler or very gently in a microwave; set aside to cool.
Beat butter, espresso powder, and salt on high for 5-7 minutes, until very fluffy and nearly white.
While whipping, slowly stream in the cooled chocolate; beat for another minute until homogeneous.
Scrape the sides of the bowl and sift the powdered sugar and cocoa over the butter.
Starting slowly to prevent sugar explosions, beat in the sugar and cocoa.
As the frosting begins to come together, stream in the cream, starting with 2 tablespoons and increasing if the frosting is still too stiff.
Assemble the cake: level your cake layers with a serrated knife if they are uneven; brush crumbs off gently.
Place the first cake layer on a serving plate; spread with 1/4 cup of frosting and top with the second layer.
Spread the second layer with 1/3 cup of frosting and press a few blackberries on.
Smooth more frosting over the blackberries so that the layer is even, then top with the third cake layer.
Use 1/2 cup-2/3 cup of the frosting to create an even, thin crumb coat.
Refrigerate crumb-coated cake for at least 30 minutes.
Once chilled, use the remaining frosting to cover the cake as desired.


