Just pie. Jest pie. Jess pie? Chess pie?!
The origins of the name of the (unquestionably Southern) chess pie are shrouded in mystery.
Some believe that it’s called chess pie owing to a transformation/translation of “Just Pie” by Southerners’ drawls.
“Just Pie” comes from the pie’s similarity to pecan pie, minus the pecans.
The filling is gooey, sweet, and dense, but free of distracting additions.
It’s really just pie.
Alternately, some think that the name is derived from the fact that this pie saves very well– there is no fruit to mould, or uncooked dairy or eggs to go rotten– so it could be saved for a very long time in a pie chest.
A pie chest is a piece of furniture used to store pies and other food and keep them safe from vermin (and greedy children!).
Pie in chest= chest pie = chess pie.
I guess we’ll never know the true beginnings of the name, but honestly, who cares?! It’s pie.
It’s goooood pie.
There is something so nostalgic and sweet about Southern desserts.
I thought I’d share a few recent ones from other blogs to get you inspired.
I know I’m crazy inspired and impressed by all these other talented bloggers.
Joy’s Bourbon Pecan Pie with Dark Chocolate blew my socks right off.
It reminds me of my pie that I deemed “the best ever.”
(Which, for the record, is still a stance that I am adamant about. Go make it. NOW.)
Beth’s amazing Beet and Goat Cheese Red Velvet cake for Valentine’s day is, without question, the most beautiful bundt/tube cake I have ever laid eyes on/drooled over.
I am continually awed by Beth.
She and her photographs make me want to pack up, move to Tennessee, and start wearing raw denim and drying herbs.
A true marvel of talent, this lady. Honest and truly.
Speaking of red velvet, did you see this article?
It caught my attention in the Dining section of the NYT and hooked me.
It’s always intriguing to know the origins of your food (chess pie, I’m lookin’ atchu.)
Less on the sweet side, but just as delicious and homey: Tim’s dense Cornbread from Josey Baker Bread is being bookmarked for next Thanksgiving.
And by next Thanksgiving, I mean next week.
Or whenever I can get my grubby paws on some kamut flour.
Laura’s Lattice Top Strawberry Pie… No. Words.
Those photos! Simply breathtaking. This is by far the most beautiful post I’ve seen in a long time.
I’m so glad she’s back from her short reprieve! Fabulous, fabulous work.
And how about Cindy’s Triple Chocolate Buttermilk Bread?!
Anything with buttermilk immediately connotes comfort cooking (read: Southern cooking) to me.
Buttermilk + butter + chocolate + chocolate + chocolate= comfort. It’s a tried and true combo.
So dark and dreamy.
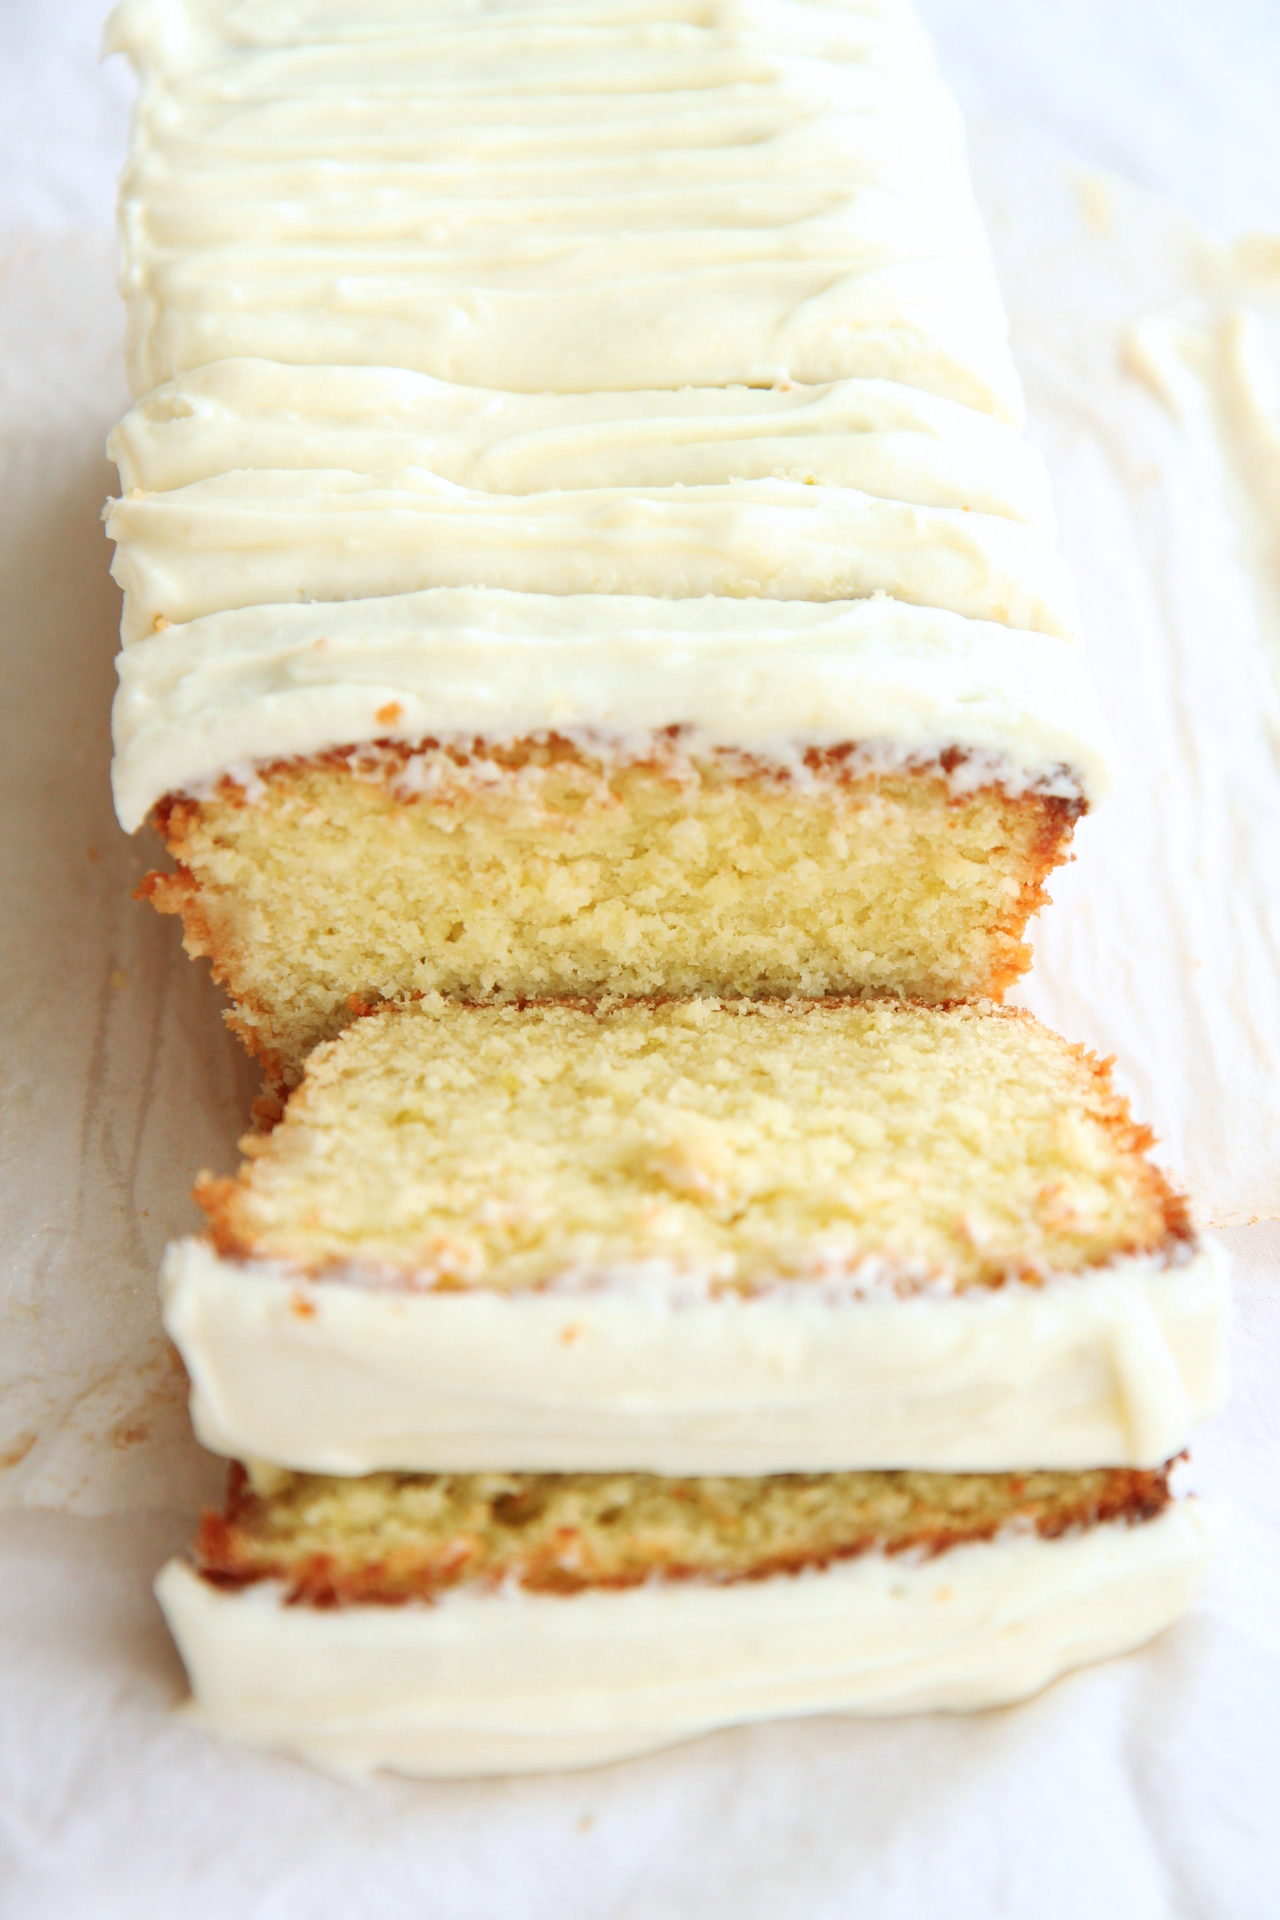
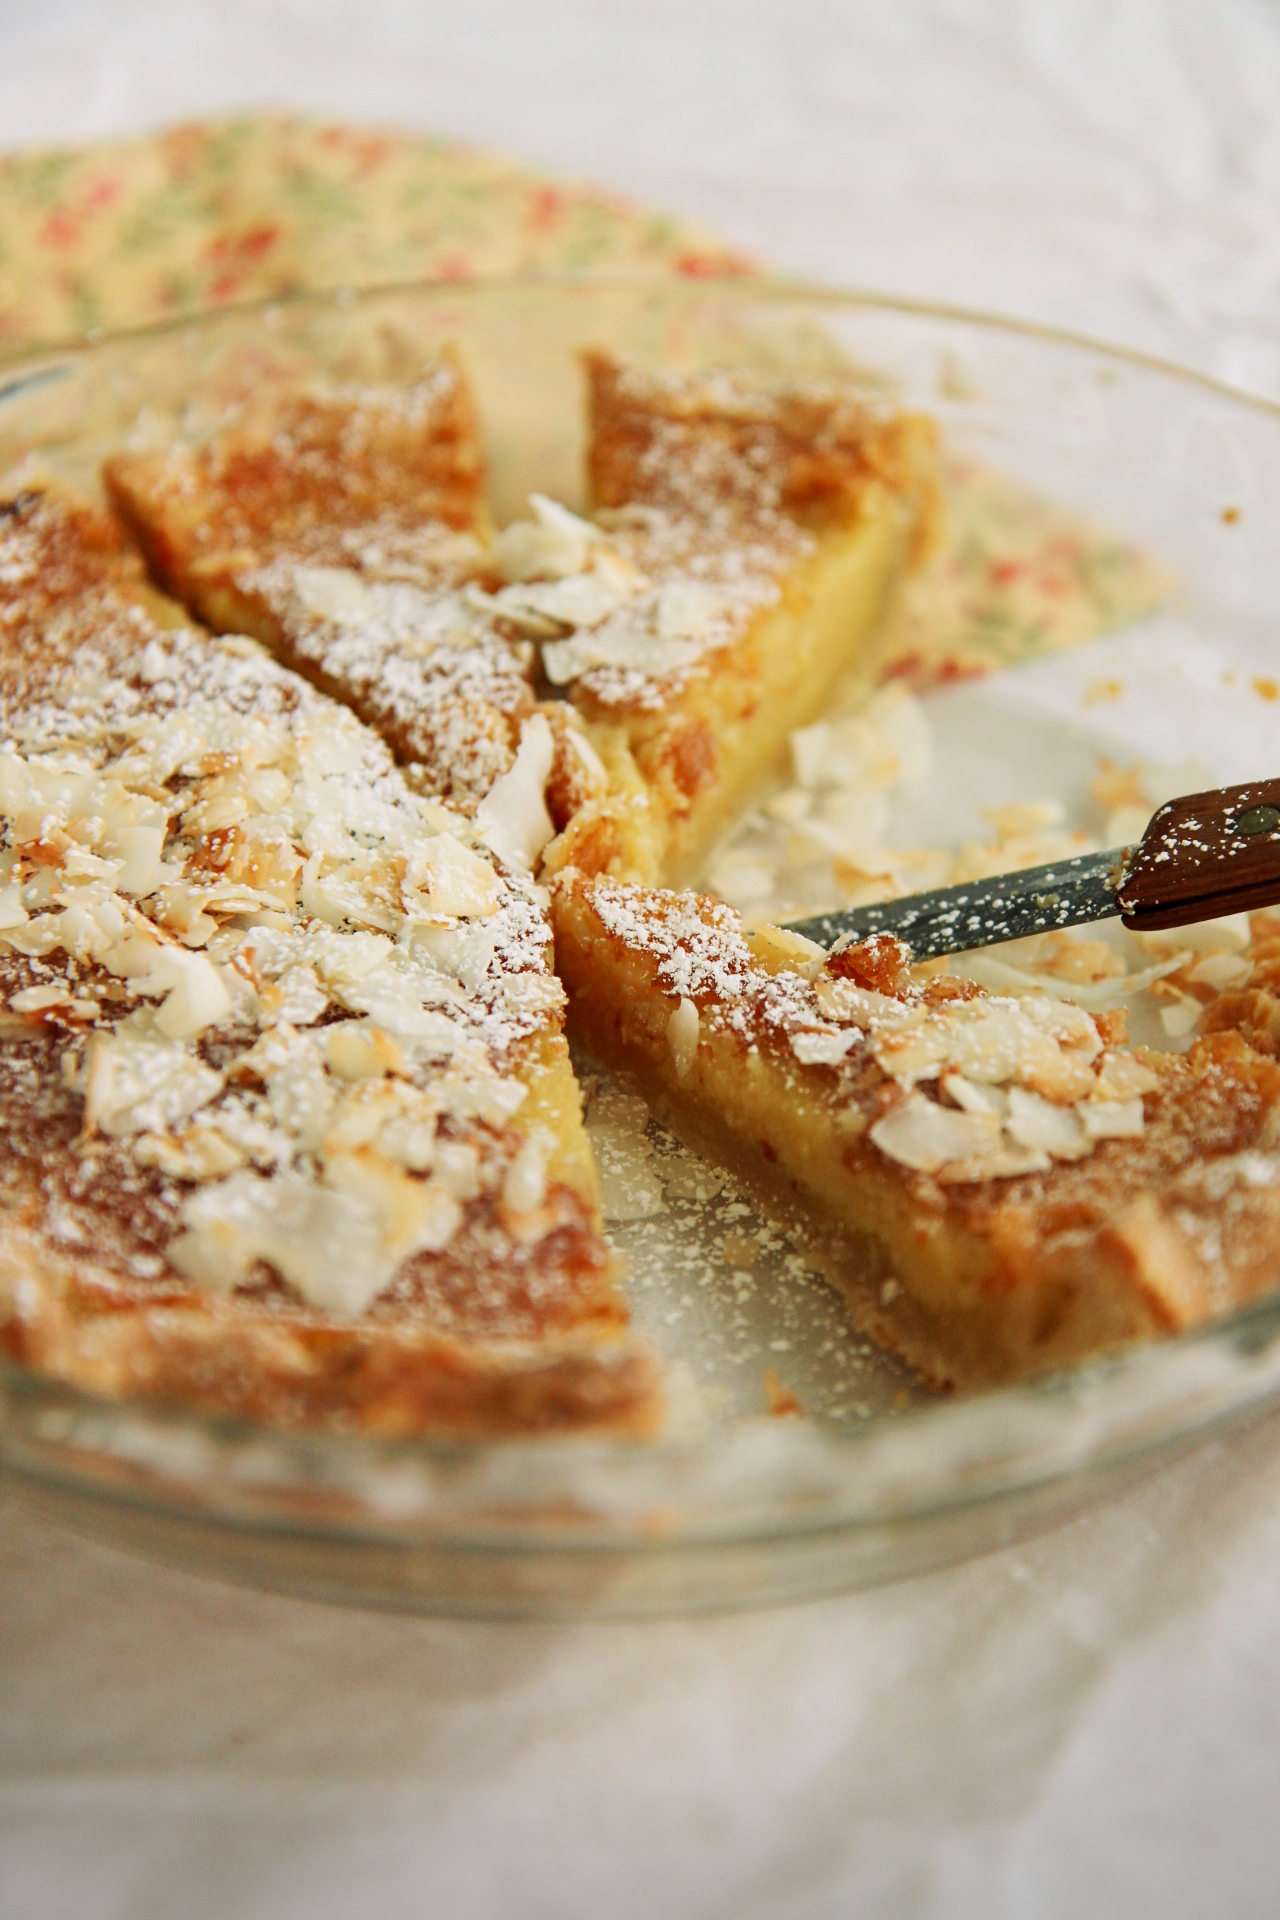
This chess pie starts out with a perfect, flaky flaky all-butter crust.
I like to make my pie crusts by hand, smashing each little frozen butter cube into a sheet, rubbing the flour and sugar between my palms, getting a feel for the dough and all.
It’s folded a few times, rolled out thin, crimped and docked and weighted down, baked for a few minutes just until golden, then filled to the brim with custard.
The coconut custard (chess) filling is based on cream of coconut– you know, the thick, sugary glop they put in piña coladas?
I accidentally purchased some (ah, the perils of breezing over labels) and discovered that it is akin to sweetened condensed milk: thick, creamy, sweet.
I had a few tablespoons of desiccated coconut left in my pantry, and a cup or so of buttermilk.
Thus, this too-sweet cream of coconut mistake was elevated with brown sugar, cornmeal, buttermilk, coconut shreds, butter and coconut oil, and plenty of eggs.
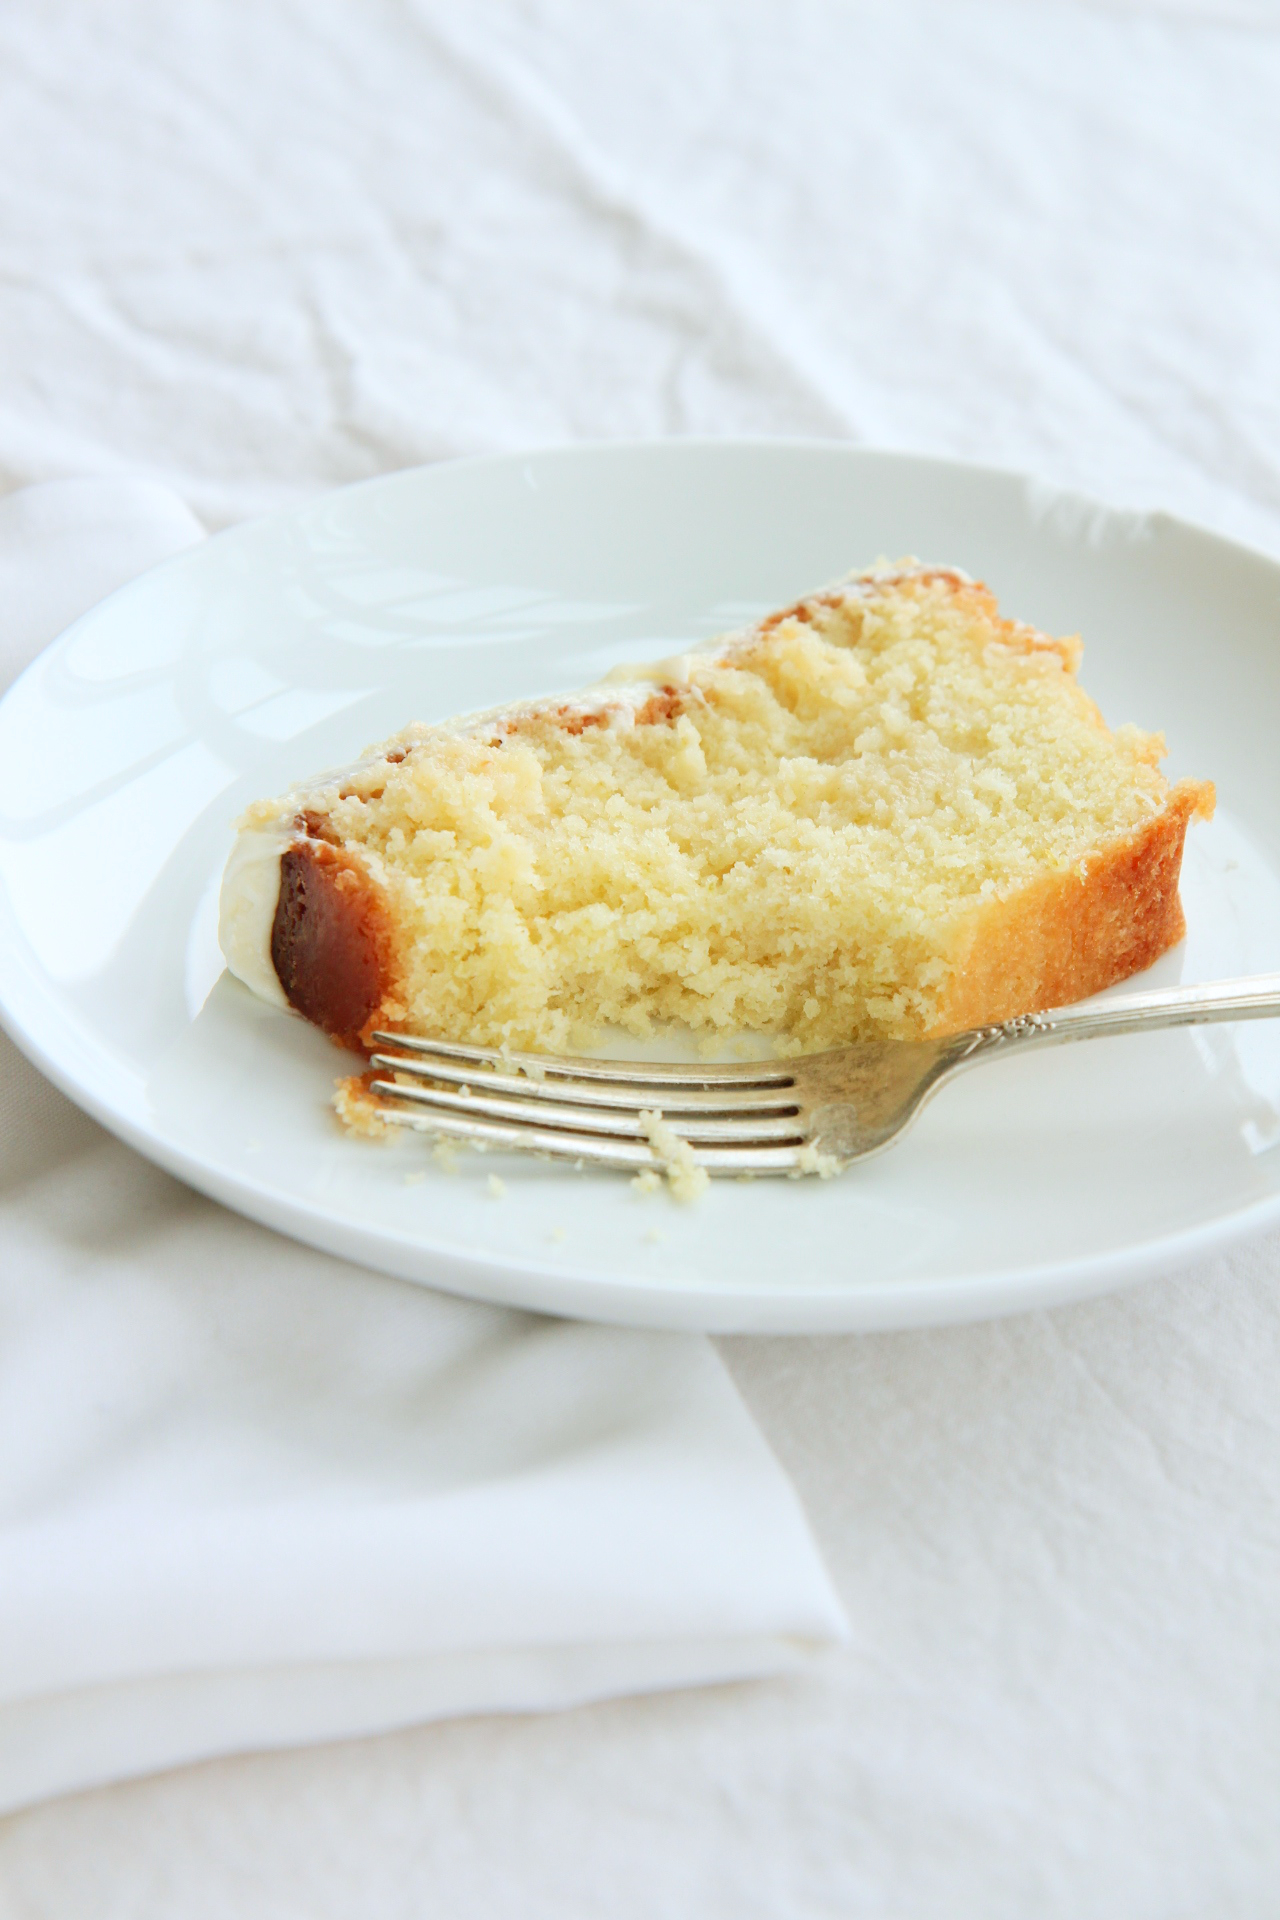
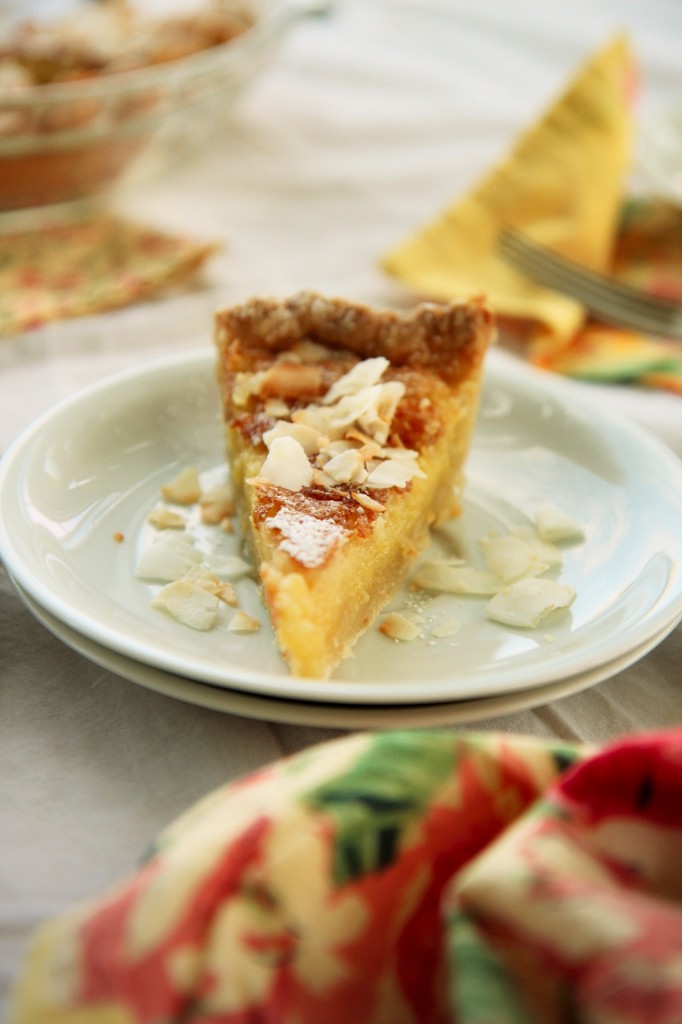
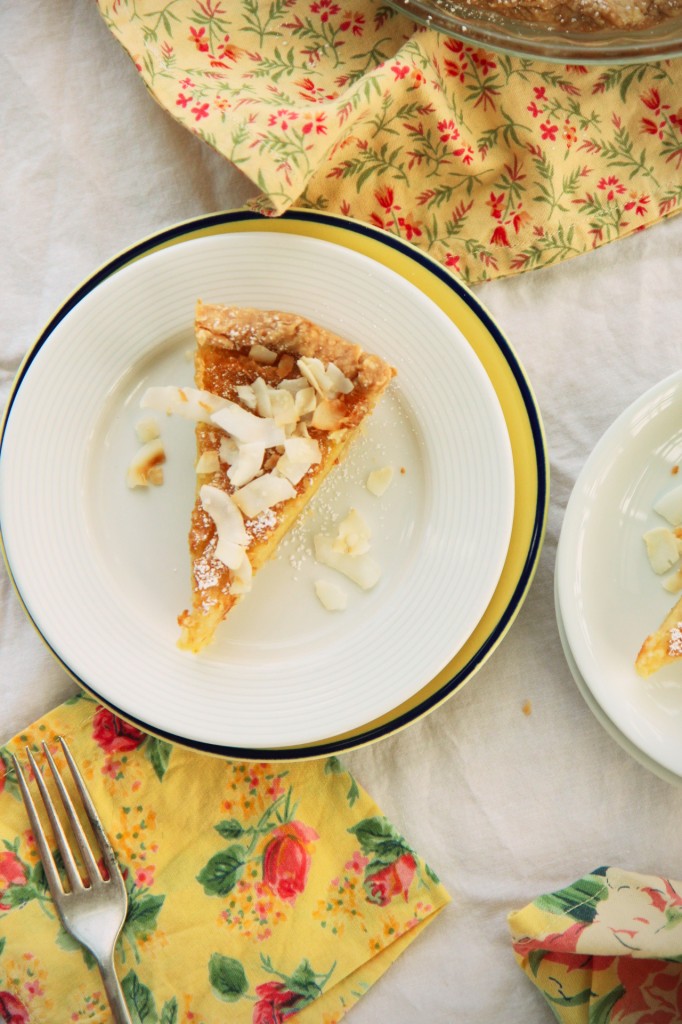
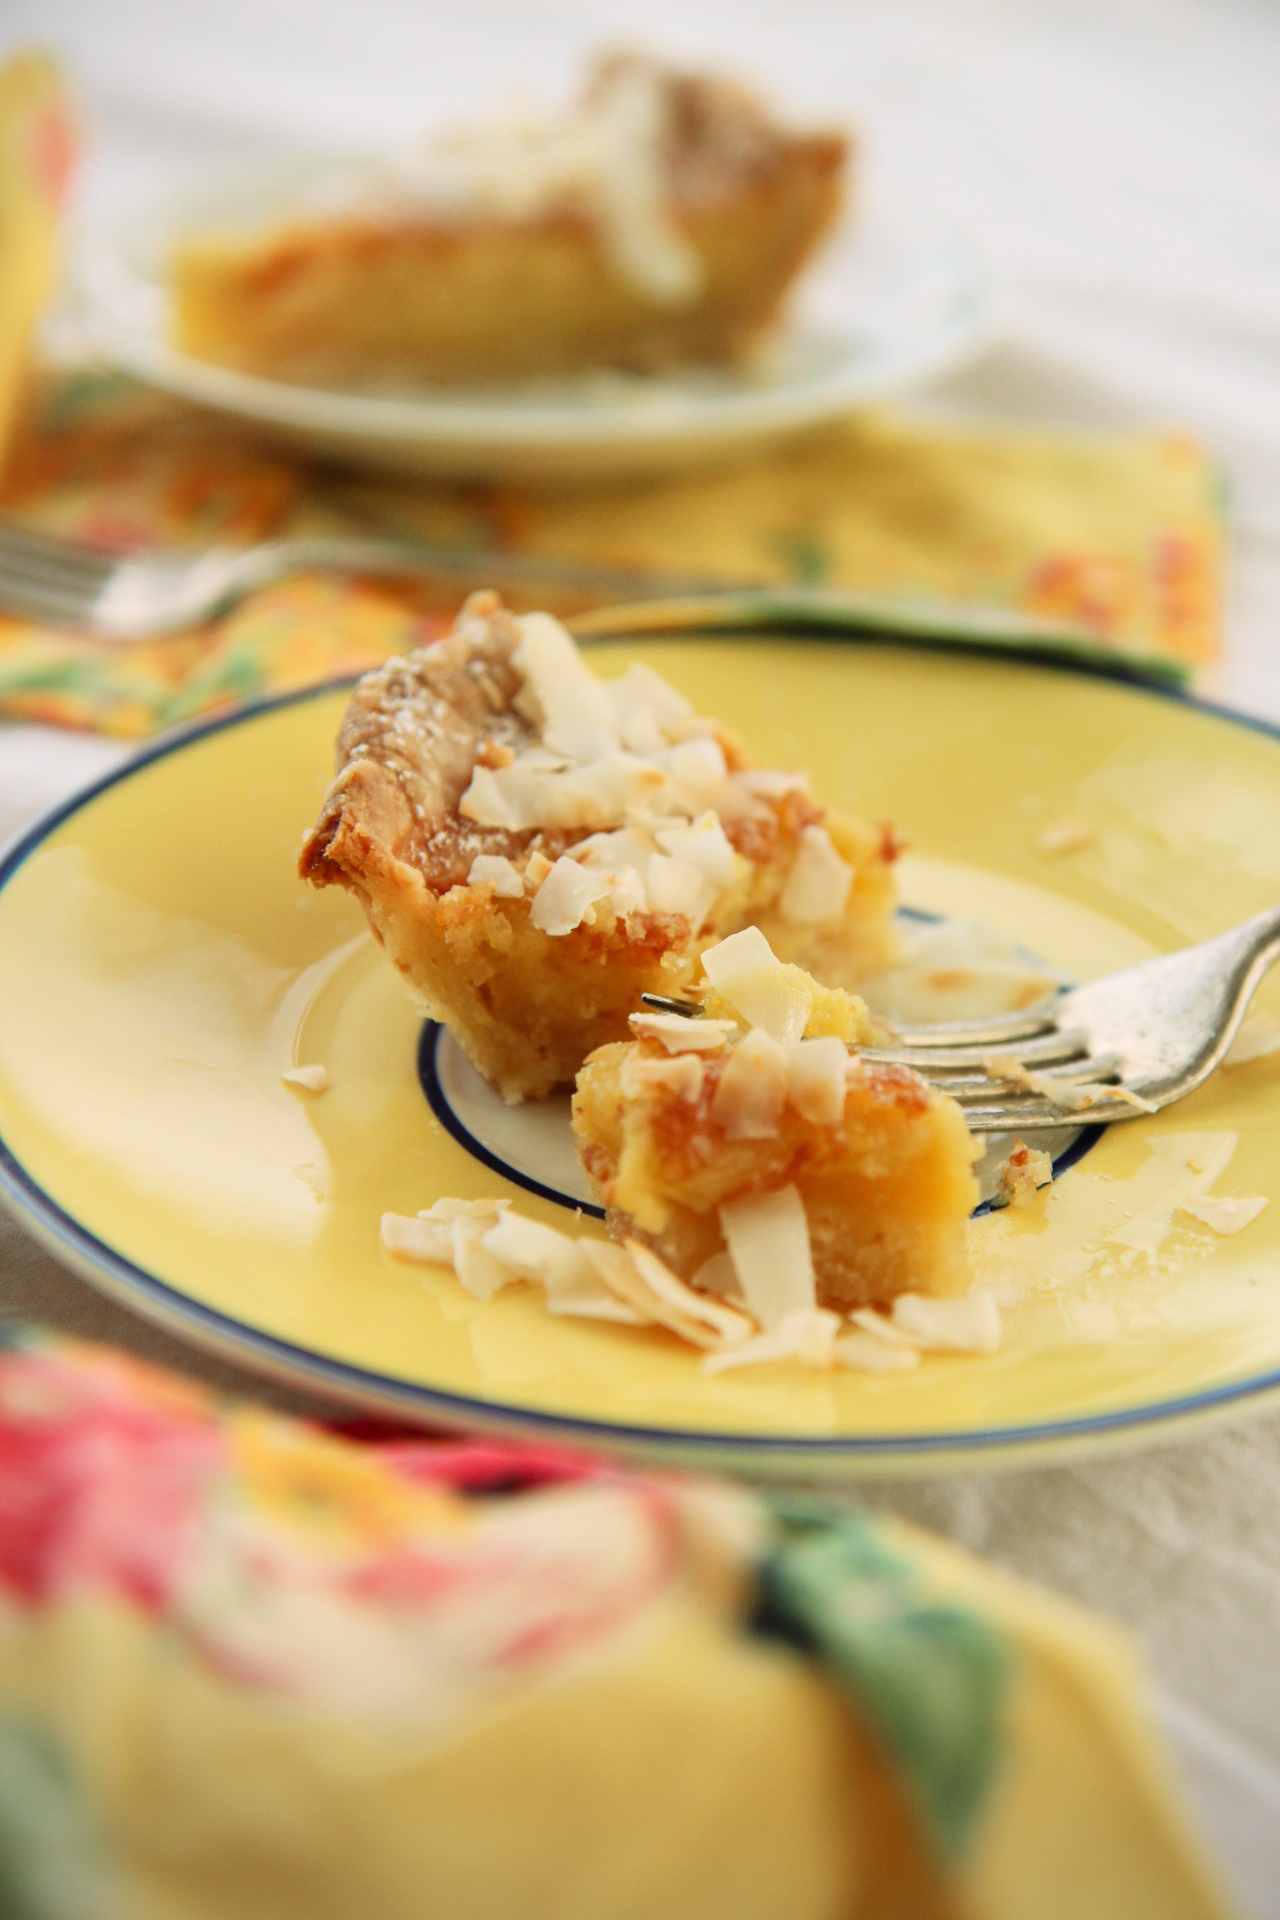
The resultant pie is creamy and sweet, with the perfect amount of egginess and coconut flavor.
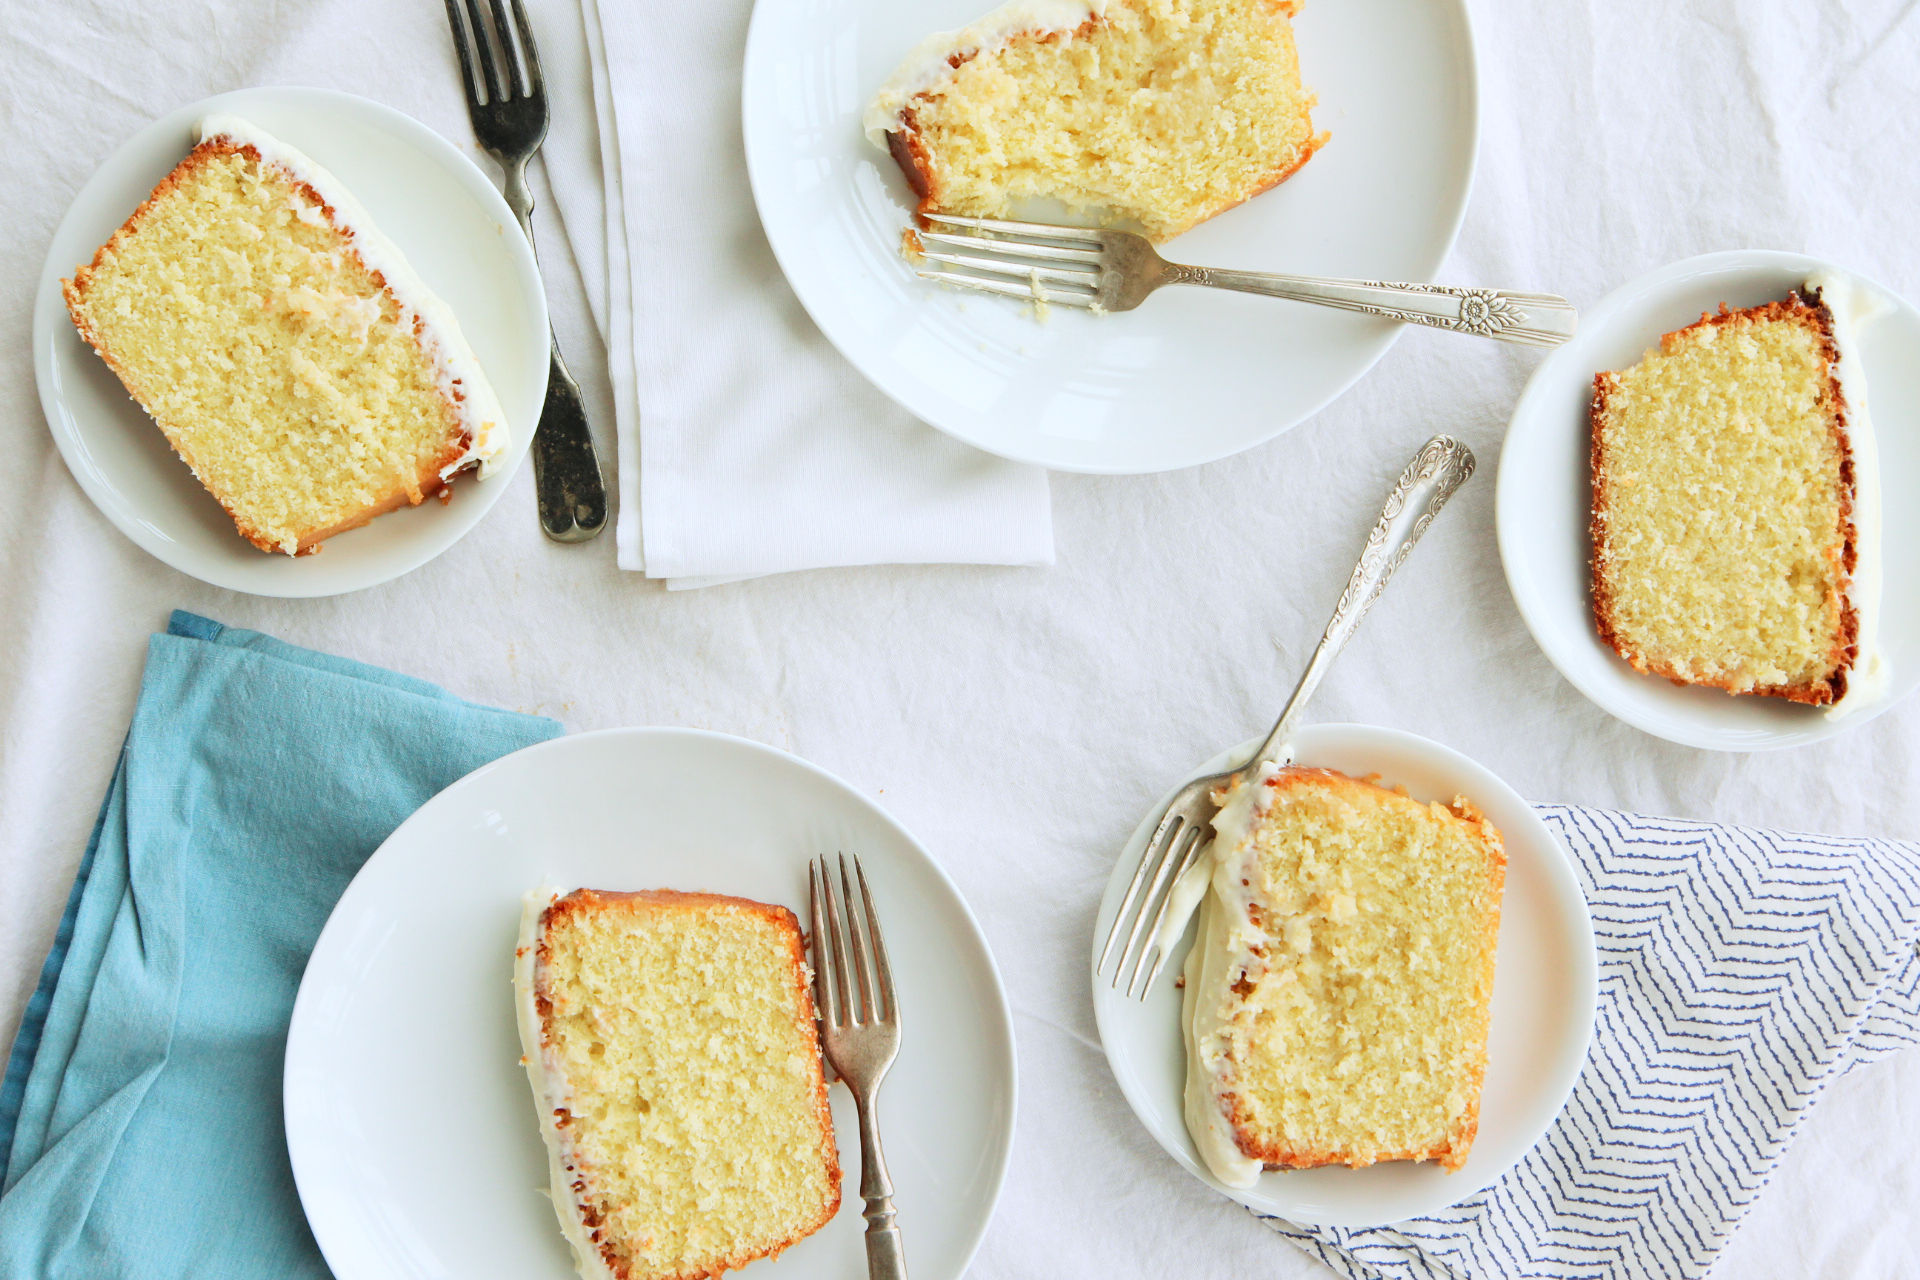
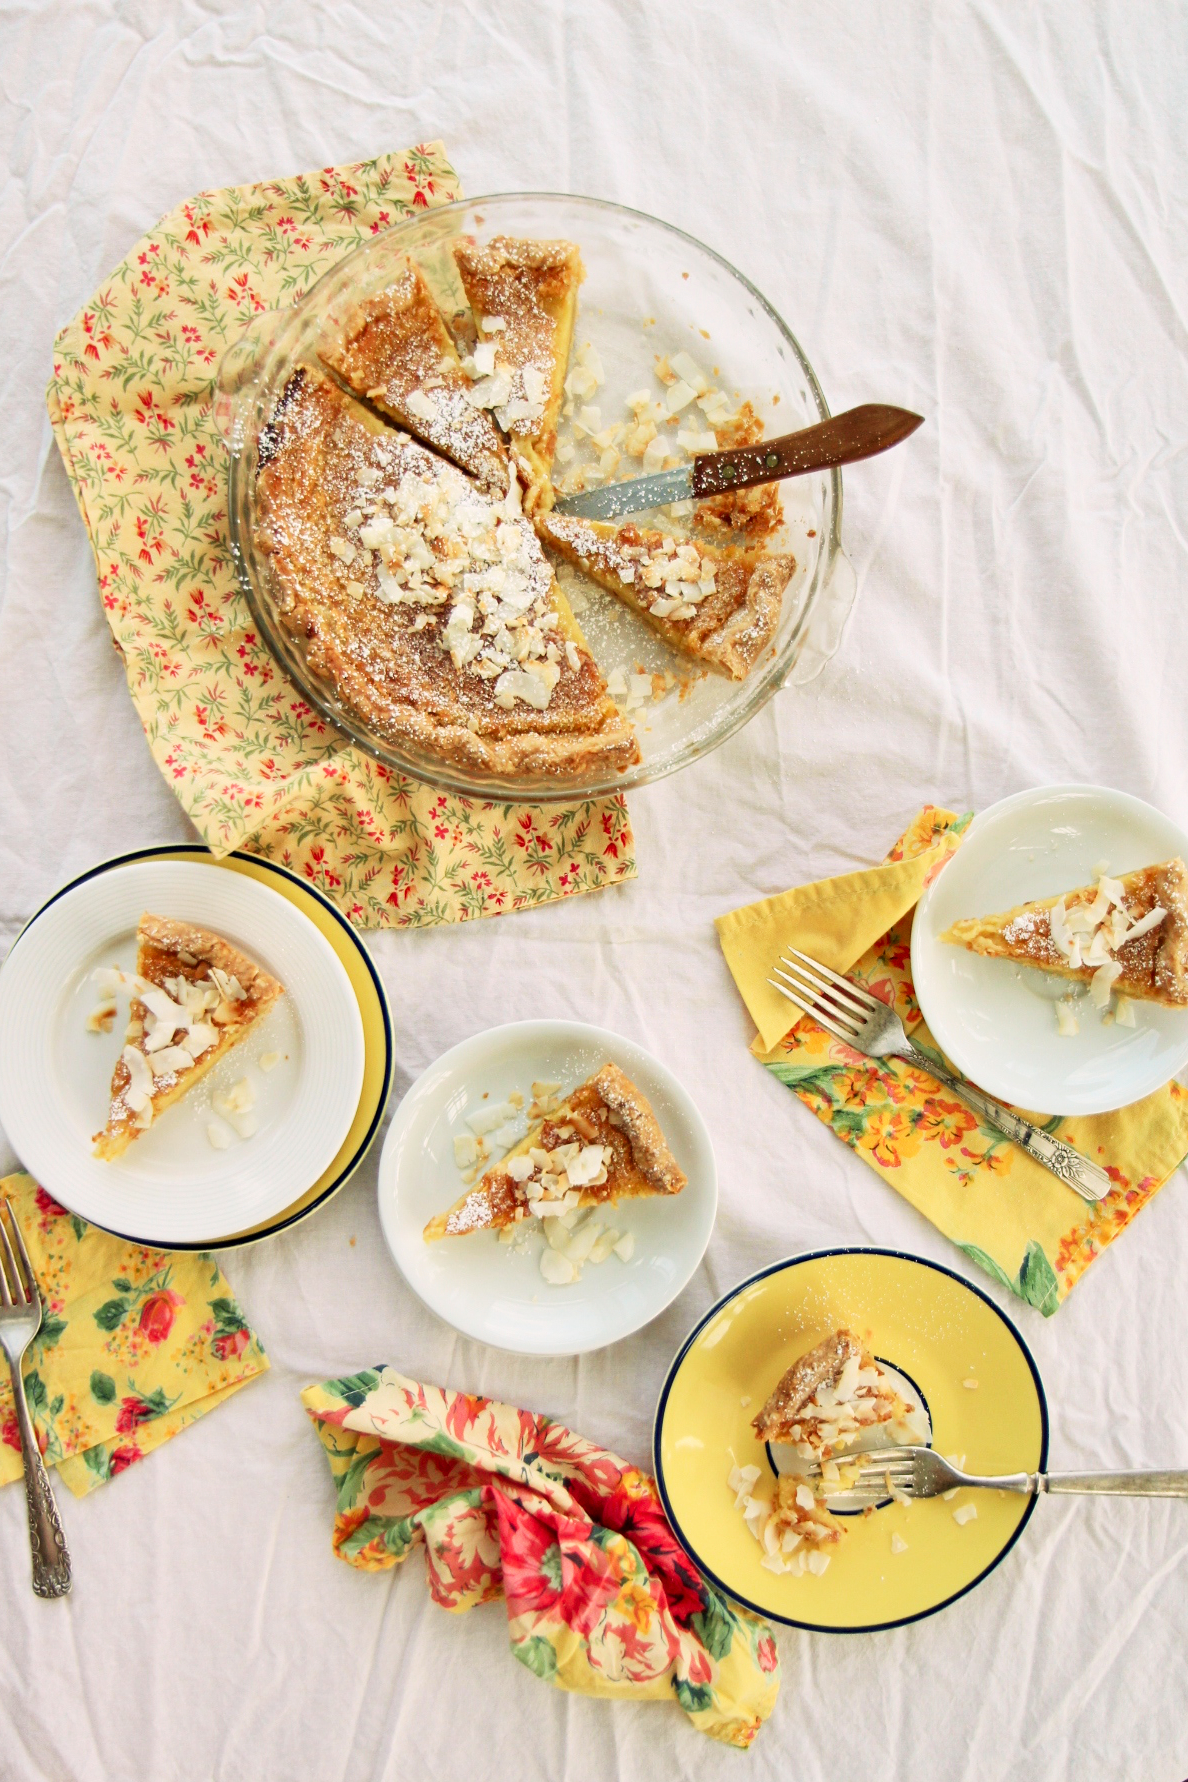
The smooth custard is a good foil for the buttery crust, and when topped with powdered sugar and extra toasted coconut, it’s a real treat. You don’t need much else.
I suppose you could add a dollop of whipped cream, or a scoop of vanilla ice cream, and no one would object.
But this pie is a-ok with being eaten on its own.
Just pie is just fine.
Also, pie, previously:
(Pie highlights? Pie-lights?)
This kickass-crazy-mumba-wumba-hubba-hubba-gimme-more-still-the-best-pie-I’ve-ever-made Pumpkin Spice Brown Butter Chocolate Pecan Pie.
MAKE THIS PIE. It is all the good things, mushed into one.
This lime and honey apple pie with the cutest little crust decorations!
This arguably perfect but prissy peach pie, adapted from the arguably perfect but prissy Cook’s Illustrated.
SUMMER. I’M COMING.
This healthy, homemade coconut-key lime pie which I almost lost a finger for.
The things we do for pie.
And there are others too, but they are deep in the archives and I don’t want to scare you off with bad photography.
Expect more pie this summer. I am declaring this summer the summer of pie.
(…and ice cream, and tarts, and donuts, and pastry, and semifreddo, and cake…)
Coconut Buttermilk Chess Pie
filling heavily adapted from Food & Wine
makes 1 9-inch pie
ingredients:
for the crust:
140 grams (10 tablespoons) butter, diced and very cold
210 grams (1 3/4 cups plus 1 tablespoon) flour
1 spoonful (approximately 1 tablespoon) sugar
1/2 teaspoon kosher salt
55 grams (3 tablespoons plus 2 teaspoons) ice water, or as needed
for the filling:
120 grams (1/2 cup) cream of coconut
100 grams (1/2 cup) granulated sugar
100 grams (1/2 cup) brown sugar
heaping 1/2 teaspoon kosher salt
3 eggs
2 egg yolks
30 grams (2 tablespoons) coconut oil
85 grams (6 tablespoons) butter
2 tablespoons desiccated coconut
1 tablespoon cornmeal
scant cup (approximately 225 mL, or 7/8 cup) buttermilk, well-shaken
directions:
Make the crust: whisk flour, sugar, and salt together in a large bowl.
Dump all of the butter chunks into the flour mixture and toss to coat.
Gently smash and rub the butter into the flour until all chunks are either flattened or the consistency of cornmeal; you want a variety of shapes, the largest being somewhere near pea sized.
Pour in the water and gently stir until dough comes together; add up to another tablespoon of water if need be.
Form the dough into a small rectangle and fold into rough thirds.
Pat the dough into another rough rectangle and fold into thirds again.
Repeat, patting into a rectangle and folding, then pat the dough into a disk.
Wrap in saran wrap and refrigerate for at least 30 minutes and up to 2 days.
Remove dough from fridge and roll out to 1/4 inch thickness; place into 9-inch pie pan and fold the excess edges over and crimp as desired.
Dock all over with a fork and line with aluminum foil.
Freeze for at least an hour and up to 10 days very well wrapped in foil and plastic wrap.
Preheat oven to 350.
Fill foil-lined pie shell with pie weights or dried beans.
Bake for 25 minutes, until lightly golden and set, then remove pie weights, dock in a few more places, and bake for 15 more minutes, until golden.
Meanwhile, make filling: whisk cream of coconut, sugars, salt, eggs, and egg yolks together very well.
Melt the butter and coconut oil together and quickly whisk into egg mixture.
Whisk coconut and cornmeal into the mix, then whisk in the buttermilk.
Pour filling into hot crust and place back in oven.
Bake for 40-50 minutes, until center only slightly jiggles when shaken.
Allow to cool, then freeze for at least 2 hours and up to 8 hours.
Allow to come back to room temperature before serving; dust with powdered sugar and serve with toasted unsweetened coconut, if desired.