De Rigueur

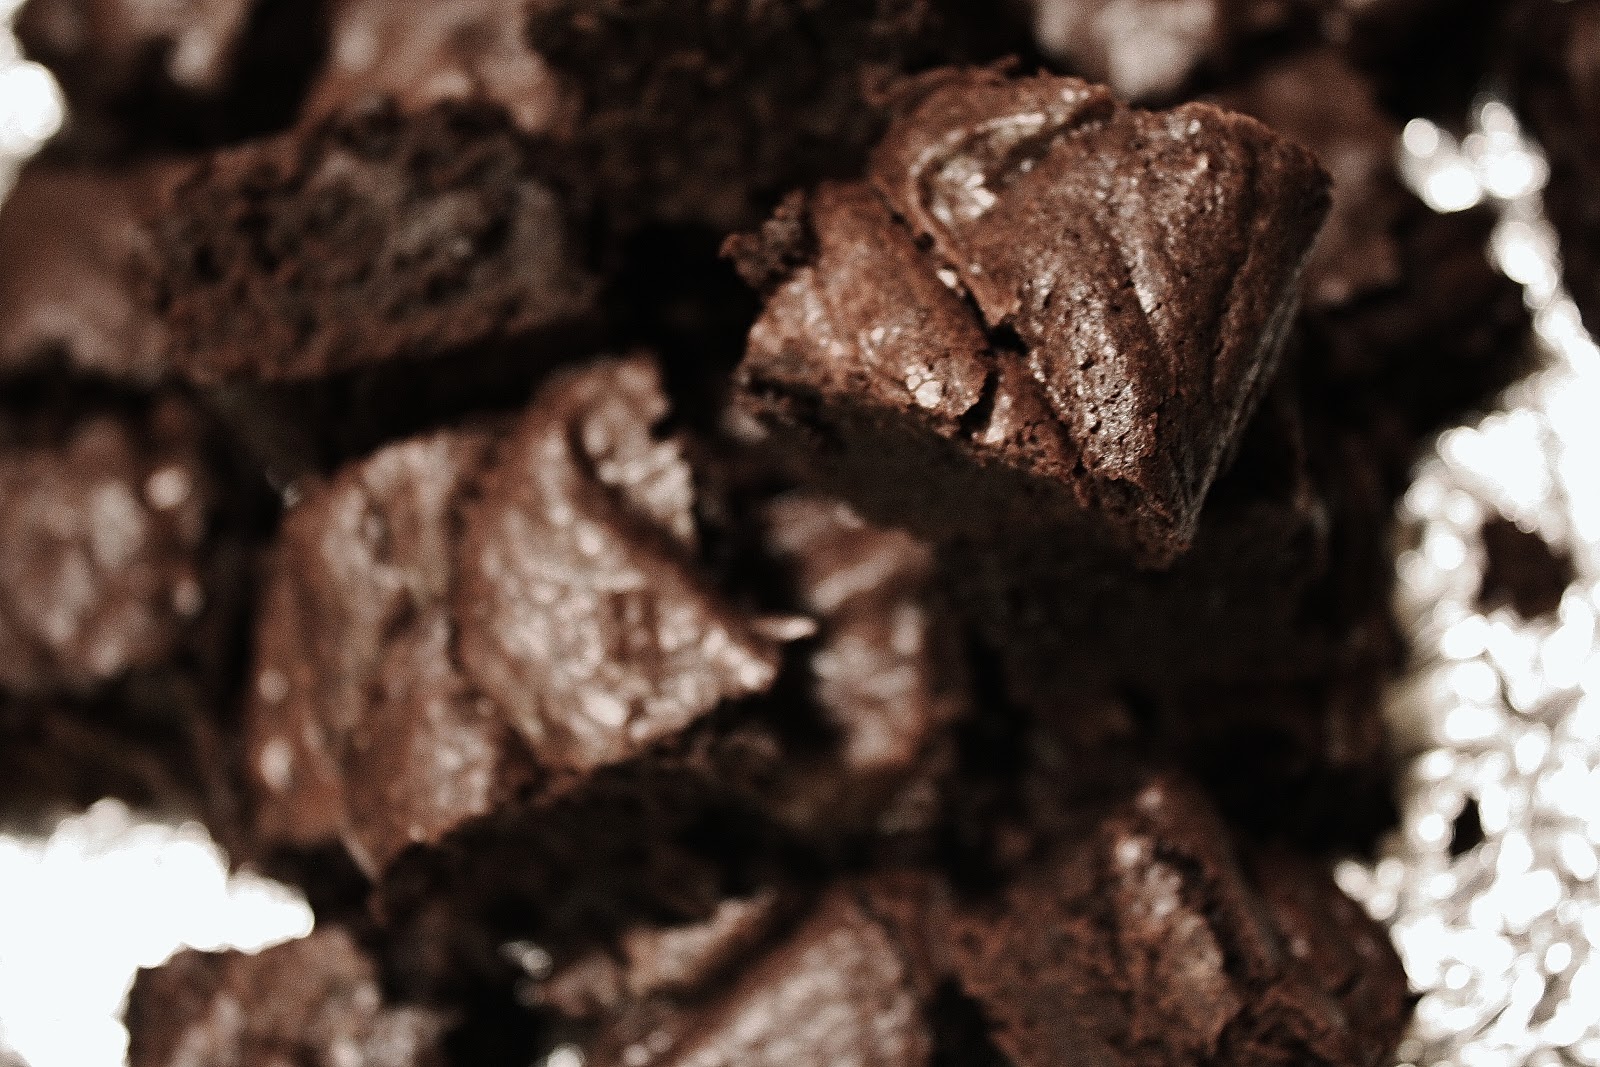
A good brownie recipe is like a good pair of heels or a slick black dress.  
 
 
Completely necessary and indispensable to have in your closet recipe box while seducing that hot boy
 
…Well that analogy fell through.  Brownies are an essential in my closet.  This is a no-judgment zone, okay?  So wipe that smirk off your face.
 
What I mean to say is that they’re classic.  And classic for a reason they are.  
 
And so easy!  They are one-pot wonders, I tell ya.
 
 
And so easily customized!  
 
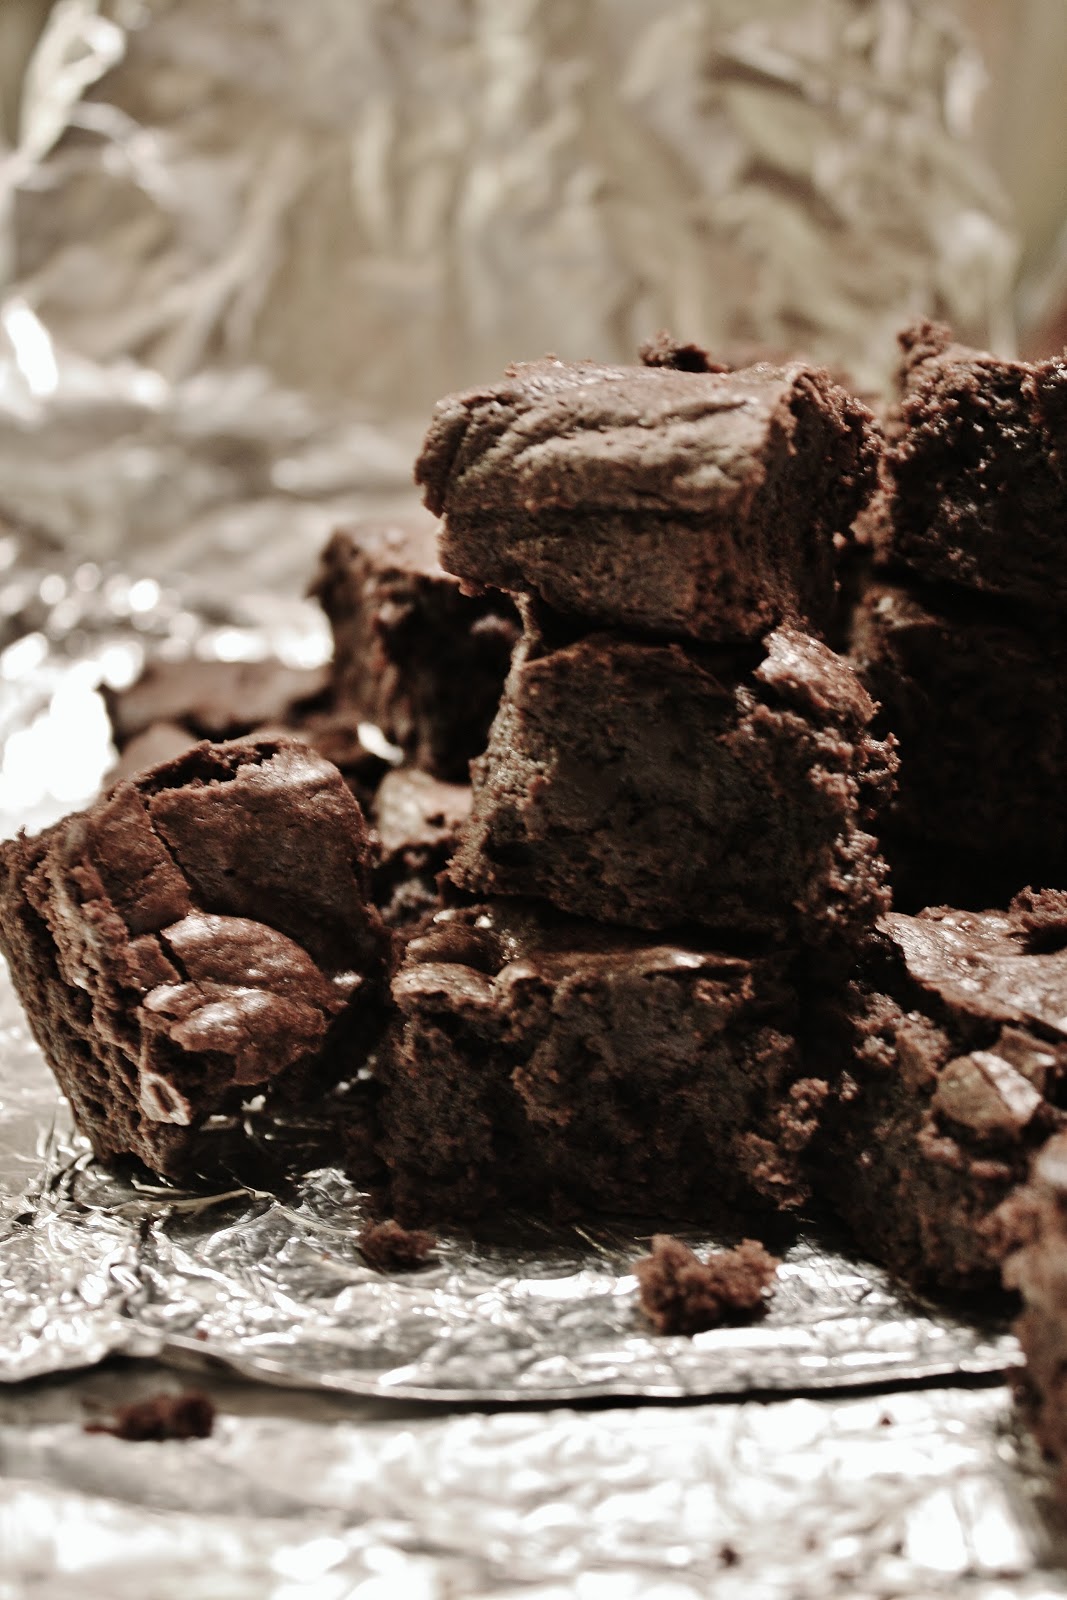
You like cakey?  Bake them for 5 more minutes.  
 
You like fudgy?  Underbake them by 3 minutes.  
 
You want mix-ins?  Add whatever your little heart desires. 
 
This recipe is from Cook’s Illustrated.  It is foolproof.  I should know, because I’m a fool I’ve baked 4 batches of brownies (that’s 256 of these lil guys) in the last week for a school statistics project.
 
To answer your question, yes, I am always the annoying person who does projects only concerning things I already like.  So… baking projects.  Yeah.
Keep these in your arsenal; I guarantee they’ll come in handy some day.  
 
Nobody doesn’t love chocolate.
 
Classic Brownies
Adapted from Cook’s Illustrated
Makes an 8×8 pan
ingredients:
5 ounces bittersweet chocolate
2 tablespoons shortening 
8 tablespoons butter
9 tablespoons cocoa powder
8.75 ounces sugar (1 1/4 cups)
3 eggs
5 ounces flour (1 cup)
1/2 teaspoon salt
2 teaspoons vanilla extract
dash chocolate extract, should you be into that sort of thing
up to 3/4 cup mix-ins (chocolate chips?  toasted nuts?  dried fruit?  crushed candy?)
directions:
Preheat oven to 350 degrees F.  Line an 8×8 pan with two sheets of aluminum foil, creating a sling.  Spray with cooking oil.  In a heavy bottomed saucepan, combine butter, shortening, chocolate, and cocoa powder.  Stir with a wooden spoon until melted and smooth.  Stir in sugar, then increasing your speed, beat in the eggs.  (If you’re a wimp, you can do this part in a stand mixer, but you honestly don’t need to stir for very long, and that dirties another bowl.) Stir in the extracts, then the flour.  Mix only until homogeneous.  Stir in desired mix-ins.  Pour batter into prepared pan and bake for 14-20 minutes, depending on how cakey/fudgy you like them.  Check often; a toothpick will come out of fudgy brownies with faint streaks of chocolate and a few crumbs; in-the-middle brownies will produce only moistened crumbs, no streaks; and cakey brownies will come out with very few crumbs.  For cakey brownies, watch carefully because there is a difference between cakey and light and overbaked and burnt.

To Share, To Care

First steps, words, teeth.
First loves and first heartbreaks.
First losses and griefs.
First snows, melts, blooms.
The sweetest first peaches and the crispest apples.
The first leaves and snowflakes to fall.
Everywhere you look, life is replete with novel experiences…
 
This was my first year participating in the Great Food Blogger Cookie Swap!
 
 
I made decorated sugar cookies (for the first time), and they were funky fresh ugly not the most beautiful, but they were delicious- rich and reminiscent of the holidays.
 
The cookie swap benefits Cookies for Kids’ Cancer, which helps fund pediatric cancer research.  It has inspired me to run two bake sales for the charity; it’s a great (and enjoyable) way to help others.
 
If you feel so inclined, you can send cookies to young cancer patients, or you can donate money or run bake sales and other events.
 
 
It is an incredibly satisfying and rewarding way to spend a little time; I highly recommend it.
I was sent wonderfully delicious cookies from three other talented blogger-bakers:
Ginger spice pumpkin thumbprint cookies from Marly of Ginger Foodie,
Chai-spiced gingerbread men from Rachael of Passing Daisies
And Earl Grey almond chocolate chip cookies from Leila and Nina of Cenabimus
 
They were all crazy yummy! Thank you so much! Be sure to click through to their sweet blogs.
 
I sent my cookies to three other bloggers:
Hannah (and Kate!) of Fleur DeLicious
 Lauren of SizzleEats
and Sara of Modern Alice
Go check their pages out too: deliciously creative things abound!
 
I am ever grateful to have had the chance to help fight pediatric cancer.  Cookies for Kids is a charity which I will be keeping up with, whether it be through another food blogger cookie swap or more bake sales.
 
Some random photovomit photographs:
 
Oh and also? I’m super thankful for the delicious cookies.  This was a truly fattening fun experience.


Classic Iced Butter Cookies

Yield: about 44 small sized cookies
From Cook’s Illustrated
Ingredients:
12.5 ounces flour
5.5 ounces superfine sugar (whiz regular granulated sugar in a food processor for 30-45 seconds)
1/4 teaspoon salt (I would have increased this by a touch)
8 ounces (2 sticks) butter
2 teaspoons vanilla
2 tablespoons cream cheese
Directions:
Mix the flour, sugar, and salt together in a stand mixer fitted with a paddle attachment.  Add in the butter, 1 tablespoon at a time, until the mixture starts to resemble sand.  Add in the cream cheese and vanilla and mix until the dough begins to come together.  Remove from mixer and lightly knead a few times to bring dough together.  Pat into two disks and refrigerate at least 30 minutes, and up to 3 days.
Once dough has chilled, preheat oven to 375 degrees F.  Roll dough out to 1/8 inch thickness and cut into desired shapes. Freeze dough for at least 20 minutes, or until very firm. Bake for 10-12 minutes, or until cookies are barely turning golden.  Cool on a wire rack.
The decorator icing is from Bridget of Bake at 350, who makes just about the most perfect decorated cookies.
I increased the recipe by 1.5 and had plenty… In fact, I had way too much.  For this number of cookies, I think 1 batch of the recipe would do.  I tinted using Wilson gel colorings, which I prefer over regular food coloring for their potency.

La Neige et Le Gingembre

“I wonder if the snow loves the trees and fields, that it kisses them so gently? And then it covers them up snug, you know, with a white quilt; and perhaps it says “Go to sleep, darlings, till the summer comes again.”” 

― Lewis CarrollAlice’s Adventures in Wonderland & Through the Looking-Glass
Big, fat snowflakes fall onto rosy cheeks, as collars are turned up against the creeping cold and whispering, wintry winds.
 
Winter is coming; there is no denying it.
Granted, she may be a season of malaise, but winter has an undeniably ghostly beauty.


Driving through the countryside, the dark allure of this season is illuminated; weak beams of sunlight stream through lavender clouds, lighting upon endless fields of dead crops, standing proud and tall against the frost; upon lustrous evergreens and silvery deciduous trees, between which the ground is laid bare, the soft carpet of needles giving way to hard cold ground only at the edges of the forests.  

 
Pillowy white snowflakes litter the ground, remaining there for only an instant, before melting into the earth.
 
Cet hiver serai beau- de ça je suis sûr; je peux le voir maintenant, même au début.  Même si vous n’aimiez pas la neige, vous pouvez apprécier la beauté de ce saison froid.
These cookies are perfect for cozy winter snacking.  Not that I would know anything about that… 

Actually, I’ve been up to my ears in ginger cookies for the last week.  I’ve been in hot pursuit of ones that were chewy and soft; anti-gingersnaps, as it were.  I ended up with many, many, many gingersnaps.  Delicious? Absolutely.  Soft? No.  Rock hard Crispy.

All the trials boiled down to these cookies.  They are perfection.

They are filled with warm spices, and just enough heat, which has the edge taken off by sweet, mellow molasses.  Their crinkly, sparkly and sugar spangled outsides remind me of ice crystallization.  Soft on the inside, with a slightly crispy, chewy outside, these are a wonderful addition to any winter cookie recipe repertoire.

I may or may not have also added them to my winter breakfasts.  But you didn’t hear that from me.


Giant Sparkling Ginger Molasses Cookies
adapted from Chow
ingredients:
2 1/4 cups flour
2 teaspoons baking soda
3/4 teaspoon kosher salt
1 1/2 teaspoons cinnamon
1 1/2 tablespoons ginger
pinch cardamom
1/2 teaspoon cloves
1/4 teaspoon allspice
1/4 teaspoon nutmeg
1 1/2 sticks unsalted butter
1 cup tightly packed light brown sugar
1/4 cup molasses
1 egg
1/3 cup granulated sugar
directions:
Preheat oven to 350 degrees F.  
Cream butter and brown sugar and salt together until fluffy and no butter chunks remain.  Add in molasses and spices and beat until incorporated.  Beat in egg.  With the mixer off, dump in all of the flour and baking soda.  Pulse the mixer on and off a few times so that flour doesn’t go all over everything, then mix until the dough comes together and everything is homogeneous.  Divide the dough into 14 portions (I use a 3 or 4 tablespoon ice cream scoop), and roll into balls.  Spread 1/3 cup sugar out on a sheet of parchment or wax paper.  Roll the balls in the sugar until coated.  Space them out- 6 per bakers’ 1/2 sheet (standard cookie sheet size) and squish slightly with the heel of your hand.  Bake for 20 minutes, until fragrant and tanned.  Check often once they get close to being done- you want their bellies to remain soft!

T-Minus

Soft snowflakes are floating down outside my window as I type this, landing gently on vibrant evergreens and vivid red berries.
 
 
Something is stirring in me as I take in the peaceful scene outside…
 
By Jove, I think it’s the Christmas spirit.

My stomach is still bloated has barely regained its balance from Thanksgiving, and I’ve already got the next holiday on the brain.  
Exactly one month!

I gots problems, people.
Why, just last weekend, I spent an entire day raking with my family, greedily anticipating Thanksgiving, and appreciating the beautiful fall weather.
How quickly times change, no?

I had a very beautiful, very long, very poetic post written to go along with this.  

Only problem?  I wrote it using the blogger app on my phone.  What a Big Mistake that was…  (Picture me shaking my fist at the blogging gods right now.)

I’m sorry that I’ve been away from the blog for some time.  Thanksgiving really took it out of me, as I decided to undertake the prep and cooking of the entire meal myself.  


The last few weeks, in terms of Thanksgiving prep, have gone something like this:

I ordered the turkey (no, I don’t eat meat, but my family does).
I went to my local butcher at an ungodly hour in the morning, to make sure I got my hands on some good local meat products: fresh bacon, fresh cranberry-sage sausages, and freshly-rendered lard.
I went grocery shopping (by meself) after a long basketball practice; I spent a ridiculous amount of money and could hardly push the cart, and I’m no weakling.  I must have purchased 200 pounds of food that day.

I went and got the turkey from the farm, a trek that ended up being far harder than me going out and hunting a damn turkey myself.  As it turns out, there are multiple “Creamery” Roads, complete with “ninety-degree turns” right near house number 200s in the nearby Slaterville Springs.  Can you guess who went to the wrong one?  What turned out to be the completely wrong one?  Yes, me.  And don’t laugh.  I had to drive 5 miles in a state forest OFF-ROAD in my Volvo to get to the wrong farm, only to discover that the house numbers went from 194 to 204.  What the…?!?  Yes, I went 45 minutes past the correct Creamery Road.  Upon this realization, I cursed, cried, and punched my steering wheel, à la Shit Girlfriends Say (go to 2:07).  I’m kidding.  But I did wheel my car around and speed back through the forest as fast as I could, suspension be damned.  

I cooked.  A lot.  The menu?

Sourdough bread, gluten-free cheese crackers, cheeses, and grapes 
Roasted squash, carrots, parsnips, turnips, beets, and sweet potatoes
Roasted lemony brussels sprouts with cranberries, roasted garlic, and maple-balsalmic glaze
Quince and brown-butter basted turkey
Smashed fingerling potatoes with scallions and bacon
(Gluten-free) Cornbread stuffing with sausage, apples, onions, and sage
Apple cider cranberry sauce
(Healthy) Pumpkin pie in an almond-date crust
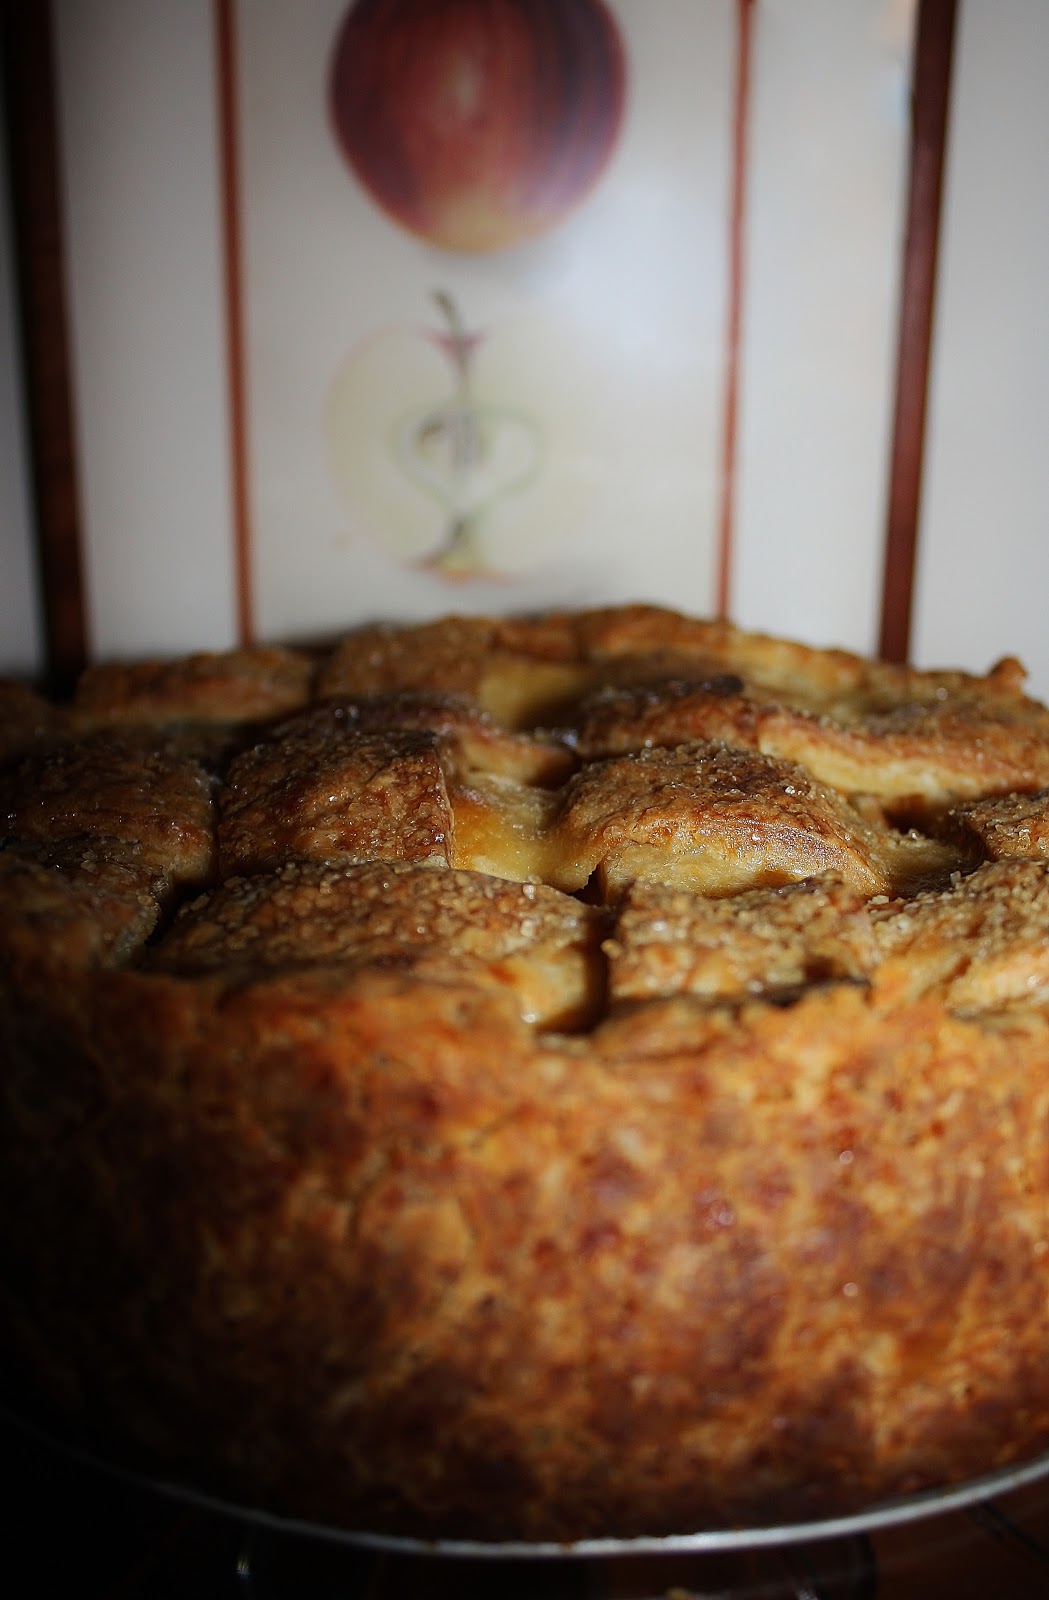
Salted caramel apple thyme pie in a cheddar cheese and lard crust with maple whipped cream
Maple crème fraîche tart 
Copious amounts of Prosecco, Champagne, and wine


It was all delicious; I was very happy.  And exhausted.  Still am.

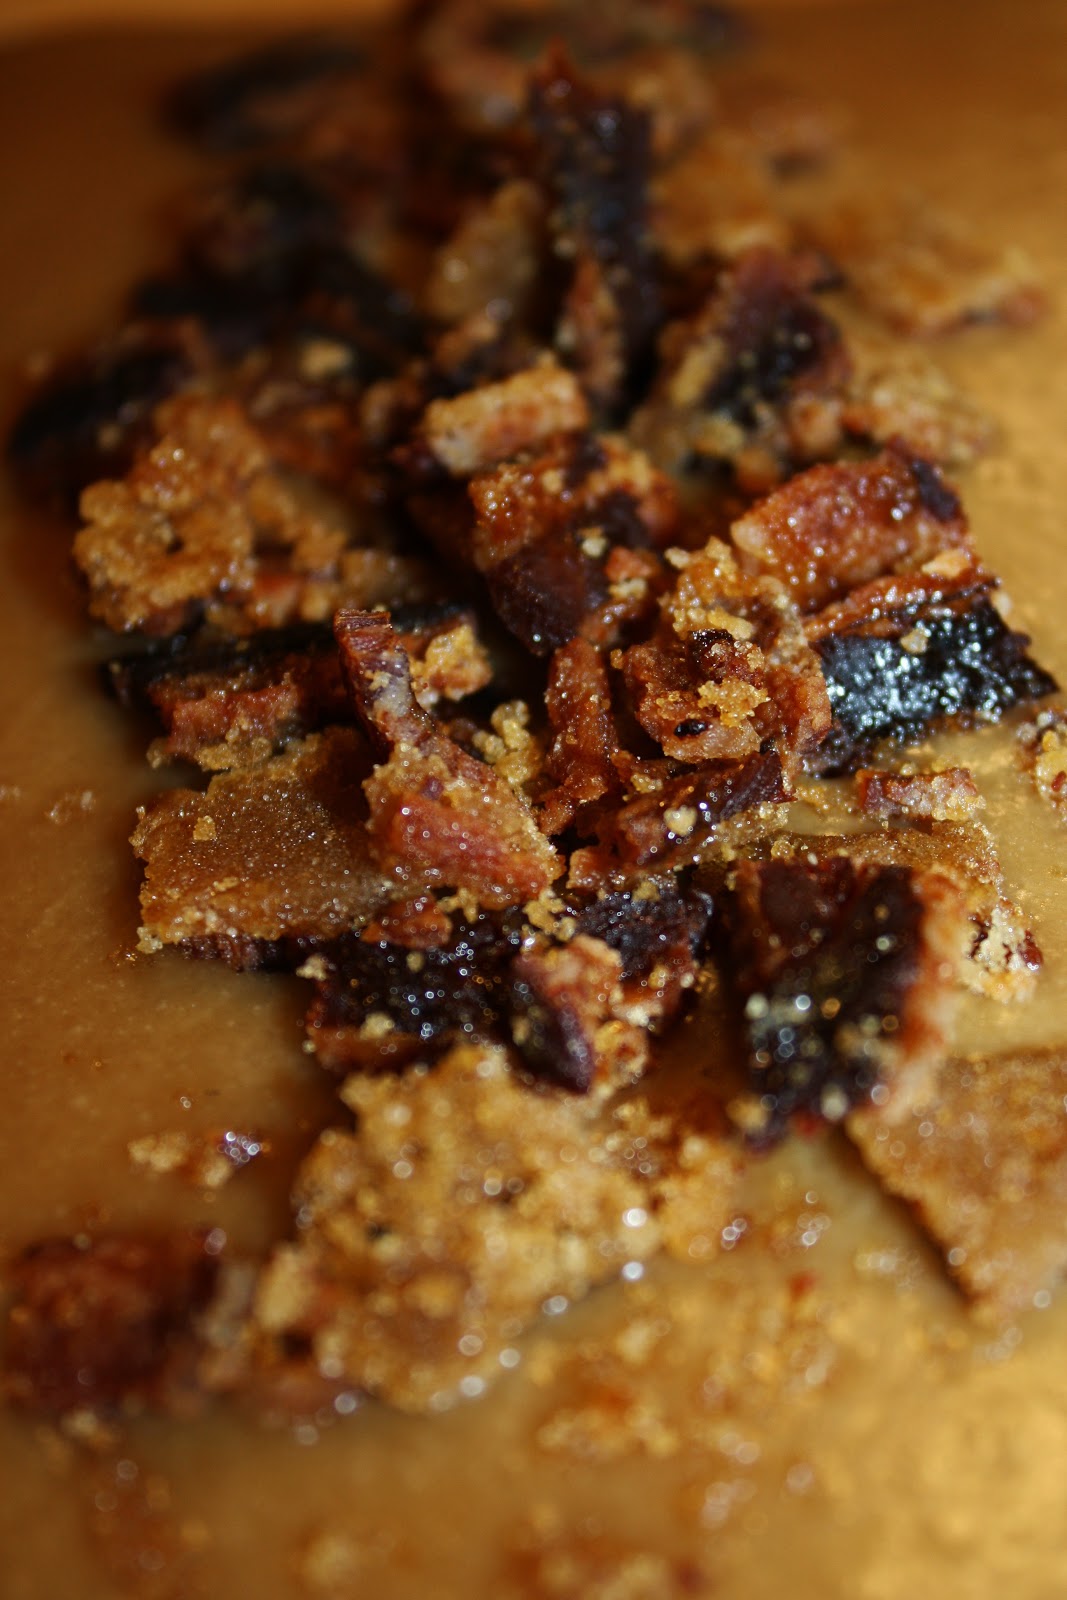
The night before Thanksgiving, we celebrated my oldest brother’s birthday.  I made him a French toast cake, which consisted of a brown sugar, brown butter cake filled with cinnamon cream cheese, frosted with a brown sugar swiss meringue buttercream, topped with a maple caramel glaze, and finished with candied bacon.  Yowza.

I’ll be around more often; I promise.  After all, I have some serious holiday baking calling my name.  
P.S. I’m thankful for you guys!  It seriously awes me that I even have readers.  Love y’all.

 
French Toast Cake
for the cake:
ingredients:
3 sticks unsalted butter, browned
2 1/4 cups flour
2 1/4 teaspoons baking powder
1 teaspoon salt
1 1/3 cup brown sugar
1 tablespoon vanilla extract
3 egg yolks (save the whites)
2 whole eggs
1/3 cup maple syrup, topped off with buttermilk to equal 1 1/4 cups
directions:
Let the butter cool until barely warm to touch.  Preheat oven to 350 degrees F.  Butter and flour a half sheet pan.  Add the sugar, salt, and vanilla to the butter and beat until combined. Add in the eggs and egg yolks and mix to combine.  Add in the maple syrup-buttermilk mixture and mix to combine.  Dump in the flour and baking powder and beat until homogeneous.  Spread into pan and bake for 30-35 minutes, until golden brown and springy to the touch.
for the bacon:
2 strips bacon
brown sugar, as needed
directions:
in a preheated oven, bake bacon, covered in brown sugar, until crispy, about 15 minutes; flip halfway through and coat with more brown sugar.
for the filling:
ingredients:
8 ounces cream cheese
big pinch cinnamon and nutmeg
big pinch salt
3 cups powdered sugar
1/4 cup heavy cream, or as needed
directions:
Beat all ingredients together until fluffy.
for the frosting:
ingredients:
4 ounces egg whites
4 ounces brown sugar
big pinch salt
12.8 ounces butter, room temp
directions:
In the bowl of a stand mixer, mix egg whites, salt, and sugar together.  Heat over a pan of steaming water until the egg whites reach 145 degrees F, whisking all the while.  Remove from heat, and beat until stiff meringue forms and bowl is cool to the touch.  Slowly add in the butter, tablespoon by tablespoon, and continue to beat until the buttercream is fluffy and smooth.
for the caramel:
1/2 stick butter
1/4 cup brown sugar
big pinch salt
1/4 cup maple syrup, plus 1 tablespoon
2 tablespoons cream
directions:
Melt butter together with salt, brown sugar, and 1/4 cup maple syrup over medium heat and cook until smooth.  Remove from heat and stir in cream and last tablespoon maple syrup.  Use immediately or refrigerate and reheat and recook until smooth before use.

Ad Hoc

I find myself opening a lot of drafts, trying to figure out what to write, and a lot of times, I just don’t know.  No one told me that putting words down and sending them into the shadowy interspace would be so gosh darn hard sometimes.  
 
 
Yet I love it.  I love challenging myself to be creative, or funny, or sarcastic, or whatever, but to be honest, I’m not funny or creative or sarcastic all the time.
 
In fact, I hardly ever am.  Ninety-nine percent of the time, I am whiny not.
The only solution is to wing it.
 
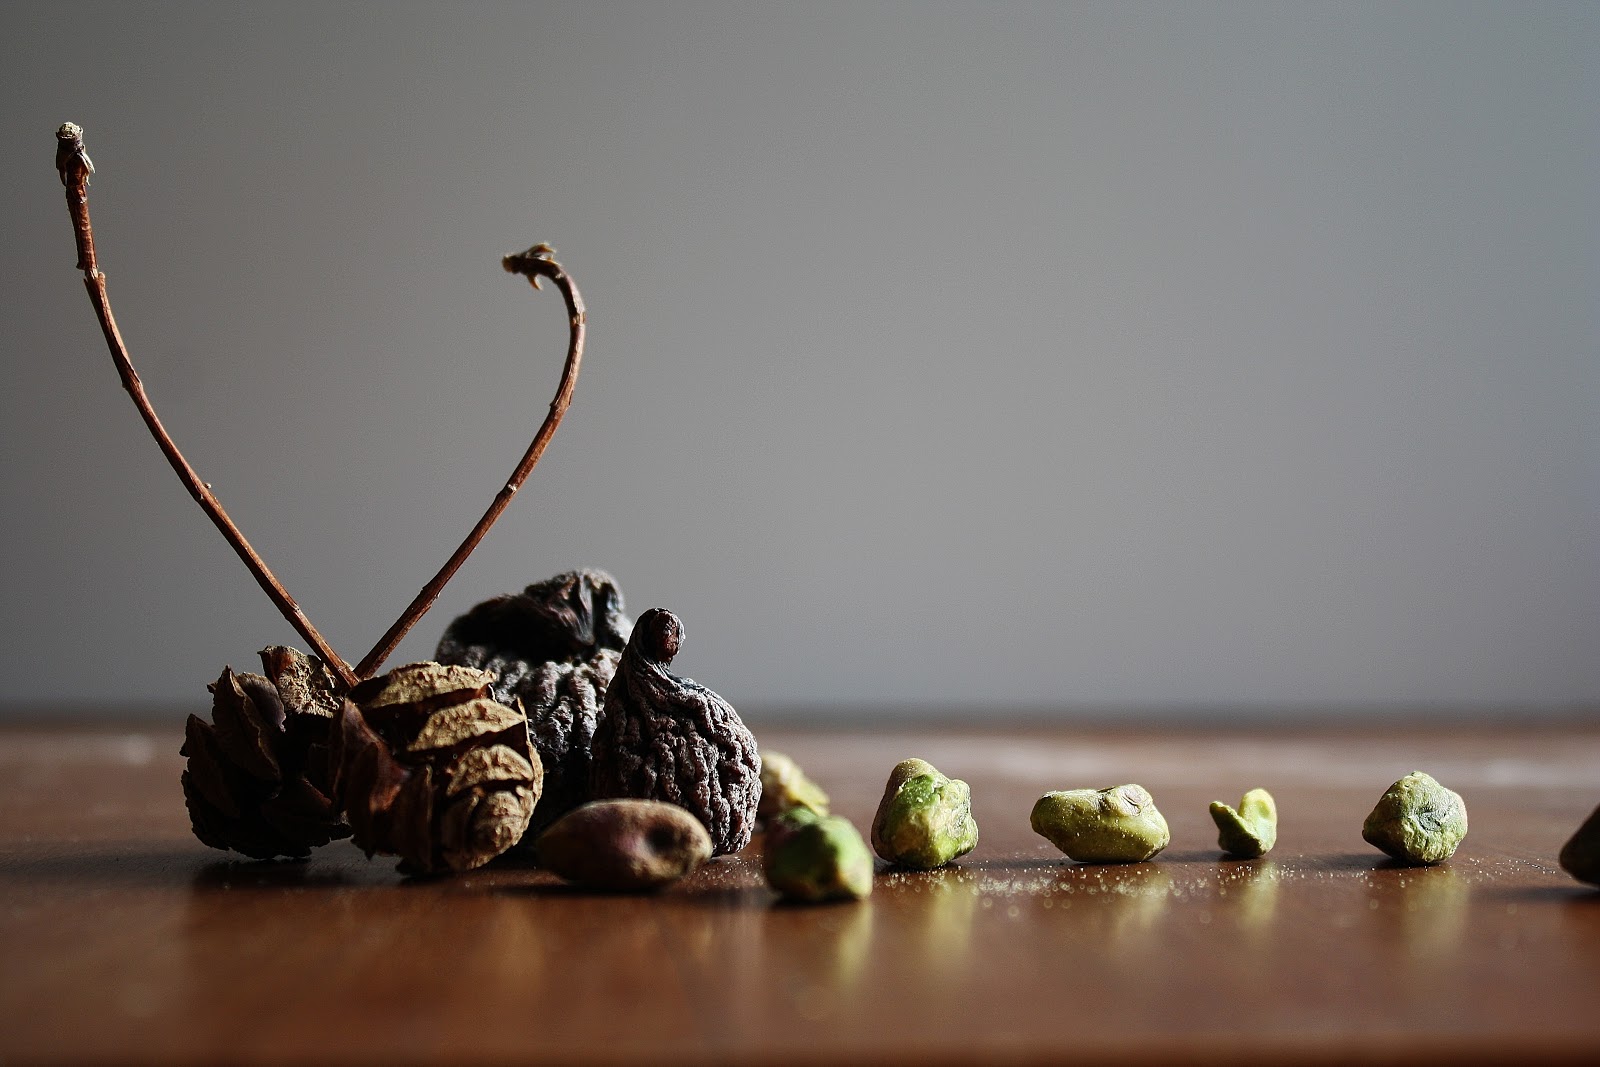
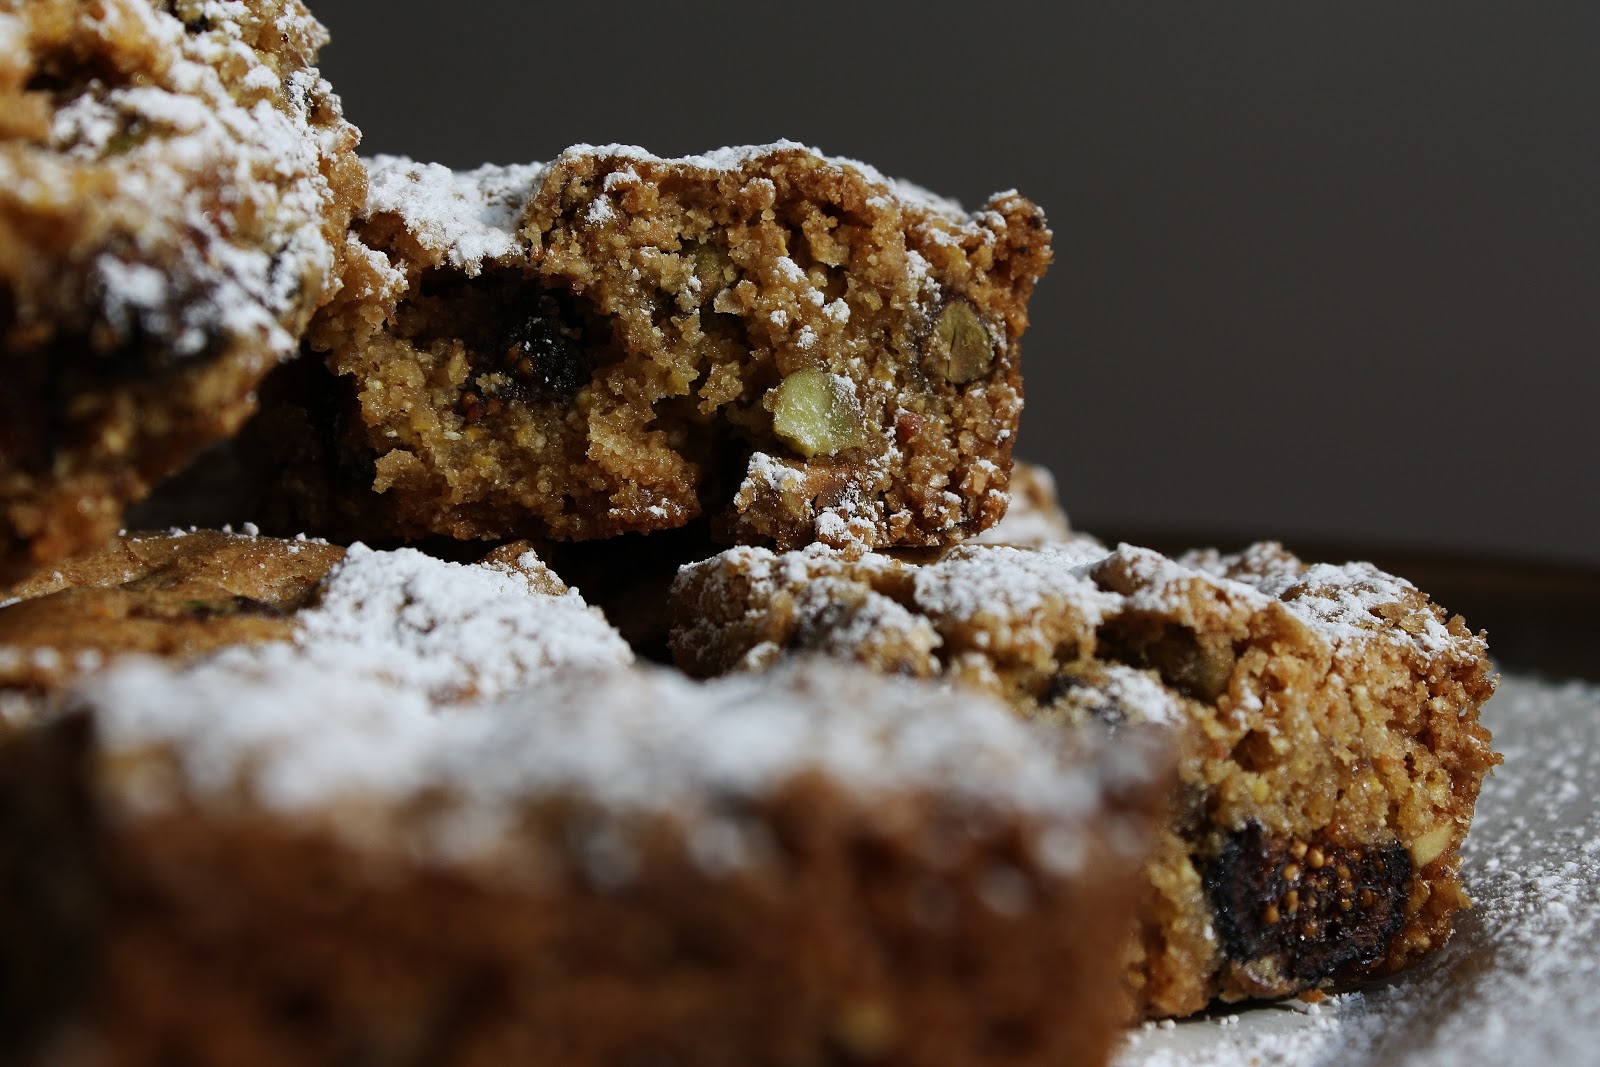
Baking new things and combining new flavors is not my problem; I have an entire document on my phone of wacky flavor combinations that I’m dying to try out (See the cornmeal-fig-pistachio-brown butter combo at the bottom of this post for proof).  
 
 
My issue is that I don’t always know what to say about the food I make, without being super repetitive and annoying.  
 
 
I don’t always have witty things to say.  Really.  I just have to pretend I do.
 
 
So. Um.
These were delicious.  You should make them.  
Boom. Done.
 
And P.S.?  The French word for pistachio is inexplicably beautiful to me.  Pistache.


Fig, Pistachio, and Cornmeal Brown Butter Blondies
adapted from smittenkitchen’s infinitely adaptable blondies
ingredients:
1 stick butter, browned
1 loose cup light brown sugar
1 egg
2 teaspoons vanilla
big pinch kosher salt
3 tablespoons coarse polenta
1/4 cup fine cornmeal
1/2 cup plus 1 tablespoon white whole wheat flour (can use all-purpose)
1 cup chopped dried figs
1 cup toasted chopped pistachios
directions:
Preheat oven to 350 degrees F.  Grease an 8×8 pan.  Stir brown butter and brown sugar together, then stir in egg and vanilla and salt.  Add in the cornmeals and flour, and stir until combined.  Add in the figs and pistachios.  Spread into pan and bake until golden and slightly firm to the touch, 30-35 minutes.  Allow to cool slightly, slice, and remove from pan.  Allow to cool completely, then dust with confectioners’ sugar, if desired.

Sand in the Vaseline

 
Last week, my bake sale was pushed back a day, due to a day off from school, thanks to Sandy.  Now, I’m not complaining, mais elle nous a posé un vrai lapin (She stood us up) where I live.  I hope anyone whom she didn’t is safe; my heart goes out to those without power or heat who are bracing for the next big storm.  
 
Life has been a little hectic for me lately, as you can probably tell by my lack of posts.
 
Being a senior in high school, the big deadline was November 1st for my college application.  It was down to the wire.  A real nail biter.  By the time I finished typing that last essay, it was 10 o’clock and the last trick or treaters had already dissipated into the night.  Hitting submit was a relief, for about two minutes.  Then the post-application panic set in.  
 
Now, a week later, I’ve submitted to a pretty much constant state of being on edge.  


 Also, it’s November
Which means I’ve been spending every waking minute some time planning Thanksgiving.  As in, the menu, the shopping lists, the timetable, the seating, etc.
Call me Liz Lemon. Please?
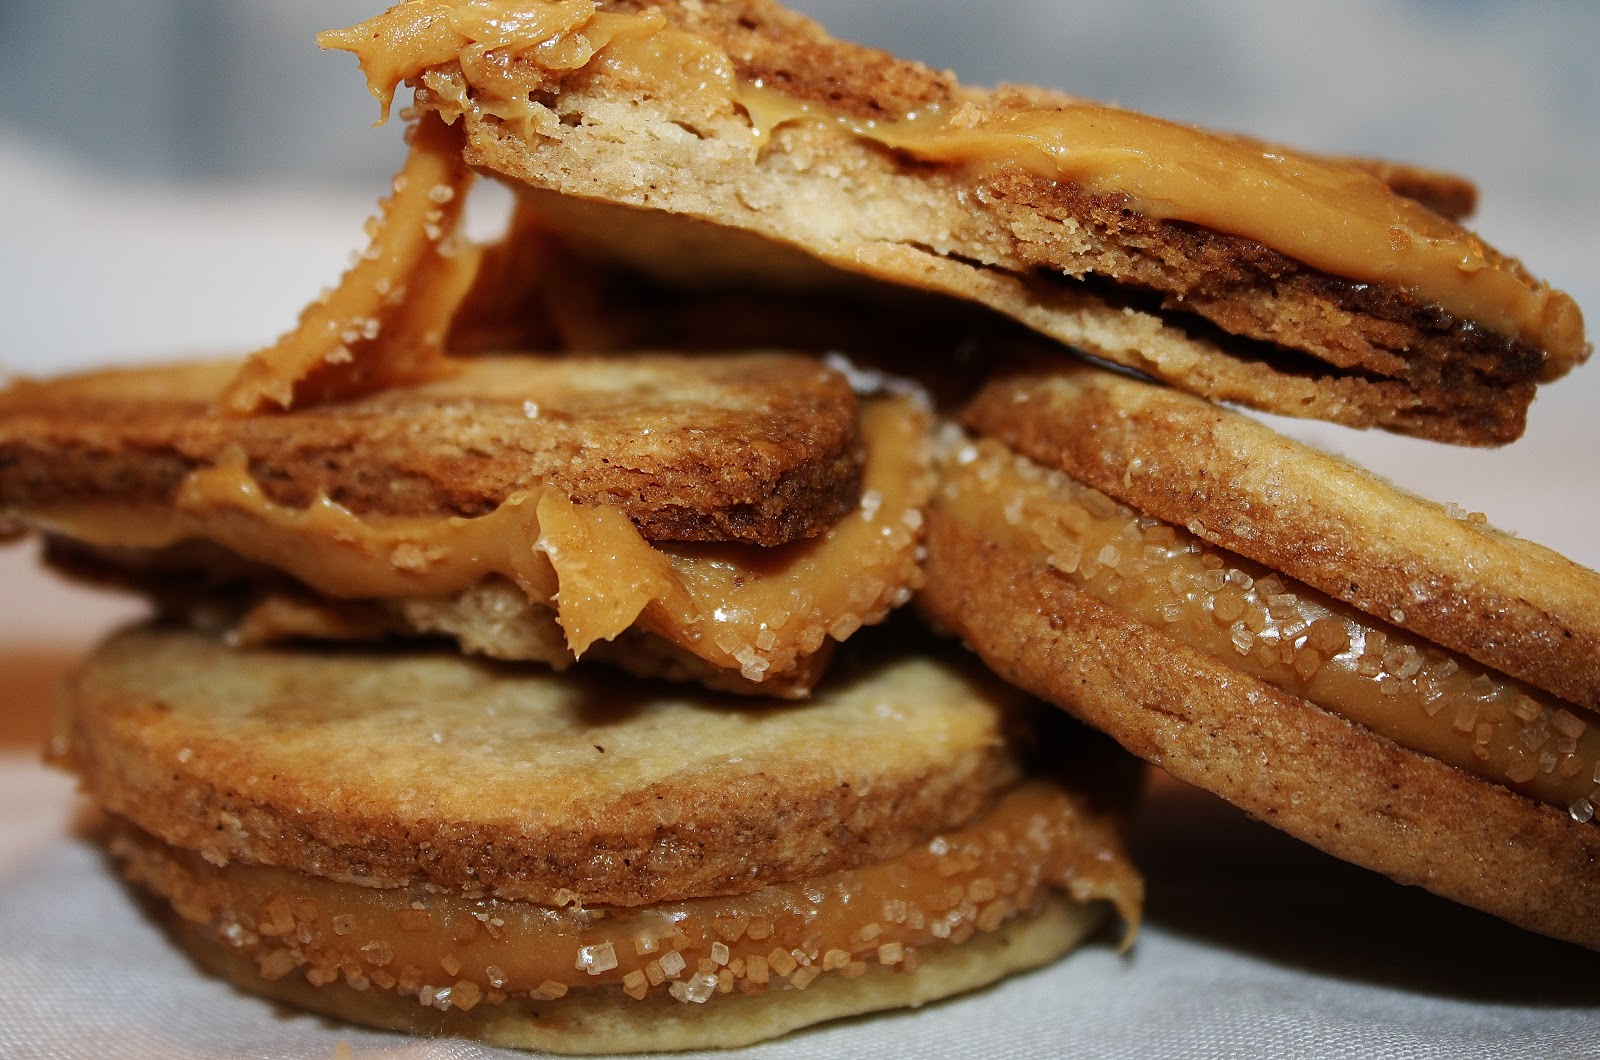
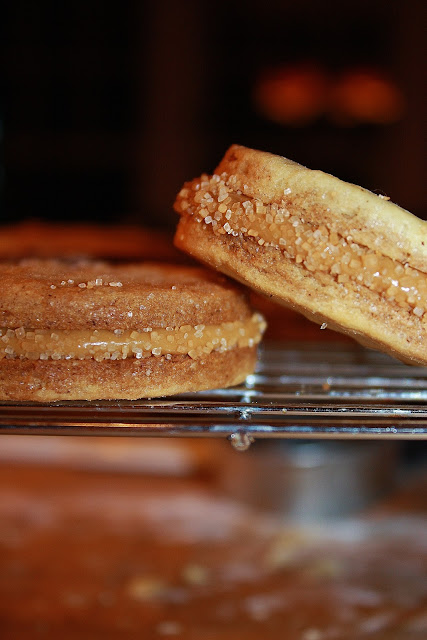
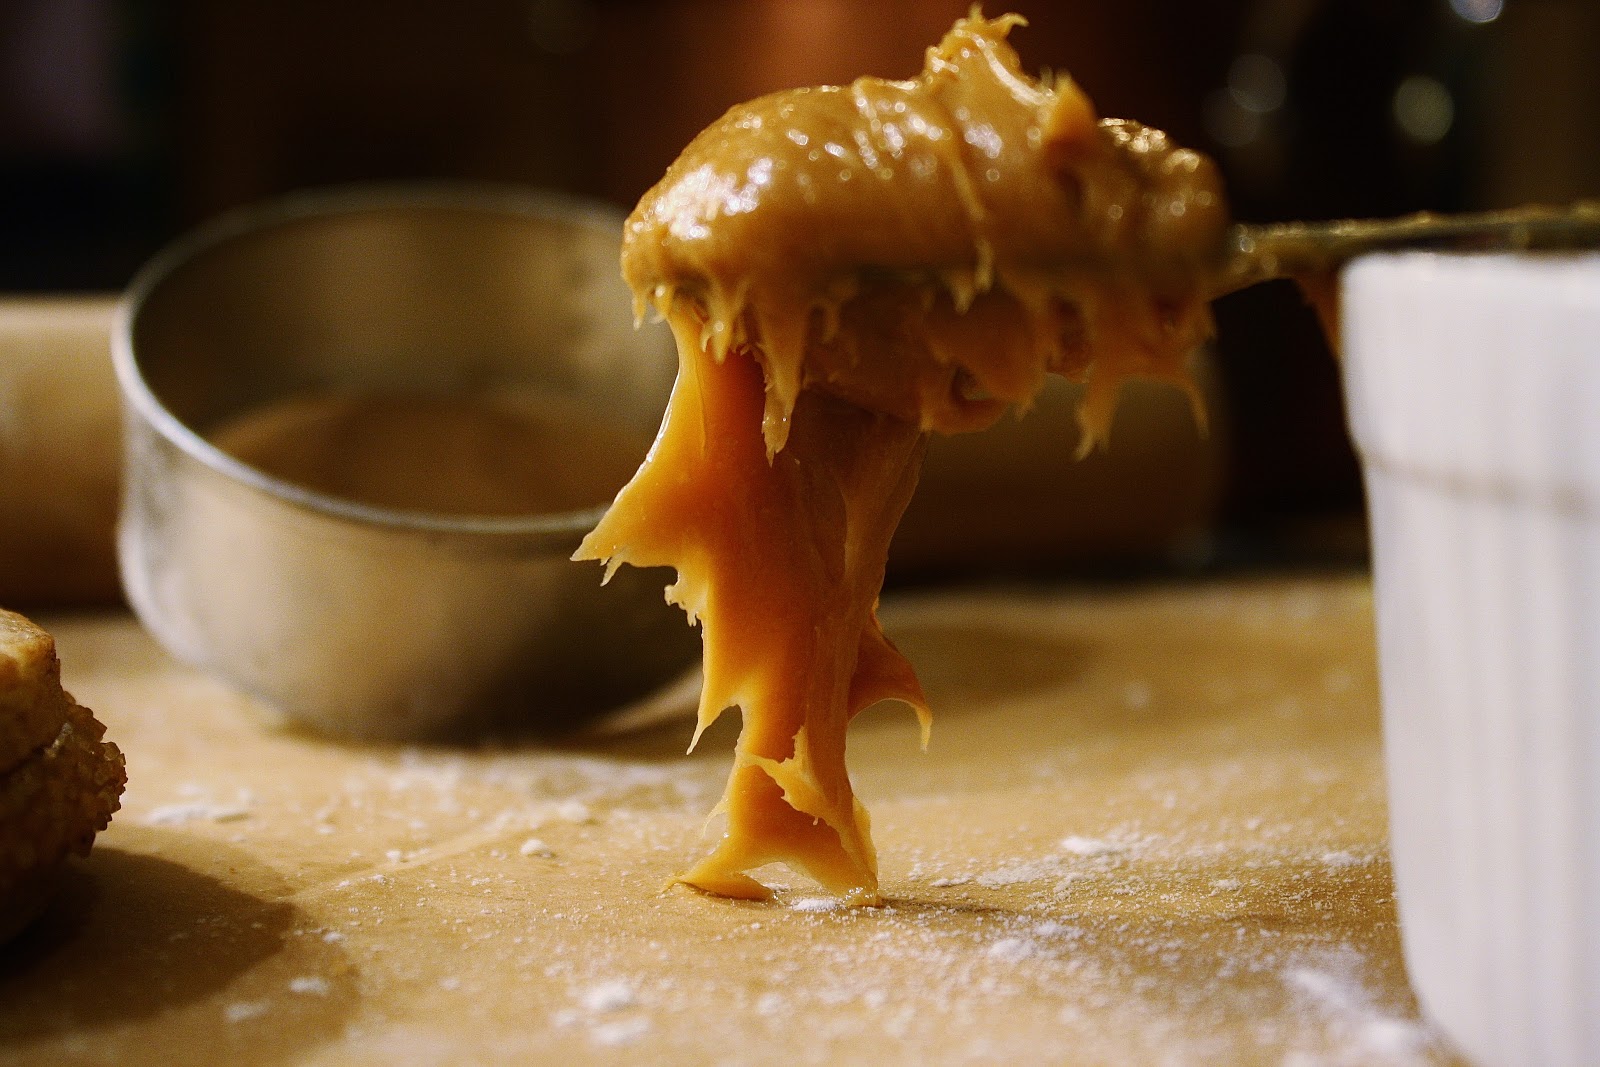
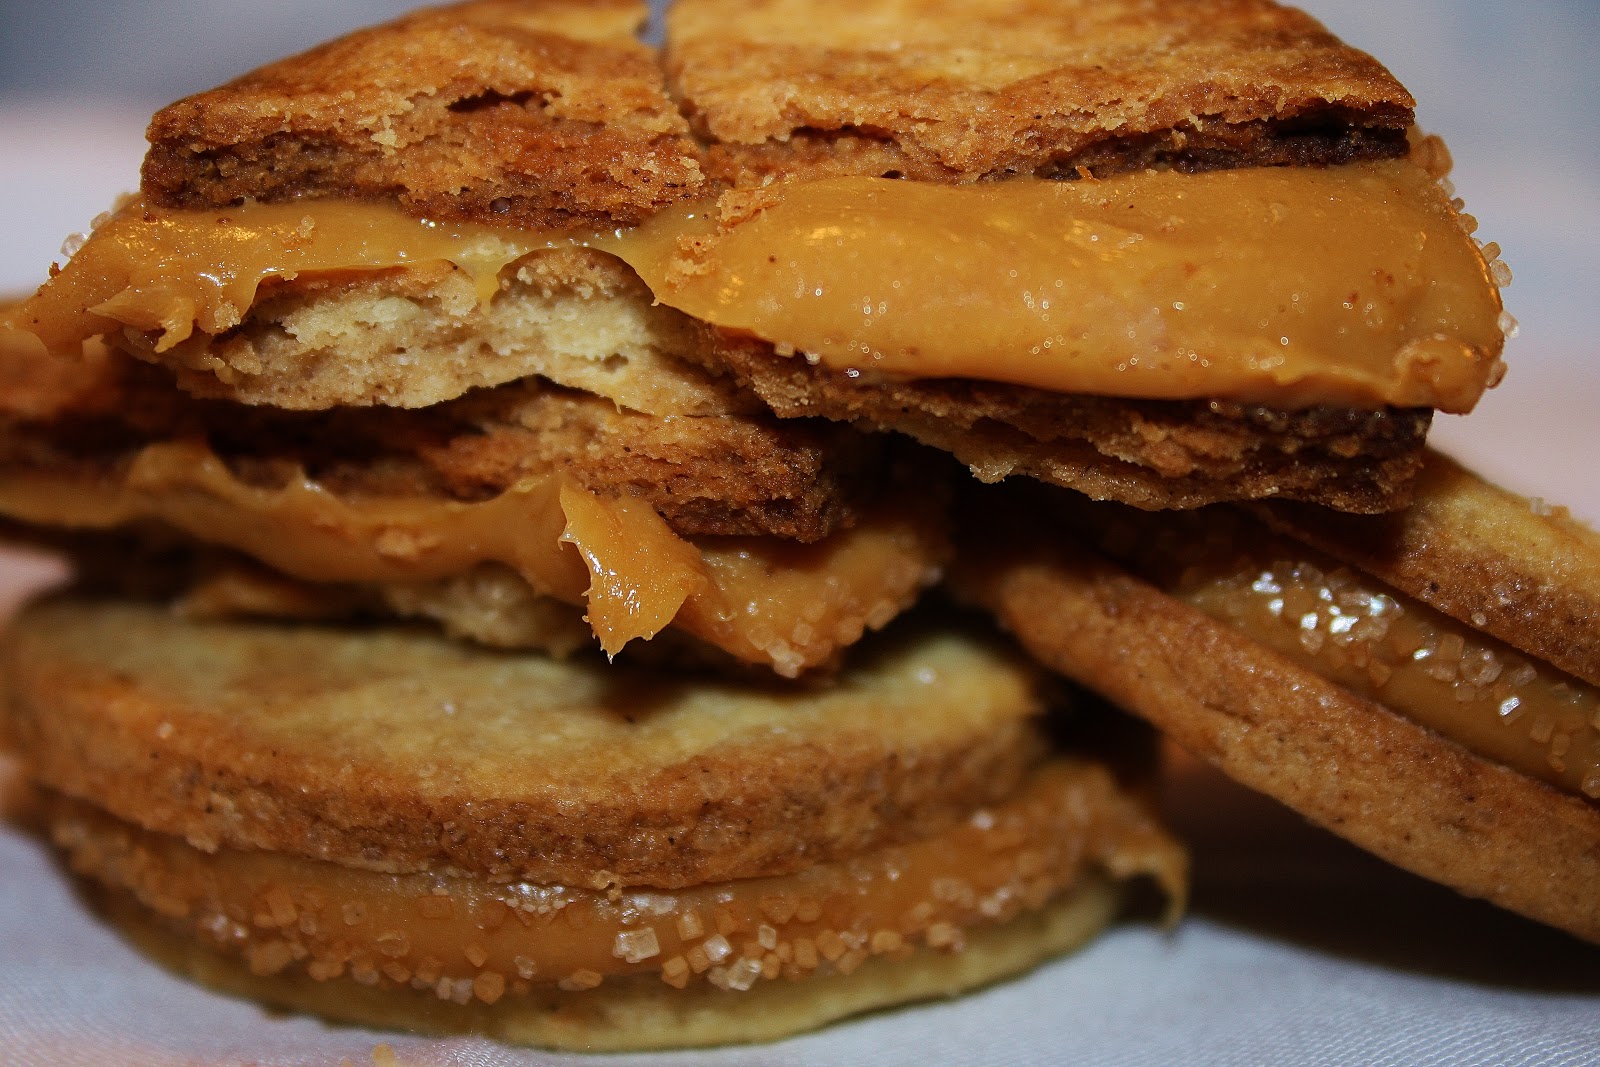
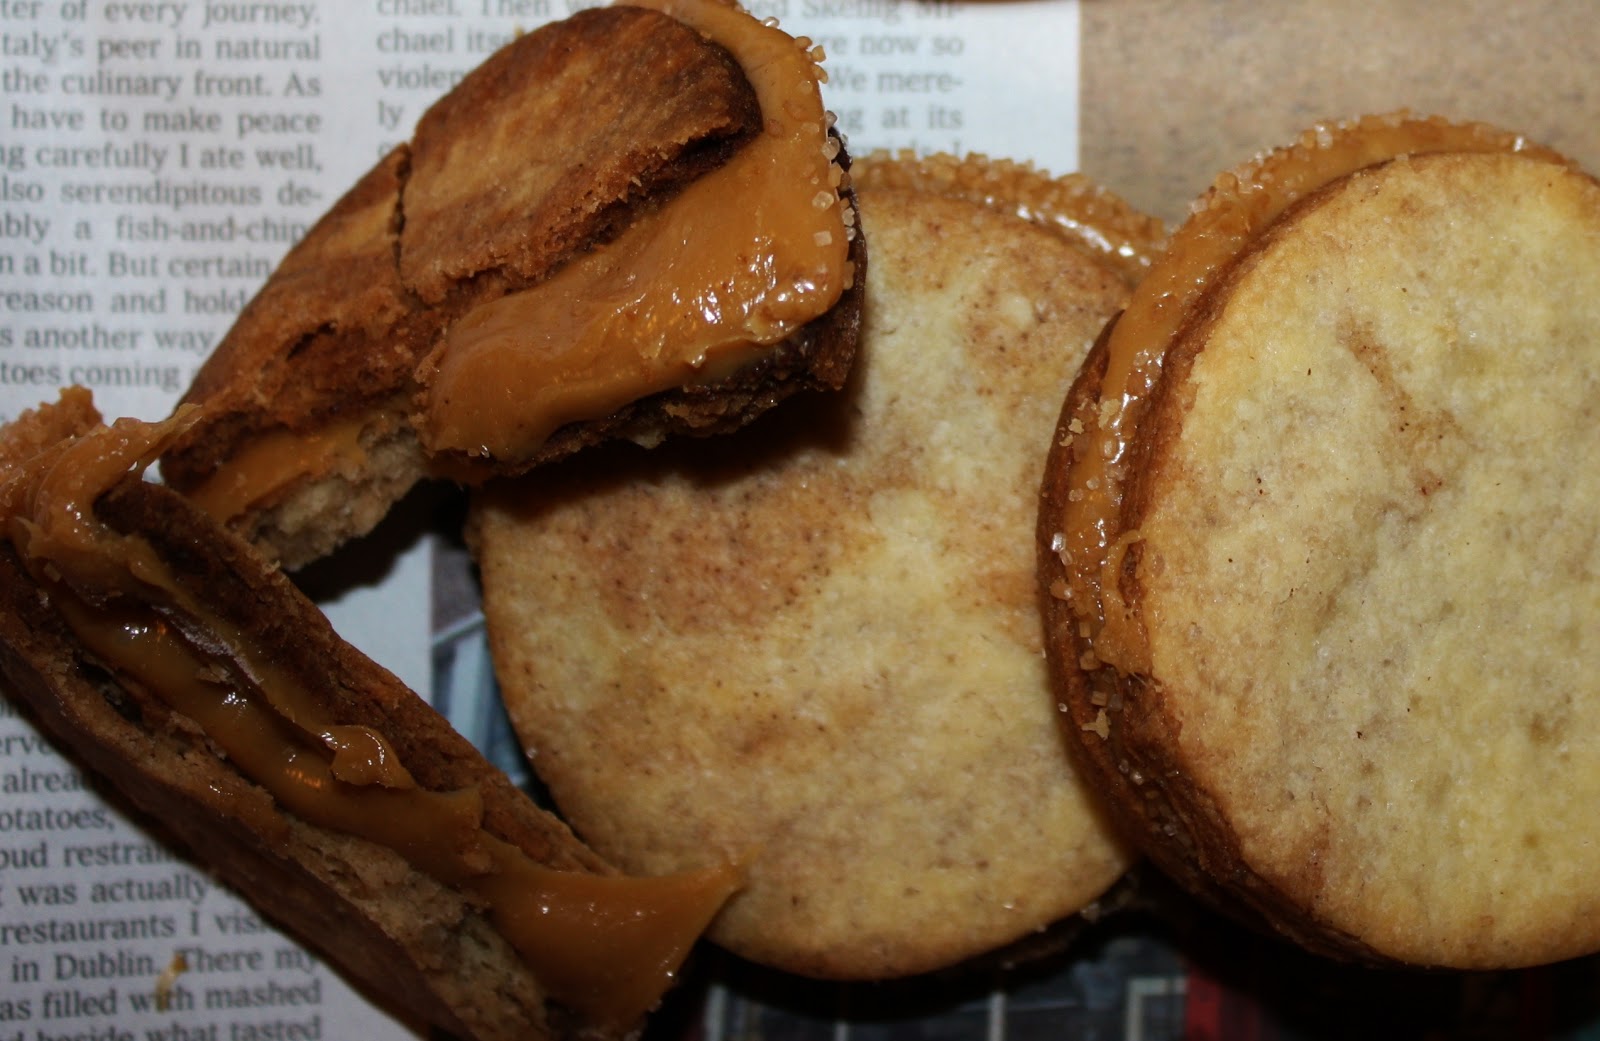
To help get in the holiday spirit, make these cinnamon cookies.  Cinnamon and dulce de leche are commonly mixed flavors in Latin America; many recipes for cajeta (goat’s milk dulce de leche) call for a pinch of cinnamon.  These butter cookies are super flaky, with cinnamon swirls, and pair perfectly with the sticky, salty filling.
 
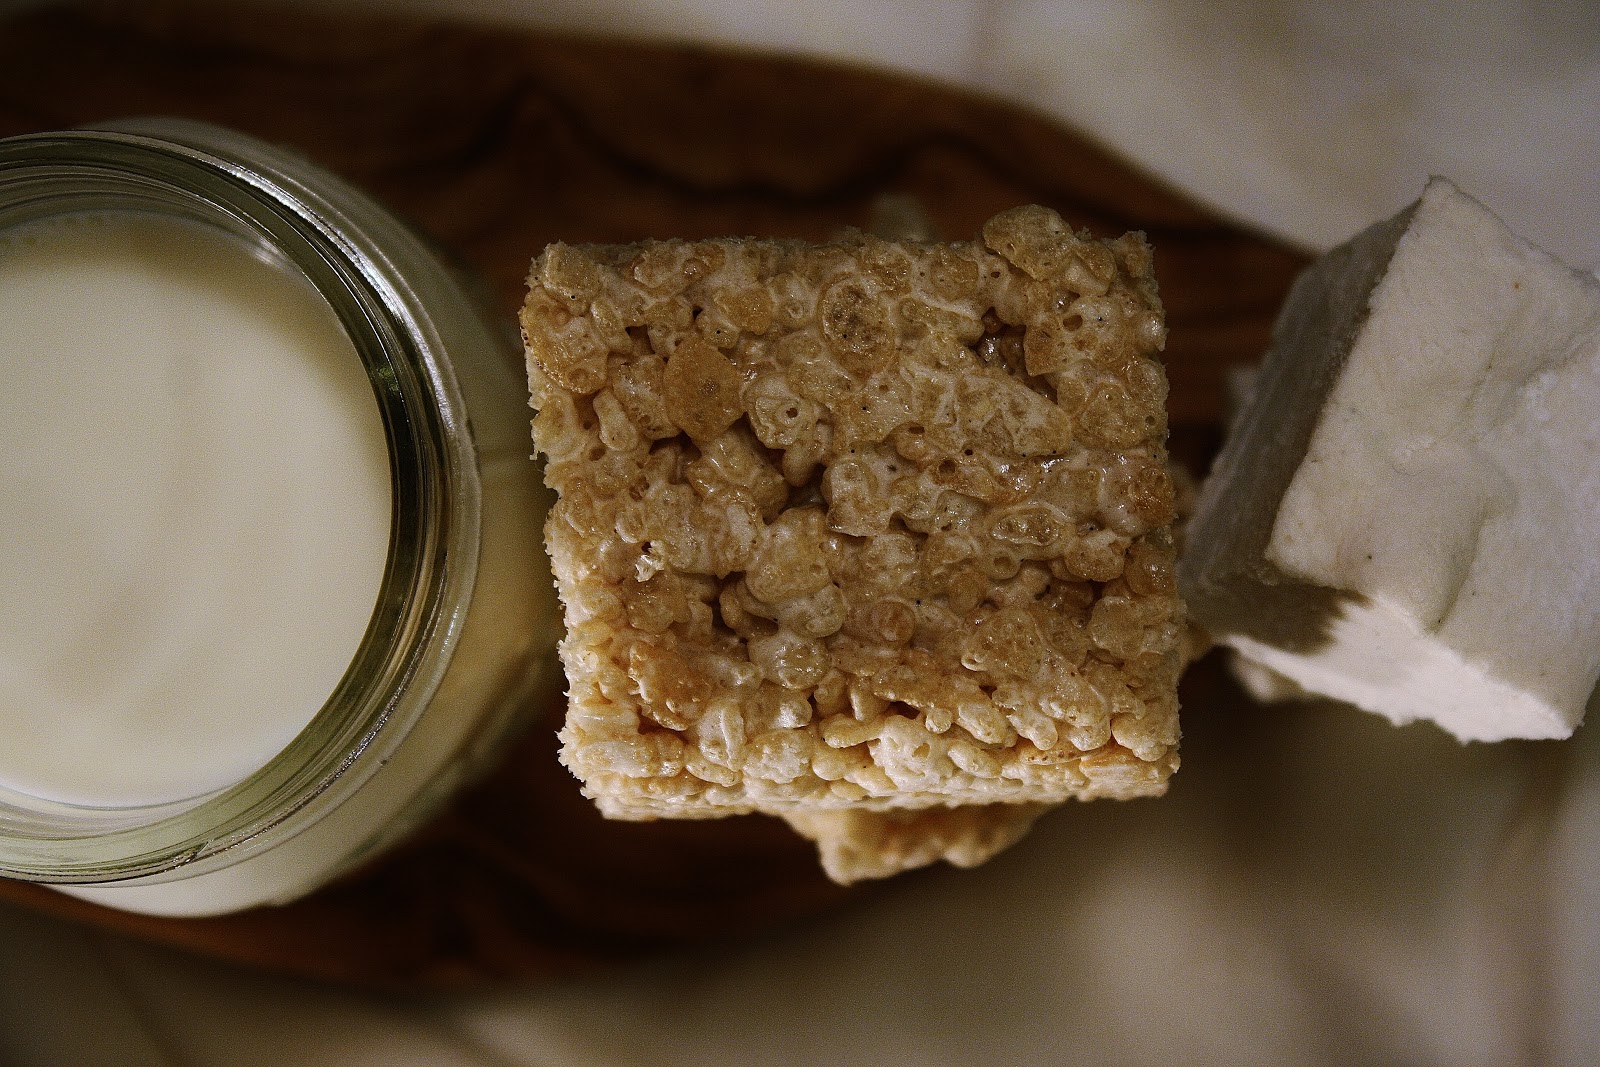
Into comfort food?  Then make rice krispies instead.  Except make them better.  Start with the marshmallows. No corn syrup or refined sugars and no artificial flavoring allowed.  They are so much better.  Fluffy, springy, and soft, with a mellow maple undertone and little flecks of vanilla.  Add those to a little bit of browned butter, mound up a mountain of rice krispies, and press into a buttered pan.  Beautiful, and so much healthier than those little blue packages.  

Cinnamon Swirl Cookies with Dulce de Leche
adapted, in part, from smittenkitchen
for the (quick) dulce de leche:
ingredients:
2 cans sweetened condensed milk
a few healthy pinches of good-quality sea salt
directions:
Preheat oven to 350 degrees F.  Pour the milk into an oven proof dish, and sprinkle with sea salt.  Put aluminum foil over the top, and place in the oven for 30-40 minutes, checking and swirling often to avoid overflow.  Once toffee colored, pull from oven, add another pinch of salt, and let cool.  
for the cookies:
ingredients:
4 ounces (1 stick) butter 
1/3 cup confectioners’ sugar, sifted
1 egg yolk
splash vanilla
big pinch of salt
1 cup flour
2 tablespoons brown sugar
2 teaspoons cinnamon
directions:
Preheat oven to 350 degrees F.  Cream the butter, sugar, and salt together until fluffy.  Add in the egg yolk and a splash of vanilla extract, and mix until combined.  Add in the flour all at once, and mix until a dough forms.  Weigh out the dough, divide in half, and add half of the dough back into the mixer bowl.  Add the brown sugar and cinnamon in, and mix until combined.  Take the vanilla dough and knead it together with the cinnamon briefly, until they begin to swirl together.  Roll out the dough to a 1/8 inch thickness, and cut out cookies.  Gather scraps and reroll.  Bake cookies, spaced 1/2 inch apart, for 10-12 minutes, until they are starting to be golden at the edges and the centers are no longer puffy and soft.  Let cool, and fill with dulce de leche.
 
Brown Butter, Maple, and Vanilla Bean Rice Krispies (Snobby Krispies Treats)
for the marshmallows:
adapted from Gourmet, via smittenkitchen
ingredients:
1 tablespoon plus 1 1/4 teaspoons gelatin
1/2 cup cold water
1 cup unrefined sugar (I used evaporated cane juice)
1/4 cup maple syrup
big pinch salt
1 egg white
scrapings of 1 vanilla bean
mixture of 1/2 confectioners’ sugar and 1/2 cornstarch (about 1/3 or 1/2 cup)
directions:
Oil a 9 x 12 pan.  Add 1/4 cup of the water to the bowl of a stand mixer, and sprinkle gelatin over top to soften.  In a heavy saucepan, cook the maple syrup, last 1/4 cup water, salt and sugar until a candy thermometer reads 240 degrees F.  Pour syrup over gelatin.  With the whisk attachment, beat mixture until thick and nearly tripled in volume.  Meanwhile, beat the egg white with the vanilla bean scrapings until stiff peaks form.  Once the gelatin mixture is done whipping up, beat in the egg white until just combined.  Scrape marshmallow into pan, dust the top with confectioners sugar mixture.  Chill until firm, at least 3 hours and up to one day.  Once marshmallow is firm, turn it out onto a cutting board and slice into pieces using a well oiled knife.
for the krispies:
ingredients:
3 tablespoons high-quality European butter (I used Kerrygold)
10 ounces marshmallows
8-9 cups rice krispies
directions:
Butter a 9 x 12 pan well.  In a heavy saucepan, brown butter.  Once browned and nutty, add in marshmallows, and stir well until they are all melted and homogeneous.  Add in the rice krispies and stir until all the krispies are coated, but not inundated with marshmallow (you may need to add more so that the bars aren’t too sticky).  Scrape into the pan and press down with a buttered spoon.  Let cool, then cut into bars.

 

Together

Cookies and milk.  PB&J.  Bagels and cream cheese.  Pancakes and maple syrup.  Sweet and salty.  Hipsters and food blogs.  (Jus keeding… kinda.)
 
These things just plain make sense together.
They’re better together than apart.  
Cookies and a good cause?  Doesn’t get any better, right?
The Great Food Blogger Cookie Swap showcases the power of togetherness perfectly.  
By partnering with Cookies for Kids’ Cancer, this event uses hipster food bloggers to help fund research for pediatric cancer.  
 
 
Not only am I super super excited for the cookie swap (Hello home delivered cookies. Yum.), but I’m also really enthusiastic about the charity itself.  
 
I want to do more of my part to help out Cookies for Kids’ Cancer, because I think it’s not only a worthy cause, but also a great and accessible idea!  
So, I’m hosting a bake sale at my school (tomorrow, Sandy permitting), all the proceeds of which are going to Cookies for Kids’ Cancer.  Any readers from the high school… Bring money!  I’m sure I’ll have something that you’ll want.
And the rest of you?  If you’re interested in helping, here’s my online giving page.
Or maybe organize your own event!  Why not?  It’s easier than you think.


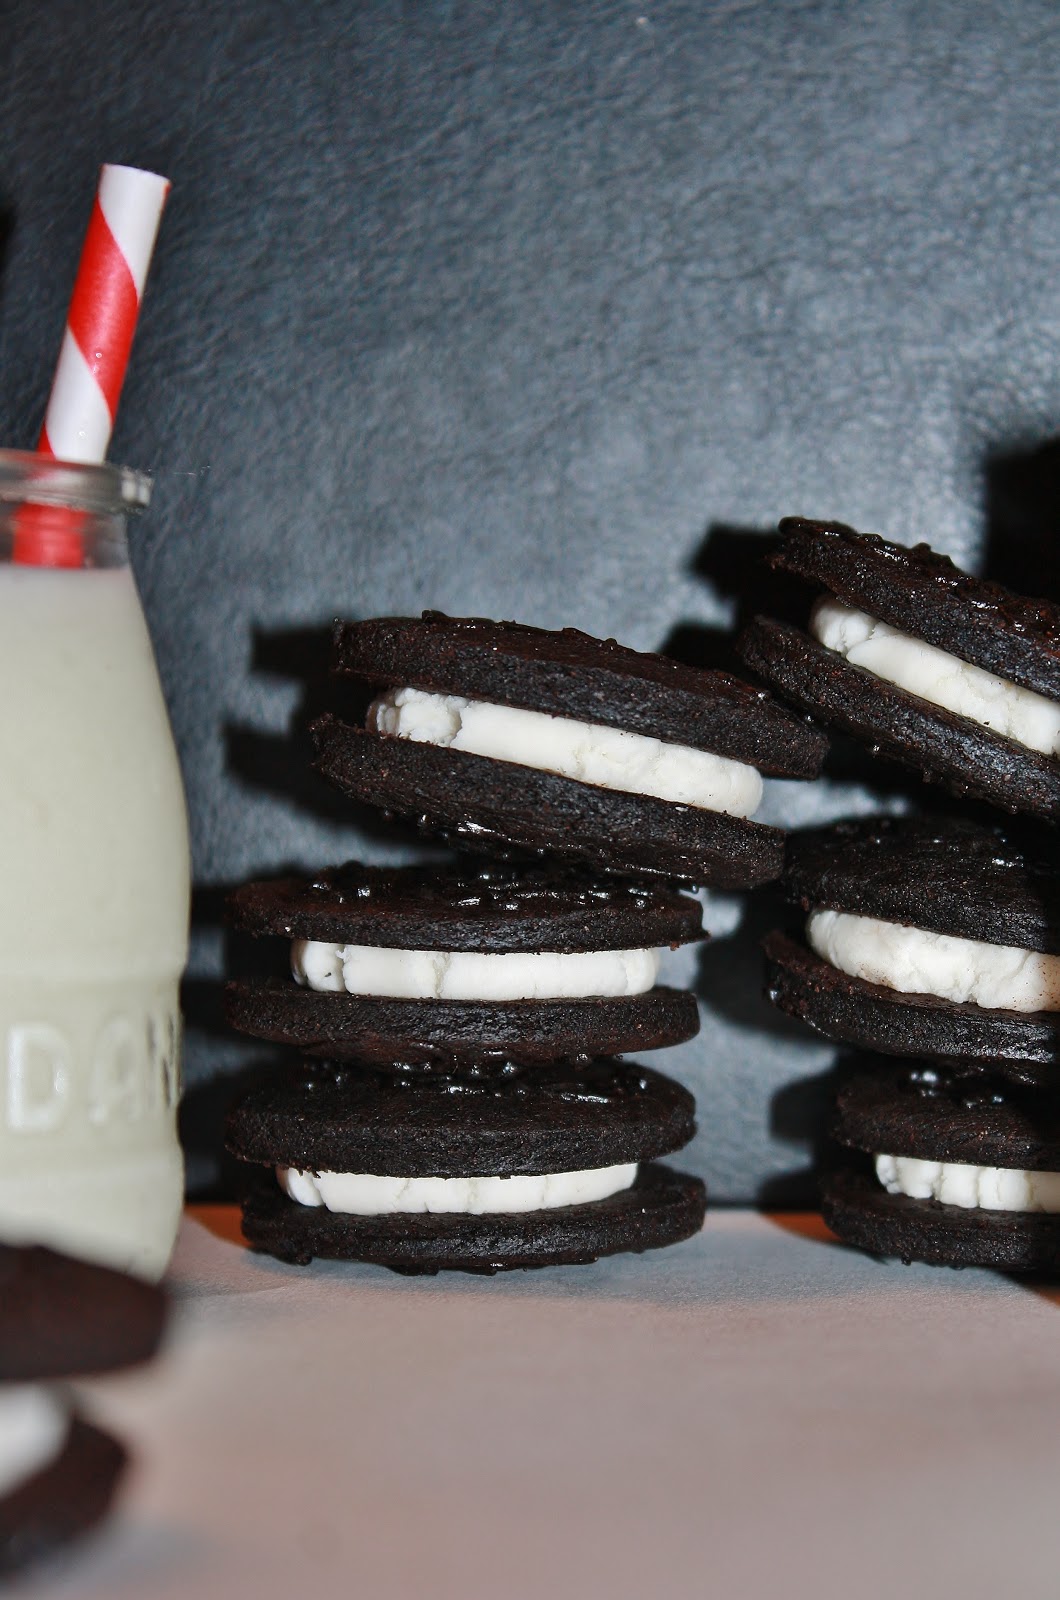
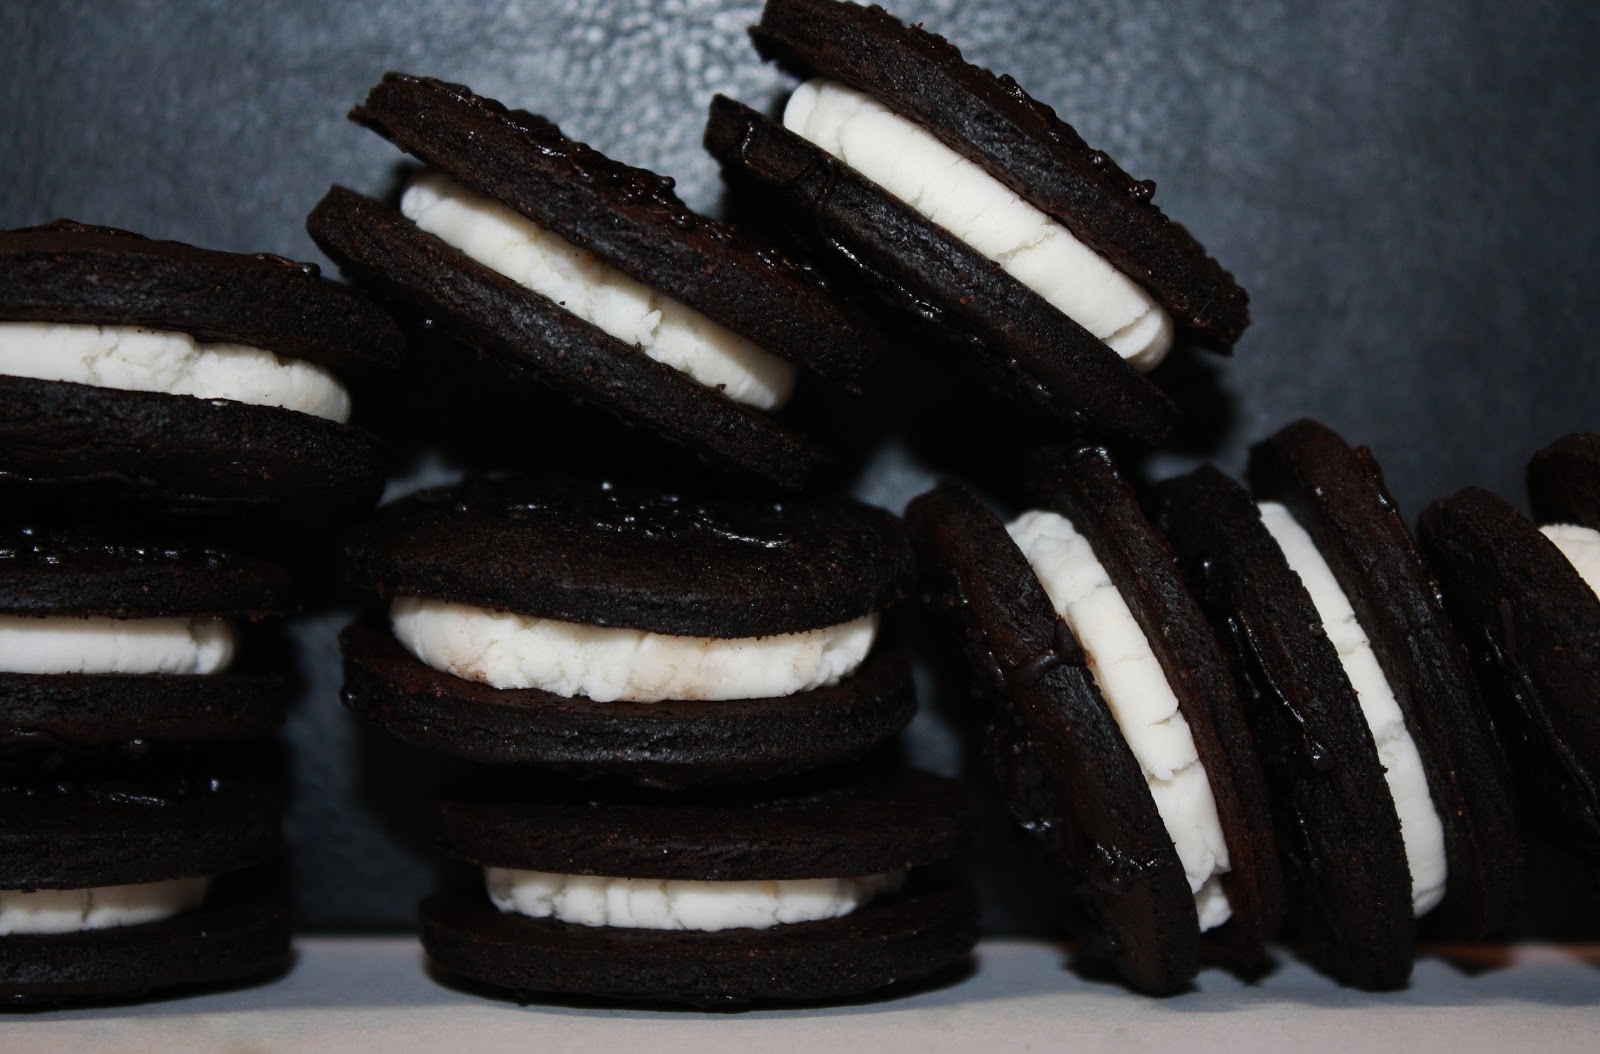
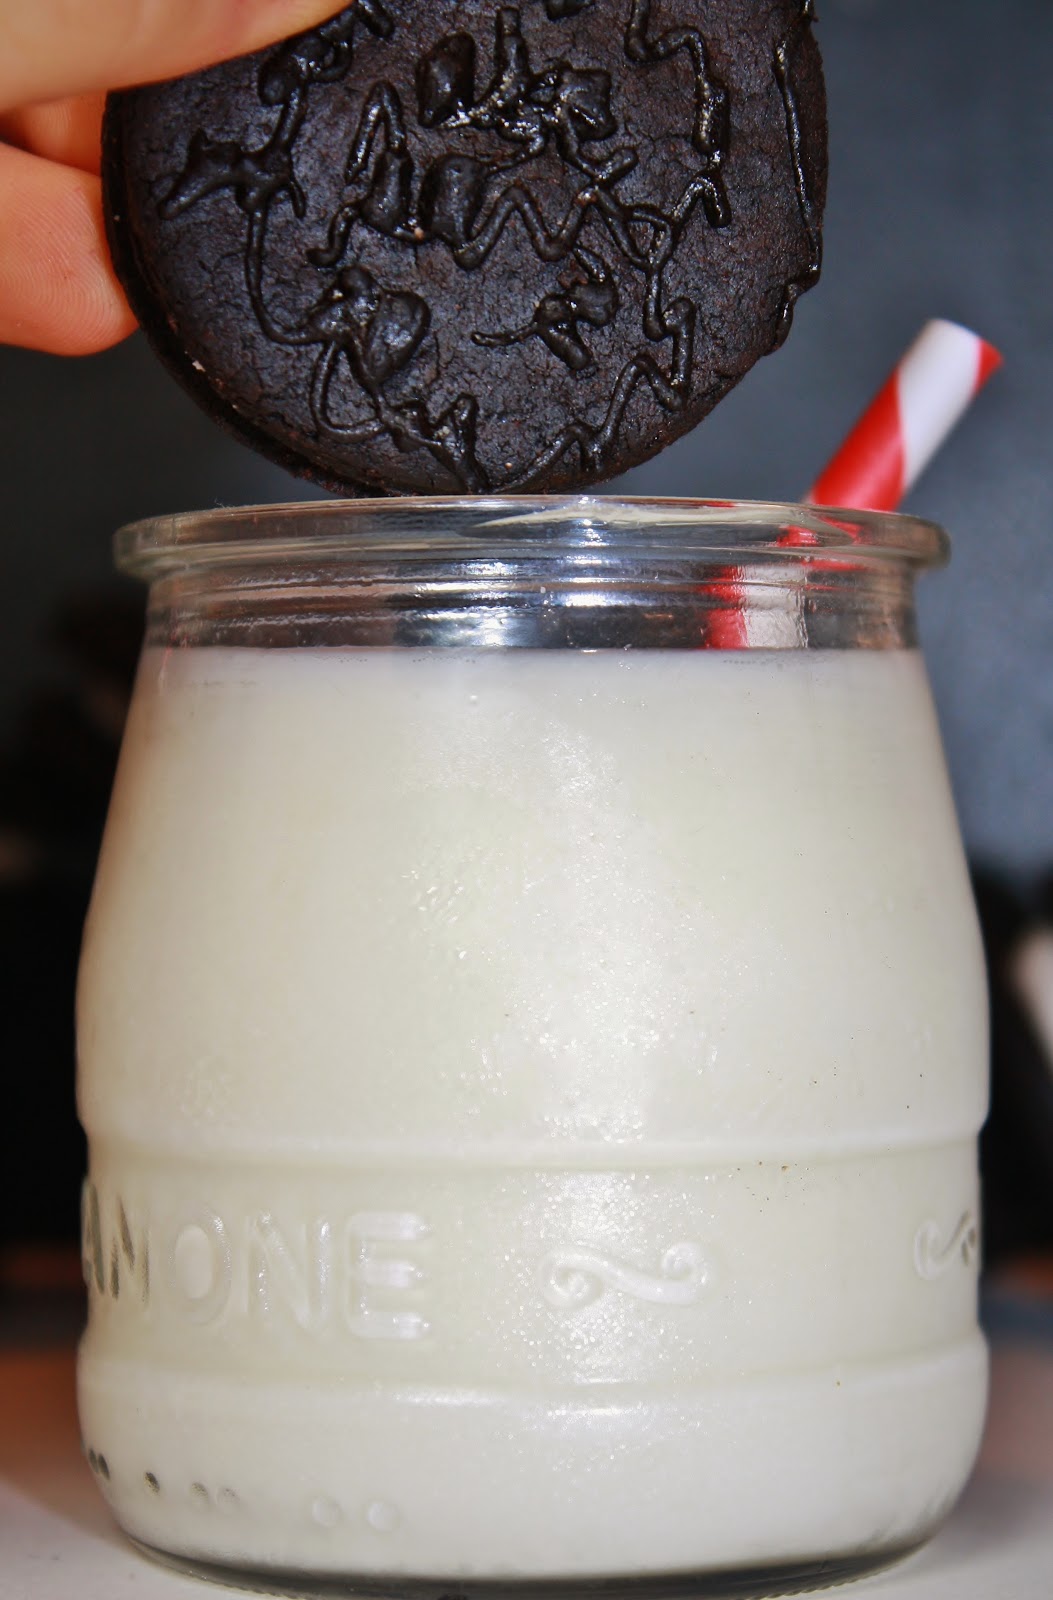
Oh, and these Oreos?  Made with the awesome Bravetart’s recipe; she really has these down to a T.  They are Oreos reincarnate with better, fresher ingredients. 
 
P.S. Happy 70th birthday, Bob Ross! Personally, I spent my childhood watching this man and enjoying all of his happy accidents. 

Moody Blues

When I woke up on Friday, the sky was covered with clouds heavy with rain, and a thick fog had settled low to the ground like a lush carpet.  Not the kind of morning that makes me want to jump out of my warm, cozy bed and run straight into the cold, cold rain.  
 
The past two mornings, however, have been utterly glorious.  People.  Take a moment to look around and take in the beauty that is autumn.  I mean, come on.  The hues of the trees are so brilliantly rich, it’s hard to believe they’re real.  I gather that the extra gorgeous colors are due to the strange growing season this year.  I can’t get over them.  
 
But there will be plenty more of that later on in this post.
 
Firstly, I bring dessert!  I’ve been baking a lot lately, but have been too lazy chosen not to write about most of them; “they” being a maple, walnut, and brown butter caramel cake (whew), a nutmeg maple cream tart, coconut chocolate banana bread, potato chip and dark chocolate bark… 
 
I did, however, save the best for the blog (but of course!).
 
Inspired by a classic cheese plate, I set out to make something that would reflect all the best elements of one:  crunchy crackers, slightly bitter nuts, smoky meat (if you’re into that sort of thing), tangy, salty, and rich cheese, sweet fruit, and just a whisper of honey.  
 
A few weekends ago, my family had bo ssam, a Korean lettuce wrapped, brown sugar encrusted-pork shoulder dish.  Though I (obviously) did not eat the meat, I was sure to save the rendered fat and gelatin (Why?!? Because I’m weird.)
 
And because I just knew it would come in handy sometime soon.  And it did!  Clearly I am learning to utilize some sort of frugality and foresight (neither being my… um… strong suit).
 
This tart is comprised of a brown sugar, wheat cracker, walnut, salted butter and pork fat crust, a mascarpone and blue cheese filling, figs, pears, and a drizzle of honey.
 
Blue cheese tart.
The revolution is coming, people.
Granted, I couldn’t taste all of the elements together because of the pork fat, but I know it was good.  I think everyone who has tasted it has had two pieces.   
 
Victory is mine.


And because I can’t resist… Here are some autumnal pictures I’ve taken.

Blue Cheese Tart
ingredients:
1 cracker crust, baked (I used equal parts wheat crackers, graham crackers, and walnuts, added 3 tablespoons of flour, then added half a stick of melted, salted butter, about 3 tablespoons of melted pork fat and gelatin, two tablespoons of brown sugar, and a hefty pinch of salt.  Mix it together, press into a buttered tart pan, and bake at 350 degrees F for 25 or so minutes, or until golden and slightly crunchy.)
8 ounces mascarpone cheese
2 ounces good quality blue cheese (taste as you go)
1 cup confectioner’s sugar (again, taste as you go.  Palettes vary.)
1/2 cup cream, whipped
figs, pears, and honey, for garnish
directions:
Once the crust is cool, whip the mascarpone and blue cheese together.  Add in the powdered sugar, slowly, tasting as you go, until homogeneous.  Fold in the whipped cream.  Spread into crust, and chill until set.  Top with fig and pear slices, and drizzle with honey.  

Greedy Mother Fudge

Sasha and Kasha, sitting in a tree, H-I-S-S-I-N-G.
Getting back into the swing of things here in Amurkah is proving to be slightly difficult, as it turns out that my grandiose plans of doing homework while travelling fell through.  Let’s just say I didn’t get anything as much done as I had wished.  
 
Whatevs.  School can wait; I’ve got other things on the brain, such as:
 
This bag.  Zomg.  Gimme gimme gimme. (Pleaseandthankyou)
 
Pumpkinmania.  Seriously, it’s that time of year where every food blogger has to post seventeen thousand recipes for pumpkin.  I swear, pumpkin has exploded all over the web; I’m surprised Google’s logo isn’t covered in pumpkin guts by now.  You’d think they would pick up on these nuanced web trends.  I don’t hate it.  I rather like it.  I love me some punkin.  I, for one, bought nine cans on September 1st.  
 
Thanksgiving.  Ummmm I am either a typical American consumer, who expects, nay, awaits in anticipation, drooling and dreaming of hoarding, a barrage of Thanksgiving menus, recipes, ingredients, and decorations in August, or just a food freak.  Or both.  All I know is that I already planned my family’s entire Thanksgiving menu.  A week ago.  Lawd have mercy.
 
NOPI.  We went to NOPI for a pre-theatre meal while in London; the food and atmosphere were incredible.  I think I ate an entire loaf of their bread, not to mention the fact that three of us ordered 11 selections off the menu.  Yotam Ottolenghi’s newest cookbook, Jerusalem, has also recently come out.  He’s the man.
 
I’m also kept super busy with stalking the Fashion Week coverage over at the NYT.  (Maybe if I close my eyes real tight and click my heels three times…)
 
For the first time ever, I wish I spoke Japanese.  Sucks to suck.
 
I want a donut pan.
I also want a Birkin bag, and Tory Burch boots.
I want a tempurpedic mattress.
I want Martha Stewart’s house in Maine.
Oh, and the entire Rachel Roy spring 2013 collection.
 
On a side note, I am now accepting applications for the position of sugardaddy.  Applicants can send any or all of the above, along with a head shot, bank statement, video of yourself singing a capella, and some Valrhona chocolate, for good measure.  Please feel free to include diamonds from Tiffany’s and/or Cartier.  
 
In return for your life long service and tender love and care, I will bake you one (1) confection per week, if I’m feeling generous.  
Marvelous.  I’m sure I’ll be flooded with eager grooms-to-be very shortly.  
 
Someone send help.
(thanks to bakerella for the recipe, which she got from the book)
Made with both melted dark chocolate and cocoa powder, this chocolate cake is rich, complex, and bittersweet—a perfect match for sweet frostings, which is how you’ll find it paired in our Tomboy Cake, Bittersweet Ganache Cake, and Old-Fashioned Cake. As with the other base cakes, this recipe yields two 6-inch cakes, so you can have one on hand in your freezer to decorate anytime. This cake is infallibly moist. Part of the reason for its fine-crumb texture is that we strain the batter through a sieve to remove any lumps before pouring it into the pans. Straining out the lumps rather than trying to stir them into the batter prevents overmixing and leads to a dense cake. We also sift the cocoa before dusting the pans, a technique that will give the exterior finish of your cakes a lovely smooth patina. For the Old-Fashioned Cake, we bake this cake in a contour pan, a special design with a beveled edge around the bottom that yields an elegant cake with an almost seamless form. Contour pans come in standard sizes, including 6-inch, and are easily found online.
ingredients
1½ CUPS (7½ OUNCES) ALL-PURPOSE FLOUR
1¼ CUPS (4½ OUNCES) NATURAL UNSWEETENED COCOA POWDER (SEE NOTE)
1½ TEASPOONS BAKING SODA
½ TEASPOON BAKING POWDER
¾  TEASPOON KOSHER SALT
2 OUNCES 70 PERCENT CACAO CHOCOLATE, COARSELY CHOPPED
1 CUP BOILING WATER
1 CUP BUTTERMILK
½ TEASPOON VANILLA EXTRACT
2 LARGE EGGS, AT ROOM TEMPERATURE
½ CUP VEGETABLE OIL
2¼ CUPS (16 OUNCES) SUGAR
preparation
1. Liberally butter two 6-by-3-inch regular or contour cake pans and dust with sifted cocoa powder. Tap out the excess cocoa.
2. Preheat the oven to 350 degrees F.
3. Sift together the flour, cocoa powder, baking soda, baking powder, and salt into a bowl and set aside.
4. Put the chocolate in a heatproof bowl and pour the boiling water over it. Whisk until the chocolate is melted. Let the mixture cool for 15 minutes.
5. In a separate bowl, whisk together the buttermilk and vanilla. Set aside.
6. In the bowl of a stand mixer fitted with the whisk attachment, whisk the eggs on high speed until foamy, about 2 minutes. Reduce the speed to low and slowly pour in the oil, whisking until combined, about 30 seconds. Raise the speed to medium and whisk until fully incorporated, about 30 seconds longer.
7. Reduce the speed to low and slowly pour the cooled chocolate mixture into the egg mixture. Slowly pour in the buttermilk and vanilla mixture. Add the sugar and whisk until the batter is smooth and liquid, about 2 minutes.
8. Stop the mixer. Remove the bowl and add the sifted dry ingredients and mix until just incorporated, preferably by hand, lifting and folding in from the bottom center. Using a rubber spatula, scrape down the sides of the bowl and mix again just briefly by hand. The batter may still look a little lumpy, but stop mixing.
9. Pour the batter through a medium-mesh sieve into a large measuring cup or bowl to remove any lumps. Press against the solids in the sieve with a rubber spatula to push through as much batter as possible, then discard the lumps. Divide the batter between the prepared pans. Bake until the tops spring back when lightly pressed and a tester inserted in the centers comes out clean, about 45 minutes.
10. Transfer to wire racks and let cool in the pans for about 20 minutes. When the cakes are cooled enough to handle the pans but still a tad warm to the touch, carefully run an offset spatula around the edges of the pans to loosen them, then invert the cakes onto the racks and remove the pans. (Note: If you are making the Old-Fashioned Cake and therefore using a contour pan, just invert the pans and drop them sharply onto the racks; they should fall out cleanly. Using an offset spatula in a contour pan will mar the edges of the cake.) Let cool for about 20 minutes longer. Wrap the cakes tightly in plastic wrap and refrigerate to ensure that the interiors are completely cooled before decorating, at least 1 hour or for up to 3 days. To freeze, wrap tightly in a second layer of plastic and store in the freezer up to 2 months.
Whipped Dark Chocolate Frosting
ingredients:
2 cups heavy cream
15 ounces bittersweet chocolate chips or chunks
pinch salt
1/4 cup mascarpone
8 ounces cream cheese
directions:
Heat heavy cream up until just before boiling.  Pour over chocolate and allow to sit until melted.  Stir in salt, and stir until smooth.  Allow to cool completely.  Whip until light and fluffy, then whip in mascarpone and cream cheese.  

Across the Pond

The stewardess just yelled at me for the third time to turn off my mobile device.
I’m that person. Oops.
Anyways, I’m going to London to enjoy this long weekend in the cold, gray U.K.
I like to pretend that people actually read this blog, and that these fictional readers would be very disappointed if I up and left the country without so much as an adieu.
I’ll be back on Thursday with a new recipe.
It involves lots of chocolate. Lots.
Cheerio!