
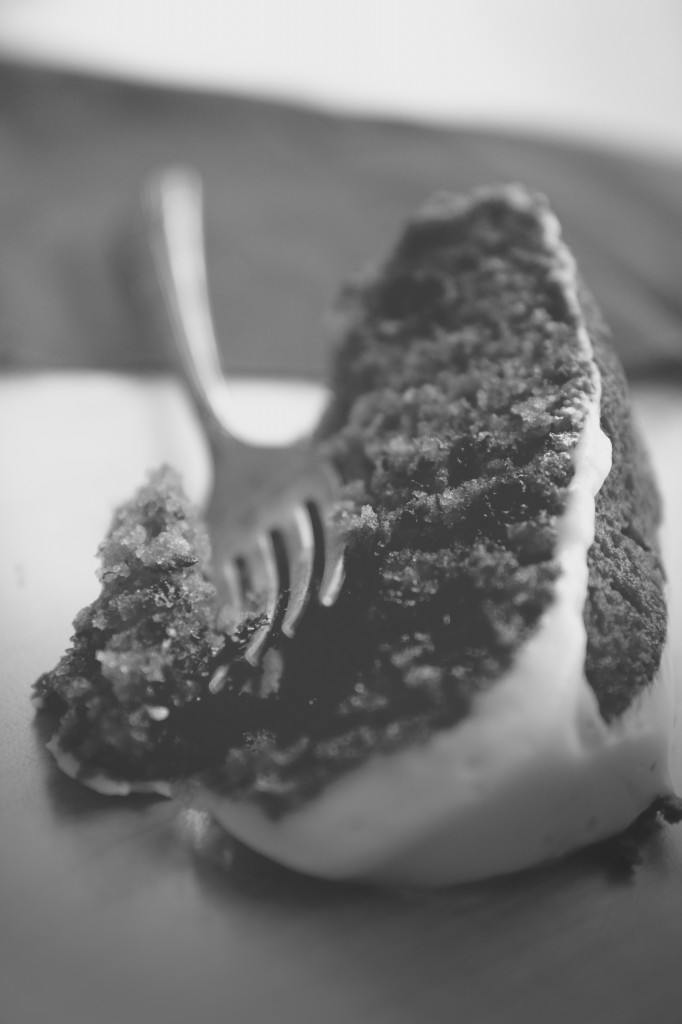
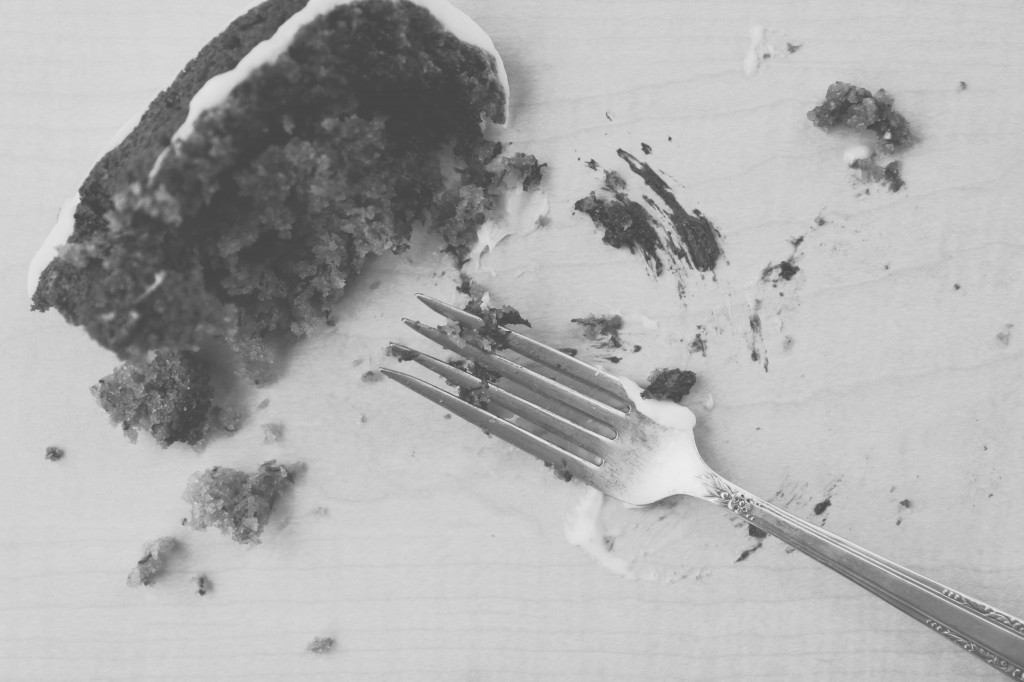
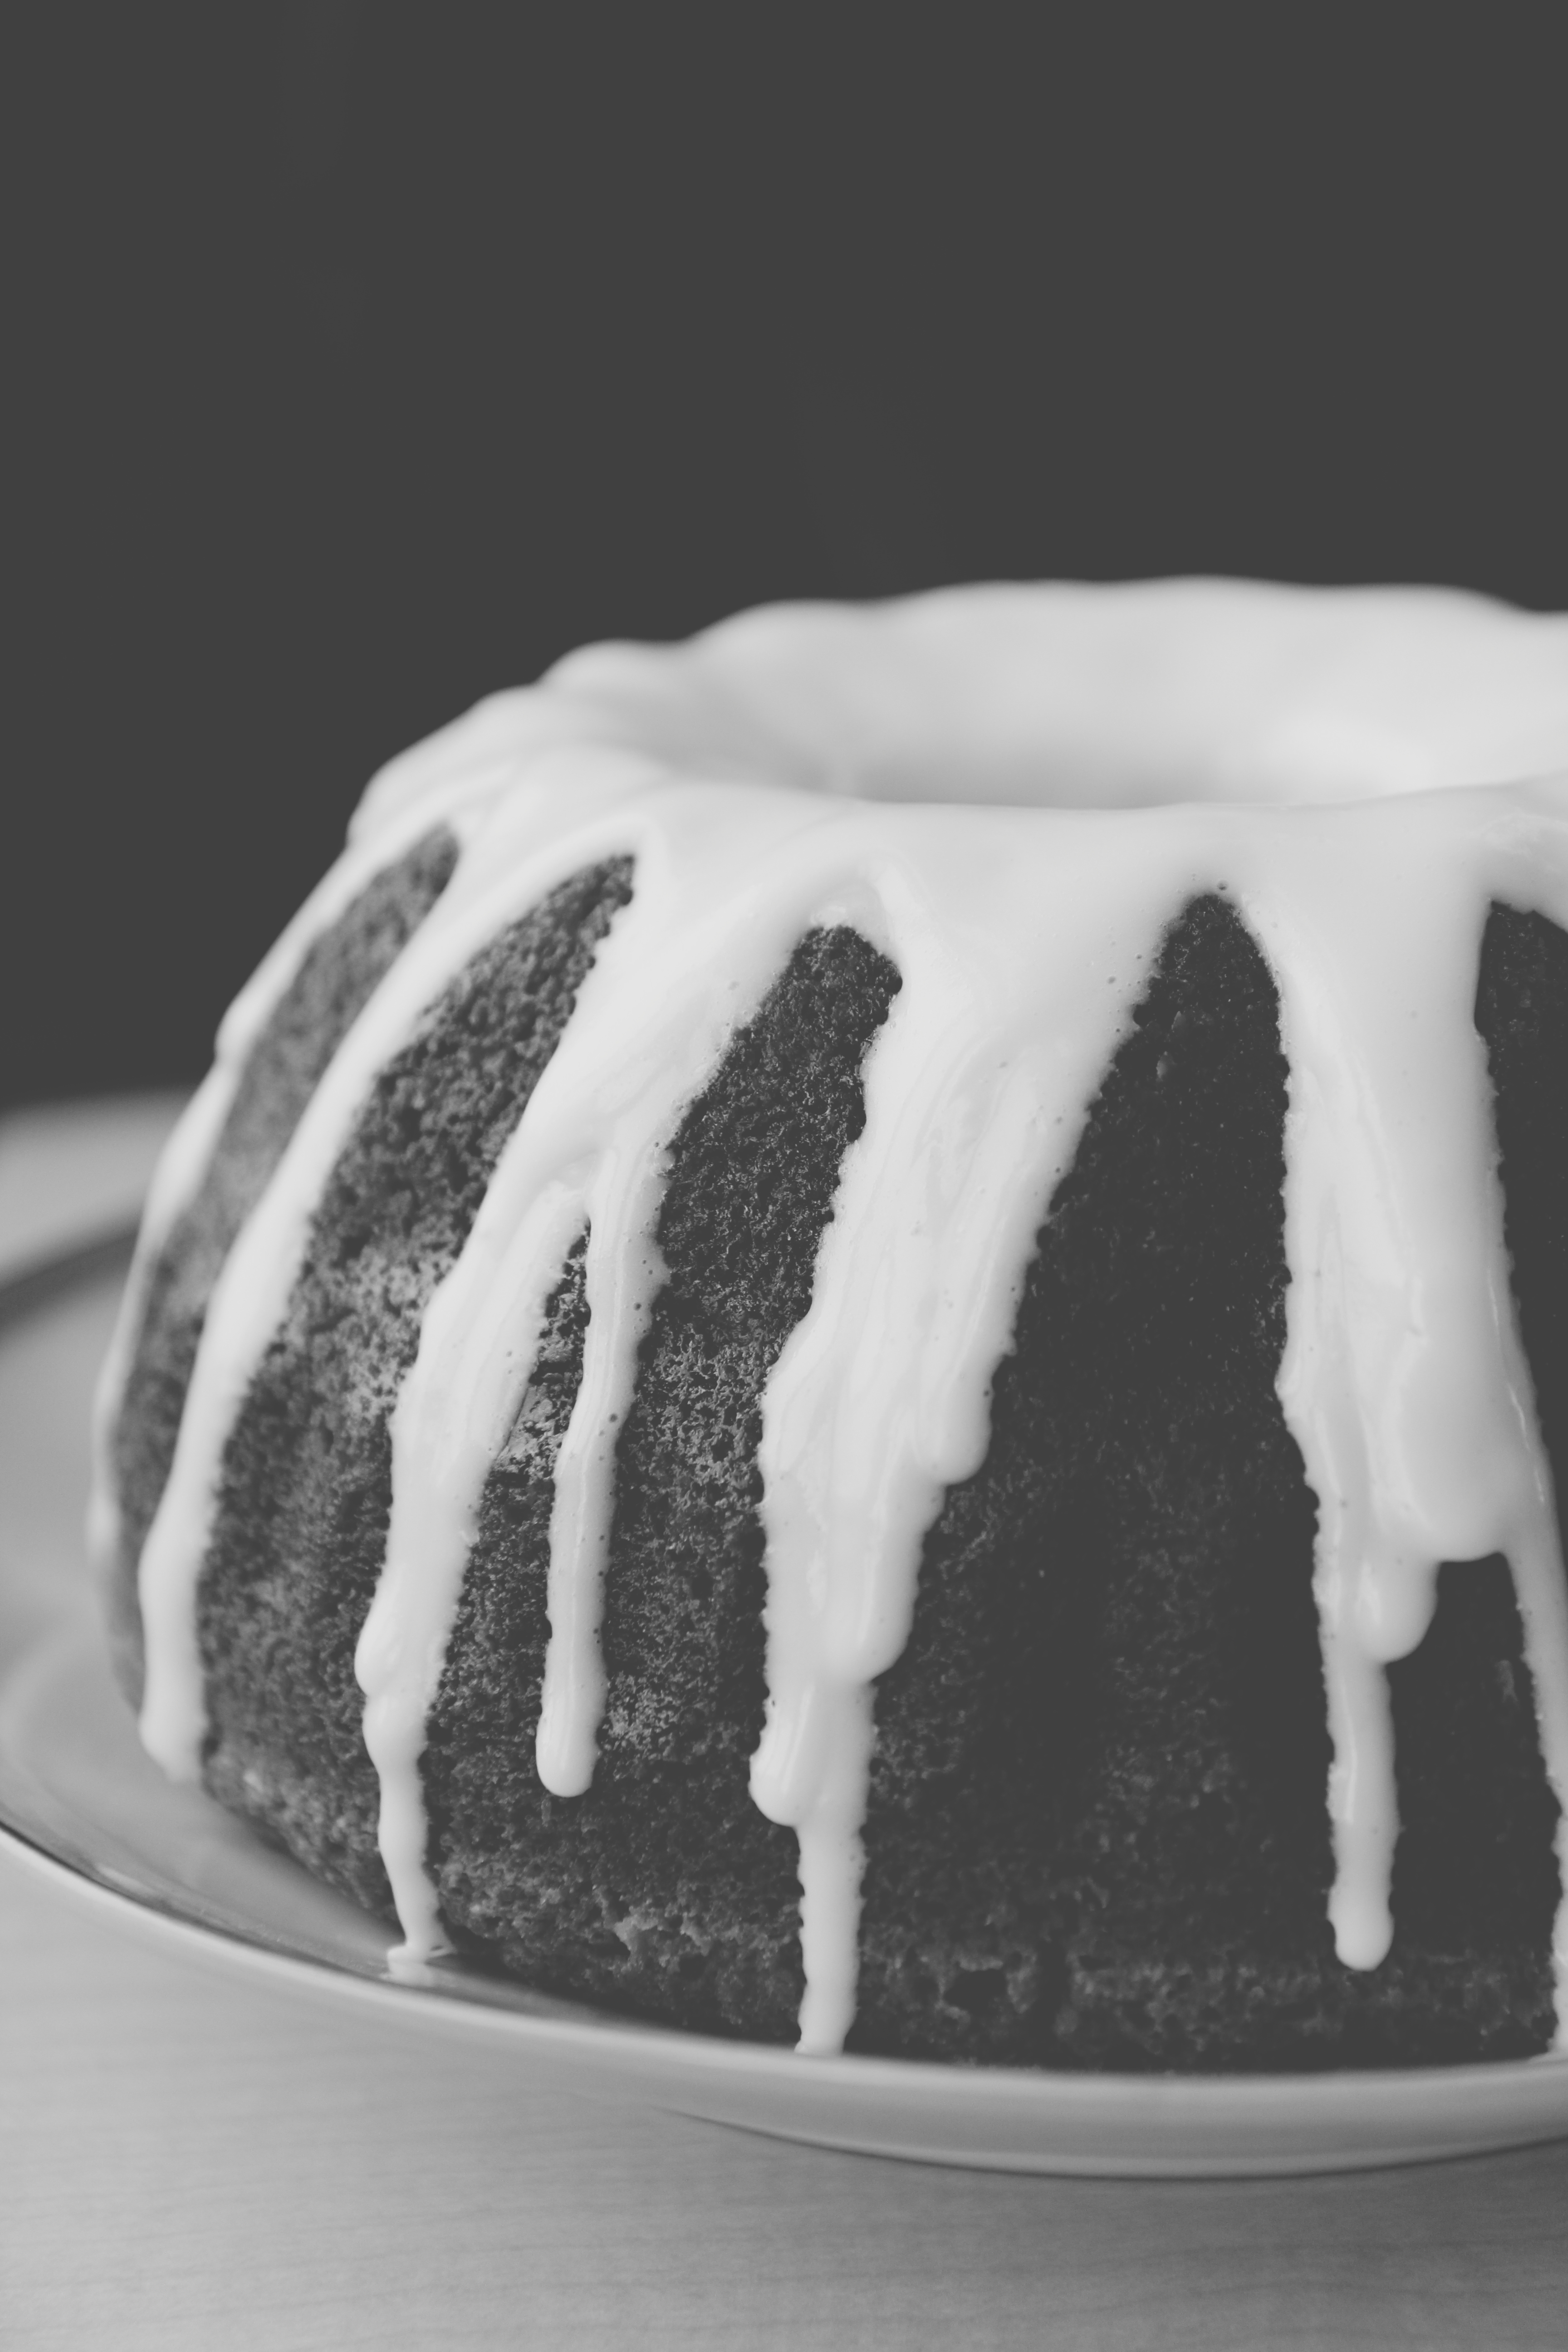
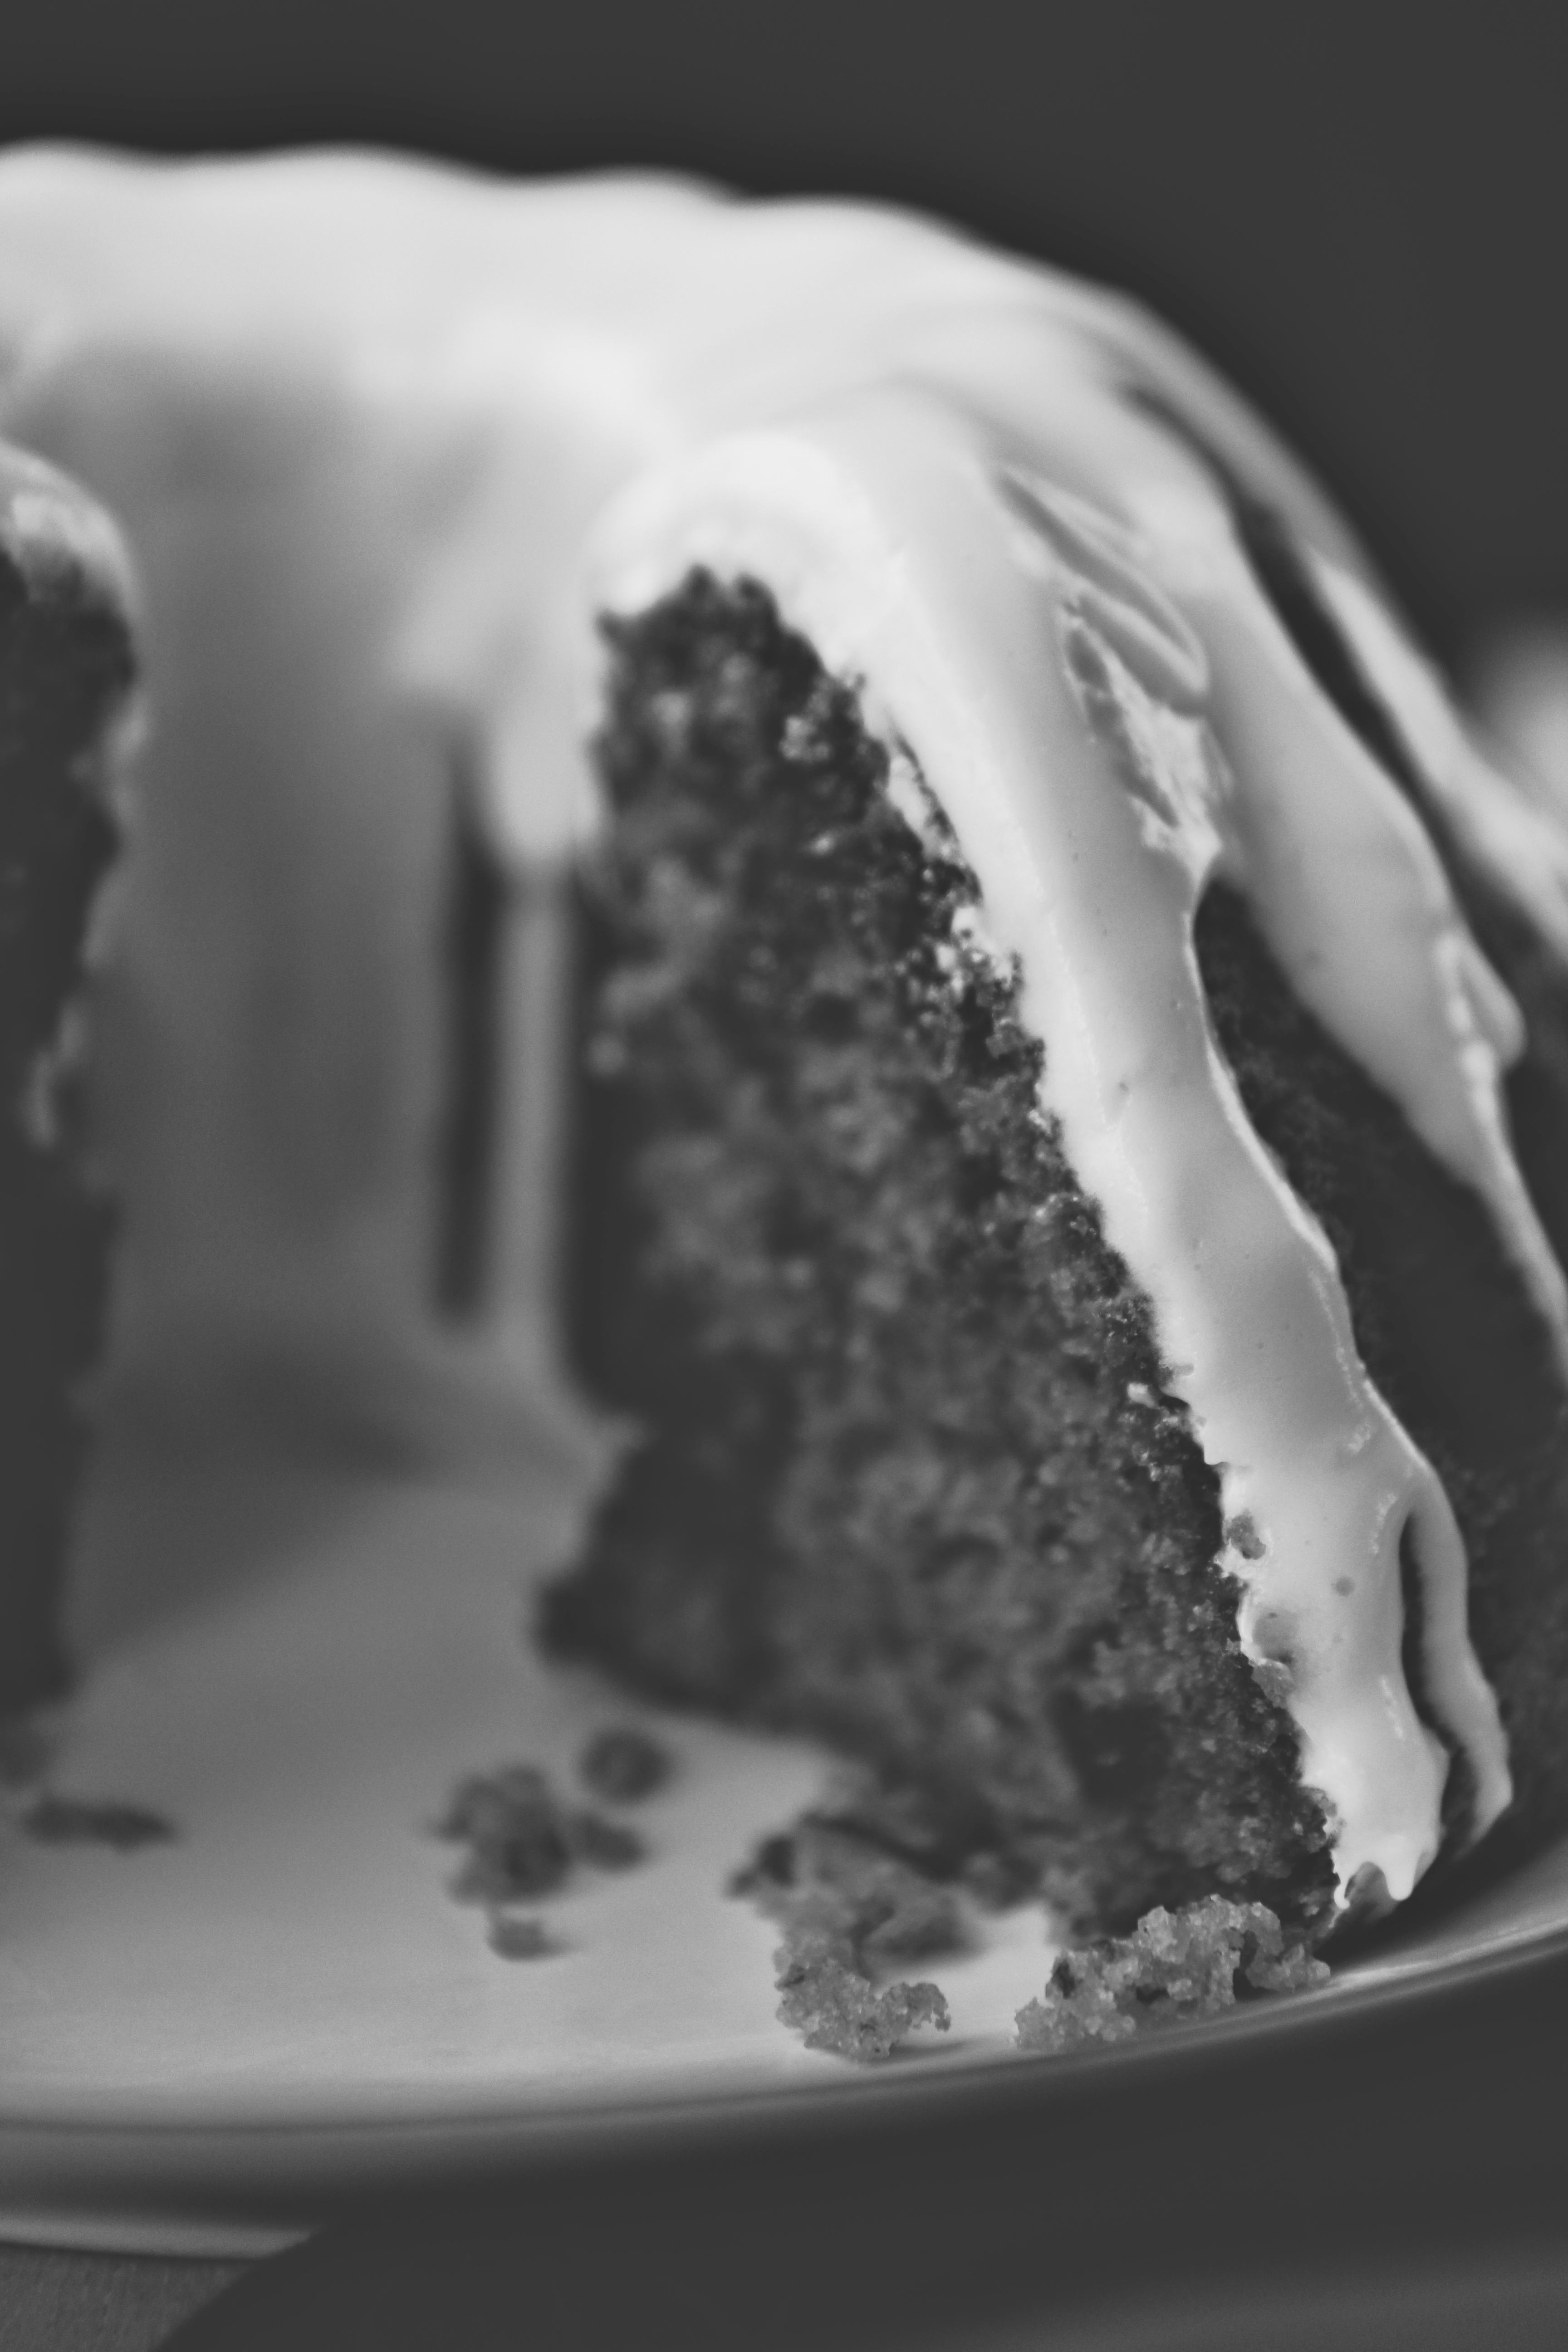
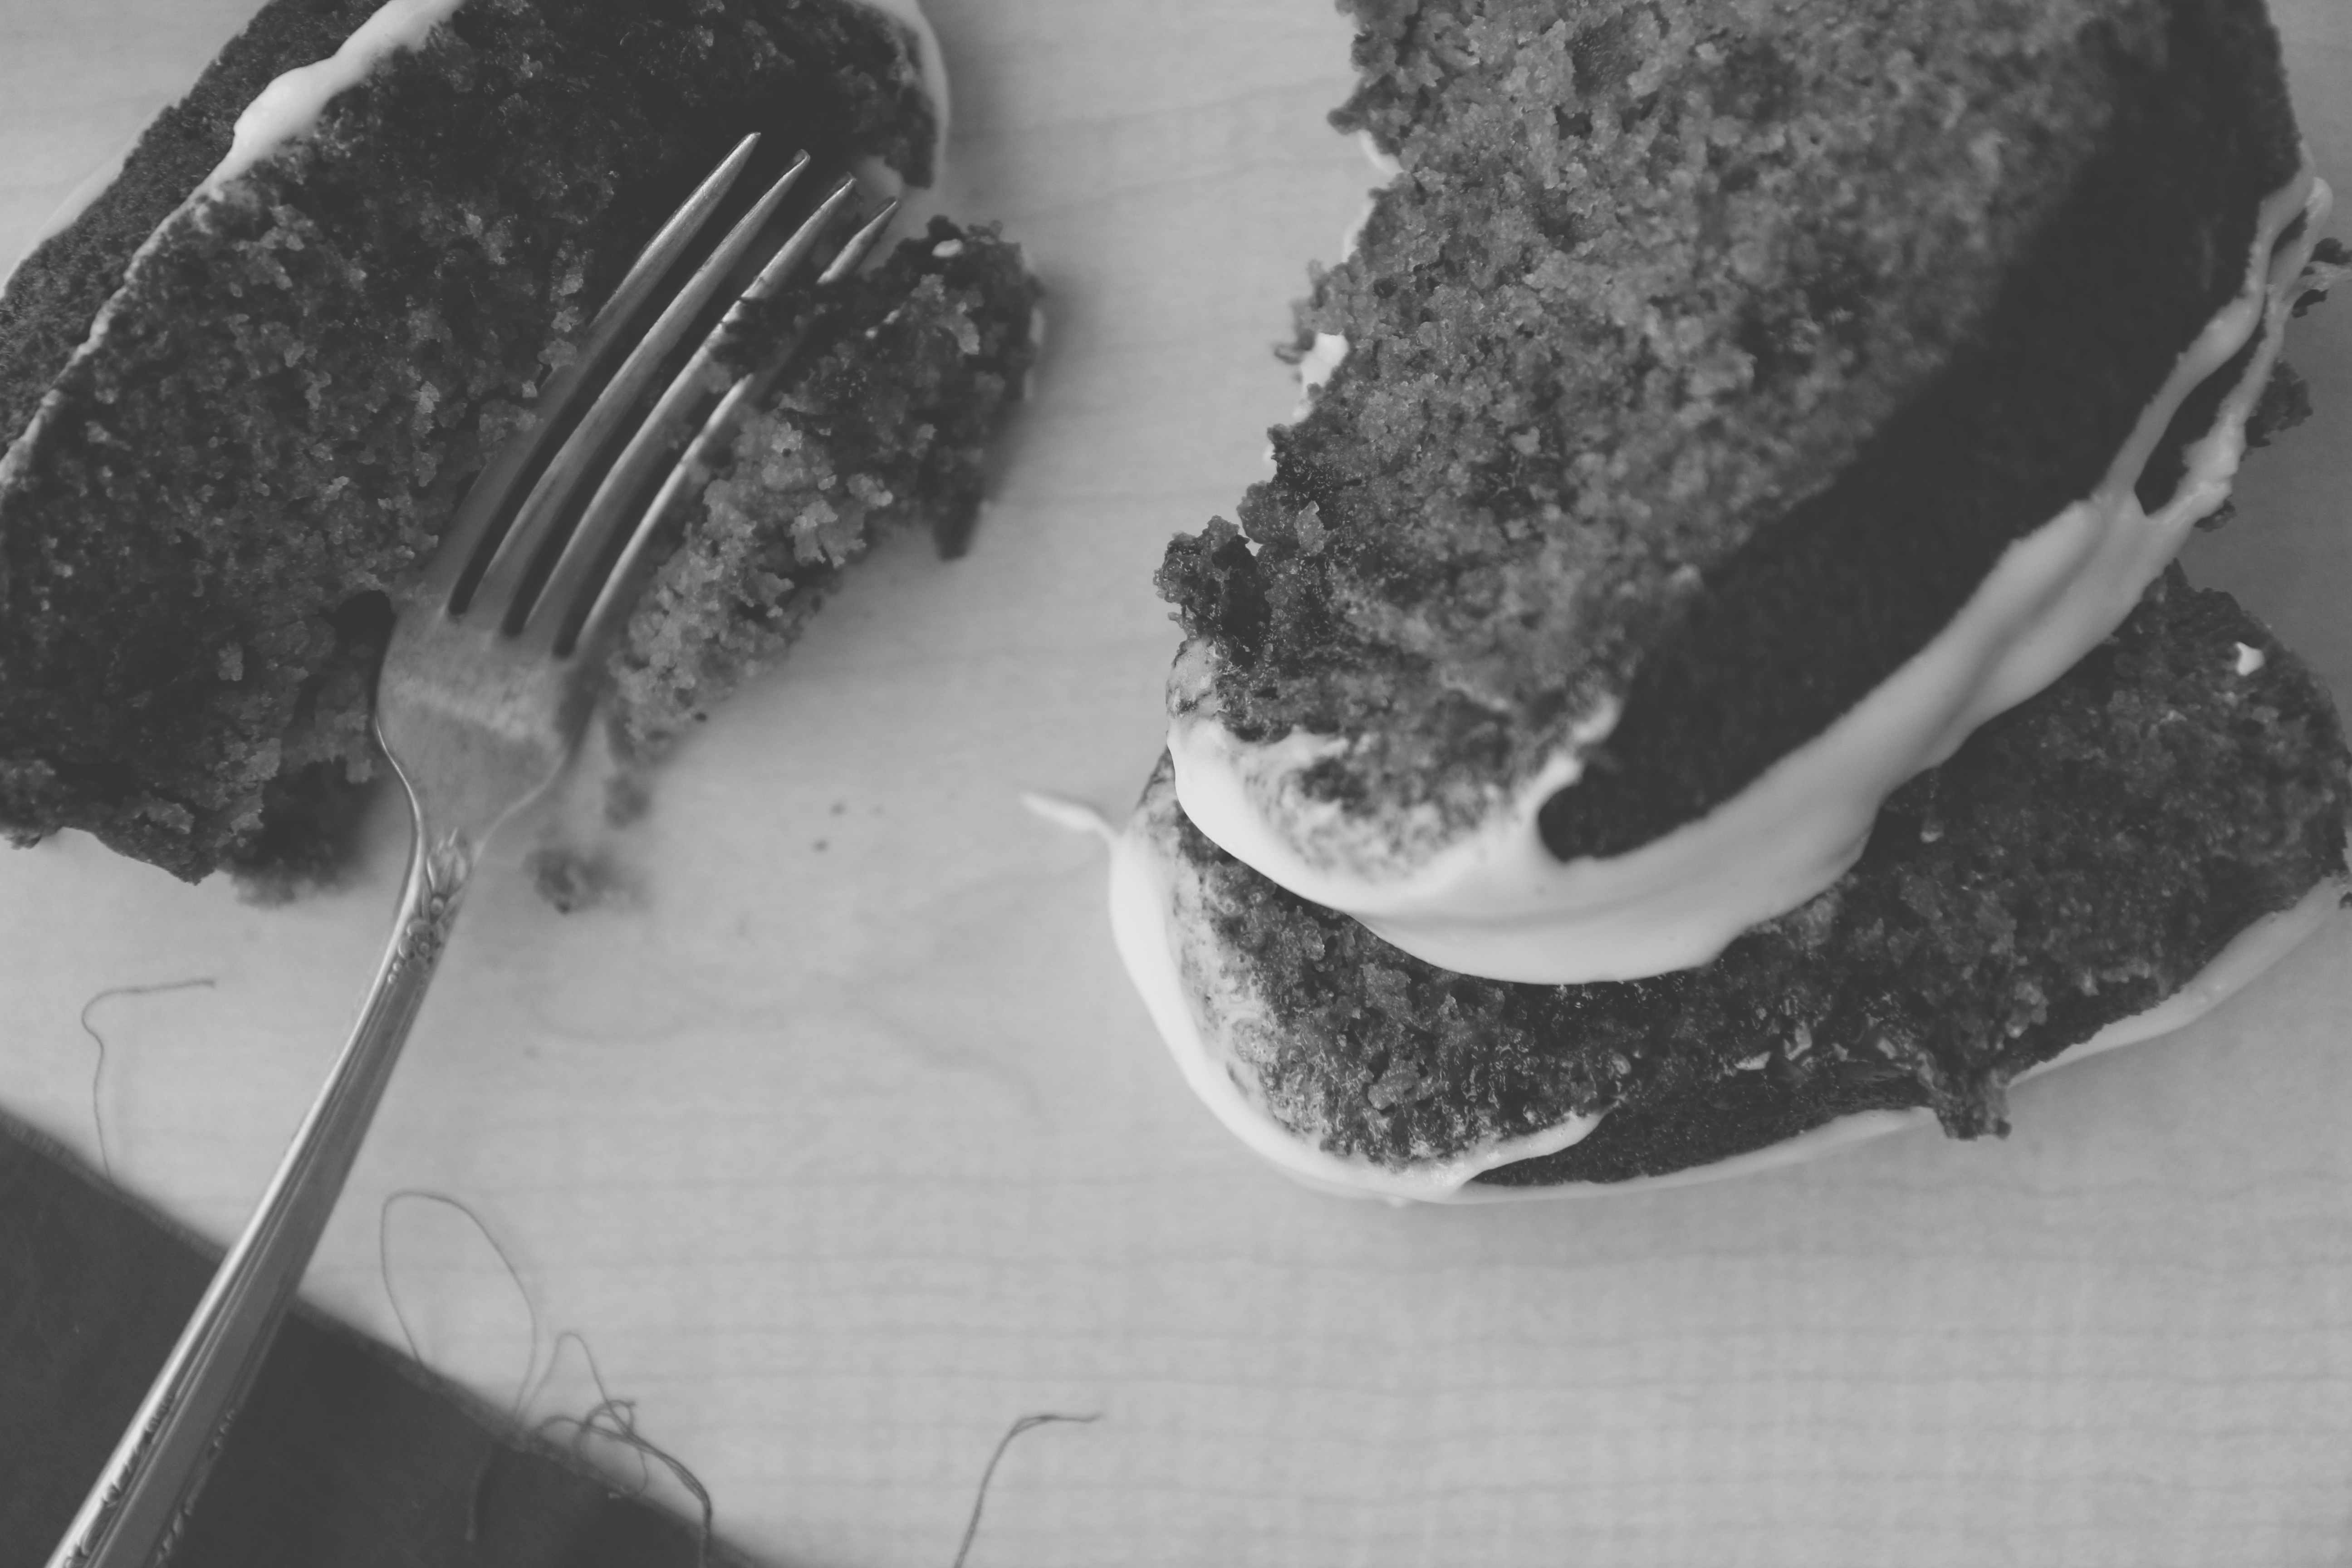
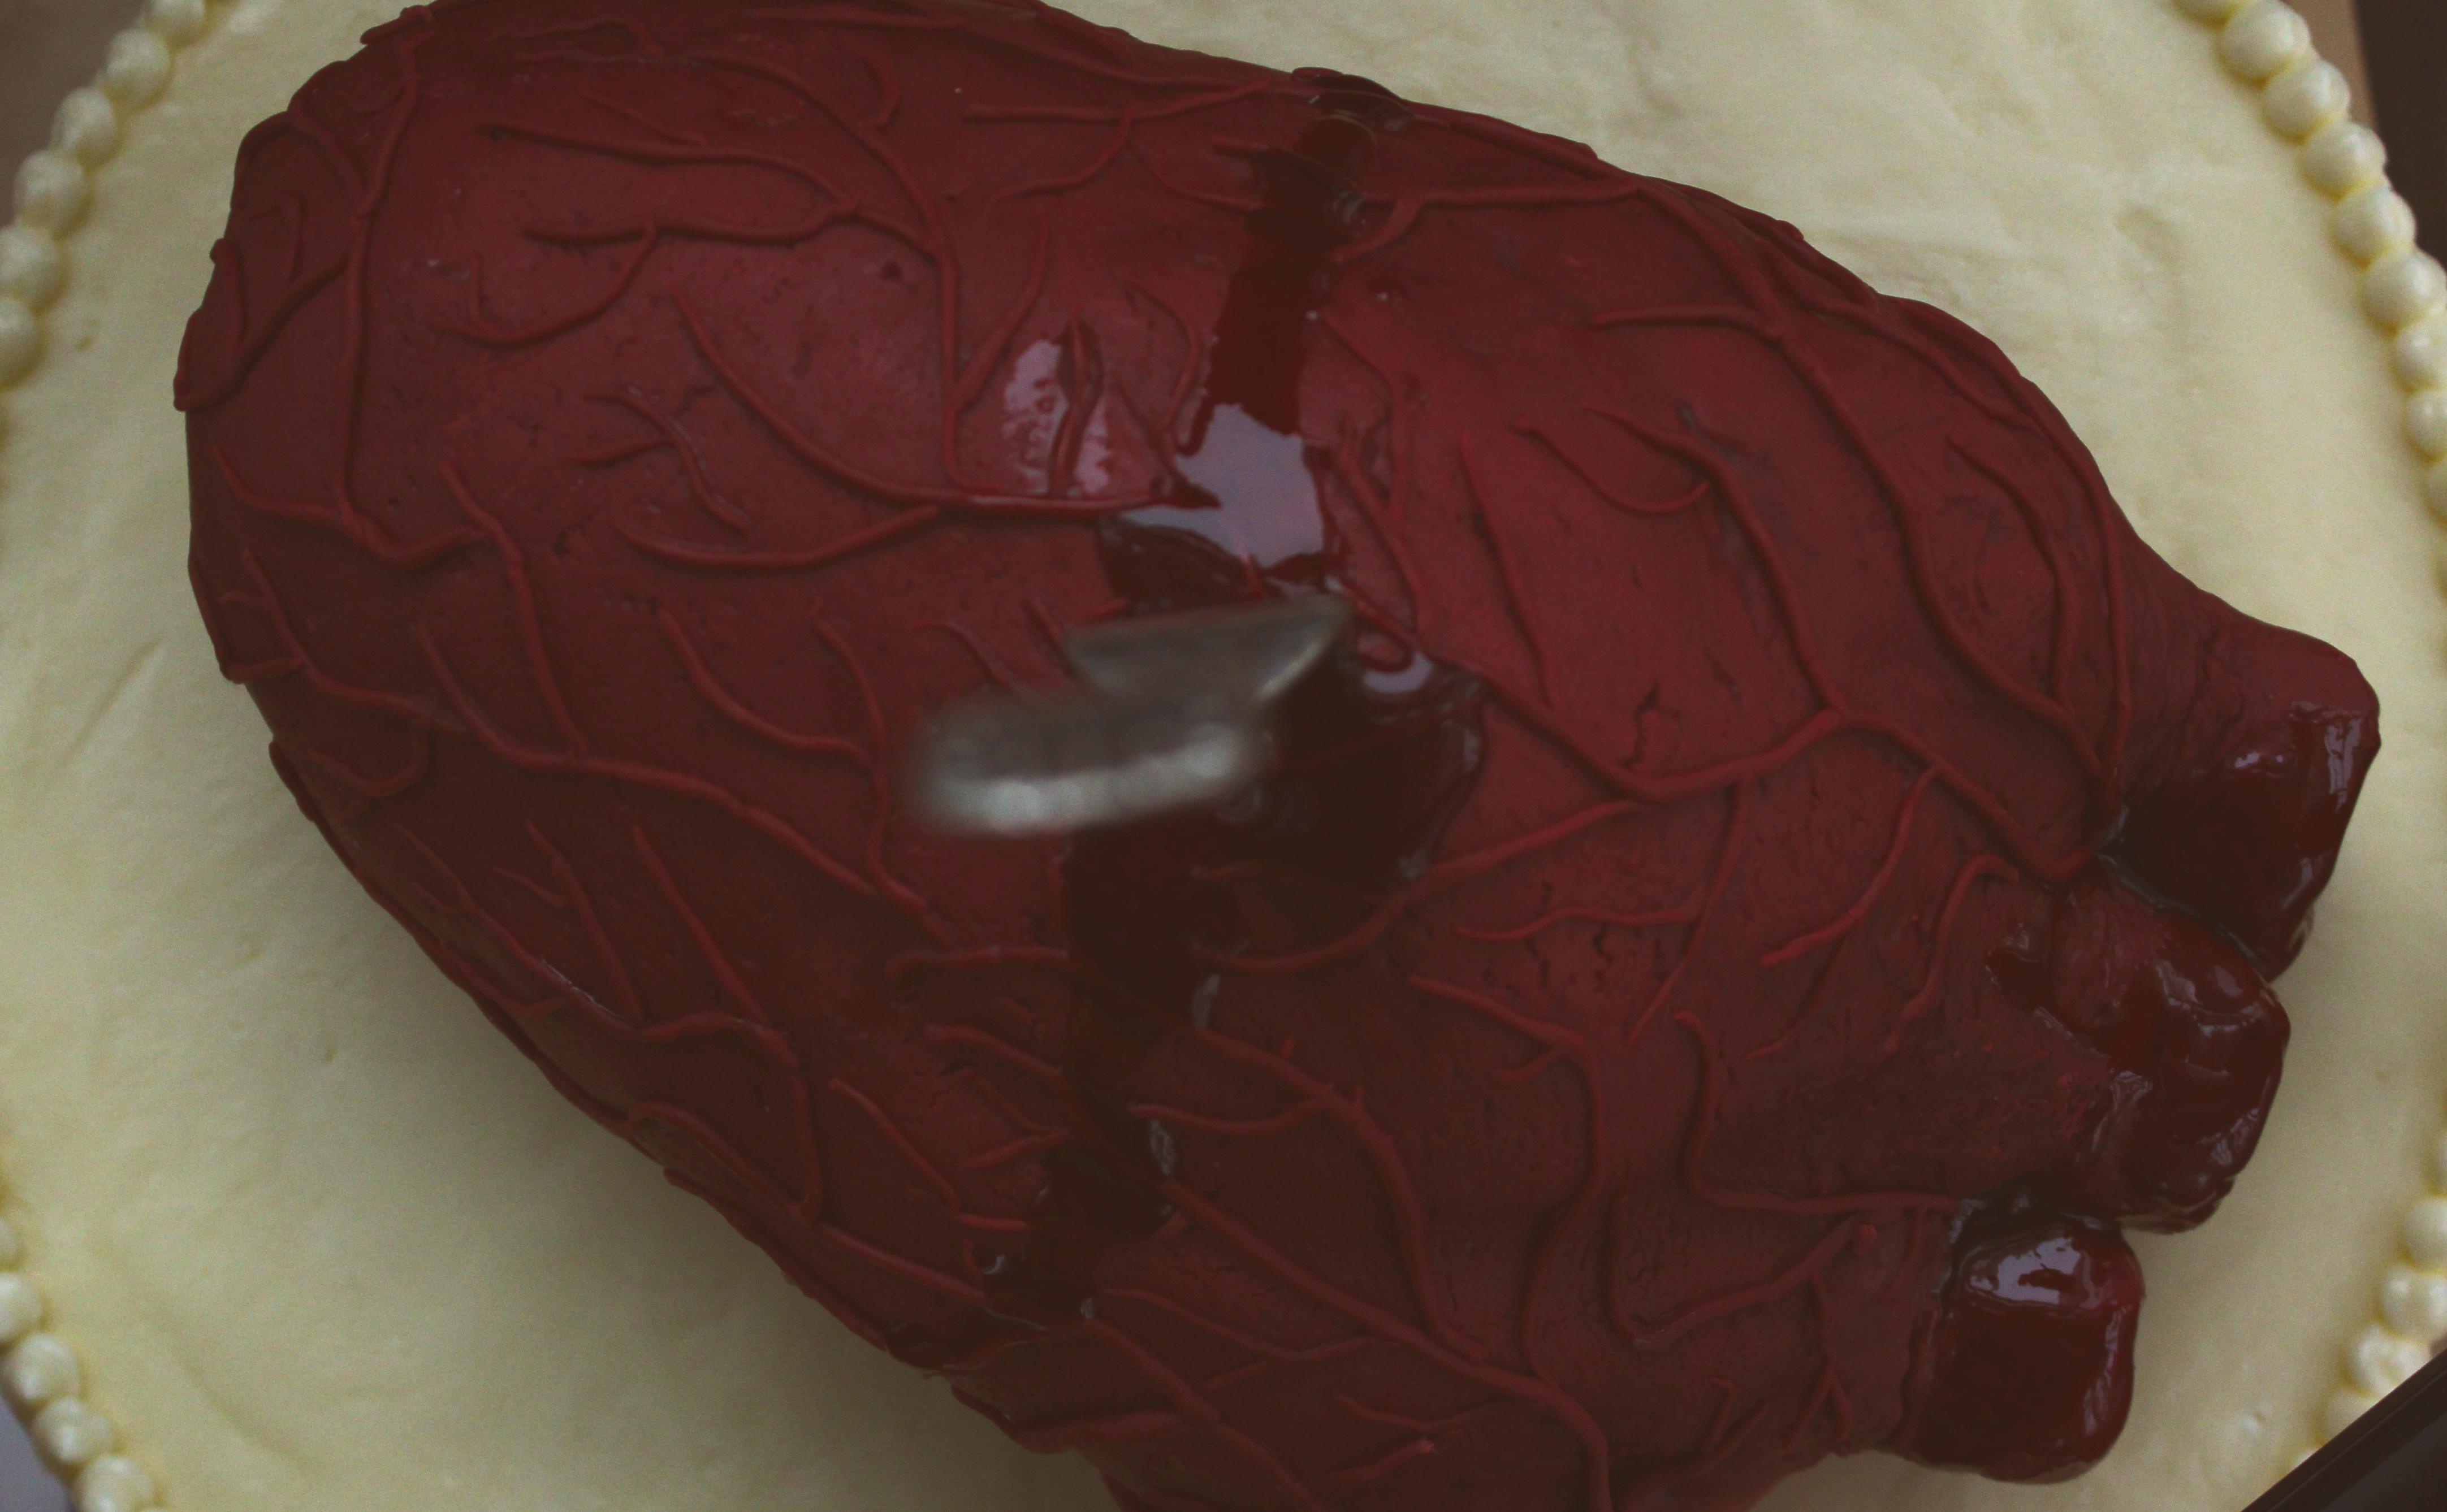
Hellooooo buttermilk-cream cheese glaze, I want to bathe in you omg.
“Best thing I’ve ever eaten.” -#JonS
“Favorite thing you’ve made.” -Tom
“Oh my god.” -D. Frankel
“Mmmffm” -CJ
It’s pretty hard to go wrong with bananas, brown butter, chocolate, buttermilk, and cream cheese.
Impossible, actually. You could probably smush them all up and stick them in the microwave and it would taste good.
(Ugh. Banana mug cake?!?!?)
But more on that later: let’s talk technology!
Talk tech to me…

Remember how I admitted to having a bad case of lens lust?
How all I wanted all I needed all I ever desired ever was a new lens?
Something shiny, big, and full of glass?
I bought myself one!
After the horrors of 7th week (1 paper, 2 midterms, 3 p-sets and no sleep) I decided I was deserving. Ahem.
But, y’all, let me tell you: I am bad at ebay. I do not do ebay good.
I lost 4 (four!) auctions for various 17-55 mm f2.8 USM Canon lenses.
I had fallen into a pit of despair (FWP), when suddenly, I noticed a new BUY IT NOW lens and I jumped out of my seat and my pants and bought the damn thing.
I promptly put my pants back on and sat down
but nevertheless, my excitement was not dampered.
The lens came super quickly (it only took the weekend to arrive!) and I was stunned.
It’s really a beaut; there is so much glass! I’m unused to that, and I find it truly gorgeous.
It makes my camera look gigantic, yes, but ooooo mami that depth of field will getcha!
Compared to my lil’ eensy kit lens (which I still and will always love. It’s got sentimental value, okay? Sentimental value and no lens cap. Oops.), this thing is a giant monster princess who will be treated with love and care and kept safe.
Very safe. (She says as she smudges glaze all over it.)

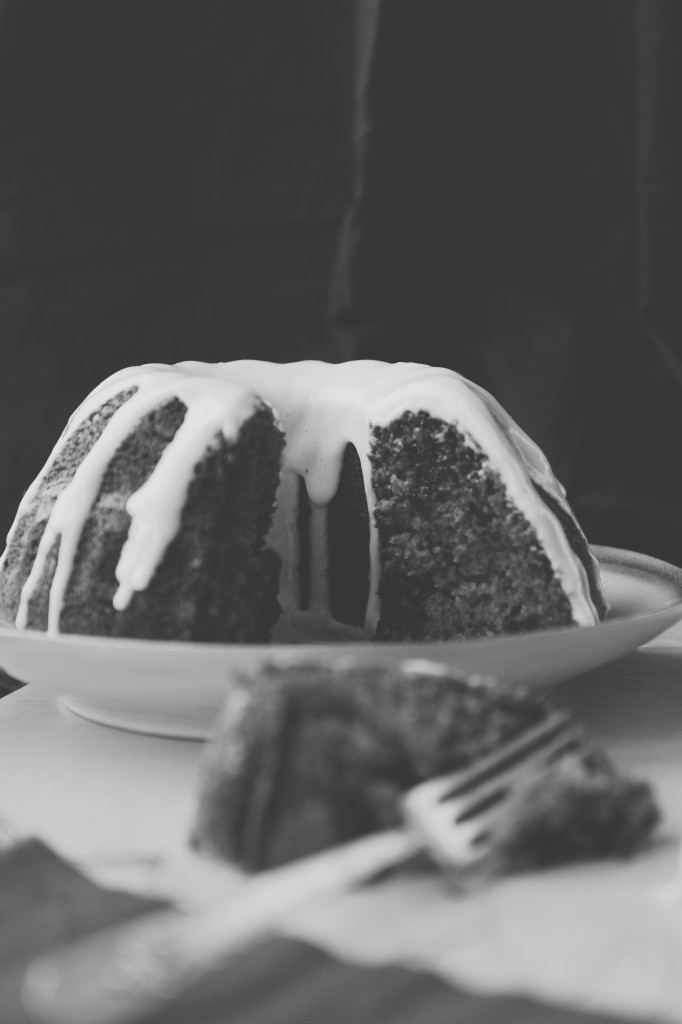
Obviously, I was very excited to bake something and take photos of it with my new toy.
Obviously, knowing me, I was going to choose something I hate photographing.
Whyyyyy am I so stubborn and ridiculous?
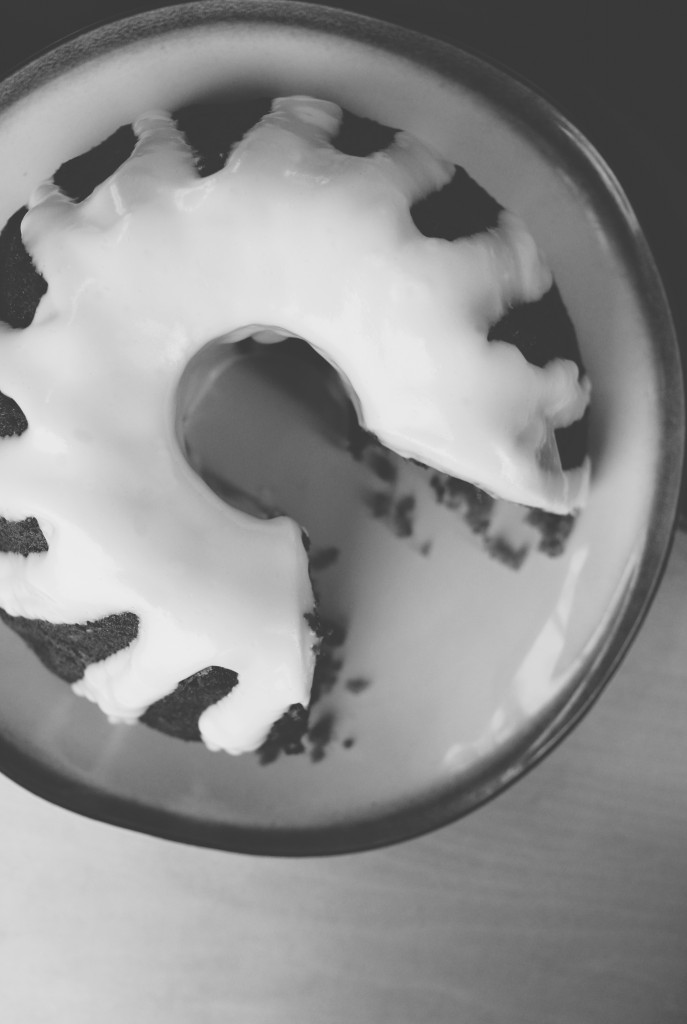
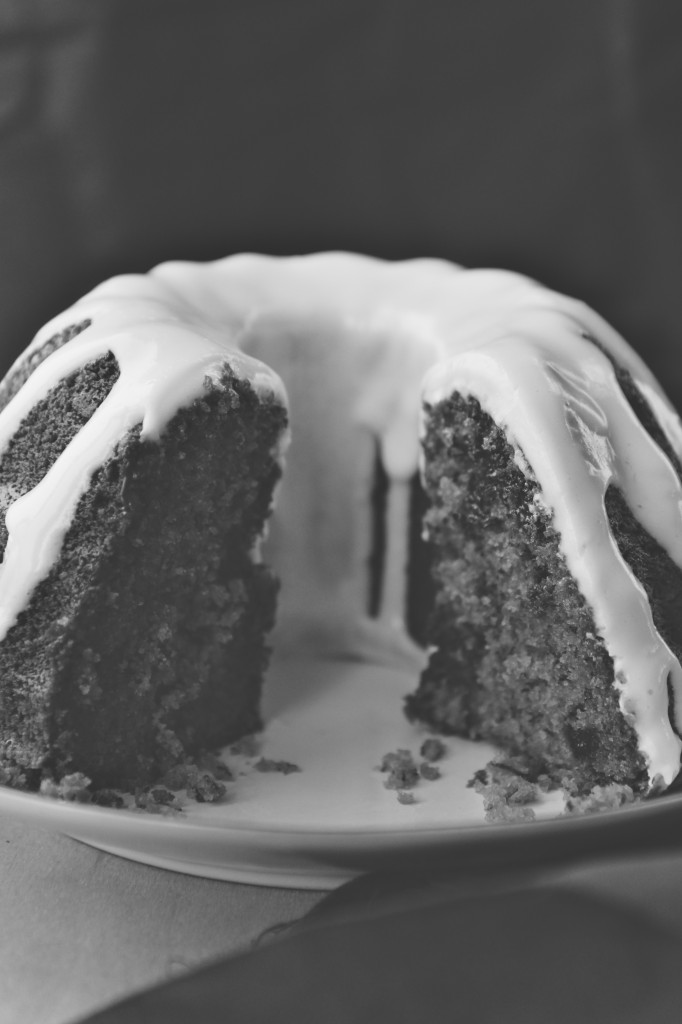
I hate bundt cakes. Wait, no, I hate photographing bundt cakes. We’ve been through this. I’m bad at it.
And yet, I baked a bundt cake. Hmph.
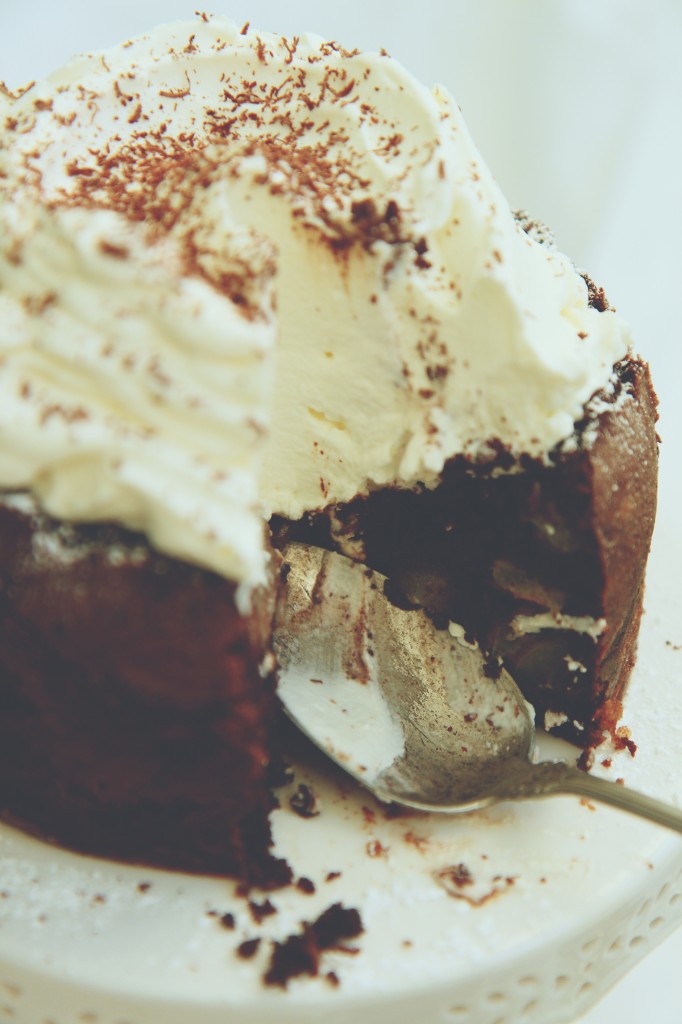
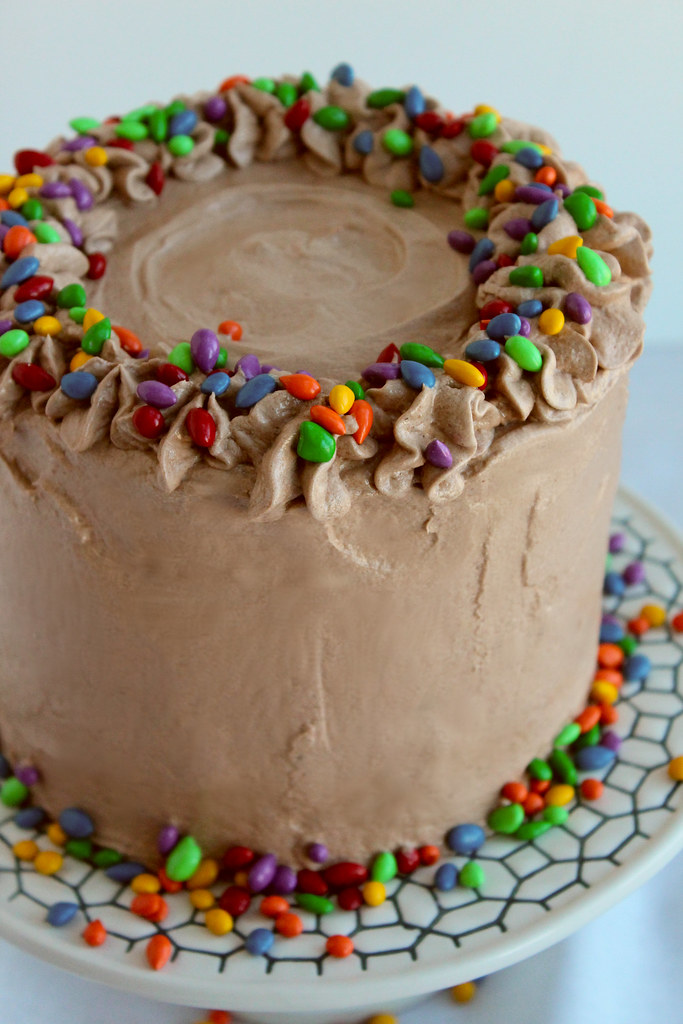
This cake, doe.
It is a never fail. I have made it so many different ways, and have yet to be displeased.
This is my favorite adaptation.
First, I brown half the butter. Half is creamed until light and fluffy, and then its nutty, flavorful, melted partner gets poured in.
The result? All of the benefits of the brown butter with an accompanying light and fluffy crumb due to the aeration from creaming, which cannot be done with solely melted butter.
The cake would be much denser if all the butter were to be browned.
Next: I freeze my bananas. Solid. Then I melt them in the microwave and discard most of the banana water. It will make your cake too wet and dense. You concentrate the flavor of the bananas a bit with the heat of the microwave, then you get rid of the excess liquid: boom.
Bigger, bolder banana flavor.
Brown sugar makes up the majority of the added sweeteners here, and it gives depth and warmth thanks to the molasses.
Buttermilk keeps the crumb tender and soft; we only need a touch, as too much would make the cake soggy and crumbly.
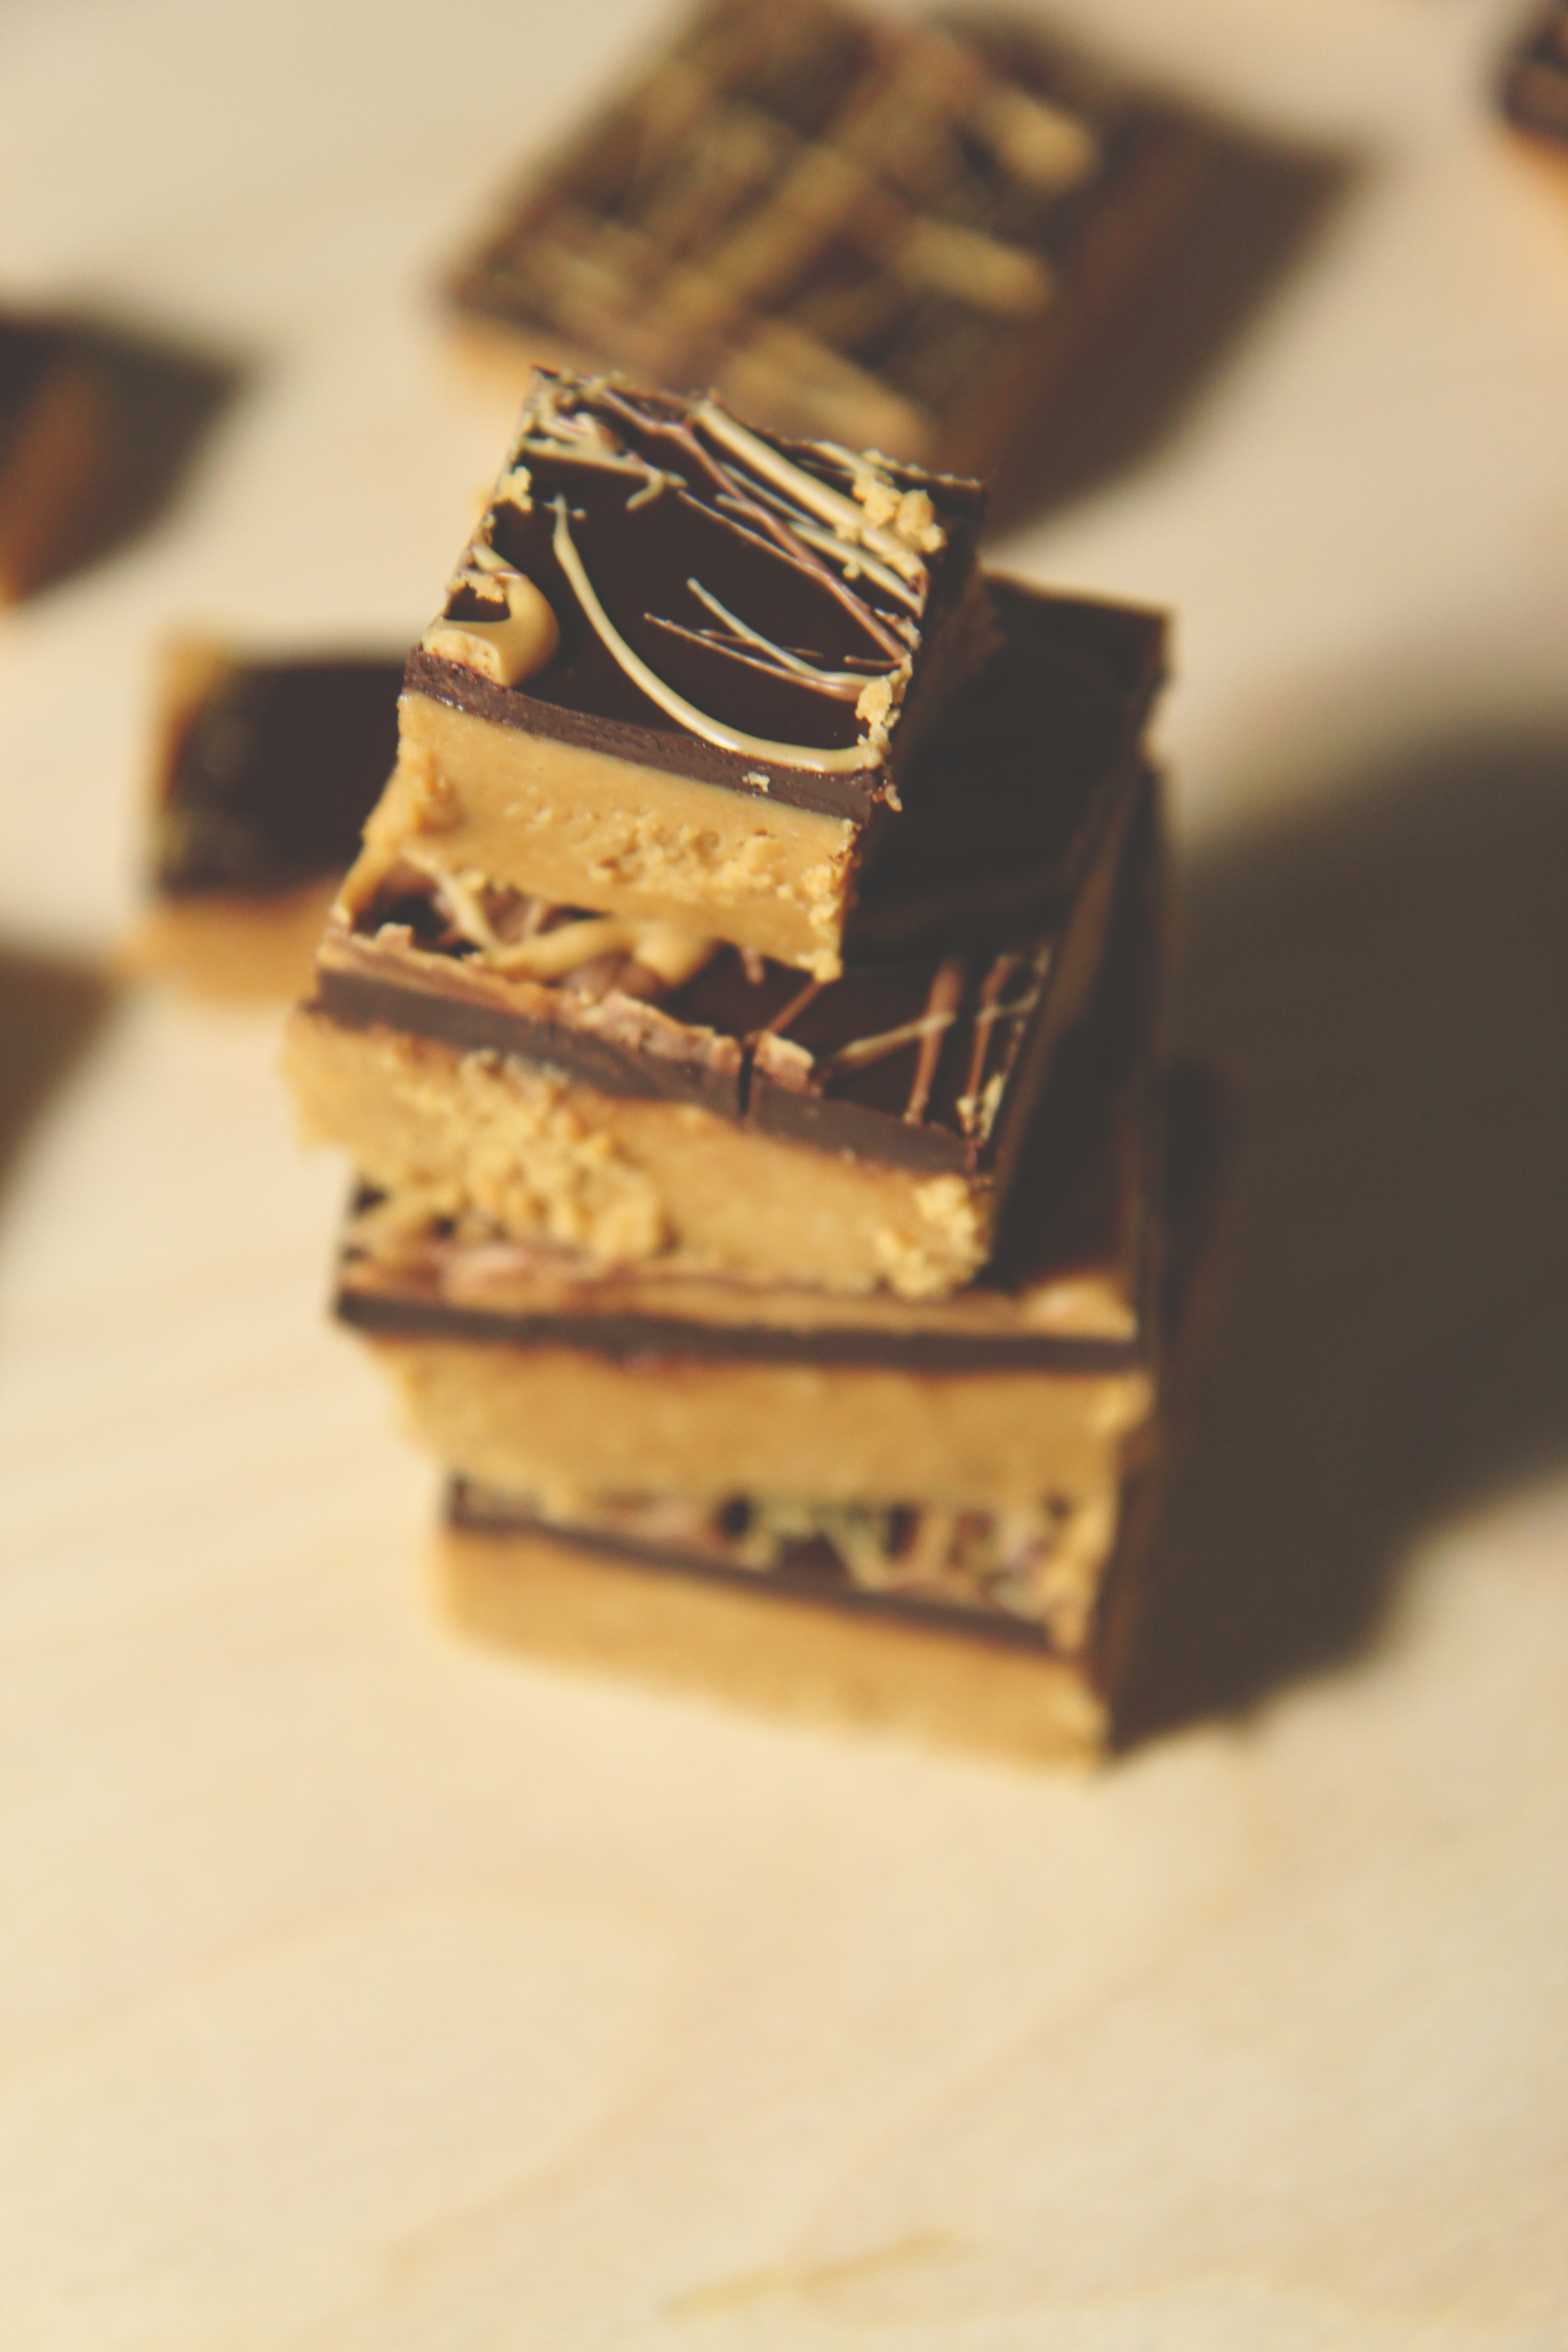
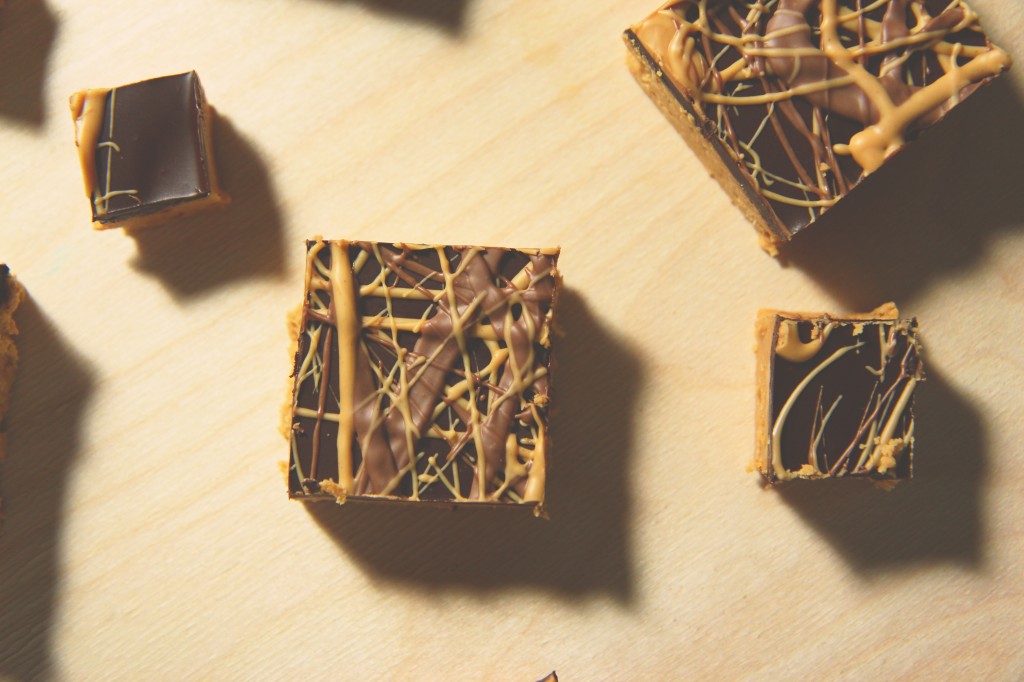
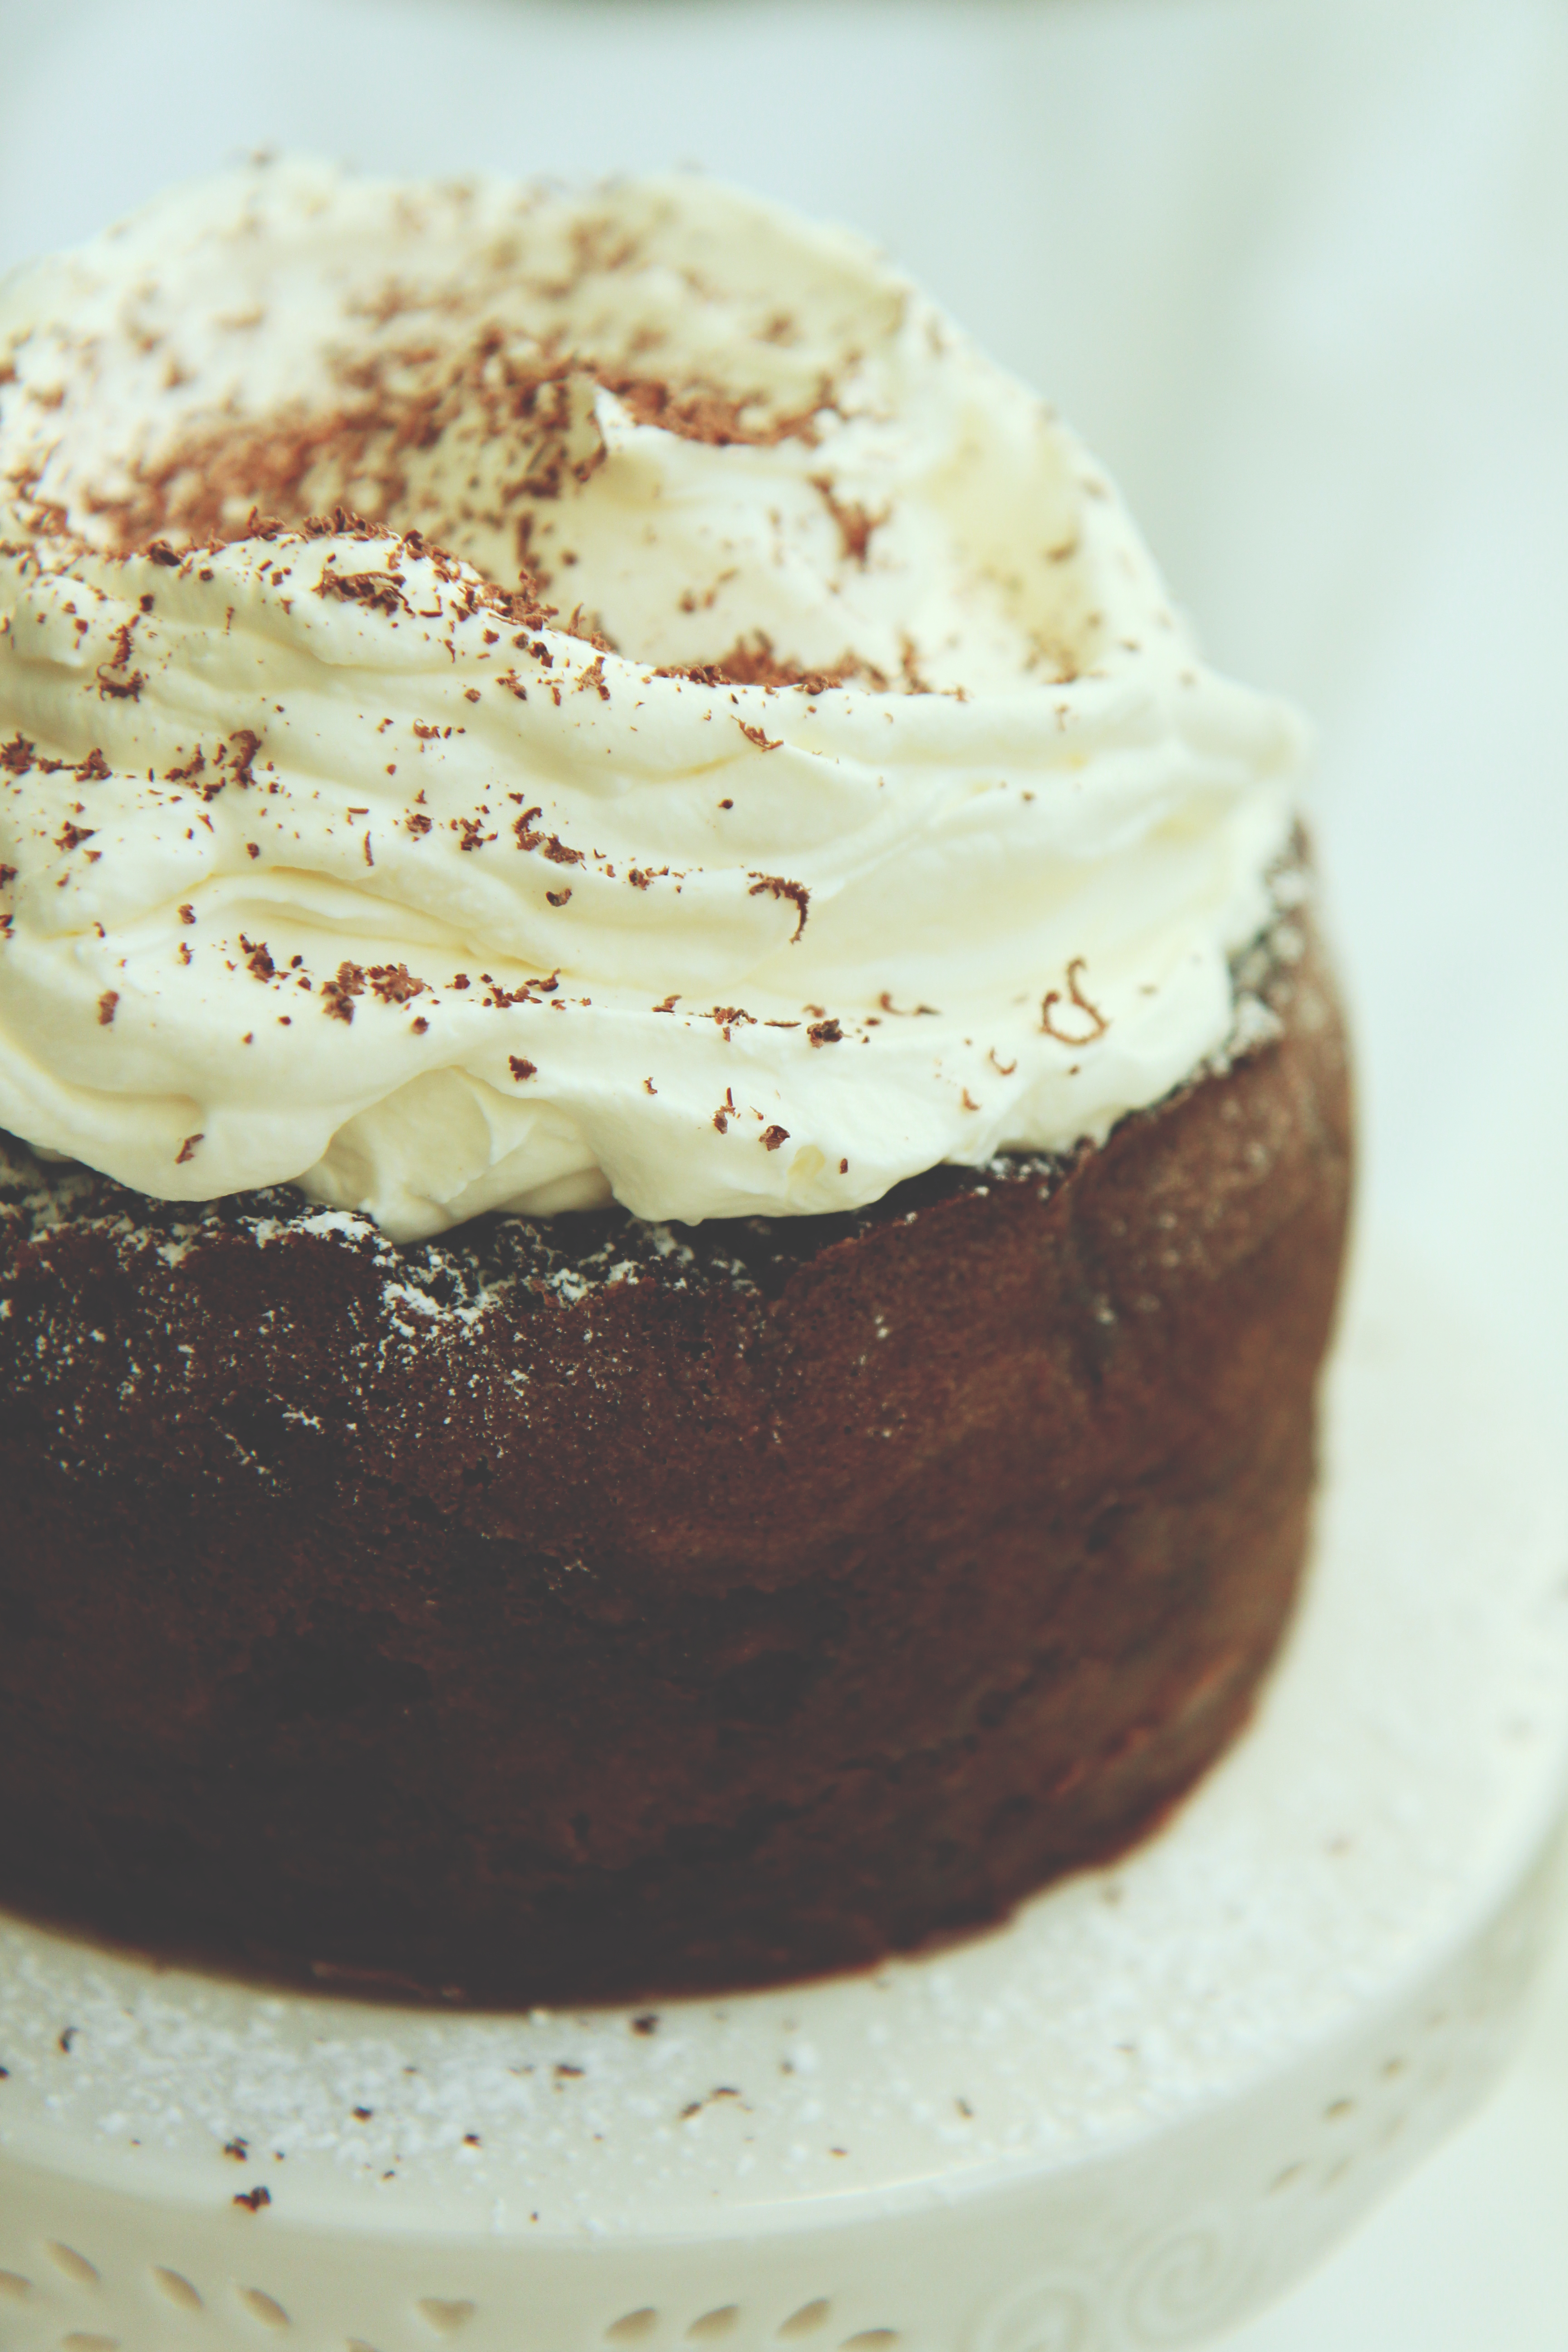
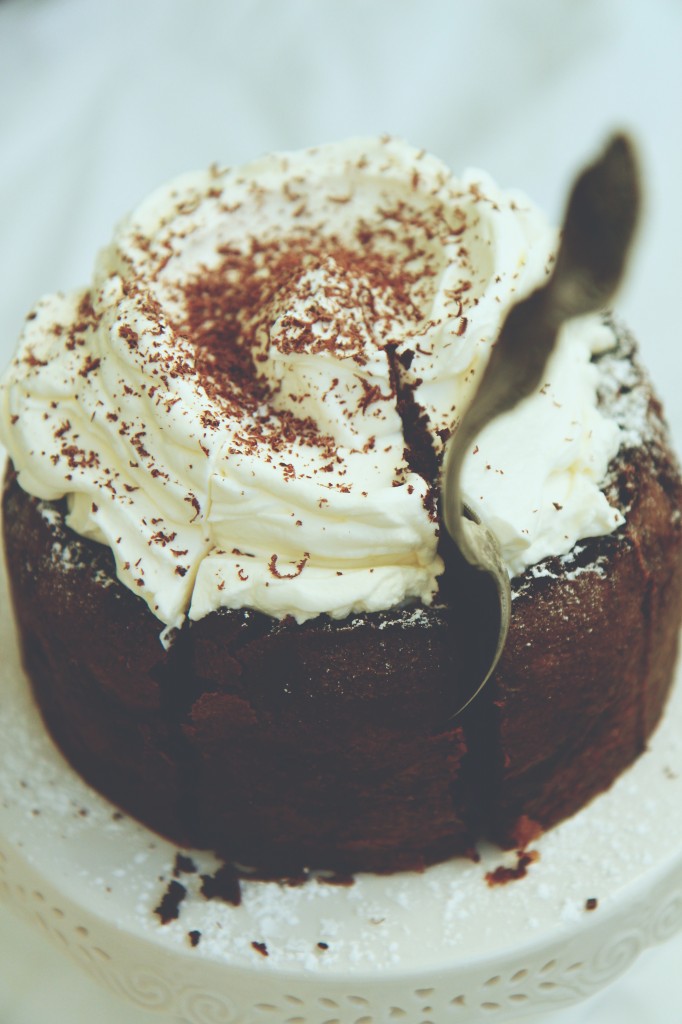
Finally, a smattering of chocolate chips, because chocolate.
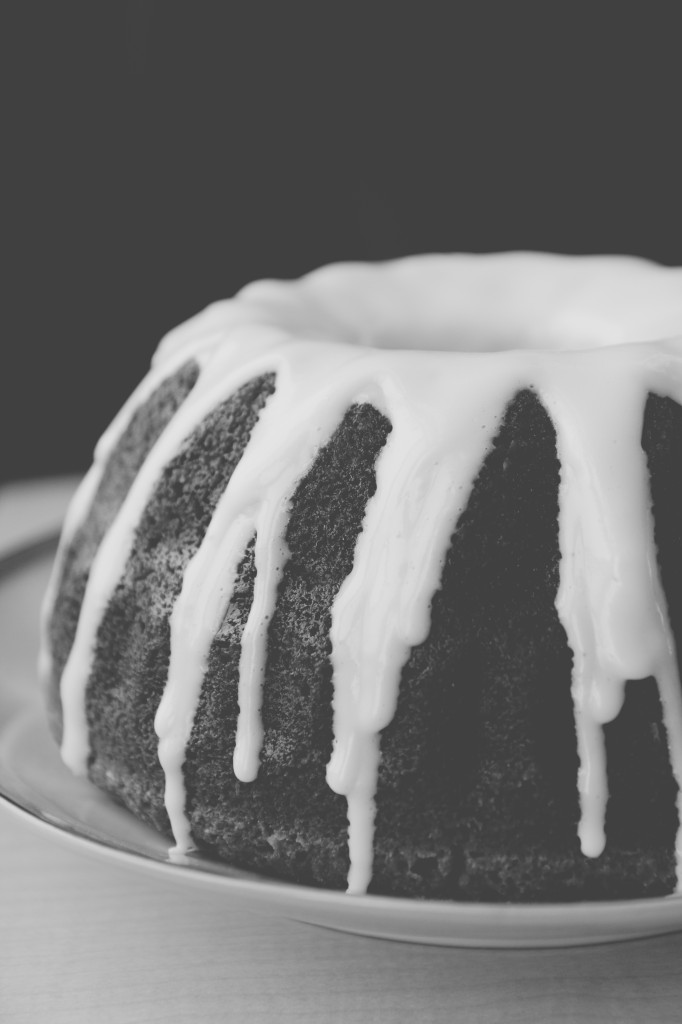
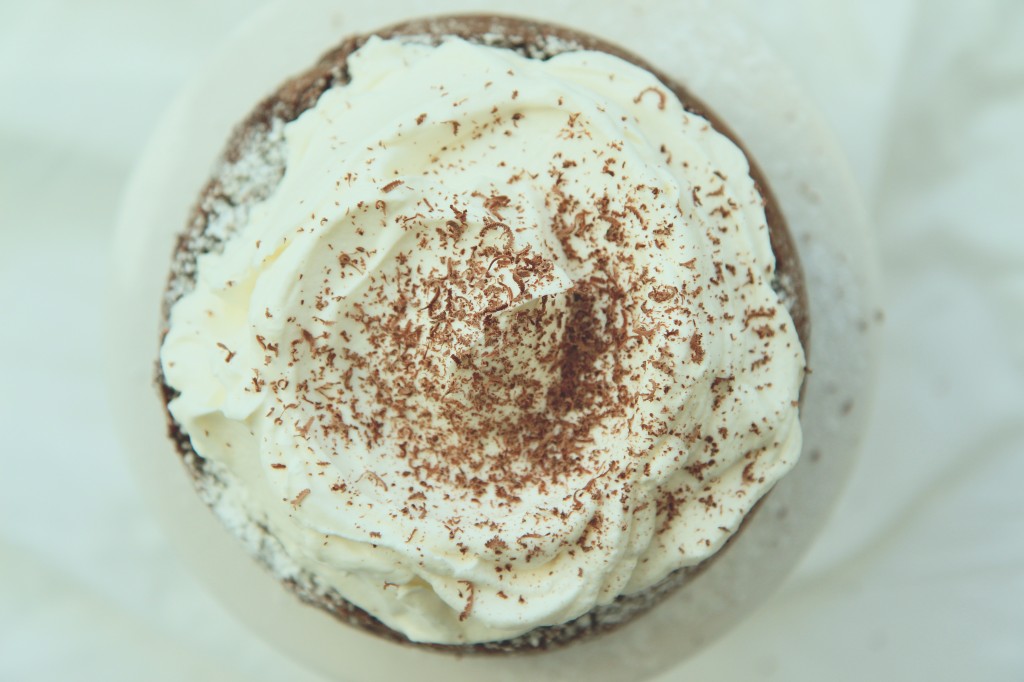
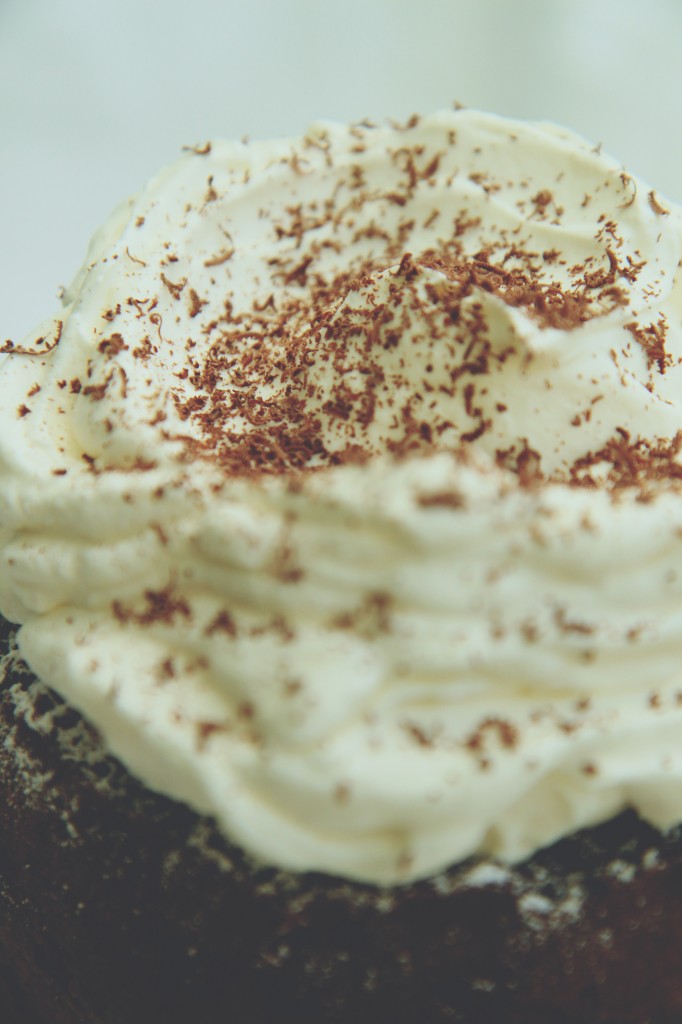
To top the cake, buttermilk, cream cheese, powdered sugar, and milk powder get whizzed together to make a thick glaze that is not too sweet and has just the right amount of tang.
‘Tis a beautiful bundt. There. I said it. The interior makes up for the photos exterior.
Perfect Banana Bundt
makes 1 bundt cake
adapted from Dorie Greenspan
ingredients:
225 grams (8 ounces, 16 tablespoons) butter, divided in two
150 grams (3/4 cup) granulated sugar
250 grams (1 1/4 cup) brown sugar
2 eggs
splash vanilla extract
4 medium bananas, frozen solid
120 grams (1/2 cup) buttermilk
big pinch salt
2 teaspoons baking soda
360 grams (3 cups) flour
200 grams (heaping 1 cup) chocolate chips, if desired
directions:
Preheat oven to 350 degrees F and grease and flour a bundt pan very thoroughly.
In a small saucepan, melt half the butter; keep cooking it until there are little brown pieces and it smells nutty; remove from heat and set aside to cool slightly.
Cream the other half of the butter with the sugars for at least 5 minutes, until light and fluffy.
Stream in the browned butter and beat until combined.
Beat in both of the eggs and the vanilla and beat for at least 3 more minutes, until the mixture is pale, fluffy, and very smooth.
Meanwhile, place your bananas in a microwave safe bowl and microwave for 30 seconds, or until the peels are just starting to soften; peel the bananas and return them to the bowl.
Microwave for about 1 1/2 minutes in 15-30 second bursts.
The bananas should be melty and should have let off a bit of liquid.
Using your hands to hold the bananas in the bowl, press and pour as much of the liquid out of the bananas as possible, without losing any banana pieces.
Pour the bananas into the creamed butter and sugar and beat until homogeneous; the mixture will look very curdled.
Pour in the buttermilk and beat to combine; the batter will still look curdled.
Dump the flour on top of the batter, then add the salt and baking soda to the top of the flour mound.
Mix on low until the batter is homogeneous and smooth; stir in the chocolate chips, if desired.
Spread the batter into the prepared bundt pan and bake for about 1 hour, or until a tester comes out completely clean; the top will be firm and dark brown, but due to a bundt pan’s shape, the interior might not be done.
Check in multiple places to ensure a completely cooked cake.
Allow the cake to cool for at least 15 minutes in the pan before inverting it onto a serving platter and glazing.
Buttermilk and Cream Cheese Glaze
ingredients:
120 grams (1/2 cup) buttermilk
140 grams (5 ounces) cream cheese, softened
200 grams (approximately 2 cups) powdered sugar, sifted
30 grams (approximately 1/3 cup) milk powder
directions:
In a food processor or with an immersion blender, process the cream cheese and buttermilk.
Add in the dry ingredients and process until a smooth glaze forms.


