“It comes in winter white/ in holiday disguise…”
-A Fine Frenzy
Let’s hop aboard the crazed “winter-white” train, people.
Lord knows we’ve got enough crazy to go around in these here parts.

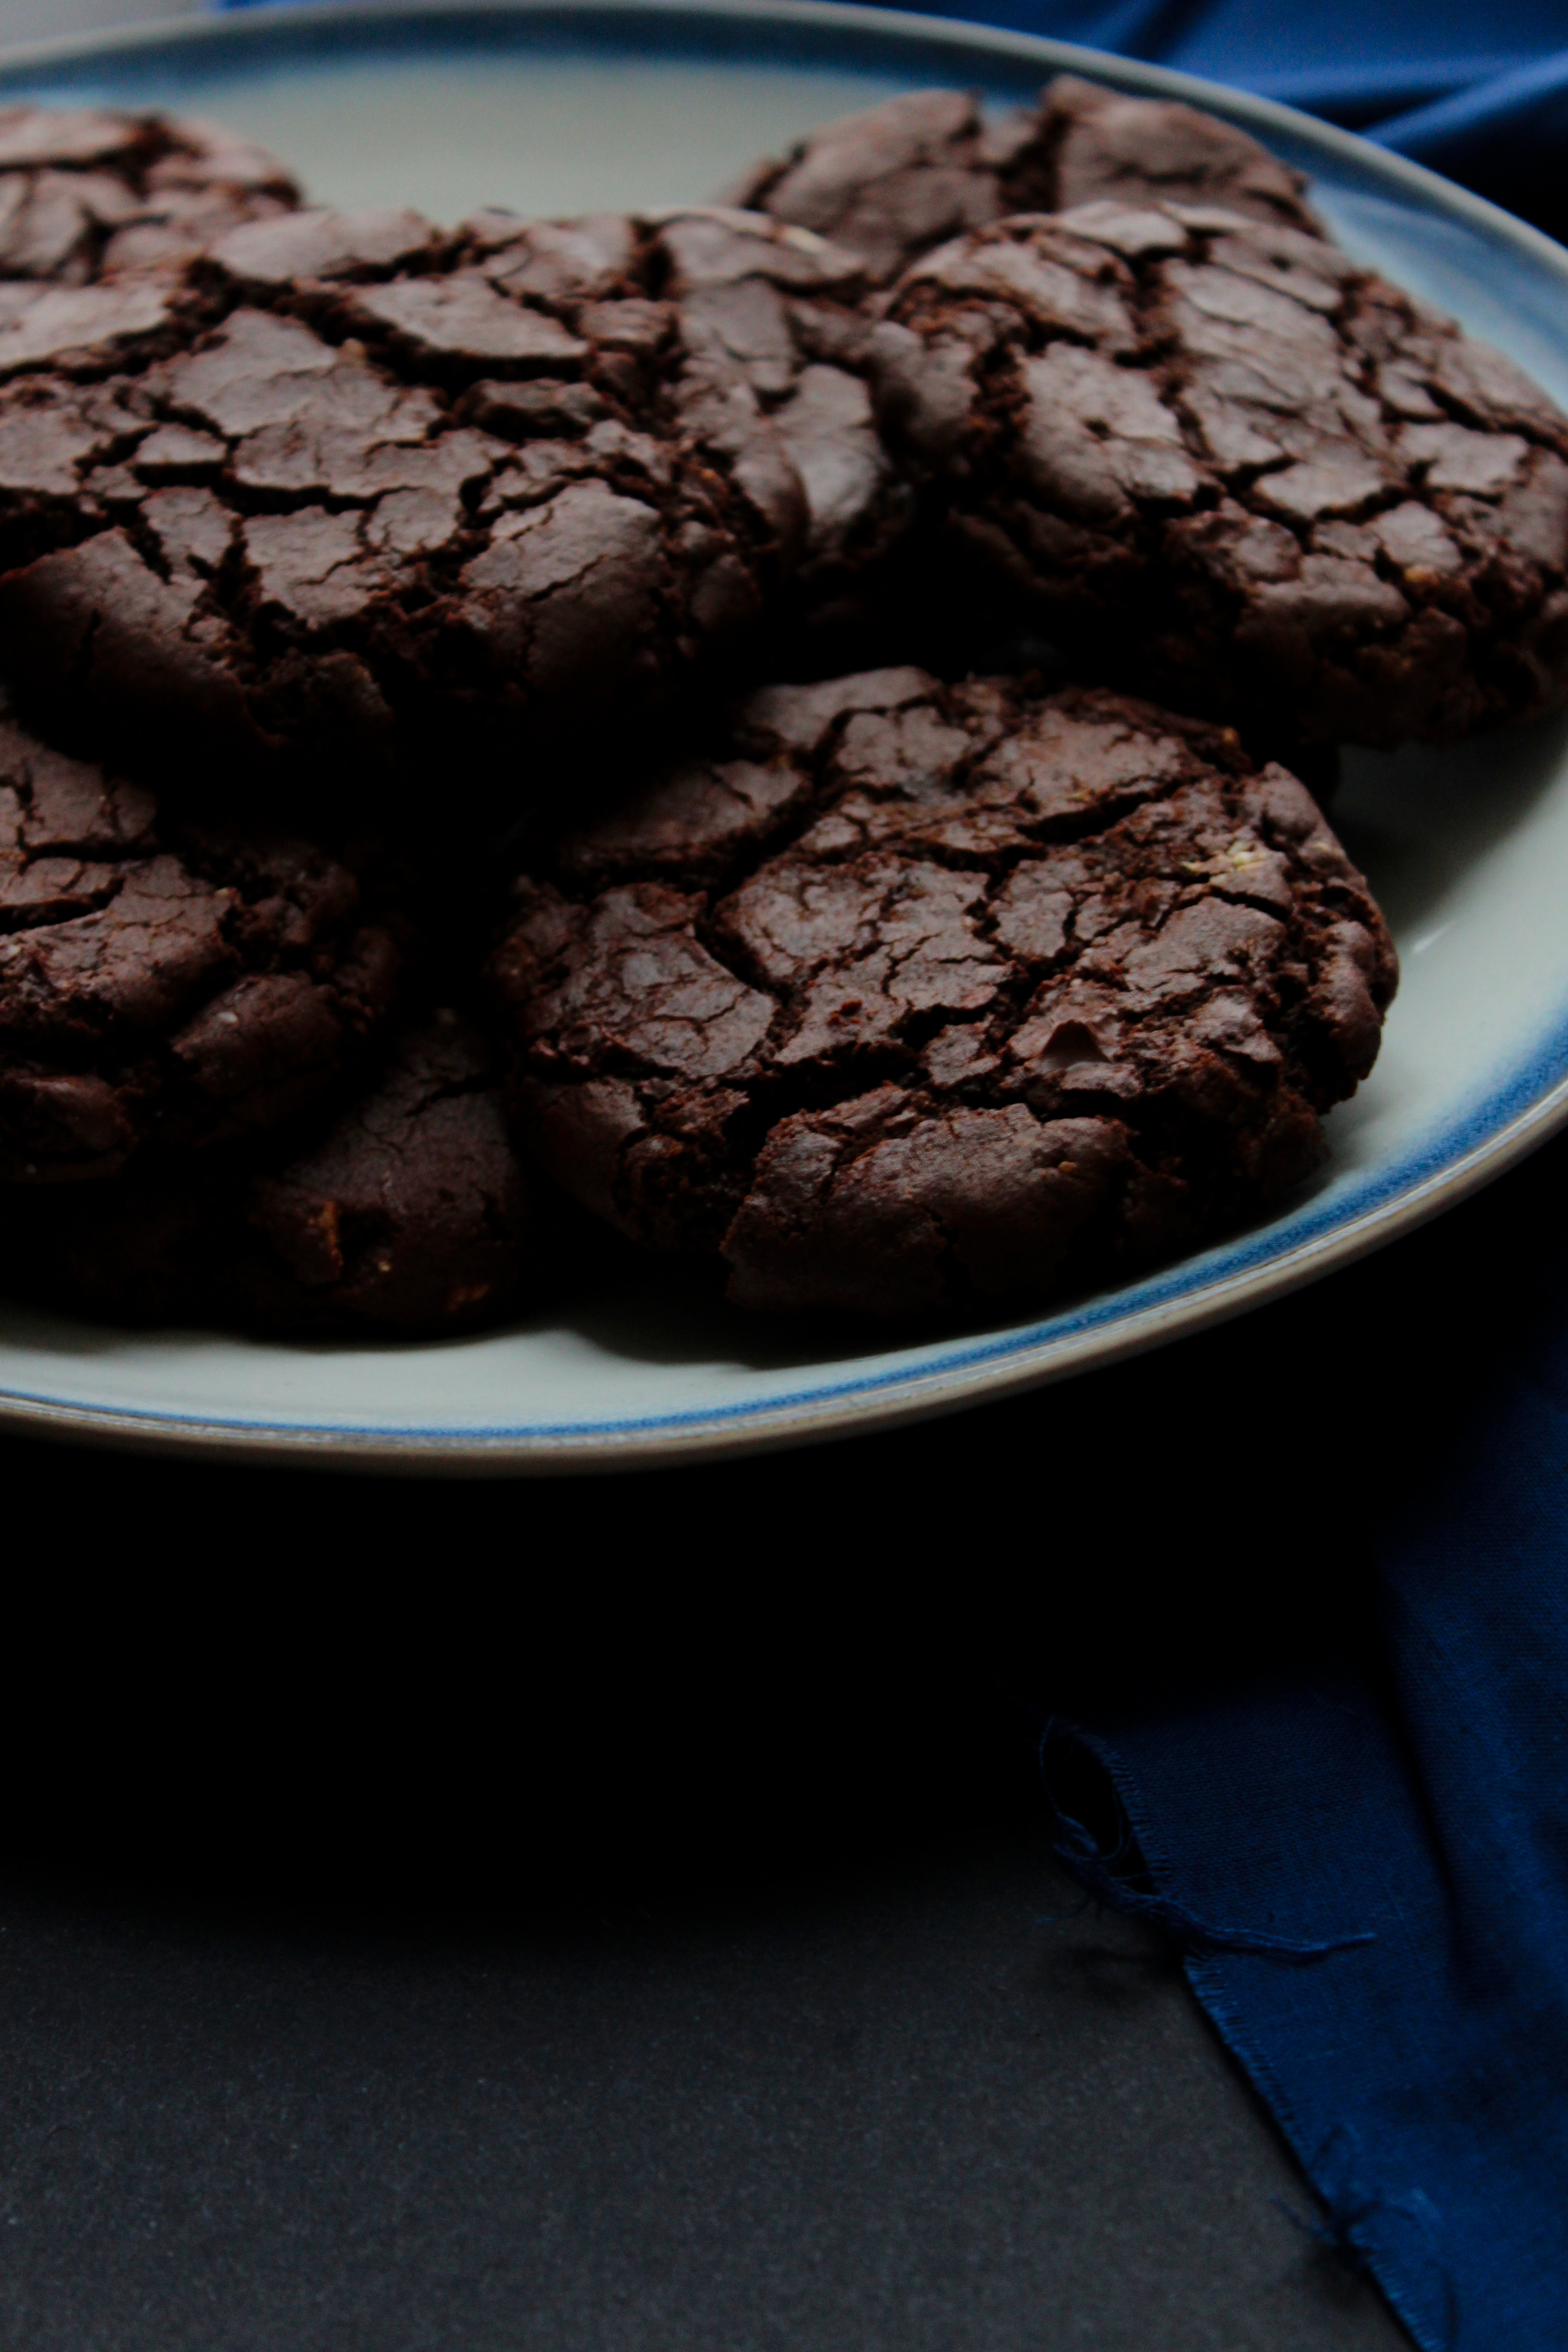
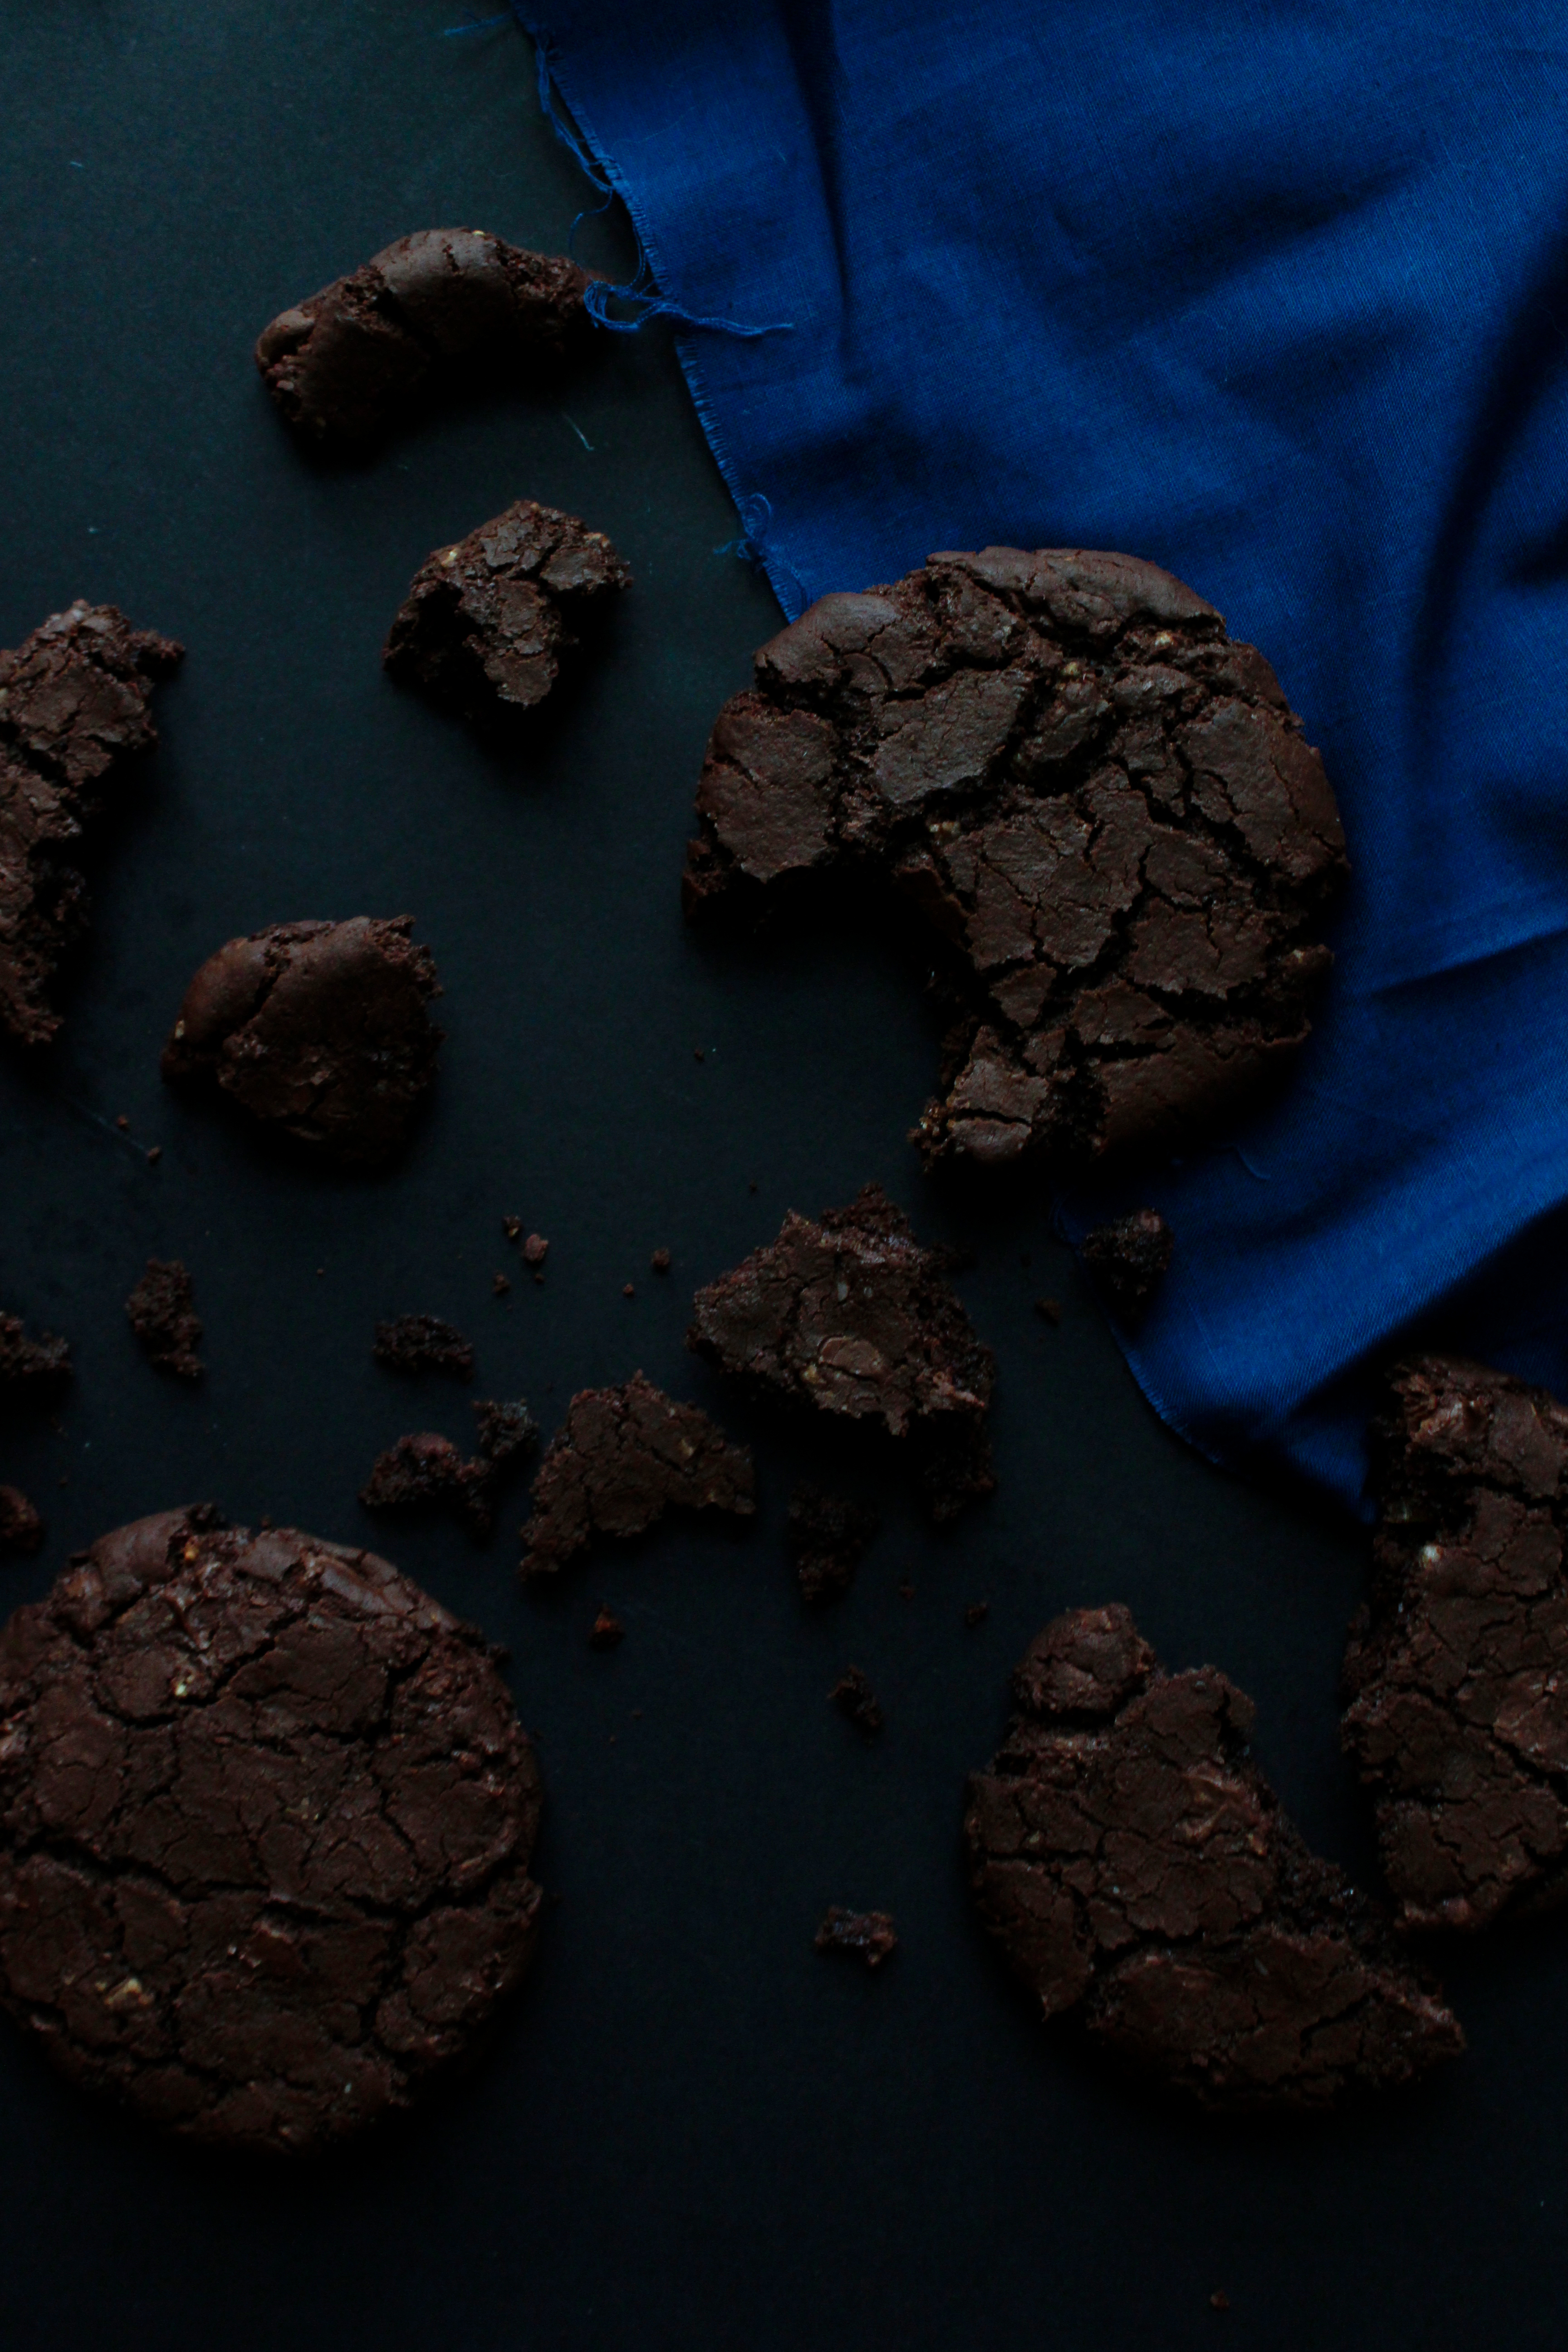
I’ve certainly hopped aboard the crazy cookie train, more so than ever, I think.
I love gifting cookies! People love to receive little sweets to celebrate with.
Personally… I eat my weight in cookies every holiday season. It’s only natural and I won’t have it any other way lalalalala I can’t hear you.
I’ve baked sooo many cookies and packed them all up in pretty little Martha Stewart (God help me, I just wrote Marsha. Marsha Stewart) cookie boxes, to be given away to fill people with joy and butter and sugar.
All good things.
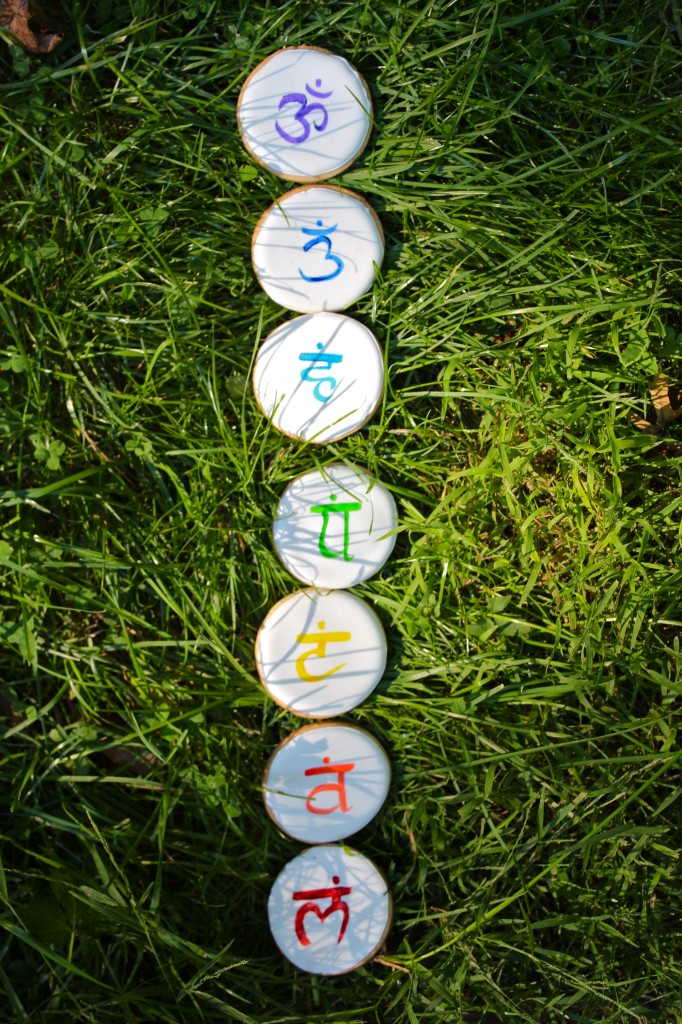
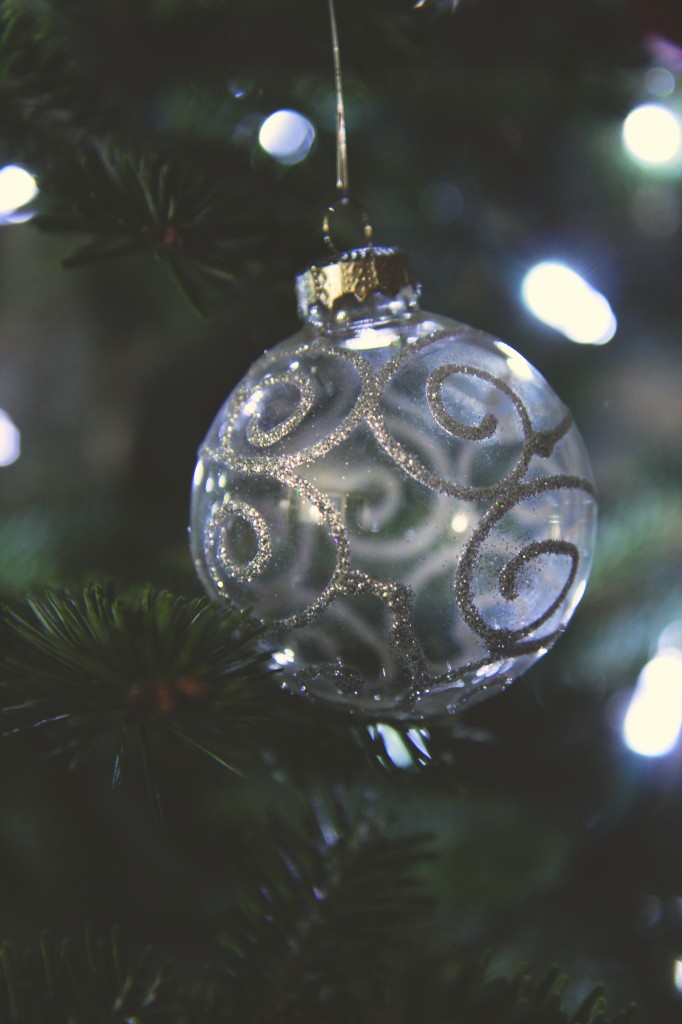
Can we talk about sparkles+cookies?
GUYS as if holiday sugar cookies could get any more appealing now we can add glitter and sparkly things.
I’m done for. Definitely done for. Look for my body underneath a mountain of luster dust.
I think I’m getting the glitter lung, Pop.
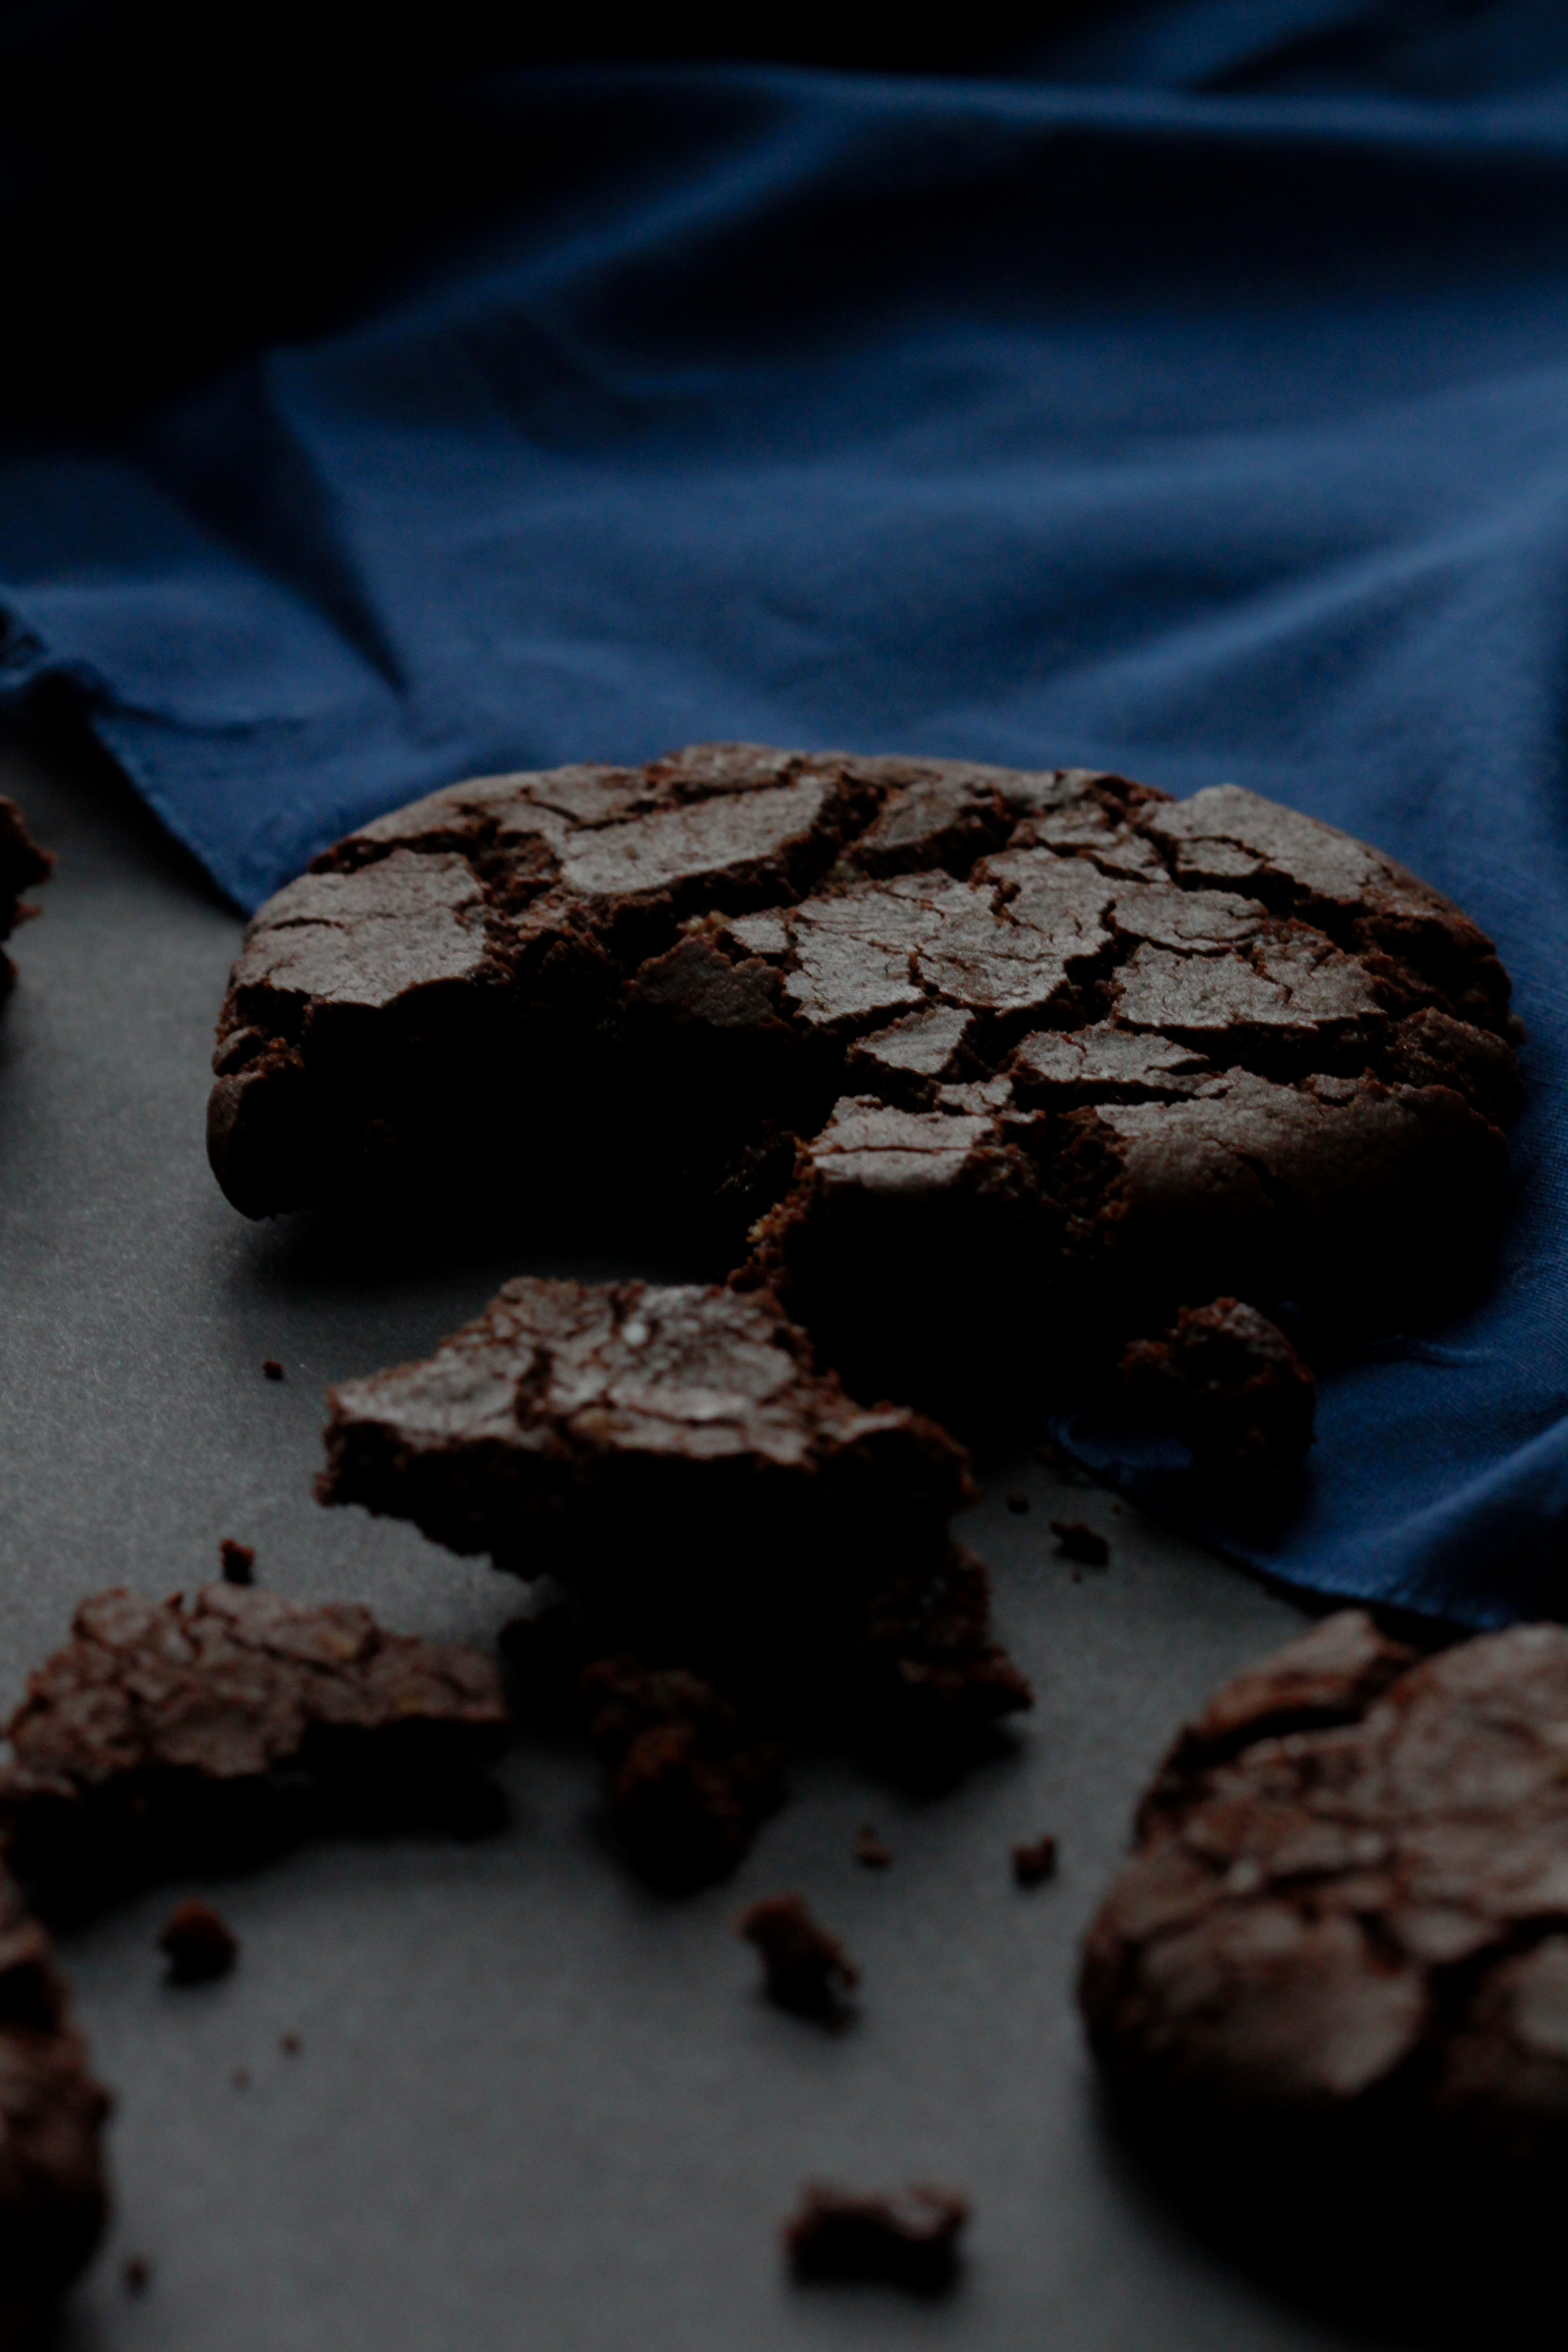
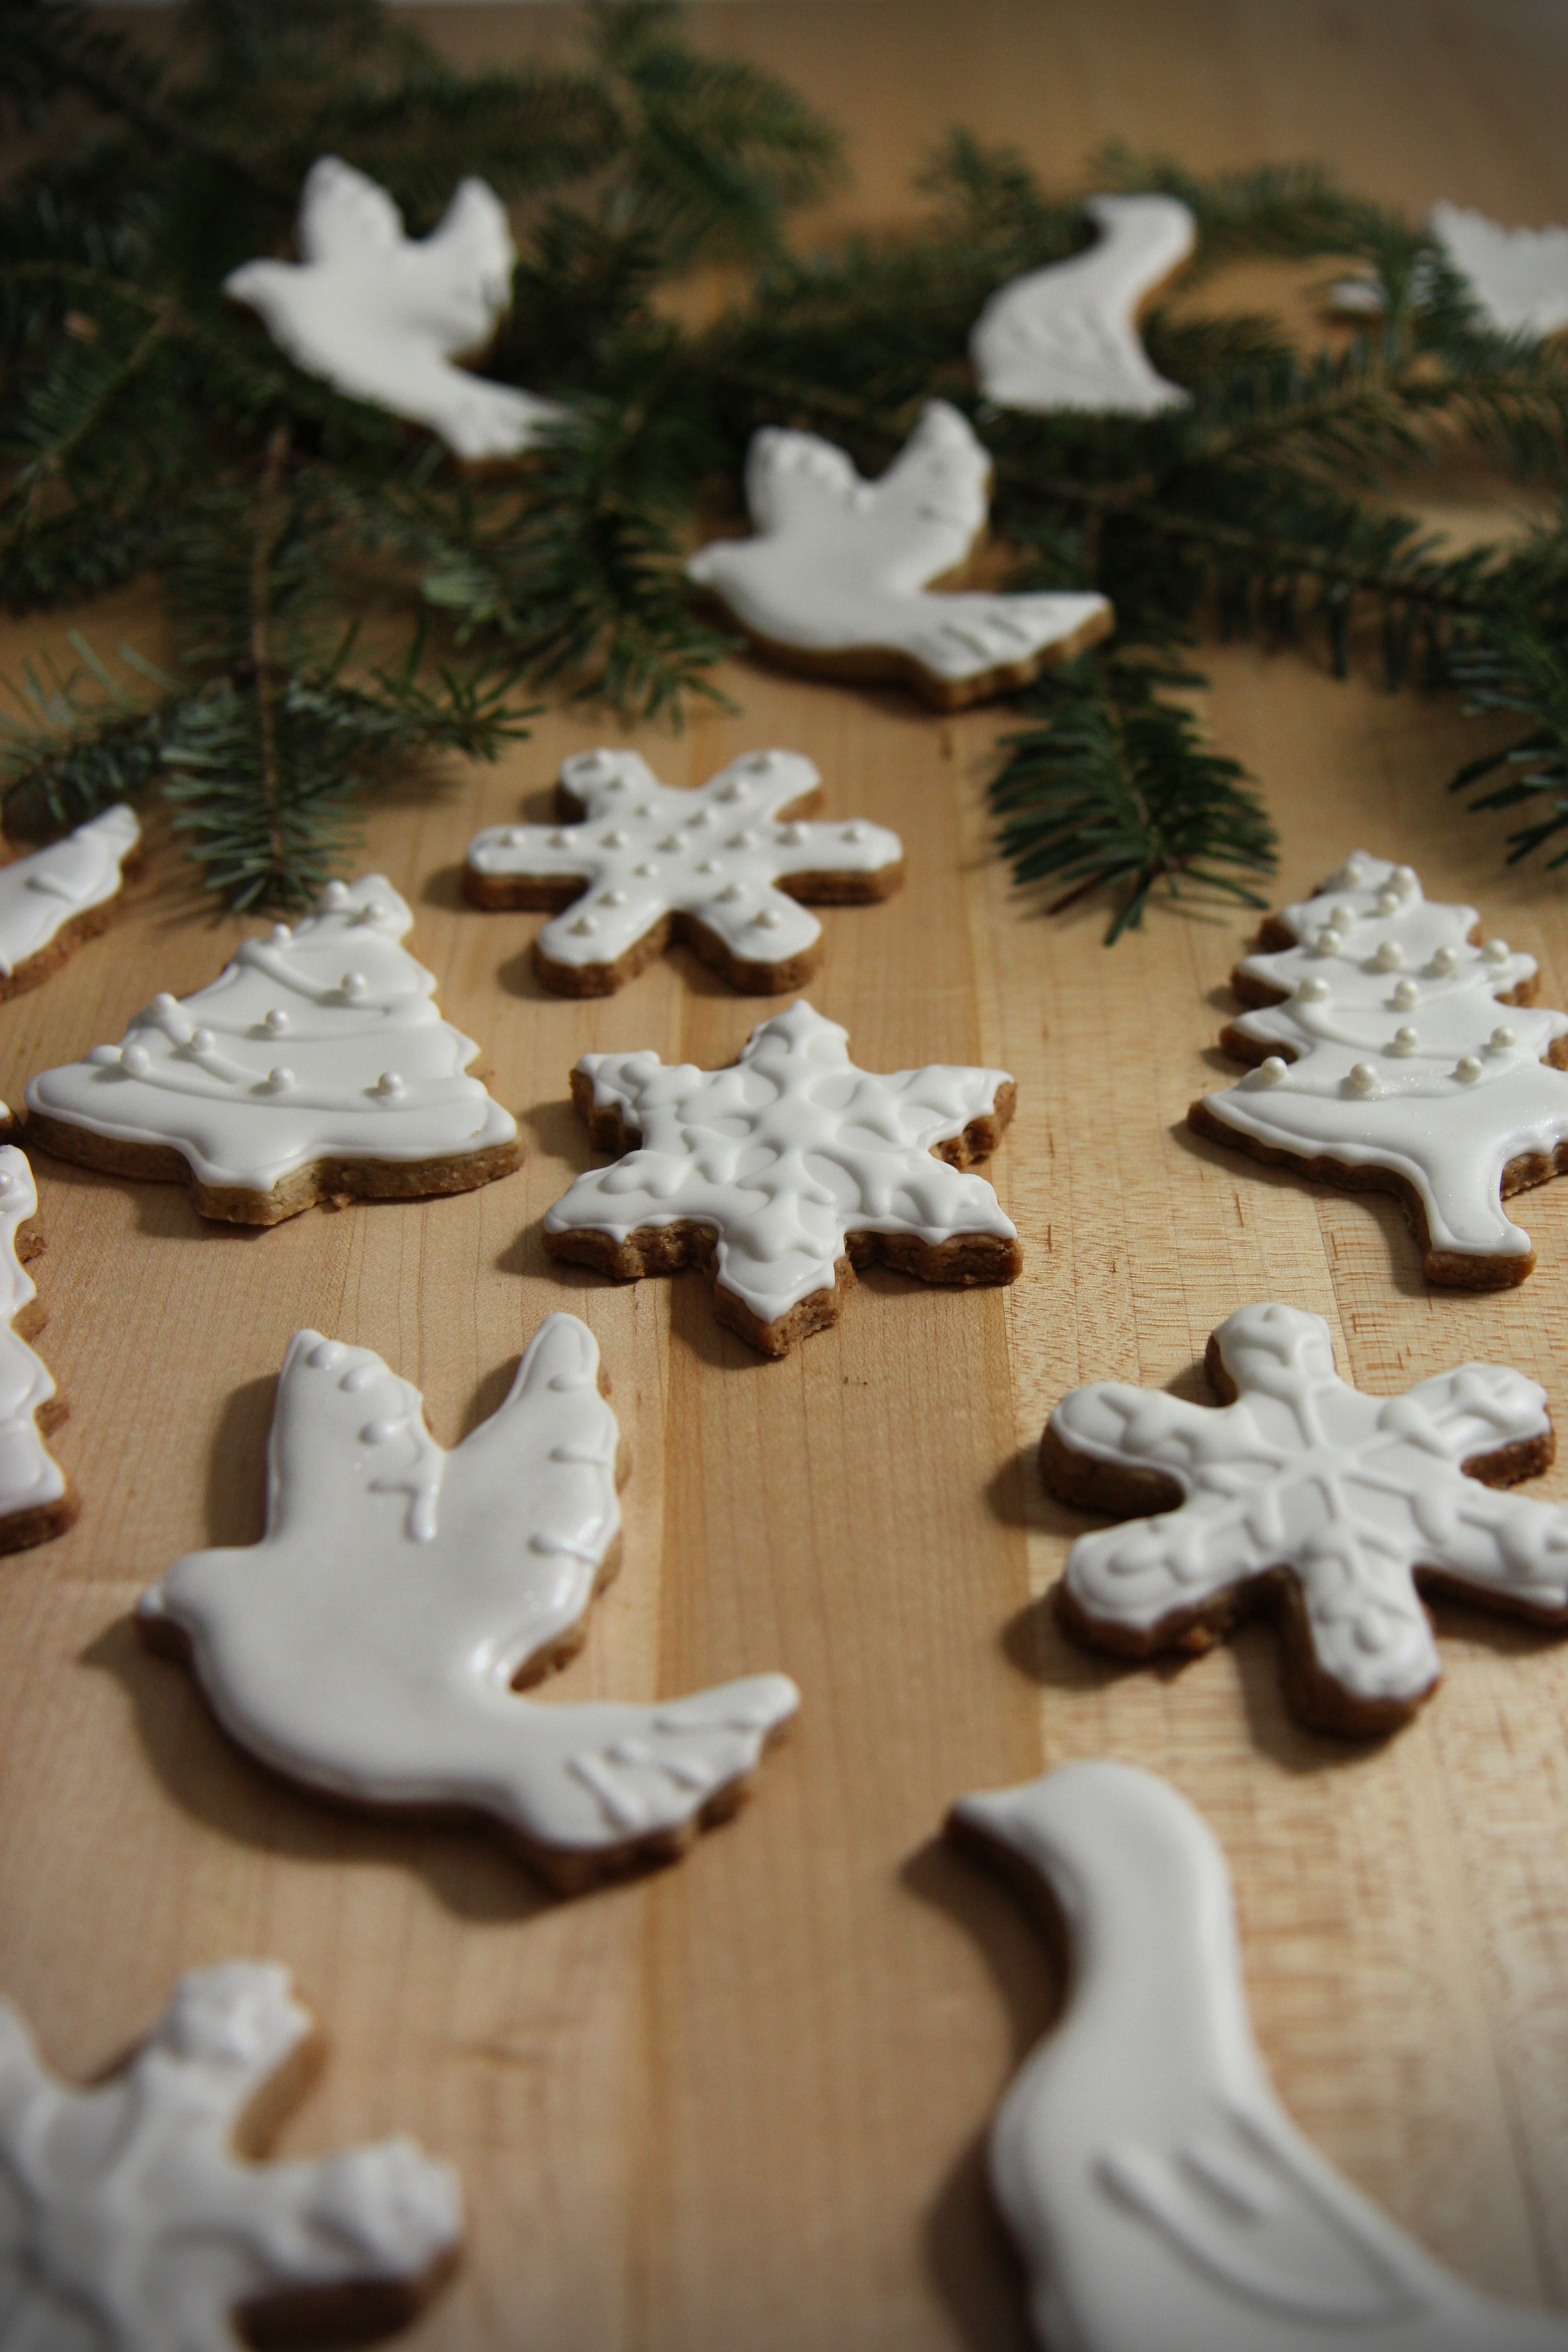
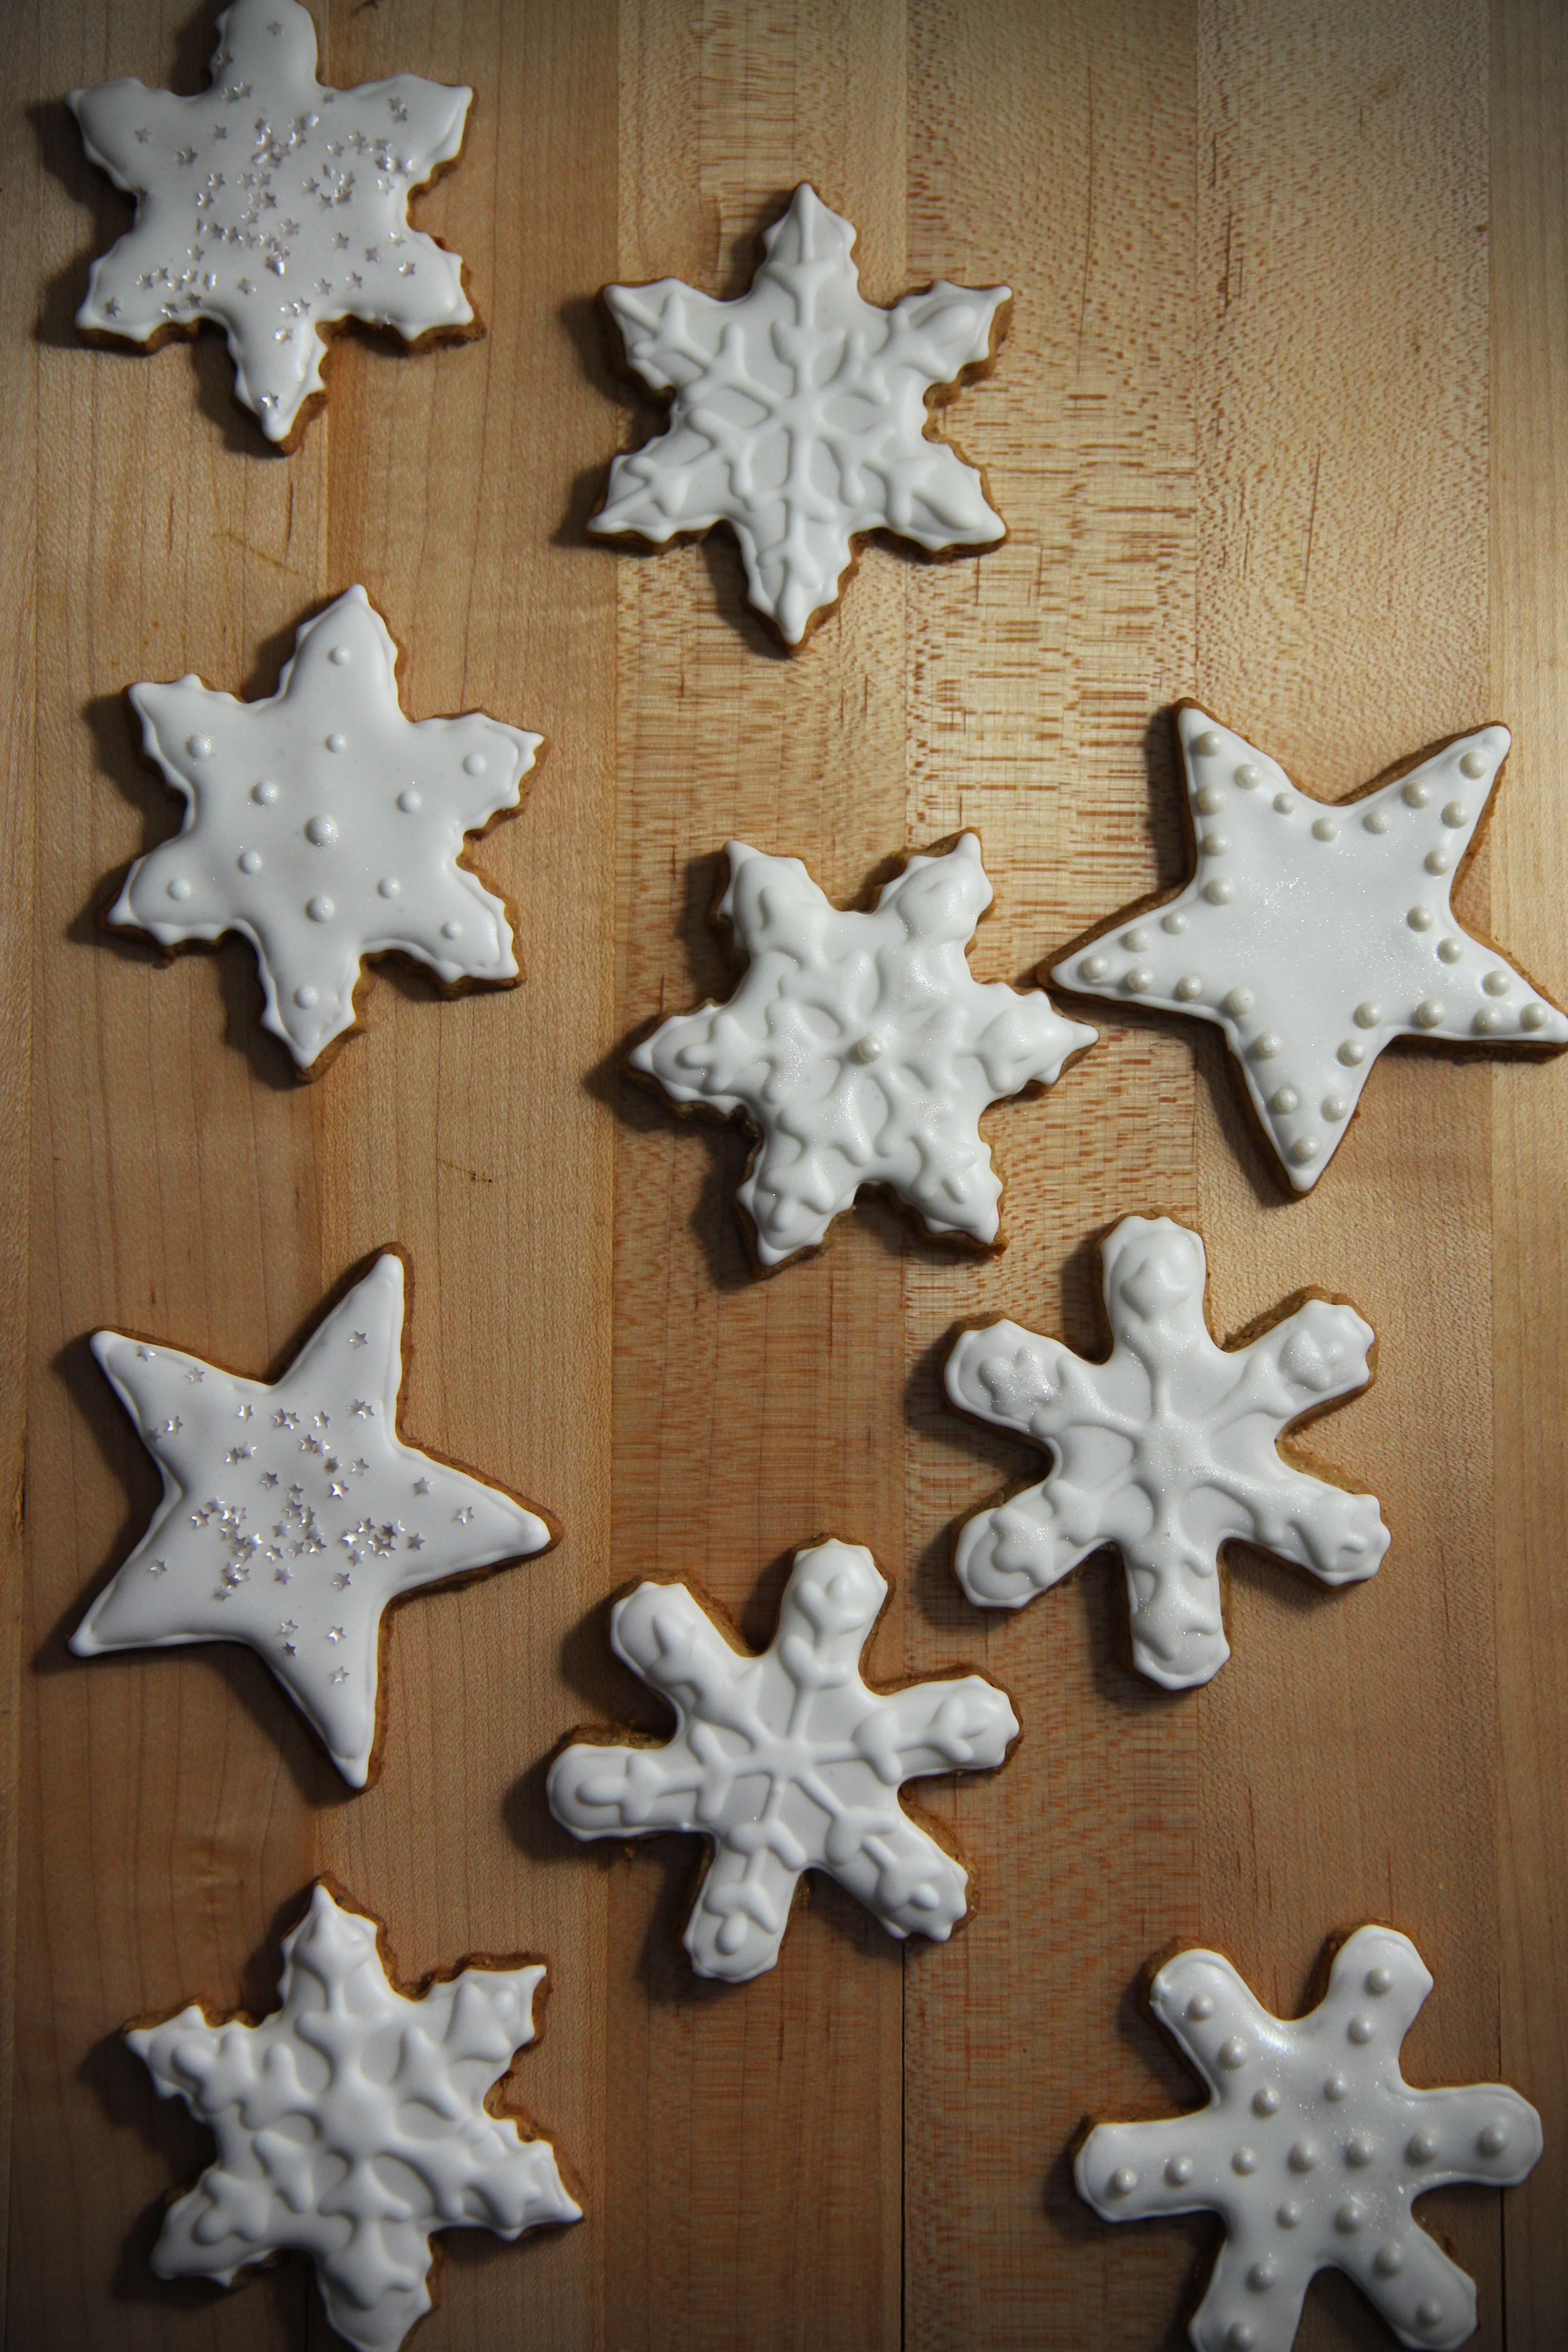
The cookies hidden underneath all that sparkle and glitter aren’t your regular ol’ Christmas sugar cookies, either.
Nope. I wanted to jazz that up too. And so I did! You will be glad.
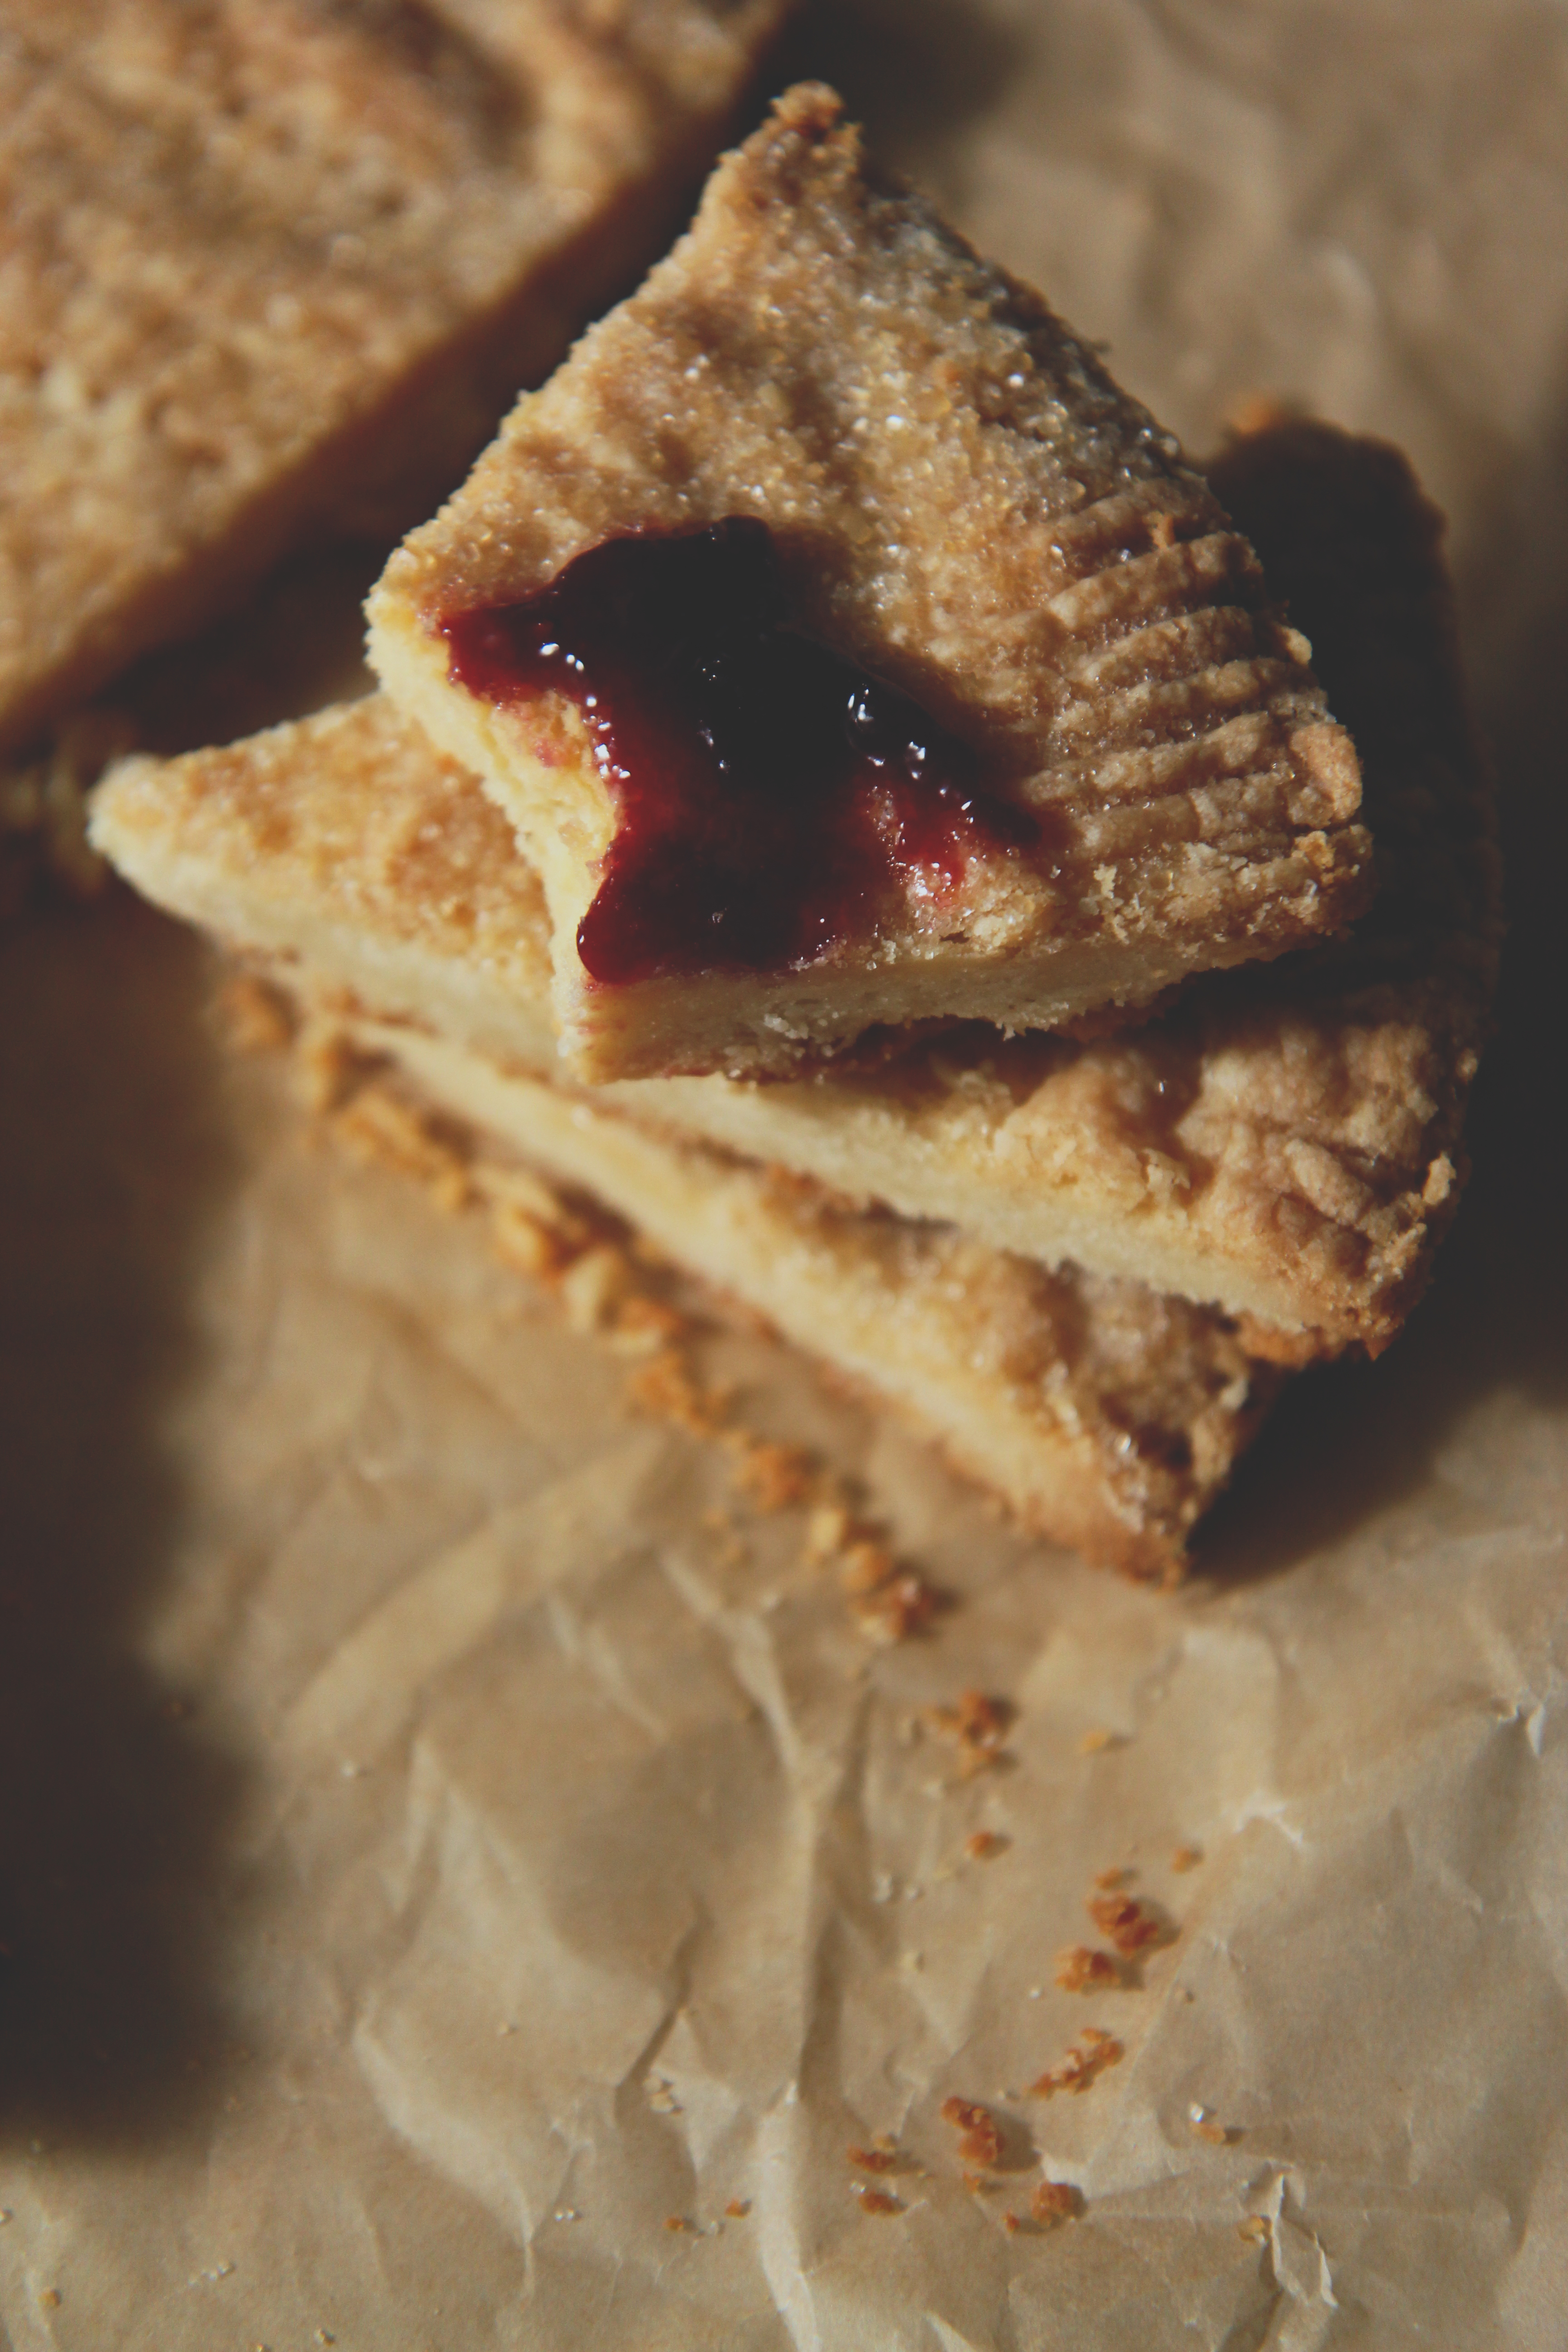
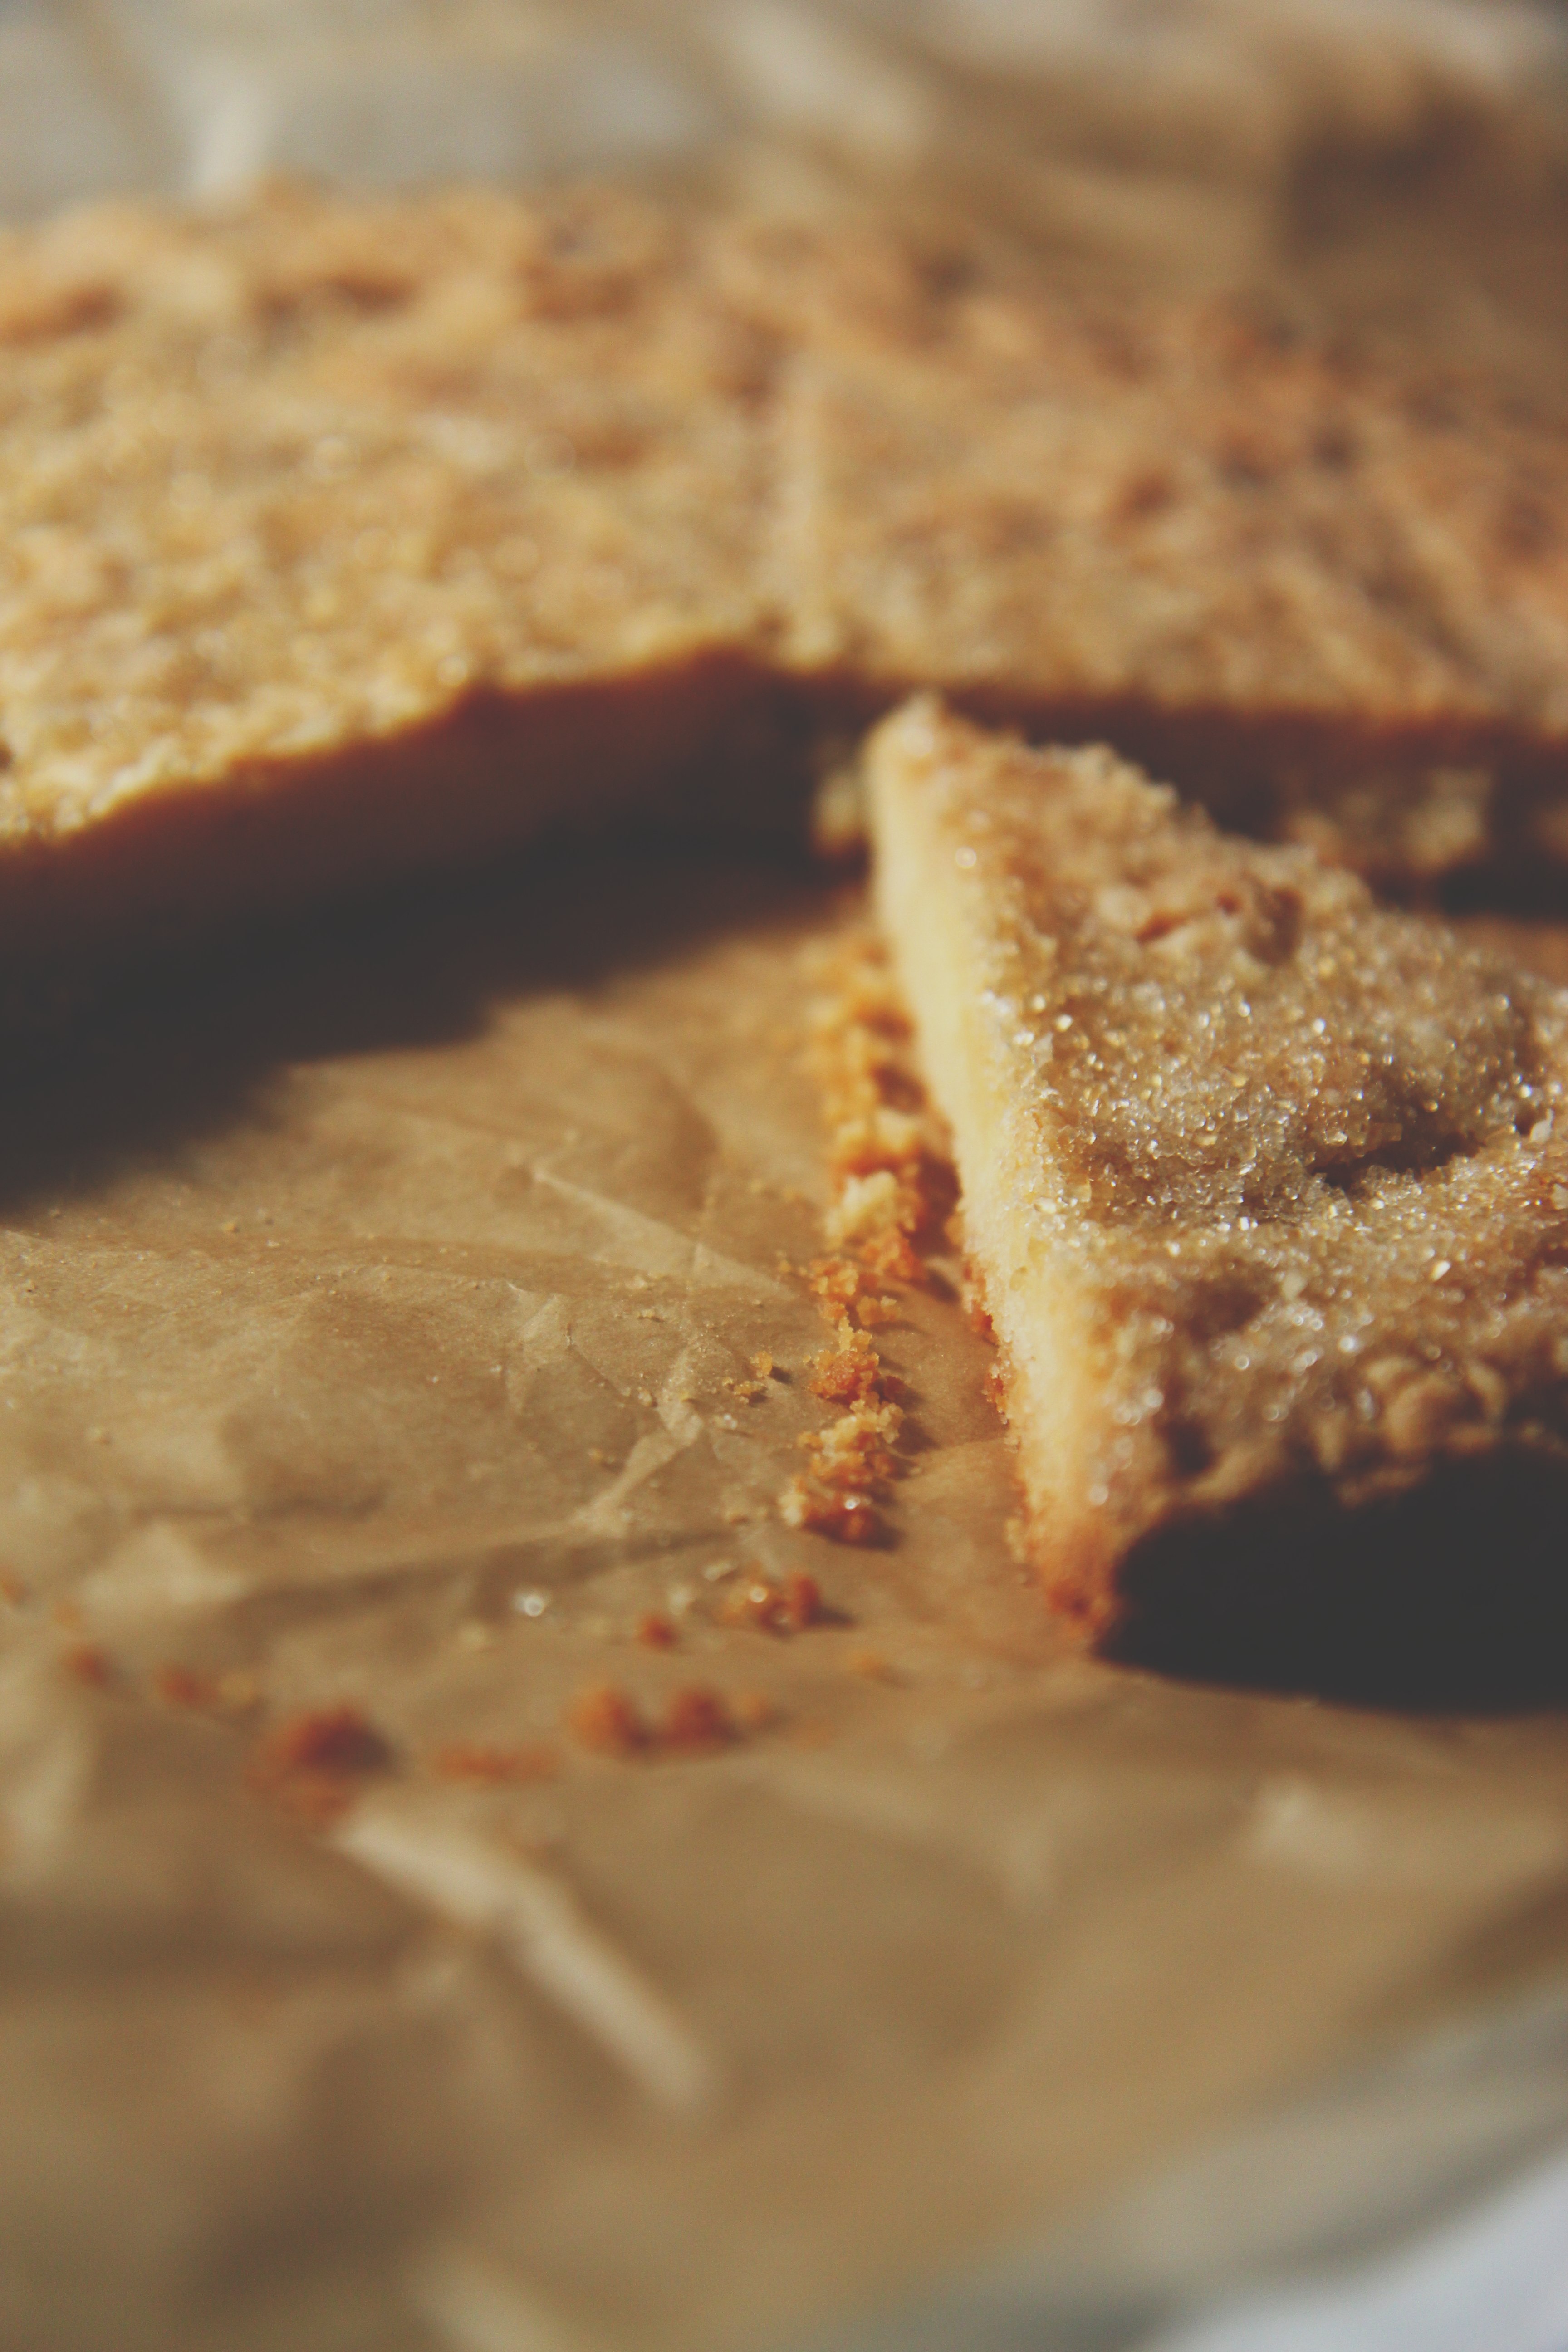
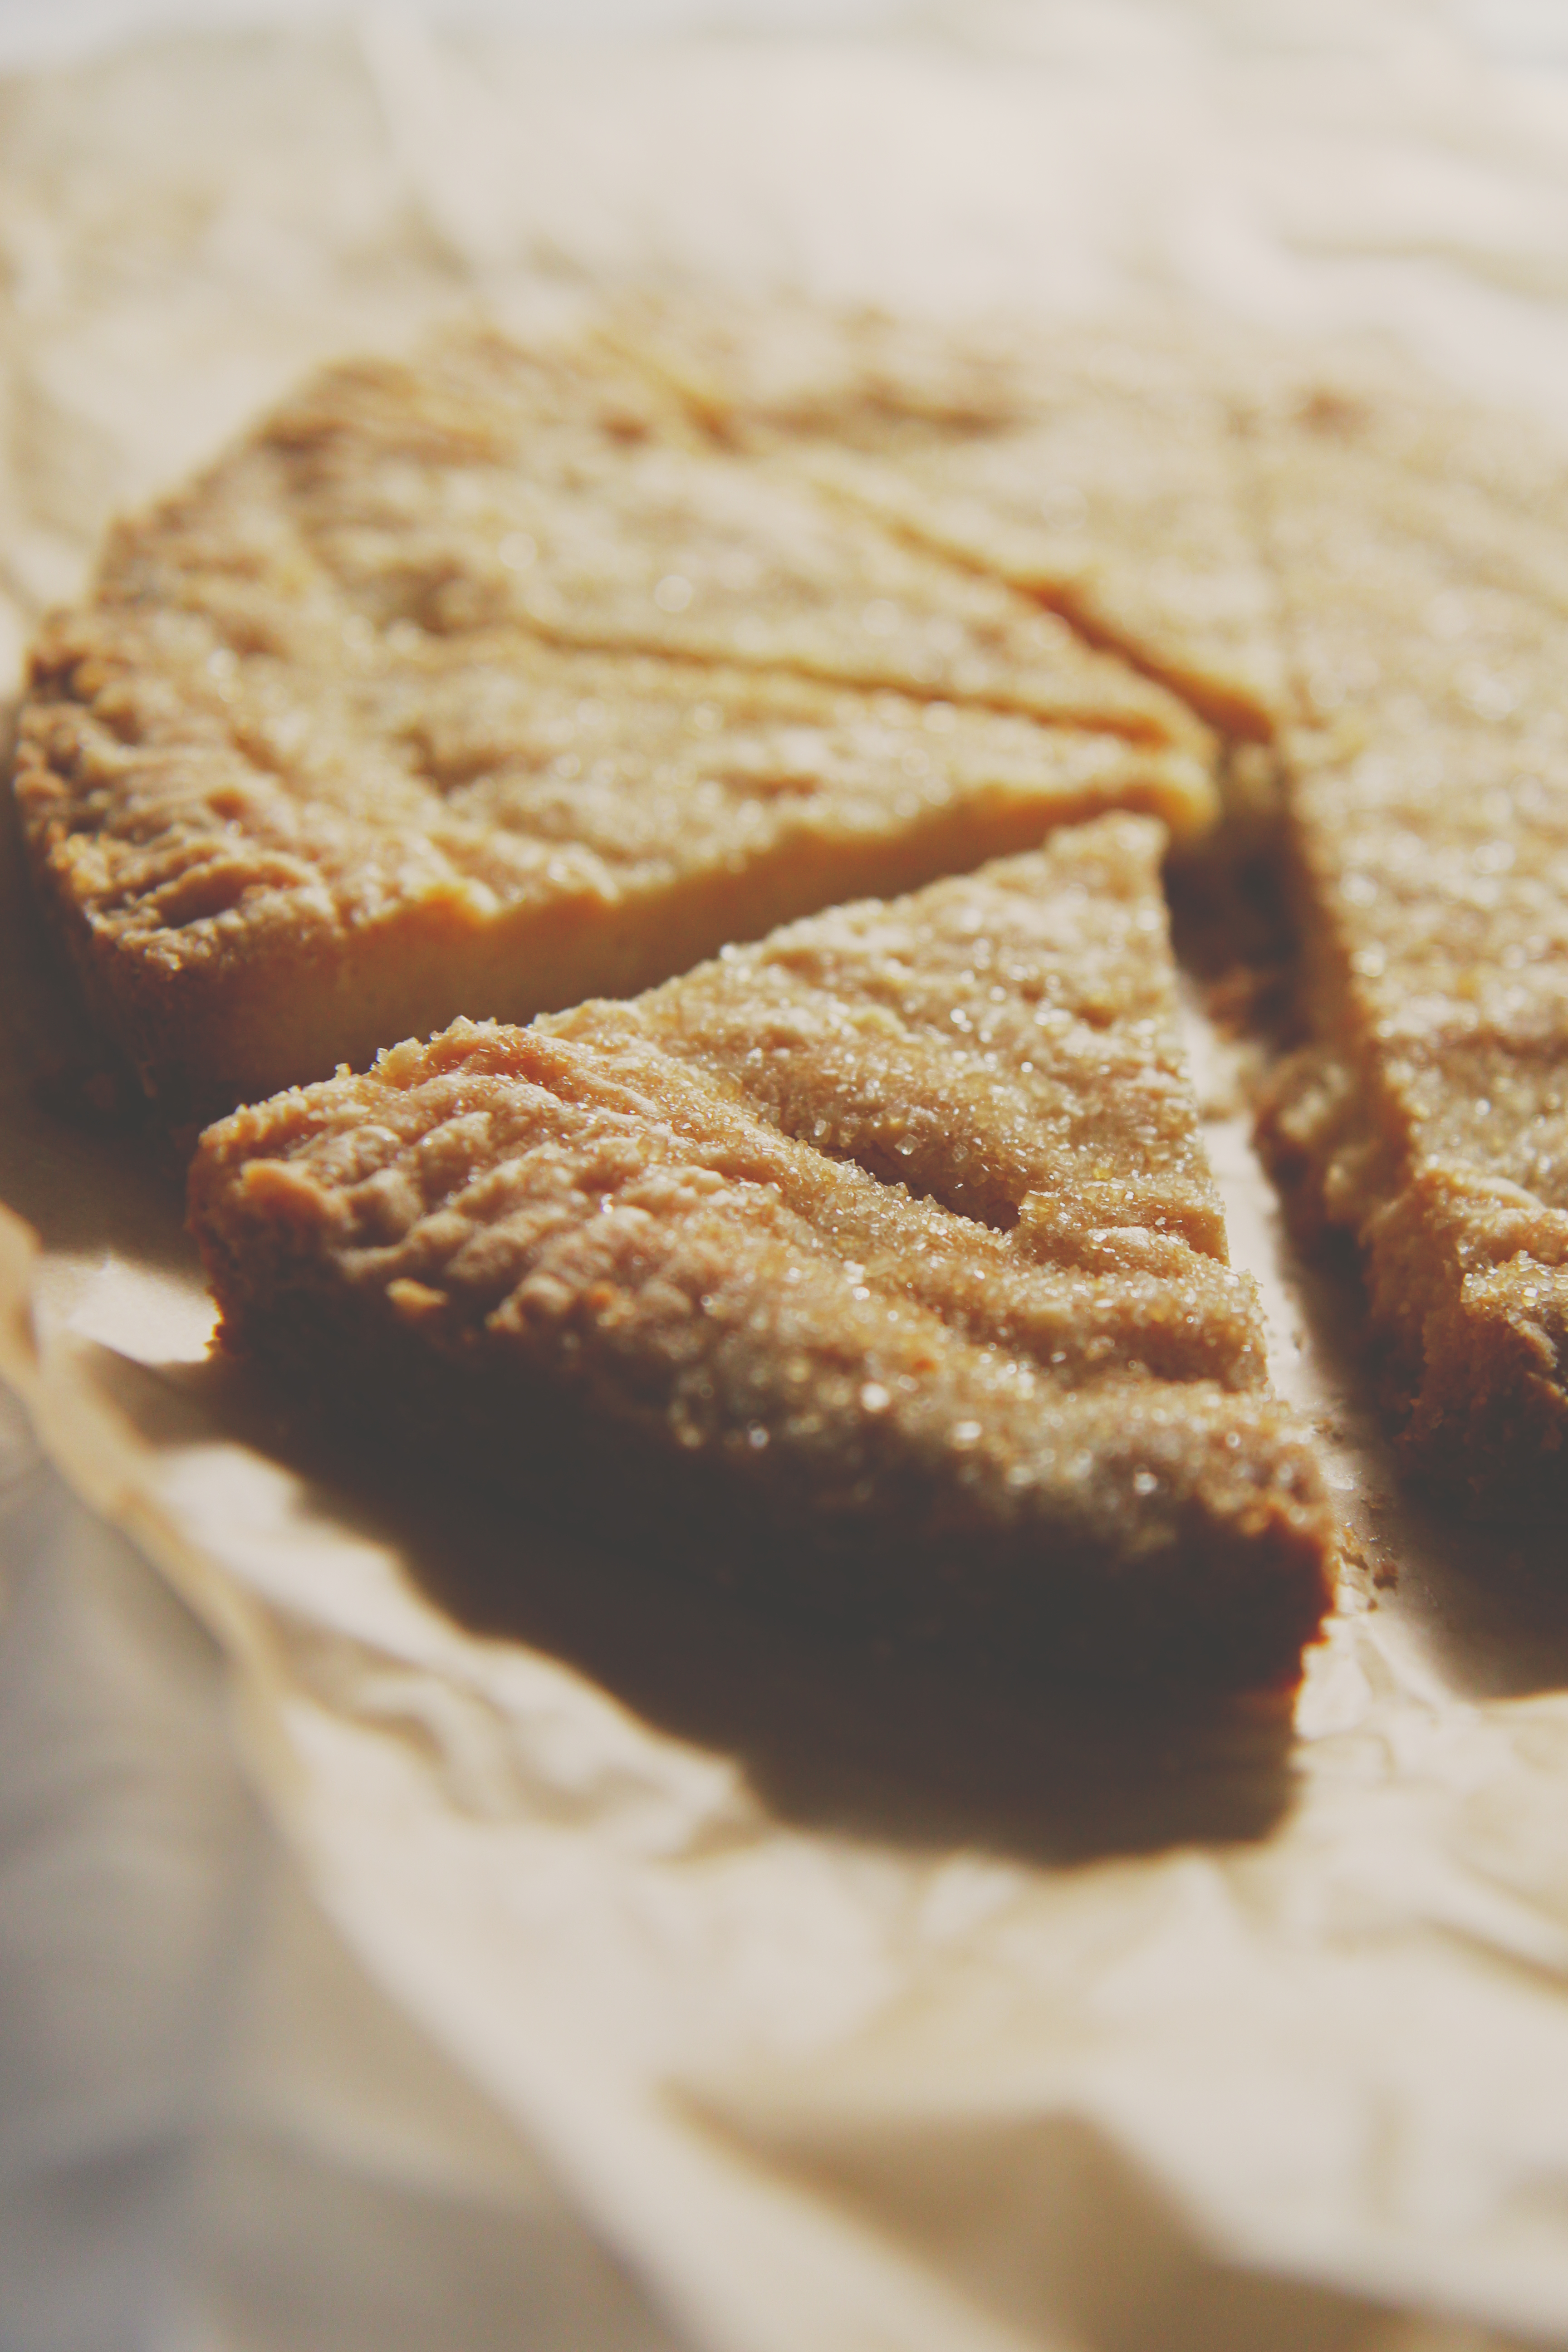
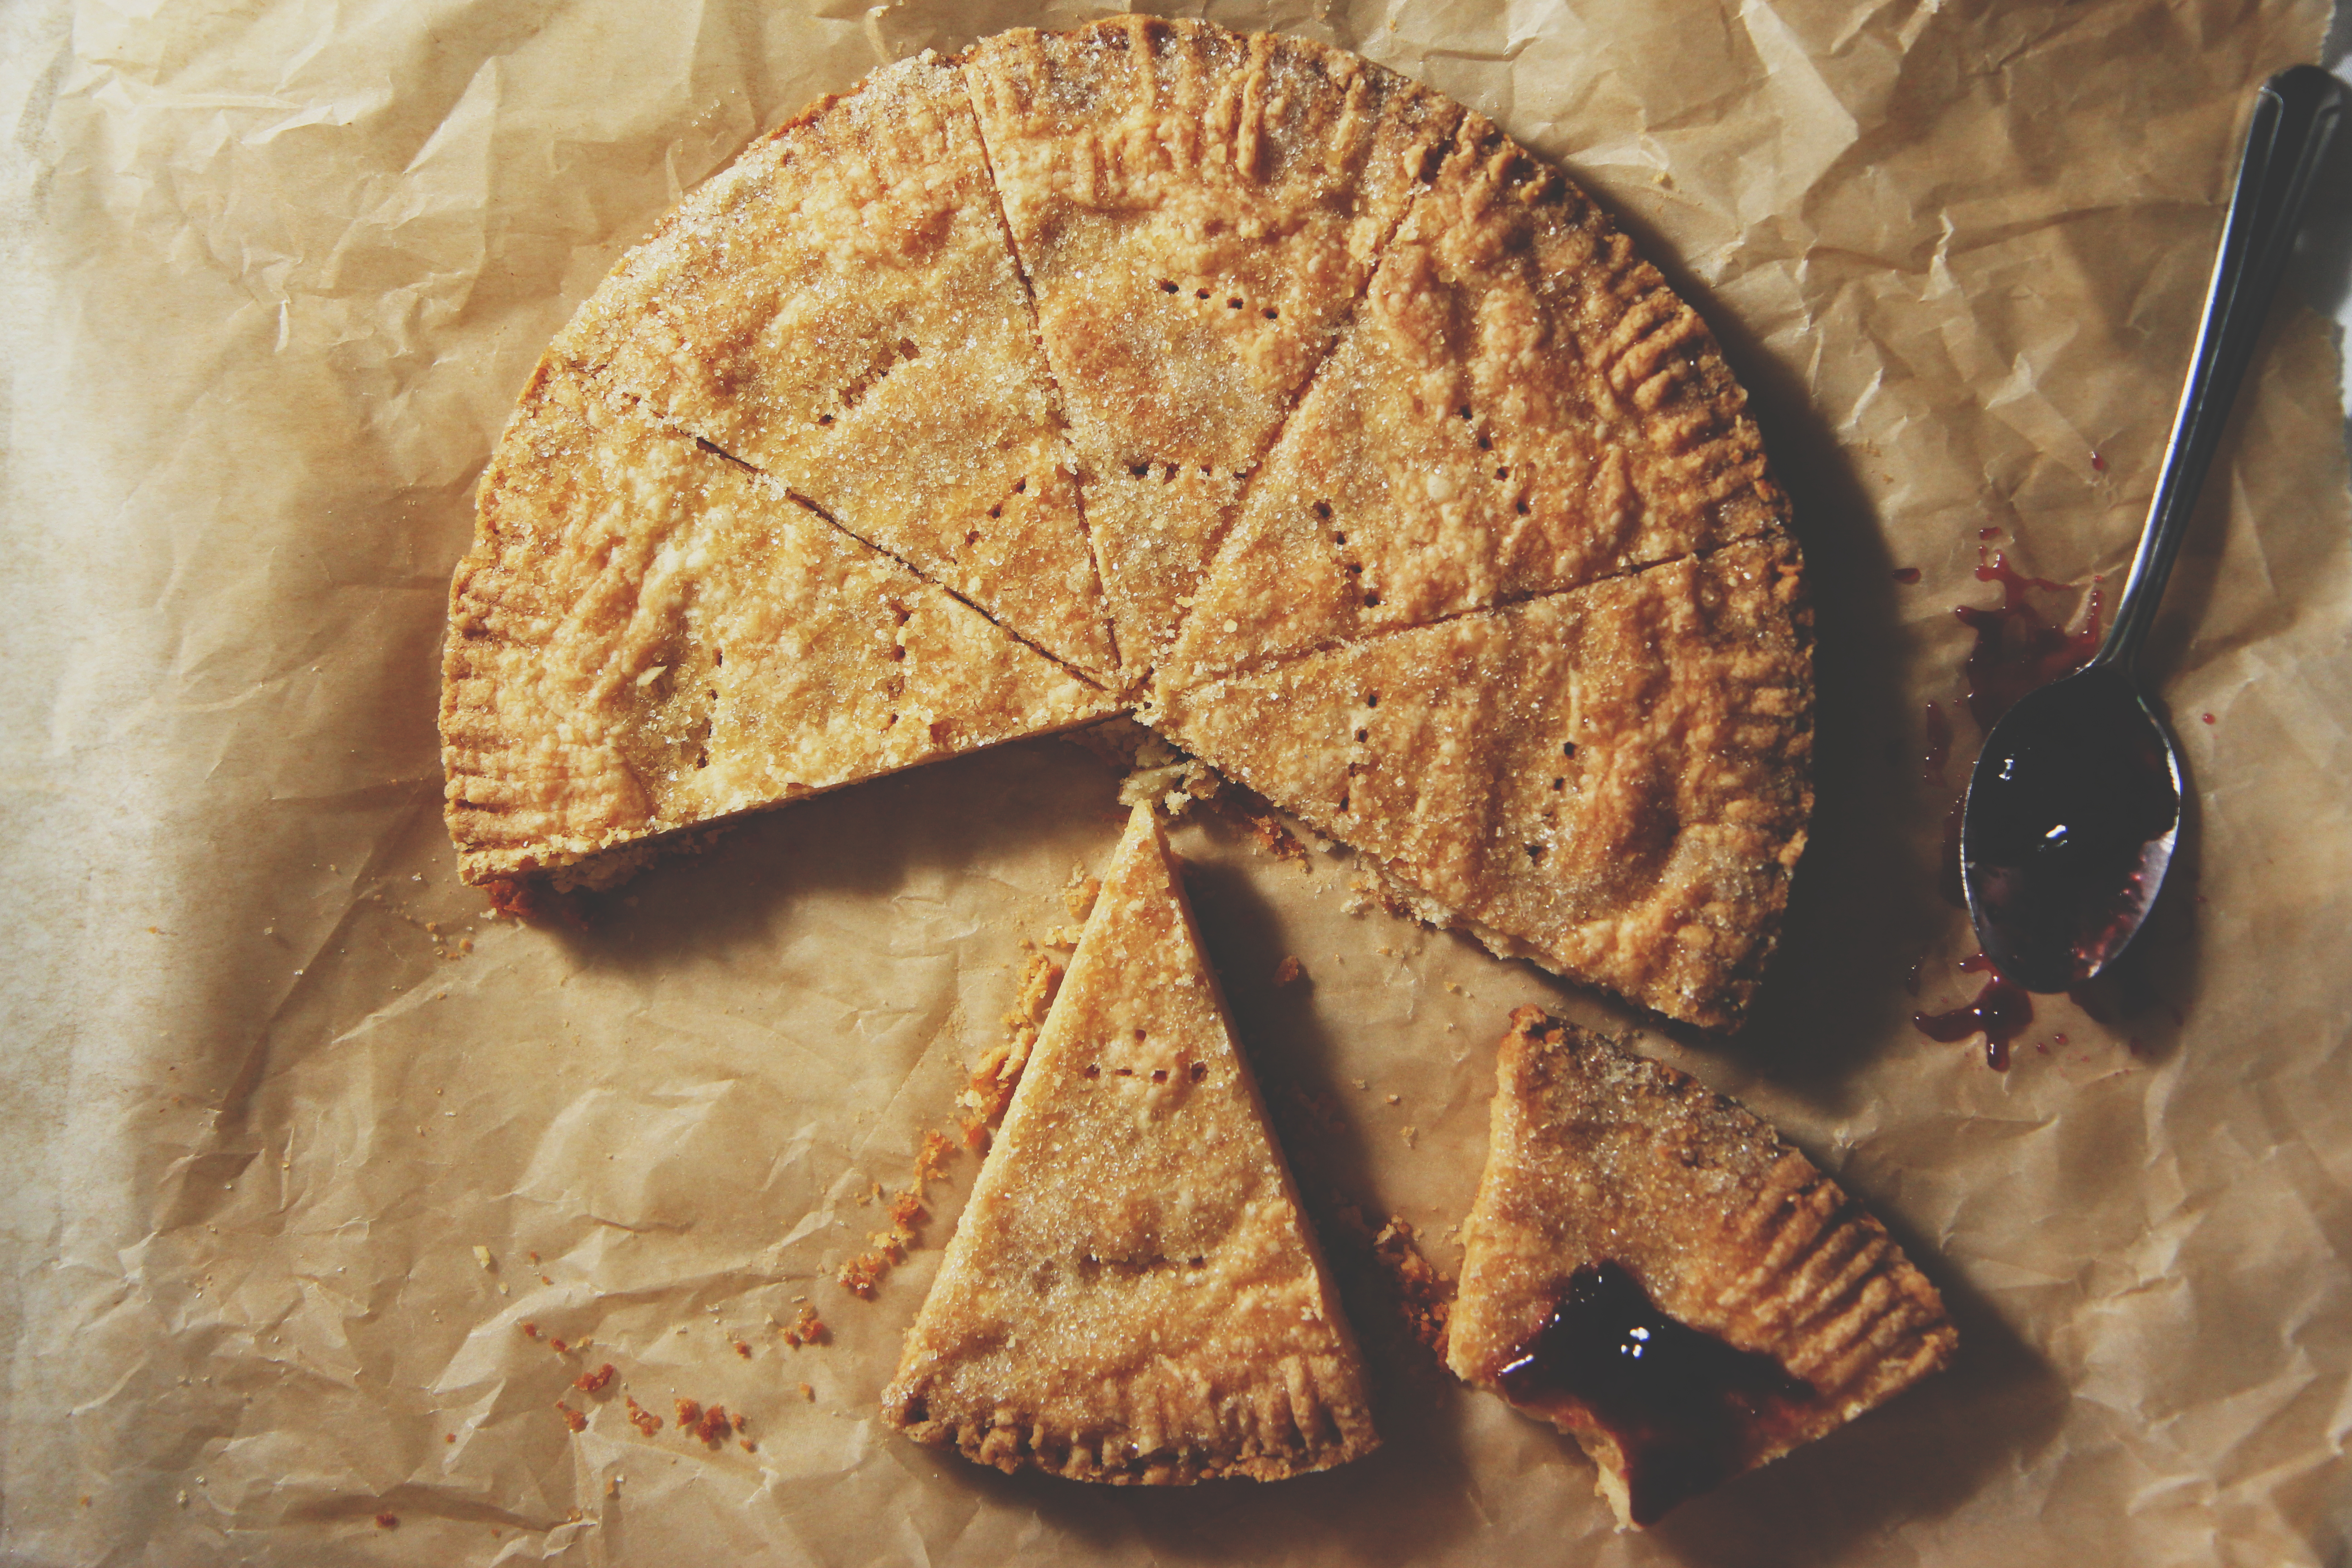
I started with my 3-2-1-1-2-3 dough. Out went the egg, to be replaced with thick maple syrup.
A smattering of nutmeg to heighten the nuttiness of the rye flour.
The resultant cookie is extra crisp and buttery (no eggs will do that) with a depth beyond that of any sugar cookie I’ve tasted.
I iced them with Bridget’s royal icing (1 batch), and since I used Wilton meringue powder, the icing came out just a touch lemony, which was lovely with the cookies. If your meringue powder doesn’t have lemon extract in it, you may want to add a tiny drop. If you’re into that kinda thang.
The glitter is white luster dust, the pearls are edible, and the sprinkling of stars are all paper thin sprinkles.
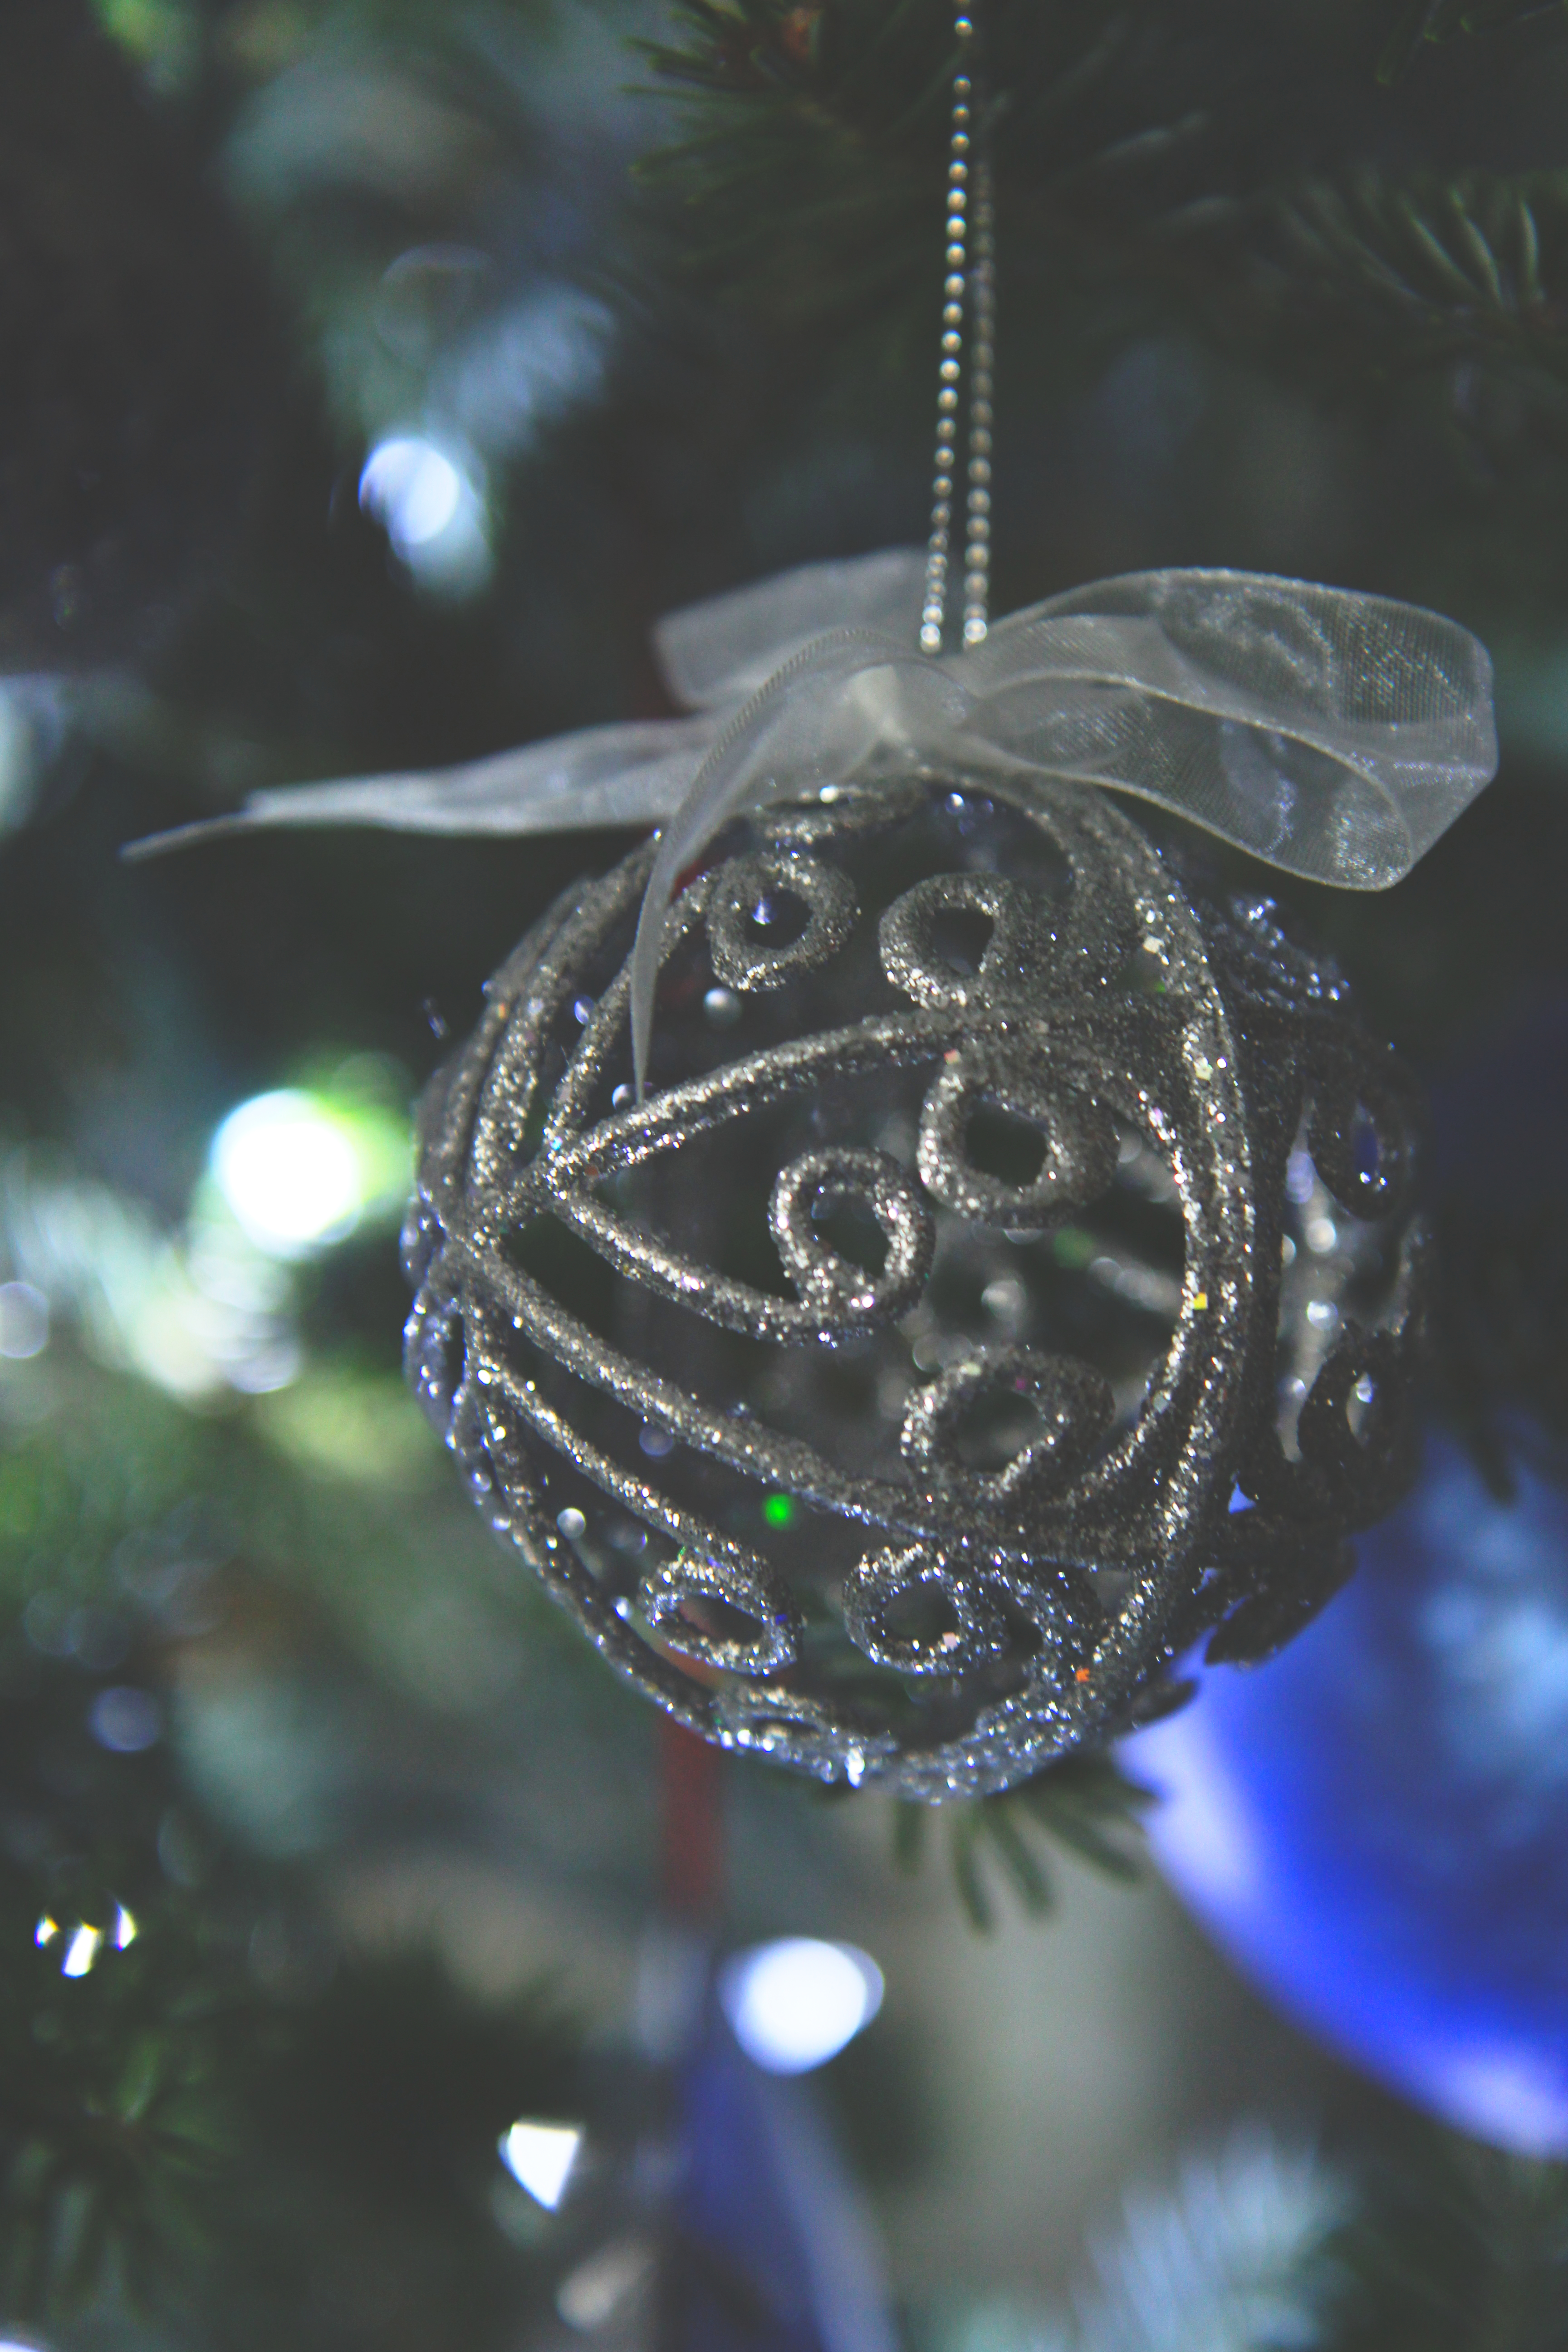
Glittery cookies! They match my glittery ornaments!!
*stereotypical girl alert*

Maple, Nutmeg, and Rye Sugar Cookies
ingredients:
16 tablespoons butter
1 cup sugar
2 pinches kosher salt (1 scant teaspoon)
3 tablespoons maple syrup
1/4 teaspoon freshly ground nutmeg
splash vanilla extract
2 1/4 cups all purpose flour
3/4 cup rye flour
directions:
Whip the butter for 2 minutes, until light and fluffy.
Scrape the bowl and add in the sugar and salt and beat for 3 more minutes, until there is no grit left.
Scrape the bowl and add the maple syrup, nutmeg, and vanilla; beat for 1 more minute.
Scrape the bowl and add the flour in all at once; stir until a dough forms.
Knead once or twice before turning out onto a floured surface.
Roll out to a thickness of 1/4 inch, then cut the shapes you desire.
Freeze the shapes for at least 30 minutes and up to 3 days before baking in a preheated 350 degree F oven for 10-12 minutes, or until golden and fragrant.
Decorate as desired: I used 1 batch of Bridget’s royal icing, left pure white, some luster dust and star sparkles, as well as some edible pearls; I used number 1 and number 4 Ateco tips.