Minted

IMG_6765_01

“Oh you fancy, huh?”

-Drake

IMG_6759_02

I am a food blogger.
(And I just quoted Drake.  Lest I be smote from this weblog by the fiery foodie gods for doing so, I leave you with these fancy cookies.)
I eat up seasonal themes like they’re small batch chocolates, y’all.

If you thought you were going to escape winter unscathed and untouched by pepperminty desserts, hoo boy were you wrong.  Won’t you ever learn what a terrible blogger I am?
Remember what happened in the autumn?  How I denied and denied and procrastinated and then DUMPED all the punkin on you at once?
In fact, right after you had thought it safe to dispose of the sad leftover pumpkin in the can sitting in the back of your fridge. (Is that only my family?  My mom liked the can, thus we have 1/2 cup of  month old pumpkin.  Yumbo.)

And you were fed up and almost wrote my blog off.  But you forgave me and we had fika and all was well.

IMG_6748

Well, here we go!  I’m coming in hot with peppermint, the cliched classic winter flavor.
Luckily, I got my shit together and this post is still somewhat appropriate, because it’s not yet xmas and therefore we all still have candy canes lying around.

Funny thing is, I only intended on having one minty post.  However, these cookies used up a lot fewer candy canes than I anticipated, so I have an entire tupperware full of peppermint bits that must be put to good use.

I told you I was irritating.  Stock up now!  You can take your anger out by smashing them to little bits while you wait for the next inevitably untimely peppermint post.

IMG_6714

We get our tree from the same farm every year, and have done so since the family moved to Ithaca (prior to my being).

When we were little, we’d always get candy canes after picking out our tree, from a basket a little shed.

Candy canes were always passed out by teachers and kids alike when the holidays neared in school, a sweet little gift that lifted spirits.

Sometimes we’d get candy canes in our stockings.

Candy canes will forever bring about memories of the holidays, of winter, of my favorite time of year.

IMG_6754_03

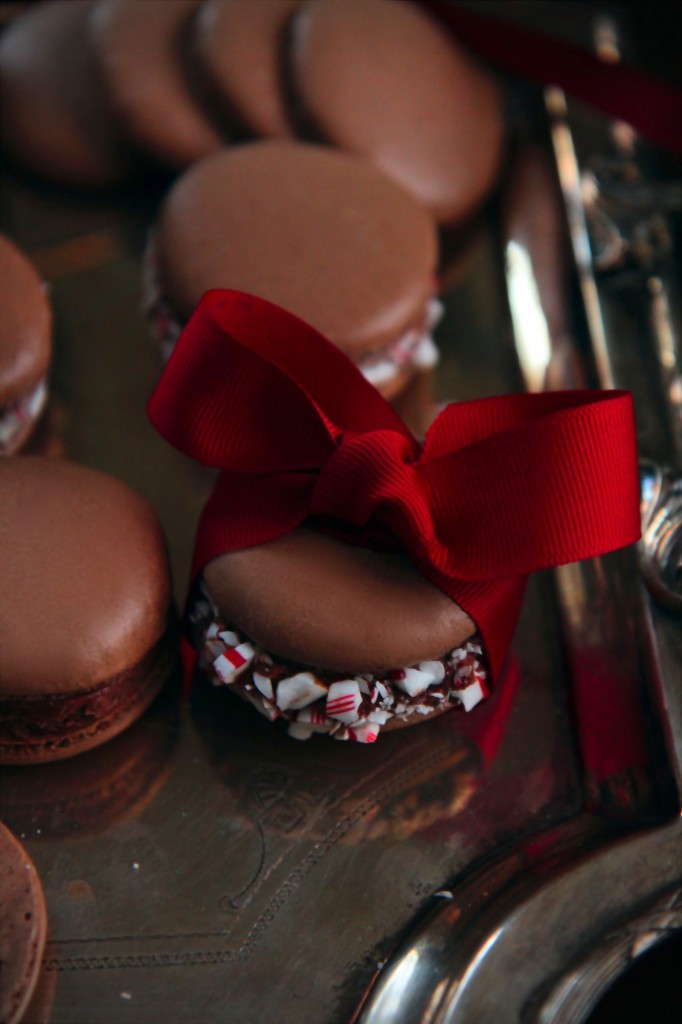
Macs with candy canes?

Yes.  Yes.  Yes yes yes yes.

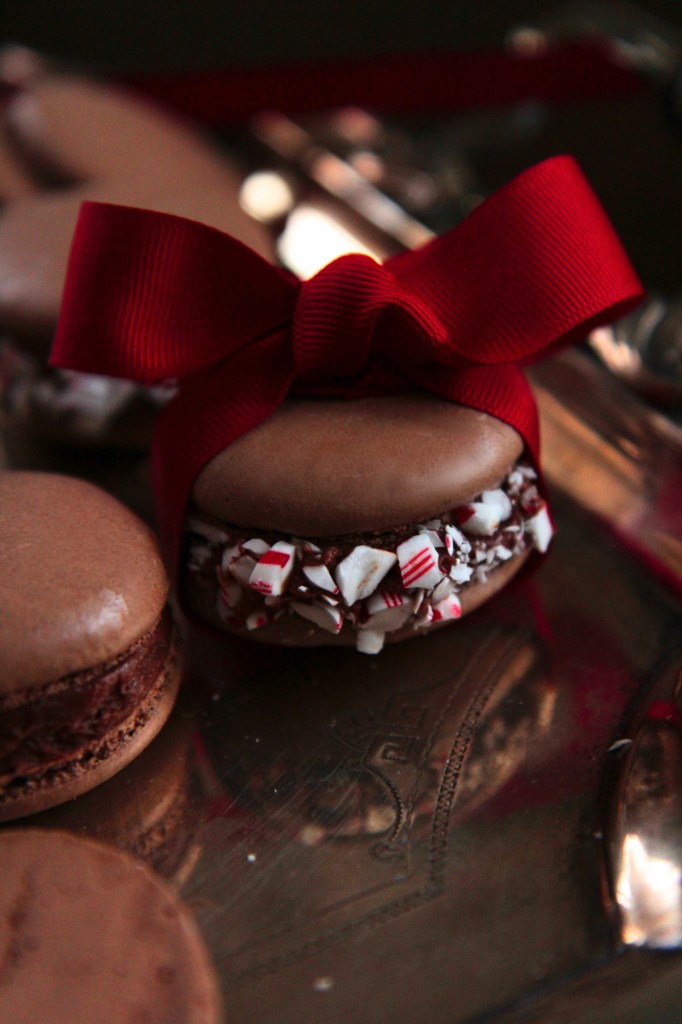
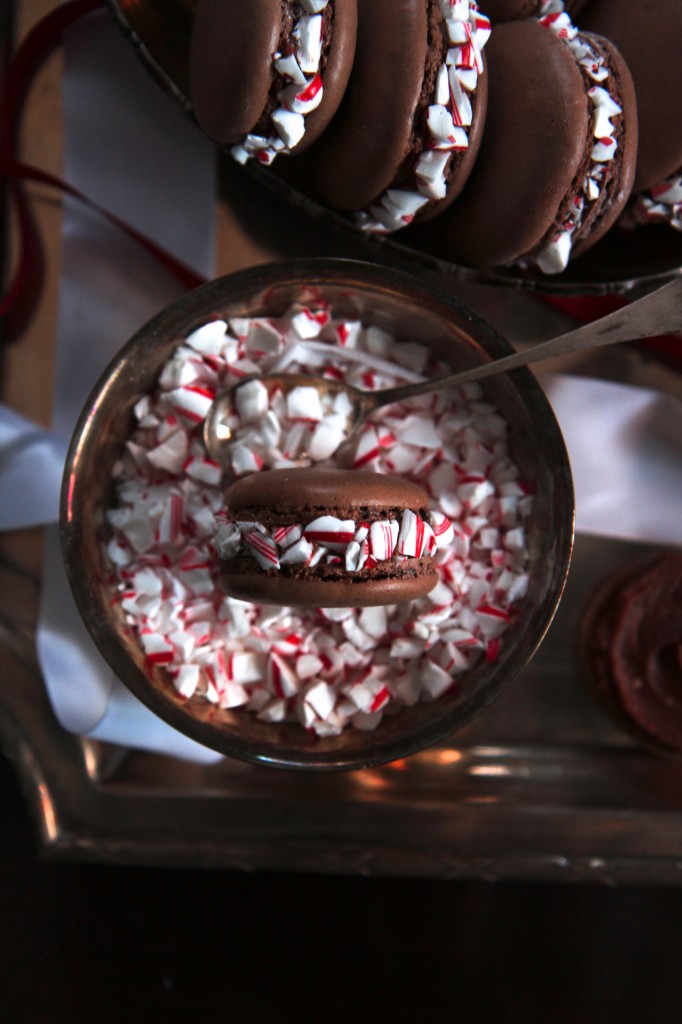
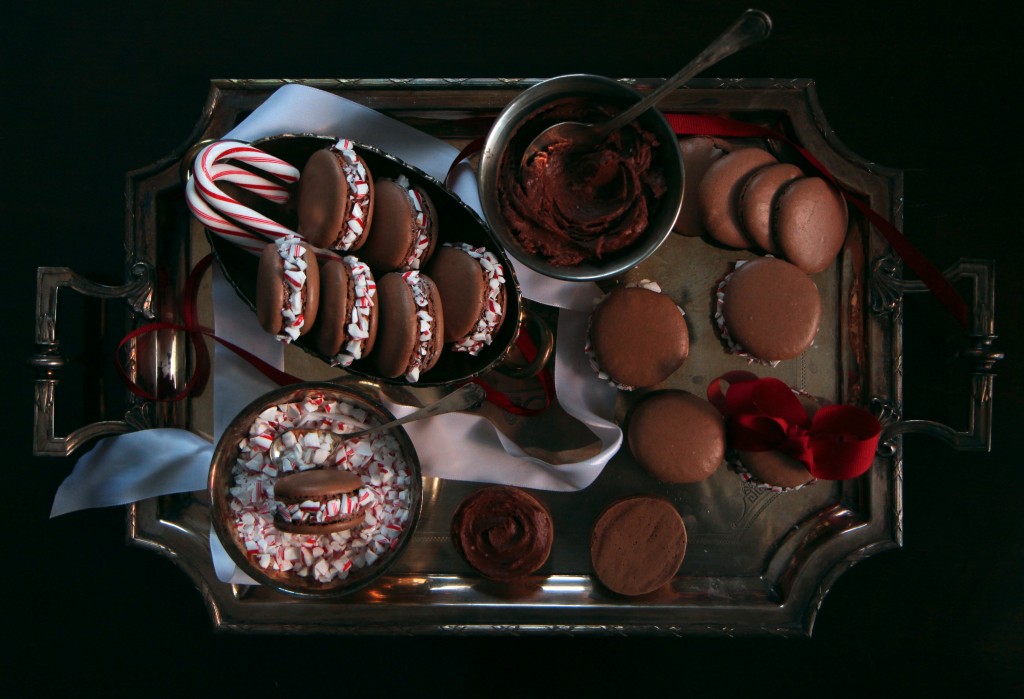
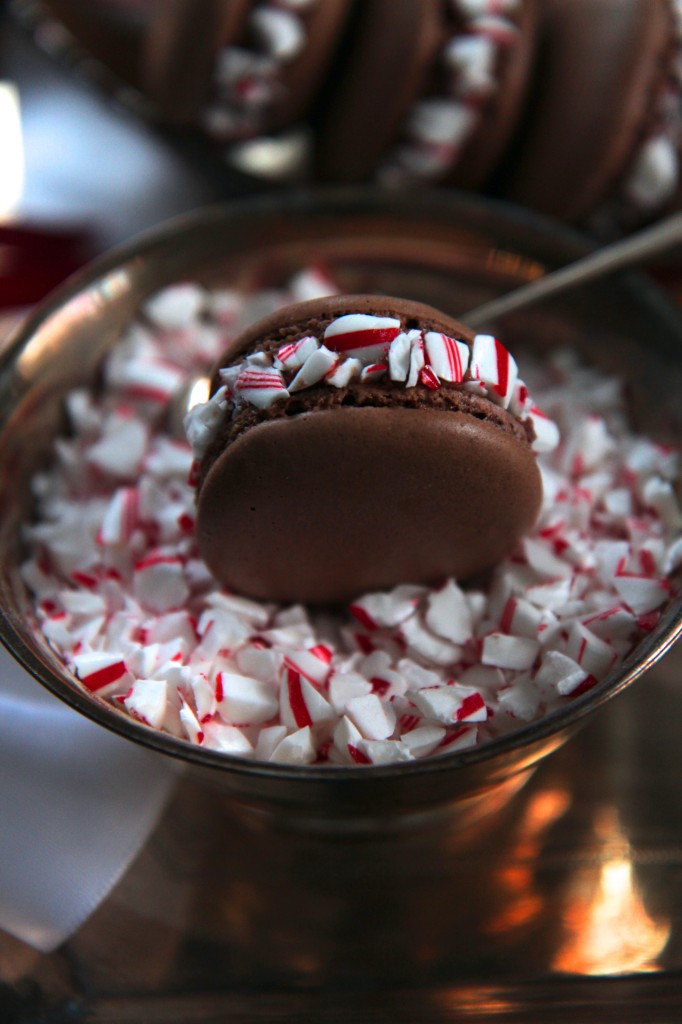
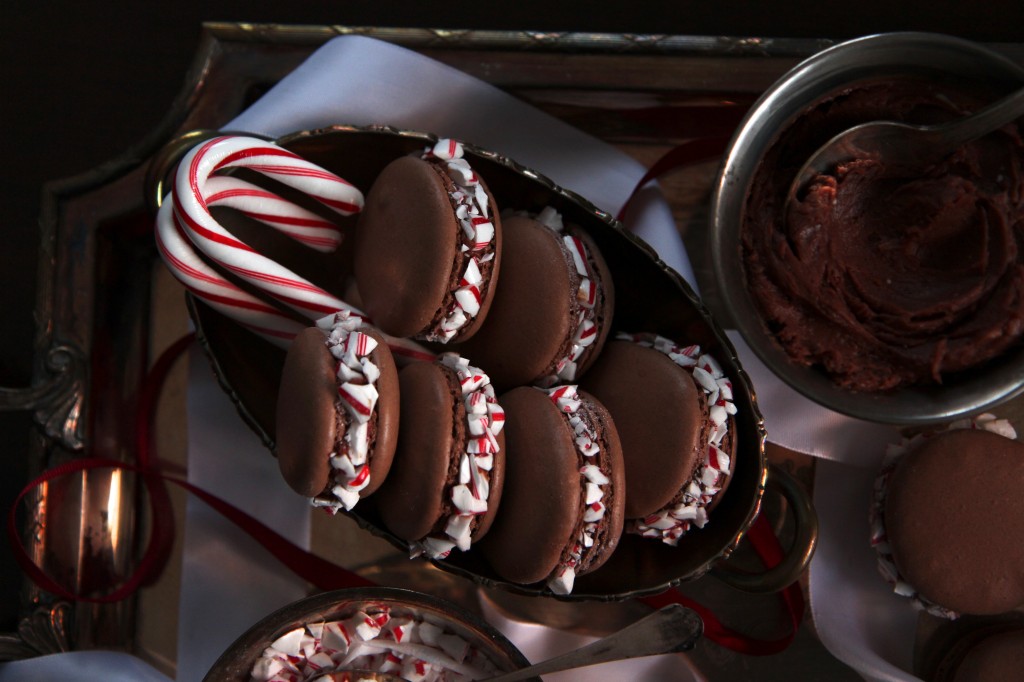
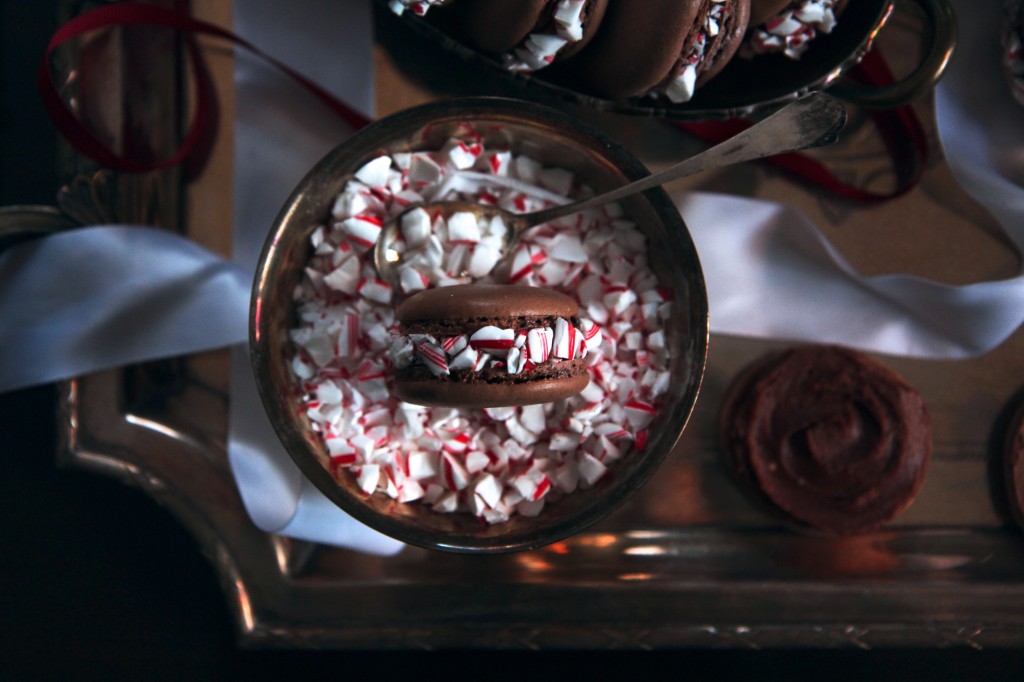
Chocolate hazelnut shells + chocolate mint buttercream + crushed candy canes.

Need I say more?

But actually.  These were delicious little guys, crisp and filled to the brim with silky buttercream.
The peppermint accents were delightful, a perfect foil to rich hazelnuts and toasty chocolate.

But actually.  So many cookies to share with you.  My head is spinning.  My fingers grow weary of typing.  My oven, well… my oven is always on anyways.

This is part III of our upgraded holiday cookie list.
part I: nutmeg, maple, and rye sugar cookies
part II: Linzer cookies, done right
part III: peppermint chocolate macarons
part IV: ????!?!

You’ll have to check back for part IV, you greedy little things.

IMG_6763_02

A few quick tips, before I leave you with this addition to your cookie platter.

Bake your macs on a well-insulated baking sheet.  Or, double or triple up.

Make Italian meringue macarons!  Just try it once.  For me.  Because I am a very firm believer in Italian meringue.

Test your batter well and often with the ribbon test: a spatula lifted out of the batter should drip in ribbons, which should disappear back into the rest of the batter within 10 seconds.

Read all of Stella of Bravetart’s posts on macarons.
All. of. them.  Definitely worth your time!  She knows what she’s doing!

If you try them out, let me know!  I’m always curious about macaron success!
Back soon… With the fourth and final (?) part of this cookie marathon!

IMG_6708_01

Minted Macarons

ingredients:
for the shells:
adapted from Jo the Tart Queen
130 grams hazelnuts or almonds
25 grams cocoa powder
150 grams powdered sugar
70 grams egg whites (approximately 2 egg whites)

150 grams granulated sugar
30 grams water
70 grams egg whites
pinch cream of tartar (optional)

for the buttercream:
180 grams butter
60 grams dark chocolate, melted
splash vanilla extract
2 drops peppermint extract
70 grams powdered sugar, sifted
1 teaspoon-1 tablespoon heavy cream, as needed to thin

to assemble:
chopped candy canes or peppermint candies

directions:
Make the shells:
Line 3 baking sheets with parchment paper, being sure it lies flat.
Prepare a large piping bag with a large, plain piping tip.
Preheat oven to 325 degrees F.
Place nuts, confectioners sugar, and cocoa powder in a food processor and process until finely ground.
Sift into a bowl and add the first measure of egg whites.
Stir until a smooth paste forms.
Combine the water and granulated sugar in a small sauce pot fitted with a candy thermometer.
Place the second measure of egg whites along with the cream of tartar in a stand mixer and start to whip them on low speed.
Meanwhile, begin to heat up your sugar and water.
When the sugar syrup reaches 242 degrees F, the egg whites should be at soft peaks.
Drizzle the syrup into the whites with the mixer on low speed, then increase speed and whip on high until slightly cooled and meringue is glossy and stiff.
Fold 1/3 of the meringue into the nut paste until the nut paste is lightened up.
Fold in the rest of the meringue and continue to make folding, stirring motions until the batter flows like lava and a spatula lifted out of the batter drips in ribbons.
Place the batter in the piping bag and pipe out small circles, flicking with your wrist to sever the stream of batter.
Allow to dry for a few minutes, then place in the oven and bake until a cookie lifts cleanly off the parchment.
Allow to cool completely, then fill and decorate.
Make the buttercream:
Melt the chocolate and stir until smooth; set aside to cool slightly.
Beat the butter on high speed until very smooth and fluffy; add in the extracts and beat until combined.
Scrape the sides of the bowl very well, then add in all of the chocolate at once and beat on high speed until combined.
Sift the confectioners sugar over top and then beat it in.
If frosting is too thick, add heavy cream one teaspoon at a time to thin.
To assemble, spread a thick layer of buttercream onto one macaron shell; place another one on top and squeeze slightly so that the buttercream slightly protrudes from the sides.
Roll in chopped candy canes.
Allow to age for at least 1 day before eating. (Ahem.)

Holidazed

IMG_6621_01

All the cookies!

IMG_6574_02

‘Tis the season for cookies.
We alllll know it.
And you know, I ain’t mad at it.  Cookies and I get along very well.

Anyways, this year we’re stepping up our cookie game.  Right?
Let’s give away cookies that take the lackluster cookie platter to the next level.

We started with nutmeg, maple, and rye sugar cookies.
Now, we’re doing traditional, but we’re doing it a better way.

IMG_6581_01

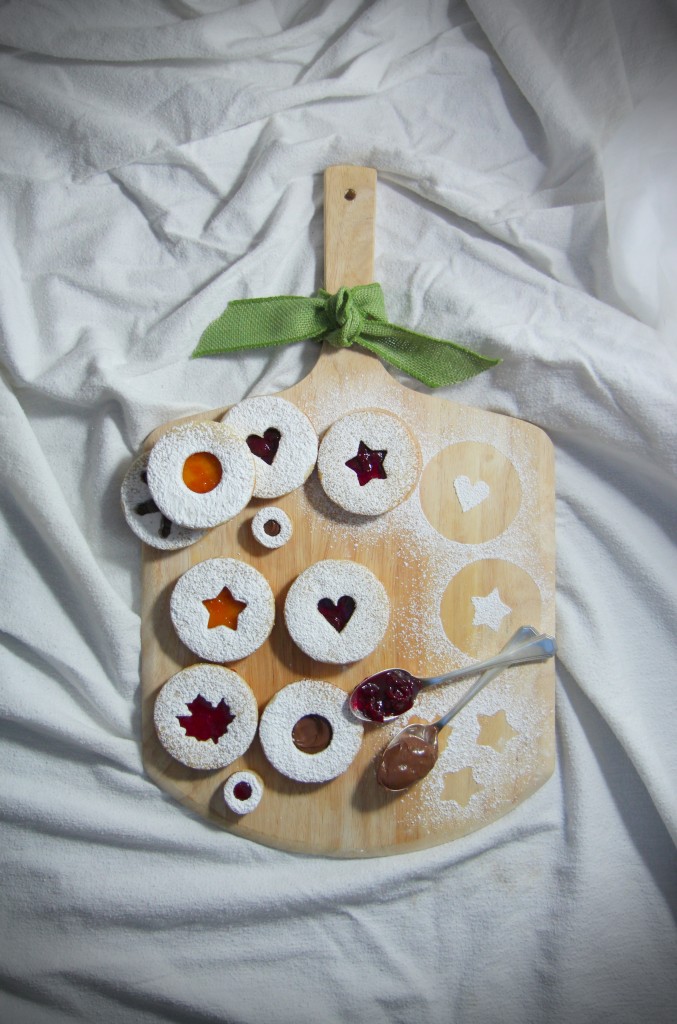
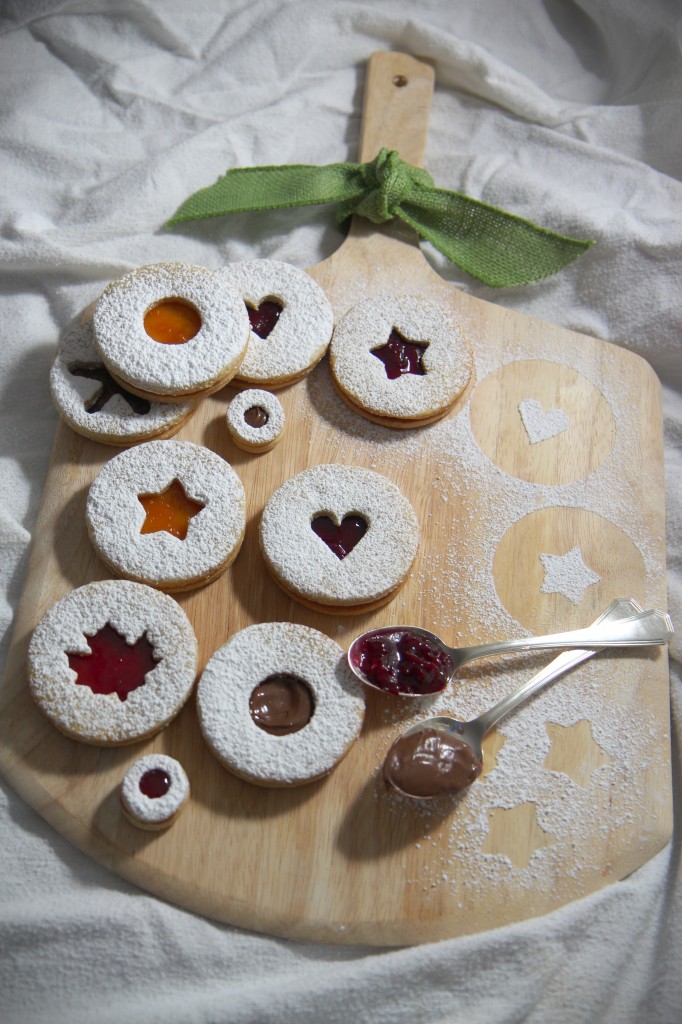
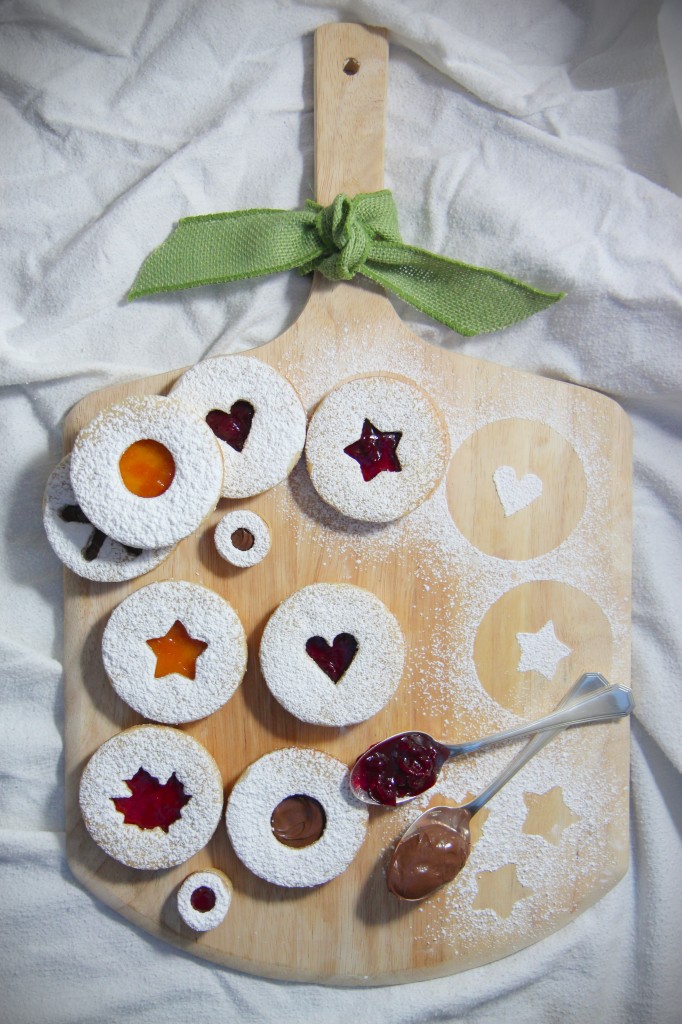
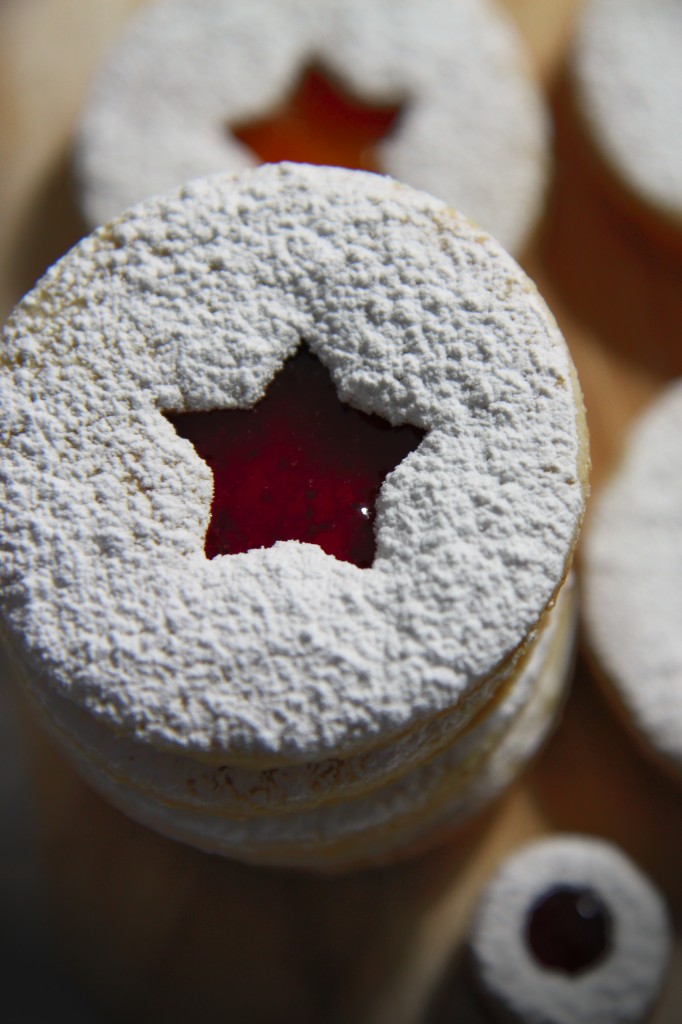
Linzer cookies are totally a staple on holiday cookie platters.
Butter cookies with a cut out, filled with jam.  You’ve seen ’em.  You’ve enjoyed eaten them.

Here’s the problem: too often they are dry and crumbly, sucking the moisture right out of your mouth and leaving a telltale trail of crumbs down the front of your ugly sweater. (What?! We all do it.)

Or, they’re utterly boring.  Not enough punch; plain Jane fillings and plain Jane casings.
Not so with these Linzer cookies!  They’ve got a hefty pinch of salt, a touch of spice, and fillings with body.

IMG_6537_01_01_01

These cookies are made with almond flour and minimal sugar, which means the flavors stay clean and un-muddled on your tongue.
To ensure that they have a good bite, not too crumbly nor too firm, we use a technique most often utilized in making fluffy cakes with tight crumbs: reverse creaming.

Reverse creaming involves whisking all the dry ingredients together, then beating in soft butter followed by the wet ingredients.  It creates a dough with minimal air pockets, meaning your cookies will be nice and flat and less prone to crumbling.

We’ve got a good base going: lightly spiced and sweetened, with hints of almond and a firm, crisp bite.

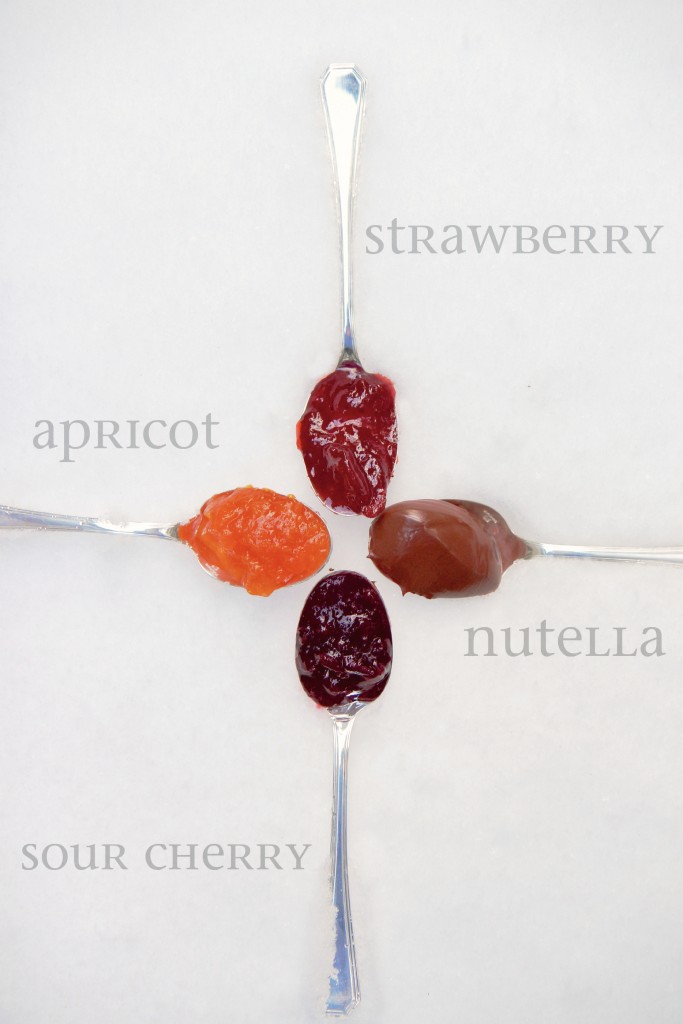
Don’t mess it up with the fillings!  Use good quality jams.
My favorite was the D’arbo sour cherry jam, which went well with the almond undertones (almonds+stone fruit=magic), and also offset the butteriness of the cookies masterfully, what with its tart, fruity self.
I highly recommend choosing fillings with a little kick.
In the future, I’d add a pinch of cayenne to the Bonne Maman strawberry jam, and a sprinkle of salt to the Nutella.  I’m partial to apricot as is, but I bet an extra touch of nutmeg would work wonders.

IMG_6591_01

Sorry that my posts haven’t been very wordy.  It’s the holidays, and my brain is fried.
Holidazed and confused…

More cookies coming your way in a day or so.
Hint: there’s peppermint involved.  Get excited.

IMG_6604_01

Linzer Cookies
adapted from Martha Stewart
makes approximately 20 large sandwich cookies
ingredients:
5 ounces (1 cup and 3 tablespoons) almond flour or finely ground almonds
3.6 ounces (1/2 cup) sugar
1 teaspoon cinnamon
1/8 teaspoon freshly ground nutmeg
1 teaspoon baking powder
big pinch kosher salt
9 ounces (2 cups plus 2 tablespoons) flour
8 ounces (16 tablespoons) butter, softened and cut into small chunks
1 egg
splash vanilla extract
confectioner’s sugar, for dusting
fruit jams or Nutella, as desired

directions:
In the bowl of a stand mixer fitted with the paddle, add the almond flour, sugar, spices, baking powder, salt, and flour and mix to combine.
Add in the softened butter and paddle until the mixture resembles a coarse meal.
Add in the egg and vanilla and mix until a dough forms.
Turn the dough out onto a lightly floured surface and roll out to 1/4 inch thickness.
Cut out circles, and cut a small shape out of half of the circles.
Place onto parchment lined baking sheets and freeze or chill for at least 30 minutes.
Preheat oven to 350 degrees F.
Bake the frozen/chilled cookies for 9-11 minutes, until set and lightly golden.
Allow to cool completely.
Spread 1 1/2 teaspoons of filling of choice onto the cookies without cut outs.
Dust the cookies with the cutouts with plenty of confectioners sugar, then sandwich them on top of the filling and uncut cookies.

Shorted

IMG_5878_01

The kitchen burned down.

IMG_5906_02

No, I did not burn it down.  Thank goodness.
No, the building did not burn down.  Thank god.
Everyone is safe, but there was major damage done.
I am hardly the one most affected in this whole ordeal.

Let me tell the (theorized) story.

IMG_5889_01

People staying over Thanksgiving break understandably wanted to make latkes to celebrate Thanksgivukkah with the house.
They deep fried the latkes, took the pot of hot oil off the burner, and placed it on another burner.
All good.  Except they failed to check if the second burner was off (people were cooking like crazy, and it’s an electric stove, so)… It was not off.
It is no ones fault; there is no blame to lay.  It was a complete and total accident.

Apparently, the fire alarm went off while they were eating dinner, and it was discovered that there was a grease fire raging on in our house kitchen.

The sprinklers dumped gallons and gallons of water into the kitchen. It flooded.

The lounge flooded.

The remediation crew came in and threw everything out.

Everything.  From my hoarded Madagascar vanilla beans to my favorite, homemade apron. (This one.)
My carefully curated pantry was emptied.

Where bags of flour, sugar, cocoa, and spices once resided, there is nothing.
Today, they’ve gutted the kitchen.  There is no longer even a cabinet.
I cried.  Not gonna lie.

IMG_5840_01

The apartment below the kitchen, a faculty member’s, has had extensive water damage and flooding through the ceilings.  They have 2 dogs and 2 small children.  My heart goes out to them in this trying time as they attempt to put their life back together.

Our kitchen will (fingers crossed) be back up and running at the beginning of winter quarter.

None of you are probably wondering what will happen to this blog in the two weeks to come, before I can go home.
A lot of no bake stuff, some posts I have saved up, some cookie swapping.

IMG_5836_01

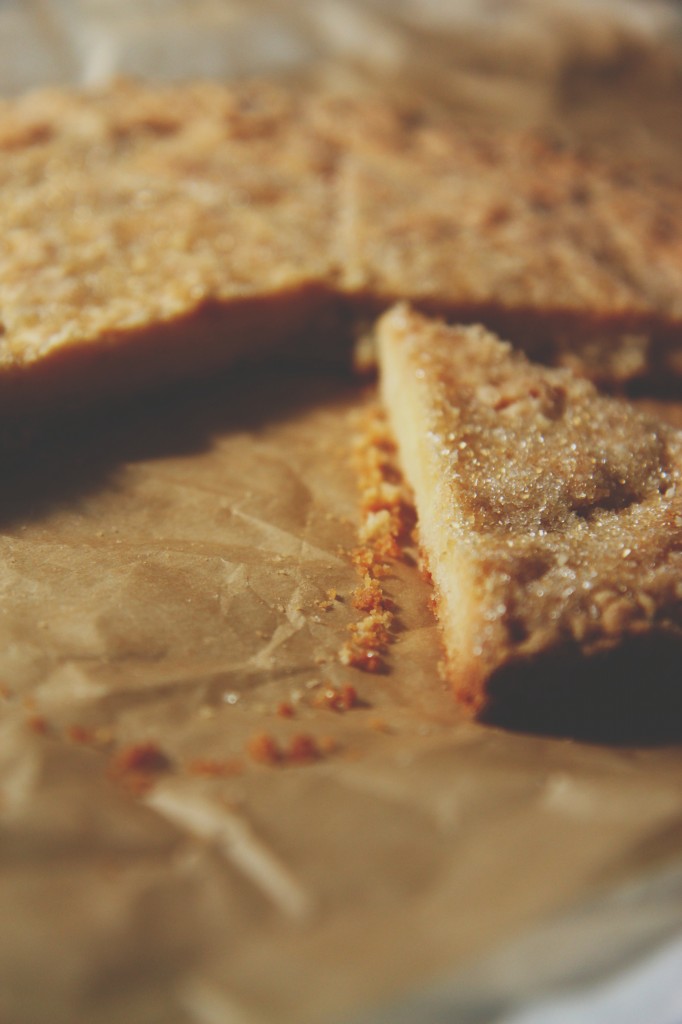
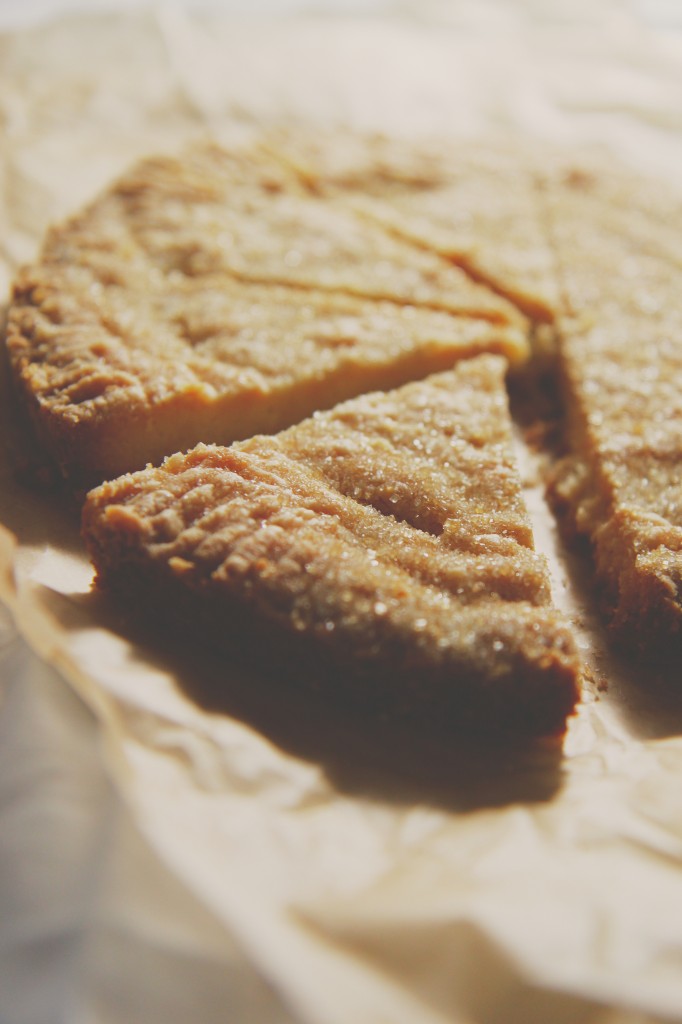
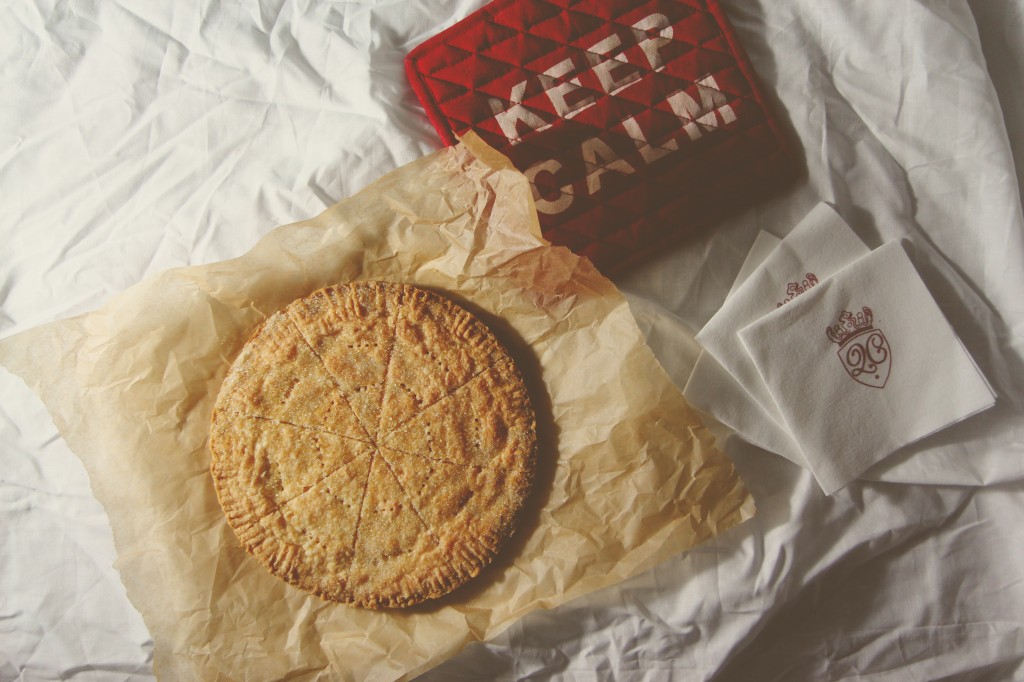
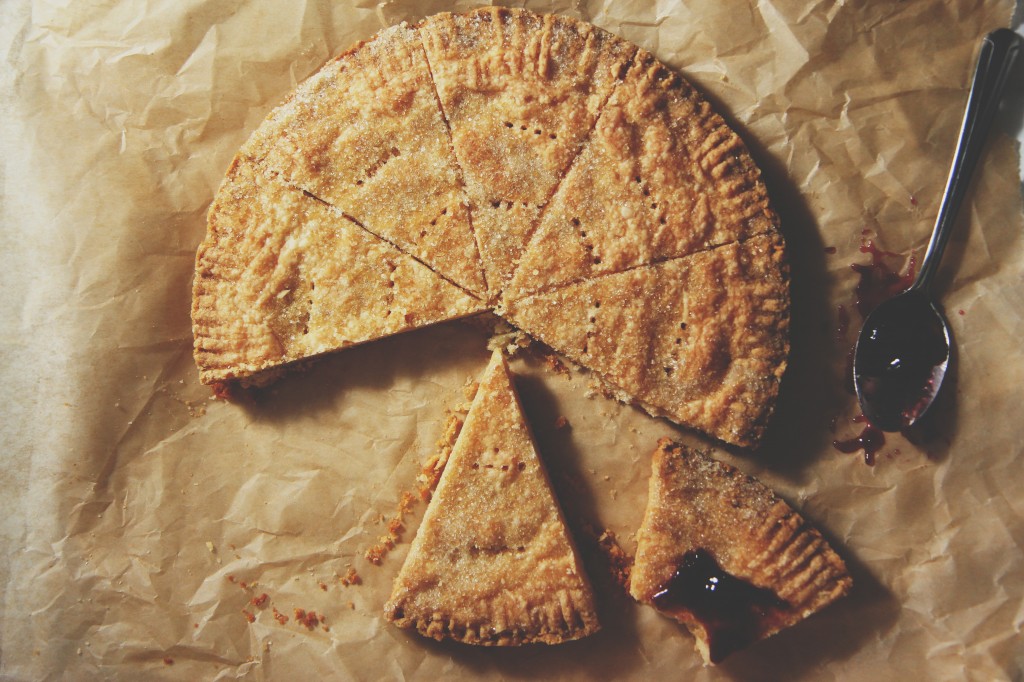
Enter these memorable cookies, which I made 2 weeks ago and which are still fragrant and melting on my tongue.
I was craving something buttery and sweet, something that balanced coconut, raspberry, and salt.
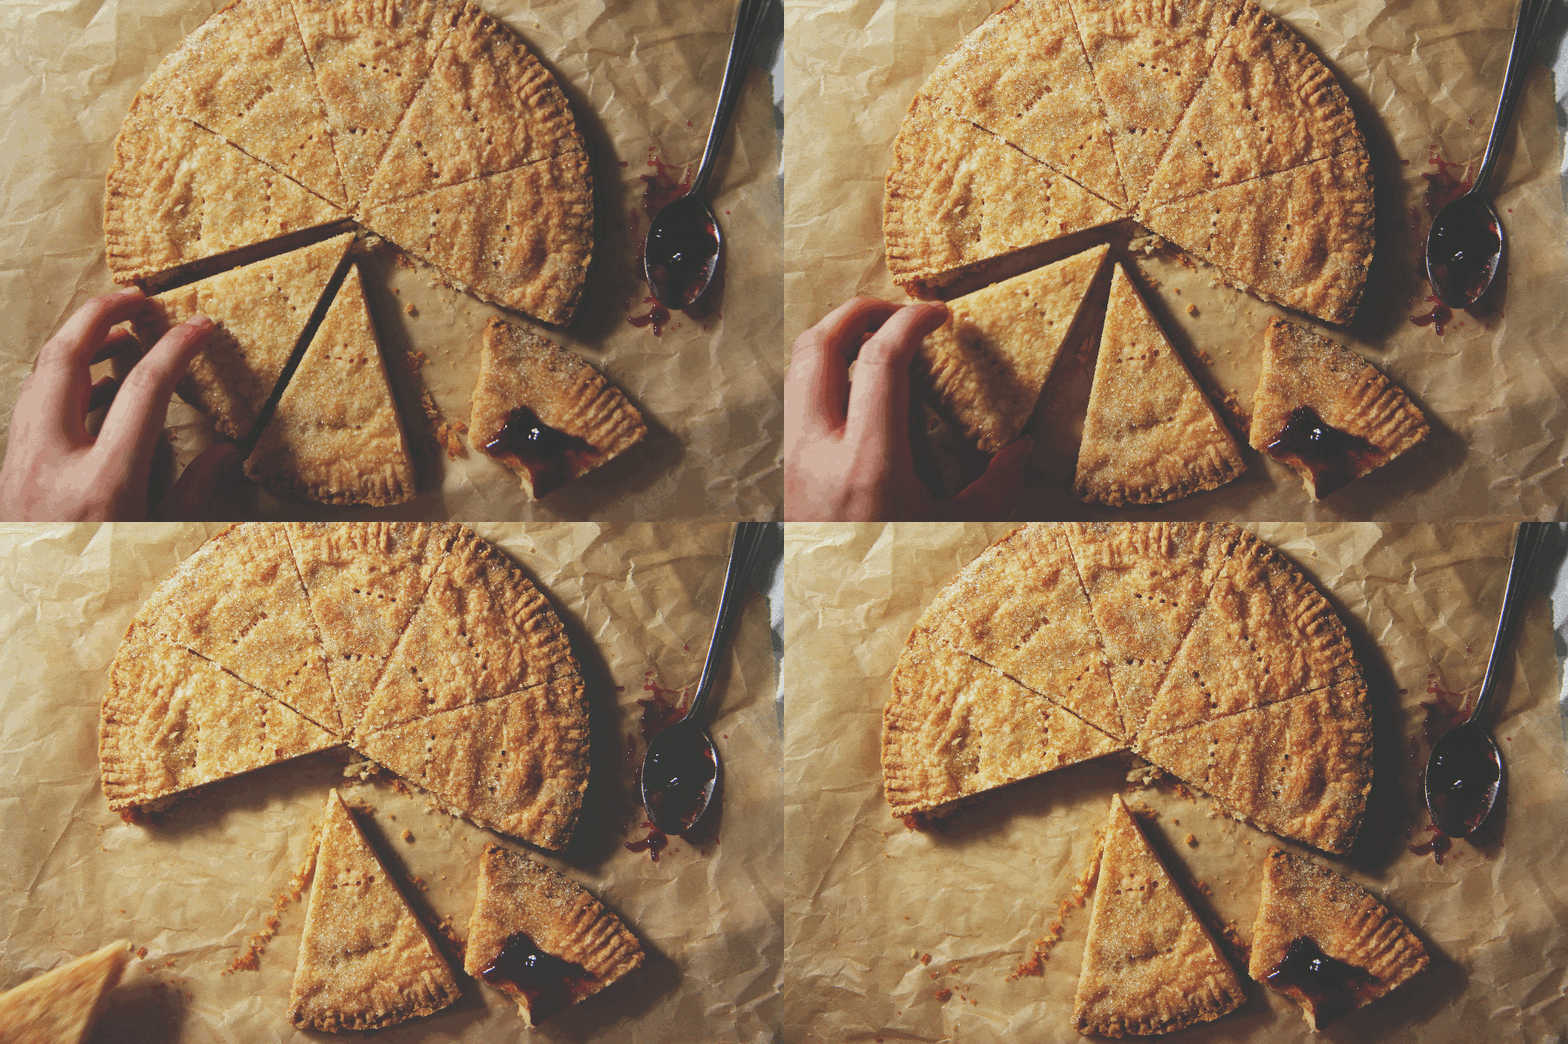
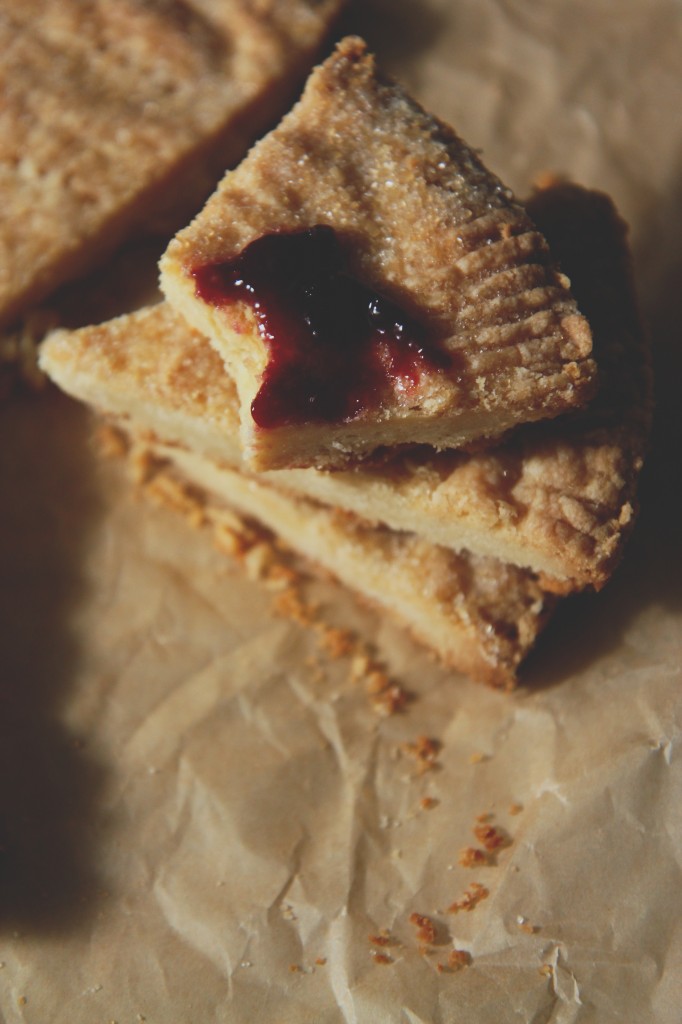
Putting raspberry jam in cookies has proven to be too steep a task for me recently, so I decided on something simple, that could be served with the jam on the side: enter the classic Scottish shortbread.
And, honestly, no one touched the jam but me.  It’s not necessary, but you will include it on a serving tray with these cookies if you know what’s good.

The cookies are a mash-up of ingredients I had in my pantry (before it burned down, RIP).
Coconut oil, butter, cream cheese.  Flour, salt, sugar.  Simple, simple, simple.

The dough is easy: cream, mix, press, crimp, bake.
My friend who thought she didn’t like coconut loved these!  Yay!  Yet another victory for coconut oil!

Back soon with peanut butter.  Or lemon.  But not both. (Ew ew ew that’s probably something only my dad would like.)

IMG_5886_01

Coconut Oil Shortbread

makes one 9-inch pan
ingredients:
2.2 ounces (4 1/2 tablespoons) butter
3 ounces (5 1/2 tablespoons) coconut oil, solid
1.5 ounces cream cheese
3 ounces (3/4 cup) powdered sugar
7 ounces (1 1/2 cups plus 2 tablespoons) flour
1/2 teaspoon kosher salt
scant 2 ounces (1/4 cup) sugar, for sprinkling

directions:
Preheat oven to 350 degrees F.
Grease and flour a 9-inch round pan.
Cream butter, coconut oil, and cream cheese together for 3 minutes, until homogeneous and smooth.
Scrape the bowl and add the sugar, flour, and salt.
Mix on low until a crumbly dough forms.
Scrape the crumbs into the prepared pan and press down firmly.
Prick all over with a fork; crimp the edges and score if desired and sprinkle with sugar.
Bake for 22-25 minutes, until shortbread is golden and fragrant.
Remove from oven and allow to cool slightly before serving.
Eat with raspberry jam!  Please!

Superstar

IMG_5221_01

Who wants to be a millionaire Thanksgiving superstar?

IMG_5158_01

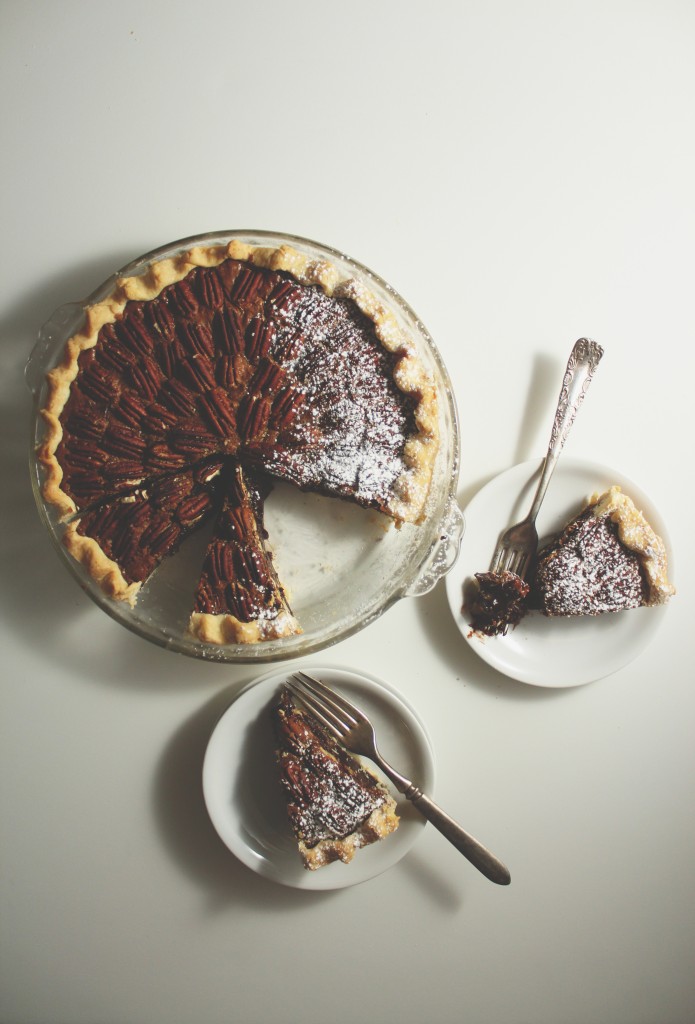
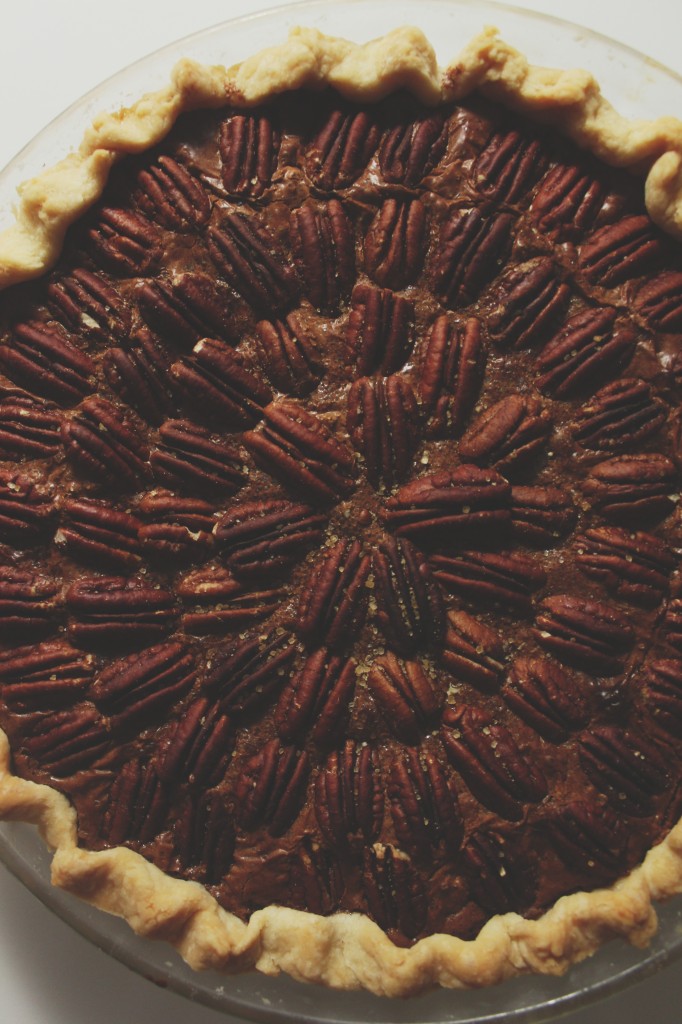
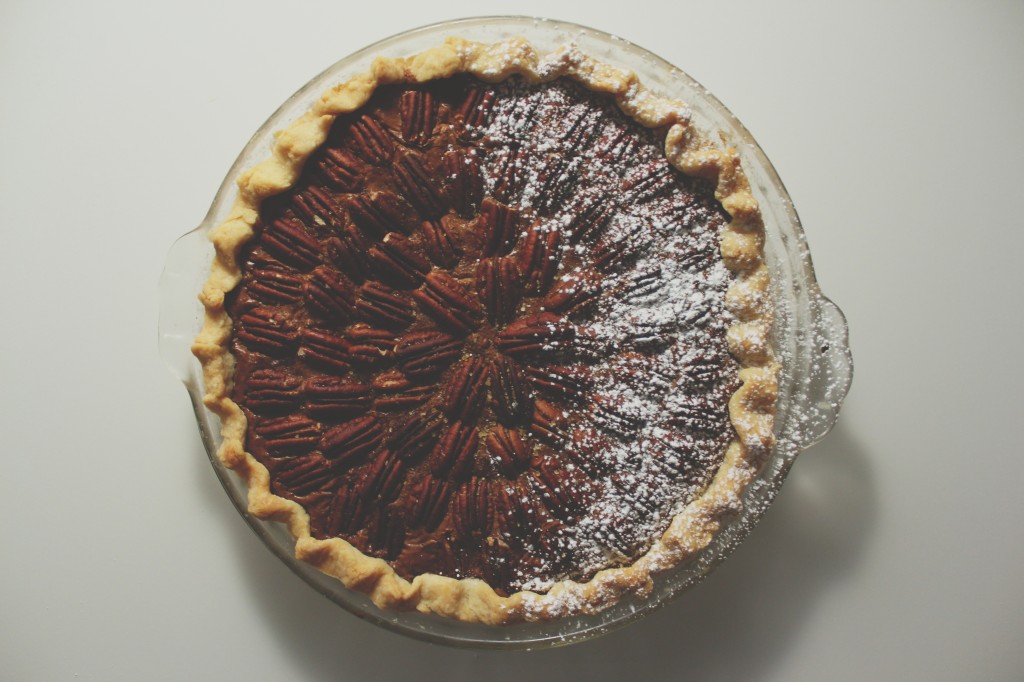
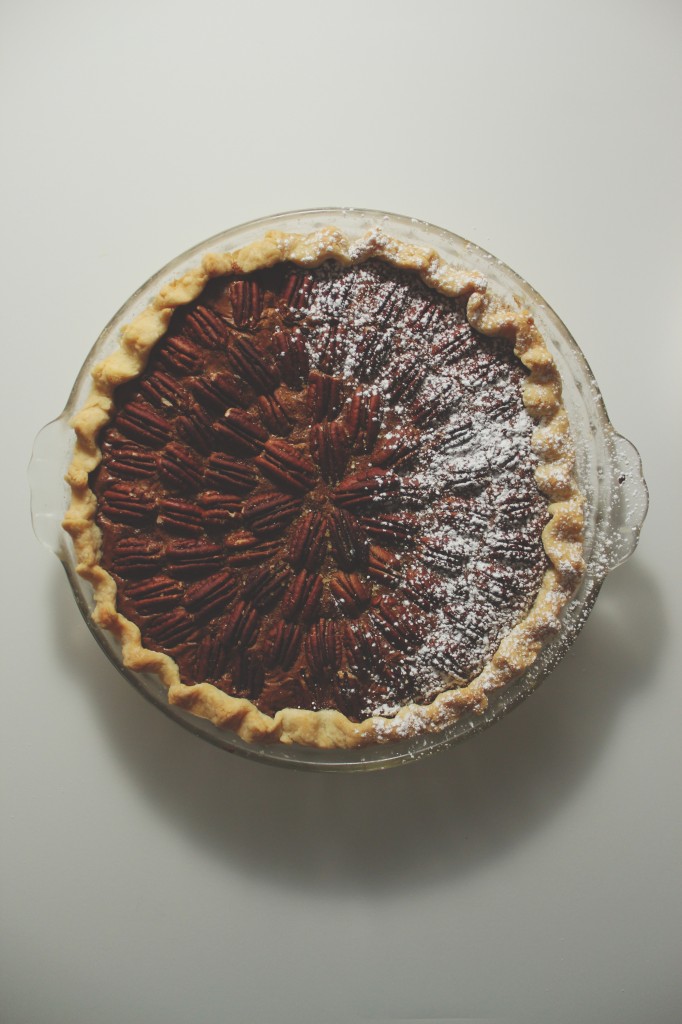
Cause, like, this pie, yo.

GodDAMN.

Good gracious gravy!

Sorry.  I got excited.

IMG_5174_01

This pie… There’s just so much good stuff going on!  Yummy, delicious stuff.

First, let’s talk crust.  I know.  It’s the scariest part for most people.  But crust is your friend!

Buttery, flaky, tender crust.  How could it NOT be your friend?

The trick to a good pie crust is not a food processor, I’ve decided.

YesokokIknow, the food processor revolutionized pie crust because it shaved 5 minutes off the preparation time and allowed people to keep their hands clean.
Newsflash: you’re cooking and baking, your hands are going to get dirty sometime.  Pie crust is a good excuse to play around in flour and butter.
(BUTTER.  Not shortening.  As you can see in this pie, I’ve swapped my usual buttermilk for water to give a more sturdy crust, since it’s a custard pie that will not have par-baking.  That said, I could have swapped butter for shortening.  But why, oh why, would I want to sacrifice that flavor?  Oh, right.  I wouldn’t.  And neither would you.  I won’t have it any other way.)

By making your pie crust by hand, you get a good feel for the texture.  In a food processor, an extra 3 pulses gives you a gummy crust that will be tough and shrink during baking.  (Insert sad face here.)

Let’s take this chance to play with our food, no?  It’ll be fun.

Dump your flour, salt, and a pinch of sugar into a big bowl.
Cube your butter into little chunky chunks, then throw it back in the fridge for 5 minutes to re-chill.
Meanwhile, fill a small bowl with cold water, and chuck 2 ice cubes in it.  Keep a tablespoon near the ice water.
Stir the flour n’ stuff around with your hands.
Take your butter chunks and place them all in the flour, all snuggly and nested down in there.
Now, with your fingers and palms, start to smash the cubes into flat sheets.  Rub about half between your hands to create a coarse meal.  The others, leave as small, flattened chunks, the size of peas.
You should have a rough mish-mash of butter and flour and butter-flour meal.
Here comes the fun: dunk the tablespoon measure in the ice water and put 2 measures into your butter/flour.
Using your hands, gently stir the mixture together.  Some will stick to your hands.  Just scrape it off and put it back in the mix.
If there are still a lot of dry chunks at the bottom of your bowl, add up to 2 more tablespoons of water, but go slow.
When your crust is done, it will hold together and all of the flour will be hydrated, but it won’t be very sticky or gooey.  It should be smooth.
Give it a couple kneads, a little massage, and wrap it up nice and snug in some plastic wrap.
Back in the fridge she goes!

To roll the crust out, liberally sprinkle a clean countertop with flour, then place your crust in the middle.
Sprinkle the top with flour, and gently, starting from the middle, roll towards the edges, creating a rough circle shape.
Once it’s 3 inches larger in all directions than the bottom of your pie dish, roll it up on your rolling pin (like a roll of paper towels) and place it in the dish.  Crimp the edges by rolling the excess up underneath, then pinching to create pretty little ruffles.
Back to the fridge!  Keep it COLD, y’all!

IMG_5180_01

So you’ve got your awesome all-butter pie crust made and ready and chilling.

Let’s fill it with heavenly goodies.

Start with brown sugar and a friendly pinch of salt, and add the ambrosia of the gods nutty brown butter.

Whisk whisk whisk in warm, autumnal spices and six (6!) egg yolks to ensure a silky, custard-like texture.

Stir in 70% bittersweet chocolate, melted and luxurious.

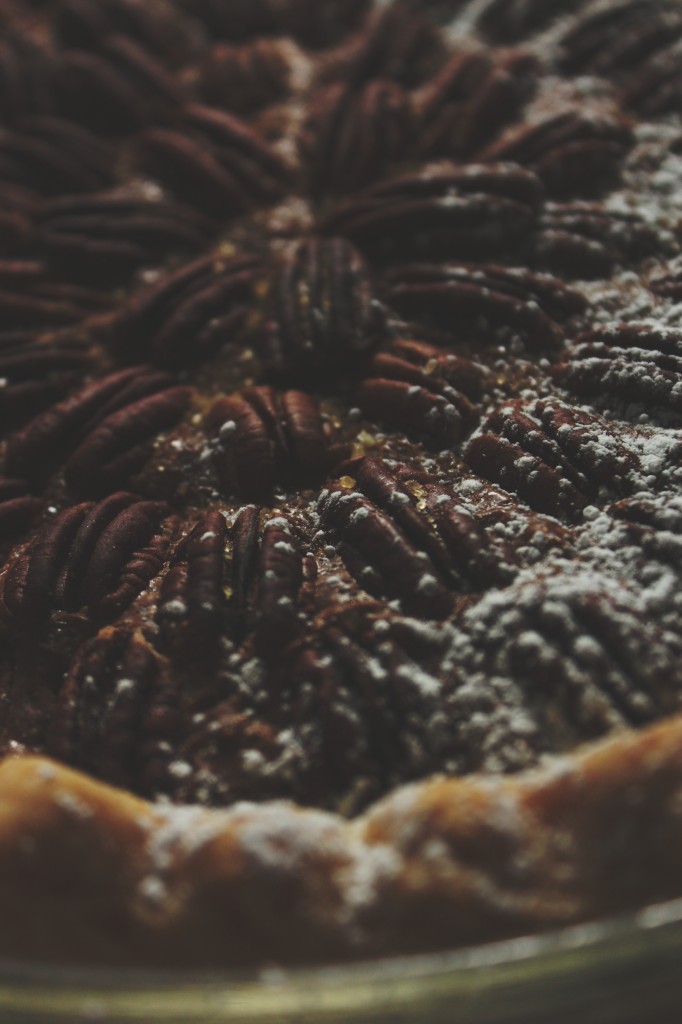
Finish with a sprinkling of pecans and turbinado sugar.

You’ll smell this pie long before it emerges from the oven.  It’s fragrant with the best things in life: butter, spices, and chocolate.
Once it’s partially cooled, you’ll stick it in the freezer and it will thicken into a custard-y pie, the smooth and gooey chocolate interrupted only by crisp pecans.

Serve this pie sprinkled with a touch of powdered sugar, and unsweetened whipped cream or barely sweetened vanilla ice cream.

I might have to make this again for Thanksgiving.

It is among the 3 best pies I’ve ever made.

It is that good, people.

tl;dr: MAKE THIS.

P.S. I posted this on 11/11 at 11:11.  My wish is for you to make this (JK! Then it wouldn’t come true!!)

IMG_5190_01

Pumpkin Spice Brown Butter Chocolate Pecan Pie

ingredients:
for the crust:
165 grams (1 1/2 cups)flour
8 grams (2 teaspoons) sugar
pinch salt
113 grams (8 tablespoons) butter, cut into small pieces and cold
45 grams (3 tablespoons ice water, or as needed)

for the filling:
140 grams (scant cup) bittersweet chocolate chunks or chips
220 grams (1 cup plus 2 scant tablespoons) sugar
150 grams (1/2 cup plus 3 tablespoons) brown sugar
17 grams (2 tablespoons plus 2 teaspoons) nonfat dry milk powder
1 1/2 teaspoons pumpkin pie spice, or a big pinch each cloves, nutmeg, and star anise, plus 2 pinches each cinnamon and ginger
big pinch kosher salt
180 grams (13 tablespoons) butter, browned
120 grams (1/2 cup) milk
6 egg yolks
approximately 300 grams (2 1/2 cups) pecan halves, the pretty ones saved for garnish and the rest chopped roughly
turbinado sugar, for sprinkling, if desired

directions:
Make the crust: stir the flour, sugar, and salt together in a large bowl.
Add the butter cubes in and cut them in with a pastry blender or your fingers, flattening some and rubbing others into the flour.
Leave pieces the size of peas; the rest should resemble a coarse meal.
Stir in the water, starting with 2 tablespoons, until the dough comes together; it shouldn’t be sticky or crumbly, but just barely hold together.
Knead gently 3 or 4 times, then pat into a disk and refrigerate.
Meanwhile, make the filling: begin by melting the chocolate, gently; do this in a microwave on partial power or over a double boiler.
When the chocolate is 2/3 melted, remove from heat and stir until all melted; set aside to cool slightly.
Whisk the sugar, brown sugar, milk powder, spices, and salt together until no little lumps remain.
Whisk the brown butter in vigorously. Whisk the yolks and milk together, then vigorously whisk them into the butter/sugar mixture.
Finally, whisk in the melted and cooled chocolate and stir in the chopped pecans.
Set aside to thicken and rest while you finish the crust.
Preheat oven to 350 degrees F. Roll the crust out, gently, to a 1/8 inch thickness.
Place it in a 9-inch pie pan that is about 2 inches in depth.
Flute or crimp the edges as desired, then place in the freezer until it is hardened, about 10 minutes.
Pour filling into the crust and decorate with the reserved pecan halves.
Top with a little turbinado sugar, then place on a cookie sheet in the oven.
Bake for 40 minutes, until top is shiny and filling is set; you may need to cover the top with aluminum foil to prevent the pecans from burning (mine got a little toasty…).
Remove from oven and allow to cool almost completely, then finish the chilling in the freezer to make the filling extra dense.
Enjoy with unsweetened whipped cream and a little powdered sugar!

It’s Not Delivery

IMG_4473

It’s Delgiorno!

IMG_4400

That was an uncharacteristically long break from posting, y’all.

Sorry.  I brought pie.  (This is becoming a pattern… Remember when and why I made this peach pie?)

IMG_4447

This past week was craziness.  I slept very little, was very sick (I sounded like I had whooping cough…), had a midterm and a paper and not enough time or attention to sit and write a post.

I had time to bake, of course.

Yet again proving that it is words that elude me, not recipes or ideas.

IMG_4386

In other news:

I got a new mug (from Turtle Island Pottery, back home in Ithaca), which makes me miss my hometown dearly

I got new glasses from Warby Parker, which make me feel like a hipster

I woke up at 12 today

I received my first place plaque from that marathon that I ran that one time

I’ve rediscovered that I still have a problem with biting my lips when I’m stressed- anyone else have this?

Last night, I put my toothpaste on my toothbrush in the dark and got shaving cream all over my toothbrush.  I don’t know what’s worse- that it happened, or that I still brushed my teeth with it.  Shaving cream.  I brushed my teeth with shaving cream.

This list is nonsensical idk I’m sew tiyad.
Also I’m just realizing that I also made a list in that last post about pie… It probably made just as little sense.  Oh well.

IMG_4460

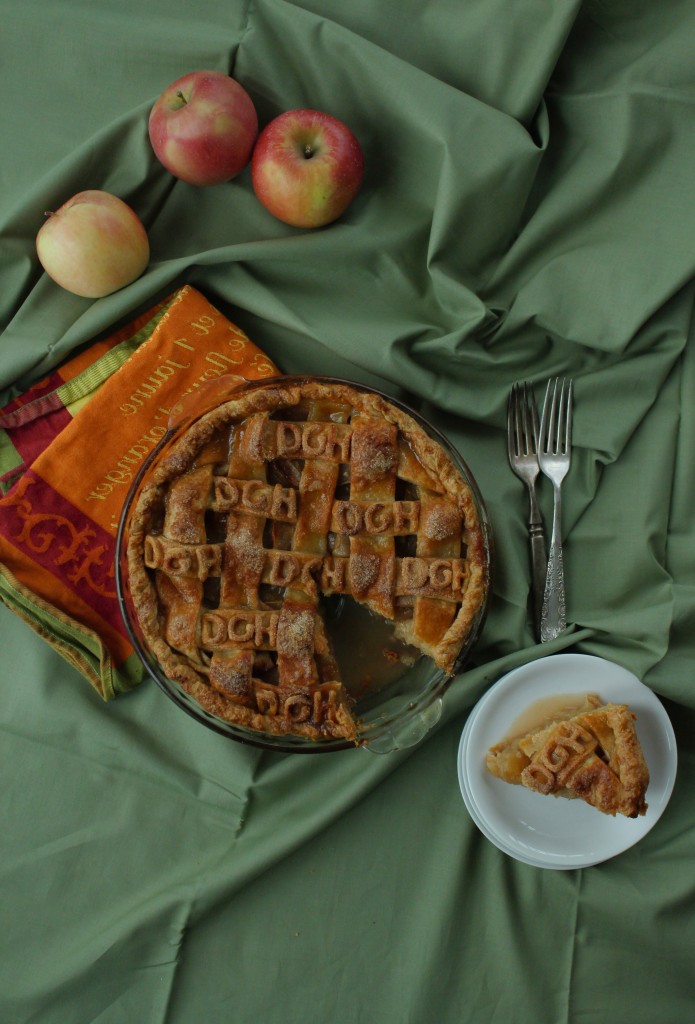
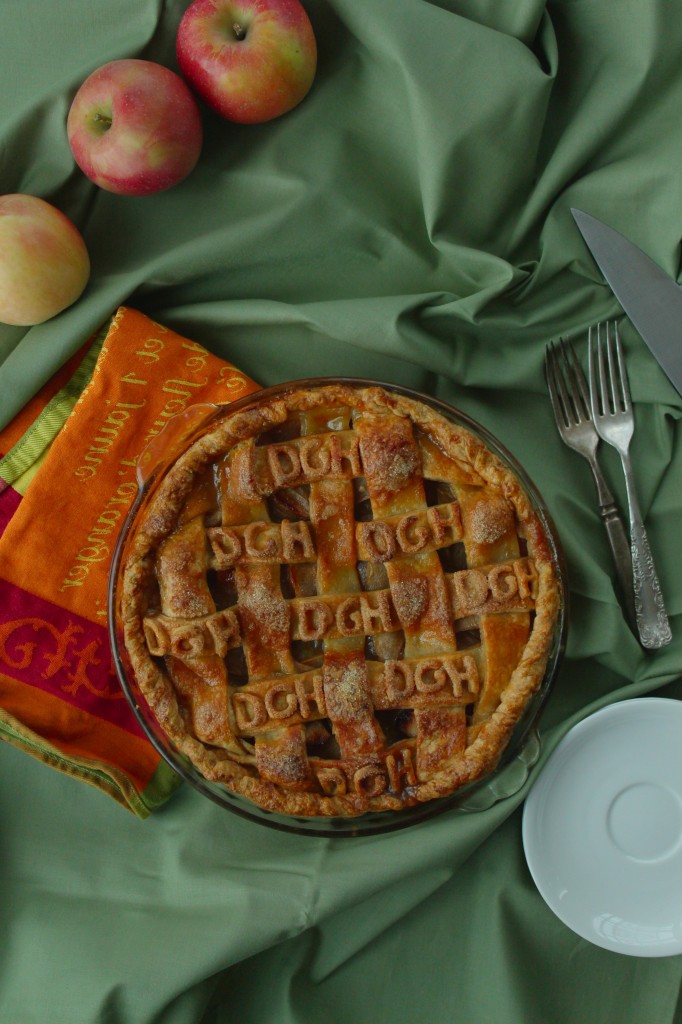
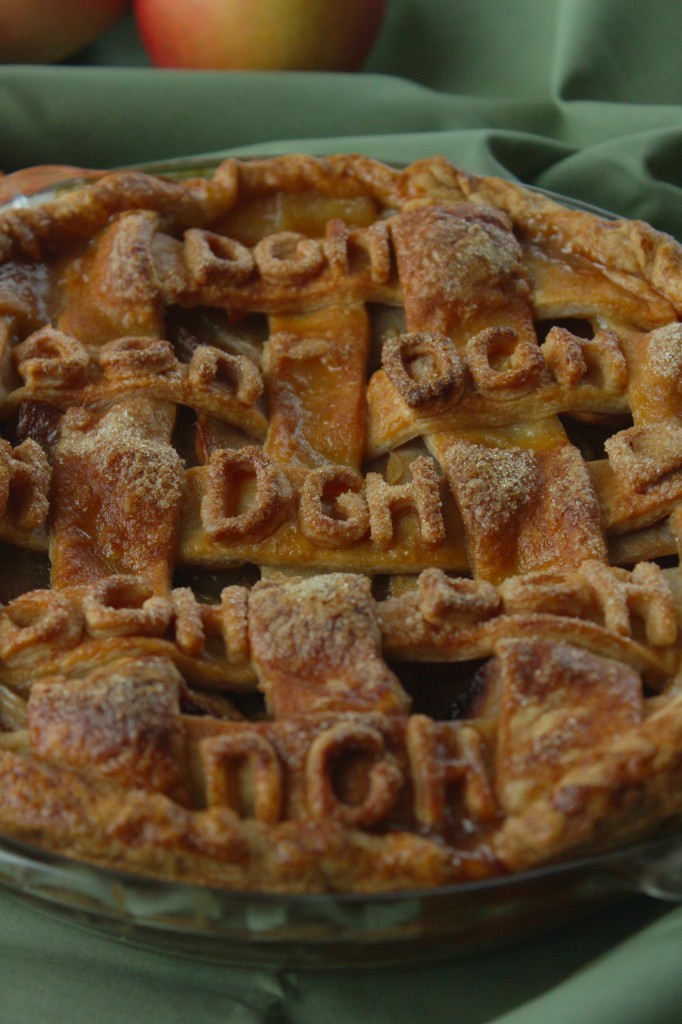
I’ve had the idea of decorating a pie with little cutout pie pieces instead of a lattice or top crust for a while, ever since seeing pretty maple leaves and polka dots topping pies.  When I got around to cutting out the little DGHs, though, I realized that it wasn’t feasible, because my letter cookie cutters are REALLY small.  So I changed angles and instead decorated the lattice with letters.

Why DGH?  Many of my friends who saw a picture of this pie on instagram thought it was a sorority (it’s not)… In reality, it’s the abbreviation (abbrev) for my house, Delgiorno.

Housing at uChic is broken up as such: we all live in residence halls (like dorms), and each of these is broken up into houses, which are like little communities.  Each house has a lounge and a kitchen, and we have house activities and competitions.
It’s really great; it made the transition to college much easier to have moved directly into a community.

Anyways, in a spurt of house pride, I made this pie.
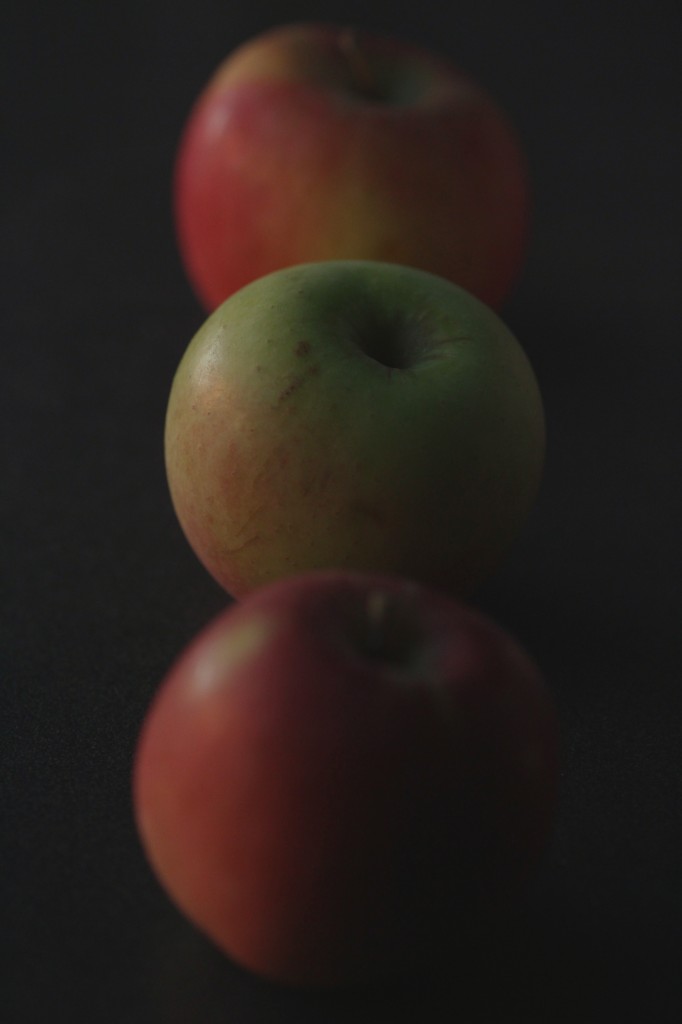
It makes sense, actually, because the apples for it came from a house trip to go apple picking (which I missed due to a yoga workshop); my roomie brought me back tons of great apples!

In return, I promised her a slice of this apple-honey-lime pie.

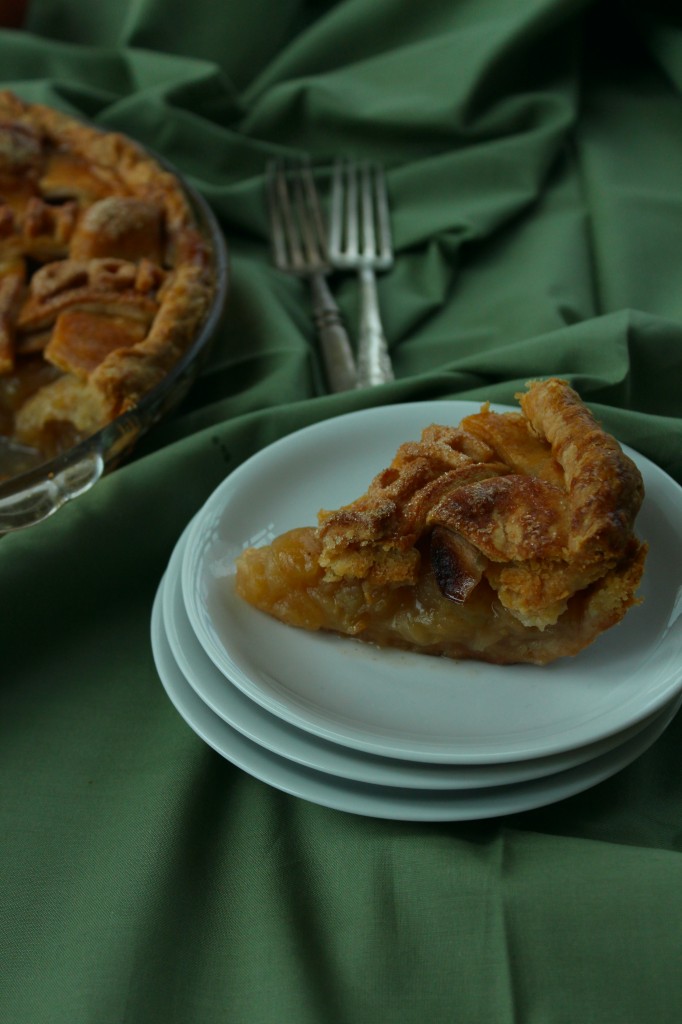
While it is a twist on a classic, it doesn’t deviate too much- the main swap is lime juice where you’d usually see lemon, and the main addition is a few tablespoons of honey into the spice and brown-sugar spiked apple marinade, if you will.

Top it off with flaky, crisp, and sugar-strewn pastry, and you done got yourself a right nice pie.
IMG_4430

Lime and Honey Apple Pie

ingredients:

1 recipe of flaky buttermilk pastry (enough for a double or lattice crust) (recipe here)
2 pounds fresh apples, peeled, cored, and sliced thinly
2 tablespoons honey
juice of 1 lime
1 teaspoon cinnamon
pinch each cloves, nutmeg, anise, ginger, etc. (sub pumpkin pie spice blend)
1 tablespoon granulated sugar
2 tablespoons brown sugar (adjust according to the ripeness and sweetness of your apples)
1/4 cup flour
big pinch sea salt
1 egg beaten with 2 teaspoons water
Sugar for sprinkling, if desired

directions:

Preheat oven to 400 degrees F.
Roll out the bottom crust and place in pan.
Toss thinly sliced apples with lime juice right after slicing.
Add spices, sugars, honey, and salt to the apples.
Allow to sit for 10 minutes, then drain off the excess liquid.
Meanwhile, roll out your top crust and prepare it either for a lattice or full top crust.
Place your (drained) apples in the bottom crust and top with the top crust (here’s a tutorial for lattice).
Brush with egg wash and sprinkle with sugar.
Bake for 15 minutes at 400 degrees F, or until the top has a dark golden color, then place aluminum foil over the pie and reduce the oven temperature to 350.
Bake until your home smells like heaven and the juices are burbling and thickened, about 1 hour.

Charred

 To be honest, more than charred, I’m fried.
 
I’m dragging my feet, so much so that the edges of my toes are burned and my shoes have holes in them.
Or, they would, if I were wearing shoes.  The past two days, it has been scorchingly hot.
Like, dash-reads-100-degrees hot.  
Like, yes-absolutely-let’s-go-to-the-grocery-store-it-has-AC hot.
Like, why-the-f@&#-did-I-turn-on-the-oven hot.
 
It’s cooled down, now.
This morning/midday was Sahara desert-esque (right when I was making ratatouille AND savoiardi like wat why me), but this afternoon and evening…
Well, holy monsoon Batman!!
All that rain practically sizzled off of the sidewalks, but eventually drowned out the heat.
I mean, phew, cause I’ve started cooking with apples and pears already, and there’s no turning back.
I just ain’t got time for no more summer, let me tell you.
Ah, yes.  What am I dragging my feet for, you say?
Well, I have 9 8 more days left here in Ith, and I haven’t started packing!!
I have shit to do, guys!  And I can’t bring myself to do it.
It’s just like, ugh, it’s so hot and like I don’t really want to think about like organization and fitting my closet into my dorm room, let alone my kitchen.
Those are the two largest entities in my house.
 
Because, yes! 
Surprise (or, rather, less than a surprise) surprise, this blog is not stopping here.
I’ll have access to a kitchen…
Which means baking and blogging and sugar and butter and flour.
Comin’ at yo face.
In turn, this means that I have to make a packing list for normal living things- linens, clothing, cosmetics, decor, etc., but also for kitchen supplies.
I can’t bear to think of the beloved appliances I’ll have to leave behind.
Examples: my ice cream behemoth machine
my pro WOLF convection oven
my big food processor
my stand blender
copper pots, wok, little pots, little saucepans, omelette pan, panini pan, roasting pan, all MY PANS
random prop materials- china, silverware, fabrics, wooden pieces, marble, much of my mason jar collection
… Pour one out for da homiez.  Seriously.
On a less dour note, this is a lovely little charlotte that I’m sharing today.
Get it?!?!?! Charlotte- charred
No? Damn, and I thought I was being a clever little monkey. (Insert that cute emoji here, you know the one, the little monkey with its little hands over its mouth.)
A charlotte is a molded cake, usually with savoiardi, or ladyfingers, around the outside.
(There are a few variations on what is on the exterior.)  
Where the imagination and difference comes in is the interior.
You could make a charlotte with literally any flavor or idea.
I chose tiramisù, because ladyfingers. 
And because I had never made tiramisù before.
It’s incredibly simple- just 3 components to the dish- savoiardi, coffee/liqueur to soak, and a cream/zabaglione/mascarpone mixture to add richness.
So simple, in fact, that I undertook to make my own ladyfingers, which may seem imposing, but are, in actuality, very simple.
This is a cookie that’s been around for 600 or so years.  How hard can it be?  Fo’ realz. 
 
On the inside is a classic tiramisù, except that I used whiskey, which is, erm… not traditional.
But to hell with it.  Use whatever liqueur tickles your fancy.
The ladyfingers are sponge cake’s sister, just piped out.
They’re layered with coffee/whiskey/vanilla (can I have that as my morning pick-me-up?!) and a deeeeelicious mascarpone/heavy cream/zabaglione mixture (wait no I want that…), topped with a mountain of raspberries, then chilled until set.
 
Wrap a ribbon around the whole shebang and give it to someone as a present!
HA just kidding.  
Untie the ribbon, cut yourself a fat wedge, watch the raspberries tumble out like so many ruby jewels, and MANGIA! 

Tiramisù Charlotte
makes 1 6×3 inch cake
note: brew some strong coffee before starting, then allow it to cool.  If you are making ladyfingers, make those right after the coffee and let them cool as well.  You can always use store-bought.
for the savoiardi (ladyfingers):
makes 1 1/2 sheet pans of 4×1 inch savoiardi
ingredients:
3.5 egg yolks (1/2 yolk is approximately 1 1/2 teaspoons, or 0.3 ounce)
3 tablespoons sugar
3.5 egg whites (1/2 white is approximately 1 tablespoon, or 0.5 ounce)
pinch cream of tartar
4 tablespoons plus 1 1/2 teaspoons sugar
3/4 cup cake flour
directions:
Preheat oven to 350 degrees F.
Draw out 4×1 inch grids on two sheets of parchment paper; place them on two sheet pans, pencil or pen side down.
Have a pastry bag fitted with a 1 inch tip at the ready.
Place the egg yolks in a bowl with 3 tablespoons of sugar.
Place the egg whites in the bowl of a stand mixer with the cream of tartar.
Whip the egg yolks briskly (or with a hand mixer) until they become pale, thick, and double in size.
Meanwhile, whip the egg whites, slowly streaming in 4 tablespoons plus 1 1/2 teaspoons sugar once they begin to foam.  
Beat the egg whites until they hold stiff peaks.
Sift the cake flour over the egg yolks, but don’t mix in, then fold the egg whites into the egg yolk/flour until homogenous; be careful not to overmix.
Place into pastry bag and pipe out finger shapes, approximately 4×1 inch tall/wide.  (They will touch each other during baking.)
Bake for 8-10 minutes, until they are golden and puffy but not particularly hard. (They should not feel raw or look runny, but should still be slightly spongy to the touch.)
Remove from oven and allow to cool completely.

for the mascarpone cream:
adapted from Chef Dennis via Bake and Bait
ingredients:
3 egg yolks
3 tablespoons sugar
1/2 cup plus 2 tablespoons mascarpone
scant cup heavy cream
directions:
Whisk yolks and sugar together very well; place in a small pot over low heat and cook until sugar is completely dissolved.
Remove from heat, pour into a different bowl, and whip until thick and about doubled in size.
Whisk in mascarpone.
In a separate bowl, whip the heavy cream to stiff peaks, then fold it into the zabaglione/mascarpone mixture.
Set in fridge until ready to use (but not for too long; an hour at most before you should use it).

to assemble:
ingredients:
1/4 cup coffee, cold but strong
1 tablespoon liqueur (Marsala, Kahlua, etc.  Go nuts.)
1 teaspoon vanilla extract
cocoa powder, for dusting
1 pint of raspberries, optional
mascarpone cream, recipe above
ladyfingers (about 30 small ones, less if you have larger), either store bought or homemade, recipe above
directions:
Line a 6×3 inch pan with ladyfingers standing upright.
Place a cake board in the bottom, then place as many ladyfingers as can fit along the bottom, using torn pieces to fill in gaps.
Stir the coffee, liqueur, and vanilla together.
Using a pastry brush, lightly brush the coffee mixture over the ladyfingers- they should absorb it, but do not add so much that they are soaked.  
Smooth 1/3 of the cream mixture onto the soaked ladyfingers.
Layer more ladyfingers over the cream mixture, brush with coffee, and layer with cream.
Repeat layering once more.
Dust the top of the tiramisu with cocoa powder, and top with raspberries, if desired.
Refrigerate for at least 1 1/2 hours before unmolding.
Tie a ribbon around the outside for clean presentation.
Enjoy!

MTL

I’m posting this from the internet void… Spooky, huh?
Well, actually, I am just in Montreal, for the weekend.
(It’s still my summer, ok?  I can do what I want on a whim.  Labor Day be damned.)
But I didn’t want to leave you guys with that last post, which didn’t even have a recipe (the nerve!) for the next few days or so.
Thus, I am here.  Sort of.  Here in spirit.
I love writing posts ahead of time and then scheduling them.
I usually forget about them… but then, when I come back to blogger, it’s like I gave myself a gift!
Surprise!!!
The Blog Fairy came and left you a nice little Post Present!
I’m going to do another (shorter) link-peppered post.
Similar to this one, but more rushed and with fewer links.
Sounds great, right?  Let’s get into it then!
 
I’ve just started reading A Game of Thrones by George R.R. Martin.
(The books are gigantic.  Holy mackerel!)
Obviously, I’ve watched all the seasons of the HBO show, which I am completely obsessed with (currently rewatching season 2), but now I’m getting into the books.
Mostly because I’m impatient and greedy, and waiting until next year to find out what happens next will literally kill me.
 
Speaking of literally, they augmented the definition in Merriam-Webster.
Now, literally means literally, as well as virtually.
Which doesn’t make much sense, but whatever.
I have listened to this poem about OCD around 50 times.  
No, I’m not joking.  It moves me.  I cry every other time.  It’s haunting.
 
Have you heard this remake of Miley’s song?  
It makes me actually like the darn song, and not be afraid to admit it.
Soooo good.  On repeat.
 
How about this parody of Robin Thicke’s Blurred Lines video?
I’m literally dead from laughing and smiling so hard.
Go, girls!
 
I’ve lost/misplaced one of my camera lenses.
I’m worried I did something like Heather did!
(How crazy is it that that post is from 3 years ago?!  I remember when she first posted that…  Yes, I have stalked her blog for that long.)
Speaking of SprinkleBakes, did you see these cookies?
OHMAGAH.
This tart was inspired by the 8-inch cast iron pan I found at an antique store the other day.
Up in the attic, they had hundreds of antique cast iron pans.  
Since I’m wistful that I don’t have a cast iron pan handed down for generations (I don’t even get a wok.  Like, come on.), I of course snatched one up.
It didn’t need much seasoning; I cleaned it with a little bit of vinegar/water, then rubbed it with coconut oil and set it in a hot oven briefly.
I then recoated it in more coconut oil, and made this crostata/tart/galette.
 
It’s a buttery shell filled with sweet-tart Italian prune plums, which I topped with lemon thyme infused sugar.
It’s divine still-warm (or reheated), topped with a fat dollop of unsweetened whipped cream.
Italian Prune Plum Galette
ingredients:
1 pound Italian prune plums, halved and pitted
3 tablespoons sugar
1 cup flour
8 tablespoons butter
2 tablespoons sugar
big pinch salt
1/4 cup buttermilk
directions:
Cube the butter into tiny pieces.
Toss with the flour, sugar, and salt, and then smash all the little cubes with your fingers, kneading and tossing all the while.
Once they are the size of peas and smaller, switch to stirring with a wooden spoon.
Add in the buttermilk and stir until dough comes together.
Turn it out onto a floured surface and knead once or twice.
Refrigerate until ready to use.
Preheat oven to 375 degrees F.
Grease an 8-inch pan, or prepare a sheet pan with parchment.
Roll out the dough and place it in the pan.
Arrange the plums on top, and sprinkle them with 3 tablespoons sugar.
Fold the dough over the plums, and bake until golden and bubbling, about 45 minutes in a cast-iron pan.
Enjoy while warm!

Peachy Keen

 
Okay, I left you again, my beloveds.  But I am back, and I am not leaving in the foreseeable future (until college.  Eep!!)
(And I brought pie!)
 
 
I was in NYC and also Connecticut at the ESPN campus (so cool!), tagging along with my dad for the last half-week.
Then, I was enjoying a beautiful, sunny day and evening with friends at Taughannock.
Now, I am here.
Home.  And back on le blog.
 
^The always beautiful S and the charming français, Emile.
(That last link is scary… two birthdays ago!  Laughing/cringing at the photography.  Don’t laugh at me.  
On second thought, don’t click through that link.)
Um, with lack of anything more interesting to say about my trip, here are some things I observed, because I love lists:
 
Things I Saw in Park Slope and Beyond:
a discarded and seemingly brand new cherry wood spoon
a dozen oyster shells, mixed with
broken ceramics of many colors
an unattended child, sitting quietly in a stroller
thirty thousand vespas
a stroller with 12 wheels (12!)
a sizeable bamboo grove on West 14th, with canes that were 20 or so feet tall
killer fro-yo at Culture (two words: mochi topping)
and a million and one other things but I’m tired of this list so let’s move on.
 
Highlight of my day: I discovered that two of my photos got published on Tastespotting!
I am very pleased.
However, these exact same photos were rejected on foodgawker.
I am not pleased.
“Composition too tight.  Please make more room around the ____ and resubmit.”
If I had more room, don’t you think I would have already tried to cram it into that tiny little square?
Wah.
Okay I’m tired of whining so let’s move on.
(Wait… that’s a first.  Tired of whining?  Me?  NEVER.  Can’t stop won’t stop.)
 
These photos being published on Tastespotting have only aided in my ever-expanding online sharing of photos.
I now have a flickr, facebook, twitter, instagram, blog, and Tastespotting account, through all of which I share photos of food. (I rarely put food photos on twitter or facebook, though.)
And I guess I have a foodgawker, but EVERY PHOTO I have ever submitted gets instantly rejected.
Like this.
My instagram is all food and cats and up-close selfies of my face.
Stop judging me.
 
Let’s talk about pie.  
Pie, pie, pie pie.
Pie pie pie.
Peach pie.  Om nom nommedy nom.
We’ve talked about peach pie once before.
As well as peach pie cake
and two peach tarts.
But when I discovered 7 very ripe-borderline too ripe-peaches in the back of my fridge today, I knew the universe was telling me something important.
And it involved pie, so.
See, the most recent Cook’s Illustrated (I have a love/hate/love relationship with this mag, but let’s not get into that) featured their most recent recipe for peach pie.

Obviously, I had to make it/test it for myself.
Fussy magazine instructions be damned.
So let’s talk about this pie.
 
It ain’t easy, that’s for damn sure.  But then again, of course it’s not.  
It’s Cook’s Illustrated, for God’s sake, and they can never let anything be easy.
There’s always ten million steps and I usually find there are ways to improve upon what they have given, despite all of their in-depth testing in their test kitchen.
(This may a poorly timed question… but that job sounds awesome.  Where do I apply?)

Thus, another list: Things I Wish I Didn’t Have to Do to Make This Pie:
peel the peaches (Said it before, and I’ll say it again: I never peel peaches for pie.  I love that fuzzy skin, and I totally approve of this message what it does texture-wise when cooked)
use 3 pounds of peaches (this just seems excessive because you have to peel each one like WHAT)
quarter and then thirds all the peaches (there has to be a more efficient way to do this.  Peeled peaches are so very slippery and go shooting off the cutting board like soap)
macerate the peaches (I thought we wanted the juice to stay in)
cook down the resulting juice with pectin (thank God we canned the other weekend… or I would have been out of luck)
mash some of my macerated peaches that I worked SO HARD cutting up (not that hard, but whatever I’m trying to make this list long and dramatic)
use cornstarch (jk I love cornstarch)
ok I’m done

Plus, they gave me some lame-ass pie crust with shortening, giving an excuse about lattice pie crusts needing to hold up or something along those lines. I’m not sure ’cause I stopped reading when I saw Crisco.  
I don’t know about you but I am really not down with shortening in pie crusts, but you probably know that because one of my earliest posts was dedicated just to all-butter all-good pastry doughs.
The low down: you can make flaky, flavorful, workable, pliable, tender pie crusts with just butter.  You just gotta have the right technique.  
And I’m going to share my super-secret method for getting flaky, flaky, flaky pastry.
(Scroll down through the recipe and you’ll see it, as well as a poorly-lit shot meant to demonstrate how flaky the crust is.)

So to wrap this up:  their pie filling was good.  The texture was perfect, the flavor was too lemony and too sweet for my palette. 
I generally use next to no sugar in my pies, but since I was trying to review the recipe, I made no changes to the filling and how it was prepared.
I used my own crust recipe, which has taken a lifetime to develop (practically), because I will always stay loyal to butter and buttermilk.

This was a fussy recipe.  But altogether, I would recommend it.
I think I have to say that, because I had two fat wedges of this pie today.
Om nom nommedy nom.


^I ate that piece.  Without a fork.
 
Cook’s Illustrated Peach Pie (with my flaky buttermilk pie crust)
for the buttermilk crust:
makes enough for a double or lattice crust
ingredients:
2 1/2 cups flour (315 grams)
1 tablespoon (15 grams) sugar 
1 heaping teaspoon kosher salt
16 tablespoons (225 grams) unsalted butter, cold and cut into chunks
1/2 cup to 3/4 cup buttermilk, cold (leave it in the fridge until just before you need to use it)
directions:
Place the flour, sugar, and salt in a food processor and pulse to combine. (Or whisk them together in a large bowl)
Scatter the butter pieces over the flour mixture and pulse until the mixture has small chunks of butter the size of peas, about 5 2-second pulses or so. (Or cut the butter into the flour with a pastry blender.)
Slowly drizzle 1/2 cup of buttermilk into the mixer while giving 1 second pulses. (Or drizzle it over the butter/flour mixture and fold with a spatula)
Feel the dough- when you’ve added adequate liquid, it should be slightly tacky and hold together.
Add up to 1/4 cup more buttermilk if necessary.
Turn the dough out onto a floured surface and roll it into a rectangle about 1/2 inch thick.
Fold the rectangle into thirds and reroll into another rectangle.
Fold the new rectangle into thirds and reroll into another rectangle.
Fold the rectangle once more into thirds and then roll it into a rough rectangle.
Cut the block into two pieces, one slightly smaller than the other.
Chill for at least 30 minutes, wrapped well in plastic.
When you are ready to use the dough, roll the larger piece out until its diameter is about 4 inches larger than your pie pan, then gently place it in the pan, allowing the excess to drape off the edges.
Roll out the other chunk of dough into a rectangle and cut it into long strips.
Chill the strips and the dough in the pan before filling (roll them out before you start the filling).
Once filled, weave the strips into a lattice over the filling. (here is a picture tutorial)
 
for Cook’s Illustrated Peach Pie Filling:
ingredients:
3 pounds peaches, peeled, quartered, and pitted, each quarter cut into thirds
1/2 cup (3.5 ounces) plus 2 tablespoons sugar
1 teaspoon lemon zest plus 1 tablespoon lemon juice
1/8 teaspoon salt
2 tablespoons low- or no-sugar-needed fruit pectin
1/4 teaspoon cinnamon
pinch nutmeg
1 tablespoon cornstarch
directions:
Toss peaches, 1/2 cup sugar, lemon zest and juice and salt in a bowl; allow to sit for at least 30 minutes and up to an hour.
Combine pectin, 2 tablespoons sugar, and spices in a small bowl.
Transfer 1 cup of peach mixture to a bowl and mash into a coarse paste.
Drain the remaining peaches and measure out 1/2 cup of the liquid; discard the rest.
Place the juice into a pan with the pectin mixture and cook over medium heat until thickened and pectin has dissolved (3-5 minutes).
Toss the remaining peaches with the cornstarch, then add in the peach paste and the peach juice.
 
to assemble and bake the pie:
ingredients:
cream
turbinado or coarse sugar, or regular sugar
directions:
Preheat oven to 425 degrees F.
Remove the chilled bottom crust from the fridge and pour the filling into it.
Weave the chilled lattice strips over top of the filling.
Brush cream gently over the pie top and sprinkle liberally with coarse sugar.
Bake for 20 minutes at 425, then lower the temperature to 350 and bake 35-40 minute more, until the top is deeply golden brown and the filling is bubbling in the center.
 

Make It Work

Watch out, because whether you like it or not, I’m sharing some shi stuff that I’m loving right now.
This post is peppered with links.  Click ’em!
Meow.
Reading Blood and Beauty, a fabulously intricate novel about the Borgia family in 15th century Italy, by Sarah Dunant.
This book is right up my alley. I love historical-fiction novels about European monarchies. (Speaking of which, I’ve just binge-watched the first season of the Tudors.)
Also reading Dash and Bella, a new-to-me blog that makes me laugh and cry and cry and laugh.
Seriously, I read every single post in the span of two days.
I cried three times and laughed the whole way through.
Phyllis is an amazingly personable writer who has a way of transporting her reader into her kitchen.
In other words, she is not a terrible writer.
Watching Pirate Radio, a movie set in 1960s Britain on none other than a pirate radio ship.
I’m actually writing this right after having finished this movie, so it’s still fresh in my mind.
My final thoughts- they did an awesome job with the music and the actors captured the very British and very raucous, racy mood perfectly.
Also watching the new season of Project Runway… Gosh how I love Tim Gunn.
I’ve been watching Project Runway with my dad since the second season.
It’s one of our shows, among the ranks of GoT, Mad Men, Breaking Bad, Top Chef, Veep, etc.
Carry on!
Listening to lots of the Rolling Stones- I love rock n roll in the summer time. It makes me feel extra free and fun.
Also listeningthis song by Ellie Goulding. Love!
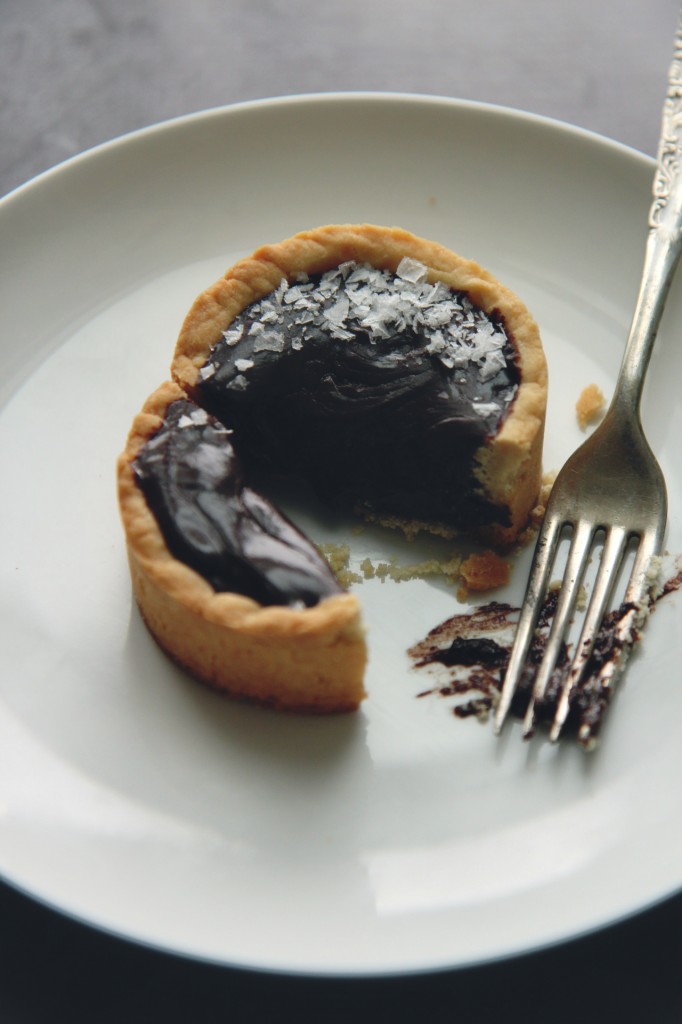
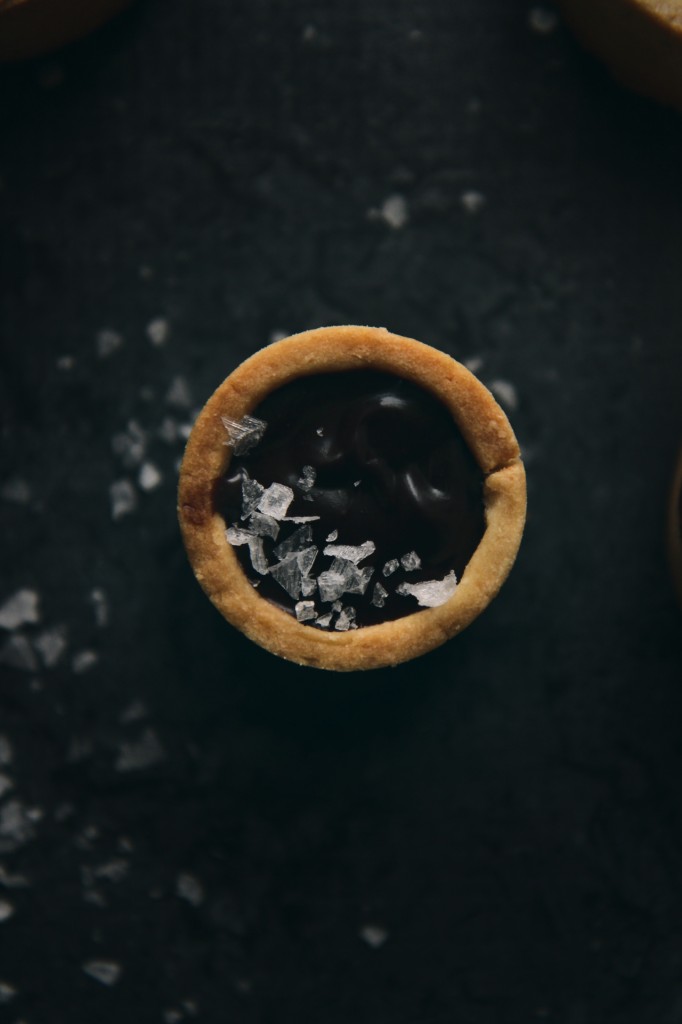
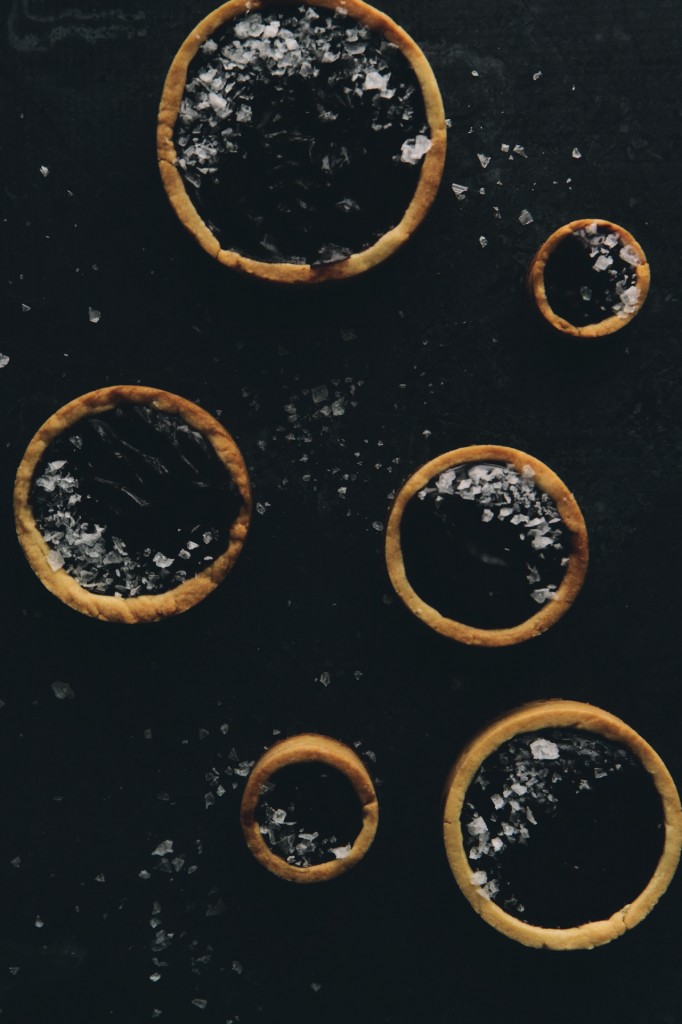
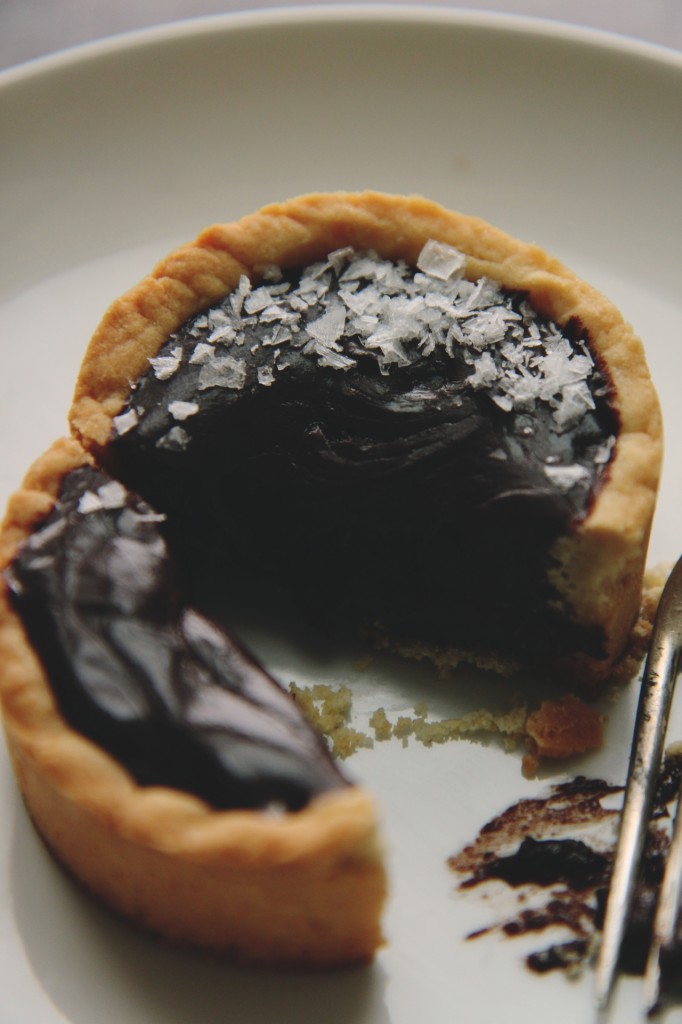
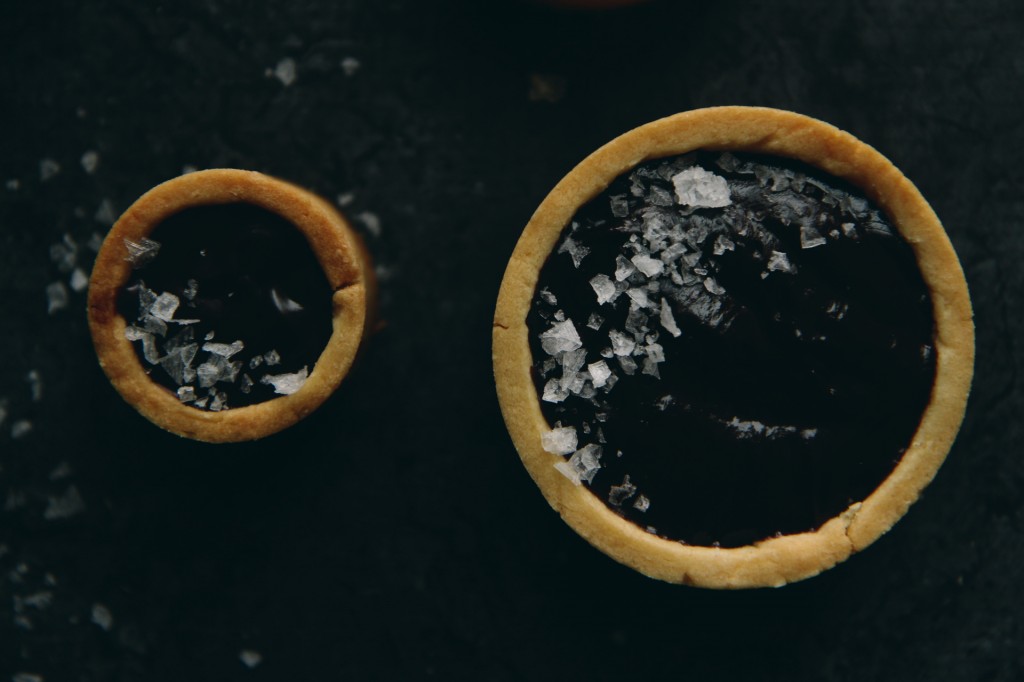
Making these tarts, for a little dinner party, filling them with luscious lime curd and deep dark chocolate ganache.
Also making ice creams and summer succotashes served with hot sauce and scrambled eggs, dreaming of making malasadas and hand pies and ice cream cakes. (I’ll back quite soon with some of these delights!)
Raspberry Tartlettes
makes 5 or 6 small tartlettes or 1 9-inch tart
for the pâte sucrée shells:
ingredients:
12 tablespoons butter, cut into pieces
1/4 cup plus 2 tablespoons sugar
1 teaspoon kosher salt
1 1/2 cups flour
2 medium egg yolks, or one large/extra-large
directions:
Cream the butter, salt, and sugar together on high for 5 minutes, until very fluffy and extremely pale.
Scrape the sides of the bowl and add the flour, mixing only until the mixture is starting to form large curds.
Add the egg yolks with the mixer running and mix until a cohesive dough comes together.
Press into tartlette molds or a 9 inch tart pan.
Prick all over with a fork, then freeze for at least 15 minutes.
Preheat oven to 350 degrees F.
Bake the shells until they are golden and slightly tanned, 15-18 minutes.
Remove from the oven and allow to cool completely.
for the lime curd:
ingredients:
3/4 cup lime juice
scant 1 cup sugar
zest of 2 limes
pinch kosher salt
5 medium egg yolks, or 4 large/extra-large
8 tablespoons butter, cold and cubed
directions:
In a heavy bottomed sauce pan, rub the lime zest and sugar together until fragrant.
Add in the egg yolks, lime juice, and salt and whisk to combine.
Heat over medium-low heat until the mixture comes to a boil and thickens, about 10 minutes.
The mixture should be thick enough to leave a trail when a spatula is dragged through.
Either transfer mixture to a blender or blend with an immersion blender.
Add in the butter chunks one at a time, blending to emulsify. (If you use a real blender, you can throw half of all the chunks in and just do it in two additions.)
Allow the curd to cool completely before using.
for the salted dark chocolate ganache:
ingredients:
3/4 cup dark chocolate, either chips or chunks, at least 70% cocoa
3 tablespoons heavy cream, or as needed
pinch sea salt
directions:
In a microwave or over a double boiler, melt the chocolate until it is 2/3 of the way melted. (In a microwave, nuke it in 25 second blasts, stirring between each.  You will probably need 3 blasts, but it depends on the wattage of your microwave.)
Stir in the heavy cream and sea salt and heat just a little more, to melt it 3/4 of the way.
(In a microwave, this will probably be a 15 second burst.)
Finally, stir the mixture very well until it becomes shiny and glossy.
Allow to cool to body temperature before using.
to assemble:
Fill each of the tartelette shells with a scant 1/2 cup of either mixture.
Smooth out with a small offset spatula or a butter knife.
Decorate with raspberries (you’ll need about 2 pints) and dust with powdered sugar.