“I have been ten days in this temple
and my heart is restless.
The scarlet thread of lust at my feet
has reached up long.
If someday you come looking for me,
I will be in a shop that sells fine seafood,
a good drinking place,
or a brothel.”
-Ikkyu,
fifthteenth-century Zen Buddhist high priest
Mercury is no longer in retrograde, and I could not be more grateful.
I welcome March and spring and this change of heavenly bodies with a smile and a sigh.
It has been a long and harsh winter, both emotionally and weather-wise.
I am weary. My soul, my mind, my third eye, are weary.
Three more weeks, and I have the chance to rebalance, reignite, refocus, relax.
As I urge myself onward, through ninth, tenth, and finals week, I am comforted by the knowledge that it will all be over soon. Thank god. I am ready for this quarter to be over.
Mercury being in retrograde (I know it’s all hokey, but…) has seriously funked with me.
Mercury rules clear thinking, communication, and truth, and is supposedly closely linked with Virgos (das meee).
Needless to say, I don’t fully believe in astrology, but honest-to-Pete, this Mercurial retrograde has affected my life.
Things inexplicably going wrong, brain feeling fuzzy, tired, worn-out; life feeling stagnant and shallow, a shell of what it should be.
A veritable smorgasbord of bad things, a series of unfortunate events.
But it’s over! Now Mars is in retrograde. Hallelujer.
(I have been ten weeks in this college
and my heart is restless.)
This is a recipe for those of you who are weary, too.
Those of you who want dessert with minimal effort and maximal results.
Who want to be reassured of Mercury’s reappearance with a perfect tart, an almost foolproof recipe.
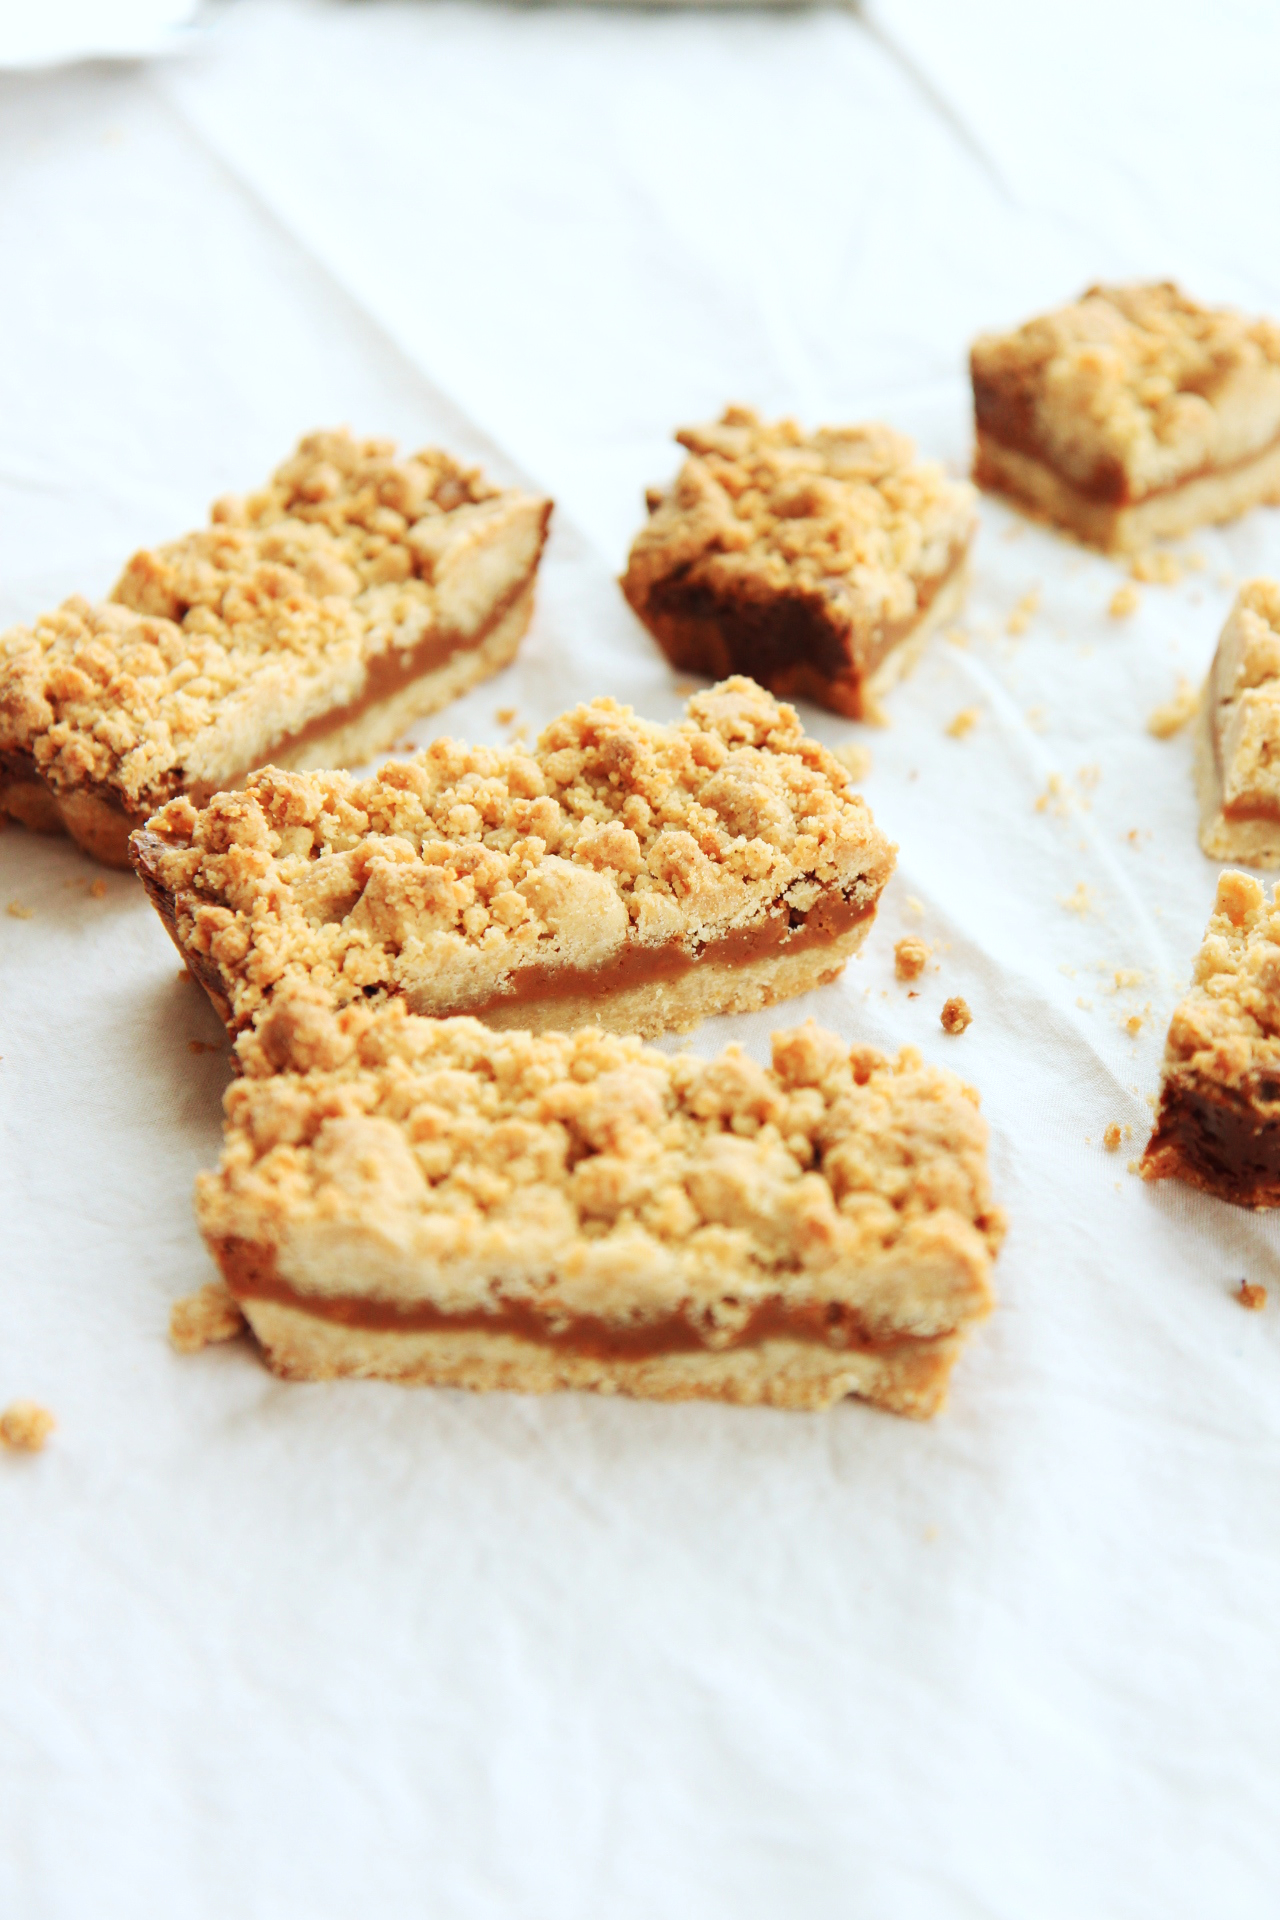
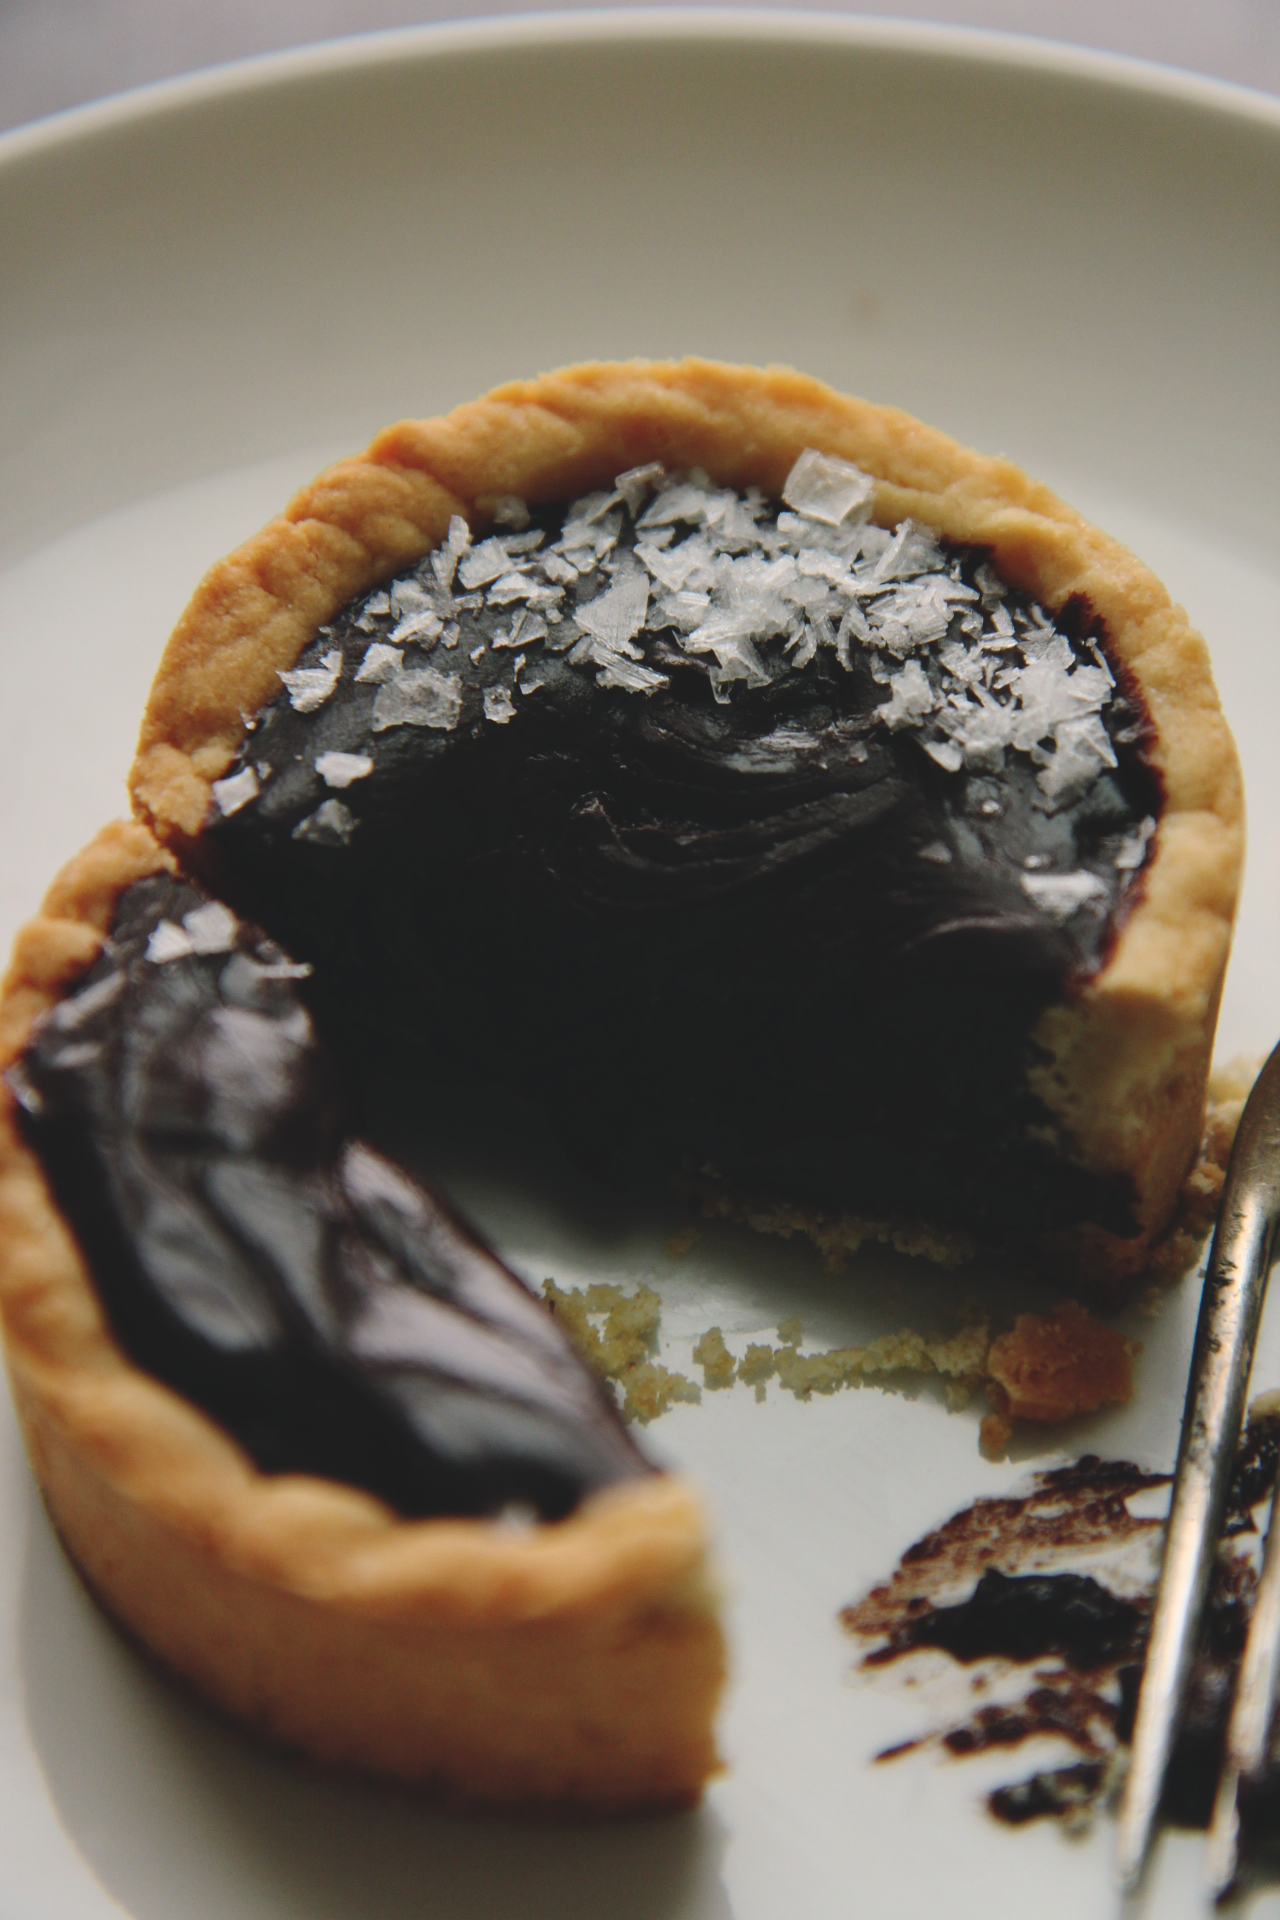
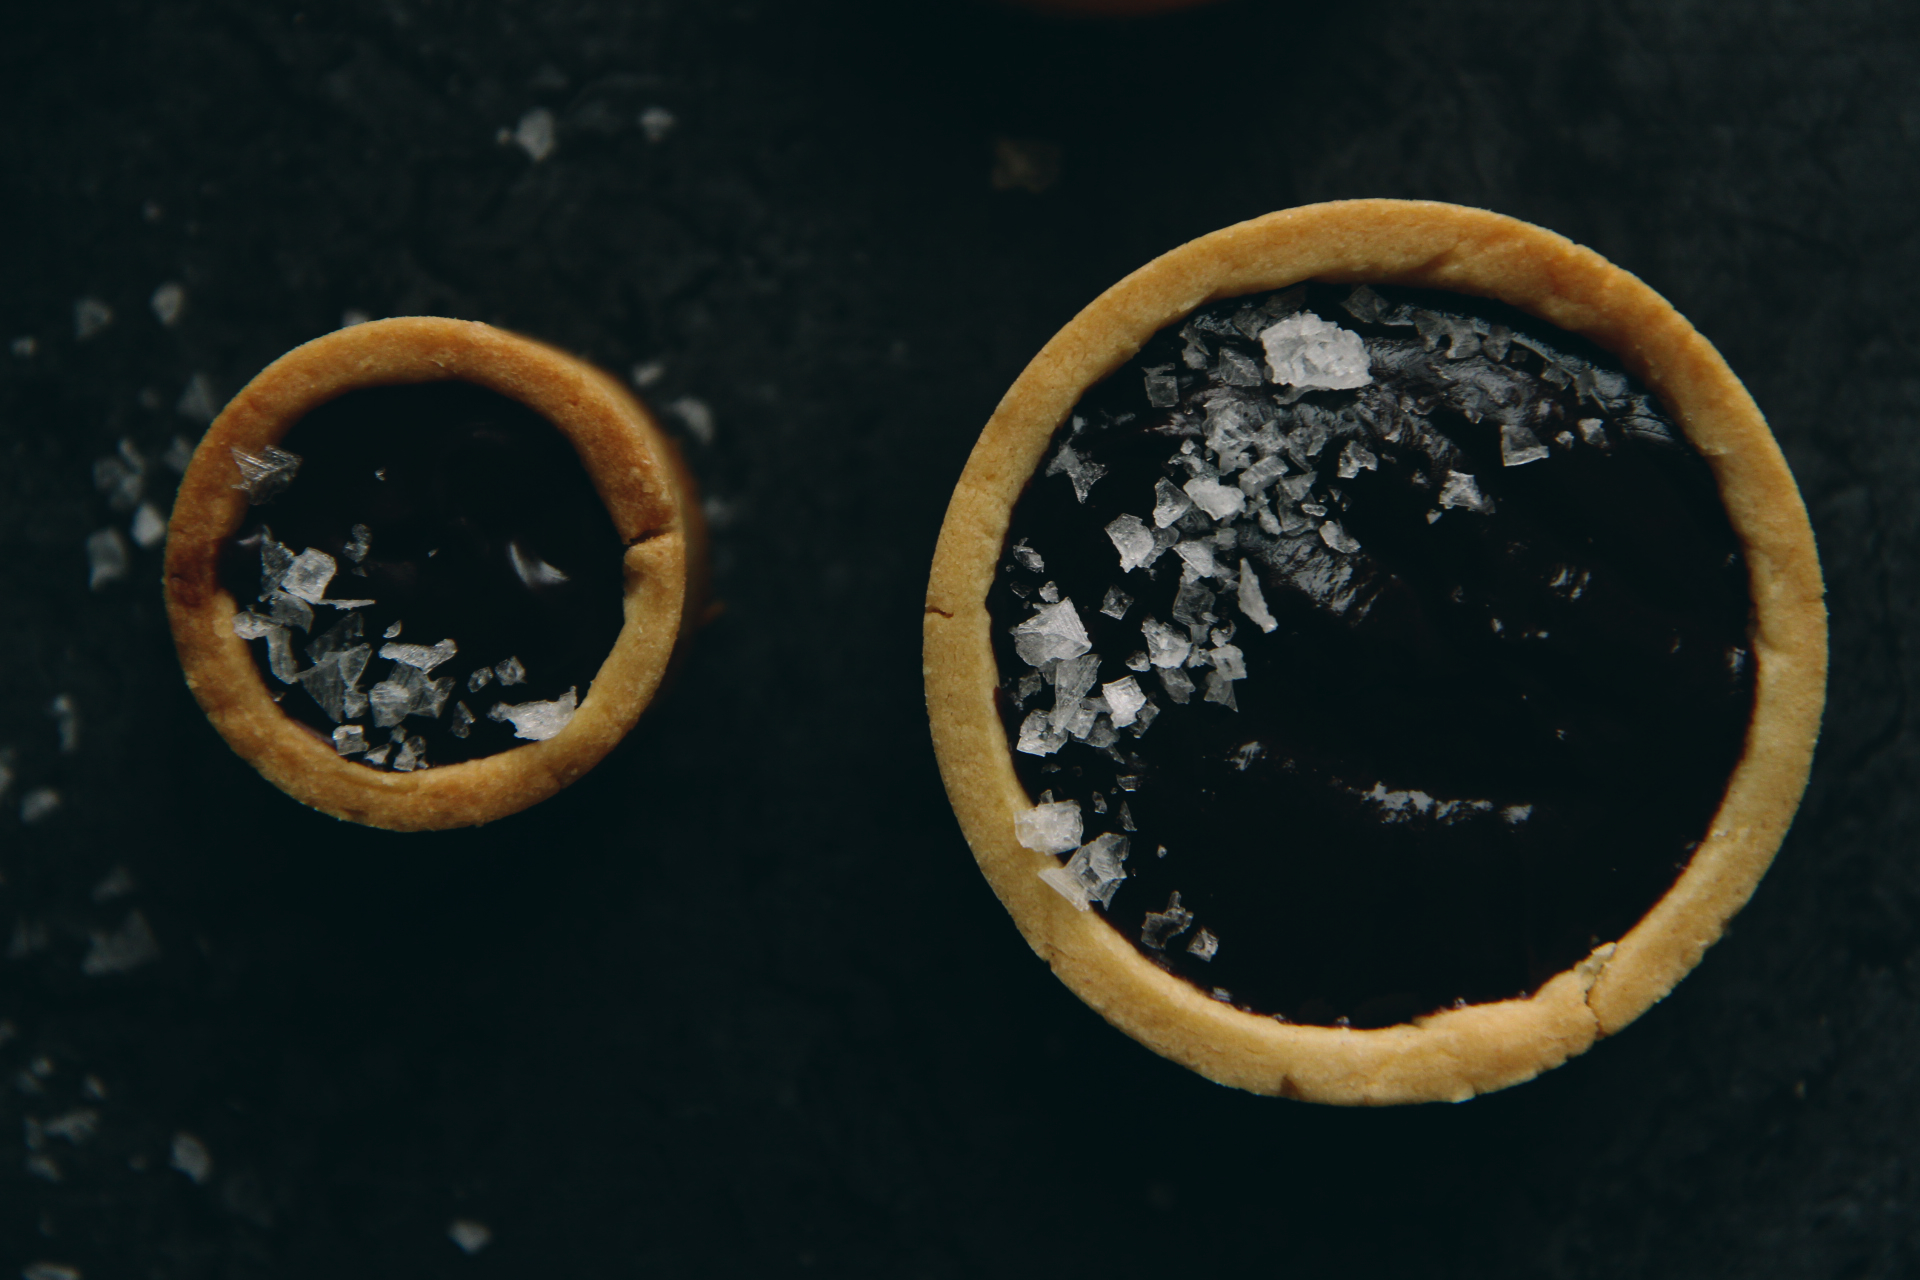
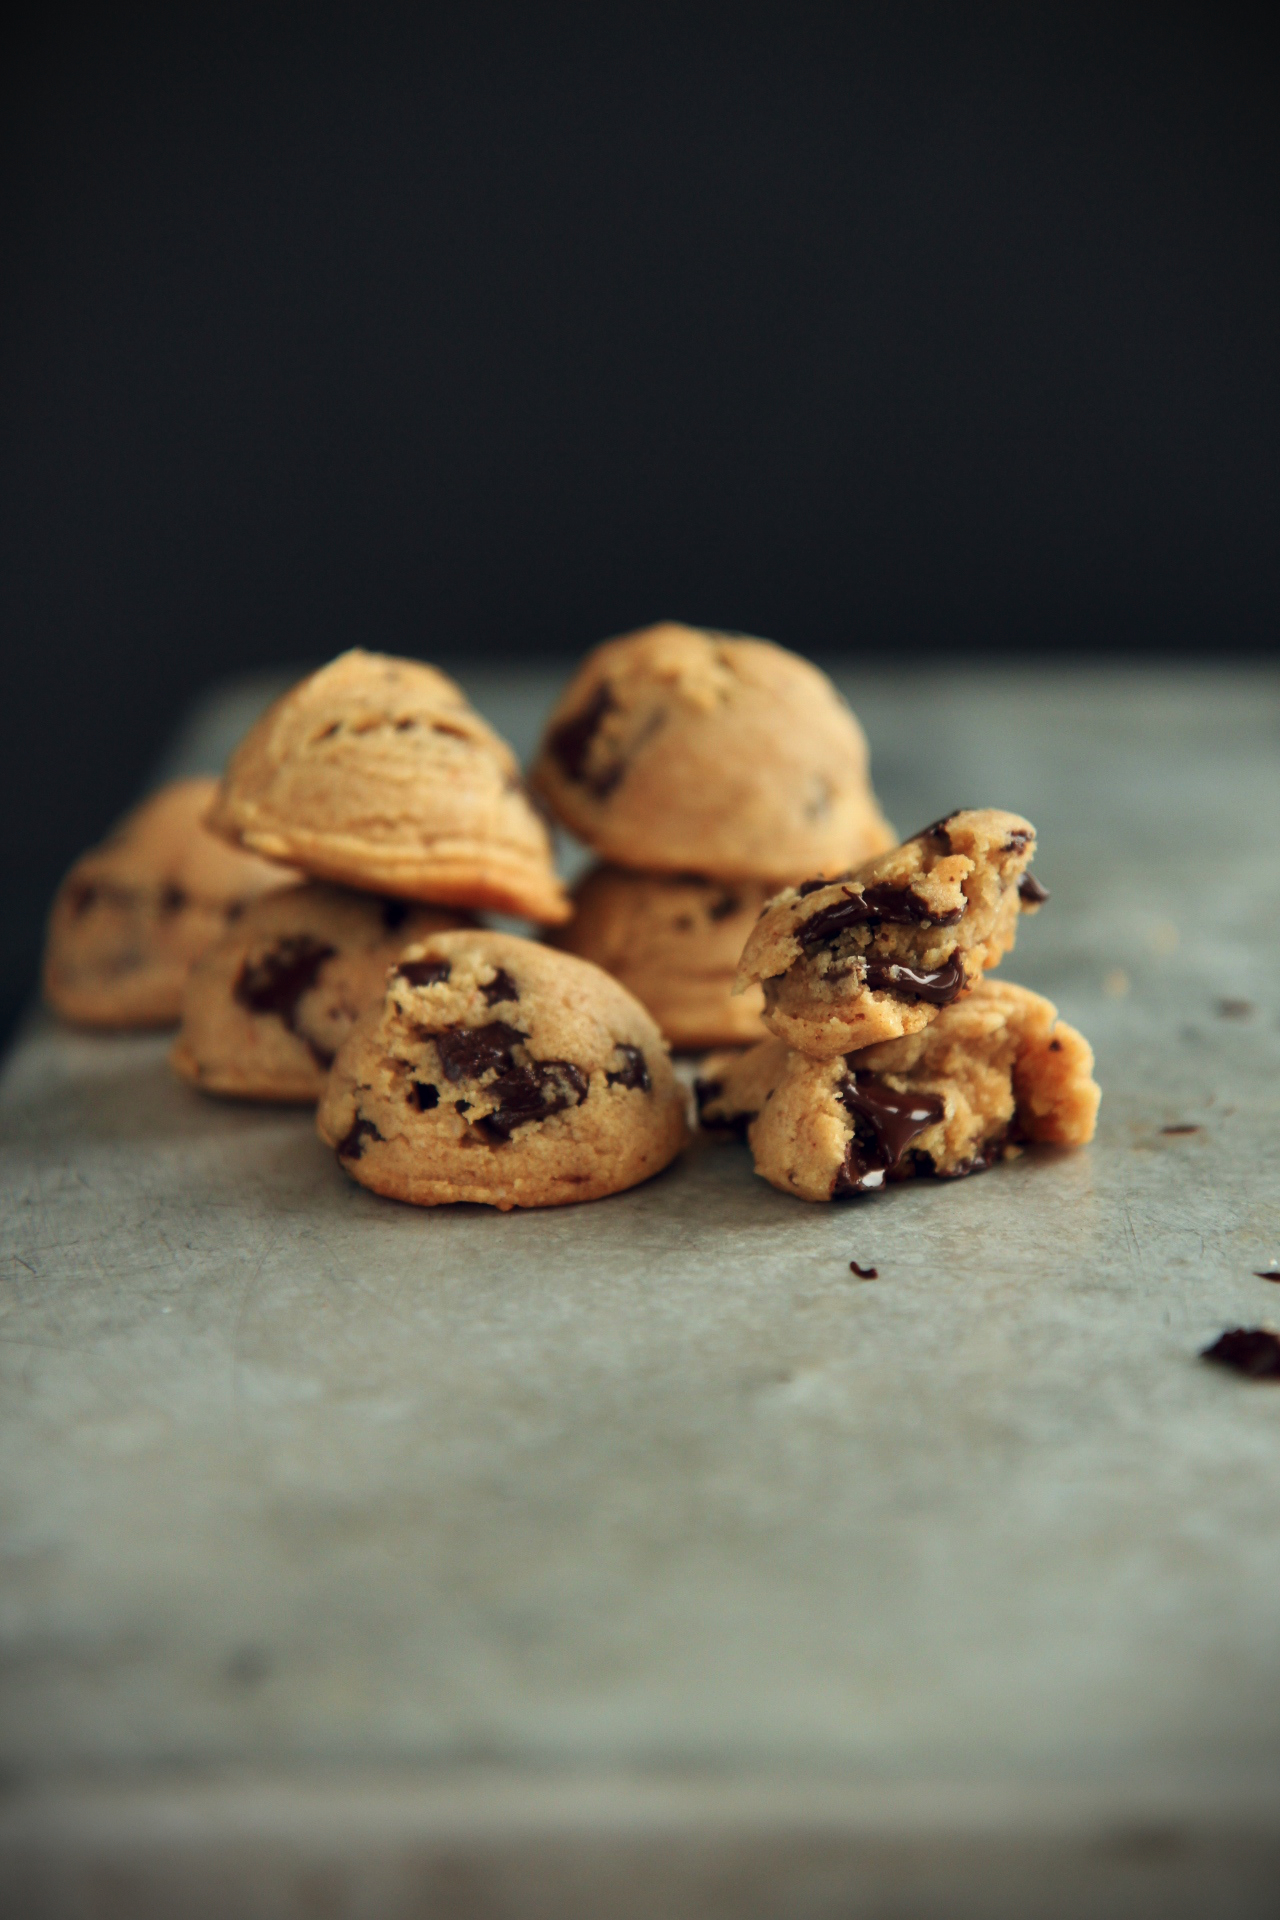
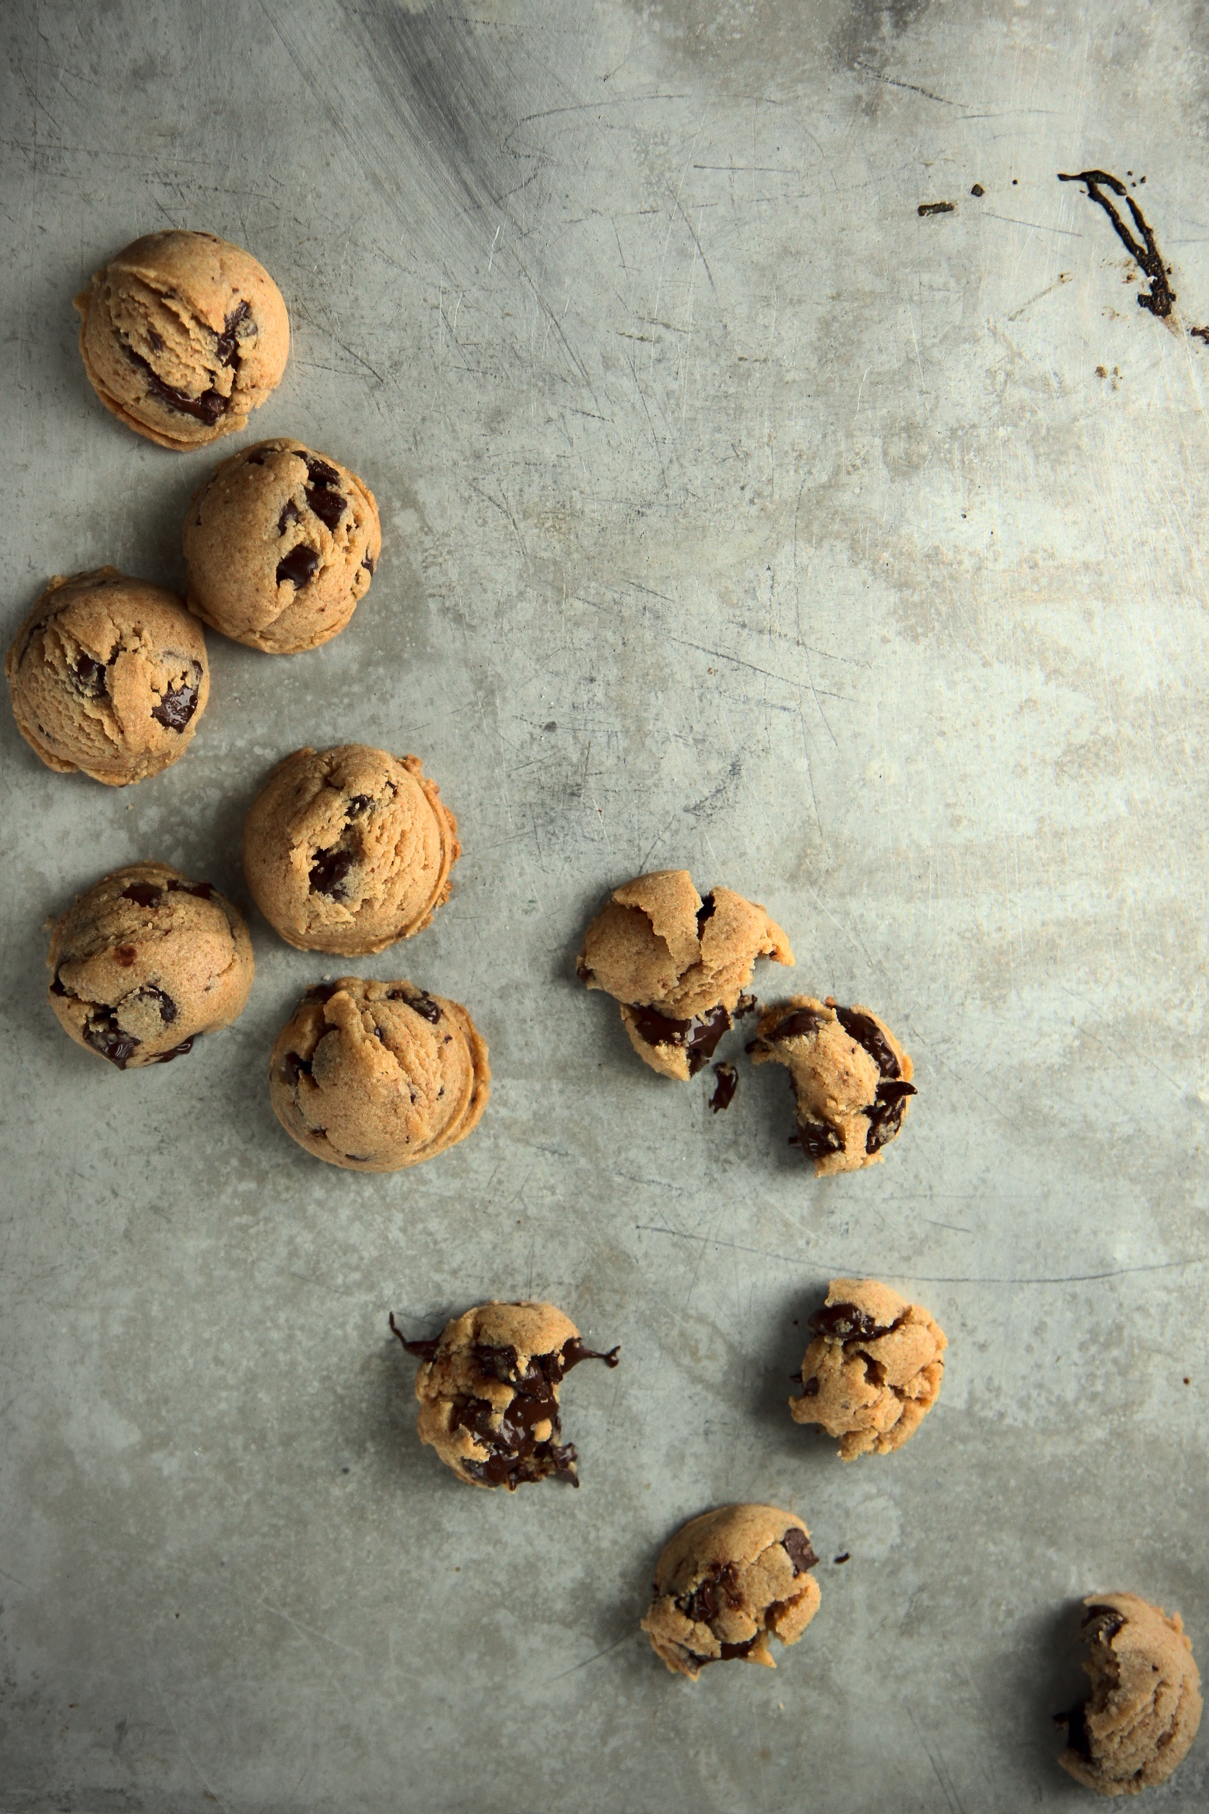
This tart is so so simple, fast, and easy, yet manages to be show-stopping and jaw-dropping all the same.
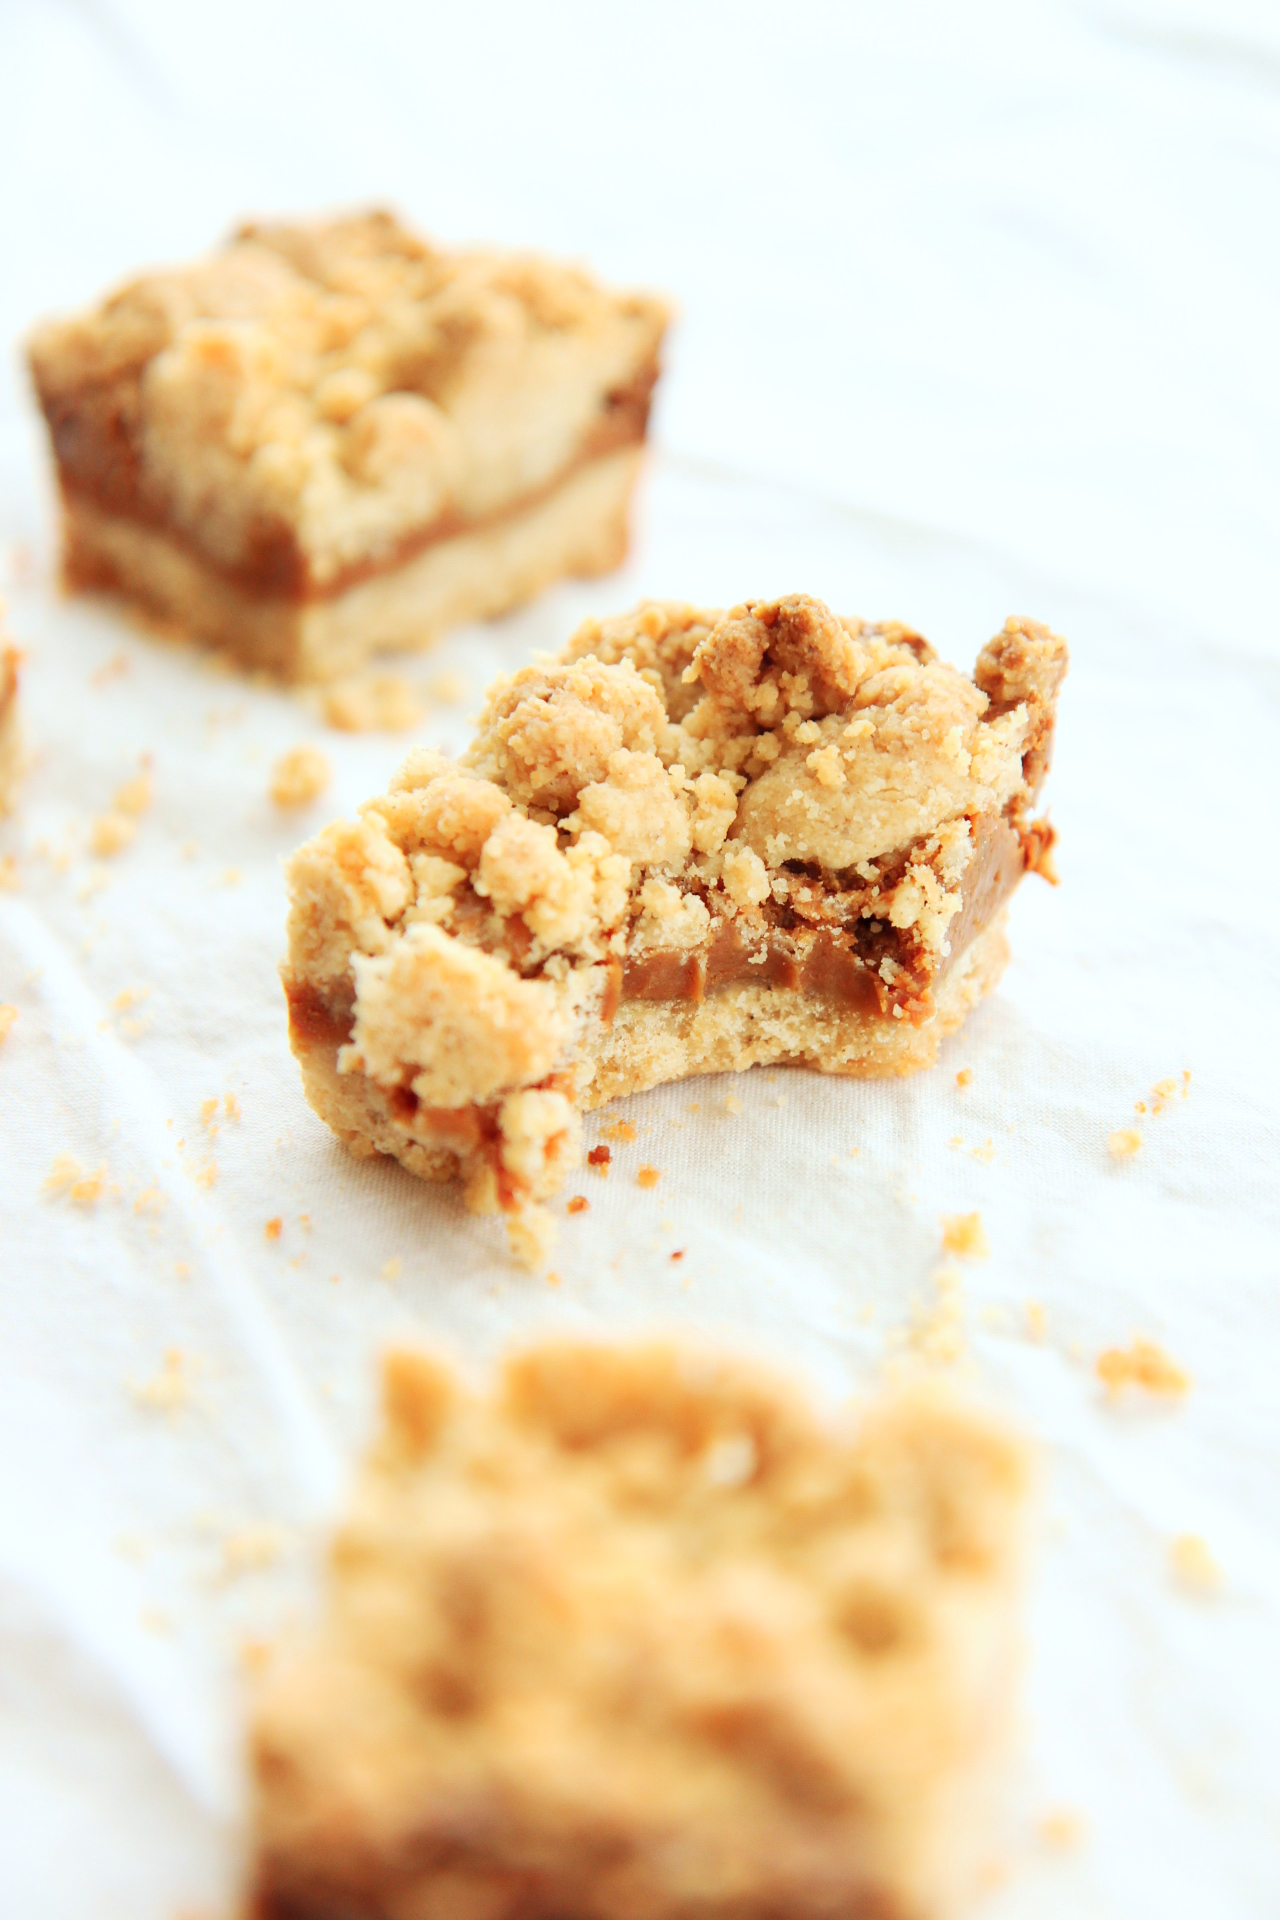
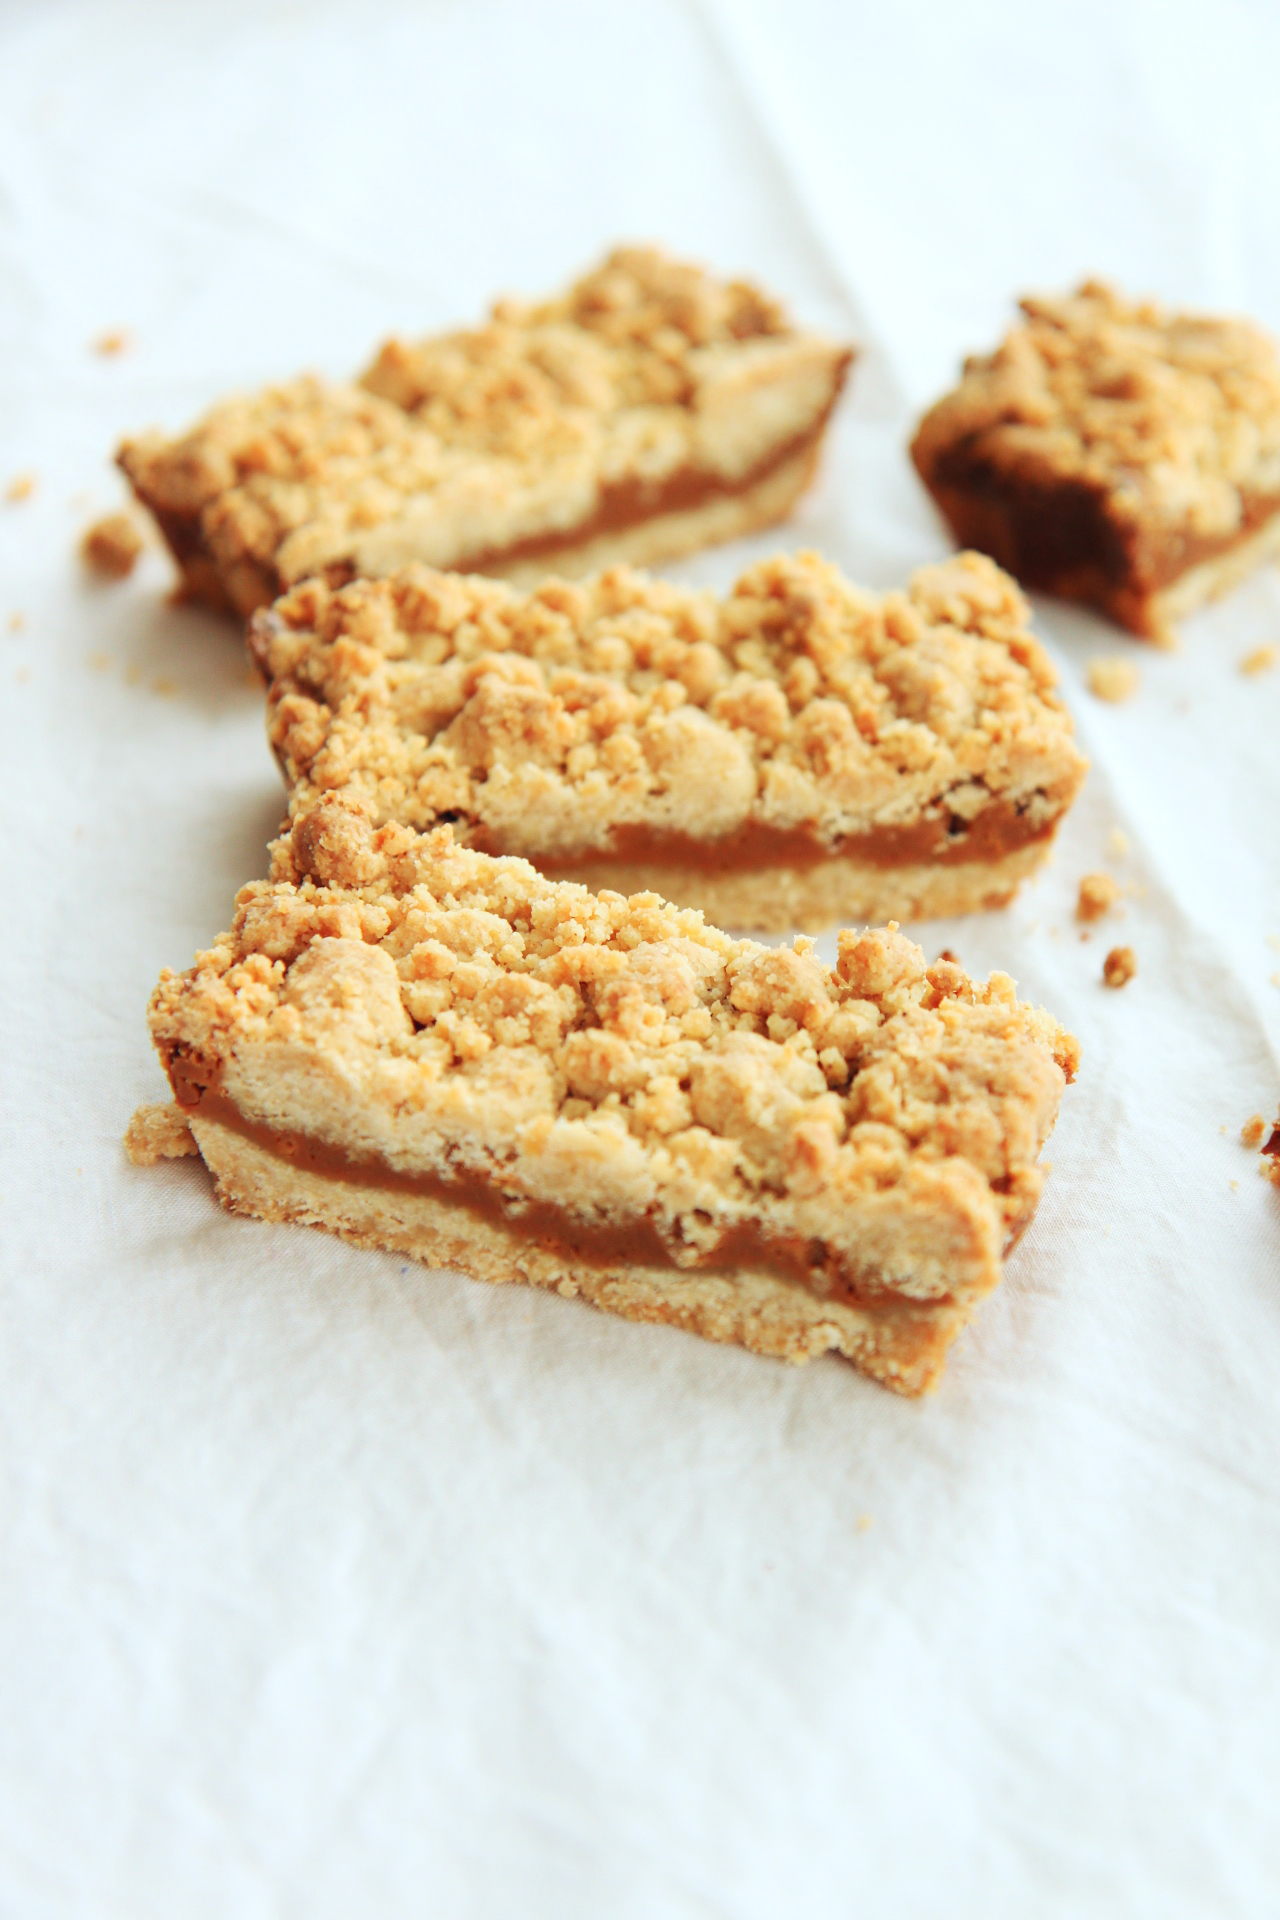
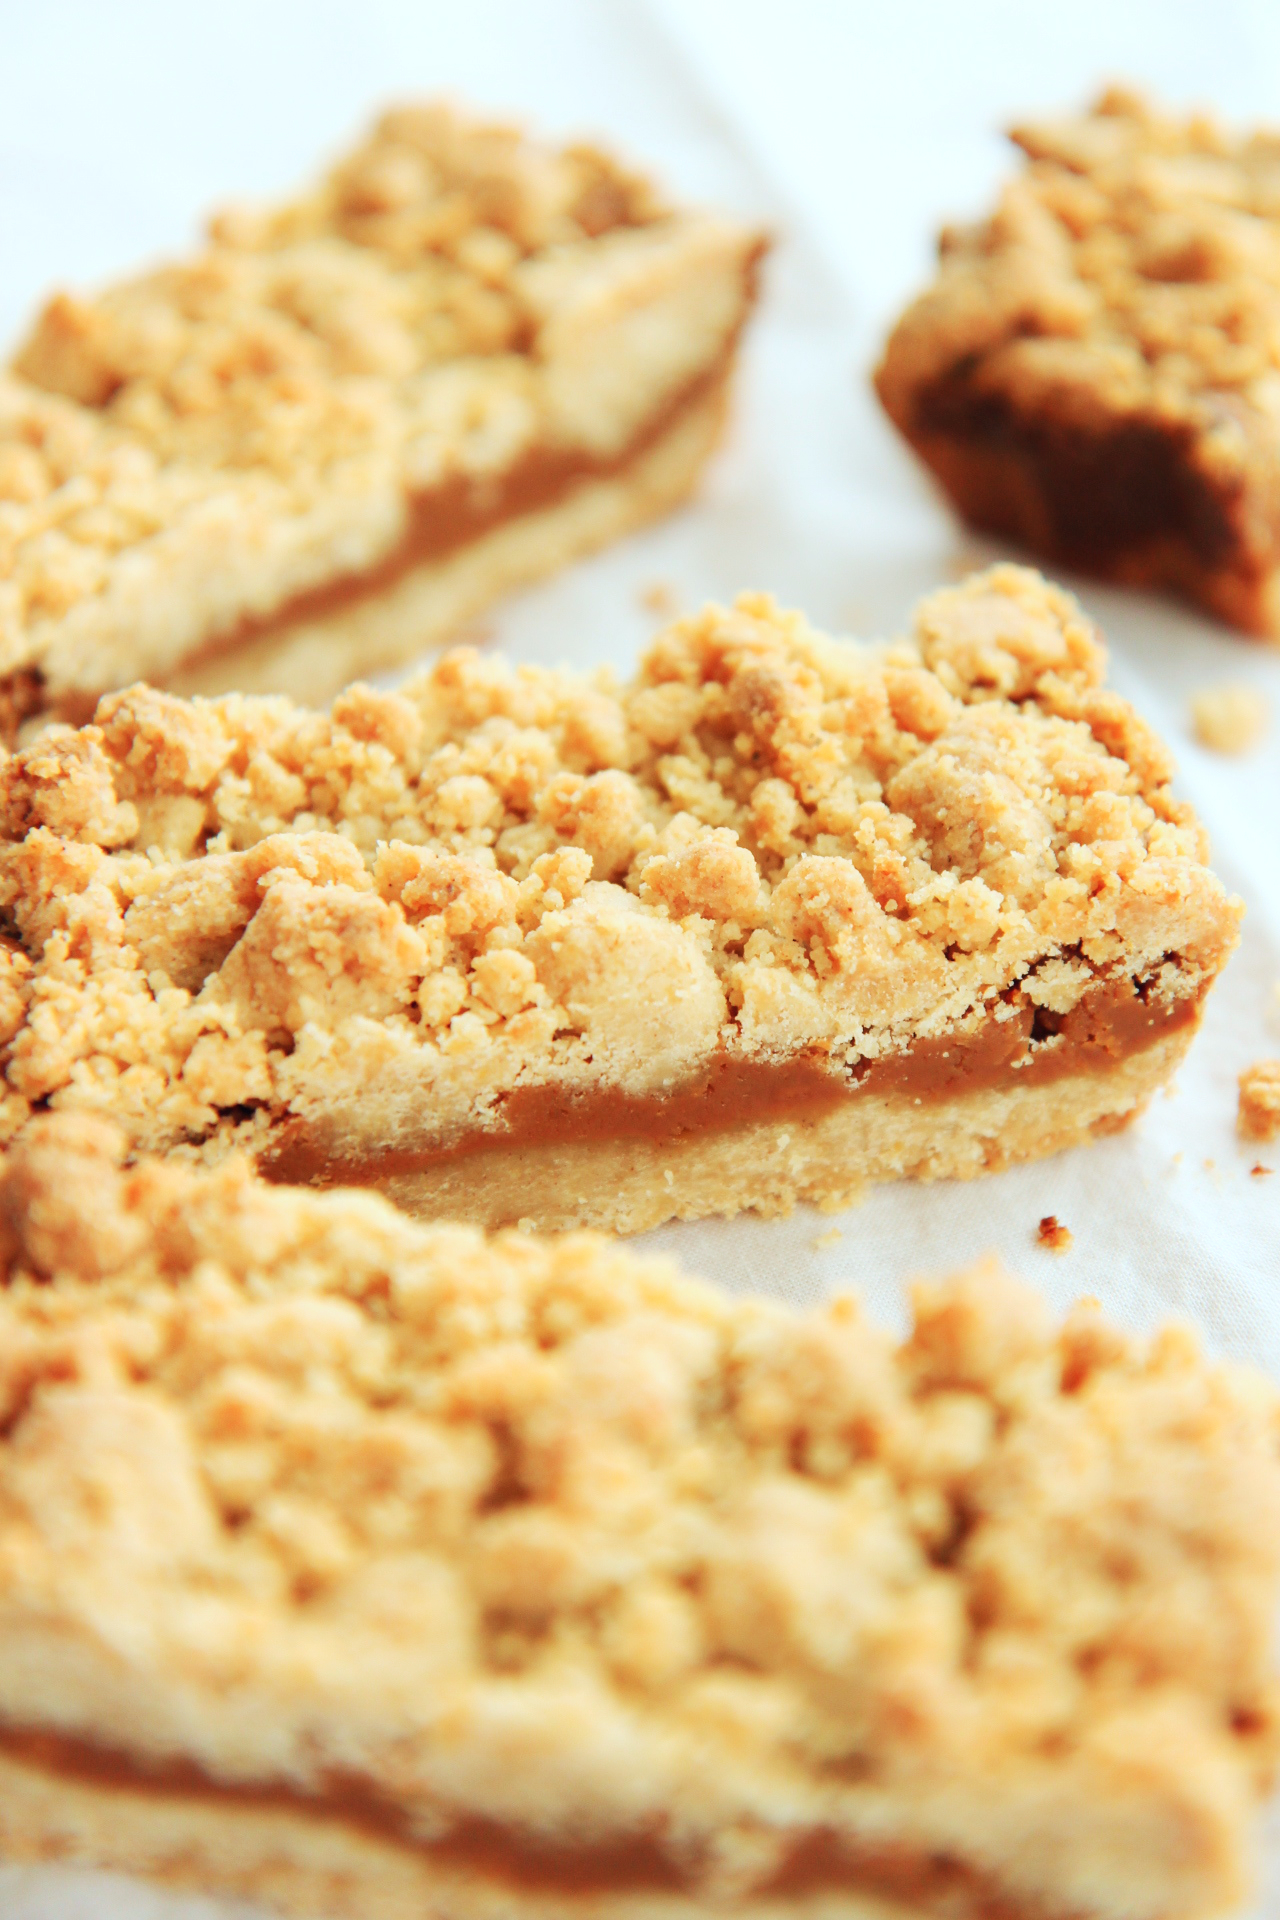
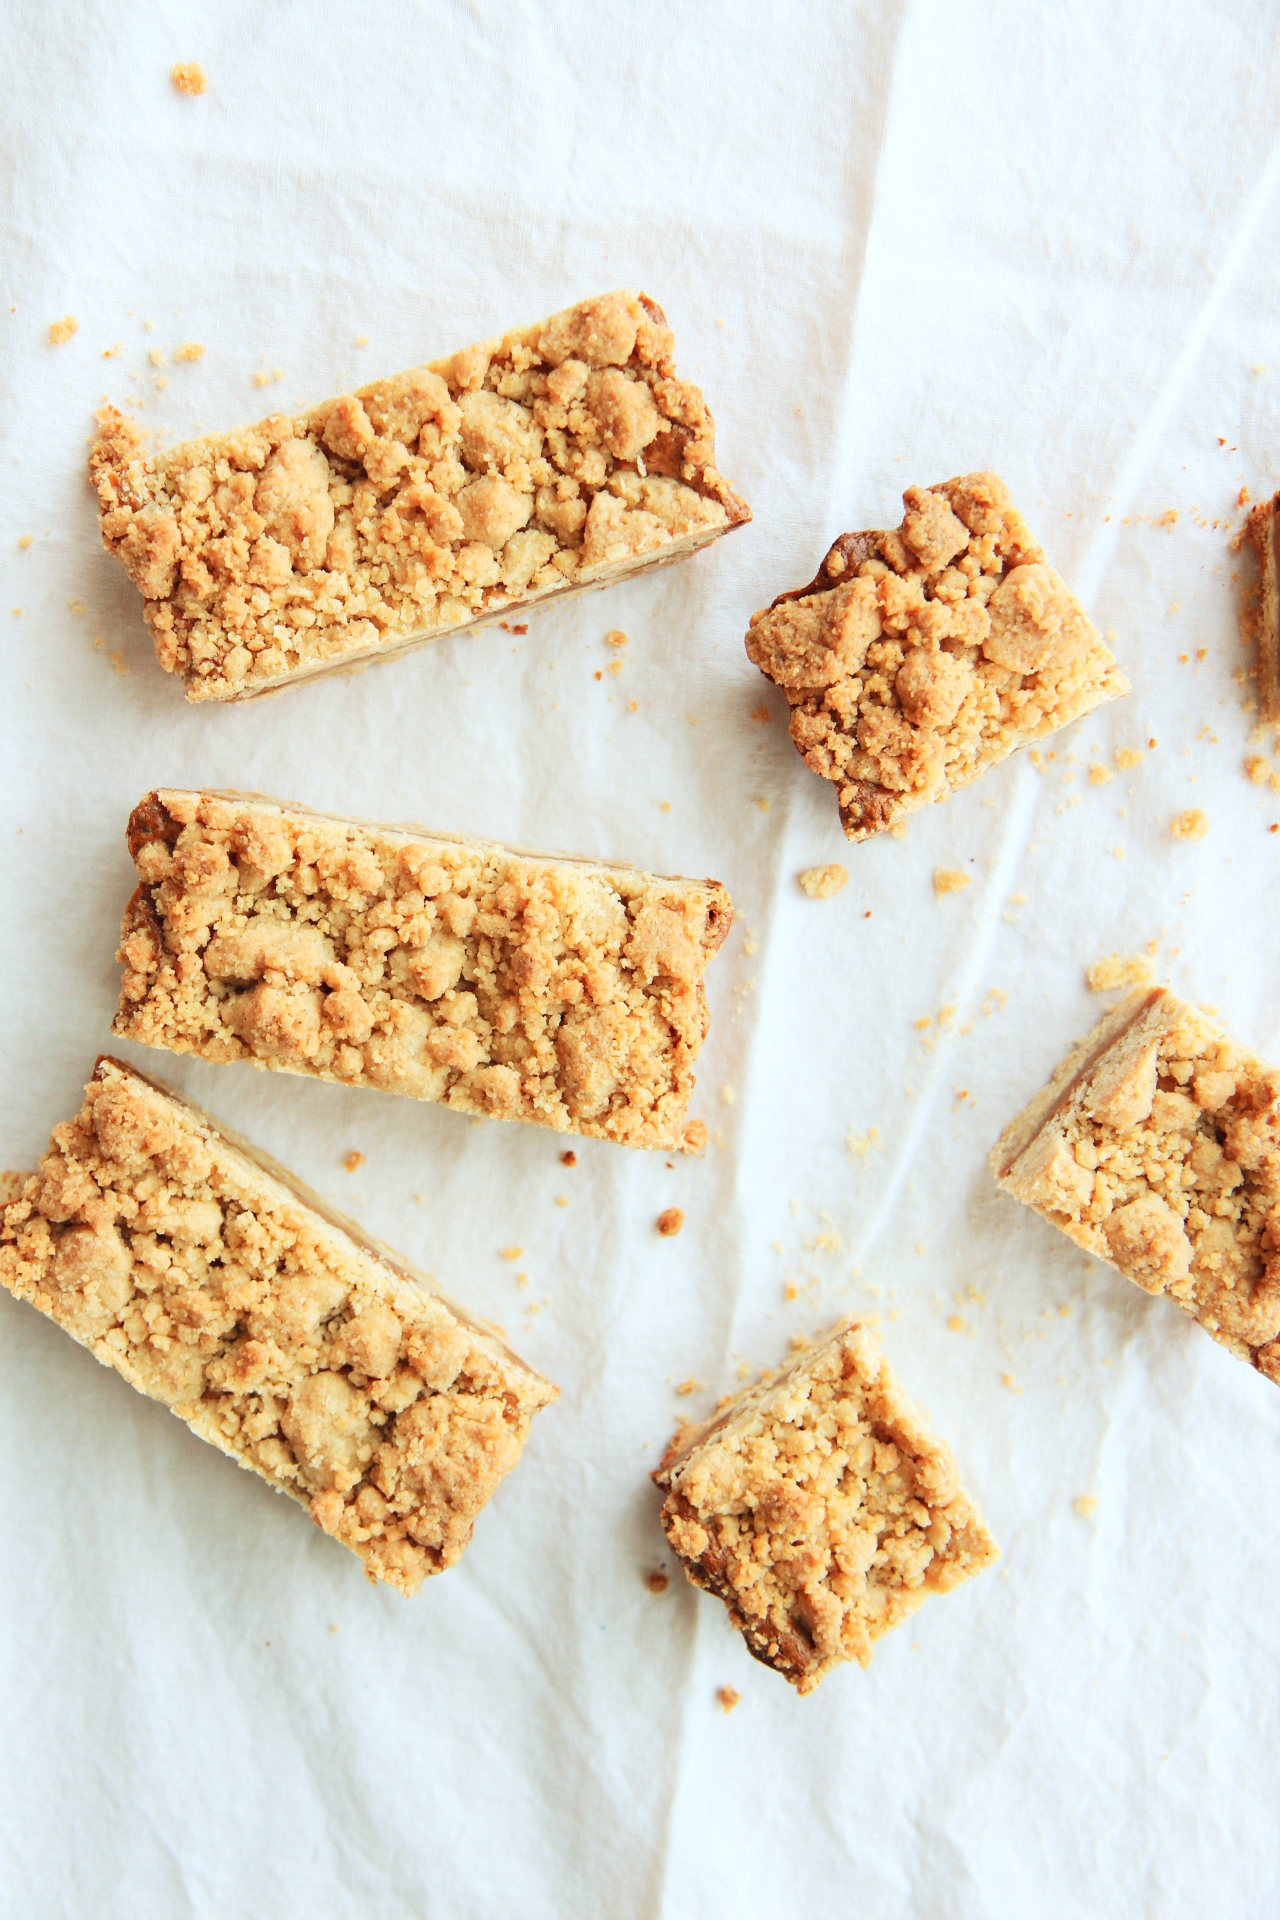
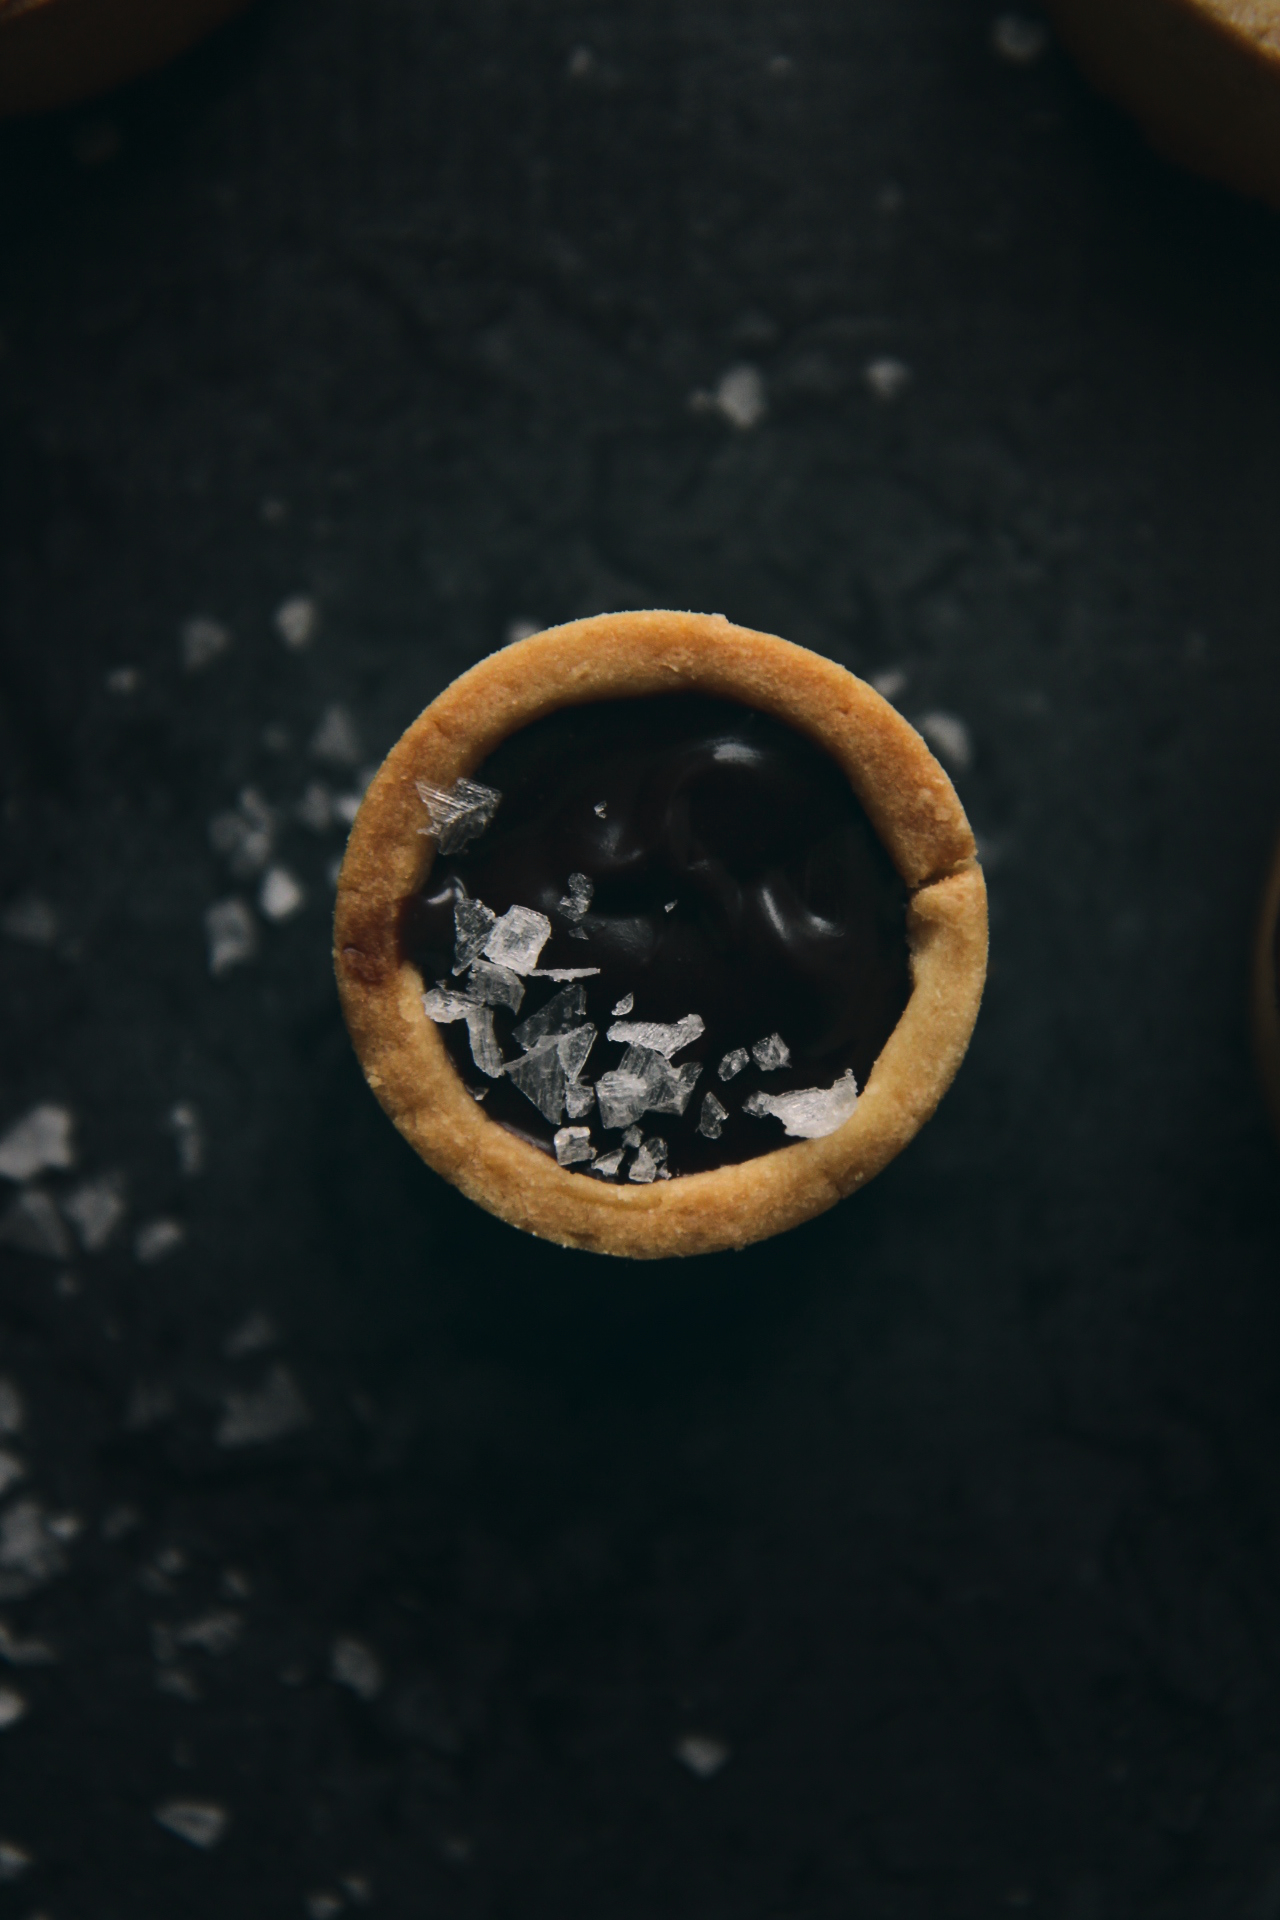
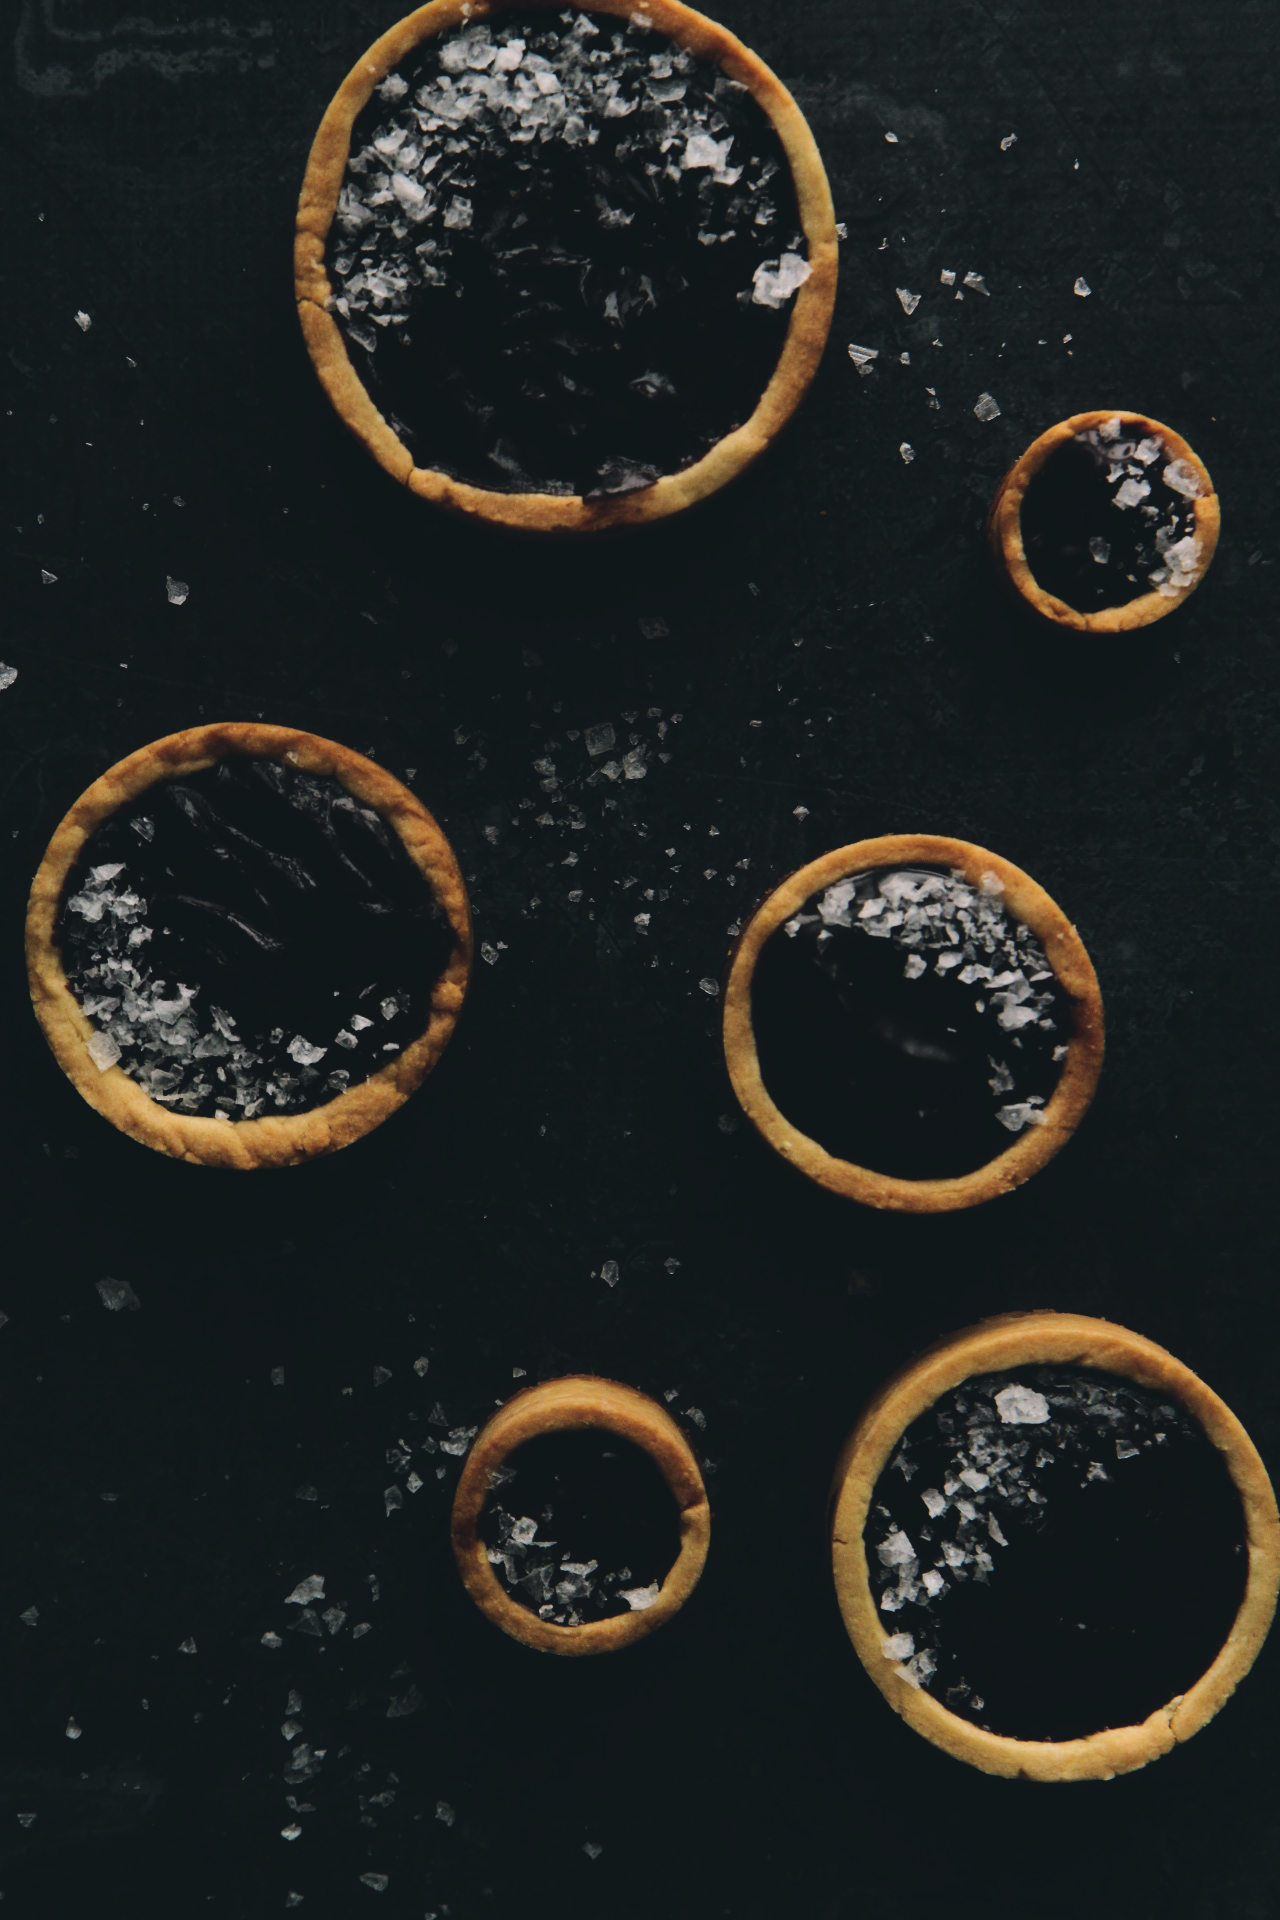
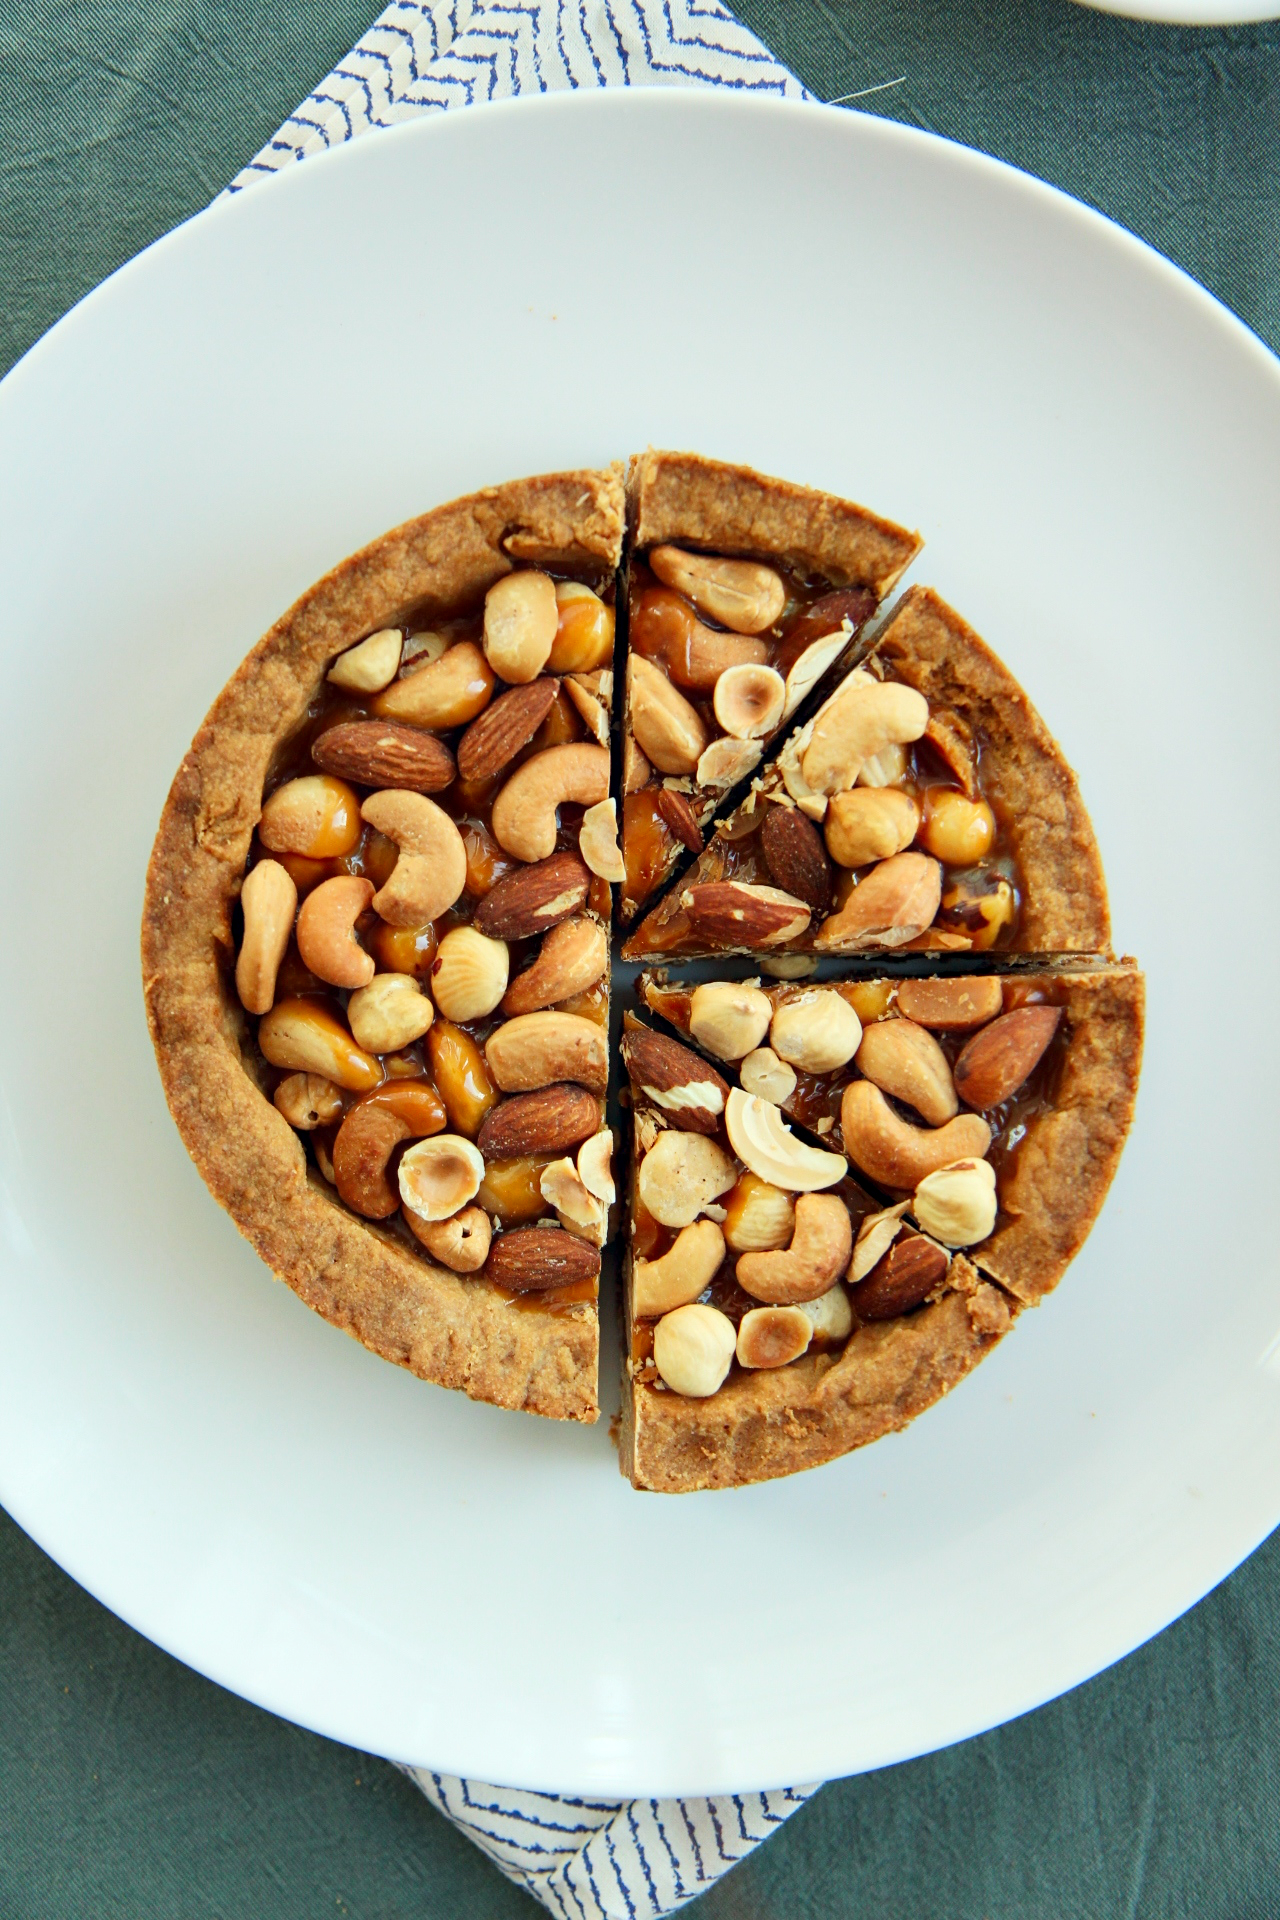
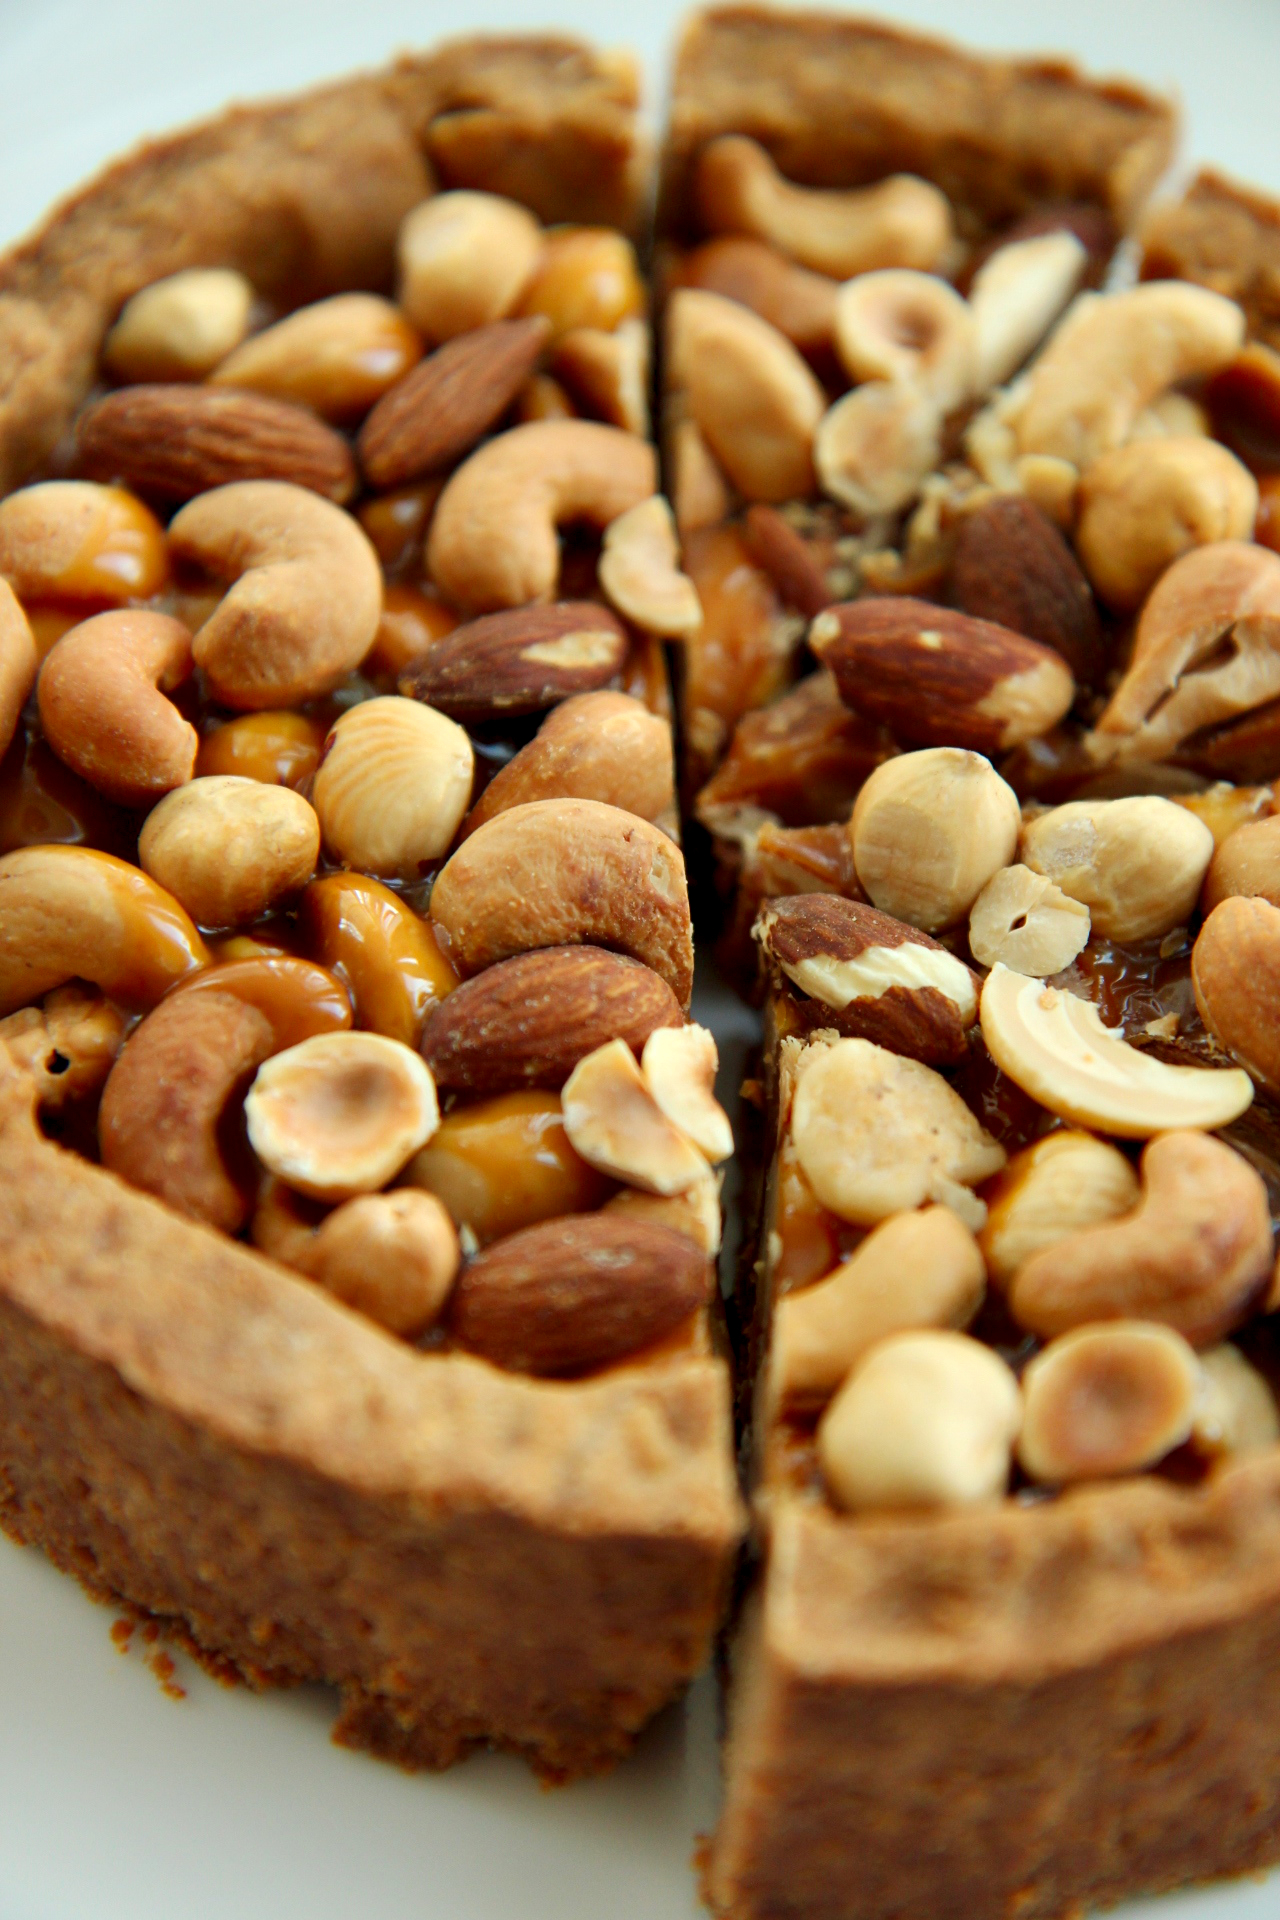
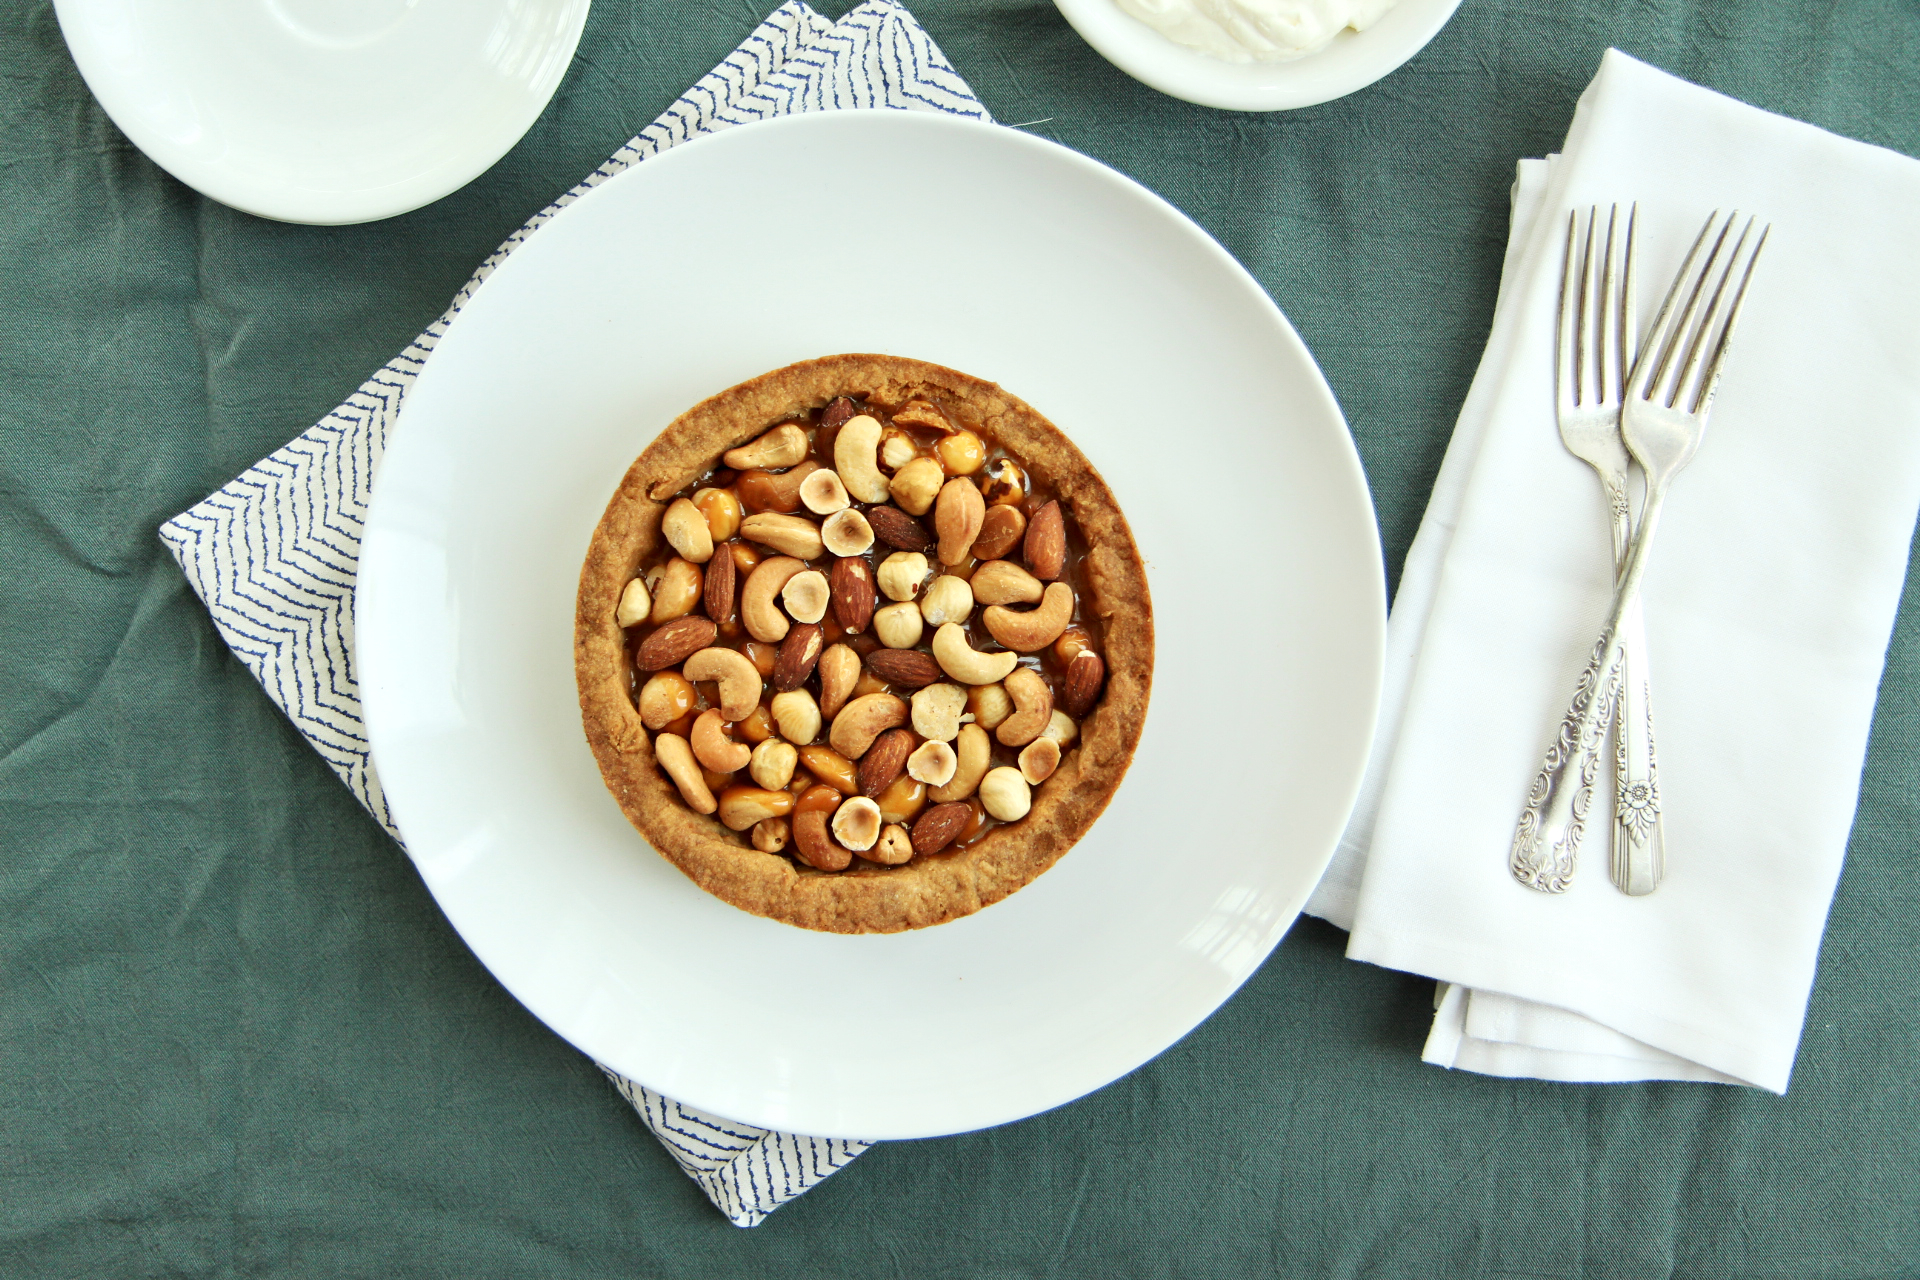
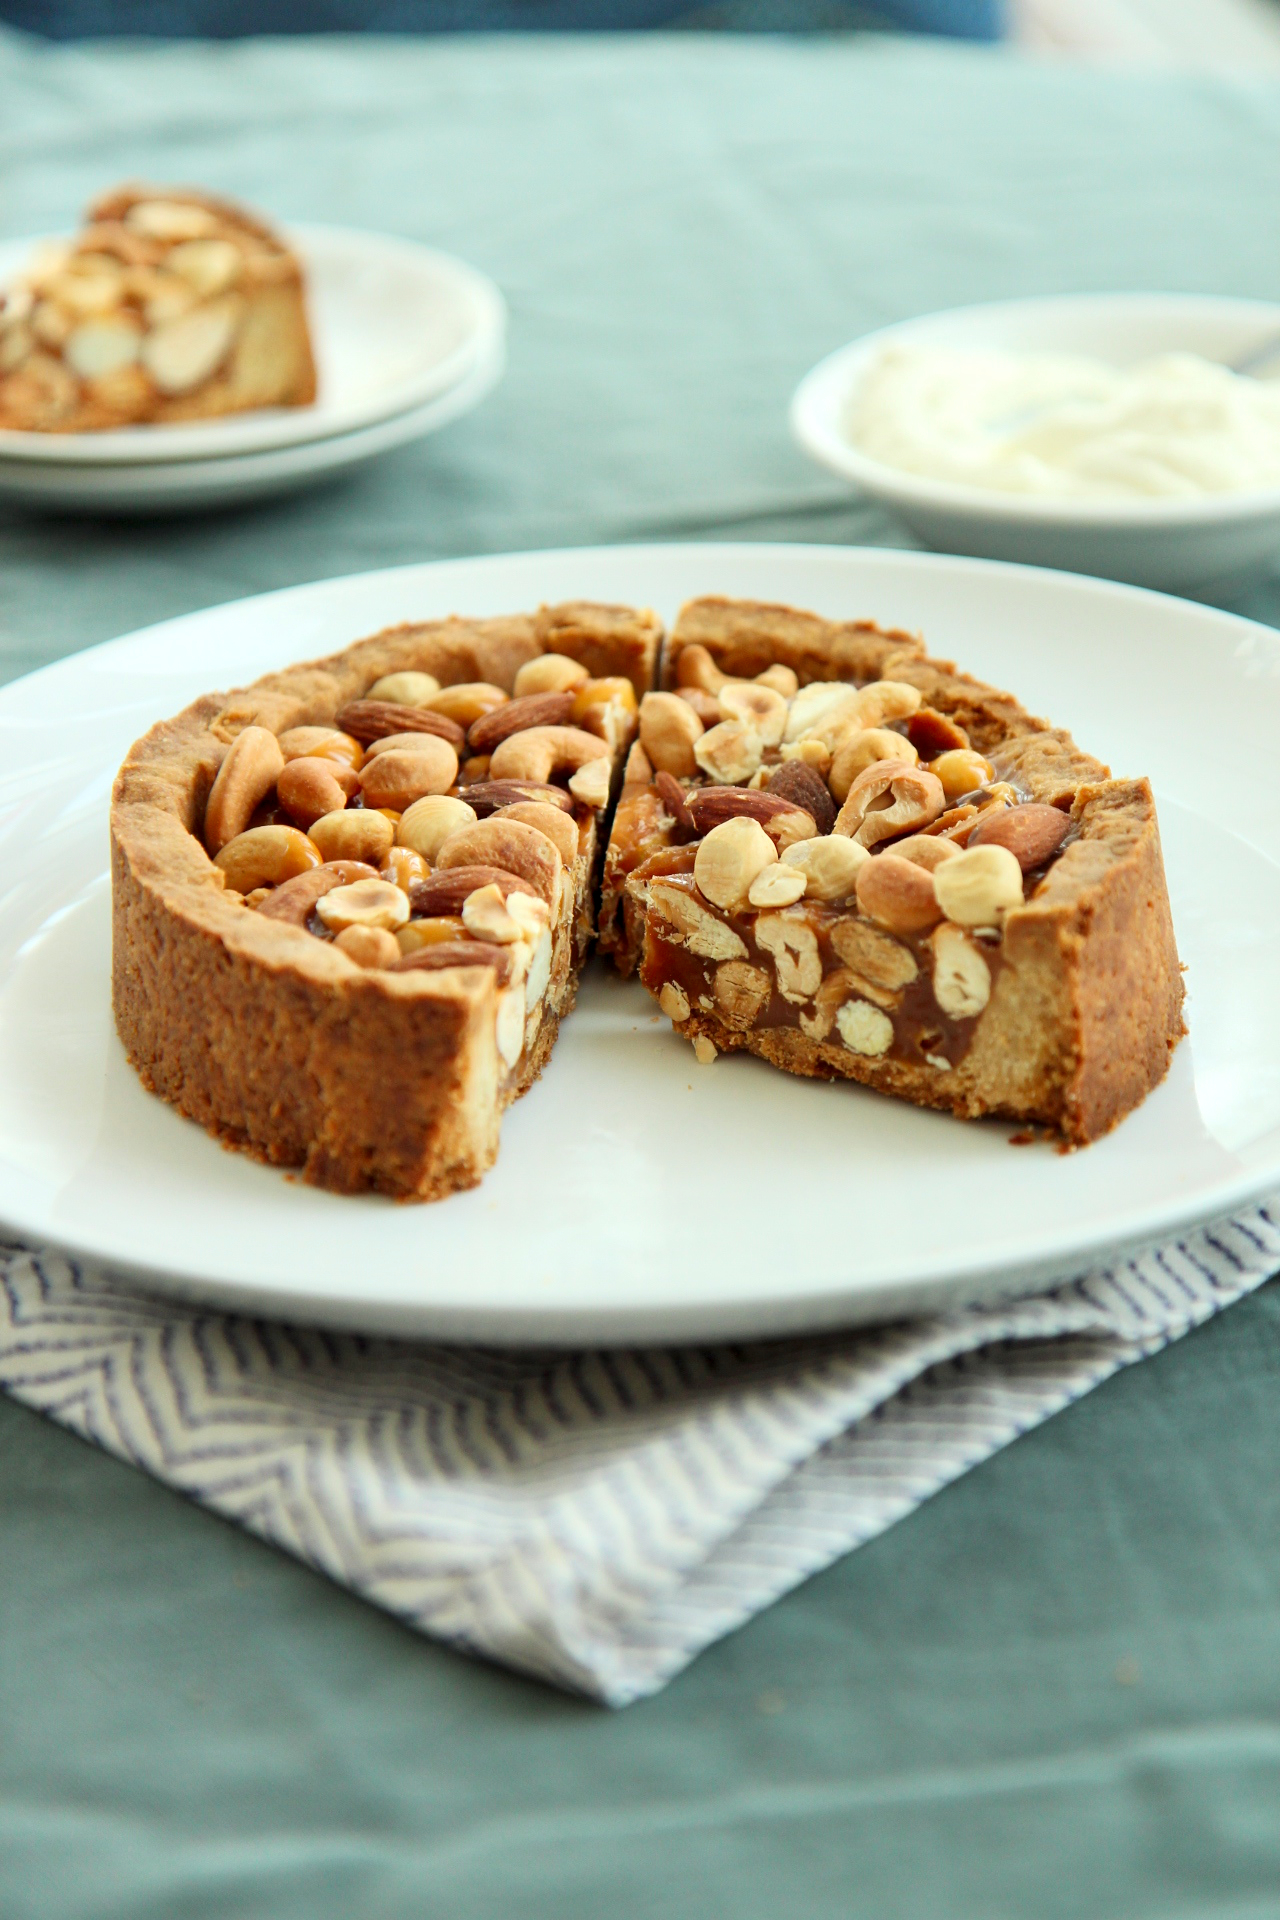
A brown sugar tart shell, crisp and buttery, encases chewy, decadent and heavily-salted caramel studded with a mélange of crunchy, toasty nuts, served with softly whipped cream.
Crisp, chewy, crunchy, sweet. Buttery, sticky, salty, satisfying.
It’s a finer mixed bag than the past month has been, and much tastier to boot.
Welcome back, Mercury. Glad to have you. Now please stop fucking with my life. xx
Caramel Nut Tart
makes 1 6-inch tart; easily doubled for a 10-inch
ingredients:
for the brown sugar tart crust:
115 grams (8 tablespoons, 4 ounces) butter
50 grams (1/4 cup packed) brown sugar
scant 1/2 teaspoon kosher salt
1 egg yolk
120 grams (1 cup) flour
for the caramel:
125 grams (1 cup plus 2 tablespoons) sugar
30 mL (2 tablespoons) maple syrup
30 grams (2 tablespoons) water
40 mL (2 tablespoons plus 2 teaspoons) heavy cream
generous pinch sea salt
to assemble:
generous 1 cup mixed nuts
to serve:
freshly whipped unsweetened whipped cream
directions:
Make the shell: in a stand mixer fitted with the paddle attachment, cream the butter for 2 minutes, until softened.
Add the brown sugar and salt and cream for 3 more minutes.
Scrape the bowl, add in the egg yolk, and beat for 2 more minutes.
Scrape the bowl and add in the flour; mix on low speed until the dough comes together.
Lightly grease a 6-inch springform or tart pan, and press the dough in evenly and firmly (the dough will be cohesive, but will spread easily when pressed).
Prick all over with a fork, and freeze for at least 30 minutes and up to 2 hours.
Preheat oven to 350 degrees F.
Line the frozen tart shell with aluminum foil, then place pie weights, dried beans or rice inside to weigh it down.
Bake for 20 minutes, until golden, then remove foil and bake for approximately 15 more minutes, until shell is deeply tanned and golden.
Remove from oven and allow to cool while you make the filling.
First, toast your nuts in your warm oven: place the nuts on a heavy baking sheet and toast for 7-10 minute, shaking the pan quite often to prevent burning.
Allow to cool completely, then place them in your tart shell (do not overfill!) and save some for pressing into the top.
Make the caramel: Place all ingredients except heavy cream in a small pot, and heat until golden and bubbling, about 7-10 minutes.
Quickly remove from heat and whisk in heavy cream; mixture will splatter and bubble, so be careful.
Pour caramel over nuts in tart shell and shake the pan very well to allow the caramel to seep down through the nuts.
Press the reserved nuts into the still-warm top.
Allow to cool completely.
Serve with freshly whipped, unsweetened cream.