Un éclair… puis la nuit! — Fugitive beauté
Dont le regard m’a fait soudainement renaître,
Ne te verrai-je plus que dans l’éternité?
Ailleurs, bien loin d’ici! trop tard! jamais peut-être!
Car j’ignore où tu fuis, tu ne sais où je vais,
Ô toi que j’eusse aimée, ô toi qui le savais!
— Charles Baudelaire
un éclair = a bolt of lightning
or
a delicious pastry…?
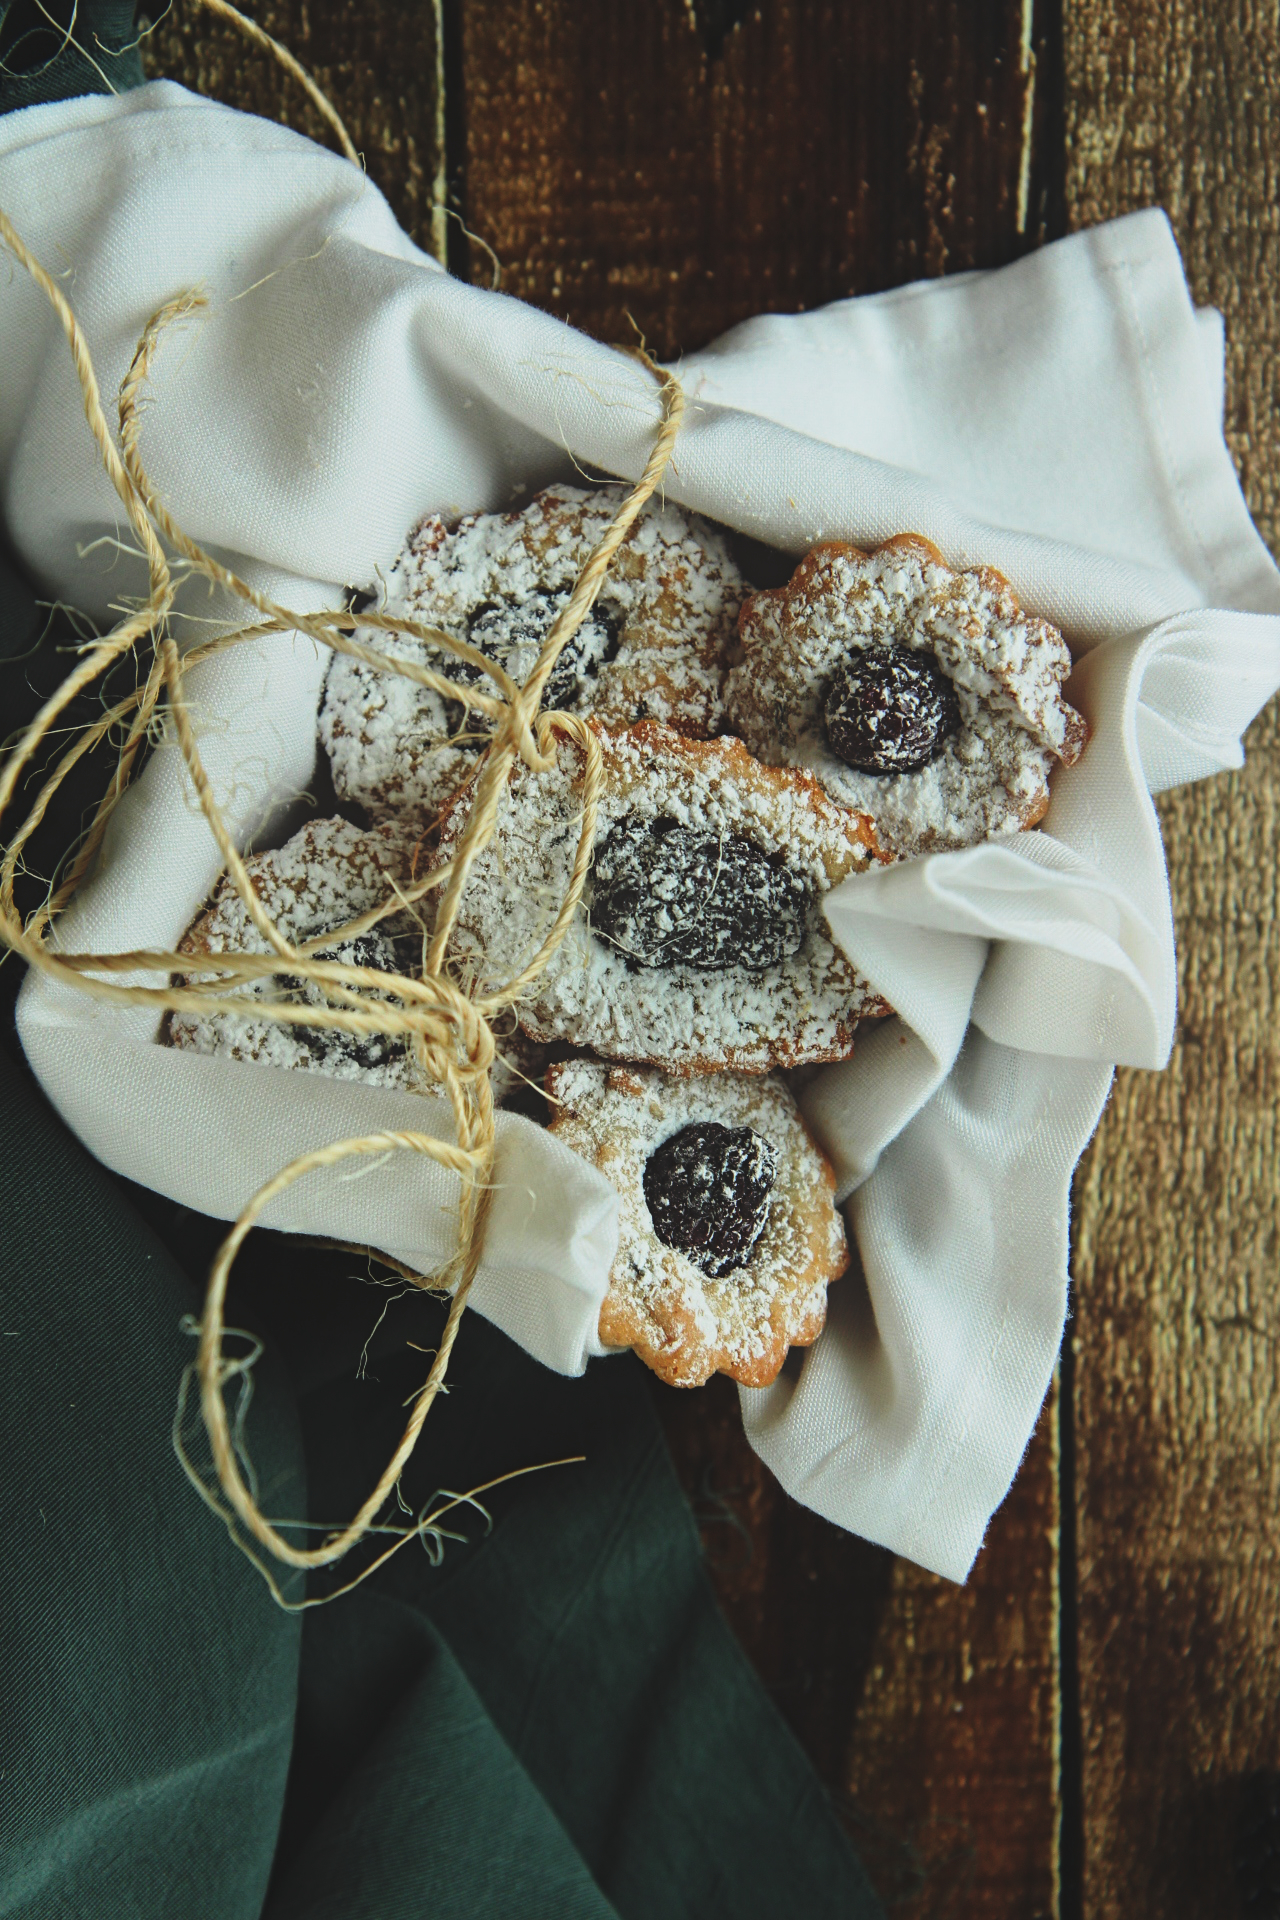
Named for the speed with which they are eaten, apparently. As soon as they’re made, they disappear. Zap!
choux = cabbage
or
sweetheart
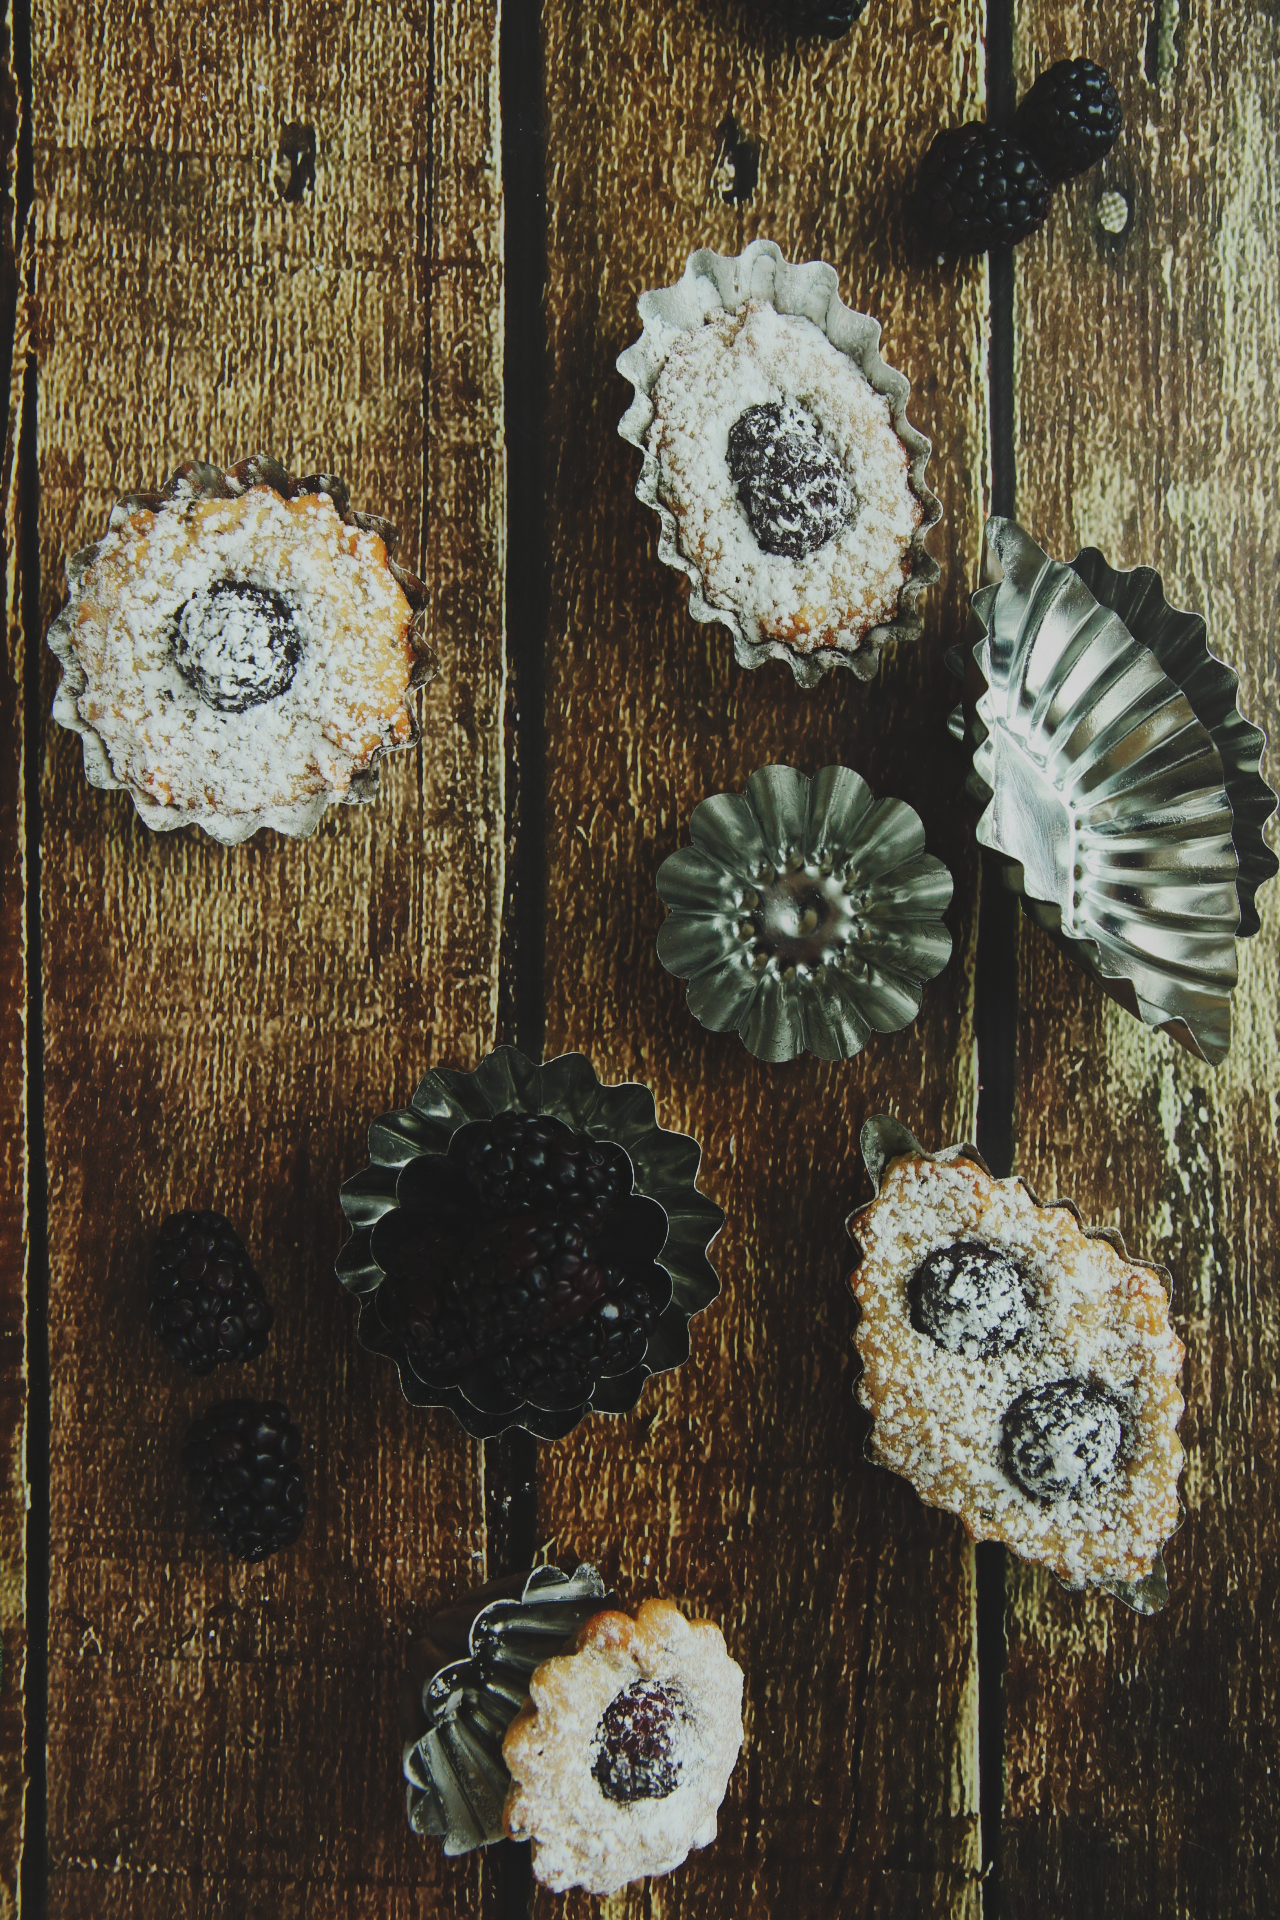
Choux à la crème, named not for its ingredients (no Brassica here, people. Calm yourselves.), but because the dainty little puffs, with their cracked tops, look like cabbages. (?)
And this concludes our French lesson of the week.
(Bonus points if you can read the Baudelaire at the top of this post.)
How could I claim to be a lover of French pastry, a pâtissière at heart, if I had never tried my hand at the ever classic pâte à choux?
This I realized sheepishly some morning a few weeks back.
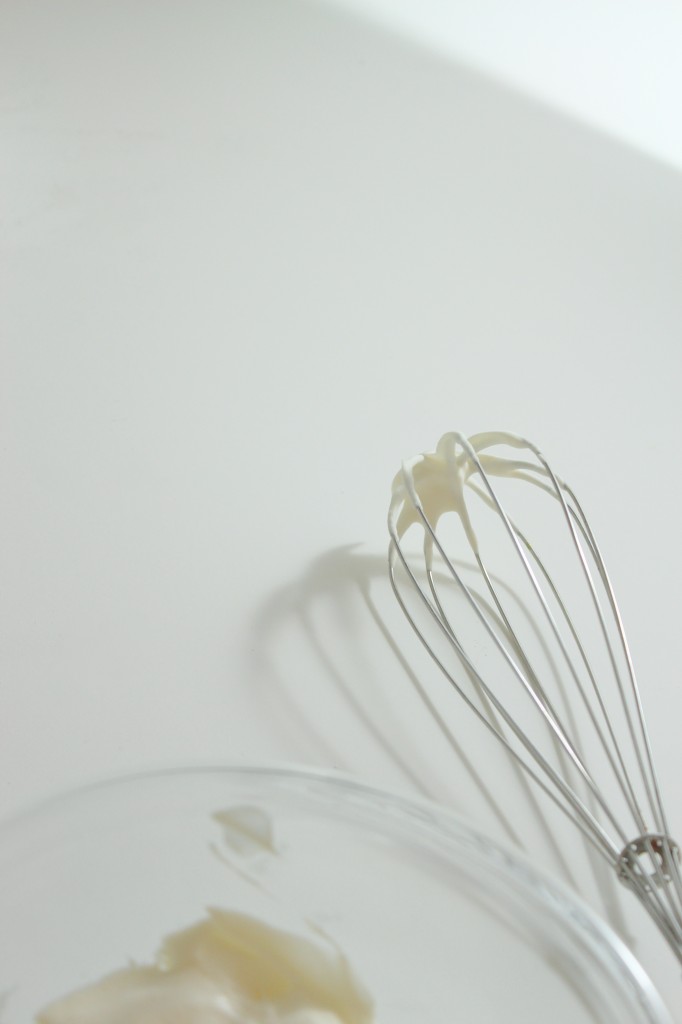
I promptly busied myself with a batch of éclairs, ready to tackle the simple dough: water, salt, milk, butter, flour, eggs.
Supremely (and elegantly) simple!
I knew choux pastry to be relatively easy to make, but I must admit I was surprised at how easy and quick it was!
20 minutes after deciding to make éclairs, I had 2 sheets of teeny tiny little piped pastries waiting to go into the oven.

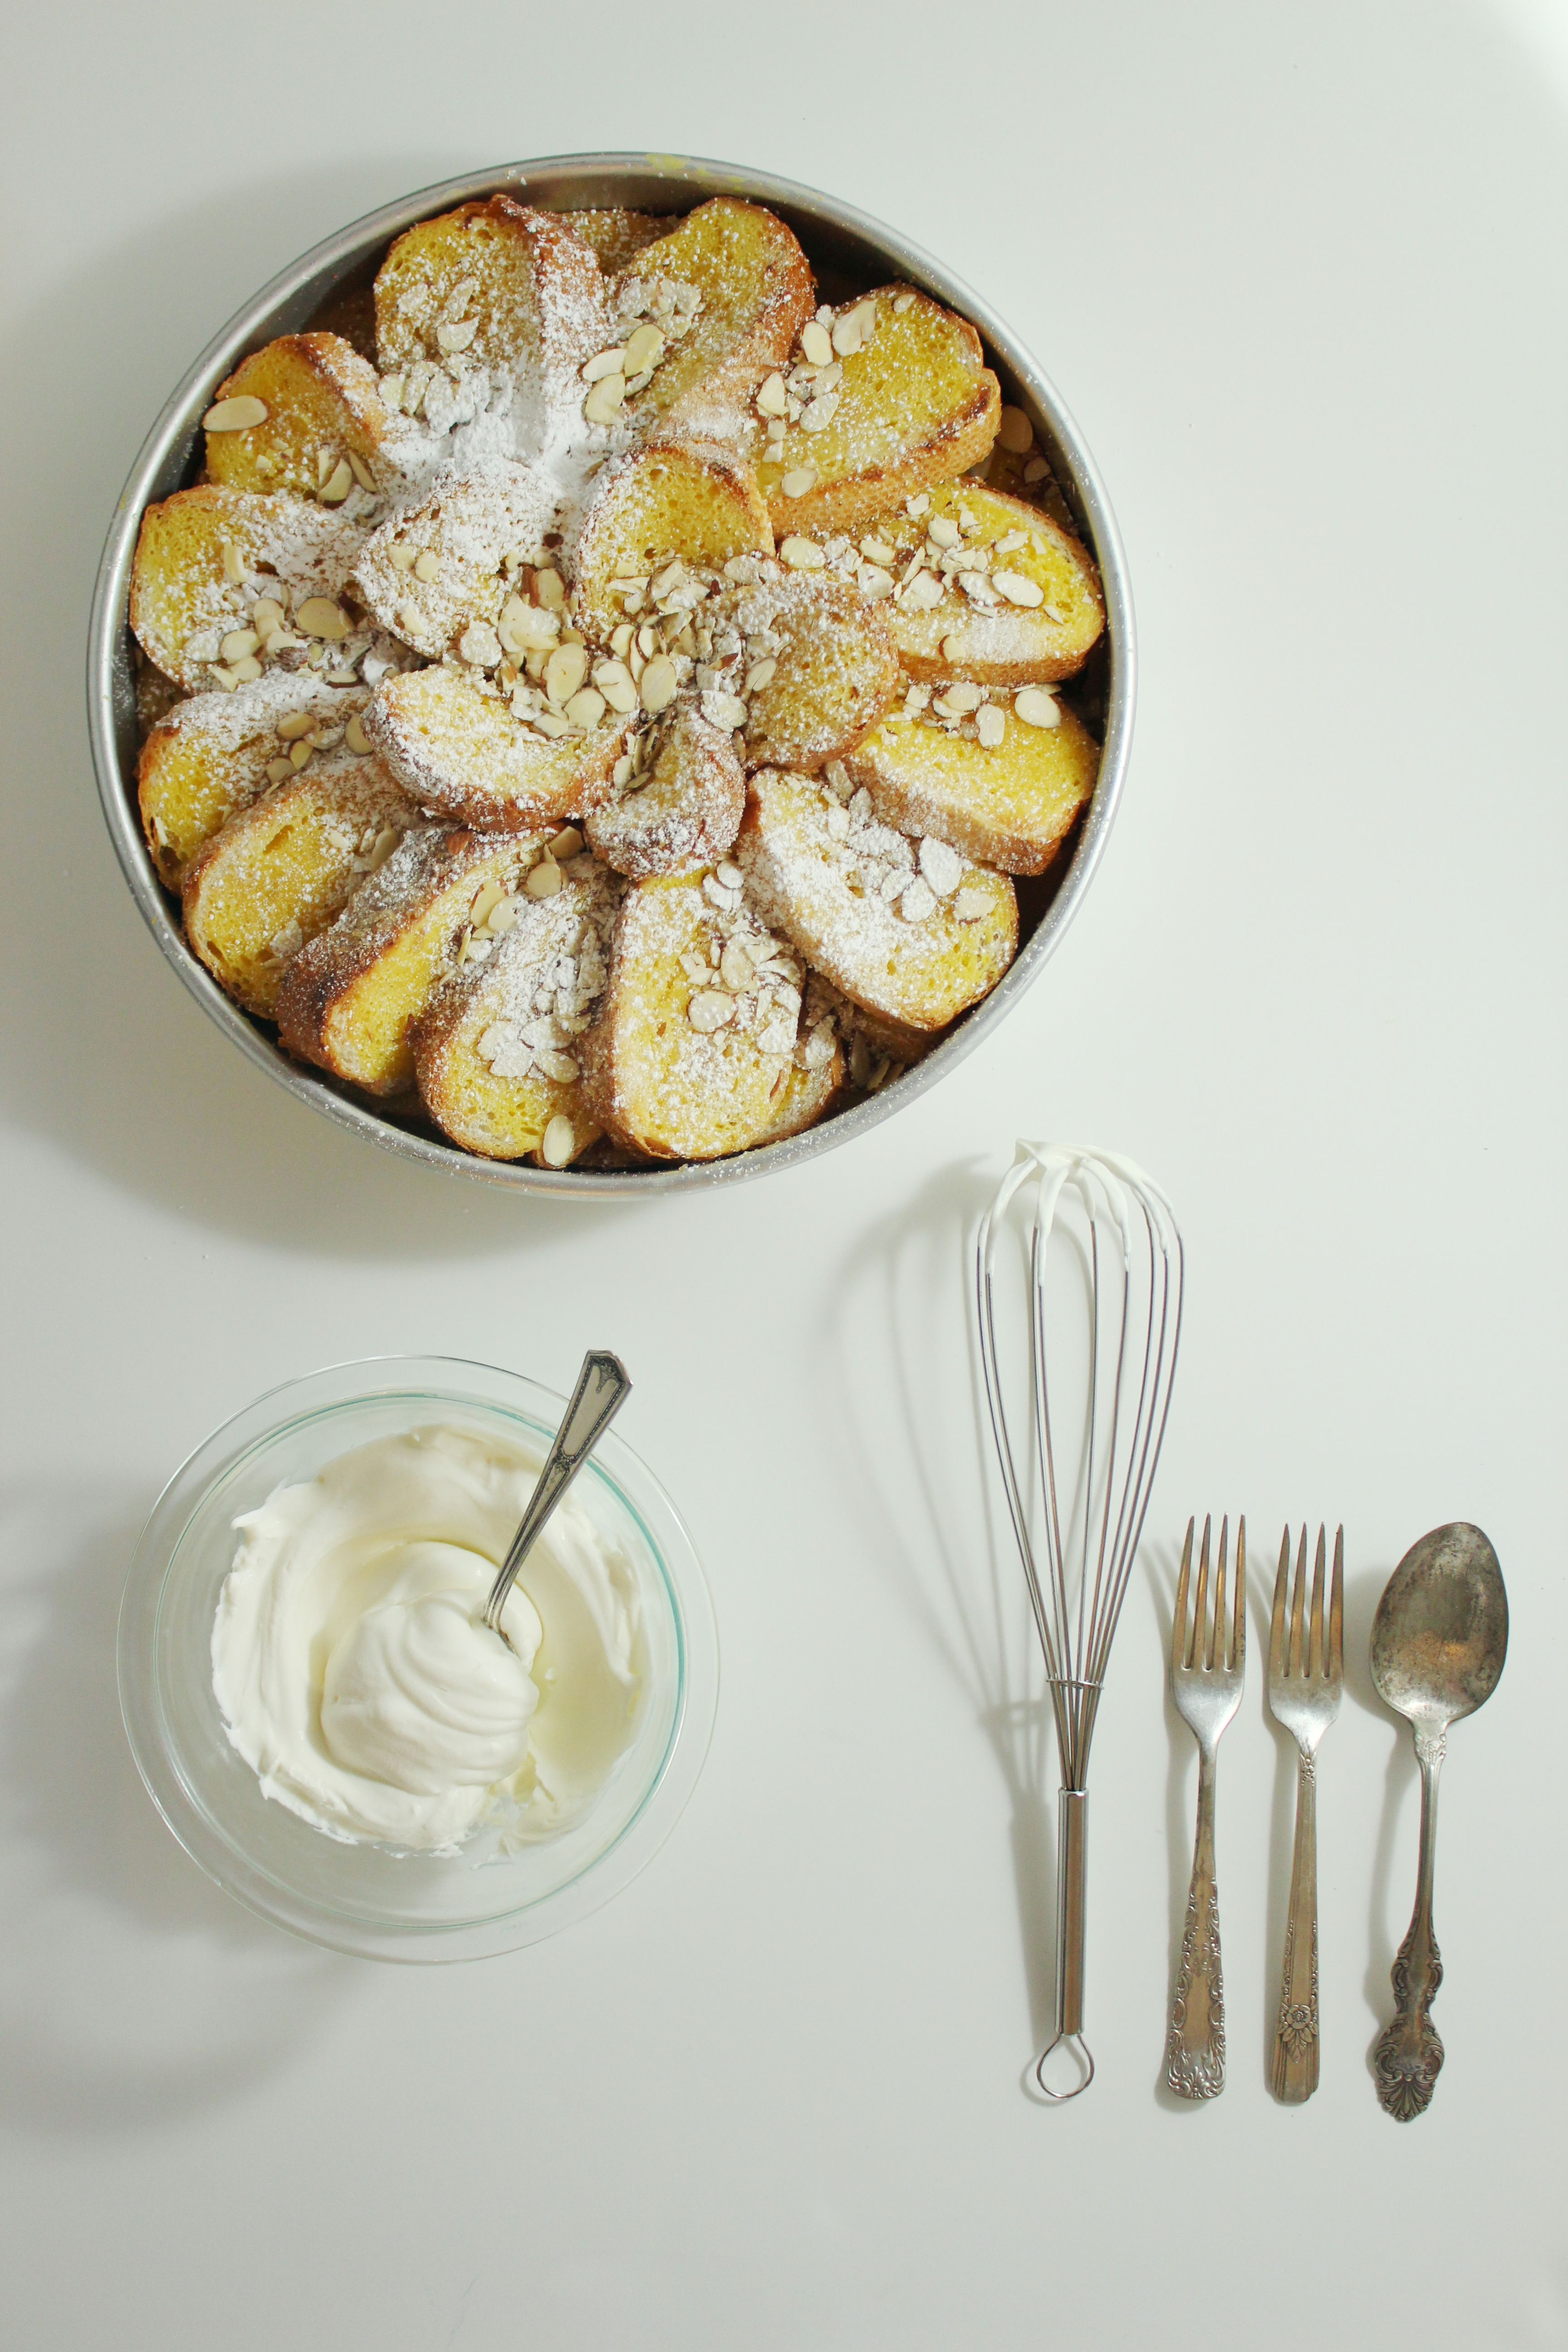
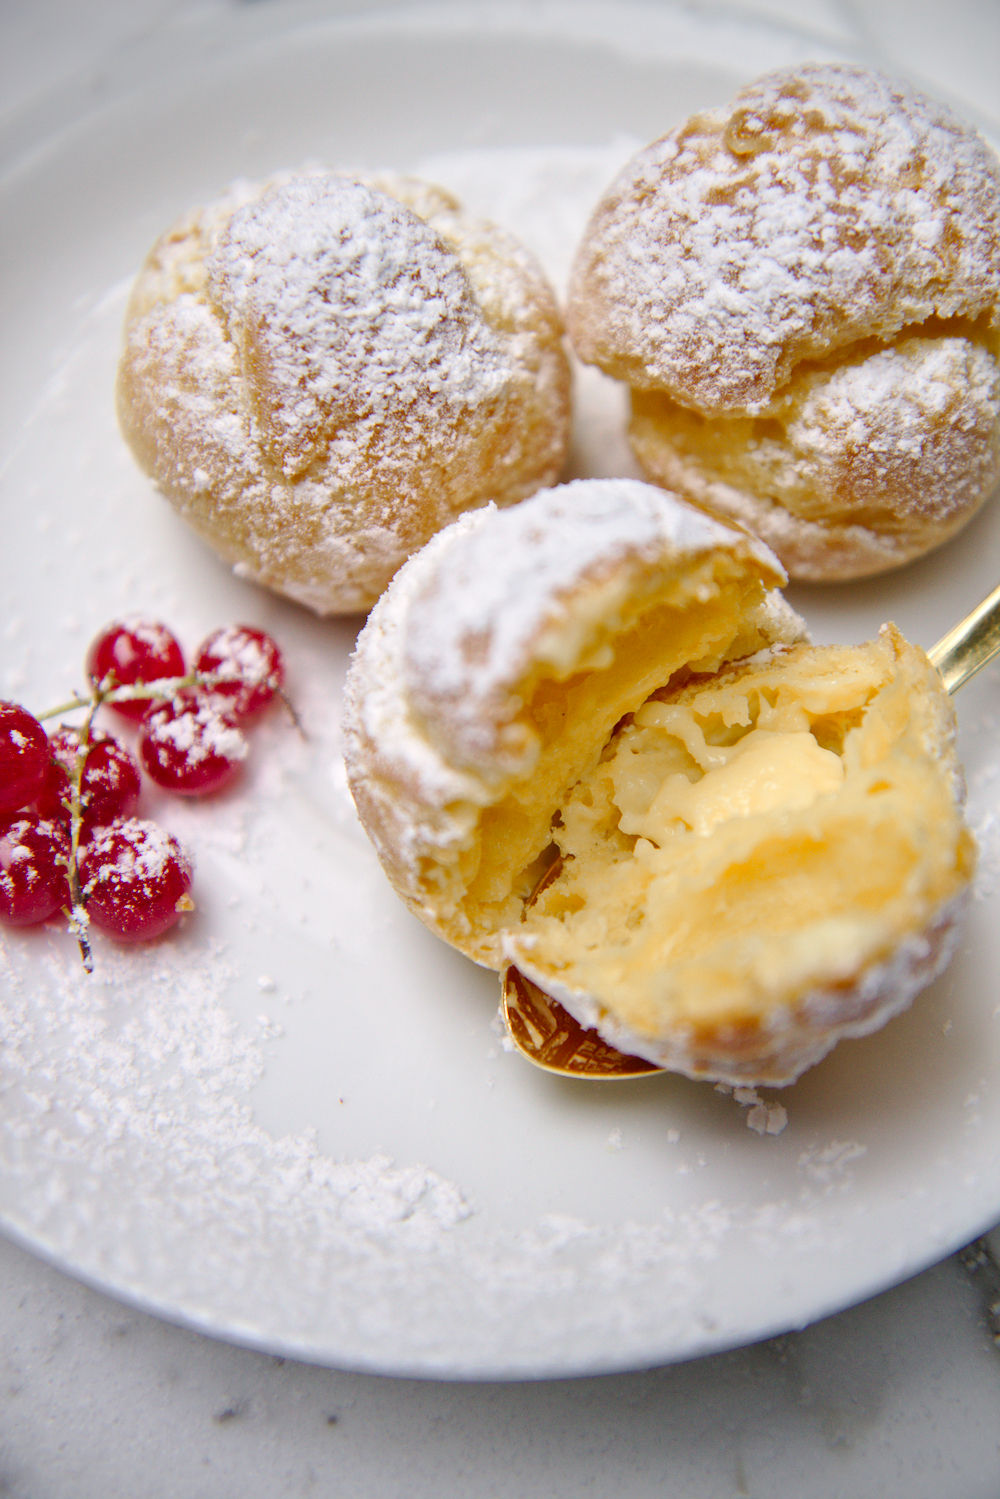
While they were baking, I whisked together a simple pastry cream; I wanted to flavor it with almond, but had no almond essence in my pantry, so I used one of my favorite ingredients (almond paste!!! I can eat it plain with a spoon!) for a rich, fragrant, extra thick, and creamy filling.
Just a few tablespoons are needed—save the rest of the can for a batch of marzipan or almond cookies!
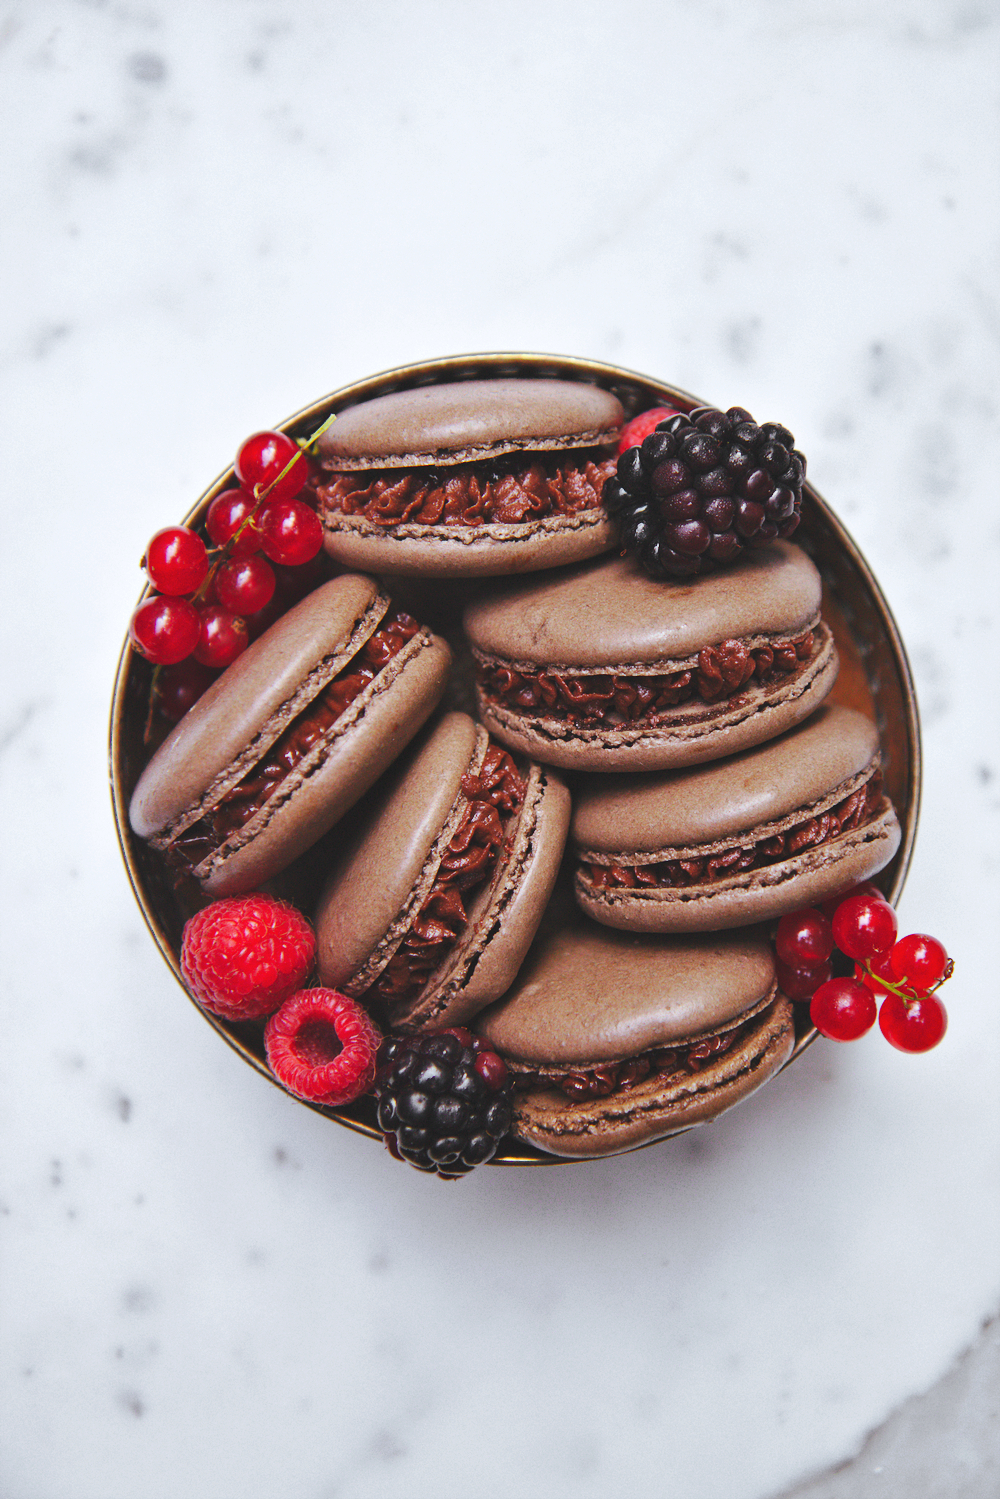
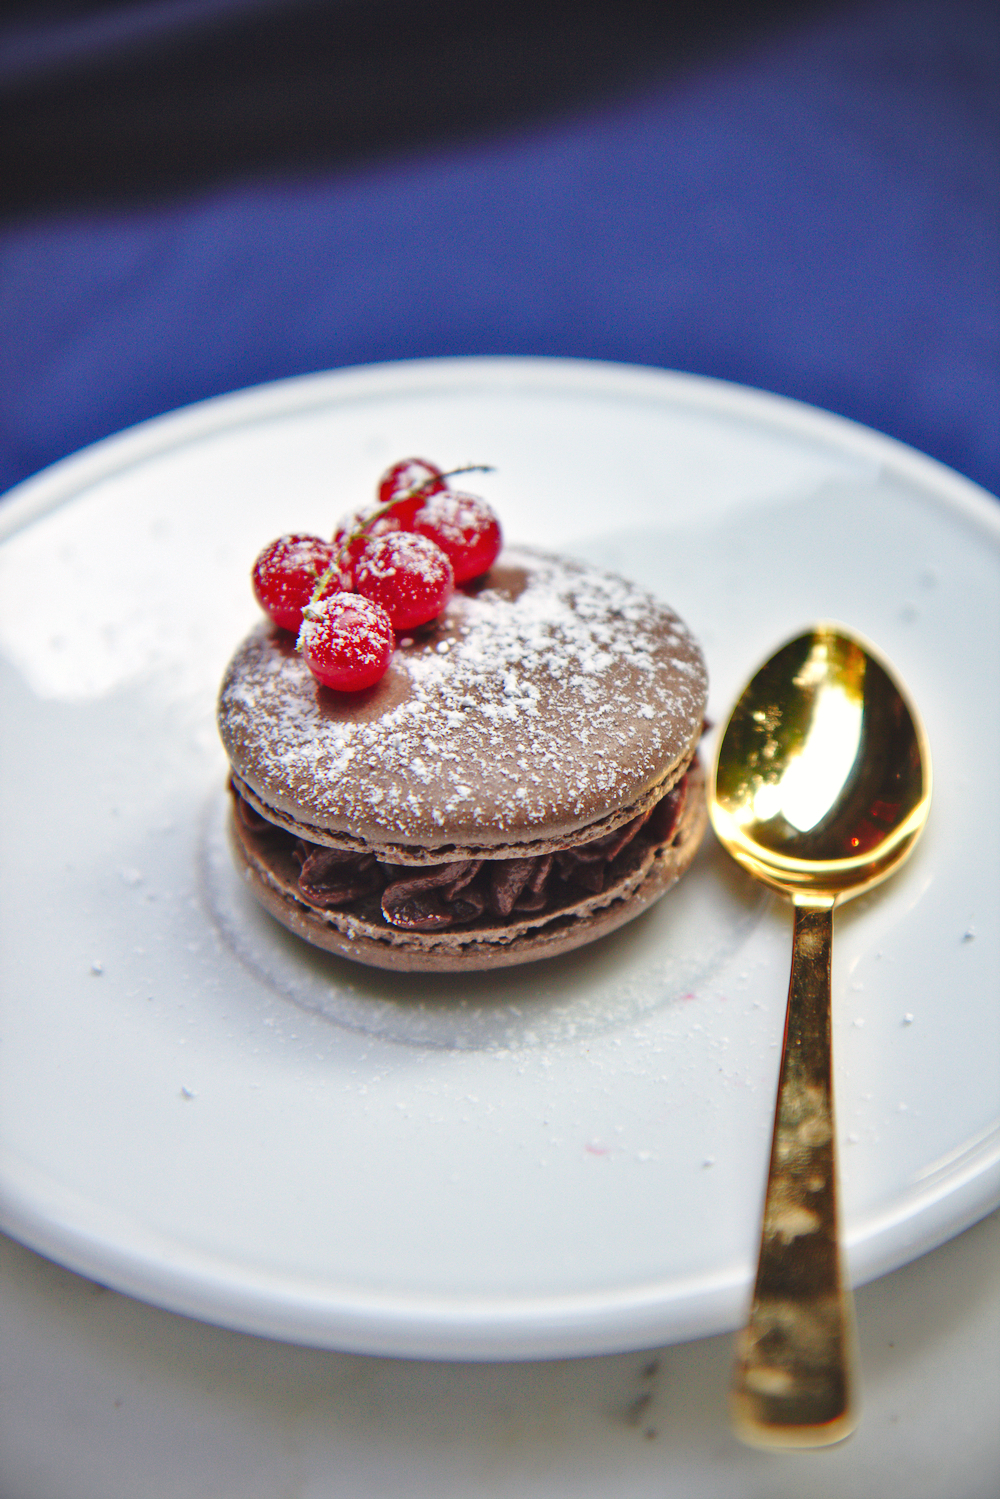
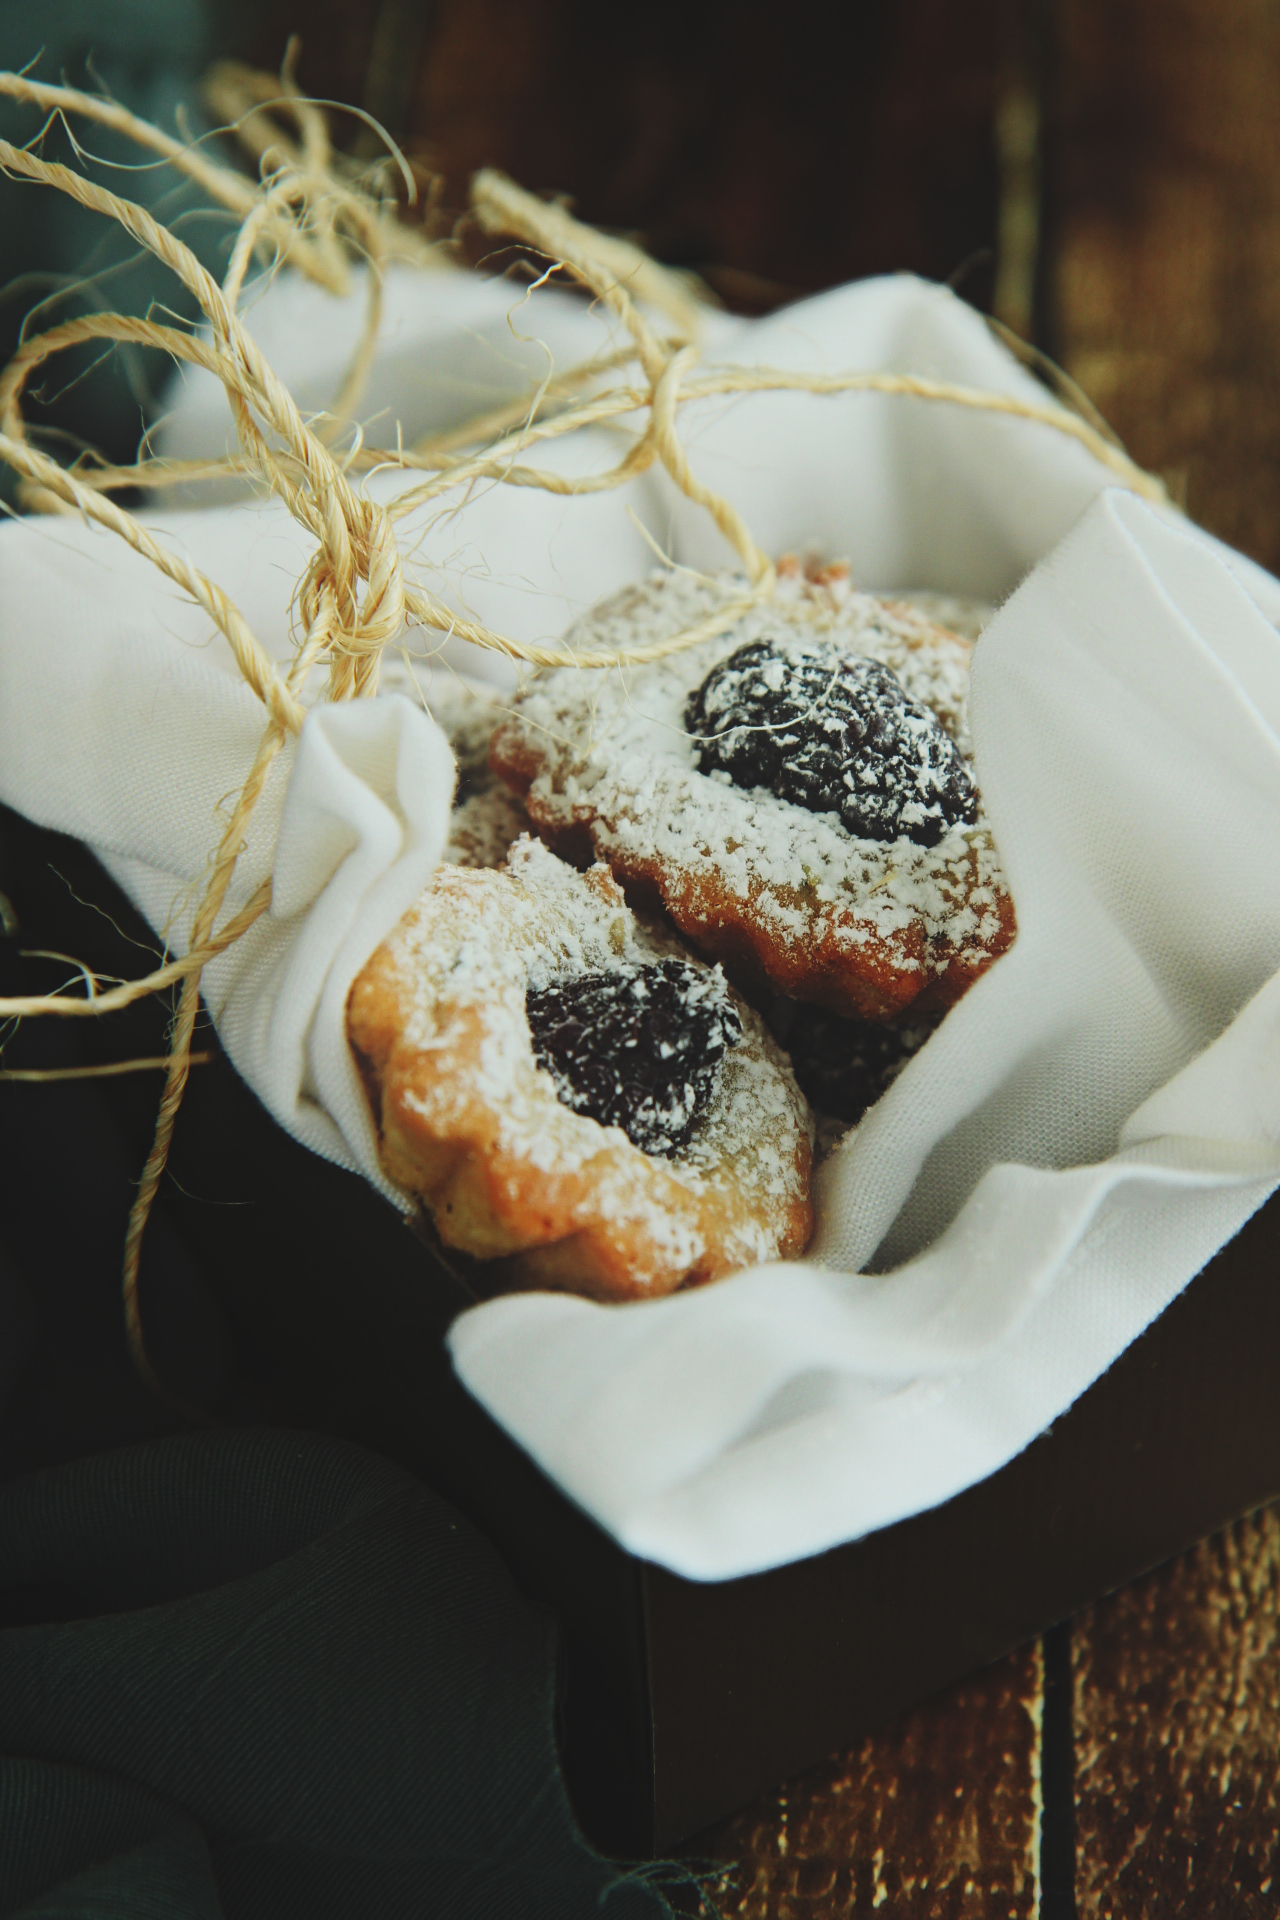
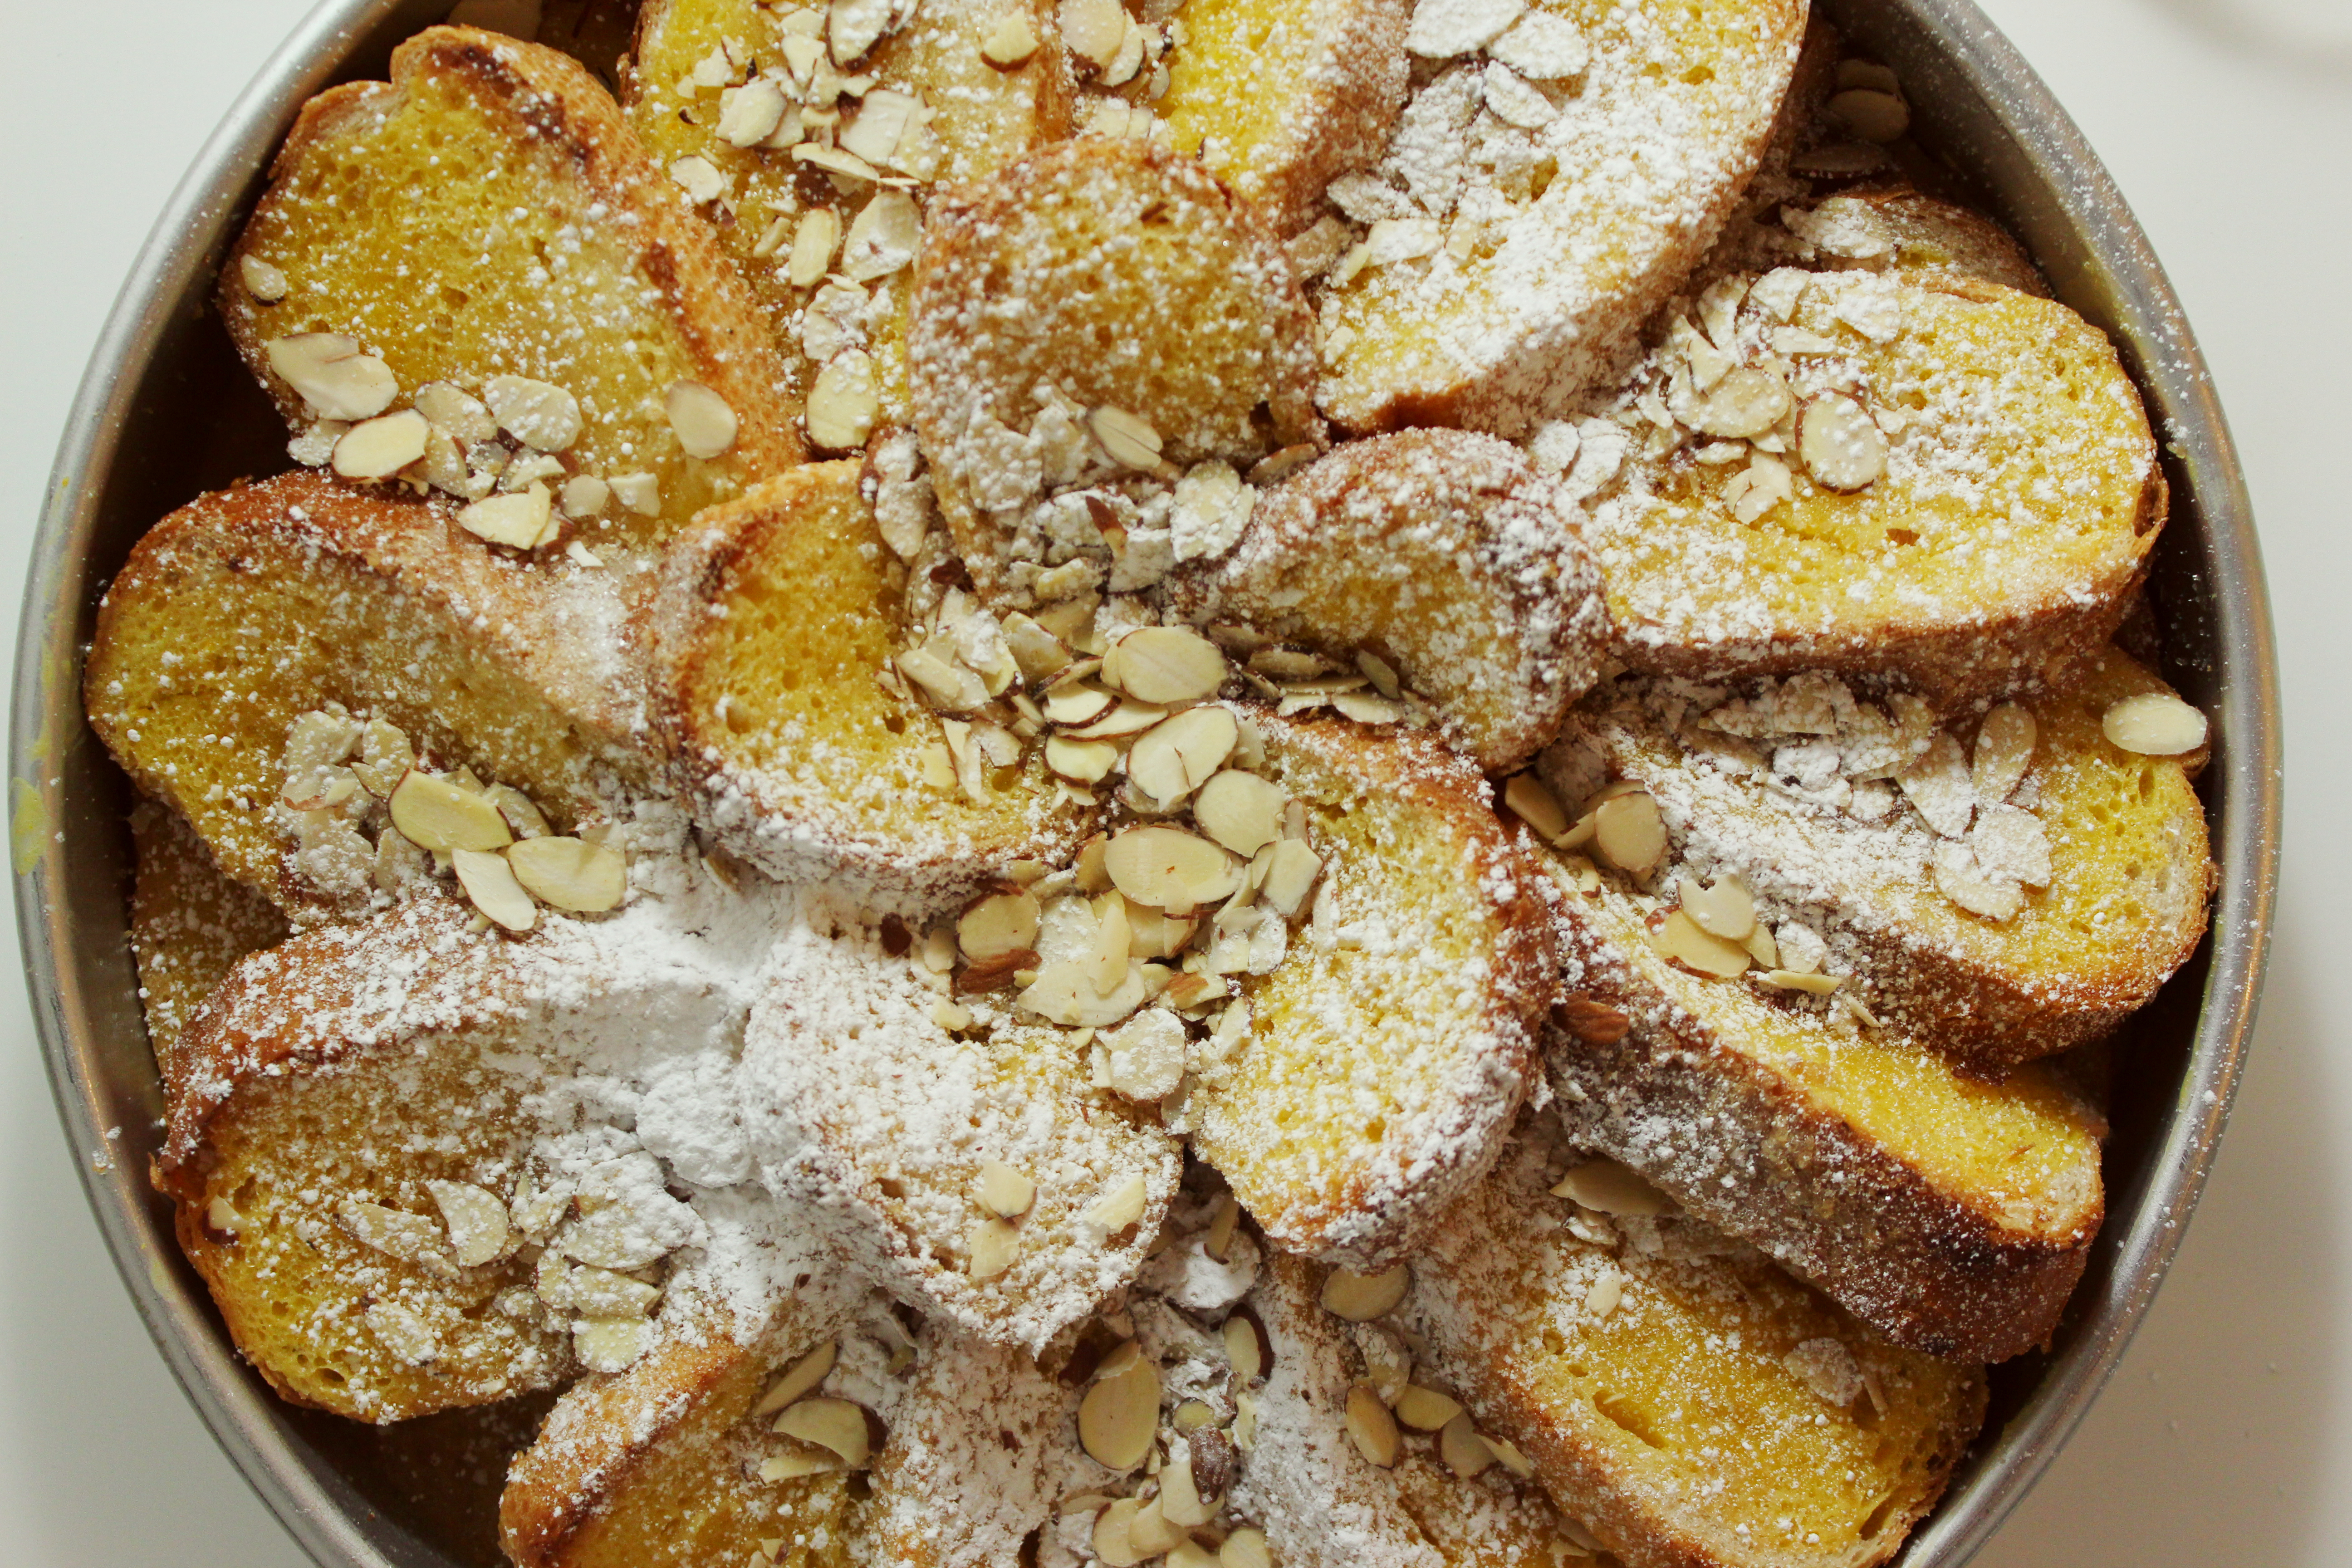
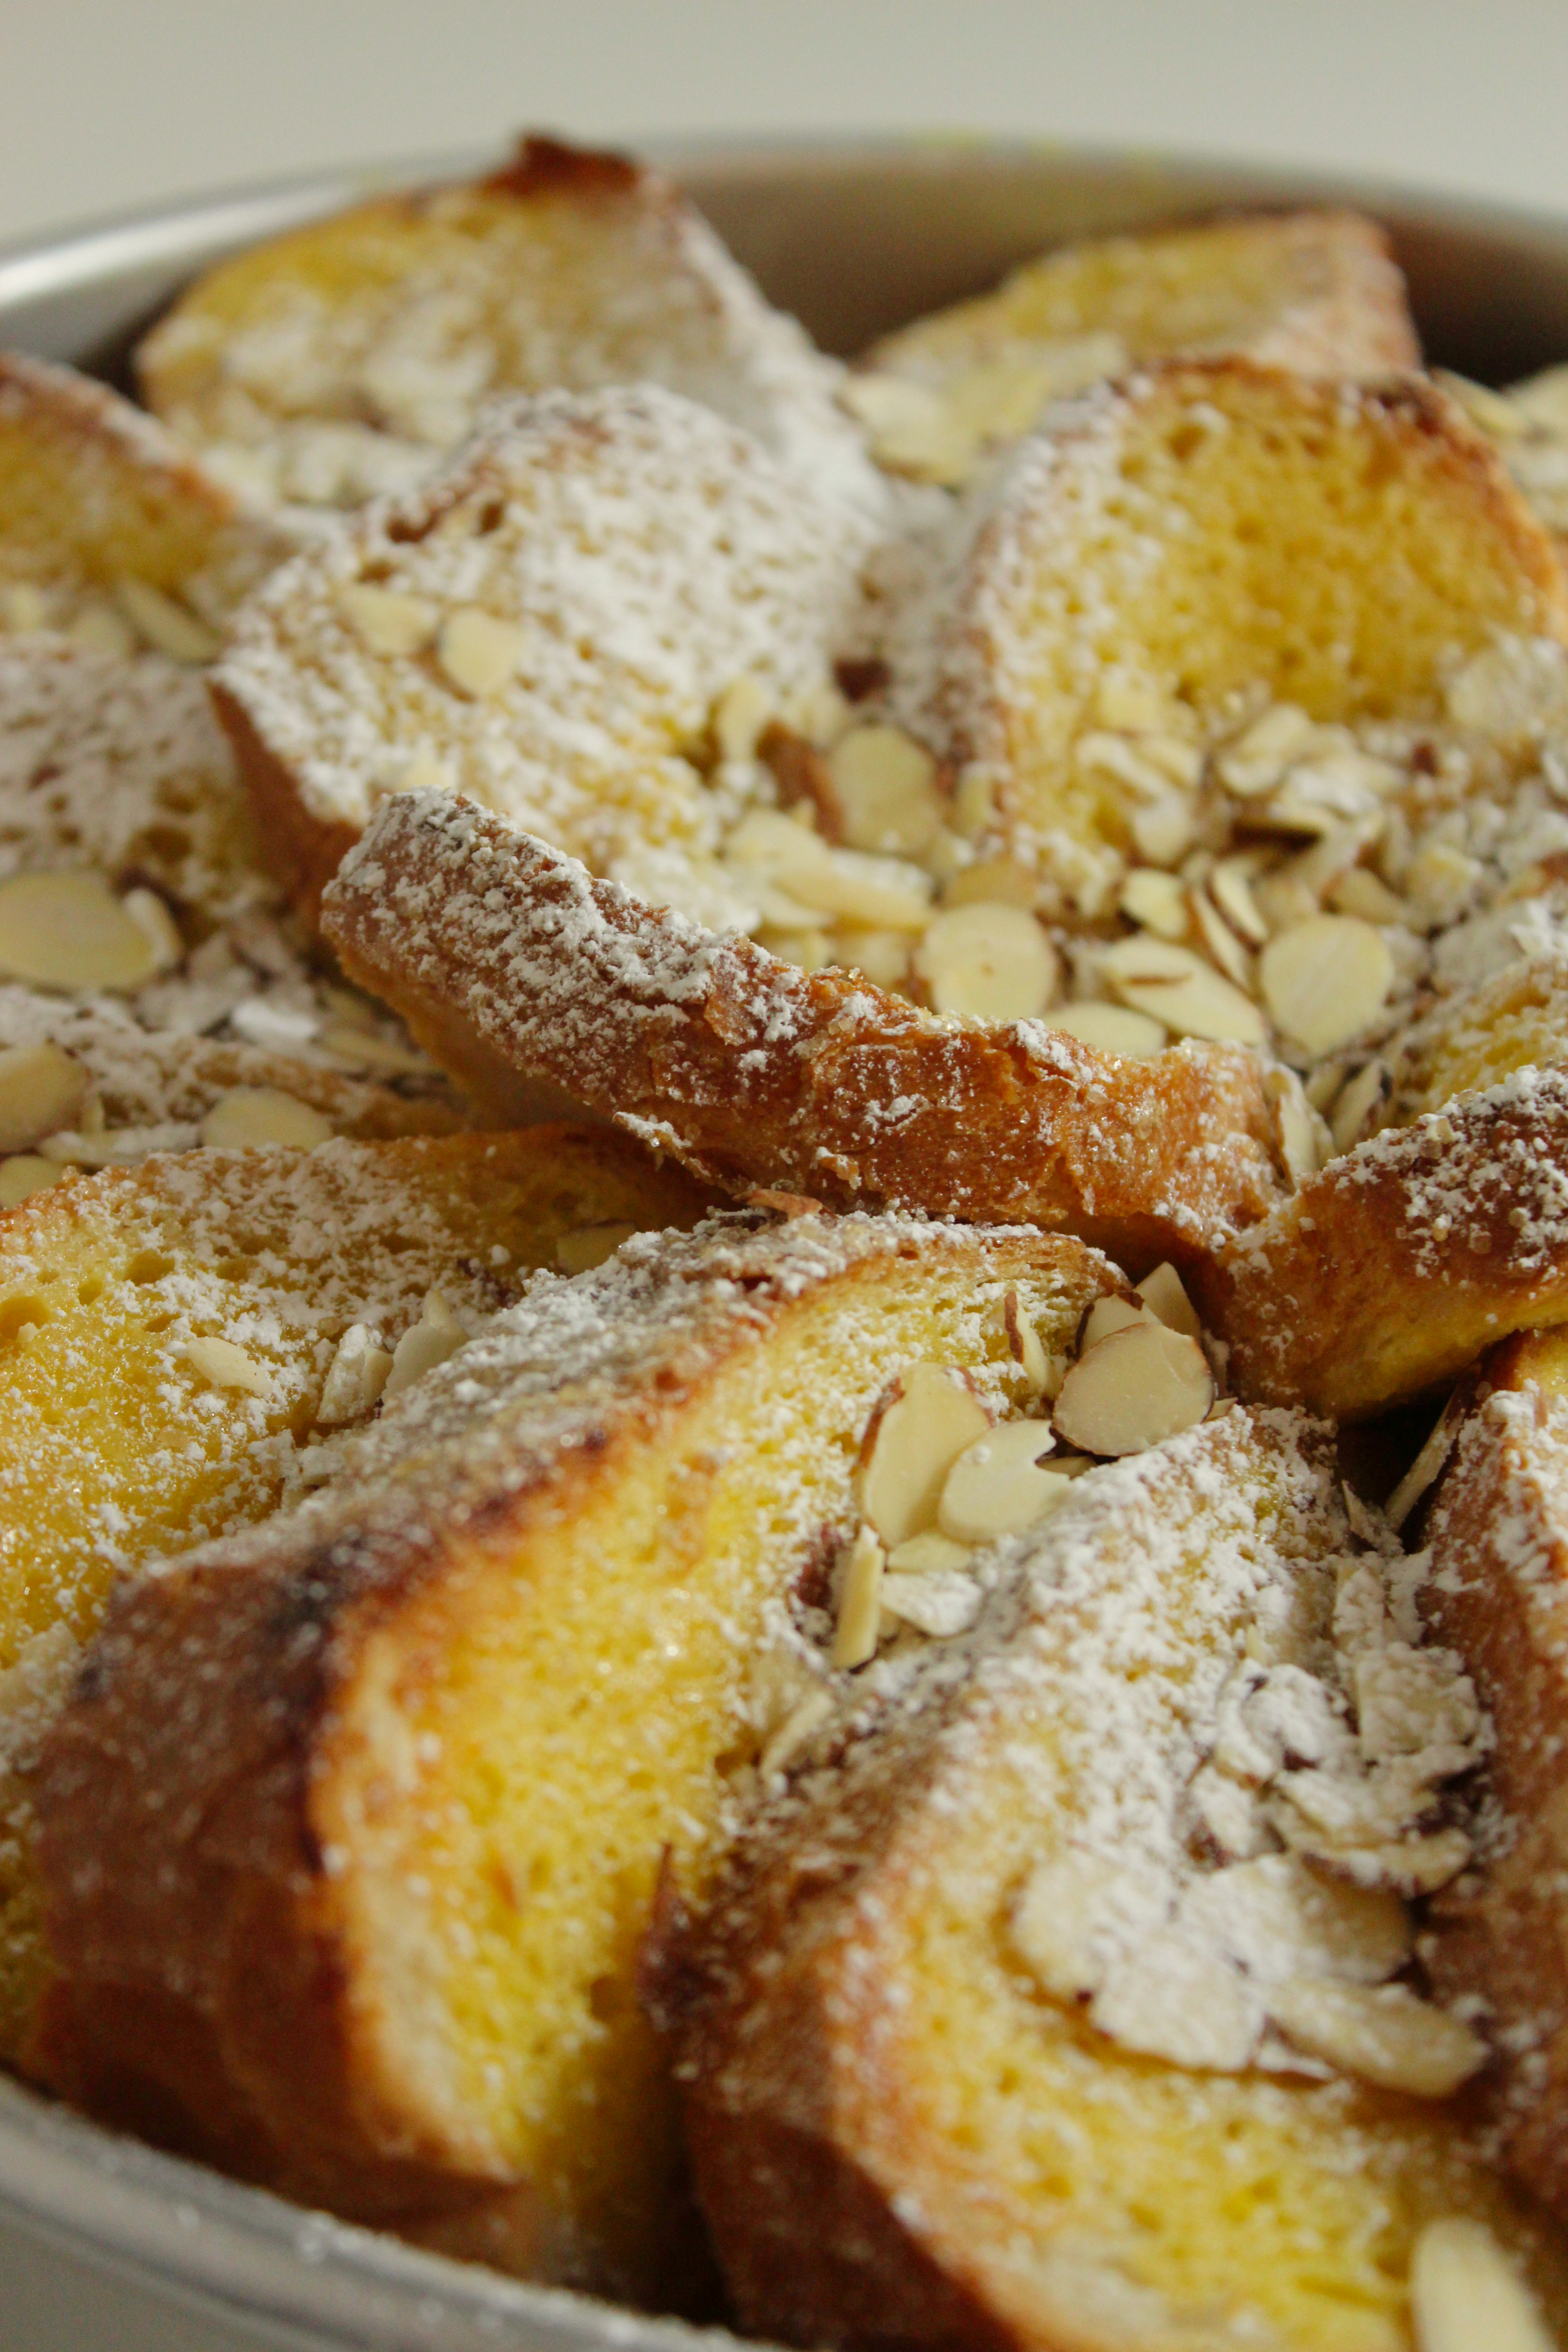
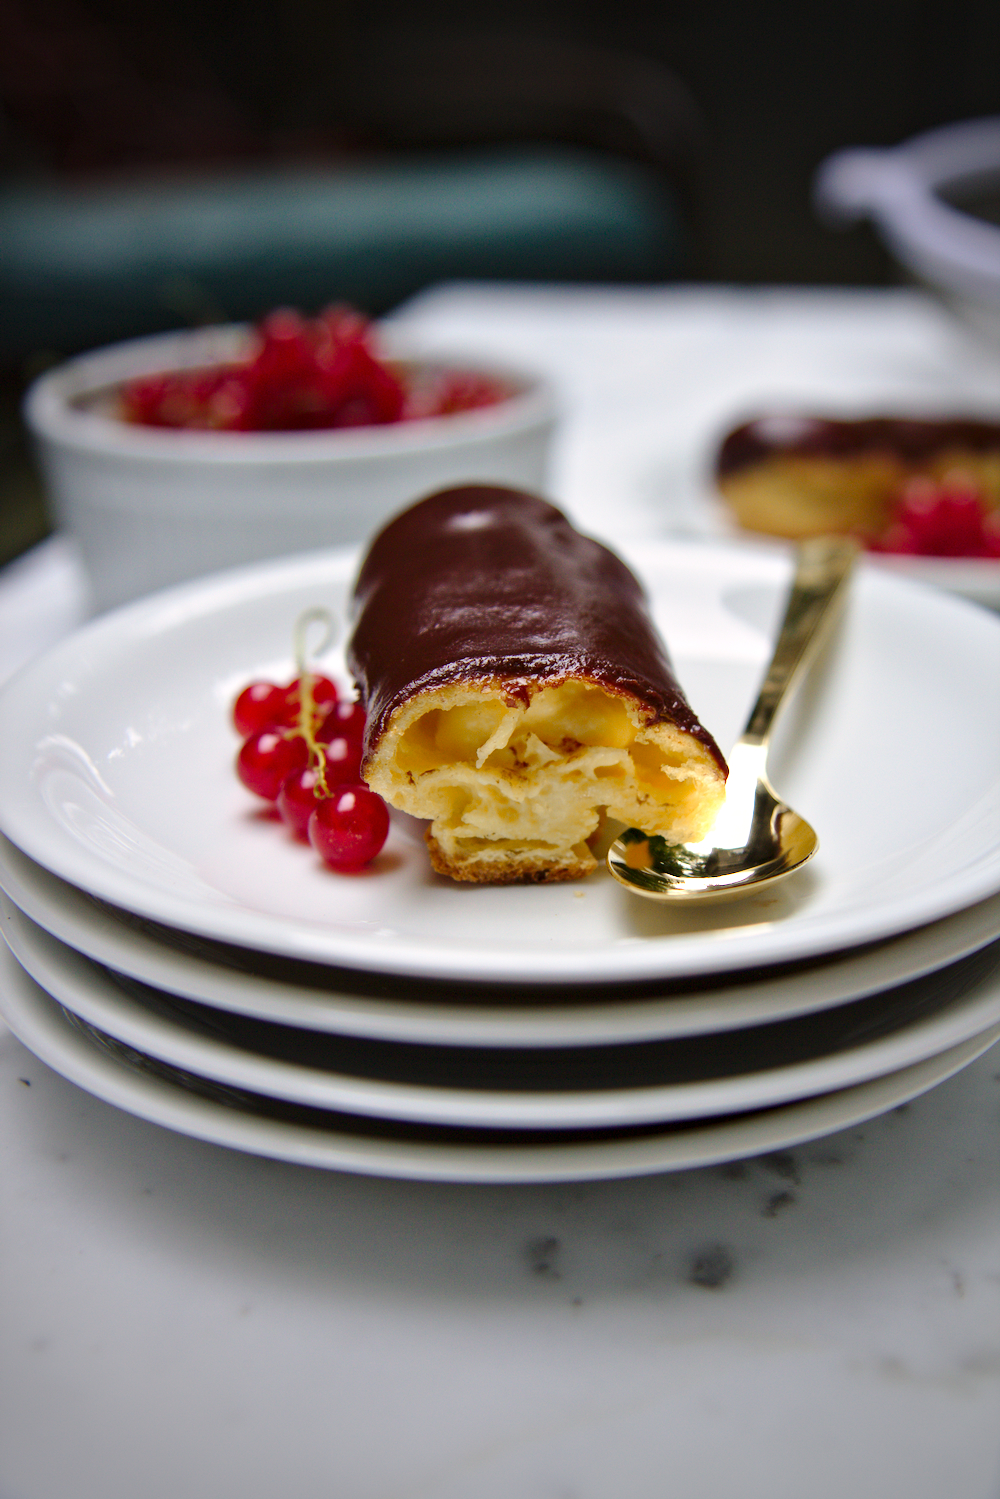
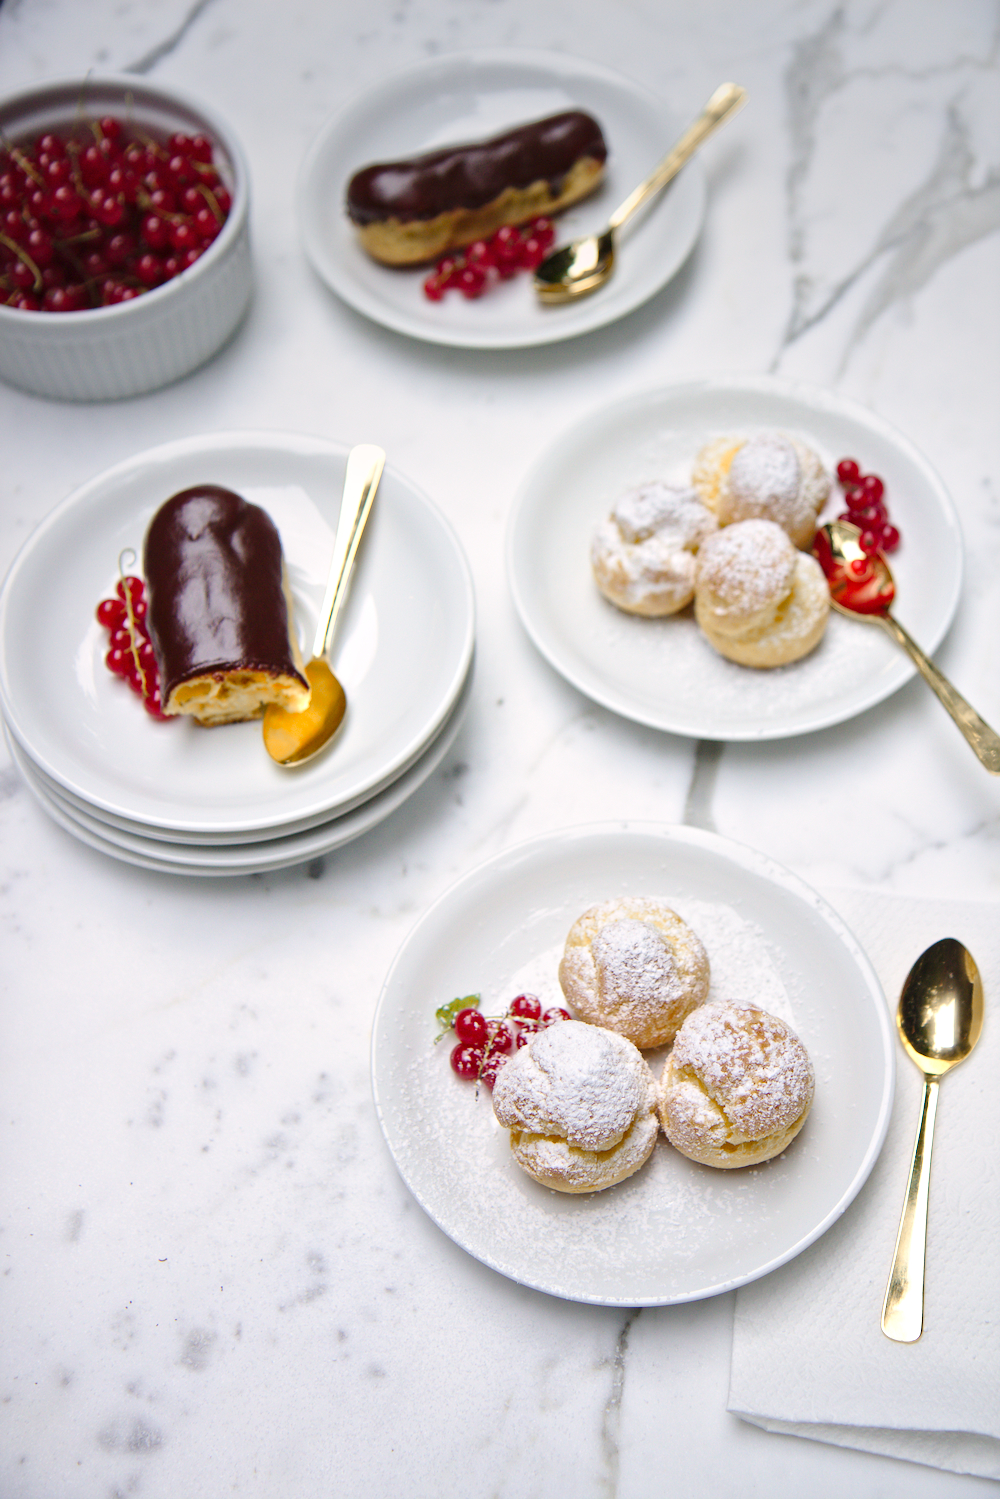
Dark chocolate, shiny and finger-licking good, finishes the éclairs. The profiteroles need only a shower of powdered sugar.
These were so easy and satisfying—as they puffed in the oven, I could feel my pride swelling.
Thank goodness this blog (not to mention my tummy) is no longer lacking for choux pastry!
Almond Cream Éclairs (and Cream Puffs)
adapted from the lovely Zoe of Zoe Bakes
makes 20-25 mini pastries
ingredients:
for the pâte à choux:
1/2 cup milk
1/2 cup water
8 tablespoons (1/2 cup) unsalted butter
1 tablespoon sugar
3/4 teaspoon kosher salt
1 cup all-purpose flour
4 eggs, room temperature
for the almond pastry cream:
1 1/3 cups milk
4 egg yolks
5 tablespoons plus 1 teaspoon sugar
2 tablespoons plus 2 teaspoons cornstarch
pinch kosher salt
2 tablespoons plus 2 teaspoons butter (~3 tablespoons)
3 rounded tablespoons almond paste
for the chocolate ganache:
6 ounces bittersweet chocolate
1/2 cup cream or half-and-half
4 tablespoons butter
1 tablespoon corn syrup
pinch kosher salt
directions:
Make the pastry shells: preheat oven to 375 degrees F and line 2 sheet pans with parchment paper.
Prepare a pastry bag with a large plain tip.
Place milk, water, butter, sugar and salt in a saucepot and bring to a simmer (the butter will be all melted by then).
Lower the heat to low, dump in all the flour at once and stir until the dough forms a cohesive ball and there is a slight film of dough on the bottom of the pot (click through to Zoe’s sight for great step-by-step photos!).
Remove the dough and place in the bowl of a stand mixer fitted with the paddle attachment.
While beating on medium speed, add in the eggs one at a time.
Scrape the bowl after adding all the eggs and beat until a smooth, thick but pipeable paste forms.
Fill your pastry bag and pipe desired shapes and sizes; make cream puffs by simply dolloping the dough, and make éclairs by piping a steady, thick line of dough.
To fix the peaks that stick up after piping, wet a finger slightly and gently tap them down.
Place the sheets in the oven and bake for 10 minutes.
Rotate the sheets and switch them top-to-bottom, then bake for 7-10 more minutes, until golden.
Prop the oven open with a wooden spoon and bake for 5 minutes more.
Remove from the oven and allow to cool completely before filling.
Make the pastry cream: place milk, egg yolks, sugar, cornstarch, and salt in a saucepot and whisk very well to remove any lumps.
Cook, stirring constantly, over low heat until it comes to a boil and is thick; remove from heat and place in a blender or in a bowl with which an immersion blender can be used.
Add the butter and almond paste in pieces to the mixture and blend briefly to incorporate and eliminate any lumps; don’t blend for more than 20 seconds.
Place plastic wrap directly onto the surface of the cream and place in the fridge to cool completely.
To fill the éclairs, cut three small Xs in the top, then stick a pastry bag fitted with a thin star tip into them and fill.
To fill the cream puffs, just stick the tip into the bottom, pressing firmly in order to push through the surface.
To make the ganache, chop chocolate and microwave in 15 second bursts until it is 1/2 melted.
Gently stir in the rest of the ingredients and continue to microwave in bursts until the chocolate is 2/3 of the way melted.
Remove from the microwave and allow to sit for 3 minutes; whisk briskly until the ganache comes together; it should be nice and glossy.
Allow it to cool slightly before dipping the tops of the éclairs in.
Refrigerate the pastries to set the ganache and allow the flavors to meld.
Eat cold or room temperature, dusted with powdered sugar.