DNase1L3

IMG_8362_01

This post is for my oldest tormentor nemesis brother Ben.

IMG_8363_01

He’s doing his oral qualification exam for grad school today!
He’s a big science nerd, just like me, only taller and sassier smarter.

(His paper is very complicated and scary… He’s researching DNase1L3.  It’s very impressive.)

Apparently, the tradition is to bring some delicious baked good to your quals, so he asked me to be his “favorite person” and bake him something “ridiculously elaborate.”

HOW COULD I SAY NO!?

IMG_8354_01

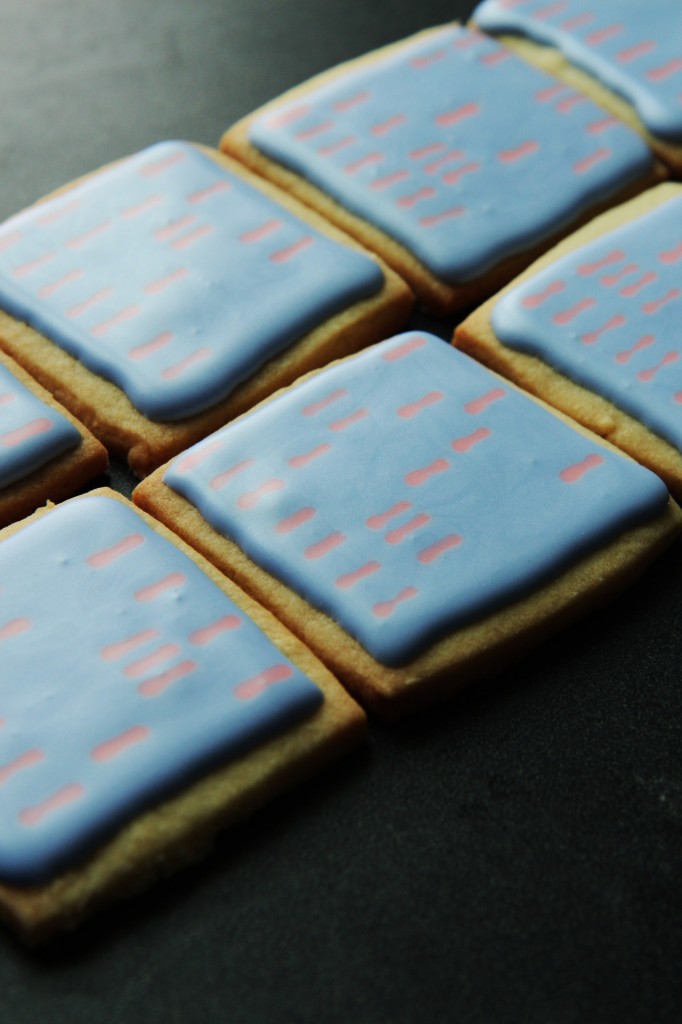
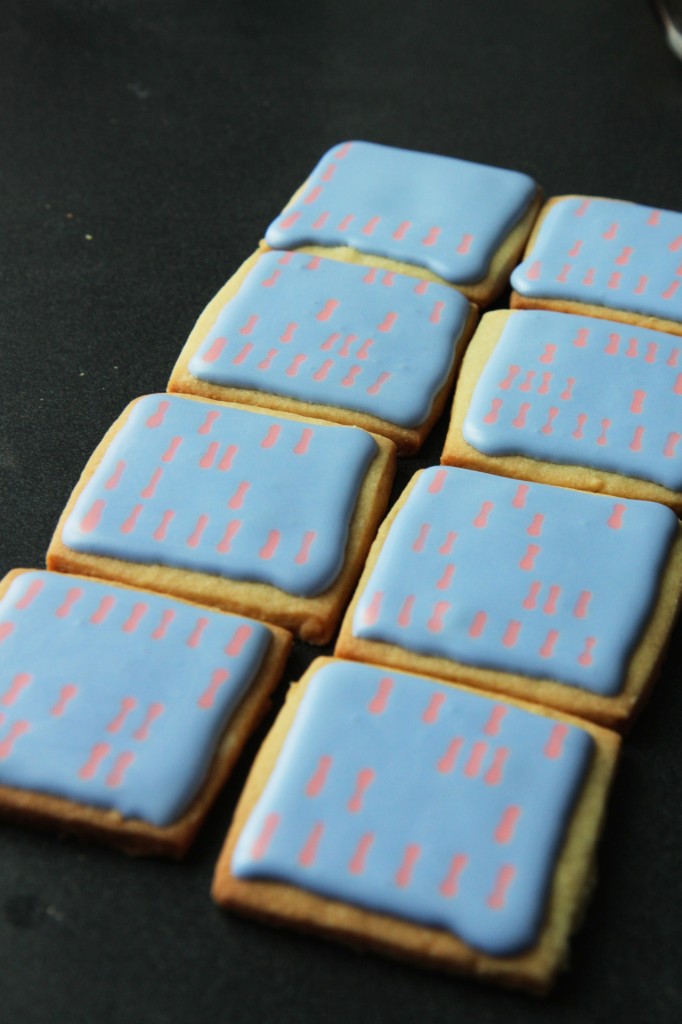
These cookies were inspired by Not So Humble Pie’s Gel Electrophoresis cookies from her Science Cookies series.

Um, as a nerd, I love all the science cookies.  Obsessed.

I actually wanted to make some to send to my brother, and then, miracle of miracles, he asked me to send him baked goods!  It was meant to be.  I had my heart set on these little guys.

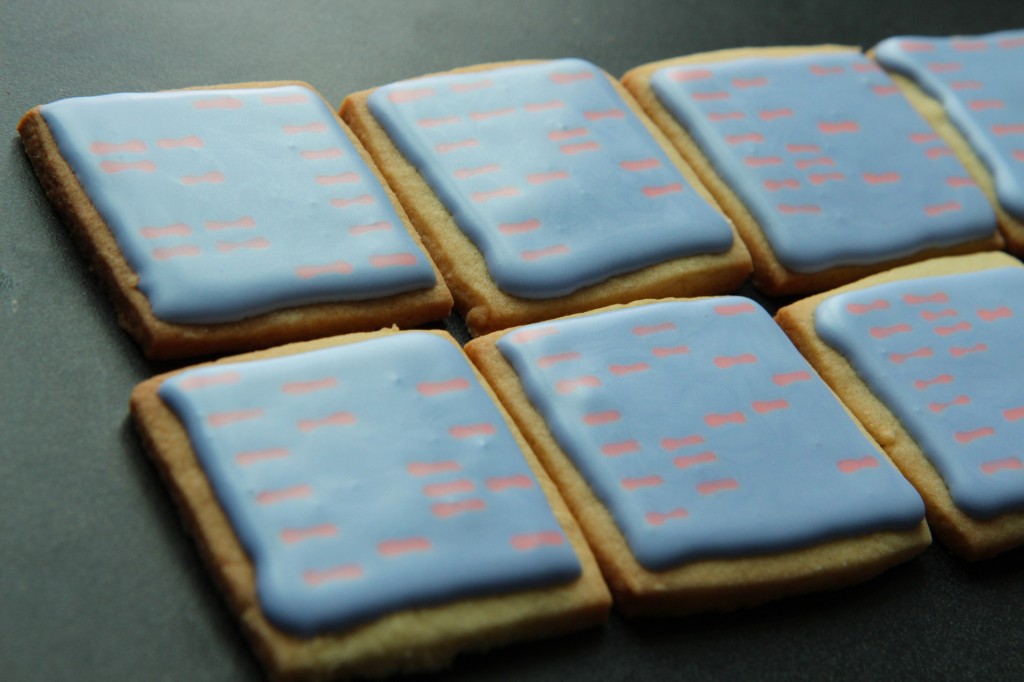
They’re supposed to look like a gel that’s been run and is under UV light; the loading dye glows slightly pink, and the gels are a lavender/blue color.

I did my best to replicate these colors in the cookies.
I piped the pink color while the blue was still wet, so that there would be no lumps and bumps in the final cookie.
This technique can be a little scary, in terms of bleeding, but I didn’t have any issues.
I also didn’t pipe a border around my gels, so they look a little melty.  It’s ok.  They’re wiggly in real life too.

IMG_8357_01

This cookie dough is among my most beloved recipes.

It took a while to get just right, but now it is perfect.  It produces crisp edges and buttery centers with hits of salt and vanilla.  Flat cookies, perfect for decorating.

It’s taken countless iterations, from thumbprints and meltaways to jammers and decorated cookies.
I adapt it for chocolate cookies, cinnamon cookies, gingersnaps, etc.

It is so, so simple.
Count down from 3, then count back up.

3 cups flour, 2 sticks butter, 1 cup sugar, 1 egg, 2 teaspoons kosher salt, 3 teaspoons vanilla.

There’s no need to refrigerate the dough before rolling– just roll and cut, then freeze your shapes.
You can bake them off in 30 minutes, or you can wrap them well and bake them in a few weeks.

I also used egg white royal icing– no meringue powder//preservatives here!  Just egg whites and sugar and water.  Easy and pipes like a dream.

Good luck to you, Ben!  Love you and miss you! xx

IMG_8356_01

3-2-1 Cookies with Egg White Royal Icing

ingredients:
for the cookies:
3 cups of flour
2 sticks of butter
1 cup of sugar
1 egg
2 teaspoons kosher or other coarse salt
3 teaspoons vanilla extract
for the royal icing:
2 egg whites
pinch salt
1 pound confectioner’s sugar, sifted
water, as needed
food coloring
directions:
Make the cookies:
Beat butter, salt, and sugar together until softened and pale yellow, about 3 minutes
Add in the egg and beat until super fluffy and shiny and not gritty, about 3 minutes.
Add in the vanilla extract and beat for 20 seconds.
Add in all the flour and stir slowly, mixing until a homogeneous dough forms.
It should not be overly sticky, nor should it be very crumbly.
Roll it out to 1/4 inch thickness on a well-floured surface and cut it into desired shapes.
Refrigerate or, even better, freeze, for at least 30 minutes while you preheat your oven to 350 degrees F.
Bake cookies for 8-10 minutes, until golden and easily lifted from the sheet.
Make the royal icing:
Whip egg white and salt until soft to slightly stiff peaks form.
Sift the sugar over the meringue and whip until everything comes together homogeneously.
Add water as needed to get to flooding consistency (see Bridget’s post here for FAQs).
Tint as desired and decorate cookies!
Allow to dry completely before packaging cookies.

So Question

IMG_8332_01

Much wonder.
Such searches.
Wow.

“my olive oil bottle had some slimy things”
Eeew.

“is little debbie oatmeal cream pies good for chakras”
Probably not?

“lets make marscarpone ourselves for once”
Yes, let’s.  God.

IMG_8303_01

“dumb jokes”
“dysfunctional family funny”
“dumb shit jokes”
I think you’re in the right place, my friend.

“homogeneous motor for milk and mango juice”
“gothic baking dishes”
“fairy hand cream mango butter switzerland”
“brass triangle fruit ripener”
“picture of willy wonka marshmallow pillow”
“ready to bake cheese marscapone croissants wholesale”
“kids throwing cookie dough on ceiling”
“plate with some fruits two toothbrush one small pot drawing in pencil”
“lime green fat baby boots with white fluffy stitching on the toe”
What?  No.  How did you manage to end up here?

IMG_8349_01

“comfy belly pumpkin roll”
“christina tosi maple”
“nigella frangelico tiramisu grams”
“michael laiskonis silpat”
“dorie greenspan is too soft and crumbly cheesecake”
Nope nope nope not me.  Wrong person.

“why is my mississippi mud pie still runny in the middle”
“2c heavy cream 4 tsp matcha 3/4 c sugar 6 egg yolk 1 c milk where is it books”
“how to bake cake in a 5 burner gas cooktop candy”
“660grams of chocolate buttons = cups?”
“should a pumpkin roll cake be wet still when you take it out of the oven”
“why do my meringue cookies always end up with a syrup like crust on the bottom???”
“can u use buttercream piping for a dummy cake or will it rot? cake central”
“creme brulee didn’t set congeal can i freeze it”
“3cups cocoa powder 4sticks butter layer cake”
“why gateau cake didn’t rise”
“do they have pumpkin butter in sweden”
“why does creaming butter and sugar in more than one direction, get curds”
“260 grams flour and sugar and butter cake making how many eggs i use”
“i like to make it my own pomelo powder tall me how”
“i am looking for a recipe that used nutter butter cookies and butter as a crust, and then you melt marshmallows then make a layer of candy using cornsyrup and peanut butter chips”
I wish I could tell you the answers to all these existential questions, but…

IMG_8301_01

“best ice cream scoopers activated by body heat”
“brown butter cookie nutella fill kitchen dink w/ 2″ of cold water”
“waterproof nut pie crust”
“she made a graham with childish decorated toppings”
“pressure ulcers cooker de leche condensed milk”
“glitter sprinkle french macaron vanipla”
“whot. can. you yes. hef. coleur perpar”
“no egg no milk no butter cookiesh ki,o.lpo.ol”
“cheese lava guna kracker magic”
“like golden ray butter”
“drama psheat”
“pepar fool ke banana”
What?!?

“la peche fraiche”
“lapechefraiche”
“lapechce fraiche”
“la pache frasche”
“la pilche frache”
“peche freche”
“lapechefraige”
“la peche peach”
“rachel sally pastry blogs”
“rachel sally blog”
“ithaca rachel sally”
Lol hai.  Welcome.

IMG_8336_01

You guys search such silly things and manage to end up here, at my doorstep.
I can only begin to understand my readership through searches like “cheese lava guna kracker magic.”
Conclusion: you guys are weird.  And poor typists.  And are therefore in good company.

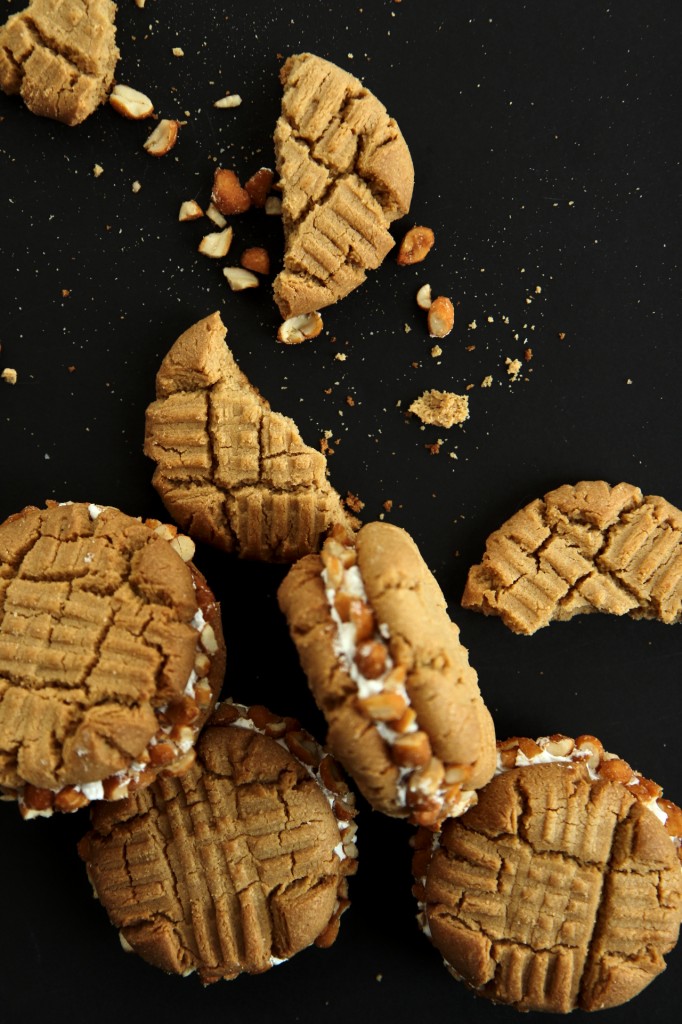
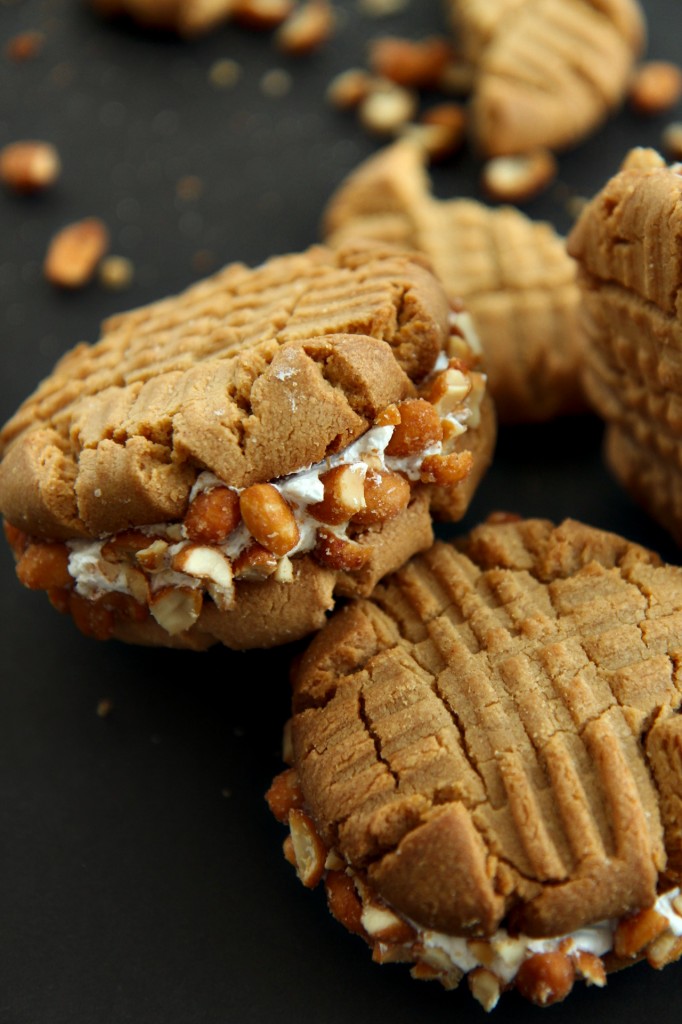
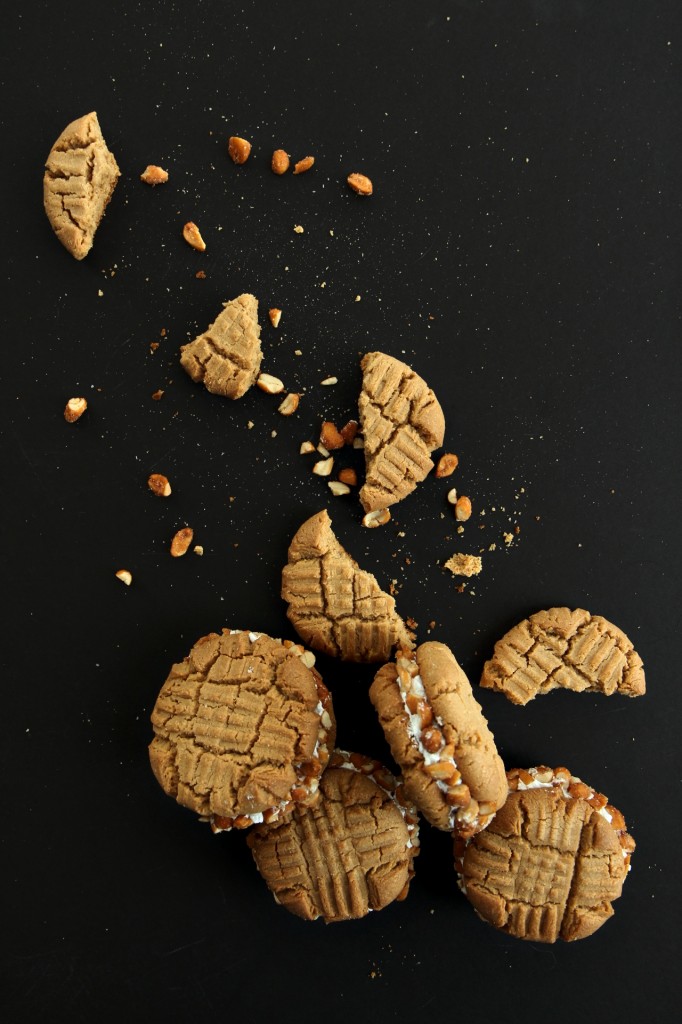
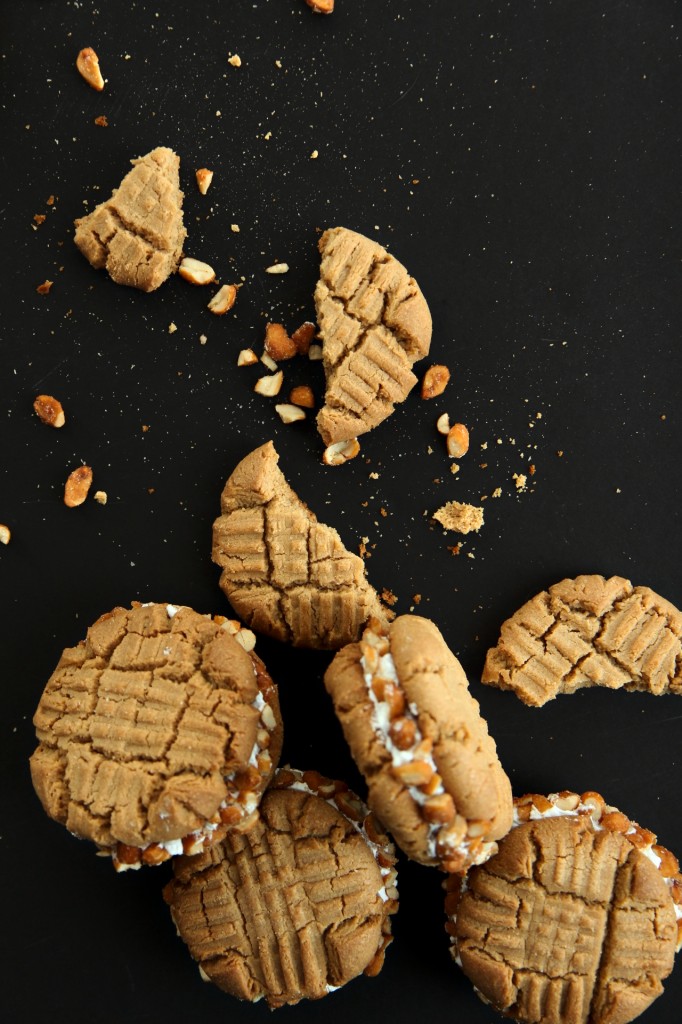
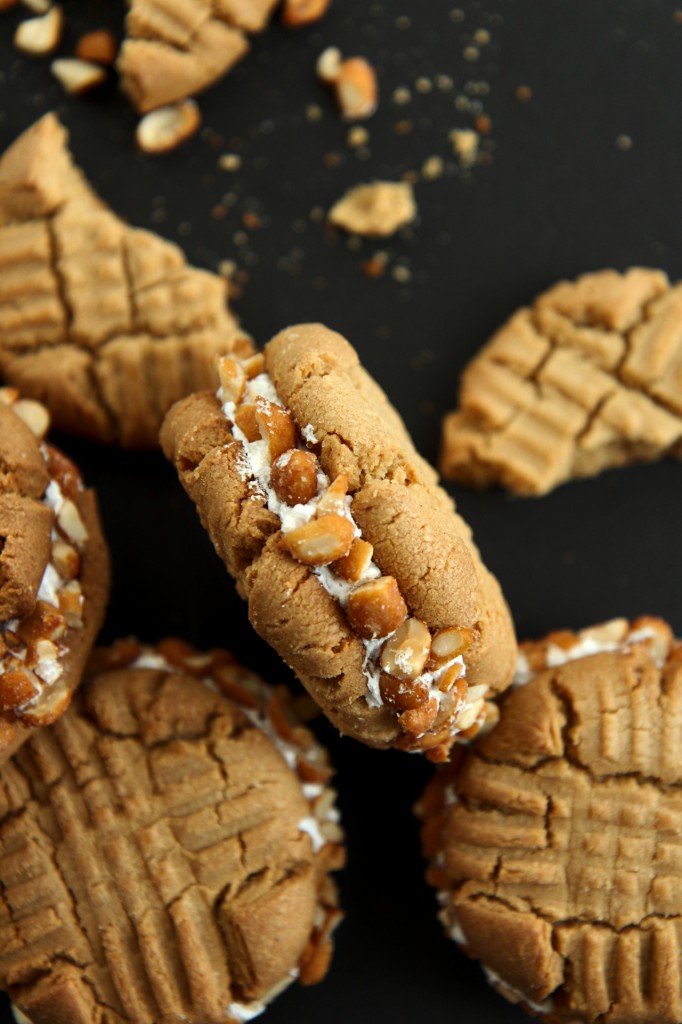
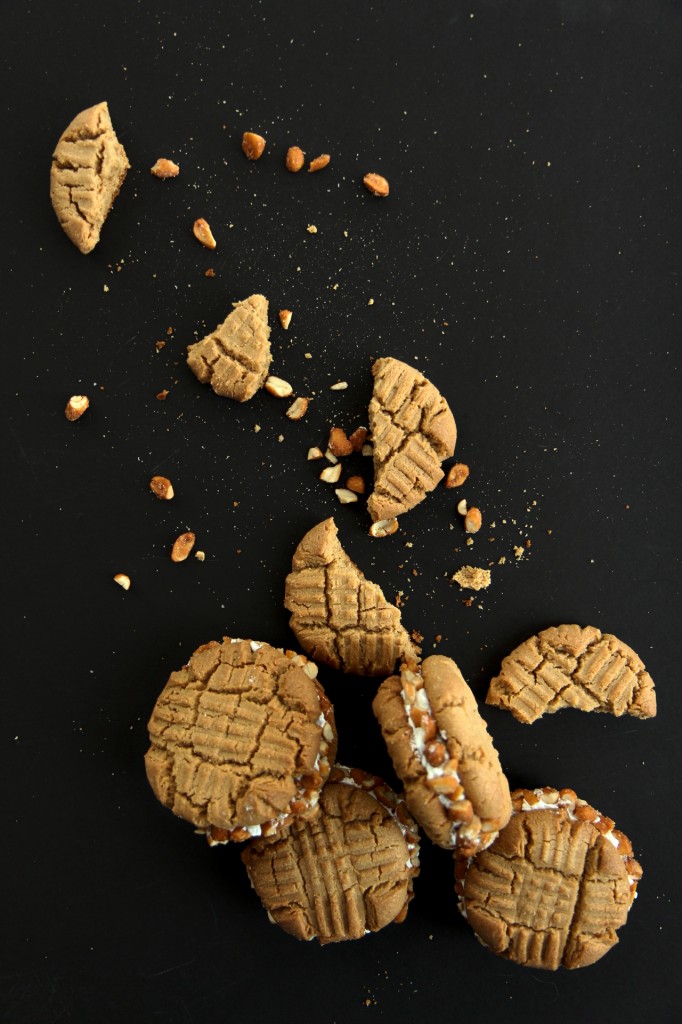
These cookies are delicious, fat, bakery-sized peanut butter sandwiches, filled with fluffy marshmallow and rolled in honey roasted peanuts, in honor of whoever searched
“i am looking for a recipe that used nutter butter cookies and butter as a crust, and then you melt marshmallows then make a layer of candy using cornsyrup and peanut butter chips”
Sadly, this is the best I can do for you.  I hope you enjoy them, mystery googler.
(I have a feeling they’re more delicious than this suspect nutter butter-corn syrup pie…)

The cookie base has edges that are crispy and crunchy, like a nutter butter, but a thick, soft center.  Perfect for sandwiching, and not too brittle or crumbly, like most PB cookies.
A cookie with bite.
Even better, they can be frozen for later!  Only use what you need, and stick the rest in the freezer for emergencies.
The marshmallowy filling is a billowy Italian meringue, whipped to sticky perfection.
Annnnnd this cookie sandwich is then rolled in
salted honey roasted peanuts.

These are like fluffernutters, only made with cookies.
Fluffernutter cookies.  Do I need to say more?

Perhaps just this: make these, you weirdos.  Ok.  That is all.

IMG_8324_01

Fluffernutter Cookies
makes 6 very large cookie sandwiches, or 12 cookies
cookie portion adapted from Miette

ingredients:
for the cookies:
113 grams (8 tablespoons) butter
1/2 teaspoon kosher salt
100 grams (1/2 cup) granulated sugar
70 grams (1/3 cup packed) brown sugar
1 egg
160 grams (1/2 cup plus 2 tablespoons) smooth peanut butter
1 teaspoon baking soda
180 grams (1 2/3 cups) flour

for the Italian meringue:
1 egg white
50 grams (1/4 cup) granulated sugar
pinch of salt
15 grams (1 tablespoon) water

to assemble:
about 3/4 cup honey roasted peanuts, chopped
pinch or two kosher salt

directions:
Make the cookies: beat butter on high speed until softened, about 2 minutes.
Add in the salt and sugars and beat for 3 minutes, scraping the bowl halfway through.
Add the egg and beat for 3 more minutes.
Scrape the bowl and add the peanut butter; beat for 1 more minute.
Scrape the bowl and add in the flour and baking soda all at once.
Mix on low speed until homogeneous.
Scoop out generous (1/3 cup) portions, then roll into smooth balls.
Press a cross-hatch pattern onto the cookies with a fork (or gently press them with a meat tenderizer) to flatten them slightly.
Place on a baking sheet and freeze for at least 15 minutes, and up to a month, wrapped very tightly in plastic and aluminum foil.
When ready to bake, preheat oven to 375 degrees F.
Bake cookies for 12 minutes, rotating the sheet halfway through.
Allow to cool completely, then assemble the sandwiches.
Make the Italian meringue: place egg white in the bowl of a stand mixer fitted with the whisk.
Place the salt, sugar, and water in a small sauce pot.
Begin to whip your egg white while heating the syrup on medium heat.
When your syrup reaches 200 degrees F, the egg white should be all foam; at 240, it should be at soft peaks.
Carefully pour the hot syrup into the egg white; beat the meringue until cooled to body temperature, about 5 minutes.
Spread onto one cookie and sandwich with another.
Mix the honey roasted peanuts with the extra salt, then roll the edges of each cookie in the mixture.
Enjoy with milk!

Shorted

IMG_5878_01

The kitchen burned down.

IMG_5906_02

No, I did not burn it down.  Thank goodness.
No, the building did not burn down.  Thank god.
Everyone is safe, but there was major damage done.
I am hardly the one most affected in this whole ordeal.

Let me tell the (theorized) story.

IMG_5889_01

People staying over Thanksgiving break understandably wanted to make latkes to celebrate Thanksgivukkah with the house.
They deep fried the latkes, took the pot of hot oil off the burner, and placed it on another burner.
All good.  Except they failed to check if the second burner was off (people were cooking like crazy, and it’s an electric stove, so)… It was not off.
It is no ones fault; there is no blame to lay.  It was a complete and total accident.

Apparently, the fire alarm went off while they were eating dinner, and it was discovered that there was a grease fire raging on in our house kitchen.

The sprinklers dumped gallons and gallons of water into the kitchen. It flooded.

The lounge flooded.

The remediation crew came in and threw everything out.

Everything.  From my hoarded Madagascar vanilla beans to my favorite, homemade apron. (This one.)
My carefully curated pantry was emptied.

Where bags of flour, sugar, cocoa, and spices once resided, there is nothing.
Today, they’ve gutted the kitchen.  There is no longer even a cabinet.
I cried.  Not gonna lie.

IMG_5840_01

The apartment below the kitchen, a faculty member’s, has had extensive water damage and flooding through the ceilings.  They have 2 dogs and 2 small children.  My heart goes out to them in this trying time as they attempt to put their life back together.

Our kitchen will (fingers crossed) be back up and running at the beginning of winter quarter.

None of you are probably wondering what will happen to this blog in the two weeks to come, before I can go home.
A lot of no bake stuff, some posts I have saved up, some cookie swapping.

IMG_5836_01

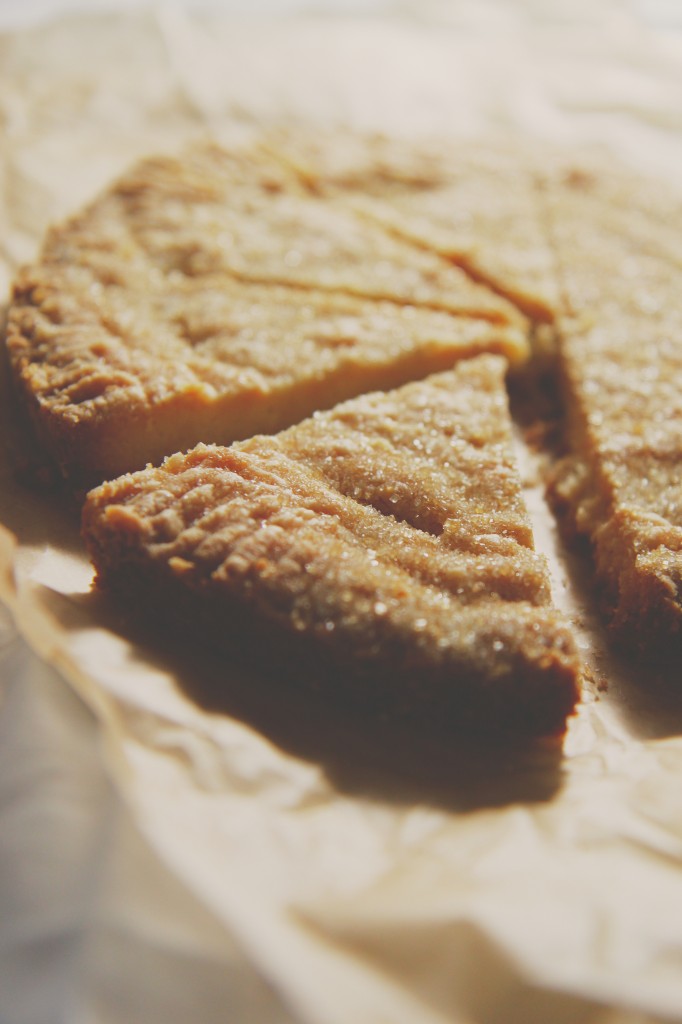
Enter these memorable cookies, which I made 2 weeks ago and which are still fragrant and melting on my tongue.
I was craving something buttery and sweet, something that balanced coconut, raspberry, and salt.

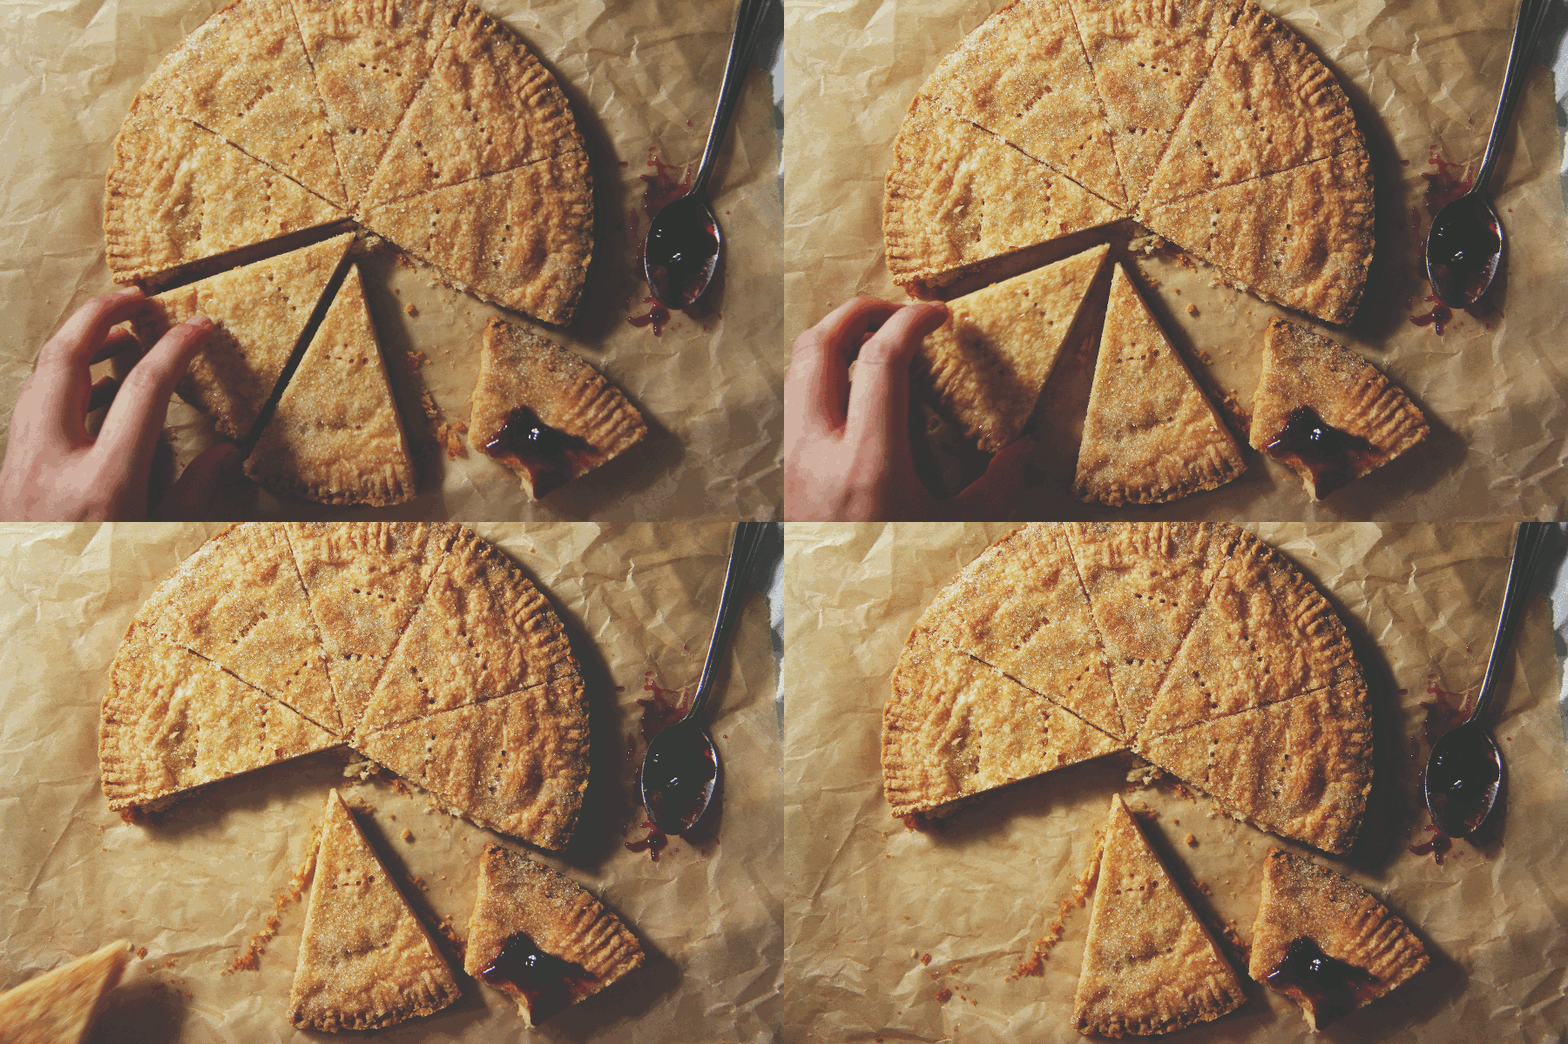
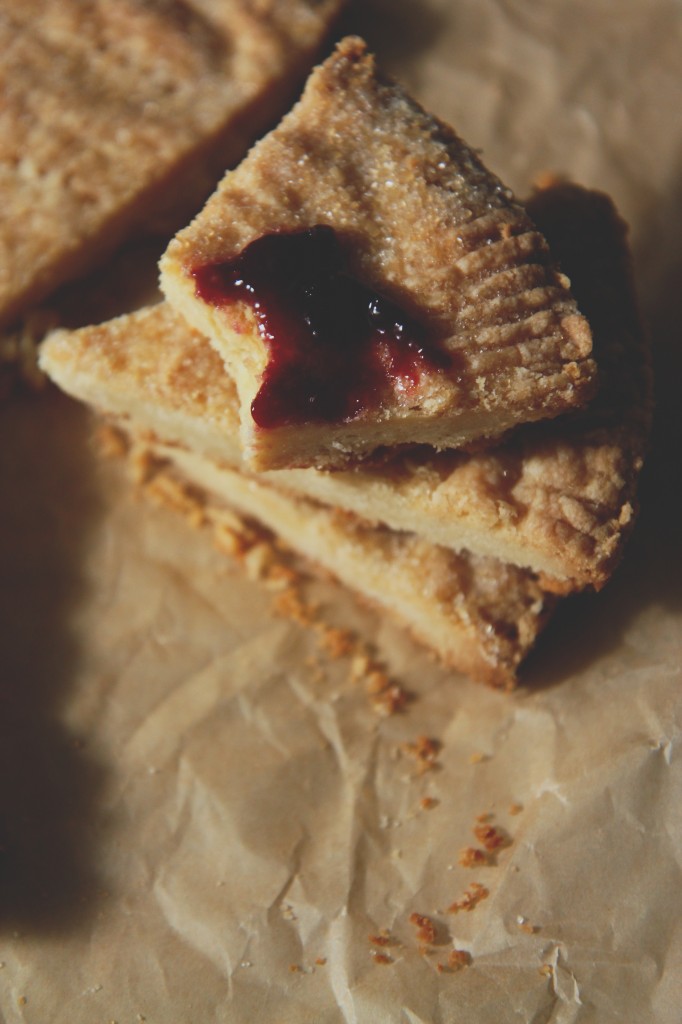
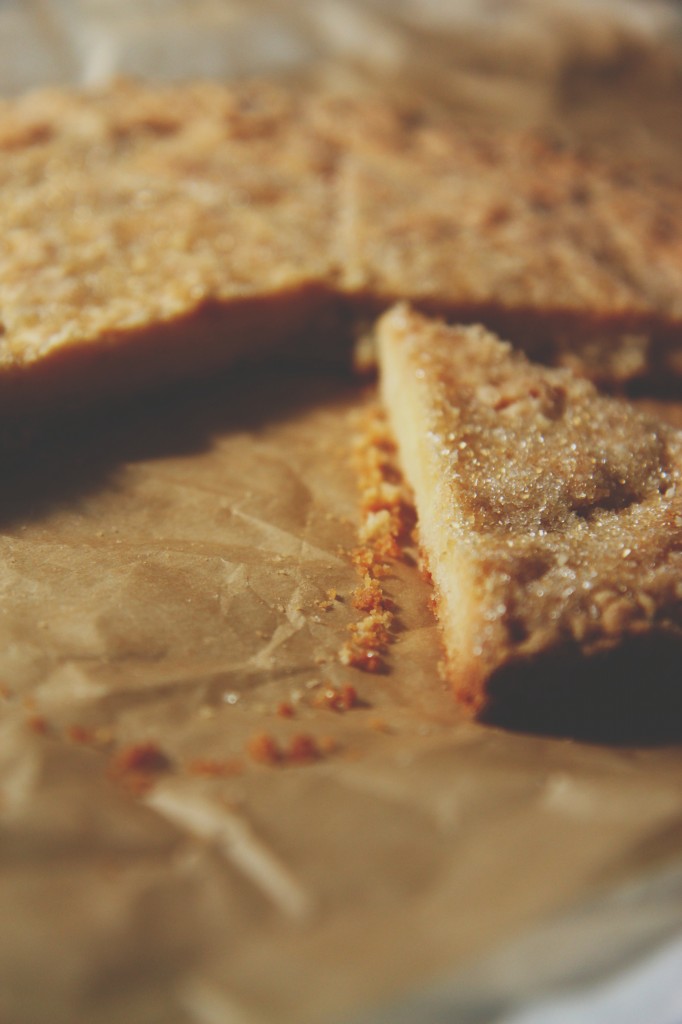
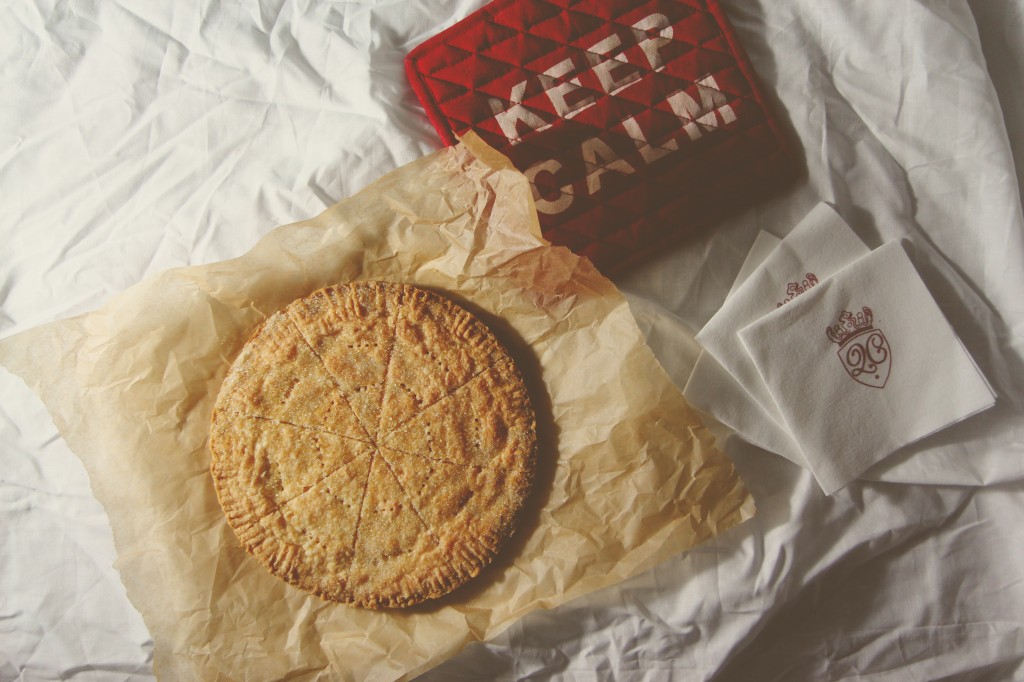
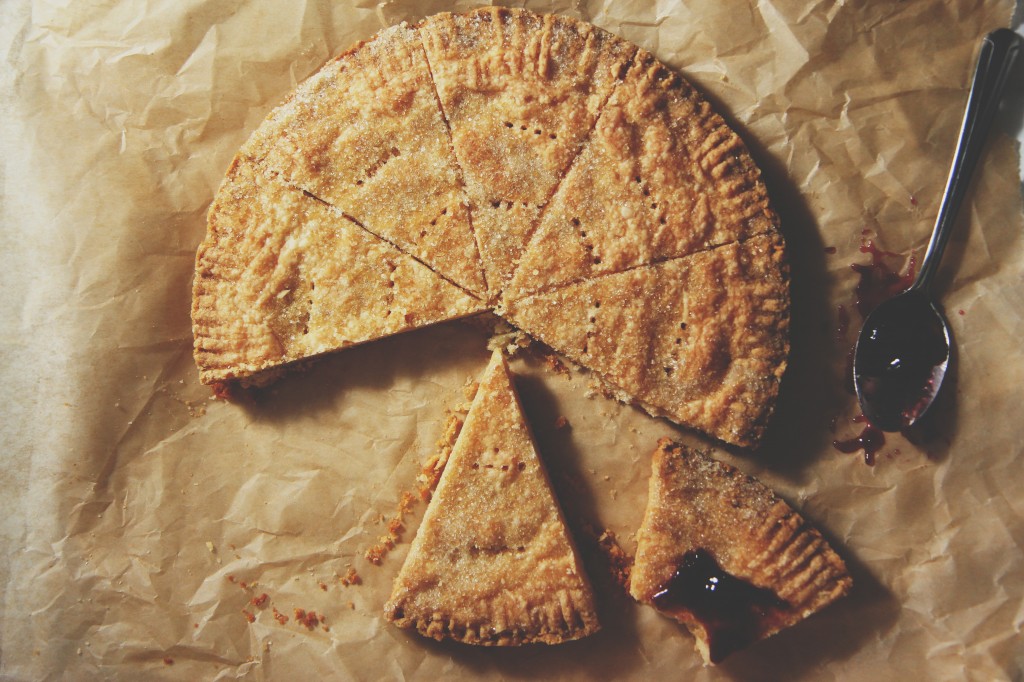
Putting raspberry jam in cookies has proven to be too steep a task for me recently, so I decided on something simple, that could be served with the jam on the side: enter the classic Scottish shortbread.
And, honestly, no one touched the jam but me.  It’s not necessary, but you will include it on a serving tray with these cookies if you know what’s good.

The cookies are a mash-up of ingredients I had in my pantry (before it burned down, RIP).
Coconut oil, butter, cream cheese.  Flour, salt, sugar.  Simple, simple, simple.

The dough is easy: cream, mix, press, crimp, bake.
My friend who thought she didn’t like coconut loved these!  Yay!  Yet another victory for coconut oil!

Back soon with peanut butter.  Or lemon.  But not both. (Ew ew ew that’s probably something only my dad would like.)

IMG_5886_01

Coconut Oil Shortbread

makes one 9-inch pan
ingredients:
2.2 ounces (4 1/2 tablespoons) butter
3 ounces (5 1/2 tablespoons) coconut oil, solid
1.5 ounces cream cheese
3 ounces (3/4 cup) powdered sugar
7 ounces (1 1/2 cups plus 2 tablespoons) flour
1/2 teaspoon kosher salt
scant 2 ounces (1/4 cup) sugar, for sprinkling

directions:
Preheat oven to 350 degrees F.
Grease and flour a 9-inch round pan.
Cream butter, coconut oil, and cream cheese together for 3 minutes, until homogeneous and smooth.
Scrape the bowl and add the sugar, flour, and salt.
Mix on low until a crumbly dough forms.
Scrape the crumbs into the prepared pan and press down firmly.
Prick all over with a fork; crimp the edges and score if desired and sprinkle with sugar.
Bake for 22-25 minutes, until shortbread is golden and fragrant.
Remove from oven and allow to cool slightly before serving.
Eat with raspberry jam!  Please!

Wonder Woman

IMG_5756

Disclaimer: this post contains explicit words, but it also contains chocolate.  Read at your own discretion, my loves.

Wake up ready to kick this day’s ass.

Put on those leggings that make you feel like fucking wonder woman
pull them up up up
snap the waistband
choose your warmest wool socks and your favorite sports bra.
Admire your butt in those leggings.

Ready to yoga this day away.

Om, motherfucker, om.

IMG_5806

Get to your bike
jiggle the key into the lock
key won’t turn shit shit shit
take it out, try again.
No luck.  Contemplate forcing it open, worry that it will break.
Pull off your gloves with your teeth, smash the key but no, it’s really fucking stuck.

Check the time: you’re too goddamn late for class anyways.
Stream off all the curse words you know.
Blame the bike;
blame the cold;
blame the key,
just not yourself.
Decidedly not yogic.  Fuck it.

IMG_5761

Back inside, strip off the scarf, jacket, socks, gloves.
Back into the warmth of the kitchen.

Retreat into your head.
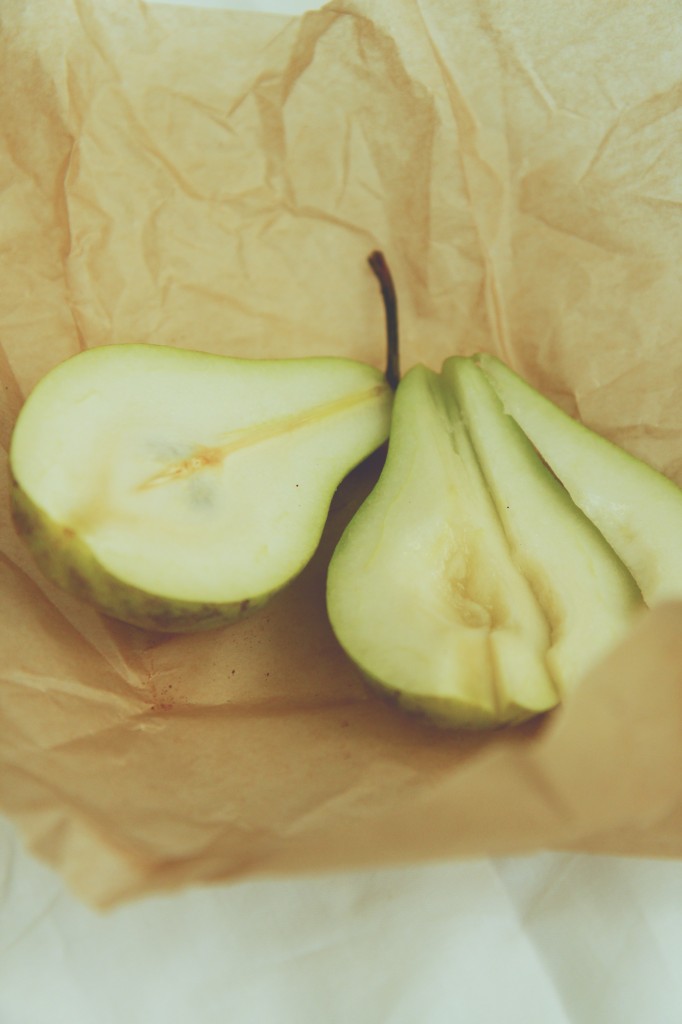
Slice gorgeous little Concorde pears, whip eggs with a touch of sugar,
brown butter, stir in heaps of dark chocolate until it’s smooth and shiny.
Dip in a finger and then another.
Dance around listening to Van Morrison, spoon in mouth, chocolate smeared down your chin.
Talk to your father on the other side of the Atlantic; try to make yourself seem calmer than you really are; pretend you have your shit together.
Switch to Stevie Wonder as you munch on gingersnaps.

IMG_5788

Bake the cake for half as long as all of the Stones songs in your library.
Work on yet more goddamn chemistry problems while you wait.
Celebrate the correct ones with a piece of chocolate.

Paint your toes electric blue.
Wish for the ocean.

Braid your mile-long hair and notice that your arms are tired by the end of it;
resolve to do 10 extra chuttarungas today.
Pick all of the crispy, crunchy bits off the cake: they were going to fall and burn anyway.
Wish for a cup of milk,
settle for your water bottle.

IMG_5817

Shudder when Christmas music comes on;
no no not ready too much too soon Jesus let me take it one fucking holiday at a time.
Watch the cake rise rise rise
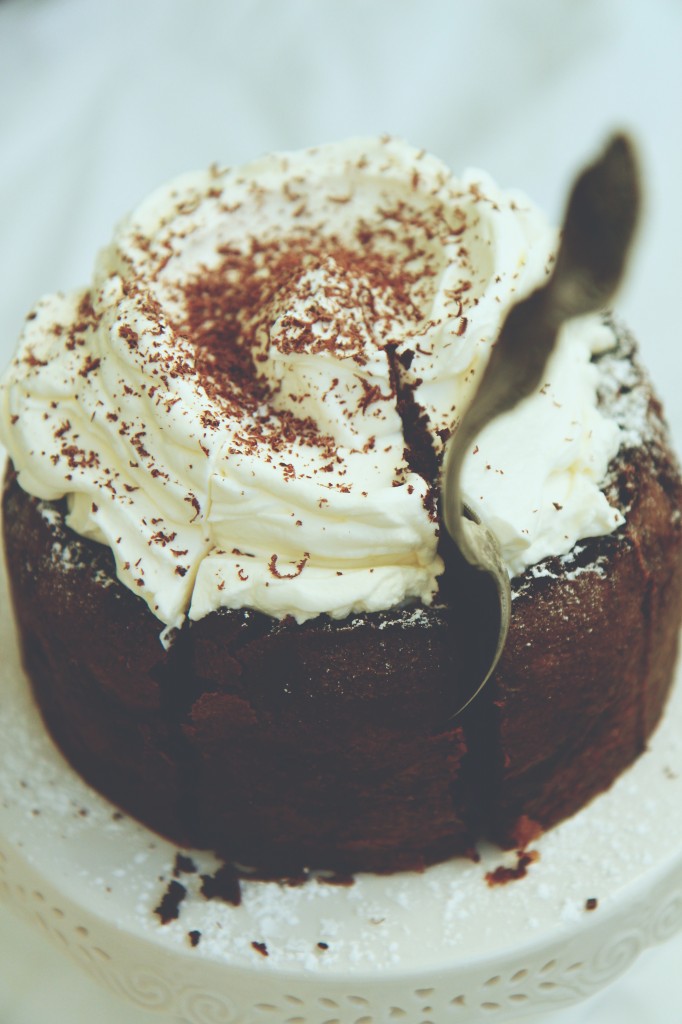
and then fall in the center, cooling into a gooey pudding.  What the fuck.

Giggle and agree when your friend says it’s kinda ugly;
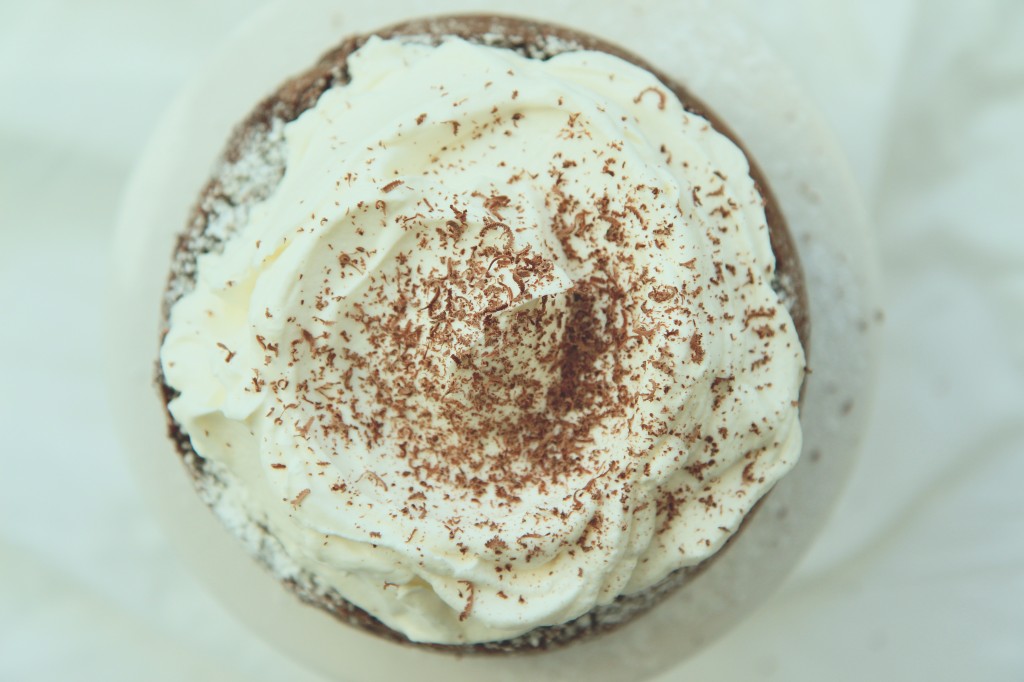
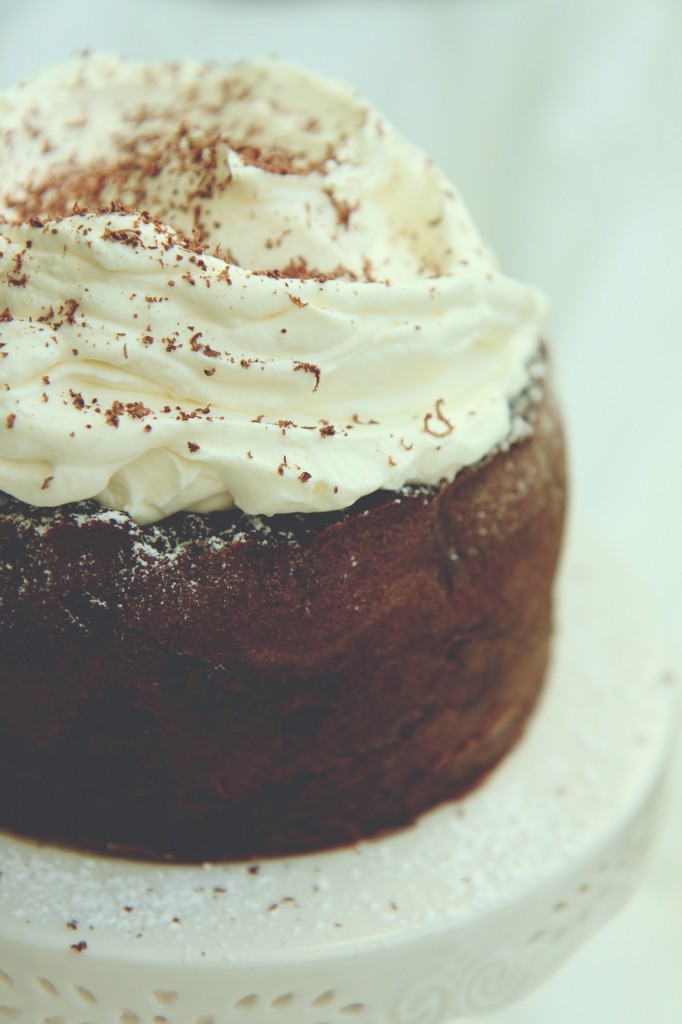
gracefully declare it “rustic” but secretly plan to hide its hideousness with globs of whipped cream and a shower of powdered sugar.
Call it a torte and explain that it’s supposed to look that way.  Pick the pears off the top when no one is around.

Laugh at your ugly fucking cake through the lens of your camera.
Serve that motherfucker with love, gratitude, humility, and a chocolaty smile.

Om.

IMG_5733

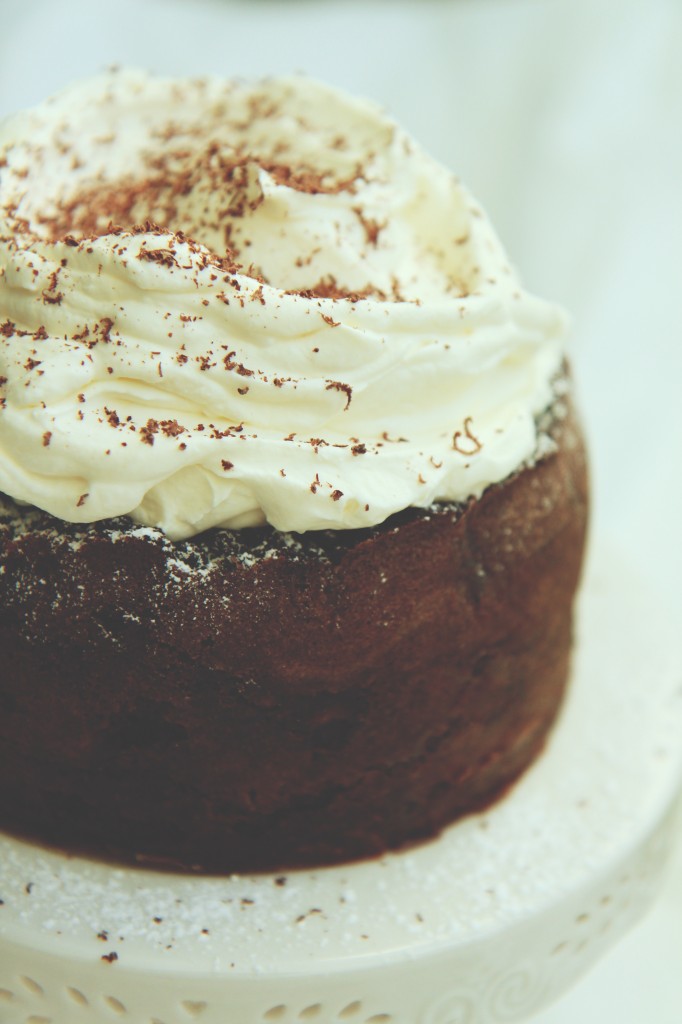
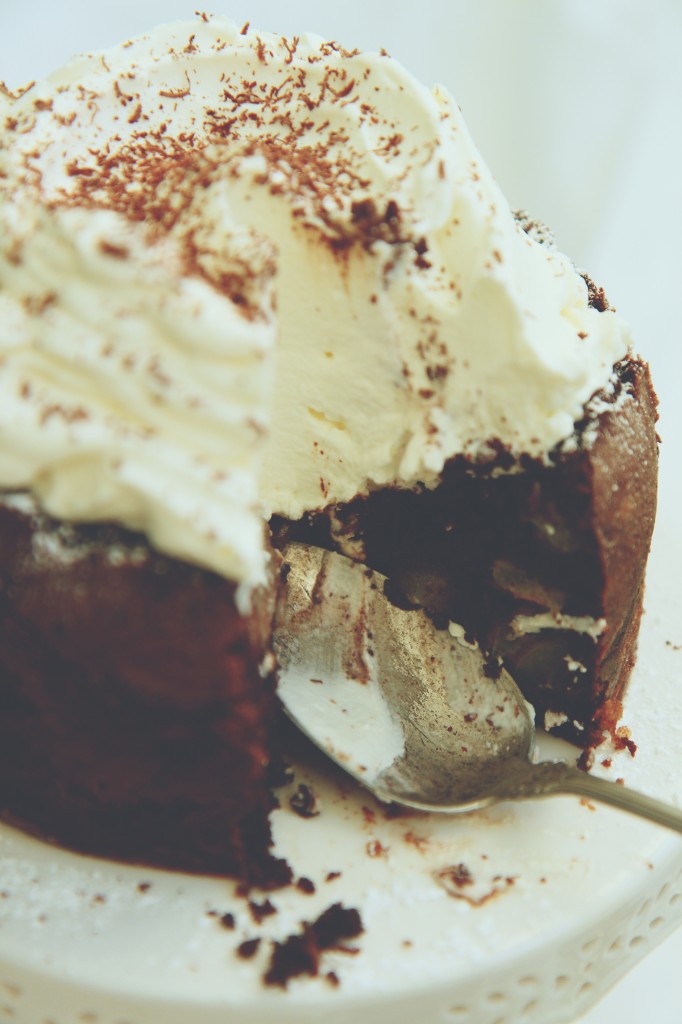
This cake is utterly simple, almost flourless, and full of lovely chunks of pear, whose juices turn it into a pudding.
The center will collapse in; fill in the crater with whipped cream and no one will be any the wiser.
It’s almost brownie-like in its texture, and the sweet pears play a beautiful foil to the rich chocolate.
Serve it in mugs with spoons.  Feed your heart; feed those you love.

Much love from my full heart to yours.

IMG_5752

Pear and Dark Chocolate Torte
adapted from Cook Eat Love
makes 1 6×3 inch cake

ingredients:
170 grams (6 ounces) dark chocolate, chopped
140 grams (1/2 cup plus 1 tablespoon plus 2 teaspoons) butter
pinch kosher salt
120 grams (1/2 cup plus 1 tablespoon plus 2 teaspoons sugar
3 large eggs
25 grams (3 tablespoons) flour
1 teaspoon baking powder
5 small pears, peeled, cored, and chopped and tossed with an extra 25 grams (3 tablespoons) flour
360 mL (1 1/2 cups) whipping cream, beaten to soft peaks
powdered sugar, to taste, and for dusting

directions:
Preheat oven to 325 degrees F and grease and flour a 6×3 inch springform pan.
In a saucepan, brown the butter; stir in the chocolate and whisk until a smooth ganache forms.
Whisk in a pinch of salt.
Meanwhile, beat the eggs and sugar until they are tripled in volume and very pale in color, about 7 minutes.
Sift the flour and baking powder over the eggs, then fold it in.
Fold in the chocolate mixture, then fold in the flour-covered pears.
Spread the batter into the prepared pan and bake for an hour, until the center is barely jiggly; immediately transfer it to the freezer.
Softly whip the cream with a touch of powdered sugar, if desired, then spread over the cooled cake.
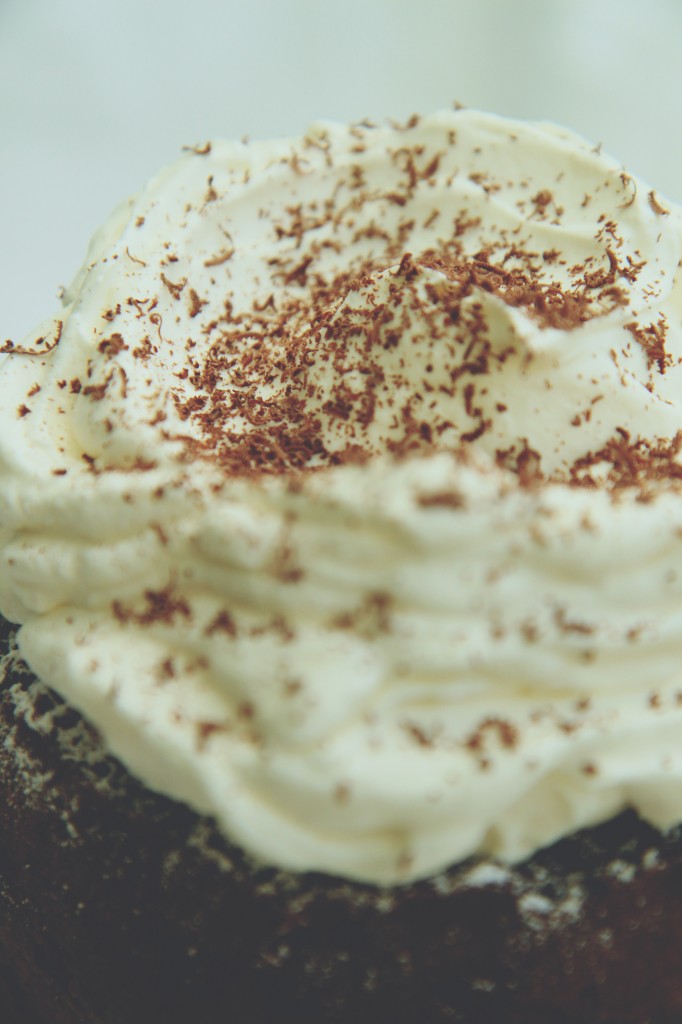
Dust with chocolate shavings and powdered sugar.
Eat with a SPOON.

Between Two Lungs

IMG_4859_01

“I’m so glad I live in a world with Octobers.”

-L.M. Montgomery, Anne of Green Gables

IMG_4838

Happy Halloween, y’all!

Have some cake.

Go ahead; dig right in.

IMG_4814_01

This cake won first place in a “study break”  competition in my residence hall!
Meaning it won my house points in the house cup (yes, just like the Harry Potter house cup!)!
!!!!!!!!!!!!!!

(DGH fo’ lyfe.)

I was so nervous/excited.
Now I’m excited/proud/tired.
Writing this at 2 am 3 am 4 am 10 am. FML.

(Yes, I actually tried to write this at all those times… I don’t want to talk about it.  I want to whine about it.)

IMG_4852

Guyyyyzzzzzz I was supposed to be doing a 12 problem calculus p-set last night, but I was at the study break celebration/competition (study break is a tradition at uChicago: it’s any treat that someone volunteers to make on Wednesday for the house to enjoy and take a break with) until 11, so I didn’t start the problem set until around then.

I did 6 problems in about an hour…

and then realized

that I did them

in the wrong section.

like WHAT I am taking calc at uChicago you would think I could tell the difference between

12.2 and 12.3 but NOPE no way so

I was up until 4am last night finishing this damn p-set for my 9am class this morning.

Moral of the story: I am a zombie and more so than ever, I want to eat this bloody heart cake.

IMG_4862

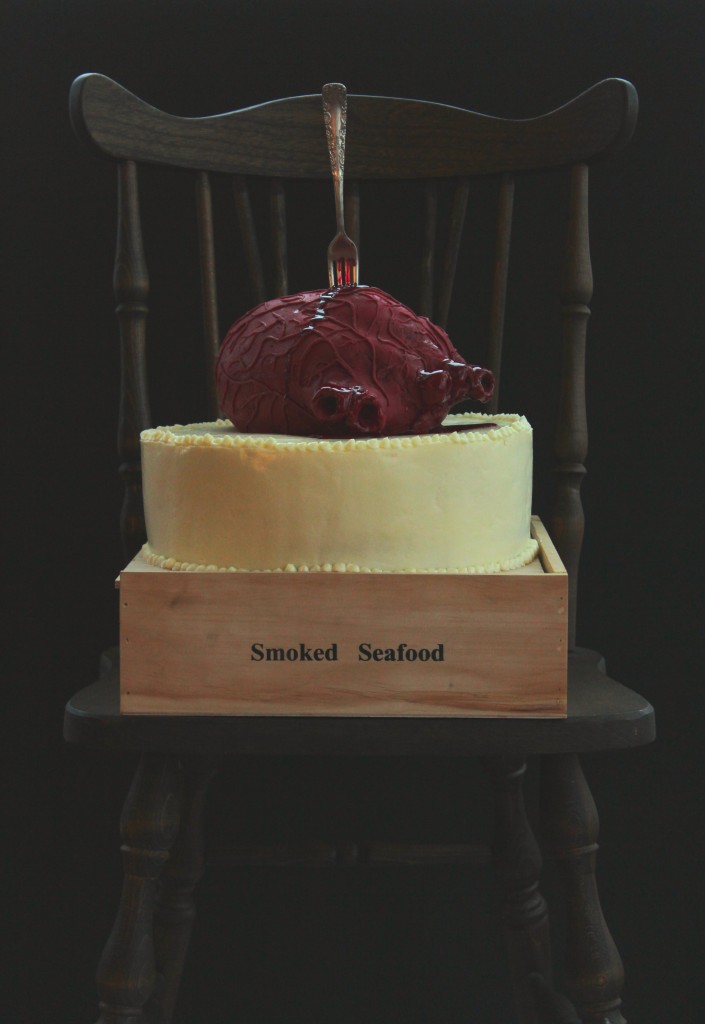
Let me give you a brief overview of this cake: (don’t be overwhelmed!)

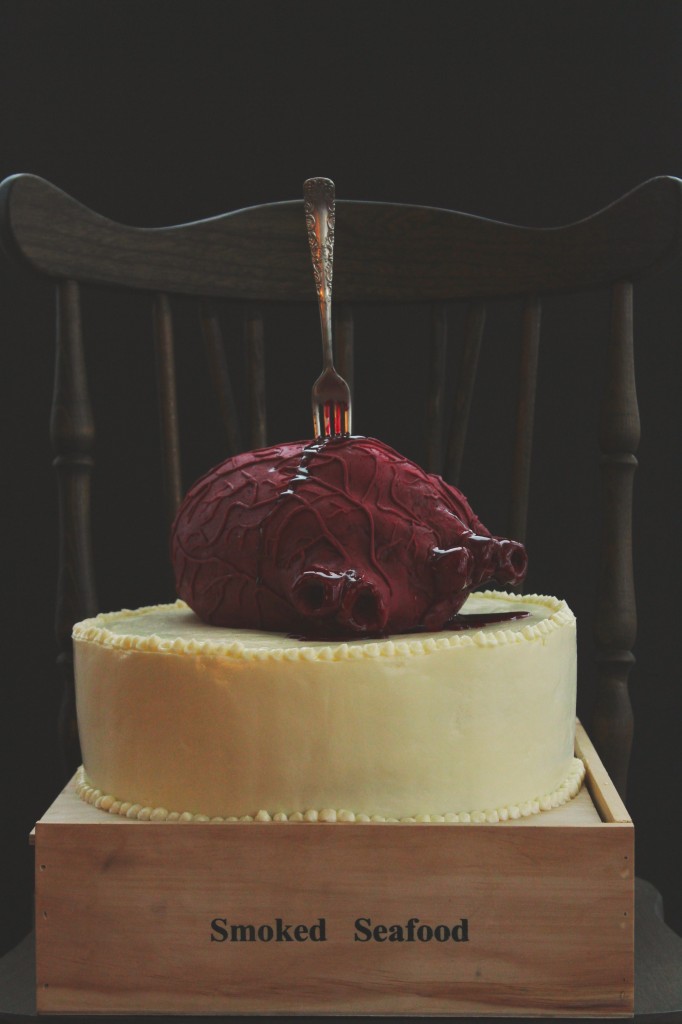
it is a 12 inch, 5 layer cake

3 layers of tangy red velvet
2 layers of rich chocolate
enrobed in fluffy, silky Italian meringue buttercream
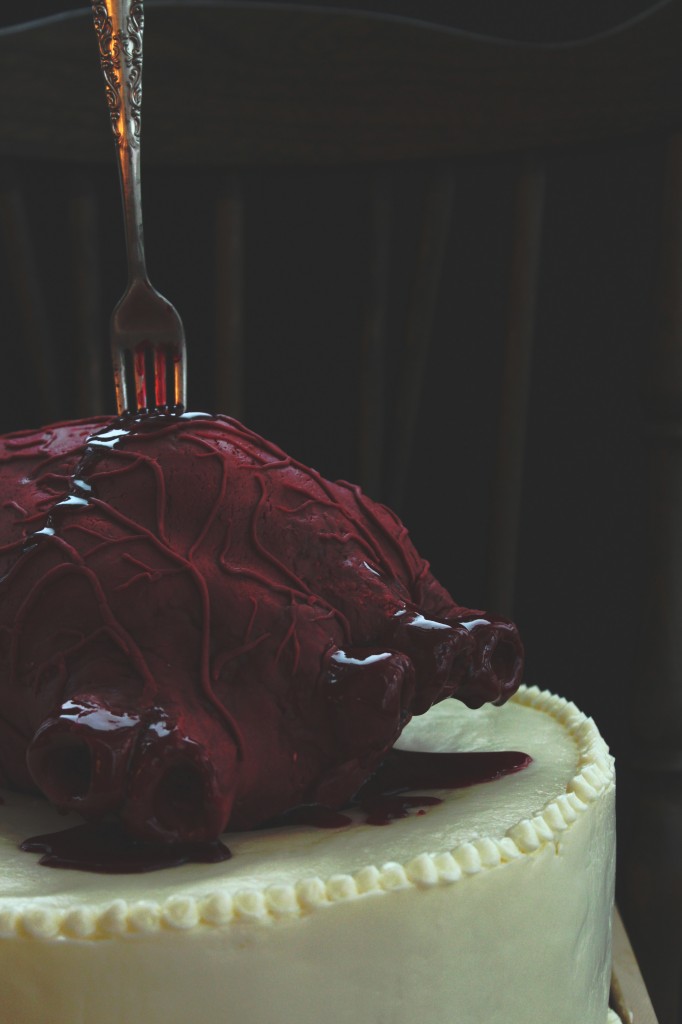
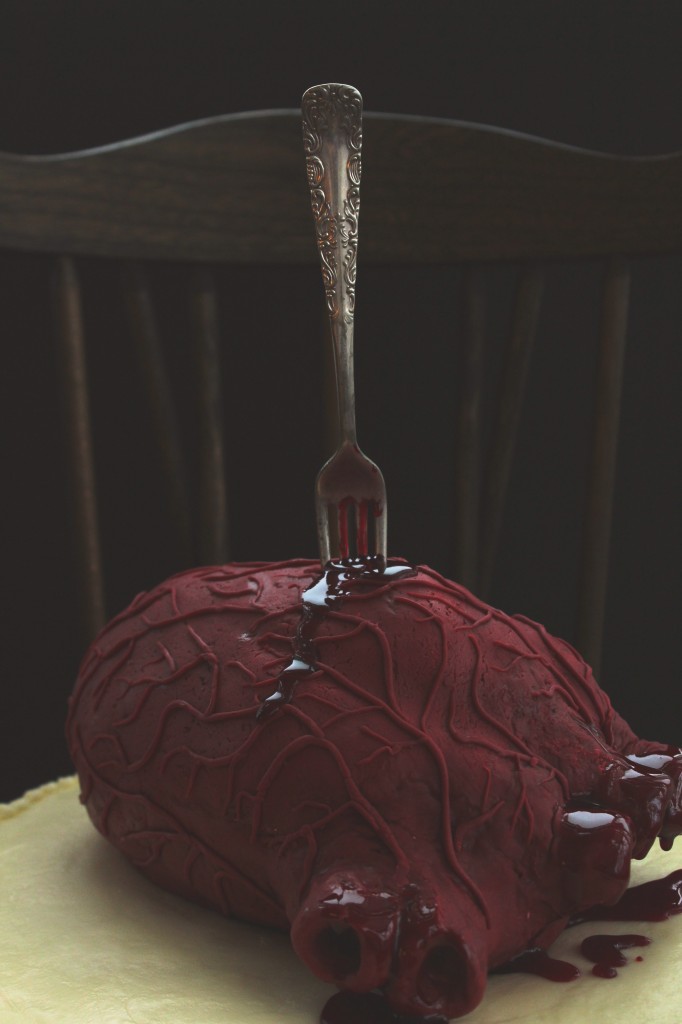
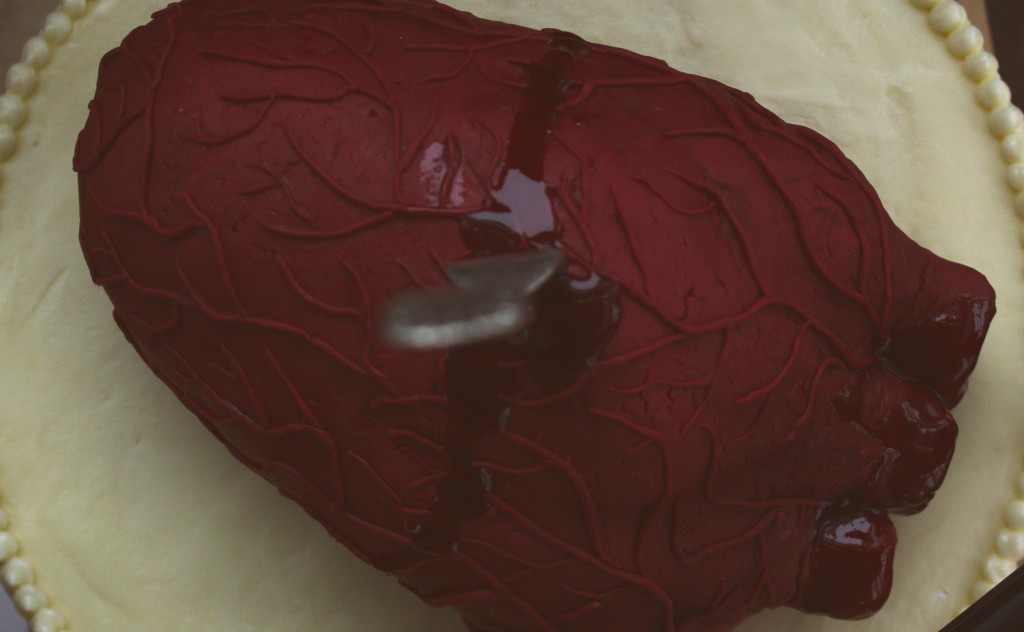
topped with a bleeding heart sculpted from rice krispies treats and covered in homemade marshmallow fondant.

It’s over the top, and somewhat grotesque.
But isn’t that what Halloween is all about?
I mean, c’mon.

Creepy bloody hearts are prime Halloween subjects.
Grab a fork and knife and tuck in!

IMG_4860

Bleeding Heart Cake

You’ll need:
3 batches red velvet cake (recipe below), baked in a 12×2 inch pan
2 batches chocolate cake (recipe below), baked in a 12×2 inch pan
2 batches Italian meringue buttercream (recipe below)
1 1/2 batches classic rice krispie treats (recipe from the Rice Krispie website, here) (I recommend only using a total of 2 tablespoons butter, instead of 4.5, to firm up your krispie treats)
1/2 batch royal icing (Bridget is the queen of royal icing… Go forth and prosper with her amazing and fail-proof recipe)
1/2 recipe marshmallow fondant, tinted red with a touch of green and purple (Annie’s directions are AWESOME and you should check them out… As well as the rest of her blog… It makes me swoon.  Love!)
Raspberry jam mixed with corn syrup and red food coloring to create a purple-red, thick fake blood (you have to eyeball this to your best ability)

directions:
While your krispie treats are warm, crunch them up a bit with oiled hands.
Begin to work the treats firmly, packing tightly, into an egg shape.
Mold a small, rectangular lump on the upper right “corner” of the heart; this will be your pulmonary artery and vein.
Make a slight indent that cuts from the upper right side to the middle/lower left side (refer to pictures!!!).
Freeze until hard; meanwhile, roll your fondant out to 1/4 inch thickness.
Cover the krispies with royal icing to smooth out any lumps, then cover in fondant, making sure there are no gaps where royal icing may seep through.
Seal the edges with a little bit of water and the dull side of a butter knife.
Begin to add on fondant on either sides of the diagonal indent to create slightly raised ventricles; adhere 3 balls at the top left “corner” and smooth them into cylinders to create your aorta- stick a dowel or pinky finger into the center to create the interior.
Do the same ball technique for the pulmonary vein and artery on the right upper corner.
Continue to smooth with water and a knife.
Once you are content with the shape (again, refer to pictures!), use the remaining fondant to roll tiny little veins, arteries, and capillaries.
Use a little bit of water to adhere the blood vessels to the outside of the heart, mapping them out so that all of the smaller vessels stem from a larger, central artery or vein.
Drape with plastic wrap and allow to dry slightly- I recommend overnight, but make sure it is covered in plastic lightly so that it doesn’t crack and dry out too much.
For the cake itself, layer a red velvet, then 1/3 cup frosting (the filling is very thin between the layers- they are moist enough that it is unnecessary, and too much filling will compromise the structure, so beware.), then a chocolate layer, then red velvet, and so on and so forth.
For red velvet and chocolate, a crumb coat is key.
Apply a thin layer of frosting to trap the crumbs, then refrigerate until completely set- about 30-45 minutes.
Ice the cake with the remaining buttercream, piping on details if you wish.
Place the heart in the center of the cake and stab it with a fork or knife, if desired.
Strategically drip some of your fake blood on the cake to give the illusion of a bleeding heart.
Go scare people!

Red Velvet Cake
adapted from the Food Network
makes 1 12×2 inch layer
ingredients:
150 grams (1 1/4 cups) flour
150 grams (3/4 cup) sugar
1/2 teaspoon baking soda
pinch salt
5 grams (1 tablespoon) cocoa powder
150 grams (1/2 cup plus 2 tablespoons) oil
120 grams (1/2 cup) milk, plus 1 tablespoon vinegar
1 egg
14 grams (1/2 ounce) red food coloring (the liquid kind)
directions:
Preheat oven to 350 degrees F and grease and flour a 12×2 inch pan.
Whisk the flour, sugar, baking soda, salt, and cocoa powder together.
Whisk the oil, milk, vinegar, egg, and food coloring together.
Whisk the wet into the dry ingredients and whisk well to combine.
Pour into pan and bake for 25-30 minutes, until a tester comes out clean.

Chocolate Cake
adapted from the Kitchn
makes 1 12×2 inch layer
ingredients:
200 grams (1 cup) sugar
105 grams (3/4 cup plus 2 tablespoons) flour
30 grams (1/4 cup plus 2 tablespoons) cocoa powder
3/4 teaspoon baking powder
3/4 teaspoon baking soda
big pinch salt
1 egg
60 grams (1/4 cup) oil
120 grams (1/2 cup) hot water
directions:
Preheat oven to 350 degrees F and grease and flour a 12×2 inch pan.
Whisk the sugar, flour, cocoa powder, baking powder, baking soda, and salt together.
Whisk the egg and oil into the dry ingredients.
Whisk the hot water into the batter; it will be very, very thin.
Pour into prepared pan and bake for 25-30 minutes, until a tester comes out clean.

Italian Meringue Buttercream
more in-depth directions here
ingredients:
5 egg whites
200 grams (1 cup) sugar, plus 20 grams (scant 2 tablespoons) (divided)
56 grams (scant 1/4 cup) water
500 grams (4 1/2 sticks) butter, cut into chunks and softened but still quite cool
directions:
Whisk the egg whites with 20 grams of sugar.
Meanwhile, heat the rest of the sugar with the water in a saucepan until it reaches 240 degrees F.
At this point, the meringue should be at softly stiff peaks.
Drizzle the hot syrup over the meringue and beat until cooled to body temperature.
Beat in the butter 1 tablespoon at a time; keep beating until frosting is light and silky.

Scavenged

IMG_4739_01

This cake soothed some of my OCD tics for a beatific hour or so.

IMG_4750_01

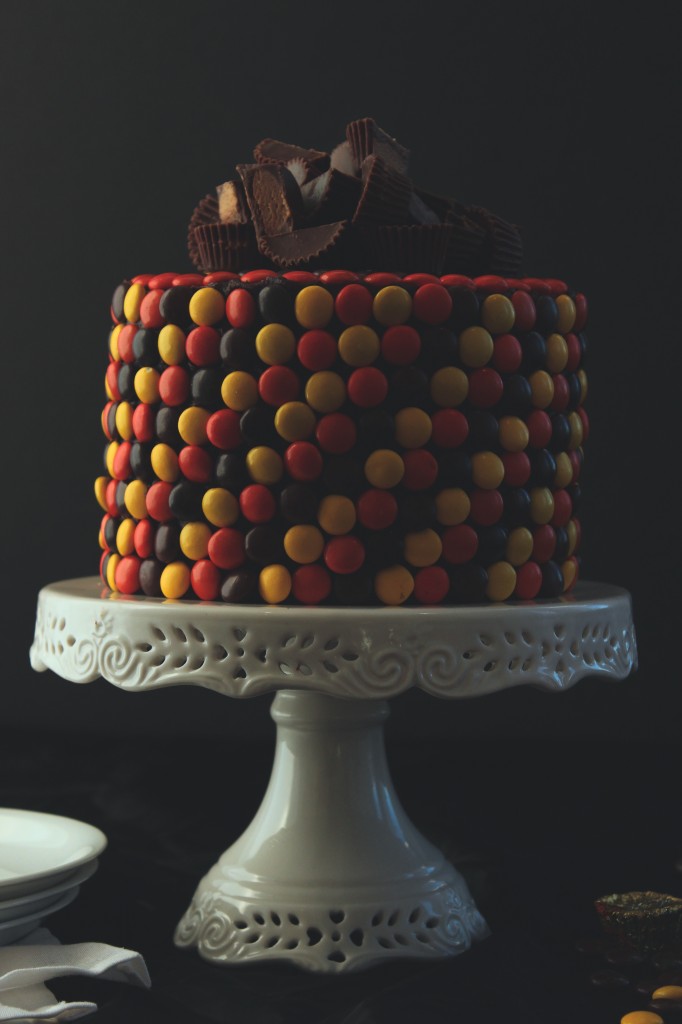
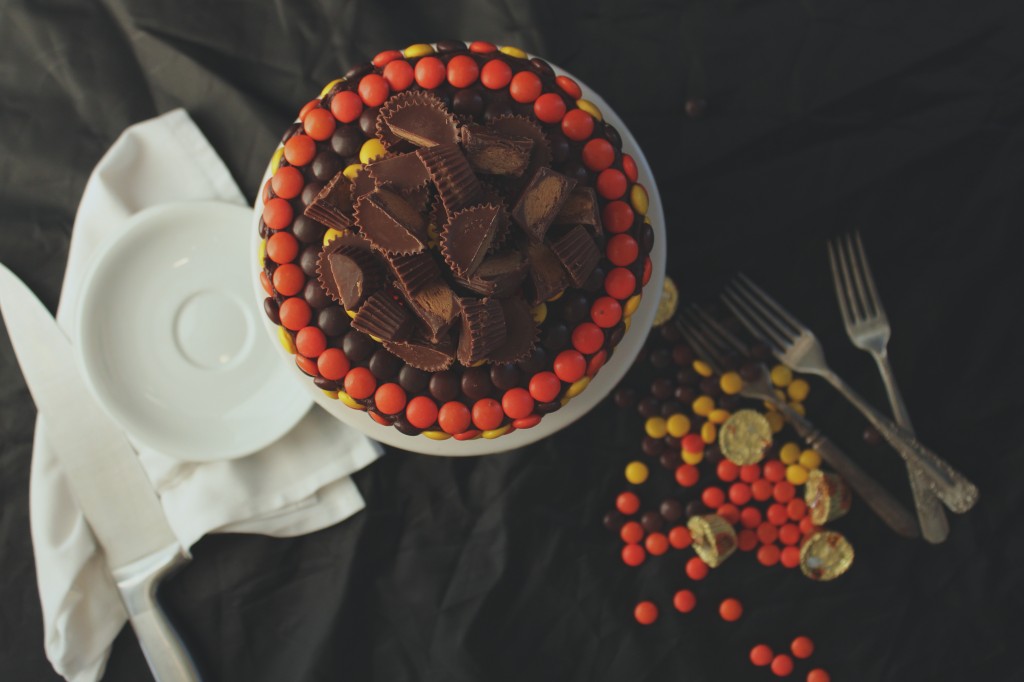
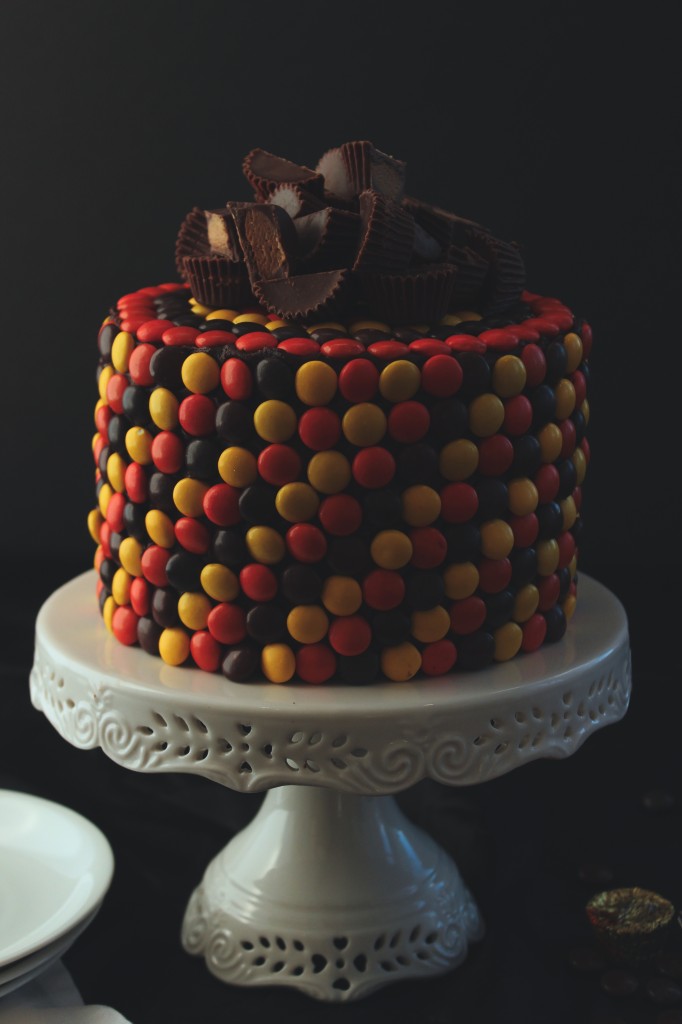
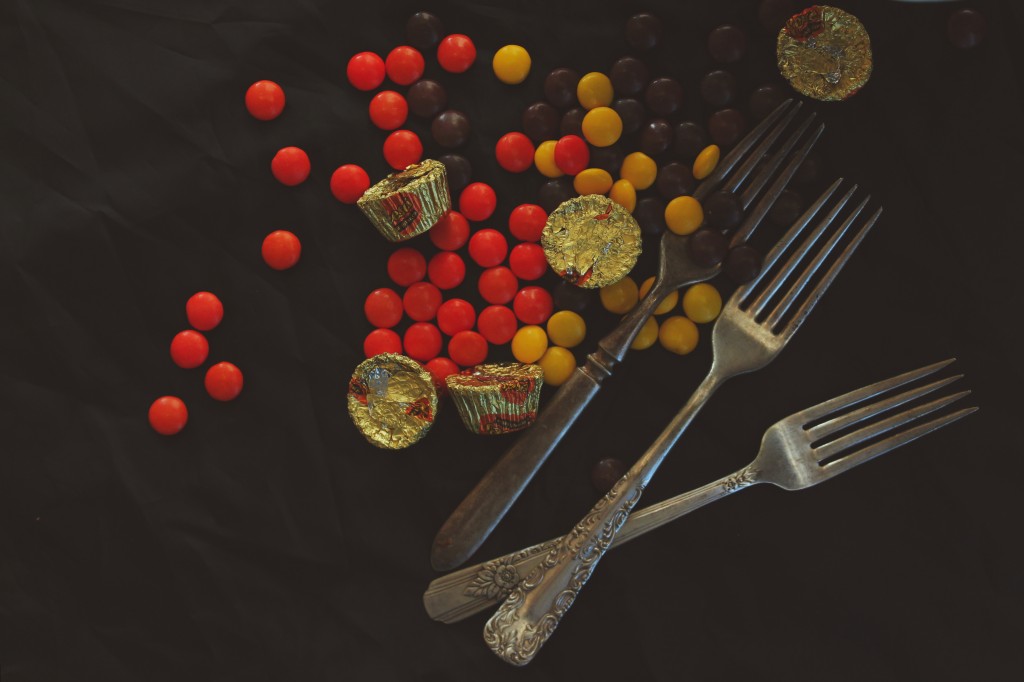
It was very fulfilling to separate the Reese’s Pieces by color.  I felt good, even though it ate away at 45 minutes of my free time, which is precious little here in college.

I ended up sorting through almost twice as many as I needed.  Oh well.

While I was mindlessly dropping each color into its own bowl, I stopped biting my lips, something which has become quite a subconscious and destructive tic.

Cake works wonders, I tell ya.

IMG_4736_01

The inspiration for this cake hit me in a CVS candy aisle, like all good ideas do.
I was buying Robitussin for this ridiculous cold I still have.
They were selling bags of Reese’s Pieces, 2 for $6.

My first thought was

CAKE.

IMG_4782_01

Reese’s Pieces have never been among my top candy choices.
To be honest, I would almost certainly choose m&ms over them any day.
That being said, they are purrrfect for Halloween treats.

Other times of the year, the colors leave something to be desired.
When Halloween rolls around, though, it’s go time.

Armed with lots of Reese’s Pieces, I began to plan for a Halloween cake.

Obviously, it had to be peanut butter

and therefore

also chocolate.

But most recipes I found were chocolate cakes covered in some sort of peanut butter frosting.
I had my heart set on the opposite- peanut butter cake with chocolate frosting.

Mainly because, well, have you seen how many chocolate cakes are on this blog?  It’s a little ridiculous.
I feel like I make a chocolate cake every two weeks.

I needed change.

IMG_4733_01

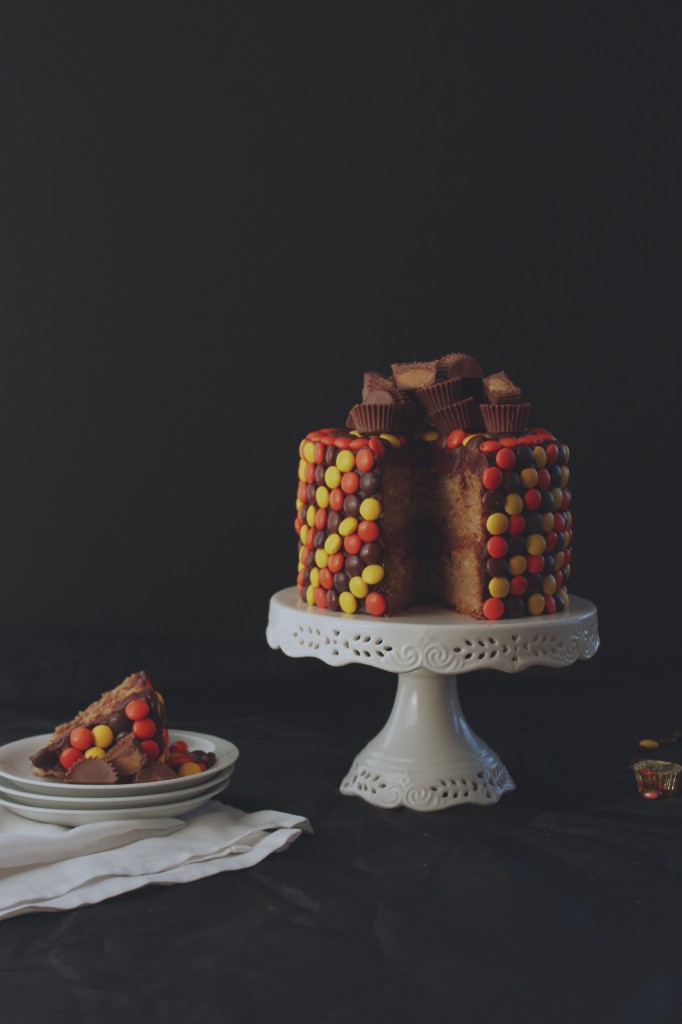
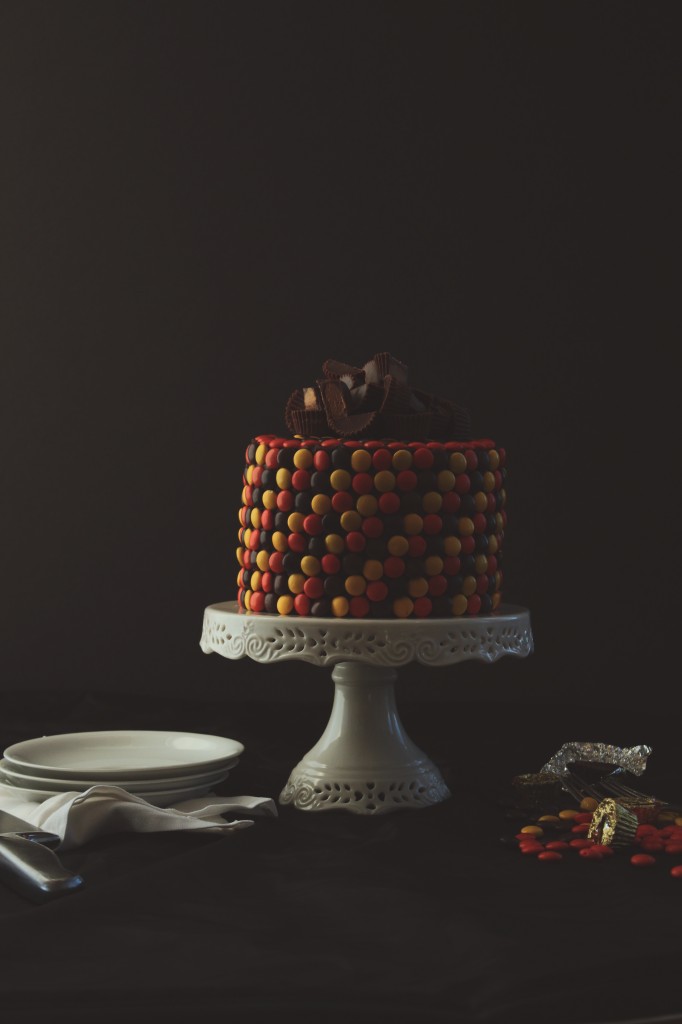
In the end, the cake was a two layer peanut butter cake which was soft and flavorful, covered in whipped peanut butter and bittersweet chocolate ganache, and decorated with Reese’s Pieces and PB cups.

It was supposed to be three layers

but

I dropped one of the pans and it fell on the ground and broke into a million pieces and my friends and I gobbled it up, fresh and hot, right then and there.  RIP.

This is a scavenged cake because I swiped the peanut butter for it from the dining hall.
I convinced my friends to each grab me a few of the little tablespoon-sized packets.

I myself grabbed a few and the resultant ridiculous amount of PB was smuggled out in my backpack, which ended up being the perfect amount for this cake.
Hooray!

P.S. note that this is another Halloween post sans pumpkin.  Ahem.

IMG_4735_01

Peanut Butter Cup Cake
cake portion adapted from Simply Gloria
ingredients:

for the cake:
1 cup creamy peanut butter
1/2 cup butter, softened
1 1/4 cup sugar
big pinch kosher salt
2 eggs
splash vanilla
1 cup milk, plus 1 1/2 teaspoons apple cider vinegar
2 1/4 cup flour
1 1/4 teaspoon baking soda
1 teaspoon baking powder

for the ganache:
1/2 cup plus 2 tablespoons cream
6 tablespoons butter
8 ounces (1/2 pound) chocolate, chopped
1/2 cup peanut butter

for decoration (optional):
Reese’s pieces
peanut butter cups, chopped

directions:
Make the cake: preheat oven to 350 degrees and grease and flour 3 6-inch pans.
Whisk flour, baking powder, and baking soda together; set aside.
Beat peanut butter and butter together until completely smooth, about 4 minutes.
Add in the sugar and salt and beat until combined well, about 2 minutes.
Scrape the sides of the bowl and add the eggs and vanilla; beat until completely combined, 2 minutes more.
While mixing very slowly, stream in the buttermilk while simultaneously shaking in the flour mixture.
Mix until completely combined then scrape the sides of the bowl and mix a little more.
Spread into your pans and bake for 25-27 minutes.
Allow to cool completely.

Meanwhile, make the frosting: melt the cream, chocolate, and butter together in a microwave safe bowl; gently stir together and put in fridge to cool.
Once the ganache is semi solid and chilled, whip it until it becomes fluffy; add the peanut butter and whip until the ganache is fluffy, light-colored, and spreadable.

Decorate to your heart’s content!

16 September

IMG_3302

It’s my 18th birthday, today.

IMG_3352

Today is the only day of the year

where everyone writes

on my facebook wall.

Rejoice.

IMG_3306

I secretly hate my birthday.

IMG_3373

This may seem trite coming from a teenager, but I’ve always been acutely aware and afraid of growing older.

Each birthday that passes, a wave of fear and anxiety passes over me.  I’ve always been the baby.
I’m the baby of my family; I’m almost always the baby among friends.

Getting older makes me feel uneasy scares the shit out of me.

IMG_3358

Birthdays have hung heavy with regret, especially as I come close to adulthood.  (Am I an adult yet?)

I’m a worrier.  It’s my nature.

I worry that I haven’t done enough
haven’t enjoyed enough
haven’t appreciated enough
haven’t taken each and every last moment of my life, this precious and fleeting thing, and lived it to the fullest.

It’s futile, of course.

IMG_3314

That doesn’t stop me from thinking about it, waking in the dead of night, sweating, crying, scared, worried, tangled in the sheets, blinking like a bird roused from its nest.

IMG_3364

So, yes.  But birthdays come with cake.

And I love cake.

So.

IMG_3374

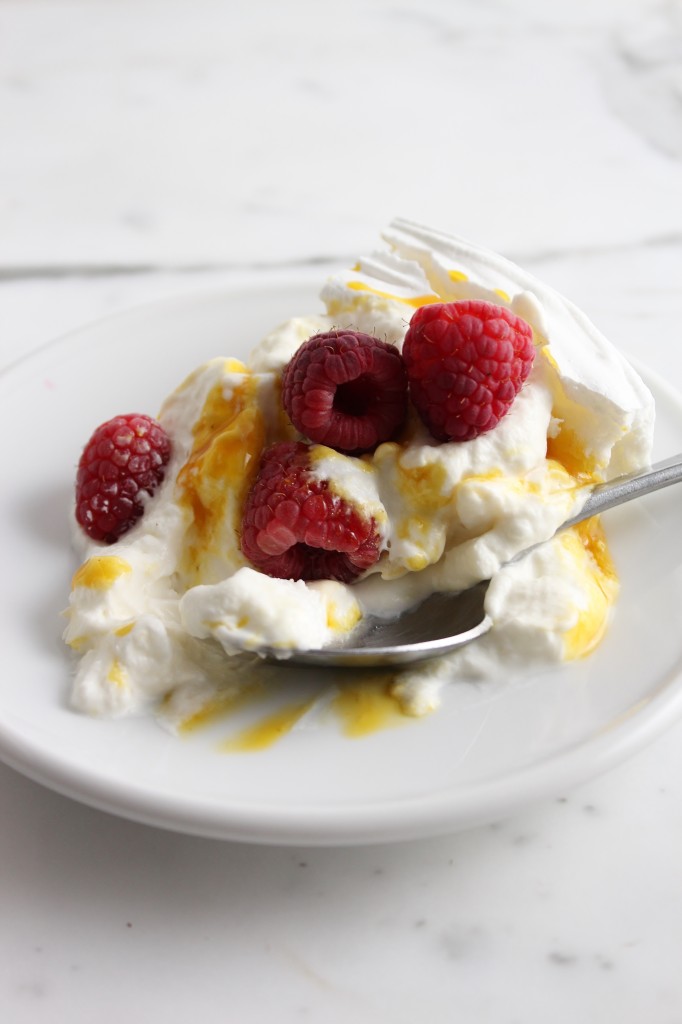
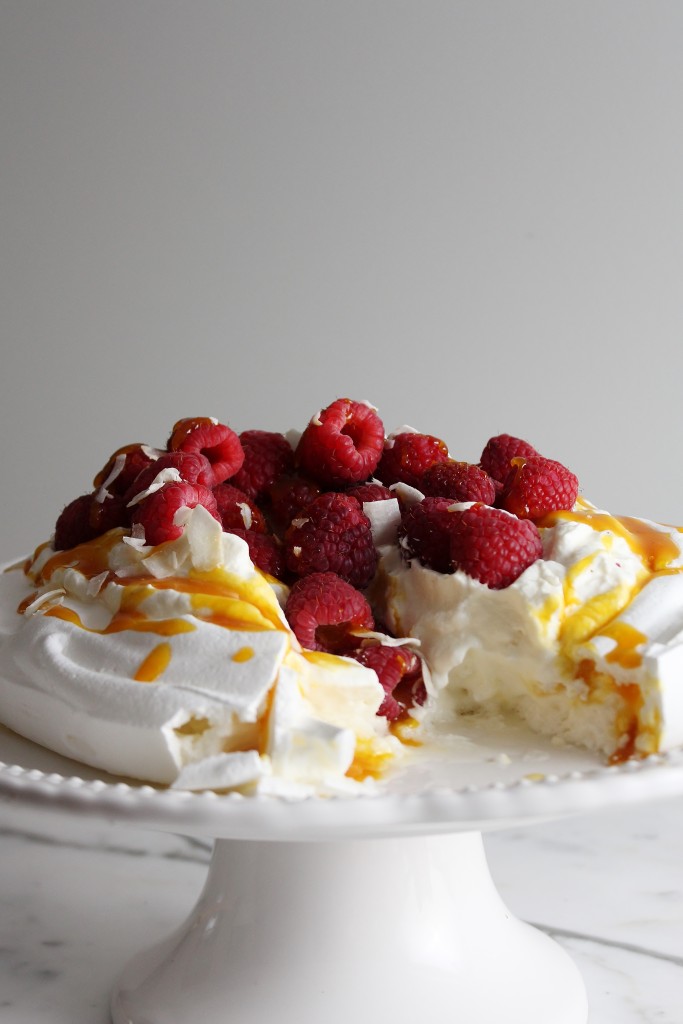
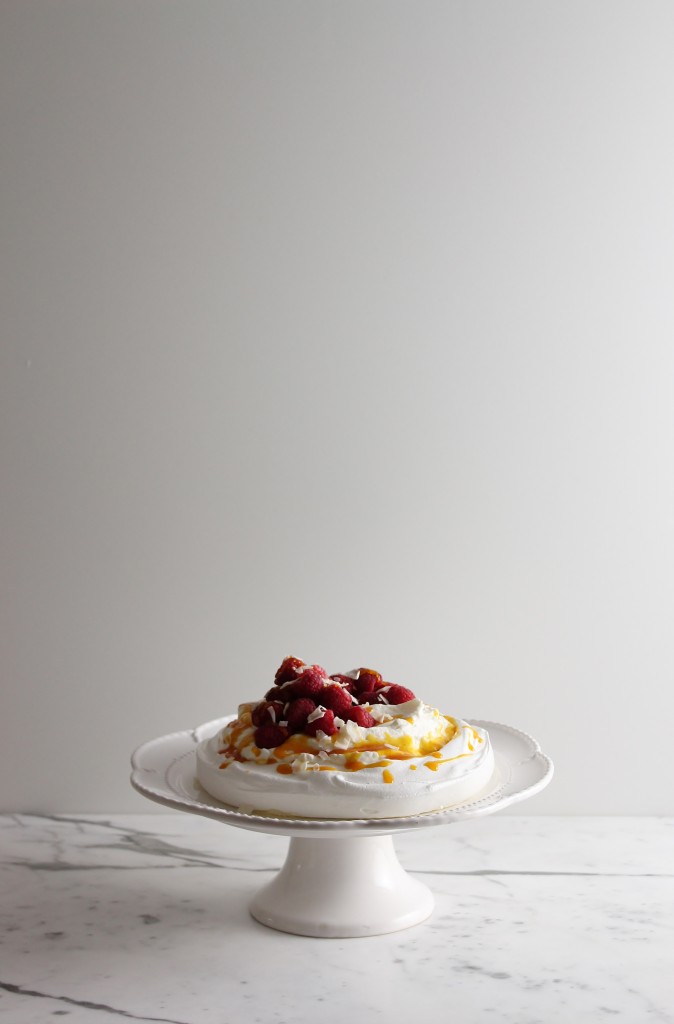
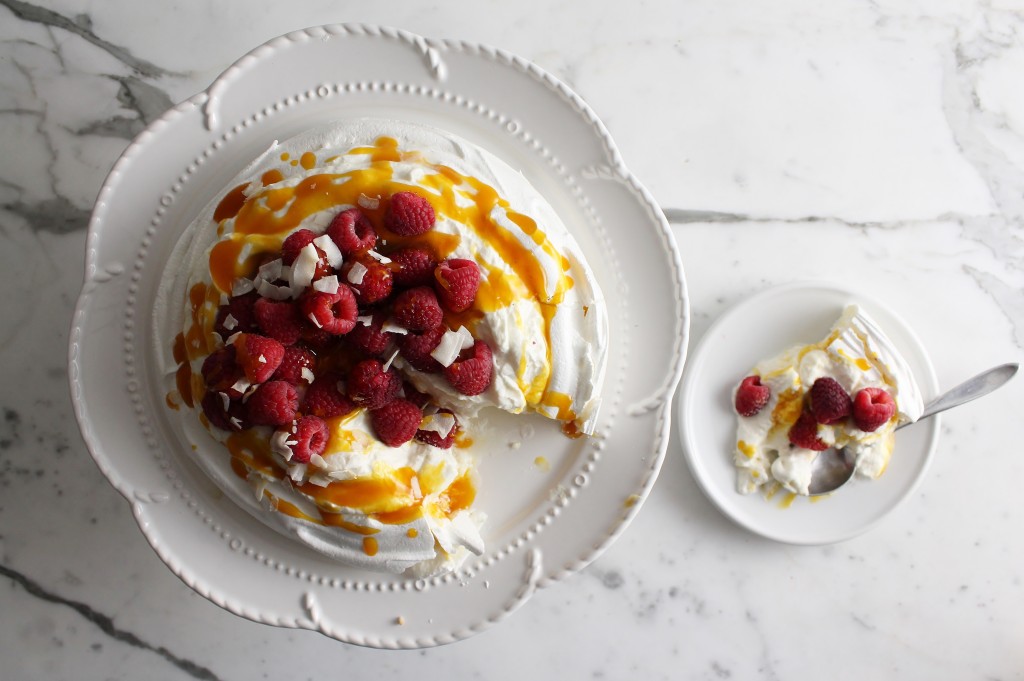
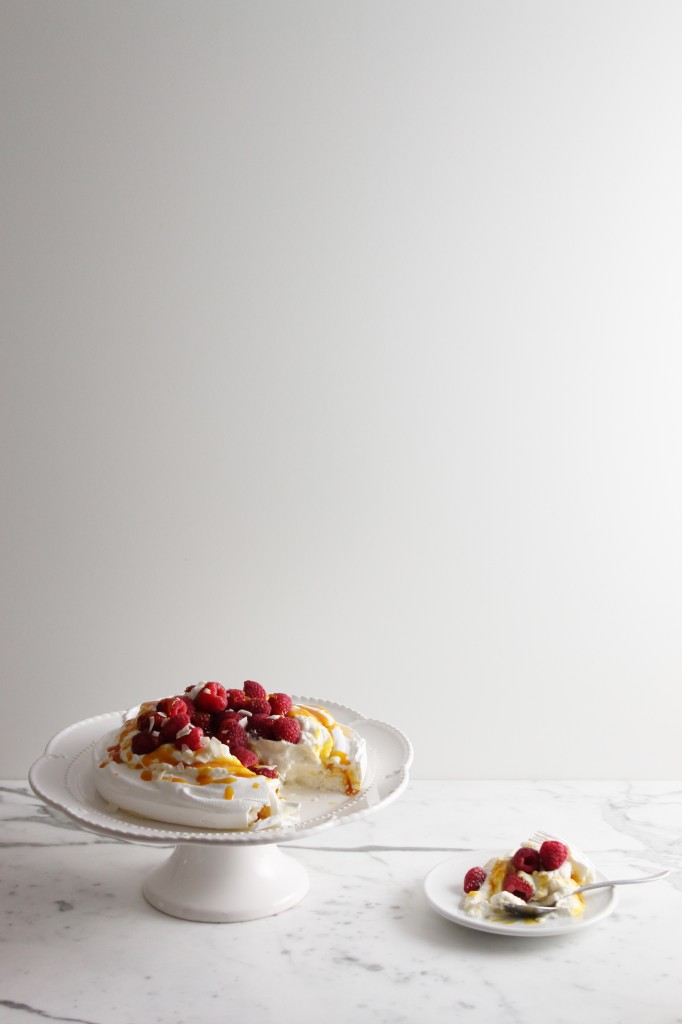
This was my birthday cake.

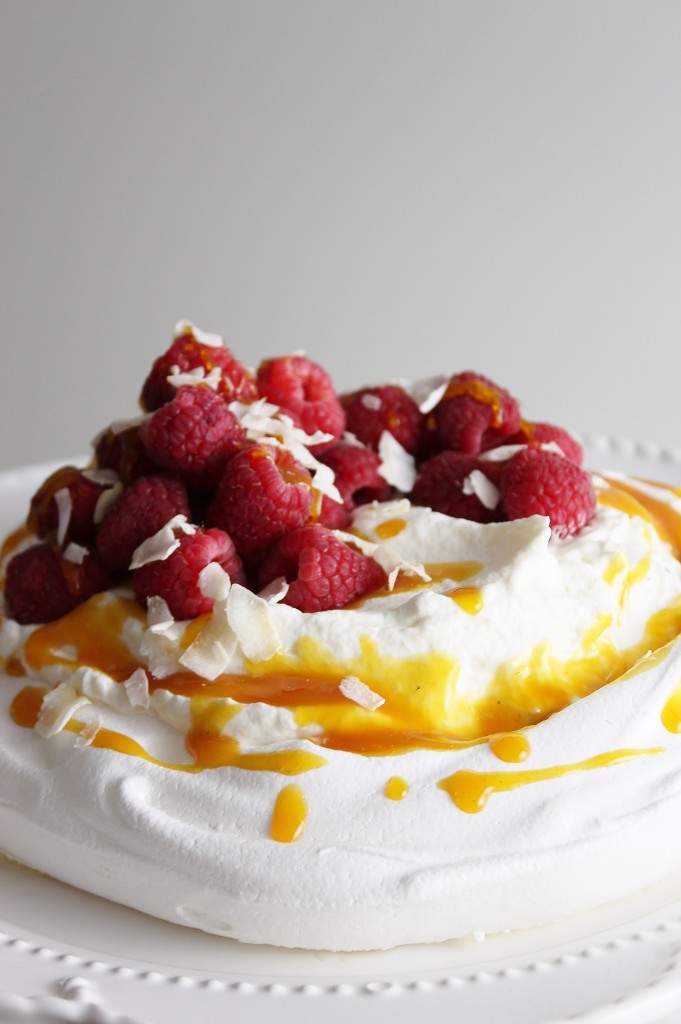
It’s a pavlova, which means it’s a baked meringue base, topped with whipped cream and fruits.

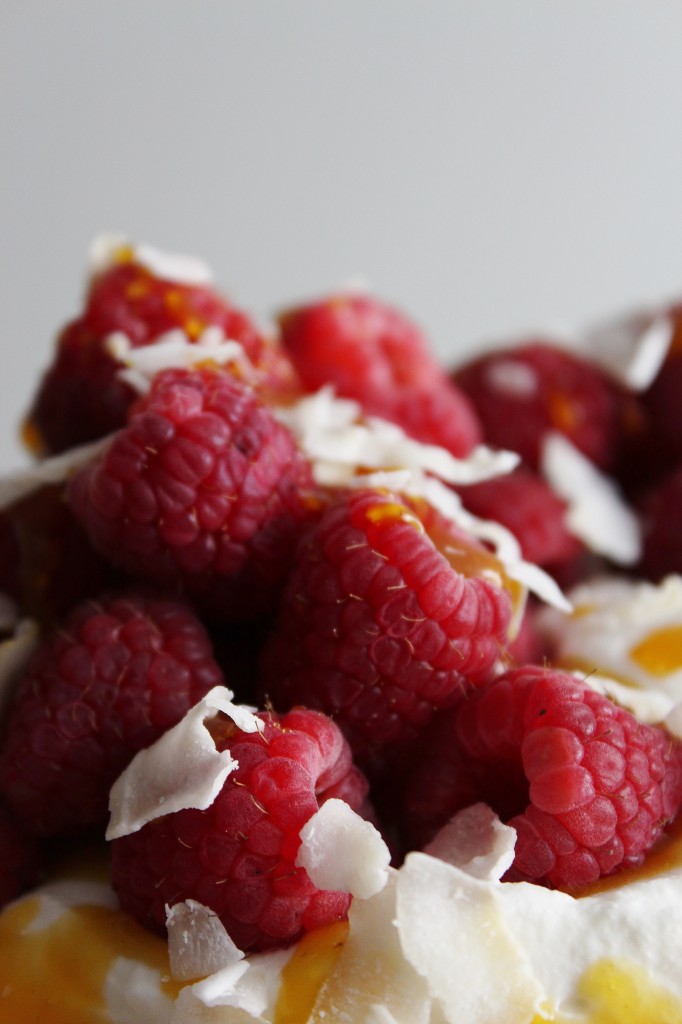
Mine is a simple French meringue, baked until the outside is crispy but the inside is still billowy and marshmallow-y, topped with a coconut/mascarpone whipped cream and pucker-inducing passion fruit sauce, and finished with raspberries and coconut flakes.

I love meringue cakes; this one is exactly how I like my cakes: light, airy, but packed with a walloping punch of vibrant flavors.

It was divine.

It almost made me like my birthday.

IMG_3235

Pavlova

ingredients:
4 large egg whites
pinch cream of tartar
1 cup sugar
2 teaspoons cornstarch
1 teaspoon white vinegar

1 cup passion fruit purée, liquid
1/3 cup sugar
1/2 teaspoon cornstarch

1 can of full-fat coconut milk, refrigerated and UNSHAKEN (see here)
1 cup of heavy cream, cold
2 tablespoons mascarpone
1 tablespoon confectioner’s sugar

1 pint of raspberries
coconut flakes, optional

directions:

Preheat oven to 175 degrees F.
Draw a 8 inch circle on a piece of parchment with a pencil and place it pencil side down on a sheet pan.
Combine egg whites and cream of tartar.
Beat until soft peaks form, then slowly stream in the sugar while beating at high speed.
Beat until stiff peaks form, then beat in the cornstarch and vinegar.
Spread out on the parchment, staying within the circle.
Bake for 2 hours, then turn the oven off and allow to cool completely in the oven.
Meanwhile, make the passion fruit sauce.
Place passion fruit, 1/3 cup sugar, and 1/2 teaspoon cornstarch in a saucepan and whisk to combine.
Bring to a boil and allow to boil for 1 1/2 minutes.
Remove from heat and allow to cool completely before using.
Make the coconut whipped cream by beating the separated coconut fat (detailed instructions here or here) until soft peaks form, then beating in the mascarpone and confectioner’s sugar.
Beat the heavy cream to stiff peaks separately, then beat it into the coconut/mascarpone mixture.
Chill until you need to use it.

Assemble the pavlova no more than 30 minutes before serving (don’t worry, it’s really simple).
Place the meringue on a serving dish, then pile the coconut whipped cream high on top of it.
Drizzle with the passionfruit sauce, and top with raspberries and coconut flakes, if desired.
Enjoy!

P.S.
As you may have noticed, you can now pin my photos simply by rolling over them and clicking the Pinterest symbol.
In addition, there are social media buttons at the bottom of each post.
You can share posts via twitter, linkedin, Google+, instagram, Pinterest, facebook, and email.
(Right below this!)

Charred

 To be honest, more than charred, I’m fried.
 
I’m dragging my feet, so much so that the edges of my toes are burned and my shoes have holes in them.
Or, they would, if I were wearing shoes.  The past two days, it has been scorchingly hot.
Like, dash-reads-100-degrees hot.  
Like, yes-absolutely-let’s-go-to-the-grocery-store-it-has-AC hot.
Like, why-the-f@&#-did-I-turn-on-the-oven hot.
 
It’s cooled down, now.
This morning/midday was Sahara desert-esque (right when I was making ratatouille AND savoiardi like wat why me), but this afternoon and evening…
Well, holy monsoon Batman!!
All that rain practically sizzled off of the sidewalks, but eventually drowned out the heat.
I mean, phew, cause I’ve started cooking with apples and pears already, and there’s no turning back.
I just ain’t got time for no more summer, let me tell you.
Ah, yes.  What am I dragging my feet for, you say?
Well, I have 9 8 more days left here in Ith, and I haven’t started packing!!
I have shit to do, guys!  And I can’t bring myself to do it.
It’s just like, ugh, it’s so hot and like I don’t really want to think about like organization and fitting my closet into my dorm room, let alone my kitchen.
Those are the two largest entities in my house.
 
Because, yes! 
Surprise (or, rather, less than a surprise) surprise, this blog is not stopping here.
I’ll have access to a kitchen…
Which means baking and blogging and sugar and butter and flour.
Comin’ at yo face.
In turn, this means that I have to make a packing list for normal living things- linens, clothing, cosmetics, decor, etc., but also for kitchen supplies.
I can’t bear to think of the beloved appliances I’ll have to leave behind.
Examples: my ice cream behemoth machine
my pro WOLF convection oven
my big food processor
my stand blender
copper pots, wok, little pots, little saucepans, omelette pan, panini pan, roasting pan, all MY PANS
random prop materials- china, silverware, fabrics, wooden pieces, marble, much of my mason jar collection
… Pour one out for da homiez.  Seriously.
On a less dour note, this is a lovely little charlotte that I’m sharing today.
Get it?!?!?! Charlotte- charred
No? Damn, and I thought I was being a clever little monkey. (Insert that cute emoji here, you know the one, the little monkey with its little hands over its mouth.)
A charlotte is a molded cake, usually with savoiardi, or ladyfingers, around the outside.
(There are a few variations on what is on the exterior.)  
Where the imagination and difference comes in is the interior.
You could make a charlotte with literally any flavor or idea.
I chose tiramisù, because ladyfingers. 
And because I had never made tiramisù before.
It’s incredibly simple- just 3 components to the dish- savoiardi, coffee/liqueur to soak, and a cream/zabaglione/mascarpone mixture to add richness.
So simple, in fact, that I undertook to make my own ladyfingers, which may seem imposing, but are, in actuality, very simple.
This is a cookie that’s been around for 600 or so years.  How hard can it be?  Fo’ realz. 
 
On the inside is a classic tiramisù, except that I used whiskey, which is, erm… not traditional.
But to hell with it.  Use whatever liqueur tickles your fancy.
The ladyfingers are sponge cake’s sister, just piped out.
They’re layered with coffee/whiskey/vanilla (can I have that as my morning pick-me-up?!) and a deeeeelicious mascarpone/heavy cream/zabaglione mixture (wait no I want that…), topped with a mountain of raspberries, then chilled until set.
 
Wrap a ribbon around the whole shebang and give it to someone as a present!
HA just kidding.  
Untie the ribbon, cut yourself a fat wedge, watch the raspberries tumble out like so many ruby jewels, and MANGIA! 

Tiramisù Charlotte
makes 1 6×3 inch cake
note: brew some strong coffee before starting, then allow it to cool.  If you are making ladyfingers, make those right after the coffee and let them cool as well.  You can always use store-bought.
for the savoiardi (ladyfingers):
makes 1 1/2 sheet pans of 4×1 inch savoiardi
ingredients:
3.5 egg yolks (1/2 yolk is approximately 1 1/2 teaspoons, or 0.3 ounce)
3 tablespoons sugar
3.5 egg whites (1/2 white is approximately 1 tablespoon, or 0.5 ounce)
pinch cream of tartar
4 tablespoons plus 1 1/2 teaspoons sugar
3/4 cup cake flour
directions:
Preheat oven to 350 degrees F.
Draw out 4×1 inch grids on two sheets of parchment paper; place them on two sheet pans, pencil or pen side down.
Have a pastry bag fitted with a 1 inch tip at the ready.
Place the egg yolks in a bowl with 3 tablespoons of sugar.
Place the egg whites in the bowl of a stand mixer with the cream of tartar.
Whip the egg yolks briskly (or with a hand mixer) until they become pale, thick, and double in size.
Meanwhile, whip the egg whites, slowly streaming in 4 tablespoons plus 1 1/2 teaspoons sugar once they begin to foam.  
Beat the egg whites until they hold stiff peaks.
Sift the cake flour over the egg yolks, but don’t mix in, then fold the egg whites into the egg yolk/flour until homogenous; be careful not to overmix.
Place into pastry bag and pipe out finger shapes, approximately 4×1 inch tall/wide.  (They will touch each other during baking.)
Bake for 8-10 minutes, until they are golden and puffy but not particularly hard. (They should not feel raw or look runny, but should still be slightly spongy to the touch.)
Remove from oven and allow to cool completely.

for the mascarpone cream:
adapted from Chef Dennis via Bake and Bait
ingredients:
3 egg yolks
3 tablespoons sugar
1/2 cup plus 2 tablespoons mascarpone
scant cup heavy cream
directions:
Whisk yolks and sugar together very well; place in a small pot over low heat and cook until sugar is completely dissolved.
Remove from heat, pour into a different bowl, and whip until thick and about doubled in size.
Whisk in mascarpone.
In a separate bowl, whip the heavy cream to stiff peaks, then fold it into the zabaglione/mascarpone mixture.
Set in fridge until ready to use (but not for too long; an hour at most before you should use it).

to assemble:
ingredients:
1/4 cup coffee, cold but strong
1 tablespoon liqueur (Marsala, Kahlua, etc.  Go nuts.)
1 teaspoon vanilla extract
cocoa powder, for dusting
1 pint of raspberries, optional
mascarpone cream, recipe above
ladyfingers (about 30 small ones, less if you have larger), either store bought or homemade, recipe above
directions:
Line a 6×3 inch pan with ladyfingers standing upright.
Place a cake board in the bottom, then place as many ladyfingers as can fit along the bottom, using torn pieces to fill in gaps.
Stir the coffee, liqueur, and vanilla together.
Using a pastry brush, lightly brush the coffee mixture over the ladyfingers- they should absorb it, but do not add so much that they are soaked.  
Smooth 1/3 of the cream mixture onto the soaked ladyfingers.
Layer more ladyfingers over the cream mixture, brush with coffee, and layer with cream.
Repeat layering once more.
Dust the top of the tiramisu with cocoa powder, and top with raspberries, if desired.
Refrigerate for at least 1 1/2 hours before unmolding.
Tie a ribbon around the outside for clean presentation.
Enjoy!
MTL

I’m posting this from the internet void… Spooky, huh?
Well, actually, I am just in Montreal, for the weekend.
(It’s still my summer, ok?  I can do what I want on a whim.  Labor Day be damned.)
But I didn’t want to leave you guys with that last post, which didn’t even have a recipe (the nerve!) for the next few days or so.
Thus, I am here.  Sort of.  Here in spirit.
I love writing posts ahead of time and then scheduling them.
I usually forget about them… but then, when I come back to blogger, it’s like I gave myself a gift!
Surprise!!!
The Blog Fairy came and left you a nice little Post Present!
I’m going to do another (shorter) link-peppered post.
Similar to this one, but more rushed and with fewer links.
Sounds great, right?  Let’s get into it then!
 
I’ve just started reading A Game of Thrones by George R.R. Martin.
(The books are gigantic.  Holy mackerel!)
Obviously, I’ve watched all the seasons of the HBO show, which I am completely obsessed with (currently rewatching season 2), but now I’m getting into the books.
Mostly because I’m impatient and greedy, and waiting until next year to find out what happens next will literally kill me.
 
Speaking of literally, they augmented the definition in Merriam-Webster.
Now, literally means literally, as well as virtually.
Which doesn’t make much sense, but whatever.
I have listened to this poem about OCD around 50 times.  
No, I’m not joking.  It moves me.  I cry every other time.  It’s haunting.
 
Have you heard this remake of Miley’s song?  
It makes me actually like the darn song, and not be afraid to admit it.
Soooo good.  On repeat.
 
How about this parody of Robin Thicke’s Blurred Lines video?
I’m literally dead from laughing and smiling so hard.
Go, girls!
 
I’ve lost/misplaced one of my camera lenses.
I’m worried I did something like Heather did!
(How crazy is it that that post is from 3 years ago?!  I remember when she first posted that…  Yes, I have stalked her blog for that long.)
Speaking of SprinkleBakes, did you see these cookies?
OHMAGAH.
This tart was inspired by the 8-inch cast iron pan I found at an antique store the other day.
Up in the attic, they had hundreds of antique cast iron pans.  
Since I’m wistful that I don’t have a cast iron pan handed down for generations (I don’t even get a wok.  Like, come on.), I of course snatched one up.
It didn’t need much seasoning; I cleaned it with a little bit of vinegar/water, then rubbed it with coconut oil and set it in a hot oven briefly.
I then recoated it in more coconut oil, and made this crostata/tart/galette.
 
It’s a buttery shell filled with sweet-tart Italian prune plums, which I topped with lemon thyme infused sugar.
It’s divine still-warm (or reheated), topped with a fat dollop of unsweetened whipped cream.
Italian Prune Plum Galette
ingredients:
1 pound Italian prune plums, halved and pitted
3 tablespoons sugar
1 cup flour
8 tablespoons butter
2 tablespoons sugar
big pinch salt
1/4 cup buttermilk
directions:
Cube the butter into tiny pieces.
Toss with the flour, sugar, and salt, and then smash all the little cubes with your fingers, kneading and tossing all the while.
Once they are the size of peas and smaller, switch to stirring with a wooden spoon.
Add in the buttermilk and stir until dough comes together.
Turn it out onto a floured surface and knead once or twice.
Refrigerate until ready to use.
Preheat oven to 375 degrees F.
Grease an 8-inch pan, or prepare a sheet pan with parchment.
Roll out the dough and place it in the pan.
Arrange the plums on top, and sprinkle them with 3 tablespoons sugar.
Fold the dough over the plums, and bake until golden and bubbling, about 45 minutes in a cast-iron pan.
Enjoy while warm!