To the Core

IMG_7485_01

“Our biggest disagreement was about chunks.
Ben came up with the flavors and I did the manufacturing, and he wanted bigger chunks and I wanted small ones with greater distribution.
He said people didn’t care if you got a chunk in every bite as long as you knew that fairly soon you’d get a chunk.”

Jerry Greenfield

IMG_7489_01

I think we can apply Ben Cohen’s theory about ice cream chunks to life happiness.

How important, and too often forgotten, is the idea that not every bite will or needs to contain a chunk?
We’re so trained for instant gratification that anything less feels like deprivation.
We forget that not every day needs to be perfect or leave you fulfilled.
You don’t need to be cheery and happy every minute to feel satisfied in the big picture.

We think about our lives in terms of monumental moments; we measure the passing of time with the passing of tragedies and victories.
What about all the days where nothing “of importance” happens?

IMG_7491_01

They are to our lives as bites without chunks are to Ben and Jerry’s, as junk DNA is to genes.
From the outset, they seem less important.  Undesirable, useless.  Wasted.
But more flies under our radar, which is tuned to big spikes in emotion, than we think.
Little things.  Daily things, both annoying and delightful.

The first bite of a crisp apple.
Losing your keys, phone, wallet, mind.
A smile from a passerby.
Stubbing a toe.  Twice.
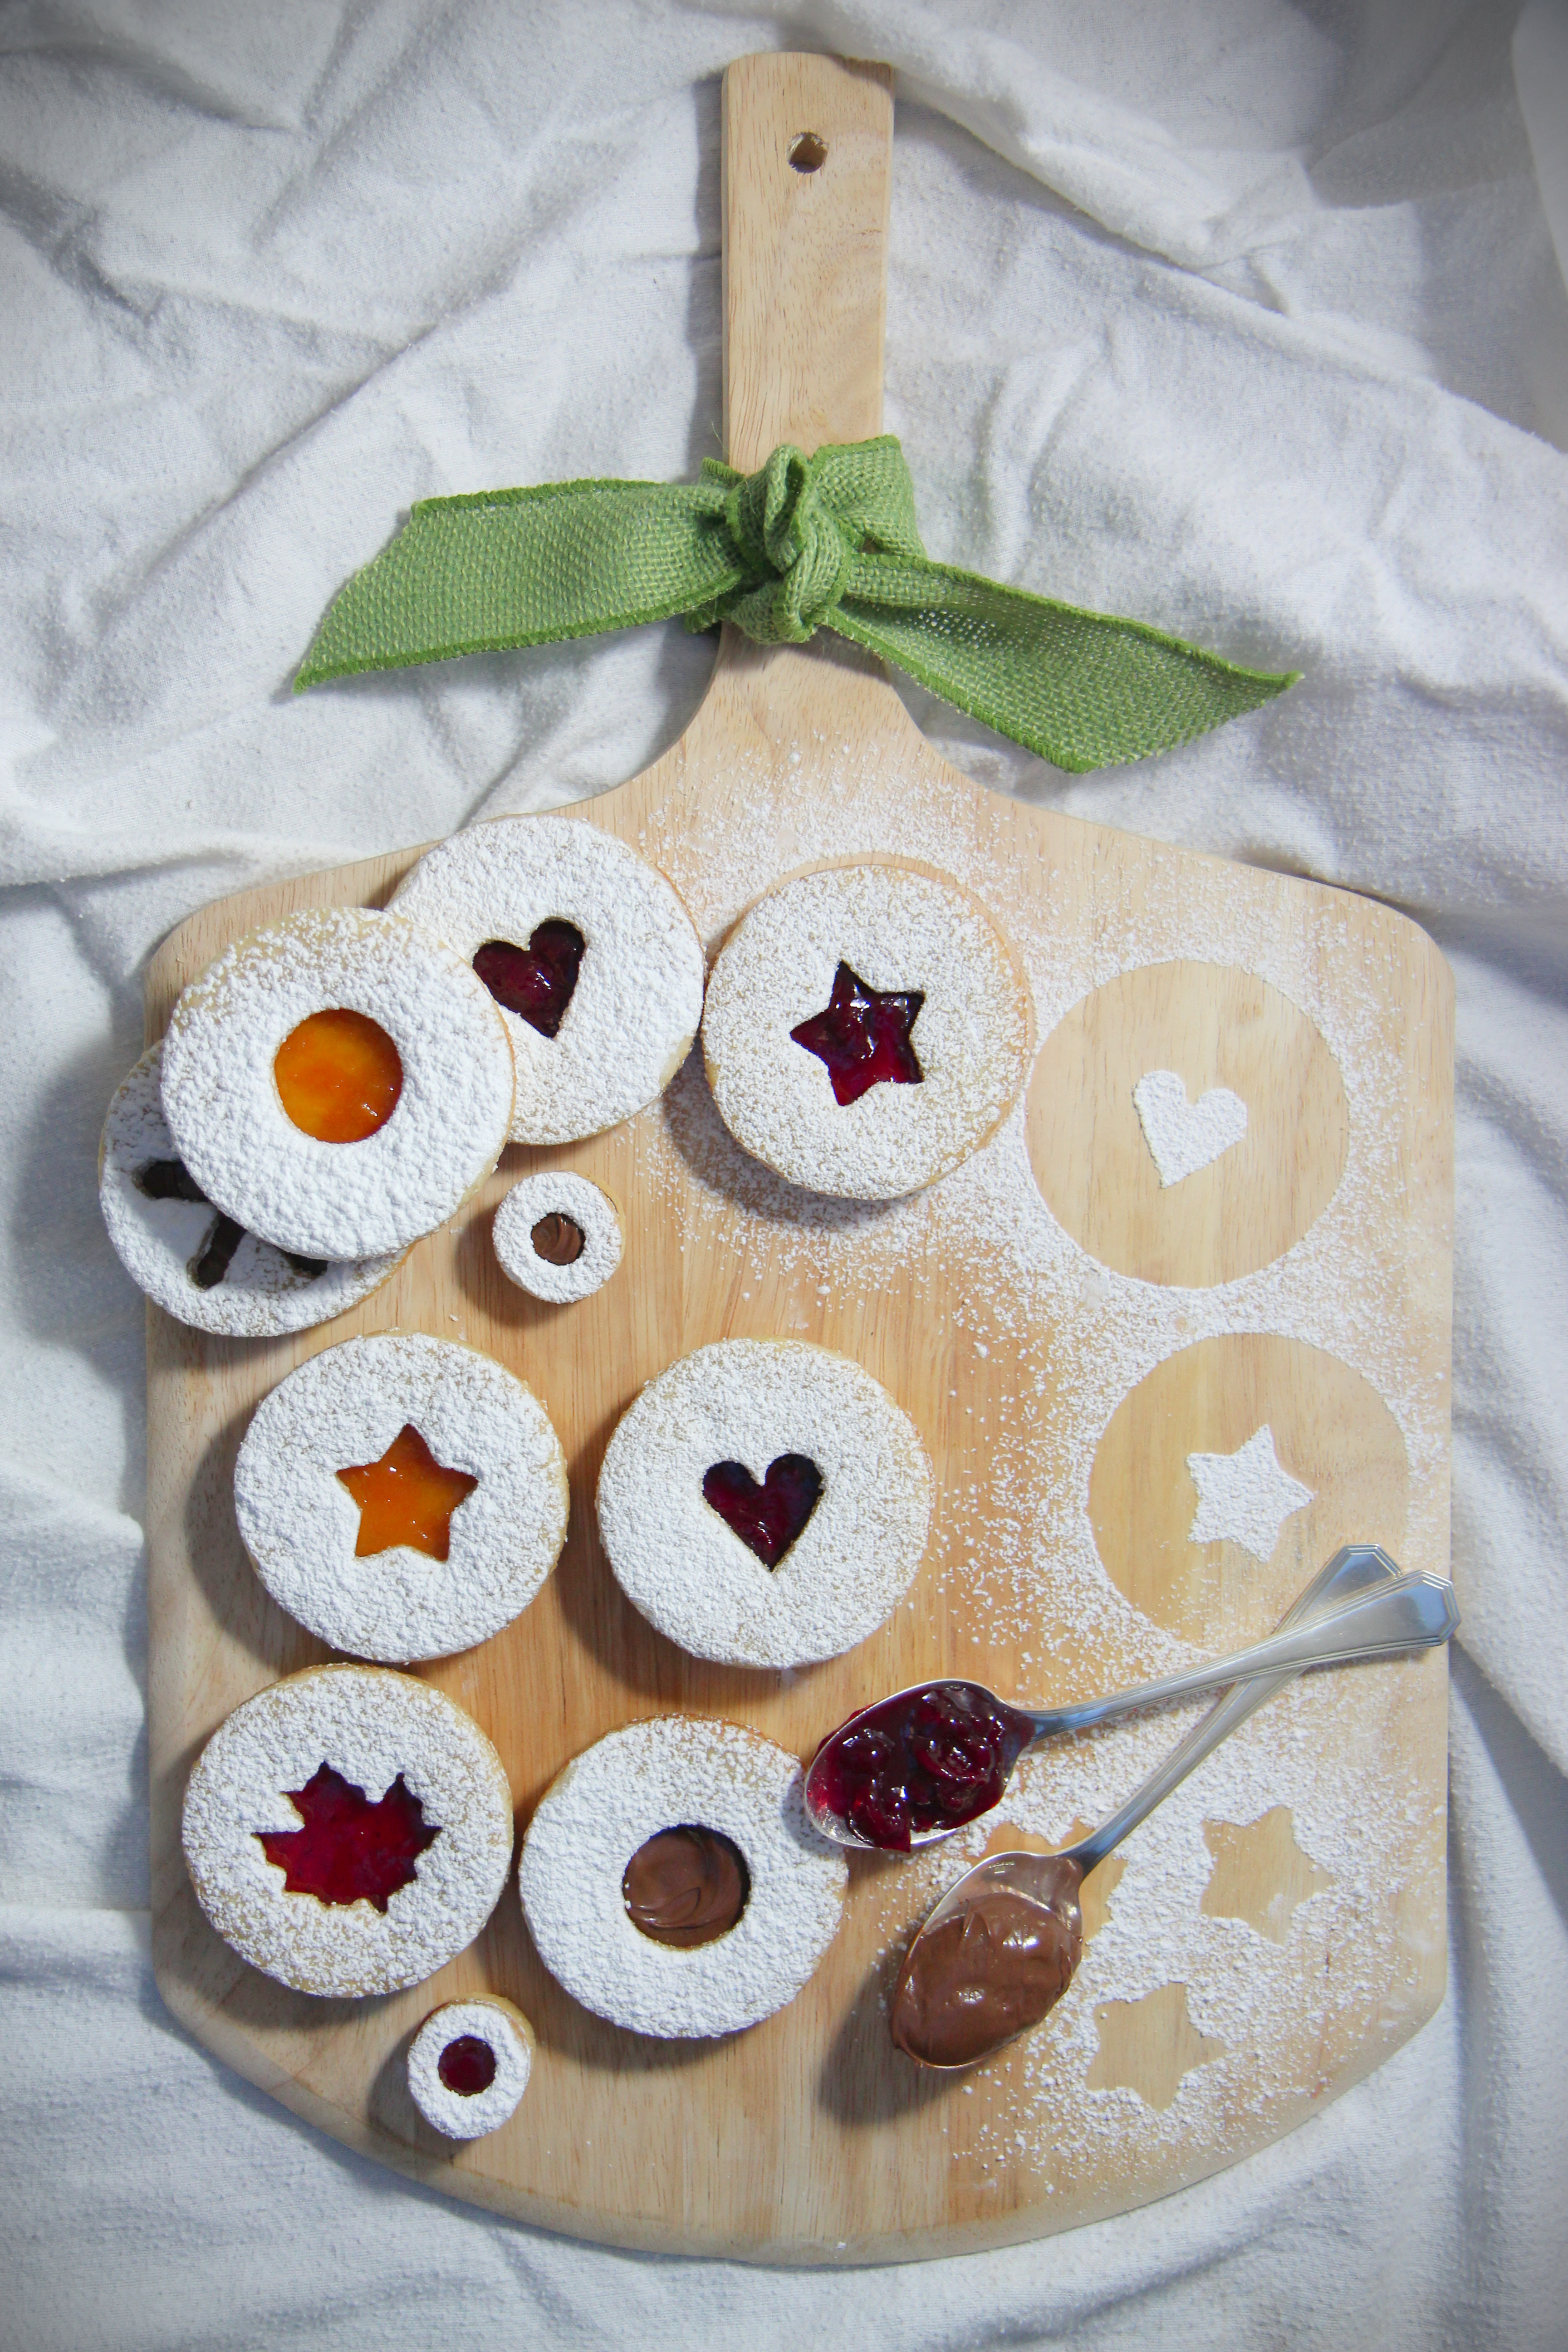
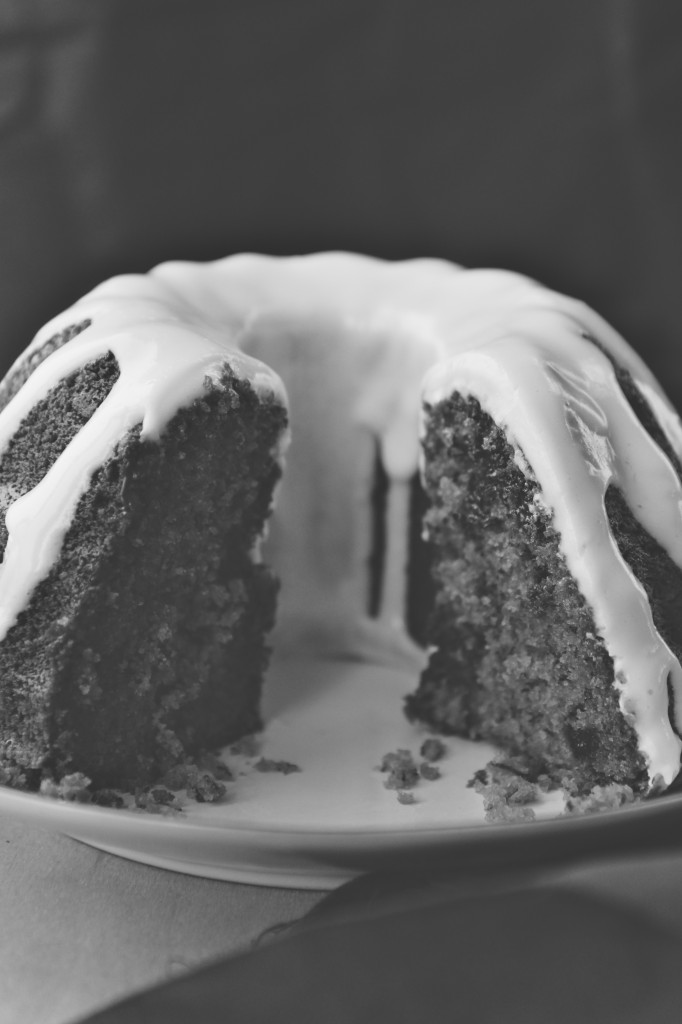
The smell of cookies baking.
Being overworked and overtired at the end of a long day, a long week, a long year.
Snuggling into your own bed.

So much that we take for granted is beautiful in its own right.

I intend to practice more gratitude and appreciation for the plain, the mediocre, the underappreciated, the kind-of-crappy happenings in my life.
I intend to take each moment as it comes, to breathe it in and live in it,
to meet it with a smile and know it fully.

Each moment of each day in our fantastic, terrible world deserves meaning.

IMG_7505_01

It is a sophisticated hope, then, that sustains true, lasting happiness.
The hope—or rather, the knowledge—that you’ll get a “chunk” fairly soon.
And the deep and conscious enjoyment and appreciation of every moment, every plain bite of ice cream, every pretzel in the Chex mix.

Food for thought.  Thought for food.

IMG_7494_01

Speaking of food… Cupcakes?!  Again?!  Who am I?!
Just last week, I made these “teatime” cupcakes.  And I loved them!
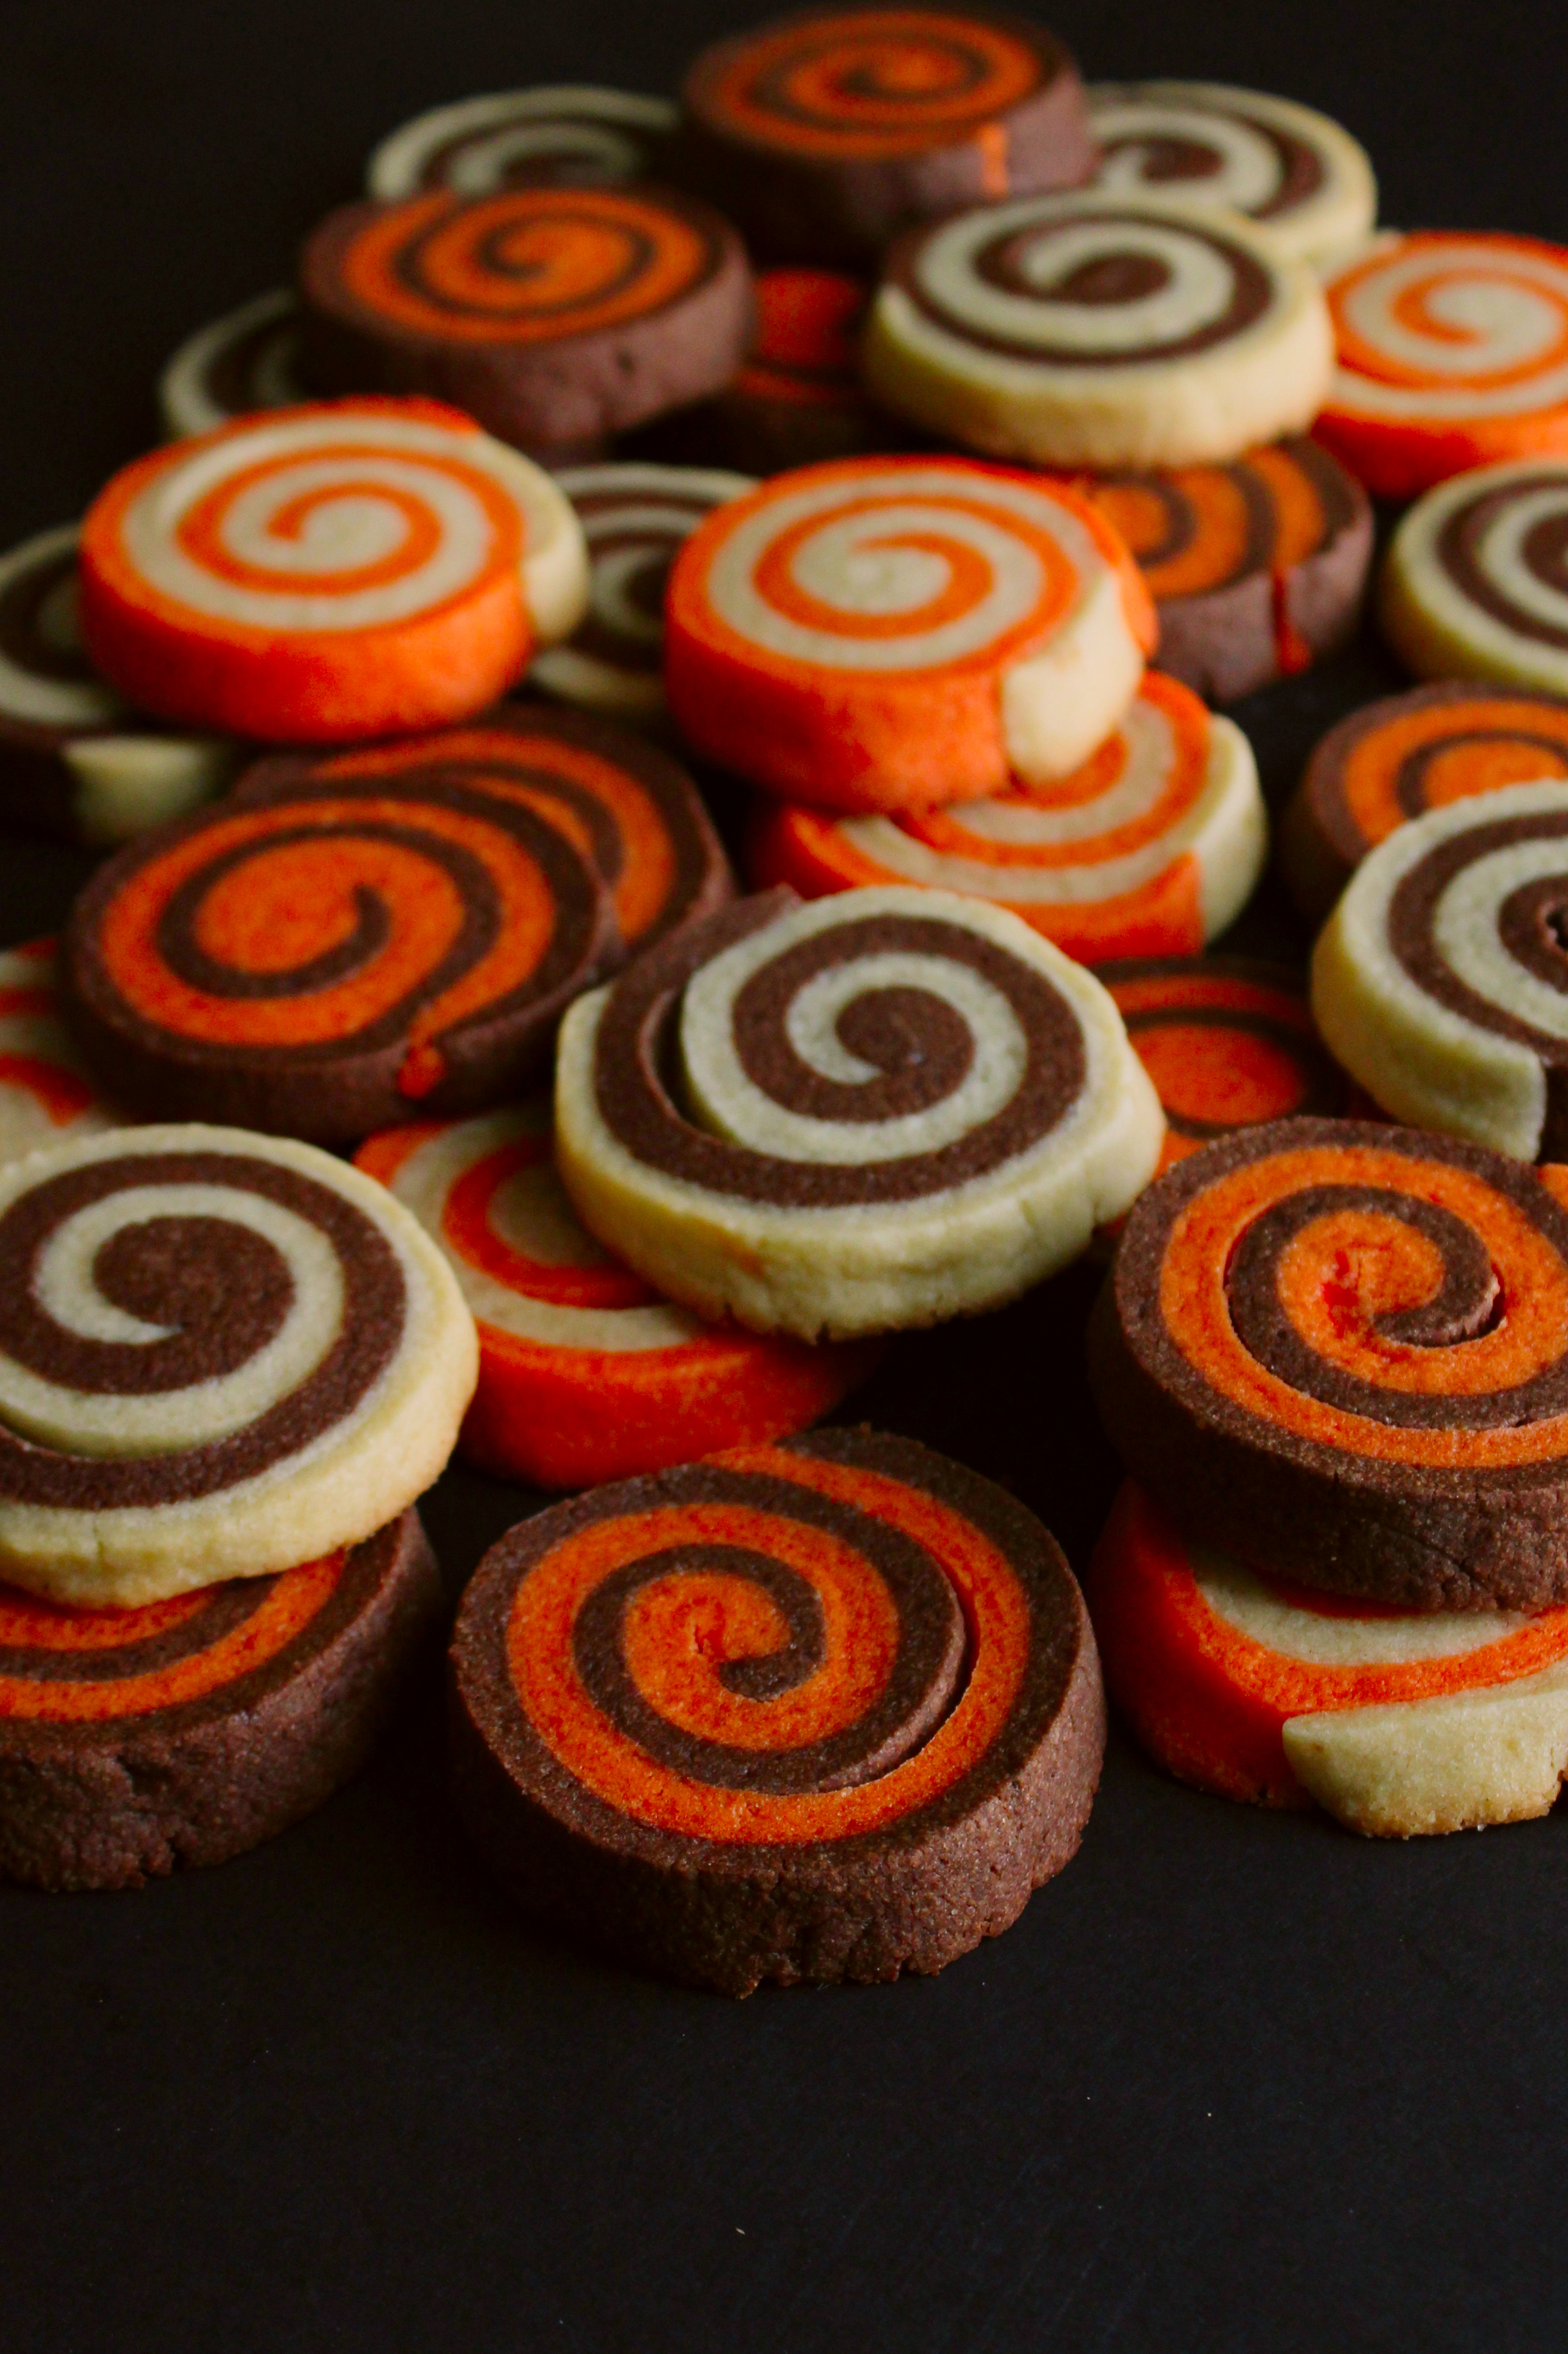
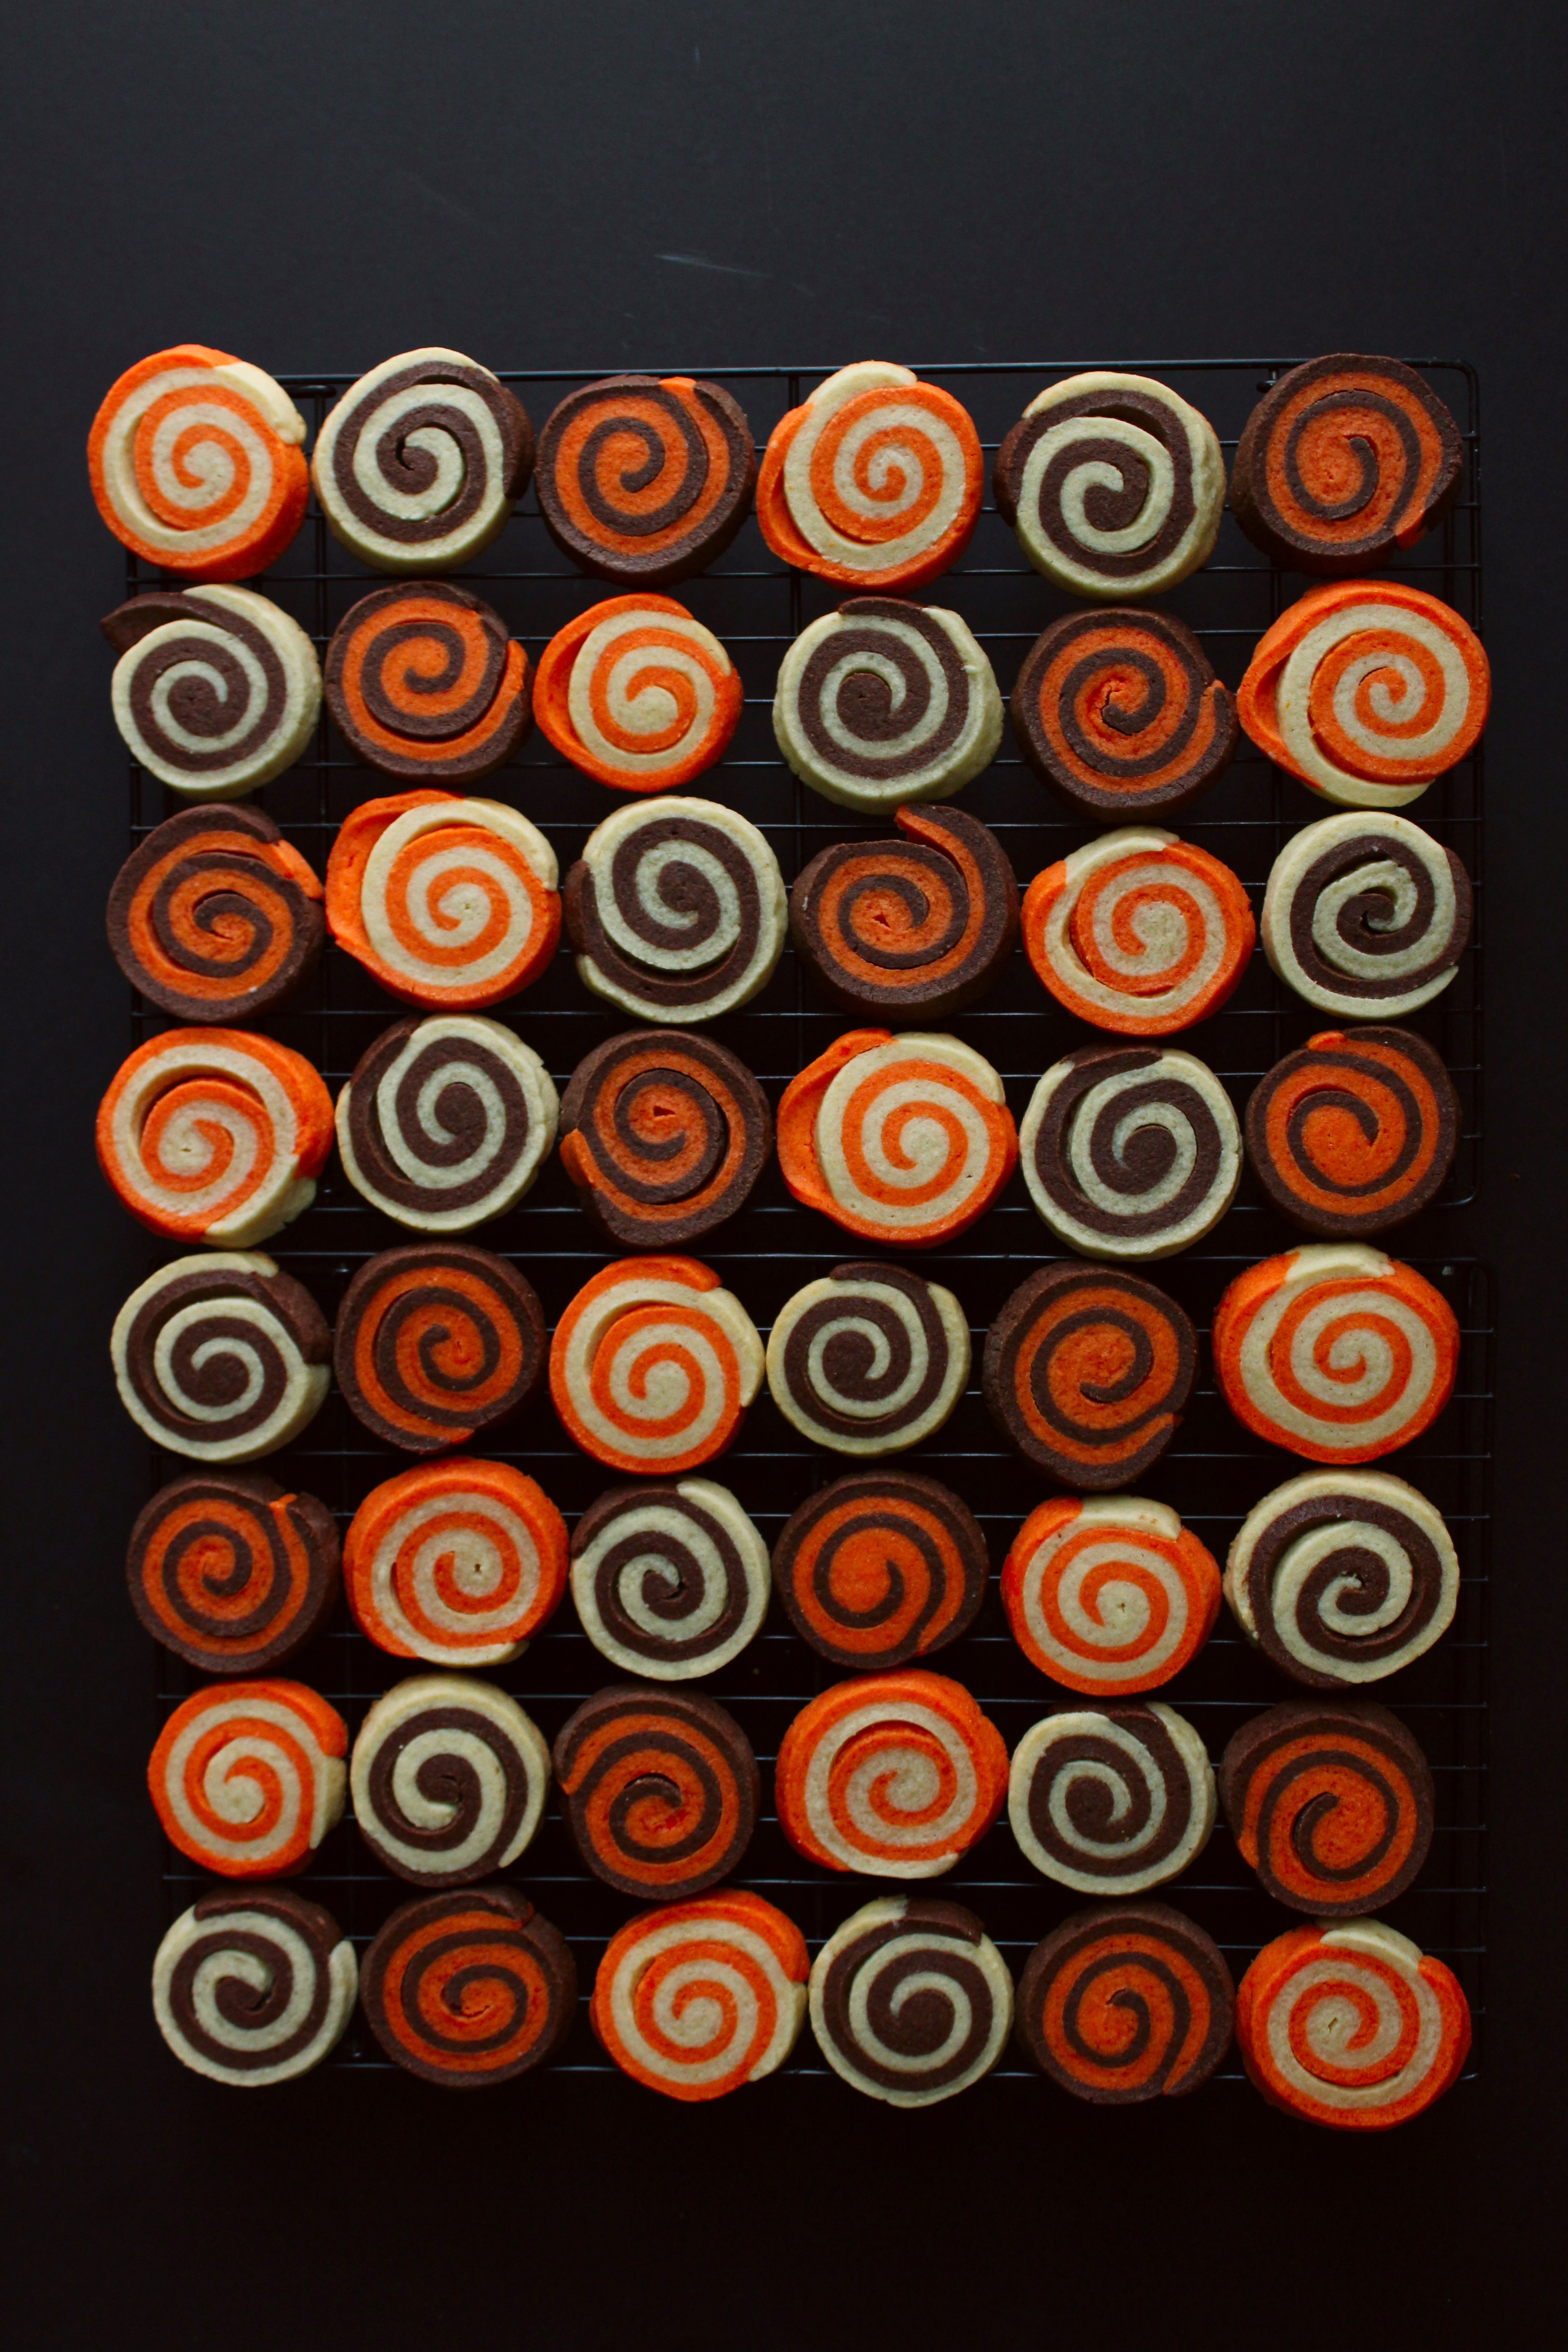
Photographing cupcakes is more pleasant than cookies, and lord knows I’ve made enough of those in recent times.
So.  Many.  Cookies.
Thus, despite my semi-loathing of cupcakes, I made more.

Part of my newly affirmed affection for cupcakes is that I’ve been frosting them with a meringue buttercream.
Seriously, I used to think that thick, American-style buttercream was a decent choice for cupcakes.
But, truthfully, there is no comparison to a cloud of rich, glossy IMBC.
Especially not a brick of confectioner’s sugar/butter ABC.

I wax on about meringue buttercreams all the time (not sorry) but that’s because they’re amazing.
Light, easy to pipe, smooth, shiny, stable, flavorful.
(I’m an adjective junkie.)

They’re only minimally more work, are less likely to break/curdle/be gross and are therefore totally worth the extra 10 minutes of prep.
Give your favorite cupcakes a makeover with some IMBC and you won’t recognize them, or ever even look back.

Maybe you don’t like cupcakes, like me.
I swear to you, cupcakes frosted with IMBC may change you.

IMG_7502_02

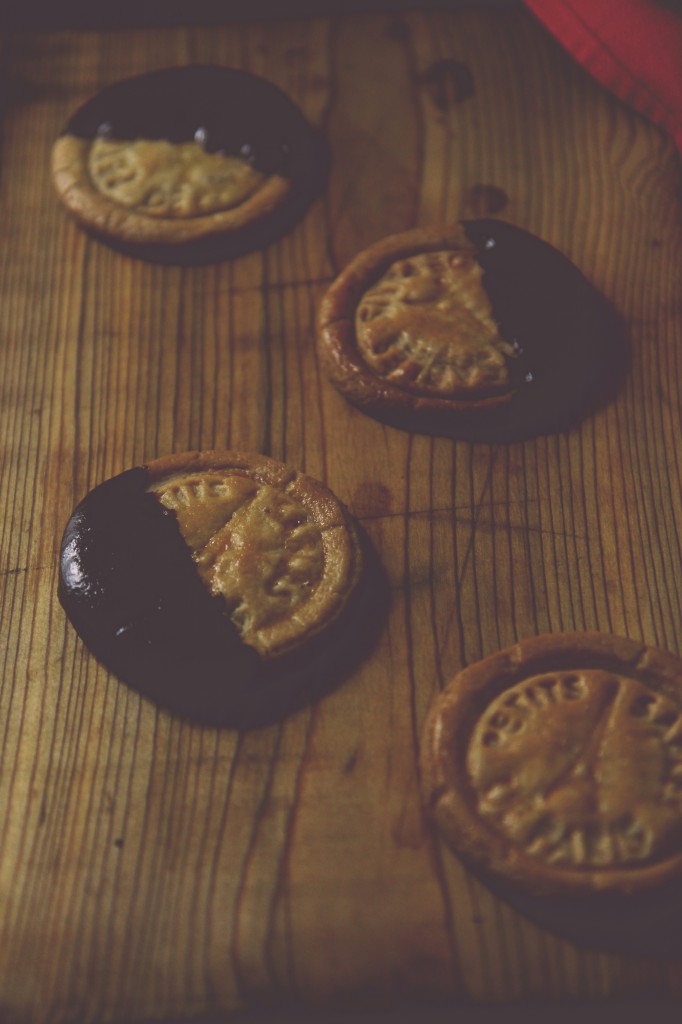
These cupcakes were inspired by Ben and Jerry’s ice cream!

One of their “core” UK flavors is called Peanut Butter Me Up.
It’s half peanut butter and half vanilla ice cream, surrounding a core of raspberry jammy goodness.  The vanilla is studded with peanut butter cups.
Sounds like a perfect pint to me.  Heaven is peanut butter+vanilla+fruit.
Why don’t we have it in America?  I don’t know.  But it’s killing me.

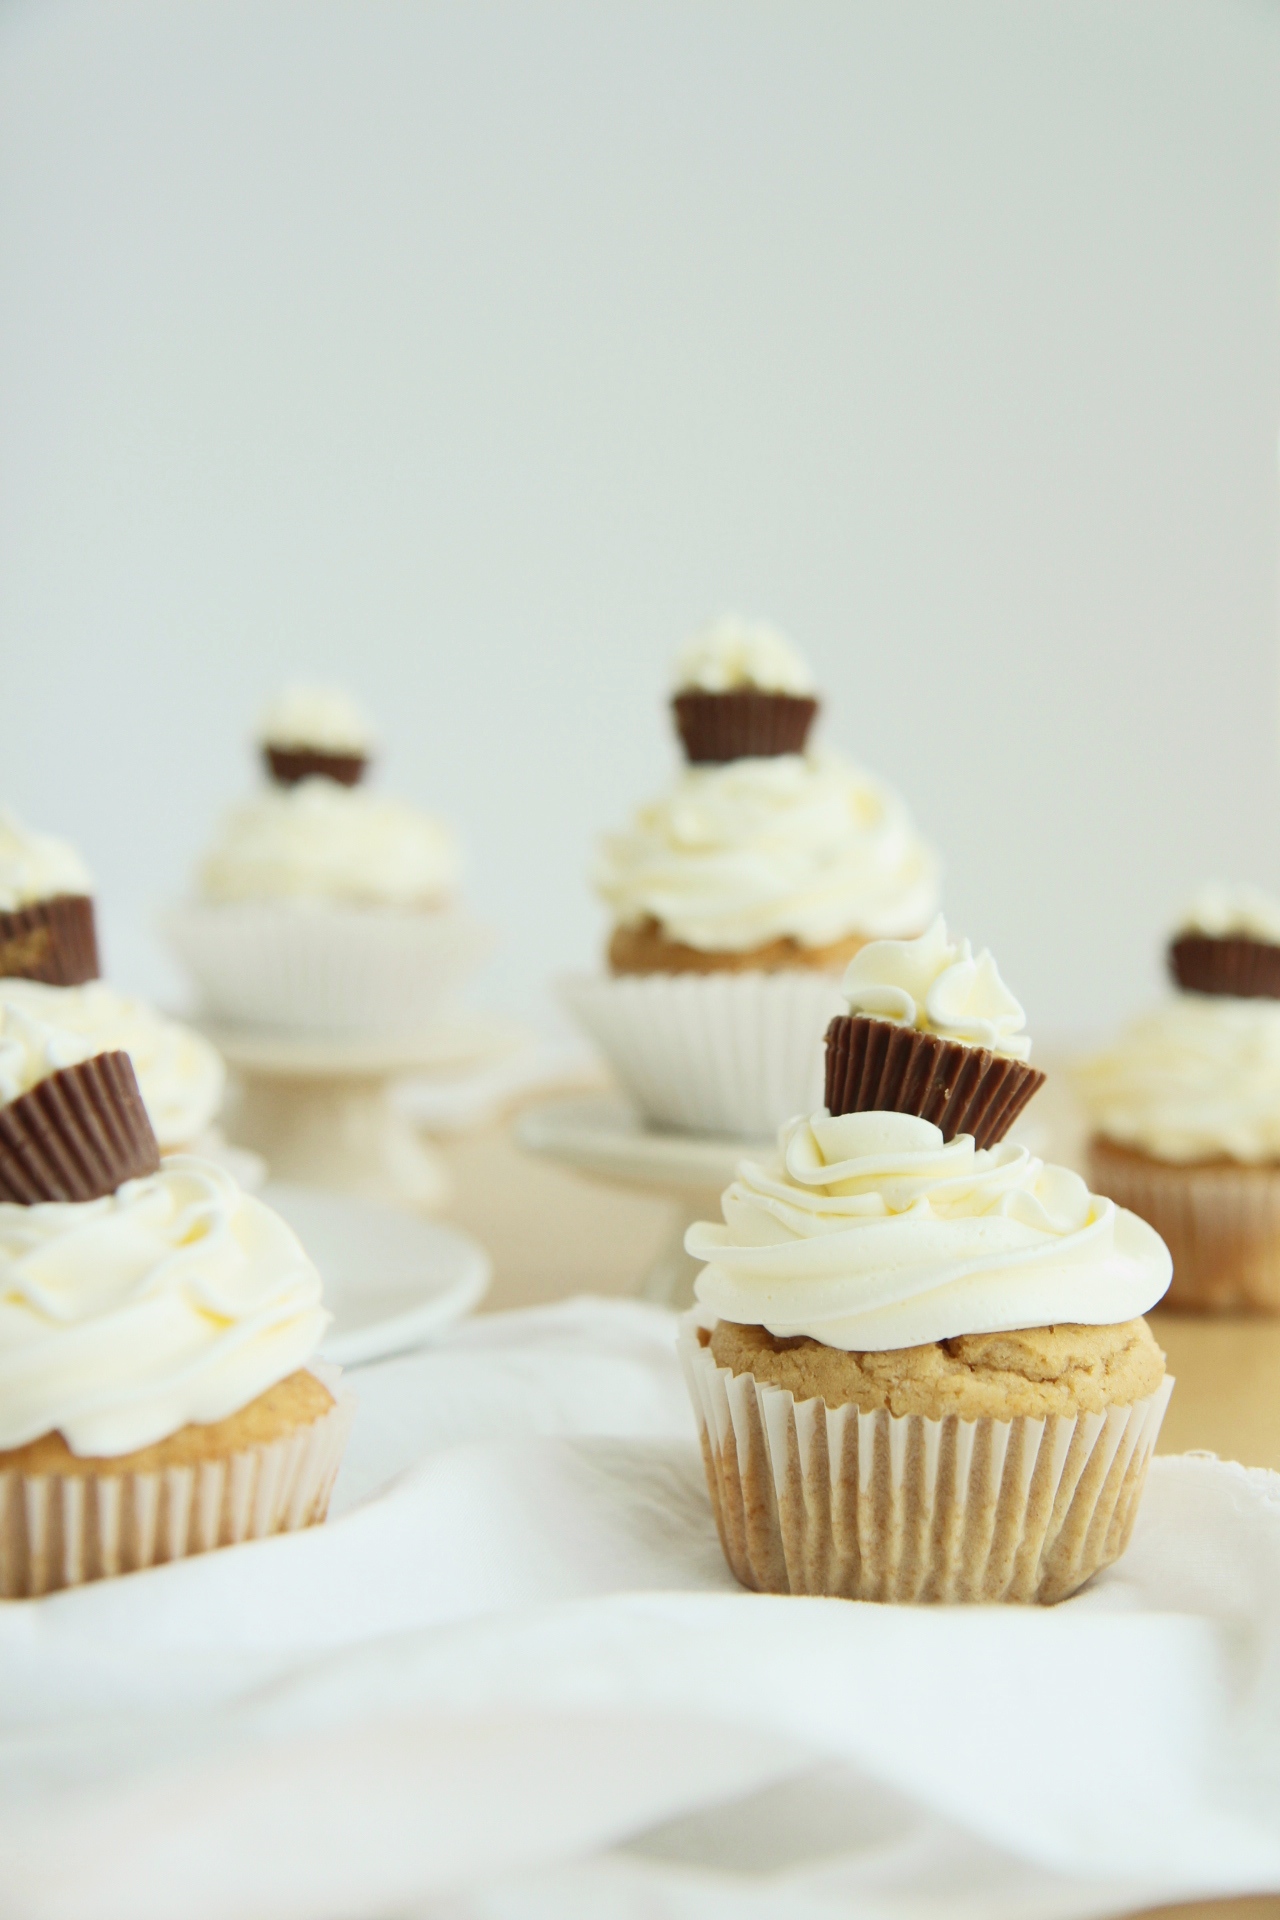
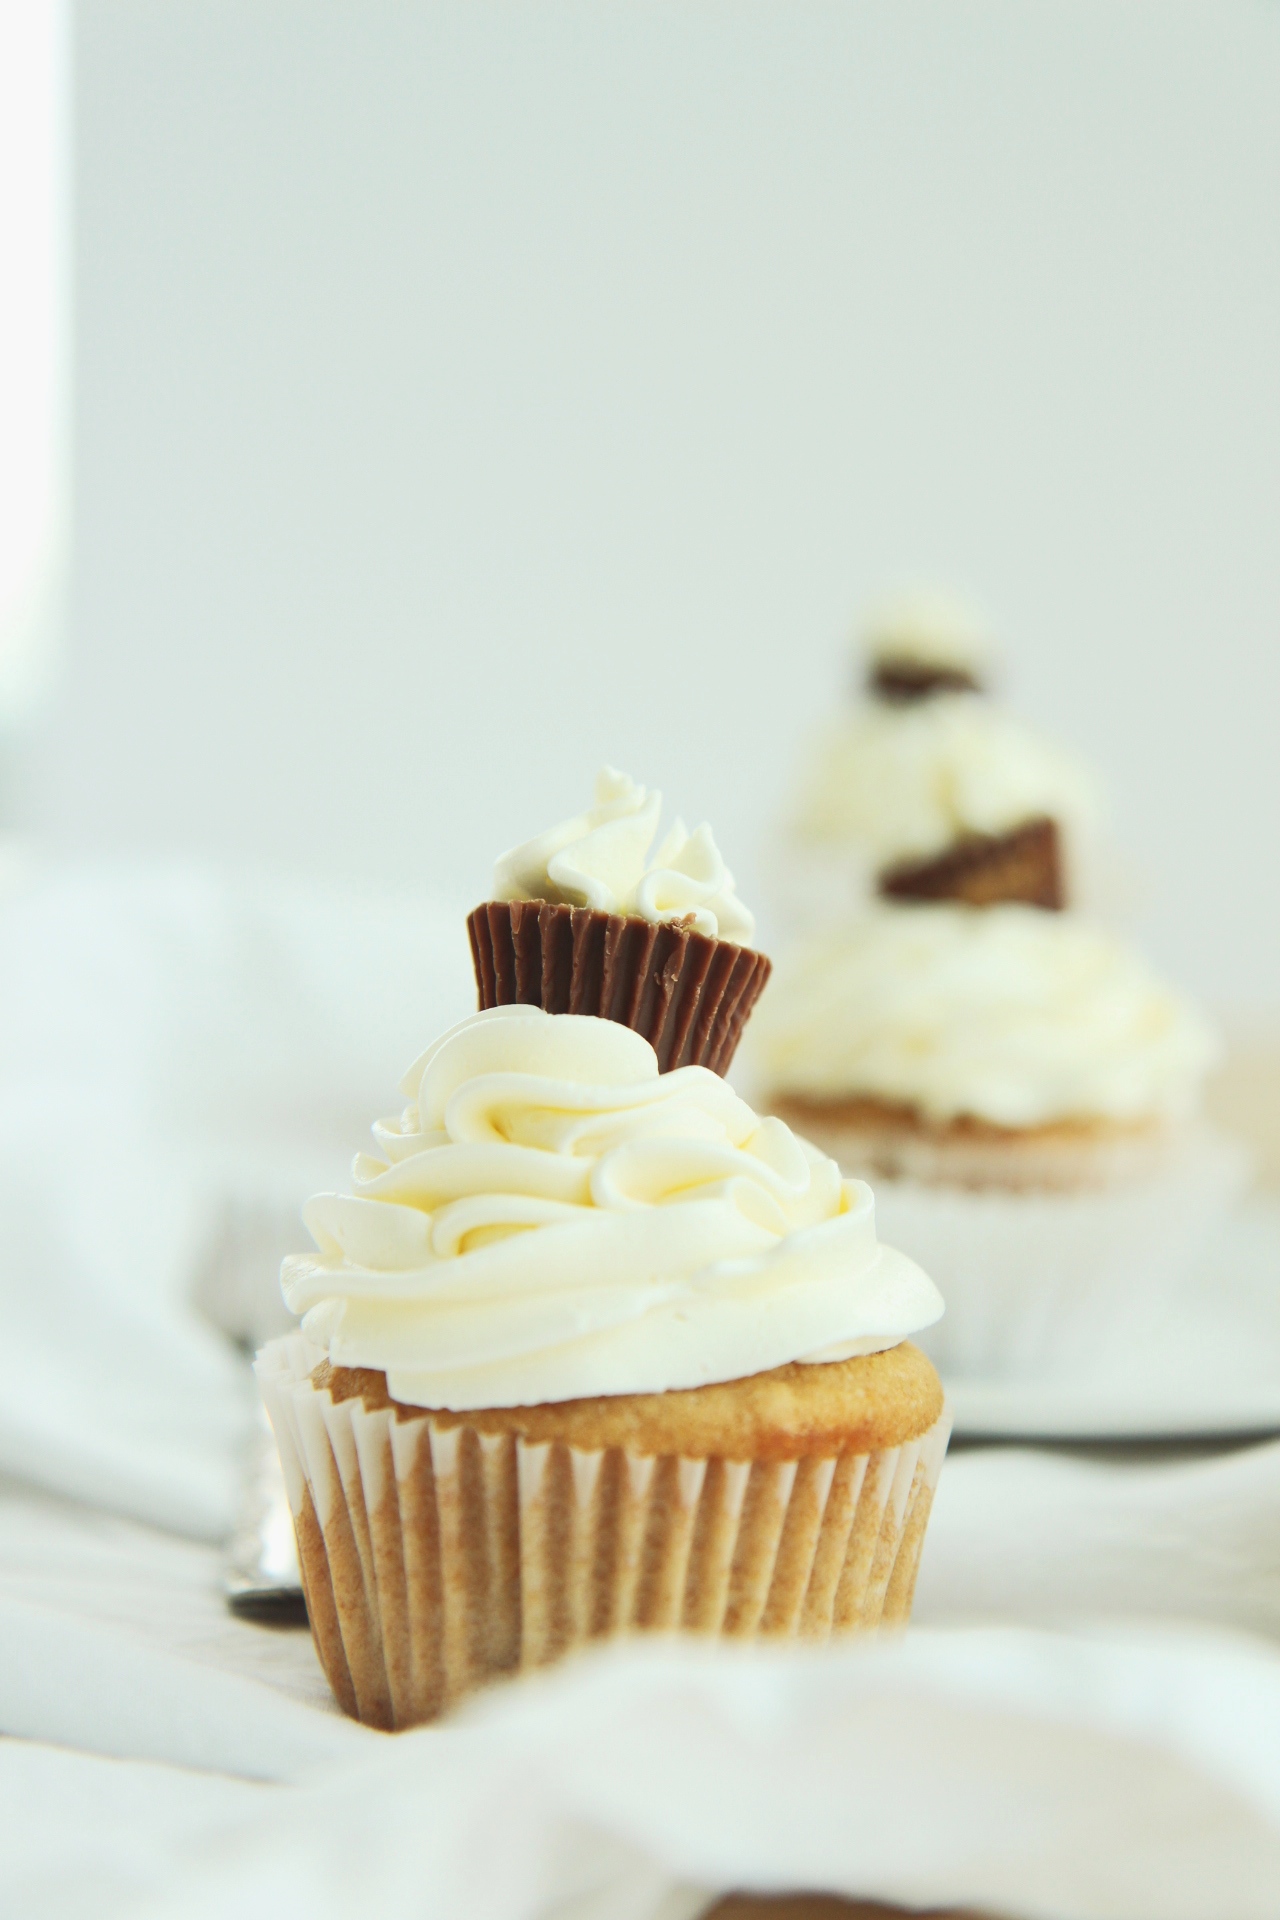
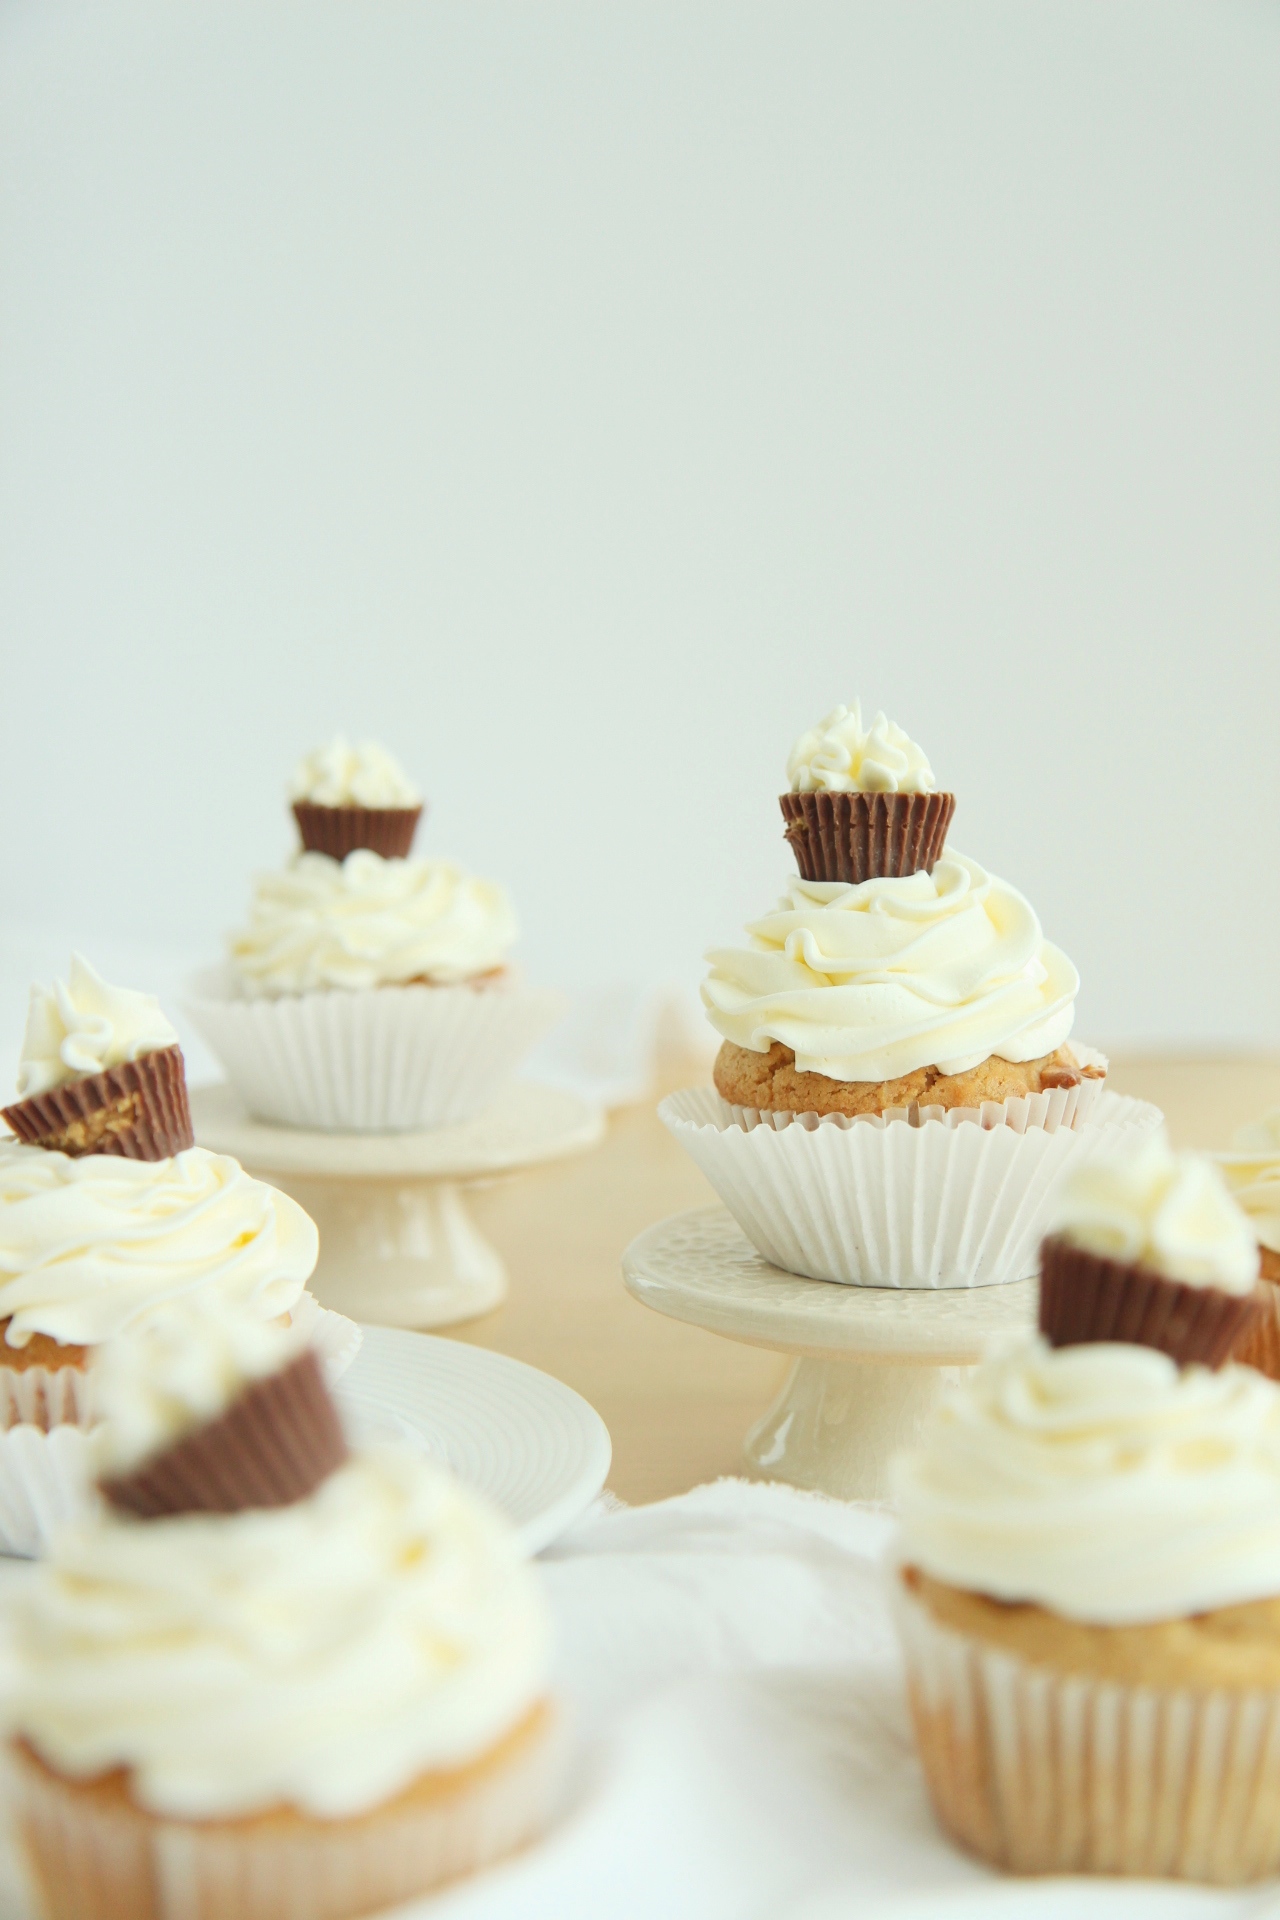
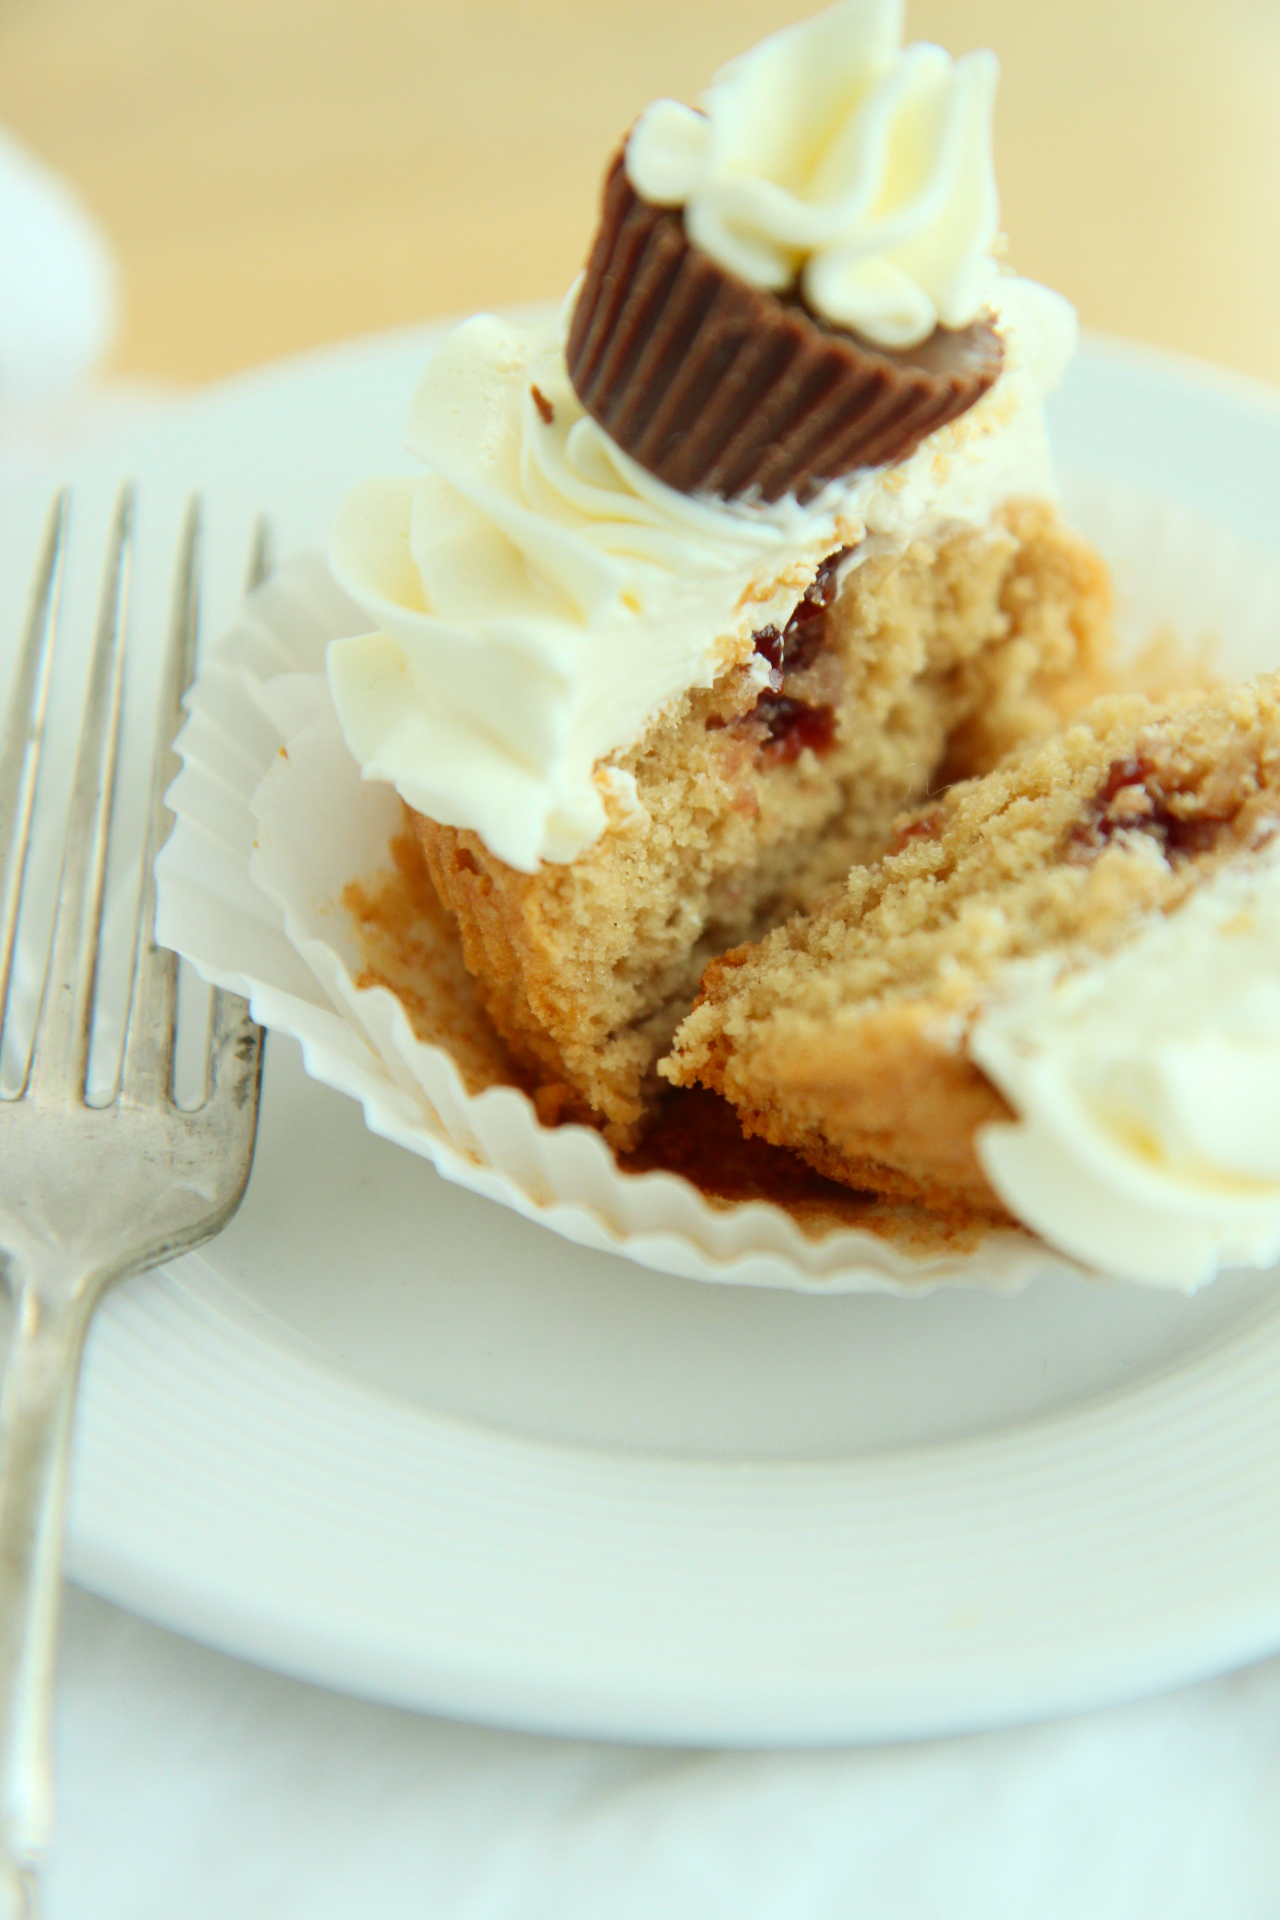
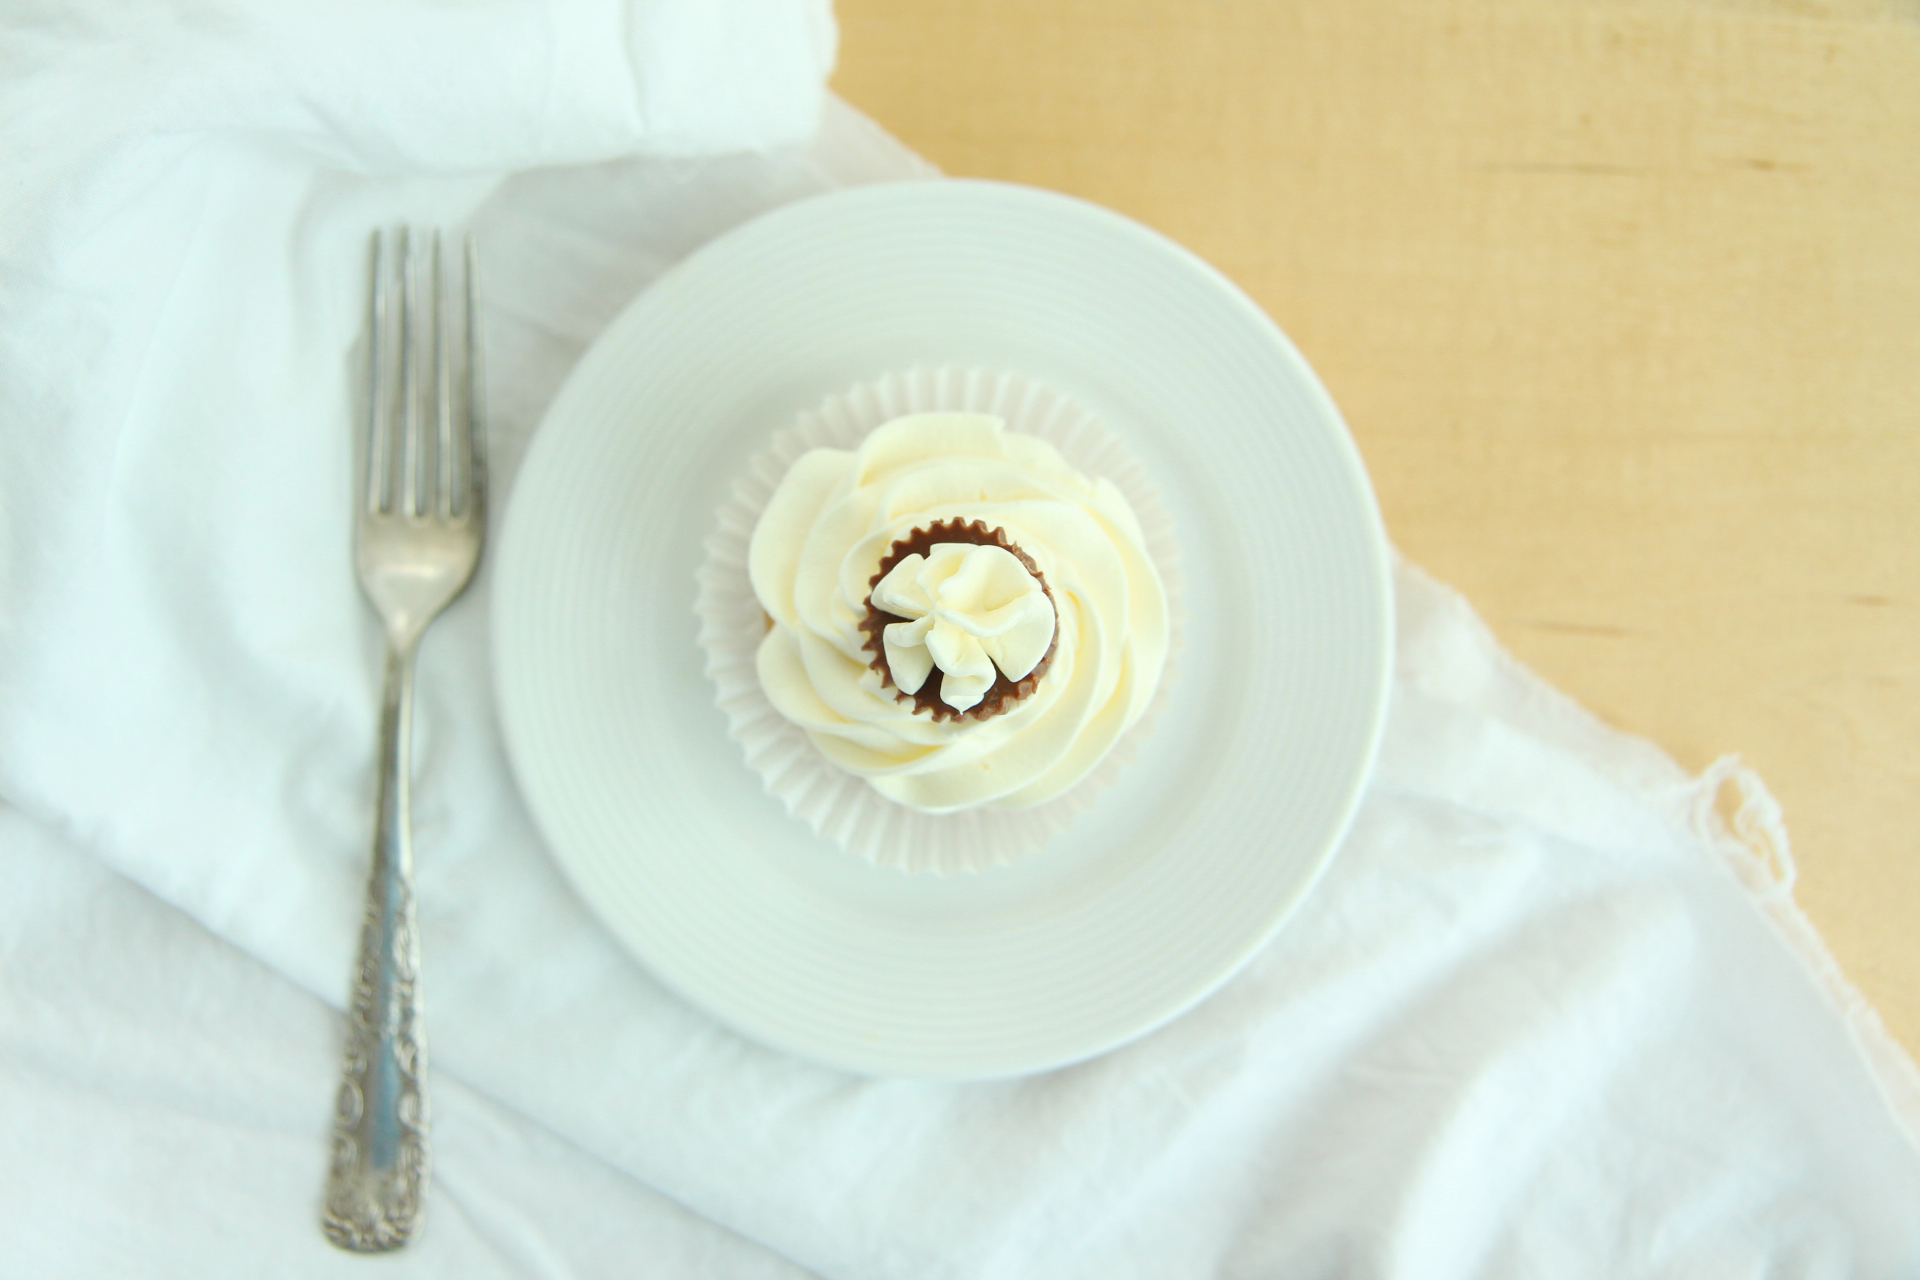
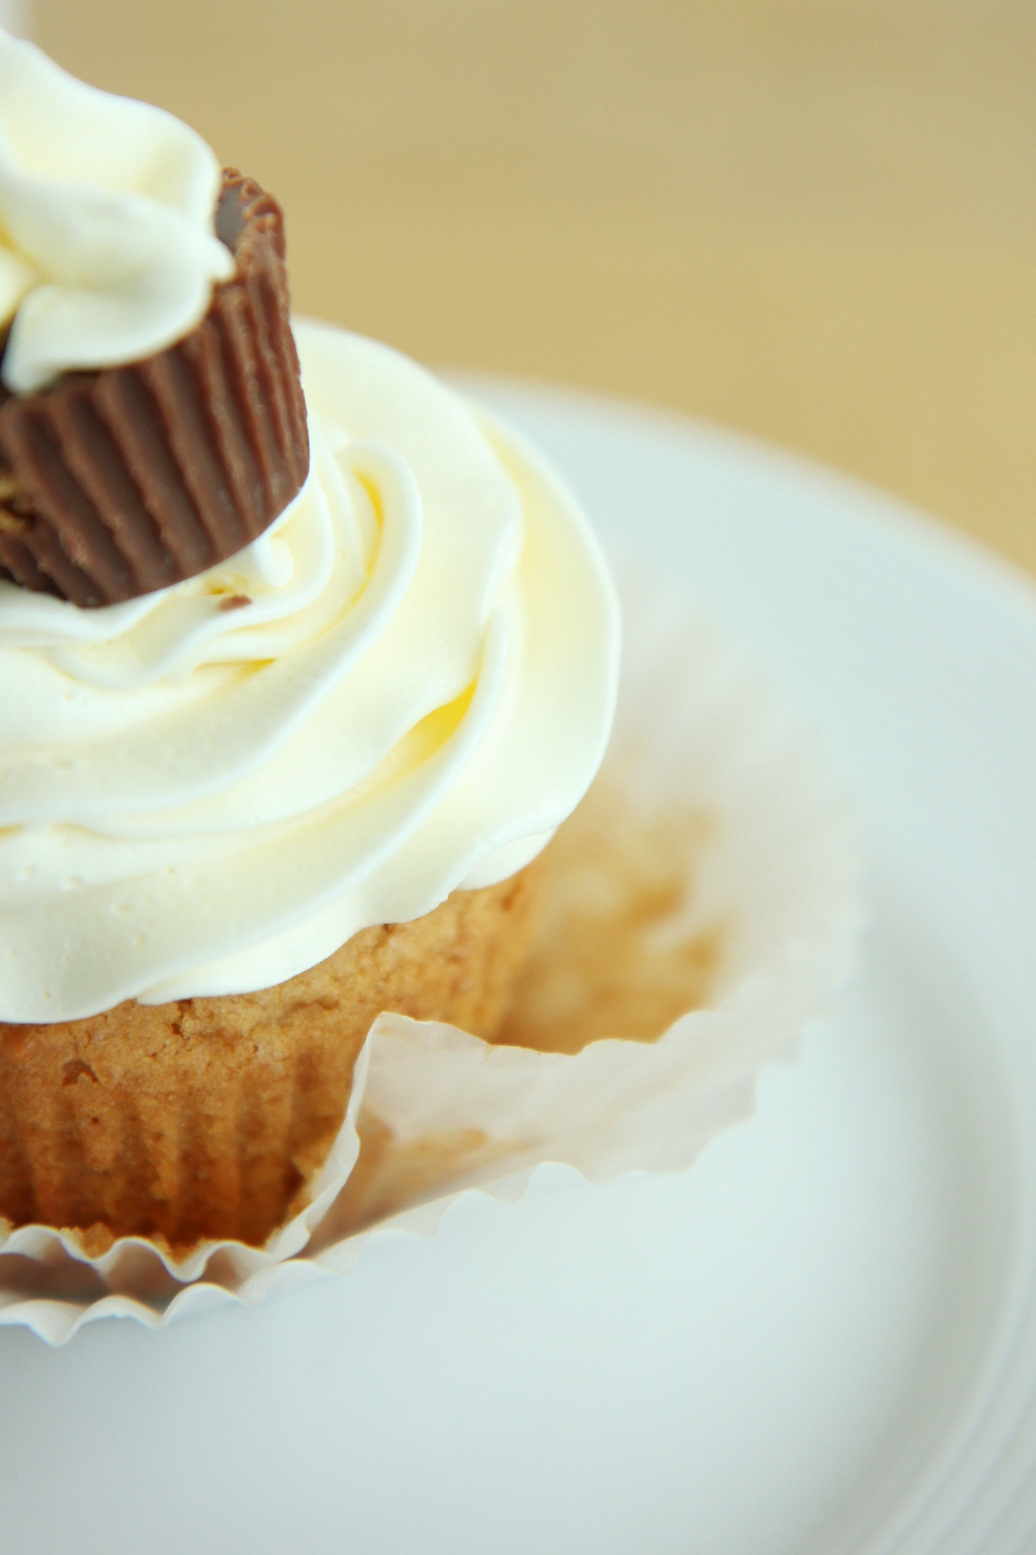
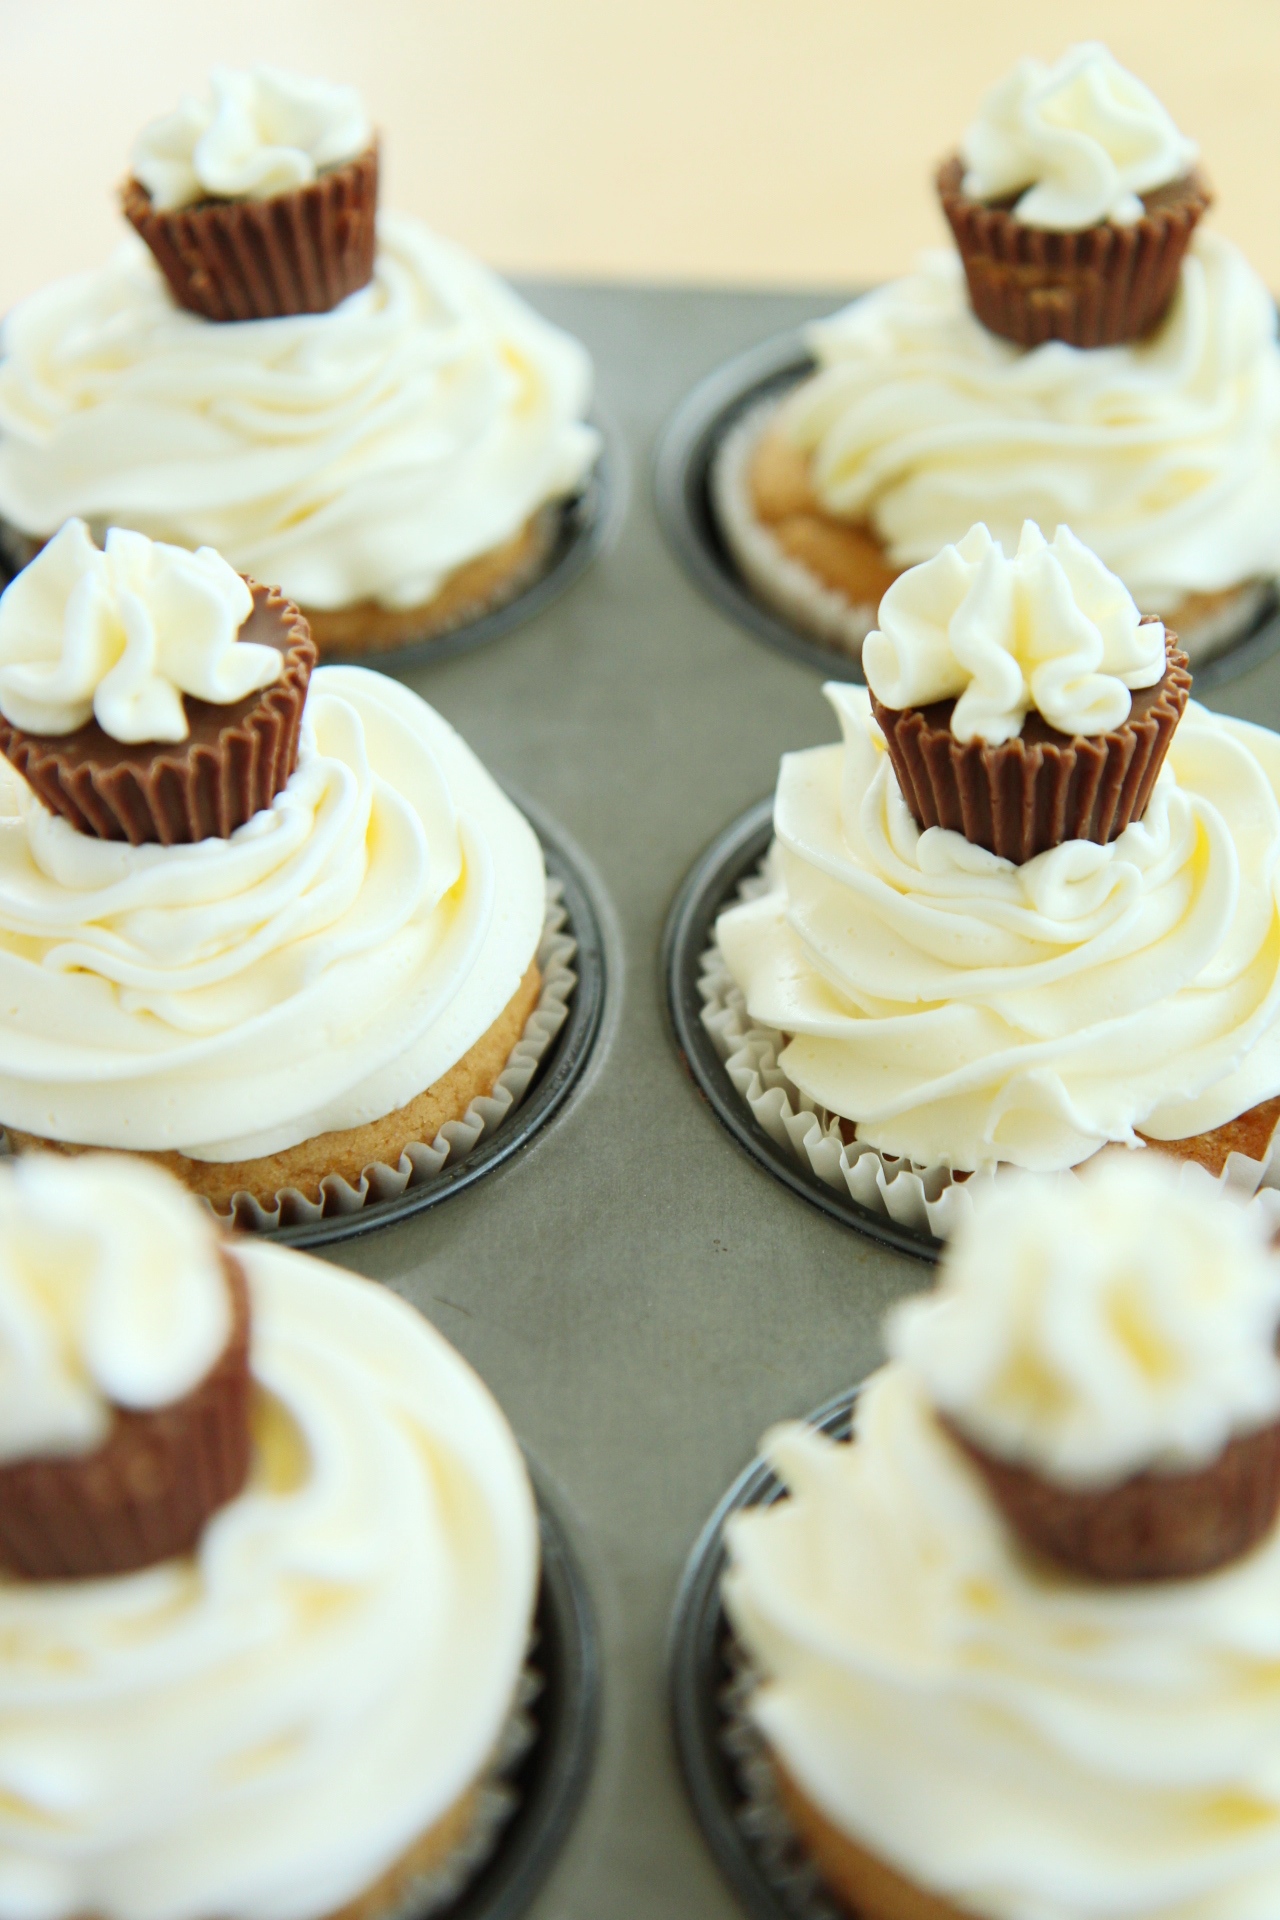
These “Peanut Butter Me Up” cupcakes are a soft, buttery, salty PB cake, filled with tart raspberry jam, topped with a big fluff pile of vanilla Italian meringue buttercream, topped with a peanut butter cup.

I used raspberry preserves made only with pomegranate juice as the sweetener, so it was extra tart and tangy!
I only made 12 cupcakes, but there was definitely enough batter/buttercream to make 16 or 18 cupcakes, so I’ve adjusted the yield in the recipe to reflect that.

Since I can’t get the ice cream here, I’ll have to stick with cupcakes.
Somehow, I’m OK with that.

IMG_7508_01

Peanut Butter Me Up Cupcakes
makes 16-18 cupcakes
cake portion adapted from Serious Eats

ingredients:
for the peanut butter cake:
4 tablespoons butter
1 packed cup brown sugar
3/4 teaspoon kosher salt
3/4 cup creamy peanut butter
2 eggs
3/4 cup milk
2 teaspoons vanilla extract
1 1/2 cups flour
1 1/2 teaspoons baking powder

for the vanilla Italian meringue buttercream:
3 egg whites
1 cup sugar
1/4 cup water
big pinch salt
6 ounces (3 sticks) butter, cut into small bits, soft but cool
1 teaspoon vanilla extract

to assemble:
raspberry jam, approximately 1/2 cup
mini peanut butter cups

directions:
Make the cupcakes: preheat oven to 350 degrees F.
Line 18 muffin tins with papers.
Beat butter until softened, about 1 minute.
Stream in brown sugar and salt and beat for 3 full minutes.
Add in the peanut butter and beat for 3 more minutes.
Add in the eggs, one at a time, and beat for 2 full minutes.
Mix the milk and vanilla extract, and, very slowly and carefully, stream into the batter while slowly, slowly mixing to prevent splashing.
Dump the flour on top of the batter and add the baking powder over the flour mound.
Slowly stir batter until homogeneous (it will be thick).
Portion out with an ice cream scoop into your tins.
Bake for 22-26 minutes, until springy to the touch, very fragrant, and a tester comes out with only a couple crumbs.
Allow to cool completely.

Make the vanilla Italian meringue buttercream: combine sugar, salt, and water in a heavy bottomed pot.
Place egg whites in the bowl of a stand mixer.
Begin to whip egg whites on medium speed while heating the sugar syrup over medium-high heat.
When the sugar syrup reaches 230 degrees F, your egg whites should be at very soft peaks.
By the time the syrup reaches temp at 245 degrees F, your egg whites should be at soft peaks.
Slowly and carefully pour the hot syrup into the whipping egg whites.
Whip the meringue until it reaches body temperature, then begin to whip in the butter, 1 tablespoon at a time.
Add the vanilla and continue to whip the buttercream at high speed until it becomes fluffy, glossy, and thick.

Assemble the cupcakes: place your raspberry jam in a piping bag fitted with a plain tip.
Plunge the tip into the cupcake and wiggle it around, applying gentle, even pressure to fill the cake, until the pressure forces the tip out of the cake.
Frost the cupcakes with the meringue buttercream as desired, then top with a peanut butter cup!

Dreamy

IMG_6815

In my dreams, I can fly eat cake whenever I so desire.

IMG_6822

Welcome back, friends.  I’ve missed this little place for the last few days, but I’ve been off being very busy sleeping and reading and relaxing.  Ahhhh.

I hope you all had a couple marvelous days off from all your duties, whether they were for celebrating xmas or not!

I have so enjoyed being with my family.  It is a magical time of year, when we can all get together and all keep our heads calm.
Here’s to family!
And here’s a gif for my oldest brother who calls them “GIHFs,” even though it is clearly “JIFs.”
He is a lost cause.

j

These cakes, however, are not lost.  My mouth found them altogether too quickly.

These are the stuff of dreams!  Little coconut jewels, small and personal.  Like cupcakes, but better.

They’re simple, and not too sweet.
Buttery, and yet inconceivably fluffy.
Richly flavorful, but incredibly simple.

In fact, there are only two easy easy easy components to these little cakes!
Buttery coconut cake
 is baked in a sheet pan, then cut out and layered with coconut Chantilly cream.
Heavenly!

IMG_6795

A note on equipment, as these cakes require a couple finicky little pieces, i.e. a small jelly roll pan and some cake rings.

I used this sheet pan. (Cheap, semi-durable.)
I used molds similar to these cake rings. (Super durable.)

This is what I used to eat them.

May your dreams be full of cake!

P.S. For the loveliest of dreams, listen to this combination.  Makes me cry.  And smile.

IMG_6817 

Coconut Stack Cakes

makes 3 2-inch cakes (from a 10×15 inch sheet pan)
ingredients:
for the cake:
77 grams butter
167 grams sugar
40 grams brown sugar
2 eggs
63 grams full-fat coconut milk
10 grams lemon juice
50 grams grapeseed oil
8 grams vanilla extract
123 grams flour
2/3 teaspoon baking powder
big pinch kosher salt

for the whipped cream:
240 mL heavy cream
15 mL full-fat coconut milk
7 grams powdered sugar

directions:
Preheat oven to 350 degrees F and grease and flour a 10×15 inch jelly roll pan.
Beat butter for 2 minutes to soften.
Add the sugars and beat for 4 more minutes.
Scrape the bowl and beat in the eggs for 2 more minutes.
Scrape the bowl and add the coconut milk, lemon juice, oil, and vanilla extract; beat until homogeneous.
Add the flour, baking powder, and salt and mix on low until combined.
Scrape the batter into the jelly roll pan and spread out evenly.
Bake for 18-22 minutes, until golden and firm to the touch.
Allow to cool completely, then cut circles out with 3 inch cake rings.
You should get 12.
Whip cream to soft peaks, then gently beat in coconut milk and powdered sugar.
Place one cake circle in the bottom of a cake ring.
Spread 2 tablespoons of whipped cream onto the cake base.
Place another cake circle on top of the whipped cream and repeat so that each stack cake gets 4 layers.
Press down gently to release the cake, then top with pearl sugar, coconut flakes, and kumquats.

Holidazed

IMG_6621_01

All the cookies!

IMG_6574_02

‘Tis the season for cookies.
We alllll know it.
And you know, I ain’t mad at it.  Cookies and I get along very well.

Anyways, this year we’re stepping up our cookie game.  Right?
Let’s give away cookies that take the lackluster cookie platter to the next level.

We started with nutmeg, maple, and rye sugar cookies.
Now, we’re doing traditional, but we’re doing it a better way.

IMG_6581_01

Linzer cookies are totally a staple on holiday cookie platters.
Butter cookies with a cut out, filled with jam.  You’ve seen ’em.  You’ve enjoyed eaten them.

Here’s the problem: too often they are dry and crumbly, sucking the moisture right out of your mouth and leaving a telltale trail of crumbs down the front of your ugly sweater. (What?! We all do it.)

Or, they’re utterly boring.  Not enough punch; plain Jane fillings and plain Jane casings.
Not so with these Linzer cookies!  They’ve got a hefty pinch of salt, a touch of spice, and fillings with body.

IMG_6537_01_01_01

These cookies are made with almond flour and minimal sugar, which means the flavors stay clean and un-muddled on your tongue.
To ensure that they have a good bite, not too crumbly nor too firm, we use a technique most often utilized in making fluffy cakes with tight crumbs: reverse creaming.

Reverse creaming involves whisking all the dry ingredients together, then beating in soft butter followed by the wet ingredients.  It creates a dough with minimal air pockets, meaning your cookies will be nice and flat and less prone to crumbling.

We’ve got a good base going: lightly spiced and sweetened, with hints of almond and a firm, crisp bite.

Don’t mess it up with the fillings!  Use good quality jams.
My favorite was the D’arbo sour cherry jam, which went well with the almond undertones (almonds+stone fruit=magic), and also offset the butteriness of the cookies masterfully, what with its tart, fruity self.
I highly recommend choosing fillings with a little kick.
In the future, I’d add a pinch of cayenne to the Bonne Maman strawberry jam, and a sprinkle of salt to the Nutella.  I’m partial to apricot as is, but I bet an extra touch of nutmeg would work wonders.

IMG_6591_01

Sorry that my posts haven’t been very wordy.  It’s the holidays, and my brain is fried.
Holidazed and confused…

More cookies coming your way in a day or so.
Hint: there’s peppermint involved.  Get excited.

IMG_6604_01

Linzer Cookies
adapted from Martha Stewart
makes approximately 20 large sandwich cookies
ingredients:
5 ounces (1 cup and 3 tablespoons) almond flour or finely ground almonds
3.6 ounces (1/2 cup) sugar
1 teaspoon cinnamon
1/8 teaspoon freshly ground nutmeg
1 teaspoon baking powder
big pinch kosher salt
9 ounces (2 cups plus 2 tablespoons) flour
8 ounces (16 tablespoons) butter, softened and cut into small chunks
1 egg
splash vanilla extract
confectioner’s sugar, for dusting
fruit jams or Nutella, as desired

directions:
In the bowl of a stand mixer fitted with the paddle, add the almond flour, sugar, spices, baking powder, salt, and flour and mix to combine.
Add in the softened butter and paddle until the mixture resembles a coarse meal.
Add in the egg and vanilla and mix until a dough forms.
Turn the dough out onto a lightly floured surface and roll out to 1/4 inch thickness.
Cut out circles, and cut a small shape out of half of the circles.
Place onto parchment lined baking sheets and freeze or chill for at least 30 minutes.
Preheat oven to 350 degrees F.
Bake the frozen/chilled cookies for 9-11 minutes, until set and lightly golden.
Allow to cool completely.
Spread 1 1/2 teaspoons of filling of choice onto the cookies without cut outs.
Dust the cookies with the cutouts with plenty of confectioners sugar, then sandwich them on top of the filling and uncut cookies.

Great Scott!

IMG_6173_01
It’s the 3rd Annual Great Food Blogger Cookie Swap!

IMG_6166_01

The GFBCS is a multiple nation wide food blogger swap which is sponsored by OXO, Dixie Crystals, and Grandma’s Molasses; all the profits go to the charity Cookies for Kids’ Cancer, which supports pediatric cancer research.

Pretty much a good time all around, right?

Not only did I receive three delicious types of cookies and have the opportunity to share my cookies with three other bloggers, but it was for a good cause.

IMG_6193_01

Also, OXO sent me three super fancy, brand-spanking new spatulas.  I’ve never been more excited to see a spatula before.  Ugh I’m in love.

This is the second year I’ve participated in the swap, and I’ve worked with Cookies for Kids’ Cancer for a service project as well.
It’s always a pleasure.

IMG_6180_01

With that, here are the details:

I received…

muddy buddy cookies (genius idea!) from Marley of Chicago Foodies
date pinwheel cookies (a family recipe!) from Jessica of Kettler Cuisine
and marbled shortbread (so cute!) from Lauren of a Dash of Soul.

I gave…

des petits sablés aux noix: pressed walnut sablés, buttery and rich, half dipped in 70% Scharrfen Berger chocolate

to Jenne of Mooshu Jenne,
Brooke of Crackers on the Couch (who sent out crackers— how perfect is that?)
and Joanna of A Kosher Kitchen.

Happy holidays to all!  I hope you enjoyed your cookies.

Until next year, Great Food Blogger Cookie Swap!

IMG_6179_01

Walnut Sablés

ingredients:
660 grams (5 cups) flour
120 grams (1 cup) walnut halves
450 grams (4 sticks, 1 lb) butter
400 grams (2 cups) sugar
2 teaspoons kosher salt
2 splashes vanilla extract
2 eggs
1 egg beaten with 1 tablespoon water, for egg wash
melted bittersweet chocolate, if desired, for dipping

directions:
In a food processor, pulse the flour and walnut halves until a uniform flour forms; careful not to over process, as the walnuts will start to form butter.
In a stand mixer, beat the butter for 4 minutes, until light and fluffy.
Scrape the sides of the bowl and add in the sugar and salt.
Beat for 2 more minutes, until all the grit is gone and the mixture is very pale.
Add in the vanilla and eggs and beat for 2 more minutes.
Scrape the bowl and dump in all of the walnut flour mixture.
Mix on low until a dough forms.
Chill for at least 45 minutes.
Roll out on a very well-floured surface, and press with a cookie stamp (alternately, just cut out shapes) and cut out.
Chill for at least 30 more minutes.
Preheat oven to 350 degrees F.
Brush chilled cookies with the egg wash and bake for 10-12 minutes, until golden brown.
Remove from oven and let cool completely before dipping in chocolate.
Place the cookies on a cooling rack to let the chocolate drip through.

Nanners

IMG_5568_01

Hellooooo buttermilk-cream cheese glaze, I want to bathe in you omg.

IMG_5610_01

“Best thing I’ve ever eaten.” -#JonS

“Favorite thing you’ve made.” -Tom

“Oh my god.” -D. Frankel

“Mmmffm” -CJ

IMG_5577_01

It’s pretty hard to go wrong with bananas, brown butter, chocolate, buttermilk, and cream cheese.

Impossible, actually.  You could probably smush them all up and stick them in the microwave and it would taste good.
(Ugh. Banana mug cake?!?!?)

But more on that later: let’s talk technology!

Talk tech to me…

IMG_5685_01

Remember how I admitted to having a bad case of lens lust?

How all I wanted all I needed all I ever desired ever was a new lens?

Something shiny, big, and full of glass?

IMG_5655_01

I bought myself one!
After the horrors of 7th week (1 paper, 2 midterms, 3 p-sets and no sleep) I decided I was deserving.  Ahem.

But, y’all, let me tell you: I am bad at ebay.  I do not do ebay good.

I lost 4 (four!) auctions for various 17-55 mm f2.8 USM Canon lenses.

I had fallen into a pit of despair (FWP), when suddenly, I noticed a new BUY IT NOW lens and I jumped out of my seat and my pants and bought the damn thing.

I promptly put my pants back on and sat down
but nevertheless, my excitement was not dampered.

IMG_5587_01

The lens came super quickly (it only took the weekend to arrive!) and I was stunned.

It’s really a beaut; there is so much glass!  I’m unused to that, and I find it truly gorgeous.

It makes my camera look gigantic, yes, but ooooo mami that depth of field will getcha!
Compared to my lil’ eensy kit lens (which I still and will always love.  It’s got sentimental value, okay?  Sentimental value and no lens cap.  Oops.), this thing is a giant monster princess who will be treated with love and care and kept safe.

Very safe.  (She says as she smudges glaze all over it.)

IMG_5596_01

Obviously, I was very excited to bake something and take photos of it with my new toy.
Obviously, knowing me, I was going to choose something I hate photographing.

Whyyyyy am I so stubborn and ridiculous?

I hate bundt cakes.  Wait, no, I hate photographing bundt cakes.  We’ve been through this.  I’m bad at it.
And yet, I baked a bundt cake. Hmph.

This cake, doe.
It is a never fail.  I have made it so many different ways, and have yet to be displeased.
This is my favorite adaptation.

IMG_5680_01

First, I brown half the butter.  Half is creamed until light and fluffy, and then its nutty, flavorful, melted partner gets poured in.
The result?  All of the benefits of the brown butter with an accompanying light and fluffy crumb due to the aeration from creaming, which cannot be done with solely melted butter.
The cake would be much denser if all the butter were to be browned.

Next: I freeze my bananas.  Solid.  Then I melt them in the microwave and discard most of the banana water.  It will make your cake too wet and dense.  You concentrate the flavor of the bananas a bit with the heat of the microwave, then you get rid of the excess liquid: boom.
Bigger, bolder banana flavor.

Brown sugar makes up the majority of the added sweeteners here, and it gives depth and warmth thanks to the molasses.

Buttermilk keeps the crumb tender and soft; we only need a touch, as too much would make the cake soggy and crumbly.

Finally, a smattering of chocolate chips, because chocolate.

To top the cake, buttermilk, cream cheese, powdered sugar, and milk powder get whizzed together to make a thick glaze that is not too sweet and has just the right amount of tang.

‘Tis a beautiful bundt.  There.  I said it.  The interior makes up for the photos exterior.

IMG_5692_01

Perfect Banana Bundt
makes 1 bundt cake
adapted from Dorie Greenspan

ingredients:
225 grams (8 ounces, 16 tablespoons) butter, divided in two
150 grams (3/4 cup) granulated sugar
250 grams (1 1/4 cup) brown sugar
2 eggs
splash vanilla extract
4 medium bananas, frozen solid
120 grams (1/2 cup) buttermilk
big pinch salt
2 teaspoons baking soda
360 grams (3 cups) flour
200 grams (heaping 1 cup) chocolate chips, if desired

directions:
Preheat oven to 350 degrees F and grease and flour a bundt pan very thoroughly.
In a small saucepan, melt half the butter; keep cooking it until there are little brown pieces and it smells nutty; remove from heat and set aside to cool slightly.
Cream the other half of the butter with the sugars for at least 5 minutes, until light and fluffy.
Stream in the browned butter and beat until combined.
Beat in both of the eggs and the vanilla and beat for at least 3 more minutes, until the mixture is pale, fluffy, and very smooth.
Meanwhile, place your bananas in a microwave safe bowl and microwave for 30 seconds, or until the peels are just starting to soften; peel the bananas and return them to the bowl.
Microwave for about 1 1/2 minutes in 15-30 second bursts.
The bananas should be melty and should have let off a bit of liquid.
Using your hands to hold the bananas in the bowl, press and pour as much of the liquid out of the bananas as possible, without losing any banana pieces.
Pour the bananas into the creamed butter and sugar and beat until homogeneous; the mixture will look very curdled.
Pour in the buttermilk and beat to combine; the batter will still look curdled.
Dump the flour on top of the batter, then add the salt and baking soda to the top of the flour mound.
Mix on low until the batter is homogeneous and smooth; stir in the chocolate chips, if desired.
Spread the batter into the prepared bundt pan and bake for about 1 hour, or until a tester comes out completely clean; the top will be firm and dark brown, but due to a bundt pan’s shape, the interior might not be done.
Check in multiple places to ensure a completely cooked cake.
Allow the cake to cool for at least 15 minutes in the pan before inverting it onto a serving platter and glazing.

Buttermilk and Cream Cheese Glaze

ingredients:
120 grams (1/2 cup) buttermilk
140 grams (5 ounces) cream cheese, softened
200 grams (approximately 2 cups) powdered sugar, sifted
30 grams (approximately 1/3 cup) milk powder

directions:
In a food processor or with an immersion blender, process the cream cheese and buttermilk.
Add in the dry ingredients and process until a smooth glaze forms.

Orange You Glad

IMG_4561

Orange you glad I didn’t make these with pumpkin?

IMG_4563

Because guys, seriously.  I know it’s fall.  You know it’s fall.  And pumpkin is exciting, (in fact, I have some yeast-raised pumpkin goodies coming for you soon…)
BUT good gracious gravy everyone has been blogging about pumpkin pumpkin pumpkin… Similar to all the white girls tweeting about PSL. (Sorry, not sorry.  At all.  lol.)

So, I rebelled.  These orange-colored cookies are actually made with oranges, not pumpkin.
I regret nothing.

These are super simple, using my 3-2-1 dough as a base recipe.  I made three batches- one vanilla, one chocolate, and one orange, then divided each in half.
The doughs were rolled up tightly, sliced, and baked into adorable little spirals.
They’re so cute I could squeal!!
SO cute, SO easy, and SO yummy.  It’s the trifecta of cookie perfection!

Can we just talk about how great slice-and-bake cookies are?  In love.

Anyways, these cookies are perfect for a Halloween party.
You can make the dough in advance, keep in the fridge all rolled up and ready, and whenever you want cookies, all that you have to do is thaw the dough, cut however many cookies you want, and bake!
*Note: these cookies bake best (hold their shape best) when baked from room temperature.

See you soon for more spooky treats!

IMG_4582

Orange, Chocolate, and Vanilla Swirl Cookies 

ingredients:

For the vanilla dough:
225 grams (2 sticks, 16 tablespoons) butter
200 grams (1 cup) sugar
Two big pinches (scant 2 teaspoons) kosher salt
1 egg
Splash vanilla
360 grams (3 cups)flour

For the orange dough:
225 grams (2 sticks, 16 tablespoons) butter
200 grams (1 cup) sugar
Zest of 2 oranges
Orange gel food coloring (optional)
Two big pinches (scant 2 teaspoons) kosher salt
1 egg
Splash vanilla
360 grams (3 cups) flour

For the chocolate dough:
225 grams (2 sticks, 16 tablespoons) butter
90 grams (scant 1/2 cup unpacked) brown sugar
110 grams (heaping 1/2 cup) sugar
2 big pinches (scant 2 teaspoons) kosher salt
1 egg
300 grams (2 1/2 cups) flour
45 g (1/2 cup) cocoa powder

Directions (for all the doughs):

(For the orange dough only: rub the zest into the sugar with your fingertips before beating the orange sugar, butter, salt, and food coloring together)
Beat the butter, salt, and sugar(s) together for 3 minhtes.
Scrape the sides of the bowl, add the egg and vanilla, and beat for 2 more minutes.
Scrape the sides of the bowl and add the flour (or flour and cocoa powder, for chocolate dough).
Mix until a thick dough forms.
Divide into equal halves and form into rectangles.
Refrigerate, wrapped in plastic, for at least 30 minutes.
Roll out each half into a rectangle between 1/8 and 1/4 inch thick.
Layer one chocolate half over a vanilla half, the other vanilla half over an orange half, and the other orange half over the leftover chocolate half.
Working gently and slowly, roll each up very tightly, making sure not to crack the dough.
Refrigerate for at least 30 minutes.
Slice the cookies about 1/4 to 1/3 inch thick with a sharp knife, and place on a cookie sheet lined with parchment paper.
Do not chill your cookies!
Make sure they are room temperature; leave them on the counter as your preheat the oven to 350 degrees F.
Bake for 10-12 minutes, until the edges are set and the bottoms start to become lightly golden.


Charred

 To be honest, more than charred, I’m fried.
 
I’m dragging my feet, so much so that the edges of my toes are burned and my shoes have holes in them.
Or, they would, if I were wearing shoes.  The past two days, it has been scorchingly hot.
Like, dash-reads-100-degrees hot.  
Like, yes-absolutely-let’s-go-to-the-grocery-store-it-has-AC hot.
Like, why-the-f@&#-did-I-turn-on-the-oven hot.
 
It’s cooled down, now.
This morning/midday was Sahara desert-esque (right when I was making ratatouille AND savoiardi like wat why me), but this afternoon and evening…
Well, holy monsoon Batman!!
All that rain practically sizzled off of the sidewalks, but eventually drowned out the heat.
I mean, phew, cause I’ve started cooking with apples and pears already, and there’s no turning back.
I just ain’t got time for no more summer, let me tell you.
Ah, yes.  What am I dragging my feet for, you say?
Well, I have 9 8 more days left here in Ith, and I haven’t started packing!!
I have shit to do, guys!  And I can’t bring myself to do it.
It’s just like, ugh, it’s so hot and like I don’t really want to think about like organization and fitting my closet into my dorm room, let alone my kitchen.
Those are the two largest entities in my house.
 
Because, yes! 
Surprise (or, rather, less than a surprise) surprise, this blog is not stopping here.
I’ll have access to a kitchen…
Which means baking and blogging and sugar and butter and flour.
Comin’ at yo face.
In turn, this means that I have to make a packing list for normal living things- linens, clothing, cosmetics, decor, etc., but also for kitchen supplies.
I can’t bear to think of the beloved appliances I’ll have to leave behind.
Examples: my ice cream behemoth machine
my pro WOLF convection oven
my big food processor
my stand blender
copper pots, wok, little pots, little saucepans, omelette pan, panini pan, roasting pan, all MY PANS
random prop materials- china, silverware, fabrics, wooden pieces, marble, much of my mason jar collection
… Pour one out for da homiez.  Seriously.
On a less dour note, this is a lovely little charlotte that I’m sharing today.
Get it?!?!?! Charlotte- charred
No? Damn, and I thought I was being a clever little monkey. (Insert that cute emoji here, you know the one, the little monkey with its little hands over its mouth.)
A charlotte is a molded cake, usually with savoiardi, or ladyfingers, around the outside.
(There are a few variations on what is on the exterior.)  
Where the imagination and difference comes in is the interior.
You could make a charlotte with literally any flavor or idea.
I chose tiramisù, because ladyfingers. 
And because I had never made tiramisù before.
It’s incredibly simple- just 3 components to the dish- savoiardi, coffee/liqueur to soak, and a cream/zabaglione/mascarpone mixture to add richness.
So simple, in fact, that I undertook to make my own ladyfingers, which may seem imposing, but are, in actuality, very simple.
This is a cookie that’s been around for 600 or so years.  How hard can it be?  Fo’ realz. 
 
On the inside is a classic tiramisù, except that I used whiskey, which is, erm… not traditional.
But to hell with it.  Use whatever liqueur tickles your fancy.
The ladyfingers are sponge cake’s sister, just piped out.
They’re layered with coffee/whiskey/vanilla (can I have that as my morning pick-me-up?!) and a deeeeelicious mascarpone/heavy cream/zabaglione mixture (wait no I want that…), topped with a mountain of raspberries, then chilled until set.
 
Wrap a ribbon around the whole shebang and give it to someone as a present!
HA just kidding.  
Untie the ribbon, cut yourself a fat wedge, watch the raspberries tumble out like so many ruby jewels, and MANGIA! 

Tiramisù Charlotte
makes 1 6×3 inch cake
note: brew some strong coffee before starting, then allow it to cool.  If you are making ladyfingers, make those right after the coffee and let them cool as well.  You can always use store-bought.
for the savoiardi (ladyfingers):
makes 1 1/2 sheet pans of 4×1 inch savoiardi
ingredients:
3.5 egg yolks (1/2 yolk is approximately 1 1/2 teaspoons, or 0.3 ounce)
3 tablespoons sugar
3.5 egg whites (1/2 white is approximately 1 tablespoon, or 0.5 ounce)
pinch cream of tartar
4 tablespoons plus 1 1/2 teaspoons sugar
3/4 cup cake flour
directions:
Preheat oven to 350 degrees F.
Draw out 4×1 inch grids on two sheets of parchment paper; place them on two sheet pans, pencil or pen side down.
Have a pastry bag fitted with a 1 inch tip at the ready.
Place the egg yolks in a bowl with 3 tablespoons of sugar.
Place the egg whites in the bowl of a stand mixer with the cream of tartar.
Whip the egg yolks briskly (or with a hand mixer) until they become pale, thick, and double in size.
Meanwhile, whip the egg whites, slowly streaming in 4 tablespoons plus 1 1/2 teaspoons sugar once they begin to foam.  
Beat the egg whites until they hold stiff peaks.
Sift the cake flour over the egg yolks, but don’t mix in, then fold the egg whites into the egg yolk/flour until homogenous; be careful not to overmix.
Place into pastry bag and pipe out finger shapes, approximately 4×1 inch tall/wide.  (They will touch each other during baking.)
Bake for 8-10 minutes, until they are golden and puffy but not particularly hard. (They should not feel raw or look runny, but should still be slightly spongy to the touch.)
Remove from oven and allow to cool completely.

for the mascarpone cream:
adapted from Chef Dennis via Bake and Bait
ingredients:
3 egg yolks
3 tablespoons sugar
1/2 cup plus 2 tablespoons mascarpone
scant cup heavy cream
directions:
Whisk yolks and sugar together very well; place in a small pot over low heat and cook until sugar is completely dissolved.
Remove from heat, pour into a different bowl, and whip until thick and about doubled in size.
Whisk in mascarpone.
In a separate bowl, whip the heavy cream to stiff peaks, then fold it into the zabaglione/mascarpone mixture.
Set in fridge until ready to use (but not for too long; an hour at most before you should use it).

to assemble:
ingredients:
1/4 cup coffee, cold but strong
1 tablespoon liqueur (Marsala, Kahlua, etc.  Go nuts.)
1 teaspoon vanilla extract
cocoa powder, for dusting
1 pint of raspberries, optional
mascarpone cream, recipe above
ladyfingers (about 30 small ones, less if you have larger), either store bought or homemade, recipe above
directions:
Line a 6×3 inch pan with ladyfingers standing upright.
Place a cake board in the bottom, then place as many ladyfingers as can fit along the bottom, using torn pieces to fill in gaps.
Stir the coffee, liqueur, and vanilla together.
Using a pastry brush, lightly brush the coffee mixture over the ladyfingers- they should absorb it, but do not add so much that they are soaked.  
Smooth 1/3 of the cream mixture onto the soaked ladyfingers.
Layer more ladyfingers over the cream mixture, brush with coffee, and layer with cream.
Repeat layering once more.
Dust the top of the tiramisu with cocoa powder, and top with raspberries, if desired.
Refrigerate for at least 1 1/2 hours before unmolding.
Tie a ribbon around the outside for clean presentation.
Enjoy!

Pudd’nhead

“Adam was but human—this explains it all. He did not want the apple for the apple’s sake, he wanted it only because it was forbidden. The mistake was in not forbidding the serpent; then he would have eaten the serpent.”
-Mark Twain, Pudd’nhead Wilson
I have bad news.
I did that thing I do again.
That thing that I do that makes no sense.
I scratched my compulsive, everything-from-scratch itch again.
I made bread- but not just any bread, a very involved, intricate, fussy, time-consuming bread.
Then, I chopped it up and made bread pudding.
I know.  I think I’m crazy, too.
But this bread… Oh, this bread.
Soft, fluffy, snowy white.
Yes, white bread.  Even though I’m a nuts-and-seeds, whole-food, whole-grain, fermented, brown, brown, brown bread type of girl, I love white bread.
We all do.  I refuse to hear otherwise.
Think about it… crispy, crackly baguettes, eggy challah, white sourdough boules…
White bread is great, occasionally.
Now is one of those occasions.

I baked this bread following instructions at Kirbie’s Cravings.
She adapted it from a cookbook, 65 Degrees, which outlines the Tangzhong method of making bread.
This is a Japanese-style Hokkaido bread, which is a milk, butter, and cream enriched dough.
In my experience, enriched yeast doughs need a little more care to ensure they come out perfectly.
Her instructions could not be any better, so I’ll send you there if you’d like to try the bread.
I highly recommend it.
(You will need a scale.)

I halved the recipe so I would only get 1 loaf, but found myself regretting that we didn’t have two loaves.  
The tangzhong paste is sort of like a bread enhancer/saver, so it will last a bit longer than other homemade breads, another reason to make two loaves.

Here’s the link:

Kirbie’s Cravings’ Hokkaido Milk Toast

(Thanks so much, Kirbie!!)

Some tips that I learned while making this bread:
The tangzhong cooks very quickly, so stay near it while it cooks.
Set a timer for 20 minutes and let the dough knead the entire time: due to the enriched nature of the dough, the gluten development is slightly inhibited (the butter, cream, egg, and milk make it difficult for the gluten to form) and needs a long kneading period.
Your dough needs to pass the membrane/windowpane test, which Kirbie describes perfectly.  She even provides pictures.
Now, these bread puddings:
you should eat them warm, with a dollop of cold, freshly whipped cream.
The chocolate is melty, the plums are fall-apart tender and tart.
The top of the bread is crunchy and the underside is custardy.
 
Bread pudding is a fall dessert.  
This bread pudding showcases the best of late summer: plums.
They’re roasted until bubbling and syrupy, then cut into small pieces and layered among fluffy bread cubes and dark chocolate chips, then smothered in custard and baked, again, until bubbling.
The juices pour down the sides as the puddings puff up; when you pull them out of the oven they will deflate a bit, but the result of the deflation is a lovely, dense custard, filled with goodies.
 
You could make these with any white bread: challah, sourdough, sandwich, brioche… just cut the crusts off.
Or, you could make them with Hokkaido milk toast… Which obviously I highly recommend.
 
P.S. Heat any leftovers (what’s a leftover) in the microwave for 20 seconds, so they warm up again.  They’ll taste like they’re straight out of the oven.

Roasted Plum and Dark Chocolate Bread Pudding
makes 4 small ramekins, easily doubled, tripled, or quadrupled
ingredients:
2 plums or pluots
1 tablespoon of sugar
3 1/2 inch thick slices of brioche, challah, or sourdough, crusts removed and cubed
1 egg
3/4 cup milk
1/2 a vanilla bean, scraped
pinch of cinnamon
3 tablespoons sugar
4 tablespoons large chocolate chunks or chips
turbinado sugar, for sprinkling (optional)
whipped cream, for serving (optional)
directions:
Preheat oven to 375 degrees F.
Halve and pit the plums and place in a baking dish.  
Sprinkle with 1 tablespoon of sugar and bake until syrupy and soft, 12-15 minutes.
Remove from oven and allow to cool slightly.
Reduce oven temperature to 350 degrees F.
Whisk egg, milk, and 3 tablespoons sugar together with the scrapings of 1/2 a vanilla bean and a pinch of cinnamon.
Lay bread cubes over the bottom of each ramekin and place a few chocolate chips over that layer.
Cube the cooled plums; place a thick layer of plums over the first bread layer, about 1/2 plum per ramekin.  
Top with the remaining bread cubes and chocolate chips.
Pour 1/4 of the egg mixture over each dish, then sprinkle liberally with turbinado sugar.
Bake until puffed, golden, and juices overflowing, about 20 minutes.
Remove from oven and allow to cool slightly; serve warm with whipped cream.

Mo’ Mo’

Do you know of Piet Mondrian?
Dutch painter, theorist and draughtsman. His work marks the transition at the start of the 20th century from the Hague school and Symbolism to Neo-Impressionism and Cubism. His key position within the international avant-garde is determined by works produced after 1920. He set out his theory in the periodical of De Stijl, in a series of articles that were summarized in a separate booklet published in Paris in 1920 under the title Le Néo-plasticisme (see Neo-plasticism) by Léonce Rosenberg. The essence of Mondrian’s ideas is that painting, composed of the most fundamental aspects of line and colour, must set an example to the other arts for achieving a society in which art as such has no place but belongs instead to the total realization of ‘beauty’. The representation of the universal, dynamic pulse of life, also expressed in modern jazz and the metropolis, was Mondrian’s point of departure. Even in his lifetime he was regarded as the founder of the most modern art. His artistic integrity caused him to be honoured as a classical master by artists who were aligned with entirely different styles, as well as by musicians and architects. He was able to make a living from the sale of his works in the Netherlands, Germany, Switzerland, England and the USA.
© 2009 Oxford University Press
TL;DR
Basically, he represented a change in the art world from the Hague School/Symbolism to Neo-Impressionism and Cubism.
Yes, that was all from the second sentence, and no, I didn’t read past that.
But, yeah.  We’re here to talk about cake.
Cake art.
Art cake?
Either way, this is a cake inspired by Mondrian, via SFMoMA’s awesome, kick-ass cafe, an extension of Blue Bottle Coffee.
Head pastry chef Caitlin Freeman makes a Mondrian cake, among a myriad of other, incredible desserts inspired by modern art.
I fell in love with this cake.
As my father said, it’s so me.
So fussy.  So intricate.
So head-hurting, brain-frustrating, concentration-heavy.
So complicated and irritating.
I love it.
But! My cake didn’t come out quite how I wish it did.
I should have used a few different pans, which I was going to.
Instead, I used one very huge lasagna dish, plus one loaf pan, to bake my cakes.
It made the job a lot more lopsided and tricky, because I had to try to fit all the pieces and ended up with a ton of leftovers when they didn’t fit.
I should have used a protractor, to get all my lines just right.
I shouldn’t have used a serrated knife.
I still need to figure out how to make cakes with tighter crumbs.
I didn’t cream the butter and sugar, for this cake, because I know that creates air bubbles which create a light and airy texture in the finished cake.
It still didn’t quite make it to the tight crumb of a pound cake, which is where I wanted it to be.
 
And yet, I am pleased.  It is okay.  It is a first attempt at making a wacko battenburg cake.
And I did it sans recipe or guide, with just an idea in my head and a sketch of my own Mondrian-inspired idea.
Actually, I had to make a few sketches.  It gave me an excuse to break out my crayons.
God, I love crayons.
I completely and utterly winged this cake, by making a lot of sketches and baking a huge white velvet cake.
I don’t own Chef Freeman’s book, but if you’re interested in making this cake, I suggest you buy the book/follow her instructions.
Do you see her Mondrian cake?  Amazing.