감사합니다

IMG_5995_01

I’m thankful for home.

IMG_6112_01

I’m grateful to be surrounded by love and warmth and family.

IMG_6016_01

This brief respite has been much needed, and much appreciated.

It saddens me to leave (tomorrow), but I am comforted with the knowledge that I will be back in just a few short weeks.

IMG_6152_01

I love my home: my house, my friends, my family, my town.

I love this place.

I was dearly missing this place.

IMG_6071_01_01

I thought I’d share some snapshots of home with you; the first photo is of my beloved bed, where I haven’t been spending enough time this break. (Too many things to do!  People to see!  Places to go!)

You get a preview of our holiday cards (blech) and some cute photos of my kitten and pup.

IMG_6149_01

Also, THANKS GUYS, for being awesome and reading these stupid posts of mine on this silly little blog.

You rock.  Thanks for that.  I sure do appreciate you.

Now, food.

IMG_6145_01

Thanksgiving Menu 2013:

Roasted roots: herbed sweet potatoes, parsnips, and carrots with honey mustard aioli (GF)

Roasted brown butter and maple Brussels sprouts (GF)

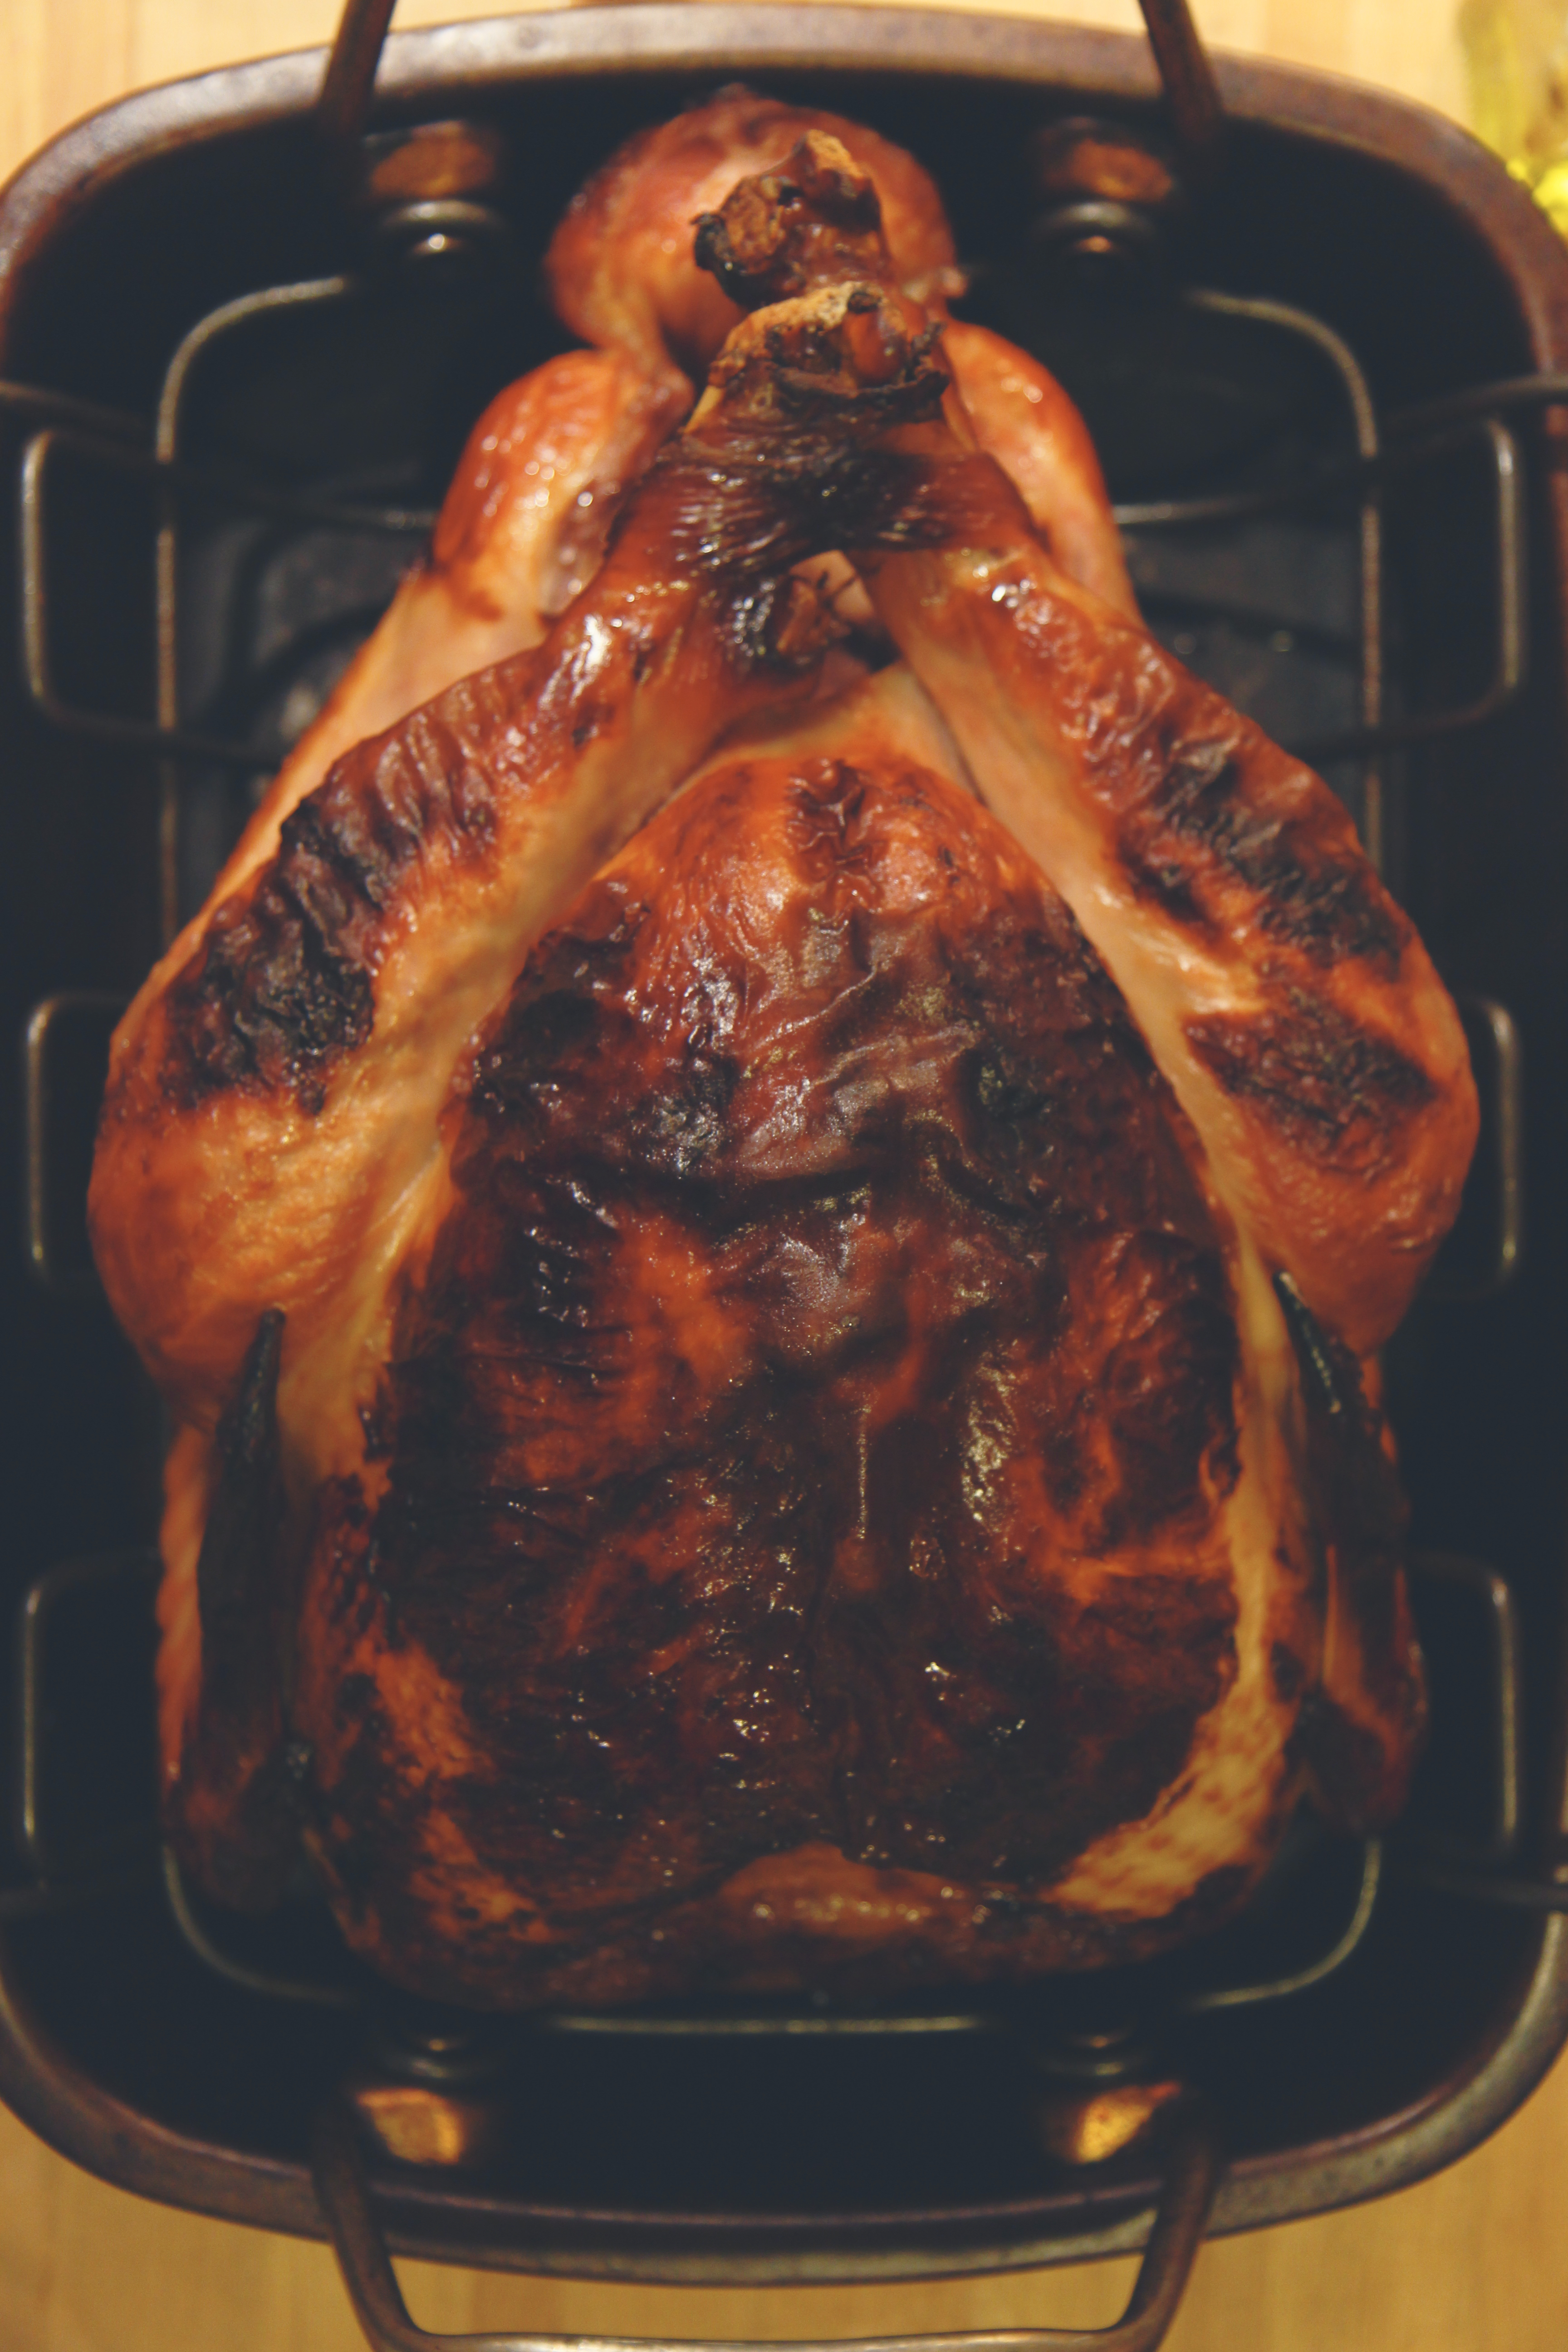
Honey glazed turkey with giblet gravy (GF)

Maple and apple cranberry sauce (GF)

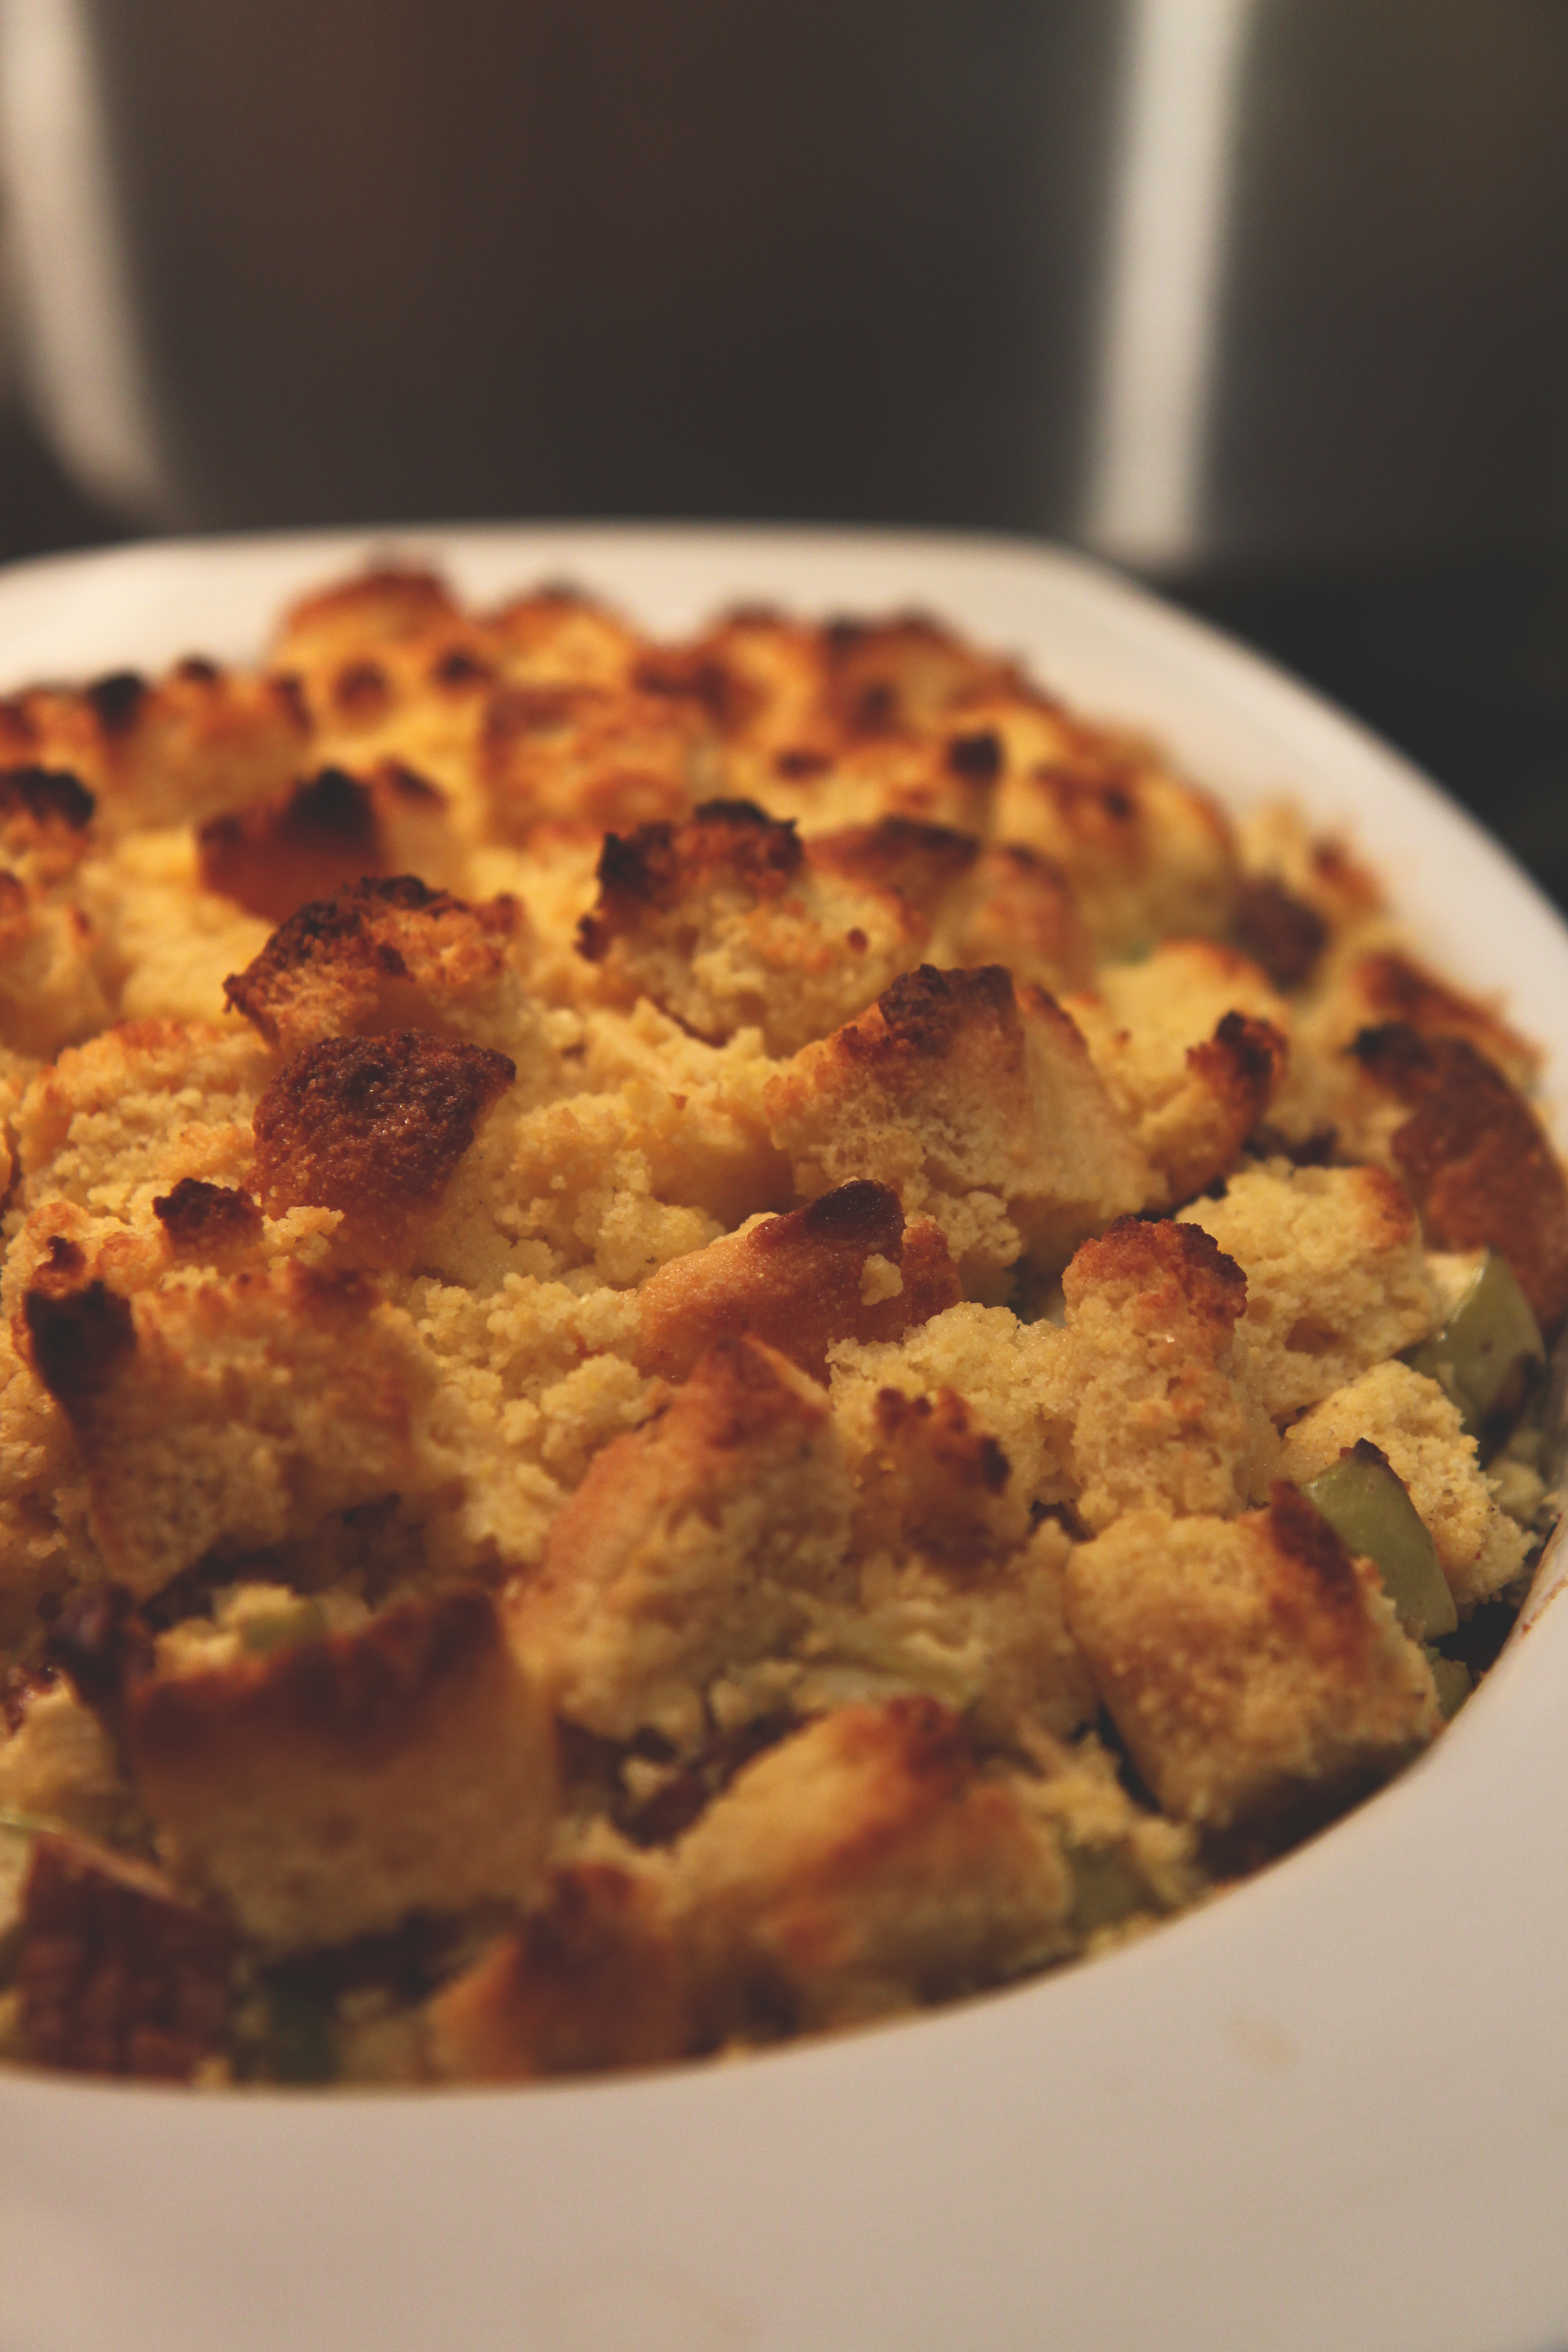
Cornbread stuffing with spiced sausages, pecans, sage, and celery (GF)

Goat cheese, buttermilk, and olive oil mashed potatoes (GF)

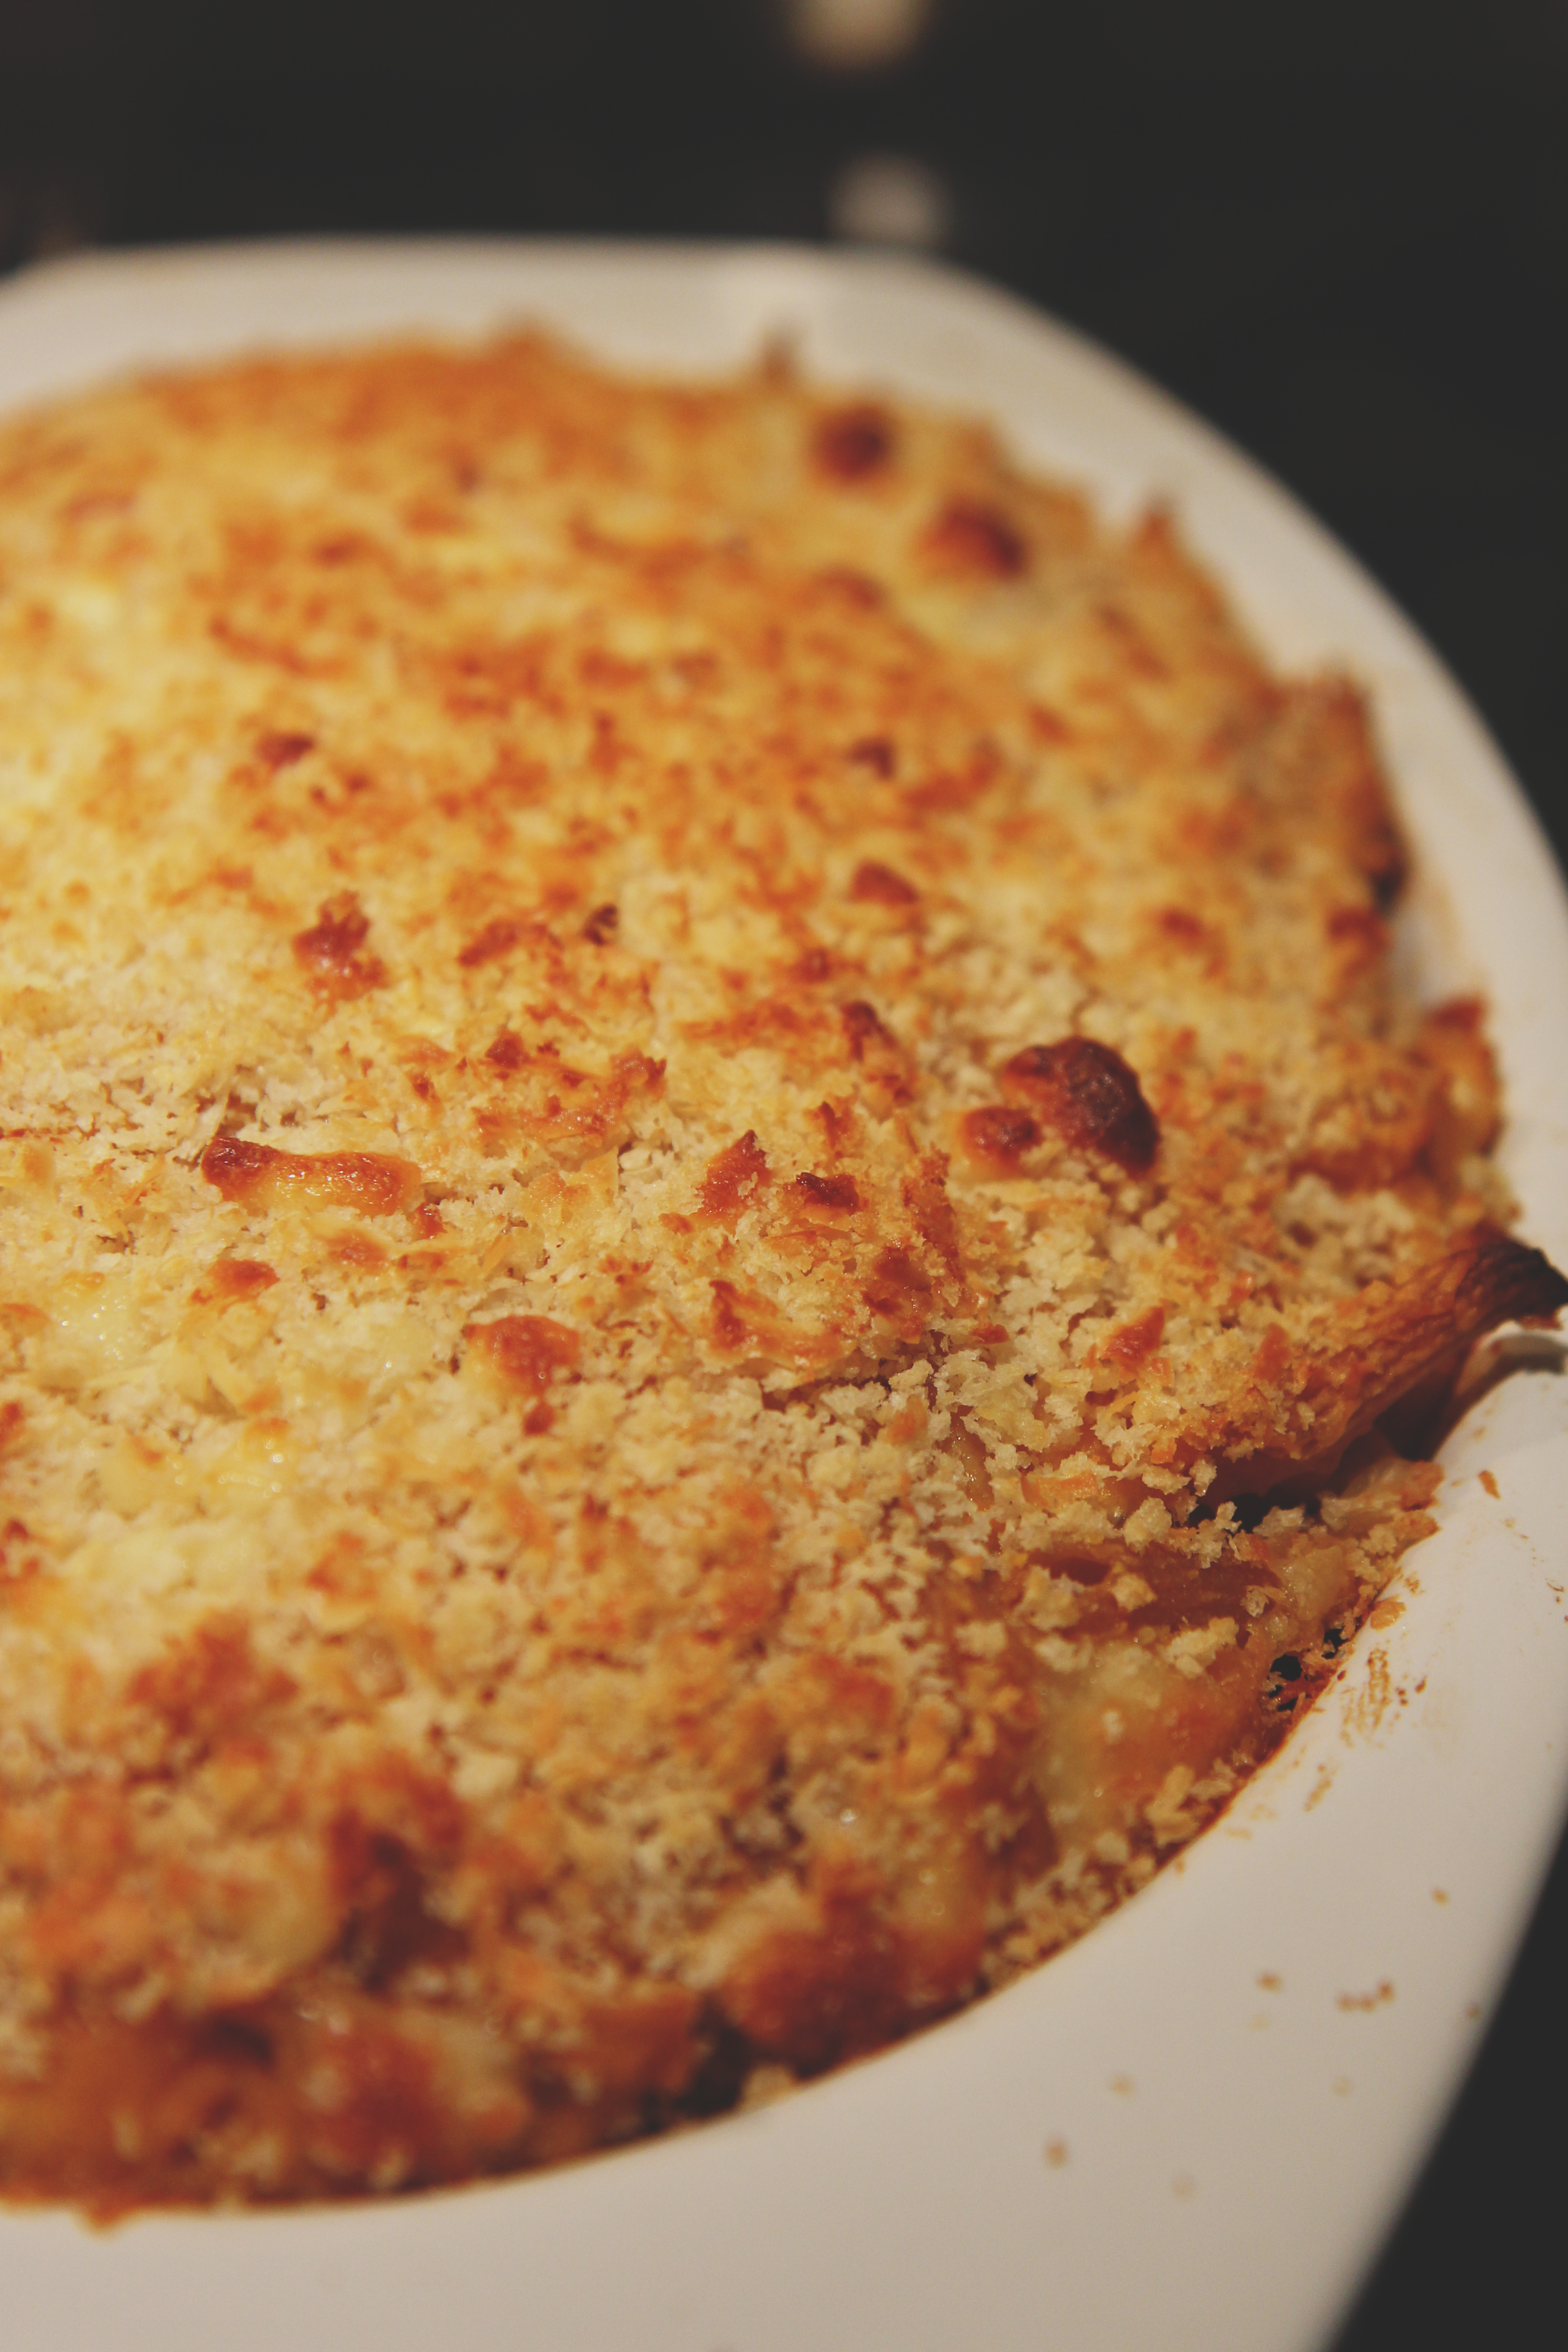
Whole wheat butternut squash mac and cheese

Mixed green salad with pomegranates, walnuts, shaved fennel, apples, and Parmesan with pomegranate dressing (GF)

Butterscotch and thyme apple pie (GF)

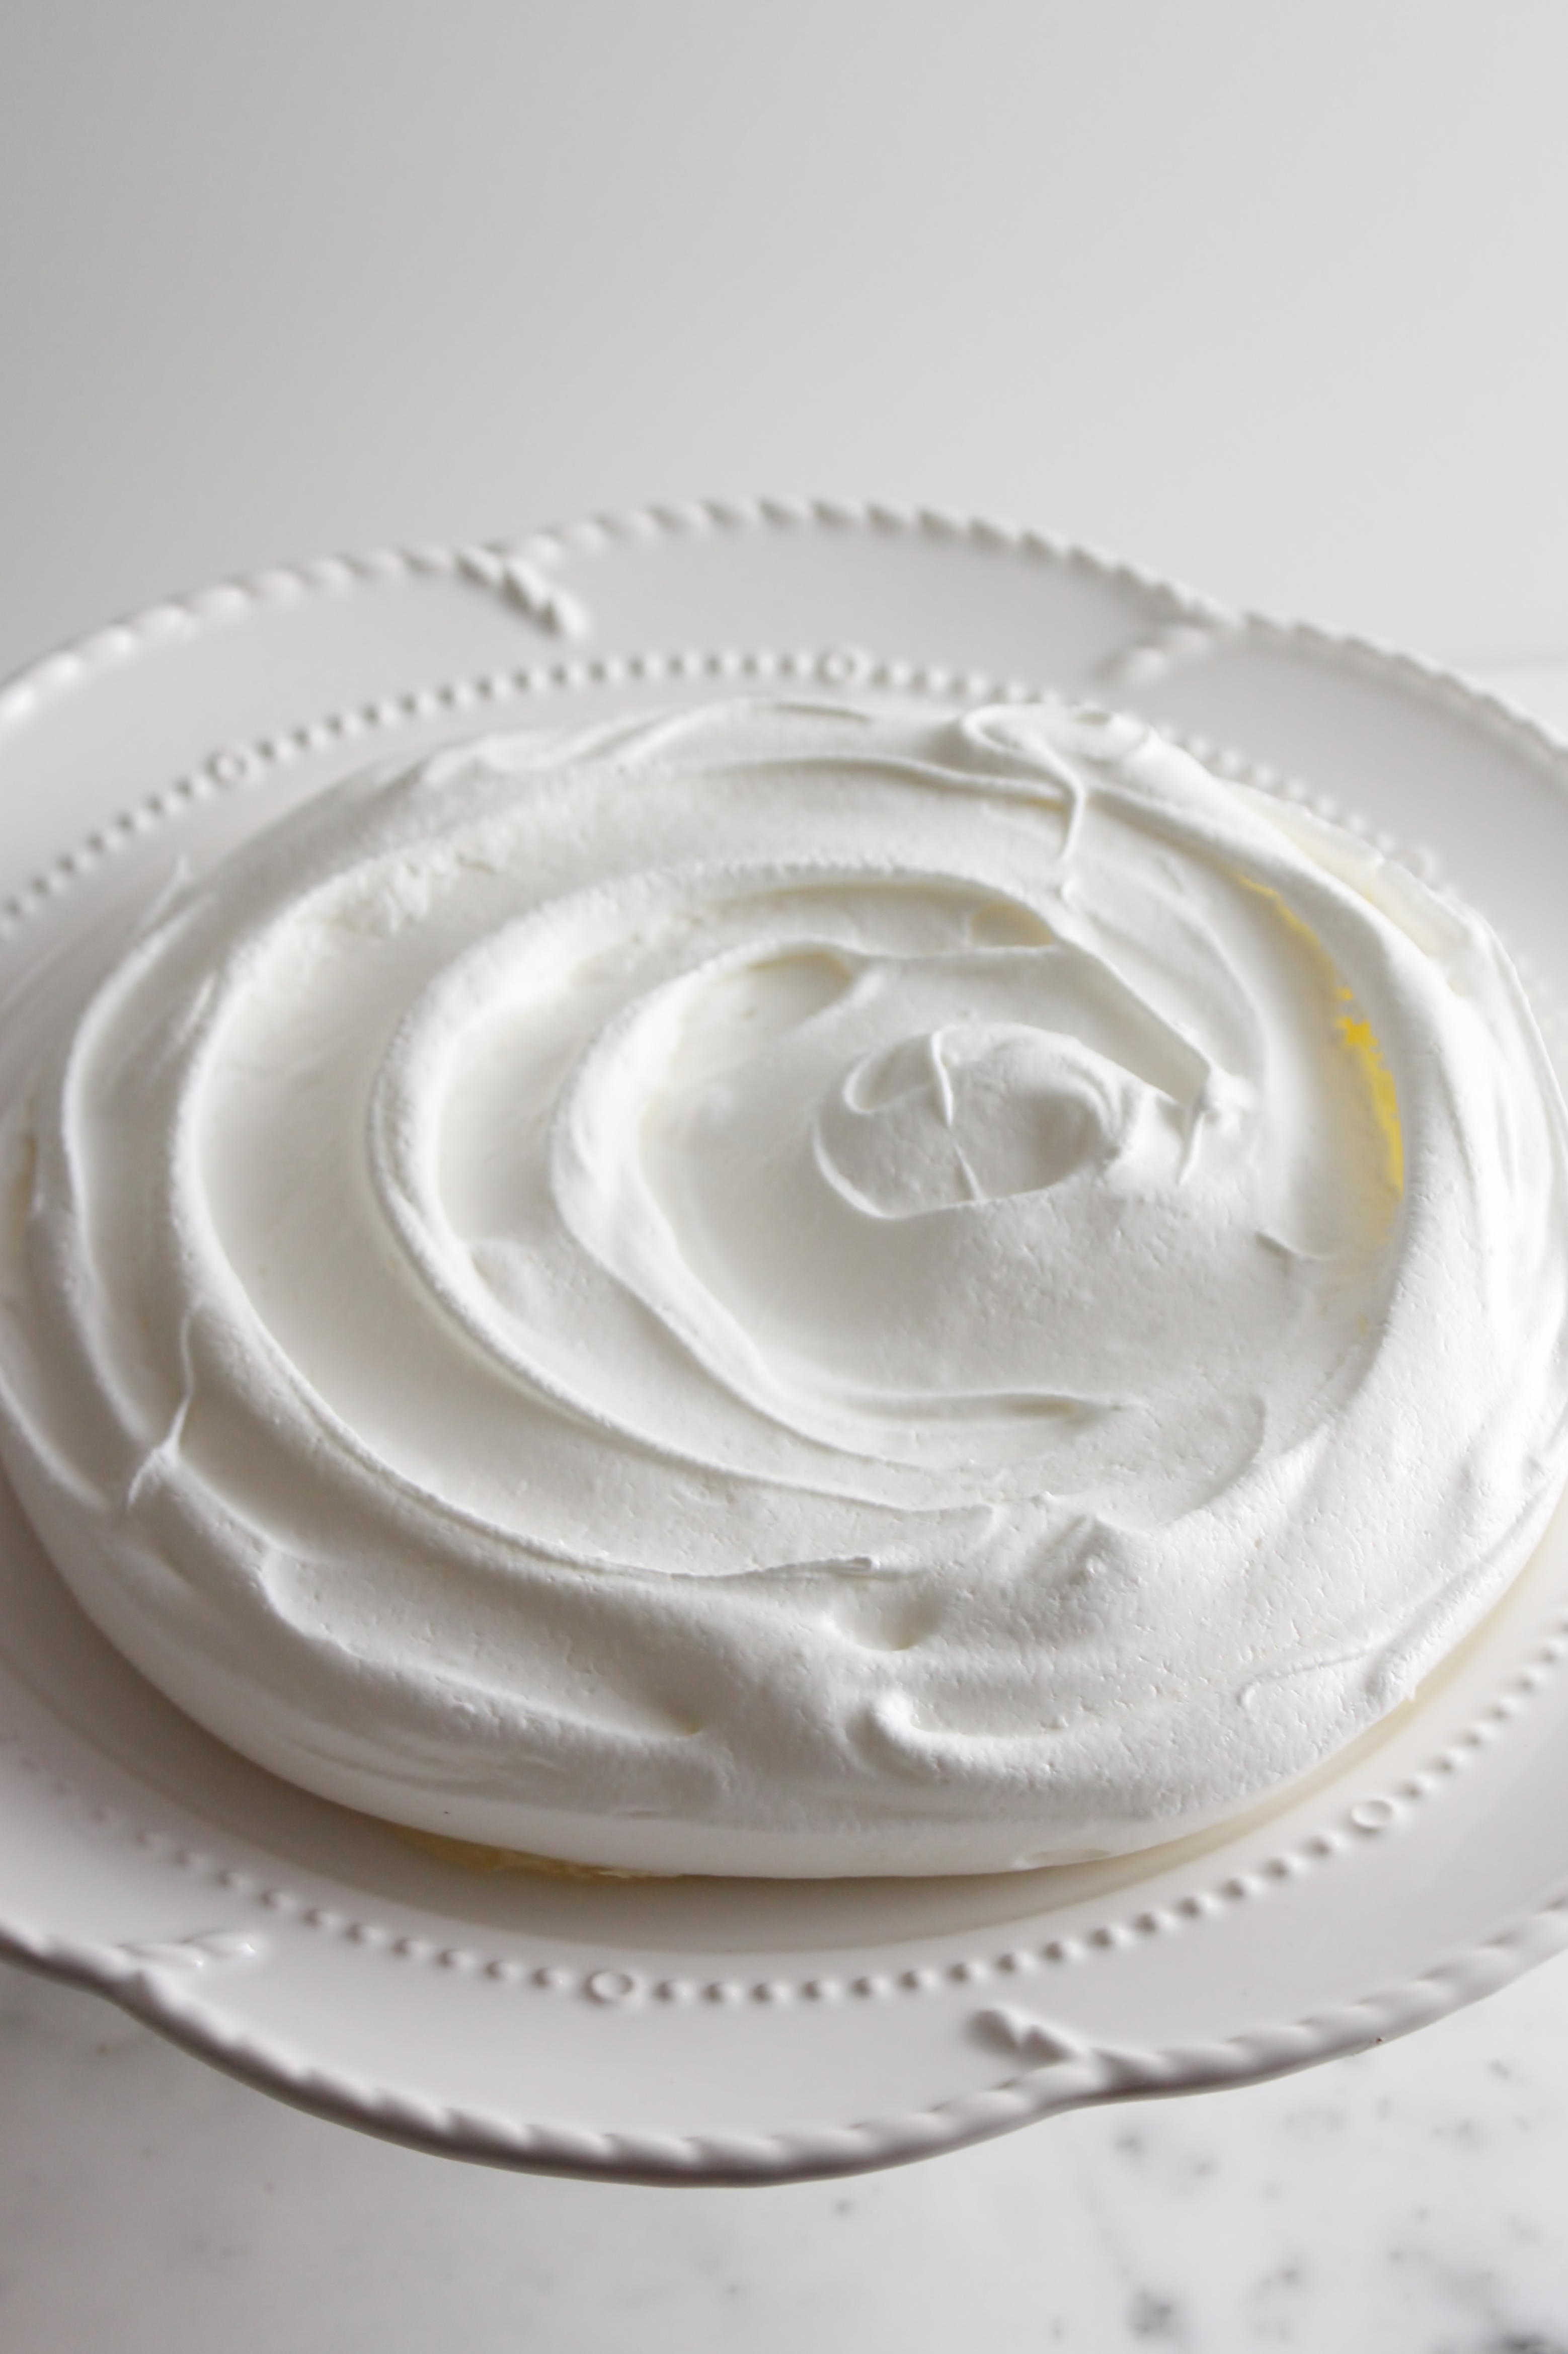
Maple kefir brûlée tart (GF)

Pumpkin roll with Frangelico and mascarpone whipped cream, brown butter glaze, chopped pecans (GF)

IMG_6140_01

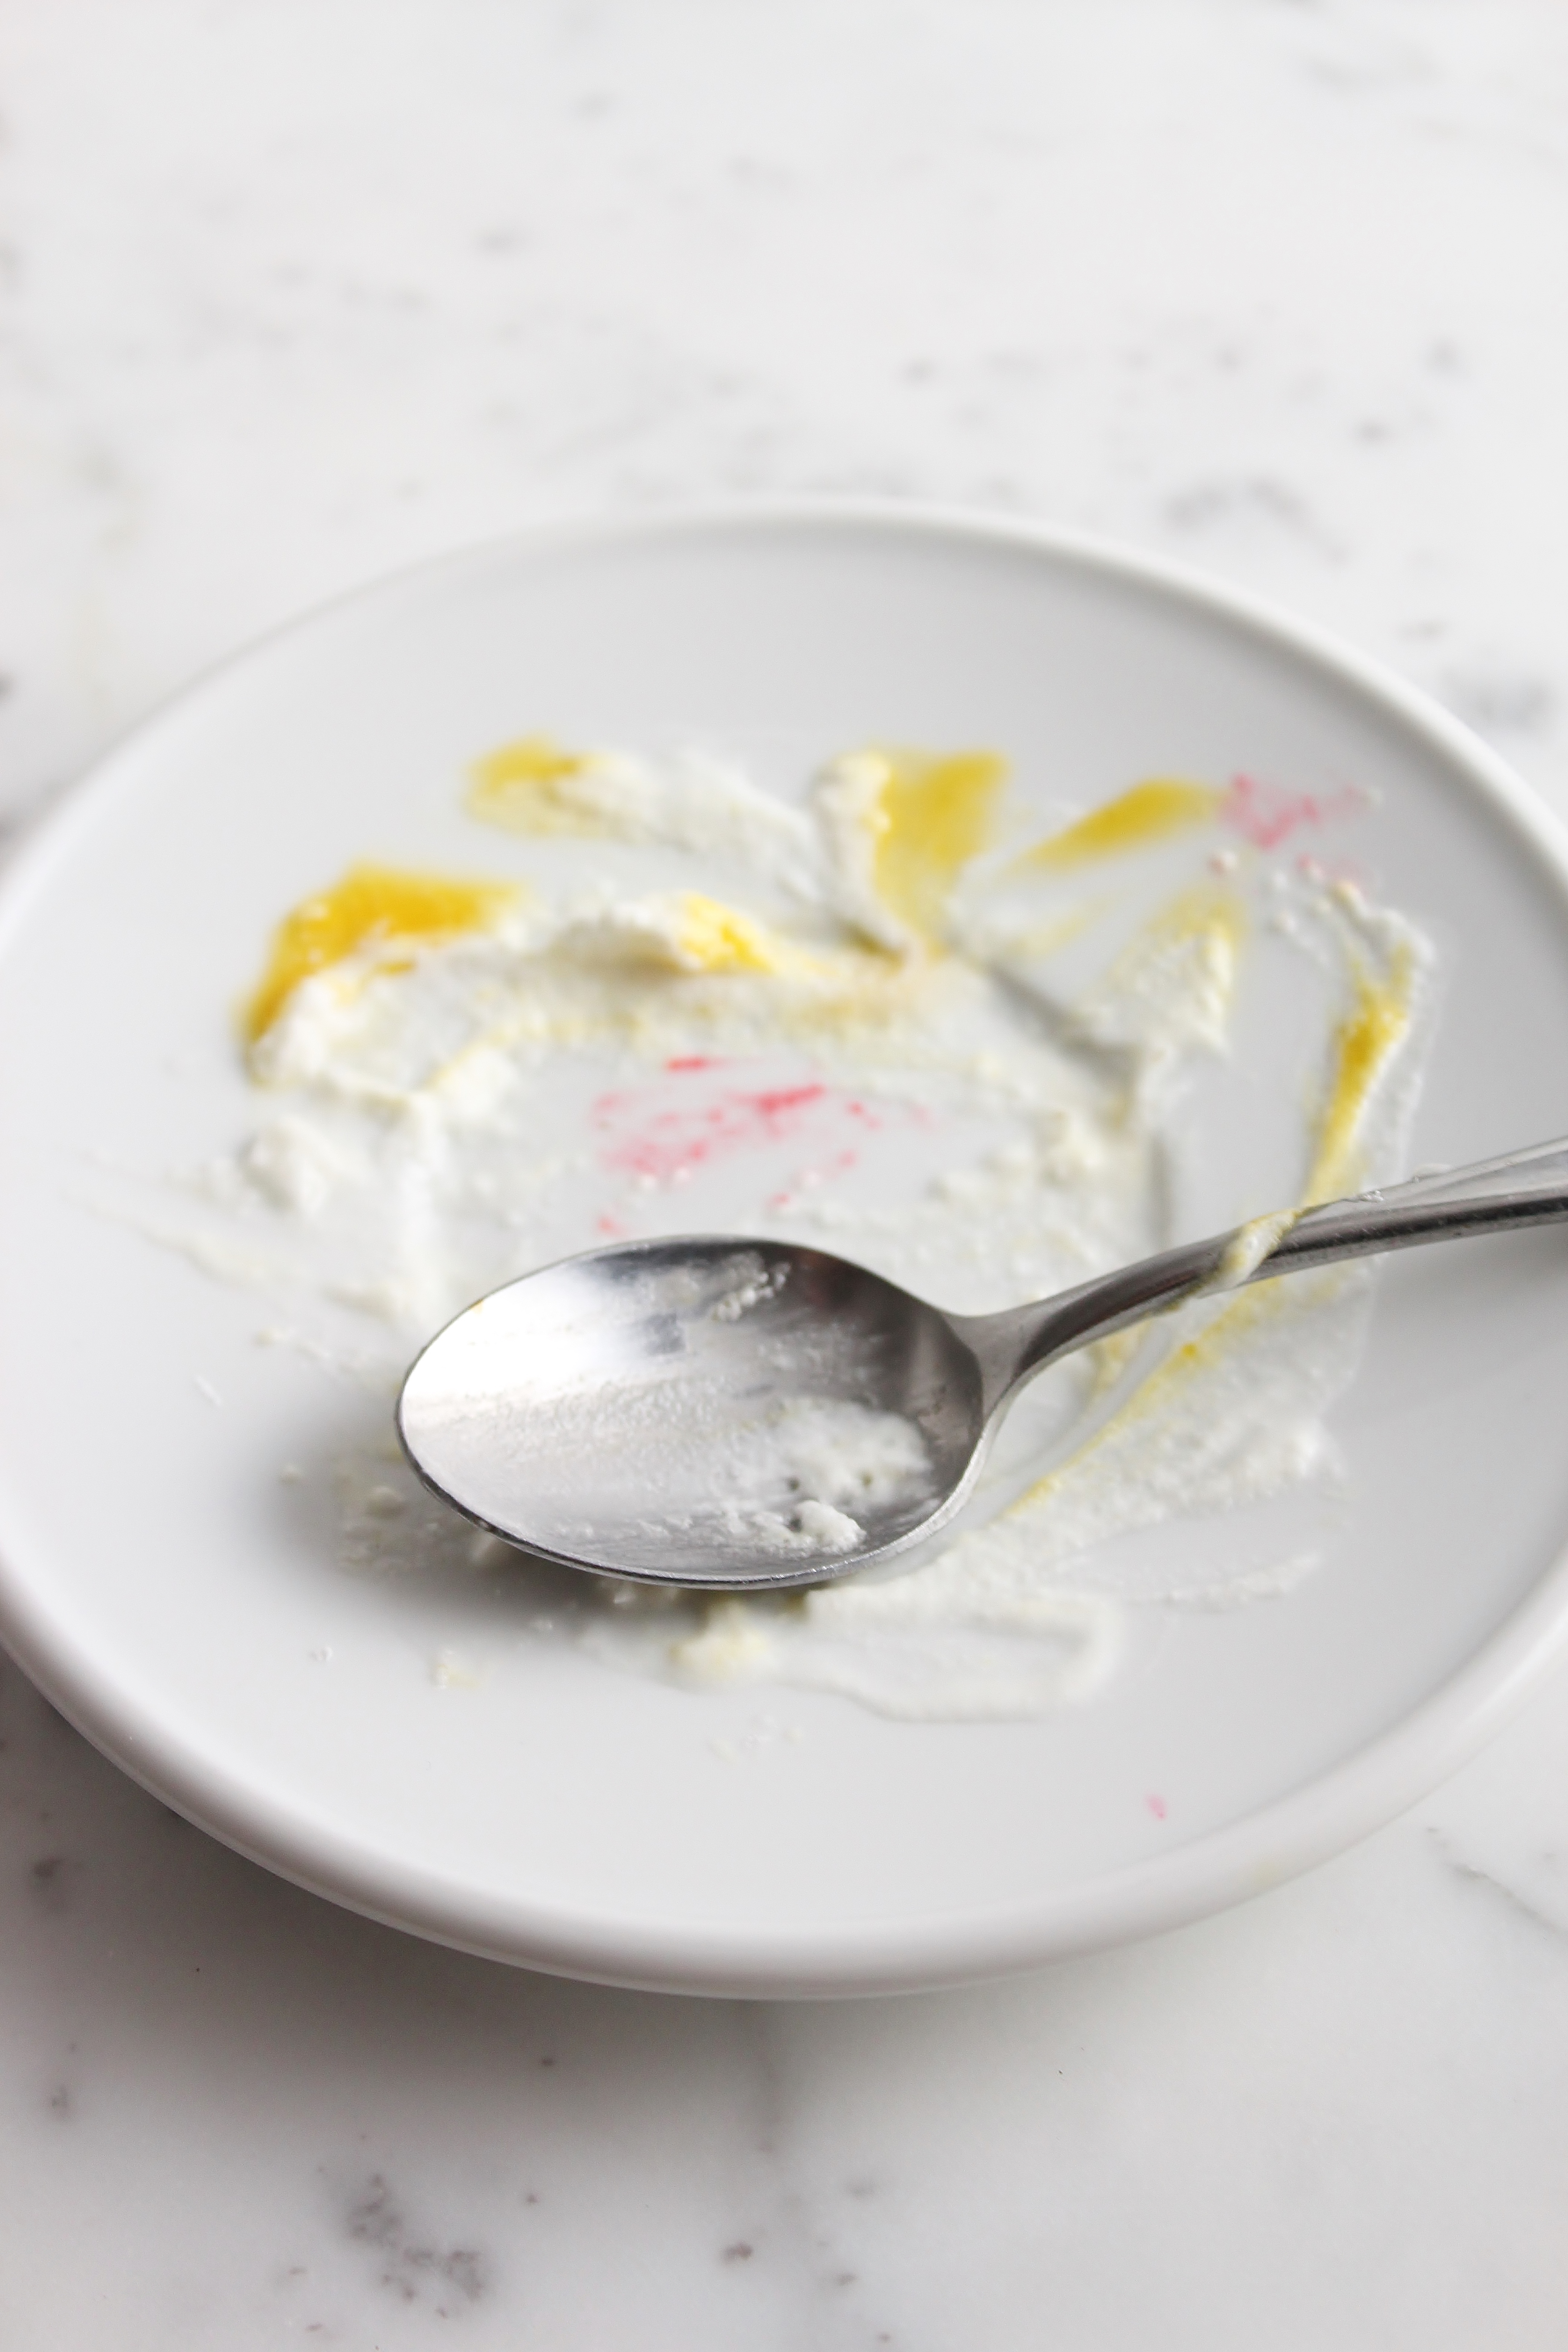
Yes, I made all of that myself.  Boy, was it a marathon.  A very, very, very, long and delicious haul.

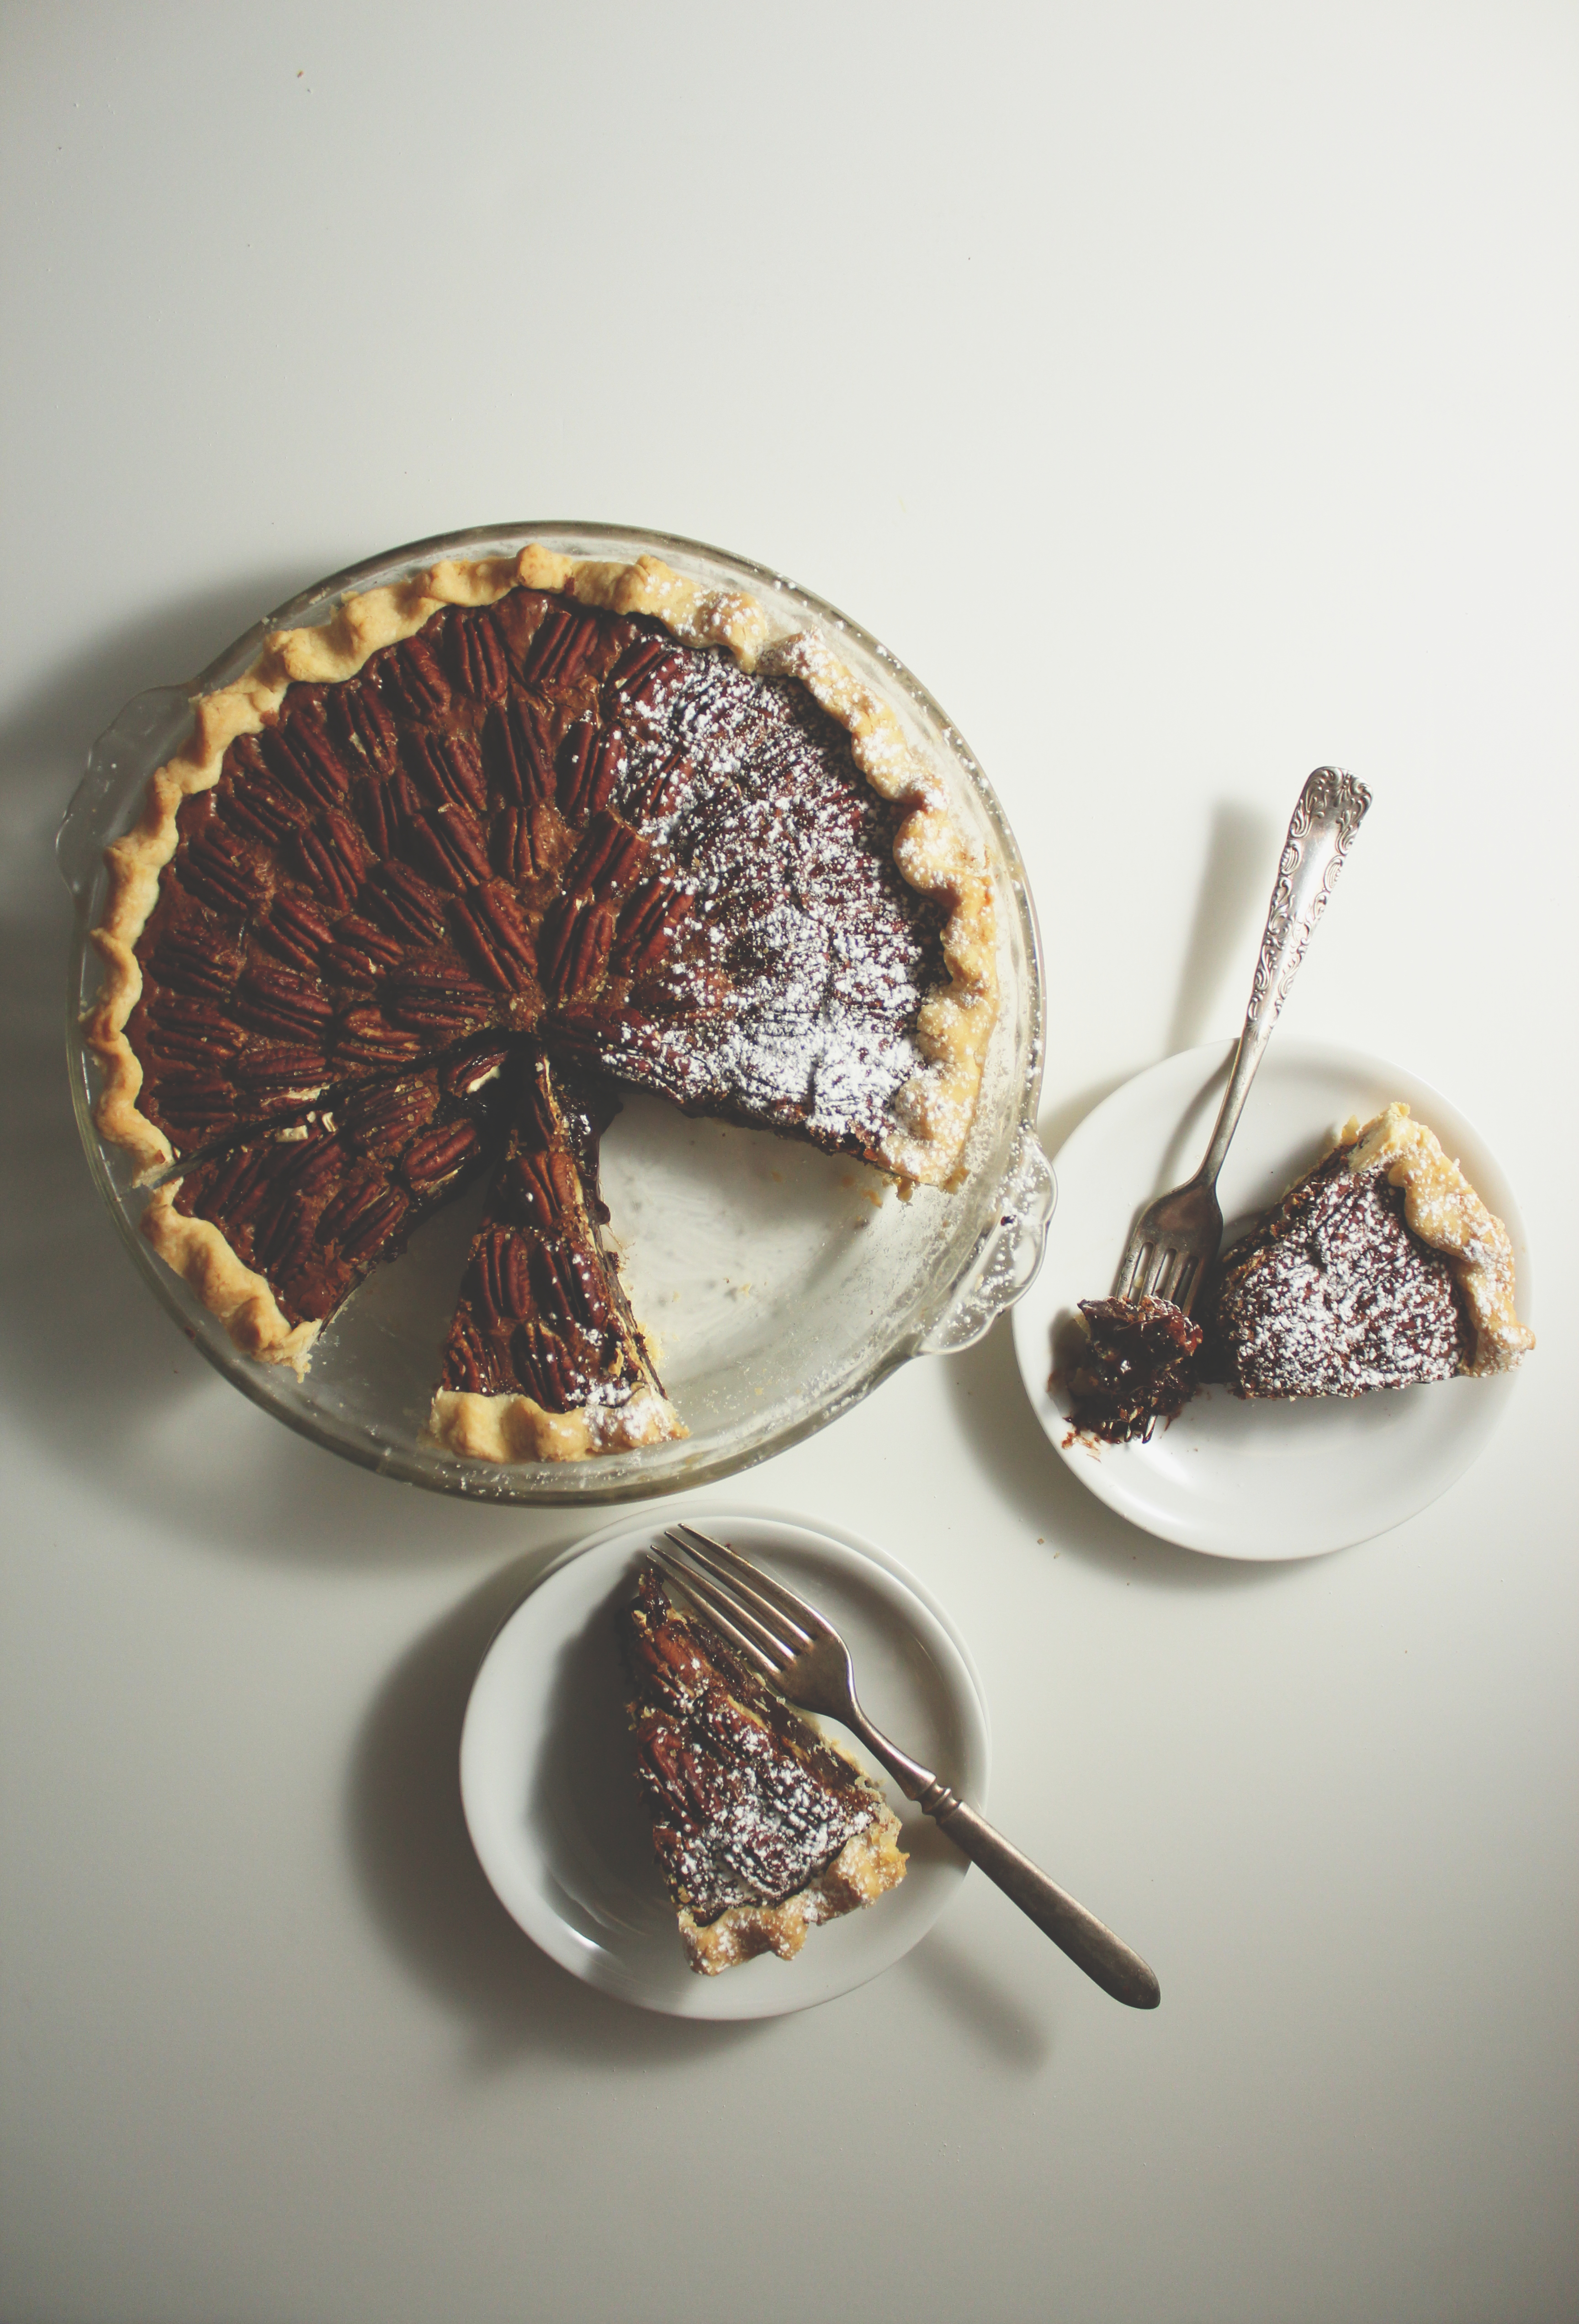
My photos were all very rushed and poorly lit; I had hoped to show you pictures of all the gluten free goodies I made, but no such luck.

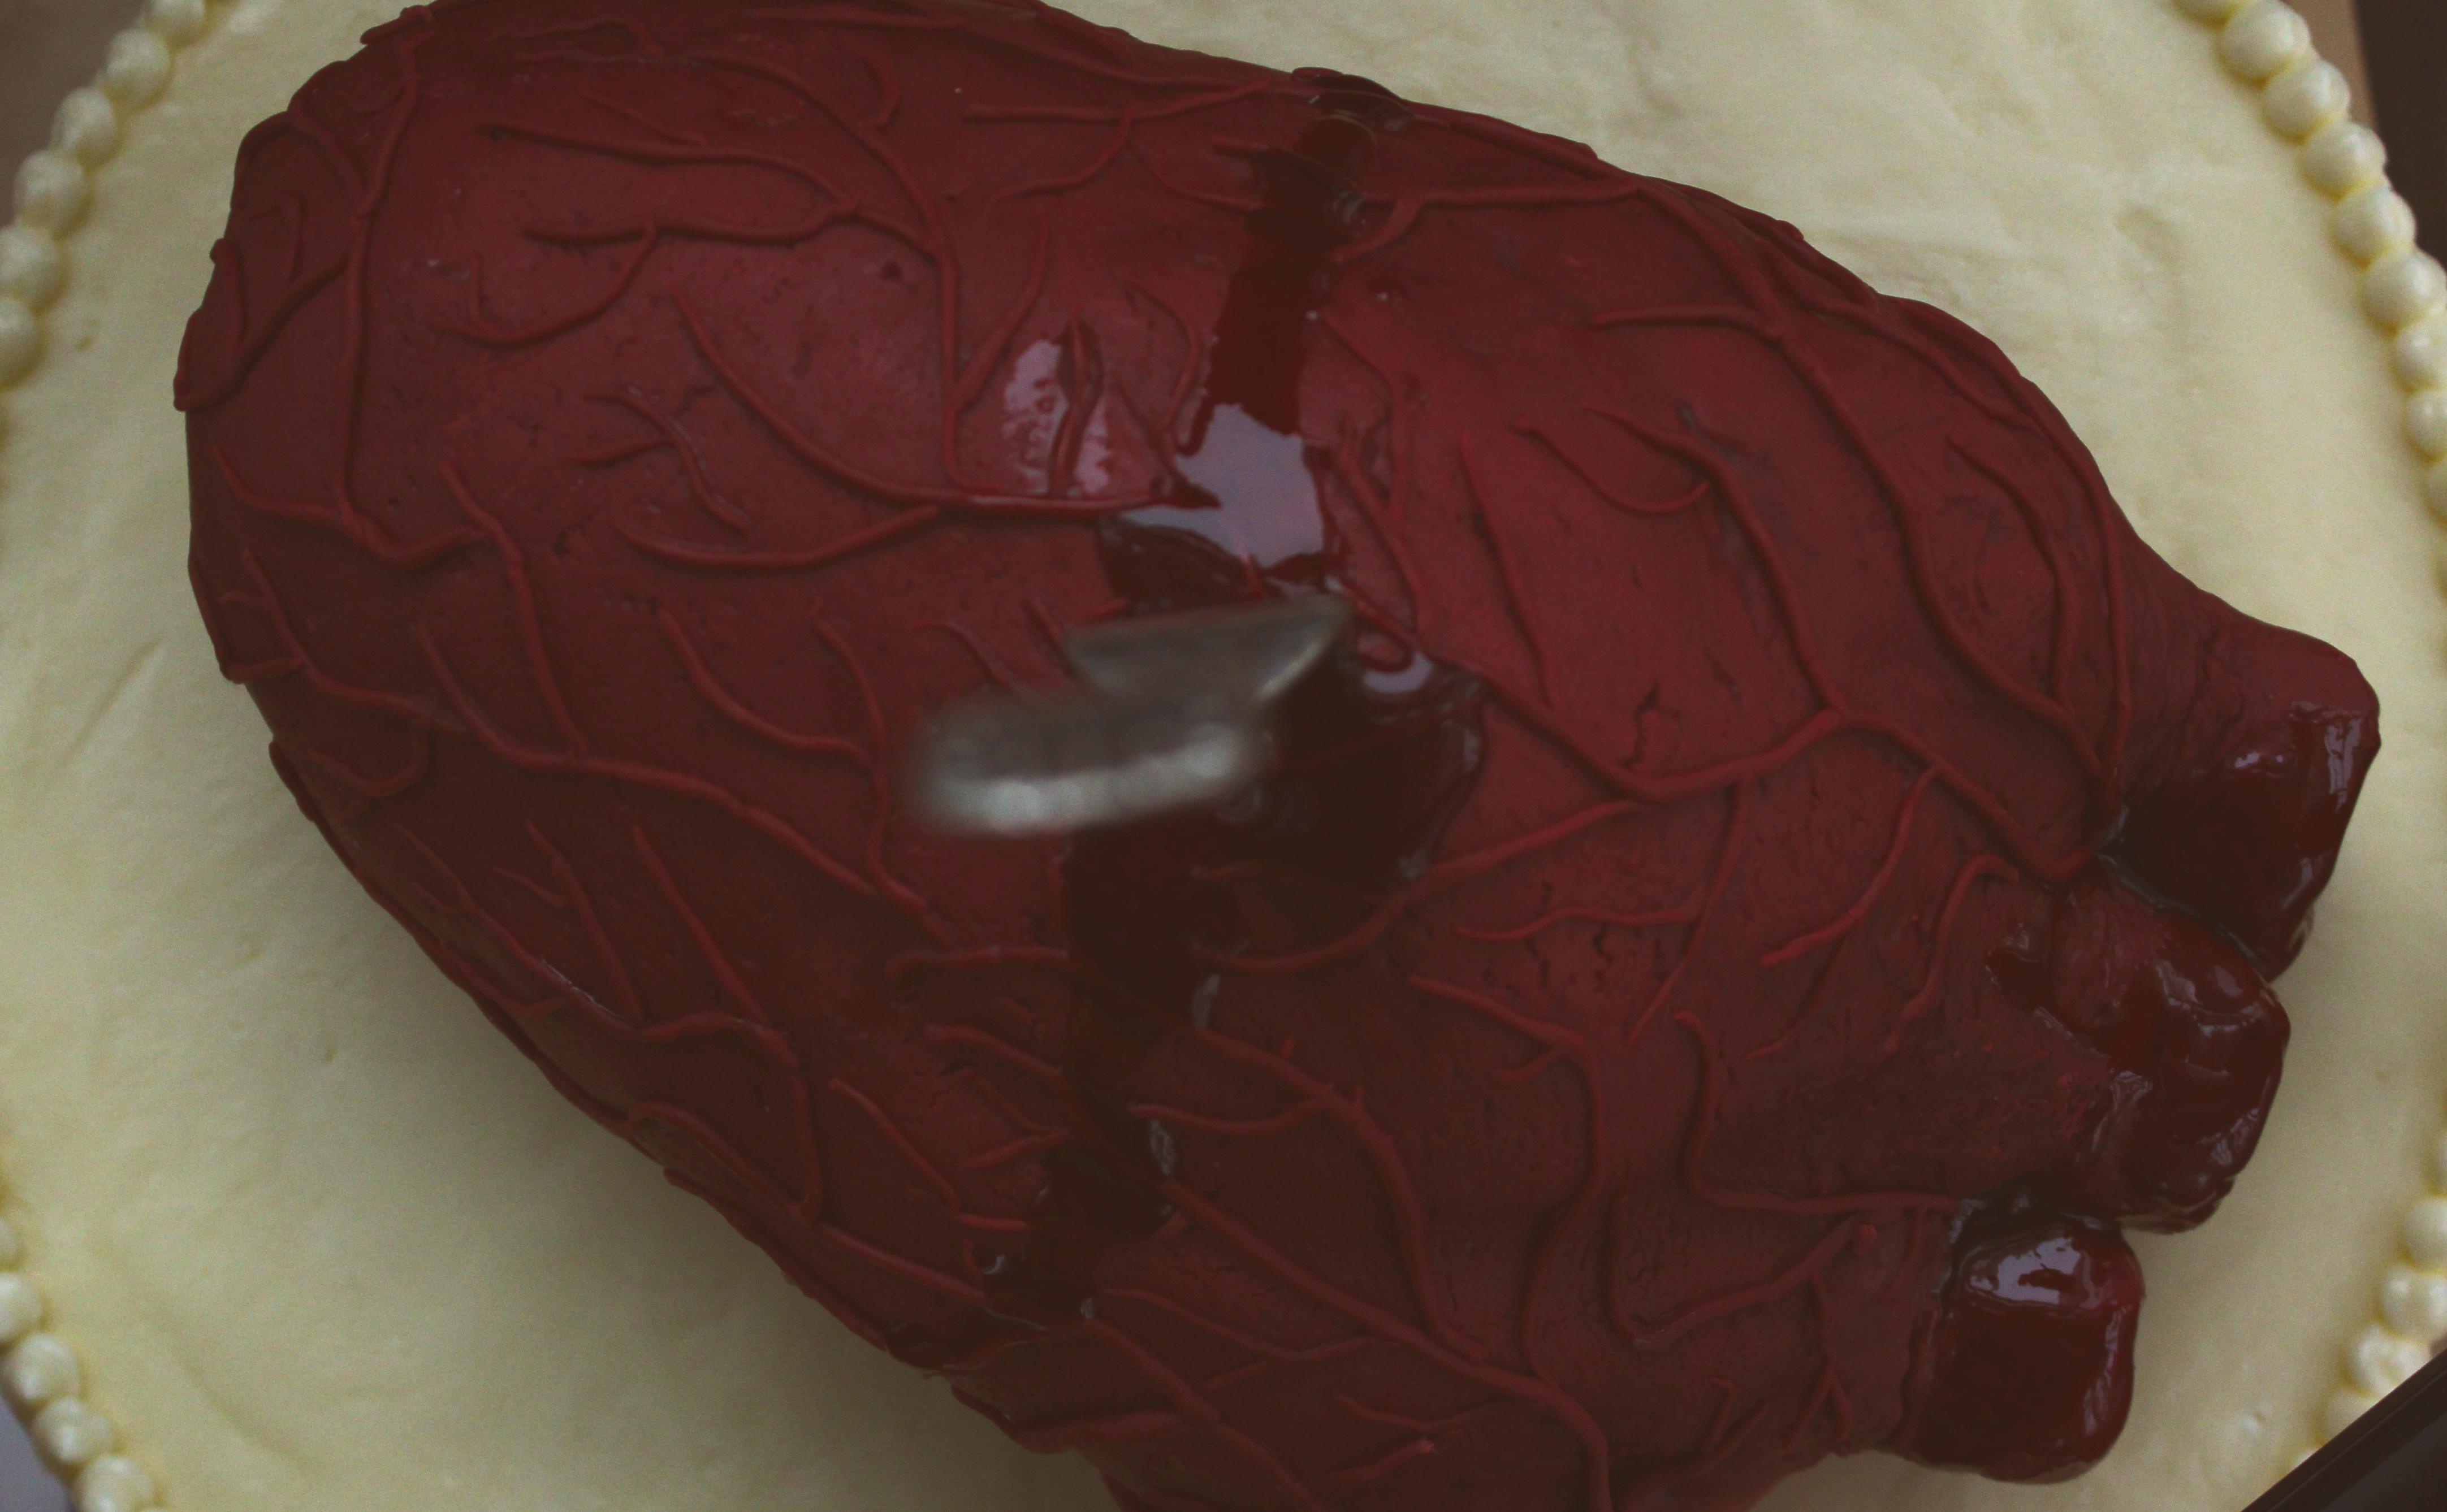
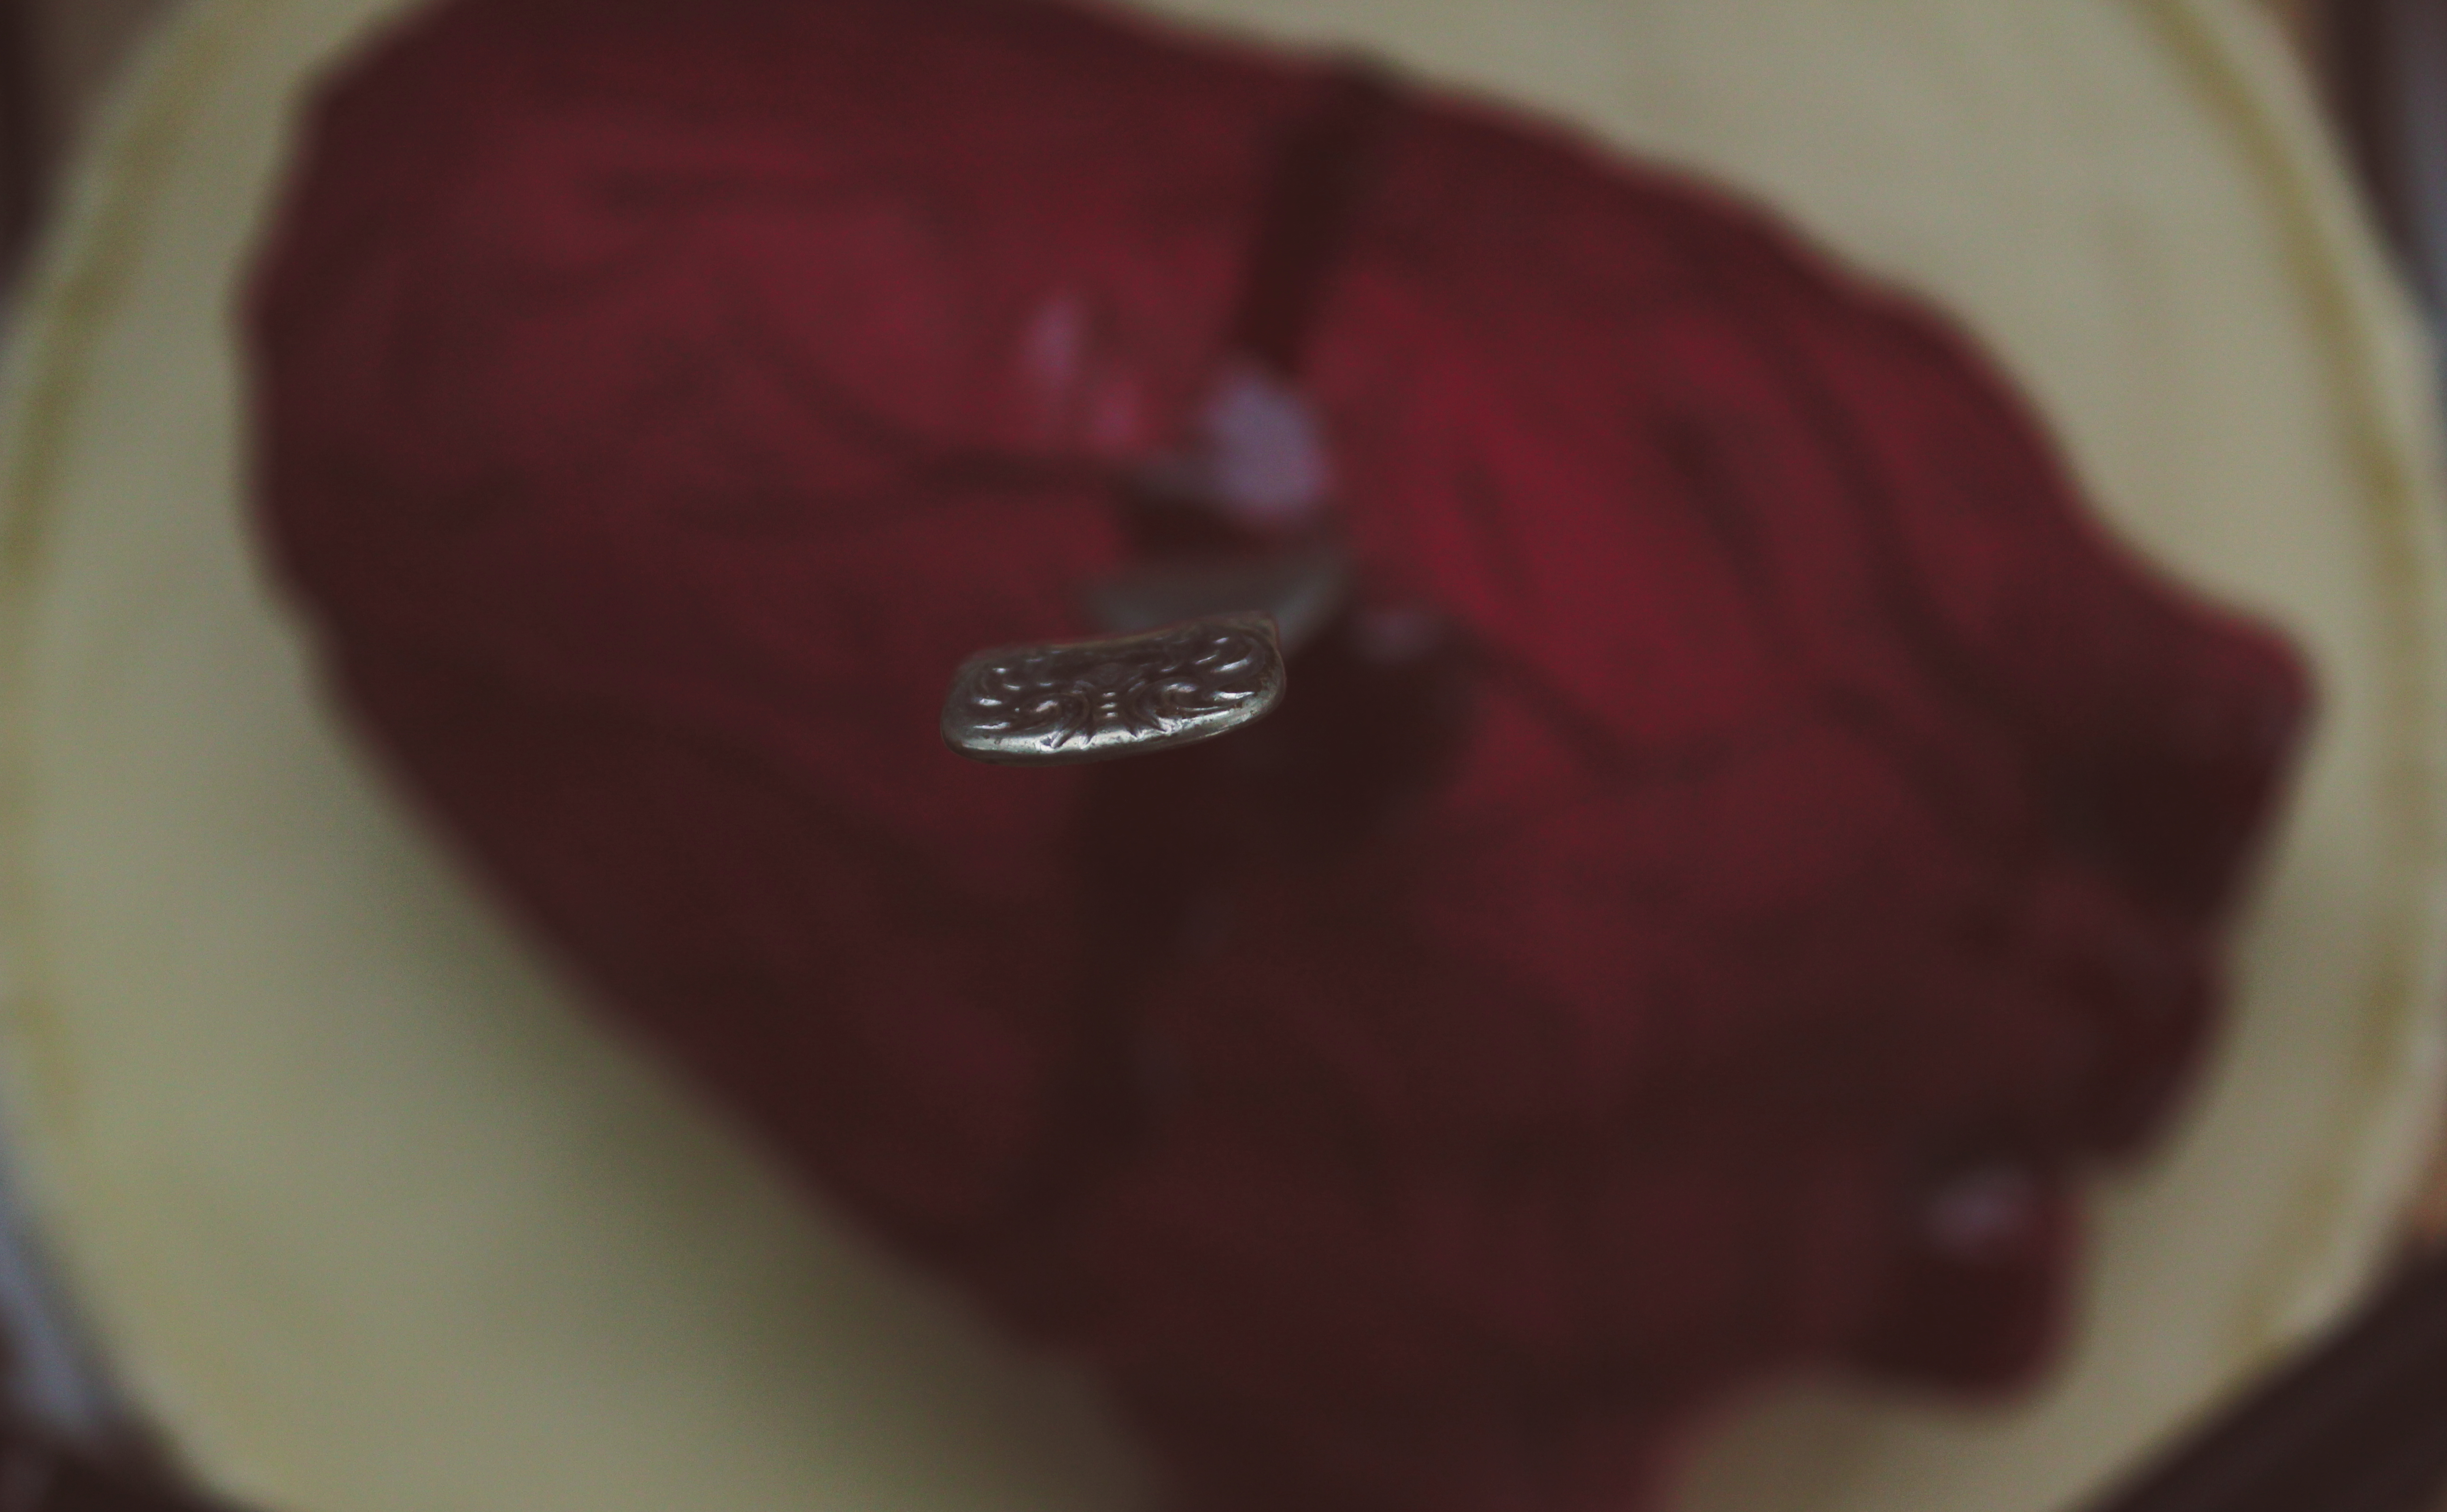
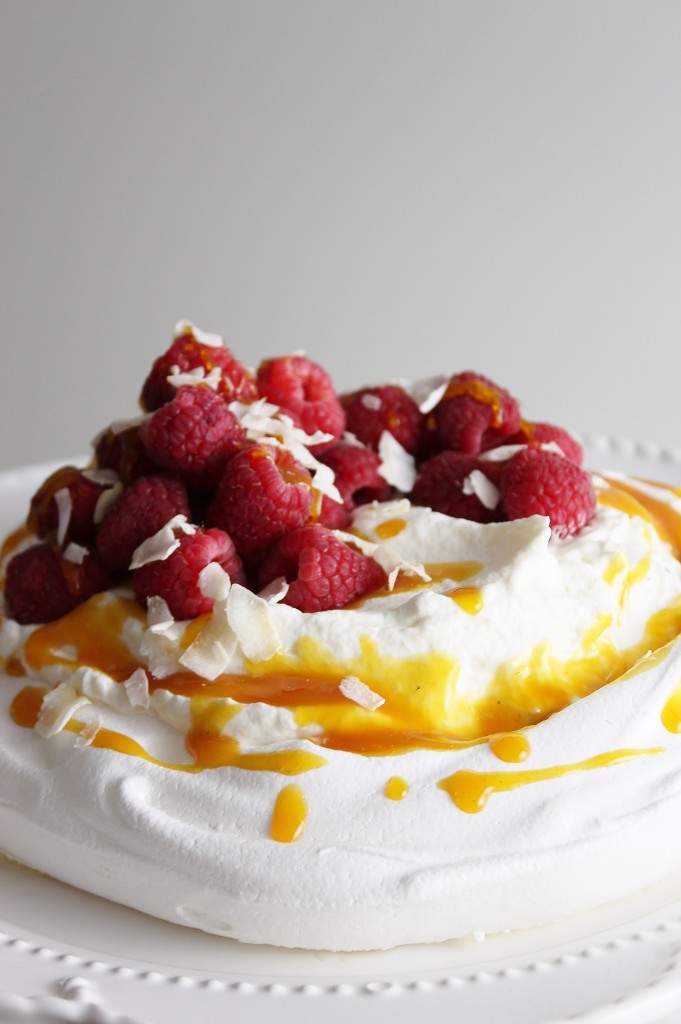
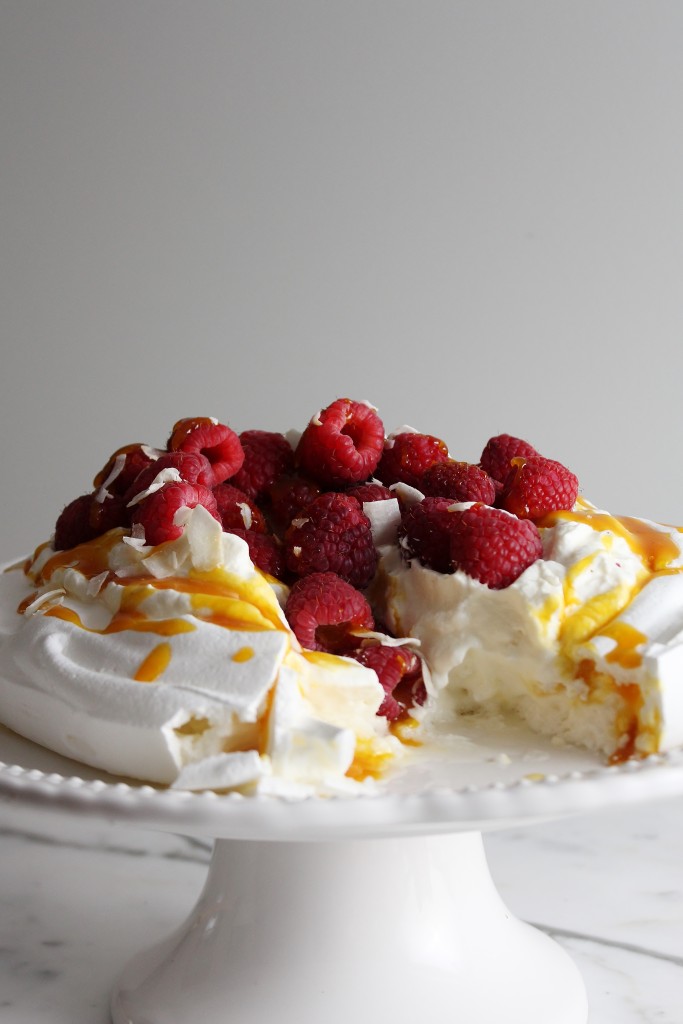
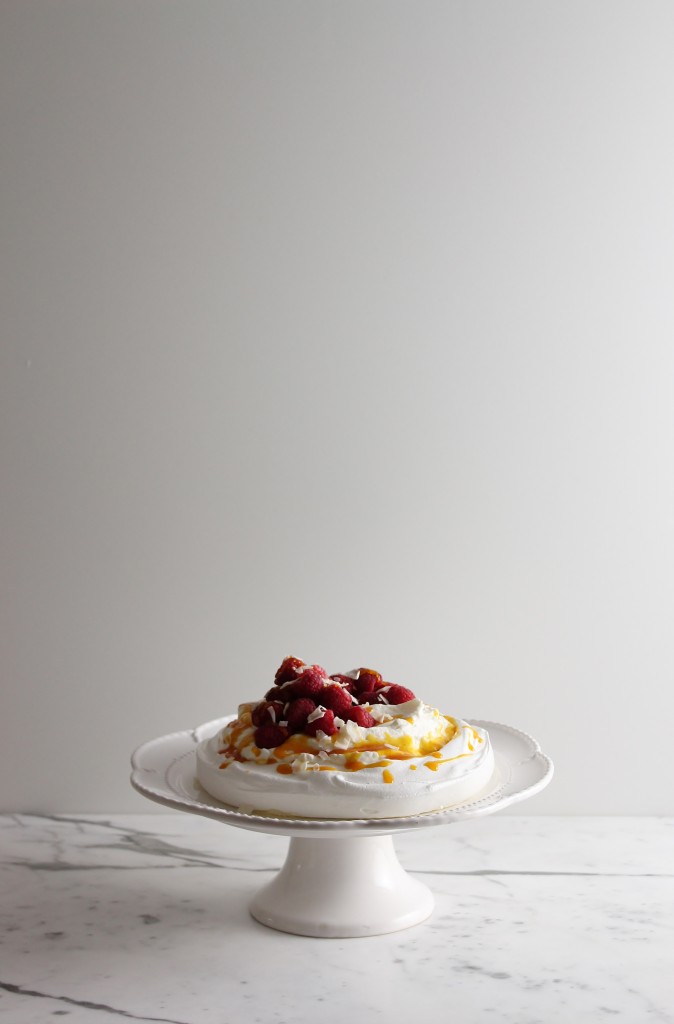
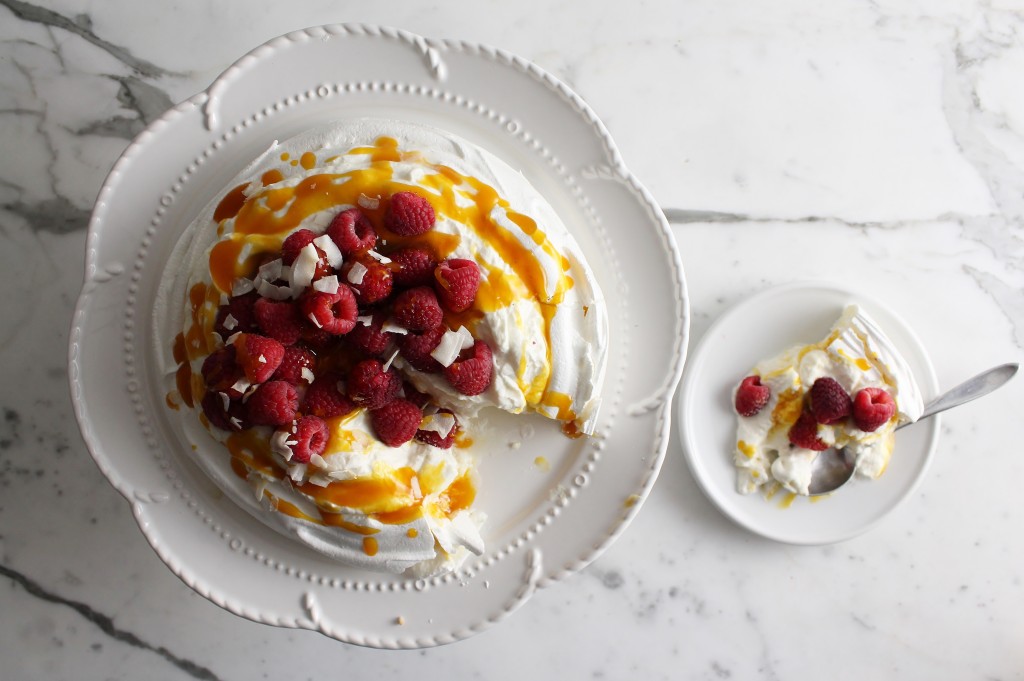
At least I got a picture of the pumpkin roll cake… So I can torture you with yet another pumpkin recipe!

IMG_6126_01

This will be the last pumpkin recipe of the year.

It’s one to remember: light, fluffy pumpkin sponge cake rolled around mascarpone and maple whipped cream, topped with brown butter and Frangelico glaze and chopped pecans.

You might just be inspired to pull out one last can of pumpkin.

Happy Thanksgiving (weekend), y’all.

Thanksgiving (scaled)

 Pumpkin Roll Cake

ingredients:
for the cake:
powdered sugar, for sprinkling on towel
90 grams (3/4 cup) flour
½ teaspoon baking powder
½ teaspoon baking soda
cinnamon, cloves, nutmeg, ginger, pepper, coriander
pinch salt
3 large eggs
200 grams (1 cup) sugar
2/3 cup pumpkin puree
for the filling:
1 cup whipped cream
1 cup mascarpone
¼ cup powdered sugar
2 tablespoons maple syrup
pinch salt

for the glaze:
4 tablespoons butter, browned
2/3 cup powdered sugar
1/3 cup powdered milk
2 tablespoons maple syrup
2 teaspoons Frangelico (optional)

For garnish:
Chopped pecans

Directions:
For the cake, preheat oven to 350 degrees F.  Grease and flour a sheet pan very well; line with parchment paper.
Sprinkle a dishtowel with powdered sugar.
Whisk the flour, leaveners, spices, and salt together.
Beat the yolks and ¼ cup of the sugar very well, then stir in pumpkin.
Sift the flour mixture over the yolks and fold in gently.
Whip the egg whites and remaining sugar to stiff peaks.
Fold into the pumpkin mixture, then spread the batter out onto your prepared pan.
Bake for 15 minutes, until set.
Flip over onto towel and let cool for 5 minutes.
Gently roll up the cake and set aside to cool completely.
For the filling, beat the whipped cream to soft peaks, then gently beat in the other ingredients.
Spread onto the cooled, unrolled cake, then reroll the cake.
For the glaze, mix everything together until no lumps remain; drizzle over the rolled cake.
Garnish with chopped pecans.

Superstar

IMG_5221_01

Who wants to be a millionaire Thanksgiving superstar?

IMG_5158_01

Cause, like, this pie, yo.

GodDAMN.

Good gracious gravy!

Sorry.  I got excited.

IMG_5174_01

This pie… There’s just so much good stuff going on!  Yummy, delicious stuff.

First, let’s talk crust.  I know.  It’s the scariest part for most people.  But crust is your friend!

Buttery, flaky, tender crust.  How could it NOT be your friend?

The trick to a good pie crust is not a food processor, I’ve decided.

YesokokIknow, the food processor revolutionized pie crust because it shaved 5 minutes off the preparation time and allowed people to keep their hands clean.
Newsflash: you’re cooking and baking, your hands are going to get dirty sometime.  Pie crust is a good excuse to play around in flour and butter.
(BUTTER.  Not shortening.  As you can see in this pie, I’ve swapped my usual buttermilk for water to give a more sturdy crust, since it’s a custard pie that will not have par-baking.  That said, I could have swapped butter for shortening.  But why, oh why, would I want to sacrifice that flavor?  Oh, right.  I wouldn’t.  And neither would you.  I won’t have it any other way.)

By making your pie crust by hand, you get a good feel for the texture.  In a food processor, an extra 3 pulses gives you a gummy crust that will be tough and shrink during baking.  (Insert sad face here.)

Let’s take this chance to play with our food, no?  It’ll be fun.

Dump your flour, salt, and a pinch of sugar into a big bowl.
Cube your butter into little chunky chunks, then throw it back in the fridge for 5 minutes to re-chill.
Meanwhile, fill a small bowl with cold water, and chuck 2 ice cubes in it.  Keep a tablespoon near the ice water.
Stir the flour n’ stuff around with your hands.
Take your butter chunks and place them all in the flour, all snuggly and nested down in there.
Now, with your fingers and palms, start to smash the cubes into flat sheets.  Rub about half between your hands to create a coarse meal.  The others, leave as small, flattened chunks, the size of peas.
You should have a rough mish-mash of butter and flour and butter-flour meal.
Here comes the fun: dunk the tablespoon measure in the ice water and put 2 measures into your butter/flour.
Using your hands, gently stir the mixture together.  Some will stick to your hands.  Just scrape it off and put it back in the mix.
If there are still a lot of dry chunks at the bottom of your bowl, add up to 2 more tablespoons of water, but go slow.
When your crust is done, it will hold together and all of the flour will be hydrated, but it won’t be very sticky or gooey.  It should be smooth.
Give it a couple kneads, a little massage, and wrap it up nice and snug in some plastic wrap.
Back in the fridge she goes!

To roll the crust out, liberally sprinkle a clean countertop with flour, then place your crust in the middle.
Sprinkle the top with flour, and gently, starting from the middle, roll towards the edges, creating a rough circle shape.
Once it’s 3 inches larger in all directions than the bottom of your pie dish, roll it up on your rolling pin (like a roll of paper towels) and place it in the dish.  Crimp the edges by rolling the excess up underneath, then pinching to create pretty little ruffles.
Back to the fridge!  Keep it COLD, y’all!

IMG_5180_01

So you’ve got your awesome all-butter pie crust made and ready and chilling.

Let’s fill it with heavenly goodies.

Start with brown sugar and a friendly pinch of salt, and add the ambrosia of the gods nutty brown butter.

Whisk whisk whisk in warm, autumnal spices and six (6!) egg yolks to ensure a silky, custard-like texture.

Stir in 70% bittersweet chocolate, melted and luxurious.

Finish with a sprinkling of pecans and turbinado sugar.

You’ll smell this pie long before it emerges from the oven.  It’s fragrant with the best things in life: butter, spices, and chocolate.
Once it’s partially cooled, you’ll stick it in the freezer and it will thicken into a custard-y pie, the smooth and gooey chocolate interrupted only by crisp pecans.

Serve this pie sprinkled with a touch of powdered sugar, and unsweetened whipped cream or barely sweetened vanilla ice cream.

I might have to make this again for Thanksgiving.

It is among the 3 best pies I’ve ever made.

It is that good, people.

tl;dr: MAKE THIS.

P.S. I posted this on 11/11 at 11:11.  My wish is for you to make this (JK! Then it wouldn’t come true!!)

IMG_5190_01

Pumpkin Spice Brown Butter Chocolate Pecan Pie

ingredients:
for the crust:
165 grams (1 1/2 cups)flour
8 grams (2 teaspoons) sugar
pinch salt
113 grams (8 tablespoons) butter, cut into small pieces and cold
45 grams (3 tablespoons ice water, or as needed)

for the filling:
140 grams (scant cup) bittersweet chocolate chunks or chips
220 grams (1 cup plus 2 scant tablespoons) sugar
150 grams (1/2 cup plus 3 tablespoons) brown sugar
17 grams (2 tablespoons plus 2 teaspoons) nonfat dry milk powder
1 1/2 teaspoons pumpkin pie spice, or a big pinch each cloves, nutmeg, and star anise, plus 2 pinches each cinnamon and ginger
big pinch kosher salt
180 grams (13 tablespoons) butter, browned
120 grams (1/2 cup) milk
6 egg yolks
approximately 300 grams (2 1/2 cups) pecan halves, the pretty ones saved for garnish and the rest chopped roughly
turbinado sugar, for sprinkling, if desired

directions:
Make the crust: stir the flour, sugar, and salt together in a large bowl.
Add the butter cubes in and cut them in with a pastry blender or your fingers, flattening some and rubbing others into the flour.
Leave pieces the size of peas; the rest should resemble a coarse meal.
Stir in the water, starting with 2 tablespoons, until the dough comes together; it shouldn’t be sticky or crumbly, but just barely hold together.
Knead gently 3 or 4 times, then pat into a disk and refrigerate.
Meanwhile, make the filling: begin by melting the chocolate, gently; do this in a microwave on partial power or over a double boiler.
When the chocolate is 2/3 melted, remove from heat and stir until all melted; set aside to cool slightly.
Whisk the sugar, brown sugar, milk powder, spices, and salt together until no little lumps remain.
Whisk the brown butter in vigorously. Whisk the yolks and milk together, then vigorously whisk them into the butter/sugar mixture.
Finally, whisk in the melted and cooled chocolate and stir in the chopped pecans.
Set aside to thicken and rest while you finish the crust.
Preheat oven to 350 degrees F. Roll the crust out, gently, to a 1/8 inch thickness.
Place it in a 9-inch pie pan that is about 2 inches in depth.
Flute or crimp the edges as desired, then place in the freezer until it is hardened, about 10 minutes.
Pour filling into the crust and decorate with the reserved pecan halves.
Top with a little turbinado sugar, then place on a cookie sheet in the oven.
Bake for 40 minutes, until top is shiny and filling is set; you may need to cover the top with aluminum foil to prevent the pecans from burning (mine got a little toasty…).
Remove from oven and allow to cool almost completely, then finish the chilling in the freezer to make the filling extra dense.
Enjoy with unsweetened whipped cream and a little powdered sugar!

Between Two Lungs

IMG_4859_01

“I’m so glad I live in a world with Octobers.”

-L.M. Montgomery, Anne of Green Gables

IMG_4838

Happy Halloween, y’all!

Have some cake.

Go ahead; dig right in.

IMG_4814_01

This cake won first place in a “study break”  competition in my residence hall!
Meaning it won my house points in the house cup (yes, just like the Harry Potter house cup!)!
!!!!!!!!!!!!!!

(DGH fo’ lyfe.)

I was so nervous/excited.
Now I’m excited/proud/tired.
Writing this at 2 am 3 am 4 am 10 am. FML.

(Yes, I actually tried to write this at all those times… I don’t want to talk about it.  I want to whine about it.)

IMG_4852

Guyyyyzzzzzz I was supposed to be doing a 12 problem calculus p-set last night, but I was at the study break celebration/competition (study break is a tradition at uChicago: it’s any treat that someone volunteers to make on Wednesday for the house to enjoy and take a break with) until 11, so I didn’t start the problem set until around then.

I did 6 problems in about an hour…

and then realized

that I did them

in the wrong section.

like WHAT I am taking calc at uChicago you would think I could tell the difference between

12.2 and 12.3 but NOPE no way so

I was up until 4am last night finishing this damn p-set for my 9am class this morning.

Moral of the story: I am a zombie and more so than ever, I want to eat this bloody heart cake.

IMG_4862

Let me give you a brief overview of this cake: (don’t be overwhelmed!)

it is a 12 inch, 5 layer cake

3 layers of tangy red velvet
2 layers of rich chocolate
enrobed in fluffy, silky Italian meringue buttercream
topped with a bleeding heart sculpted from rice krispies treats and covered in homemade marshmallow fondant.

It’s over the top, and somewhat grotesque.
But isn’t that what Halloween is all about?
I mean, c’mon.

Creepy bloody hearts are prime Halloween subjects.
Grab a fork and knife and tuck in!

IMG_4860

Bleeding Heart Cake

You’ll need:
3 batches red velvet cake (recipe below), baked in a 12×2 inch pan
2 batches chocolate cake (recipe below), baked in a 12×2 inch pan
2 batches Italian meringue buttercream (recipe below)
1 1/2 batches classic rice krispie treats (recipe from the Rice Krispie website, here) (I recommend only using a total of 2 tablespoons butter, instead of 4.5, to firm up your krispie treats)
1/2 batch royal icing (Bridget is the queen of royal icing… Go forth and prosper with her amazing and fail-proof recipe)
1/2 recipe marshmallow fondant, tinted red with a touch of green and purple (Annie’s directions are AWESOME and you should check them out… As well as the rest of her blog… It makes me swoon.  Love!)
Raspberry jam mixed with corn syrup and red food coloring to create a purple-red, thick fake blood (you have to eyeball this to your best ability)

directions:
While your krispie treats are warm, crunch them up a bit with oiled hands.
Begin to work the treats firmly, packing tightly, into an egg shape.
Mold a small, rectangular lump on the upper right “corner” of the heart; this will be your pulmonary artery and vein.
Make a slight indent that cuts from the upper right side to the middle/lower left side (refer to pictures!!!).
Freeze until hard; meanwhile, roll your fondant out to 1/4 inch thickness.
Cover the krispies with royal icing to smooth out any lumps, then cover in fondant, making sure there are no gaps where royal icing may seep through.
Seal the edges with a little bit of water and the dull side of a butter knife.
Begin to add on fondant on either sides of the diagonal indent to create slightly raised ventricles; adhere 3 balls at the top left “corner” and smooth them into cylinders to create your aorta- stick a dowel or pinky finger into the center to create the interior.
Do the same ball technique for the pulmonary vein and artery on the right upper corner.
Continue to smooth with water and a knife.
Once you are content with the shape (again, refer to pictures!), use the remaining fondant to roll tiny little veins, arteries, and capillaries.
Use a little bit of water to adhere the blood vessels to the outside of the heart, mapping them out so that all of the smaller vessels stem from a larger, central artery or vein.
Drape with plastic wrap and allow to dry slightly- I recommend overnight, but make sure it is covered in plastic lightly so that it doesn’t crack and dry out too much.
For the cake itself, layer a red velvet, then 1/3 cup frosting (the filling is very thin between the layers- they are moist enough that it is unnecessary, and too much filling will compromise the structure, so beware.), then a chocolate layer, then red velvet, and so on and so forth.
For red velvet and chocolate, a crumb coat is key.
Apply a thin layer of frosting to trap the crumbs, then refrigerate until completely set- about 30-45 minutes.
Ice the cake with the remaining buttercream, piping on details if you wish.
Place the heart in the center of the cake and stab it with a fork or knife, if desired.
Strategically drip some of your fake blood on the cake to give the illusion of a bleeding heart.
Go scare people!

Red Velvet Cake
adapted from the Food Network
makes 1 12×2 inch layer
ingredients:
150 grams (1 1/4 cups) flour
150 grams (3/4 cup) sugar
1/2 teaspoon baking soda
pinch salt
5 grams (1 tablespoon) cocoa powder
150 grams (1/2 cup plus 2 tablespoons) oil
120 grams (1/2 cup) milk, plus 1 tablespoon vinegar
1 egg
14 grams (1/2 ounce) red food coloring (the liquid kind)
directions:
Preheat oven to 350 degrees F and grease and flour a 12×2 inch pan.
Whisk the flour, sugar, baking soda, salt, and cocoa powder together.
Whisk the oil, milk, vinegar, egg, and food coloring together.
Whisk the wet into the dry ingredients and whisk well to combine.
Pour into pan and bake for 25-30 minutes, until a tester comes out clean.

Chocolate Cake
adapted from the Kitchn
makes 1 12×2 inch layer
ingredients:
200 grams (1 cup) sugar
105 grams (3/4 cup plus 2 tablespoons) flour
30 grams (1/4 cup plus 2 tablespoons) cocoa powder
3/4 teaspoon baking powder
3/4 teaspoon baking soda
big pinch salt
1 egg
60 grams (1/4 cup) oil
120 grams (1/2 cup) hot water
directions:
Preheat oven to 350 degrees F and grease and flour a 12×2 inch pan.
Whisk the sugar, flour, cocoa powder, baking powder, baking soda, and salt together.
Whisk the egg and oil into the dry ingredients.
Whisk the hot water into the batter; it will be very, very thin.
Pour into prepared pan and bake for 25-30 minutes, until a tester comes out clean.

Italian Meringue Buttercream
more in-depth directions here
ingredients:
5 egg whites
200 grams (1 cup) sugar, plus 20 grams (scant 2 tablespoons) (divided)
56 grams (scant 1/4 cup) water
500 grams (4 1/2 sticks) butter, cut into chunks and softened but still quite cool
directions:
Whisk the egg whites with 20 grams of sugar.
Meanwhile, heat the rest of the sugar with the water in a saucepan until it reaches 240 degrees F.
At this point, the meringue should be at softly stiff peaks.
Drizzle the hot syrup over the meringue and beat until cooled to body temperature.
Beat in the butter 1 tablespoon at a time; keep beating until frosting is light and silky.

Orange You Glad

IMG_4561

Orange you glad I didn’t make these with pumpkin?

IMG_4563

Because guys, seriously.  I know it’s fall.  You know it’s fall.  And pumpkin is exciting, (in fact, I have some yeast-raised pumpkin goodies coming for you soon…)
BUT good gracious gravy everyone has been blogging about pumpkin pumpkin pumpkin… Similar to all the white girls tweeting about PSL. (Sorry, not sorry.  At all.  lol.)

So, I rebelled.  These orange-colored cookies are actually made with oranges, not pumpkin.
I regret nothing.

These are super simple, using my 3-2-1 dough as a base recipe.  I made three batches- one vanilla, one chocolate, and one orange, then divided each in half.
The doughs were rolled up tightly, sliced, and baked into adorable little spirals.
They’re so cute I could squeal!!
SO cute, SO easy, and SO yummy.  It’s the trifecta of cookie perfection!

Can we just talk about how great slice-and-bake cookies are?  In love.

Anyways, these cookies are perfect for a Halloween party.
You can make the dough in advance, keep in the fridge all rolled up and ready, and whenever you want cookies, all that you have to do is thaw the dough, cut however many cookies you want, and bake!
*Note: these cookies bake best (hold their shape best) when baked from room temperature.

See you soon for more spooky treats!

IMG_4582

Orange, Chocolate, and Vanilla Swirl Cookies 

ingredients:

For the vanilla dough:
225 grams (2 sticks, 16 tablespoons) butter
200 grams (1 cup) sugar
Two big pinches (scant 2 teaspoons) kosher salt
1 egg
Splash vanilla
360 grams (3 cups)flour

For the orange dough:
225 grams (2 sticks, 16 tablespoons) butter
200 grams (1 cup) sugar
Zest of 2 oranges
Orange gel food coloring (optional)
Two big pinches (scant 2 teaspoons) kosher salt
1 egg
Splash vanilla
360 grams (3 cups) flour

For the chocolate dough:
225 grams (2 sticks, 16 tablespoons) butter
90 grams (scant 1/2 cup unpacked) brown sugar
110 grams (heaping 1/2 cup) sugar
2 big pinches (scant 2 teaspoons) kosher salt
1 egg
300 grams (2 1/2 cups) flour
45 g (1/2 cup) cocoa powder

Directions (for all the doughs):

(For the orange dough only: rub the zest into the sugar with your fingertips before beating the orange sugar, butter, salt, and food coloring together)
Beat the butter, salt, and sugar(s) together for 3 minhtes.
Scrape the sides of the bowl, add the egg and vanilla, and beat for 2 more minutes.
Scrape the sides of the bowl and add the flour (or flour and cocoa powder, for chocolate dough).
Mix until a thick dough forms.
Divide into equal halves and form into rectangles.
Refrigerate, wrapped in plastic, for at least 30 minutes.
Roll out each half into a rectangle between 1/8 and 1/4 inch thick.
Layer one chocolate half over a vanilla half, the other vanilla half over an orange half, and the other orange half over the leftover chocolate half.
Working gently and slowly, roll each up very tightly, making sure not to crack the dough.
Refrigerate for at least 30 minutes.
Slice the cookies about 1/4 to 1/3 inch thick with a sharp knife, and place on a cookie sheet lined with parchment paper.
Do not chill your cookies!
Make sure they are room temperature; leave them on the counter as your preheat the oven to 350 degrees F.
Bake for 10-12 minutes, until the edges are set and the bottoms start to become lightly golden.


16 September

IMG_3302

It’s my 18th birthday, today.

IMG_3352

Today is the only day of the year

where everyone writes

on my facebook wall.

Rejoice.

IMG_3306

I secretly hate my birthday.

IMG_3373

This may seem trite coming from a teenager, but I’ve always been acutely aware and afraid of growing older.

Each birthday that passes, a wave of fear and anxiety passes over me.  I’ve always been the baby.
I’m the baby of my family; I’m almost always the baby among friends.

Getting older makes me feel uneasy scares the shit out of me.

IMG_3358

Birthdays have hung heavy with regret, especially as I come close to adulthood.  (Am I an adult yet?)

I’m a worrier.  It’s my nature.

I worry that I haven’t done enough
haven’t enjoyed enough
haven’t appreciated enough
haven’t taken each and every last moment of my life, this precious and fleeting thing, and lived it to the fullest.

It’s futile, of course.

IMG_3314

That doesn’t stop me from thinking about it, waking in the dead of night, sweating, crying, scared, worried, tangled in the sheets, blinking like a bird roused from its nest.

IMG_3364

So, yes.  But birthdays come with cake.

And I love cake.

So.

IMG_3374

This was my birthday cake.

It’s a pavlova, which means it’s a baked meringue base, topped with whipped cream and fruits.

Mine is a simple French meringue, baked until the outside is crispy but the inside is still billowy and marshmallow-y, topped with a coconut/mascarpone whipped cream and pucker-inducing passion fruit sauce, and finished with raspberries and coconut flakes.

I love meringue cakes; this one is exactly how I like my cakes: light, airy, but packed with a walloping punch of vibrant flavors.

It was divine.

It almost made me like my birthday.

IMG_3235

Pavlova

ingredients:
4 large egg whites
pinch cream of tartar
1 cup sugar
2 teaspoons cornstarch
1 teaspoon white vinegar

1 cup passion fruit purée, liquid
1/3 cup sugar
1/2 teaspoon cornstarch

1 can of full-fat coconut milk, refrigerated and UNSHAKEN (see here)
1 cup of heavy cream, cold
2 tablespoons mascarpone
1 tablespoon confectioner’s sugar

1 pint of raspberries
coconut flakes, optional

directions:

Preheat oven to 175 degrees F.
Draw a 8 inch circle on a piece of parchment with a pencil and place it pencil side down on a sheet pan.
Combine egg whites and cream of tartar.
Beat until soft peaks form, then slowly stream in the sugar while beating at high speed.
Beat until stiff peaks form, then beat in the cornstarch and vinegar.
Spread out on the parchment, staying within the circle.
Bake for 2 hours, then turn the oven off and allow to cool completely in the oven.
Meanwhile, make the passion fruit sauce.
Place passion fruit, 1/3 cup sugar, and 1/2 teaspoon cornstarch in a saucepan and whisk to combine.
Bring to a boil and allow to boil for 1 1/2 minutes.
Remove from heat and allow to cool completely before using.
Make the coconut whipped cream by beating the separated coconut fat (detailed instructions here or here) until soft peaks form, then beating in the mascarpone and confectioner’s sugar.
Beat the heavy cream to stiff peaks separately, then beat it into the coconut/mascarpone mixture.
Chill until you need to use it.

Assemble the pavlova no more than 30 minutes before serving (don’t worry, it’s really simple).
Place the meringue on a serving dish, then pile the coconut whipped cream high on top of it.
Drizzle with the passionfruit sauce, and top with raspberries and coconut flakes, if desired.
Enjoy!

P.S.
As you may have noticed, you can now pin my photos simply by rolling over them and clicking the Pinterest symbol.
In addition, there are social media buttons at the bottom of each post.
You can share posts via twitter, linkedin, Google+, instagram, Pinterest, facebook, and email.
(Right below this!)

Round Two!

Deco rolls are going to be a problem.
I can feel it in my bones.
Why was I allowed to fall down this rabbit hole of adorable cakes?
WHO LET THIS HAPPEN?
I am going to blame everyone except myself (as per usual) because I am head over heels for these stupid cakes.
They’re just so cuteeeeeeeee I mean look at them all rolled up and pretty and full of fruits and cream.
Ugh.
So, um, yes.  Here is my second deco cake roll.
I was not wholly pleased
but then again
when am I ever wholly pleased.
Never, that’s when.
As you can see, the stripes are kind of wonky.
Okay, very wonky.  The white is vanilla bean and the green is matcha.
I made Junko’s sponge cake batter, divided it in two, added vanilla bean to one and matcha powder to the other, then attempted to pipe them out into stripes.
It worked to some extent, but all the mixing and folding combined with the pressure of piping deflated my batter slightly (sponge cakes rely only on natural inflation from the whipping of the eggs, not chemical leaveners), which resulted in a thinner cake.
I filled it with Junko’s filling of choice, softly whipped cream and fruits- I chose strawberry and mango.
Overall, I loved the flavor and, of course, the texture.
Light and fluffy sponge cakes call out to me unlike any others.
I just wish it were neater, cleaner, more perfect.
In fact, I have a third deco roll in the works.
Lord have mercy.
Click here for my version of the recipe.

Pudd’nhead

“Adam was but human—this explains it all. He did not want the apple for the apple’s sake, he wanted it only because it was forbidden. The mistake was in not forbidding the serpent; then he would have eaten the serpent.”
-Mark Twain, Pudd’nhead Wilson
I have bad news.
I did that thing I do again.
That thing that I do that makes no sense.
I scratched my compulsive, everything-from-scratch itch again.
I made bread- but not just any bread, a very involved, intricate, fussy, time-consuming bread.
Then, I chopped it up and made bread pudding.
I know.  I think I’m crazy, too.
But this bread… Oh, this bread.
Soft, fluffy, snowy white.
Yes, white bread.  Even though I’m a nuts-and-seeds, whole-food, whole-grain, fermented, brown, brown, brown bread type of girl, I love white bread.
We all do.  I refuse to hear otherwise.
Think about it… crispy, crackly baguettes, eggy challah, white sourdough boules…
White bread is great, occasionally.
Now is one of those occasions.

I baked this bread following instructions at Kirbie’s Cravings.
She adapted it from a cookbook, 65 Degrees, which outlines the Tangzhong method of making bread.
This is a Japanese-style Hokkaido bread, which is a milk, butter, and cream enriched dough.
In my experience, enriched yeast doughs need a little more care to ensure they come out perfectly.
Her instructions could not be any better, so I’ll send you there if you’d like to try the bread.
I highly recommend it.
(You will need a scale.)

I halved the recipe so I would only get 1 loaf, but found myself regretting that we didn’t have two loaves.  
The tangzhong paste is sort of like a bread enhancer/saver, so it will last a bit longer than other homemade breads, another reason to make two loaves.

Here’s the link:

Kirbie’s Cravings’ Hokkaido Milk Toast

(Thanks so much, Kirbie!!)

Some tips that I learned while making this bread:
The tangzhong cooks very quickly, so stay near it while it cooks.
Set a timer for 20 minutes and let the dough knead the entire time: due to the enriched nature of the dough, the gluten development is slightly inhibited (the butter, cream, egg, and milk make it difficult for the gluten to form) and needs a long kneading period.
Your dough needs to pass the membrane/windowpane test, which Kirbie describes perfectly.  She even provides pictures.
Now, these bread puddings:
you should eat them warm, with a dollop of cold, freshly whipped cream.
The chocolate is melty, the plums are fall-apart tender and tart.
The top of the bread is crunchy and the underside is custardy.
 
Bread pudding is a fall dessert.  
This bread pudding showcases the best of late summer: plums.
They’re roasted until bubbling and syrupy, then cut into small pieces and layered among fluffy bread cubes and dark chocolate chips, then smothered in custard and baked, again, until bubbling.
The juices pour down the sides as the puddings puff up; when you pull them out of the oven they will deflate a bit, but the result of the deflation is a lovely, dense custard, filled with goodies.
 
You could make these with any white bread: challah, sourdough, sandwich, brioche… just cut the crusts off.
Or, you could make them with Hokkaido milk toast… Which obviously I highly recommend.
 
P.S. Heat any leftovers (what’s a leftover) in the microwave for 20 seconds, so they warm up again.  They’ll taste like they’re straight out of the oven.

Roasted Plum and Dark Chocolate Bread Pudding
makes 4 small ramekins, easily doubled, tripled, or quadrupled
ingredients:
2 plums or pluots
1 tablespoon of sugar
3 1/2 inch thick slices of brioche, challah, or sourdough, crusts removed and cubed
1 egg
3/4 cup milk
1/2 a vanilla bean, scraped
pinch of cinnamon
3 tablespoons sugar
4 tablespoons large chocolate chunks or chips
turbinado sugar, for sprinkling (optional)
whipped cream, for serving (optional)
directions:
Preheat oven to 375 degrees F.
Halve and pit the plums and place in a baking dish.  
Sprinkle with 1 tablespoon of sugar and bake until syrupy and soft, 12-15 minutes.
Remove from oven and allow to cool slightly.
Reduce oven temperature to 350 degrees F.
Whisk egg, milk, and 3 tablespoons sugar together with the scrapings of 1/2 a vanilla bean and a pinch of cinnamon.
Lay bread cubes over the bottom of each ramekin and place a few chocolate chips over that layer.
Cube the cooled plums; place a thick layer of plums over the first bread layer, about 1/2 plum per ramekin.  
Top with the remaining bread cubes and chocolate chips.
Pour 1/4 of the egg mixture over each dish, then sprinkle liberally with turbinado sugar.
Bake until puffed, golden, and juices overflowing, about 20 minutes.
Remove from oven and allow to cool slightly; serve warm with whipped cream.

Mo’ Mo’

Do you know of Piet Mondrian?
Dutch painter, theorist and draughtsman. His work marks the transition at the start of the 20th century from the Hague school and Symbolism to Neo-Impressionism and Cubism. His key position within the international avant-garde is determined by works produced after 1920. He set out his theory in the periodical of De Stijl, in a series of articles that were summarized in a separate booklet published in Paris in 1920 under the title Le Néo-plasticisme (see Neo-plasticism) by Léonce Rosenberg. The essence of Mondrian’s ideas is that painting, composed of the most fundamental aspects of line and colour, must set an example to the other arts for achieving a society in which art as such has no place but belongs instead to the total realization of ‘beauty’. The representation of the universal, dynamic pulse of life, also expressed in modern jazz and the metropolis, was Mondrian’s point of departure. Even in his lifetime he was regarded as the founder of the most modern art. His artistic integrity caused him to be honoured as a classical master by artists who were aligned with entirely different styles, as well as by musicians and architects. He was able to make a living from the sale of his works in the Netherlands, Germany, Switzerland, England and the USA.
© 2009 Oxford University Press
TL;DR
Basically, he represented a change in the art world from the Hague School/Symbolism to Neo-Impressionism and Cubism.
Yes, that was all from the second sentence, and no, I didn’t read past that.
But, yeah.  We’re here to talk about cake.
Cake art.
Art cake?
Either way, this is a cake inspired by Mondrian, via SFMoMA’s awesome, kick-ass cafe, an extension of Blue Bottle Coffee.
Head pastry chef Caitlin Freeman makes a Mondrian cake, among a myriad of other, incredible desserts inspired by modern art.
I fell in love with this cake.
As my father said, it’s so me.
So fussy.  So intricate.
So head-hurting, brain-frustrating, concentration-heavy.
So complicated and irritating.
I love it.
But! My cake didn’t come out quite how I wish it did.
I should have used a few different pans, which I was going to.
Instead, I used one very huge lasagna dish, plus one loaf pan, to bake my cakes.
It made the job a lot more lopsided and tricky, because I had to try to fit all the pieces and ended up with a ton of leftovers when they didn’t fit.
I should have used a protractor, to get all my lines just right.
I shouldn’t have used a serrated knife.
I still need to figure out how to make cakes with tighter crumbs.
I didn’t cream the butter and sugar, for this cake, because I know that creates air bubbles which create a light and airy texture in the finished cake.
It still didn’t quite make it to the tight crumb of a pound cake, which is where I wanted it to be.
 
And yet, I am pleased.  It is okay.  It is a first attempt at making a wacko battenburg cake.
And I did it sans recipe or guide, with just an idea in my head and a sketch of my own Mondrian-inspired idea.
Actually, I had to make a few sketches.  It gave me an excuse to break out my crayons.
God, I love crayons.
I completely and utterly winged this cake, by making a lot of sketches and baking a huge white velvet cake.
I don’t own Chef Freeman’s book, but if you’re interested in making this cake, I suggest you buy the book/follow her instructions.
Do you see her Mondrian cake?  Amazing.

Subpar

 
It was my dad’s birthday today!
 
My dad is not your average father… So, obviously, I made him a not so average birthday cake.
It’s birthday cake… with a twist.
Actually, a few twists.
Or a few kicks.  However you want to say it.
 
I’m very tired while writing this post (on Sundays, the credits of Breaking Bad pretty much signal bedtime to me), so I’ll keep it short and hopefully sweet.
 
My dad is a wonderful human being.  Just superb.  I mean, really.
I could not ask for a more supportive, caring, and understanding father.
He is truly the rock to which I am tethered.
I could not have weathered any storms without him keeping me from blowing away.
 
He’s watching golf, now that we’ve finished Breaking Bad, which is maybe his only bad habit.
Watching golf.  Or maybe playing golf.
He just loves golf so much… I guess I forgive him for it.  Depending on my mood, that is.
BUT I should clarify the title of this post: I mean subpar in a golf way, not in a real world way.
Even though it’s not a term they use, I don’t think.
What I mean is that he’s better than average.
Or something like that.
I don’t know.  Stop looking at me like that.
So this cake… It’s spicy.
Spicy, sweet, and over-the-top.
It’s a rich chocolate cake with a silky cheesecake in the center, sandwiched with spicy strawberry-cayenne jam, frosted with a super smooth Italian meringue buttercream, and topped with cayenne-gianduja macarons.
 
Everything balances out very nicely:
deep, smoky chocolate
slightly sour, rich, thick cheesecake
spicy and tart strawberry
silkier than silky IMBC, which is super buttery and offsets the intense flavors well
slightly crispy, chewy macs with a hint of spice and gianduja (AKA nutella).
This is truly a celebration cake.  You can expect to see more macaron-topped cakes from me in the future.
Once I get my macs down perfectly, that is.
Happy birthday, Daddy!  I love you!
Kickin’ Chocolate Birthday Cake
 
Cayenne Gianduja Macarons
adapted from Jo the Tart Queen
ingredients:
for the first mixture:
70 grams egg whites
130 grams hazelnut flour
25 grams cocoa powder
150 grams powdered sugar
A few pinches cayenne pepper, depending how spicy you want the cookies
for the second mixture:
60 grams egg whites
Pinch cream of tartar
150 grams granulated sugar
30 grams water
directions:
Preheat oven to 320 degrees.
Line 2 baking sheets with parchment paper.
Process hazelnut flour, confectioners sugar, cocoa powder, and cayenne together in a food processor until all lumps are gone.
Place in a bowl and fold in the first measure of egg whites until the mixture is mostly combined; it will look crumbly and dry.
Make the second mixture.
Place the egg whites in the bowl of a stand mixer with the cream of tartar.
Place the sugar and water in a small saucepan.
Heat the sugar and water over medium heat while the egg whites are whipping.
When the sugar syrup reaches 320 degrees F, the egg whites should be at soft peaks.
Heat the syrup until it reaches 340 degrees F.
With the mixer running, slowly pour the syrup over the meringue.
Allow to whip until the meringue has cooled and is stiff.
Fold the first and second mixtures together until the batter is like lava.
Pipe out circles and leave to dry for 15 minutes.
Bake for 12 minutes, or until cookies lift cleanly off the parchment.

Miniature Cheesecake
adapted from Miette

ingredients:
1/2 pound (8 ounces) cream cheese, softened
1/4 cup sugar
1 egg
2 tablespoons half and half
1 teaspoon vanilla extract
directions:
Preheat oven to 350 degrees F and put a large kettle on to boil.
Wrap a 6-inch springform pan tightly in aluminum foil and lightly grease the inside; place inside a roasting pan.
Beat cream cheese until soft and fluffy; stream in sugar and beat until well incorporated.
Scrape the sides of the bowl and beat in the egg, half and half, and vanilla.
Pour into prepared pan.
Carefully pour boiling water around the springform into the roasting pan.
Bake for 1 hour and 20 minutes, until set and the center jiggles only slightly.
Allow to cool completely, then freeze prior to placing in the cake.

Strawberry Cayenne Jam
ingredients:
1 quart strawberries
1/4 cup sugar
1 teaspoon pectin (low or no sugar)
Few pinches cayenne pepper
directions:
Chop strawberries finely and place in a wide saucepan with the sugar, pectin, and cayenne.
Cook until thickened and jammy, about 10 minutes.
Purée if desired.


6-inch Chocolate cake
adapted from the back of a Hershey’s cocoa powder
ingredients:
1 cup sugar
3/4 cup plus 2 tablespoons flour
1/4 cup plus 2 tablespoons cocoa powder
3/4 teaspoon baking powder
3/4 teaspoon baking soda
1/2 teaspoon salt
1 egg
1/2 cup milk
1/4 cup oil
1 teaspoon vanilla extract
1/2 cup hot coffee
directions:
Preheat oven to 350 degrees F.
Grease 2 6-inch pans.
Whisk dry ingredients together.
Whisk wet ingredients (except coffee) together, then whisk into the dry ingredients.
Whisk in the hot coffee and pour into prepared pans.
Bake for 25 minutes, until a toothpick comes out clean.

Italian Meringue Buttercream
Same as here. 1/2 the recipe.

To assemble:
Place one cake on a cake plate.  
Spread with 3 tablespoons jam, then top with the frozen cheesecake.
Spread 3 tablespoons jam on the underside of the second cake, then place it jam side down onto the cheesecake.
Crumb coat with the buttercream.
Pipe 6 swirls on top of the cake, nestle in macarons that have been sandwiched with a little jam (3/4 teaspoon-1 teaspoon per cookie) or extra buttercream.
Serve at room temperature.