

“Come, let us have some tea and continue to talk of happy things.”
-Chaim Potok

“Tea is drunk to forget the din of the world.”
-Tien Yiheng
“Strange, how a teapot can represent at the same time the comforts of solitude and the pleasures of company.”
-Author Unknown
“Take some more tea,” the March Hare said to Alice, very earnestly.
“I’ve had nothing yet,” Alice replied in an offended tone, “so I can’t take more.”
“You mean you can’t take less,” said the Hatter: “it’s very easy to take more than nothing.”
-Lewis Carroll, Alice in Wonderland
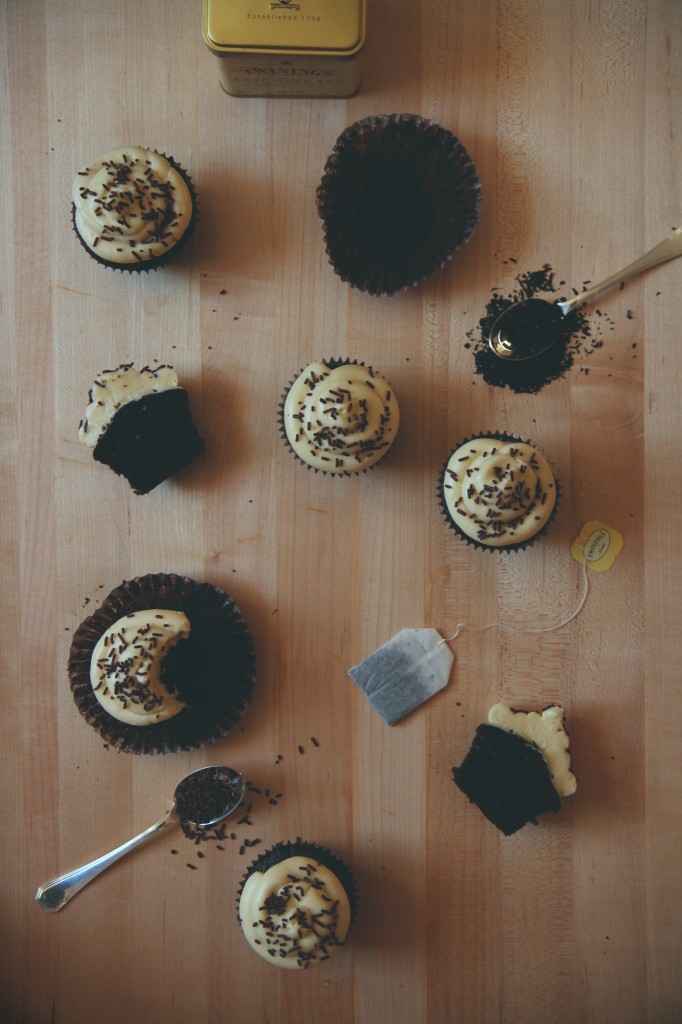
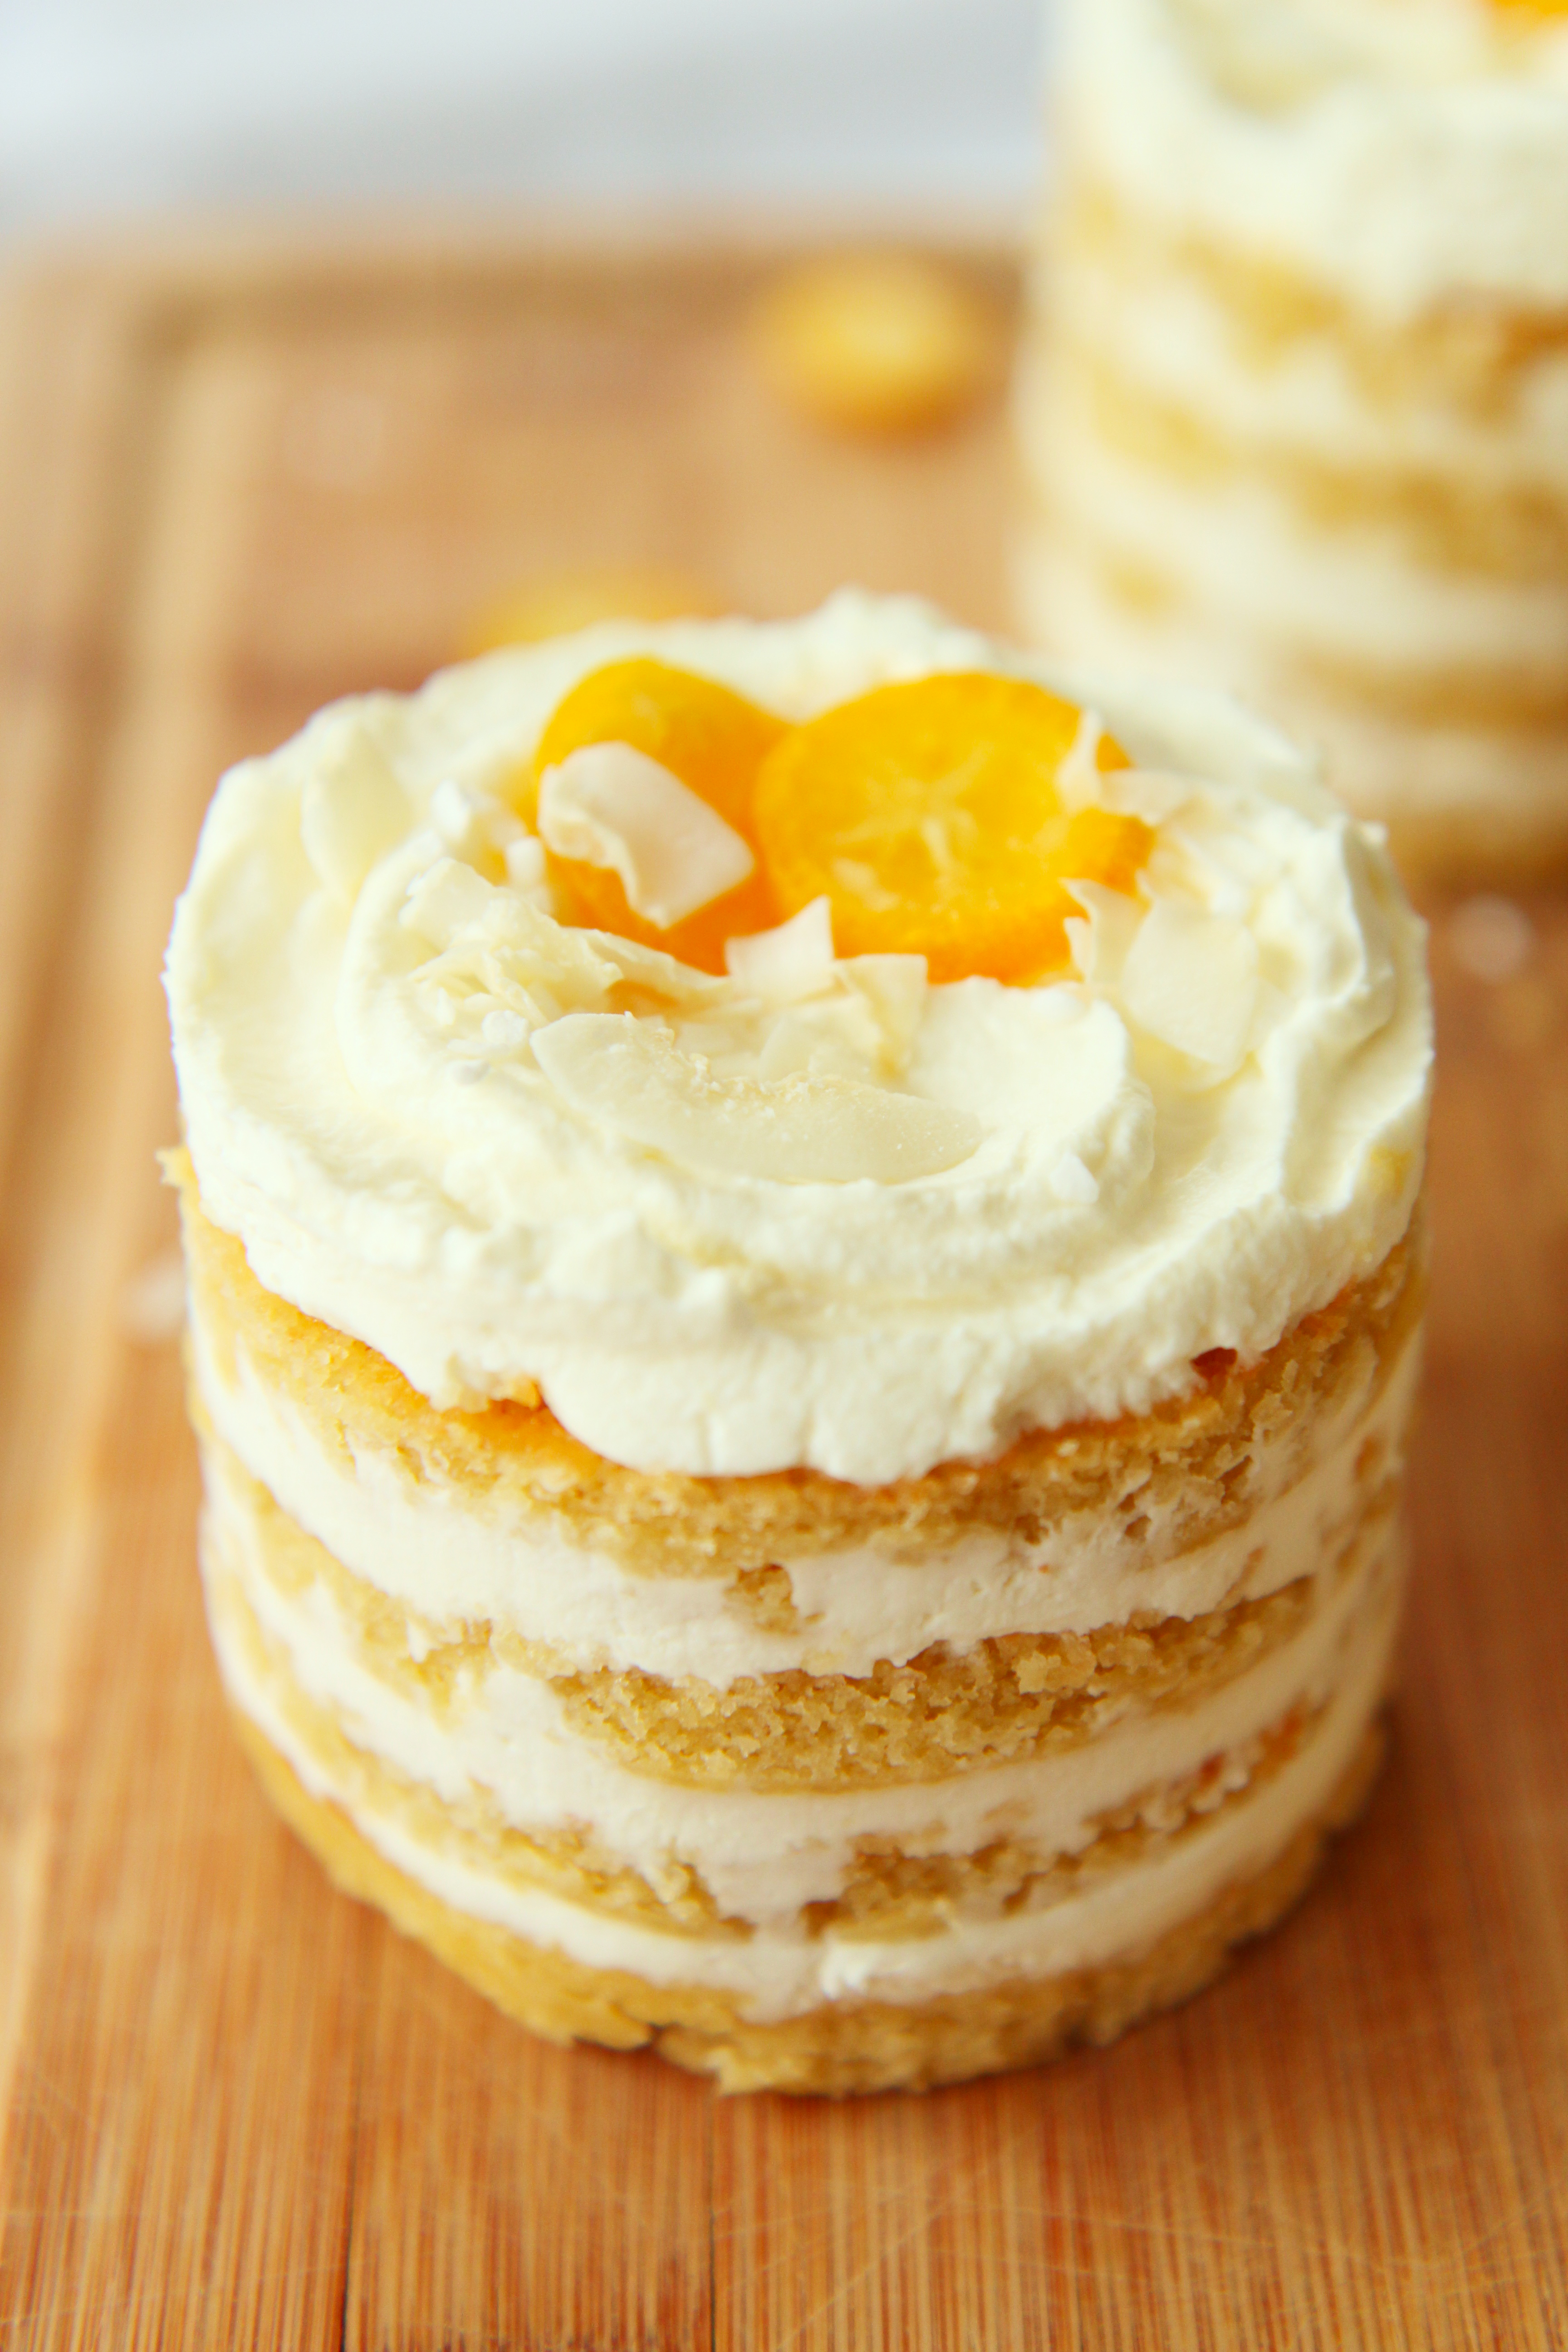
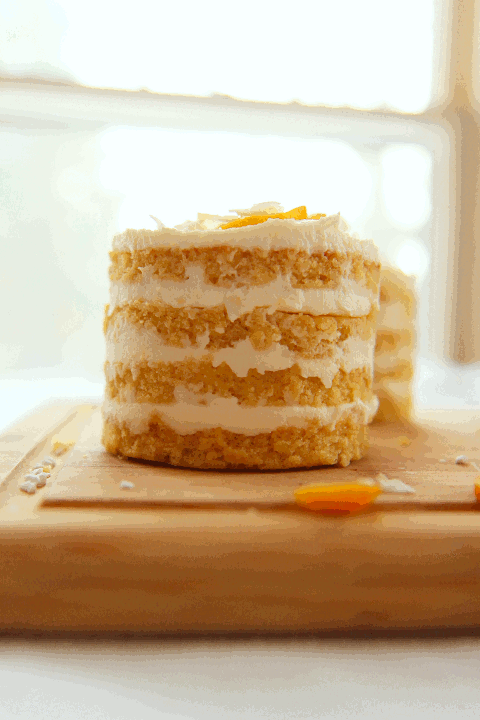
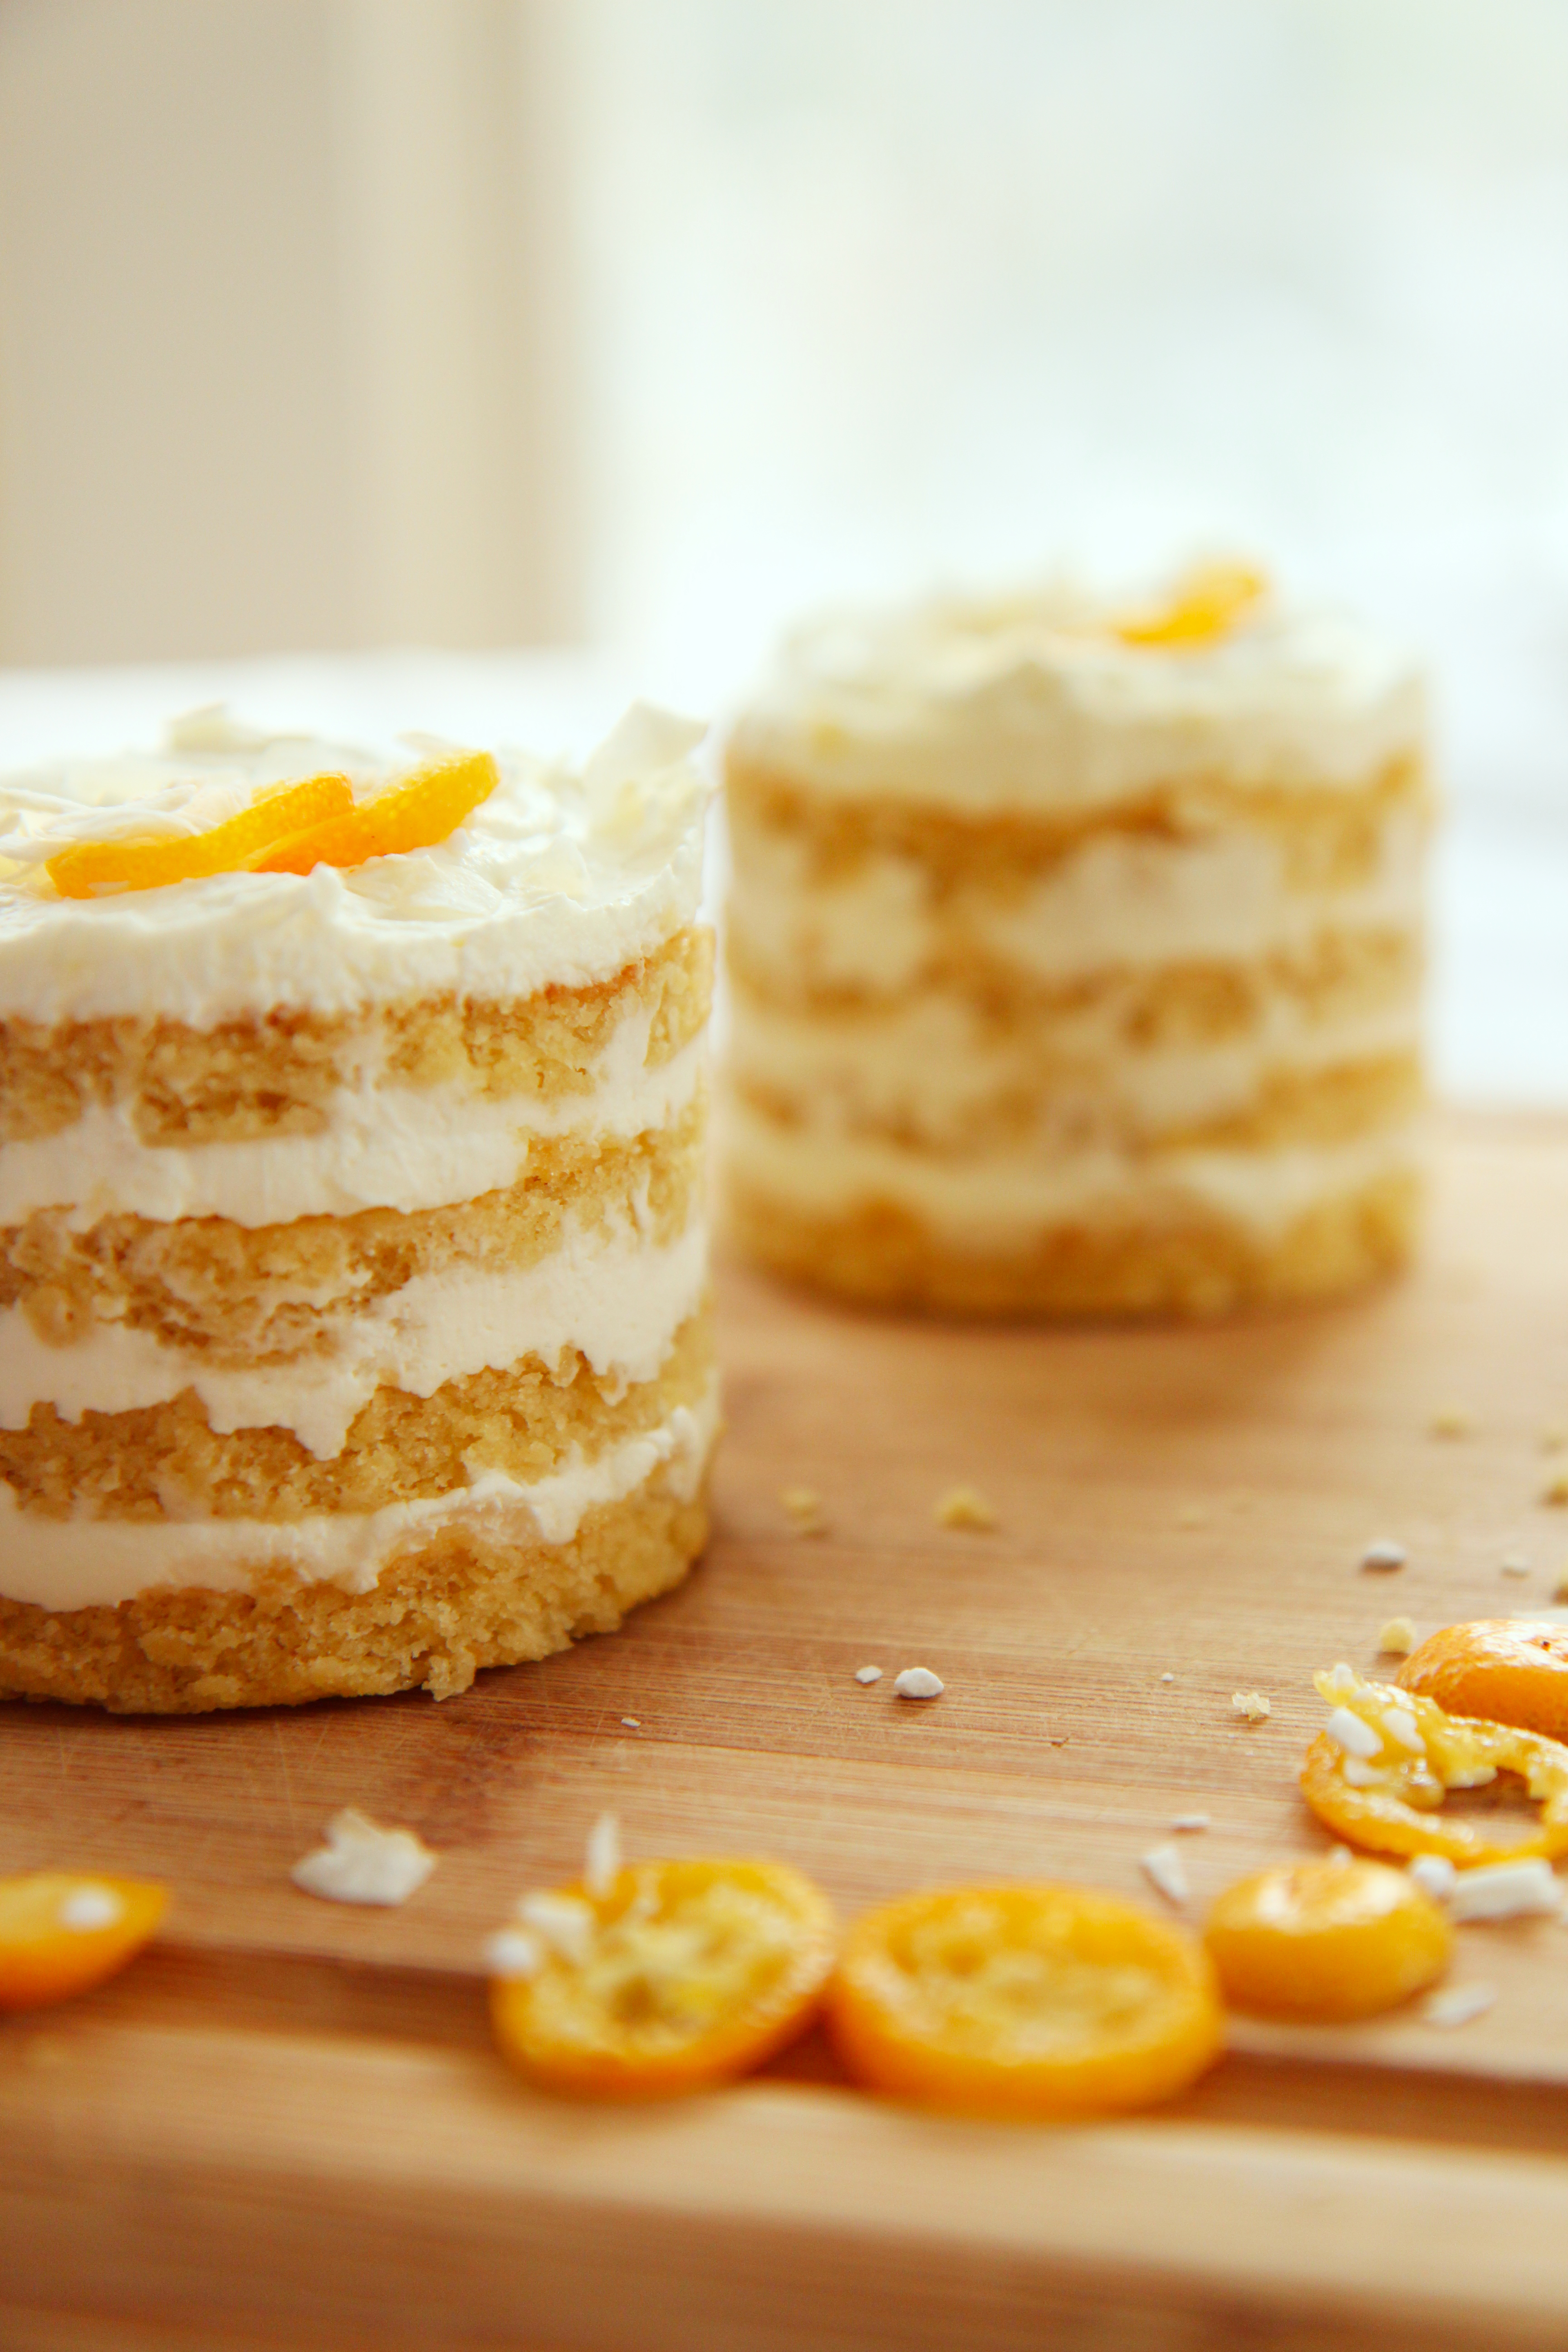
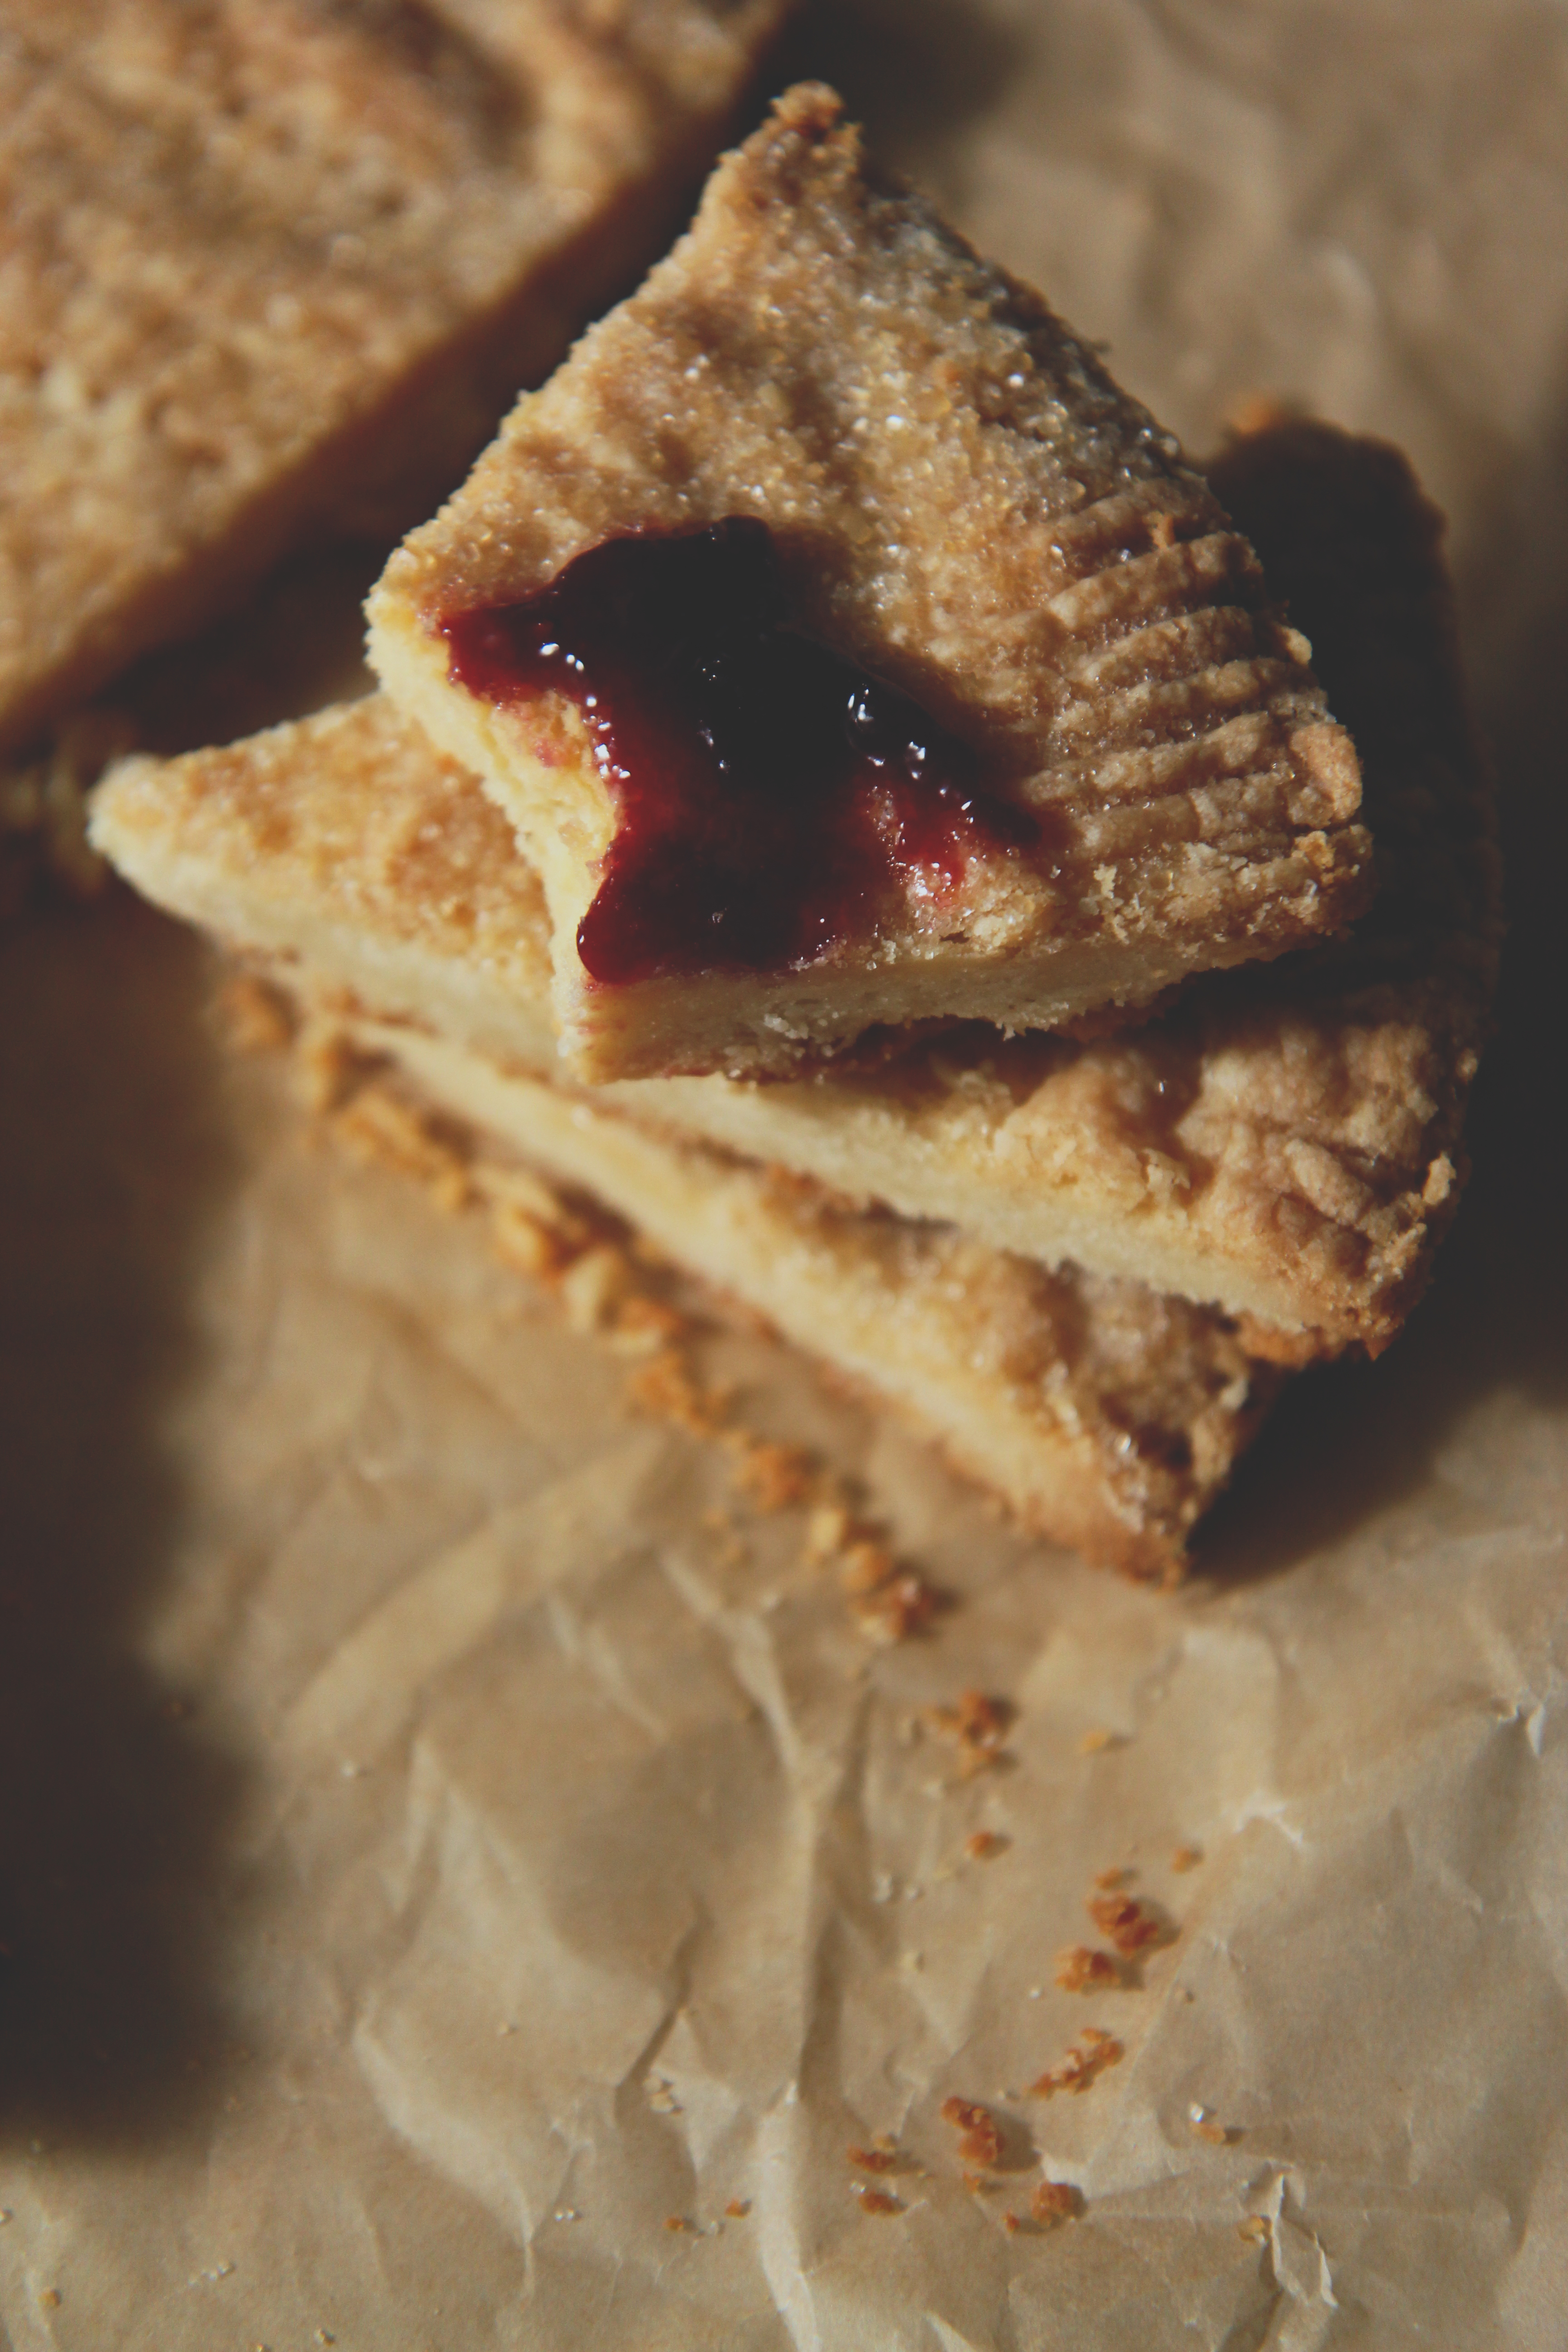
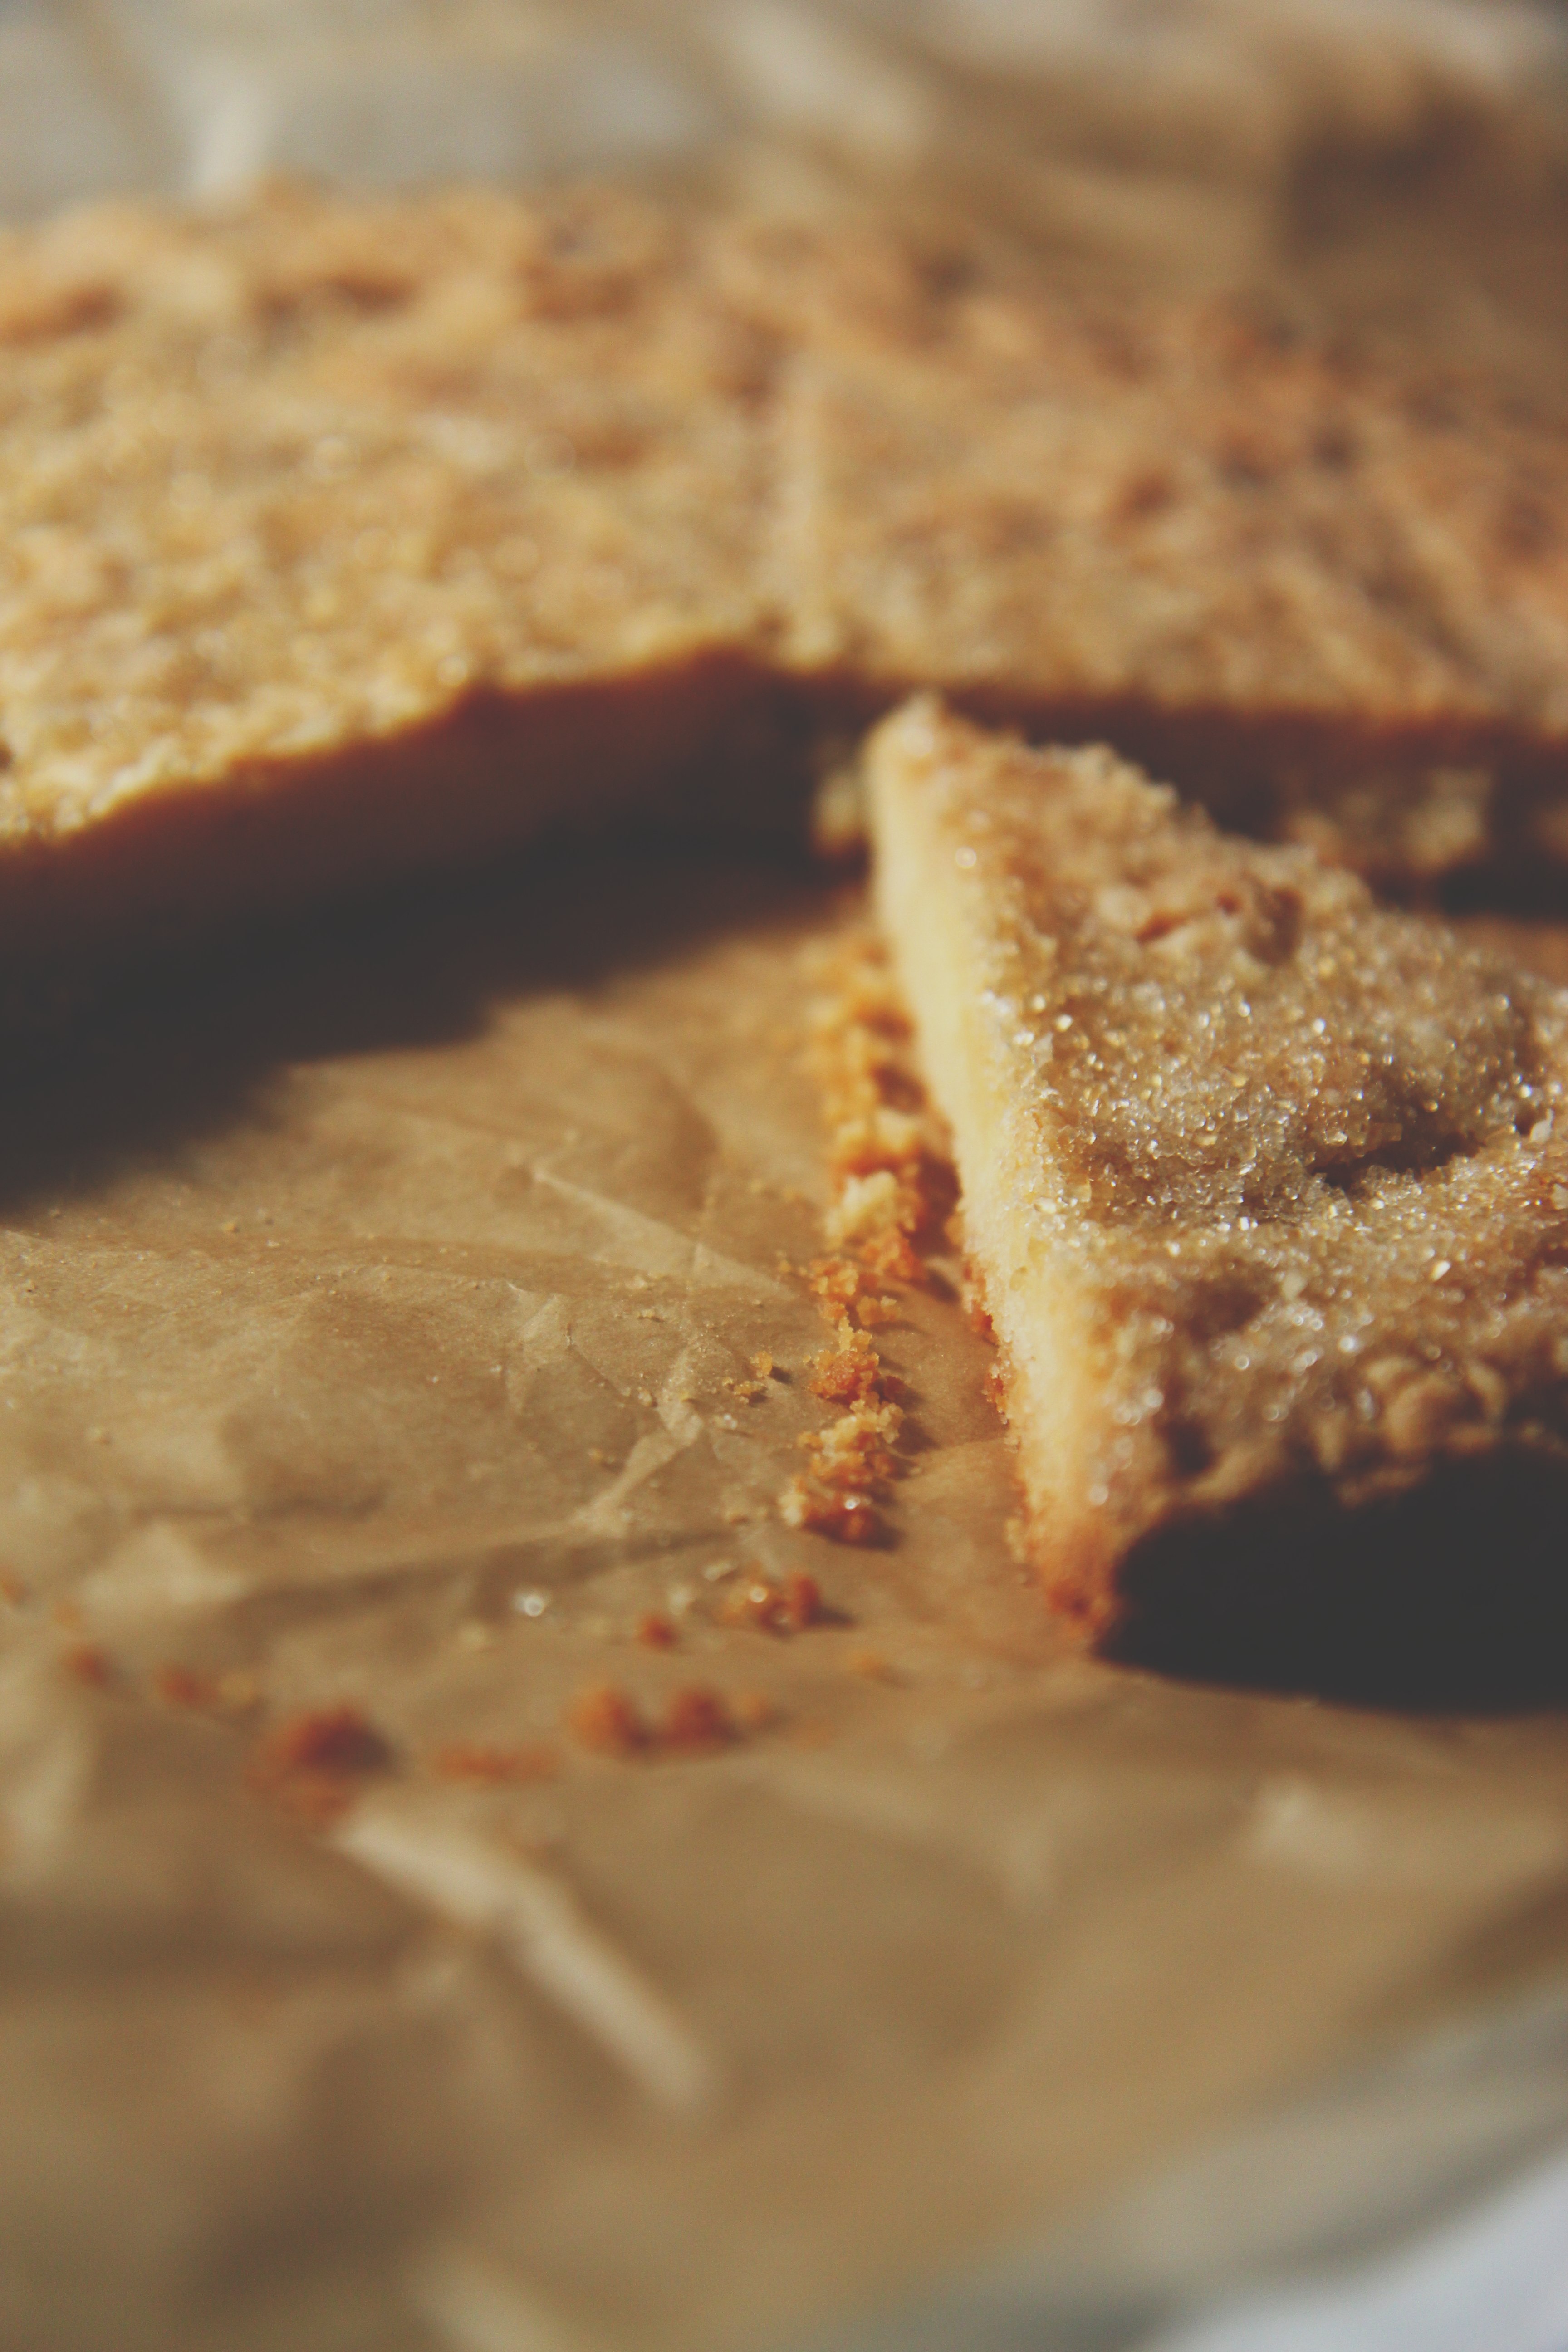
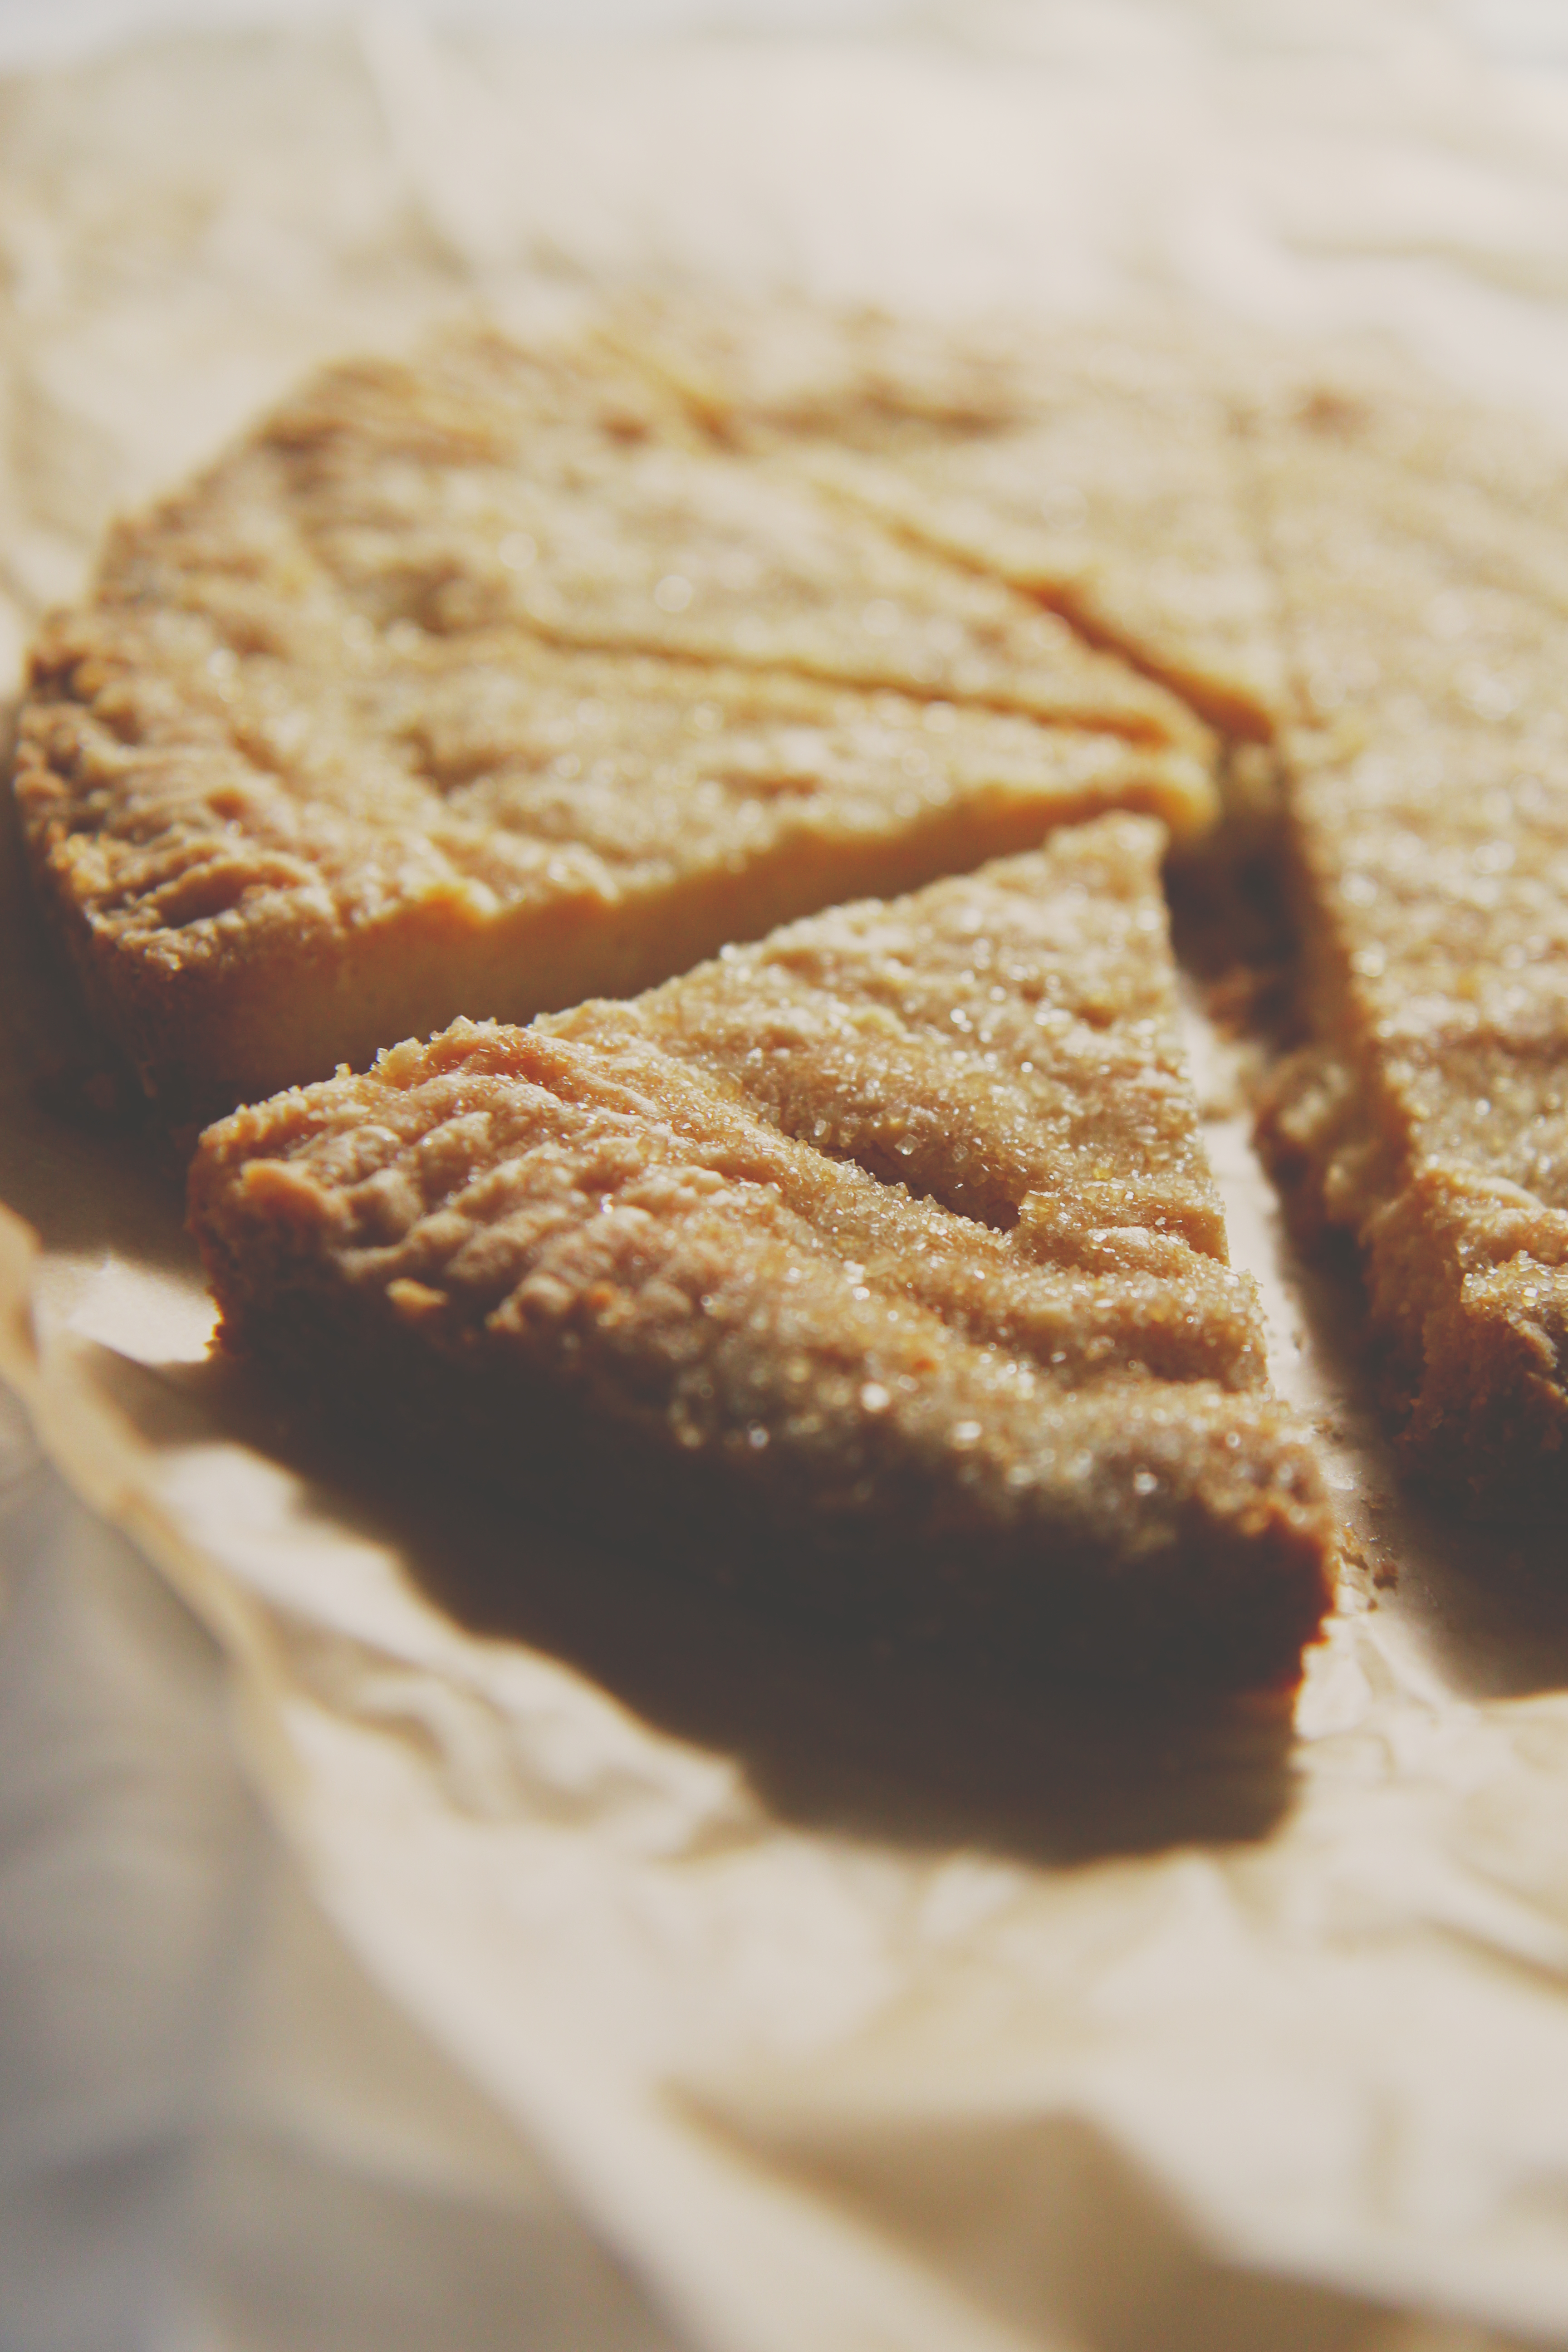
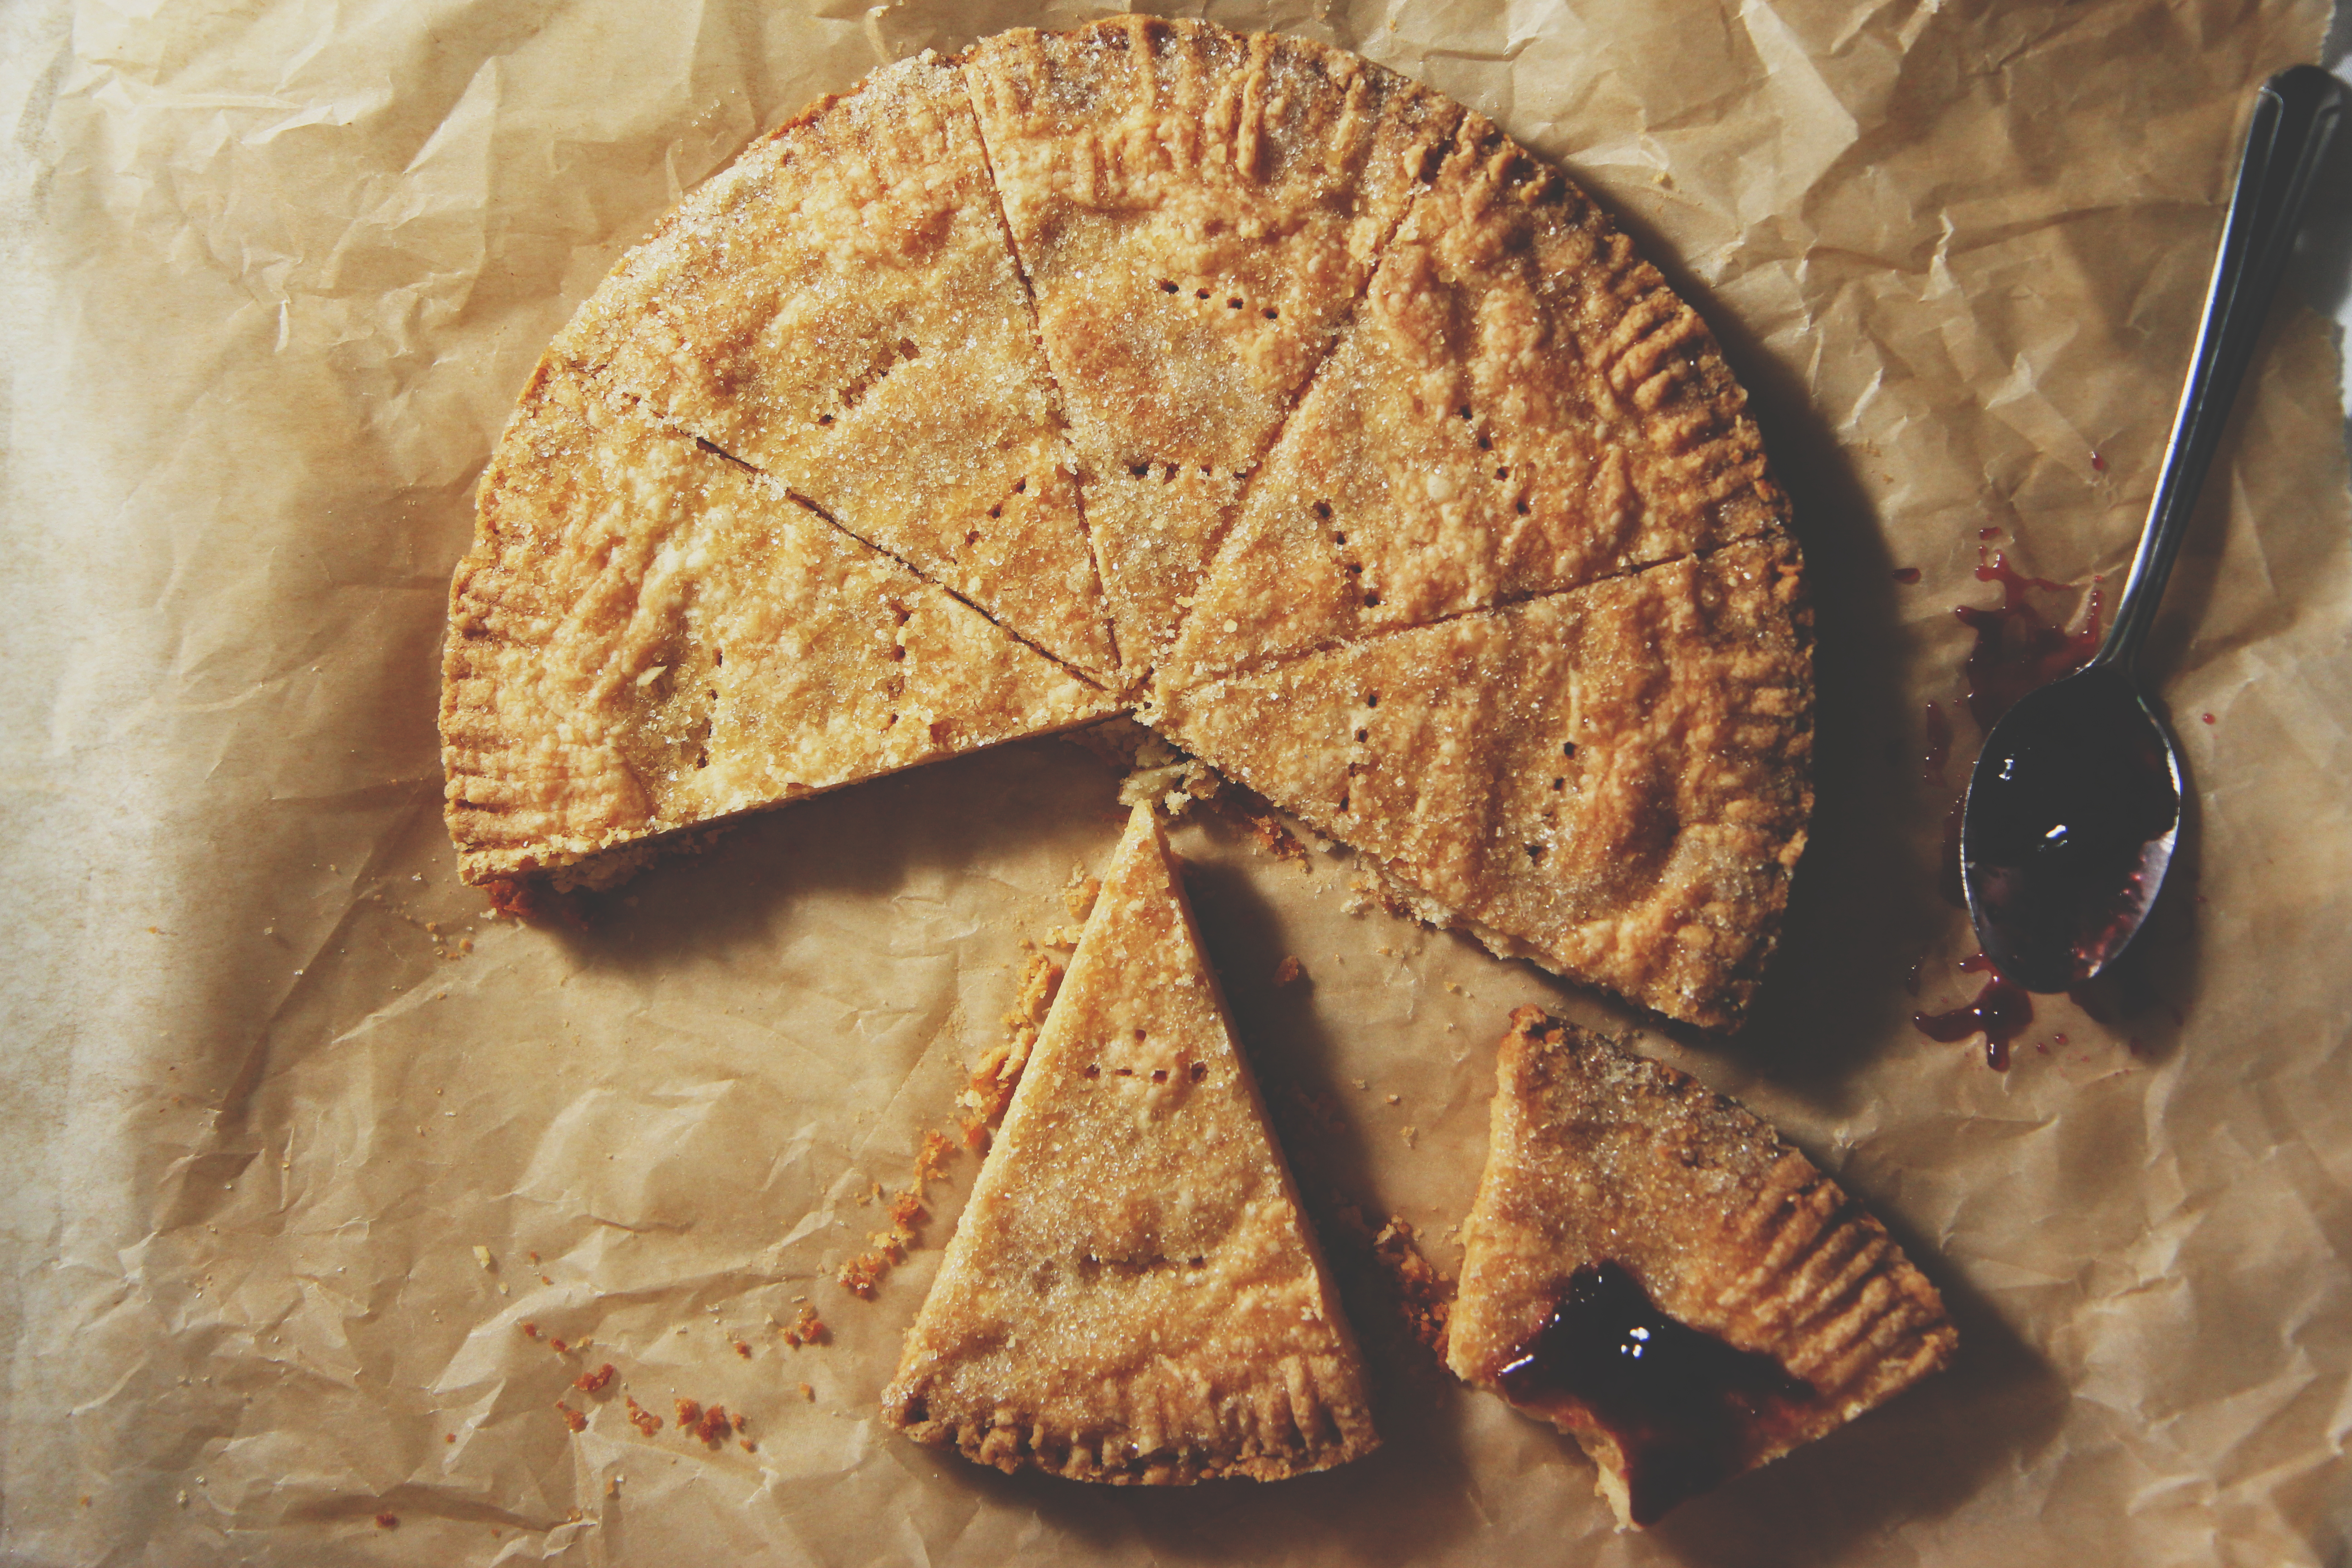
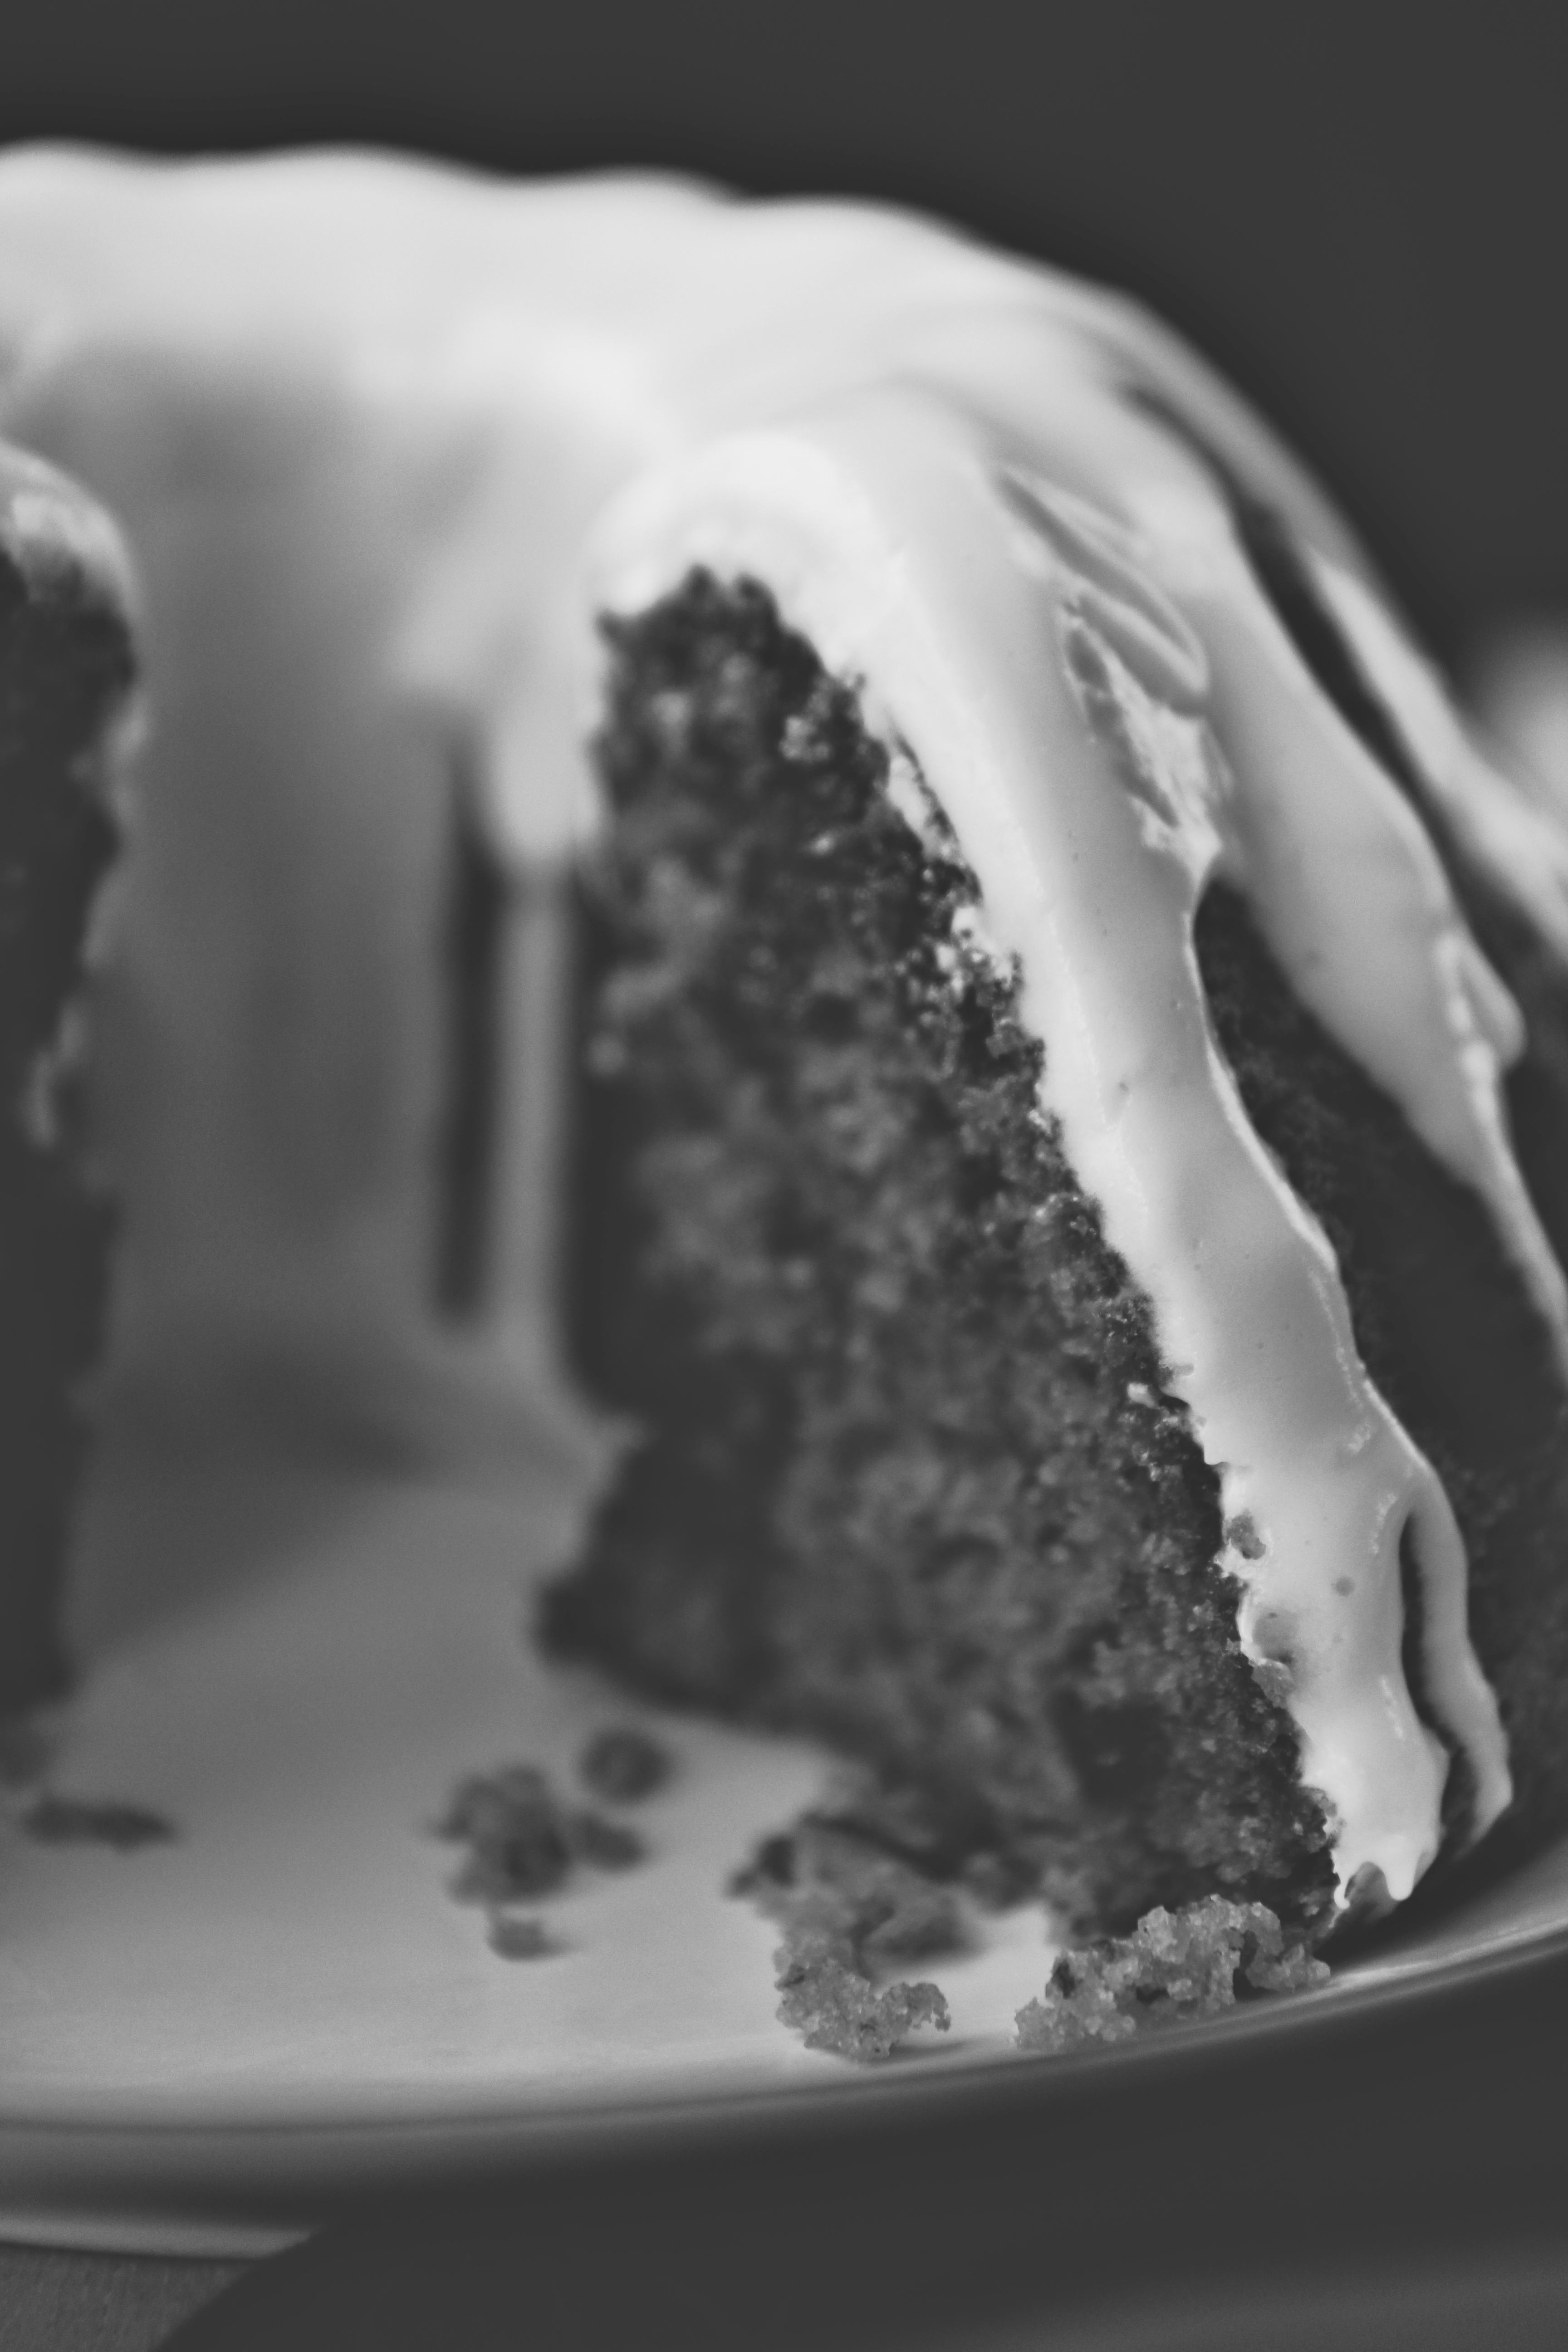
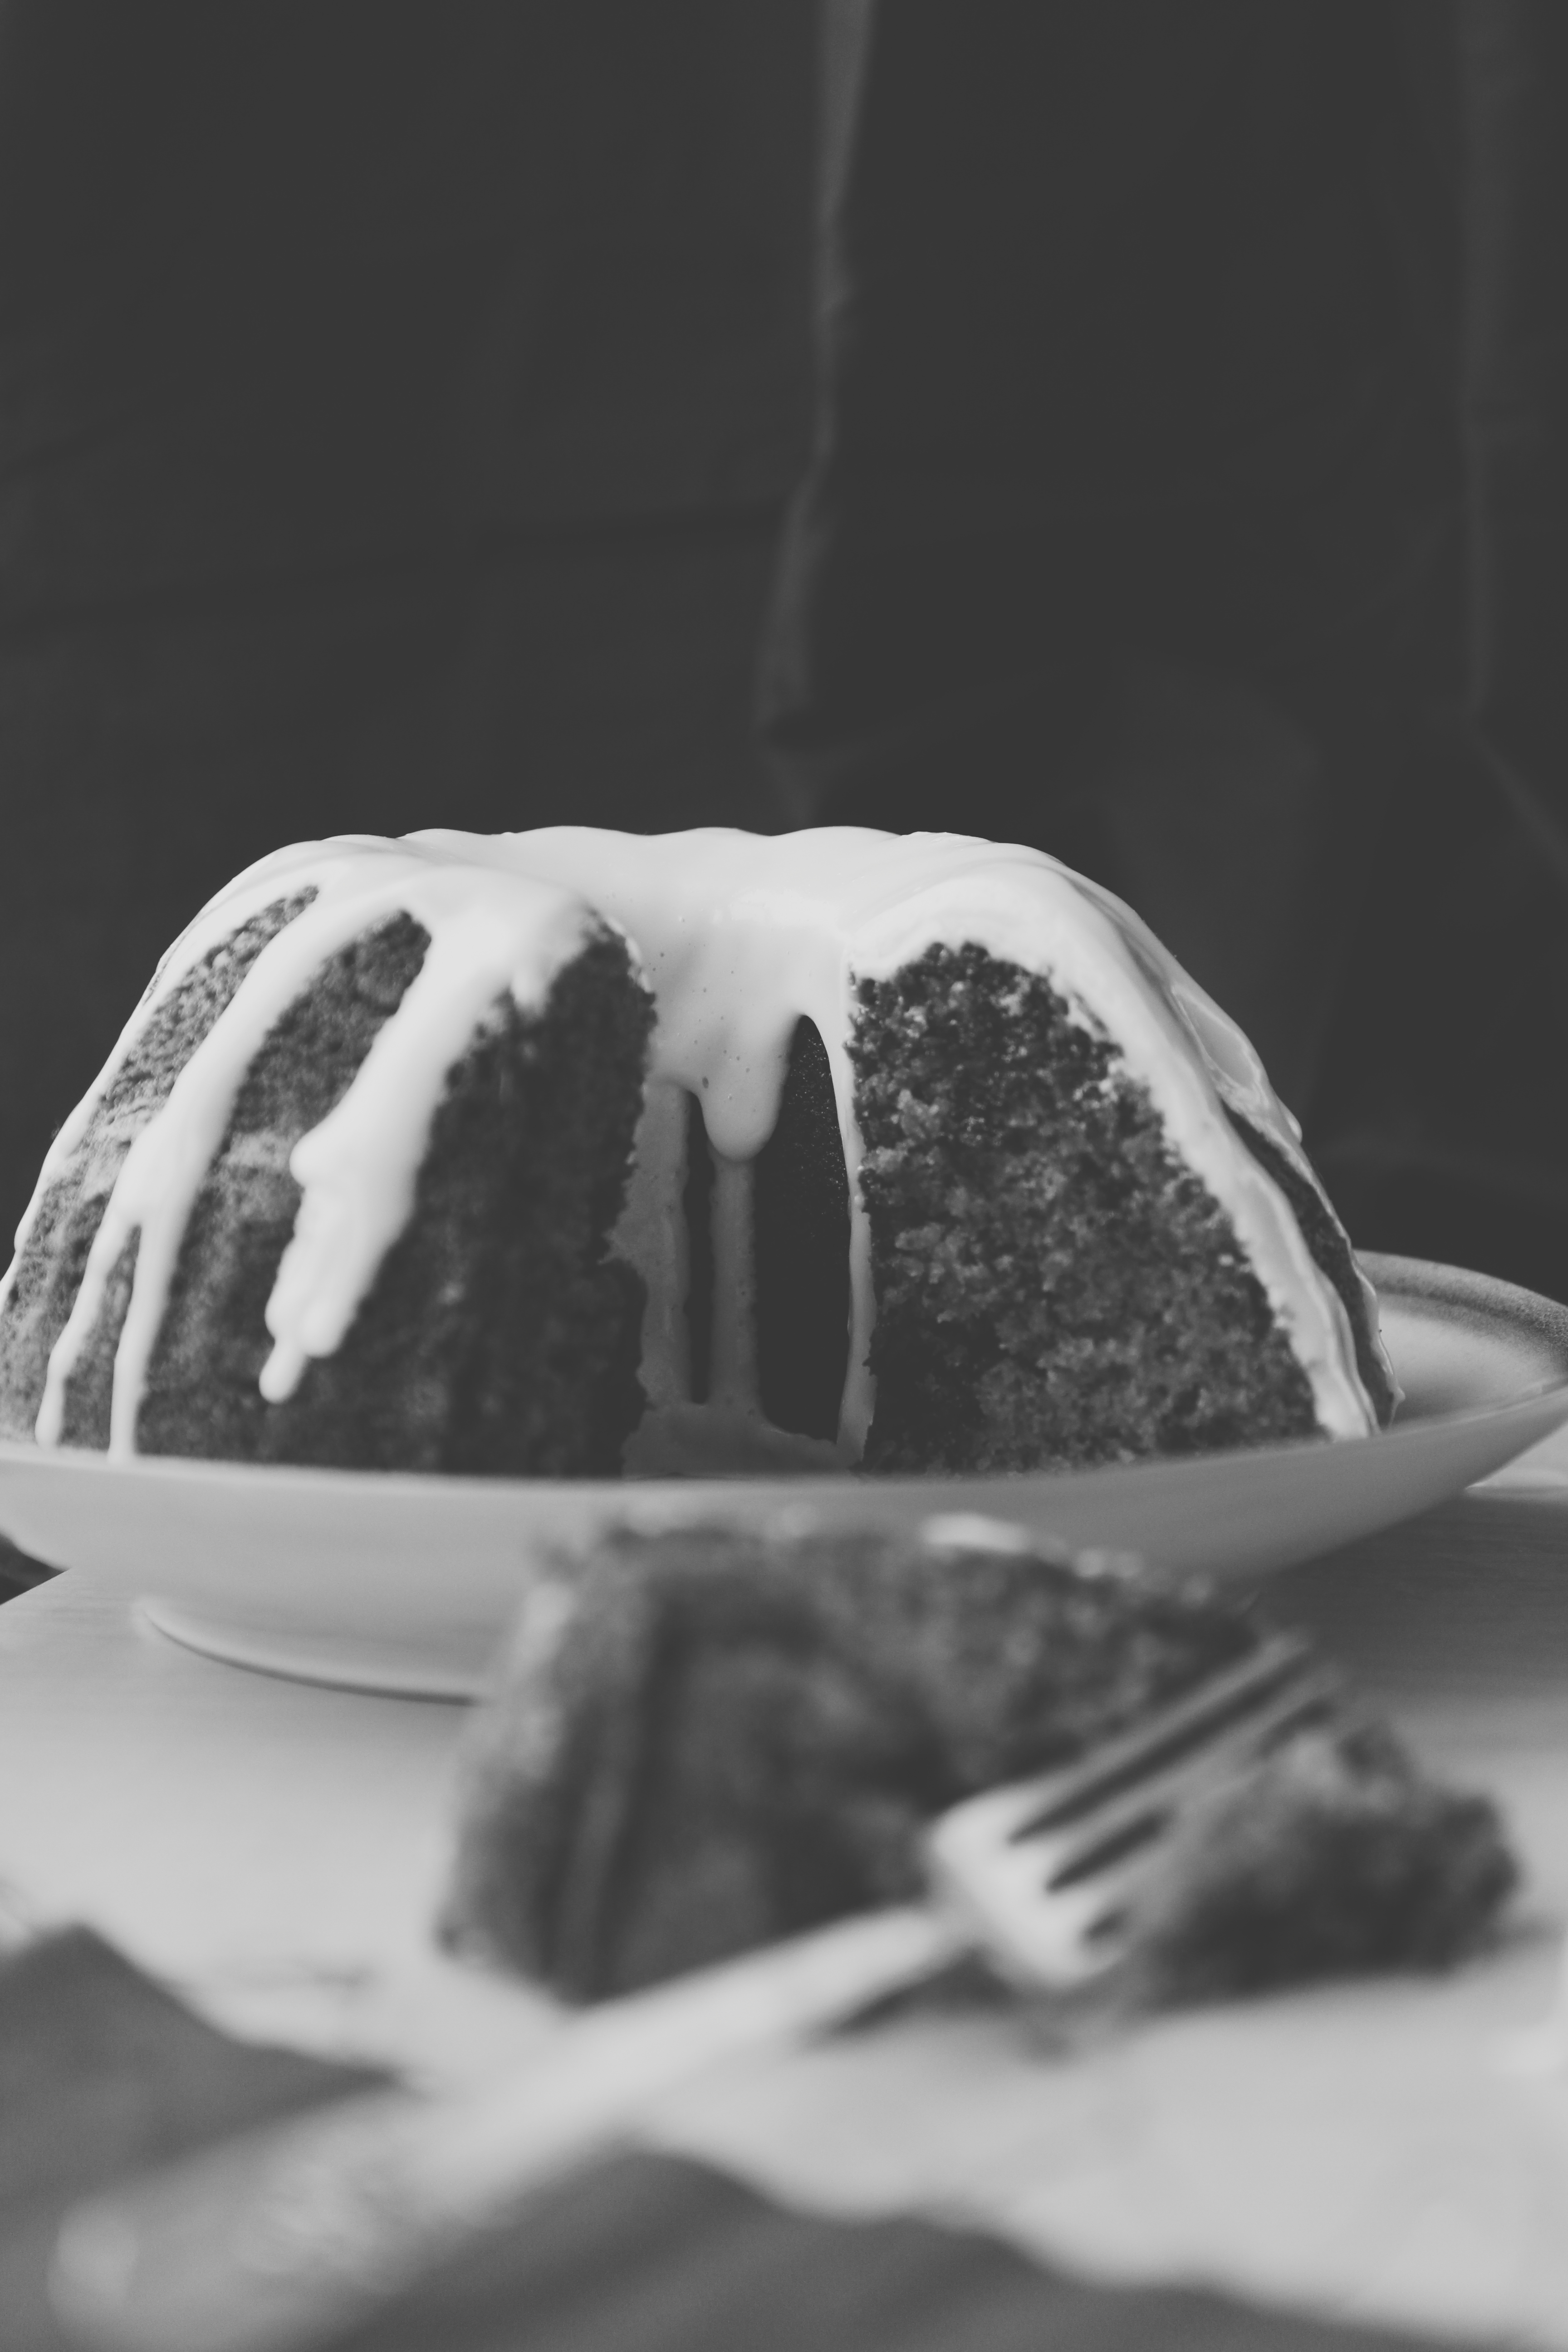
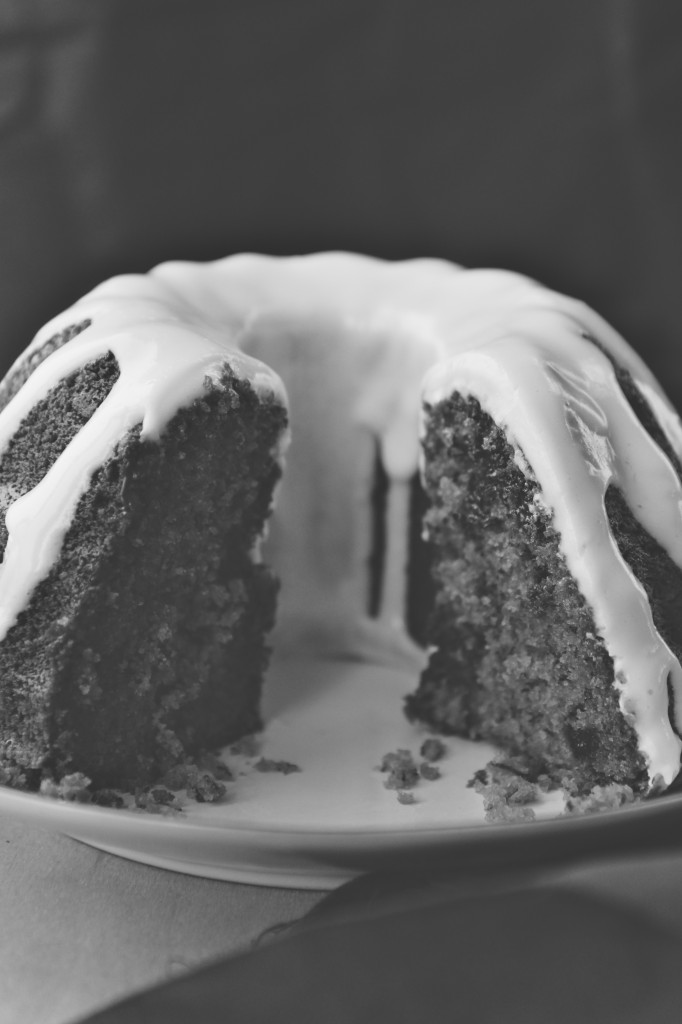
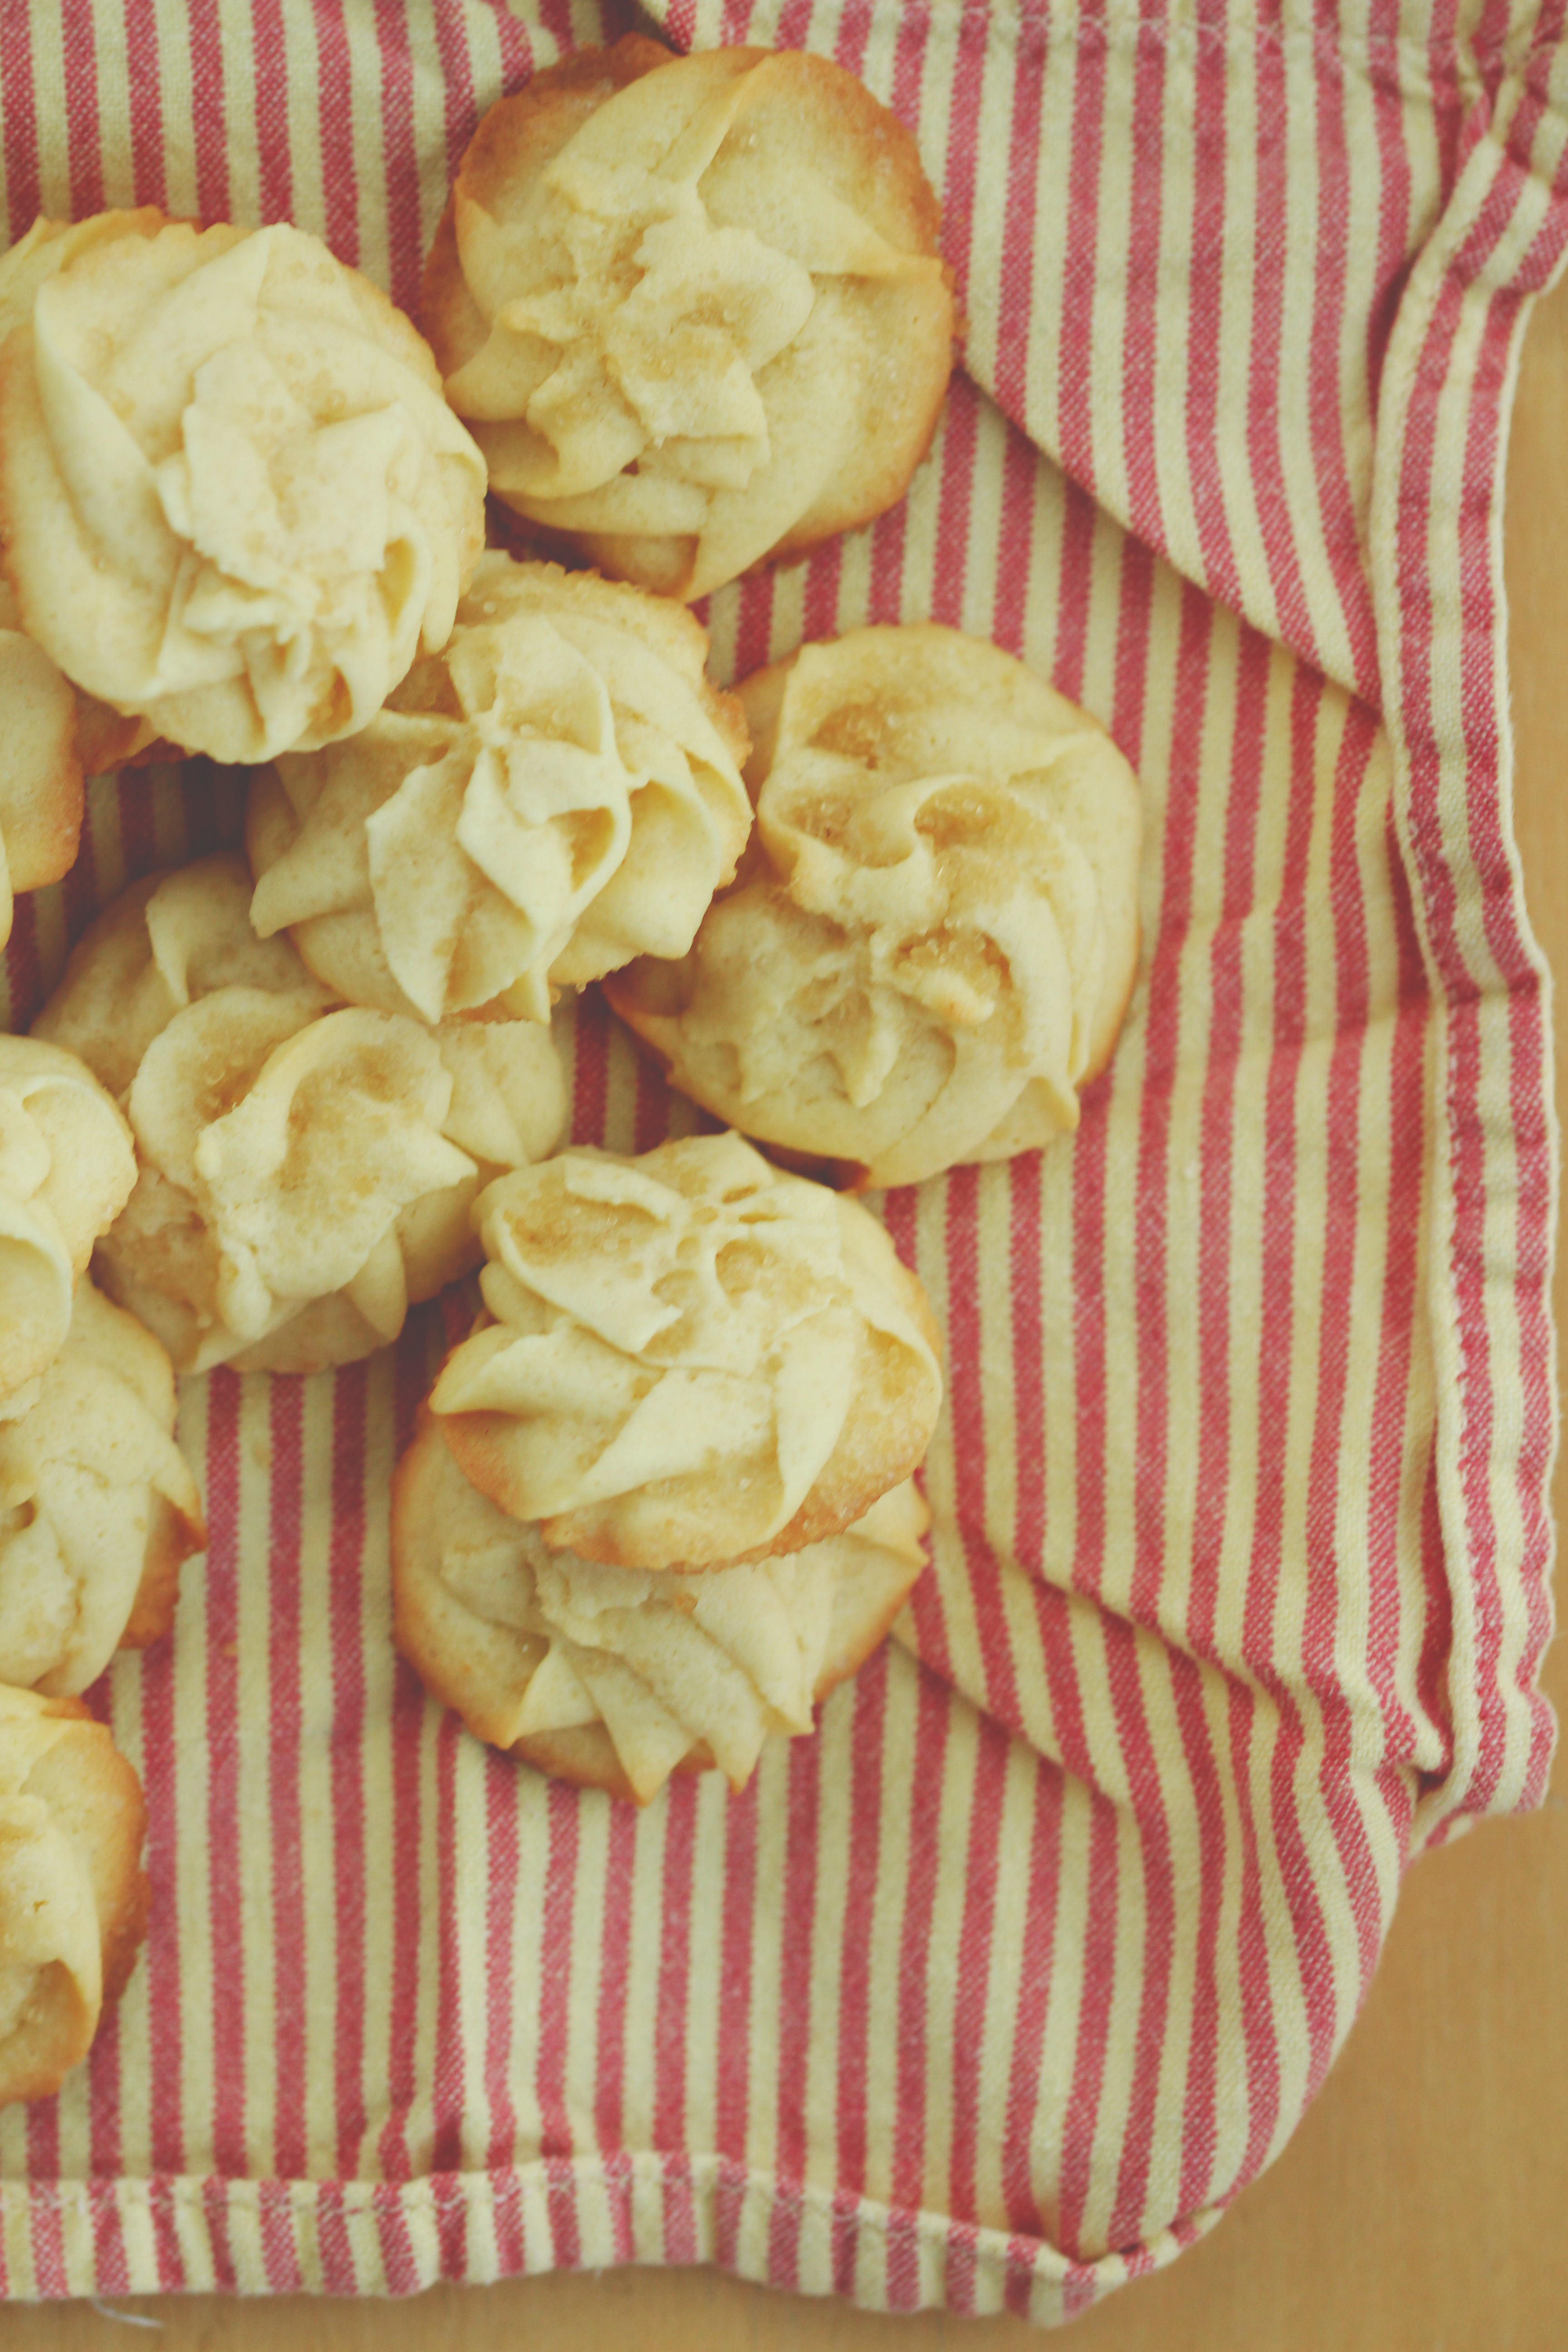
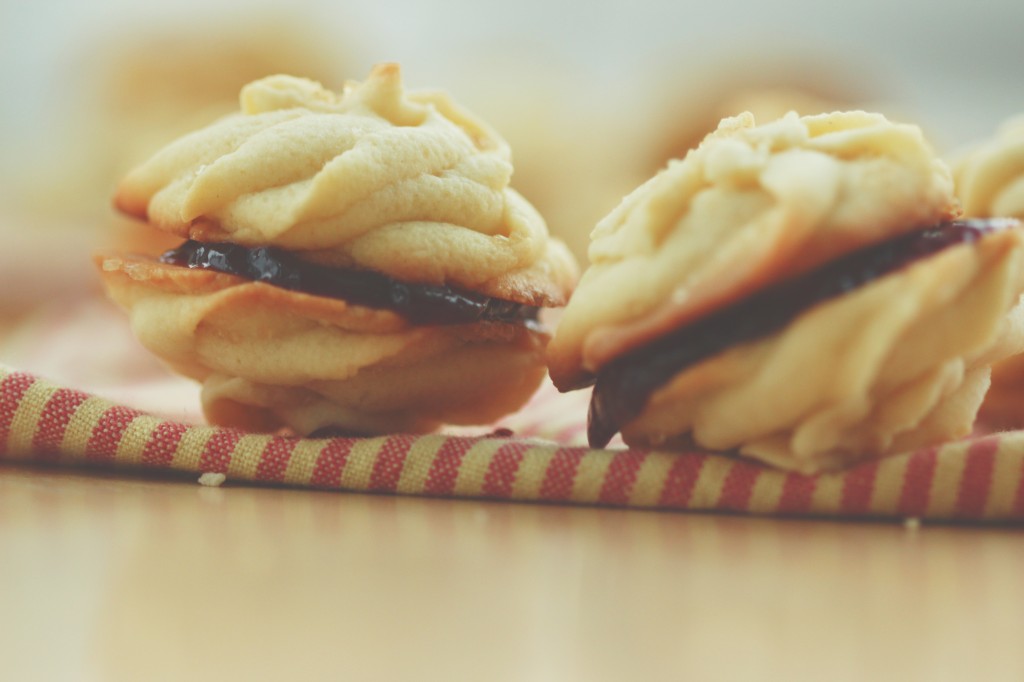
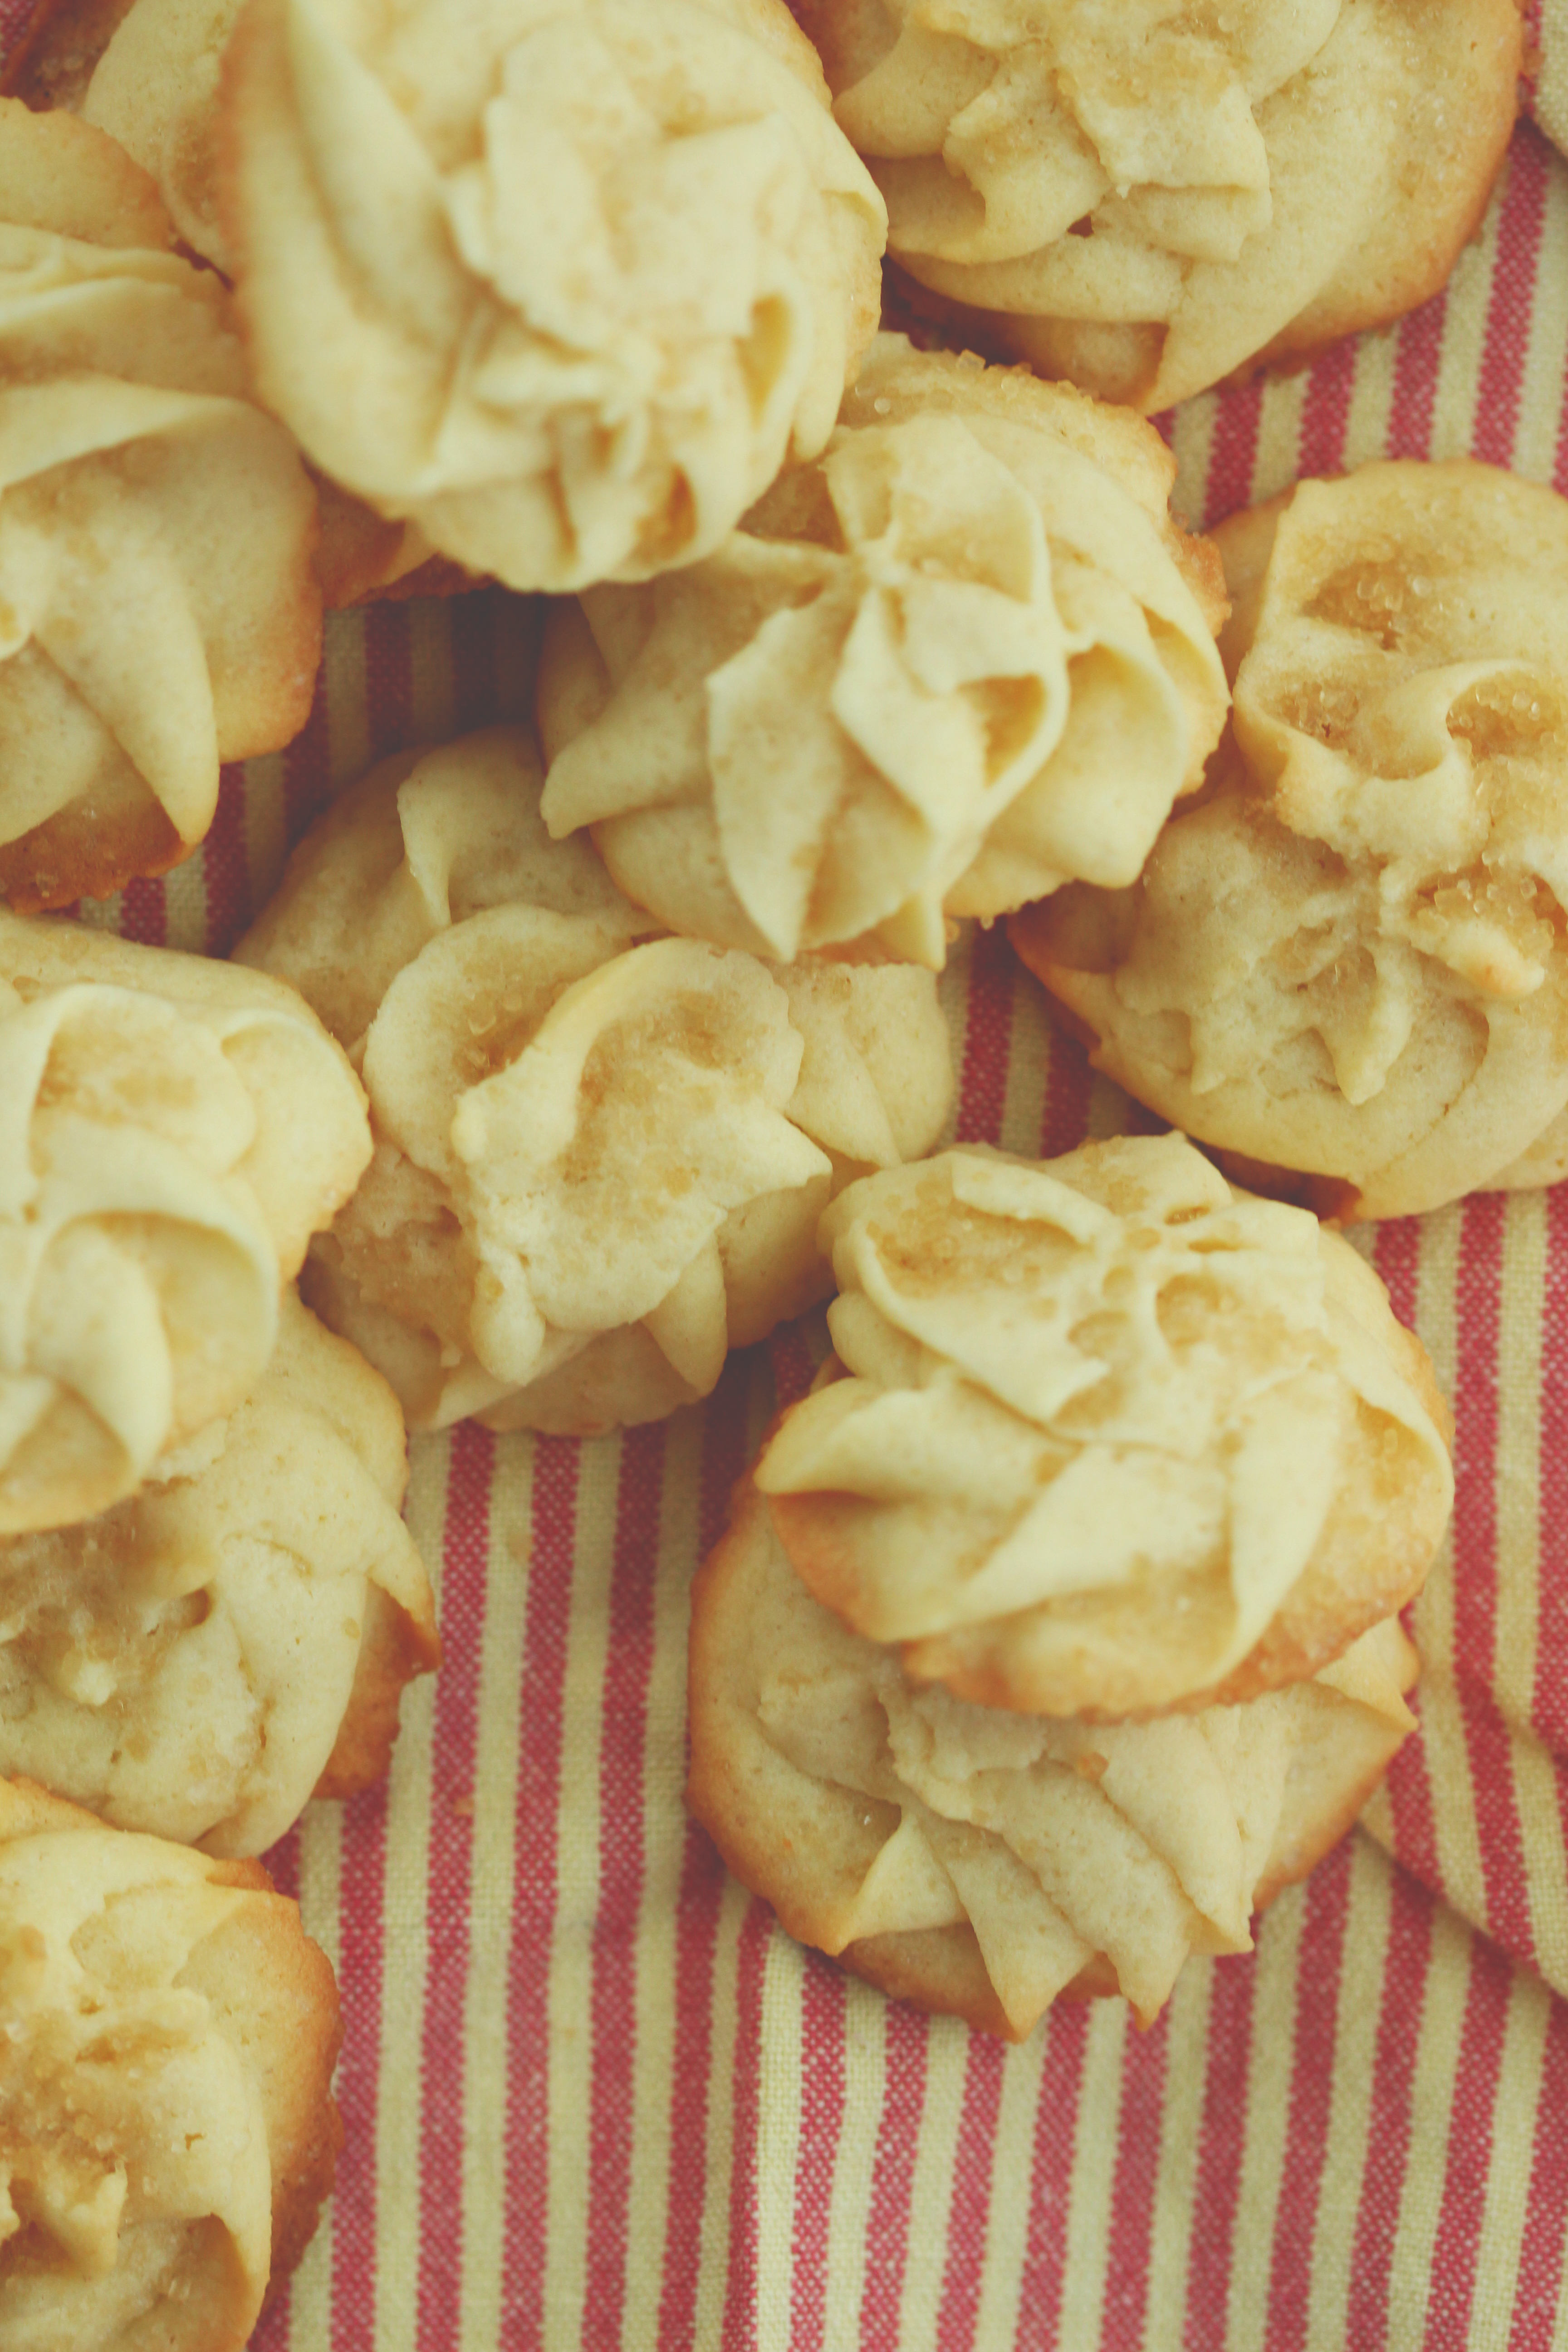
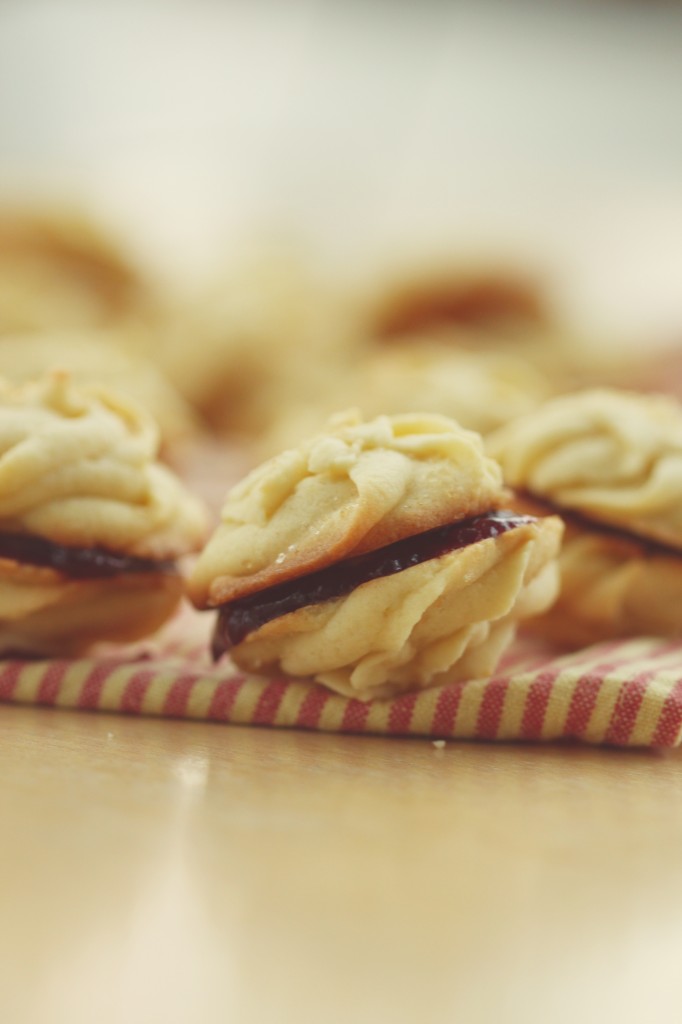
There is always time for tea and room for cake.
Or, in this case, both.
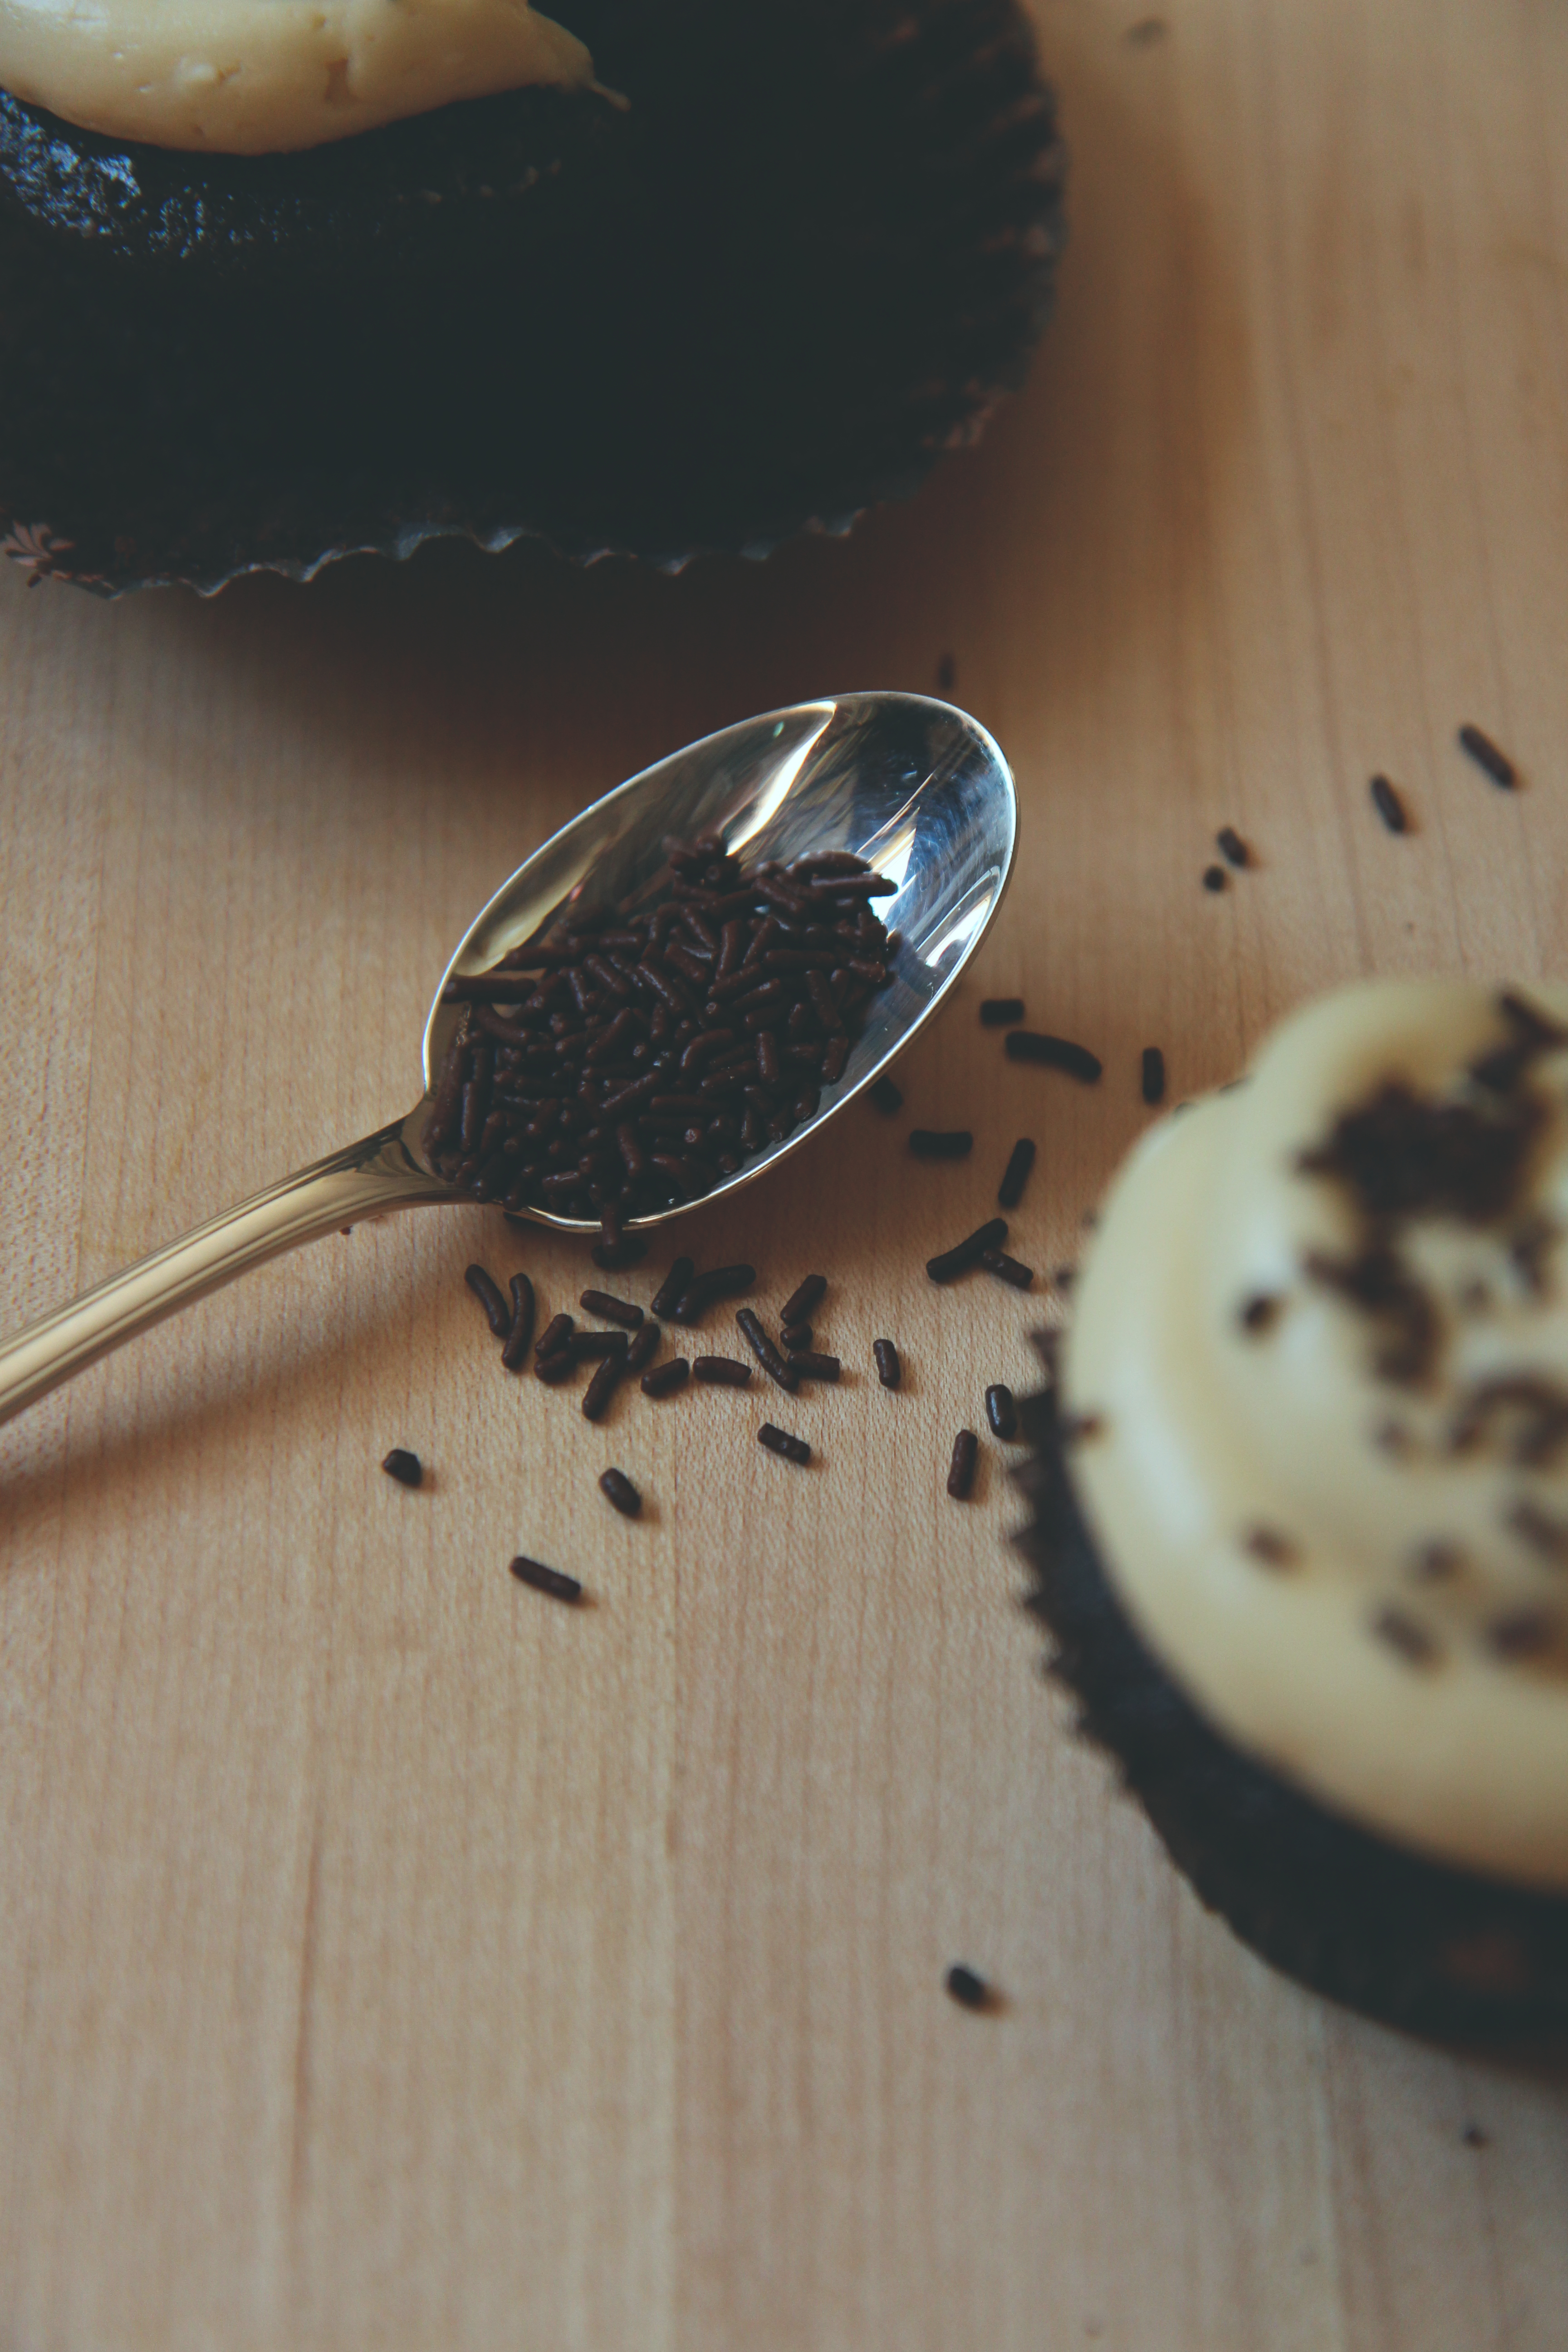
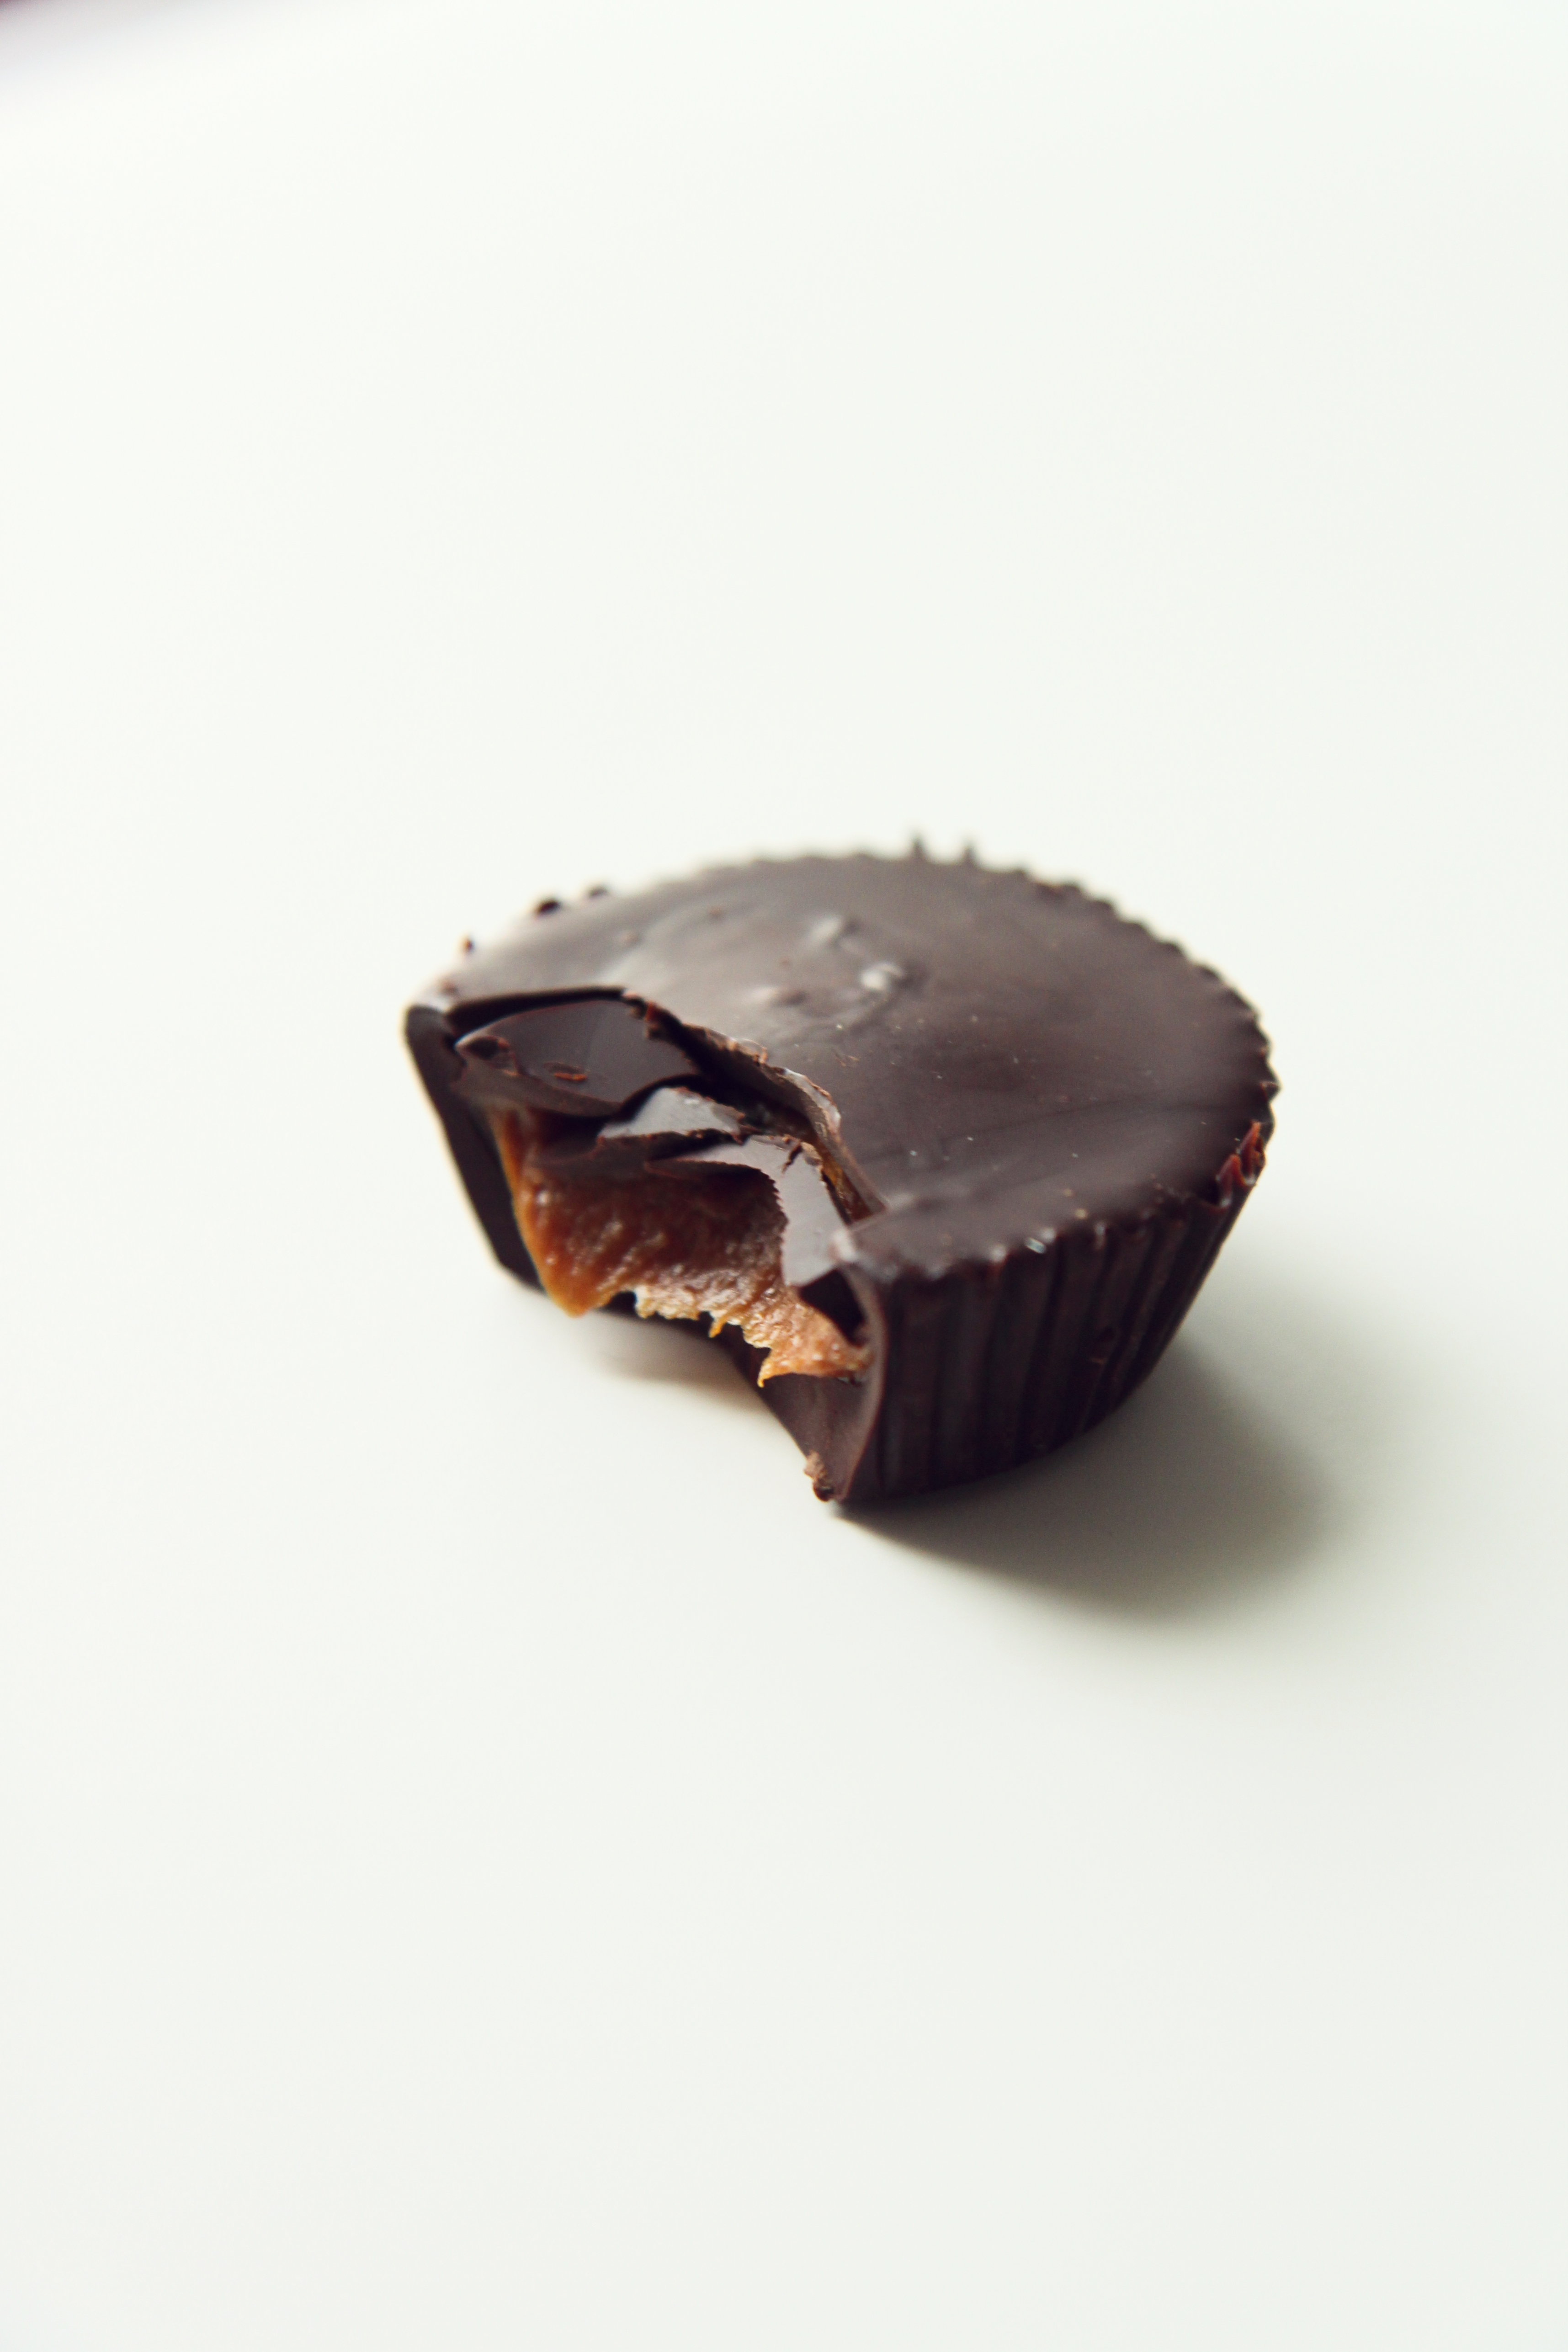
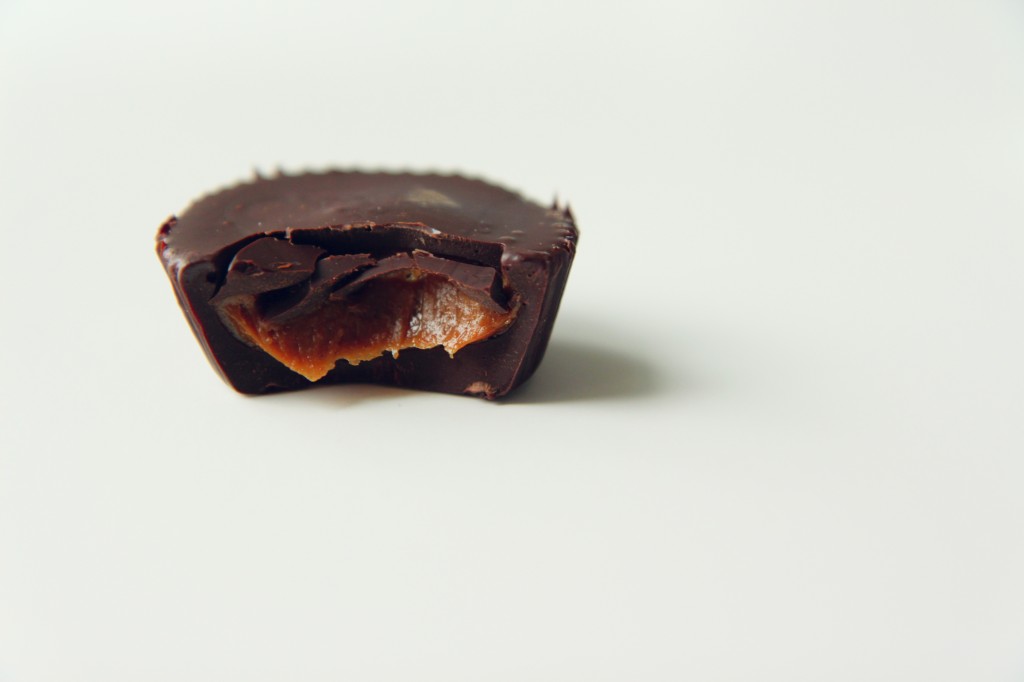
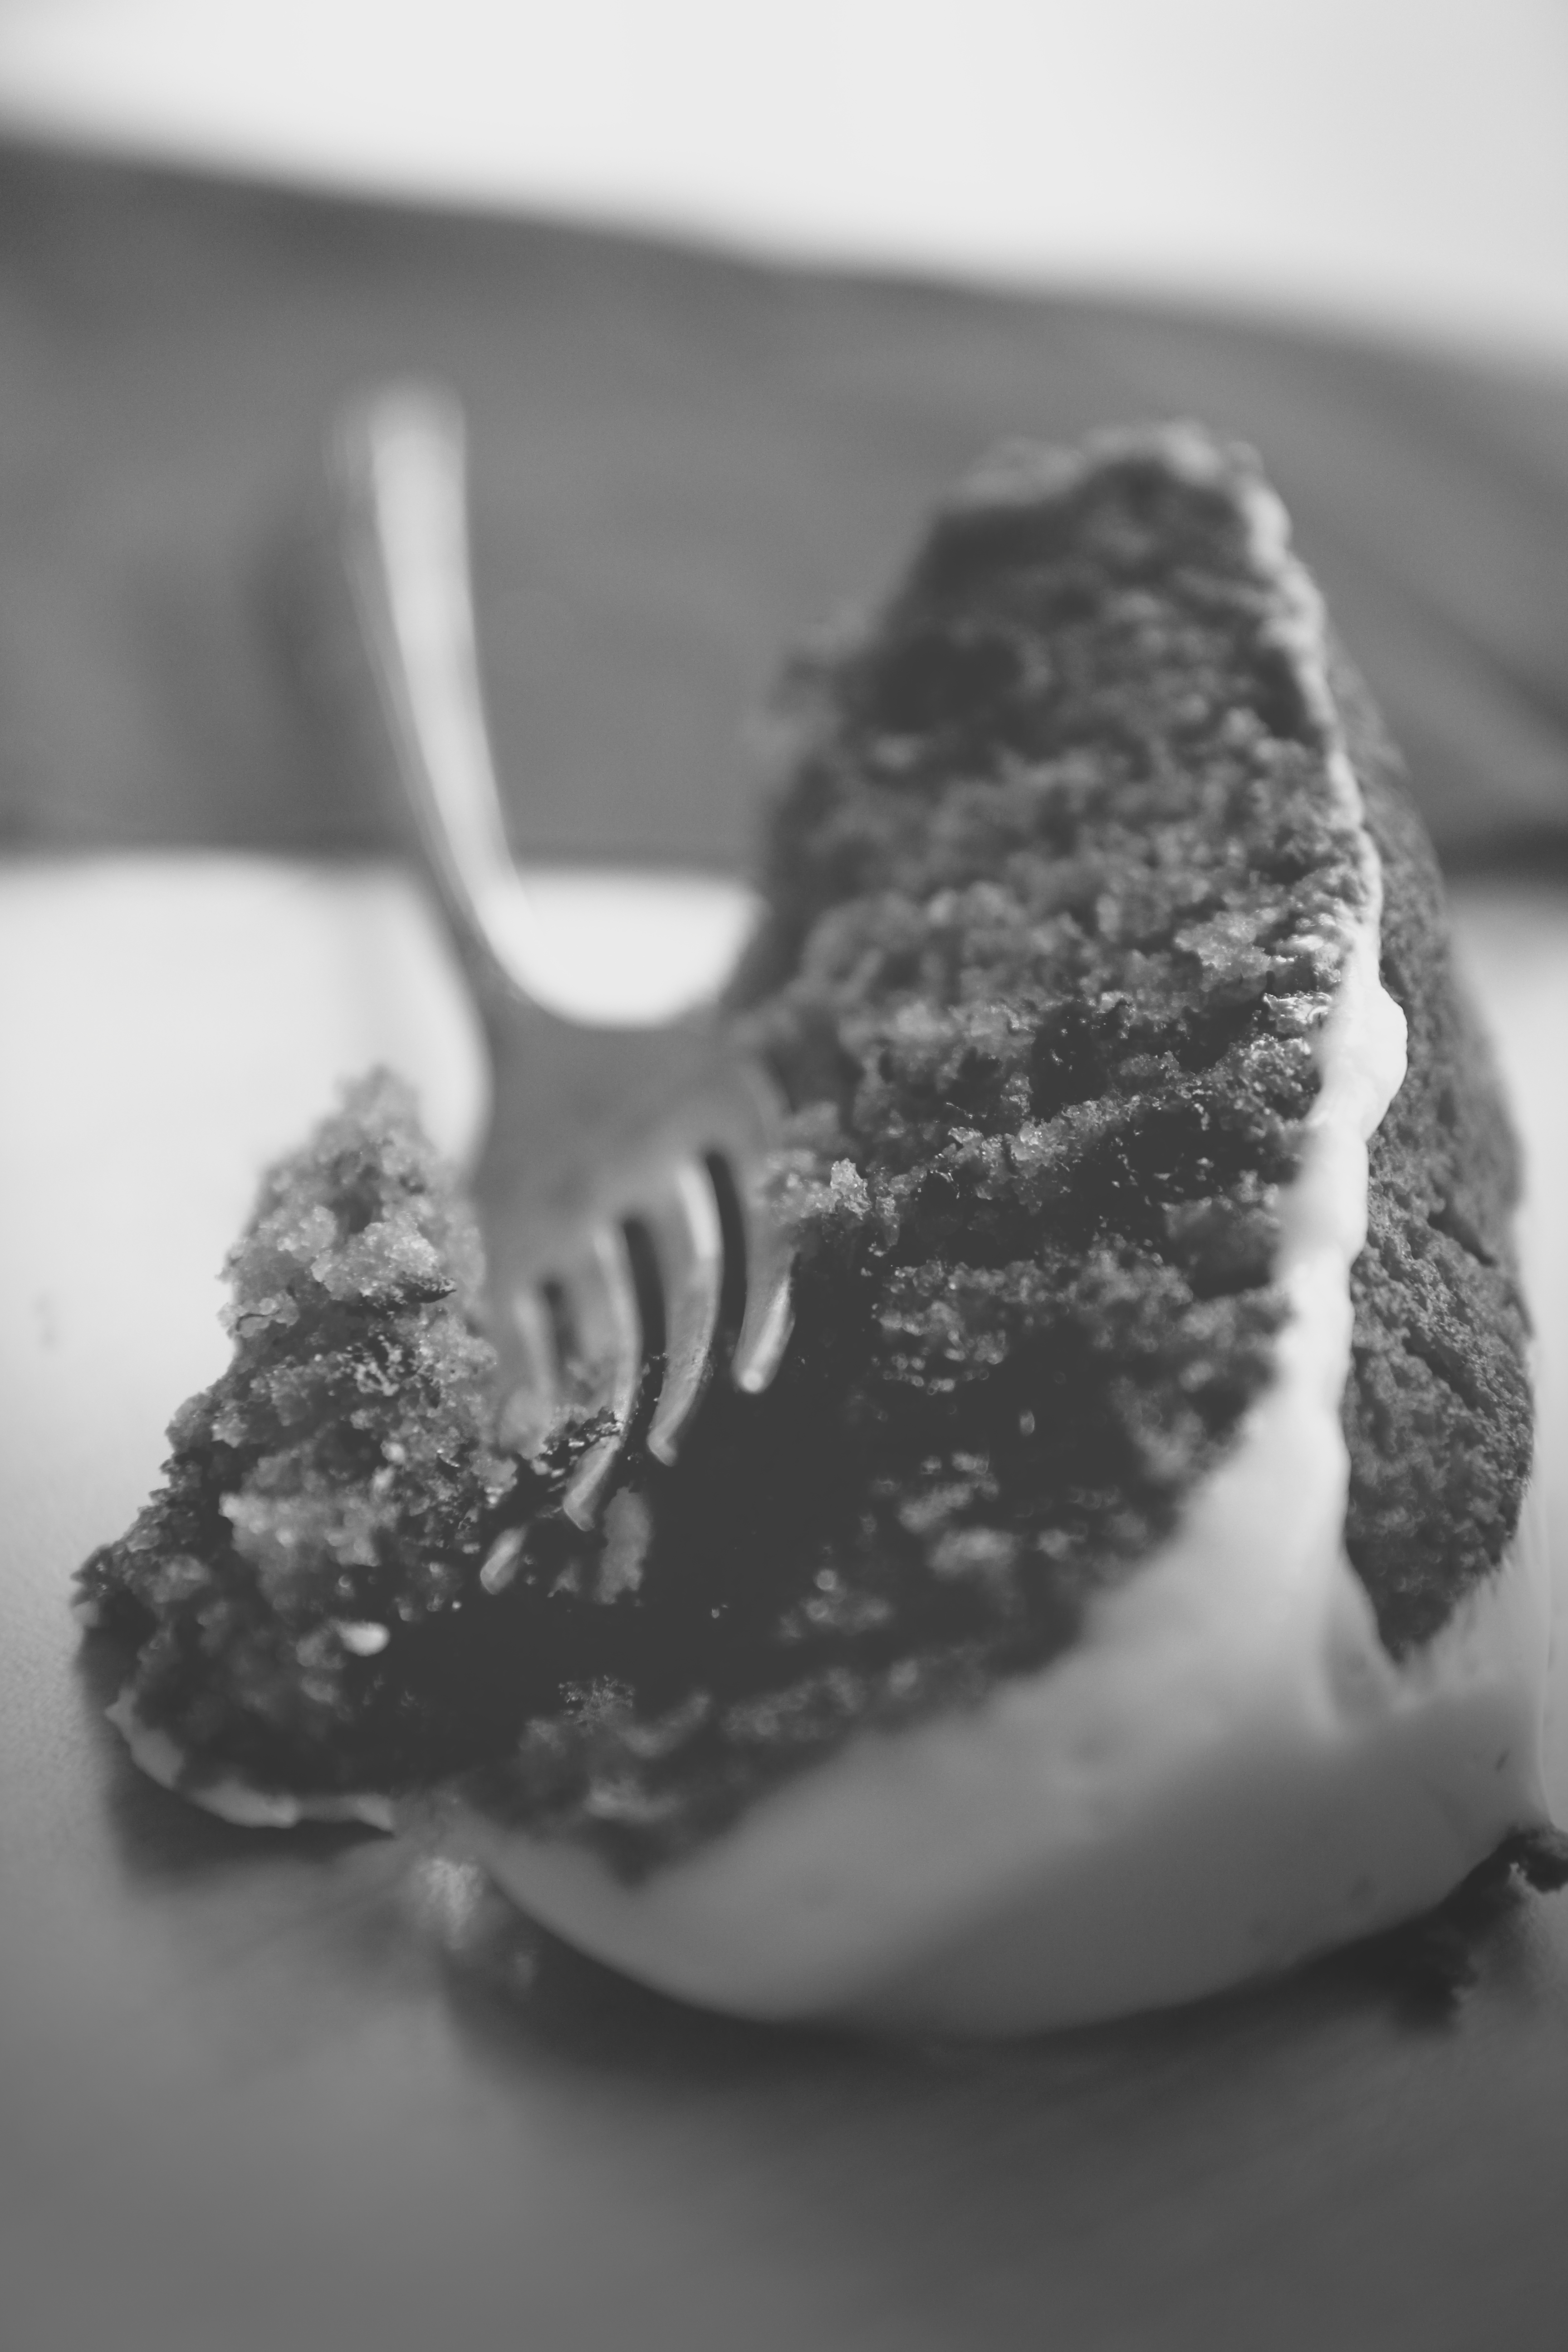
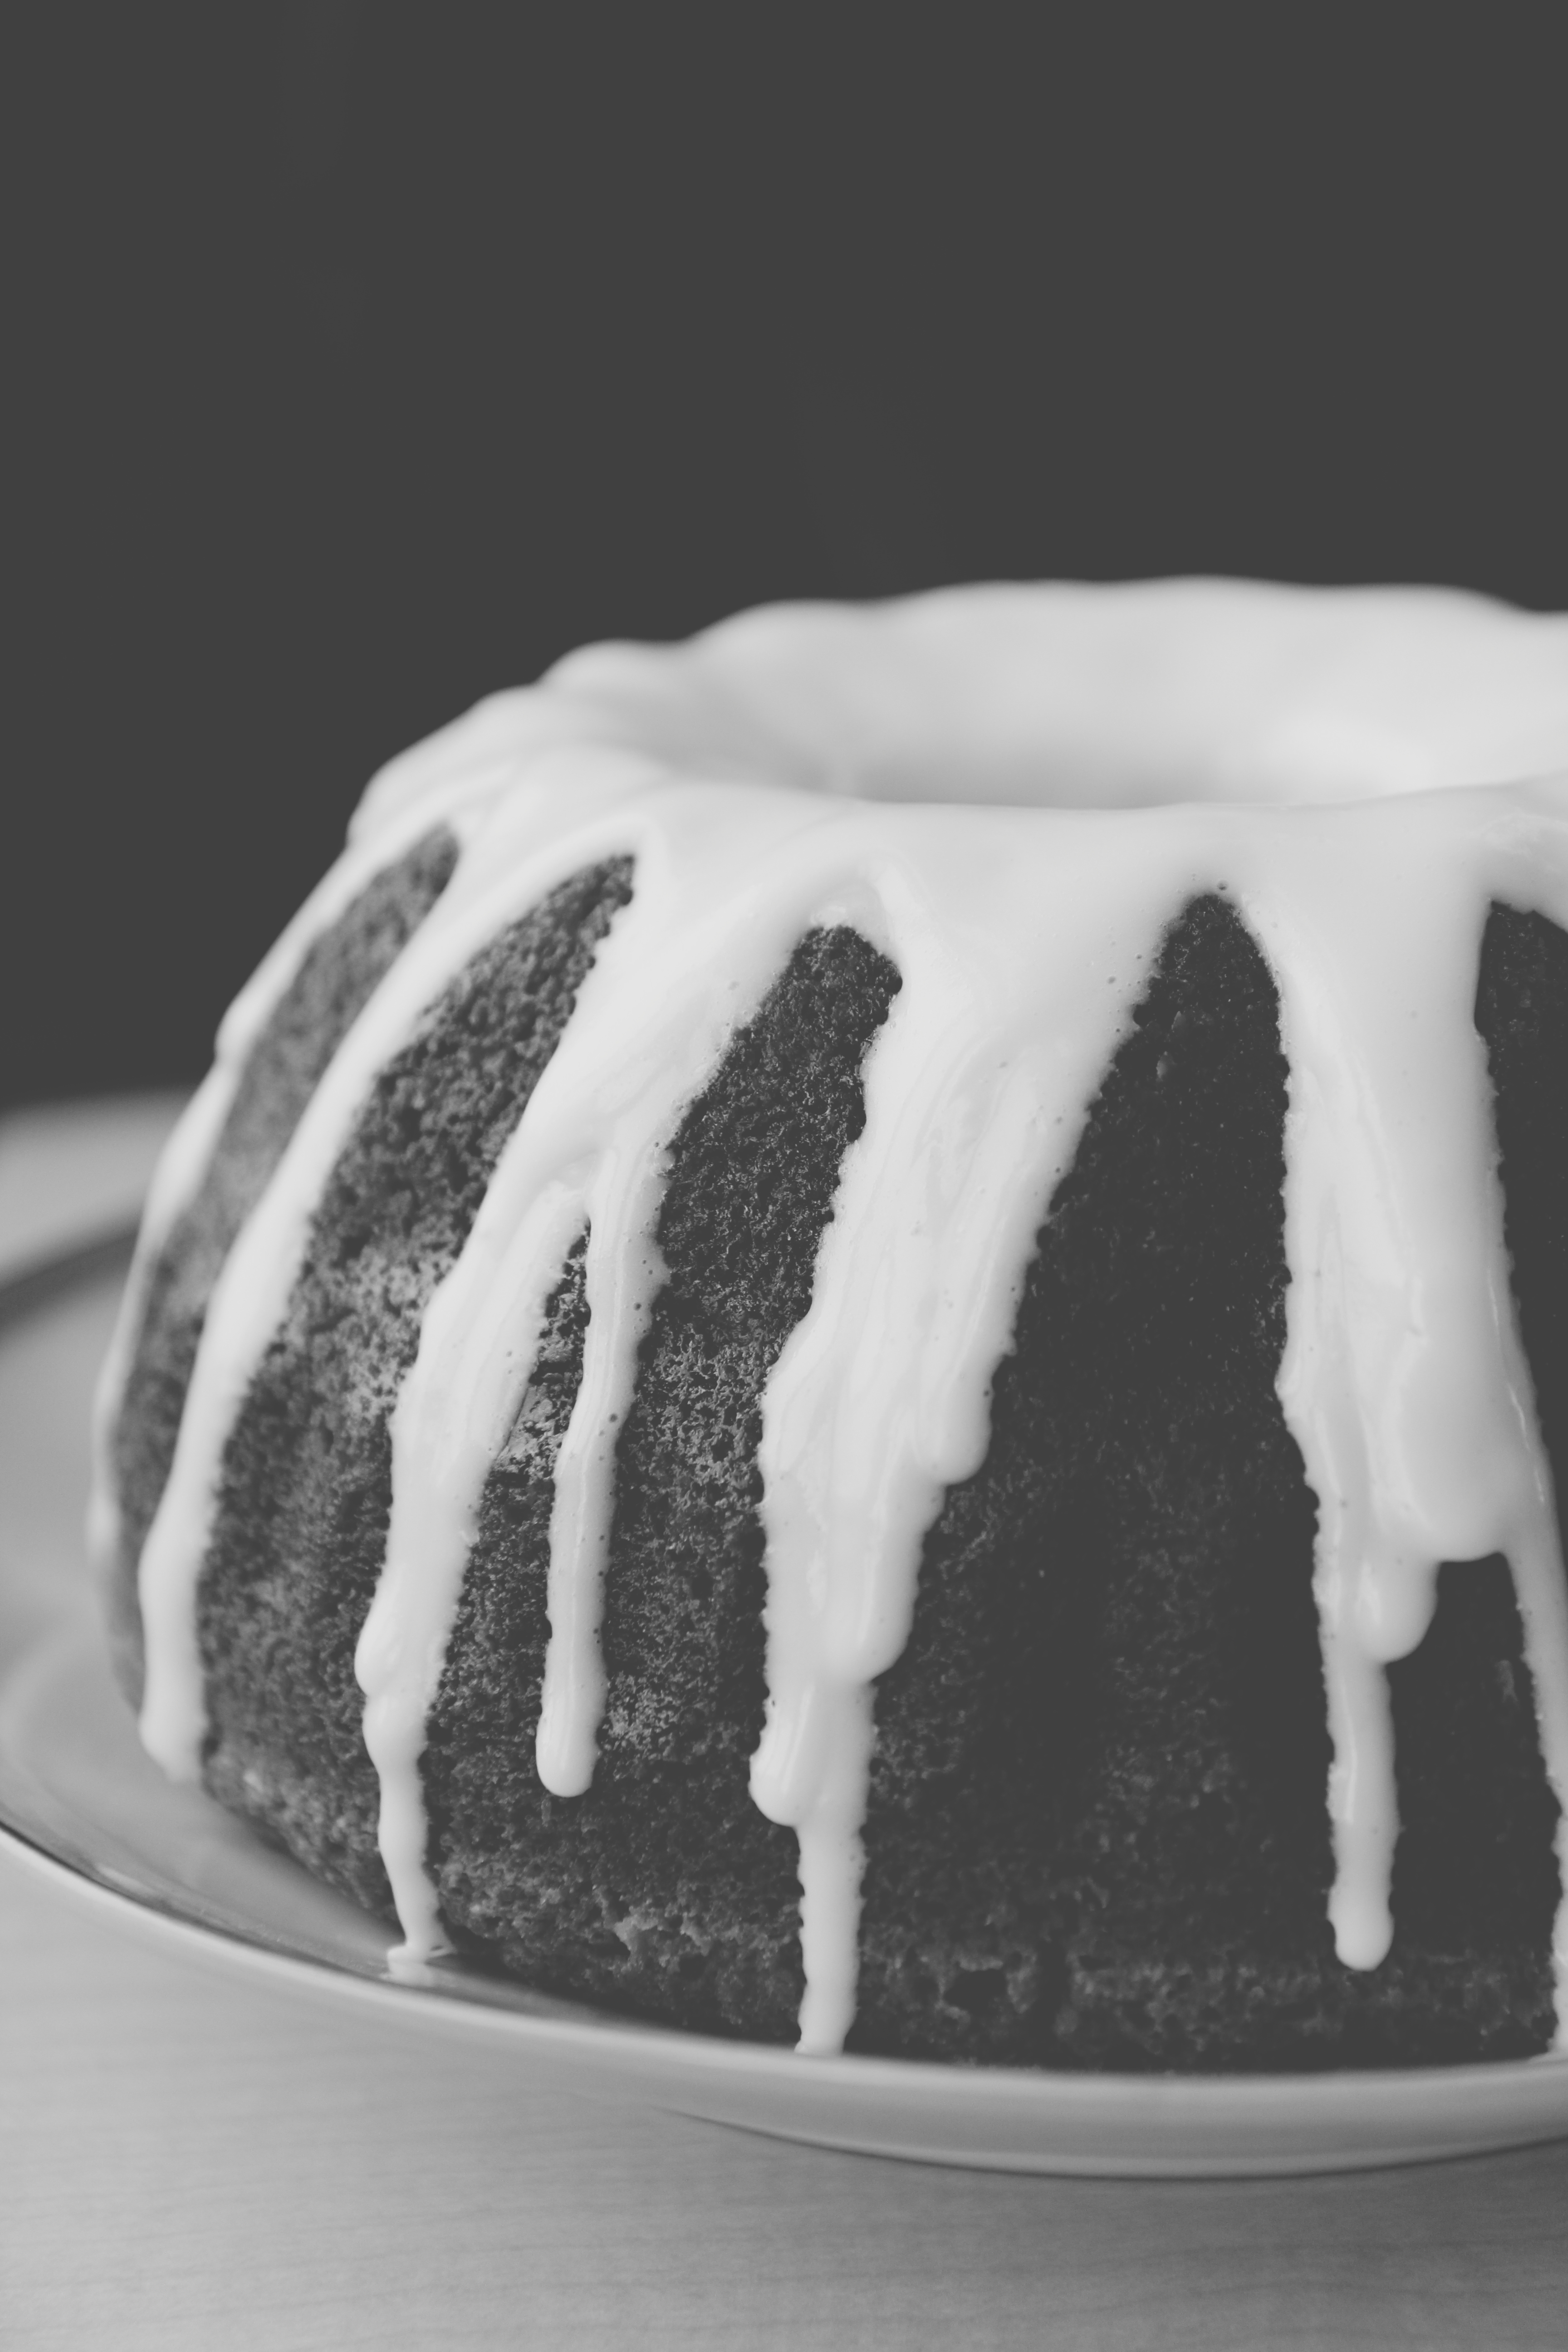
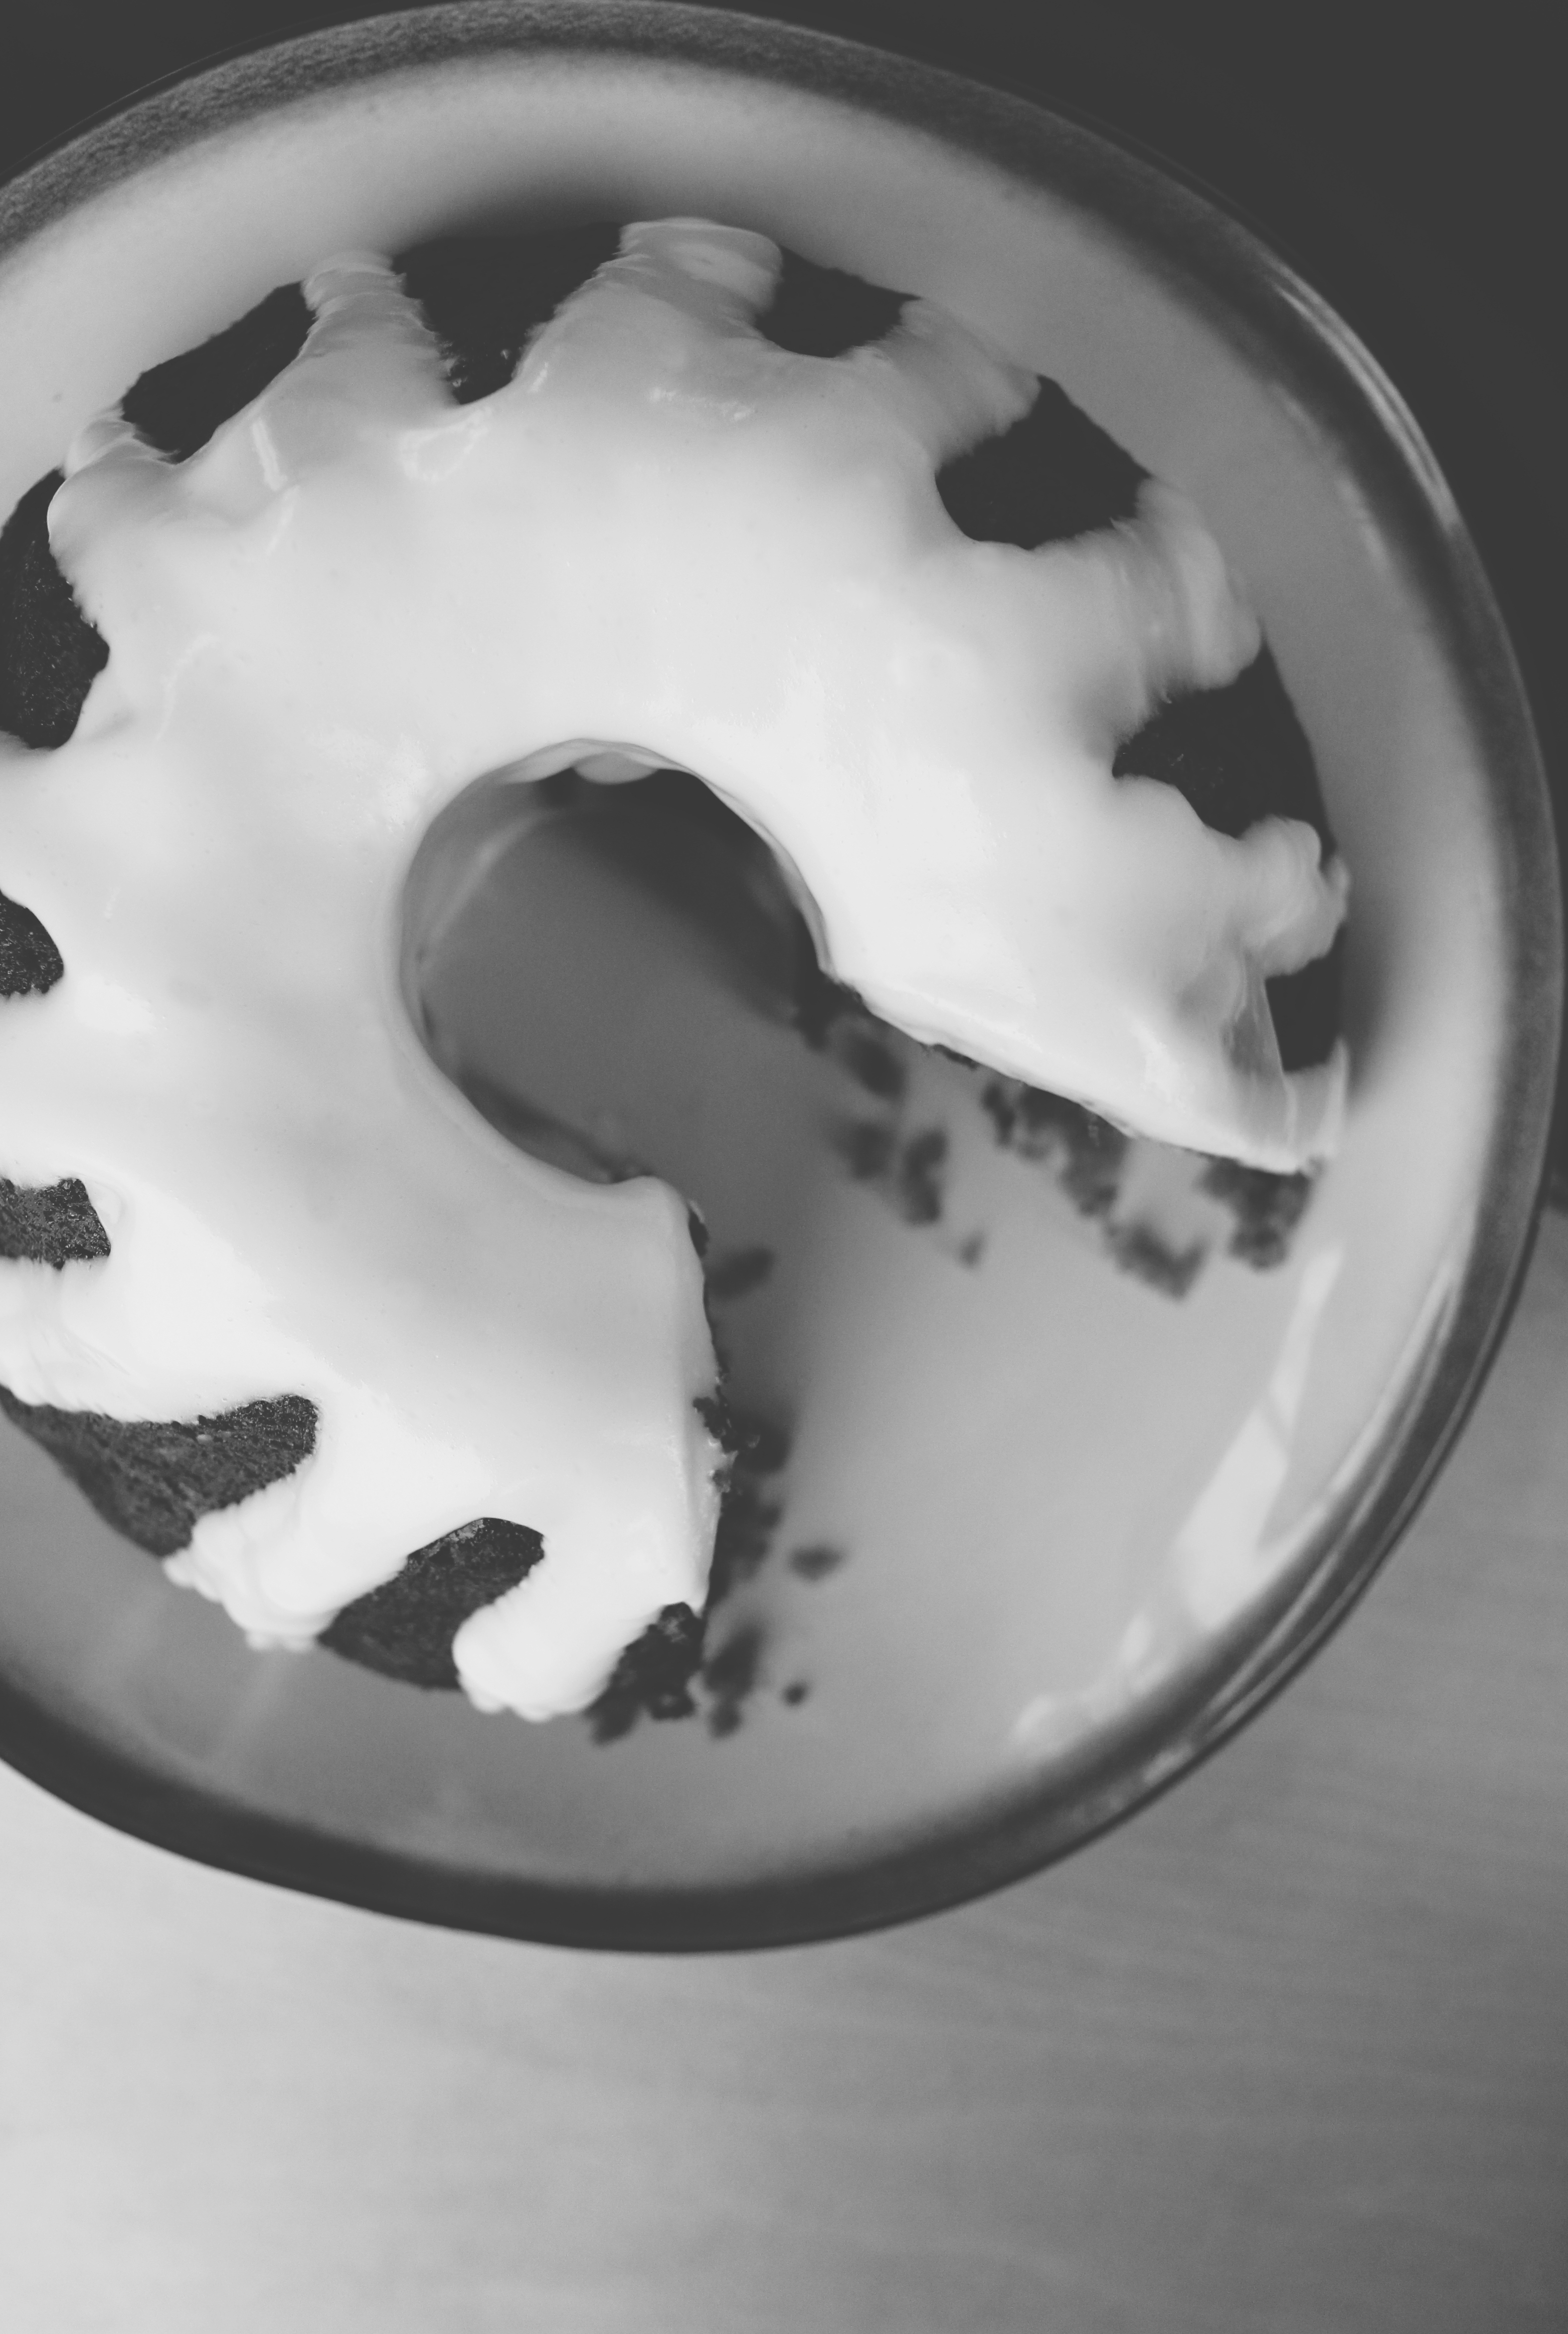
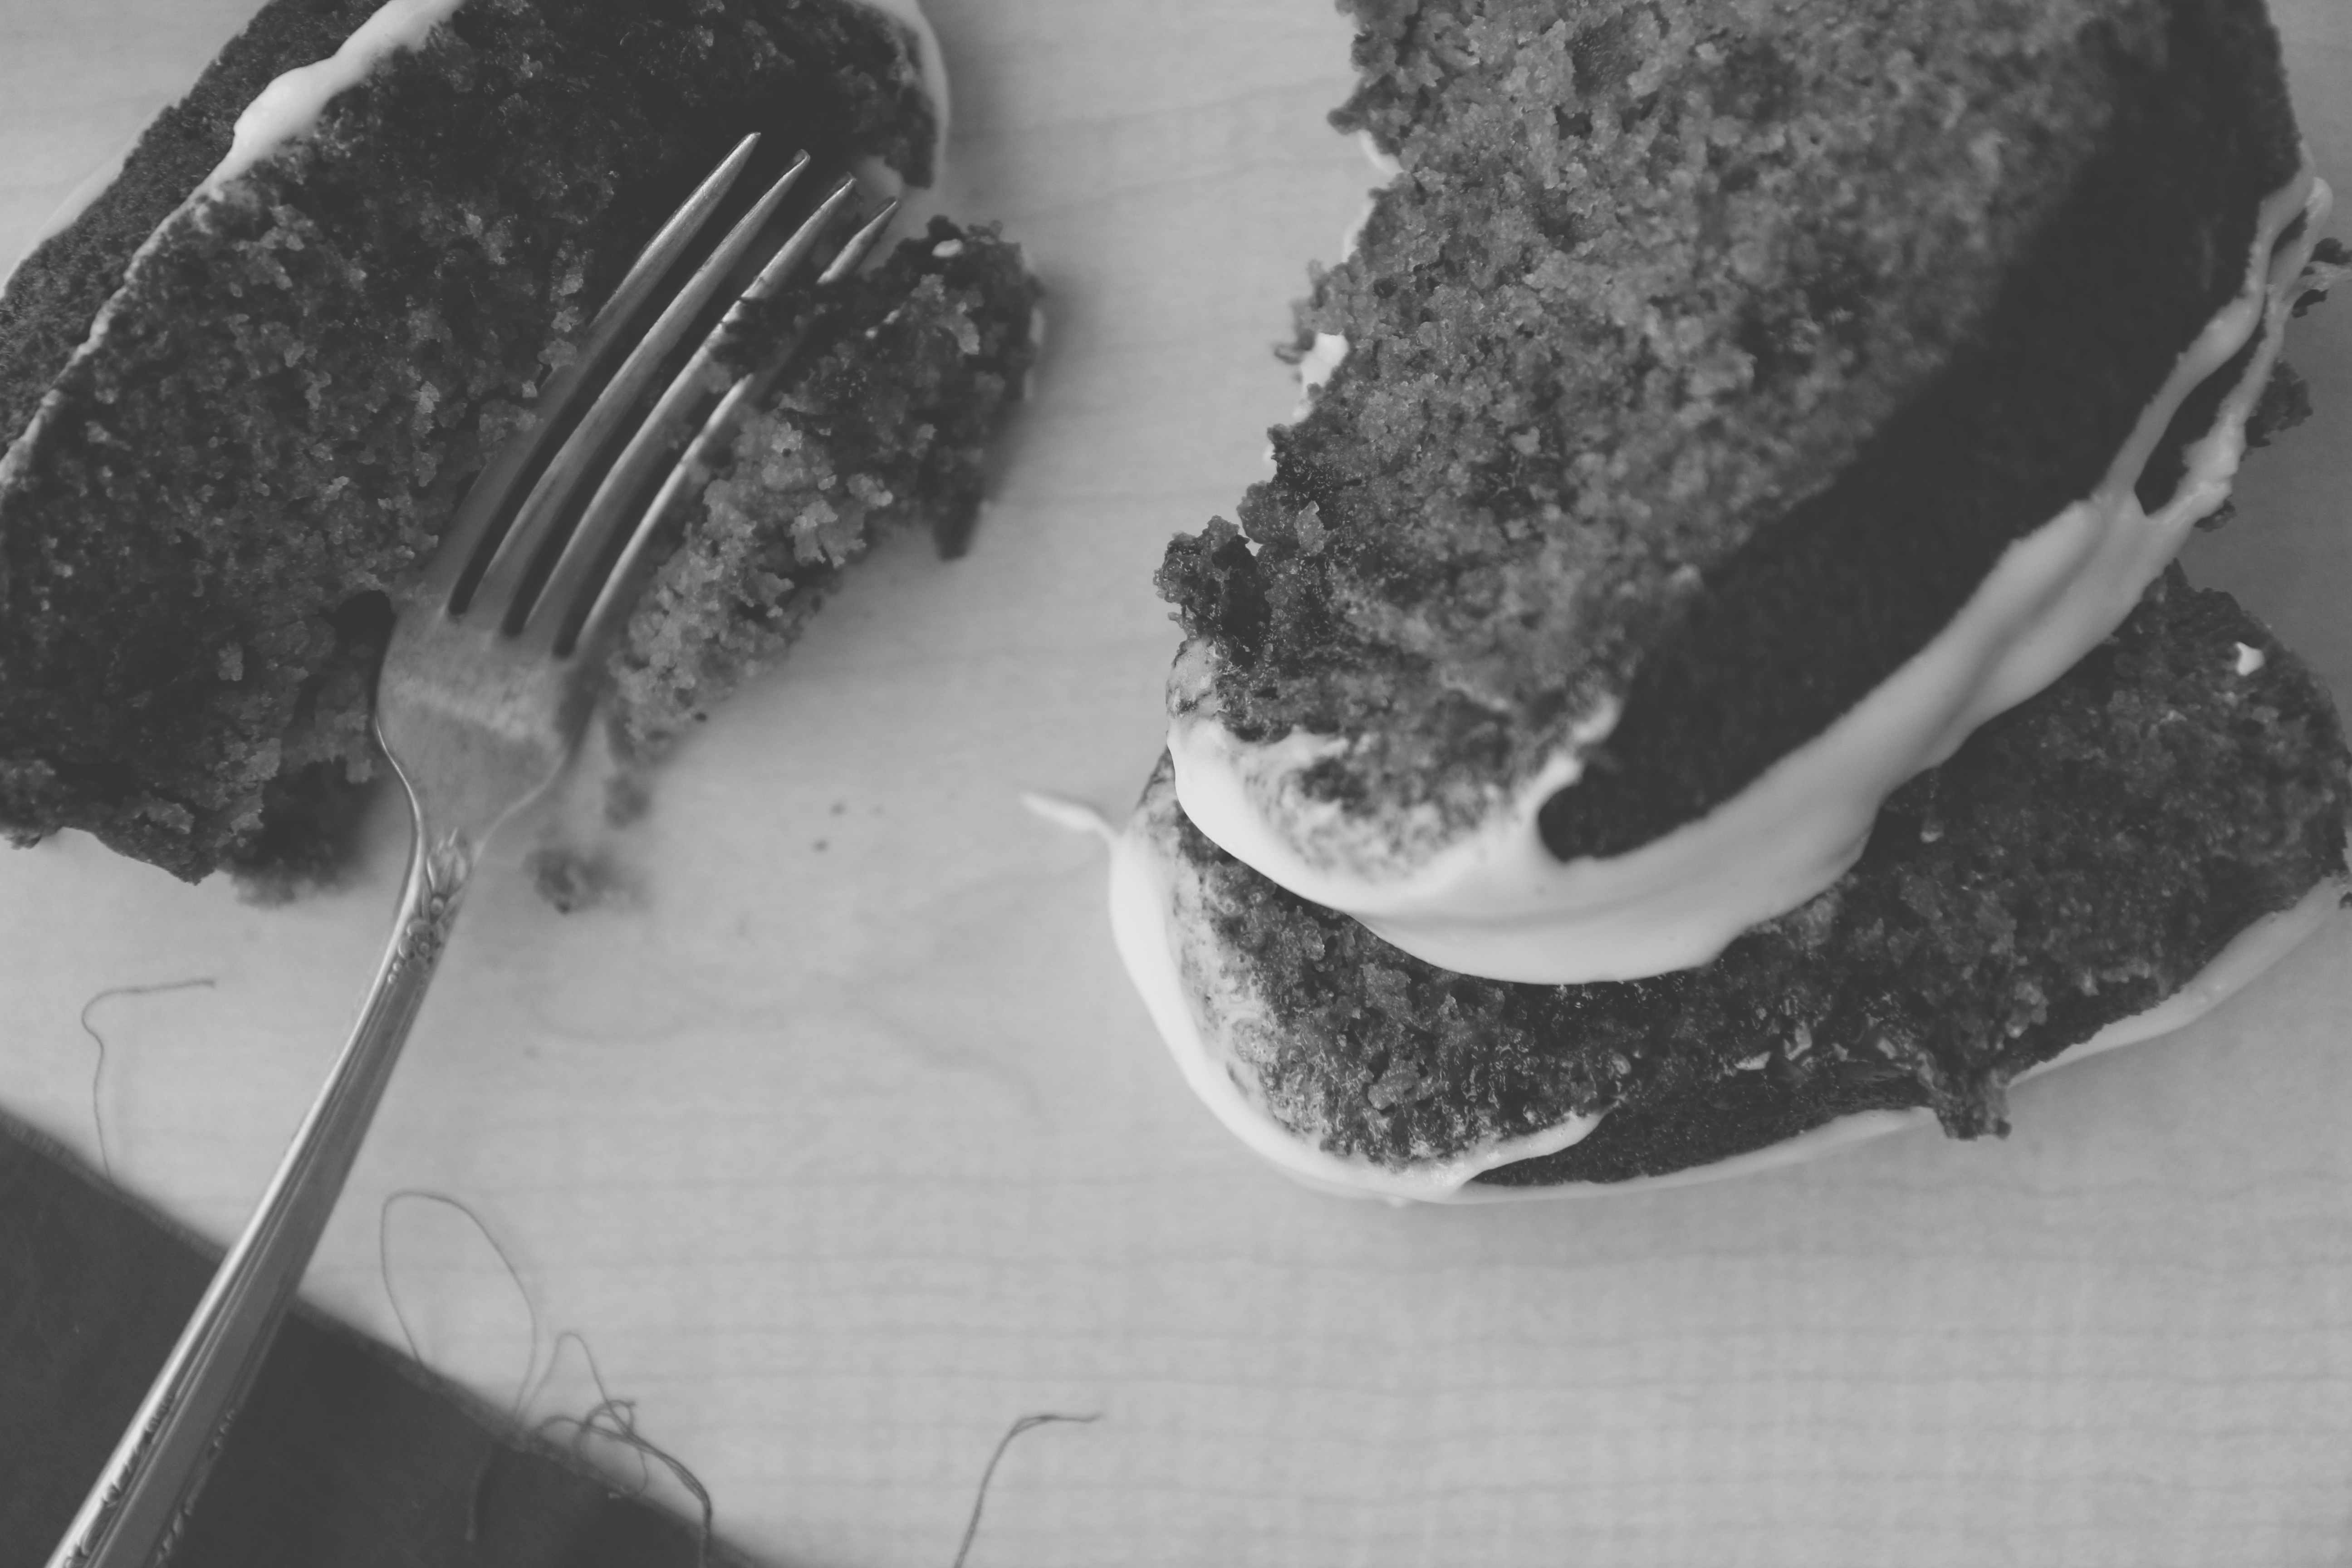
Chocolate cakes infused with Earl Grey tea in two manners: dry tea leaves, and hot brewed tea.
The sweet, floral undertones, which have orange and verbena notes, as well as the astringent black tea leaves, contrast well with the deep and rich chocolate cake.
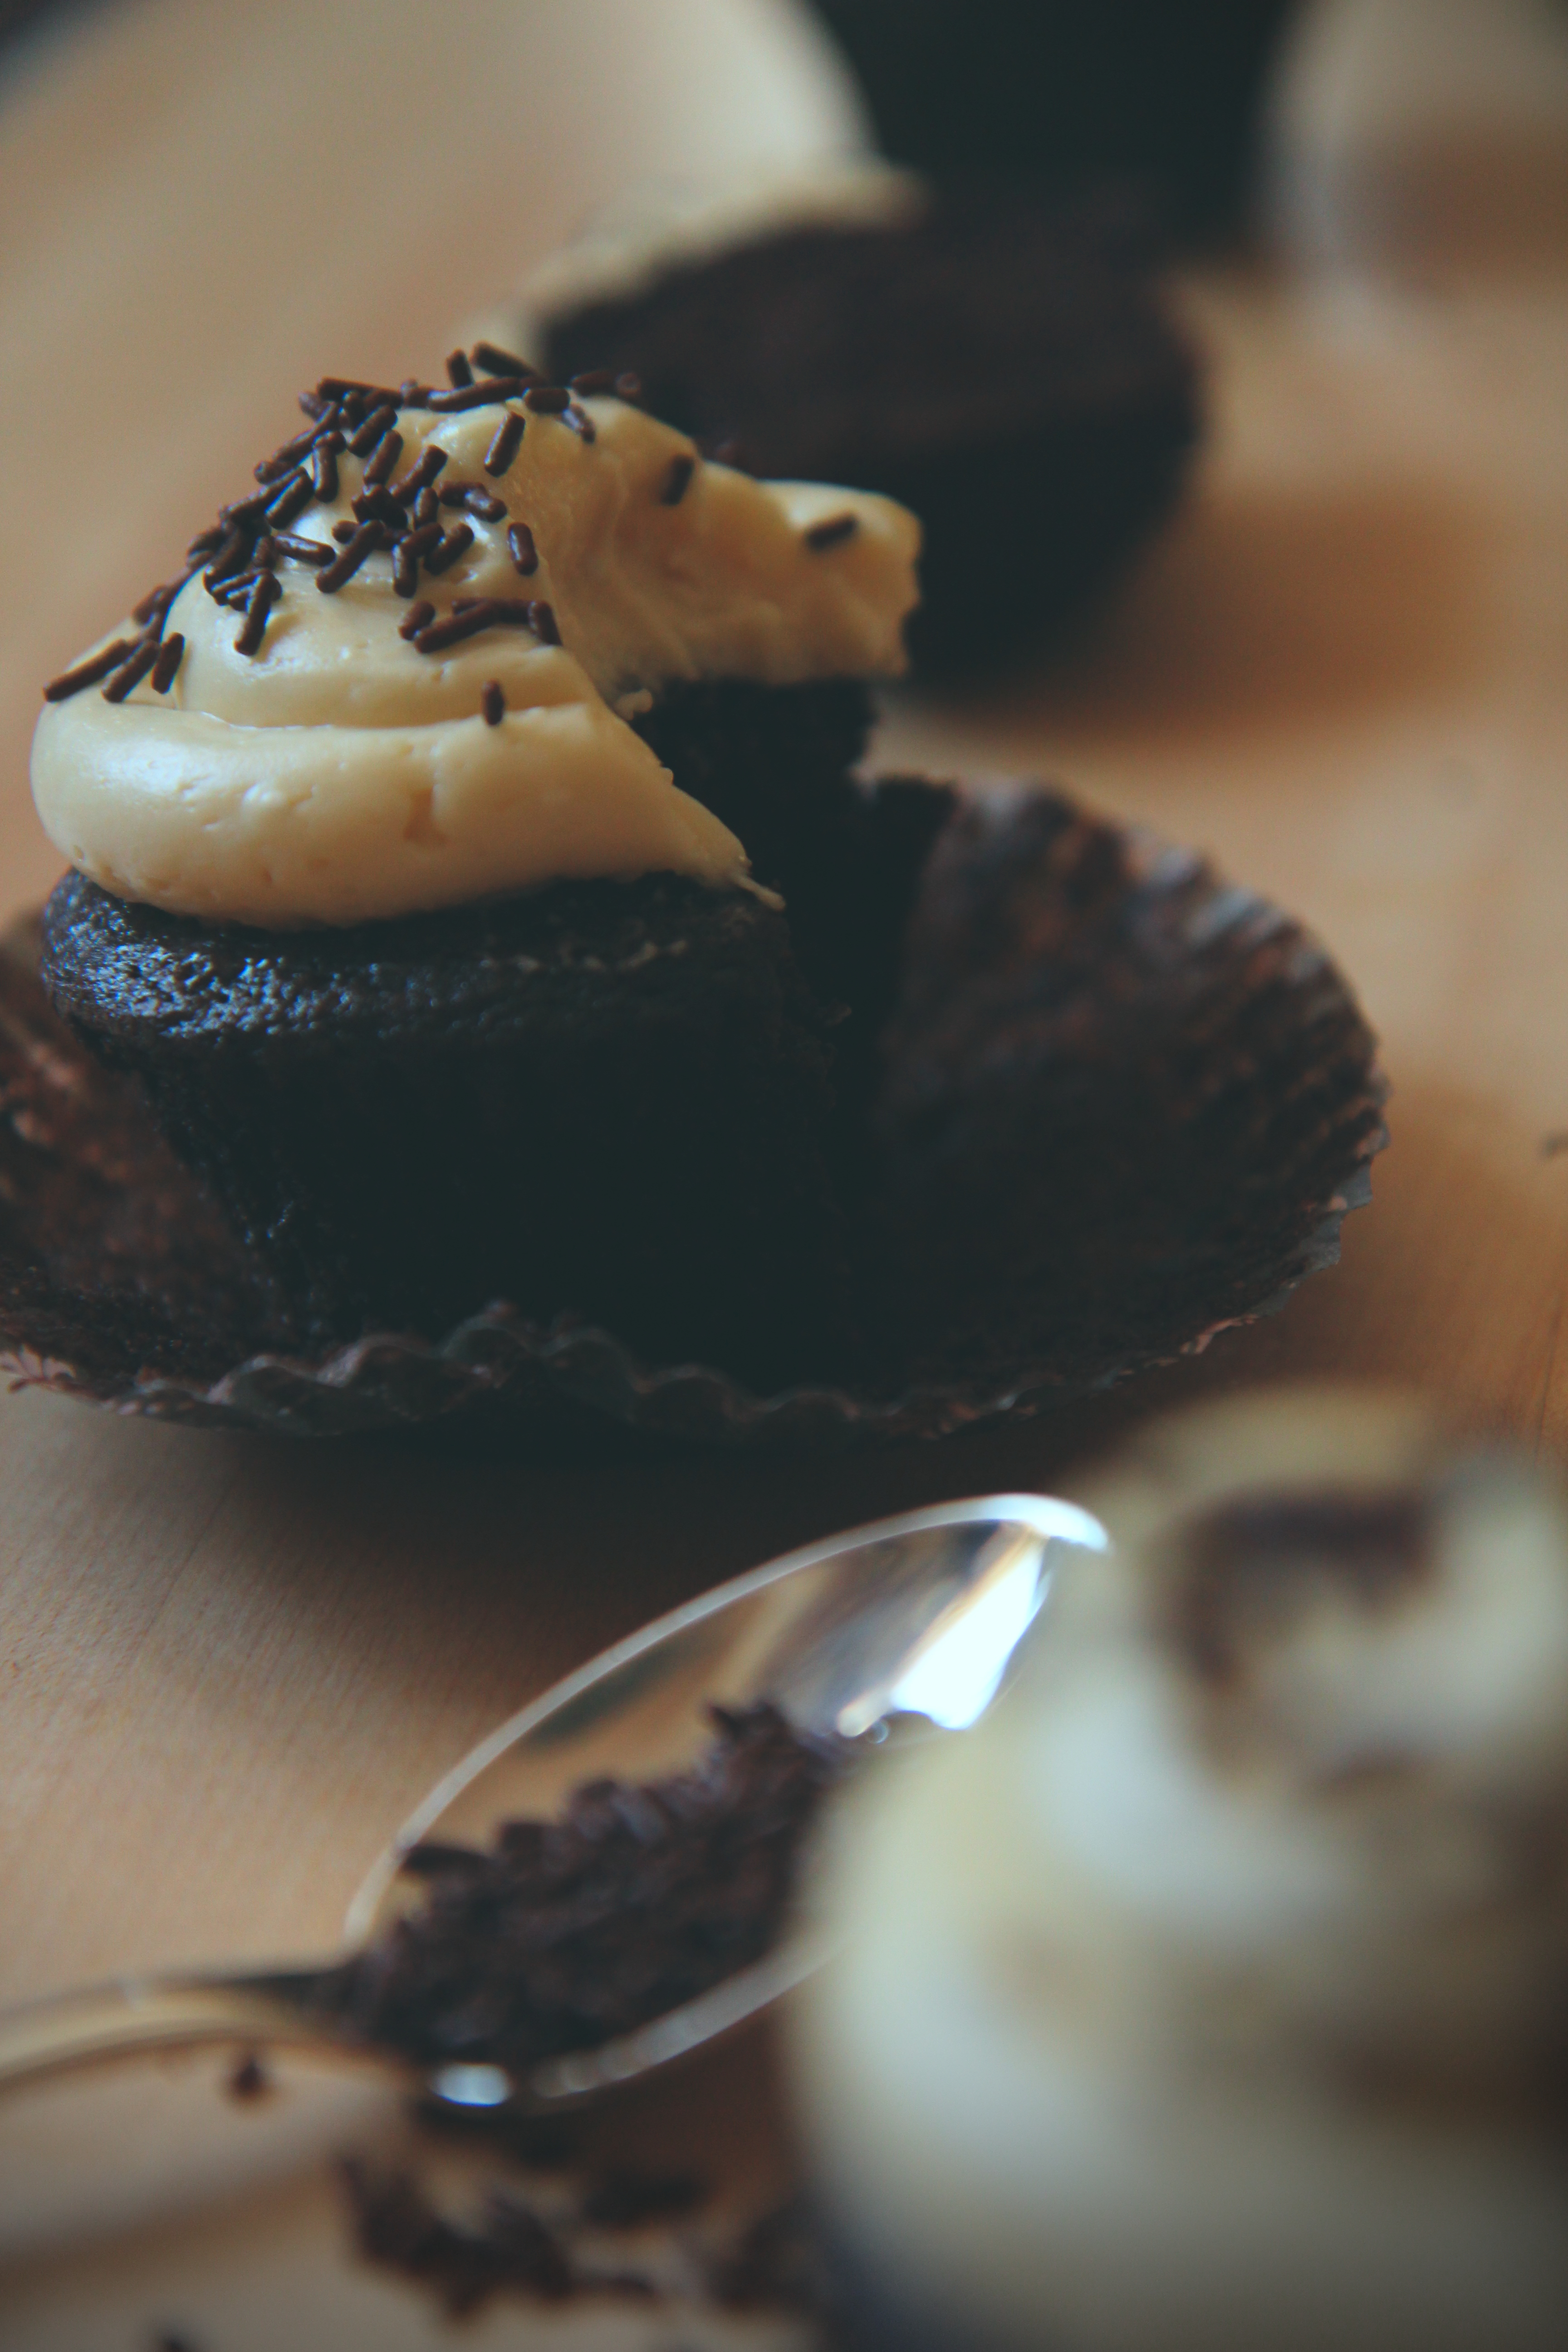
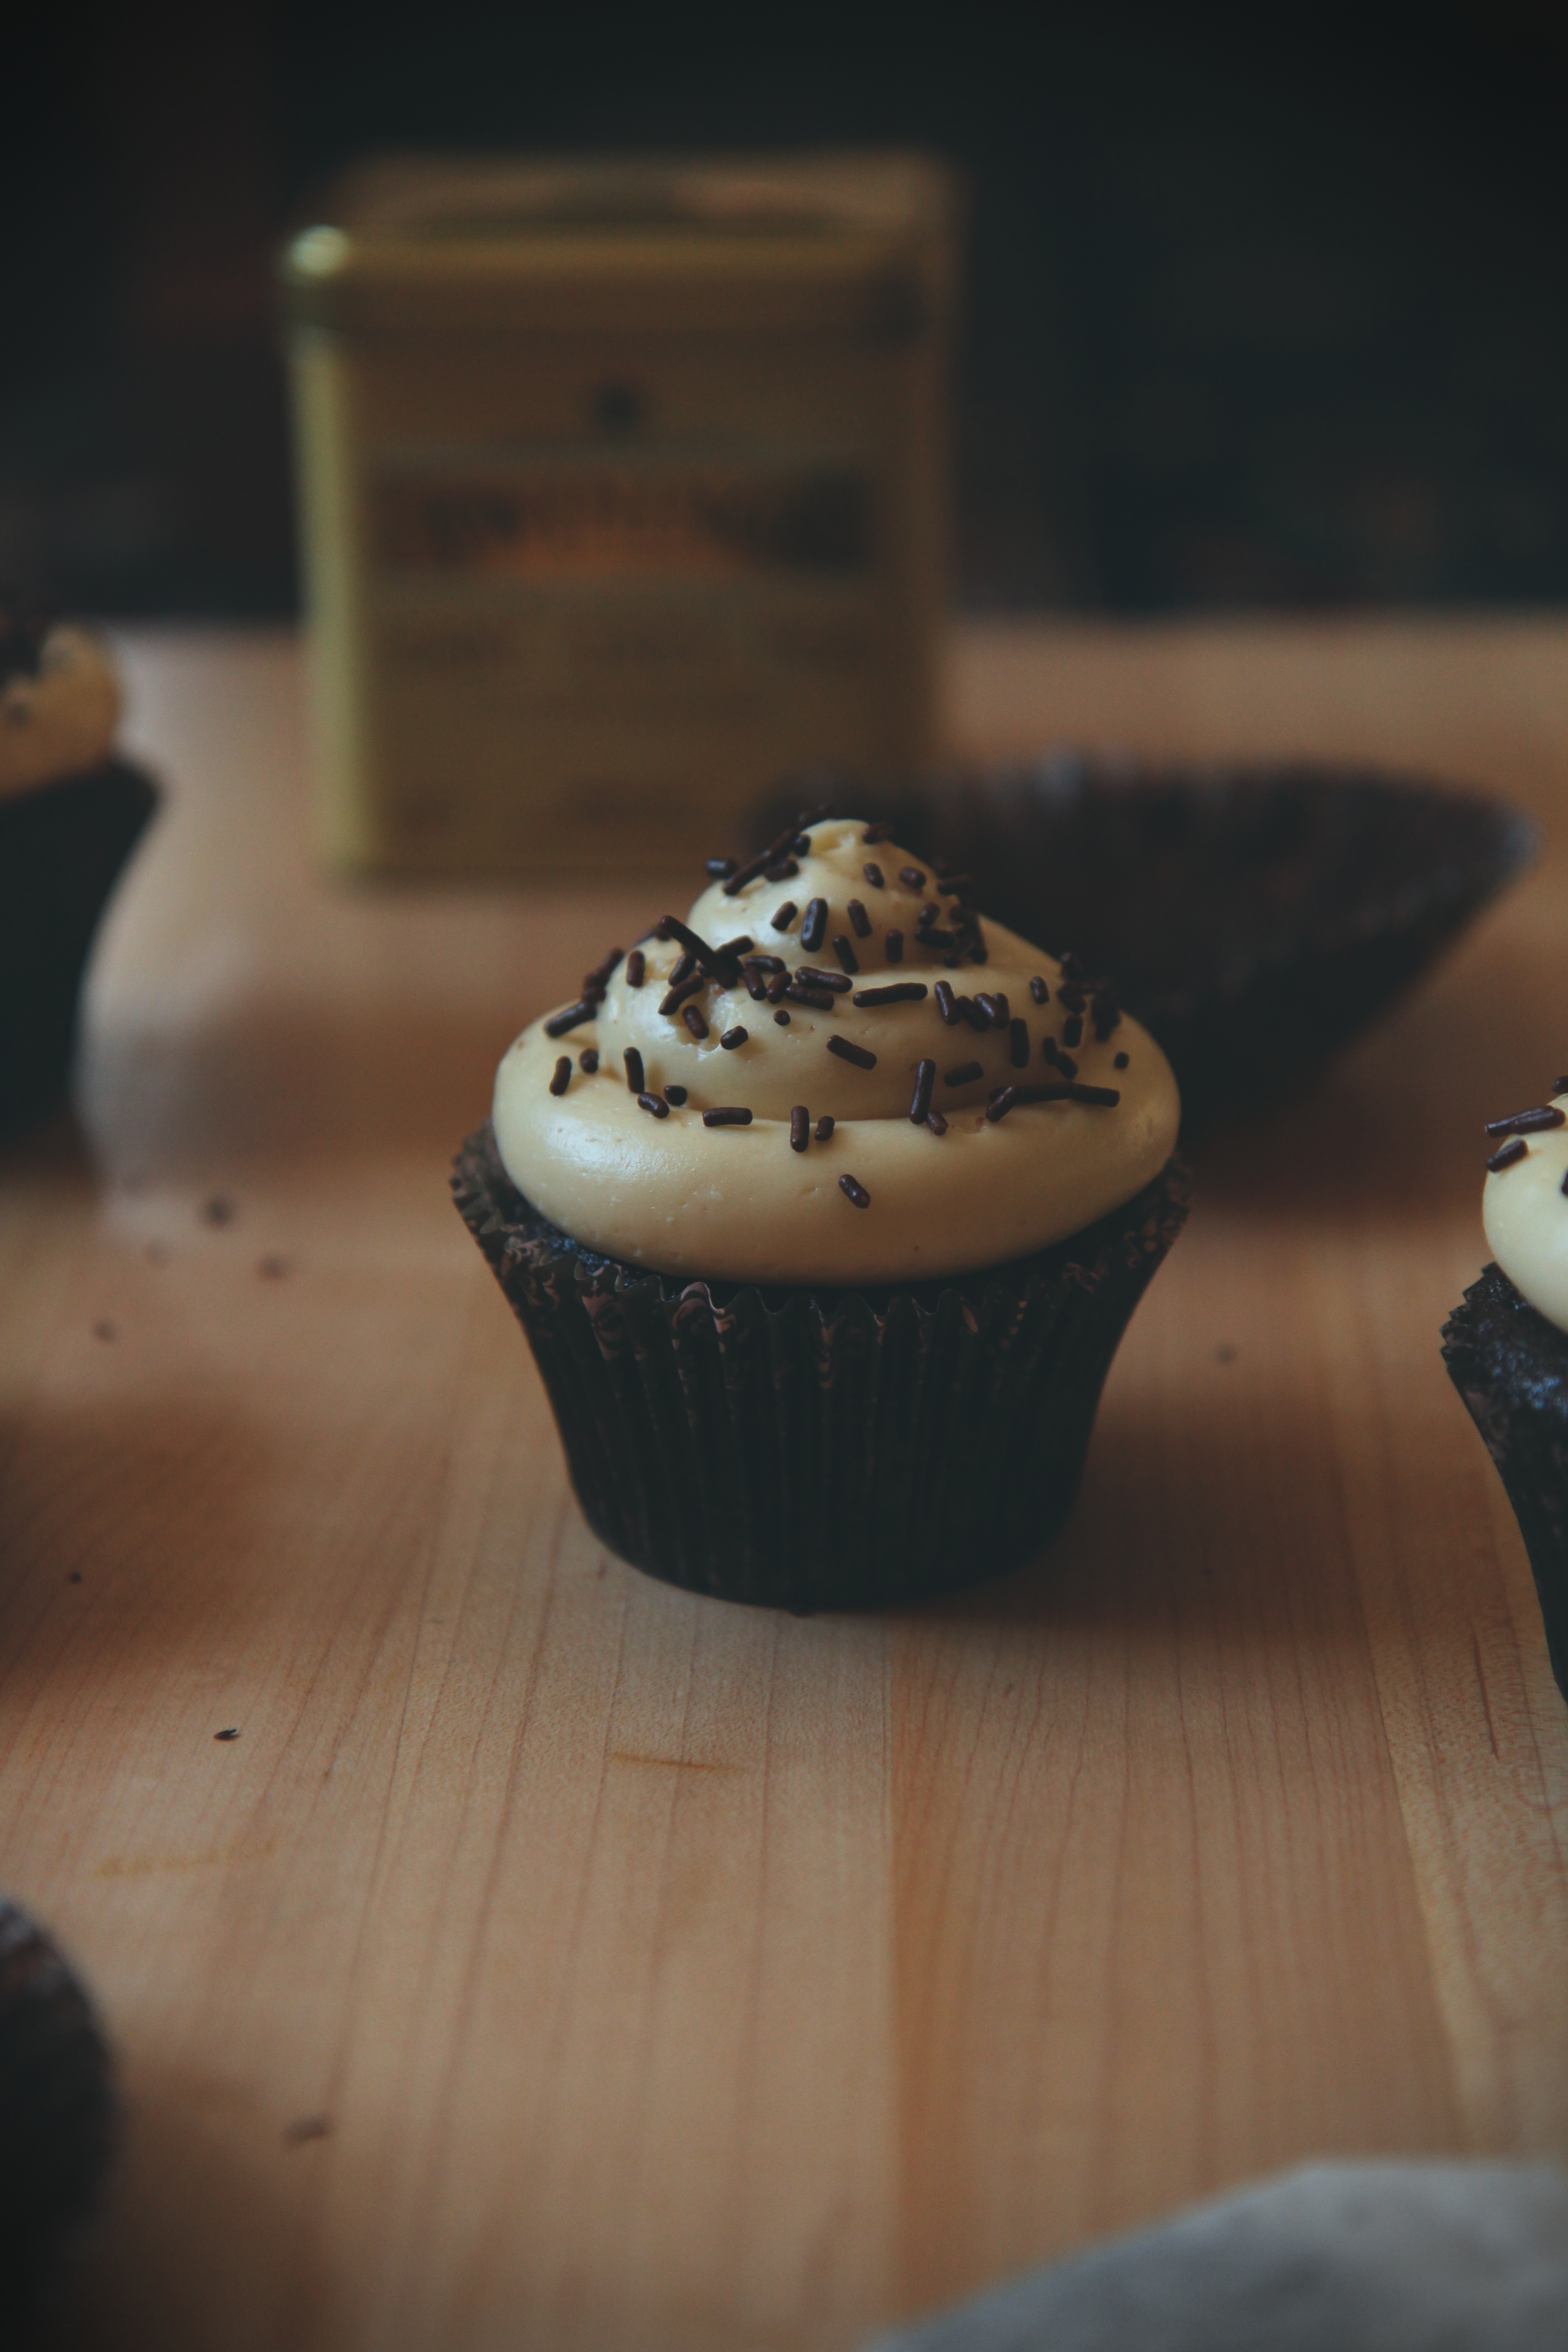
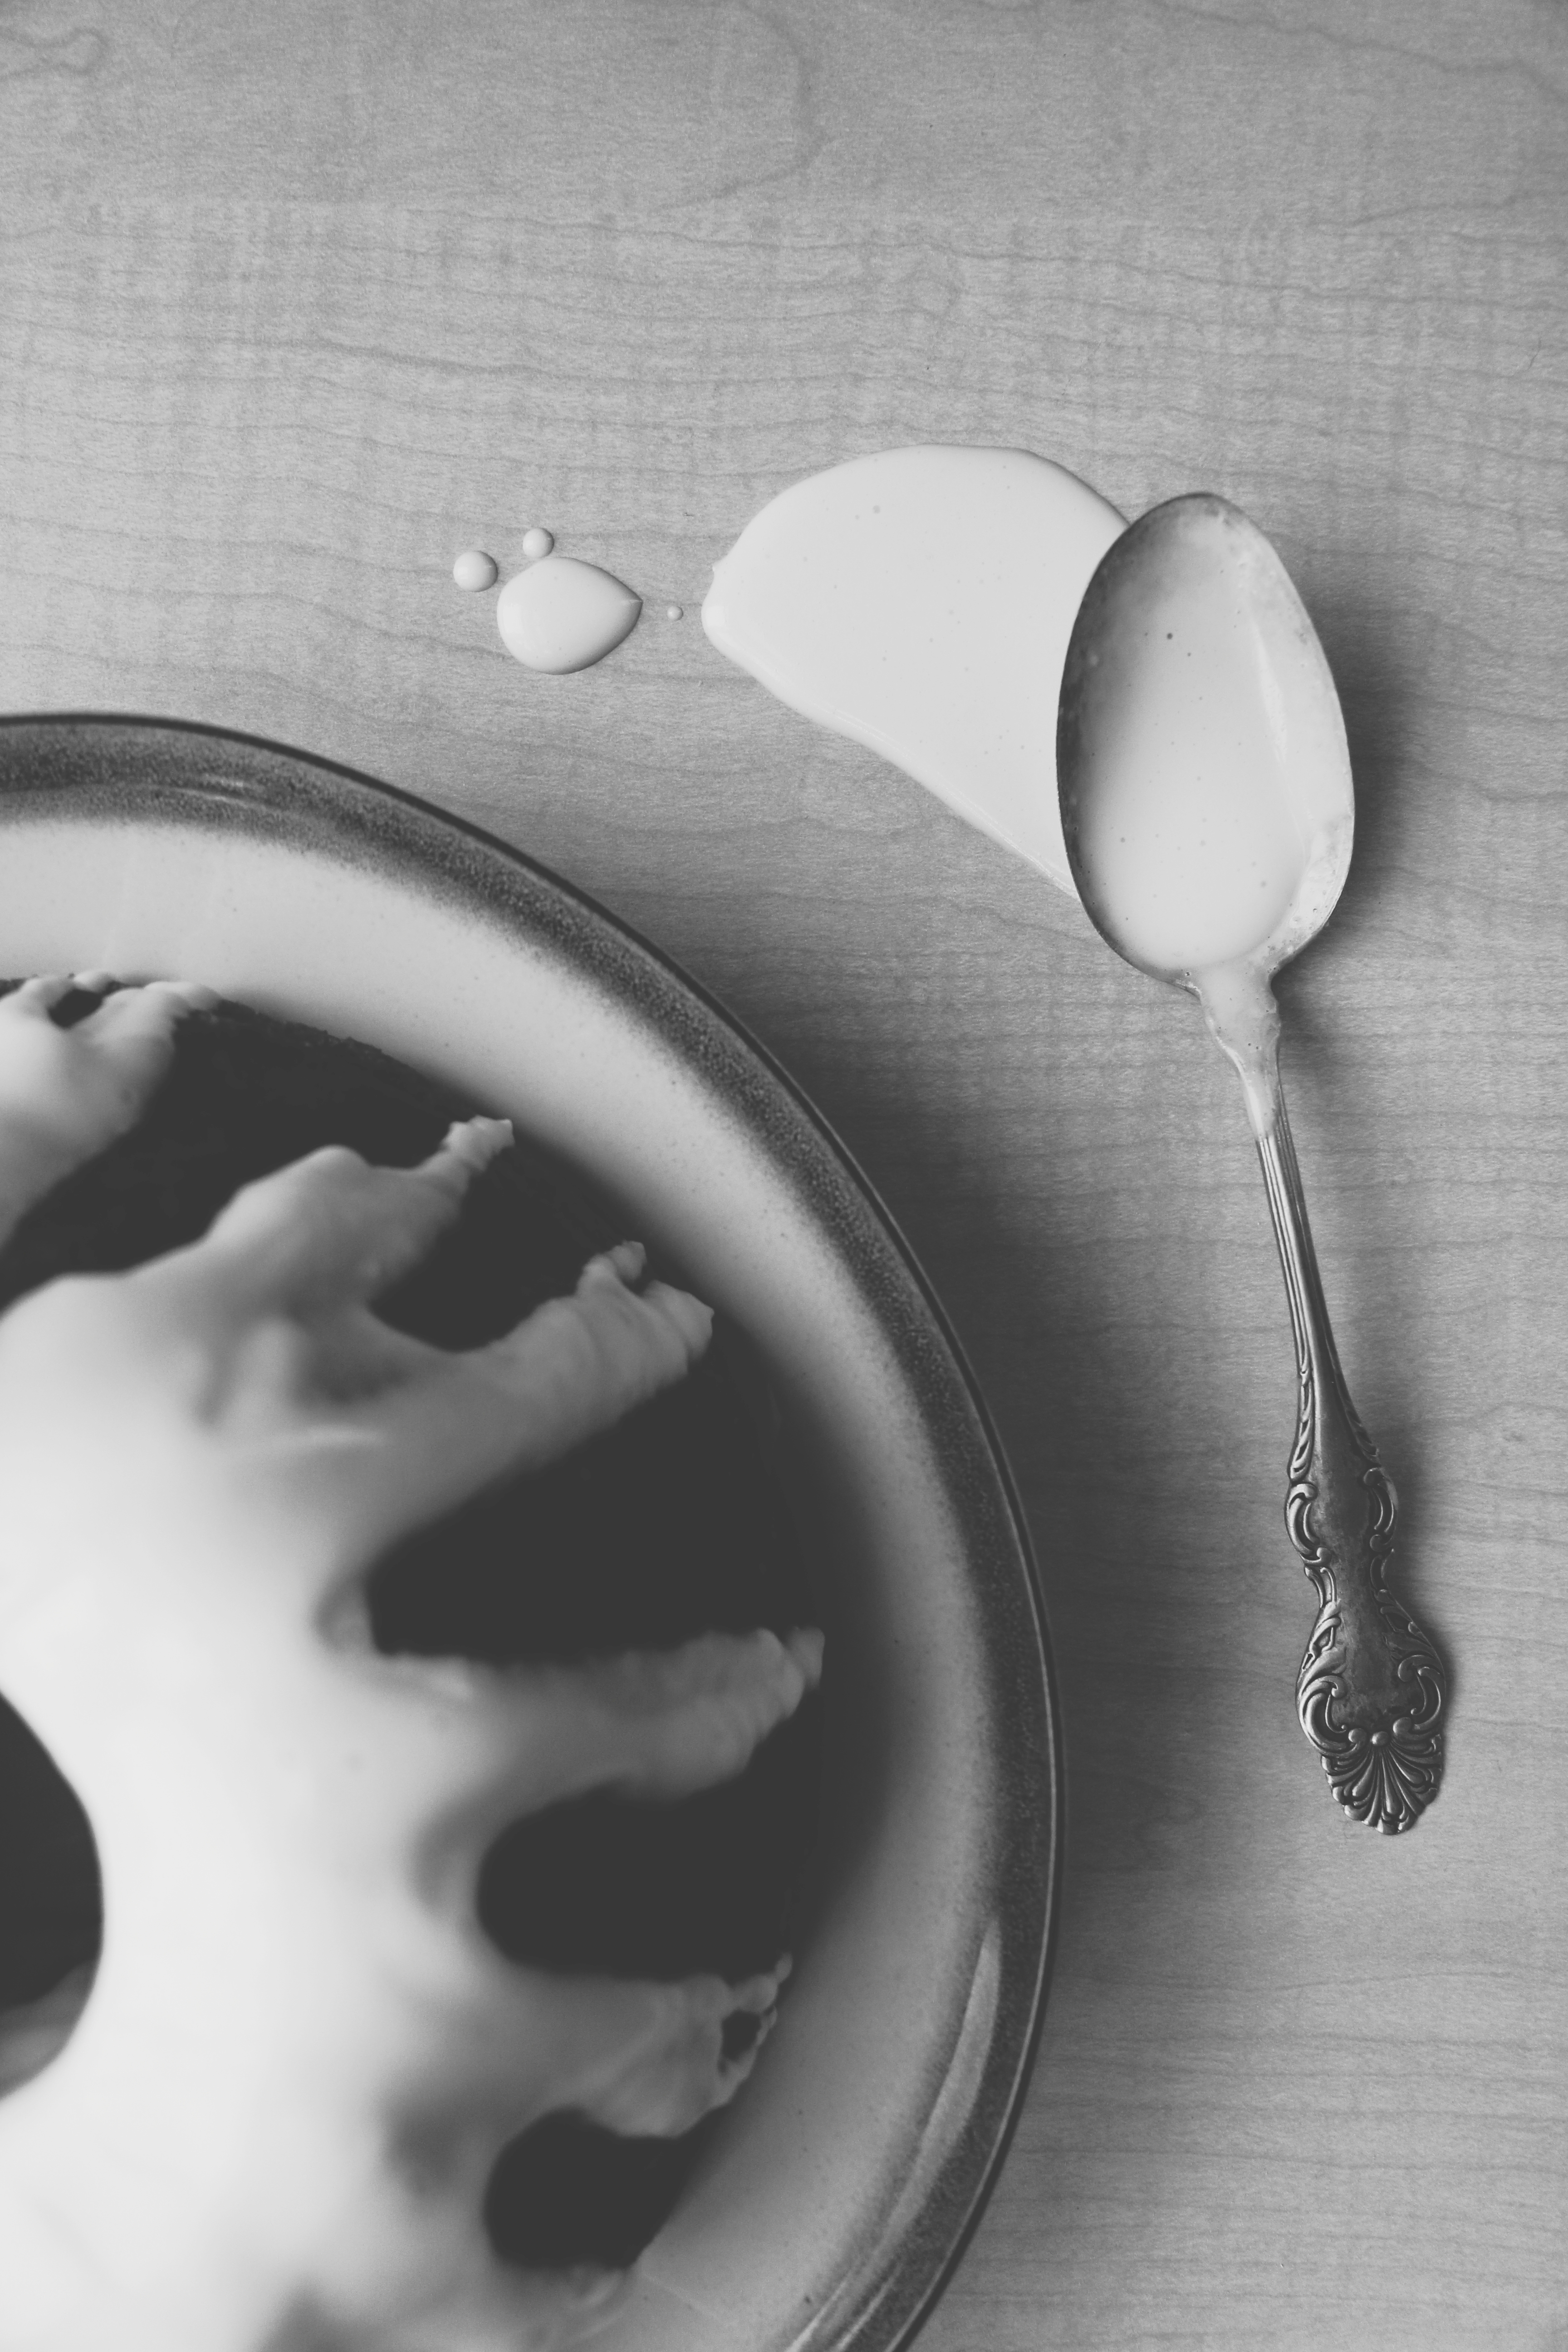
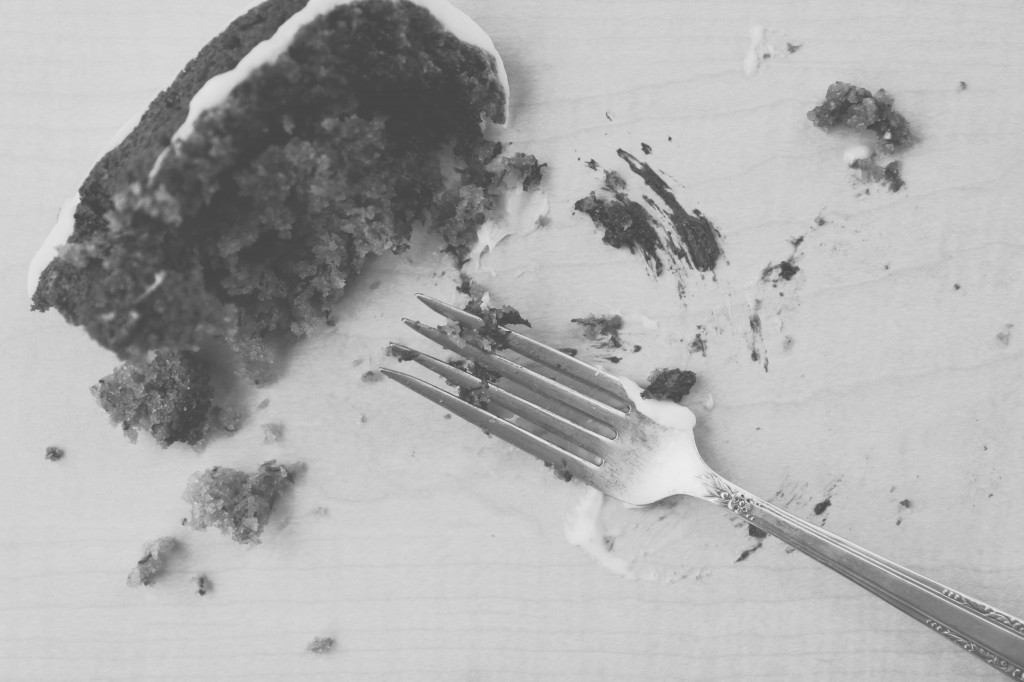
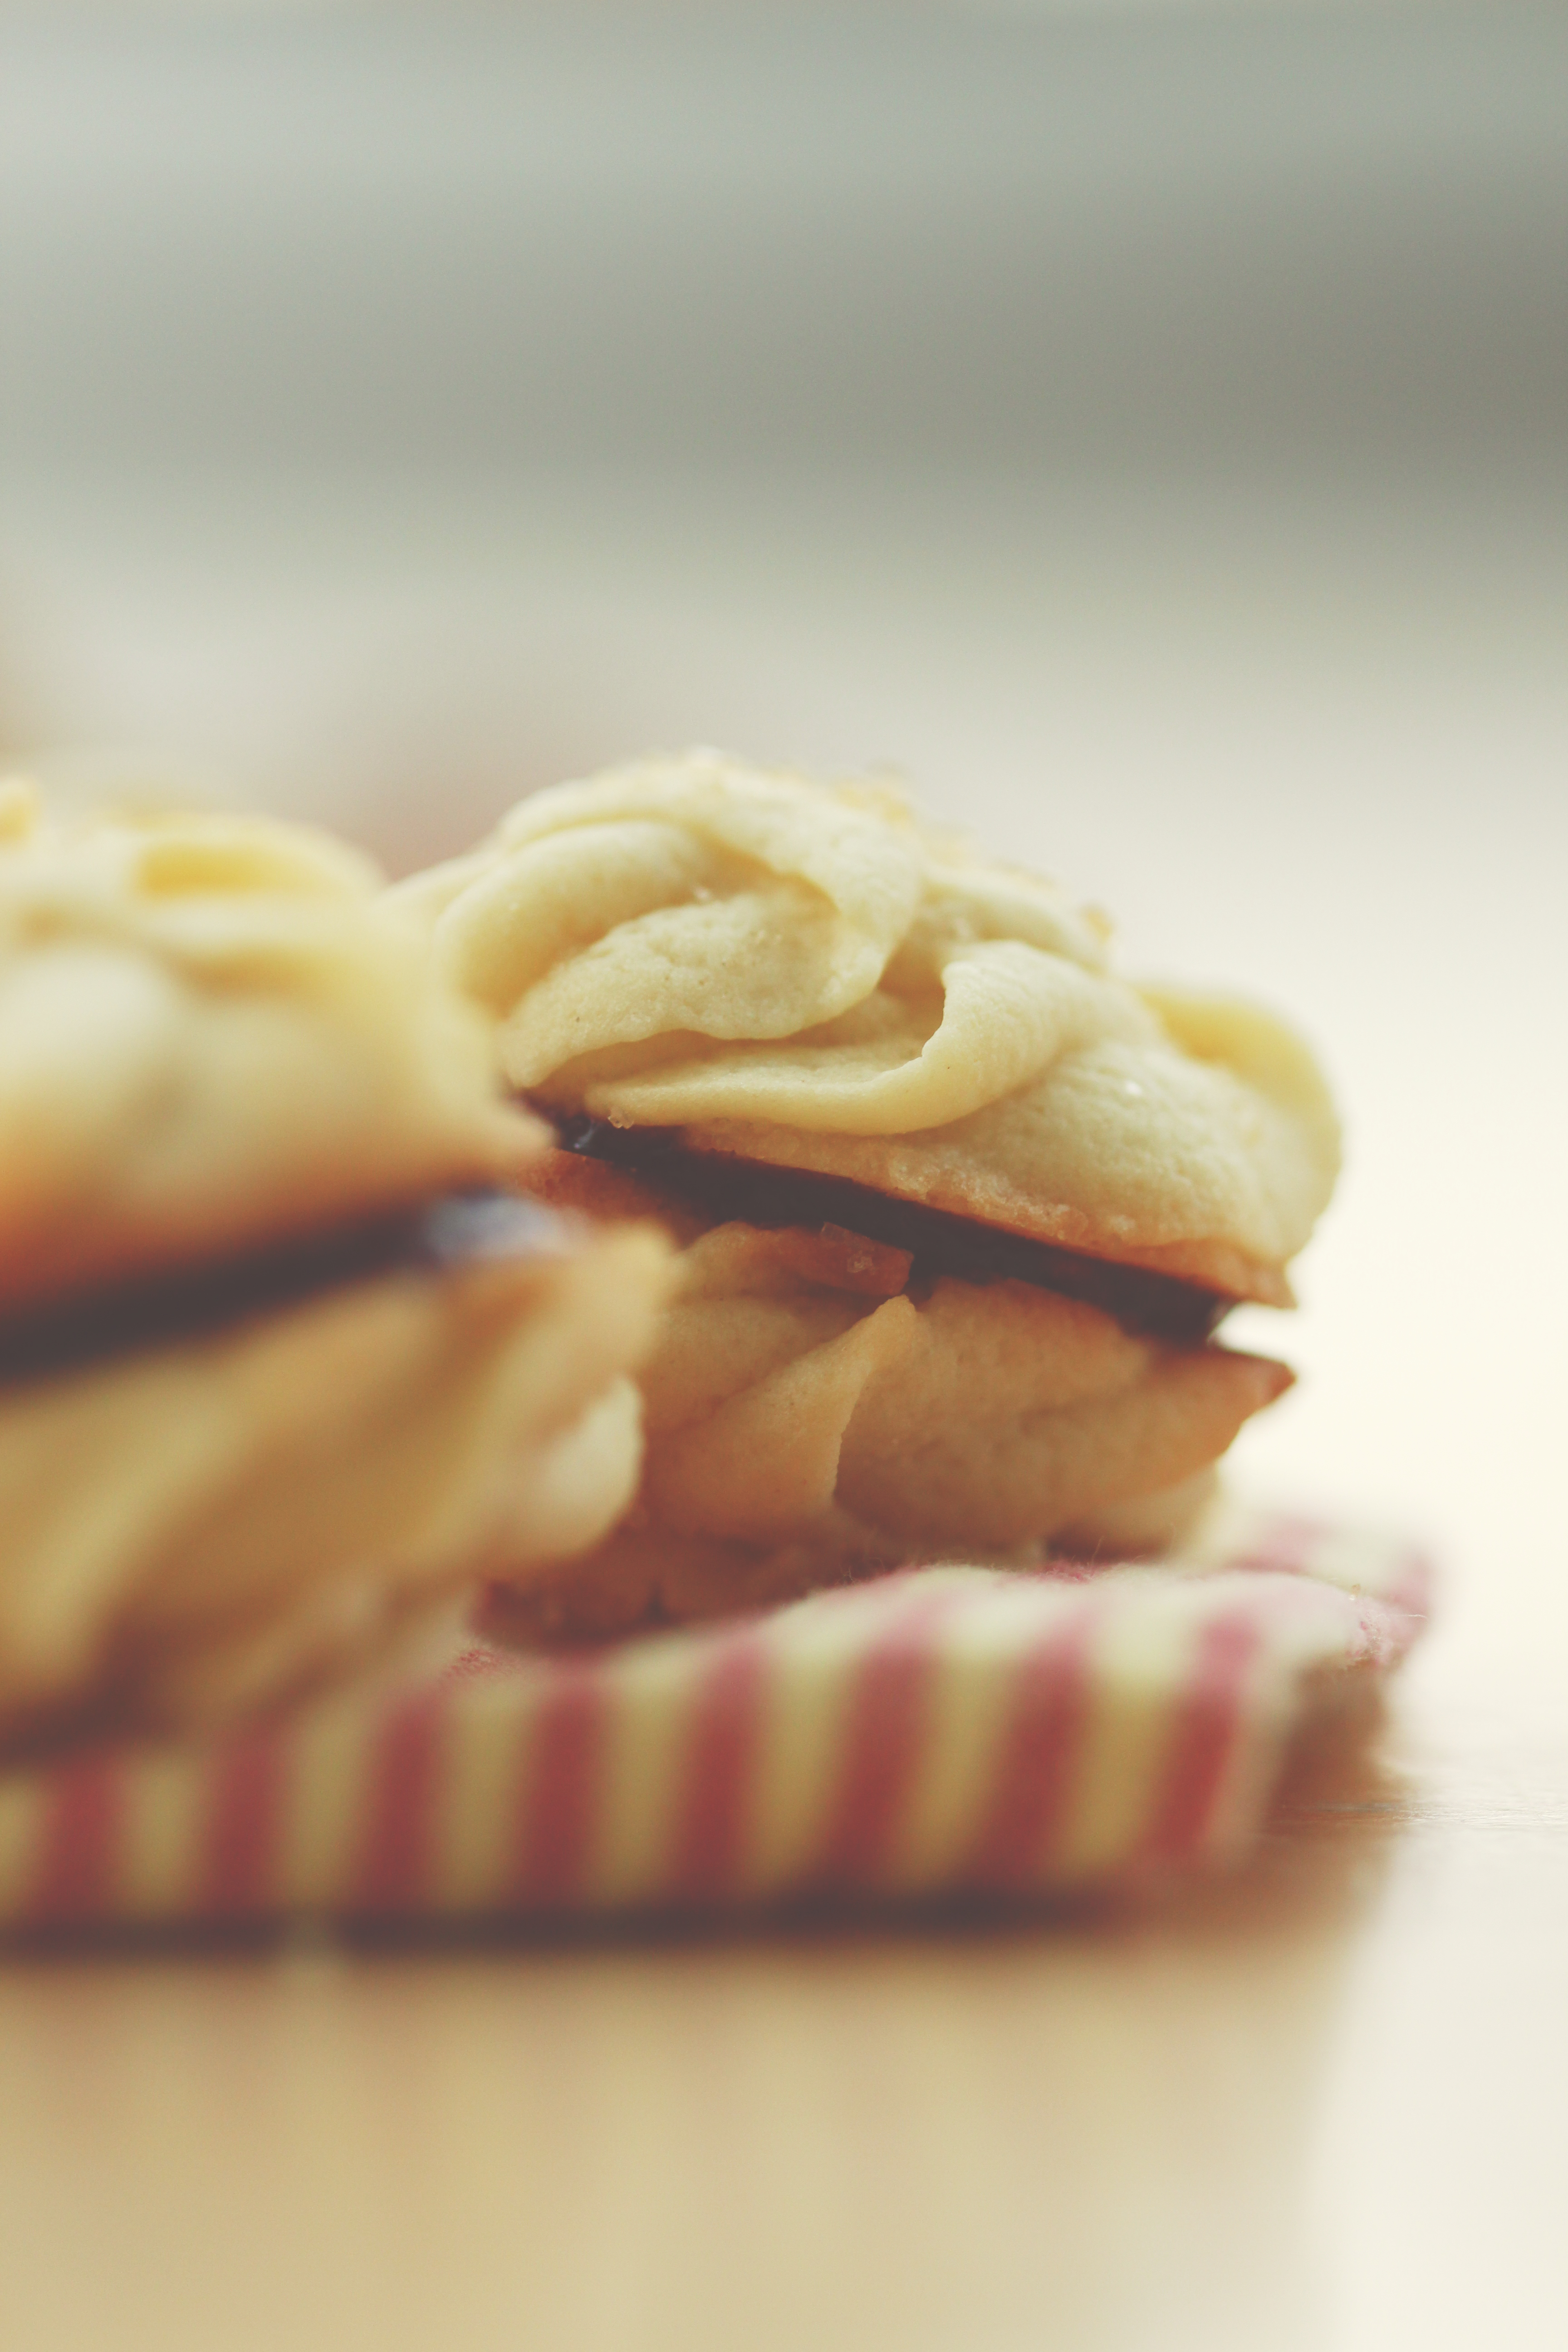
The Italian meringue buttercream is made with honey and golden syrup, resulting in a salty-sweet, silky delight that tastes like the top of a good piece of toast, minus the bread, which is the worst part anyway.
I might actually like cupcakes again.
This recipe only makes 6, which is perfect (I don’t need 24 cupcakes floating around my house, people…), and is a marriage of unexpected flavors which ended up working inexplicably well.
The best recipe for health and happiness:
good books, better tea, and, of course, delicious cupcakes.
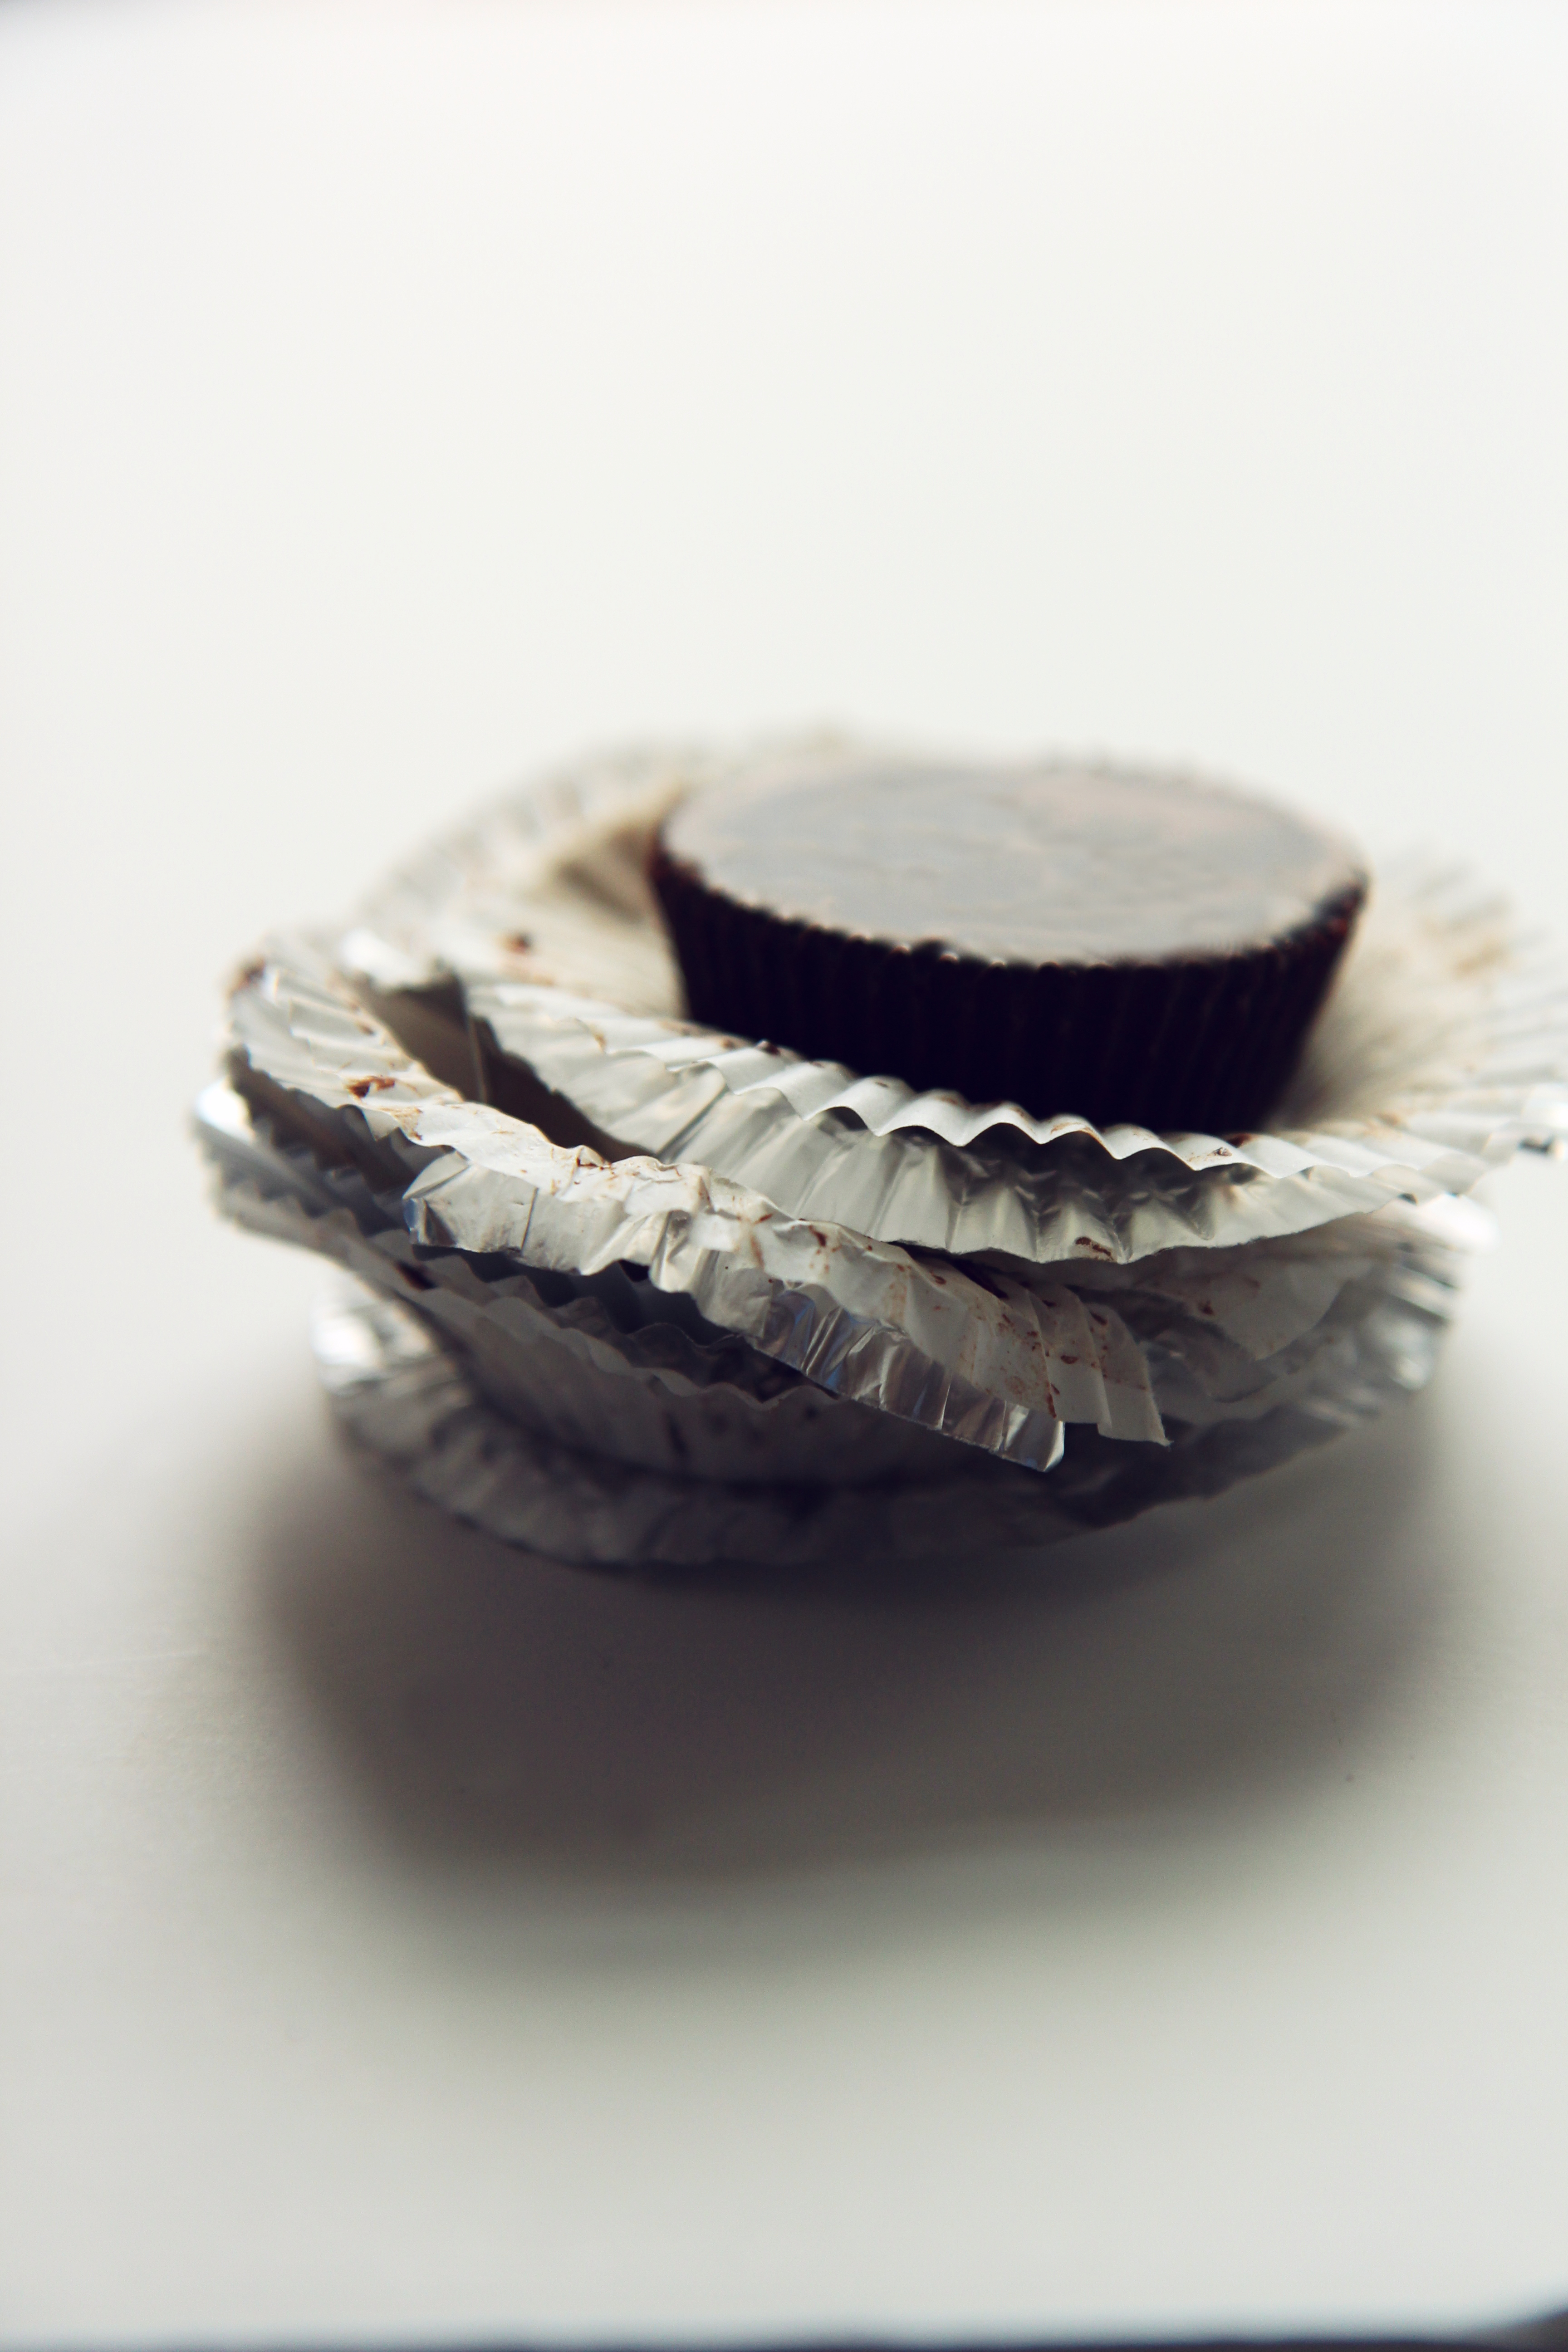
Teatime Cupcakes
makes 6
cake portion adapted from Sweetapolita
ingredients:
for the chocolate Earl Grey cakes:
48 grams (1/4 cup plus 2 tablespoons) flour
75 grams (1/4 cup plus 2 tablespoons) sugar
3/8 teaspoon baking soda
3/8 teaspoon baking powder
3/8 teaspoon cornstarch
big pinch kosher salt
15 grams (2 tablespoons) cocoa powder
1 tablespoon loose Earl Grey leaves
40 mL (2 tablespoons plus 2 teaspoons) buttermilk
1 medium egg (if using a large egg, beat it well before adding it, and remove 2 teaspoons of beaten egg)
30 mL (2 tablespoons) hot Earl Grey tea
25 mL (1 tablespoon plus 2 teaspoons) vegetable oil
splash vanilla extract
for the honey golden syrup IMBC:
111 grams (1/3 cup) honey
111 grams (1/3 cup) golden syrup
scant 1/2 teaspoon kosher salt
2 egg whites
230 grams (1 cup) butter, cut into small pieces and soft but cool
directions:
For the cakes, line 6 muffin tins with cupcake papers.
Preheat the oven to 350 degrees F.
Whisk the flour, sugar, baking soda and powder, cornstarch salt, tea leaves, and cocoa powder together.
Into the dry ingredients, add the buttermilk, egg, hot tea, oil, and vanilla.
Whisk very well to combine. (It will be a very thin batter.)
Fill each cupcake well with 1/4 cup of batter.
Bake for 15-18 minutes, until domed and springy to the touch, and a tester comes out clean.
Allow to cool completely before frosting.
For the honey golden syrup IMBC:
Place the egg whites, along with a pinch of cream of tartar, in the bowl of a stand mixer.
Place the honey, golden syrup, and salt in a small sauce pot over medium heat.
Begin to whisk the eggs.
When the syrup reaches 230 degrees, the eggs should almost be at soft peaks.
When the syrup reaches 240 degrees, the egg whites should have soft peaks that are almost stiff.
Pour the syrup carefully, down into the bowl while the mixer is running.
Beat the meringue until it has cooled to body temperature, then beat in the butter one tablespoon at a time.
Beat until the buttercream has become very fluffy and light.
Frost cupcakes as desired.
P.S.


