
“When I was a girl, my life was music that was always getting louder. Everything moved me.
A dog following a stranger. That made me feel so much. A calendar that showed the wrong month.
I could have cried over it. I did.
Where the smoke from a chimney ended. How an overturned bottle rested at the edge of a table.
I spent my life learning to feel less. Every day I felt less. Is that growing old? Or is it something worse?
You cannot protect yourself from sadness without protecting yourself from happiness.”
— Jonathan Safran Foer | Everything is Illuminated
Eleven weeks has this year been.
Magically have the hours stretched into days, weeks, months.
In the moment, the minutes melted like molasses, yet here we are, looking back at the accumulation of time piled high like snow drifts.
The quarter gusted by, ruffling my hair, picking at the edges of my jacket, freezing my salty tears to icicles.
Time, that infallible, indefatigable soldier, marches on.
I pool myself at his knees, pull at his clothes, cry, implore him for more, more, more.
I beg a retreat, a repeat– just one– beg for second chances, for one minute, one hour longer.
But he is deaf, this cruel god. There is no rewinding, no turning back.
Done is done; done is done, calls his war drum.
Onward we march. Forward we go.
Eleven weeks has this year been.
One, two, three months. Two thousand fourteen. Twenty fourteen.
The year began as a frenzy of tears, of dually joyous and grieving reunions, of family and love and support and then fell into a deep well of loneliness and numbness, of steely walls and wintry blues, of homesickness and exhaustion.
Slowly, though, 2014 stabilized to an equilibrium.
Just as there was sadness, there was celebration.
Just as there was remembrance, there was readjustment and renewal (even some resolutions).
Healing is not easy.
But you cannot protect yourself from sadness without protecting yourself from happiness.
One walks hand in hand with the other.
And so must we, as their waves beat down on our beaches, as they soften and change our malleable souls.
This submission is not comfortable; it is not easy.
We do not like to be changed.
Yet what can I say? It gets better.
Things get better. I don’t eat dinner alone in the stairwell anymore, cold and alone. I let warmth into my life.
I don’t cry when I’m falling asleep; I don’t cry when I wake up. I smile, and stretch, long and satisfying.
I don’t feel like my lungs are collapsing in on themselves when I think about you. I breathe deeper, and deeper still.
I don’t feel my heart break anew into a million pieces when I think about my father, his brothers, his mother. It aches, but I embrace it.
I don’t feel like I’ve been punched in the gut when I hear your name.
(Although I did feel like I was being punched, repeatedly, when I heard your voice. My body clenched and I started to sweat. I listened to it over and over and over.)
I am so proud and so grateful, and I close my eyes and remind myself of that instead.
There were times when I didn’t think it would get easier. When I felt hopeless, helpless, lost.
It did, though. I see it more and more as this quarter draws to a close.
Never forgetting. I miss you. I keep your picture in my wallet for good luck on my tests. I taped your picture to my wall– you’re a dreamcatcher for anything math-related because those kind of thoughts give me nightmares.
I’m sure you happily absorb them, and roll your eyes when they’re wrong.
No, never forgetting.
Just feeling my heart knit back together, feeling the rent be mended, one stitch of time by one.
Allowing it to get better.
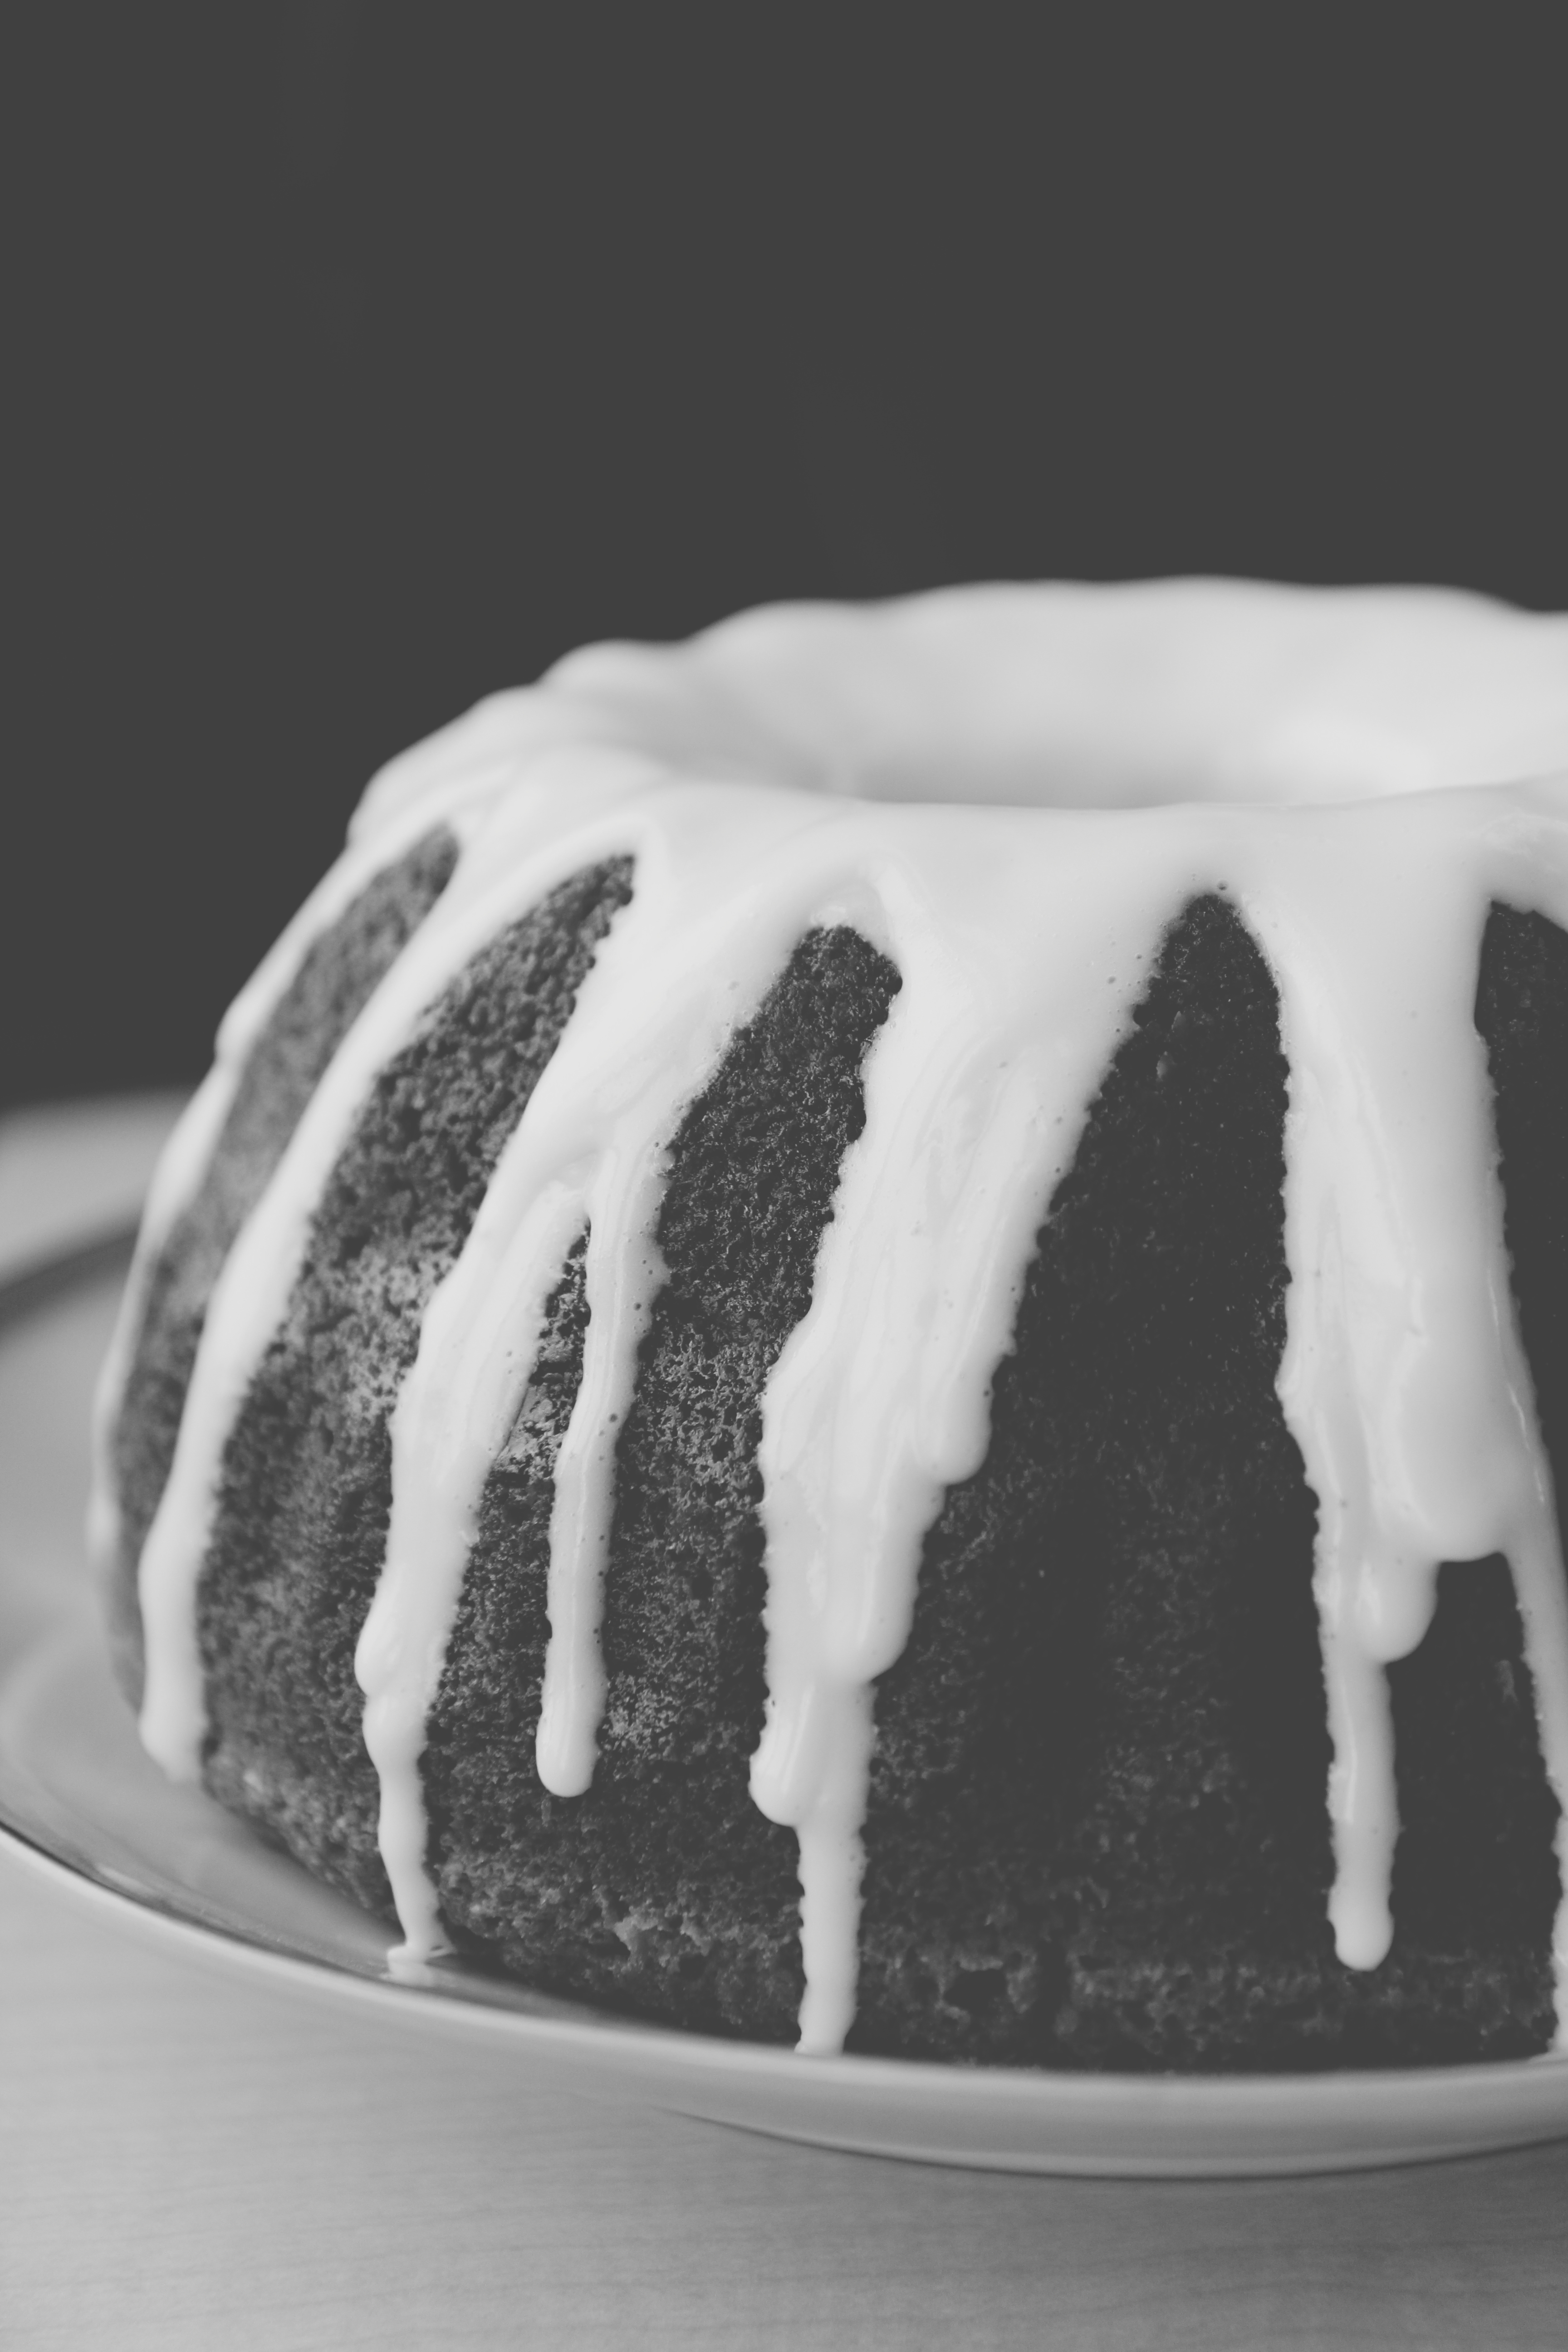
If there was ever something that you would think couldn’t get better, it would be St. Louis Gooey Butter Cake.
The name alone is enough to give this impression. Gooey. Butter. Cake.
But oh, friends, oh. Does it ever get better. In a word, yes.
Let’s be clear and upfront about what gooey butter cake is.
There are two versions: one is the more classic, yeasted bottom, butter topped coffeecake-like confection, and one is Paula Deen’s dump-a-buncha-butter into a cake mix and slather it with cream cheese decadence. Christina Tosi makes a similar version.
That’s how you know it’s good.
1) the name
2) Paula Deen
3) Xtina Tosi
This is the decadent, preservative-filled type, but made better. Made way, way, way better.
No box mixes. Sans preservatives. Still just as easy.
First, the base. Normally a box of yellow cake mix with a stick o’ melted butter added.
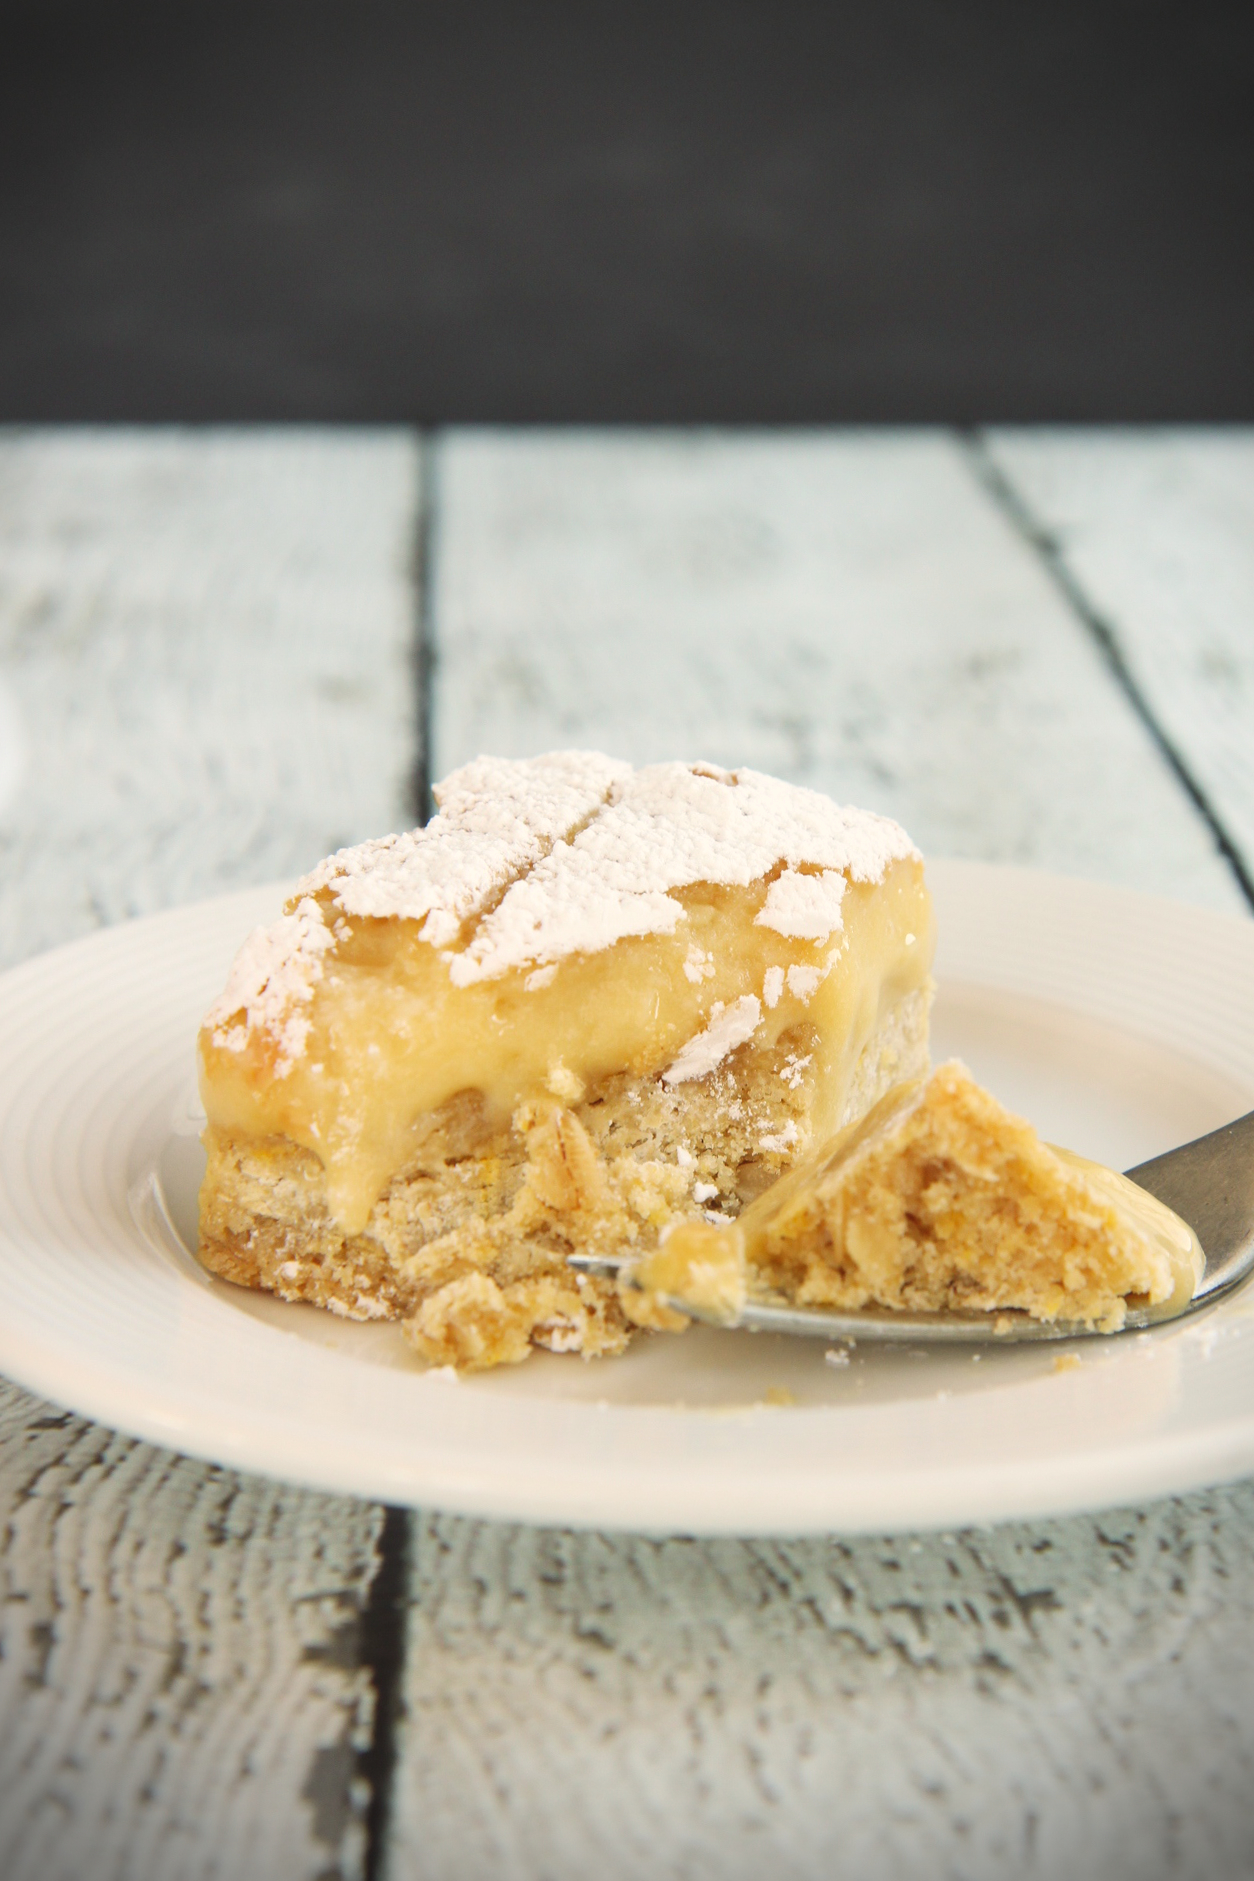
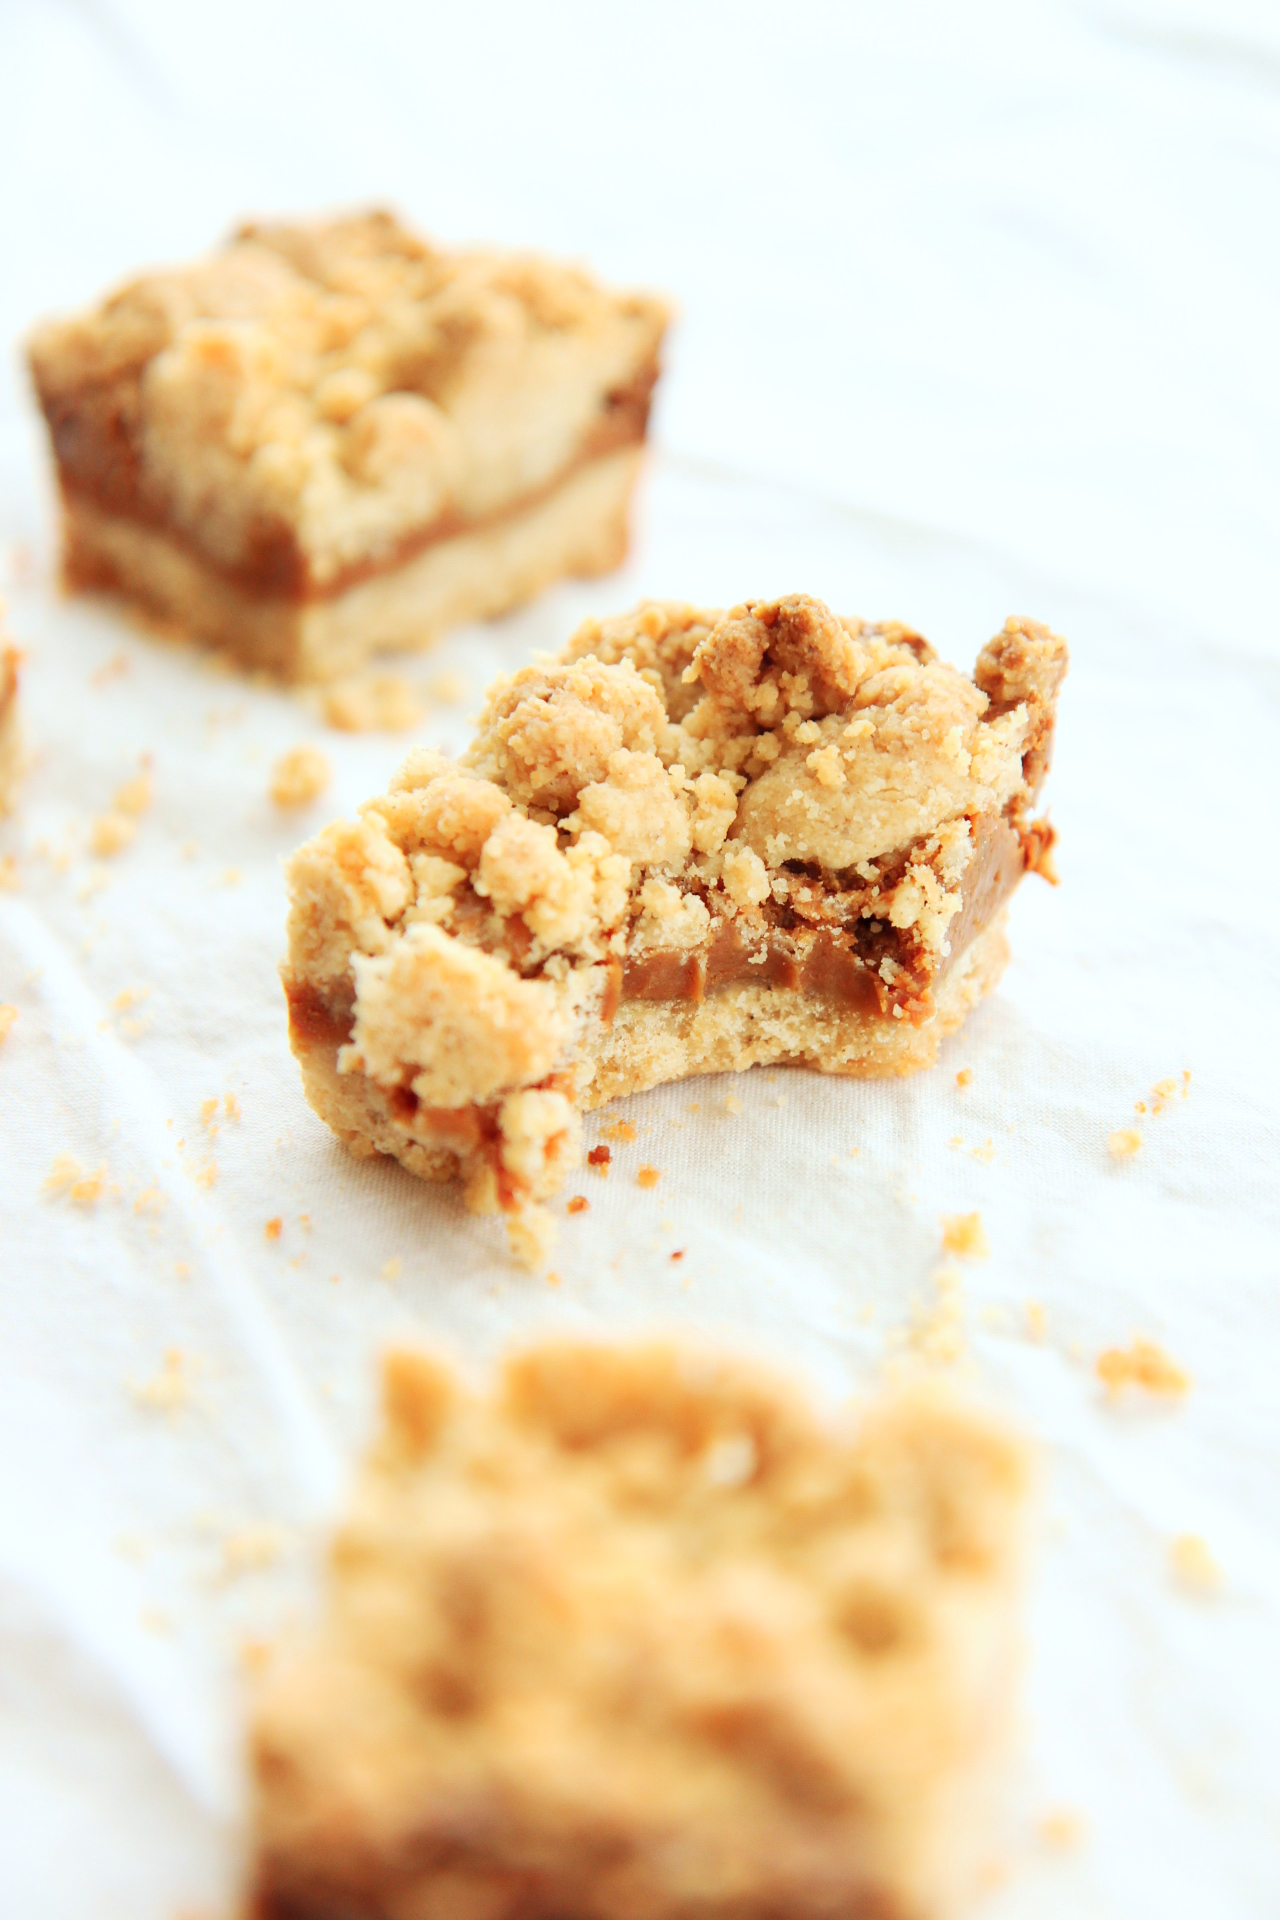
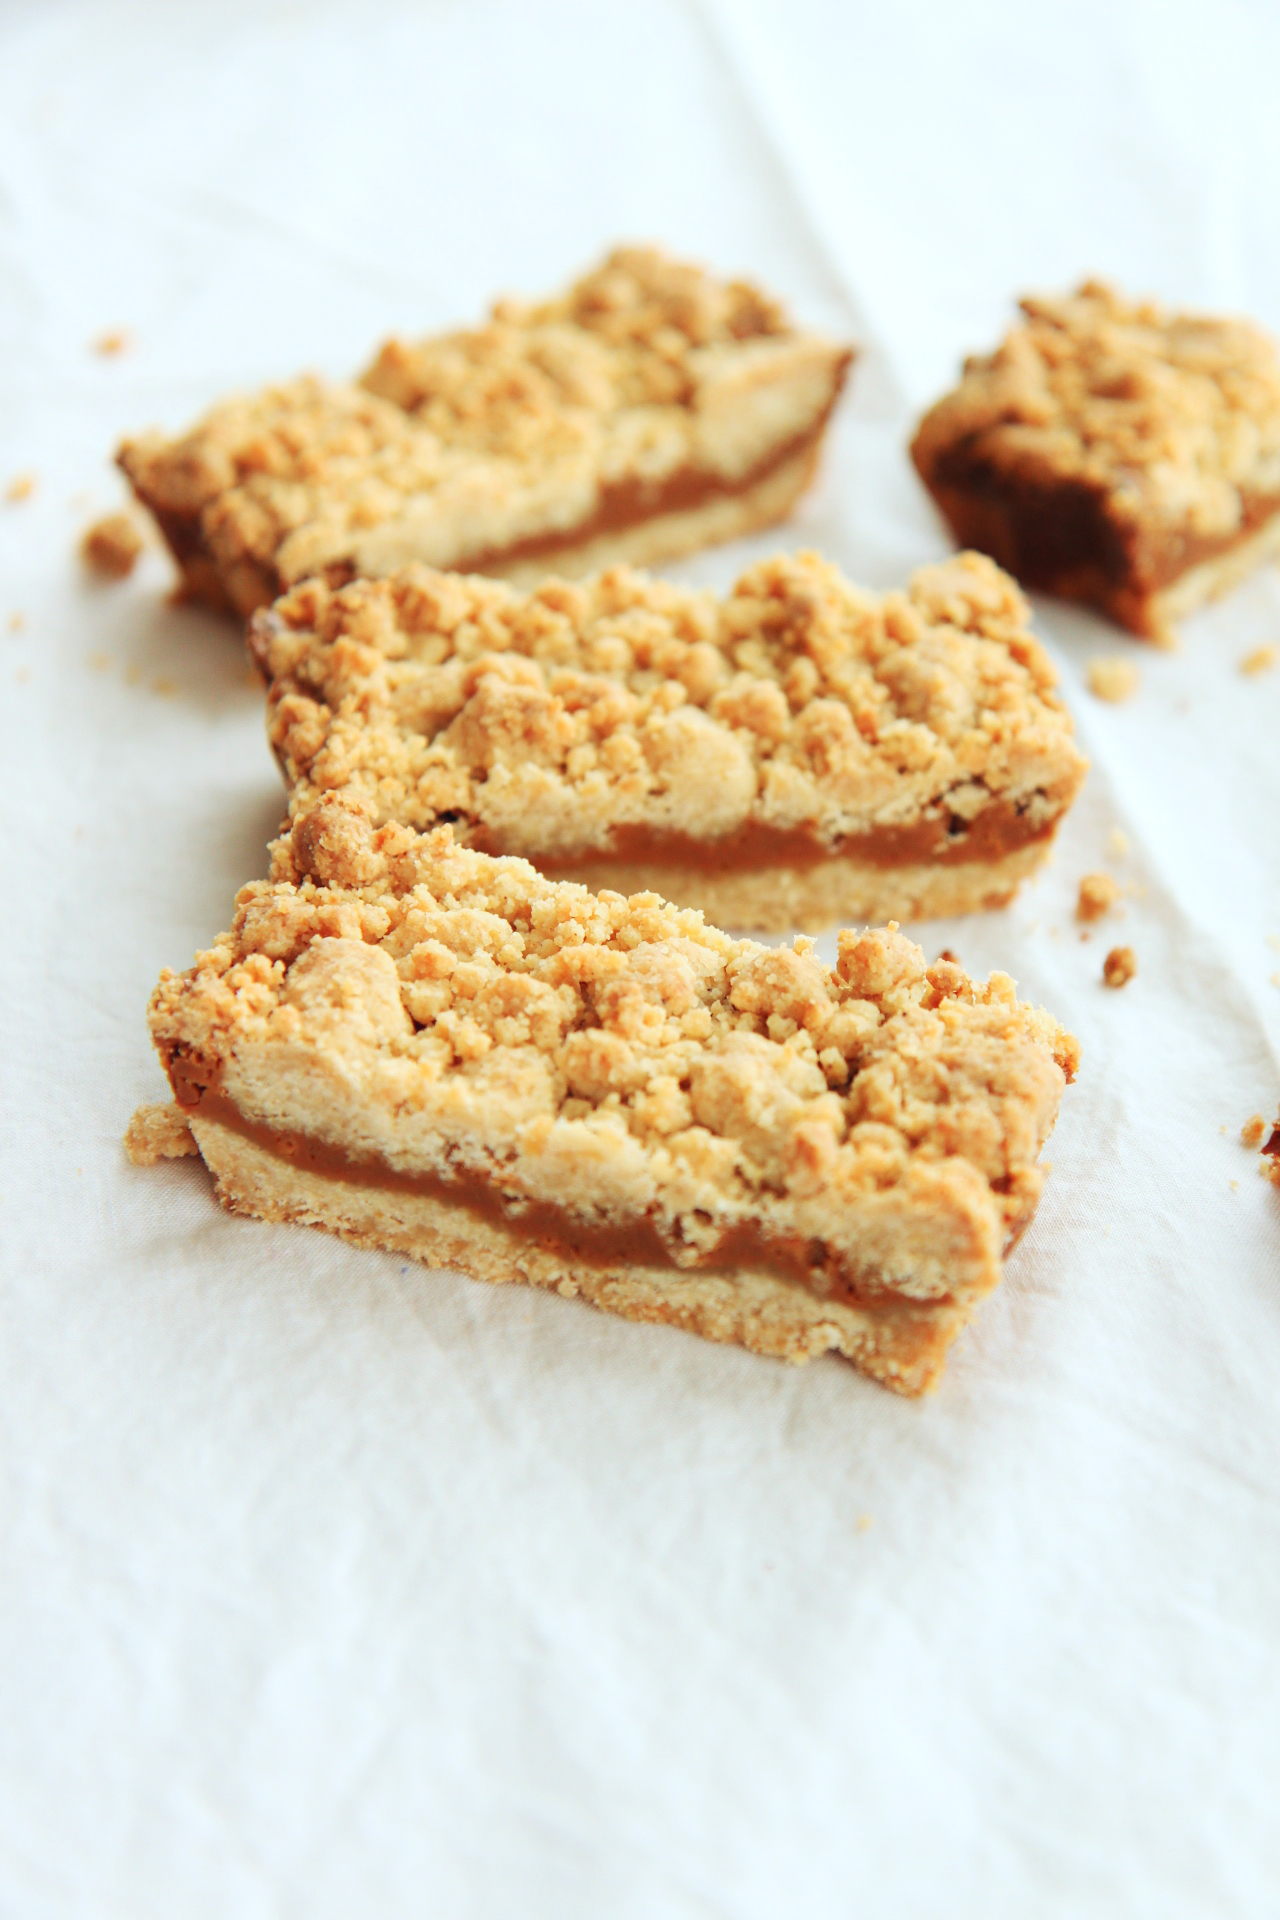
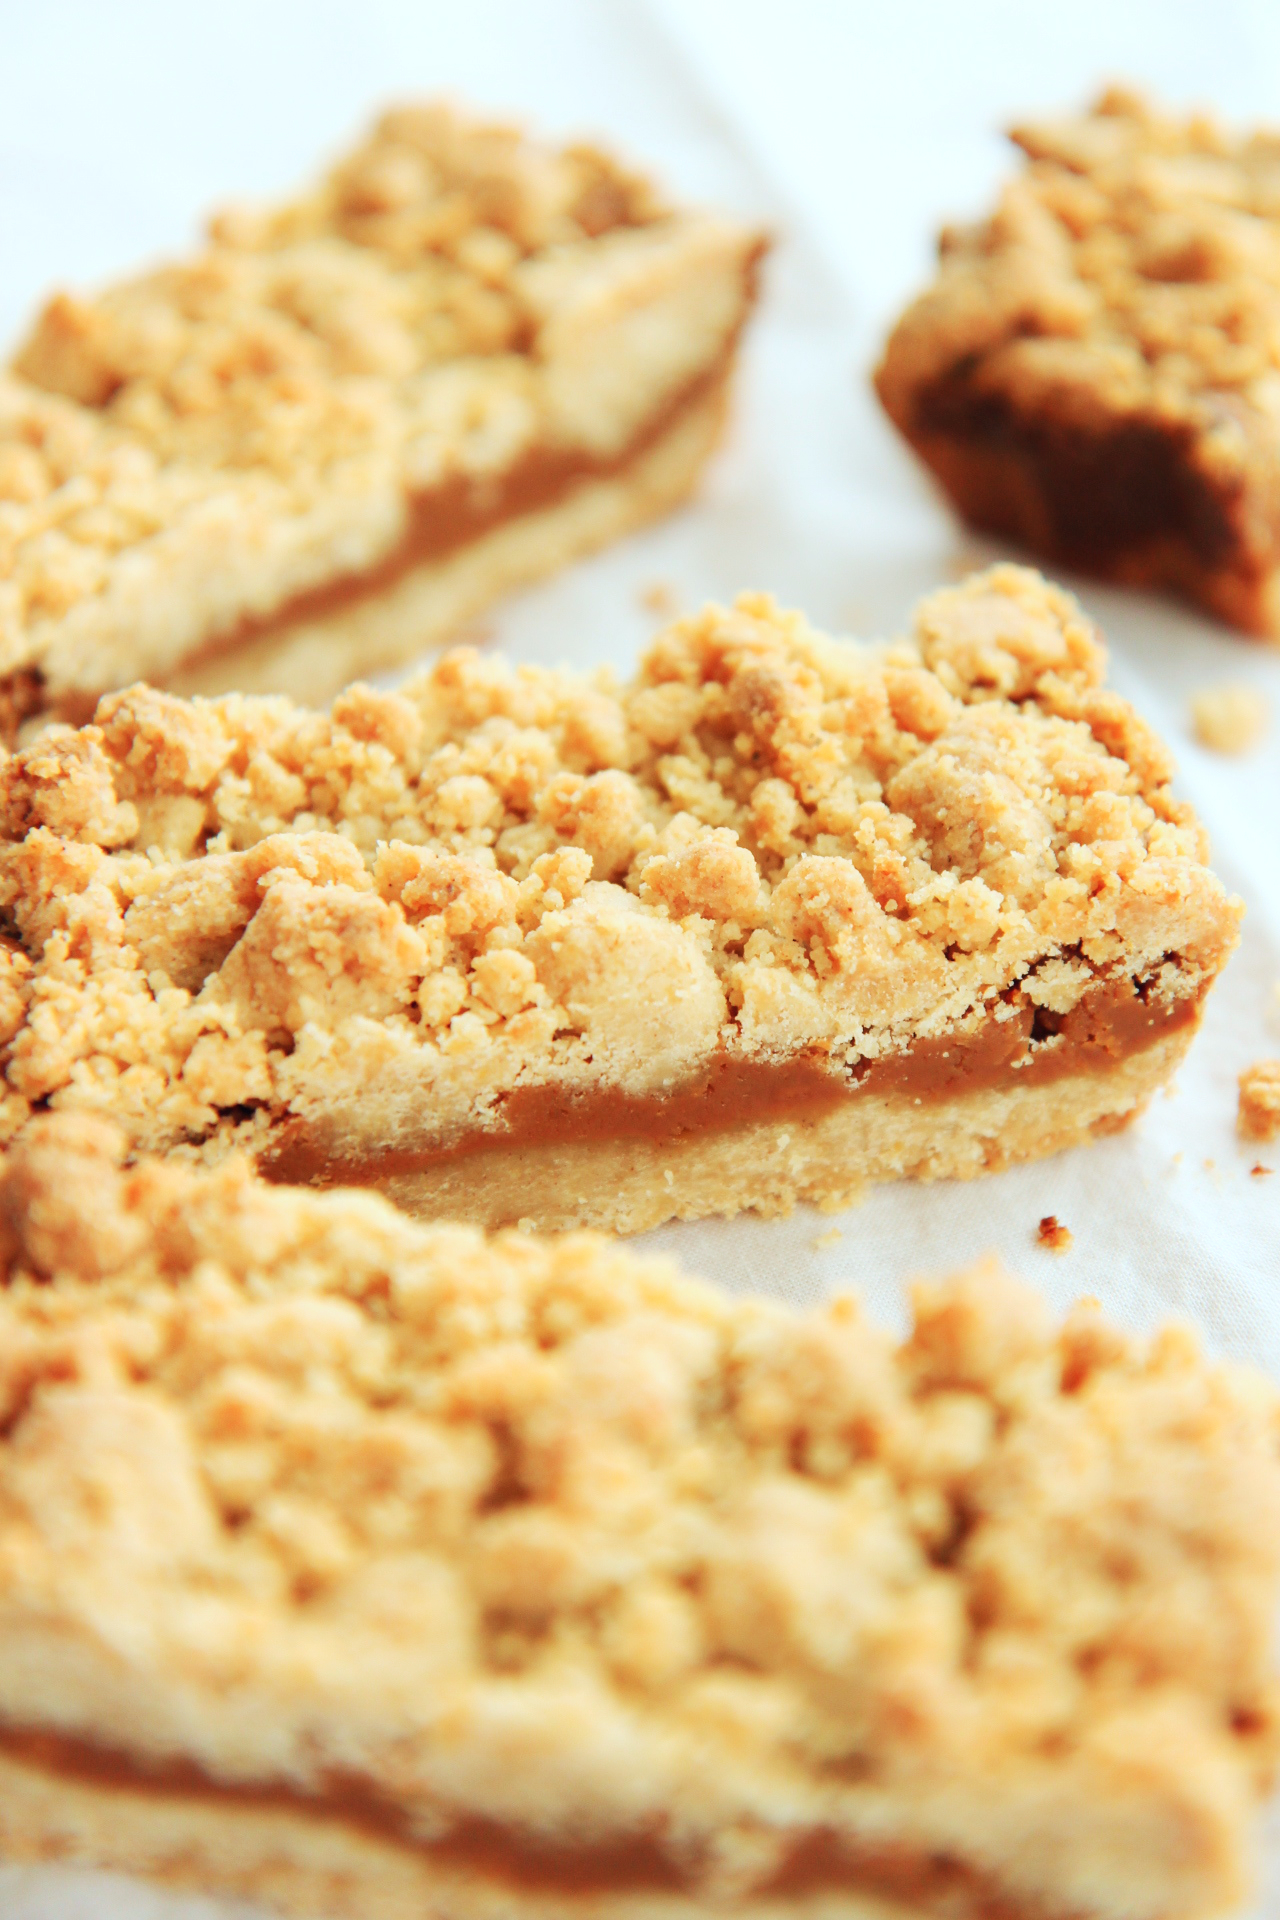
Here, oats, brown sugar, plenty of salt, and brown butter are stirred together, turning into a thick, soft cookie base, with a hearty texture and assertive flavor.
Next, the topping. Cream cheese, more brown sugar, eggs, plenty of salt, and a heap of powdered sugar are beaten together to form the sticky, cheesecake-y layer.
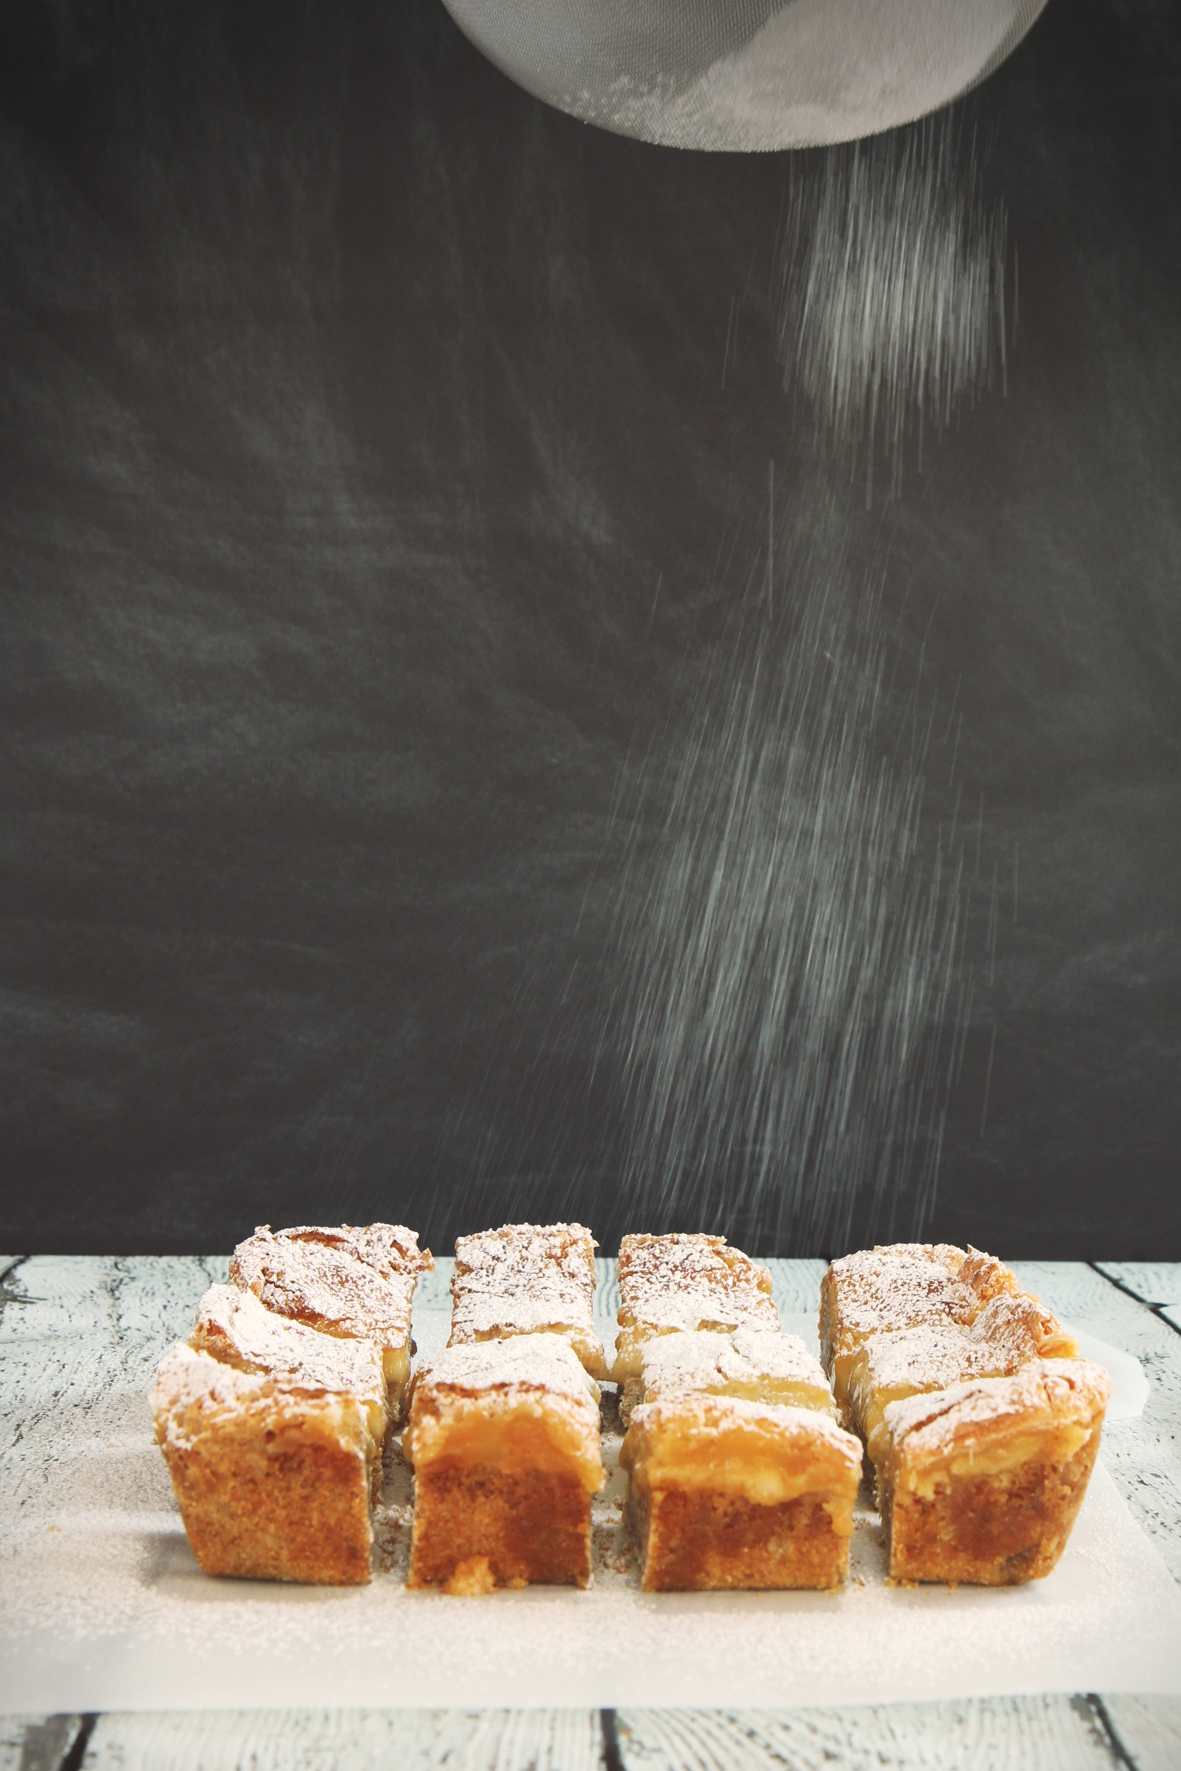
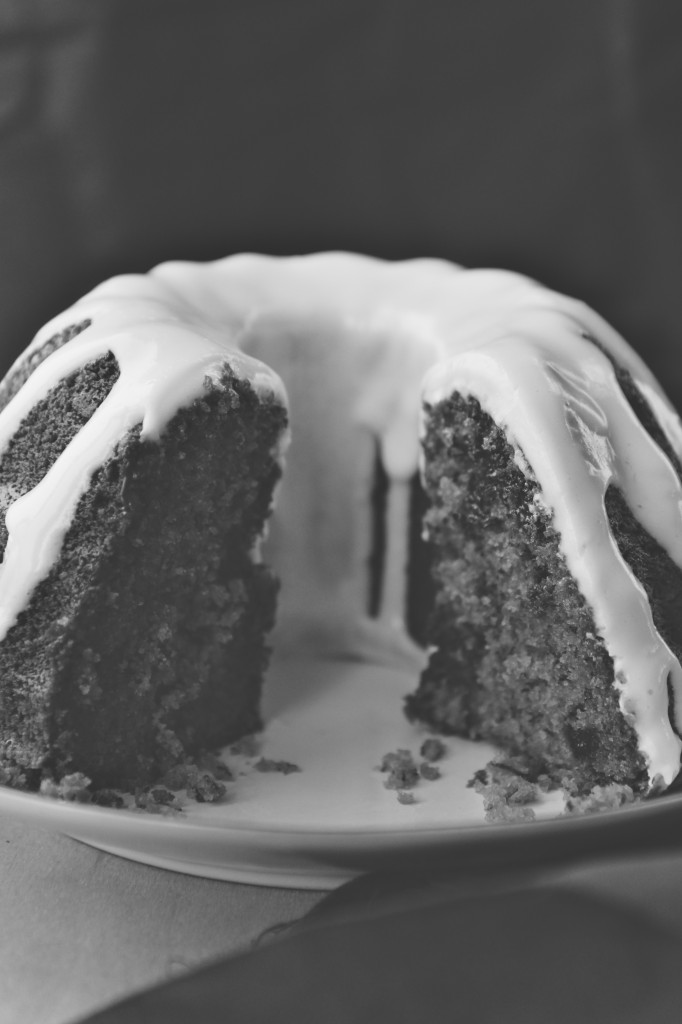
After it bakes, the top is cracked and deeply golden, and the whole thing smells like brown butter-brown sugar heaven.
Shut your eyes to resist its seductive temptation, and stick it in the freezer. Overnight. This is the hardest part of this recipe.
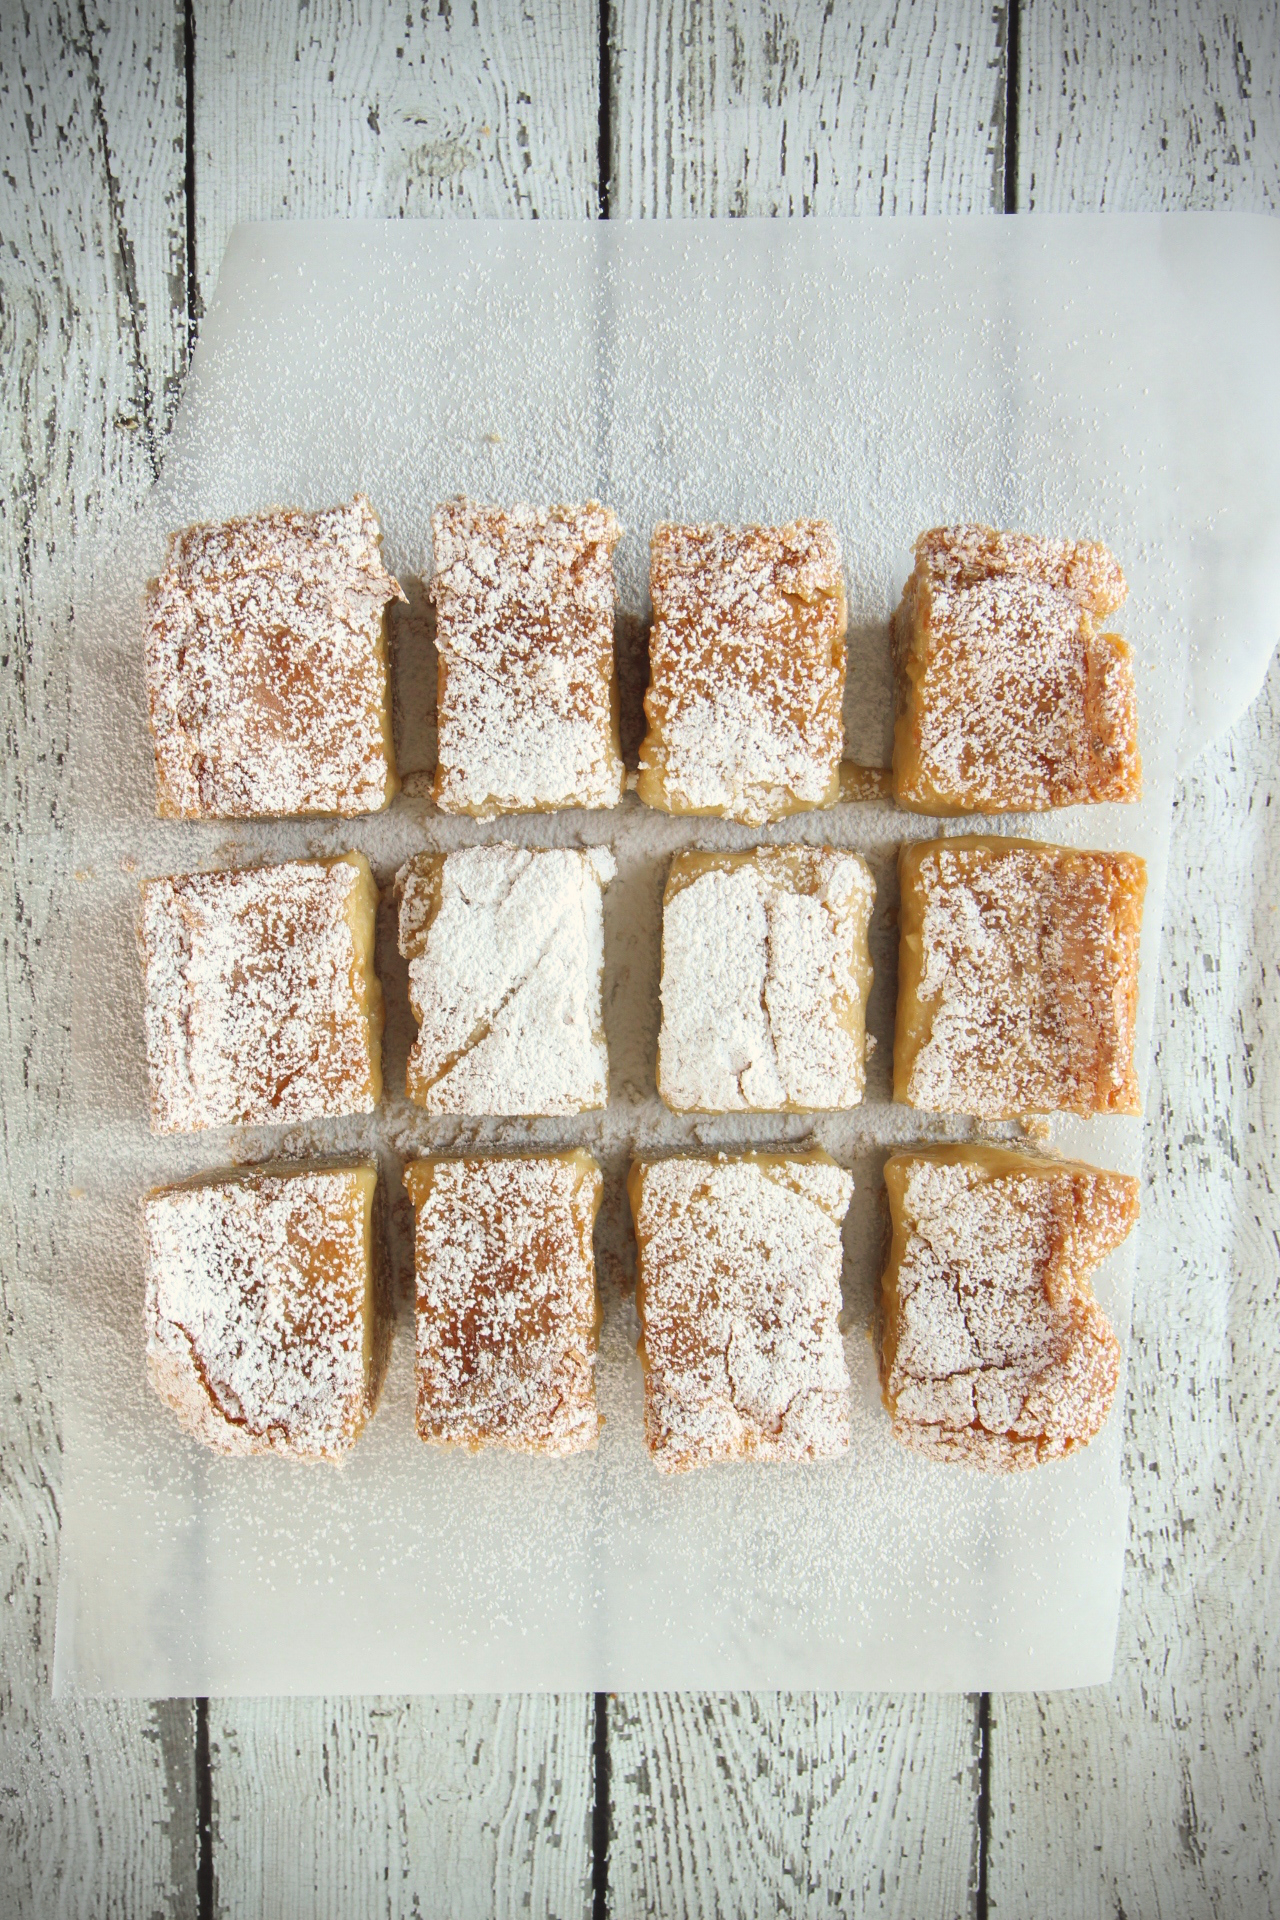
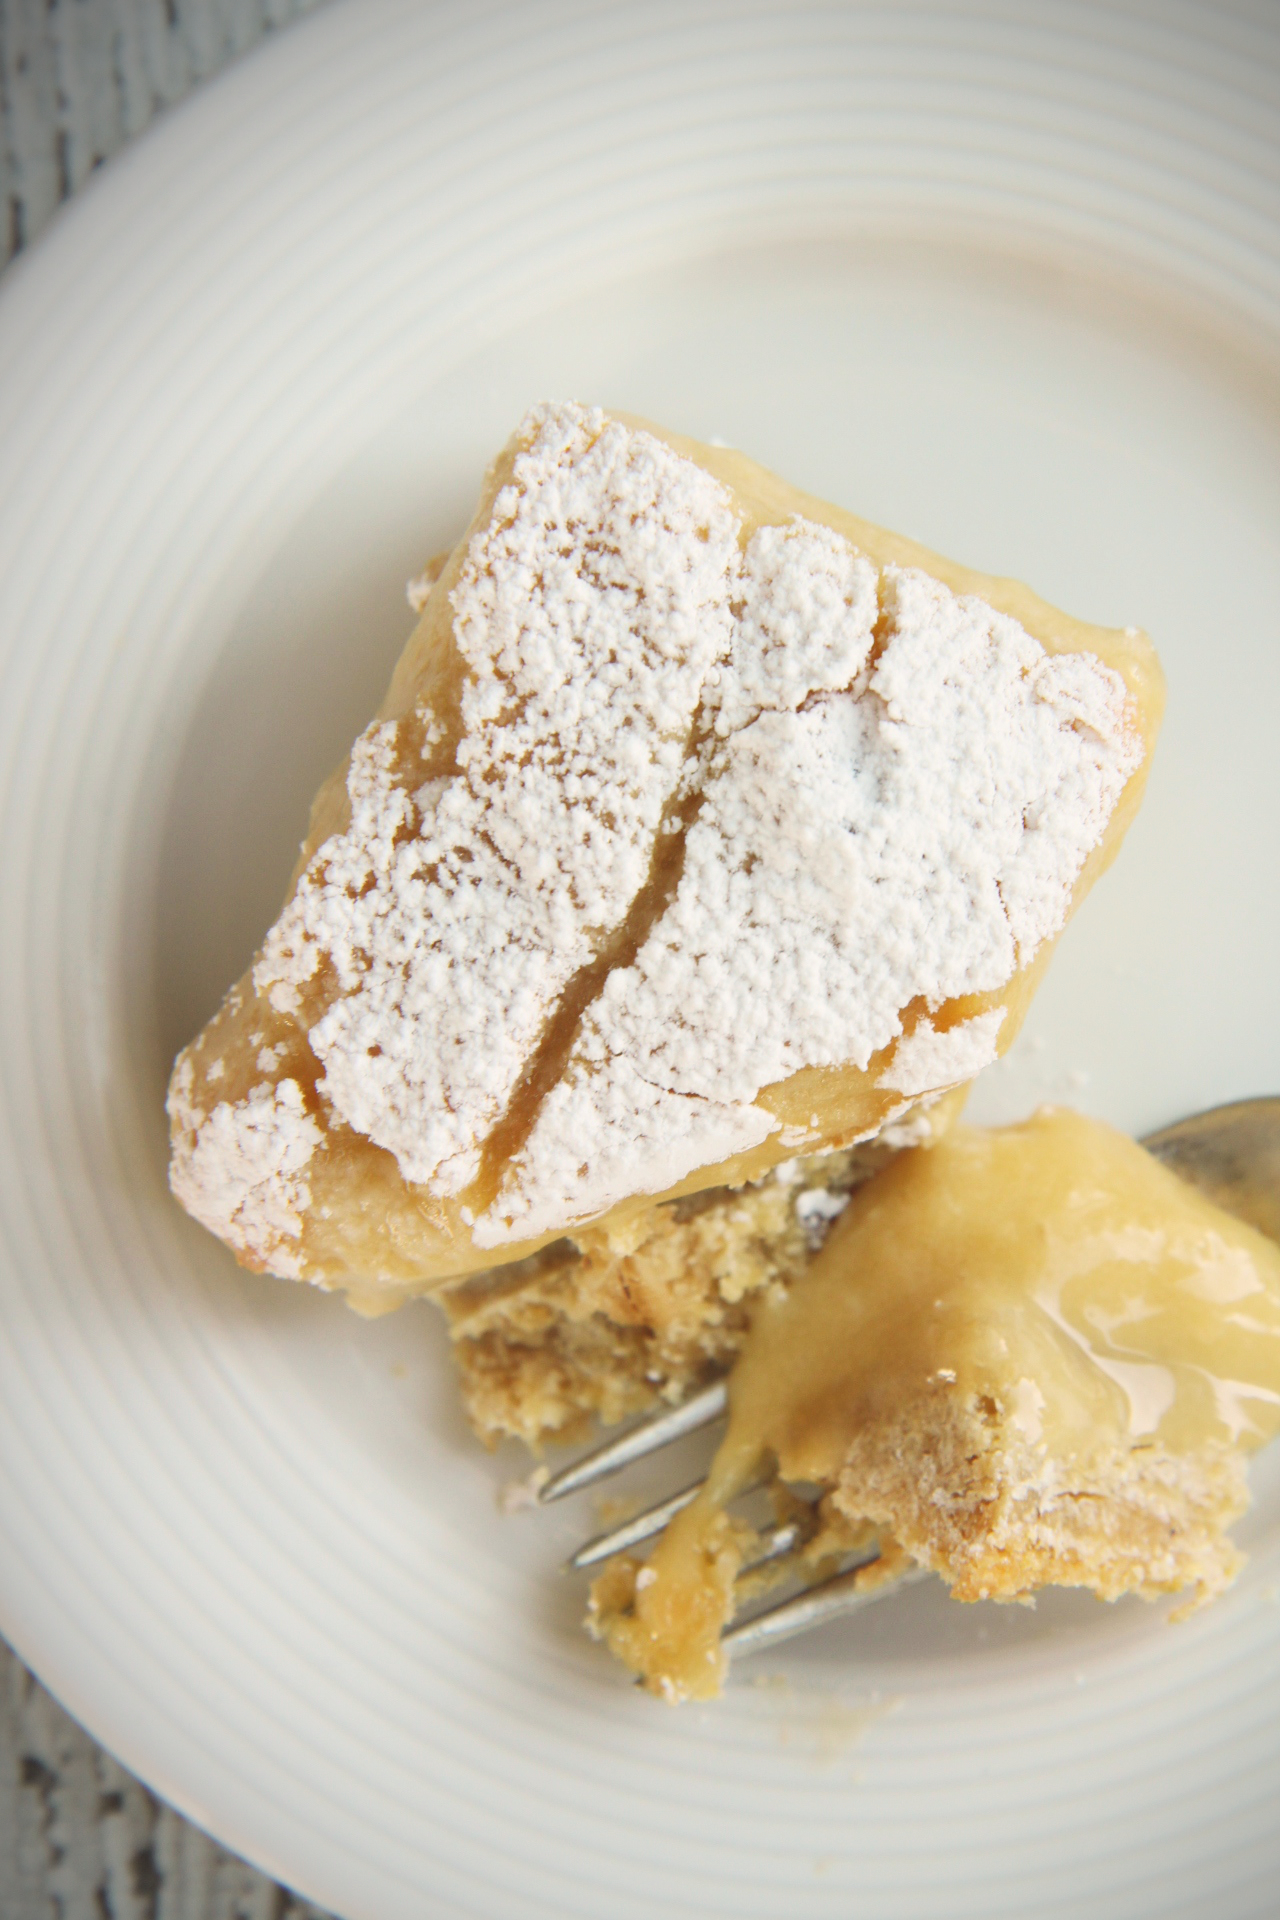
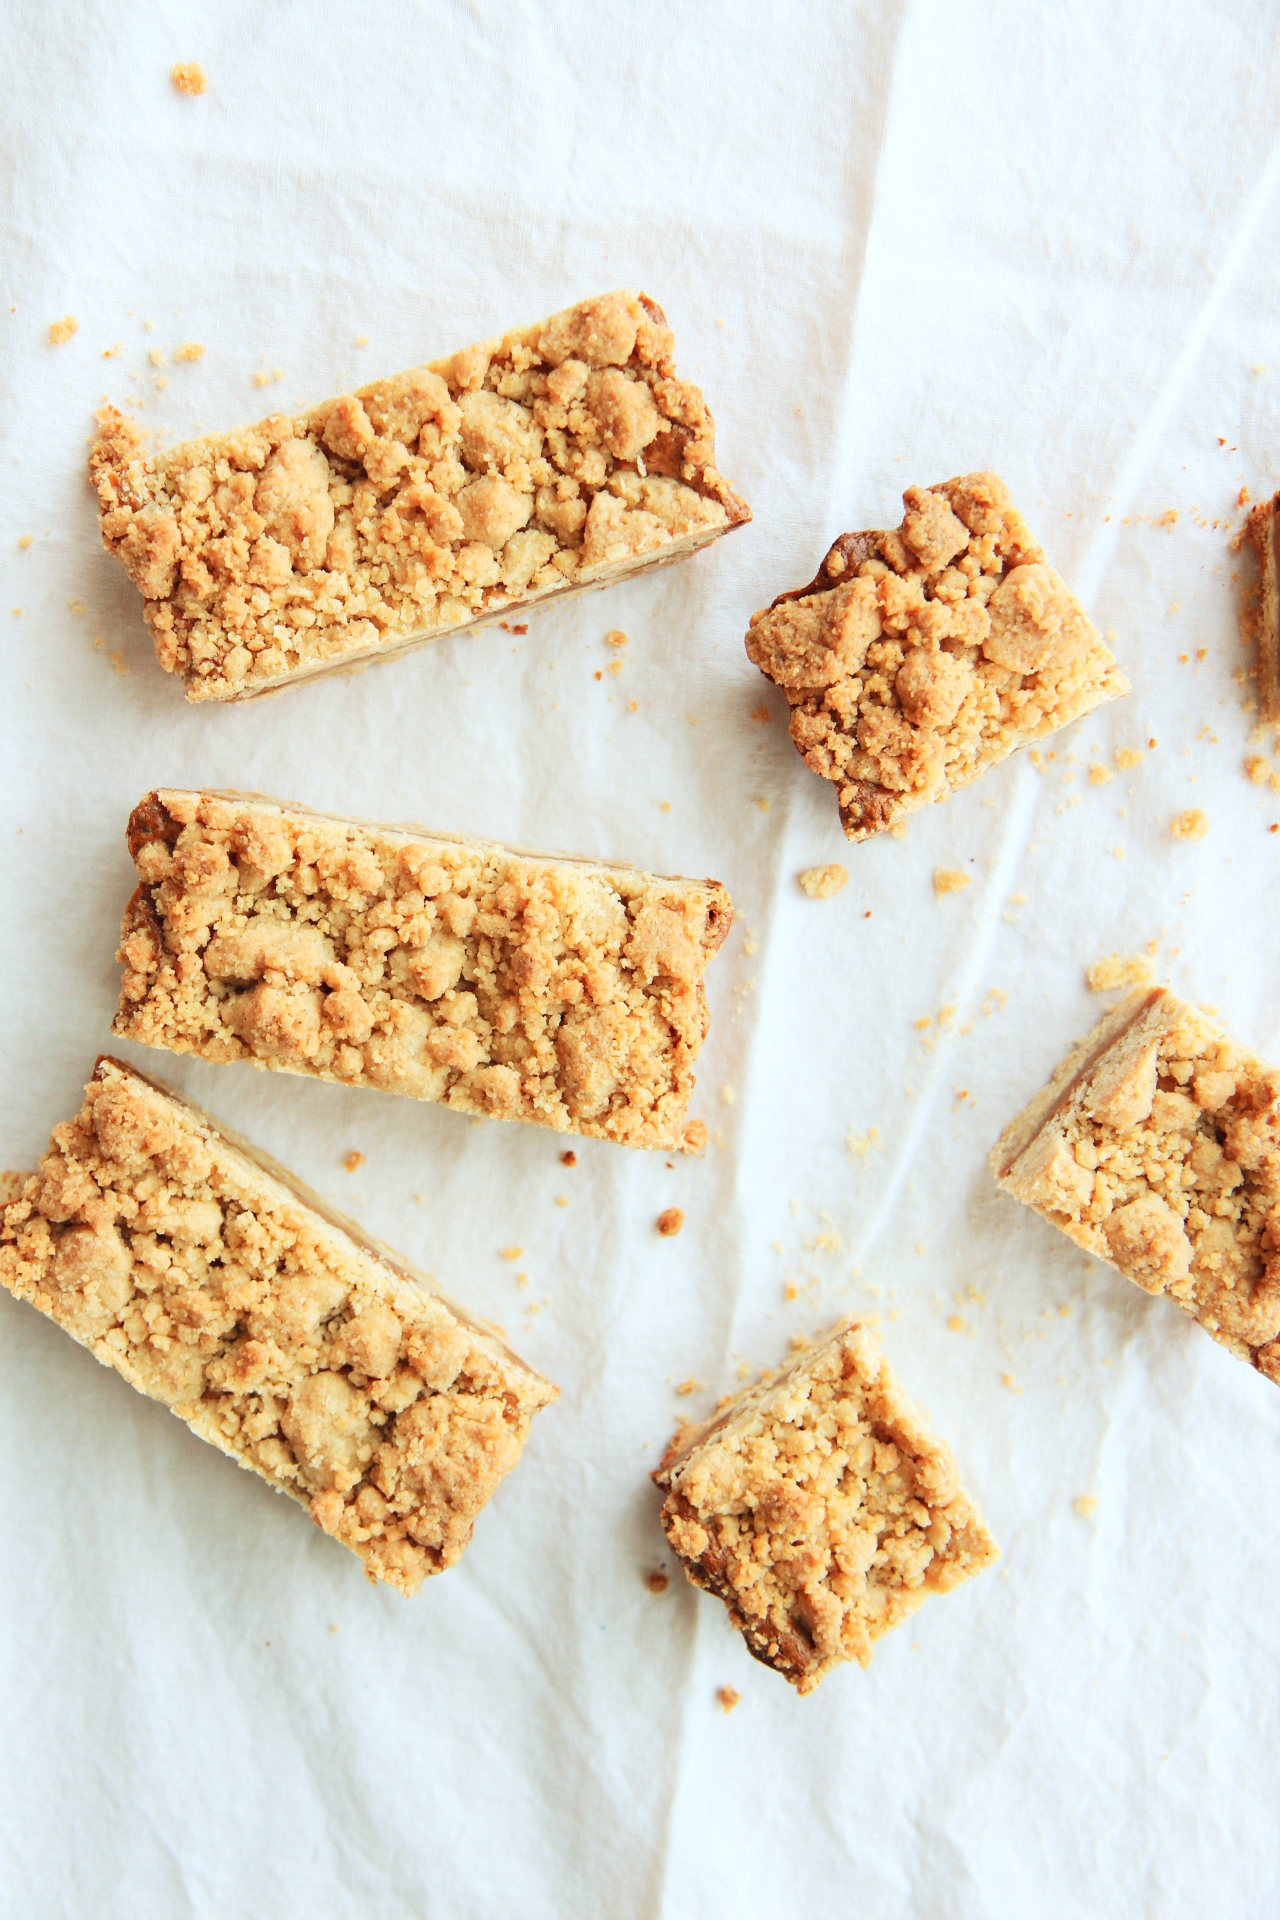
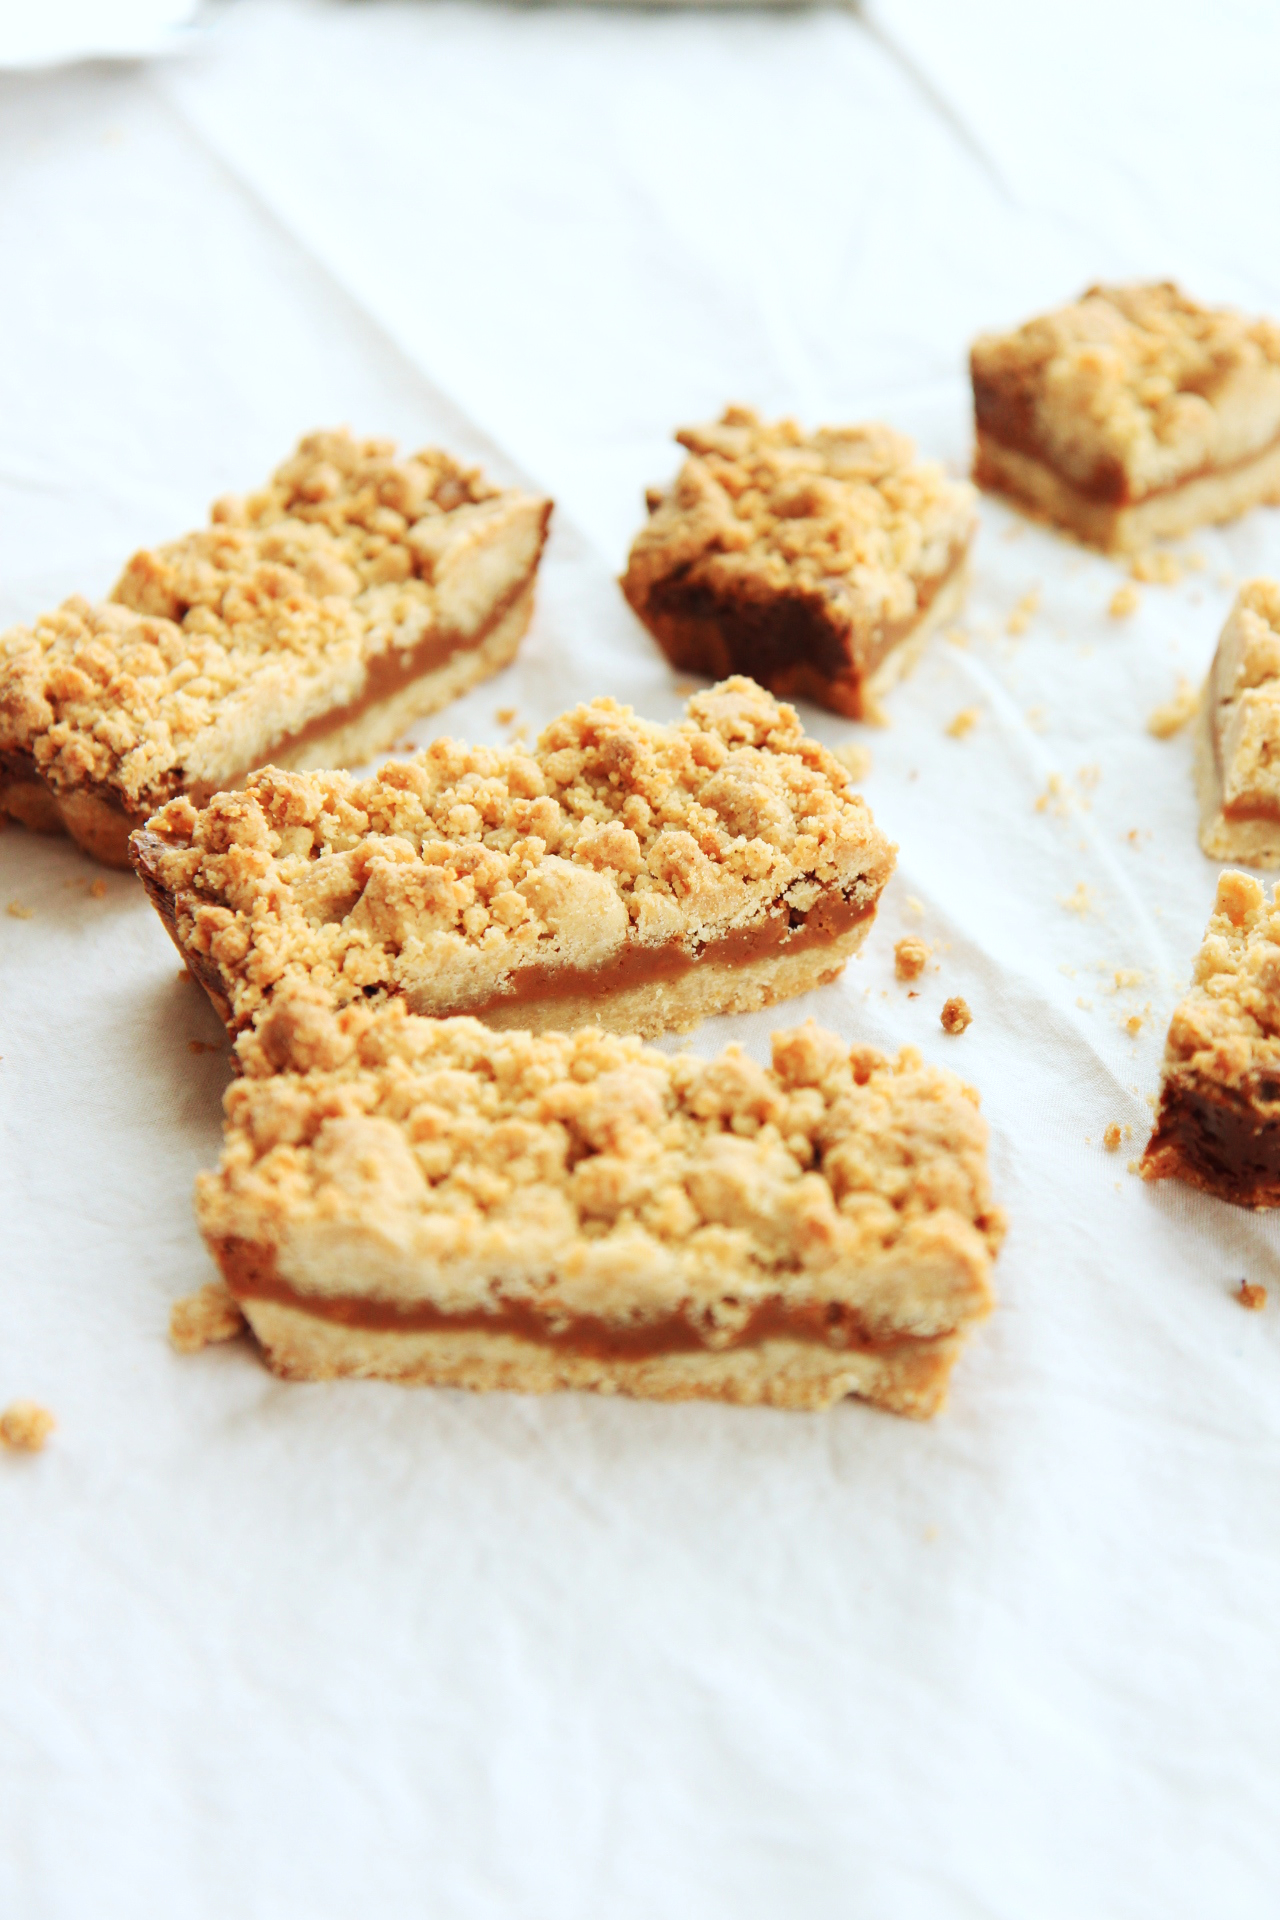
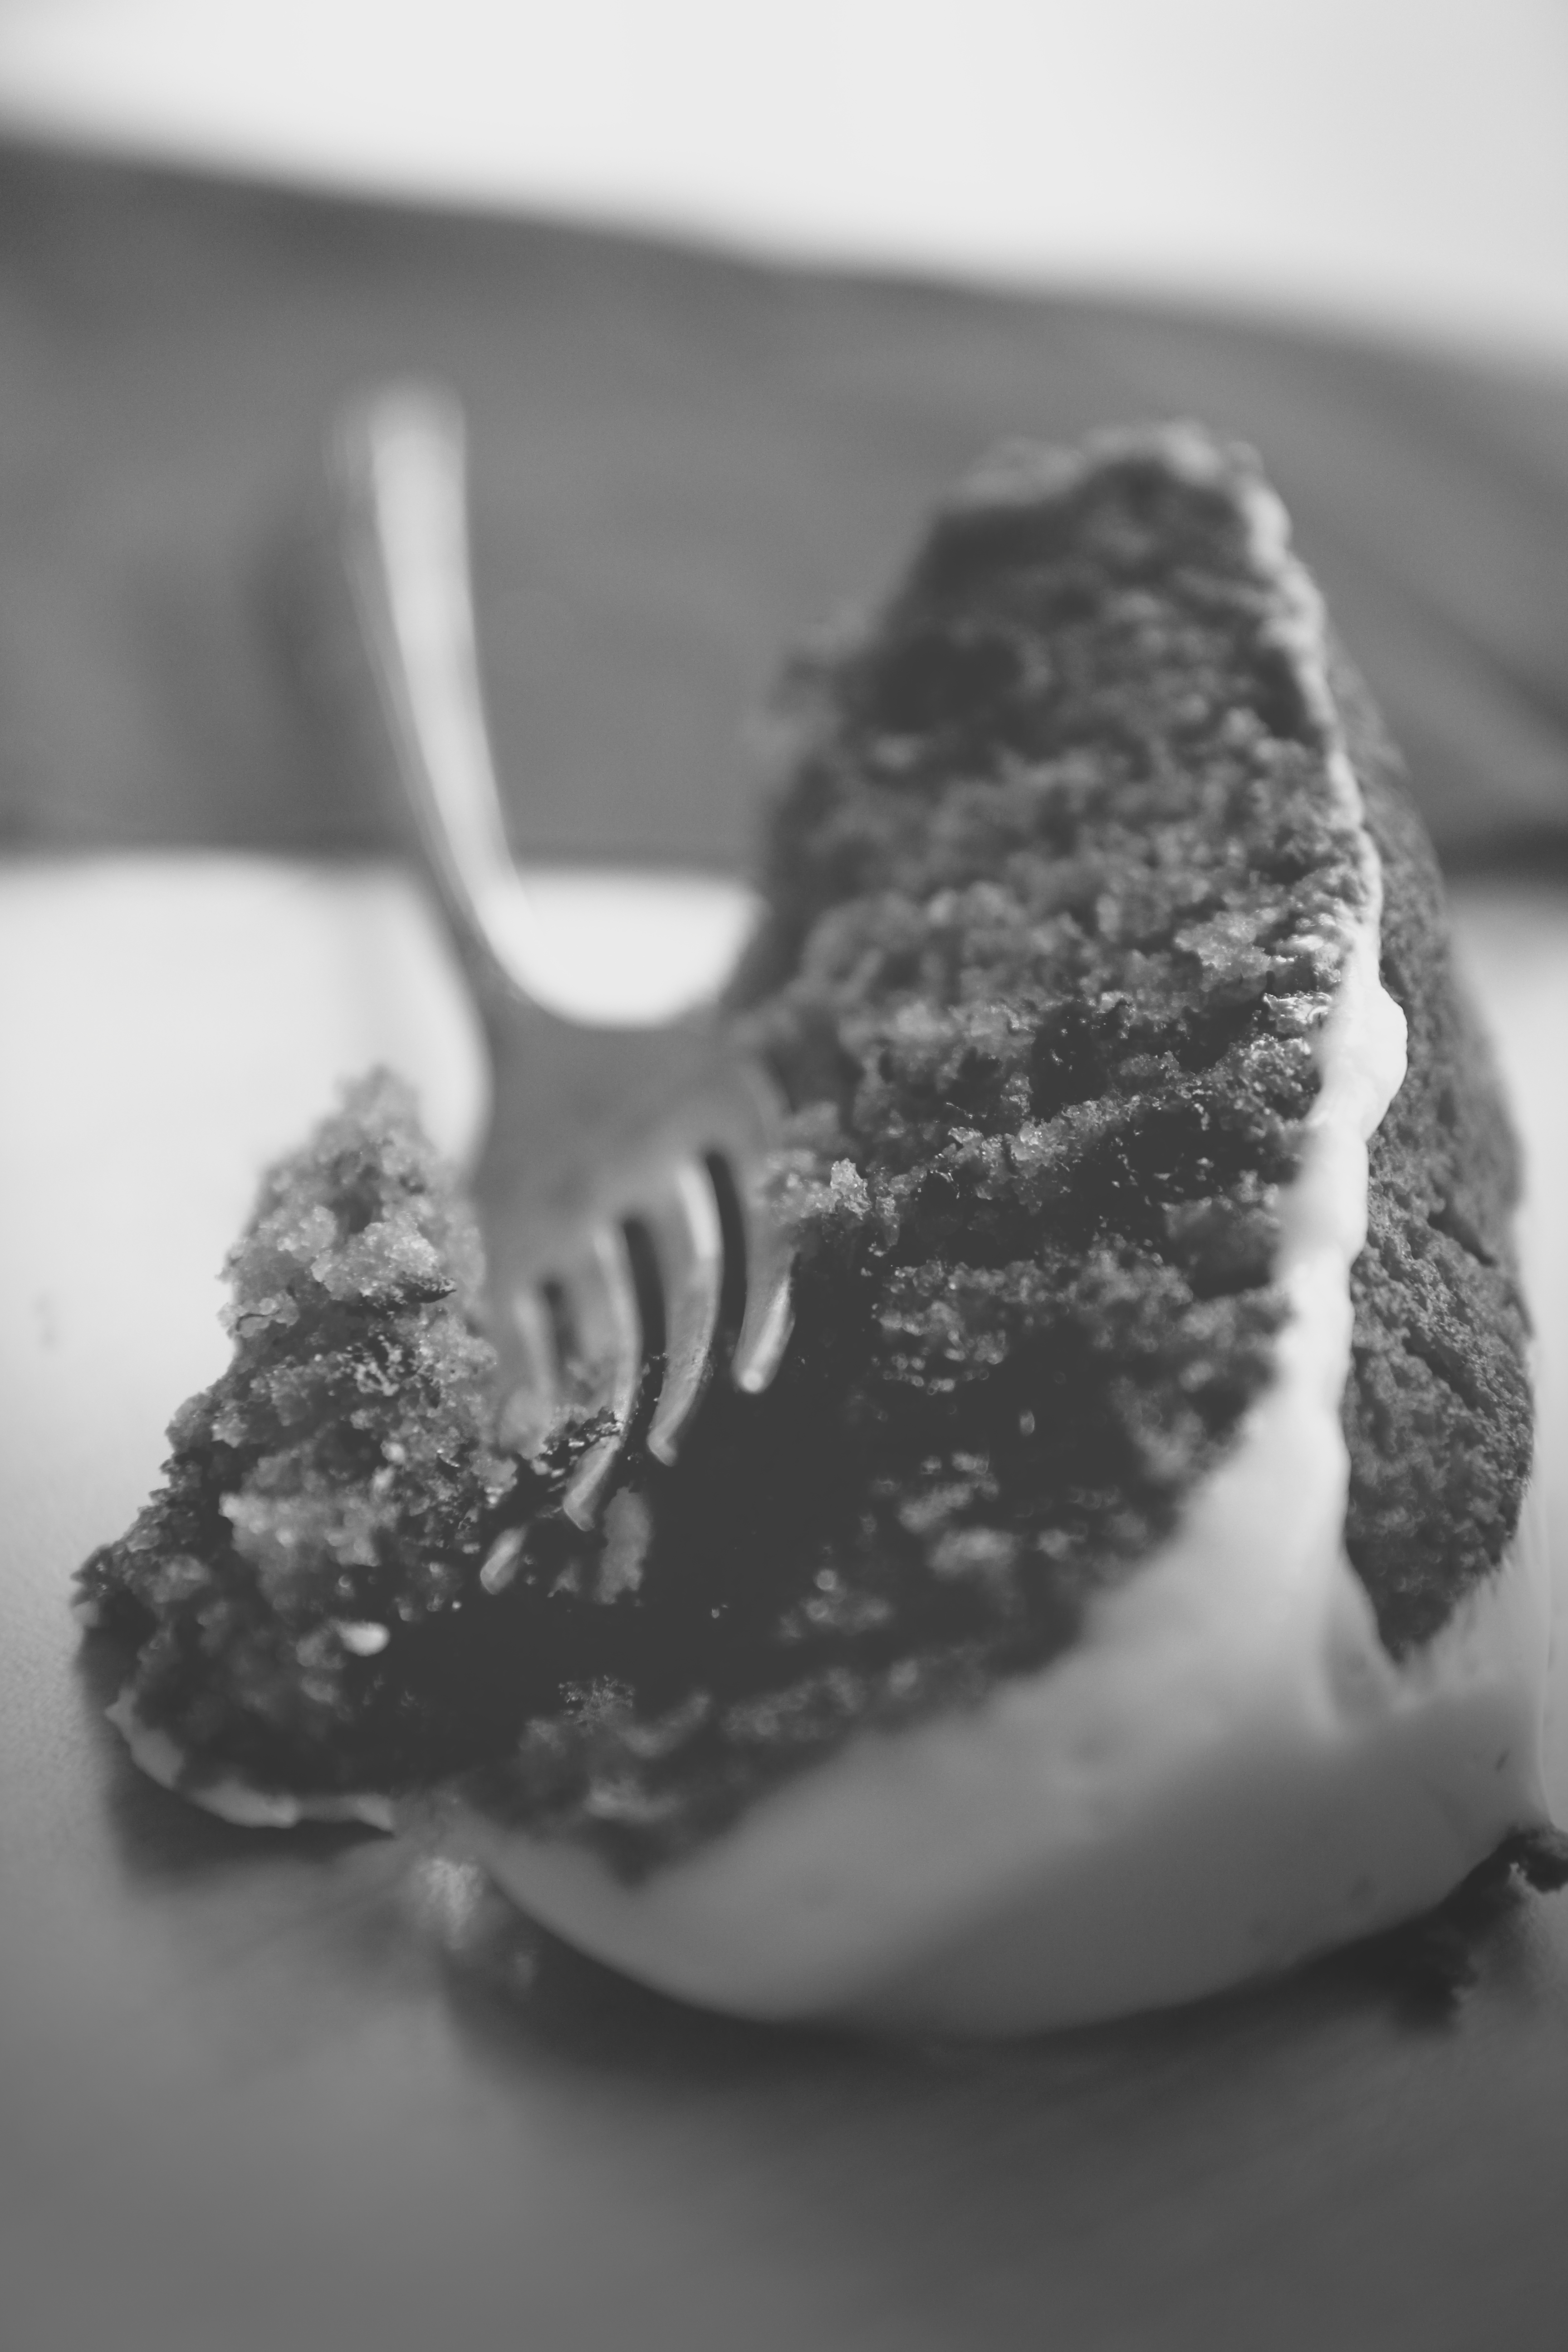
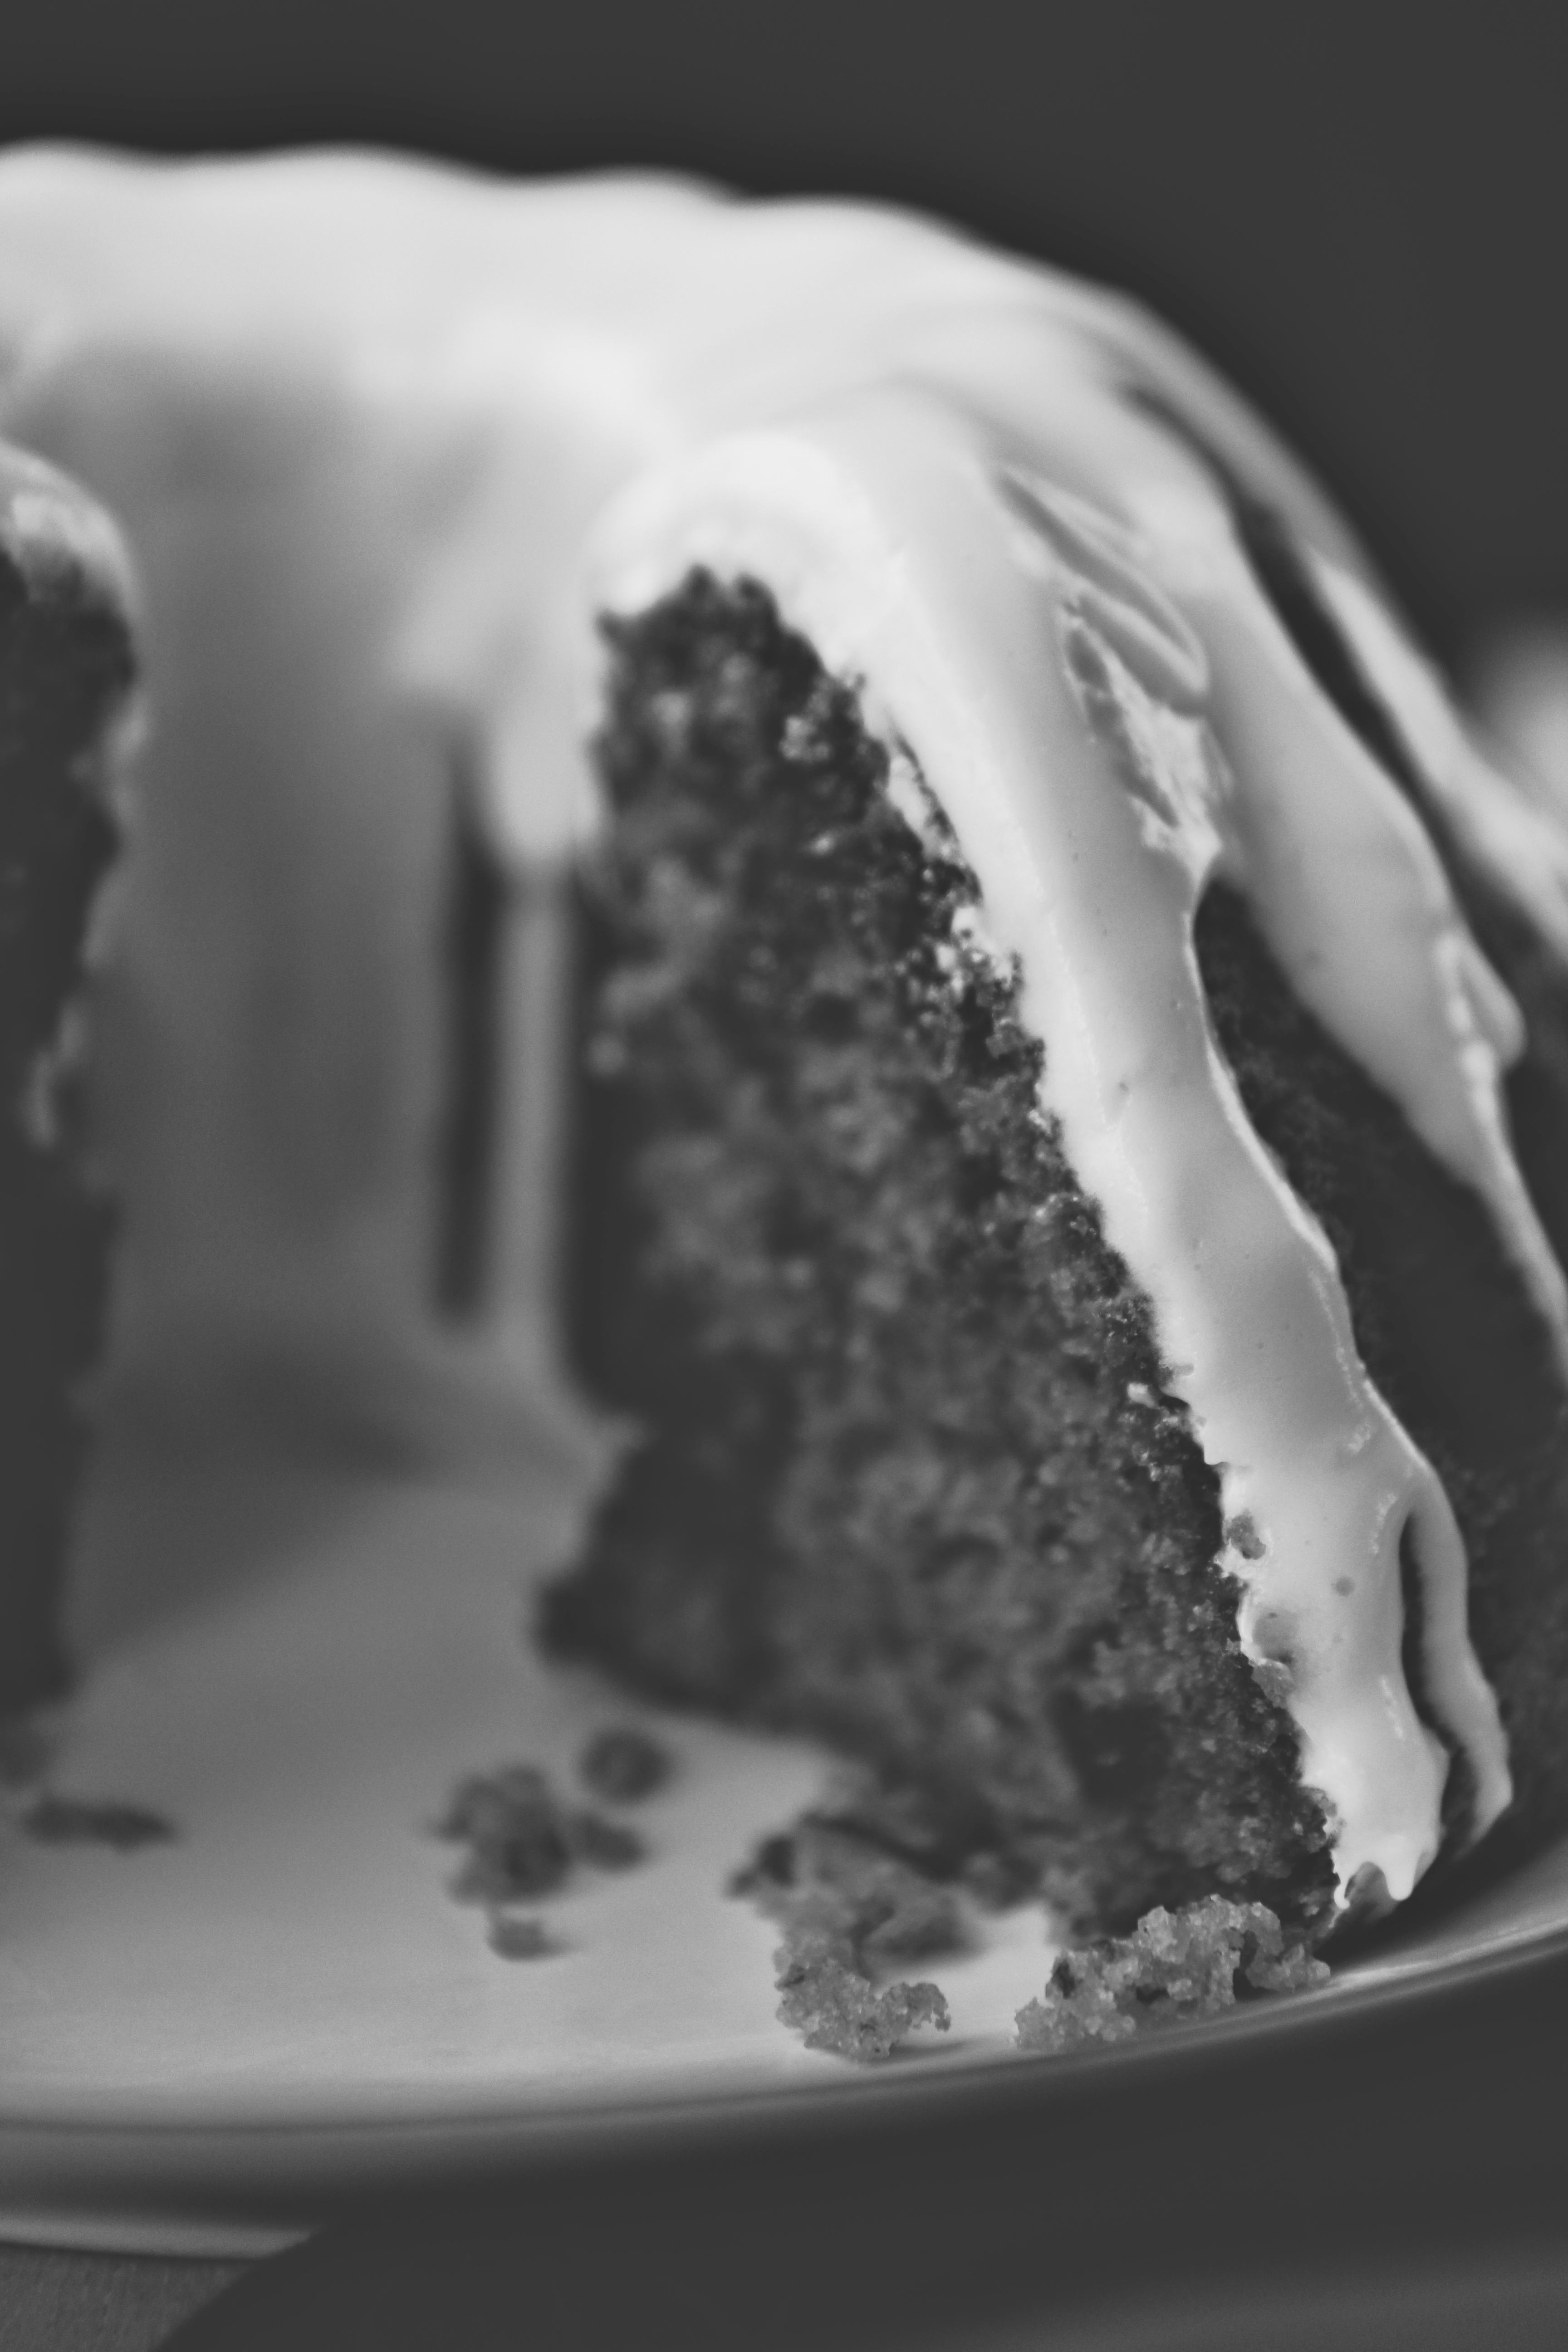
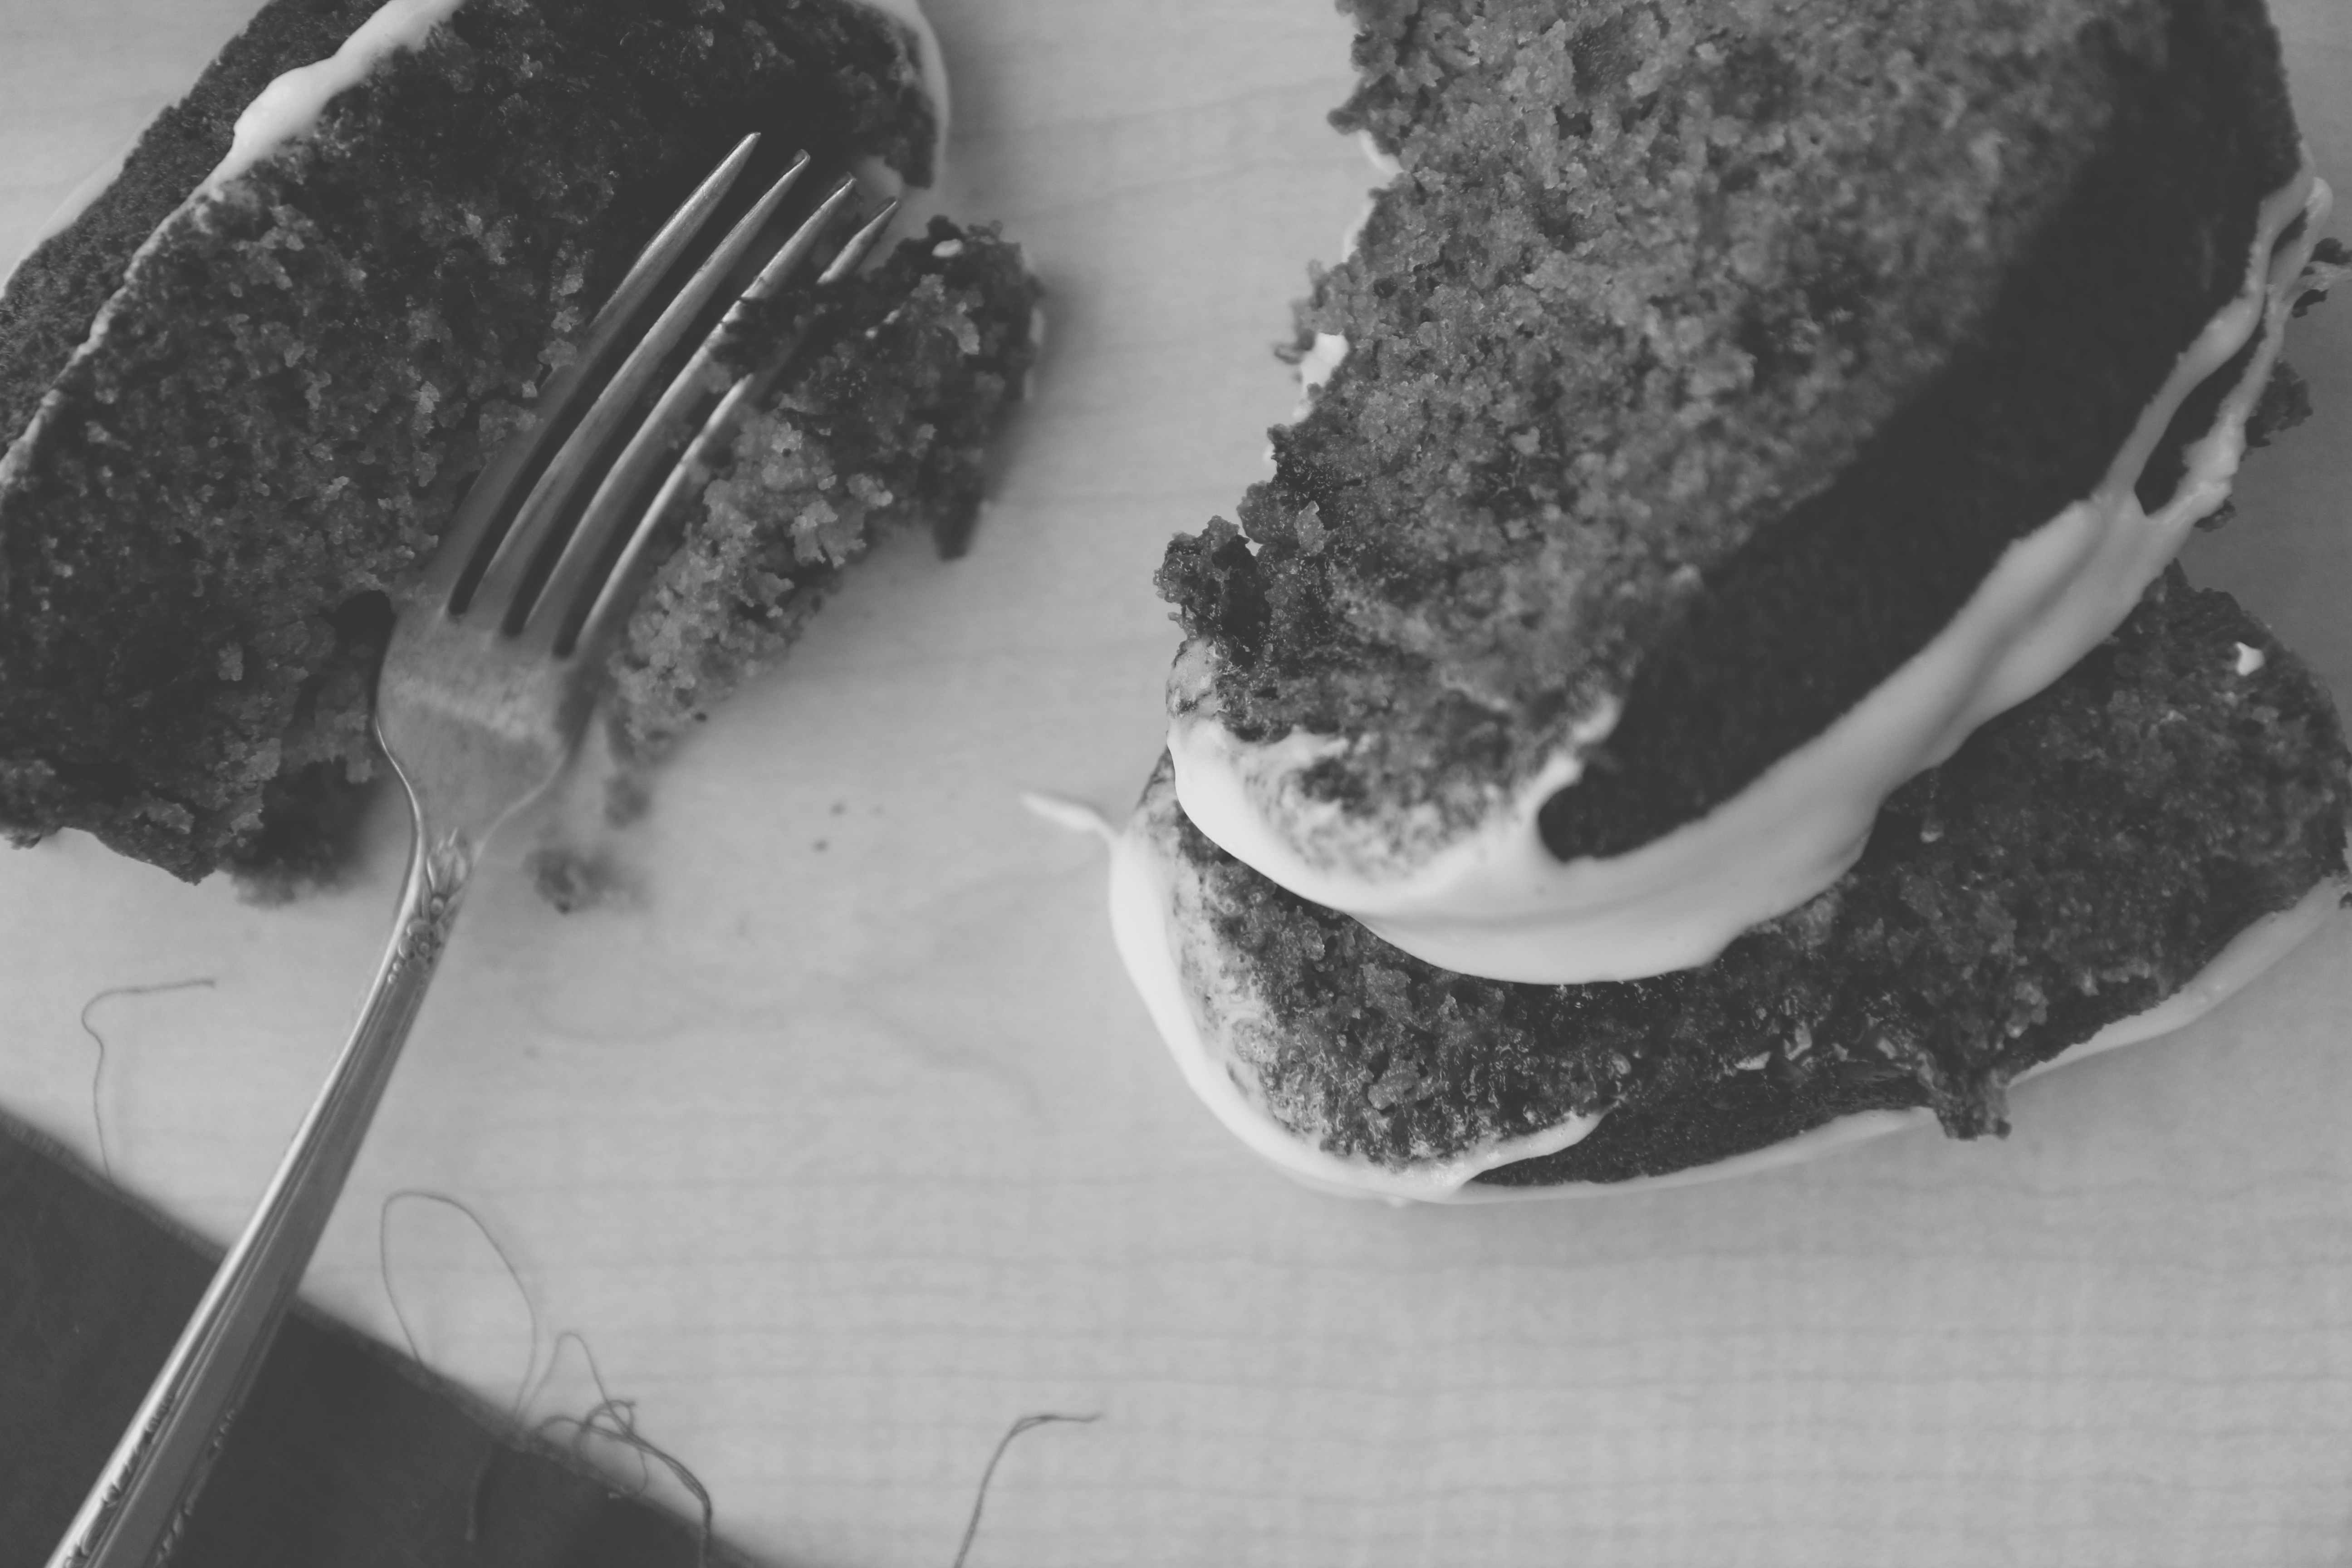
When it comes out the next day, it’s dense and chewy, yet maintains its eponymous gooey-ness.
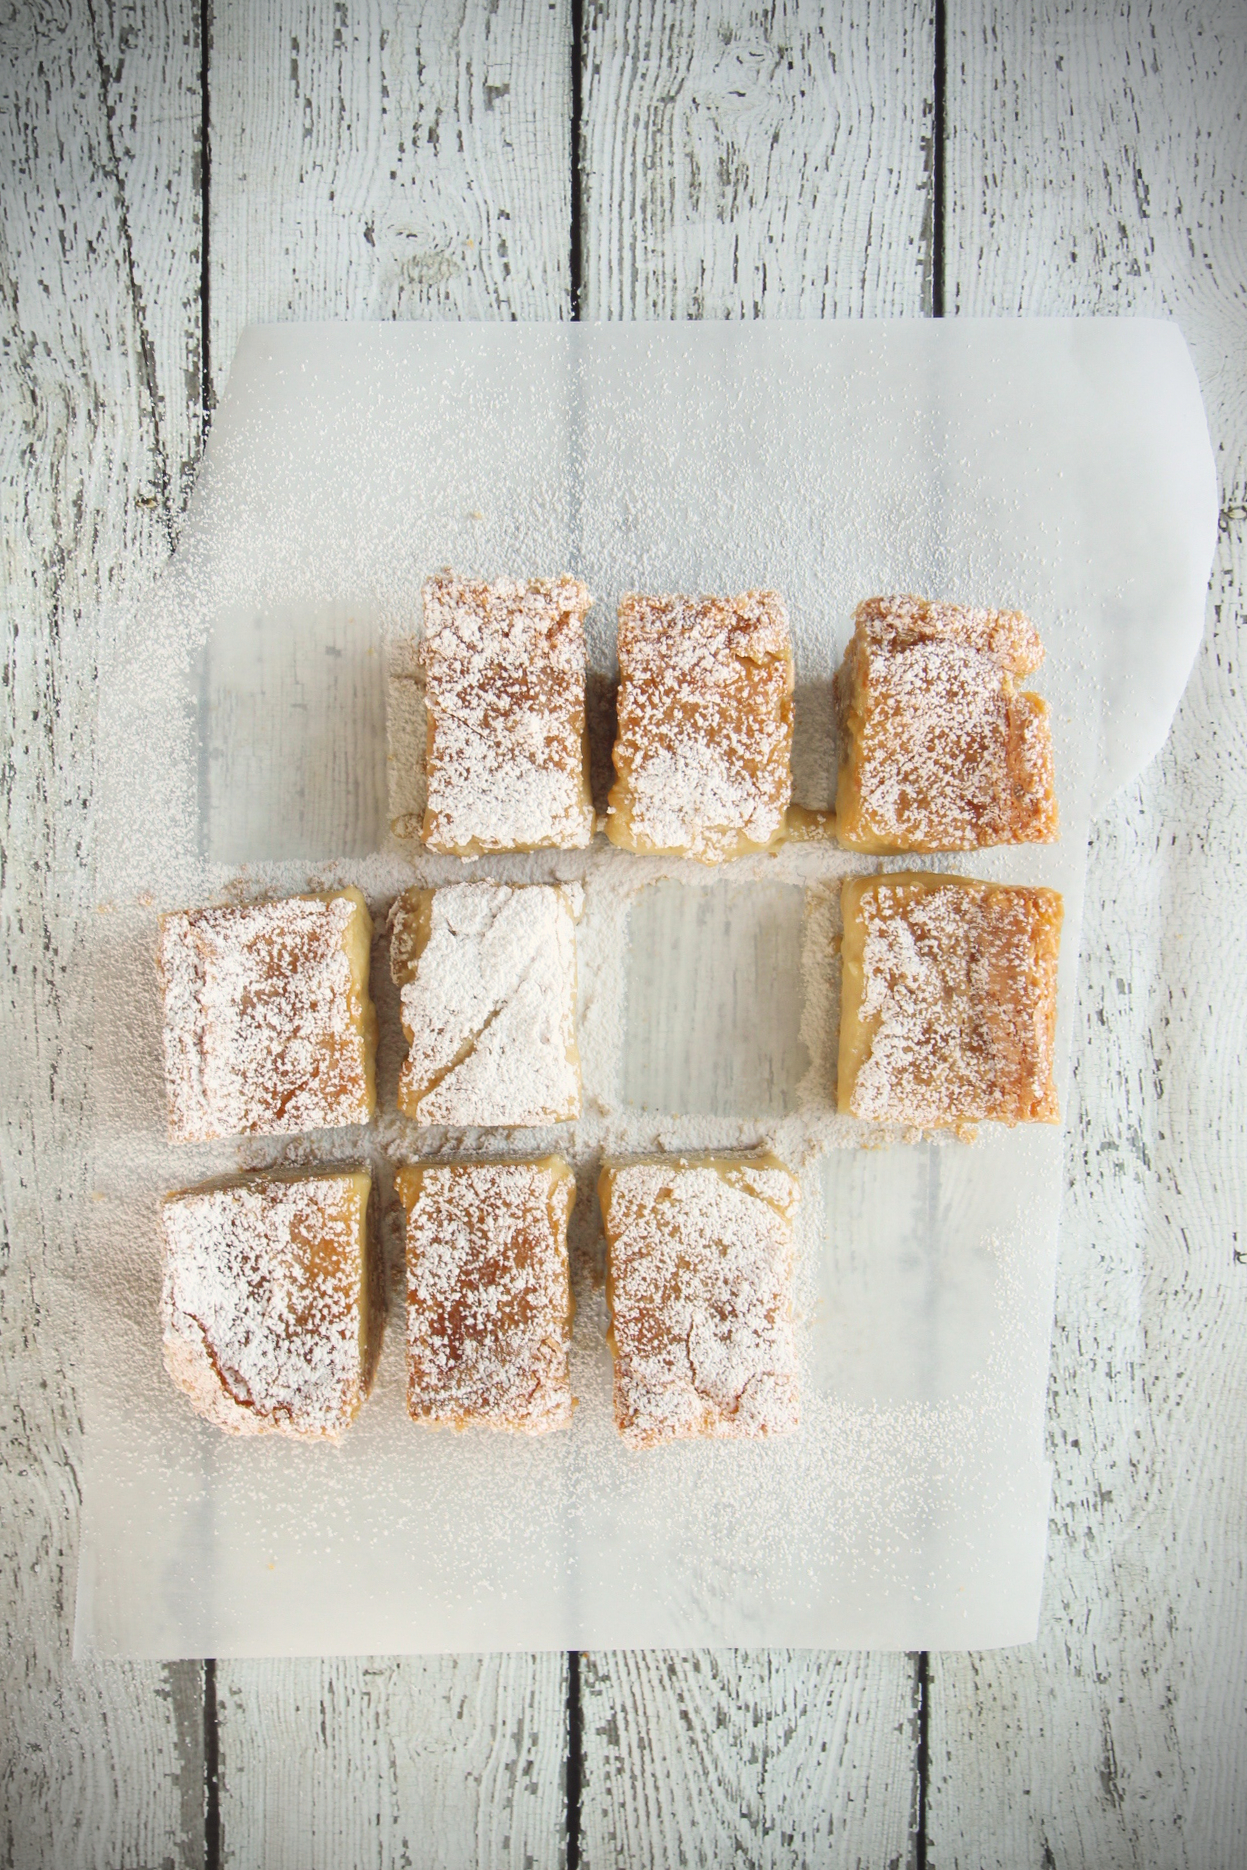
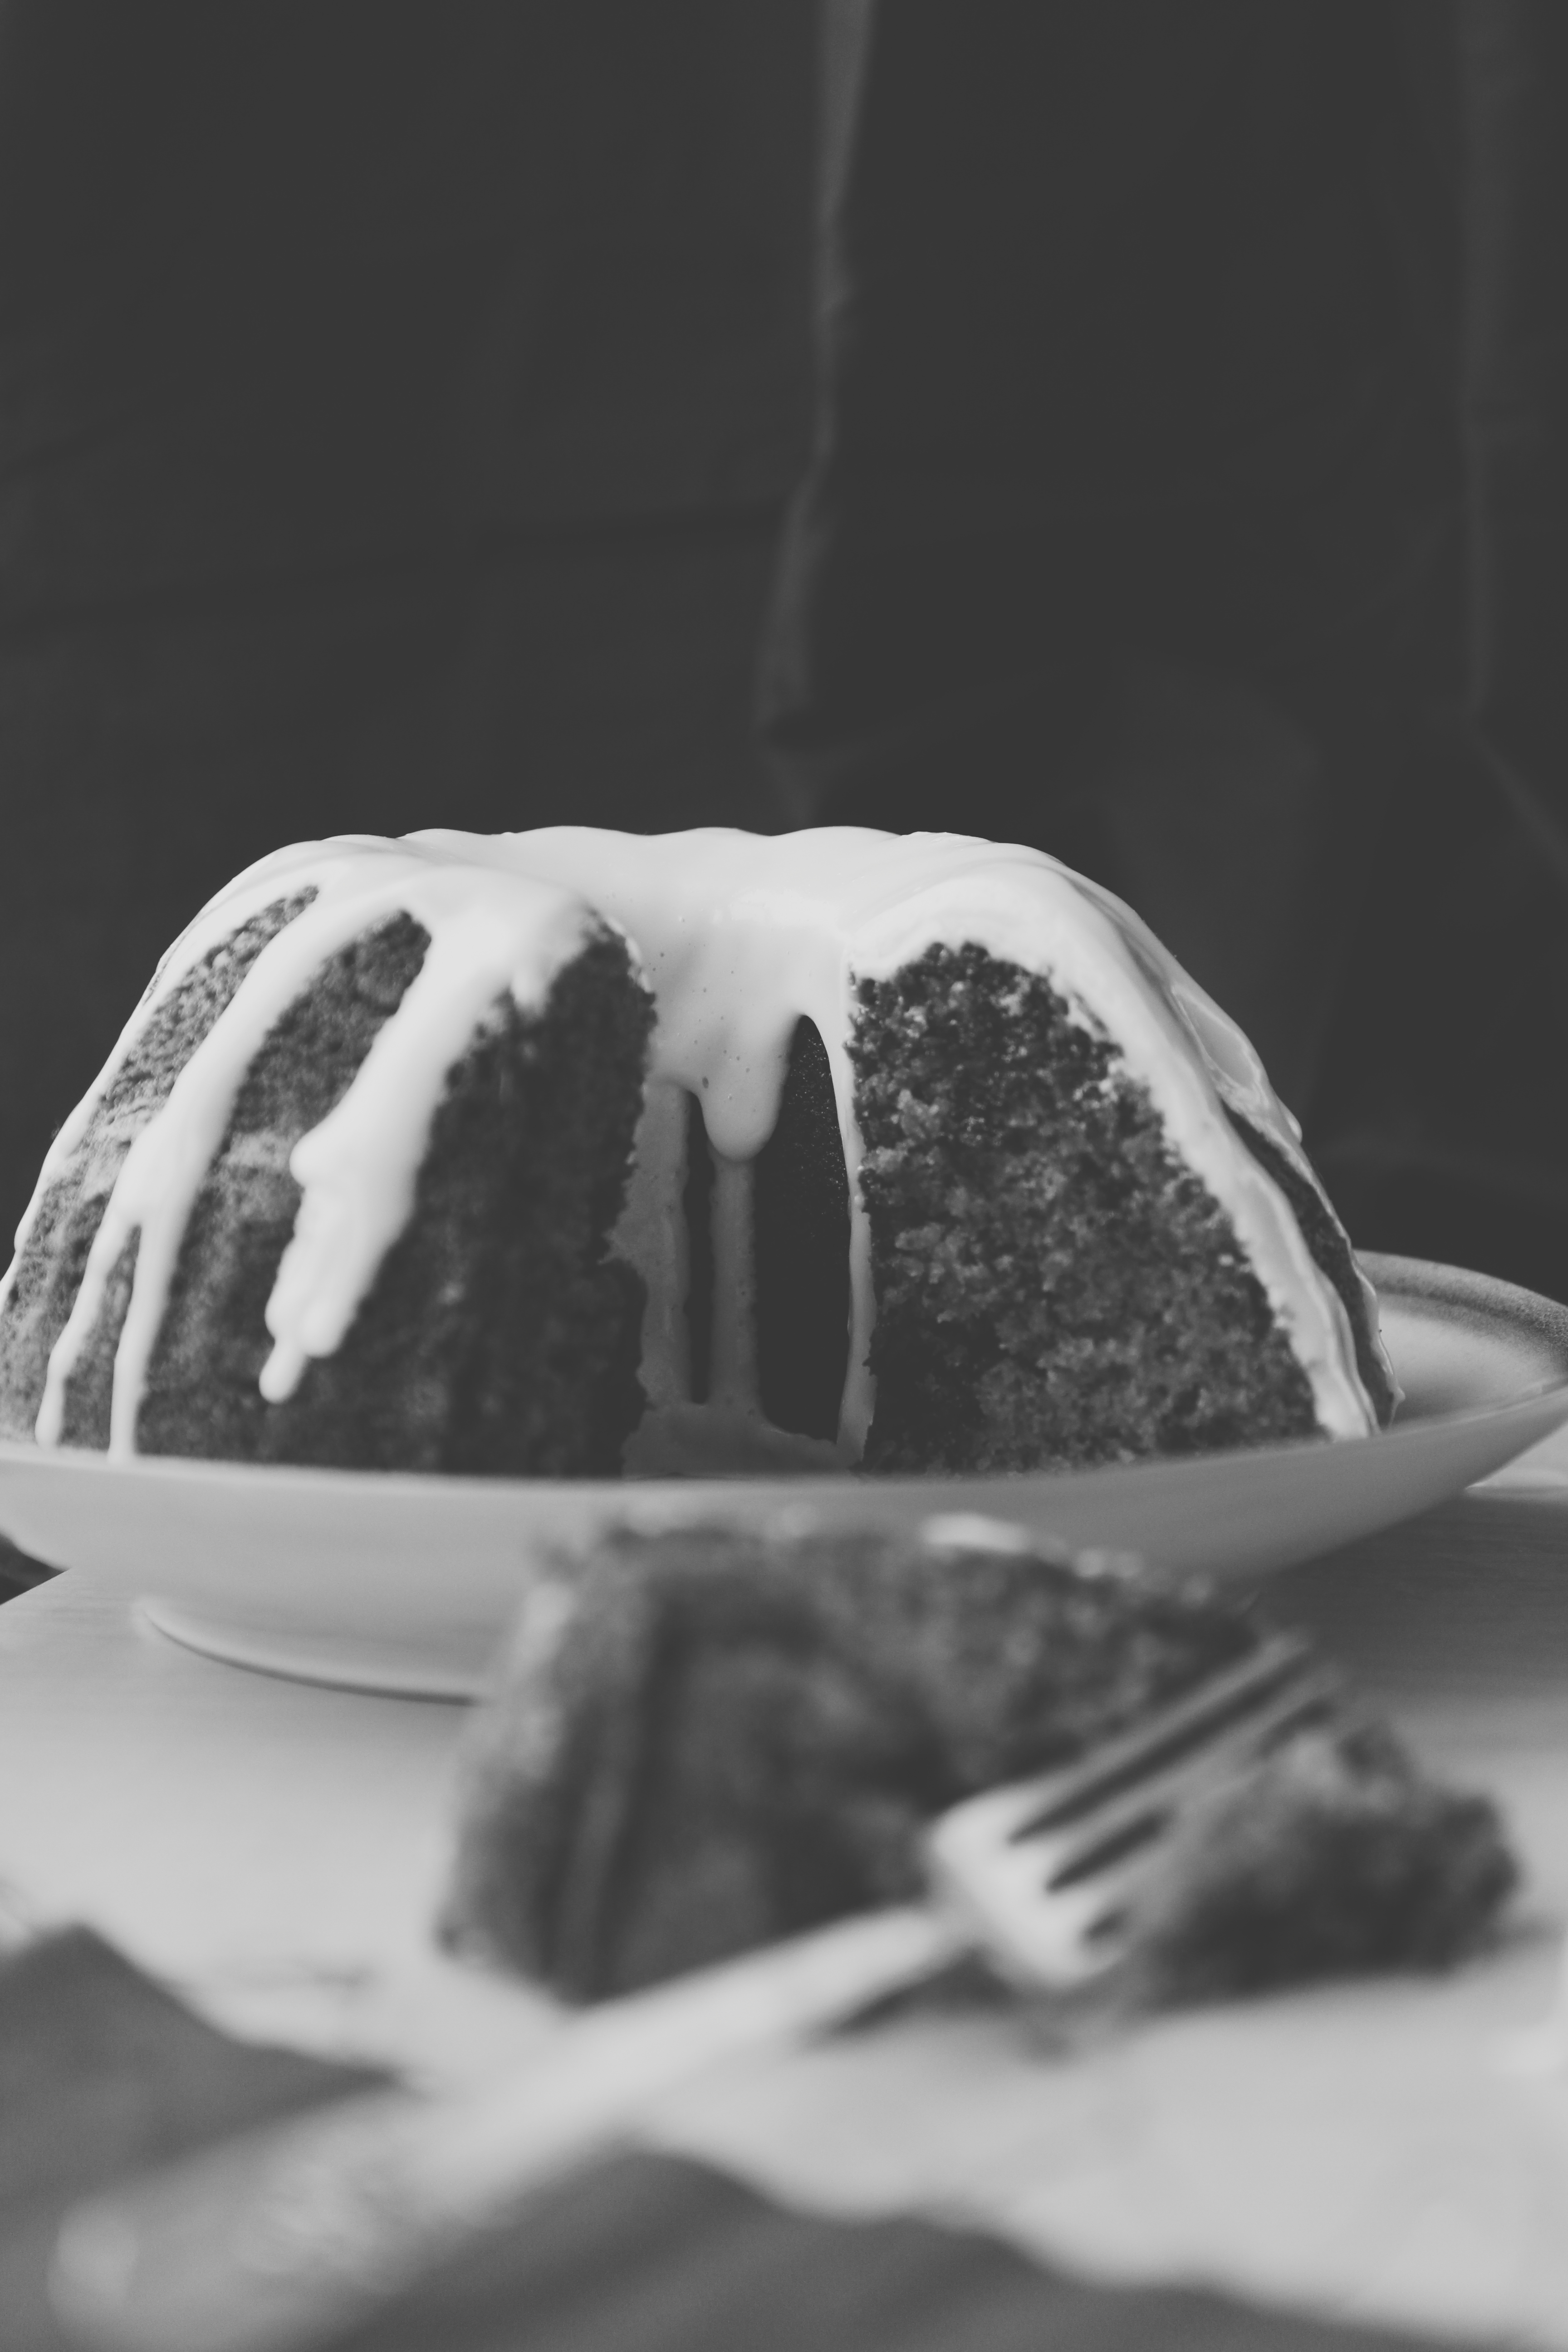
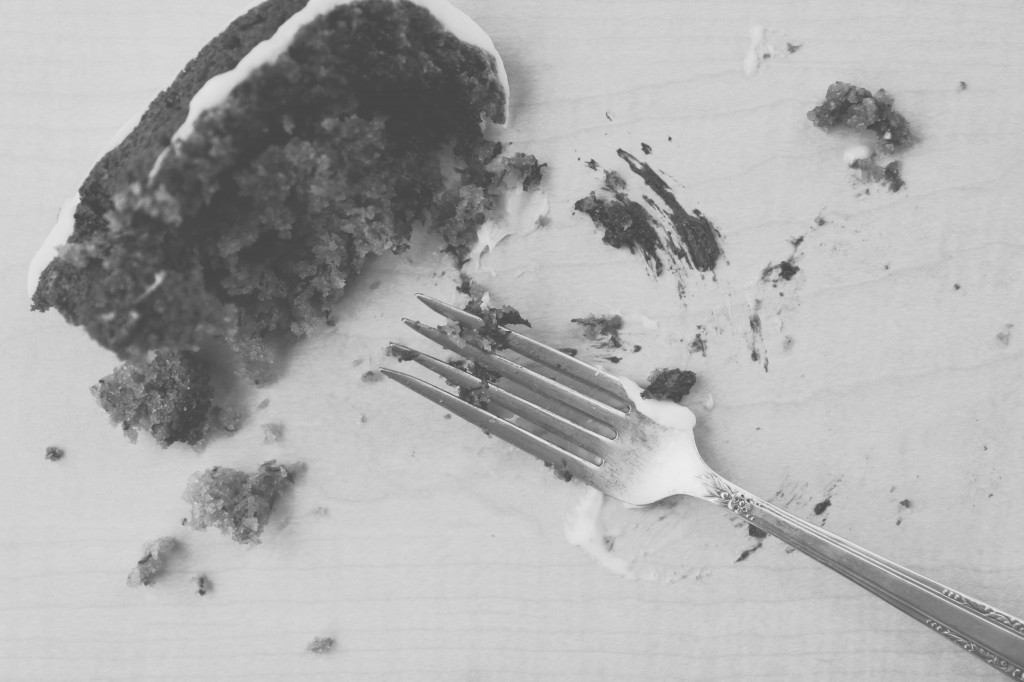
Dust it in more powdered sugar, slice, and dive right in.
One bite and there’s no going back.
It just got better, fam.
Brown Sugar Oatmeal Gooey Butter Cake
makes an 8×8 pan
heavily adapted from Christina Tosi (originally via the now defunct Gilt Taste)
ingredients:
for the base:
3/4 cup rolled oats
1 teaspoon kosher salt
3/4 cup brown sugar
3/4 cup granulated sugar
1/2 cup (8 tablespoons) butter
2 egg yolks
1 egg
1 1/2 cups flour
1 tablespoon baking powder
for the topping:
8 ounces cream cheese
hefty pinch salt
6 packed tablespoons (3 ounces) brown sugar
2 eggs
1 tablespoon vanilla extract
3 1/2 cups (13 ounces) confectioner’s sugar
directions:
Preheat oven to 350 degrees F.
Line an 8×8 pan with parchment, then grease the parchment generously.
Place oats in the bottom of a bowl, then put sugars and salt mounded up to one side.
Place your butter in a heavy pan over medium heat.
After it melts, continue to cook it until it browns and becomes nutty and fragrant.
Pour browned butter over oats and allow to sit and marinate; after a few minutes, stir the sugars and salt together with the oats.
Beat in the egg and egg yolks.
Stir in the flour and baking powder.
Mixture will be crumbly but stick together when pressed.
Press into the bottom of your 8×8 pan; you will have some left over (leave 3/4 of an inch for the topping).
Prepare the topping:
Beat cream cheese and salt together until very light and fluffy, and no lumps remain.
Whip in the brown sugar until the mixture is no longer gritty, about 3 minutes.
Add in the eggs and vanilla and beat on high for another 3 minutes.
Sift the confectioner’s sugar over the top of the mixture and beat just until combined; scrape the sides of the bowl and make sure everything is homogeneous.
Spread the mixture over the crust, making sure it covers the entire thing.
Bake for 40-45 minutes, until puffed, golden, and crackly, with only a slight jiggle in the center.
Remove from oven and let cool; PLACE IN FREEZER for at least 4 hours, and up to one night.
To serve, remove from freezer and immediately slice; dust with plenty of powdered sugar.


