Zap!

IMG_1761_01

Un éclair… puis la nuit! — Fugitive beauté
Dont le regard m’a fait soudainement renaître,
Ne te verrai-je plus que dans l’éternité?

Ailleurs, bien loin d’ici! trop tard! jamais peut-être!
Car j’ignore où tu fuis, tu ne sais où je vais,
Ô toi que j’eusse aimée, ô toi qui le savais!

— Charles Baudelaire

IMG_1731_01IMG_1773_01

un éclair = a bolt of lightning
or
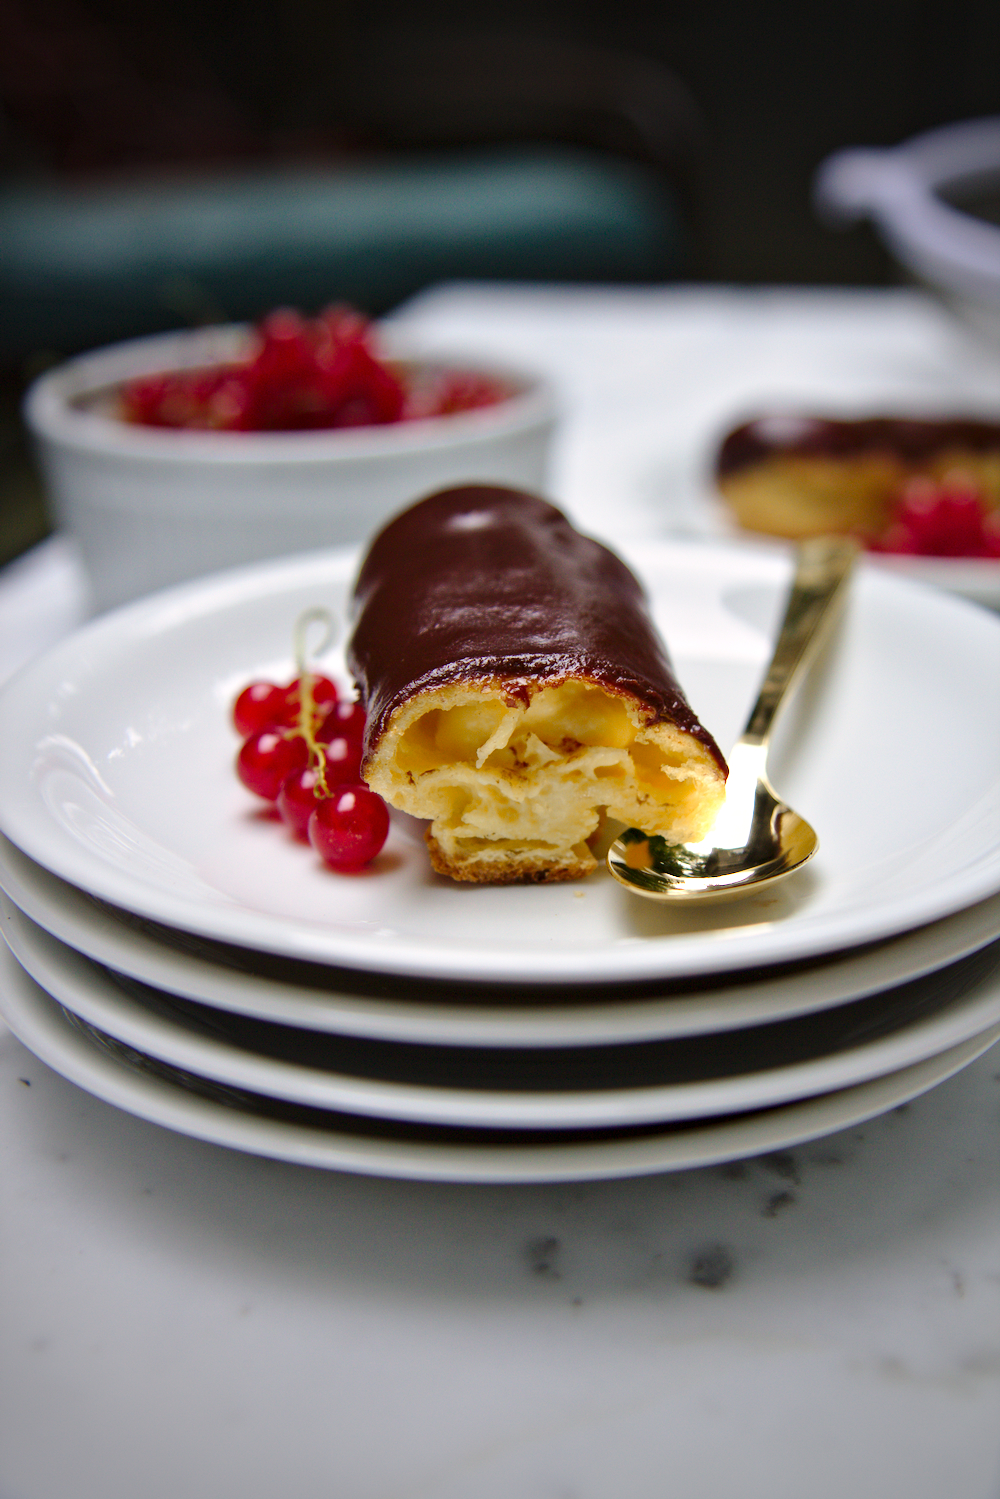
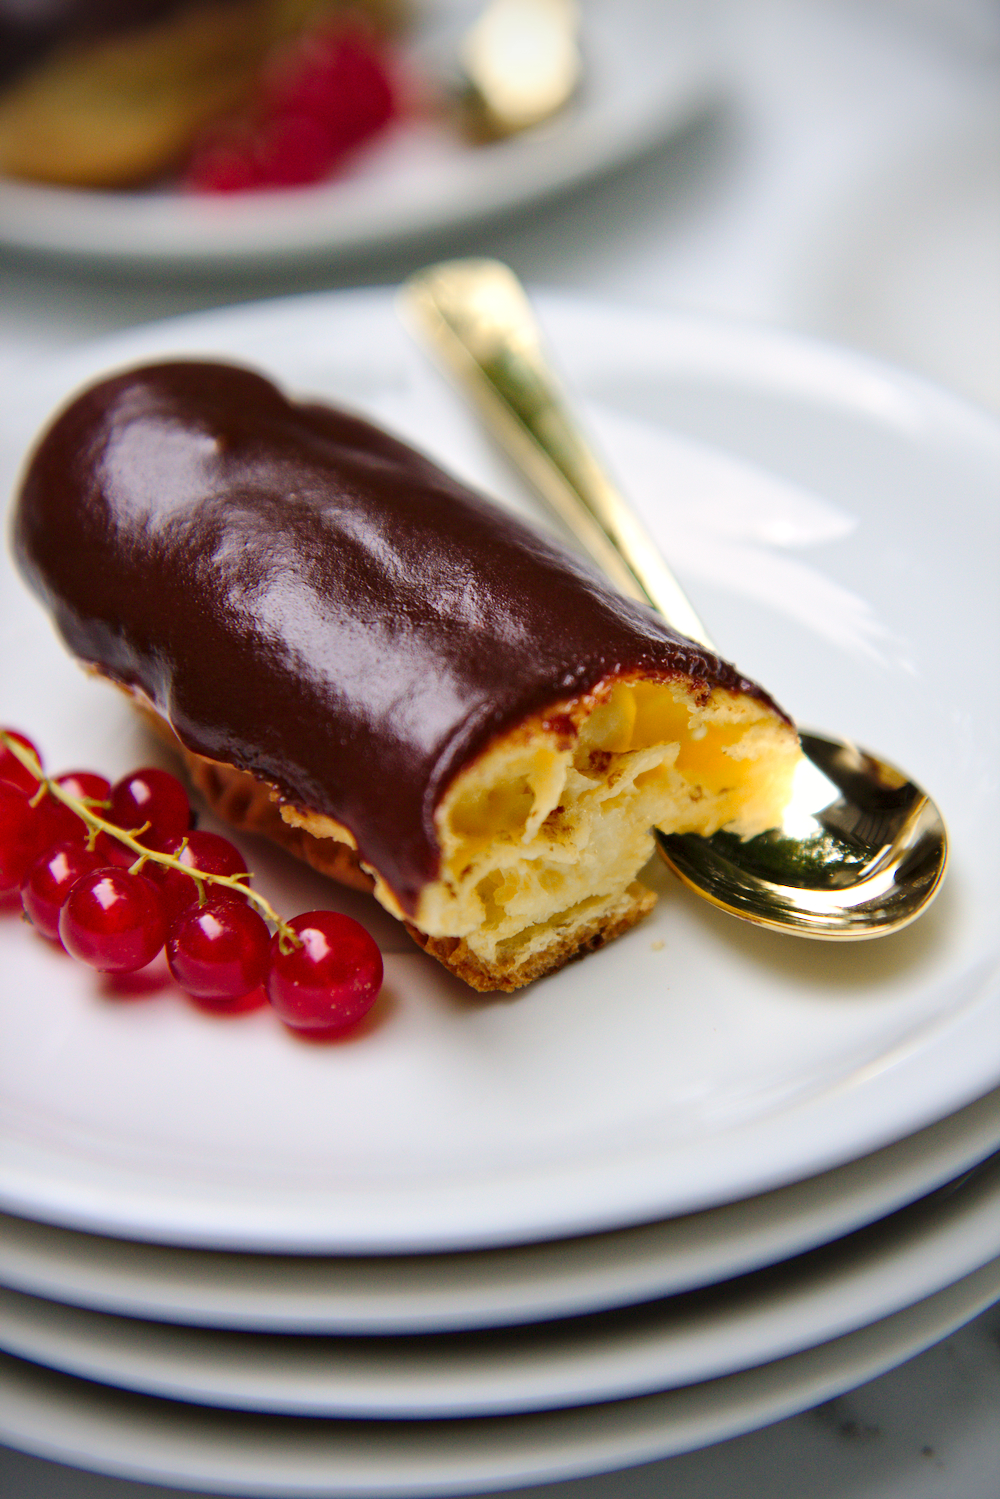
a delicious pastry…?

Named for the speed with which they are eaten, apparently. As soon as they’re made, they disappear.  Zap!

choux = cabbage
or
sweetheart

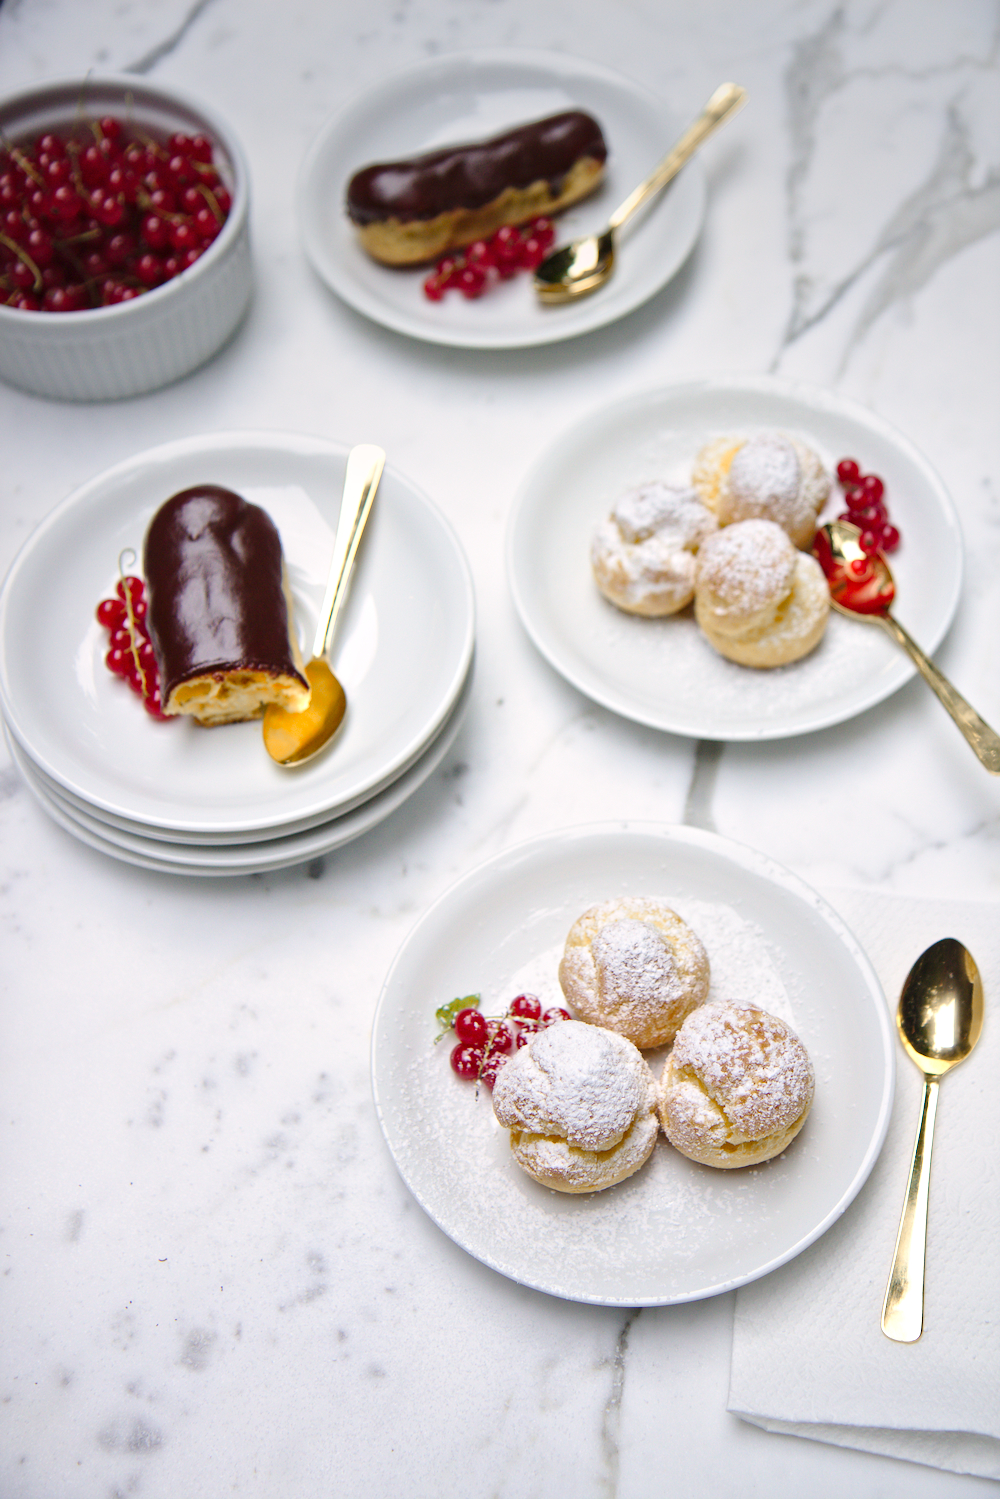
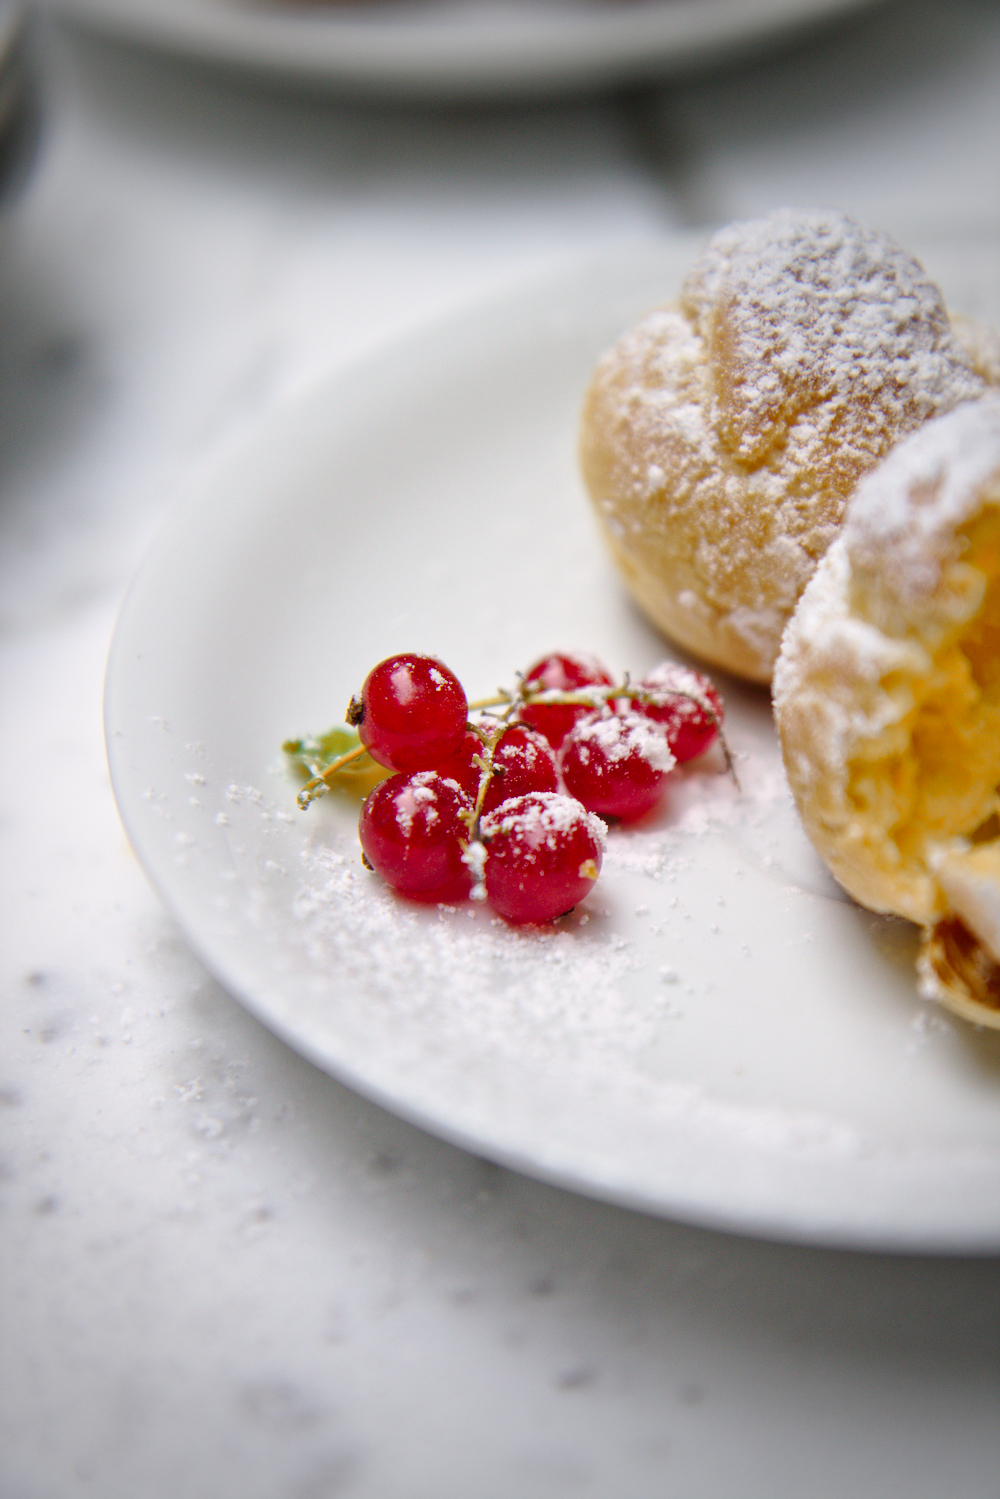
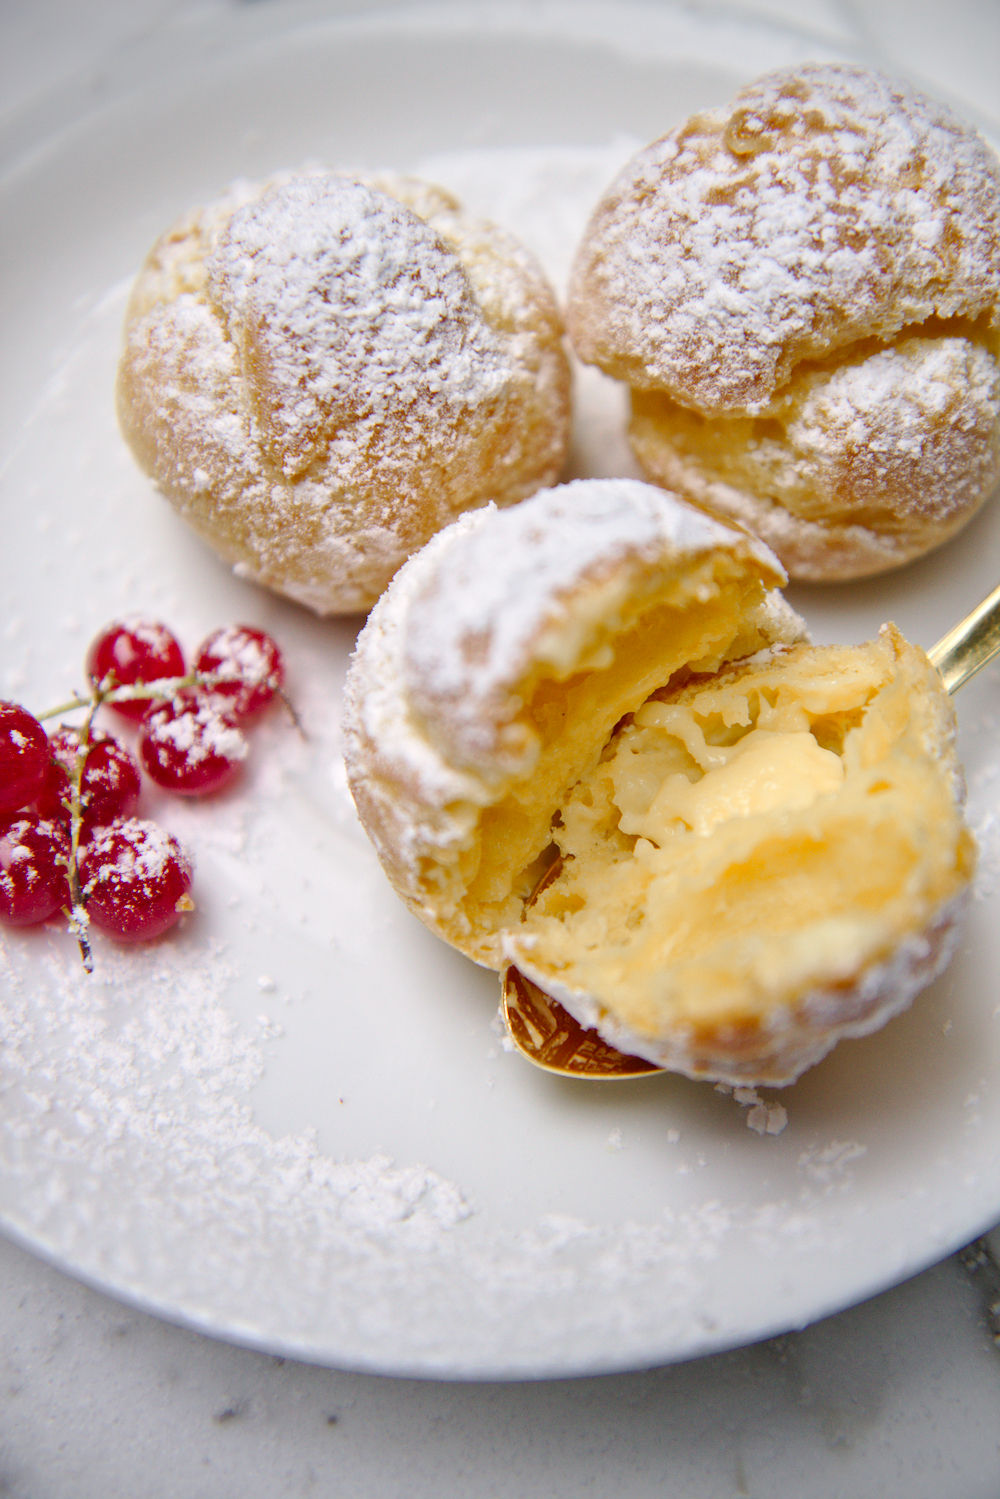
Choux à la crème, named not for its ingredients (no Brassica here, people.  Calm yourselves.), but because the dainty little puffs, with their cracked tops, look like cabbages. (?)

And this concludes our French lesson of the week.
(Bonus points if you can read the Baudelaire at the top of this post.)

IMG_1741_01 IMG_1752_01

How could I claim to be a lover of French pastry, a pâtissière at heart, if I had never tried my hand at the ever classic pâte à choux?
This I realized sheepishly some morning a few weeks back.
I promptly busied myself with a batch of éclairs, ready to tackle the simple dough: water, salt, milk, butter, flour, eggs.
Supremely (and elegantly) simple!

I knew choux pastry to be relatively easy to make, but I must admit I was surprised at how easy and quick it was!

20 minutes after deciding to make éclairs, I had 2 sheets of teeny tiny little piped pastries waiting to go into the oven.

IMG_1756_01

While they were baking, I whisked together a simple pastry cream; I wanted to flavor it with almond, but had no almond essence in my pantry, so I used one of my favorite ingredients (almond paste!!! I can eat it plain with a spoon!) for a rich, fragrant, extra thick, and creamy filling.
Just a few tablespoons are needed—save the rest of the can for a batch of marzipan or almond cookies!

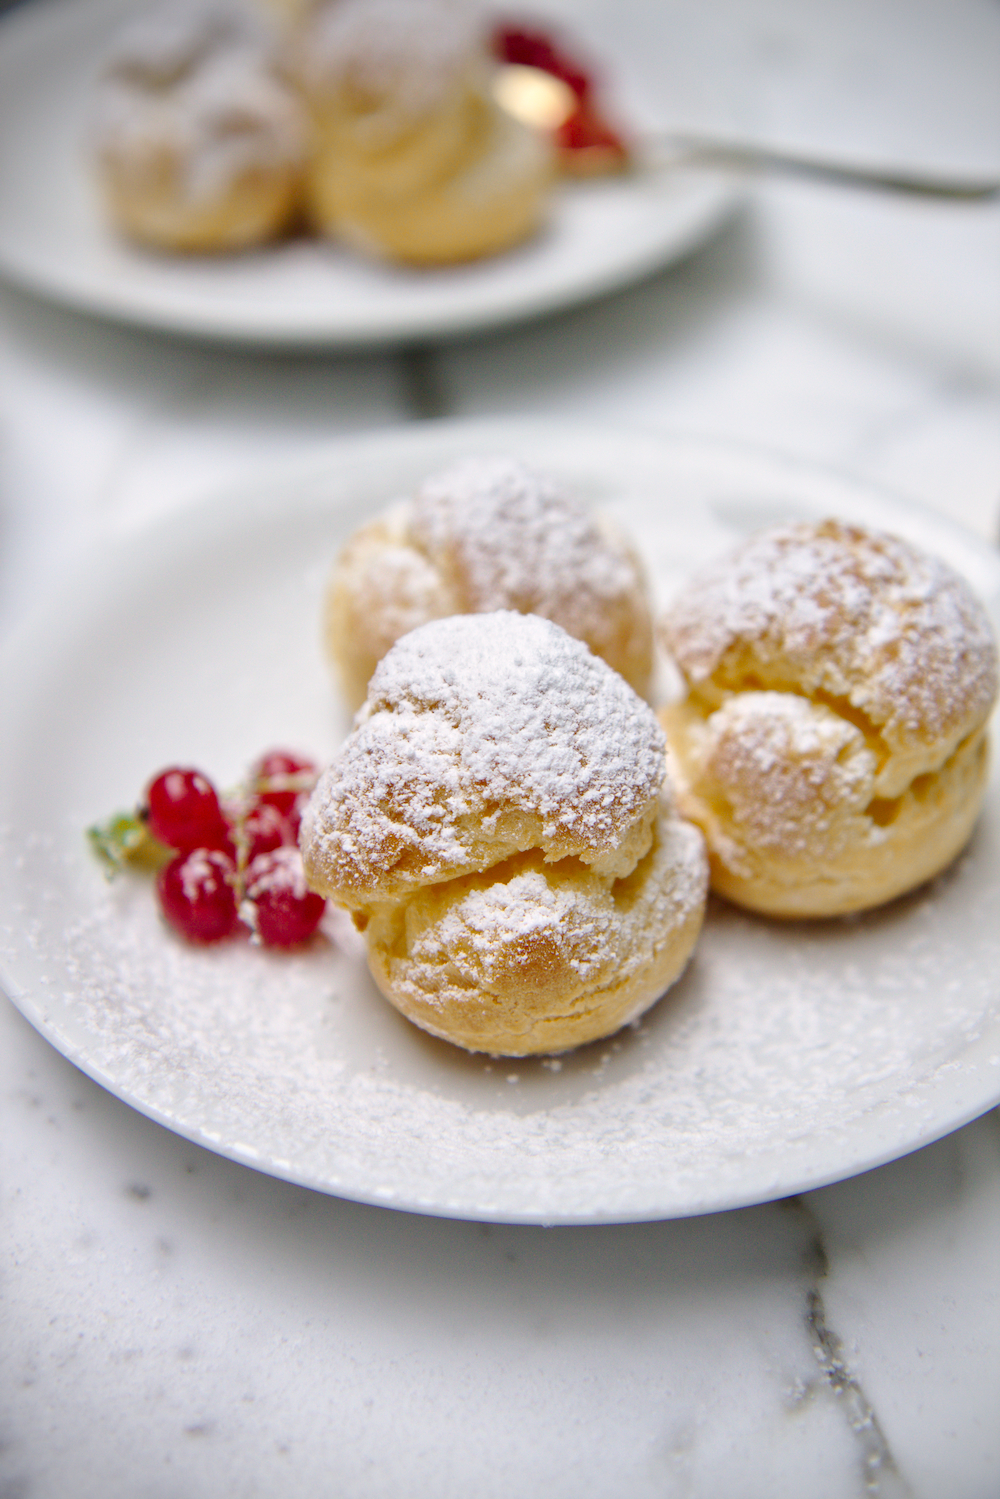
Dark chocolate, shiny and finger-licking good, finishes the éclairs.  The profiteroles need only a shower of powdered sugar.

These were so easy and satisfying—as they puffed in the oven, I could feel my pride swelling.
Thank goodness this blog (not to mention my tummy) is no longer lacking for choux pastry!

IMG_1769_01IMG_1765_01

Almond Cream Éclairs (and Cream Puffs)
adapted from the lovely Zoe of Zoe Bakes
makes 20-25 mini pastries

ingredients:
for the pâte à choux:
1/2 cup milk
1/2 cup water
8 tablespoons (1/2 cup) unsalted butter
1 tablespoon sugar
3/4 teaspoon kosher salt
1 cup all-purpose flour
4 eggs, room temperature

for the almond pastry cream:
1 1/3 cups milk
4 egg yolks
5 tablespoons plus 1 teaspoon sugar
2 tablespoons plus 2 teaspoons cornstarch
pinch kosher salt
2 tablespoons plus 2 teaspoons butter (~3 tablespoons)
3 rounded tablespoons almond paste

for the chocolate ganache:
6 ounces bittersweet chocolate
1/2 cup cream or half-and-half
4 tablespoons butter
1 tablespoon corn syrup
pinch kosher salt

directions:
Make the pastry shells: preheat oven to 375 degrees F and line 2 sheet pans with parchment paper.
Prepare a pastry bag with a large plain tip.
Place milk, water, butter, sugar and salt in a saucepot and bring to a simmer (the butter will be all melted by then).
Lower the heat to low, dump in all the flour at once and stir until the dough forms a cohesive ball and there is a slight film of dough on the bottom of the pot (click through to Zoe’s sight for great step-by-step photos!).
Remove the dough and place in the bowl of a stand mixer fitted with the paddle attachment.
While beating on medium speed, add in the eggs one at a time.
Scrape the bowl after adding all the eggs and beat until a smooth, thick but pipeable paste forms.
Fill your pastry bag and pipe desired shapes and sizes; make cream puffs by simply dolloping the dough, and make éclairs by piping a steady, thick line of dough.
To fix the peaks that stick up after piping, wet a finger slightly and gently tap them down.
Place the sheets in the oven and bake for 10 minutes.
Rotate the sheets and switch them top-to-bottom, then bake for 7-10 more minutes, until golden.
Prop the oven open with a wooden spoon and bake for 5 minutes more.
Remove from the oven and allow to cool completely before filling.
Make the pastry cream: place milk, egg yolks, sugar, cornstarch, and salt in a saucepot and whisk very well to remove any lumps.
Cook, stirring constantly, over low heat until it comes to a boil and is thick; remove from heat and place in a blender or in a bowl with which an immersion blender can be used.
Add the butter and almond paste in pieces to the mixture and blend briefly to incorporate and eliminate any lumps; don’t blend for more than 20 seconds.
Place plastic wrap directly onto the surface of the cream and place in the fridge to cool completely.
To fill the éclairs, cut three small Xs in the top, then stick a pastry bag fitted with a thin star tip into them and fill.
To fill the cream puffs, just stick the tip into the bottom, pressing firmly in order to push through the surface.
To make the ganache, chop chocolate and microwave in 15 second bursts until it is 1/2 melted.
Gently stir in the rest of the ingredients and continue to microwave in bursts until the chocolate is 2/3 of the way melted.
Remove from the microwave and allow to sit for 3 minutes; whisk briskly until the ganache comes together; it should be nice and glossy.
Allow it to cool slightly before dipping the tops of the éclairs in.
Refrigerate the pastries to set the ganache and allow the flavors to meld.
Eat cold or room temperature, dusted with powdered sugar.

Doubtful

IMG_1951_02

“Doubt kills more dreams than failure ever will.”

–Karim Seddiki

IMG_1962_01

You know what kills macarons?
No, you don’t.
No one does, because these stupid fucking cookies have minds of their own.

For me, macs go hand and hand with failure.
Do I doubt them? Perhaps—just a touch—as I slide each fated sheet into the oven.

IMG_1947_01
Ah, I know there are explanations and even better explanations, there are complete lists of problems and solutions.

But sometimes, y’all, the problem cannot be explained by even the most exhaustive list of troubleshooting suggestions.

Take these macs.  I’ve never turned out a sheet as perfect as the first that was pulled from the oven.
Great feet, solid insides (beware the hollows!), crack-free.
Hallelujer.

The second and third sheets, however, looked like the San Andreas fault personified in a cookie.
Feet, yes.  Gigantic, canyon-like crevasses?  Yep.

Why?!?!?! I don’t know.
Same batter.  Same oven temp and technique… It’s a mystery.

IMG_1893_01

So this round of macaron mania resulted in 1) the single most perfect sheet of macs to come out of my oven and 2) the most delicious macs to come out of my kitchen.
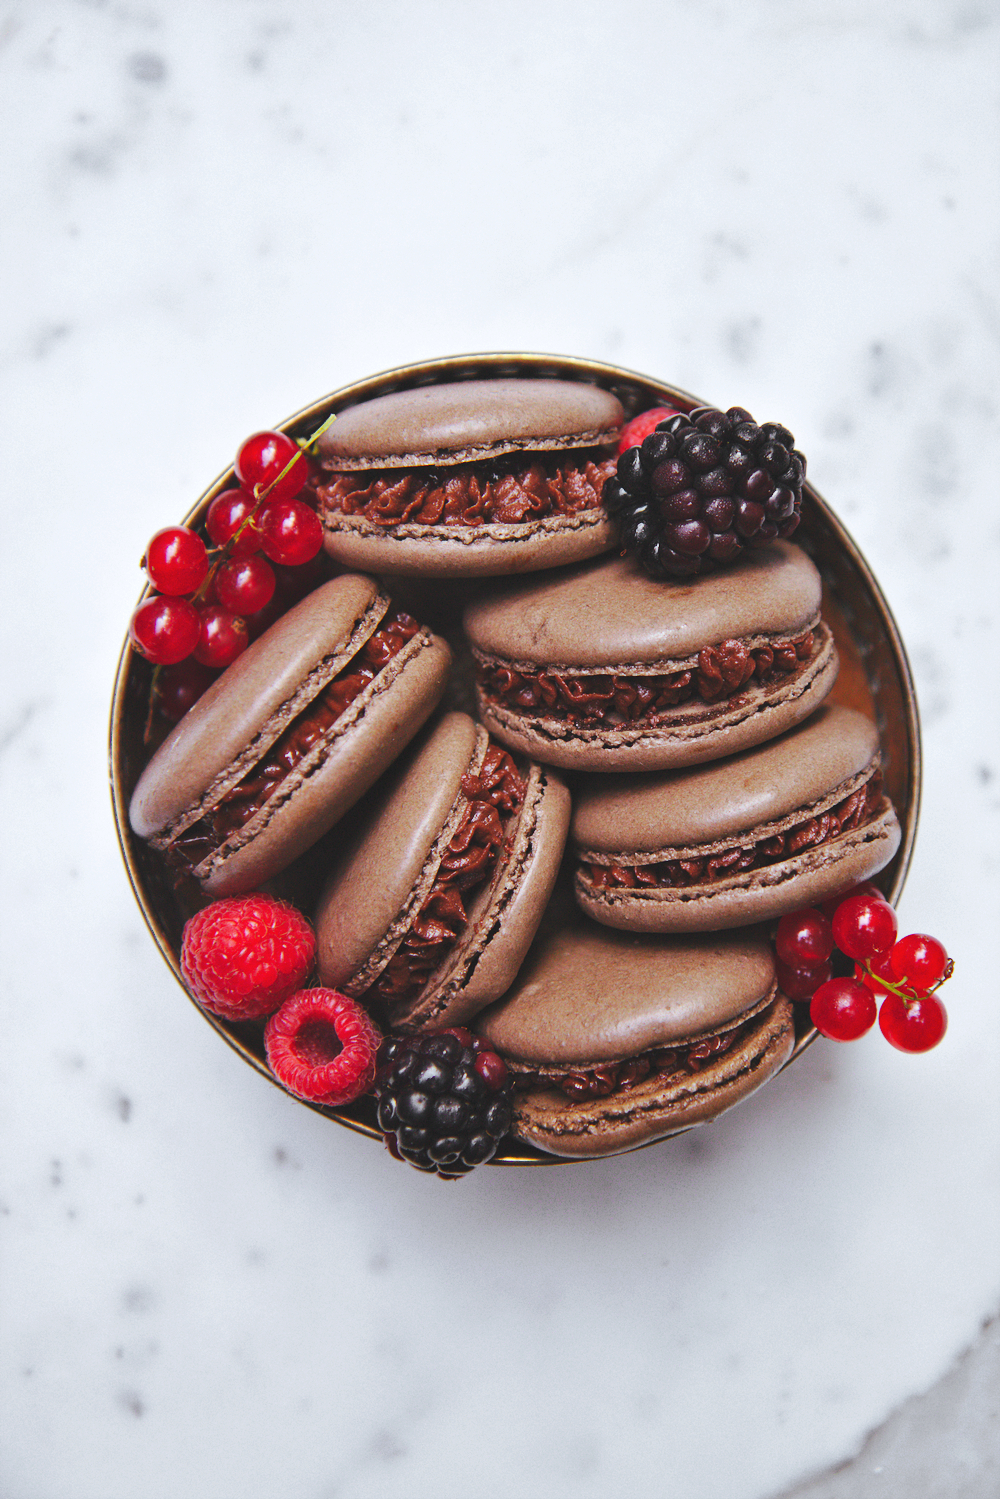
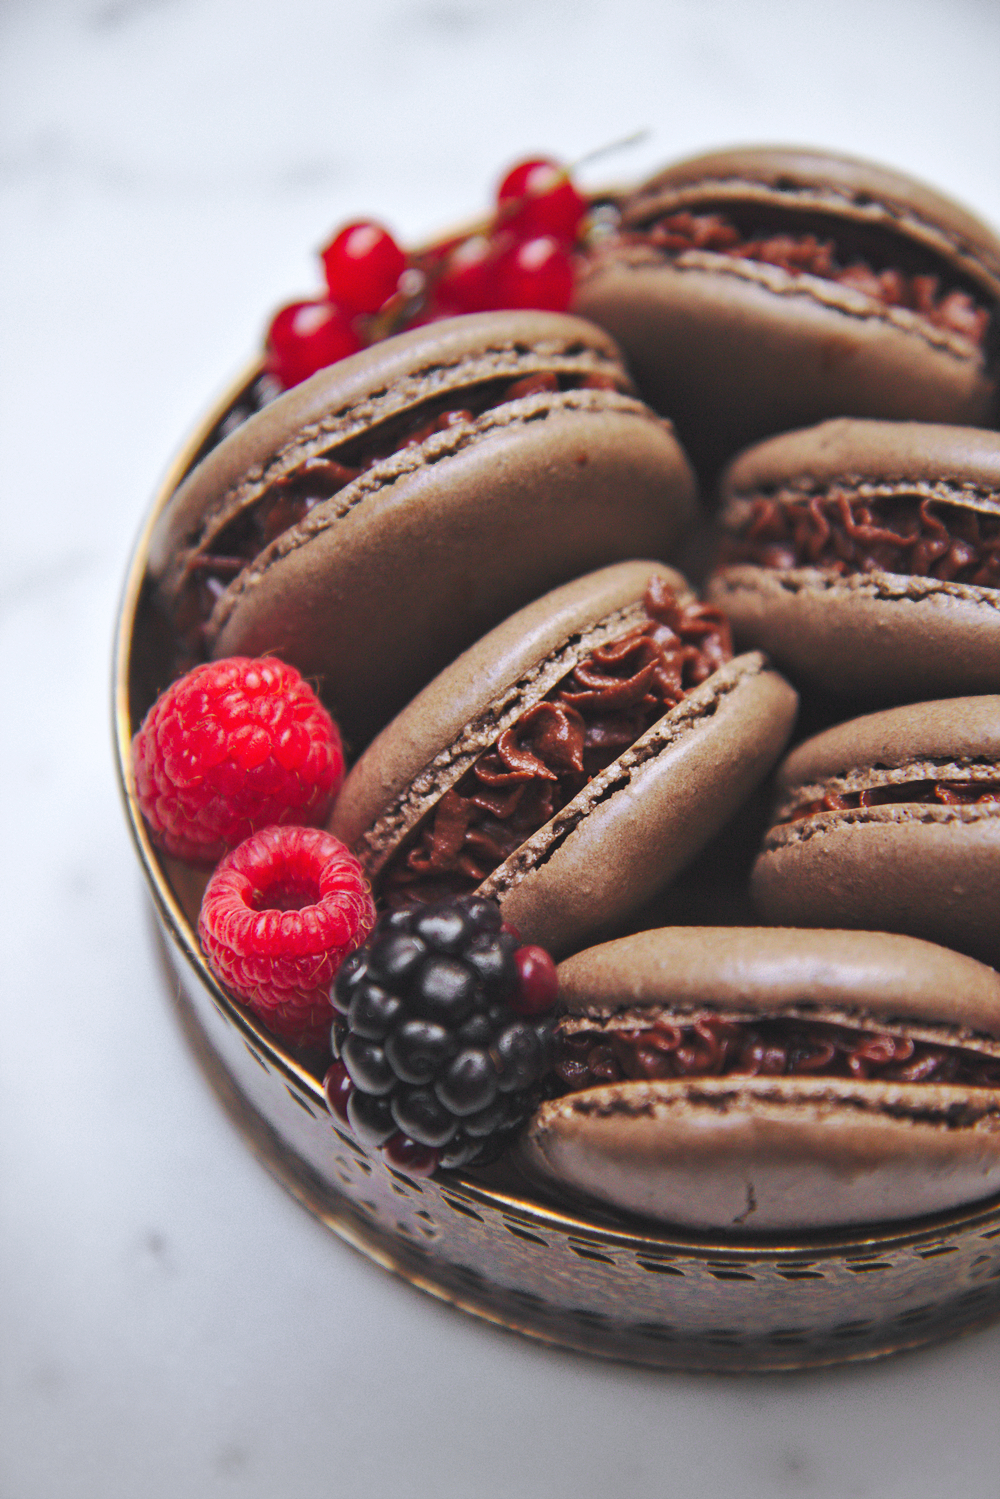
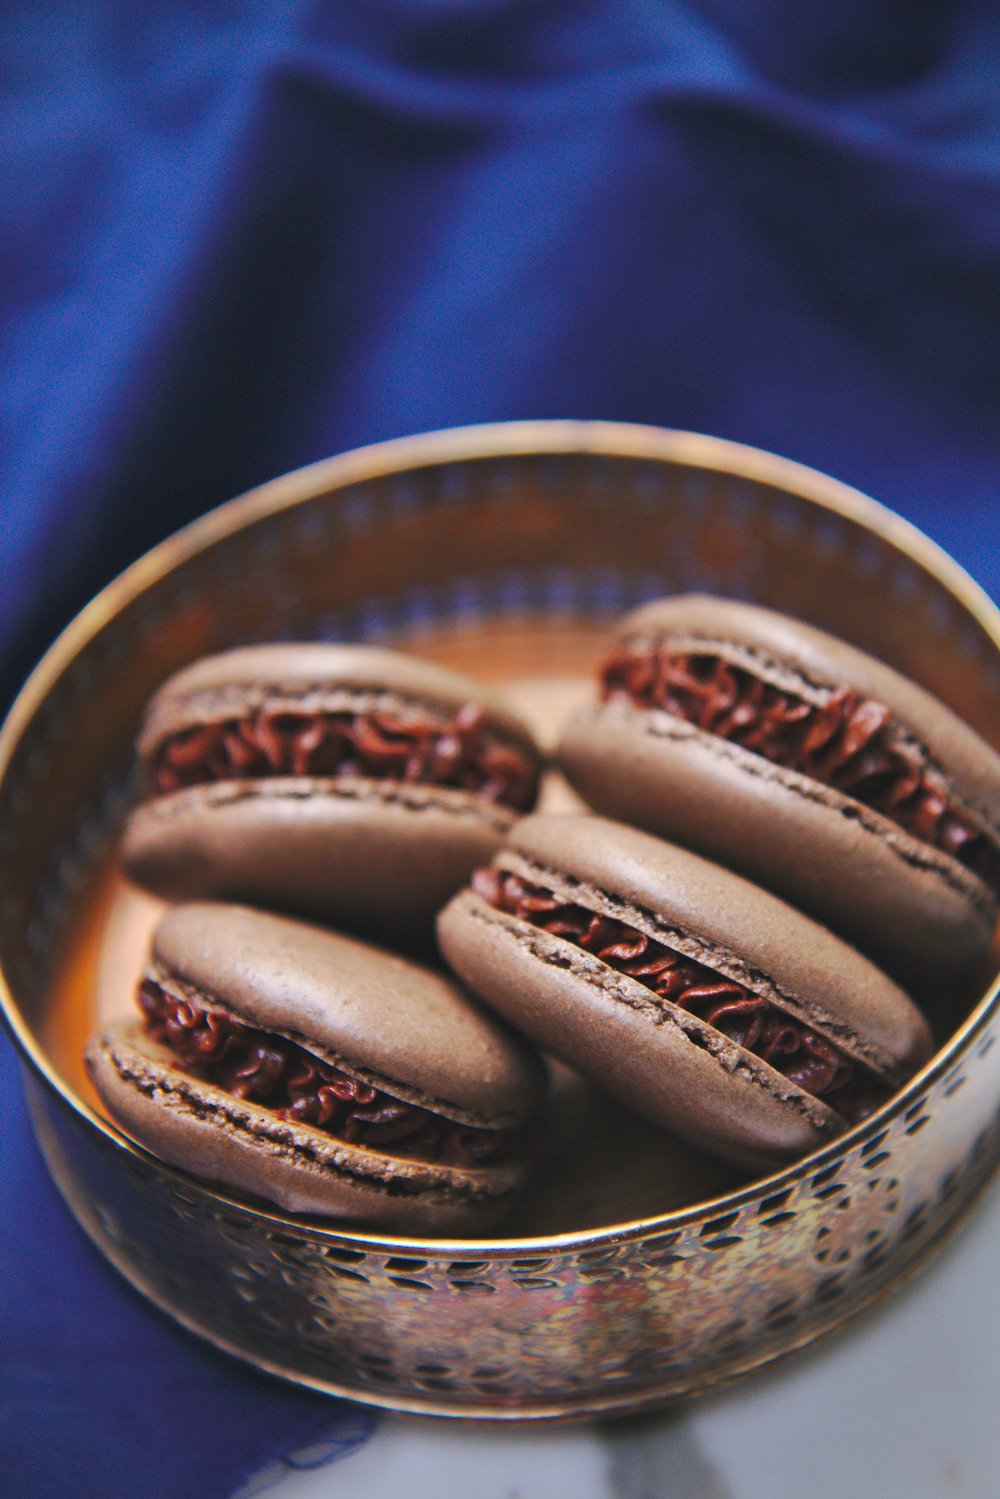
The super chocolaty shells (thank you extra dark brown cocoa!) are filled with rich bittersweet chocolate ganache and a spoonful of tart, bright red currant, blackberry, and raspberry jam.

This jam is something of note, guys.  Like seriously.  It’s bursting with the flavors of summer and it is outrageously fruity.

The end result of the cookie sandwich is something that tastes like a rich brownie with a crackling shell, with a dab of jam right in the fudgiest part.

Hello, heaven.  Come to mama.

IMG_1939_01

For the macaron shells, I’m directing you to Annie.  To make them chocolate, sub 24 grams of extra dark cocoa powder for 12 grams of the almond flour and the confectioner’s sugar.
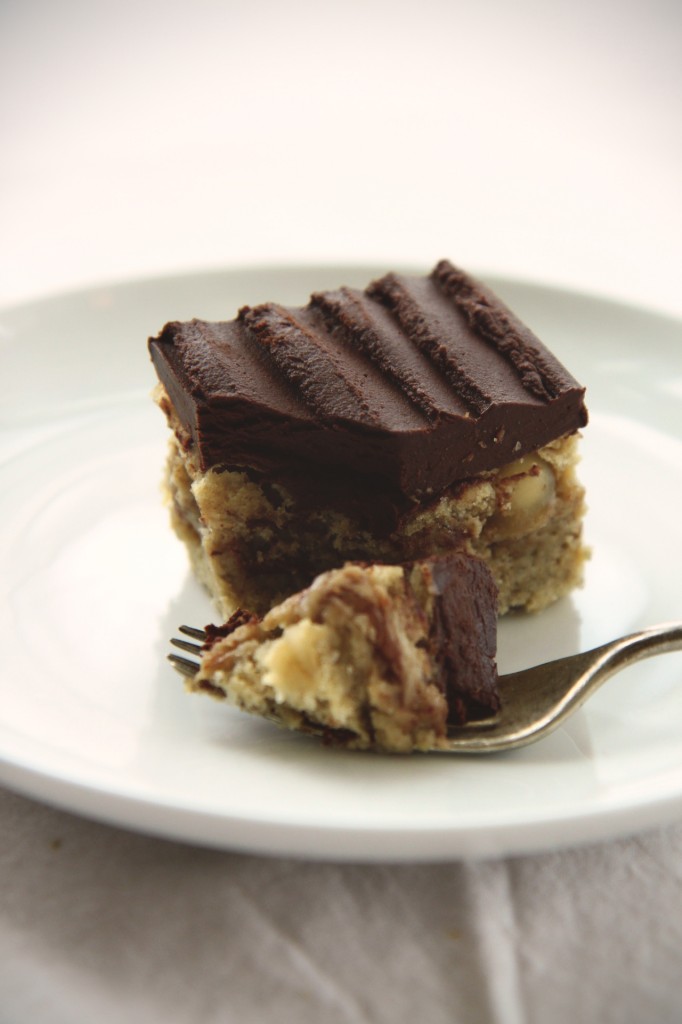
Pipeable Chocolate Ganache
ingredients:
6 ounces bittersweet chocolate
1/2 cup cream or half-and-half
4 tablespoons butter
1 tablespoon corn syrup
pinch kosher salt
1/3 cup confectioner’s sugar

directions:
Melt and briskly whisk the chocolate, half-and-half, butter, corn syrup, and salt together.
Whisk until the mixture is shiny and viscous.
Allow to cool until solid but still scoopable.
Whip with the confectioner’s sugar using a hand mixer or a stand mixer fitted with the whisk attachment.
Whip until fluffy and lightened in color.
If it starts to melt while piping, stick it in the fridge and rewhip as needed.

Red Currant and Berry (Fridge) Jam
makes approximately 2 cups
ingredients:
1 heaping cup red currants, destemmed
heaping 1/3 cup blackberries
1 heaping cup raspberries
generous 2/3 cup sugar

directions:
Press the currants and blackberries through a fine sieve with the back of a spoon; process them for a long time so that you get the most puree possible and leave behind relatively dry seeds.
Place into a deep pot with the sugar and raspberries and place over medium heat.
Smash the raspberries with a spatula or spoon as you stir the jam.
Reduce the heat to low and cook for 20 minutes, until the jam is thick (use the freezer test: place a small amount of jam on a plate and put it in the freezer until it cools to room temp: it should be thick and spreadable).
Allow to cool slightly, then transfer to a clean jar and then to the fridge.

More Better

IMG_1212_01

 Hello, hello, hello!  Long time no post, I know, I know.

IMG_1256_01

I was in Chicago visiting N since last Friday–it was a lovely, restorative, relaxing, and much needed weekend with him.
Today, it’s back to the real world.
Oh, just kidding, because today marks the beginning of Grassroots!
(I know, I’m leading quite the lazy, cushy life over here.  Don’t judge me too much; it’s Summer, after all.)

IMG_1279_01

I am working, albeit at a turtle’s pace, on furnishing and decorating my apartment in Chicago. (À la IKEA.)
I put together a sweet little white wicker chair and painted a TARVA dresser a beautiful pale celadon-y grey.
It needs some gold knobs and it will be done.

I’m totally excited to build a little home with my best friends.
Feelin’ all grown-up and shit, ya know.
I will undoubtedly share photos here. (Exciting, I know: a college student’s apartment!  Don’t hold your breath!!!!!!)

IMG_1294_01

Anyways, it’s Summer full-swing in the Northern Hemisphere.
Summer = fresh fruit, BBQ, red white and blue, yadda yadda yadda.
Summer really = S’MORES.

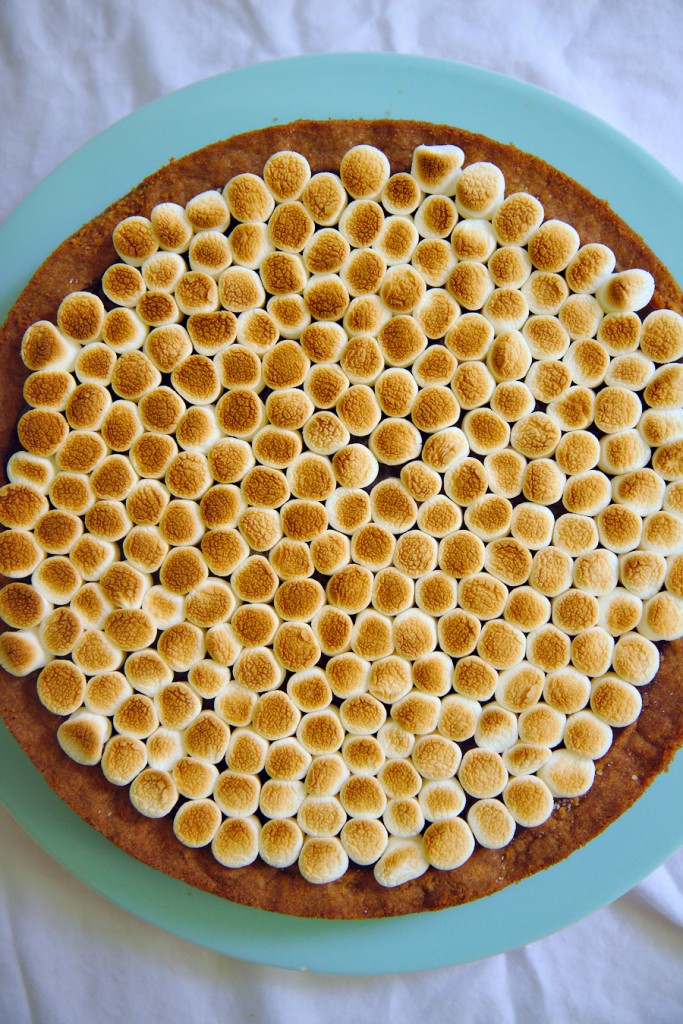
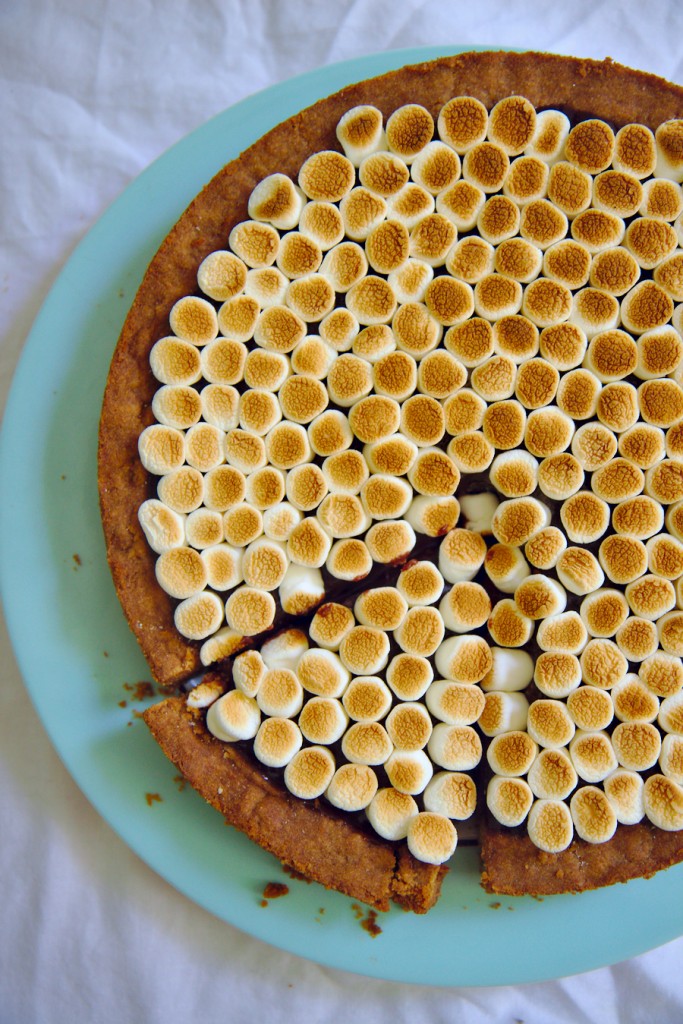
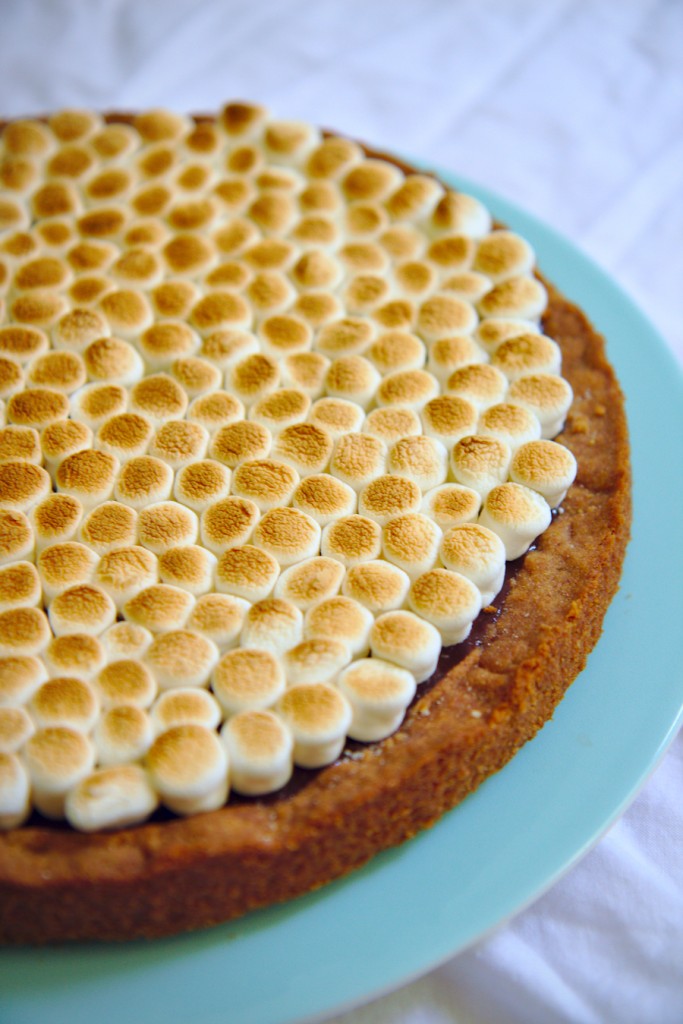
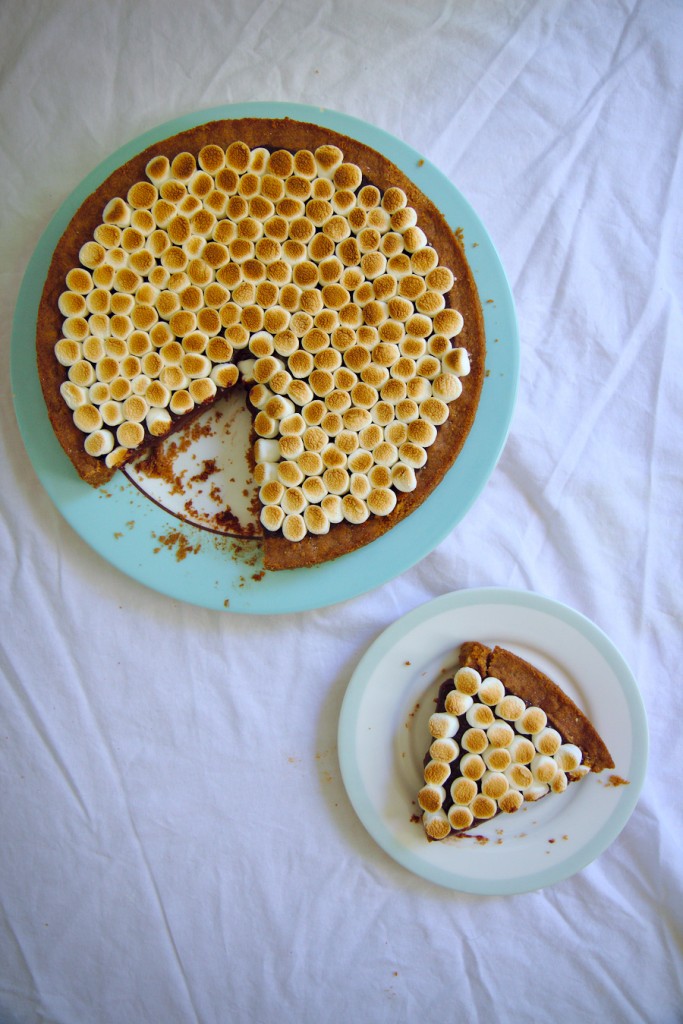
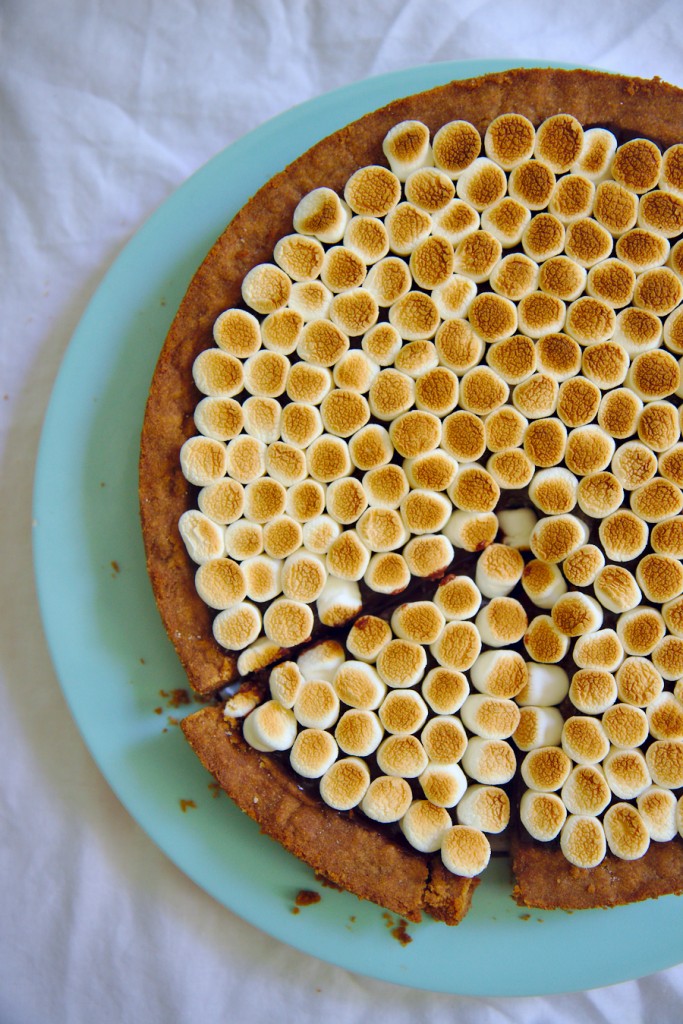
Today, I have a flat s’mores tart for you.
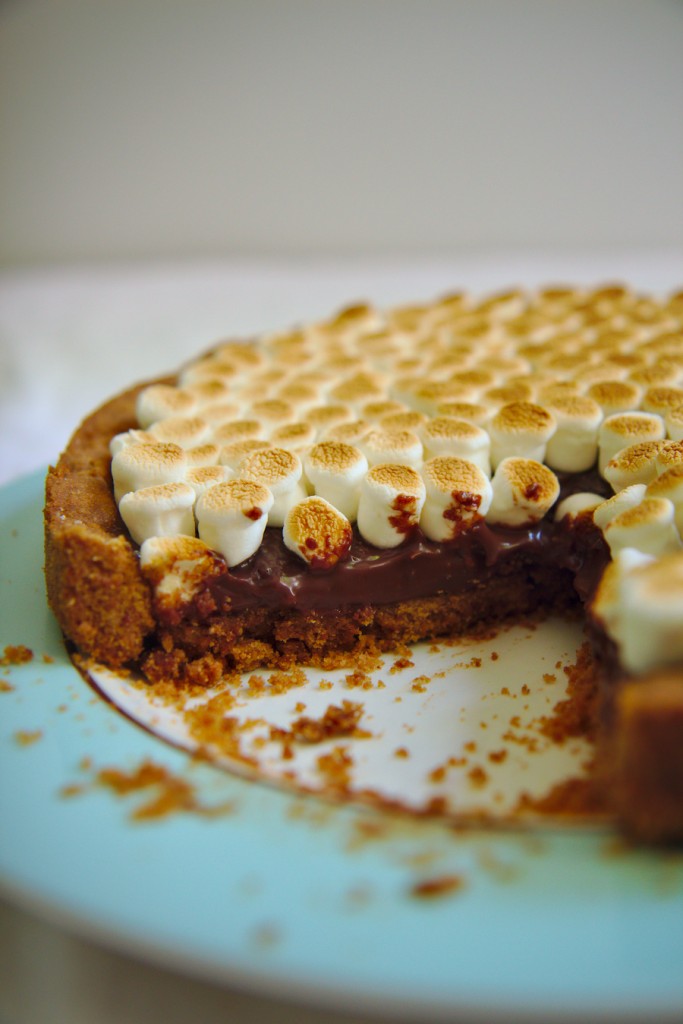
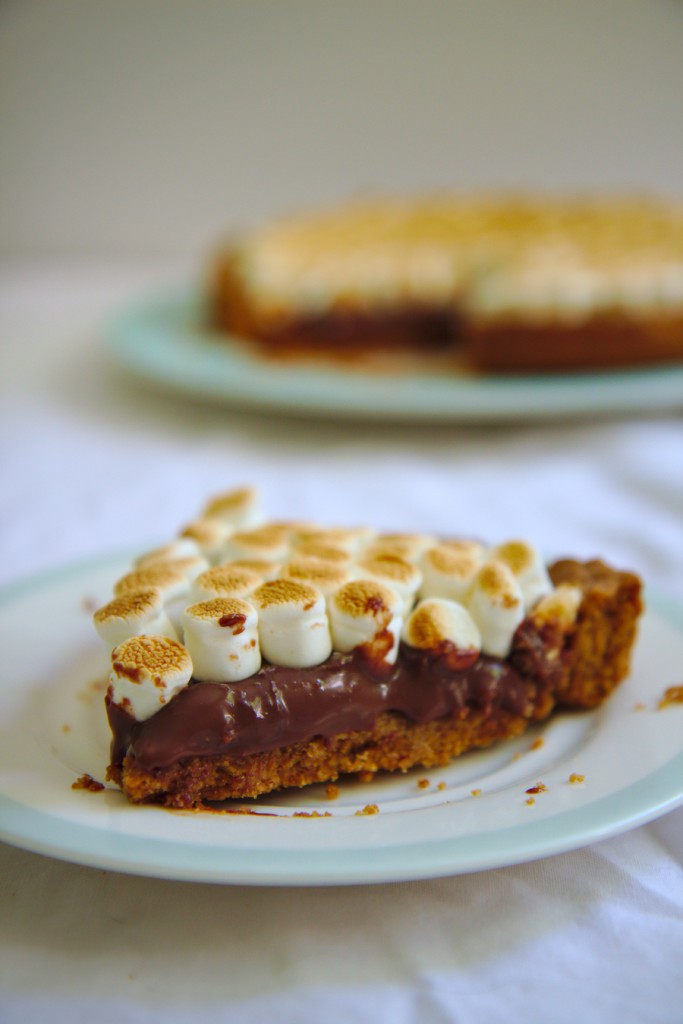
It’s got a relatively even ratio of crust:filling, making it super rich and decadent.

All the flavors and textures are here: lovely graham crust made from real graham crackers, with a hint of cinnamon and a slight crunch, sweet, creamy milk chocolate ganache with a hint of deep cocoa, and puffy, browned marshmallows to round it out.

IMG_1220_01

This tart is like a giant s’more, upgraded a bit with some extra butter and cream (of course).

Okay, I am late and S is waiting for me in the driveway to head to Trumansburg to start the grassroots festivities, so I’m signing off.

I’ll be back soon with a no-bake treat and another tart.
Xx

IMG_1299_01

{Happy Grassroots to all my Ithacan readers!
Have a safe, fun, and enjoyable weekend!}

IMG_1259_01
Flat S’mores Tart
makes 1 9-inch tart

ingredients:
for the crust:
2 sleeves (18 whole) graham crackers
1/2 cup flour
10 tablespoons butter
1 tablespoon sugar
1 tablespoon brown sugar
1 egg yolk
scant teaspoon kosher salt
pinch cinnamon

for the milk chocolate ganache:
5 ounces milk chocolate, chopped
4 ounces bittersweet chocolate, chopped
pinch of kosher salt
1 tablespoon corn syrup, optional
1 cup heavy cream

to finish:
mini marshmallows, or large marshmallows torn into pieces, or meringue, etc. etc.

directions:
Make the crust: preheat oven to 350 degrees F and ready a 9- or 10- inch springform pan.
Blitz the graham crackers into fine crumbs in a food processor; they should be the texture of fine flour (this may take a while).
Place butter in the bowl of a stand mixer and beat with the paddle attachment for 3 minutes to soften.
While beating on high speed, slowly stream in the sugar; beat for 4 minutes.
Scrape the bowl and add the egg yolk, kosher salt, and cinnamon.
Beat for 3 more minutes, then scrape the bowl once more.
Add in the flour and stir until combined; scrape the bowl.
Start adding the graham cracker flour 1/2 cup at a time, while mixing on low speed.
You will likely need all of the graham crackers, but keep an eye on the dough; when finished, it should clump together easily but not be so dry that it cracks when you press it together.
Press the dough into the bottom of your springform, keeping it mostly flat with a small rim to prevent the ganache from leaking out.
Prick all over with a fork and bake for 20 minutes, until firm and golden–the crust should be very fragrant.
Remove from oven and let cool while you prepare the ganache.
Place the chopped chocolate, kosher salt, and corn syrup in a bowl and heat gently until 1/3 of the chocolate is melted—do this in short bursts in a microwave or over a double boiler.
Remove the chocolate from heat.
Heat up the cream until boiling; pour over chocolate and let sit for 3 minutes, undisturbed.
Begin to whisk the chocolate mixture slowly at first, then speeding up until the ganache comes together and is shiny and smooth.
Pour over the cooling crust and place in the fridge until set, about 4 hours (you can leave it in there overnight).
To assemble, place marshmallows all over the tart and place under a broiler for 2 minutes, keeping a careful eye to ensure that the marshmallows don’t burn.
Enjoy in fat wedges on a summer night!

Monster

IMG_8863_01

“Cursed, cursed creator! Why did I live?
Why, in that instant, did I not extinguish the spark of existence which you had so wantonly bestowed?”

Mary Shelley, Frankenstein

IMG_8867_01

More green.  I’m afraid I’m the worst.
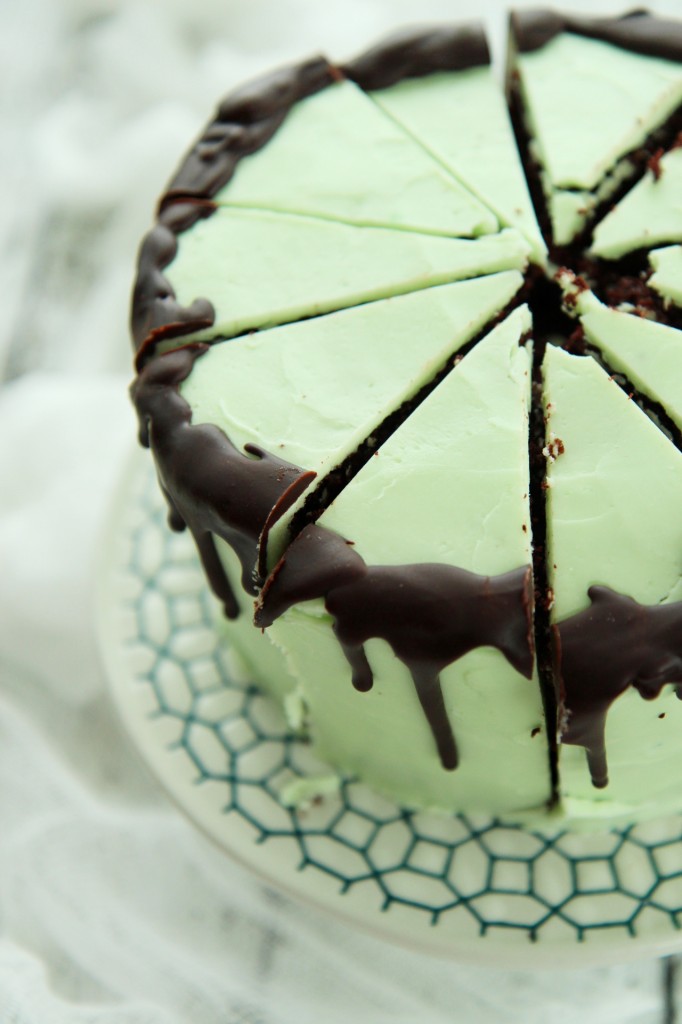
I really was displeased with the way this cake looked.  I originally topped it with those little green meringues, in the hopes that it would be springy and light and lovely, but it looked really fucking weird, guys.
The meringues did NOT mesh with the aesthetic of the cake, and the colors were all off.
They looked like white and green diseased dog shit on top of an unnaturally colored cake.
Sooooo ugly.  Tooooo ugly. I gave up photographing the cake and plucked all the meringues off to photograph.

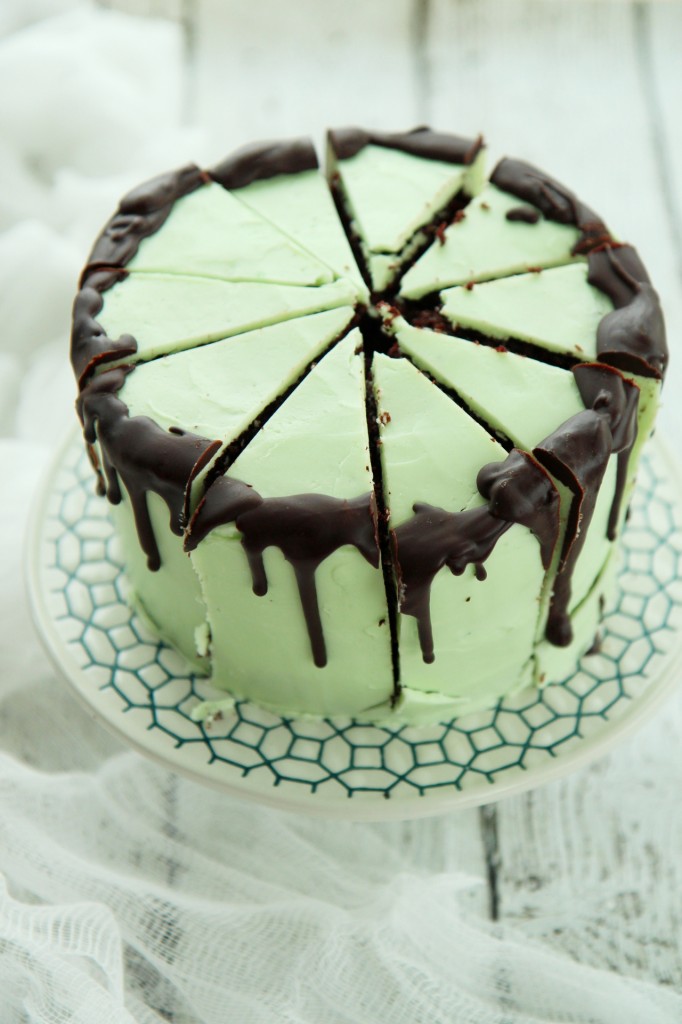
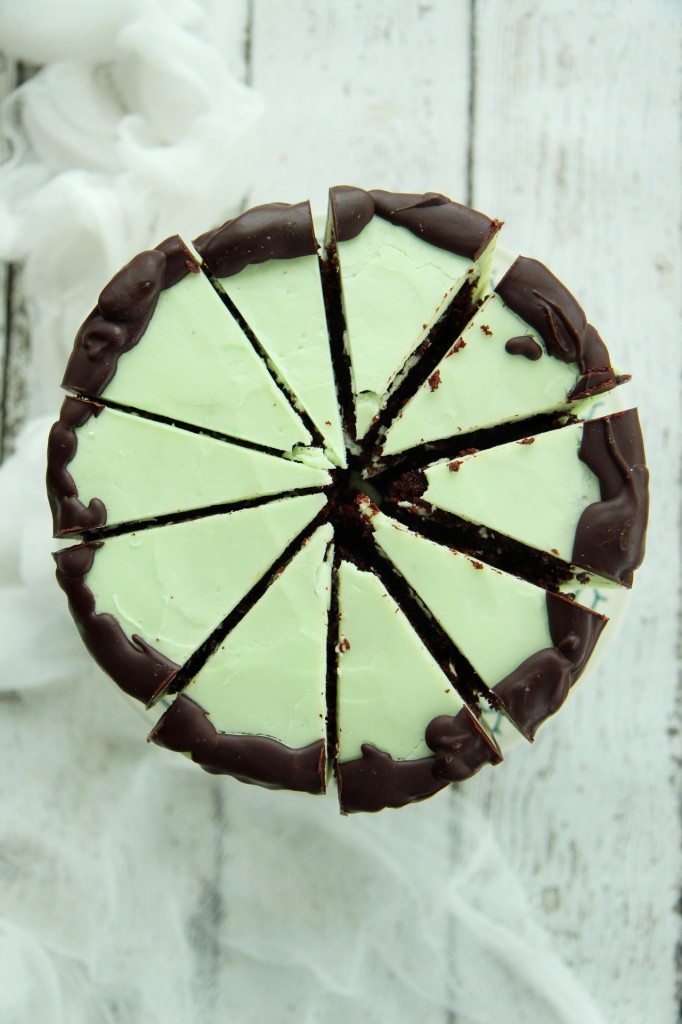
I was really frustrated; I had been very excited about this mint and chocolate cake and yet to me, the cake looked like the cartoon version of Frankenstein’s monster, green skin and black-brown hair with weird sideburns.
UGH.  (I am actually laughing out loud at how creepily similar this cake is to the monster.  Good god.)
I chopped it up, ready to throw in the dish towel, but then I ended up half-liking how it looked all cut up into fat wedges, so I plonked it back on the table and took a few shots.

And that’s the riveting story of this monstrous cake.

IMG_8878_01

Here’s the story of the interior:
The fastest chocolate cake EVER (accidentally vegan!) provides a tender, moist base.
Sandwiched between the layers is whipped chocolate ganache, deep and dark and lovely.
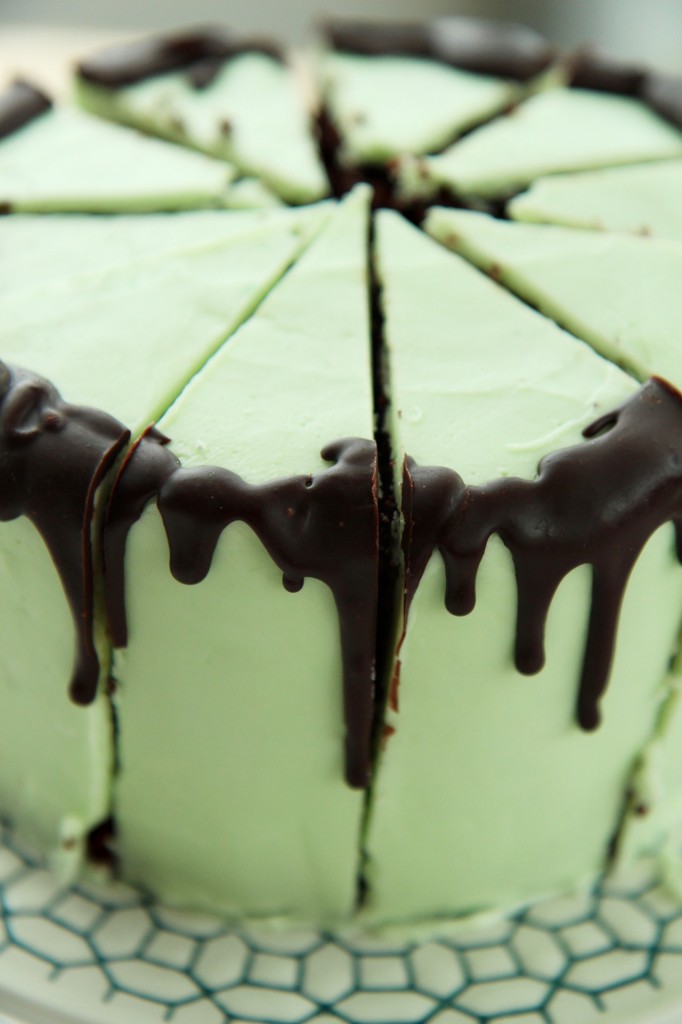
The cake is frosted with the silkiest, lightest mint Italian meringue buttercream, refreshing and buttery and NOT toothpaste-y in the least (at least I’ve got that going for me).
Hot, melty ganache is dripped along the sides of the cake, for extra va va voom and shits and gigs.

Someone in my house triple texted me, begging for a slice after they caught a glimpse of it sitting in the kitchen.
By the time I got home, the thing had been decimated by a pack of hungry monsters college students.
I take that as a sure stamp of approval, ugly or not.

IMG_8881_01

Mint Chocolate Cake
ingredients:
for the chocolate cake:
2 1/4 cups flour
1 1/2 cups sugar
1/2 cup cocoa powder
1 1/2 teaspoons baking soda
1/2 teaspoon kosher salt
1/2 cup vegetable oil
1 1/4 cup hot water
1 tablespoon vanilla extract

for the mint Italian meringue buttercream:
3 egg whites
1/2 cup plus 1 tablespoon sugar
pinch salt
1 tablespoon water
2 sticks butter, cut into chunks, softened but cool
drop peppermint extract
drop green food coloring, if desired

for the ganache:
1 ounce unsweetened chocolate
4 1/2 ounces semisweet chocolate
2 tablespoons sugar
big pinch salt
1 ounce (heaping tablespoon) corn syrup
4 tablespoons butter

directions:
Make the cakes: preheat oven to 350 degrees F and grease and flour 3 6-inch pans.
Whisk flour, sugar, cocoa powder, salt, and baking soda together.
Add all the wet ingredients at once while whisking.
Pour batter (will be liquidy) into prepared pans and bake for 20-22 minutes, until springy to the touch and a tester comes out clean; allow to cool completely.
Meanwhile, make the buttercream: place egg whites in the bowl of a stand mixer fitted with the whisk attachment.
Place salt, water, and sugar in a small pot over medium heat; begin whipping the egg whites.
When the syrup reaches 240 degrees F, the egg whites should be at soft to stiff peaks.  Carefully pour the hot syrup over the whipping egg whites, avoiding the whisk so that there is no splattering.
Whip meringue until it has reached body temperature; whip in butter 2 tablespoons at a time.
Add in the peppermint extract and food coloring and beat until buttercream is shiny, fluffy, and smooth.
Set aside while you prepare the ganache: melt all ingredients together in a microwave or double boiler.
Place in a blender or blend with a stick attachment until smooth, shiny, and glossy, about 1 minute.
Remove 1/3 of the ganache and set aside.
Place the rest of the ganache in the fridge and allow to set softly, about 30 minutes.
Remove from fridge and whip until soft and fluffy, about 2 minutes.
To assemble the cake: spread first layer with 1/3 of the whipped chocolate ganache, then place the next layer on top and repeat.
Frost the exterior of the cake with a crumb coat of the buttercream, then refrigerate for at least 30 minutes to set.
Finish icing the exterior of the cake with the remaining buttercream, then place in the fridge for another 30 minutes.
If the reserved ganache has set, simply microwave it for 10 seconds until it is smooth and flowing once more; drip or pour the ganache over the edge of the cold cake; it will set as it drips down the side.
Allow the cake to come to room temperature, and serve!

All Hail

IMG_8704_02

My good lords and ladies, would you care for a bloody poofy woolly biscuit?

IMG_8727_02

What, that doesn’t sound appealing to you?!
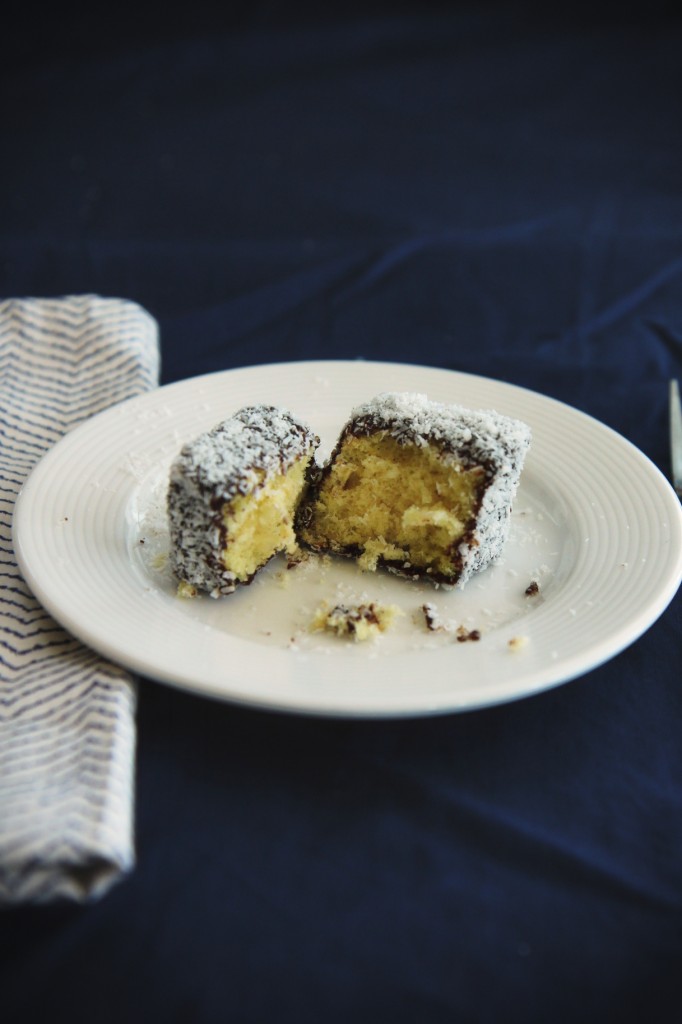
Allegedly, that’s what Lord Lamington, after whom these little confections may or may not be named, was fond of calling them, and not exactly lovingly.

The history of the lamington is a bit convoluted, with different stories attributing its origin to various sources.
They’re quite widely popular, so there must be something behind them.

Lamingtons are enjoyed from Queensland to Toowoomba to South Africa to… Cleveland.

(In other Australia-related news… more weird ass marsupials discovered on the only freaky continent to boast marsupials!)

IMG_8722_02

When I found some desiccated coconut in the famed and fabled land of Hyde Park Produce, I knew instantly I had to make lamingtons. (After, of course, I stirred heaps of it into this cake and this cake, too.)

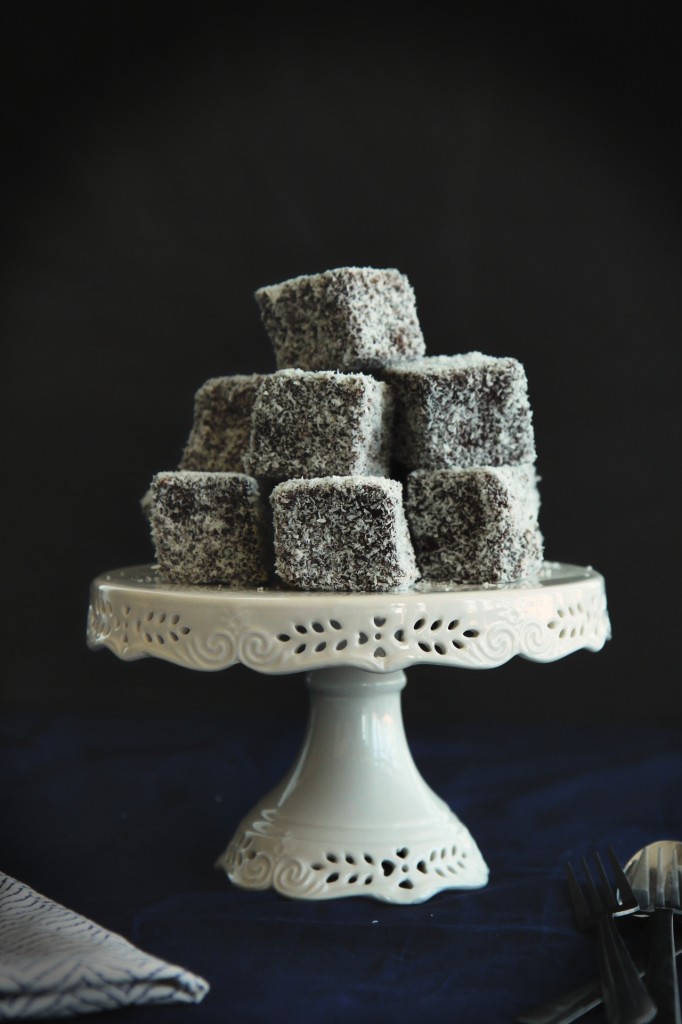
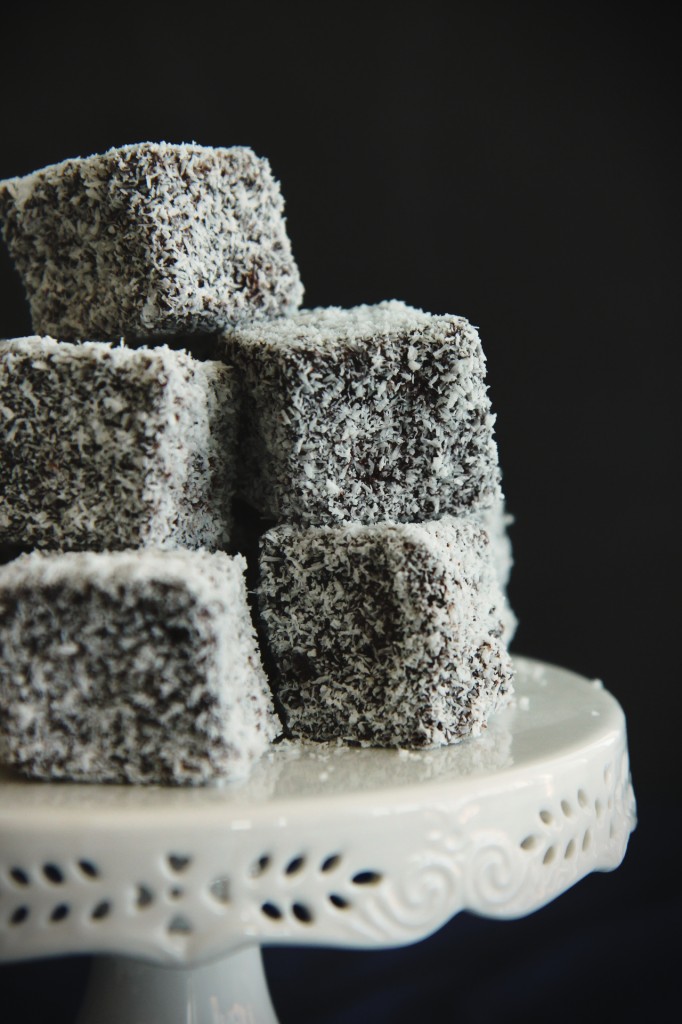
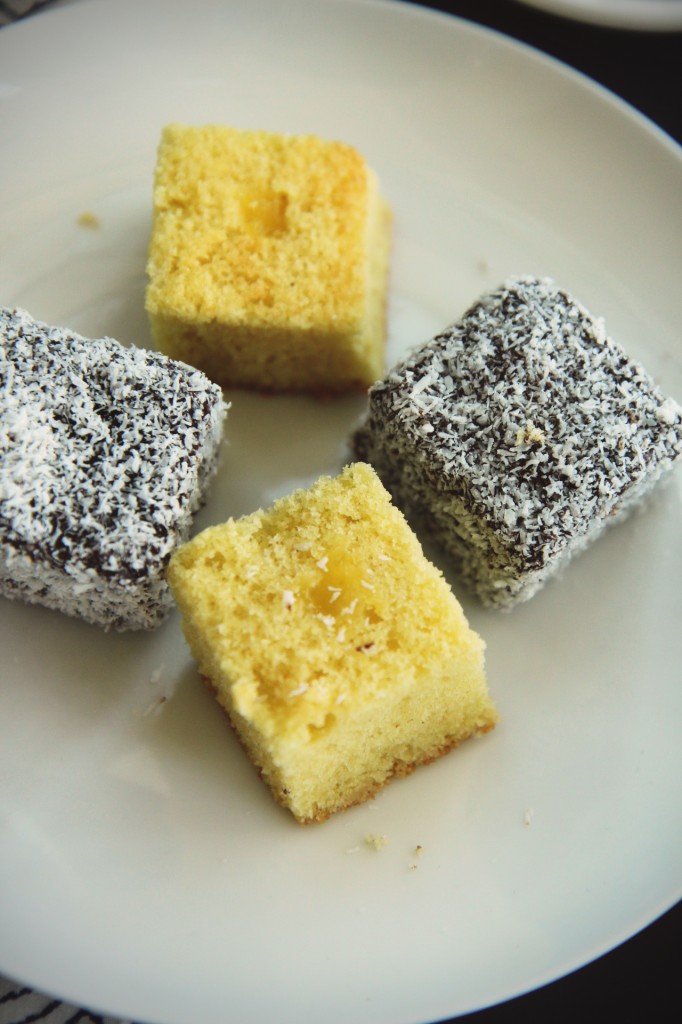
The traditional form is a cube of vanilla sponge cake, sometimes split in two and filled with jam, dipped in chocolate glaze and covered with coconut.
I didn’t deviate too much, because I’ve never tried a real lamington!

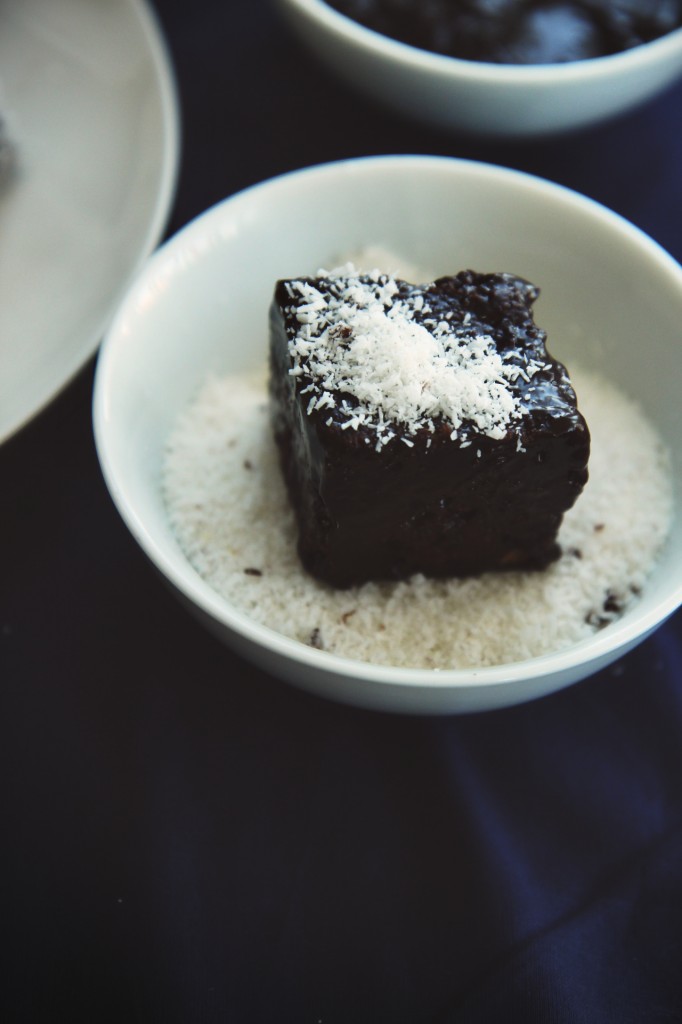
Here, a moist, light vanilla sponge cake is filled with rich, thick coconut pastry cream, coated in a dark bittersweet chocolate glaze and dusted with plenty of chewy, nutty desiccated coconut.

Lord Lamington must have been crazy, because these treats are fabulous.
They’re really not sweet, with a myriad of textures: the sponge cake is fluffy, the coconut cream buttery, the glaze melty and the coconut shreds are chewy.
The flavors meld beautifully, with the coconut pastry cream giving an aroma of coconut to the interior as well as the exterior, the thin shell of chocolate not overpowering the delicate vanilla or coconut.

These were snapped up from my house table ridiculously quickly; people remarked how pretty and how delicious they were.
(Nary a “bloody poofy wolly biscuit” to be heard!)

IMG_8753_02

A few notes about making these poofy little delights:

Trim the edges off your sponge cake! This keeps it moist and allows you to level any imperfections off.
Don’t worry too much if your cubes are kind of wonky, mine were like that too.  They taste just as good.

If your pastry cream is a bit thick, just stir it around vigorously, or fold in stiffly whipped cream.
The pastry cream recipe unavoidably makes more than you’ll need, but you can use it to sandwich more cakes, or thin it with a bit of milk or cream for coconut pudding!
To pipe it into the cake, don’t be shy.  Stick the tip of your pastry bag into the center of the cake and apply pressure.
As the crevices in the sponge cake fill up, the tip will be shoved out of the cake, and you’ll know that it’s full!

When covering the cakes with the glaze, less is more.  Scrape off as much as you can, leaving only a thin lacquer of chocolate.  Otherwise a lot of it will drip into your coconut, and the cakes won’t be as neat.

Desiccated coconut may be a little difficult for some to locate; look for it in ethnic sections or ethnic supermarkets (mine was an Arabic brand).
If you can’t find it, it seems that flaked or even shredded coconut does the job well enough.
Don’t let the coconut hold you back from trying lamingtons!

As always, serve with a good strong cup of milky English tea.
(Yes, Australians have teatime too, thank you O Great British Empire.)

P.S. I’m back in the States.  Woohoo. So glad…  I can feel my tan fading already.  Great.

IMG_8760_02

Coconut Cream Lamingtons
makes 16
cake portion adapted from Saveur
pastry cream adapted from the Kitchn

ingredients:
for the sponge cake:
3 eggs
1/2 cup sugar
1/2 teaspoon kosher salt
1 teaspoon vanilla
8 tablespoons butter, melted
1 cup flour
1 teaspoon baking powder

for the pastry cream:
3/4 cup full fat coconut milk, well stirred
1/4 cup sugar
2 tablespoons flour
big pinch kosher salt
2 egg yolks

for the ganache:
6 ounces bittersweet chocolate, chopped (approximately 1 cup)
scant cup powdered sugar
1/4 cup cocoa powder
3 tablespoons milk (feel free to use coconut milk)
pinch salt
1 1/2 tablespoons butter

to assemble:
1- 2 cups desiccated coconut

directions:
Make the cake: grease and flour an 8×8 pan.
Preheat oven to 350 degrees F.
Place eggs in the bowl of a stand mixer fitted with the whip attachment.
Whip on high for 3 full minutes– set a timer.
With the mixer running, add the salt and slowly stream in the sugar.
Beat for another full 3 minutes– set a timer.
Whisk the vanilla extract into the melted butter, then pour it into the whipped eggs.
Dump the flour (gently) on top, then add the baking powder to the flour mound.
Gently, using folding motions, incorporate the butter and flour into the eggs.
The batter should be homogeneous– you will have to mix thoroughly yet gently– but not completely deflated.
Spread the batter into the pan.
Bake for 25-30 minutes, until a tester comes out clean and the cake is golden.
Allow to cool completely, then slice off the edges and top so that it’s all level.
Meanwhile, make the pastry cream: blend all ingredients except vanilla together, either with an immersion blender or in the canister of a regular blender.
Pour into a small saucepot and cook over medium heat, whisking constantly, until thickened to a pudding-like consistency.
Remove from heat, blend again if there are chunks, and allow to cool before filling lamingtons.
Make the ganache: melt the chocolate, gently, in a double boiler or in the microwave.
Add in the powdered sugar, cocoa powder, milk, salt, and butter, and blend with an immersion blender (or, again, in a regular blender or food processor) until shiny and smooth.
Ganache should be thin enough that it will not pull many crumbs off the cake, so add another tablespoon or two of milk if need be.
To assemble lamingtons, slice cake into 16 cubes.
Fill a pastry bag fitted with a plain tip with the coconut pastry cream; stick the tip into the center of a cube of cake and fill until the pressure forces the tip out of the cake.
Dip the cakes into the ganache, being sure that the chocolate coat is very thin, not thick and heavy.
Brush any excess ganache off, then roll the wet cube in coconut.
Set on a parchment-lined baking sheet to set for at least 2 hours.

Sweet Relief

IMG_86691

Then a calm, solemn pleasure steals
into your inmost mind;
a quiet aura your spirit feels,
a softened stillness kind.

–Charlotte Brontë

IMG_86451

It’s been a bit quiet around here, unusually so.  Have you missed my whining?
Probably not.

But I’m back anyways!  Sort of.

Finals are over!  I can now melt into a puddle of delicious laziness; I can and I promptly will.
Lord, does it ever feel good to relax.

IMG_86811

I’m on vacation for spring break.
No, not an SBK2014-rage-your-face-off-throw-up-on-the-beach-by-day-club-hop-by-night type vacation, but a quiet, revitalizing trip.
(The former isn’t quite my style or speed, in case you hadn’t realized.)

I’m in Mexico, having an utter blast and seriously luxuriating in the heat.
I plan on getting tan (sorry mama!) and drinking a lot of piña coladas (not sorry), exploring the beach and eating a ton of fruit.
(Also, Netflix.  Currently watching Pirates of the Caribbean.  Um, Orlando Bloom.  Swoon.)

All in all, this is shaping up to be a swell break.

¡Viva Mehico!

IMG_86601

Since I’ve now forced my happy, warm, tropical vibes into your mind, I’ll share some with you, in the shape of a delicious cake.  Huzzah!

This cake is wholly dairy-free, and could easily be made vegan with a flax egg or egg replacer and vegan chocolate for the frosting.
This cake is part whole wheat, and is chock full of good fats from the coconut and macadamia nuts.
Coconut comes in three forms: oil, meat, and milk.

Sweet bananas, creamy coconut, buttery macadamias, nutty whole wheat flour, rich, dark chocolate.

This is a one bowl cake, with an ideal texture for banana cakes: a good bite, moist and sweet, but not mushy or cloying.
The frosting is not sweet at all, and adds good bitter notes to the dessert.
This is a winner, for sure.

IMG_86571
Some notes on the recipe:
Use brown, brown, nasty looking bananas.  The browner, the better.  Brown, spotty, mushy ones will be sweeter and more flavorful in the finished product, though they are gross eaten out of hand.
This is because the sugars have begun to break down, creating flavor and scent molecules which enhance the cake.

You can use 1 can of full-fat coconut milk for this recipe; refrigerate it overnight and scrape off 1/2 cup of the thick cream at the top for the ganache, then whisk the rest together and measure out 3 tablespoons of this milk for the cake.
Scraping the cream for the ganache is the same procedure as making coconut whipped cream; here are two good tutorials— just skip the whipping part.

You can easily use sweetened flaked coconut in place of the desiccated, if that’s all you can find.  Use a little over 1/2 a cup to get the same amount of flavor.

Feel free to leave the macadamia nuts out; I think they add a lovely tropical flavor, but some people don’t like them.

You can use a mixture of semi-sweet or bittersweet chocolate, but definitely don’t use milk chocolate.  It will be too sweet.

So hello, hello, from the tropics.  I’m glad to be back– I’ll be posting, even from down here, so don’t you worry.
Just start with this cake.  More on the way.

IMG_86821

Tropical Coconut Banana Cake
cake portion adapted from The Galley Gourmet
makes 1 8×8 inch cake

for the cake:
4 ounces (approximately 1/2 cup) coconut oil, solid
1 cup granulated sugar
1/2 teaspoon kosher salt
1 extra large egg, at room temperature
3 medium bananas, mashed
3 tablespoons coconut milk
1 teaspoon pure vanilla extract
1 teaspoon apple cider vinegar
2 tablespoons cornstarch
1 cups plus 2 tablespoons white whole wheat flour
3/4 cup all-purpose flour
1 teaspoon baking powder
1/2 teaspoon baking soda
3/4 cup macadamia nuts, roughly chopped
1/2 cup desiccated coconut

for the ganache:
1/2 cup coconut cream
5 1/2 ounces of semi-sweet chocolate, finely chopped

directions:
Preheat oven to 350 degrees F.
Grease and flour an 8×8 inch pan.
Place coconut oil, salt, and sugar in the bowl of a stand mixer and beat on high for 4 minutes, until fluffy and light.
Scrape the bowl and add the egg; beat for 3 more minutes.
Scrape the bowl and add the mashed bananas; mix slowly just to start to incorporate the bananas.
Add in the coconut milk, vanilla, and vinegar and stir once or twice to start to incorporate the wet ingredients.
Dump the flours on top, then the baking powder and baking soda on top of that.
Mix on high, starting slow and working up, until batter is completely homogeneous.
Stir in coconut and macadamia nuts.
Spread batter into prepared pan and bake for 35-40 minutes, until a tester comes out clean.
To make the ganache, heat the coconut cream until bubbling, then pour over chopped chocolate.
Whisk (or blend with an immersion blender) until shiny and smooth.
Allow to cool until spreadable, then frost cake.
Allow ganache to fully set before cutting cake.

Kiss Kiss

IMG_8050_01

Coucou!  Bisous bisous!

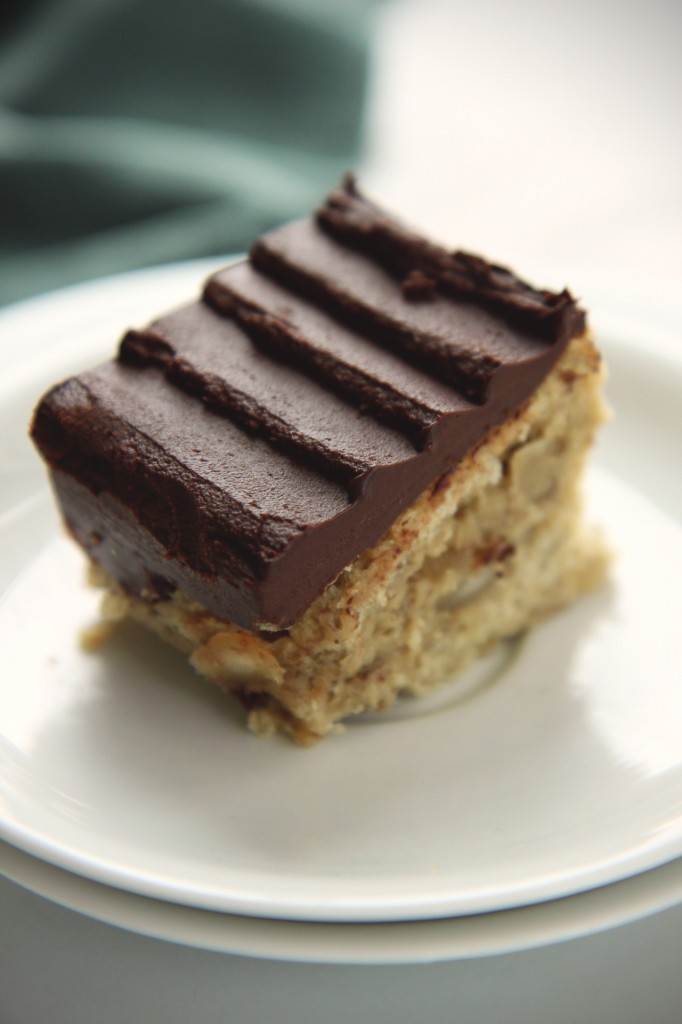
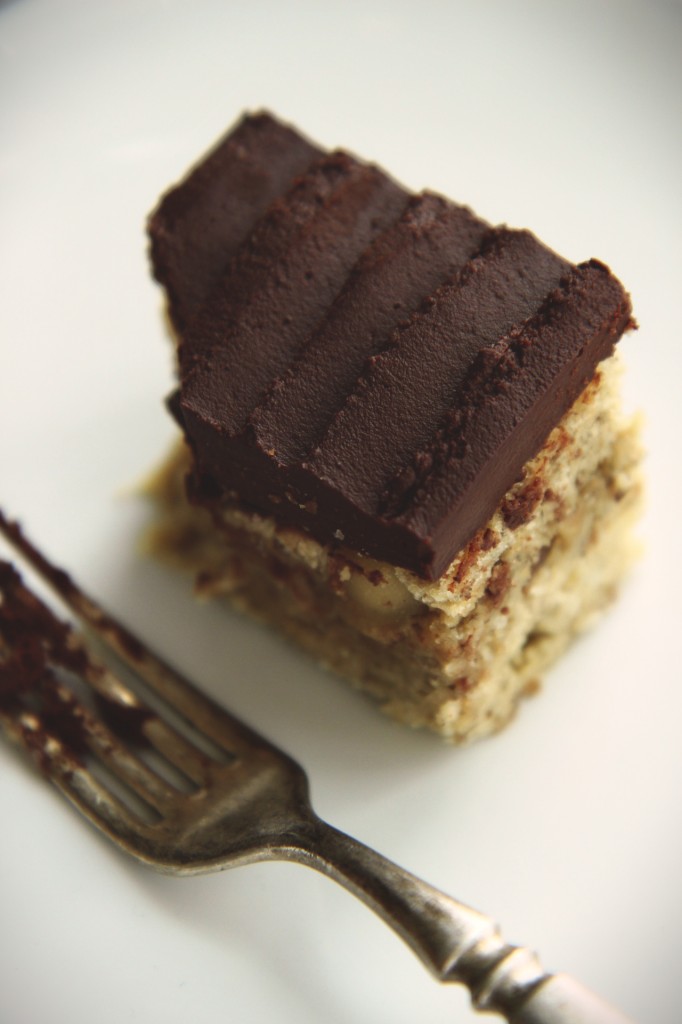
IMG_8020_01

Because what good is Valentine’s day without chocolate?

No good!  Must have chocolate.  Certainly.  Surely.

It doesn’t have to be complicated or fussy.  But you best believe it better be present somewhere.

IMG_8078_01

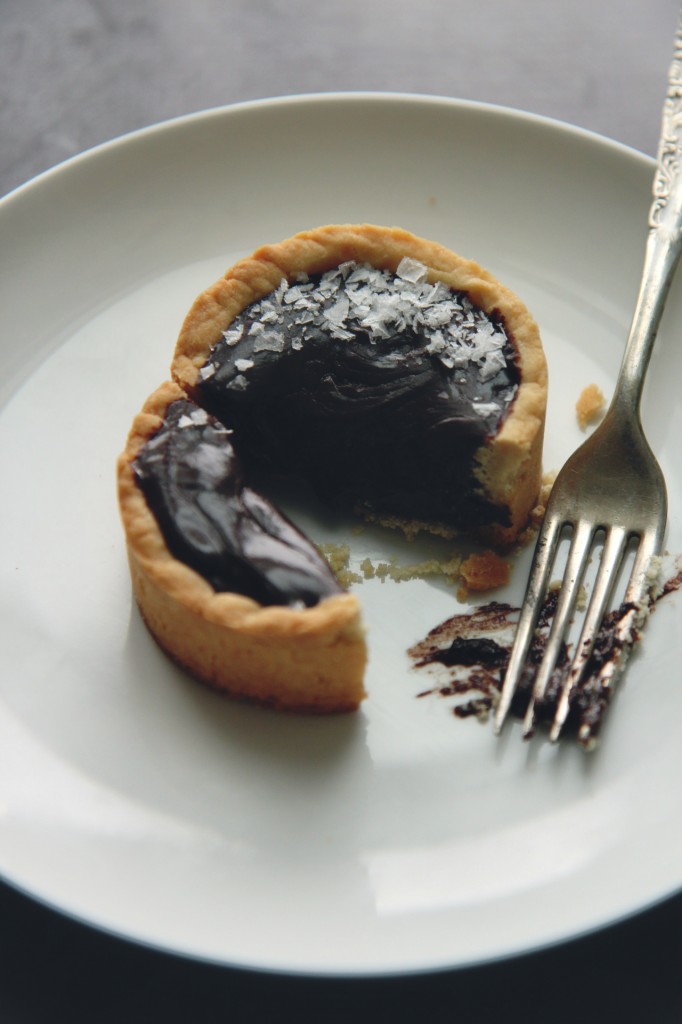
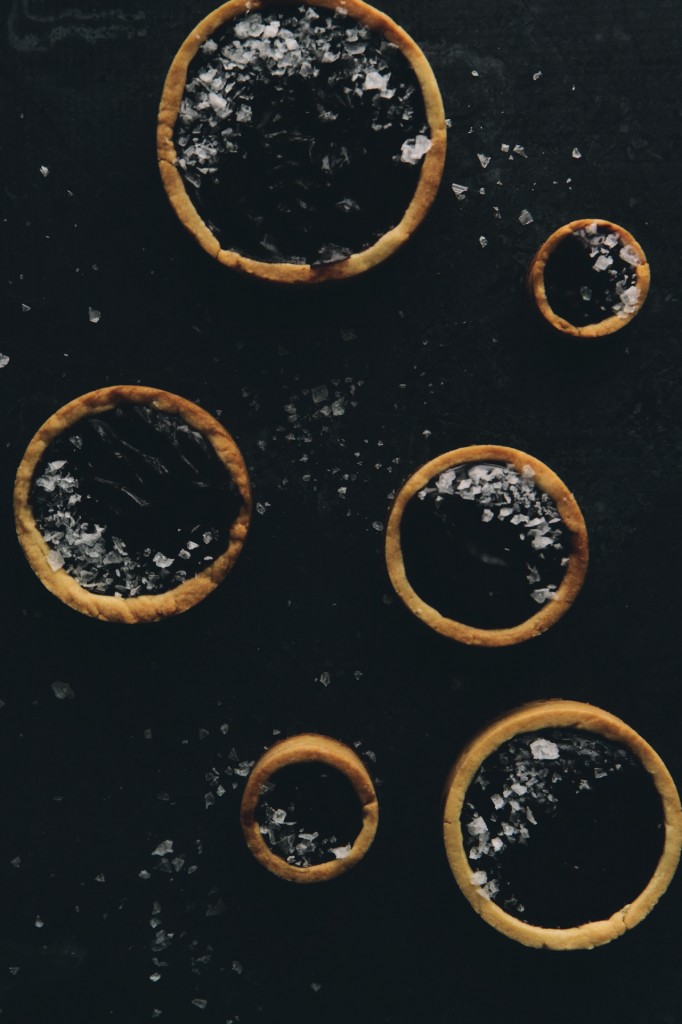
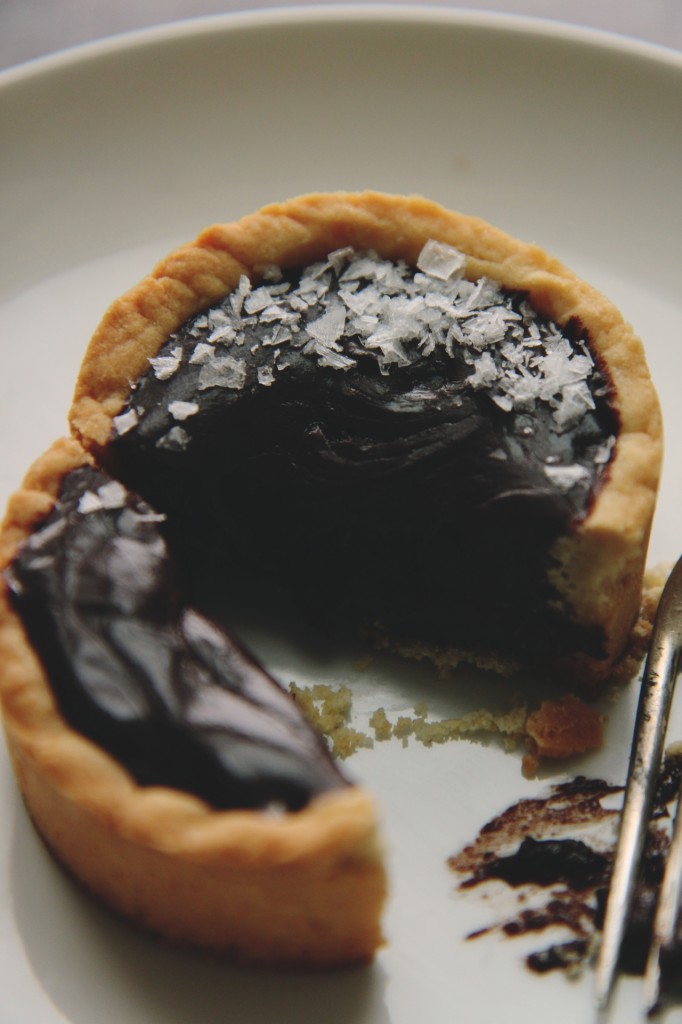
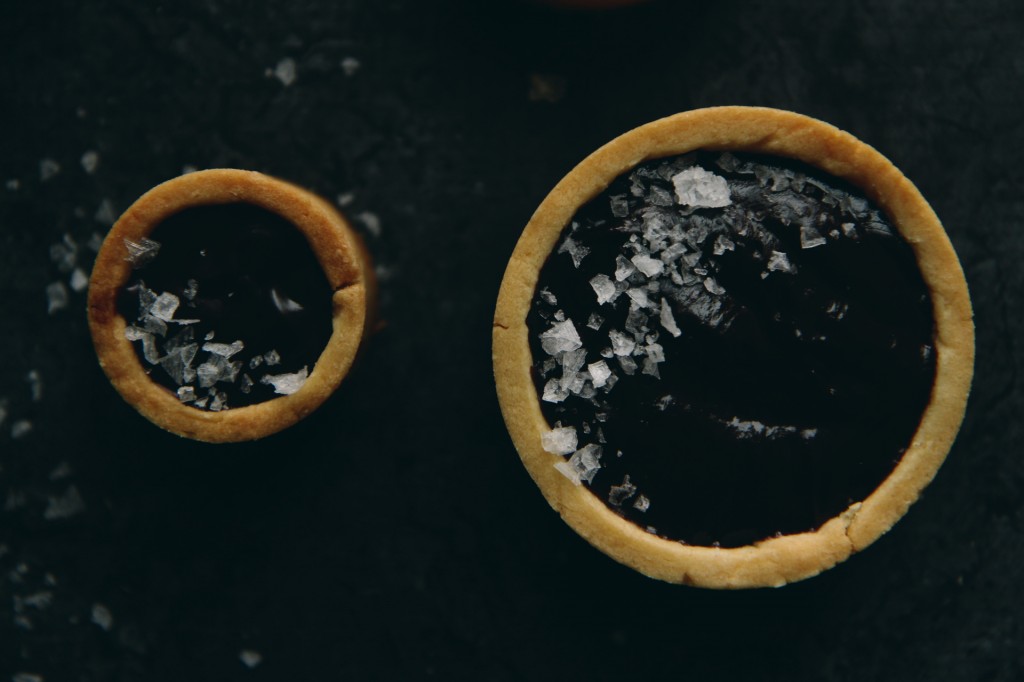
 If you need chocolate, these tarts are just the ticket.
They are chocolate taken to the max, pushing the boundary of being too rich, too ridiculously chocolaty.

They’re dead simple (Keep It Simple Stupid) but have serious wow factor.

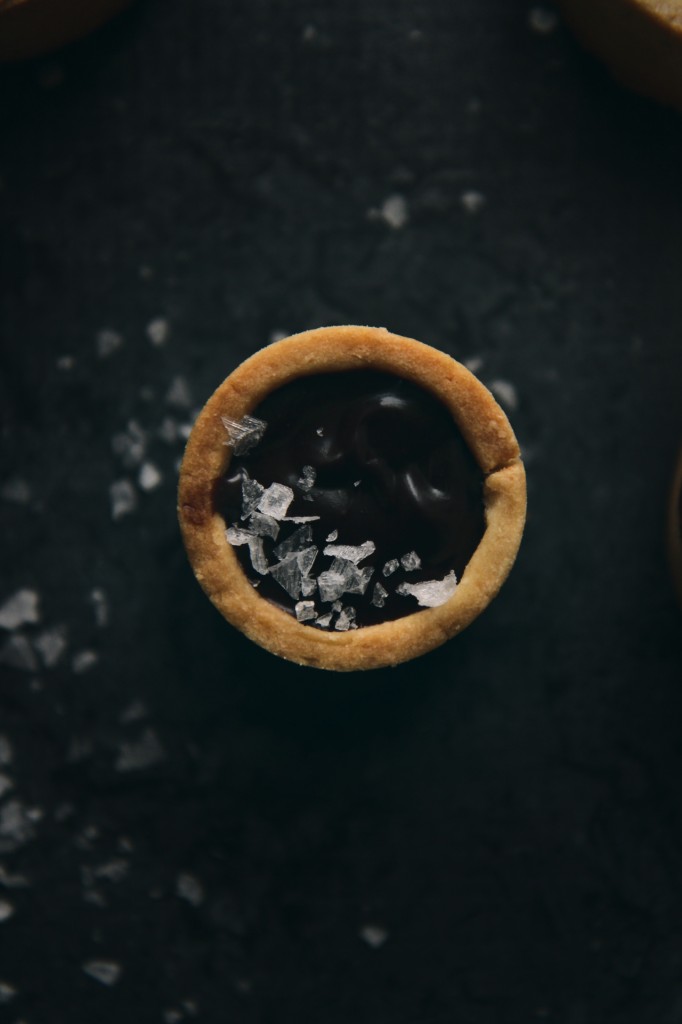
Dark, fruity chocolate is spiked with a pinch of cinnamon and maple syrup, whisked into luxurious ganache with hot cream, and then poured into buttery tart shells.  

As the ganache sets, it becomes like the interior of a good truffle: soft and creamy, but with substance you can actually sink your teeth into.  Chocolate gets all over your mouth, but not a drop will be lost to the front of your shirt.

Hello, total date food in my eyes.

IMG_8014_01

This pâte sucrée is such a dream to work with.
I’ve been developing this recipe for ages; it’s my go-to.  I’ve probably made 20+ tarts using this dough.

It’s easily adaptable; swap in a different flour (even GF), add some ground nuts, some cocoa powder, press it in or roll it out.
It’s equally good when you need to parbake and when you don’t; it’s rich and buttery, but not too sweet.
Not brittle, but sturdy, and yet not heavy.  It’s light and crispy and melts on your tongue after you’ve taken a bite.

It’s not made in the way you might expect, but that’s okay.
Butter, salt, and sugar are creamed together for what feels like ages (around 5 minutes at high speed), then flour is gently mixed in as an egg yolk is simultaneously added.
The whole process takes about 10 minutes, and then you’ve got a chunk of tart dough to stick in your fridge (it’ll last a couple days) or your freezer (wrapped well in foil, it’ll last for a month or so) and use whenever your heart so desires!

IMG_8052_01

This recipe simple by design.  (KISS, people, KISS)
9 ingredients, huge return.
Easy, fast prep and long down time means these can be prepared ahead to share with your sweetheart later.
These will score you major sweetheart-points because, people.  They’re truffles in tart form.
I mean, c’mon.  It’s almost unfair how good these taste for how easy they are.

Also, we know chocolate + salt + cinnamon = devilishly good.
(Previously, in cookie form)

P.S. These truffle tarts would be greatly appreciated by anyone in the place of a box of truffles… Just sayin’.

IMG_8021_01

Chocolate Truffle Tarts
makes 6-8 small tarts, or one 8- or 9-inch tart

ingredients:
for the pâte sucrée:
114 grams butter
50 grams sugar
1/2 teaspoon kosher salt
140 grams flour
1 large egg yolk

for the ganache:
256 grams dark chocolate, chopped
200 grams heavy cream
1 tablespoon maple syrup or honey
1 teaspoon cinnamon

to assemble:
flaky sea salt
{pine nuts}

directions:
Make the pâte sucrée: beat butter, salt, and sugar together for 5 or so minutes, until incredibly fluffy and pale; there should be no grit left to the mixture.
Scrape the bowl and add in the flour, as you are slowly mixing the flour in, add the yolk and allow to dough to come together into a homogeneous ball.
Wrap well in plastic wrap and refrigerate for at least 2 hours and up to 2 days.
To roll out, use a very well floured surface and roll to 1/4 inch thickness before pressing into desired pans.
Prick all over with a fork and freeze for at least 2 hours.
Preheat oven to 350 degrees F.
Line the tart shells with aluminum foil and weight with dry beans or rice.
Bake for 12 minutes, until lightly golden, then remove beans and bake for 5 more minutes, until golden brown.
Remove from oven and allow to cool while you prepare the filling.
Chop chocolate and place in a large, microwave-safe bowl with heavy cream and cinnamon.
Microwave until 2/3 melted, then remove from microwave, add maple syrup, and whisk until ganache is totally smooth and shiny.
Pour into cooled shells and refrigerate until set, about an hour.
Top with pine nuts and flaky sea salt.

As Promised

IMG_7170_01

This post is a wee bit out-of-season.  You might not be able to find candy canes at the grocery store.
Check the clearance section.  If you still can’t find any, you’re S.O.L.

Just kidding.  I advocate the use of sprinkles, as you probably already know.

I’ve made lofthouse-style cookies once before, and dumped on the brand in a whiny post a lo o o o o ong time ago.

I am not providing a link to said post, and don’t you go nosing around for it either, primarily because the photos look like they were taken with a flip phone from 2007 (Razr, anyone?  I had the Pebl.  Gr8.) and I don’t want to be reminded of that.

Ok?  Ok.  Glad we talked about this.

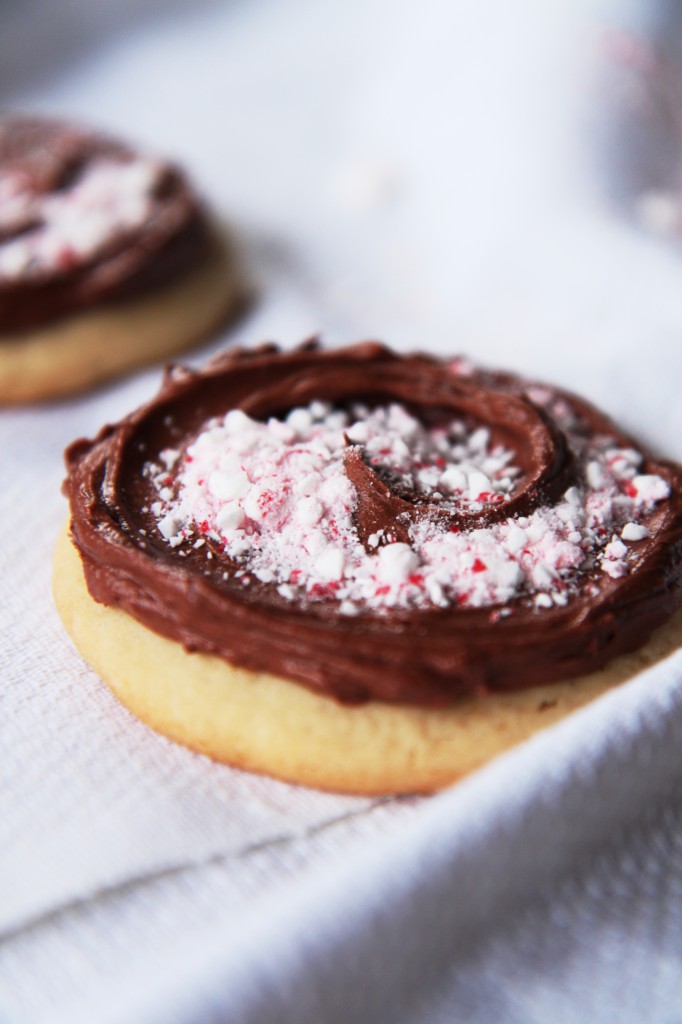
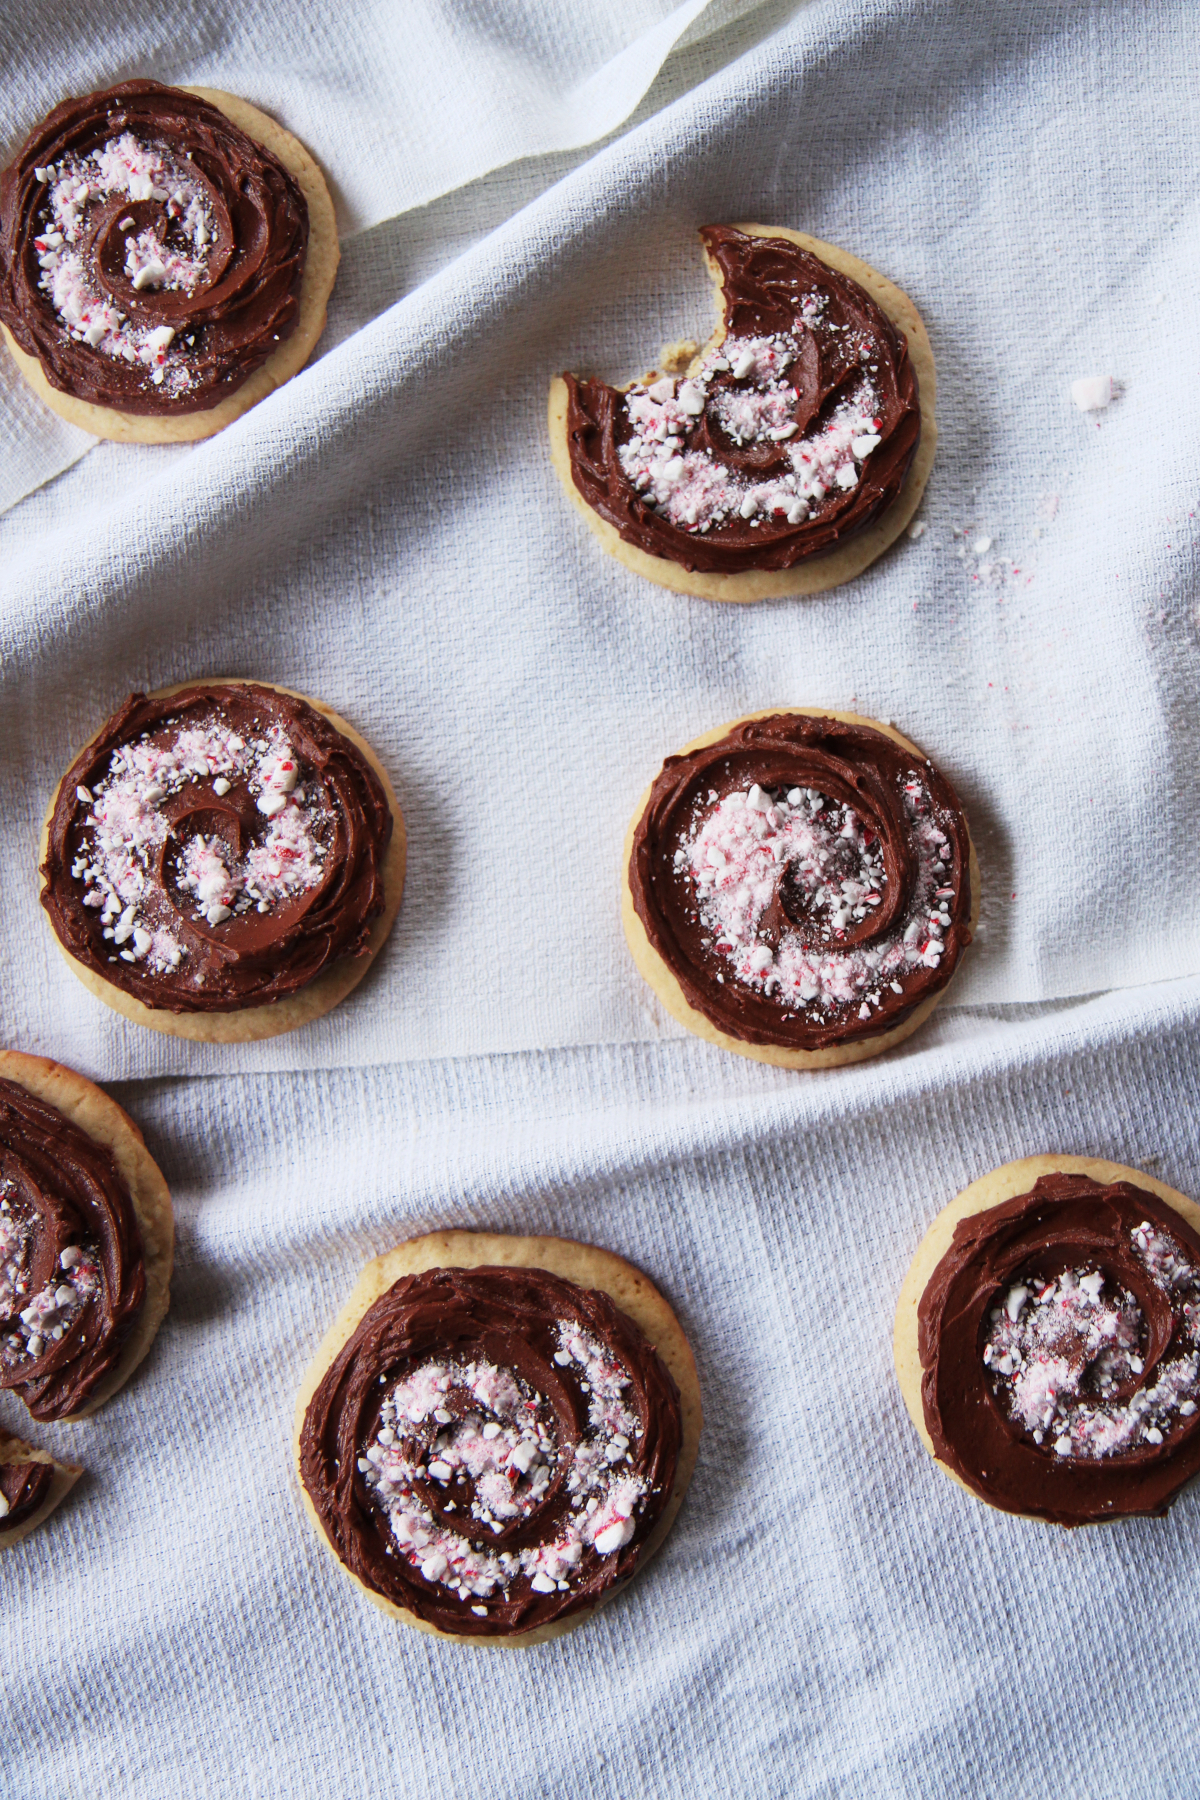
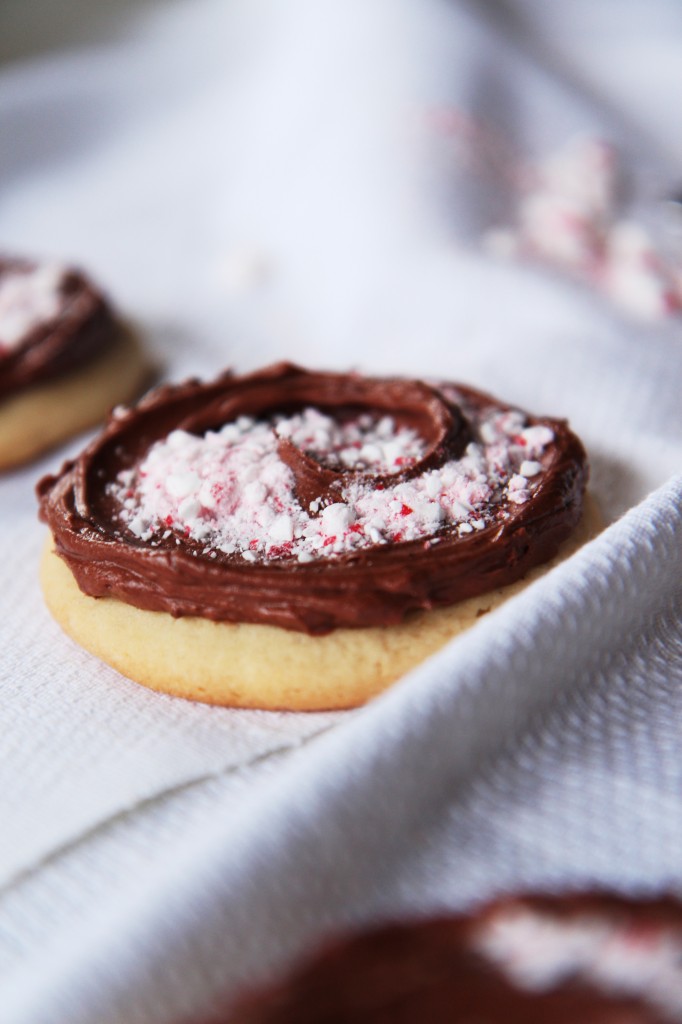
These lofthouse cookies are the (late) peppermint post that I promised would infuriate you.

Be happy, because I came thisclose to not only posting a candy cane post after the holidays, but making it a repeat recipe from the-post-that-shall-not-be-named-searched.

THISCLOSE.  But.  I found another promising recipe, and ran with it.

This one uses cake flour and corn starch, as well as shortening (Don’t look at me like that. I know. Deal with it.) to keep the cookies super soft and fluffy, where the last recipe used sour cream.
These were more cakey than real lofthouse cookies, but nevertheless, delicious, and pretty damn close to the addictively gross originals.

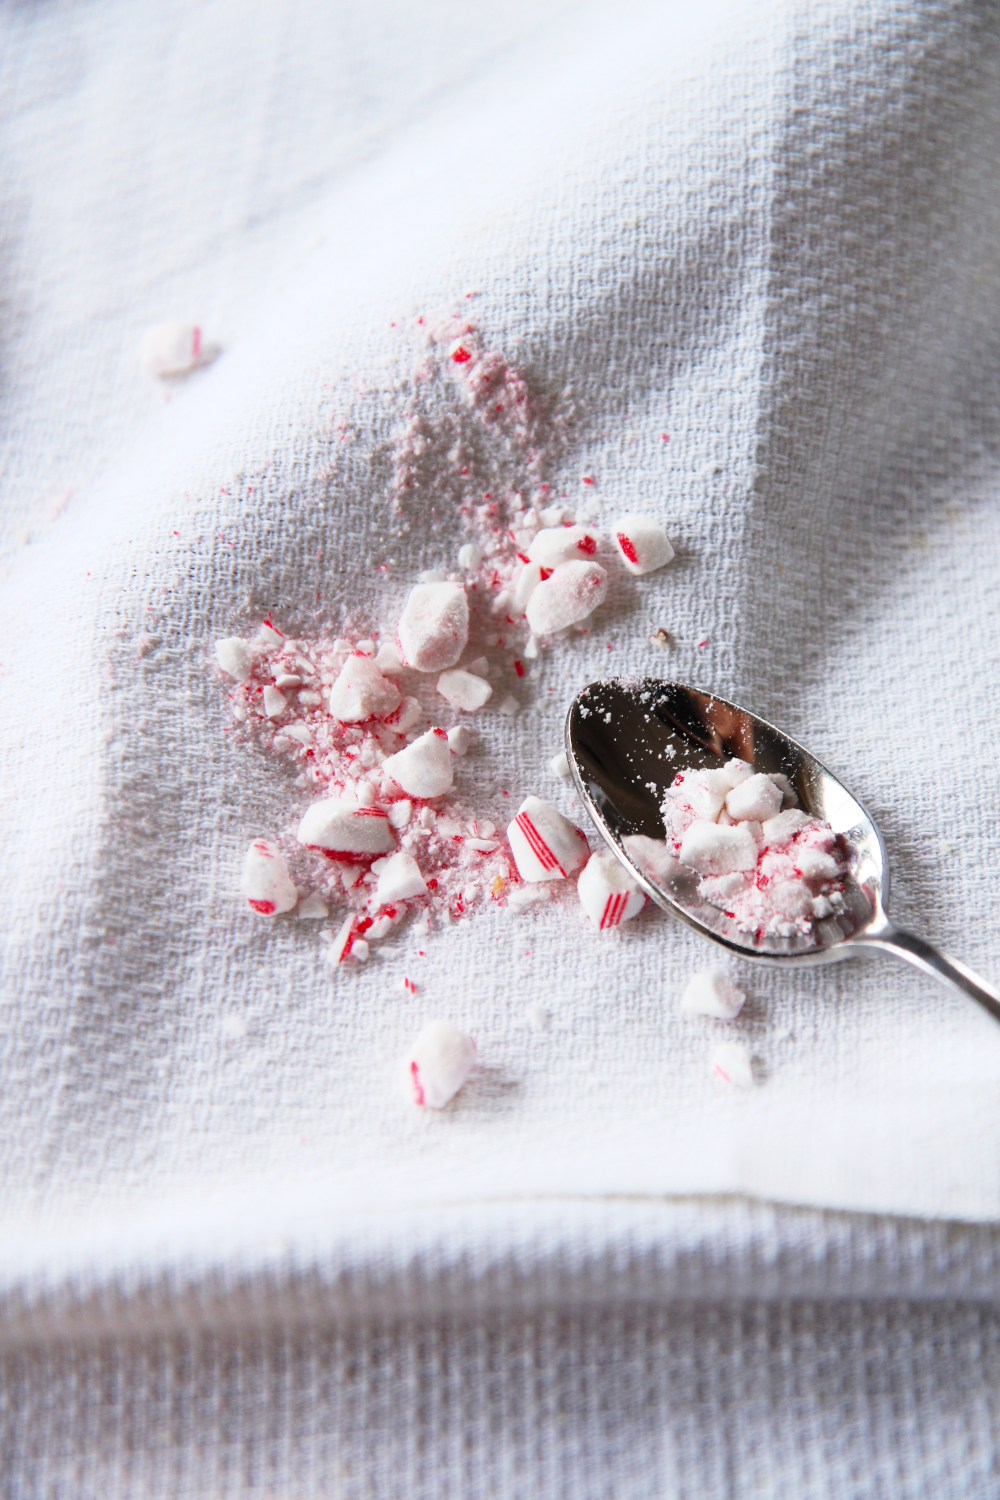
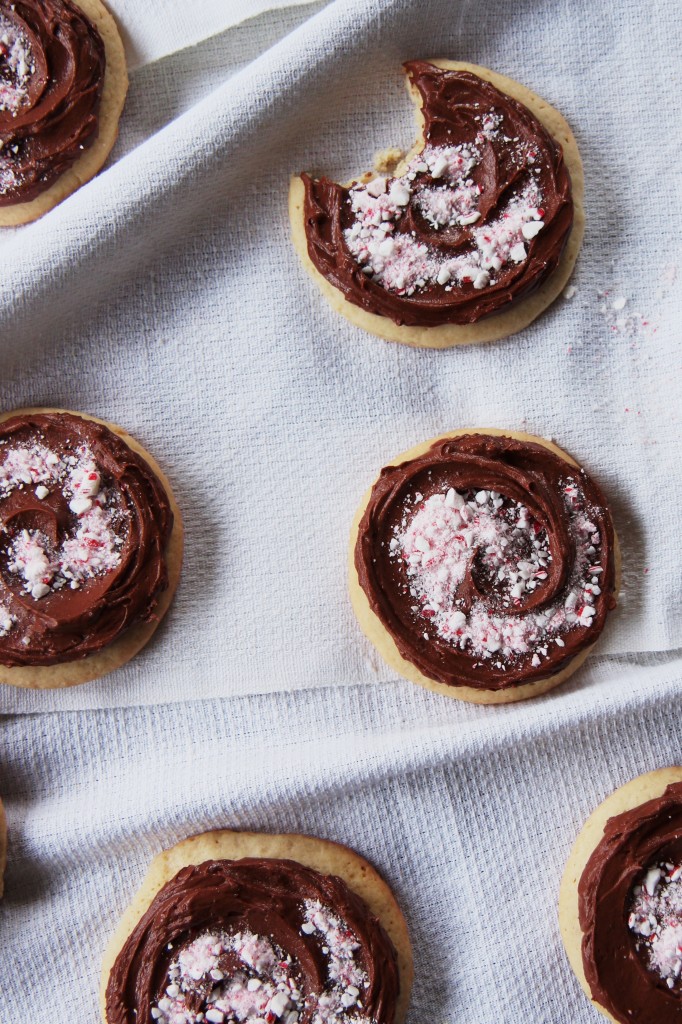
I topped them with a salty espresso + chocolate buttercream and a smattering of crushed candy canes for crunch. (Hellooooo alliteration nicetomeetyou.)

IMG_7180_01

P.S. I realize that these photos are very similar looking.  No, this isn’t one of those spot-the-difference games.

I’m just lazy, which should further confirm your idea of me as a bad blogger.

Anyways!  Good luck finding candy canes.  Ha.

IMG_7222_01_01

Chocolate and Peppermint Lofthouse Cookies
makes about 15 cookies
cookie portion adapted from Cooking Classy
ingredients:
for the cookies:
300 grams (2 1/2 cups) cake flour
2 teaspoons cornstarch
1 1/2 teaspoons baking powder
110 grams (1/2 cup, 8 tablespoons) butter
55 grams (1/4 cup, 4 tablespoons) vegetable shortening
200 grams (1 cup) granulated sugar
scant 1/2 teaspoon kosher salt
1 egg plus 1 egg white
1 tablespoon vanilla extract

for the frosting:
60 grams (~2 ounces) dark chocolate, melted
110 grams (1/2 cup, 8 tablespoons) butter
1 tablespoon cocoa powder
2 teaspoons espresso powder
45 grams (1 1/2 cups) powdered sugar
1/2 teaspoon kosher salt

to assemble:
2 candy canes, chopped finely or ground in a food processor

directions:
In the bowl of a stand mixer, add the butter and shortening and beat for 2 minutes.
Add in the sugar and salt and beat for 3 minutes.
Add the egg and egg white as well as the vanilla and beat for 4 full minutes.
Meanwhile, whisk the flour, cornstarch, and baking powder together.
Scrape the sides of the bowl after 4 minutes of beating, then add in the flour mixture and mix on low speed until combined.
Refrigerate the dough for at least 1 hour.
Preheat oven to 350 degrees F.
To bake, remove the dough from the fridge and roll out to 1/2 inch thickness, or perhaps a little less, on a well-floured surface.
Cut out desired shapes and place on parchment lined baking sheets.
Bake for 8-10 minutes, until set.
To make the frosting, beat the butter and espresso powder on high until very soft.
Sift the powdered sugar and cocoa powder over the butter and mix on low; mixture will be dry.
Add the salt and, with the mixer running on medium speed, stream the melted but cooled chocolate into the frosting.
Beat until completely homogeneous.
To frost the cookies, place a generous tablespoon of frosting onto the cookie, and spread out with a butterknife or offset spatula.
Dust with candy cane pieces.

Scavenged

IMG_4739_01

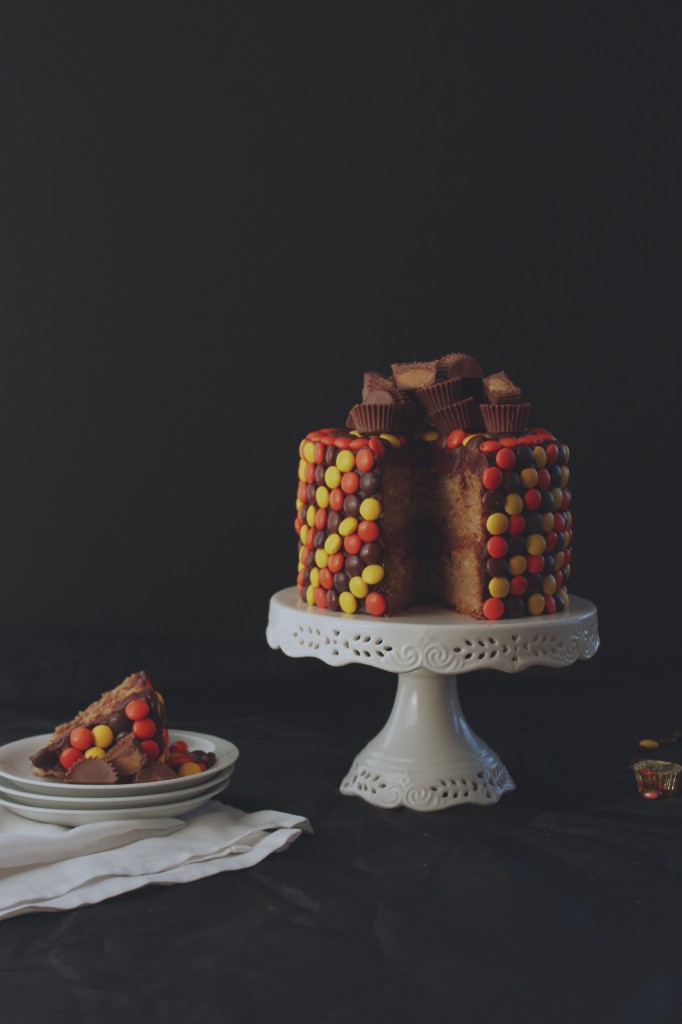
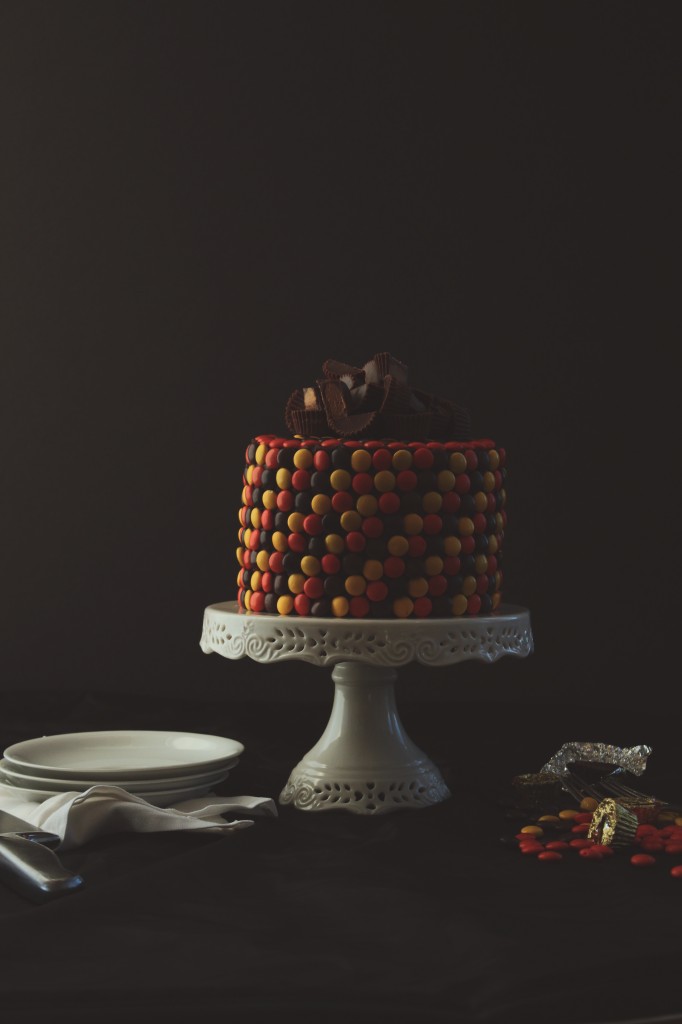
This cake soothed some of my OCD tics for a beatific hour or so.

IMG_4750_01

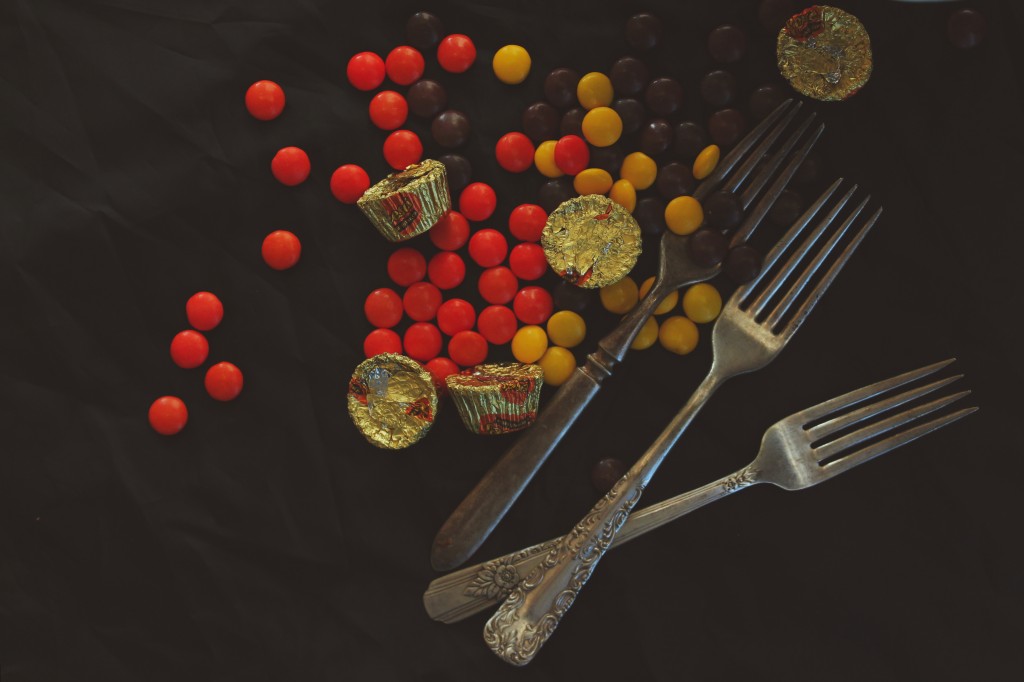
It was very fulfilling to separate the Reese’s Pieces by color.  I felt good, even though it ate away at 45 minutes of my free time, which is precious little here in college.

I ended up sorting through almost twice as many as I needed.  Oh well.

While I was mindlessly dropping each color into its own bowl, I stopped biting my lips, something which has become quite a subconscious and destructive tic.

Cake works wonders, I tell ya.

IMG_4736_01

The inspiration for this cake hit me in a CVS candy aisle, like all good ideas do.
I was buying Robitussin for this ridiculous cold I still have.
They were selling bags of Reese’s Pieces, 2 for $6.

My first thought was

CAKE.

IMG_4782_01

Reese’s Pieces have never been among my top candy choices.
To be honest, I would almost certainly choose m&ms over them any day.
That being said, they are purrrfect for Halloween treats.

Other times of the year, the colors leave something to be desired.
When Halloween rolls around, though, it’s go time.

Armed with lots of Reese’s Pieces, I began to plan for a Halloween cake.

Obviously, it had to be peanut butter

and therefore

also chocolate.

But most recipes I found were chocolate cakes covered in some sort of peanut butter frosting.
I had my heart set on the opposite- peanut butter cake with chocolate frosting.

Mainly because, well, have you seen how many chocolate cakes are on this blog?  It’s a little ridiculous.
I feel like I make a chocolate cake every two weeks.

I needed change.

IMG_4733_01

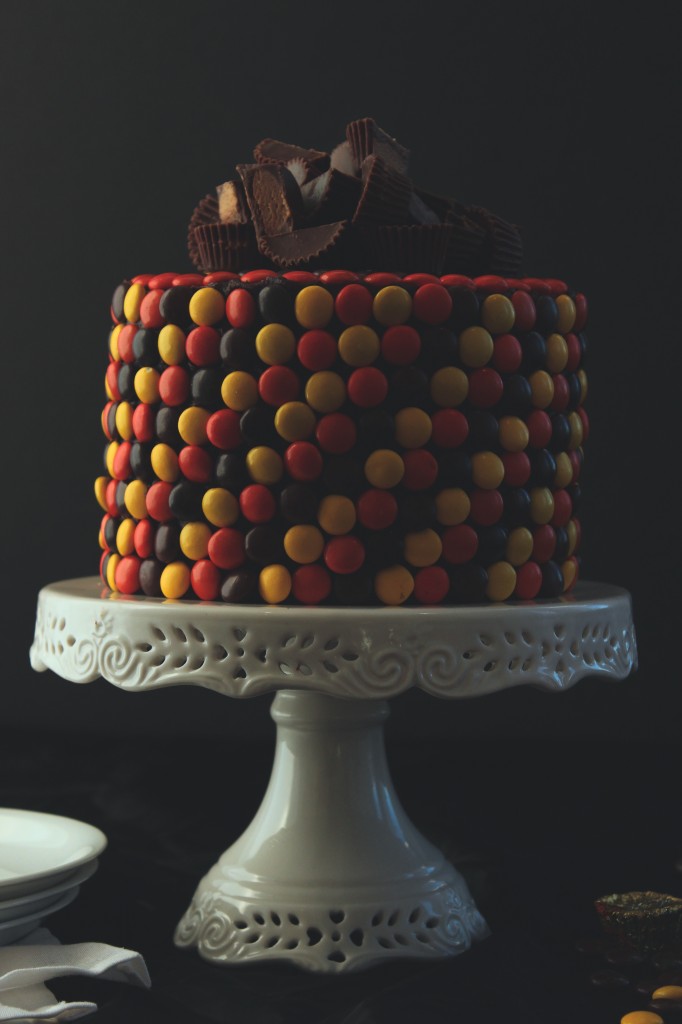
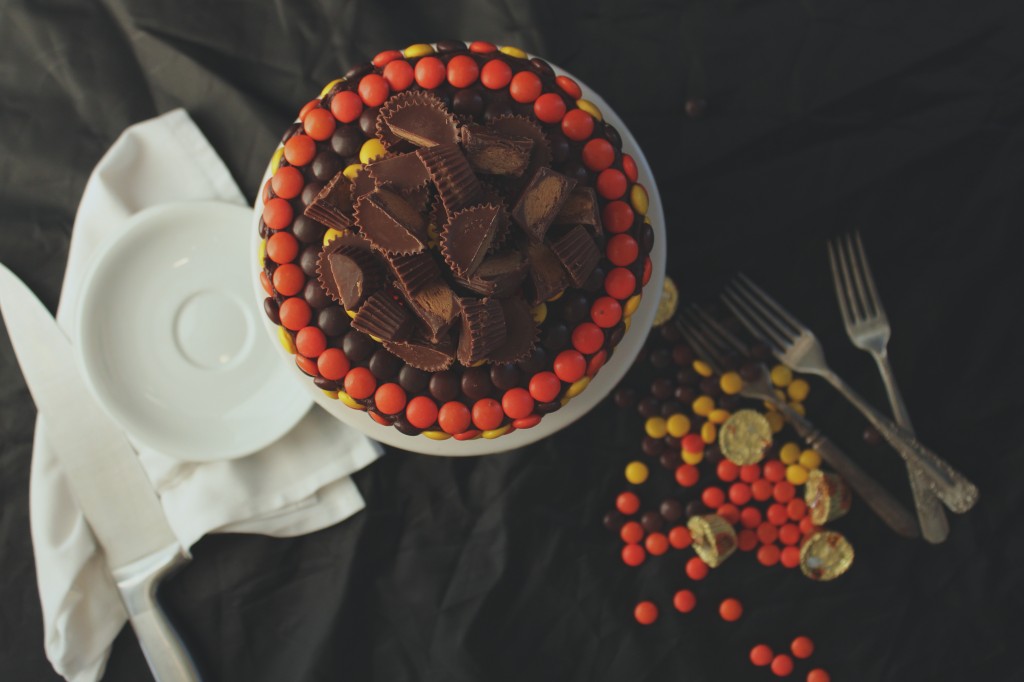
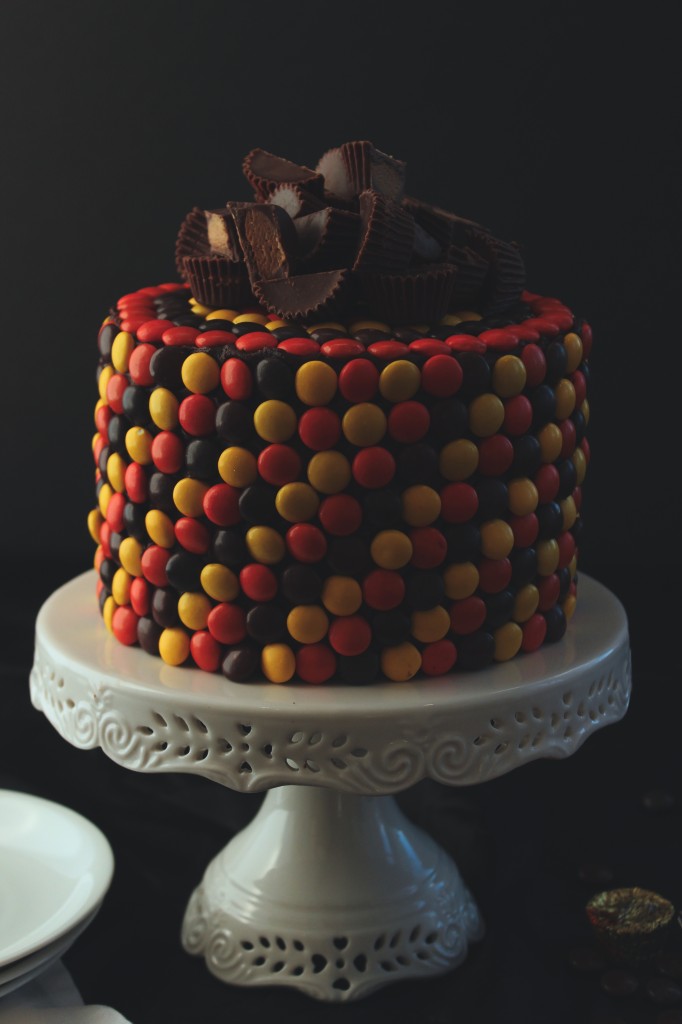
In the end, the cake was a two layer peanut butter cake which was soft and flavorful, covered in whipped peanut butter and bittersweet chocolate ganache, and decorated with Reese’s Pieces and PB cups.

It was supposed to be three layers

but

I dropped one of the pans and it fell on the ground and broke into a million pieces and my friends and I gobbled it up, fresh and hot, right then and there.  RIP.

This is a scavenged cake because I swiped the peanut butter for it from the dining hall.
I convinced my friends to each grab me a few of the little tablespoon-sized packets.

I myself grabbed a few and the resultant ridiculous amount of PB was smuggled out in my backpack, which ended up being the perfect amount for this cake.
Hooray!

P.S. note that this is another Halloween post sans pumpkin.  Ahem.

IMG_4735_01

Peanut Butter Cup Cake
cake portion adapted from Simply Gloria
ingredients:

for the cake:
1 cup creamy peanut butter
1/2 cup butter, softened
1 1/4 cup sugar
big pinch kosher salt
2 eggs
splash vanilla
1 cup milk, plus 1 1/2 teaspoons apple cider vinegar
2 1/4 cup flour
1 1/4 teaspoon baking soda
1 teaspoon baking powder

for the ganache:
1/2 cup plus 2 tablespoons cream
6 tablespoons butter
8 ounces (1/2 pound) chocolate, chopped
1/2 cup peanut butter

for decoration (optional):
Reese’s pieces
peanut butter cups, chopped

directions:
Make the cake: preheat oven to 350 degrees and grease and flour 3 6-inch pans.
Whisk flour, baking powder, and baking soda together; set aside.
Beat peanut butter and butter together until completely smooth, about 4 minutes.
Add in the sugar and salt and beat until combined well, about 2 minutes.
Scrape the sides of the bowl and add the eggs and vanilla; beat until completely combined, 2 minutes more.
While mixing very slowly, stream in the buttermilk while simultaneously shaking in the flour mixture.
Mix until completely combined then scrape the sides of the bowl and mix a little more.
Spread into your pans and bake for 25-27 minutes.
Allow to cool completely.

Meanwhile, make the frosting: melt the cream, chocolate, and butter together in a microwave safe bowl; gently stir together and put in fridge to cool.
Once the ganache is semi solid and chilled, whip it until it becomes fluffy; add the peanut butter and whip until the ganache is fluffy, light-colored, and spreadable.

Decorate to your heart’s content!