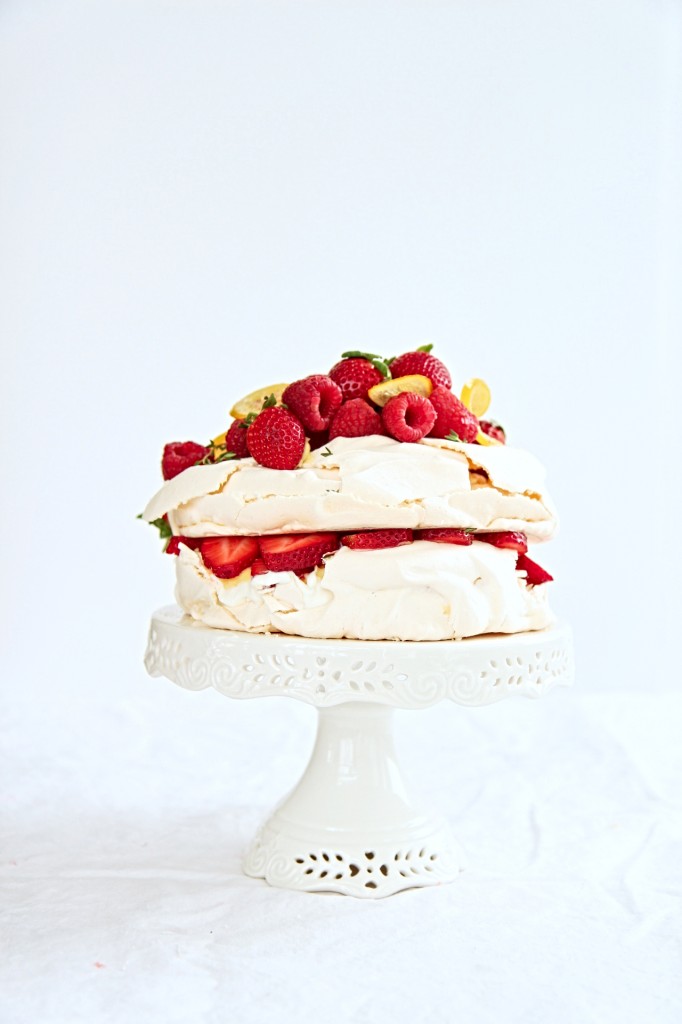
Doubtful

IMG_1951_02

“Doubt kills more dreams than failure ever will.”

–Karim Seddiki

IMG_1962_01

You know what kills macarons?
No, you don’t.
No one does, because these stupid fucking cookies have minds of their own.

For me, macs go hand and hand with failure.
Do I doubt them? Perhaps—just a touch—as I slide each fated sheet into the oven.

IMG_1947_01
Ah, I know there are explanations and even better explanations, there are complete lists of problems and solutions.

But sometimes, y’all, the problem cannot be explained by even the most exhaustive list of troubleshooting suggestions.

Take these macs.  I’ve never turned out a sheet as perfect as the first that was pulled from the oven.
Great feet, solid insides (beware the hollows!), crack-free.
Hallelujer.

The second and third sheets, however, looked like the San Andreas fault personified in a cookie.
Feet, yes.  Gigantic, canyon-like crevasses?  Yep.

Why?!?!?! I don’t know.
Same batter.  Same oven temp and technique… It’s a mystery.

IMG_1893_01

So this round of macaron mania resulted in 1) the single most perfect sheet of macs to come out of my oven and 2) the most delicious macs to come out of my kitchen.
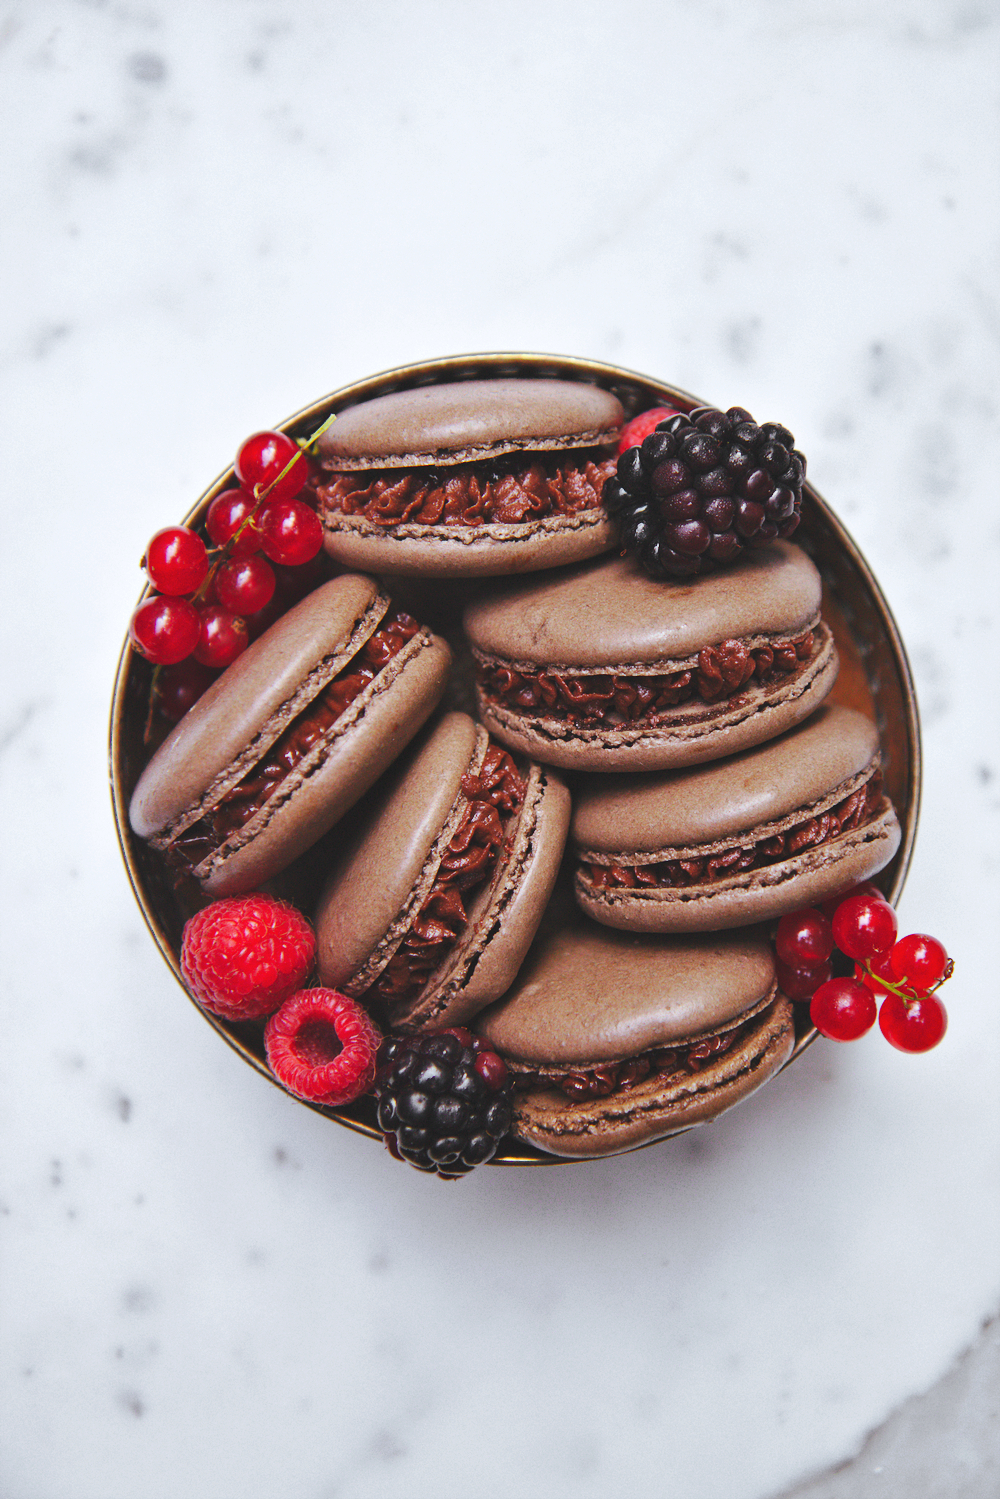
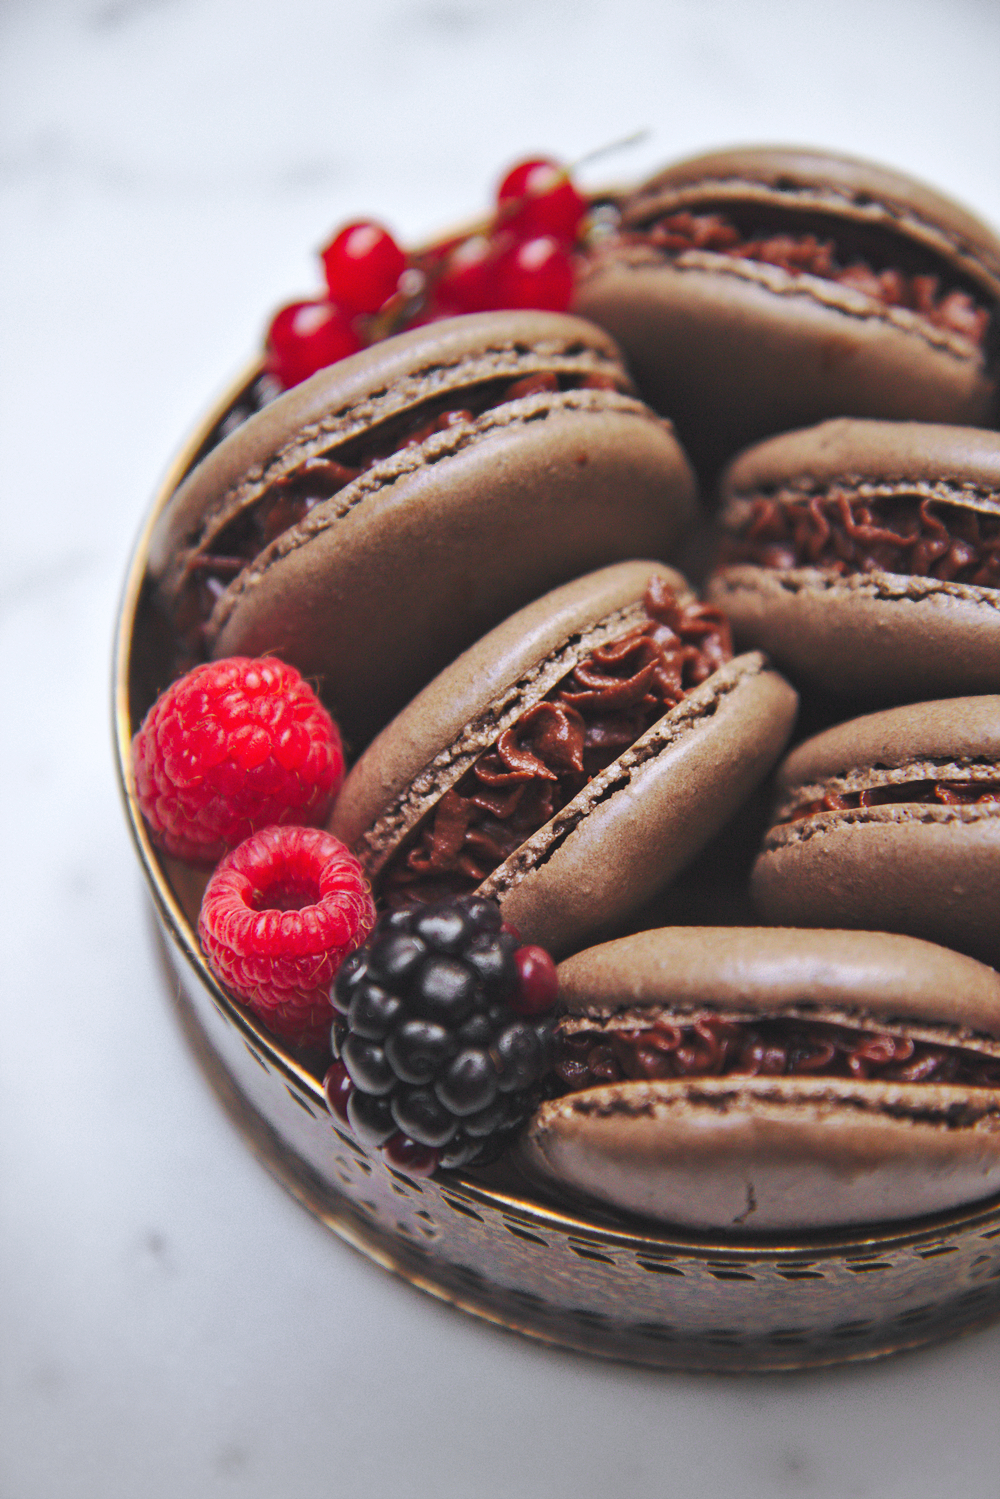
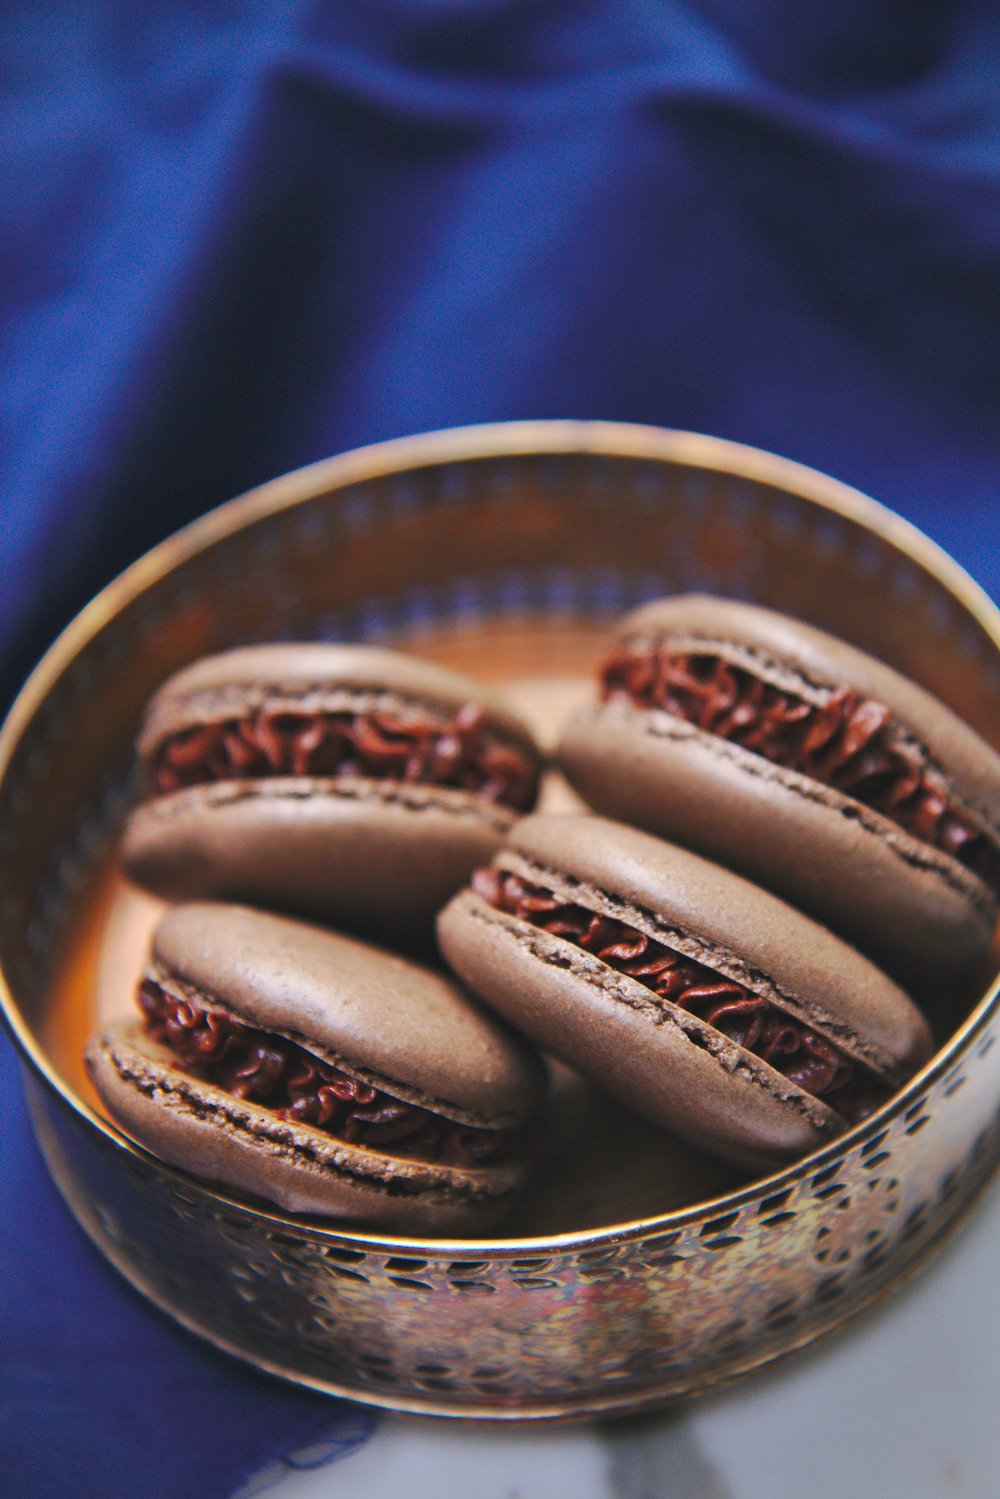
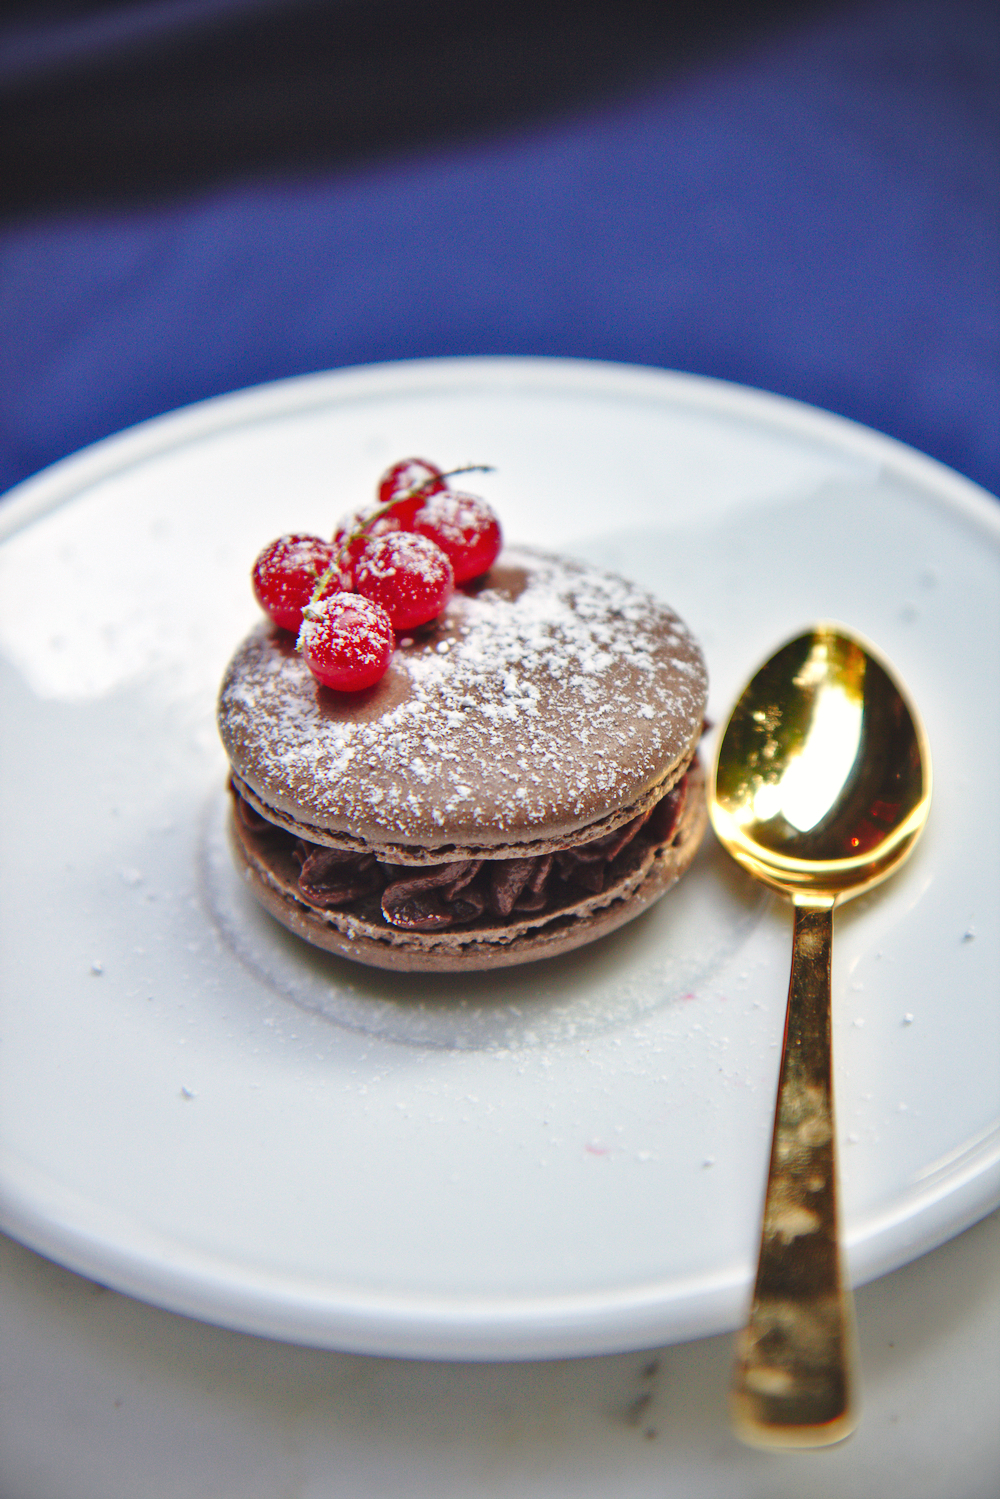
The super chocolaty shells (thank you extra dark brown cocoa!) are filled with rich bittersweet chocolate ganache and a spoonful of tart, bright red currant, blackberry, and raspberry jam.

This jam is something of note, guys.  Like seriously.  It’s bursting with the flavors of summer and it is outrageously fruity.

The end result of the cookie sandwich is something that tastes like a rich brownie with a crackling shell, with a dab of jam right in the fudgiest part.

Hello, heaven.  Come to mama.

IMG_1939_01

For the macaron shells, I’m directing you to Annie.  To make them chocolate, sub 24 grams of extra dark cocoa powder for 12 grams of the almond flour and the confectioner’s sugar.

Pipeable Chocolate Ganache
ingredients:
6 ounces bittersweet chocolate
1/2 cup cream or half-and-half
4 tablespoons butter
1 tablespoon corn syrup
pinch kosher salt
1/3 cup confectioner’s sugar

directions:
Melt and briskly whisk the chocolate, half-and-half, butter, corn syrup, and salt together.
Whisk until the mixture is shiny and viscous.
Allow to cool until solid but still scoopable.
Whip with the confectioner’s sugar using a hand mixer or a stand mixer fitted with the whisk attachment.
Whip until fluffy and lightened in color.
If it starts to melt while piping, stick it in the fridge and rewhip as needed.

Red Currant and Berry (Fridge) Jam
makes approximately 2 cups
ingredients:
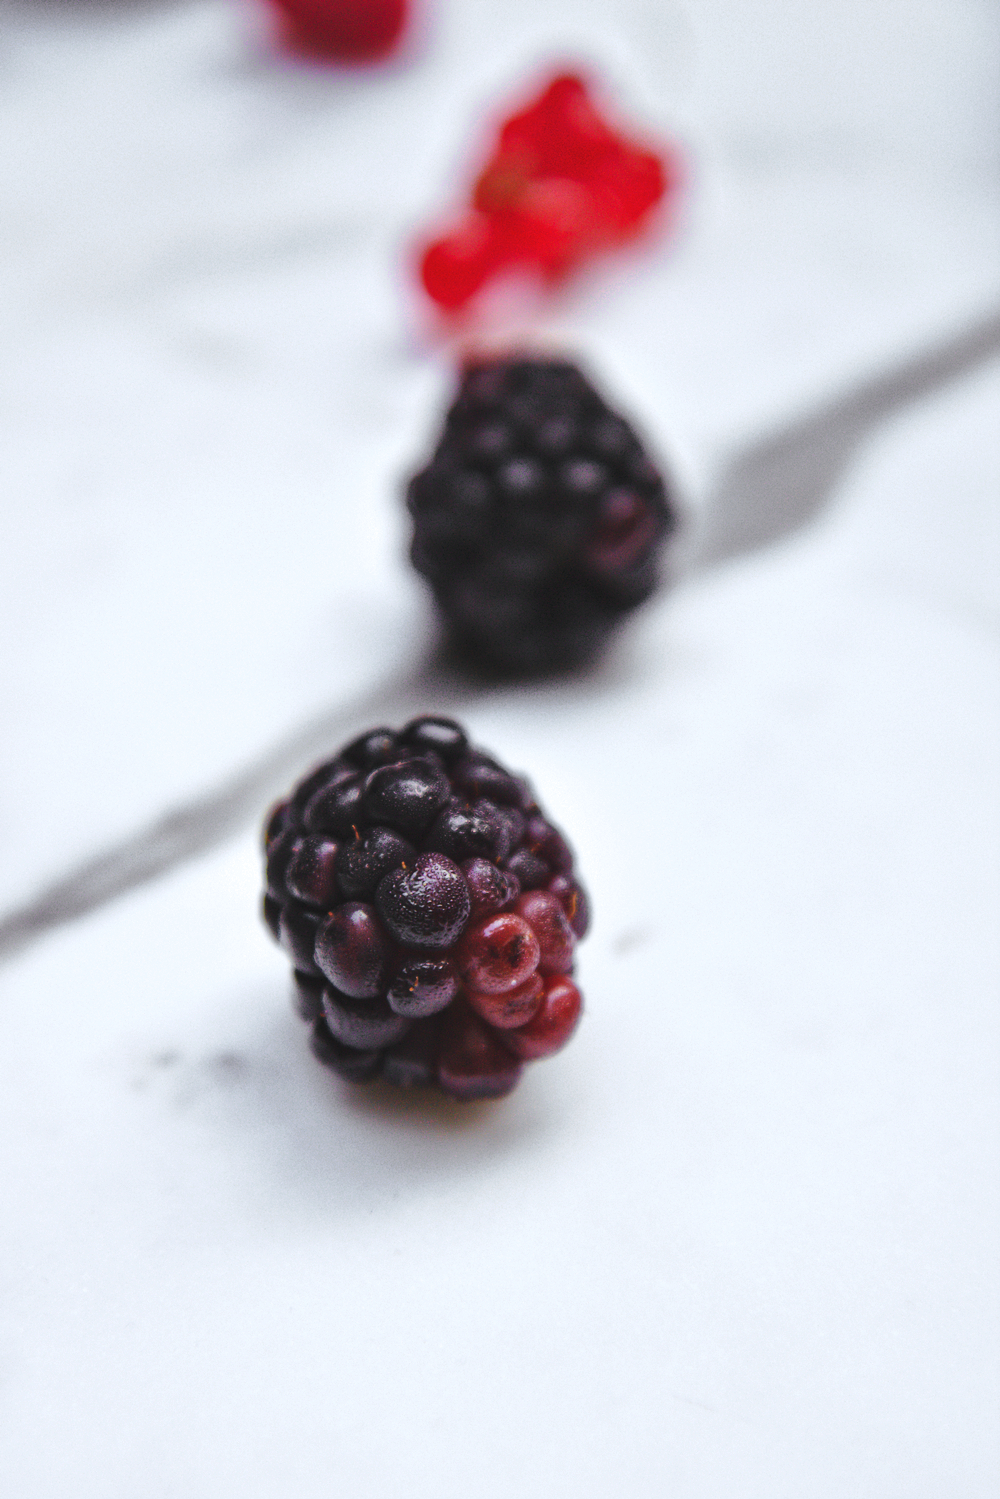
1 heaping cup red currants, destemmed
heaping 1/3 cup blackberries
1 heaping cup raspberries
generous 2/3 cup sugar

directions:
Press the currants and blackberries through a fine sieve with the back of a spoon; process them for a long time so that you get the most puree possible and leave behind relatively dry seeds.
Place into a deep pot with the sugar and raspberries and place over medium heat.
Smash the raspberries with a spatula or spoon as you stir the jam.
Reduce the heat to low and cook for 20 minutes, until the jam is thick (use the freezer test: place a small amount of jam on a plate and put it in the freezer until it cools to room temp: it should be thick and spreadable).
Allow to cool slightly, then transfer to a clean jar and then to the fridge.

Chuchote

IMG_8941_01

Soft does spring press on,
by briefest glimpses of the sun.
And eagerly do buds break,
warm winds whisp’ring them awake.
Quiet pinks and palest yellows
shade the undersides of petals.
The breeze is scented, sweet,
caressing the world out from its sleep.
Life unfurls far as the eye can see;
birds and blooms fill every tree.
Warbling melodies call from above,
honeyed confessions of new love.

–4/21/14

IMG_8970_01

Mother Nature has spread her arms, her wings, and enveloped my world in a deeply perfumed embrace.

I am humbled by and grateful for the beauty of spring.
Winter brought me to my knees, yet the long, dark months have served to make the sunshine even brighter, the flowers even sweeter, the buds even more promising.
I am doing my best to welcome life back in.

IMG_8965_01

Forgive me my long absence, I am aware that a week is an uncharacteristically long break between posts.

Life has been crazy lately.
Assignments, papers, reading, problem sets, events, deadlines, on top of socializing and trying to let loose– they all pile up like pollen, itching the OCD part of my brain and making it sneeze with fear and dissatisfaction.
As I was falling asleep last night (around 3 am…), I tried to remove myself from the pile-up, to look at it from an external point of view.
To let my mind float up, extended from my body, and look down at myself and the growing number of duties beside me.

It did not go as planned.  You know what happened?  I had a panic attack.
I couldn’t help but think about all the things that were due, all the sleep I wouldn’t get, all the little things I do and have done wrong.
How I can’t and won’t be able to do everything I need and want to.
How I have over-scheduled myself, over-promised my time, over-stretched my mind.
How fine of a wire I am balancing on, eternally teetering between breakdown and triumph.

I know it’s a part of life to be challenged and be forced to keep on pushing through; I’m trying enormously to keep that in mind.
The funny thing is how well so many things have been going.  I’m happy.
Life is so so good.  Busy can be good.

We live in a busy, productive society– but sometimes I just feel terribly overwhelmed by the culture of stress that prevails, especially here at UChicago.
It’s easy to fool yourself into thinking that you should be busy busy busy all the time, but it’s not sustainable.
I’m glad I only have 10 weeks of this, because I’m not sure how much longer I could realistically survive.

Downtime is just as important as the pep and the pomp.

IMG_8987_01

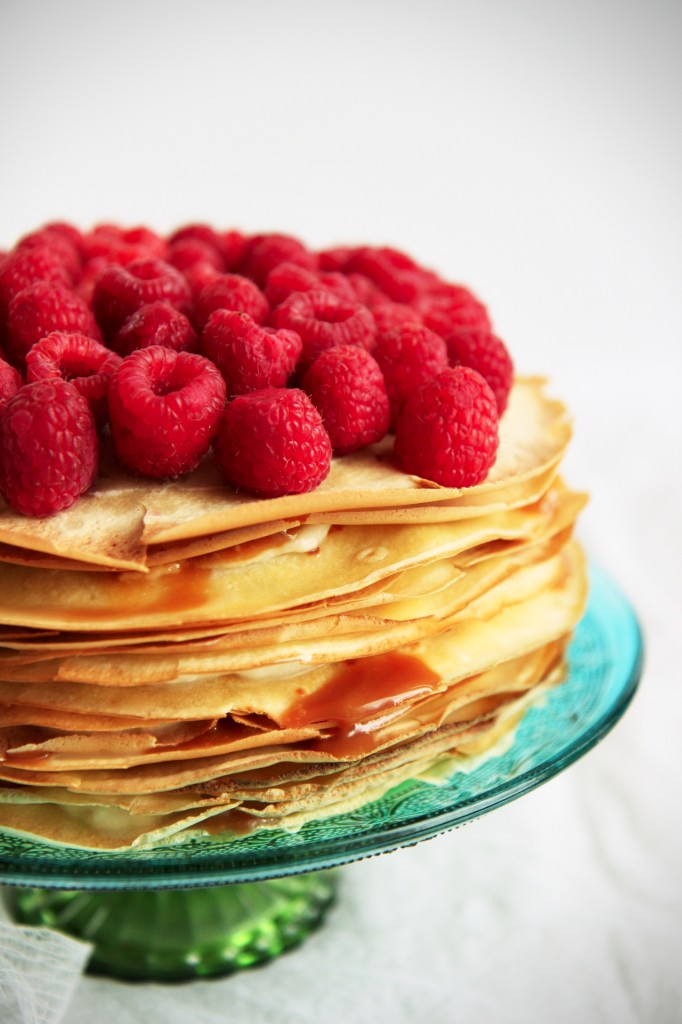
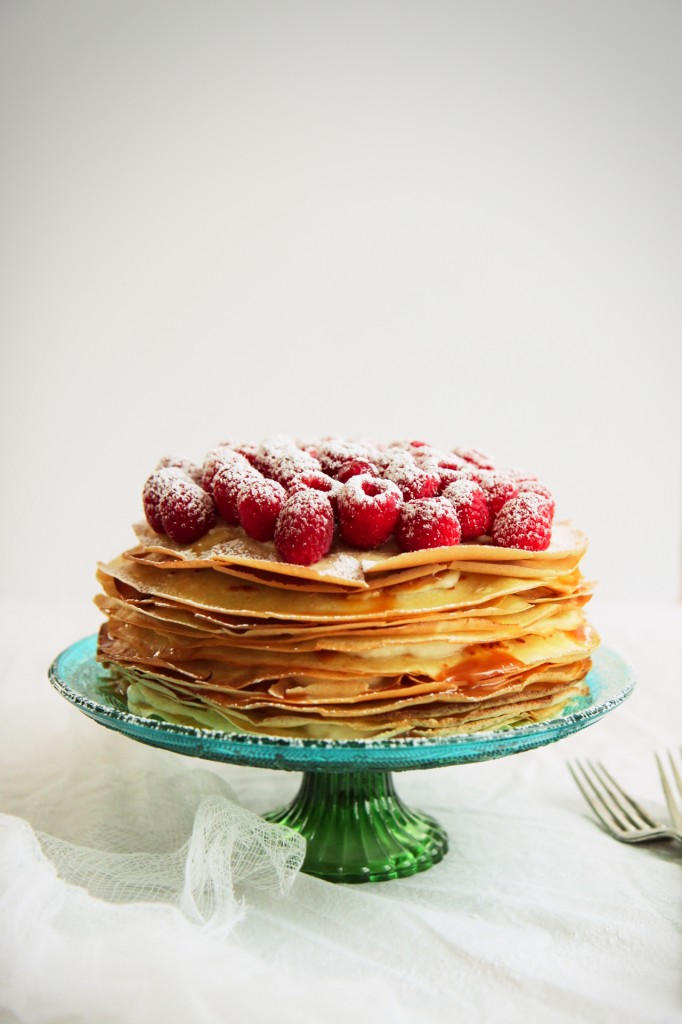
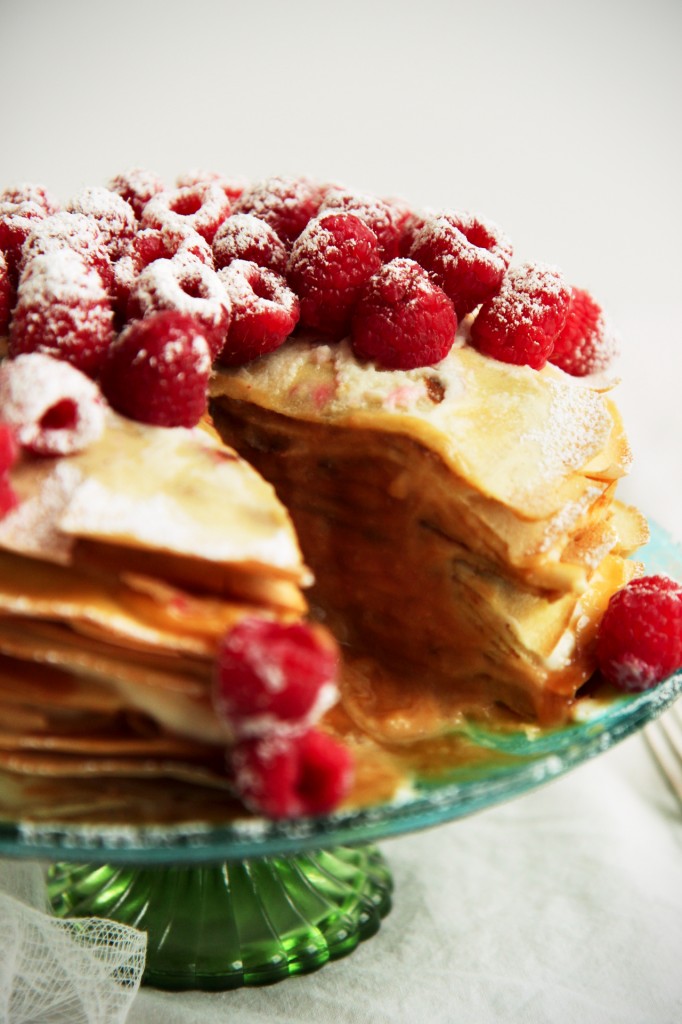
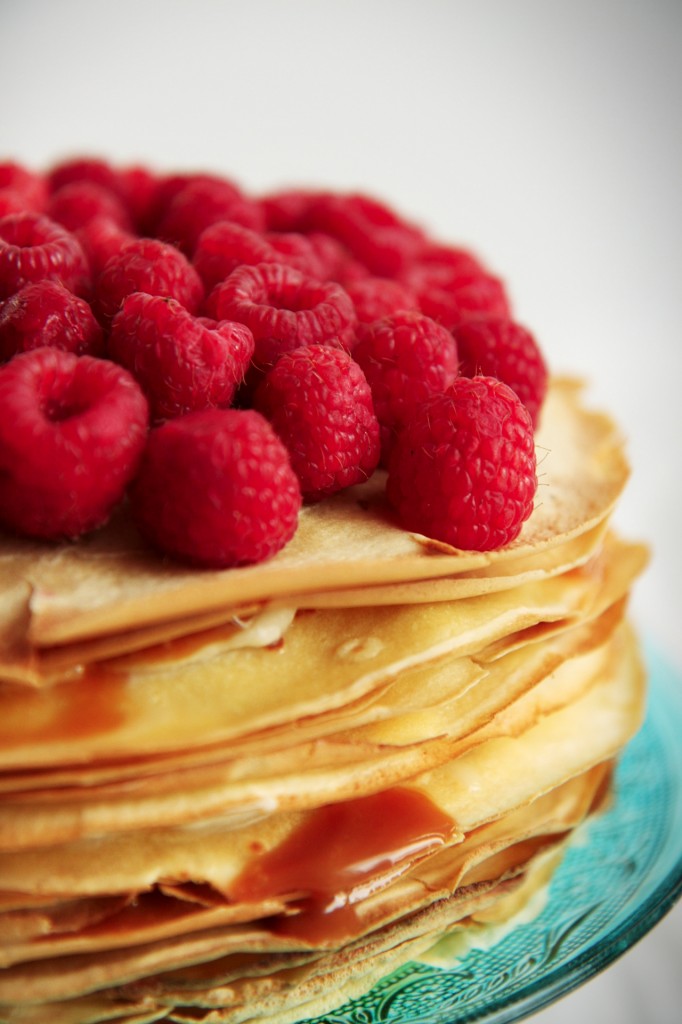
This crepe cake celebrates the fresh berries that are beginning to call out in the markets.
By late spring, our baskets will be brimming with the first crop of sweet, juicy local raspberries.

The ones that topped this cake were perfect, but they came from California.
Those lucky bastards are spoiled with luscious local produce all year long.

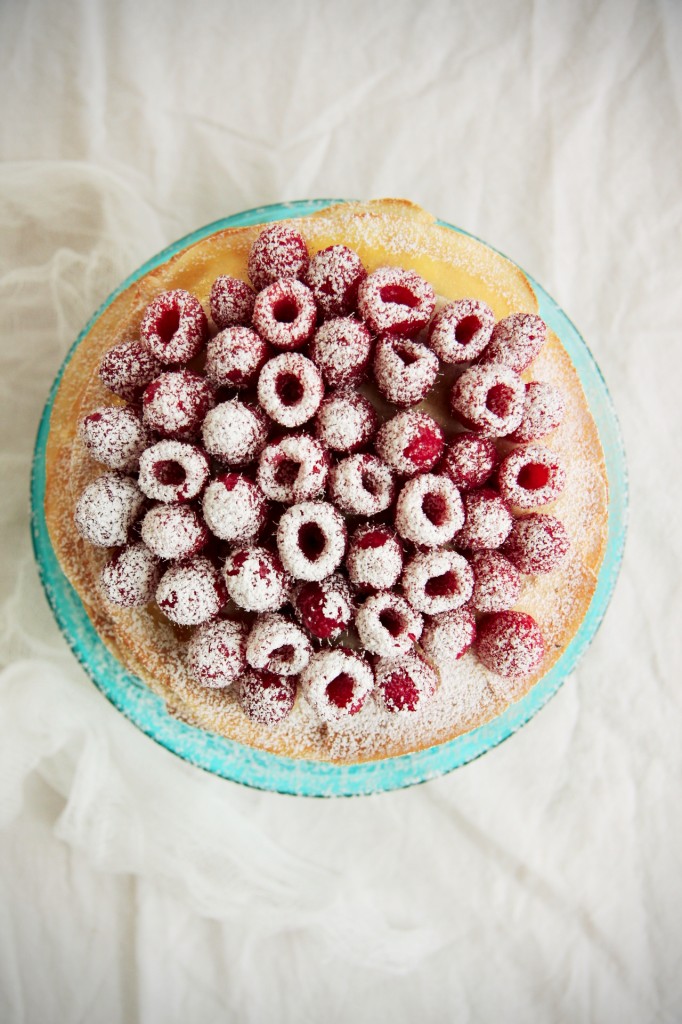
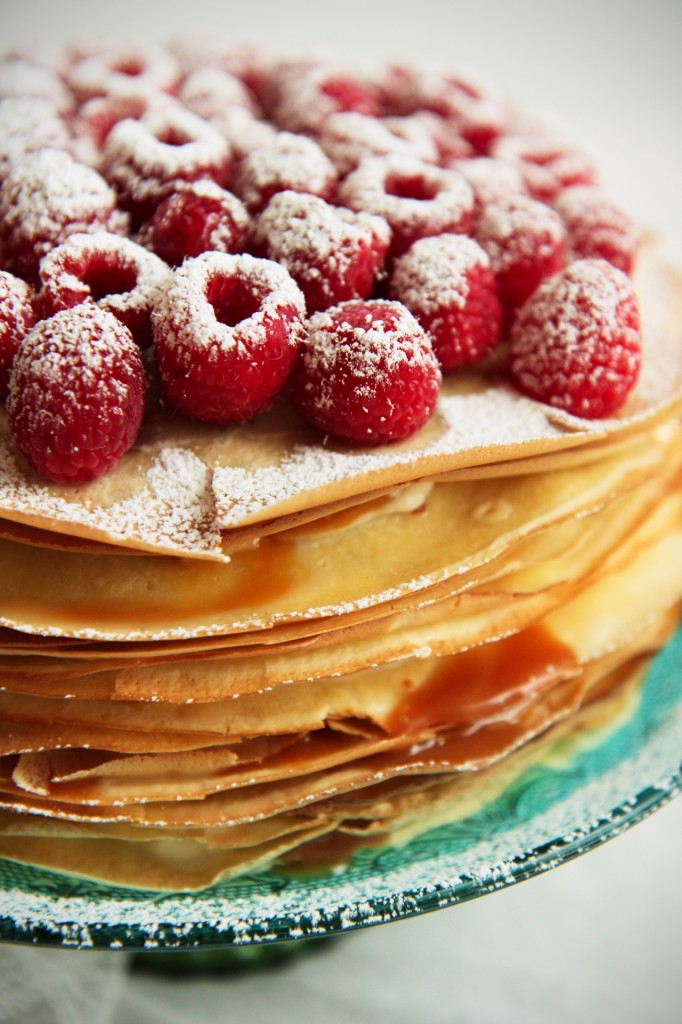
The cake itself is a stack of simple crepes that melt on your tongue, thin and lacy with crisped edges, spread with sweet, rich mascarpone cream and sea-salted caramel with just a whisper of darkness, a near-burnt profundity that adds complexity; tart, juicy raspberries and a shower of powdered sugar complete it.

The sum is greater than the parts– it ends up looking quite fancy for being a no-bake affair!

My friends and I each enjoyed a slice as we sat around a table catching up.
A wonderful slice of relaxation.

IMG_9015_01

A few tips and tricks for making this beautiful cake:

Don’t panic while making crepes!
Invest in a nonstick skillet– a small one will do.
Even if you avoid nonstick for fear of flaking coating, it’s worth having such a skillet for making crepes.
You won’t really need to butter your pan, which prevents weird fried edges and allows the crepes to cook evenly.
It also takes the hassle out of flipping the crepes– just slide a spatula or fork around the edges, and carefully pick up the crepe with your fingers to flip it quickly.

Keep your heat on medium-high.
Too cold, and the crepes will take forever and will not brown correctly.
Too high, and you’ll get bubbles that eventually burn.

Do the prep in pieces.
Make the crepes a day (or two!) ahead.  Lay them out on a baking sheet with parchment in between the crepes, wrap them in saran wrap and refrigerate them.
Make the caramel the night before– just leave it on the counter in a bowl to cool.
Make the mascarpone cream right before you use it; it takes all of five minutes to whip together.

Once the main components are all in place, it’s a breeze to stack up.  Methodical, really.
A spoonful of cream, a drizzle of caramel, another lacy crepe.
Rinse and repeat.

IMG_8937_01

Caramel Mascarpone Crepe Cake
crepe portion adapted from Poires Au Chocolat

ingredients:
for the crepes:
50 grams (4 tablespoons) butter, melted
220 grams (1 3/4 cups plus 1 tablespoon) flour
pinch of sea salt
4 eggs
400 mL (1 2/3 cups) milk
100 mL (7 tablespoons) water

for the salted caramel:
100 grams (1/2 cup) sugar
30 grams (2 tablespoons) water
1 tablespoon corn syrup
1/2 teaspoon flaky sea salt

90 grams (1/4 cup plus 2 tablespoons) heavy cream
25 grams (2 tablespoons) butter

for the whipped mascarpone:
228 grams (1 cup) mascarpone
180 grams (3/4 cup) heavy cream
115 grams (1 cup) powdered sugar
tiny pinch sea salt
1 teaspoon vanilla extract

to assemble:
1-2 pints raspberries
powdered sugar

directions:
Make the crepes: combine all ingredients in a blender canister or in a large bowl with a hand blender.
Blend on high for 1 full minute, until no lumps remain.
In a hot nonstick, 7-inch skillet, brush a tiny (1/2 a pea) amount of butter.
Pour 1/4 to 1/3 cup of batter into the skillet and swirl quickly to create an even, thin layer of batter.
Allow to cook for 3 minutes, until golden and browned, then flip the crepe with a spatula and your fingers.
Allow the other side to cook for 2 minutes, then remove the crepe and place on a parchment lined baking sheet.
Continue to make crepes until all the batter is gone; you should have 20 or so crepes.
After you have filled up one layer of crepes on the baking sheet, place another layer of parchment on top, then continue to layer crepes as they are made.
Next, make the caramel: combine sugar, water, corn syrup, and salt in a small pot.
Heat on medium-high heat, swirling but not stirring, until a deep golden color.
Remove the pan from the heat and, moving very quickly, whisk in the heavy cream and butter.
Whisk until very smooth, then pour into a container and set aside to cool; caramel will be exceedingly hot.
While the caramel cools, make the mascarpone mixture: beat mascarpone until very soft, then add in the heavy cream and beat until fluffy.
Add in the salt, powdered sugar, and vanilla, and beat until mixture is light and fully combined; there should be no lumps.
To assemble the cake, layer the first crepe with a spoonful of mascarpone and a heavy drizzle of caramel.
Layer the next crepe on, carefully and gently smoothing on the mascarpone and caramel.
Stack up all the crepes, saving a small amount of mascarpone for the top crepe; spread it thinly and use it to attach the raspberries.
Dust with powdered sugar, and serve in generous wedges.

Janvier

IMG_7529_03

“There are many things we would throw away if we were not afraid that others might pick them up.”

-Oscar Wilde
IMG_7519_01

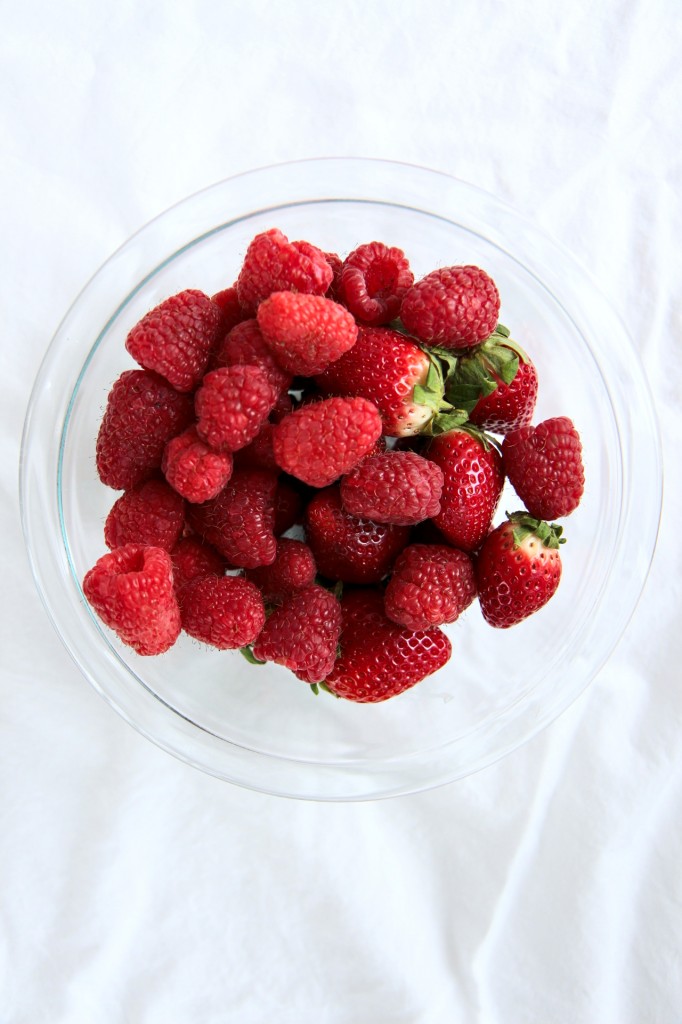
January is a fragile month.
The new year is only just hatching, stretching its wings, ruffling its feathers, blinking awake.
The sun is slowly becoming stronger, the days longer.

It is the month of resolutions, ever so delicate, easily crushed in their nascence.

We are all only dipping our toes in the cold, cold new waters.
Not a one of us knows what the year will bring—a terrifying and invigorating prospect.

How has it come to pass that the end of this first month of 2014 is nigh?
January has flown by in a blur, spinning me around in a whirled frenzy of snow and wind.
I shiver to think of what this year holds—whether it is borne from excitement or dread, I cannot say.
It could also be the ungodly cold here in Chicago.  I don’t know.
IMG_7566_02_01

January is a month of citrus.
Though, I must admit, you cannot tell as much from my archives.

January 2013: puff pastry tutorial, coconut mochi, s’mores cake, conversation heart cookies, nutella-raspberry-brown butter crumb bars, maple-bacon and Vietnamese coffee doughnuts, gâteau des rois.  Only one had citrus…
January 2014: Peppermint-chocolate cookies, PB cupcakes, pear-cranberry-ginger crisps, earl grey cupcakes.  Ahem.  Still none.

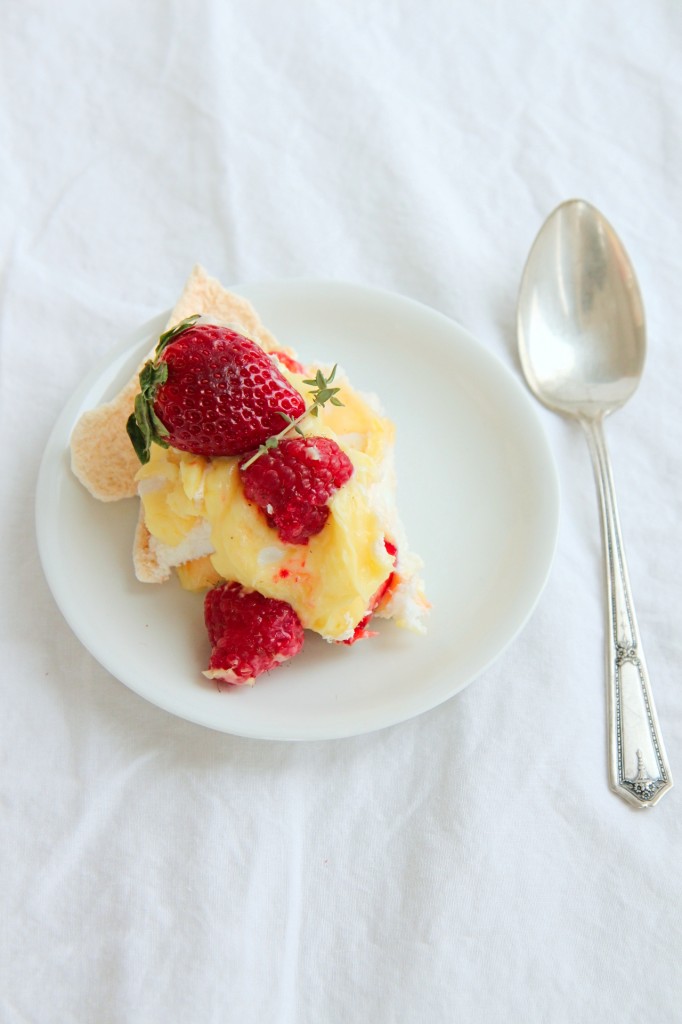
This pavlova is my answer, my remedy, then, to the absent citrus in what I have just declared to be a month of citrus.
Specifically, lemon.
January is a lemon month.
IMG_7539_01_02

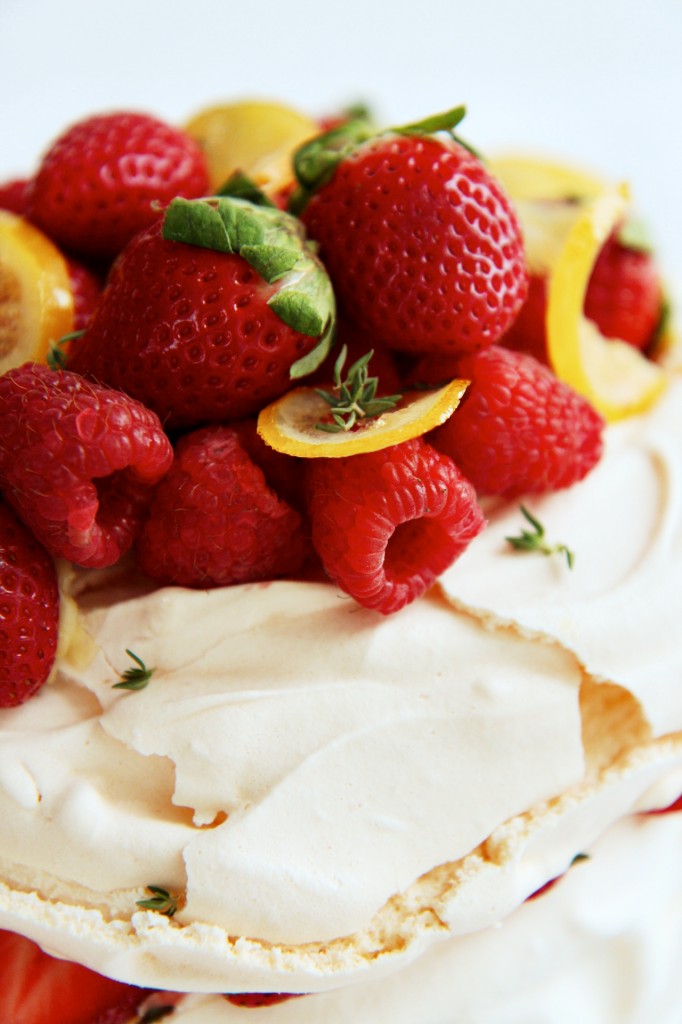
Lemon.  Perky, bright, sunny.
Lemon.  Tart, balancing, acidic.
Lemon lemon lemon, I’d choose over chocolate any day.  (Freak.)

The first time I met a meyer lemon was 2006.
I received the January issue of Martha Stewart Living.
As I tore through it, my 11 year old self soaking in every hit of inspiration, I fell upon this cake.
I wanted to cry.  I wanted to make this cake so incredibly badly, but knew it was out of my reach.

This cake prominently featuring these mysterious meyer lemons was all I wanted.  And I couldn’t have it.
I begged my parents to let me make it.
They said, “um… no. We don’t need a 3 foot high, 3 tier meyer lemon cake.  Stop reading Martha Stewart, you little weirdo.

Everything was so beautiful and yellow and happy and lemony.
It was torture.
And what the hell was a meyer lemon, anyway?

Can you tell what a strange, disturbed child I was?  A Martha Stewart addict from a young age.
It explains so much, don’t it?
IMG_7533_02_03_01

In a month where stagnation is banished, where the wheels are turning and the world is changing, lemon is ideal.
It’s fresh and lively, something which I appreciate when the fresh produce situation is somewhat abysmal.
Lemon never fails to awaken the palette.
It’s a clean flavor, and after all the heavy desserts of December, we can all use a flavor boost.

Pavlova.  Also perfectly suited for January, with its light airiness and minimal sweetness.
Good for resolution breaking, but not resolution destroying, ja feel?

It’s probably my favorite dessert.  Which is a big, big deal.
I wrote a sonnet inspired by rhubarb, which was featured in my first pavlova. (I have no words for the white balance in those photos.  Please accept my apologies.)
I had pavlova for my 18th birthday cake, a simple one-layer affair, covered in coconut/mascarpone fluff, passionfruit sauce, and tumbling raspberries.
IMG_7546_01_01

And now, here we are.
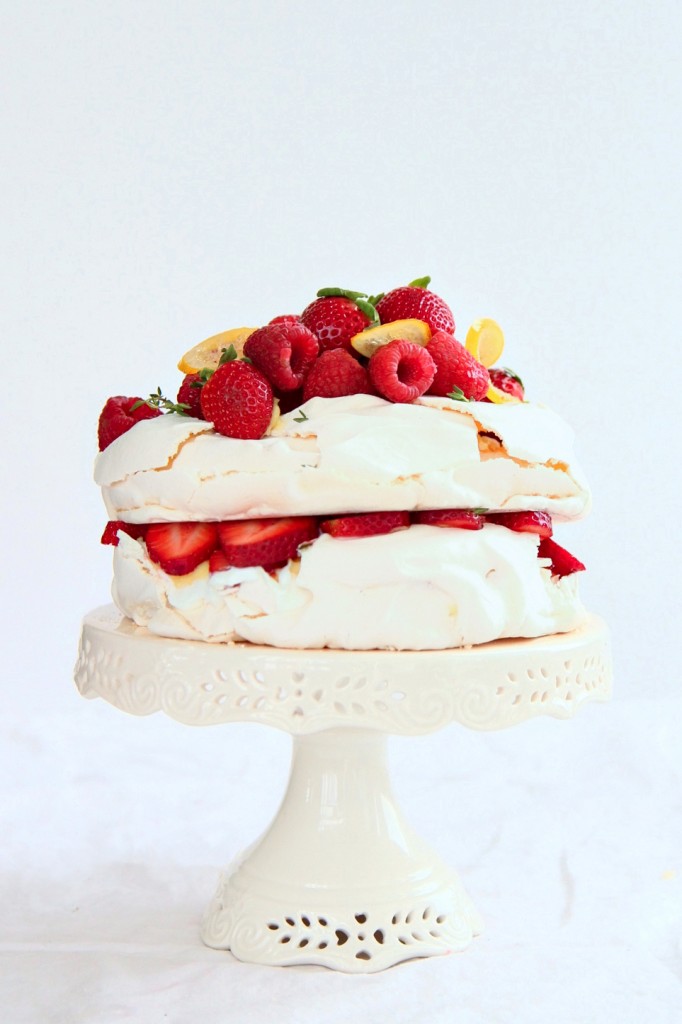
This pavlova focuses on tartness, allowing the meyer lemons to shine.

A supremely light meringue base, crispy and crackling on the exterior, pillowy marshmallow on the inside, is
layered with barely sweetened Greek yogurt,
thick and luscious meyer lemon curd,
fresh bites of strawberries and raspberries, and
finished with a sprinkle of earthy, grounding thyme and
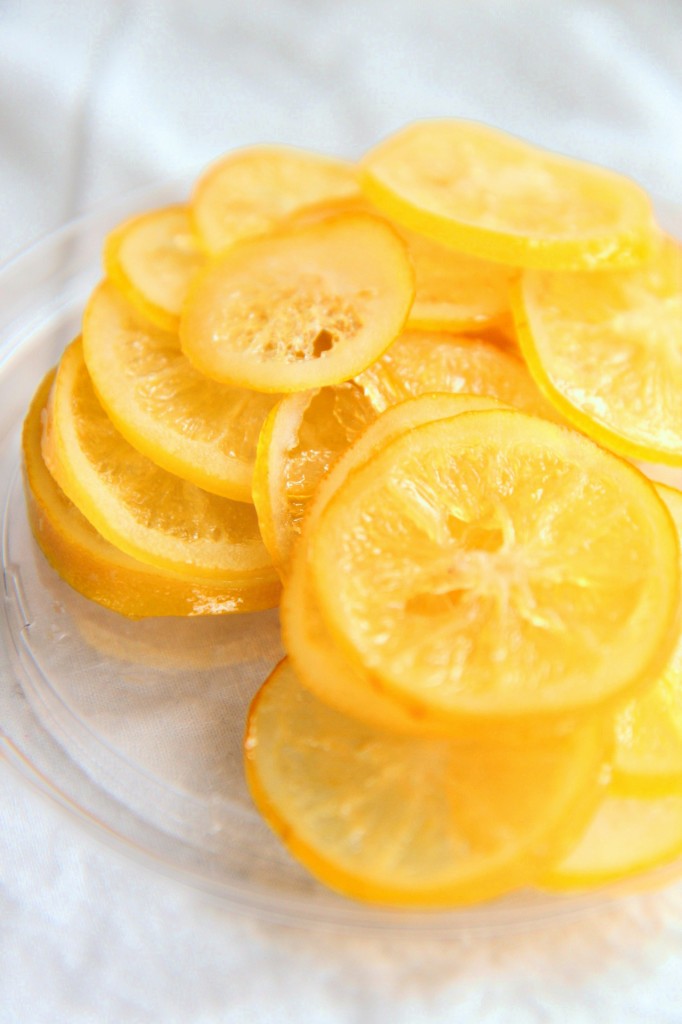
tart, chewy candied meyer lemons.

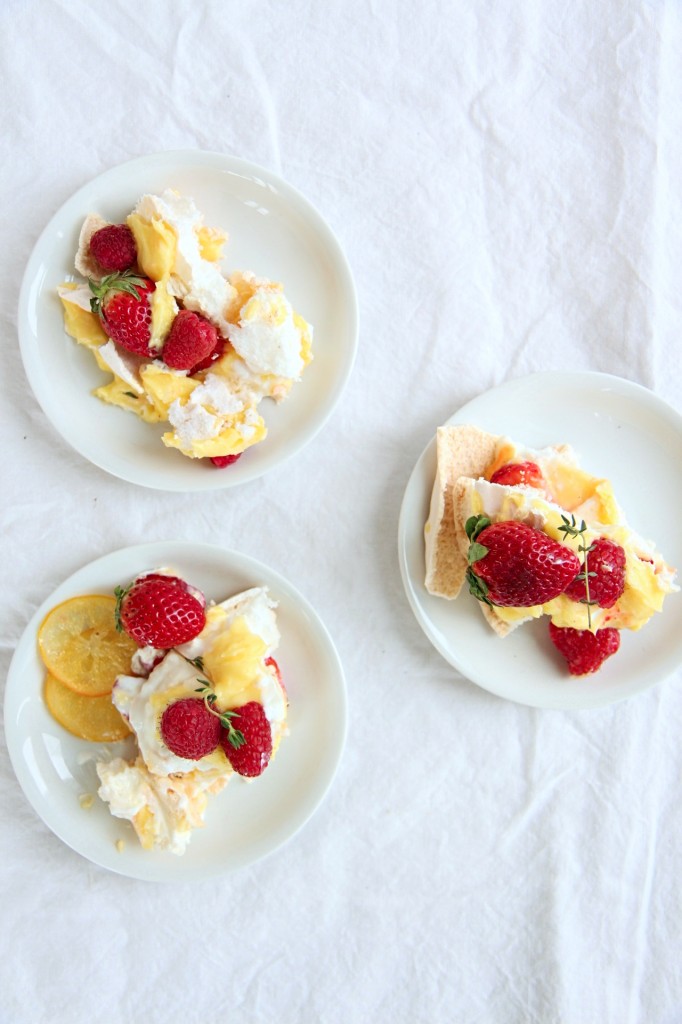
My pavlova cracked, pretty badly.  I ain’t stressed about it.
See, I thought it would be genius to layer the yogurt and curd onto the layers before stacking them.
What anybody with a shred of common sense would quickly see is that the meringue was too delicate and fragile to stand up to the thick sauces and promptly crrrrrraacked.  *shit shit shit*
Oops.  It’s okay.  Pavlovas crack and crumble; it’s part of their personality, their patina.
Get over it.
IMG_7521_01

Once I was done photographing the cake, I realized how futile it would be to try to keep it on the cake pedestal.
It was already slip sliding around, as I didn’t secure it to the stand with a daub of lemon curd, as I should have.
Things were cracking, falling, toppling.
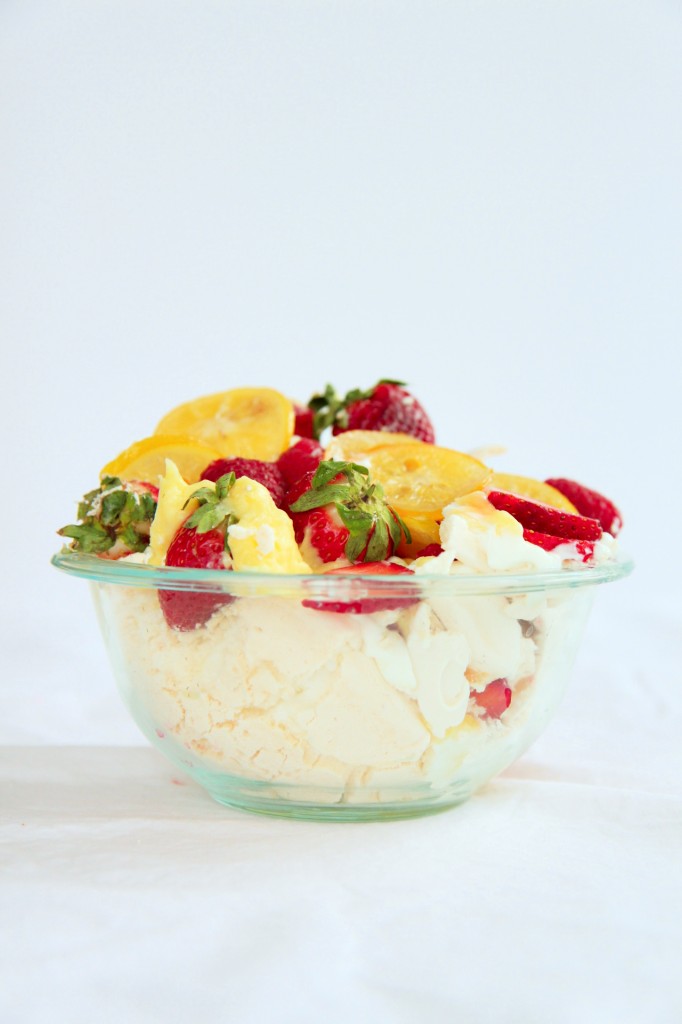
So, I plopped it into a bowl, shoved the leftover fruits on top, and called it a day.

The secret?  It tastes just as good smashed up, packed into a bowl, smashed to bits and spooned straight into your mouth as it does dressed up, stacked, and eaten from a proper plate.

And thank goodness for that.
IMG_7582_02_03

Meyer Lemon, Berry, Thyme, and Yogurt Pavlova
meringue base from Donna Hay
lemon curd adapted from Use Real Butter
ingredients:
for the meringue base:
4 egg whites
1 cup granulated sugar
2 tablespoons cornstarch
2 teaspoons white vinegar

for the lemon curd:
1 1/2 cups water
3/4 cup sugar
6 tablespoons cornstarch
4 egg yolks, beaten
3 tablespoons butter
1/2 cup meyer lemon juice
zest of 2 meyer lemons

for the candied lemons:
2 meyer lemons, sliced very thinly
2 cups sugar
2 cups water

to assemble:
3/4 cup plain Greek yogurt
3 tablespoons confectioner’s sugar, sifted
1 pint strawberries, 1/2 hulled and sliced, 1/2 whole
1 cup raspberries
Fresh thyme

directions:
Make the meringue base:
Preheat oven to 250 degrees F and line a baking sheet with parchment.
Trace 2 6-inch circles (you could do 8- or 9-inch, but it won’t be as tall.) with pencil, then turn the paper over.
Begin to whip egg whites with a stand mixer.
When soft peaks are just starting to form, stream in the sugar very slowly, one tablespoon at a time, until the meringue has reached very stiff peaks.
Gently fold in the vinegar and cornstarch.
Spread the meringue out around the traced circles.
Bake for an hour and a half, then turn off the oven and allow the pavlova to cool completely inside the oven.

Make the lemon curd:
Place water and sugar in a large pot.
Bring to a boil, then whisk in cornstarch.
Bring to a boil; mixture will be very thick and gloppy.
While whisking egg yolks, take a spoonful of the cornstarch mixture and quickly combine; continue to add, by the spoonful, until about 1/3 of the hot cornstarch mixture has been added.
Whisk the egg yolk mixture back into the corn starch mixture, and return to very low heat.
Whisk in the butter, then, off the heat, carefully whisk in the lemon juice and zest.
If any lumps are present, blitz the curd in a blender until smooth.

Make the candied lemons:
Bring a large pot of water to a boil and prepare an ice bath.
Place the very thinly sliced lemons in the boiling water and cook for 20 seconds.
Remove to the ice bath and allow to cool completely.
Meanwhile, add 2 cups sugar and 2 cups water to the pot and bring to a simmer, until the sugar is dissolved.
Add the lemon slices and allow to simmer for 45 minutes, until softened and no longer bitter.

Assemble the pavlova:
Whisk the yogurt and confectioner’s sugar together.
Spread a thin layer over the first pavlova layer, then spread half of the lemon curd onto the yogurt.
Top with the sliced strawberries and a sprinkling of thyme.
Add the second meringue disk, and top with the remaining yogurt and lemon curd.
Arrange the fruit on top of the lemon curd, and sprinkle more thyme leaves over.
Serve with a spoon, in bowls.
To the Core

IMG_7485_01

“Our biggest disagreement was about chunks.
Ben came up with the flavors and I did the manufacturing, and he wanted bigger chunks and I wanted small ones with greater distribution.
He said people didn’t care if you got a chunk in every bite as long as you knew that fairly soon you’d get a chunk.”

Jerry Greenfield

IMG_7489_01

I think we can apply Ben Cohen’s theory about ice cream chunks to life happiness.

How important, and too often forgotten, is the idea that not every bite will or needs to contain a chunk?
We’re so trained for instant gratification that anything less feels like deprivation.
We forget that not every day needs to be perfect or leave you fulfilled.
You don’t need to be cheery and happy every minute to feel satisfied in the big picture.

We think about our lives in terms of monumental moments; we measure the passing of time with the passing of tragedies and victories.
What about all the days where nothing “of importance” happens?

IMG_7491_01

They are to our lives as bites without chunks are to Ben and Jerry’s, as junk DNA is to genes.
From the outset, they seem less important.  Undesirable, useless.  Wasted.
But more flies under our radar, which is tuned to big spikes in emotion, than we think.
Little things.  Daily things, both annoying and delightful.

The first bite of a crisp apple.
Losing your keys, phone, wallet, mind.
A smile from a passerby.
Stubbing a toe.  Twice.
The smell of cookies baking.
Being overworked and overtired at the end of a long day, a long week, a long year.
Snuggling into your own bed.

So much that we take for granted is beautiful in its own right.

I intend to practice more gratitude and appreciation for the plain, the mediocre, the underappreciated, the kind-of-crappy happenings in my life.
I intend to take each moment as it comes, to breathe it in and live in it,
to meet it with a smile and know it fully.

Each moment of each day in our fantastic, terrible world deserves meaning.

IMG_7505_01

It is a sophisticated hope, then, that sustains true, lasting happiness.
The hope—or rather, the knowledge—that you’ll get a “chunk” fairly soon.
And the deep and conscious enjoyment and appreciation of every moment, every plain bite of ice cream, every pretzel in the Chex mix.

Food for thought.  Thought for food.

IMG_7494_01

Speaking of food… Cupcakes?!  Again?!  Who am I?!
Just last week, I made these “teatime” cupcakes.  And I loved them!
Photographing cupcakes is more pleasant than cookies, and lord knows I’ve made enough of those in recent times.
So.  Many.  Cookies.
Thus, despite my semi-loathing of cupcakes, I made more.

Part of my newly affirmed affection for cupcakes is that I’ve been frosting them with a meringue buttercream.
Seriously, I used to think that thick, American-style buttercream was a decent choice for cupcakes.
But, truthfully, there is no comparison to a cloud of rich, glossy IMBC.
Especially not a brick of confectioner’s sugar/butter ABC.

I wax on about meringue buttercreams all the time (not sorry) but that’s because they’re amazing.
Light, easy to pipe, smooth, shiny, stable, flavorful.
(I’m an adjective junkie.)

They’re only minimally more work, are less likely to break/curdle/be gross and are therefore totally worth the extra 10 minutes of prep.
Give your favorite cupcakes a makeover with some IMBC and you won’t recognize them, or ever even look back.

Maybe you don’t like cupcakes, like me.
I swear to you, cupcakes frosted with IMBC may change you.

IMG_7502_02

These cupcakes were inspired by Ben and Jerry’s ice cream!

One of their “core” UK flavors is called Peanut Butter Me Up.
It’s half peanut butter and half vanilla ice cream, surrounding a core of raspberry jammy goodness.  The vanilla is studded with peanut butter cups.
Sounds like a perfect pint to me.  Heaven is peanut butter+vanilla+fruit.
Why don’t we have it in America?  I don’t know.  But it’s killing me.

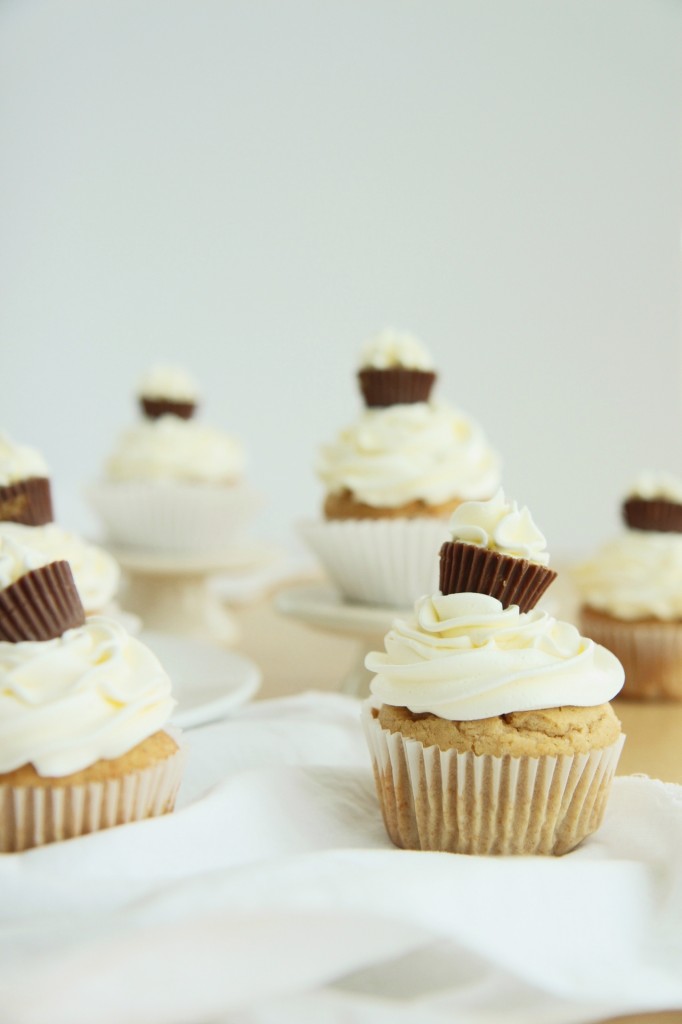
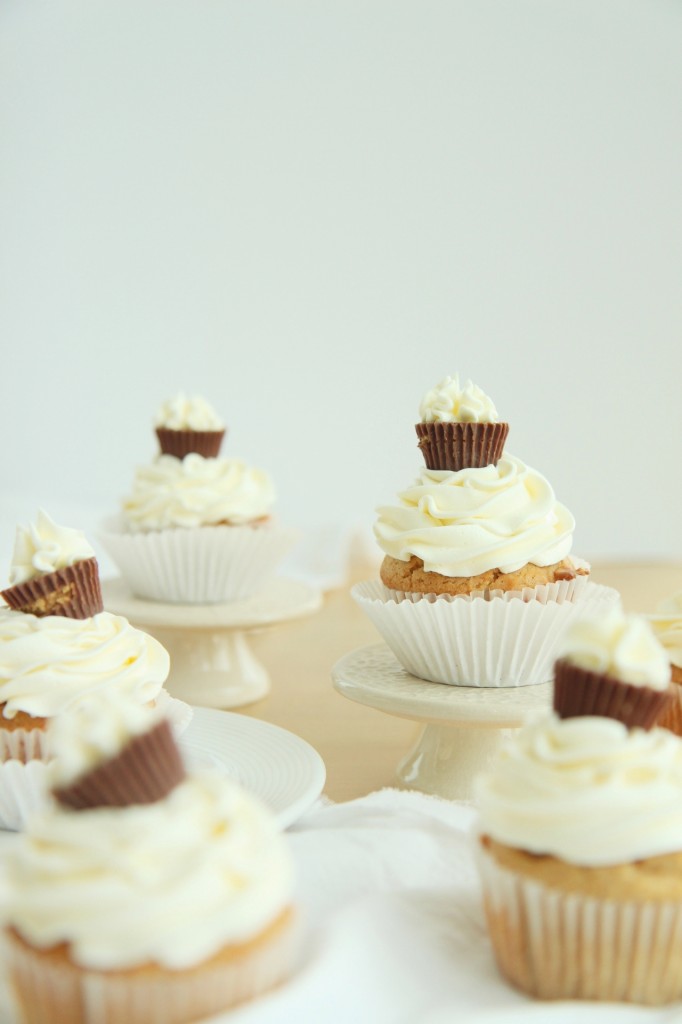
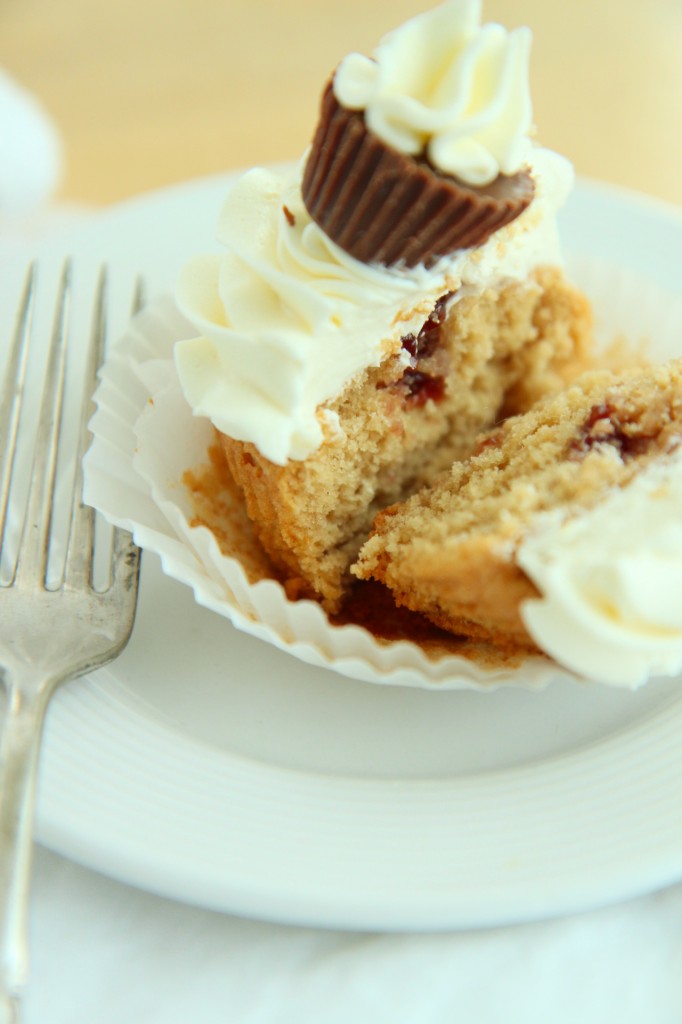
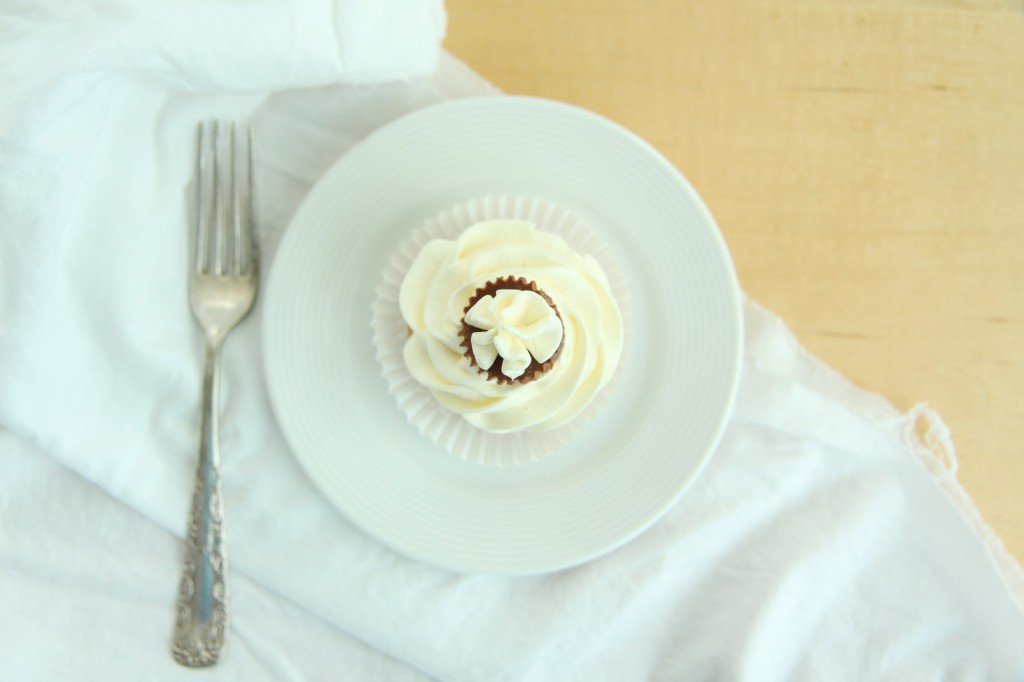
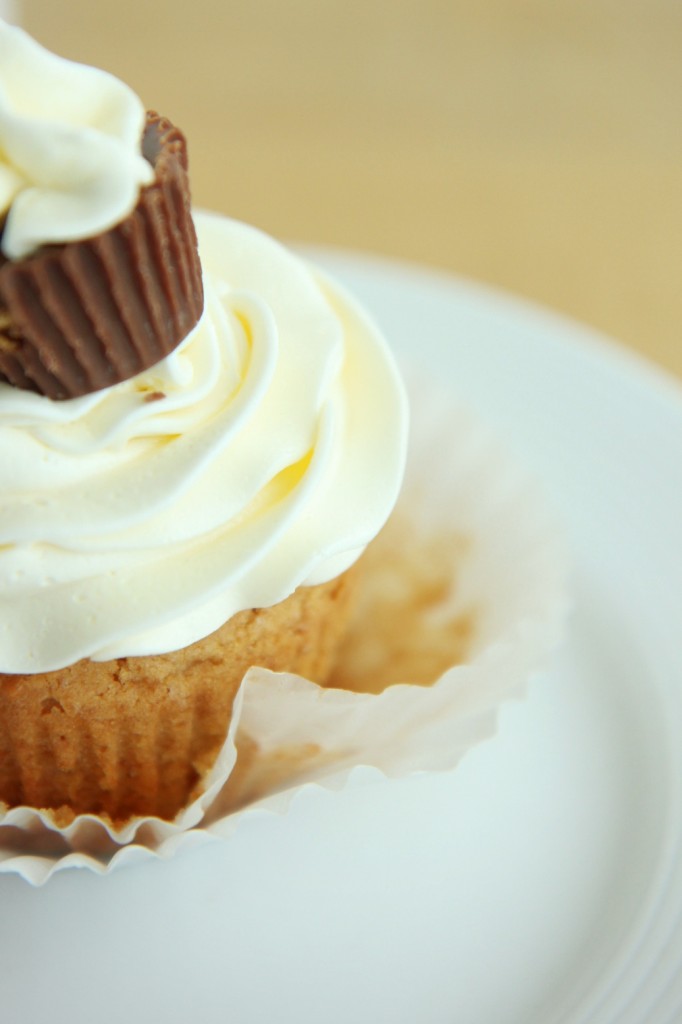
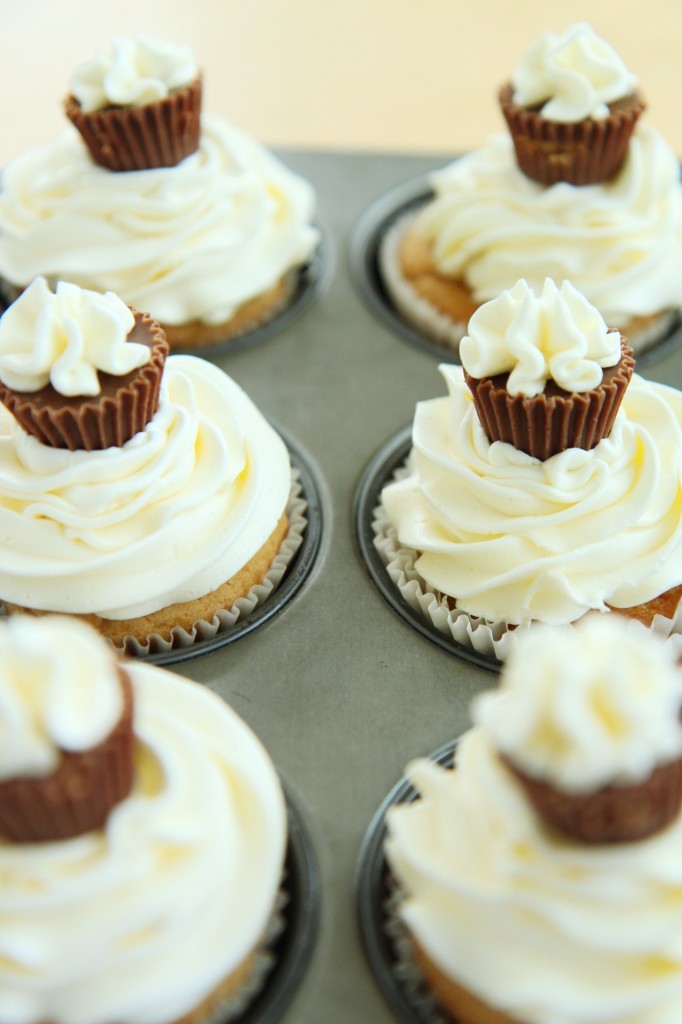
These “Peanut Butter Me Up” cupcakes are a soft, buttery, salty PB cake, filled with tart raspberry jam, topped with a big fluff pile of vanilla Italian meringue buttercream, topped with a peanut butter cup.

I used raspberry preserves made only with pomegranate juice as the sweetener, so it was extra tart and tangy!
I only made 12 cupcakes, but there was definitely enough batter/buttercream to make 16 or 18 cupcakes, so I’ve adjusted the yield in the recipe to reflect that.

Since I can’t get the ice cream here, I’ll have to stick with cupcakes.
Somehow, I’m OK with that.

IMG_7508_01

Peanut Butter Me Up Cupcakes
makes 16-18 cupcakes
cake portion adapted from Serious Eats

ingredients:
for the peanut butter cake:
4 tablespoons butter
1 packed cup brown sugar
3/4 teaspoon kosher salt
3/4 cup creamy peanut butter
2 eggs
3/4 cup milk
2 teaspoons vanilla extract
1 1/2 cups flour
1 1/2 teaspoons baking powder

for the vanilla Italian meringue buttercream:
3 egg whites
1 cup sugar
1/4 cup water
big pinch salt
6 ounces (3 sticks) butter, cut into small bits, soft but cool
1 teaspoon vanilla extract

to assemble:
raspberry jam, approximately 1/2 cup
mini peanut butter cups

directions:
Make the cupcakes: preheat oven to 350 degrees F.
Line 18 muffin tins with papers.
Beat butter until softened, about 1 minute.
Stream in brown sugar and salt and beat for 3 full minutes.
Add in the peanut butter and beat for 3 more minutes.
Add in the eggs, one at a time, and beat for 2 full minutes.
Mix the milk and vanilla extract, and, very slowly and carefully, stream into the batter while slowly, slowly mixing to prevent splashing.
Dump the flour on top of the batter and add the baking powder over the flour mound.
Slowly stir batter until homogeneous (it will be thick).
Portion out with an ice cream scoop into your tins.
Bake for 22-26 minutes, until springy to the touch, very fragrant, and a tester comes out with only a couple crumbs.
Allow to cool completely.

Make the vanilla Italian meringue buttercream: combine sugar, salt, and water in a heavy bottomed pot.
Place egg whites in the bowl of a stand mixer.
Begin to whip egg whites on medium speed while heating the sugar syrup over medium-high heat.
When the sugar syrup reaches 230 degrees F, your egg whites should be at very soft peaks.
By the time the syrup reaches temp at 245 degrees F, your egg whites should be at soft peaks.
Slowly and carefully pour the hot syrup into the whipping egg whites.
Whip the meringue until it reaches body temperature, then begin to whip in the butter, 1 tablespoon at a time.
Add the vanilla and continue to whip the buttercream at high speed until it becomes fluffy, glossy, and thick.

Assemble the cupcakes: place your raspberry jam in a piping bag fitted with a plain tip.
Plunge the tip into the cupcake and wiggle it around, applying gentle, even pressure to fill the cake, until the pressure forces the tip out of the cake.
Frost the cupcakes with the meringue buttercream as desired, then top with a peanut butter cup!

Shorted

IMG_5878_01

The kitchen burned down.

IMG_5906_02

No, I did not burn it down.  Thank goodness.
No, the building did not burn down.  Thank god.
Everyone is safe, but there was major damage done.
I am hardly the one most affected in this whole ordeal.

Let me tell the (theorized) story.

IMG_5889_01

People staying over Thanksgiving break understandably wanted to make latkes to celebrate Thanksgivukkah with the house.
They deep fried the latkes, took the pot of hot oil off the burner, and placed it on another burner.
All good.  Except they failed to check if the second burner was off (people were cooking like crazy, and it’s an electric stove, so)… It was not off.
It is no ones fault; there is no blame to lay.  It was a complete and total accident.

Apparently, the fire alarm went off while they were eating dinner, and it was discovered that there was a grease fire raging on in our house kitchen.

The sprinklers dumped gallons and gallons of water into the kitchen. It flooded.

The lounge flooded.

The remediation crew came in and threw everything out.

Everything.  From my hoarded Madagascar vanilla beans to my favorite, homemade apron. (This one.)
My carefully curated pantry was emptied.

Where bags of flour, sugar, cocoa, and spices once resided, there is nothing.
Today, they’ve gutted the kitchen.  There is no longer even a cabinet.
I cried.  Not gonna lie.

IMG_5840_01

The apartment below the kitchen, a faculty member’s, has had extensive water damage and flooding through the ceilings.  They have 2 dogs and 2 small children.  My heart goes out to them in this trying time as they attempt to put their life back together.

Our kitchen will (fingers crossed) be back up and running at the beginning of winter quarter.

None of you are probably wondering what will happen to this blog in the two weeks to come, before I can go home.
A lot of no bake stuff, some posts I have saved up, some cookie swapping.

IMG_5836_01

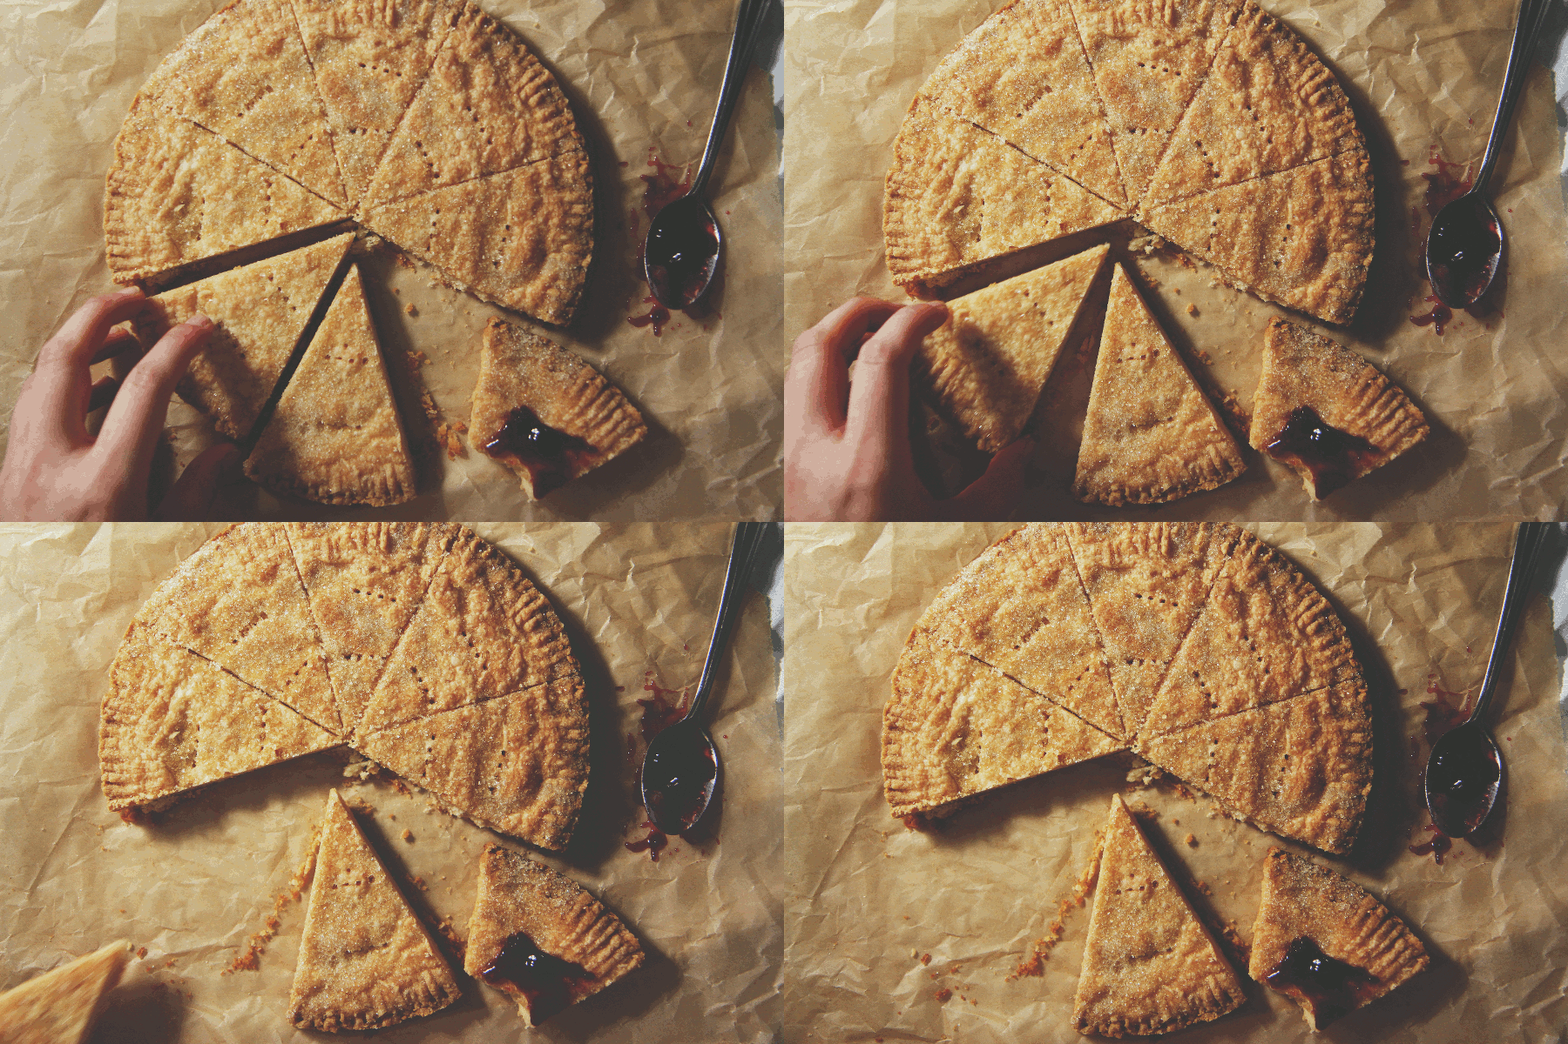
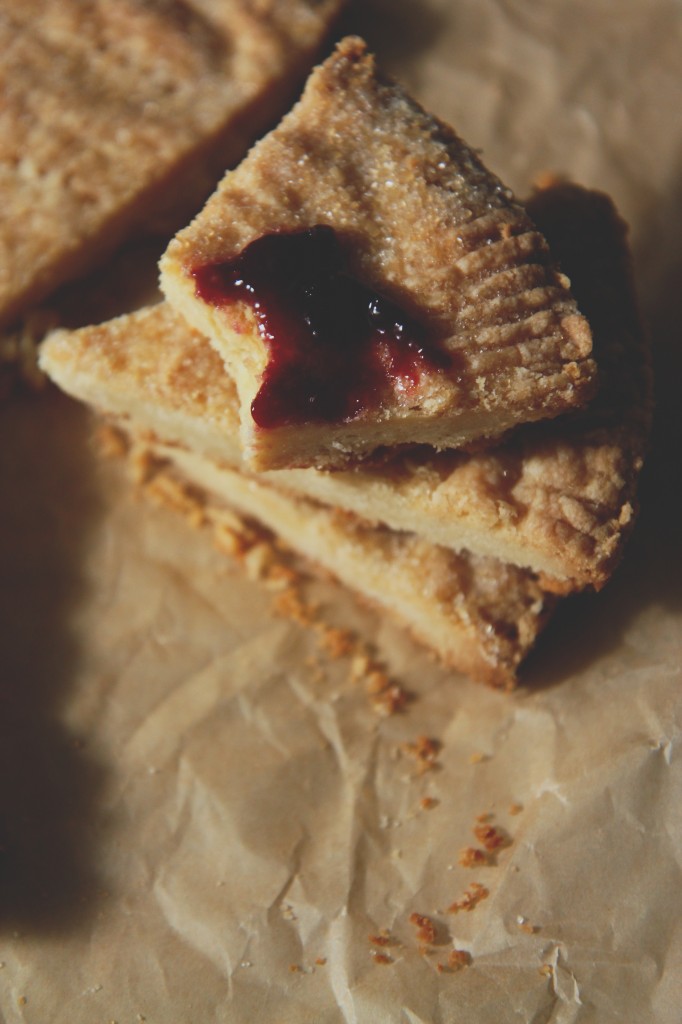
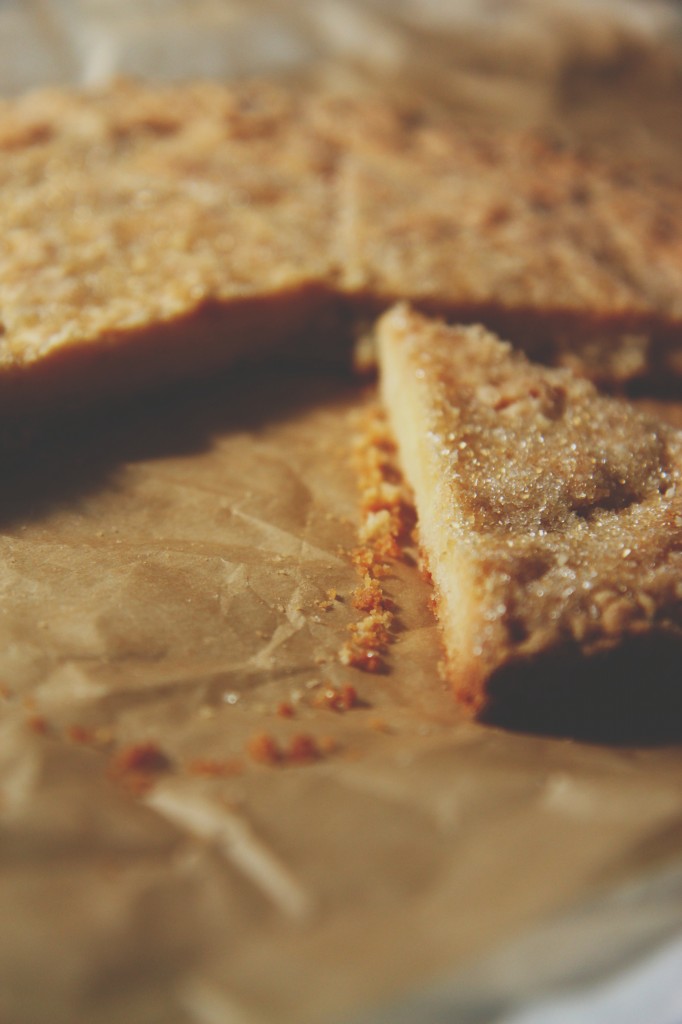
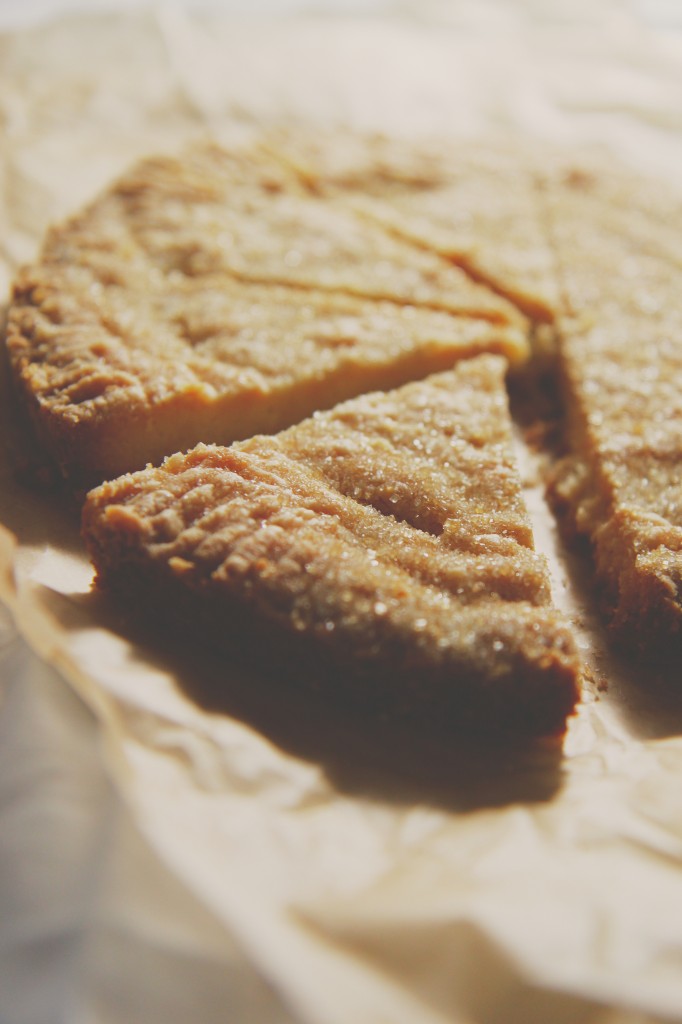
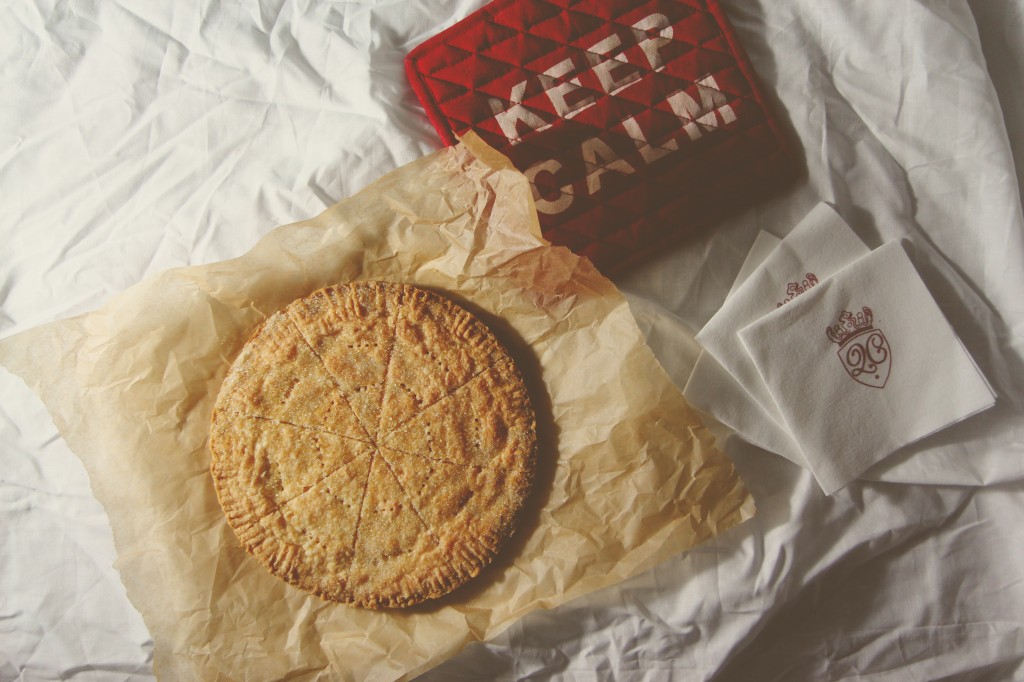
Enter these memorable cookies, which I made 2 weeks ago and which are still fragrant and melting on my tongue.
I was craving something buttery and sweet, something that balanced coconut, raspberry, and salt.

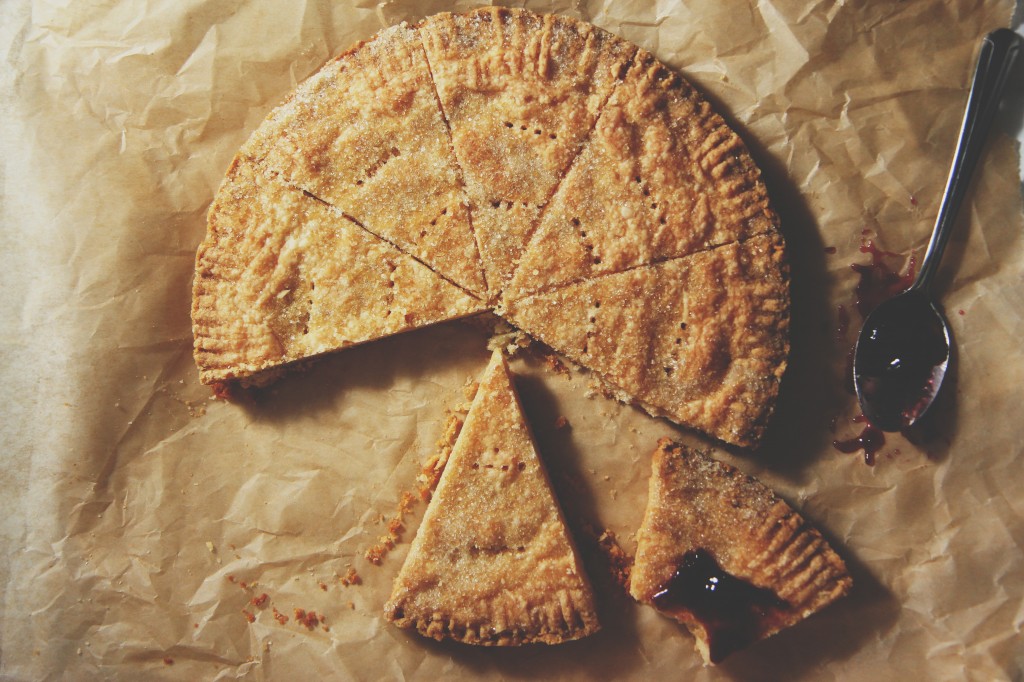
Putting raspberry jam in cookies has proven to be too steep a task for me recently, so I decided on something simple, that could be served with the jam on the side: enter the classic Scottish shortbread.
And, honestly, no one touched the jam but me.  It’s not necessary, but you will include it on a serving tray with these cookies if you know what’s good.

The cookies are a mash-up of ingredients I had in my pantry (before it burned down, RIP).
Coconut oil, butter, cream cheese.  Flour, salt, sugar.  Simple, simple, simple.

The dough is easy: cream, mix, press, crimp, bake.
My friend who thought she didn’t like coconut loved these!  Yay!  Yet another victory for coconut oil!

Back soon with peanut butter.  Or lemon.  But not both. (Ew ew ew that’s probably something only my dad would like.)

IMG_5886_01

Coconut Oil Shortbread

makes one 9-inch pan
ingredients:
2.2 ounces (4 1/2 tablespoons) butter
3 ounces (5 1/2 tablespoons) coconut oil, solid
1.5 ounces cream cheese
3 ounces (3/4 cup) powdered sugar
7 ounces (1 1/2 cups plus 2 tablespoons) flour
1/2 teaspoon kosher salt
scant 2 ounces (1/4 cup) sugar, for sprinkling

directions:
Preheat oven to 350 degrees F.
Grease and flour a 9-inch round pan.
Cream butter, coconut oil, and cream cheese together for 3 minutes, until homogeneous and smooth.
Scrape the bowl and add the sugar, flour, and salt.
Mix on low until a crumbly dough forms.
Scrape the crumbs into the prepared pan and press down firmly.
Prick all over with a fork; crimp the edges and score if desired and sprinkle with sugar.
Bake for 22-25 minutes, until shortbread is golden and fragrant.
Remove from oven and allow to cool slightly before serving.
Eat with raspberry jam!  Please!

Golden Seams

IMG_5083

“Sea lion woman,
dressed in green
silver lining and golden seams.”

-Feist

IMG_5146

I’ve been listening to all the Feist in my iTunes library, hitting repeat like it’s going out of style.
I can’t help it!  I love Feist.  I love her lyrics and I LOVE her voice.  Ohmagah.

I’m really digging the album “The Reminder” in particular.  It helps me during these (many) late nights studying, studying, stuDYING.

(The second round of midterms has descended upon uChicago.  We mortals are withering.  Or, I am, at least.)

IMG_5075

If I were more patient, this post would be happening in, like, a month.

But.
Like, have you met me read this blog?
I am not about that waiting life.

So, these cookies are kind of Christmas-y.  Deal with it.  Now that Halloween is come and gone, you’re going to see winter holiday celuhbrayshuns popping up left and right.  I guarantee it.

Besides, who says spritz cookies have to be for Christmas only?
Traditionally, sure.  WHATEVER. I don’t care.  I firmly believe there is nothing wrong with wanting buttery, sugary, little cookies at all times.

Right?

IMG_5125

I had a luxurious package of Kerrygold in the fridge calling to me to make something buttery, something that would showcase its richness.
Butter cookies seemed like a good place to start.  (Ugh. Duh.)

I wanted something different from my standard, go-to 1-2-3 cookies (although those are still my favorites).

Something with a high butter content, so that the extra fat in the Kerrygold would really shine: European butters make especially crisp, tender, and yet soft baked goods.

Spritz cookies were just the ticket.

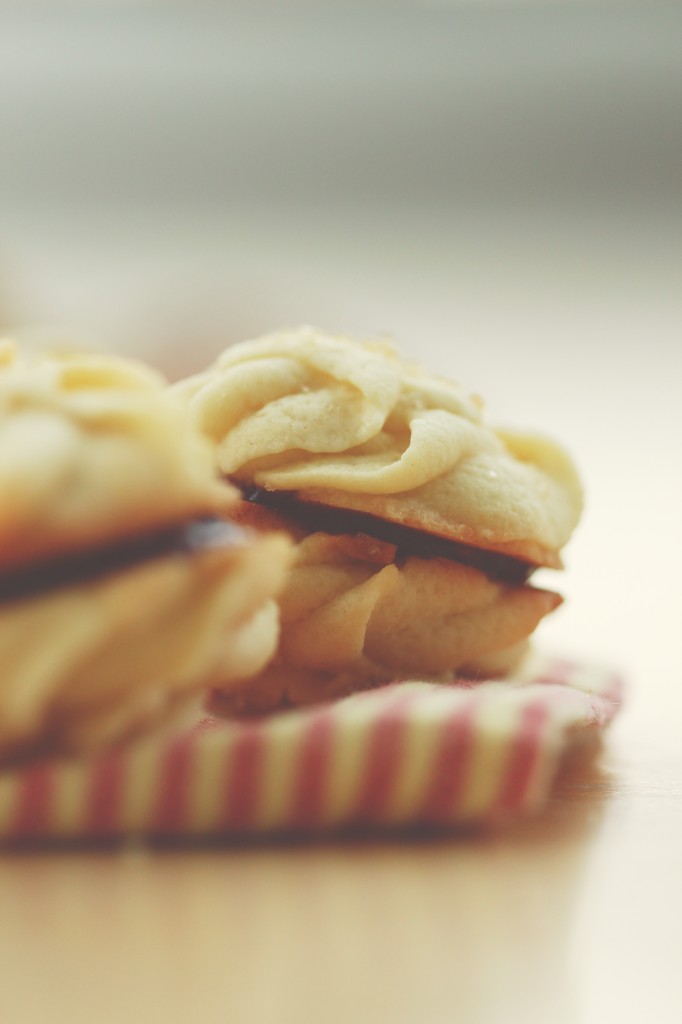
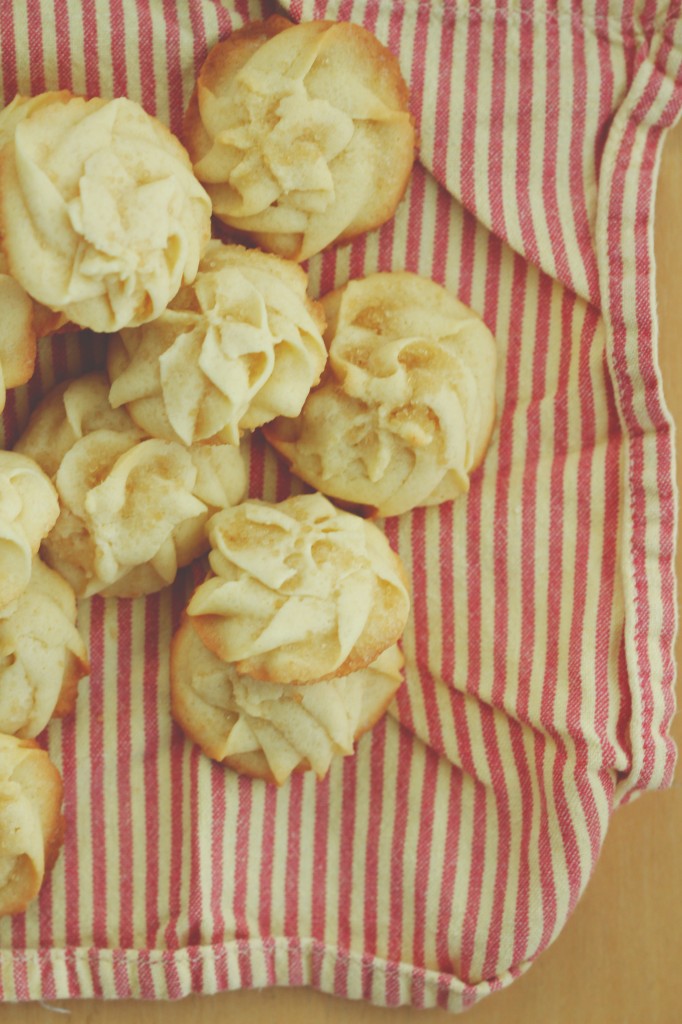
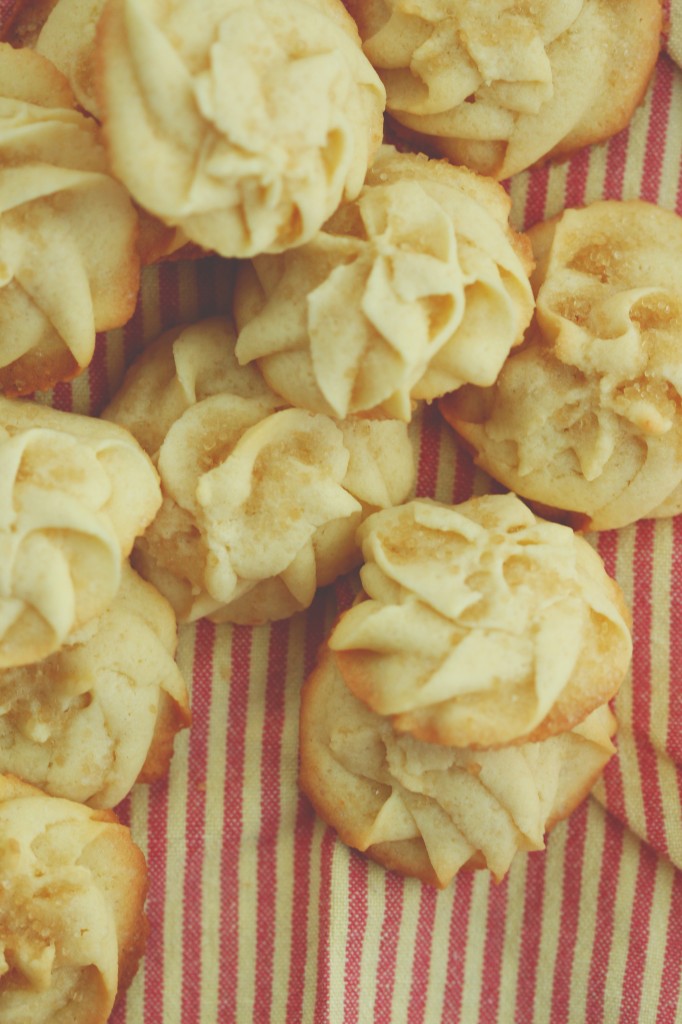
Little golden pinwheels, piped out and sprinkled liberally with turbinado sugar.

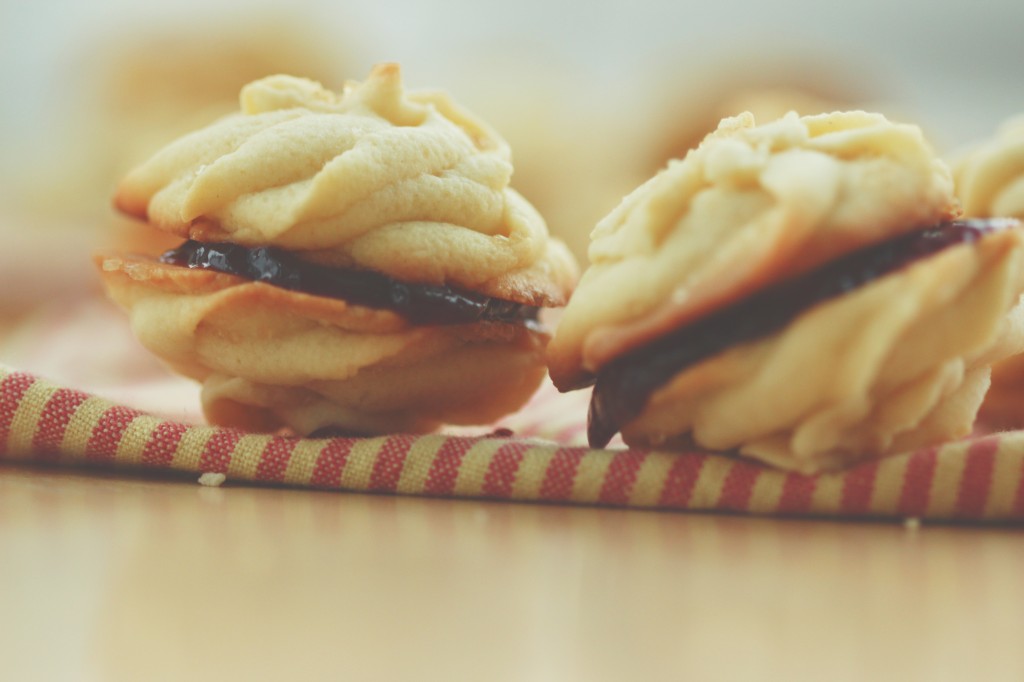
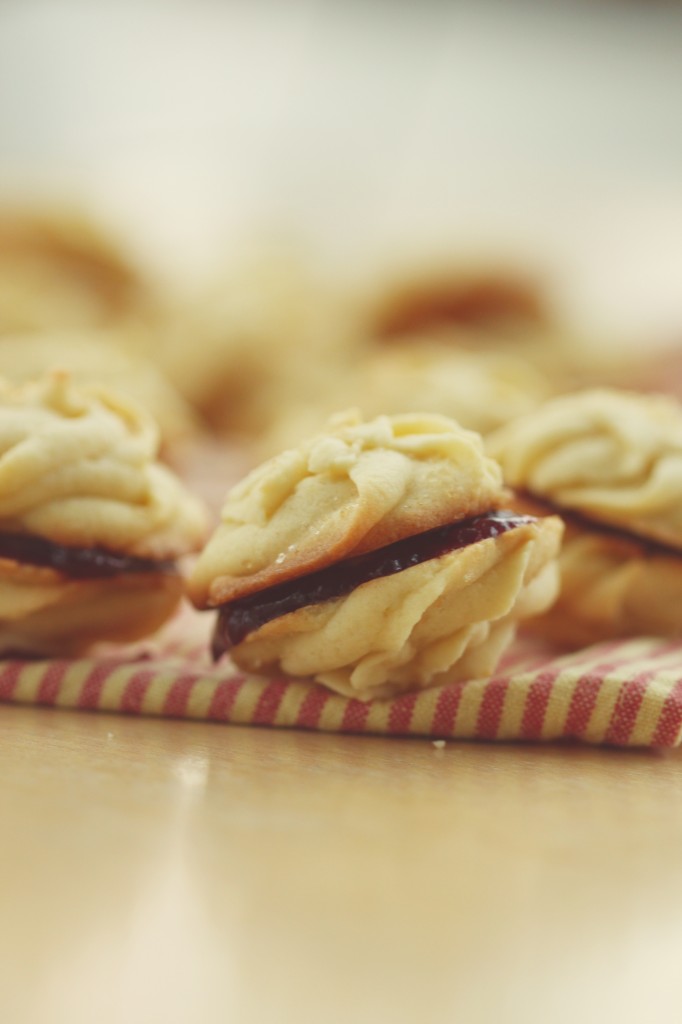
Sandwiched with raspberry jam, they’re like little gems.  Bite sized cookies=snacky, addictive cookies.

Make them now, make them in a month.  Butter is ALWAYS seasonable.

P.S. IS THIS REAL LIFE.  OMG.

IMG_5064

Spritz Sandwich Cookies
adapted from Baker’s Royale

ingredients:
1 cup (16 tablespoons) good quality unsalted European butter, like Kerrygold, cut into small chunks
2/3 cup granulated sugar
pinch kosher salt
1 cup powdered sugar
1 egg plus 1 egg yolk
1 teaspoon vanilla
6 tablespoons milk
3 cups flour, plus 2 tablespoons
6 tablespoons cornstarch
turbinado sugar, for sprinkling
jam, for sandwiching, if desired

directions:
Preheat oven to 350 degrees F.
Line 2 baking sheets with parchment or silpat.
Prepare a pastry bag with a star tip, or any desired tip, or prepare a spritz cookie press.
In a stand mixer fitted with the paddle attachment, beat the butter with the granulated sugar and salt for 3 minutes, until soft, light, and fluffy.
Scrape the sides of the bowl and add the powdered sugar, egg, egg yolk, and vanilla; mix on low to combine, then beat for 2 minutes.
Scrape the sides of the bowl and add the milk; mix until homogeneous.
Add in the flour and cornstarch in two additions, mixing slowly to combine after each one.
Fill the pastry bag with the batter (you’ll have to fill it multiple times), and pipe out desired shapes.
Sprinkle with turbinado sugar, and bake for 8 minutes, until set and lightly golden.
Allow to cool, then sandwich with some jam!

Between Two Lungs

IMG_4859_01

“I’m so glad I live in a world with Octobers.”

-L.M. Montgomery, Anne of Green Gables

IMG_4838

Happy Halloween, y’all!

Have some cake.

Go ahead; dig right in.

IMG_4814_01

This cake won first place in a “study break”  competition in my residence hall!
Meaning it won my house points in the house cup (yes, just like the Harry Potter house cup!)!
!!!!!!!!!!!!!!

(DGH fo’ lyfe.)

I was so nervous/excited.
Now I’m excited/proud/tired.
Writing this at 2 am 3 am 4 am 10 am. FML.

(Yes, I actually tried to write this at all those times… I don’t want to talk about it.  I want to whine about it.)

IMG_4852

Guyyyyzzzzzz I was supposed to be doing a 12 problem calculus p-set last night, but I was at the study break celebration/competition (study break is a tradition at uChicago: it’s any treat that someone volunteers to make on Wednesday for the house to enjoy and take a break with) until 11, so I didn’t start the problem set until around then.

I did 6 problems in about an hour…

and then realized

that I did them

in the wrong section.

like WHAT I am taking calc at uChicago you would think I could tell the difference between

12.2 and 12.3 but NOPE no way so

I was up until 4am last night finishing this damn p-set for my 9am class this morning.

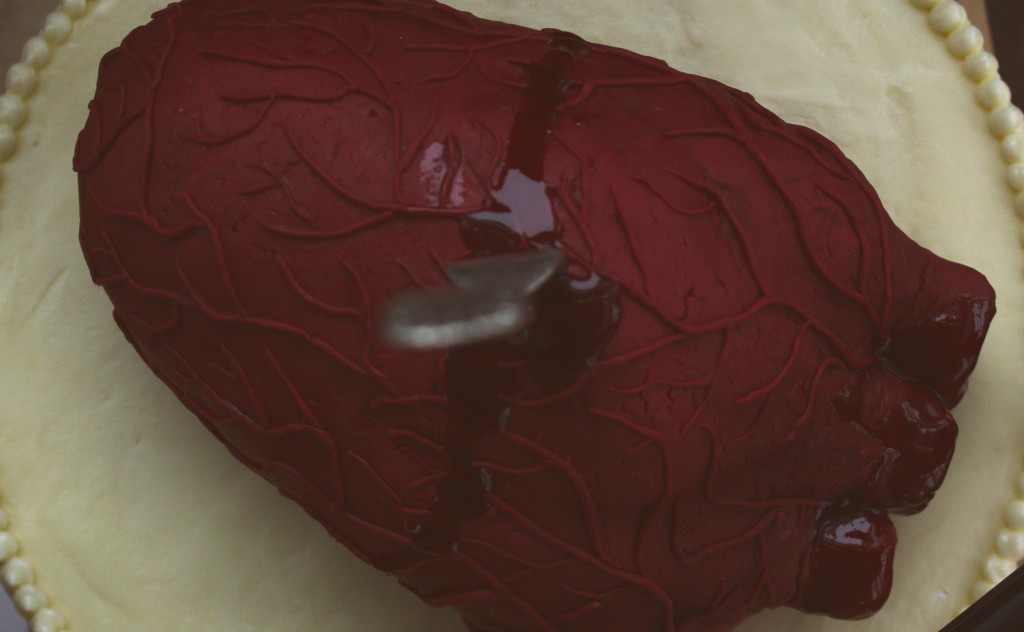
Moral of the story: I am a zombie and more so than ever, I want to eat this bloody heart cake.

IMG_4862

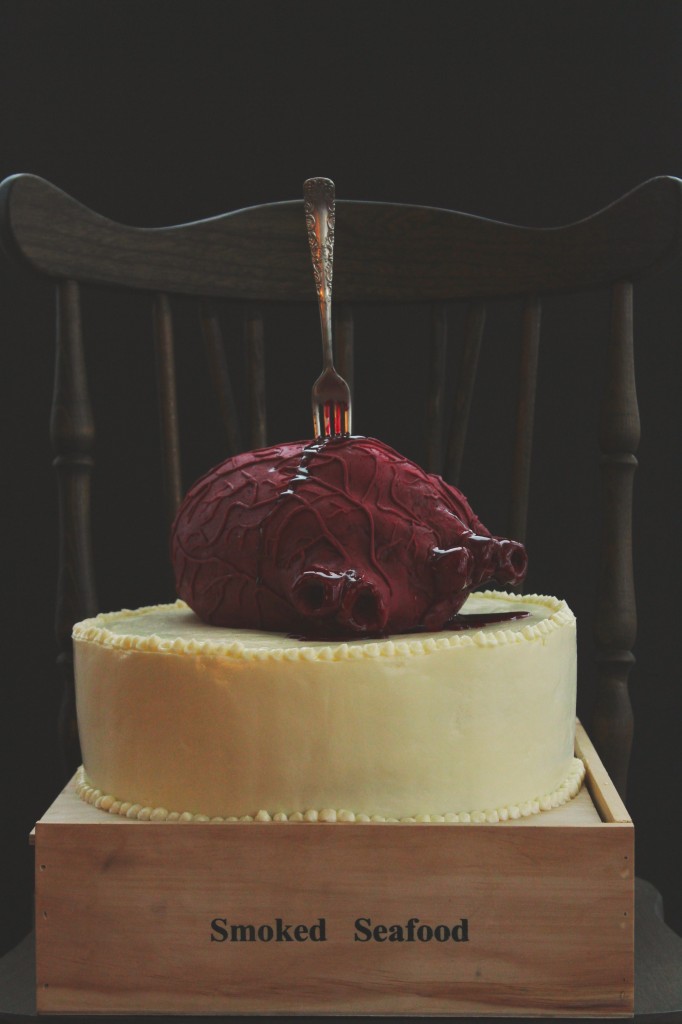
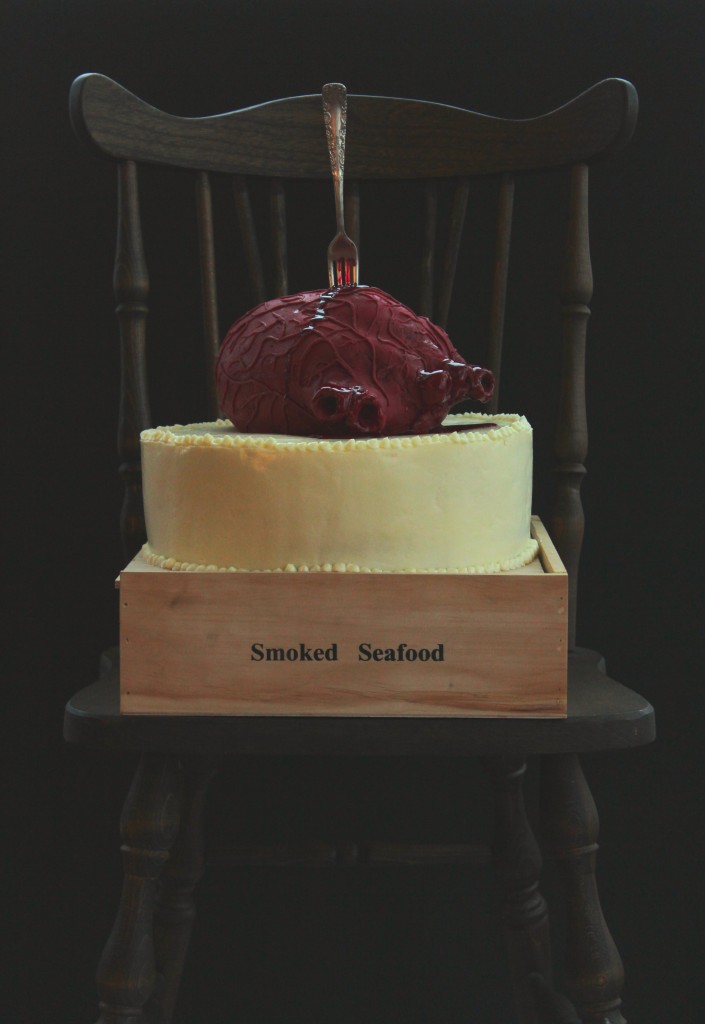
Let me give you a brief overview of this cake: (don’t be overwhelmed!)

it is a 12 inch, 5 layer cake

3 layers of tangy red velvet
2 layers of rich chocolate
enrobed in fluffy, silky Italian meringue buttercream
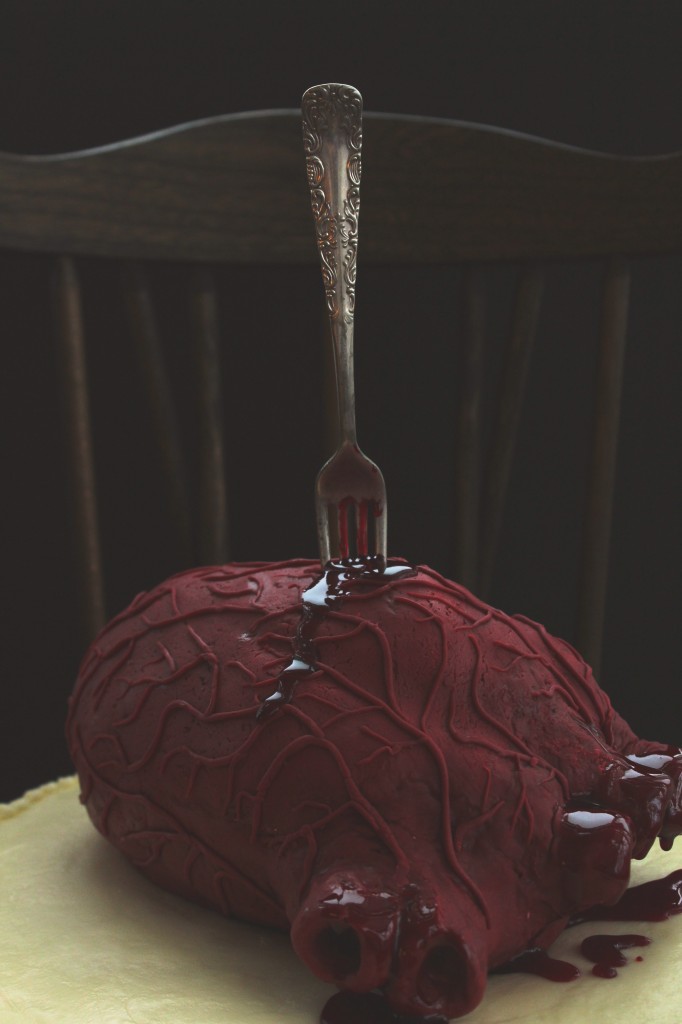
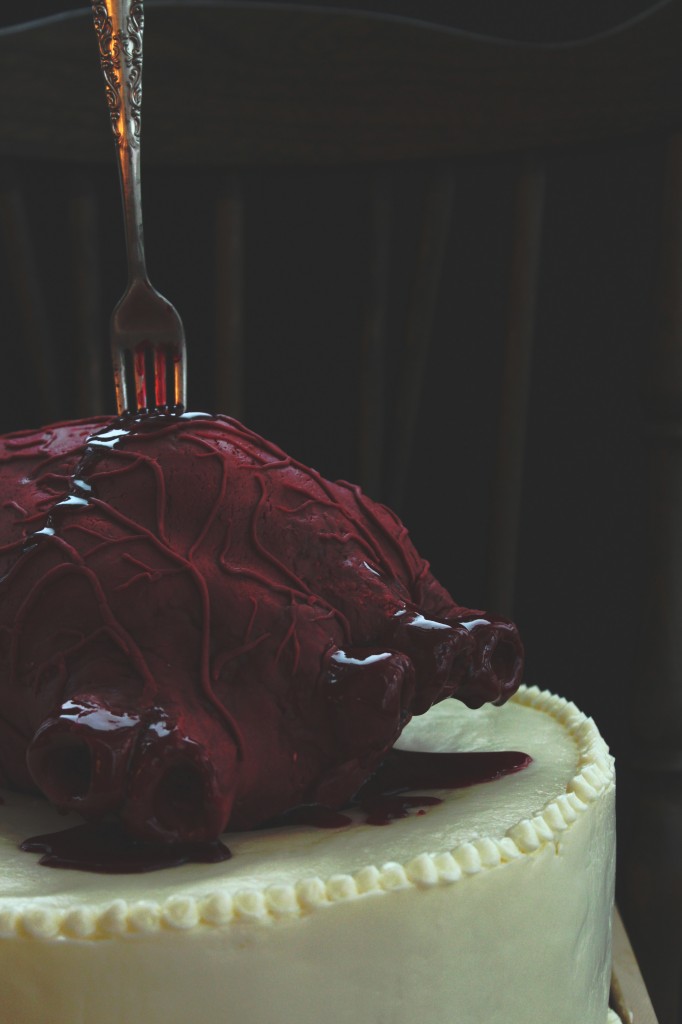
topped with a bleeding heart sculpted from rice krispies treats and covered in homemade marshmallow fondant.

It’s over the top, and somewhat grotesque.
But isn’t that what Halloween is all about?
I mean, c’mon.

Creepy bloody hearts are prime Halloween subjects.
Grab a fork and knife and tuck in!

IMG_4860

Bleeding Heart Cake

You’ll need:
3 batches red velvet cake (recipe below), baked in a 12×2 inch pan
2 batches chocolate cake (recipe below), baked in a 12×2 inch pan
2 batches Italian meringue buttercream (recipe below)
1 1/2 batches classic rice krispie treats (recipe from the Rice Krispie website, here) (I recommend only using a total of 2 tablespoons butter, instead of 4.5, to firm up your krispie treats)
1/2 batch royal icing (Bridget is the queen of royal icing… Go forth and prosper with her amazing and fail-proof recipe)
1/2 recipe marshmallow fondant, tinted red with a touch of green and purple (Annie’s directions are AWESOME and you should check them out… As well as the rest of her blog… It makes me swoon.  Love!)
Raspberry jam mixed with corn syrup and red food coloring to create a purple-red, thick fake blood (you have to eyeball this to your best ability)

directions:
While your krispie treats are warm, crunch them up a bit with oiled hands.
Begin to work the treats firmly, packing tightly, into an egg shape.
Mold a small, rectangular lump on the upper right “corner” of the heart; this will be your pulmonary artery and vein.
Make a slight indent that cuts from the upper right side to the middle/lower left side (refer to pictures!!!).
Freeze until hard; meanwhile, roll your fondant out to 1/4 inch thickness.
Cover the krispies with royal icing to smooth out any lumps, then cover in fondant, making sure there are no gaps where royal icing may seep through.
Seal the edges with a little bit of water and the dull side of a butter knife.
Begin to add on fondant on either sides of the diagonal indent to create slightly raised ventricles; adhere 3 balls at the top left “corner” and smooth them into cylinders to create your aorta- stick a dowel or pinky finger into the center to create the interior.
Do the same ball technique for the pulmonary vein and artery on the right upper corner.
Continue to smooth with water and a knife.
Once you are content with the shape (again, refer to pictures!), use the remaining fondant to roll tiny little veins, arteries, and capillaries.
Use a little bit of water to adhere the blood vessels to the outside of the heart, mapping them out so that all of the smaller vessels stem from a larger, central artery or vein.
Drape with plastic wrap and allow to dry slightly- I recommend overnight, but make sure it is covered in plastic lightly so that it doesn’t crack and dry out too much.
For the cake itself, layer a red velvet, then 1/3 cup frosting (the filling is very thin between the layers- they are moist enough that it is unnecessary, and too much filling will compromise the structure, so beware.), then a chocolate layer, then red velvet, and so on and so forth.
For red velvet and chocolate, a crumb coat is key.
Apply a thin layer of frosting to trap the crumbs, then refrigerate until completely set- about 30-45 minutes.
Ice the cake with the remaining buttercream, piping on details if you wish.
Place the heart in the center of the cake and stab it with a fork or knife, if desired.
Strategically drip some of your fake blood on the cake to give the illusion of a bleeding heart.
Go scare people!

Red Velvet Cake
adapted from the Food Network
makes 1 12×2 inch layer
ingredients:
150 grams (1 1/4 cups) flour
150 grams (3/4 cup) sugar
1/2 teaspoon baking soda
pinch salt
5 grams (1 tablespoon) cocoa powder
150 grams (1/2 cup plus 2 tablespoons) oil
120 grams (1/2 cup) milk, plus 1 tablespoon vinegar
1 egg
14 grams (1/2 ounce) red food coloring (the liquid kind)
directions:
Preheat oven to 350 degrees F and grease and flour a 12×2 inch pan.
Whisk the flour, sugar, baking soda, salt, and cocoa powder together.
Whisk the oil, milk, vinegar, egg, and food coloring together.
Whisk the wet into the dry ingredients and whisk well to combine.
Pour into pan and bake for 25-30 minutes, until a tester comes out clean.

Chocolate Cake
adapted from the Kitchn
makes 1 12×2 inch layer
ingredients:
200 grams (1 cup) sugar
105 grams (3/4 cup plus 2 tablespoons) flour
30 grams (1/4 cup plus 2 tablespoons) cocoa powder
3/4 teaspoon baking powder
3/4 teaspoon baking soda
big pinch salt
1 egg
60 grams (1/4 cup) oil
120 grams (1/2 cup) hot water
directions:
Preheat oven to 350 degrees F and grease and flour a 12×2 inch pan.
Whisk the sugar, flour, cocoa powder, baking powder, baking soda, and salt together.
Whisk the egg and oil into the dry ingredients.
Whisk the hot water into the batter; it will be very, very thin.
Pour into prepared pan and bake for 25-30 minutes, until a tester comes out clean.

Italian Meringue Buttercream
more in-depth directions here
ingredients:
5 egg whites
200 grams (1 cup) sugar, plus 20 grams (scant 2 tablespoons) (divided)
56 grams (scant 1/4 cup) water
500 grams (4 1/2 sticks) butter, cut into chunks and softened but still quite cool
directions:
Whisk the egg whites with 20 grams of sugar.
Meanwhile, heat the rest of the sugar with the water in a saucepan until it reaches 240 degrees F.
At this point, the meringue should be at softly stiff peaks.
Drizzle the hot syrup over the meringue and beat until cooled to body temperature.
Beat in the butter 1 tablespoon at a time; keep beating until frosting is light and silky.

My Kind of Town

IMG_3598

Warning: cliché tourist-y Chicago pictures ahead.
IMG_3663

It’s weird to think that I live in a city now.
I’m a small town girl, born and raised in heaven Ithaca.
Living in a city is different.  I’ll grow used to it (I already have) but there is a lot more hustle and bustle and many fewer friendly faces.  (It’s true!)

IMG_3749

I miss Ithaca.  I love my hometown.  It’s, well… my home!
This weekend, I missed the apple festival, which is my favorite fest in Ithaca.
I miss fall/nature.  Cities are kinda weird for me in terms of the absence of animals.
I’ve seen, like, 3 squirrels since I’ve been here.
I miss my fam.
I really, really, really miss my dog.
And I kinda sorta miss my cats.
IMG_3640

So I’m still getting used to being away from home, and also being in a city.
Pretty standard college stuff… I ain’t stressed.
I must say, though, the architecture in Chicago (and uChic, but that’s for another post… Coming attractions!) is amazing.
I love walking around this city.  It’s inspiring and so, so beautiful.
So, photos.  Tourist-y photos.  Sorry not sorry.
IMG_3626

The cake you see here was the first thing I made upon arriving at college.
It was for someone in my house; their birthday was in the middle of o-week.
It was a disaster.
The first batch I made didn’t seem to be setting up, and was overflowing like crazy out of the pans.
Aside from new kitchen jitters, I knew something else was going on.
Upon further inspection, I realized I had used whole milk in the batter, which had added enough fat that the gluten never properly formed, resulting in overflow and explains the never-setting-up part.
Oh well.  My friends and I ate the molten cake and I made up another batch the next day; only one of the first cakes was salvageable.
The frosting is a simple Italian meringue buttercream with a few ounces of chocolate mixed in.
IMG_3553IMG_3586

P.S. You can see some more Chicago/tourist photos on my flickr, in the Chi-Town set.

Click here.

IMG_3574

The recipe for the cake is here.
I spread raspberry jam in between the layers.
For chocolate Italian meringue buttercream, halve this recipe and, right after whipping in the butter, add in 4 ounces of melted and cooled chocolate.

16 September

IMG_3302

It’s my 18th birthday, today.

IMG_3352

Today is the only day of the year

where everyone writes

on my facebook wall.

Rejoice.

IMG_3306

I secretly hate my birthday.

IMG_3373

This may seem trite coming from a teenager, but I’ve always been acutely aware and afraid of growing older.

Each birthday that passes, a wave of fear and anxiety passes over me.  I’ve always been the baby.
I’m the baby of my family; I’m almost always the baby among friends.

Getting older makes me feel uneasy scares the shit out of me.

IMG_3358

Birthdays have hung heavy with regret, especially as I come close to adulthood.  (Am I an adult yet?)

I’m a worrier.  It’s my nature.

I worry that I haven’t done enough
haven’t enjoyed enough
haven’t appreciated enough
haven’t taken each and every last moment of my life, this precious and fleeting thing, and lived it to the fullest.

It’s futile, of course.

IMG_3314

That doesn’t stop me from thinking about it, waking in the dead of night, sweating, crying, scared, worried, tangled in the sheets, blinking like a bird roused from its nest.

IMG_3364

So, yes.  But birthdays come with cake.

And I love cake.

So.

IMG_3374

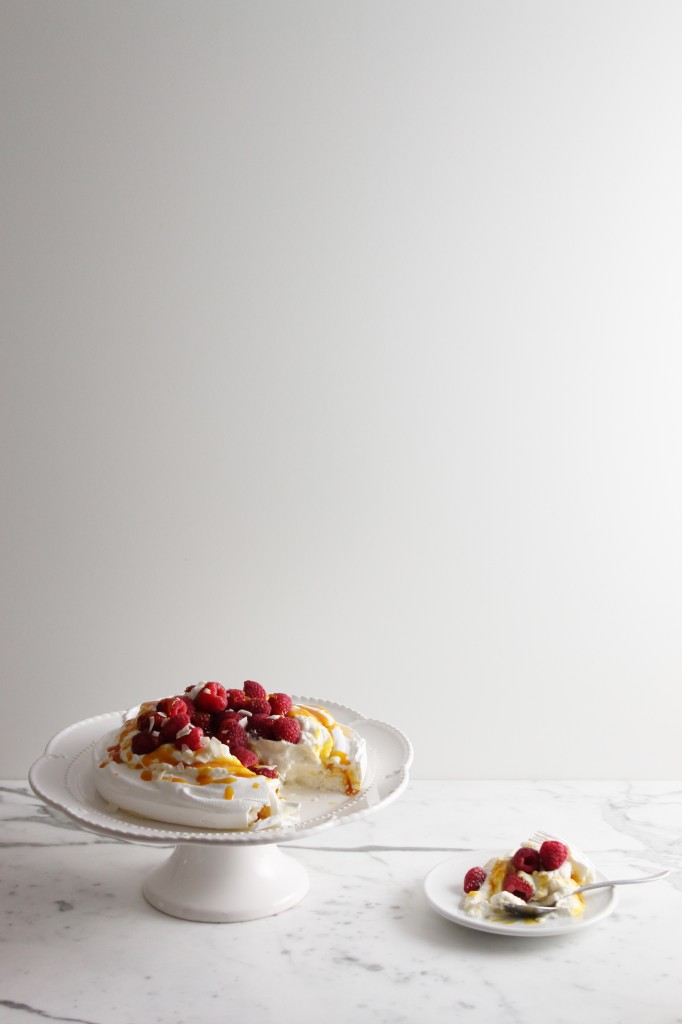
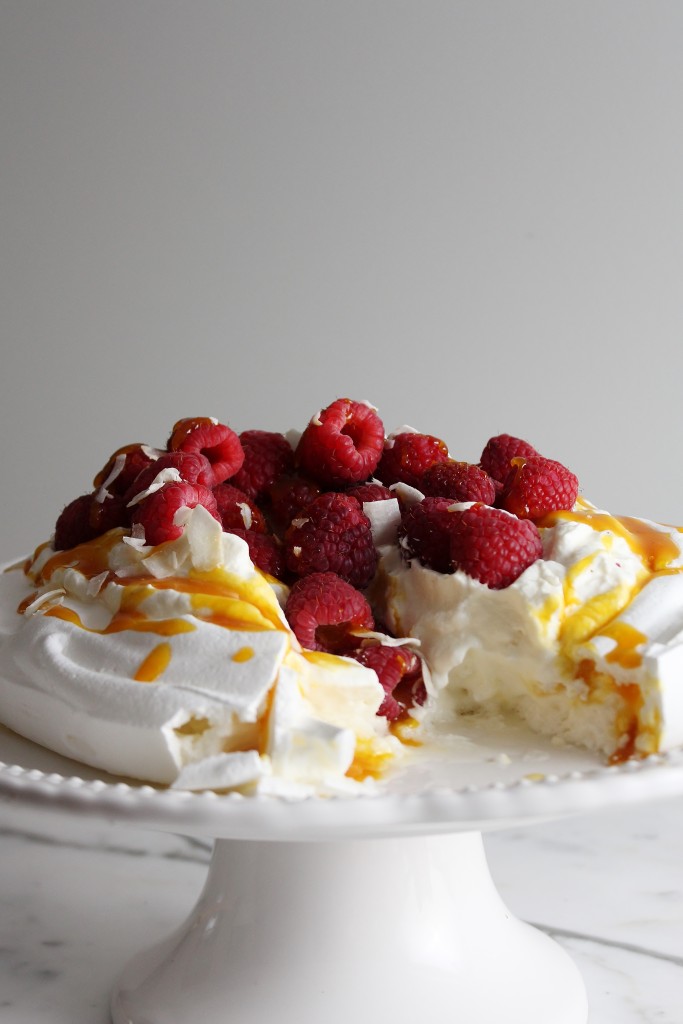
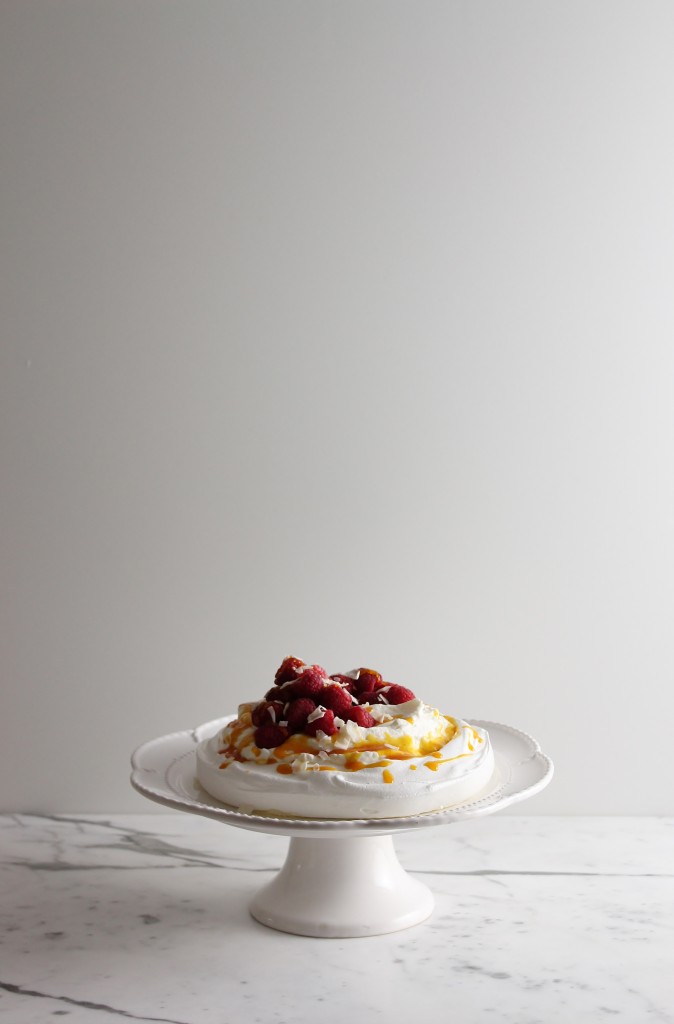
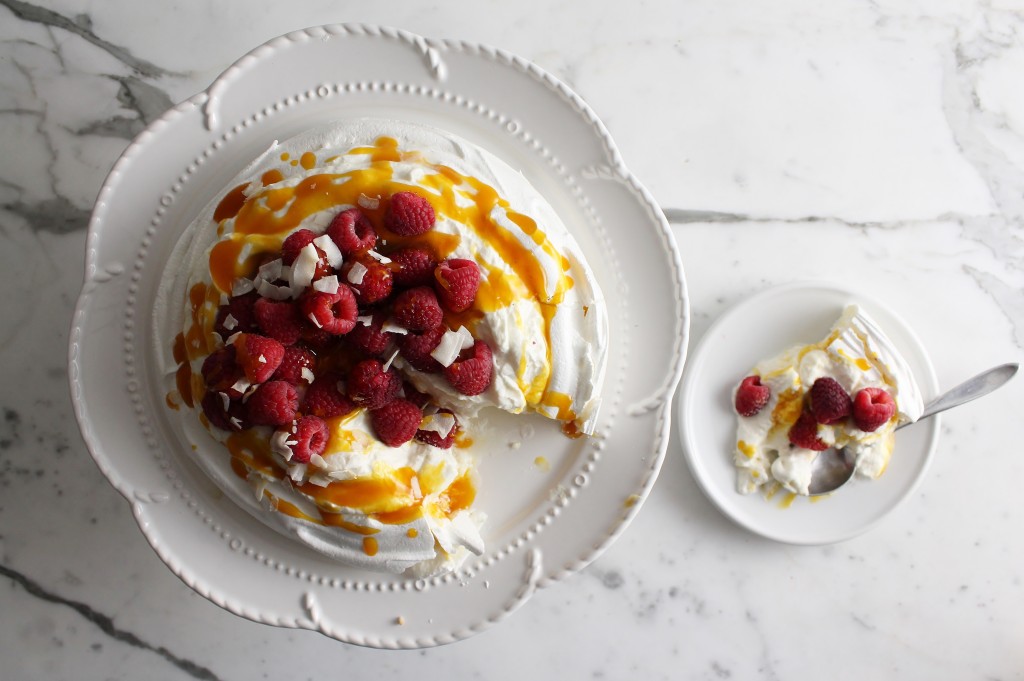
This was my birthday cake.

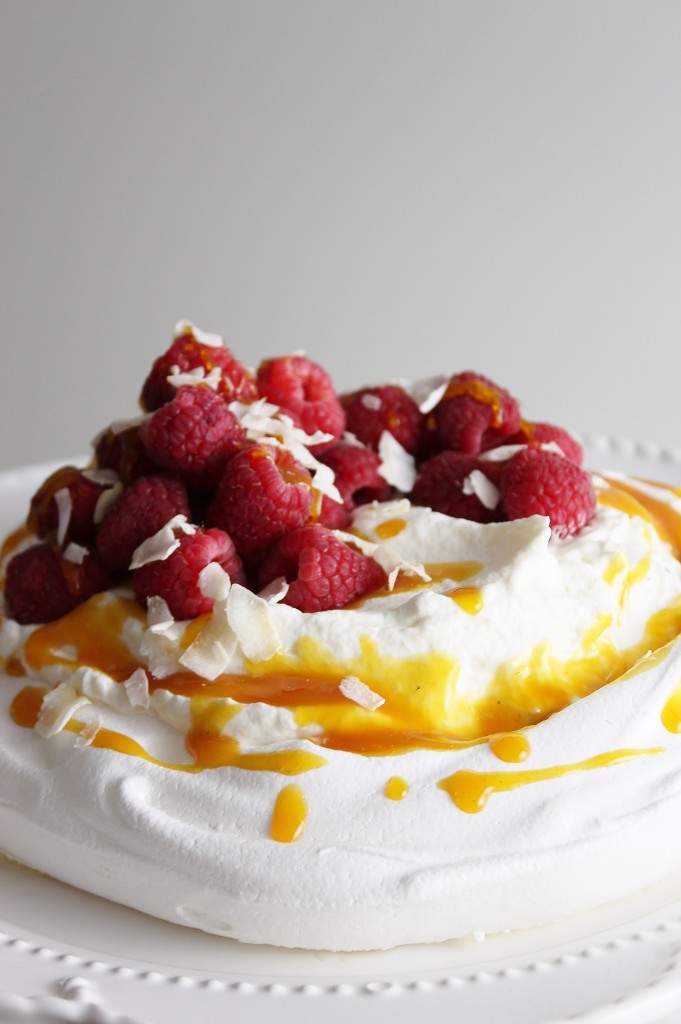
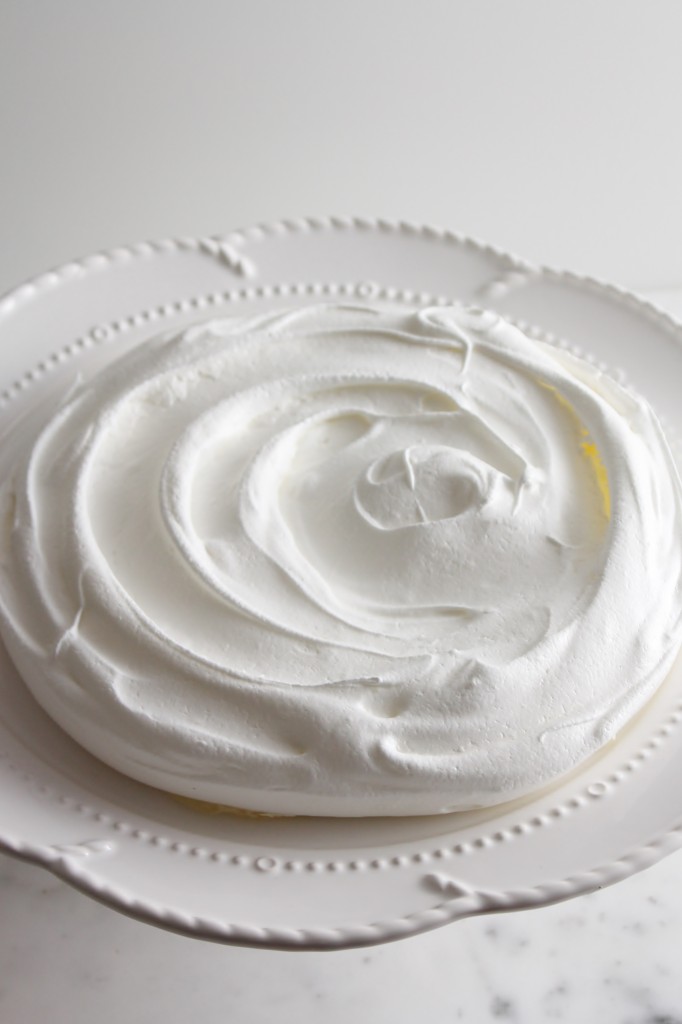
It’s a pavlova, which means it’s a baked meringue base, topped with whipped cream and fruits.

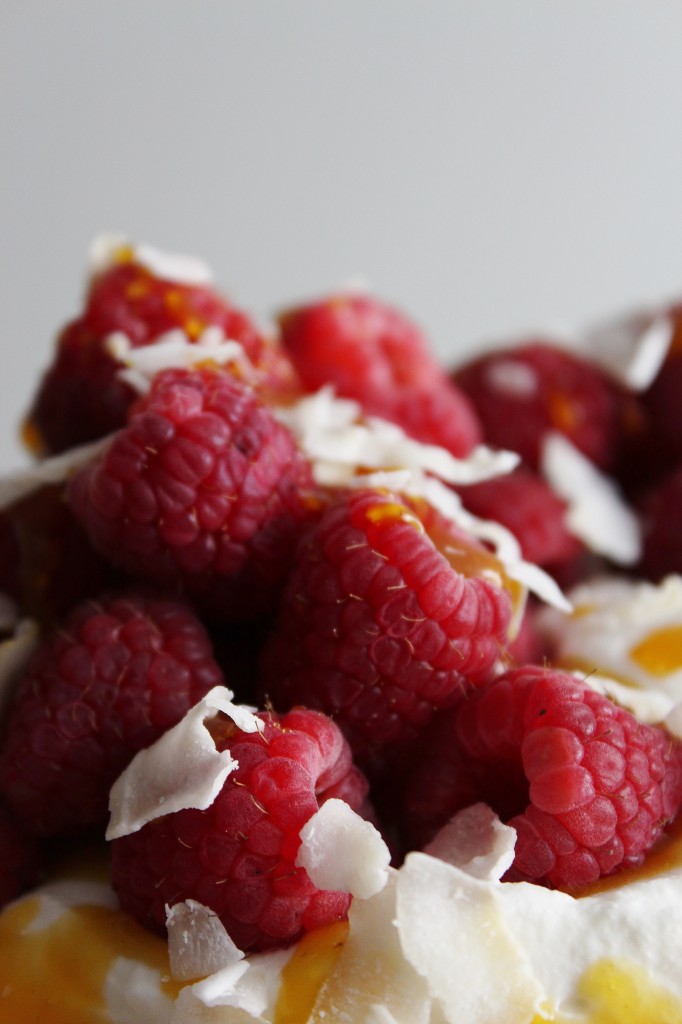
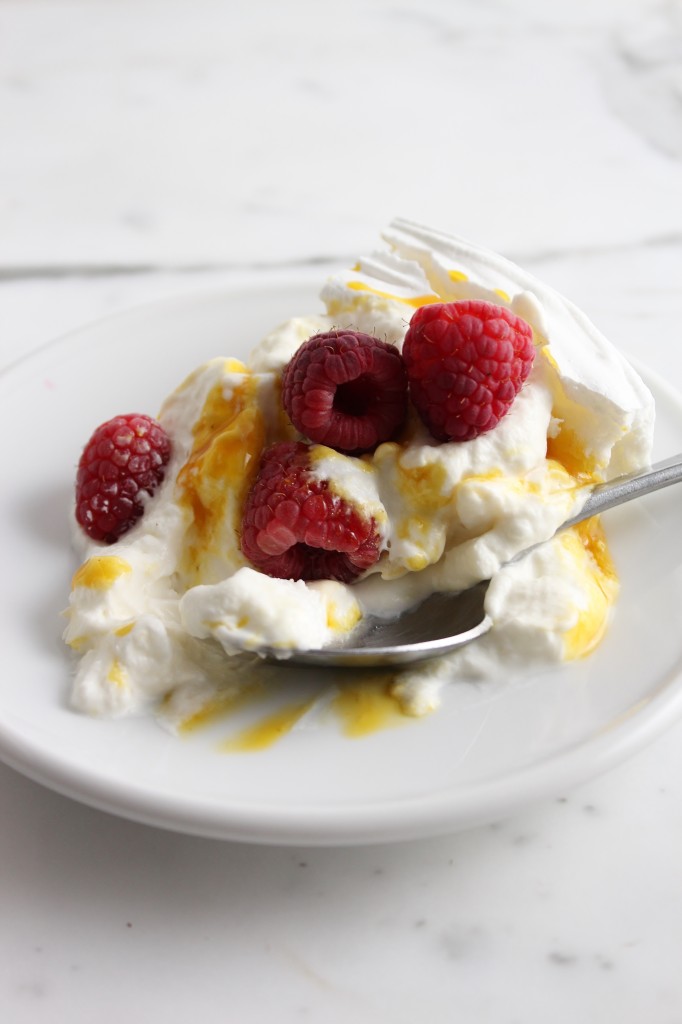
Mine is a simple French meringue, baked until the outside is crispy but the inside is still billowy and marshmallow-y, topped with a coconut/mascarpone whipped cream and pucker-inducing passion fruit sauce, and finished with raspberries and coconut flakes.

I love meringue cakes; this one is exactly how I like my cakes: light, airy, but packed with a walloping punch of vibrant flavors.

It was divine.

It almost made me like my birthday.

IMG_3235

Pavlova

ingredients:
4 large egg whites
pinch cream of tartar
1 cup sugar
2 teaspoons cornstarch
1 teaspoon white vinegar

1 cup passion fruit purée, liquid
1/3 cup sugar
1/2 teaspoon cornstarch

1 can of full-fat coconut milk, refrigerated and UNSHAKEN (see here)
1 cup of heavy cream, cold
2 tablespoons mascarpone
1 tablespoon confectioner’s sugar

1 pint of raspberries
coconut flakes, optional

directions:

Preheat oven to 175 degrees F.
Draw a 8 inch circle on a piece of parchment with a pencil and place it pencil side down on a sheet pan.
Combine egg whites and cream of tartar.
Beat until soft peaks form, then slowly stream in the sugar while beating at high speed.
Beat until stiff peaks form, then beat in the cornstarch and vinegar.
Spread out on the parchment, staying within the circle.
Bake for 2 hours, then turn the oven off and allow to cool completely in the oven.
Meanwhile, make the passion fruit sauce.
Place passion fruit, 1/3 cup sugar, and 1/2 teaspoon cornstarch in a saucepan and whisk to combine.
Bring to a boil and allow to boil for 1 1/2 minutes.
Remove from heat and allow to cool completely before using.
Make the coconut whipped cream by beating the separated coconut fat (detailed instructions here or here) until soft peaks form, then beating in the mascarpone and confectioner’s sugar.
Beat the heavy cream to stiff peaks separately, then beat it into the coconut/mascarpone mixture.
Chill until you need to use it.

Assemble the pavlova no more than 30 minutes before serving (don’t worry, it’s really simple).
Place the meringue on a serving dish, then pile the coconut whipped cream high on top of it.
Drizzle with the passionfruit sauce, and top with raspberries and coconut flakes, if desired.
Enjoy!

P.S.
As you may have noticed, you can now pin my photos simply by rolling over them and clicking the Pinterest symbol.
In addition, there are social media buttons at the bottom of each post.
You can share posts via twitter, linkedin, Google+, instagram, Pinterest, facebook, and email.
(Right below this!)