Ophelia

IMG_8193_01

“Tomorrow is Saint Valentine’s day
All in the morning betime,
And I a maid at your window,
To be your Valentine.”

Ophelia
Hamlet, Act IV, Scene V

IMG_8187_01

Happy Valentine’s day, sweet, dear readers o’ mine.

How hilarious are these Valentines?  I love them all.

I’ll be playing this all day.  All hail Queen Bey.

IMG_8196_01

Since we’ll all be eating chocolate all day (as is our god-given right, damn it), we might as well snack on gorgeous, semi-healthy, bejeweled treats.

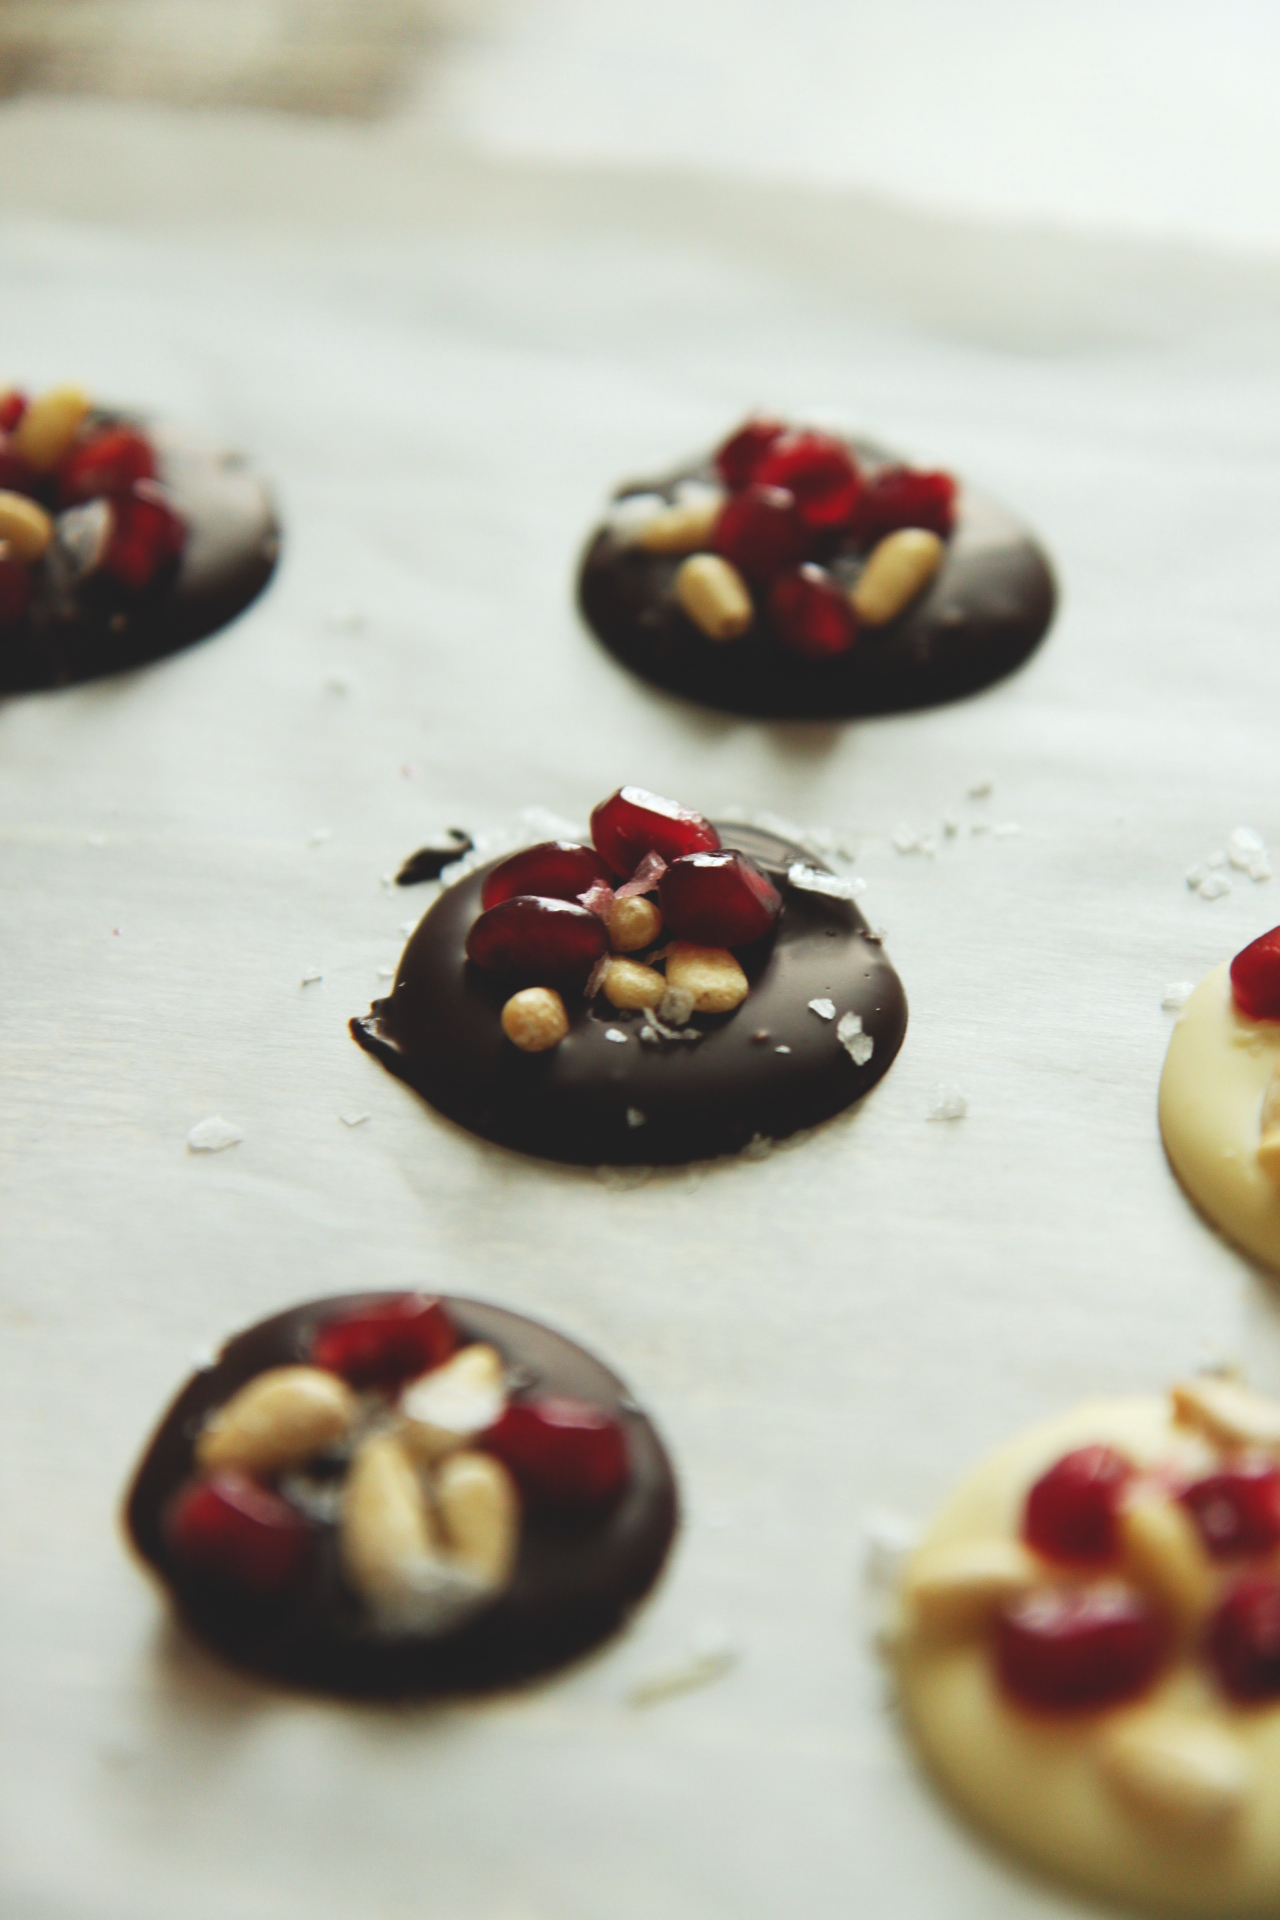
Enter the French mendiant, which means medal or medallion.  Commonly made around Christmastime, these are the absolute fastest chocolate candies to make.  I think they’d be perfectly appropriate as a last-minute valentine.

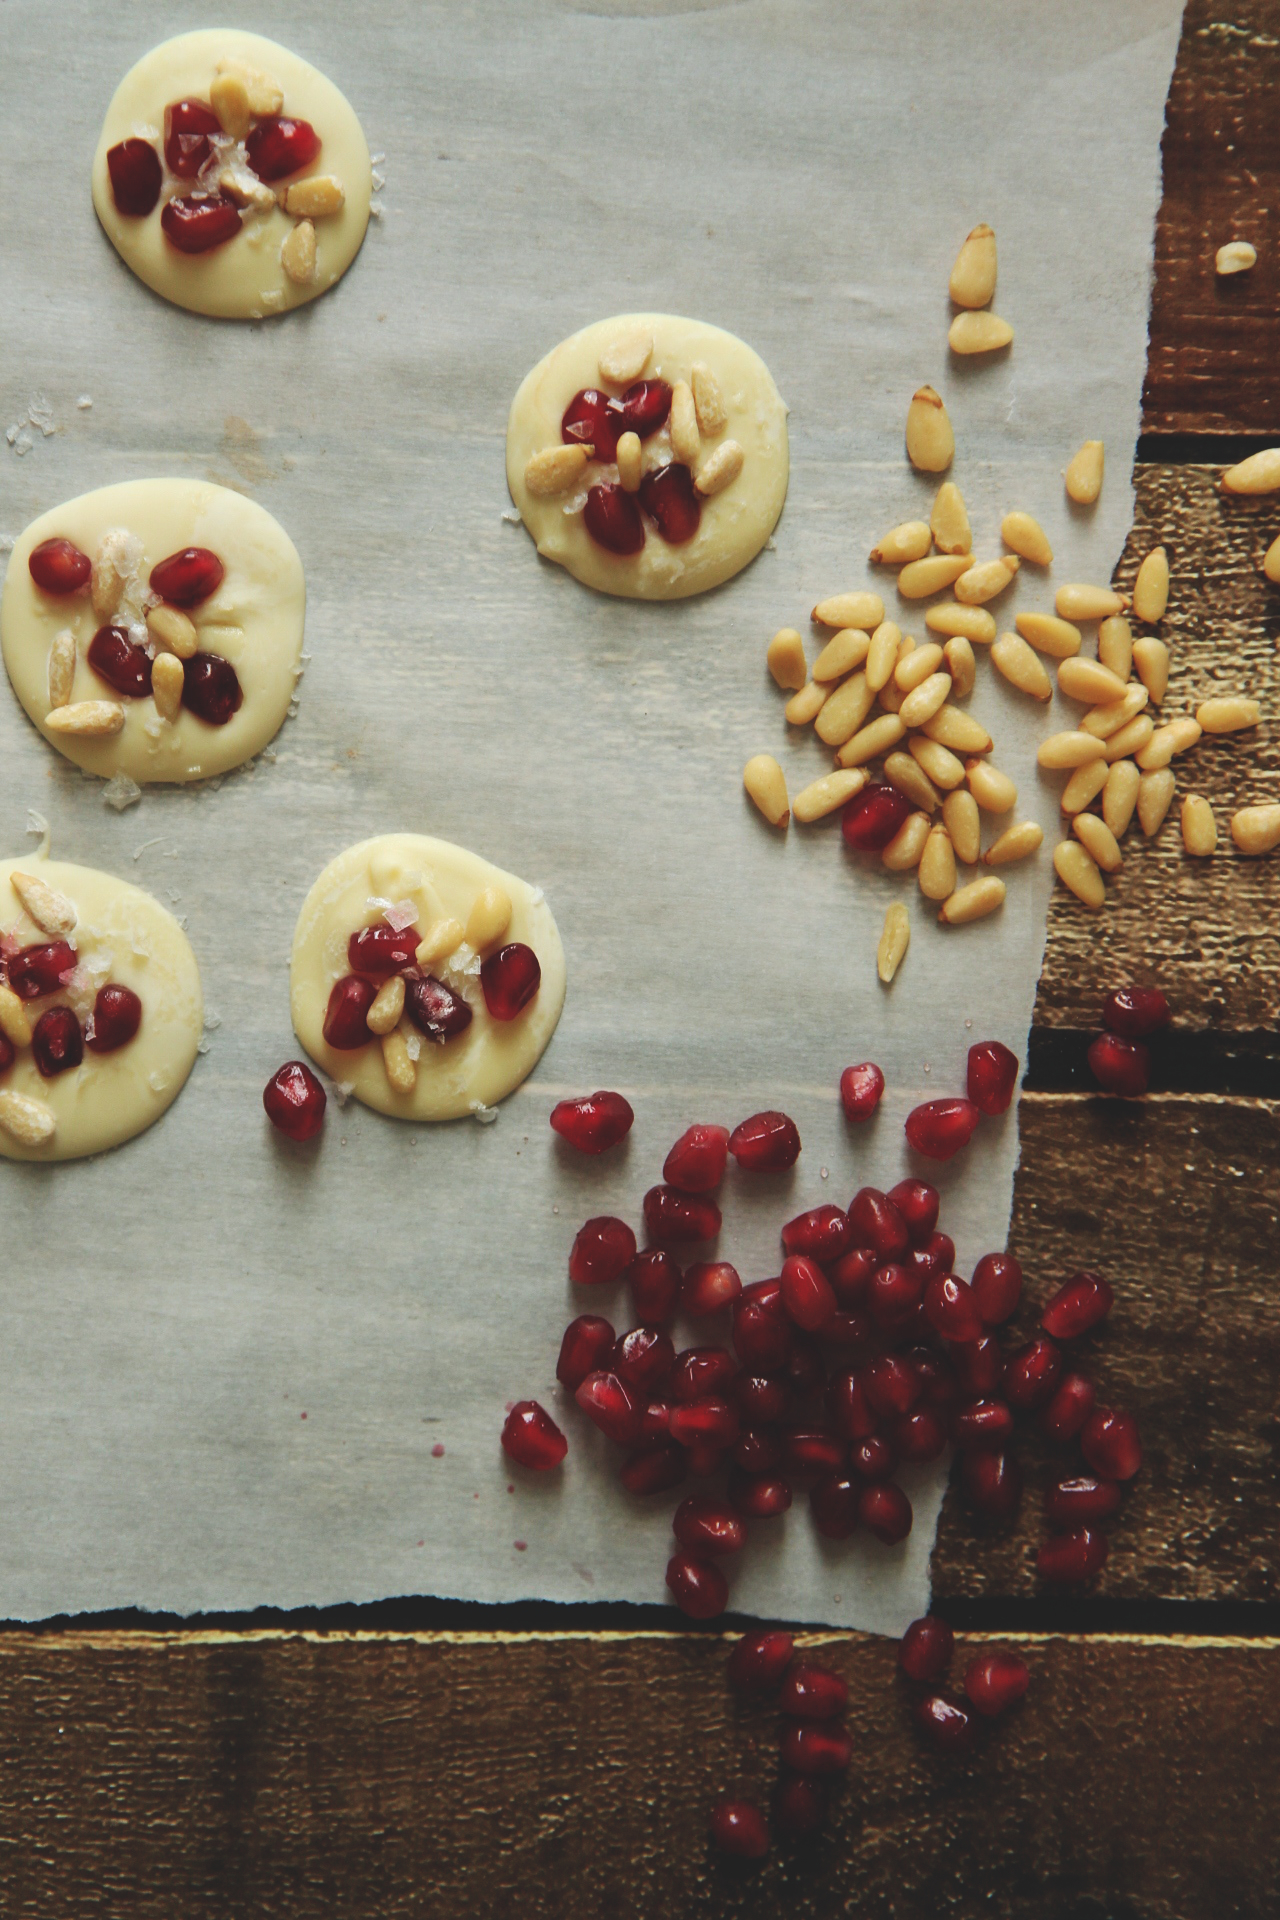
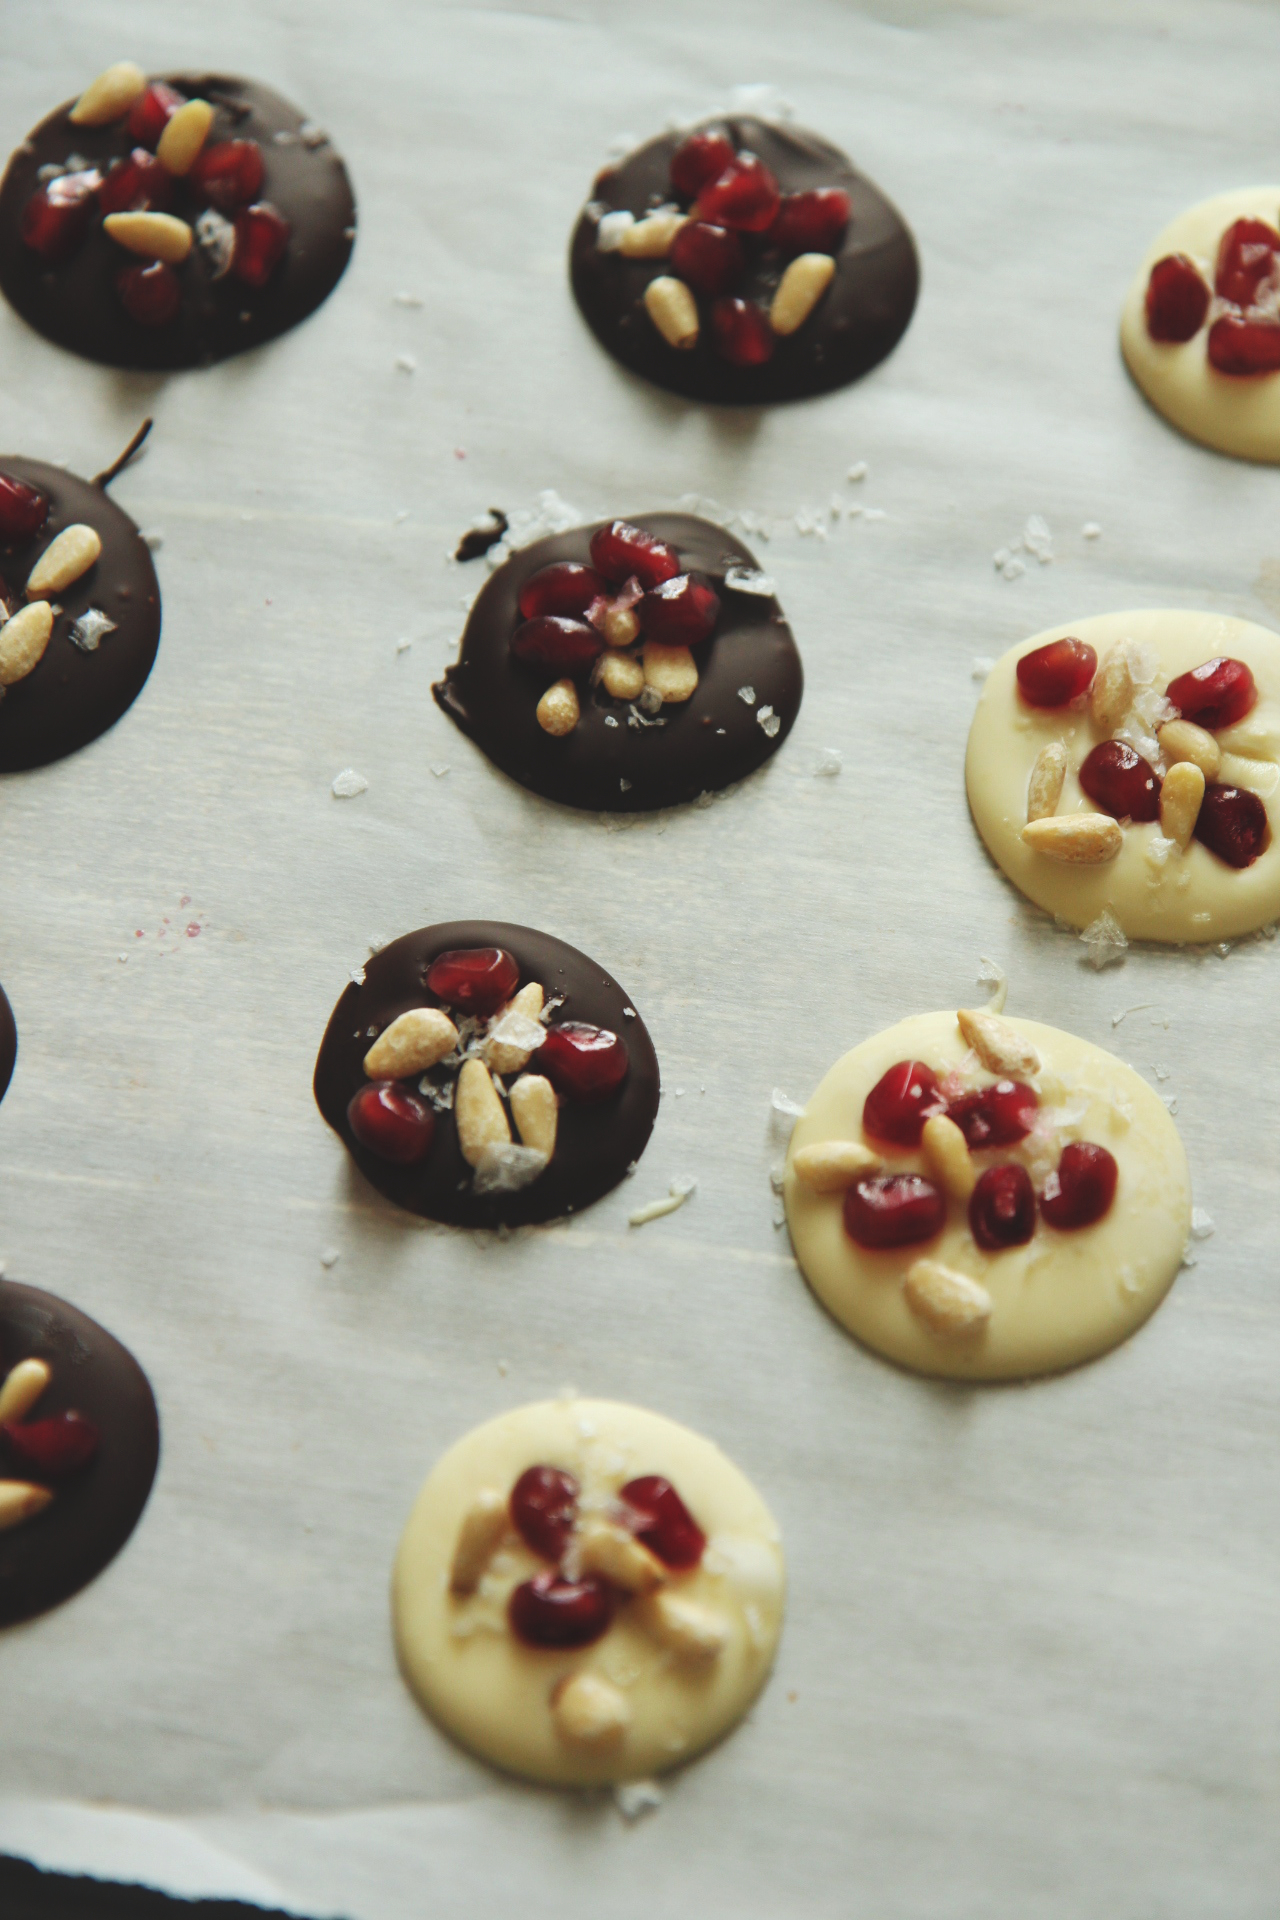
The premise is simple, and really doesn’t require a recipe: melt dark (or white) chocolate, dollop it in (imperfect) circles, decorate with dried fruit, nuts, etc.   Allow to set (an hour or two), then enjoy crunchy-yet-melty chocolates with bursts of flavor.

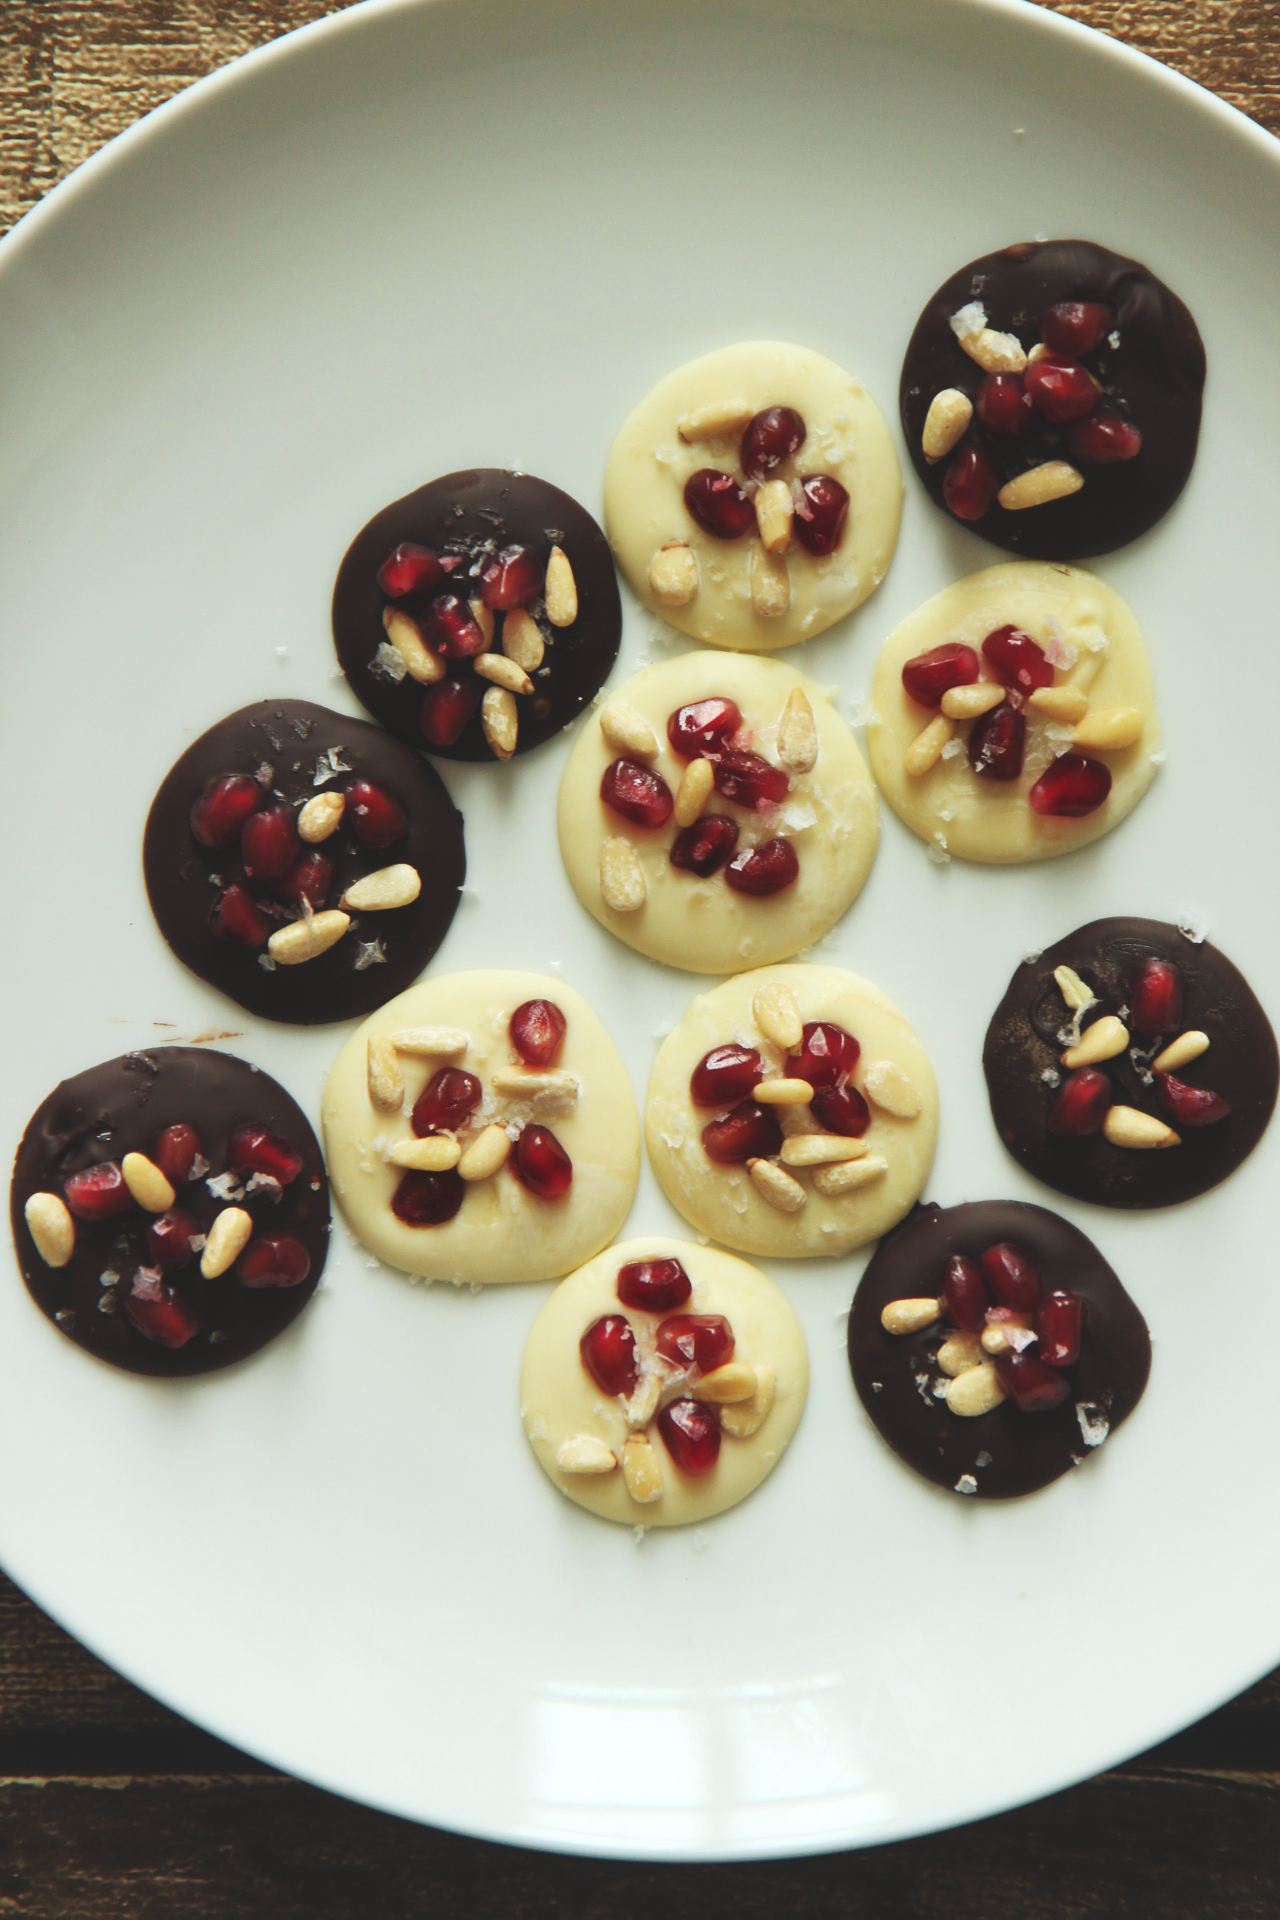
Here, I chose what has become a favorite combination: pomegranate, pine nuts, and sea salt.
Antioxidants!  Fruit!  Healthy fats!  The picture of good health, practically!!!

It works equally well with dark and white chocolates; just be sure to choose good quality chocolate.  I used Callebaut.
I made my mendiants quite small, about a teaspoon per candy, which makes them mini and totally snack-able.

Common toppings are pistachios, dried apricots, dried figs, coconut, cashews, almonds, dried cranberries, etc.
The possibilities are endless.

IMG_8177_01

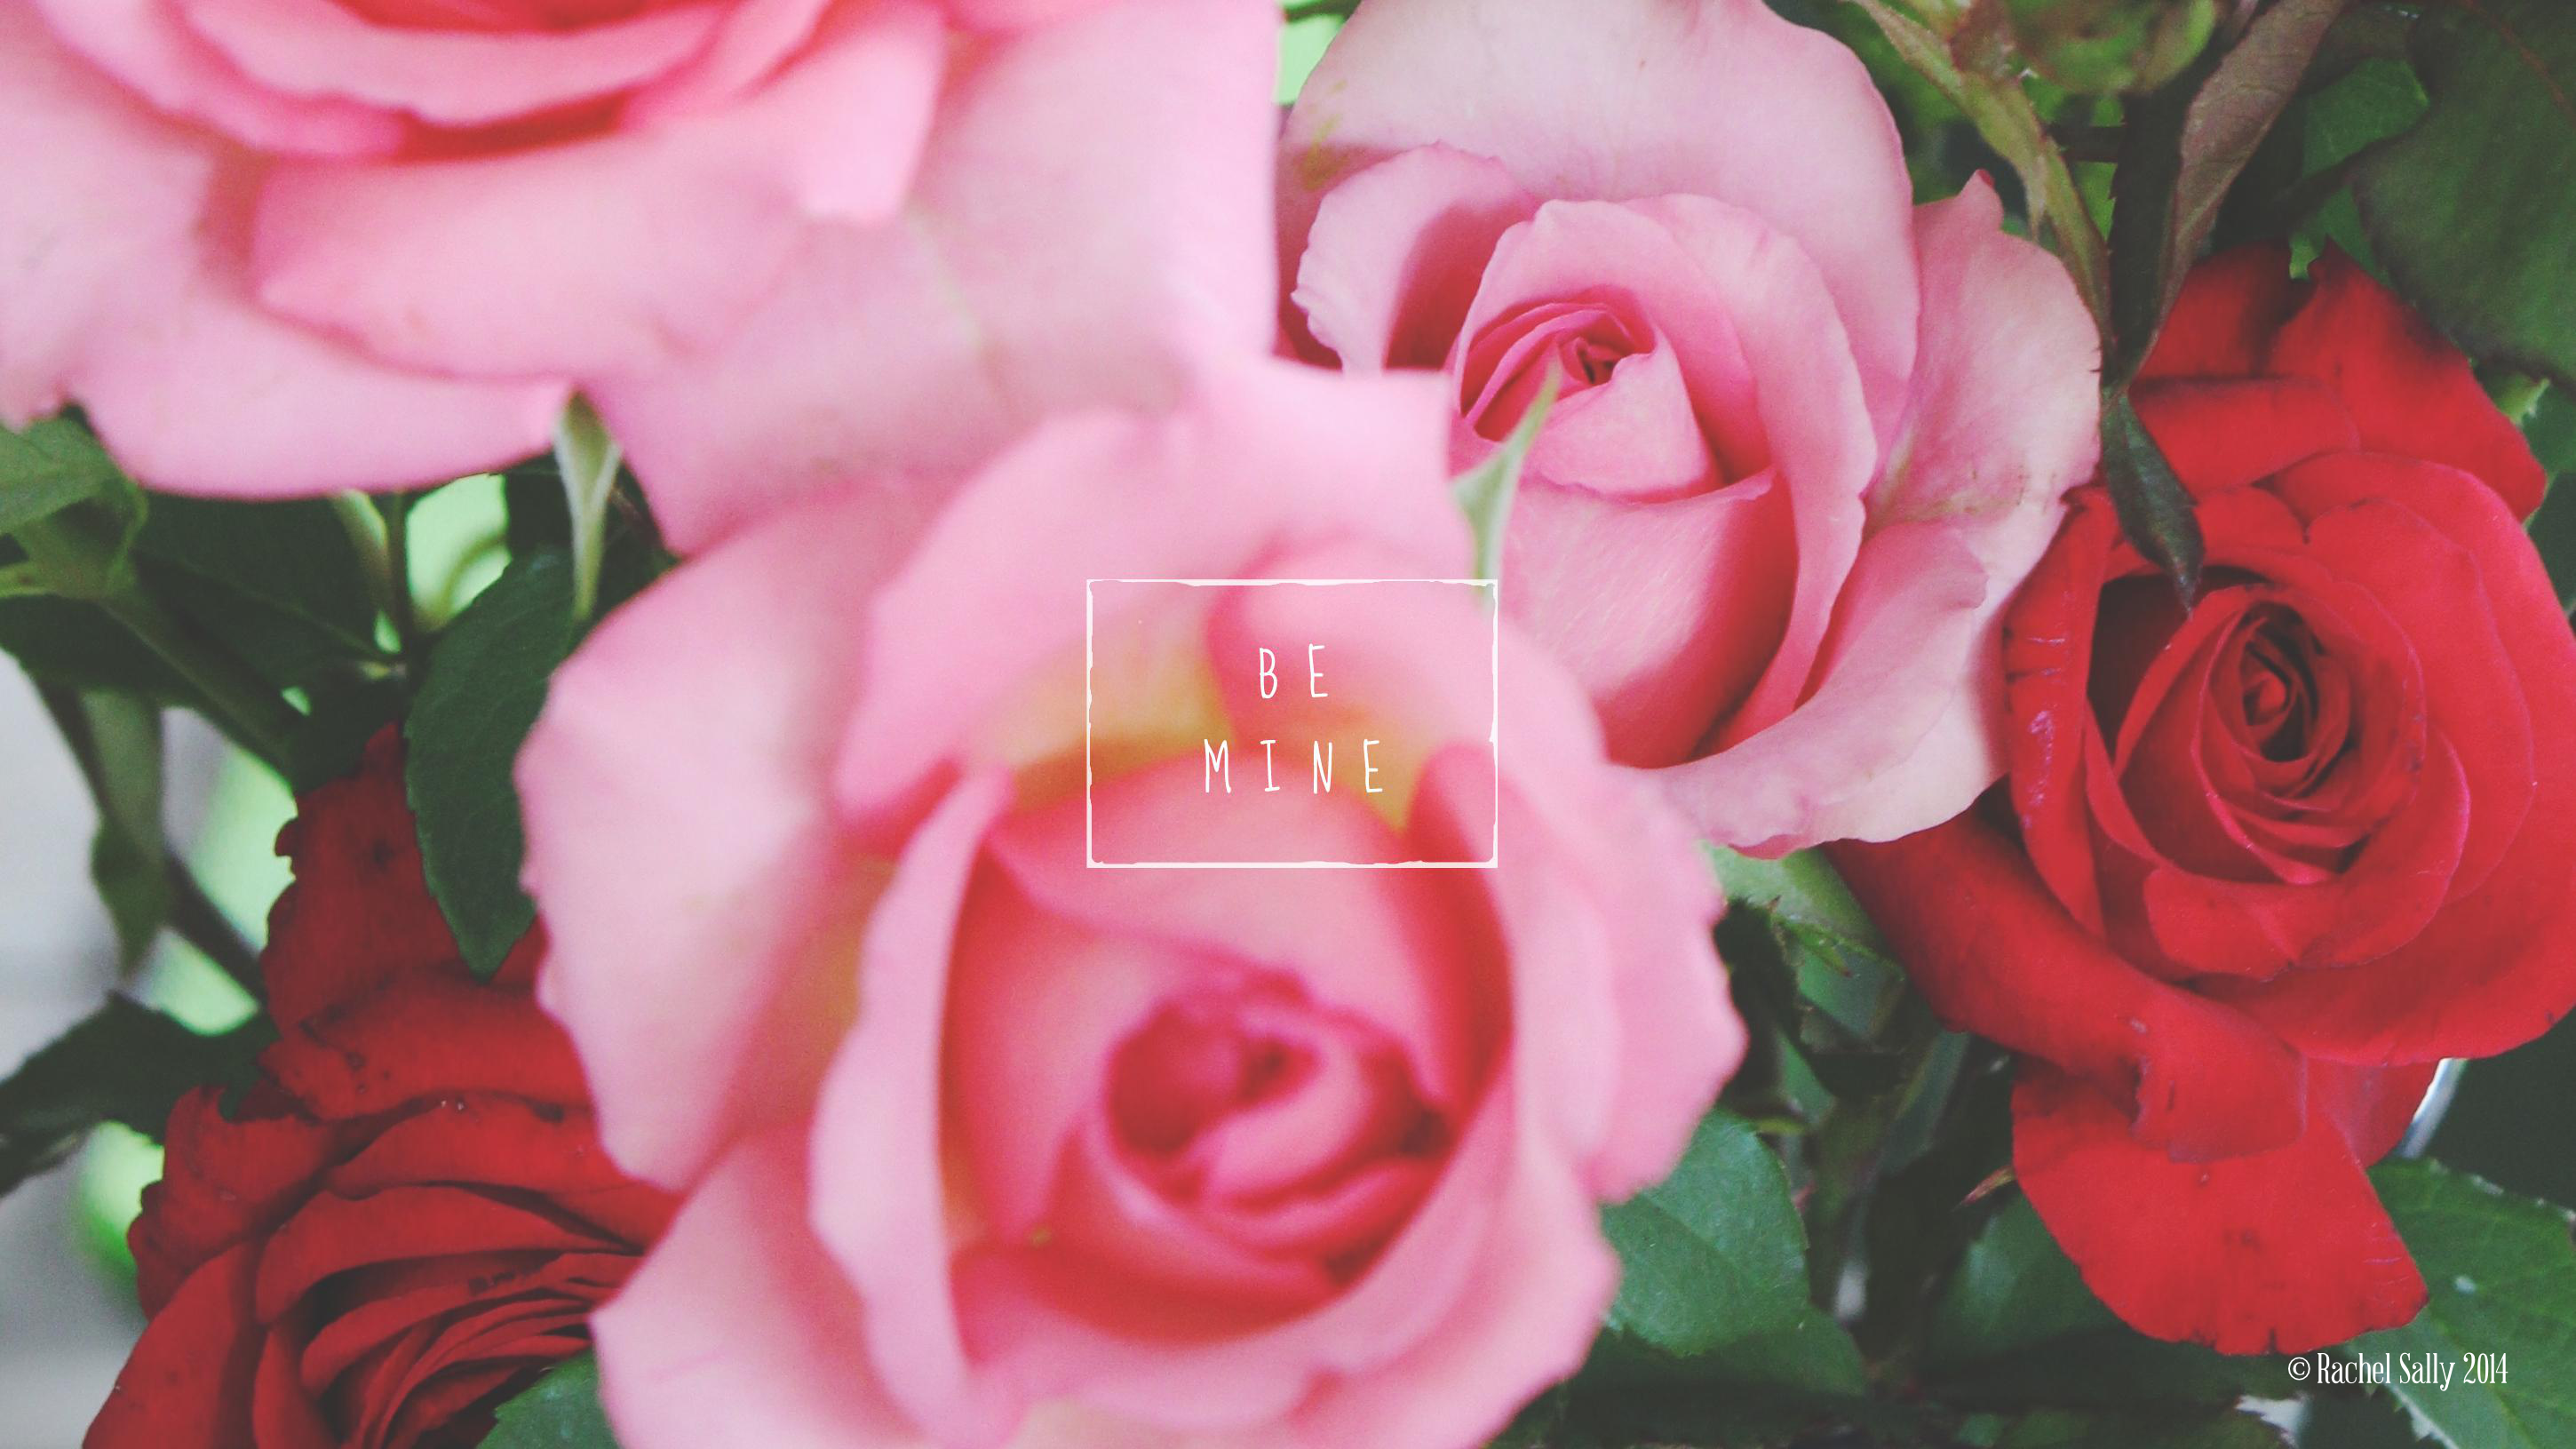
And here’s a sweet little design I made as a desktop background, that I thought I would share with y’all.
Feel free to download it from my flickr.

Have a marvelous day.  I hope it’s filled with chocolate, love, flowers, and, most importantly, happiness.

xo

Be Mine.jpg

Sakura-iro

IMG_7845_01

Oh, I know how it is in the spring
when Japonica’s in bloom
and rivers of many waters bring
life to the unplucked fruit.
Then the vineyards of the Maidens flower
on every shaded vine;
all flourish in that restful hour—
but, oh, this can’t be mine!
All seasons are the same to Love,
it’s always time to storm;
thunder is always flashing over
my head, and there’s a swarm
of desiccating furies in my mind.
Love chews away my heart
from the roots, in the dark.

Ibycus, Fragment 286

IMG_7958_01

It makes me sad when people say they hate Valentine’s day.

I love Valentine’s day!  Not because I spend it with anyone special (womp womp) but because I love the idea.

I love love.
IMG_7833_01g

I guess I can see the strikes against Valentine’s day (too mushy, too commercialized, too silly, too much effort) BUT my gosh just how wonderful of a concept is it, honest and truly?

A day to celebrate love: a day to show your appreciation to those who make your life a little bit better every day.
A day to share tokens, sweets, and affection with your sweetheart, with your friends, with your family.
A day to honor a man who accepted illicit love, who just wanted people to be happy and content.

Appropriate, with all that’s going on in Sochi at the Winter Olympics.

People are people.  Love is love.
Everyone deserves to be loved; everyone deserves to give love.

IMG_7840_01

Regardless of whether you like Valentine’s day or not, I know y’all like cake.

And so that is what I’m bringing you.
I’m sharing love and cake.  Doesn’t that just sound like the best combination ever?

Cake, love, and pocky.  Sign me up.

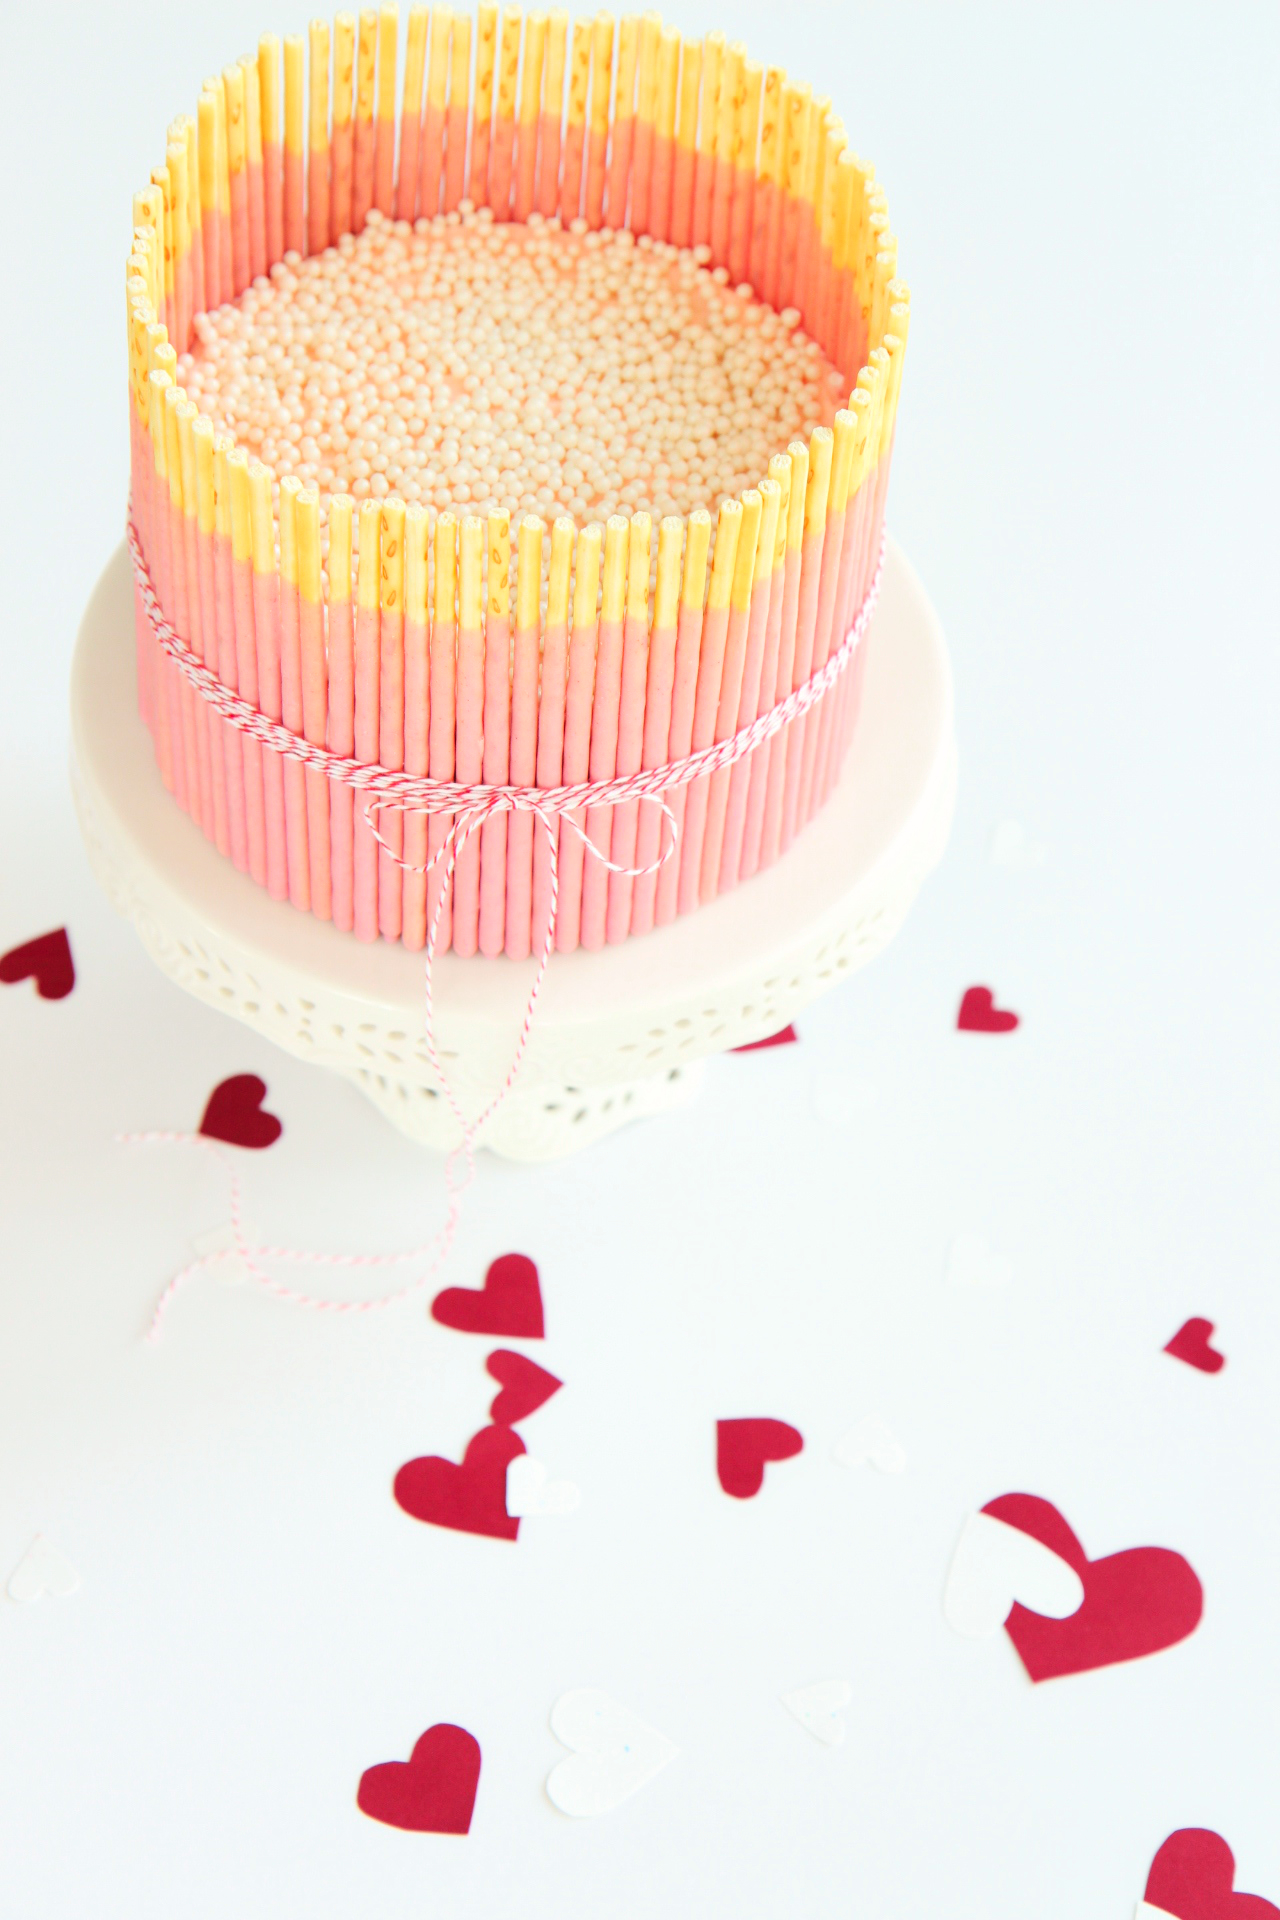
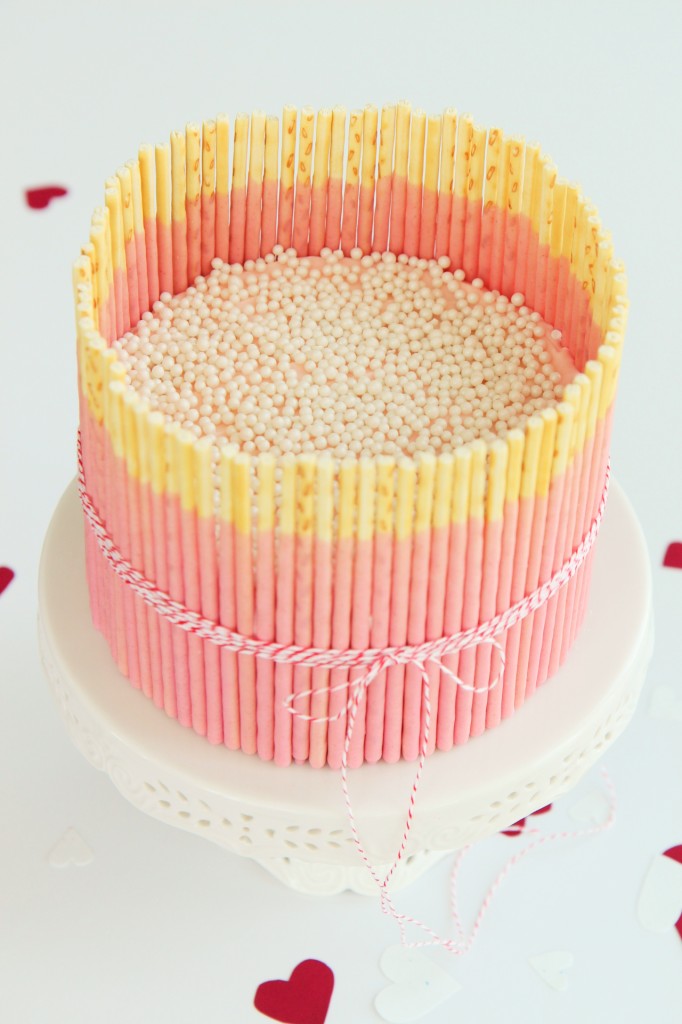
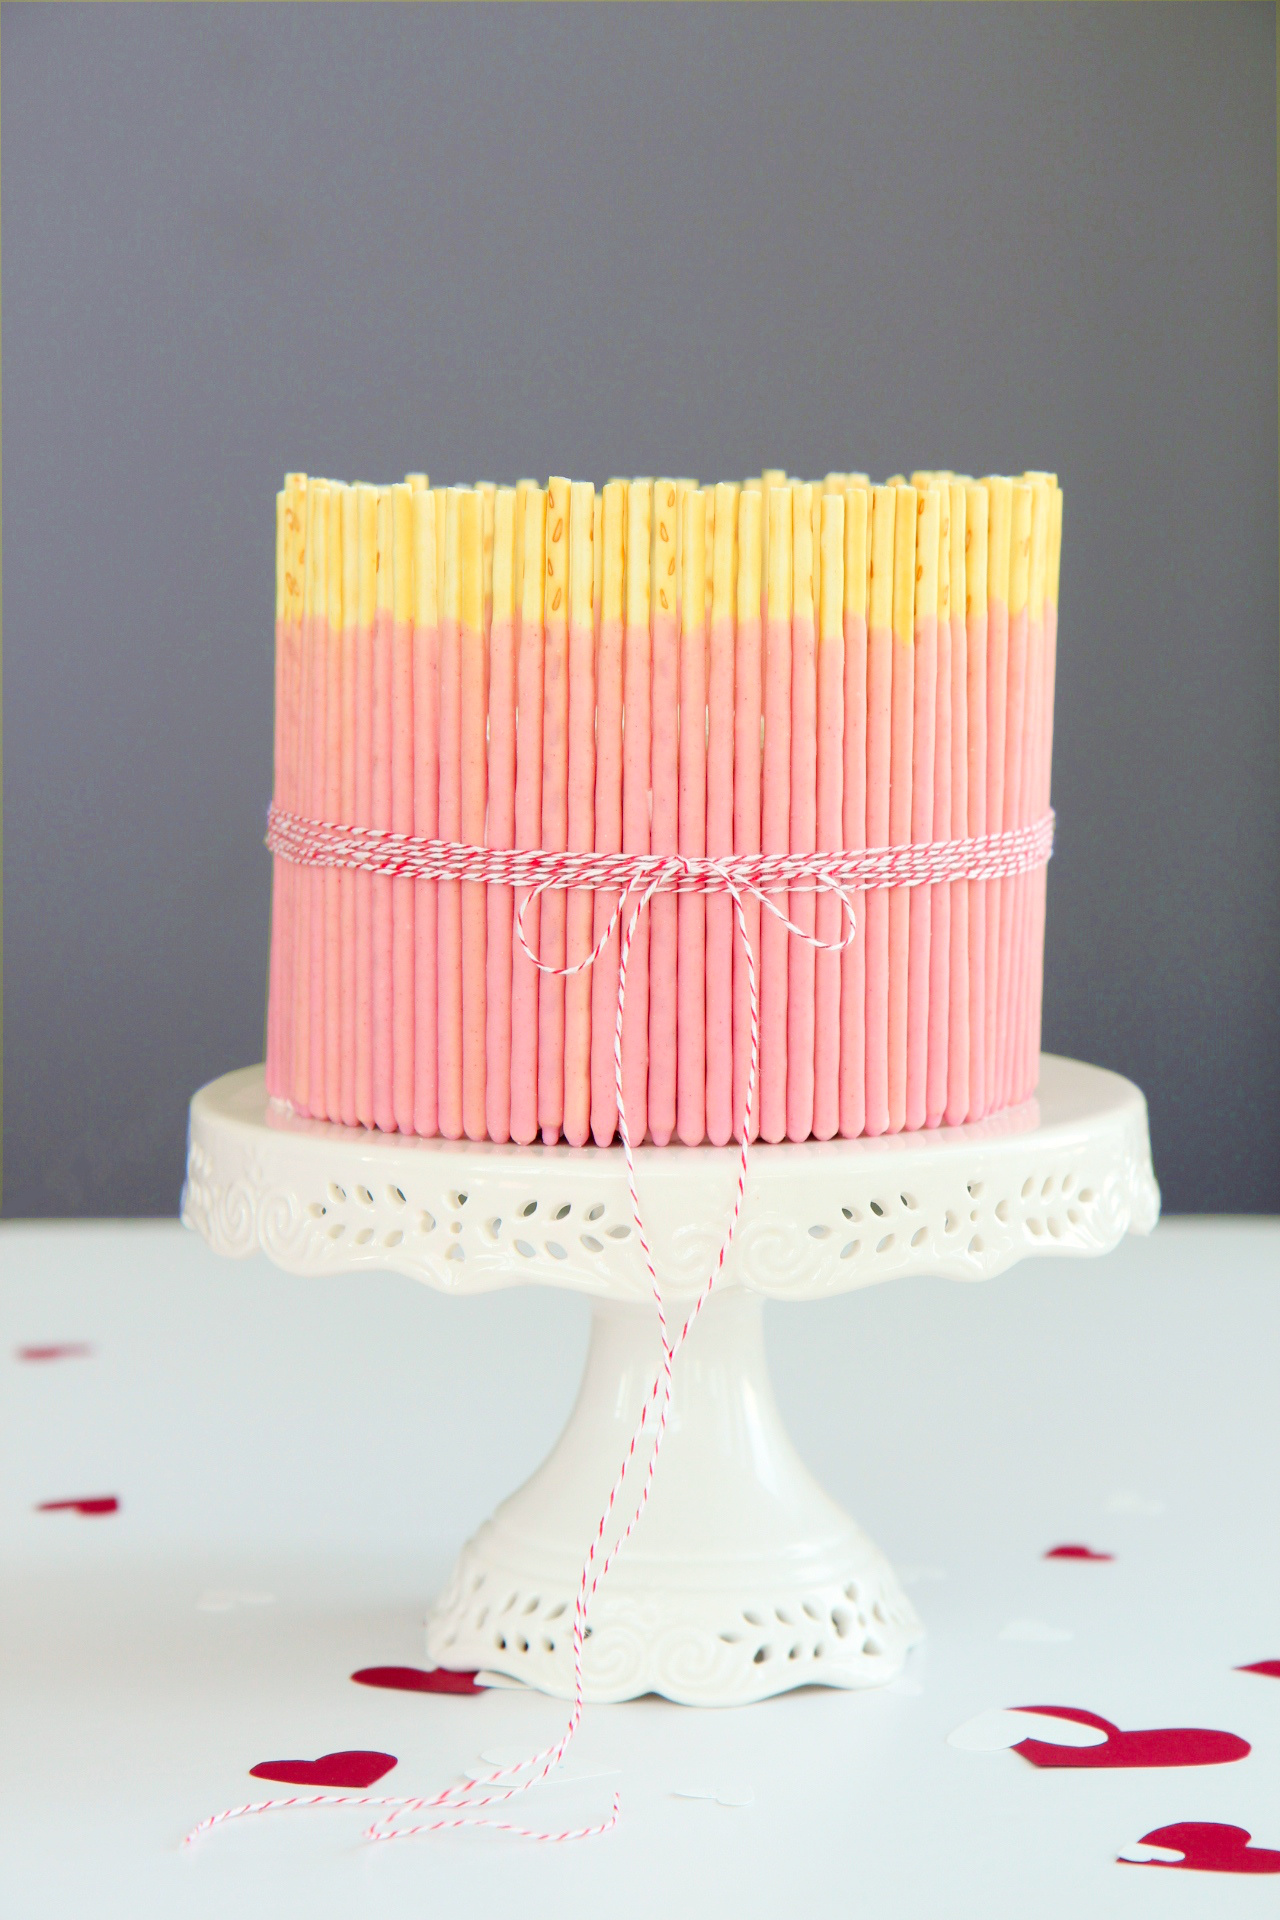
Isn’t this little cake the cutest!  Oh!  It makes me so happy.  Happy cake love.  Happy, pinky, red velvet cake love.
It abounds.

Pink for all!  All the pink.  This cake doesn’t have to be only for Valentine’s day.  Pink is a year-round color
(Although perhaps especially appropriate for Wednesdays.)

IMG_7817_01

Speaking of pink…
Have you ever had Japanese Pocky?
They’re little biscuit sticks, dipped in chocolate.  They’re crunchy, creamy, and utterly addictive.

In fact, true story: I have been planning on making this cake for ages, not even necessarily for Valentine’s day.
I purchased a bunch  of Pocky from Amazon, but kept stalling making the cake (and munching on Pocky).
Eventually, I had eaten all the Pocky!!!!!
So, another bulk order later, I decided to make the cake ASAP.
Since we’re in the depths of Valentine’s day themed posts on this blog, I knew the pink would be perfect.

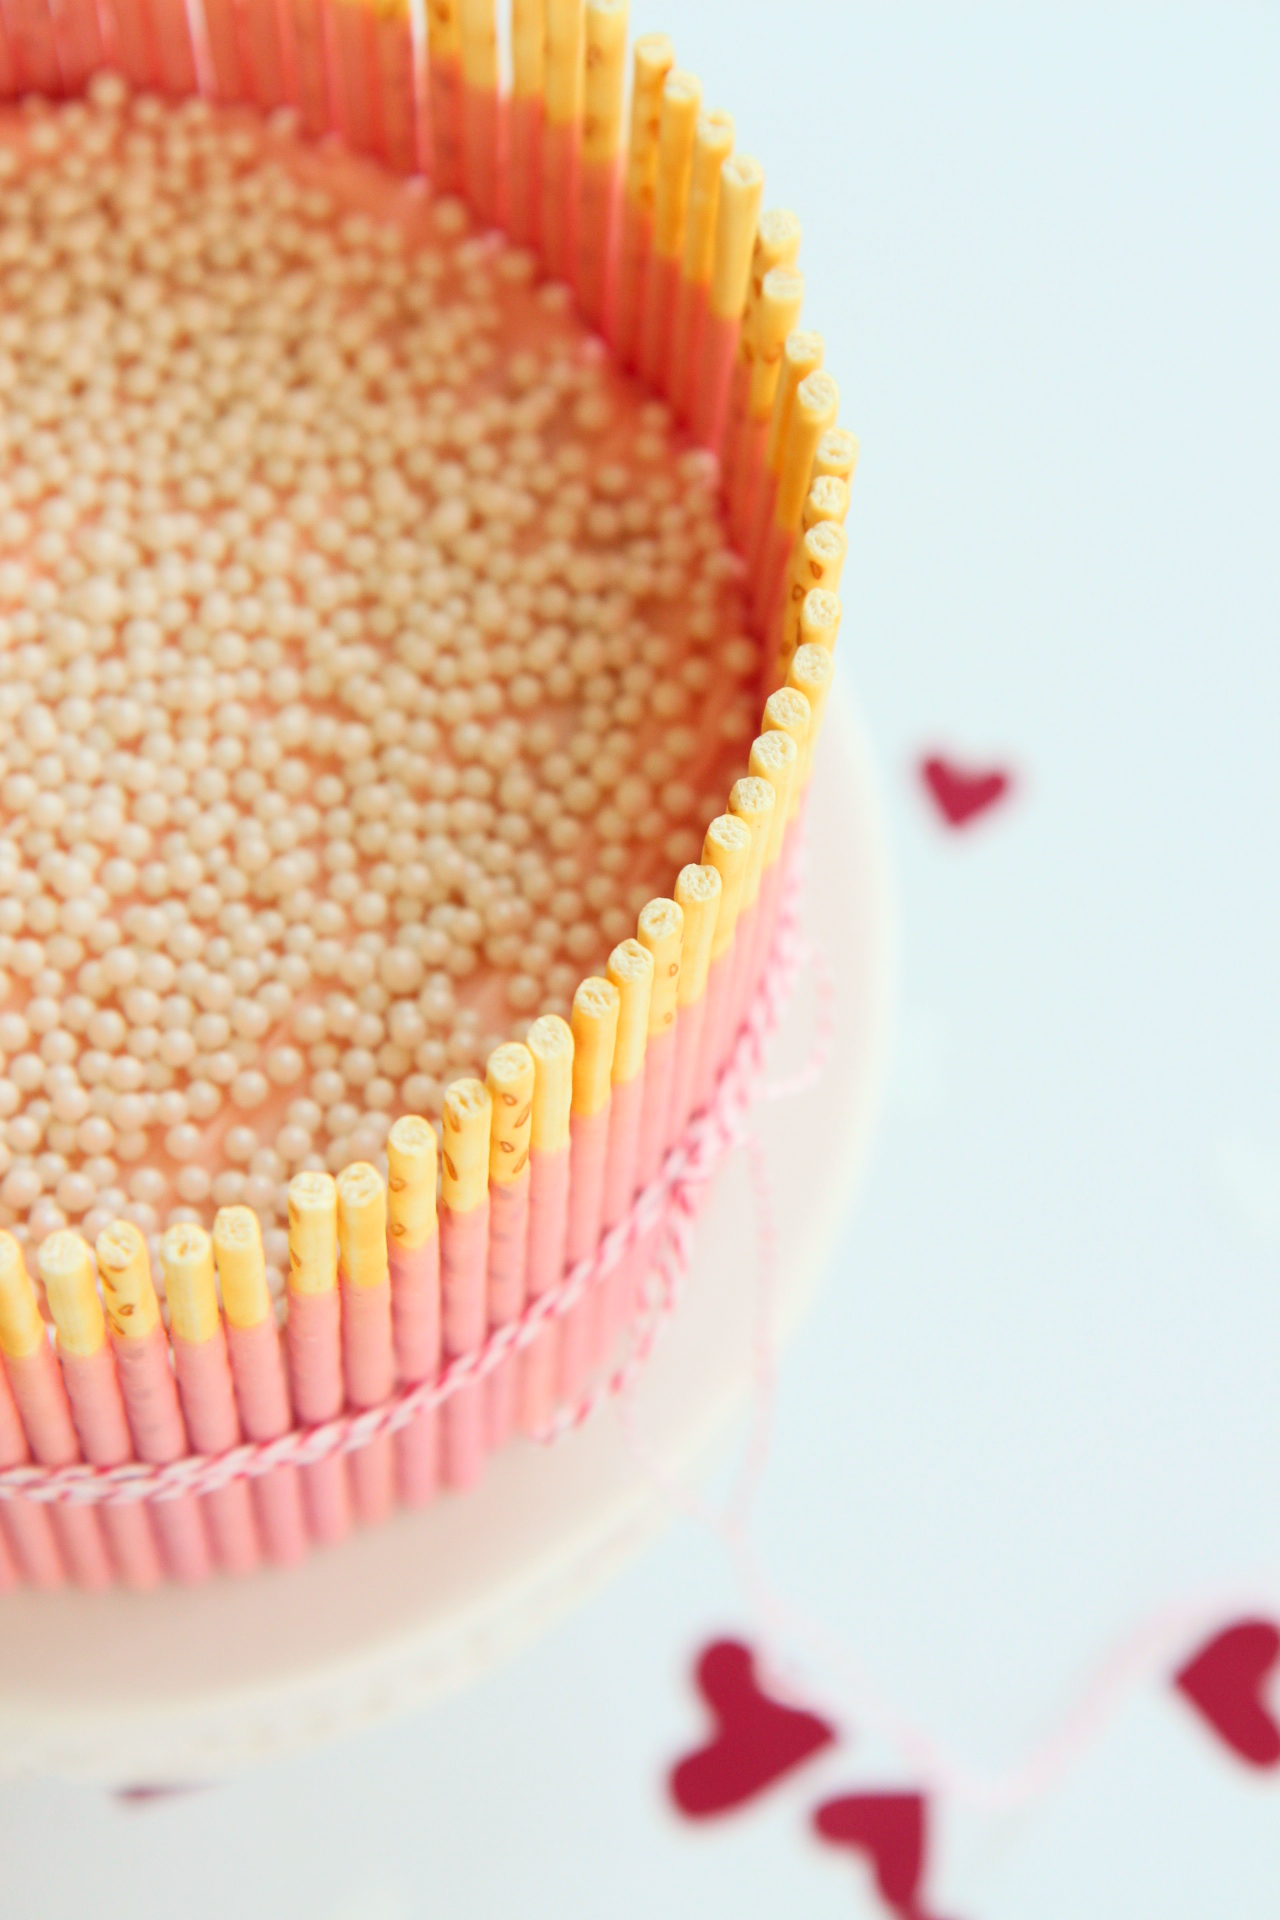
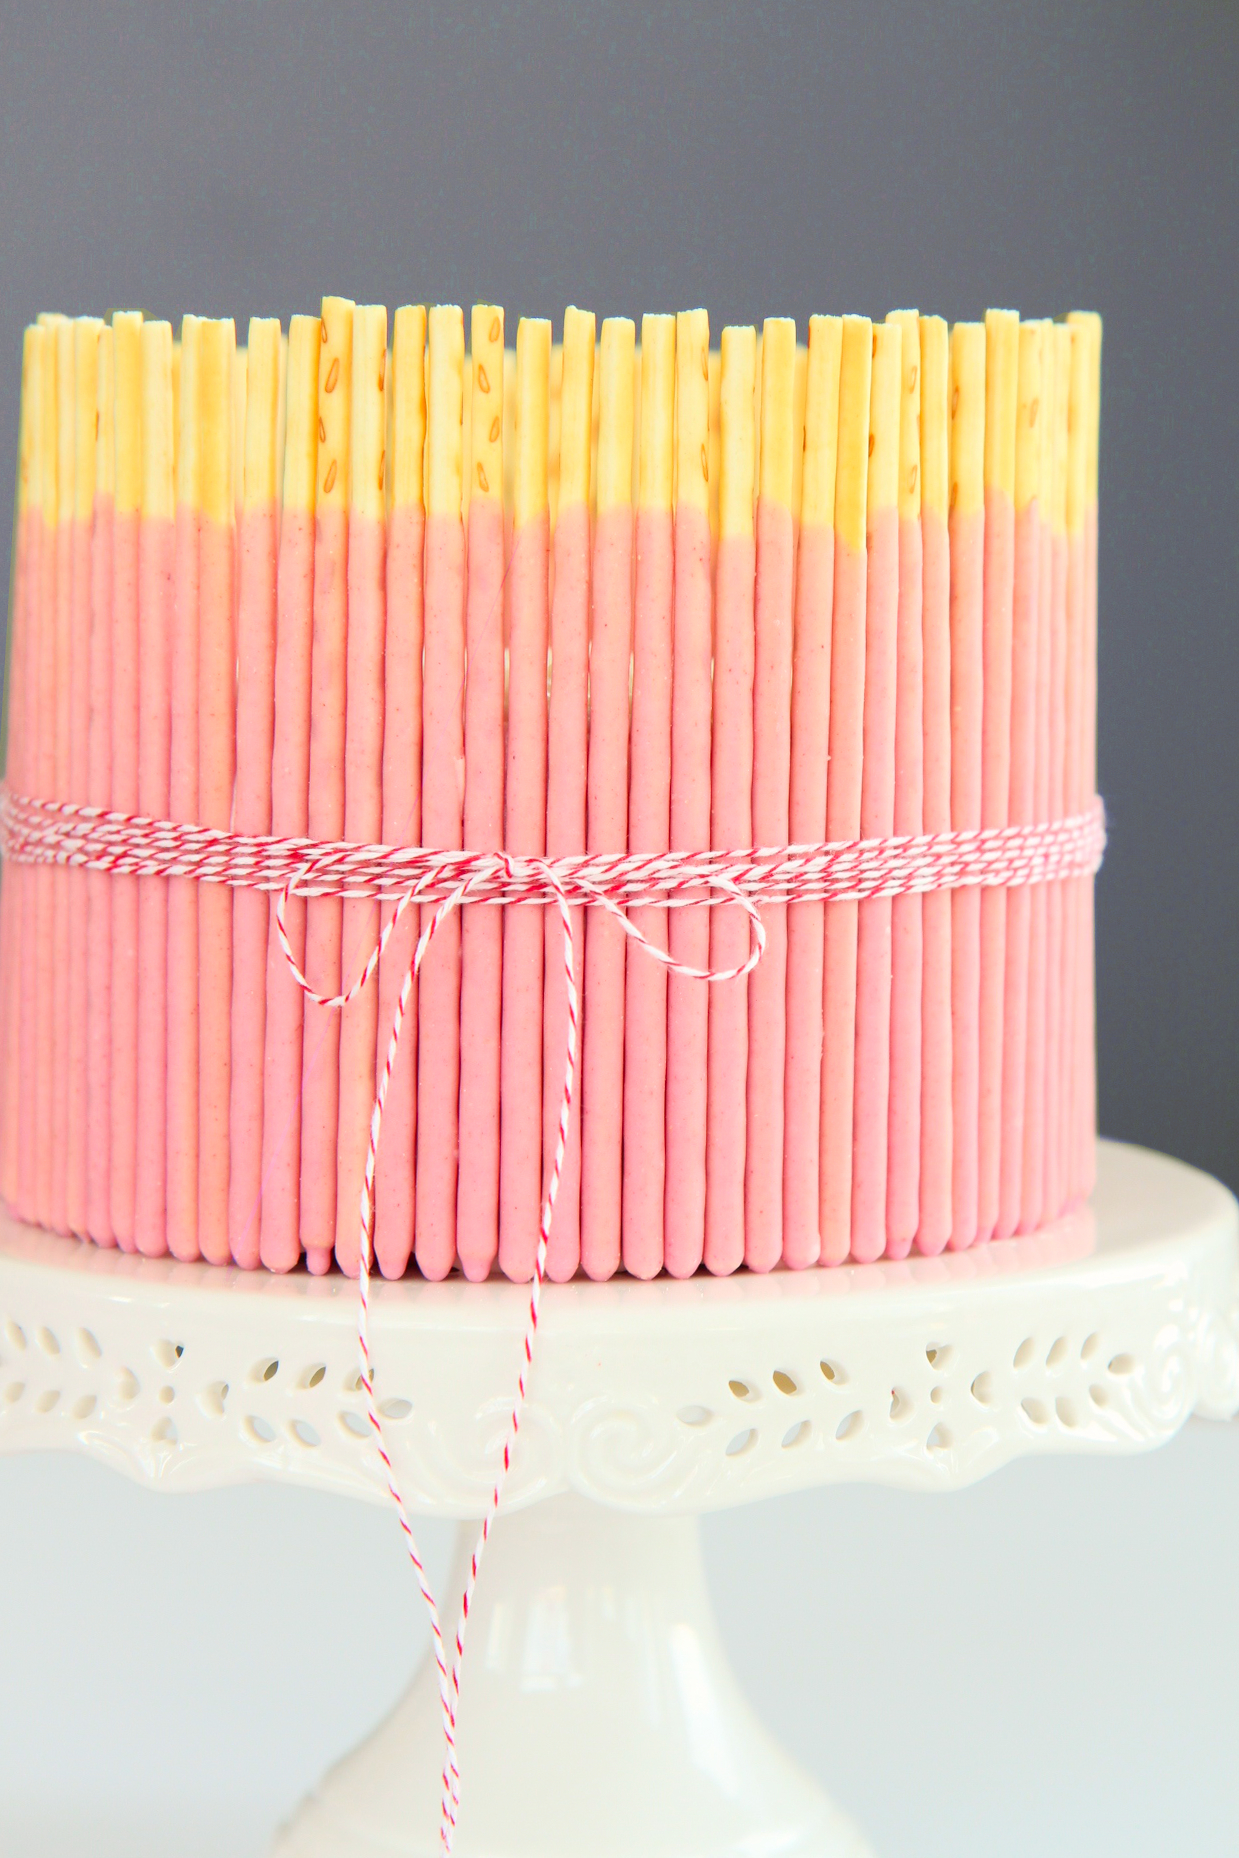
And what a pink it is!  Pale and not too orangey, it’s the color of cherry blossoms (sakura-iro).
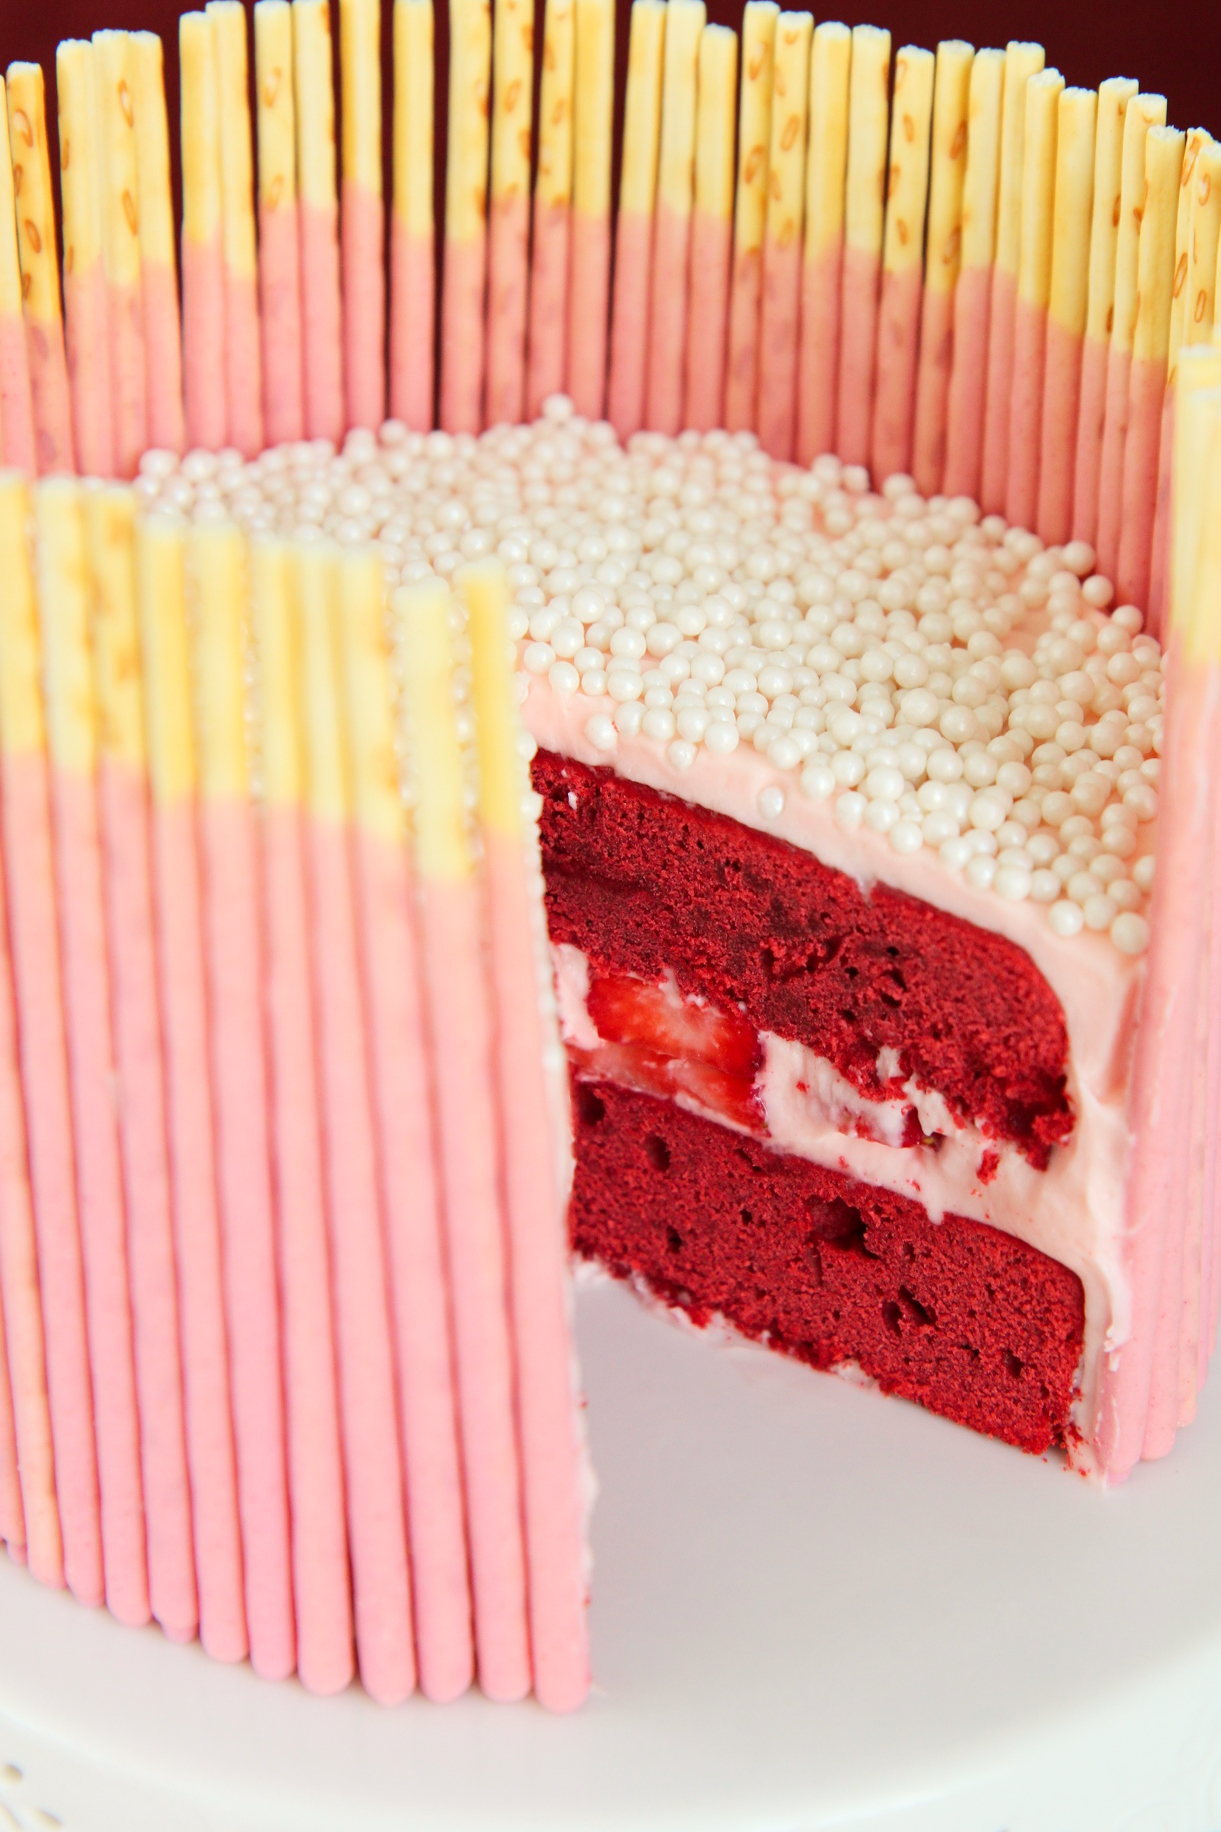
A lovely contrast to the vivid cake within.

IMG_7922_01

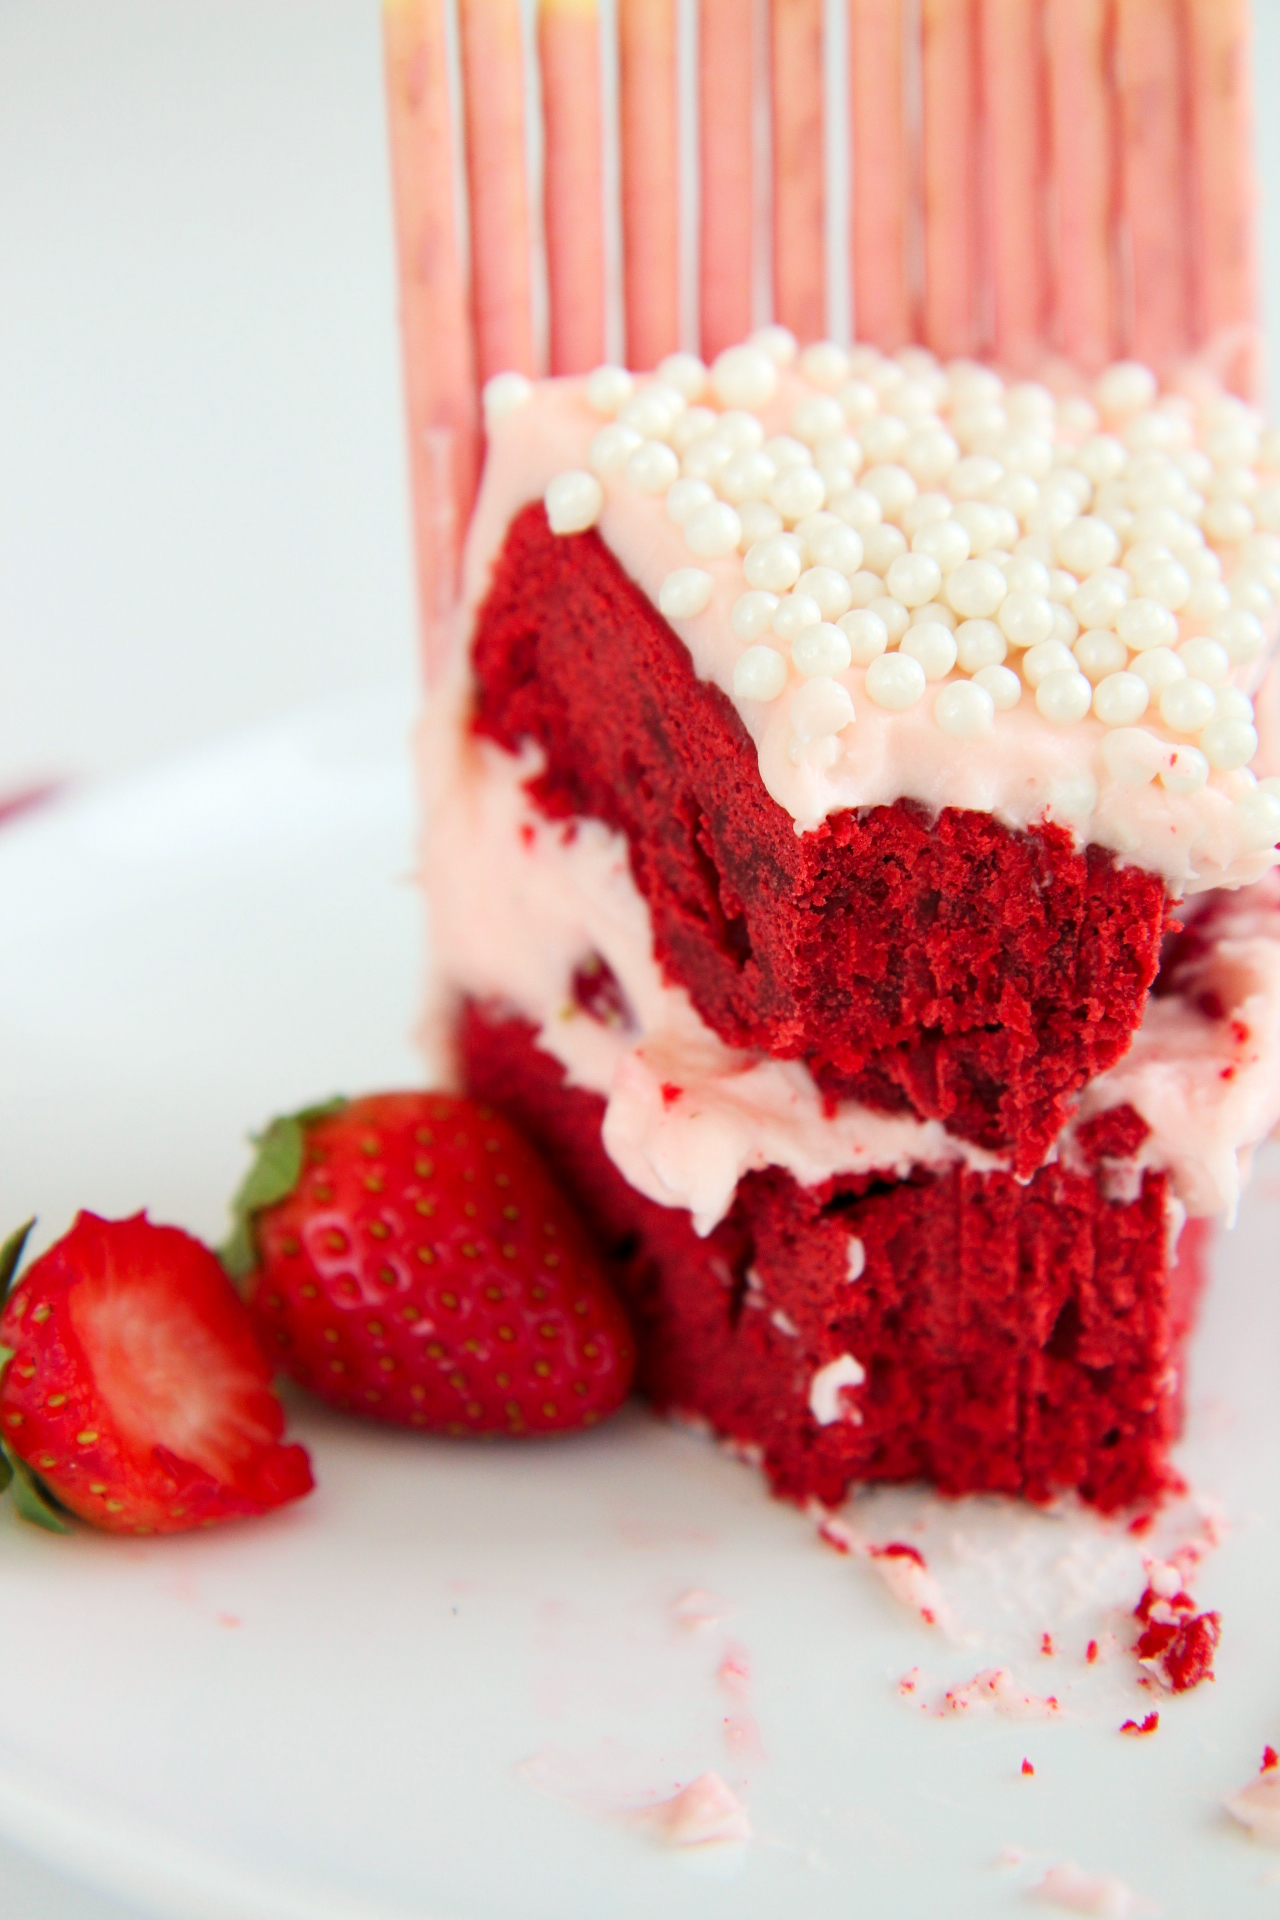
Red velvet brownies, rich and a touch chocolaty, are dense and moist, somewhere between a cake and a true brownie.  They make a perfect base for our cake.
They get a generous swirl of cream cheese frosting, fluffy, tangy, and sweet, and a heap of fresh sliced strawberries, which are a nice foil to all the richness going on in the cake and frosting.

The whole deal is ringed with strawberry/white chocolate pocky sticks and tied with some baker’s twine.

A bite with a little of everything is a myriad of flavors and textures:
toothsome and rich brownies
tangy and soft cream cheese frosting
fresh, bright strawberries
crunchy sprinkles
crisp, creamy pocky!

Cuteness (and deliciousness) to the max!

IMG_7888_01

All the red and pink going on in this cake make it quite fun; the pocky sticks are visually exciting and make this cake a real statement piece.
This is a bold cake.
Cutting into it is a surprise; the bright red velvet is a stark contrast to the pastel exterior.
It would make a great birthday cake, especially for a little girl who loves pink. Omg.

If you can’t tell, I’m mildly obsessed with this cake.  I can’t stop using exclamation points.
IT’S JUST SO CUTE!!!!!!!!!

I want to stick Pocky on the outsides of all my cakes, from now on.
(Another perk: no need to worry about the neatness of your frosting job.  Score.)

IMG_7853_01

Anyways, be mine?

Parce que je te kiffe!

IMG_7877_01g

Red Velvet Brownie Cake
ingredients:
for the red velvet brownie layers:
8 tablespoons (1/2 cup) butter
1 cup sugar
1/4 teaspoon salt
2 eggs
1 egg yolk
2 teaspoons red food coloring
1/2 cup plus 2 tablespoons buttermilk
1 teaspoon vanilla
2 tablespoons cocoa powder
1 tablespoon cornstarch
1 1/4 cup plus 1 tablespoon flour
1 3/4 teaspoons baking powder

for the cream cheese frosting:
8 tablespoons (1 stick, 1/2 cup) butter
1/2 teaspoon kosher salt
8 ounces (1 package) cream cheese
1 1/2 cups powdered sugar, or as needed
1/4 cup powdered milk
drop of pink or red food coloring
to assemble:
7 or 8 packages of strawberry pocky, inspected for broken sticks
10 strawberries, sliced thickly
sprinkles, for the top (I used sugar pearls)
directions:
Make the cake layers:
Preheat oven to 350 degrees F and grease and flour 2 6-inch pans.
Beat butter with sugar and salt until light and fluffy, about 4 minutes.
Add in the eggs and yolk and beat for 4 more minutes; mixture should be very glossy and not grainy.
Whisk the buttermilk, food coloring, and vanilla together.
Whisk all the dry ingredients together.
Scrape the bowl with the butter and add in the wet and dry ingredients while mixing on low.
Beat on high to fully homogenize the batter, then spread into prepared pans.
Bake for 20 minutes, until a tester comes out with only a few crumbs.

Make the frosting: beat butter and salt on high speed for 5 minutes, until fully softened and fluffy.
Add in cream cheese and beat for 4 more minutes; the mixture should be very fluffy, light colored, and homogeneous.
Scrape the sides of the bowl and beat for 2 more minutes; add the powdered sugar and powdered milk and slowly beat to combine.
Add more powdered sugar if the consistency is too runny still (up to another 1/2 cup).
Tint frosting to desired shade with food coloring.

Assemble the cake:
Place a dollop of frosting on cake plate, then place first cake layer on top.
Spread a thick layer of frosting onto the top of the first cake layer, then arrange strawberry slices over.
Spread a thick layer of frosting on the bottom of the second layer, then gently place it over the strawberry slices.
Frost the rest of the cake generously, making sure the sides have plenty of frosting to stick the pocky to.
One at a time, press the pocky sticks into the side of the cake, biscuit side up.
Add sprinkles to the top, if desired, and tie with a ribbon (remove to cut).
Serve with cold milk and extra strawberries!

Kiss Kiss

IMG_8050_01

Coucou!  Bisous bisous!

IMG_8020_01

Because what good is Valentine’s day without chocolate?

No good!  Must have chocolate.  Certainly.  Surely.

It doesn’t have to be complicated or fussy.  But you best believe it better be present somewhere.

IMG_8078_01

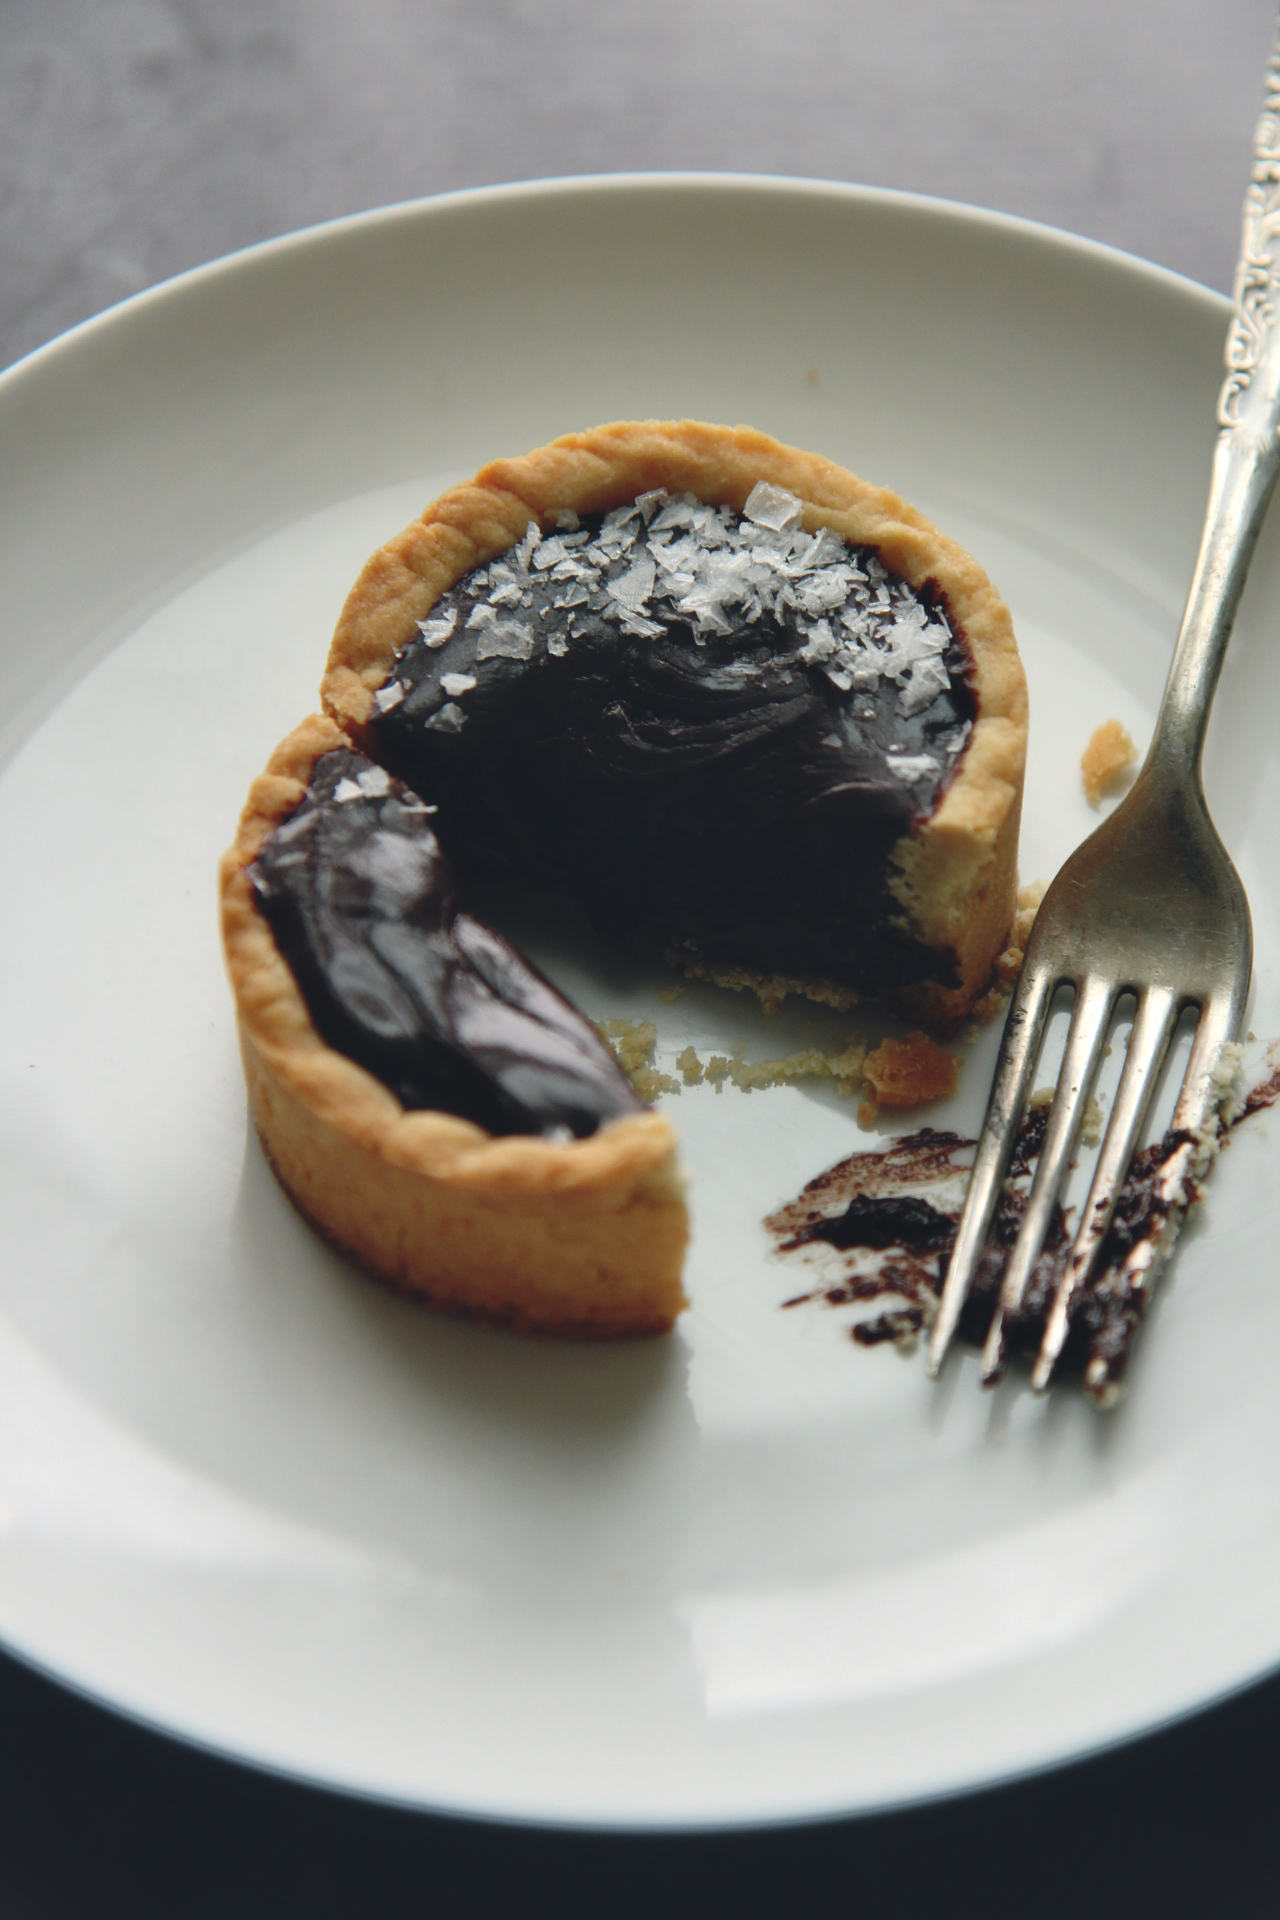
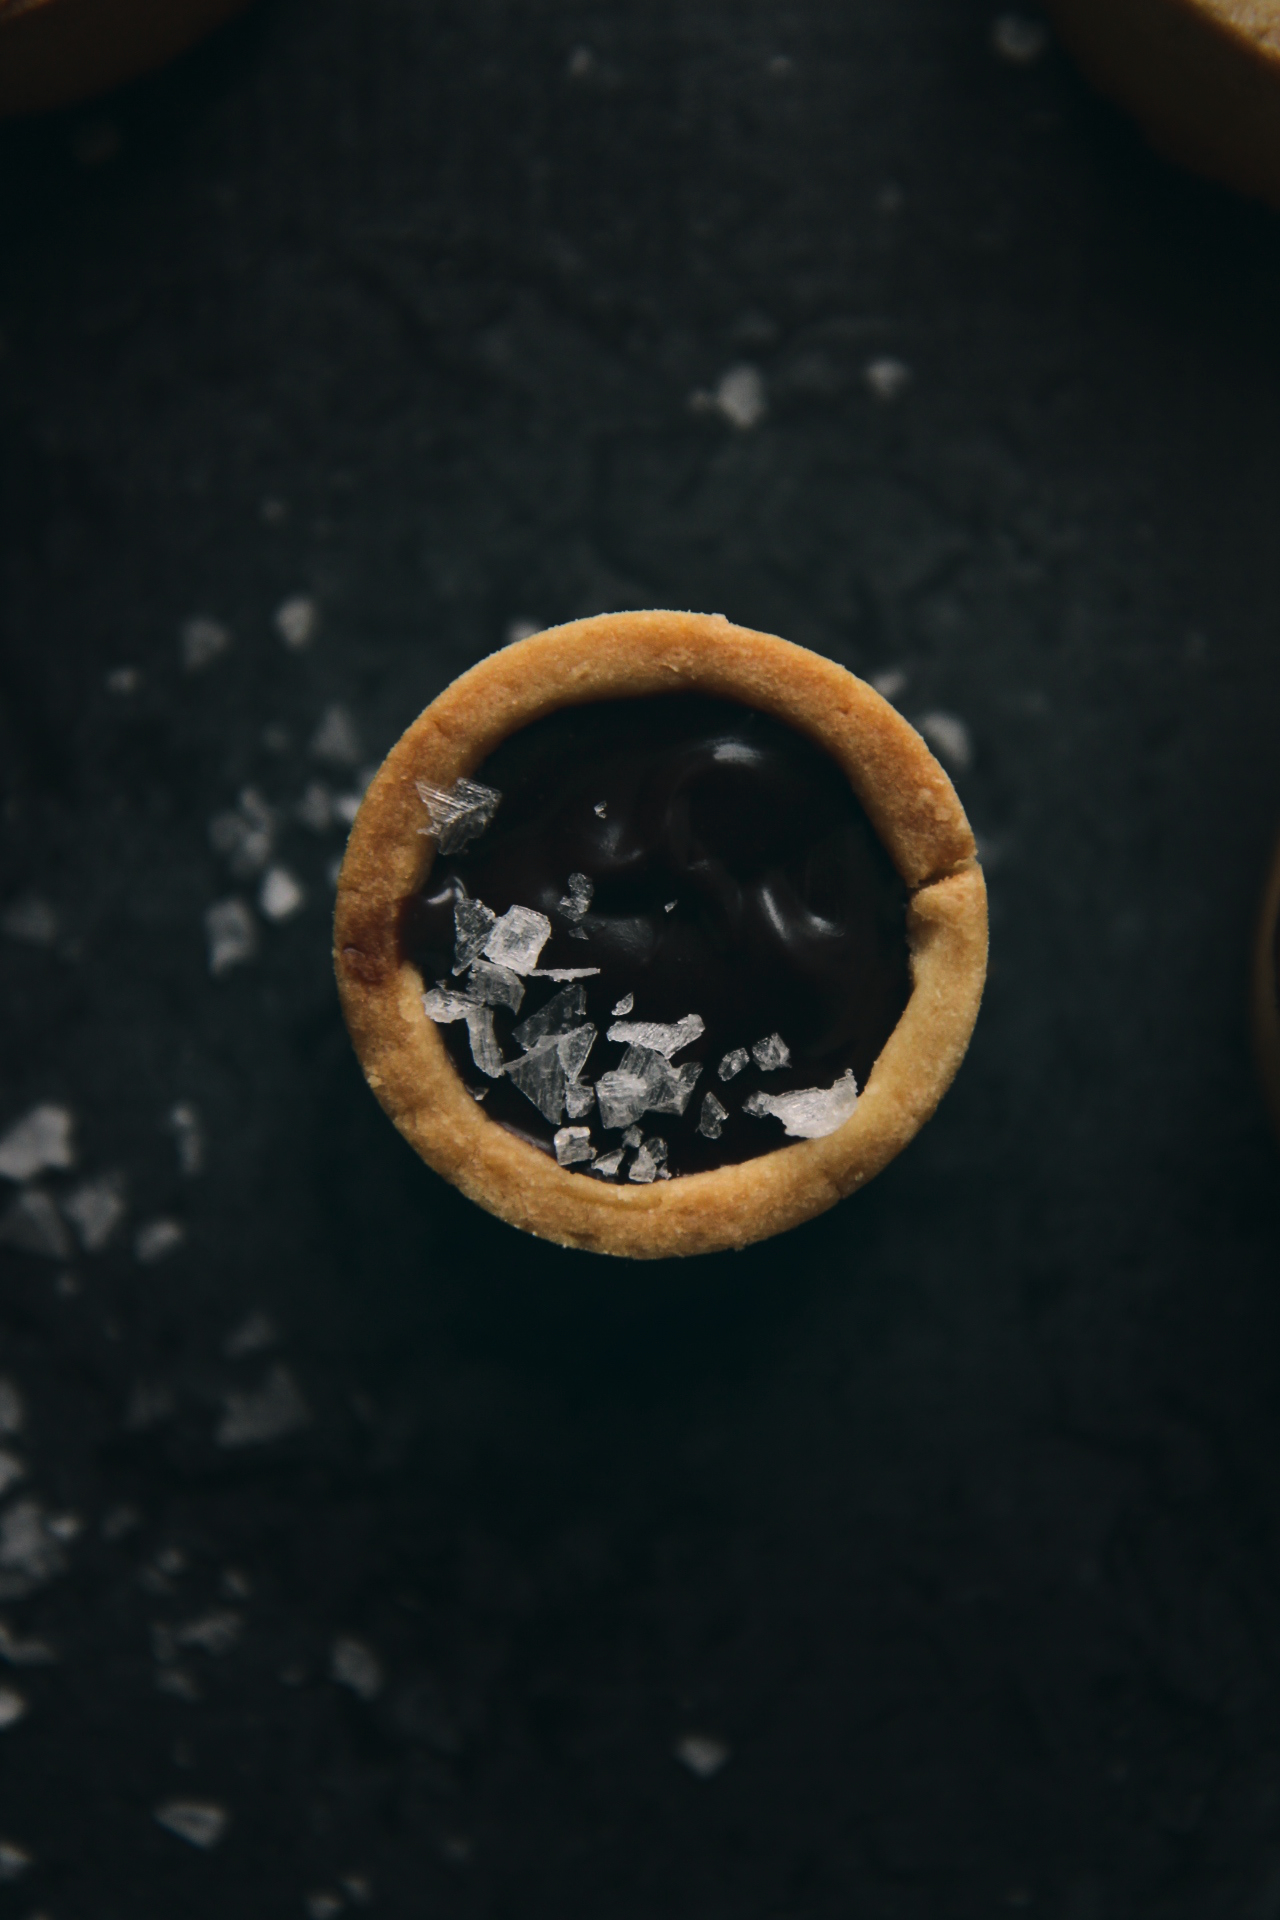
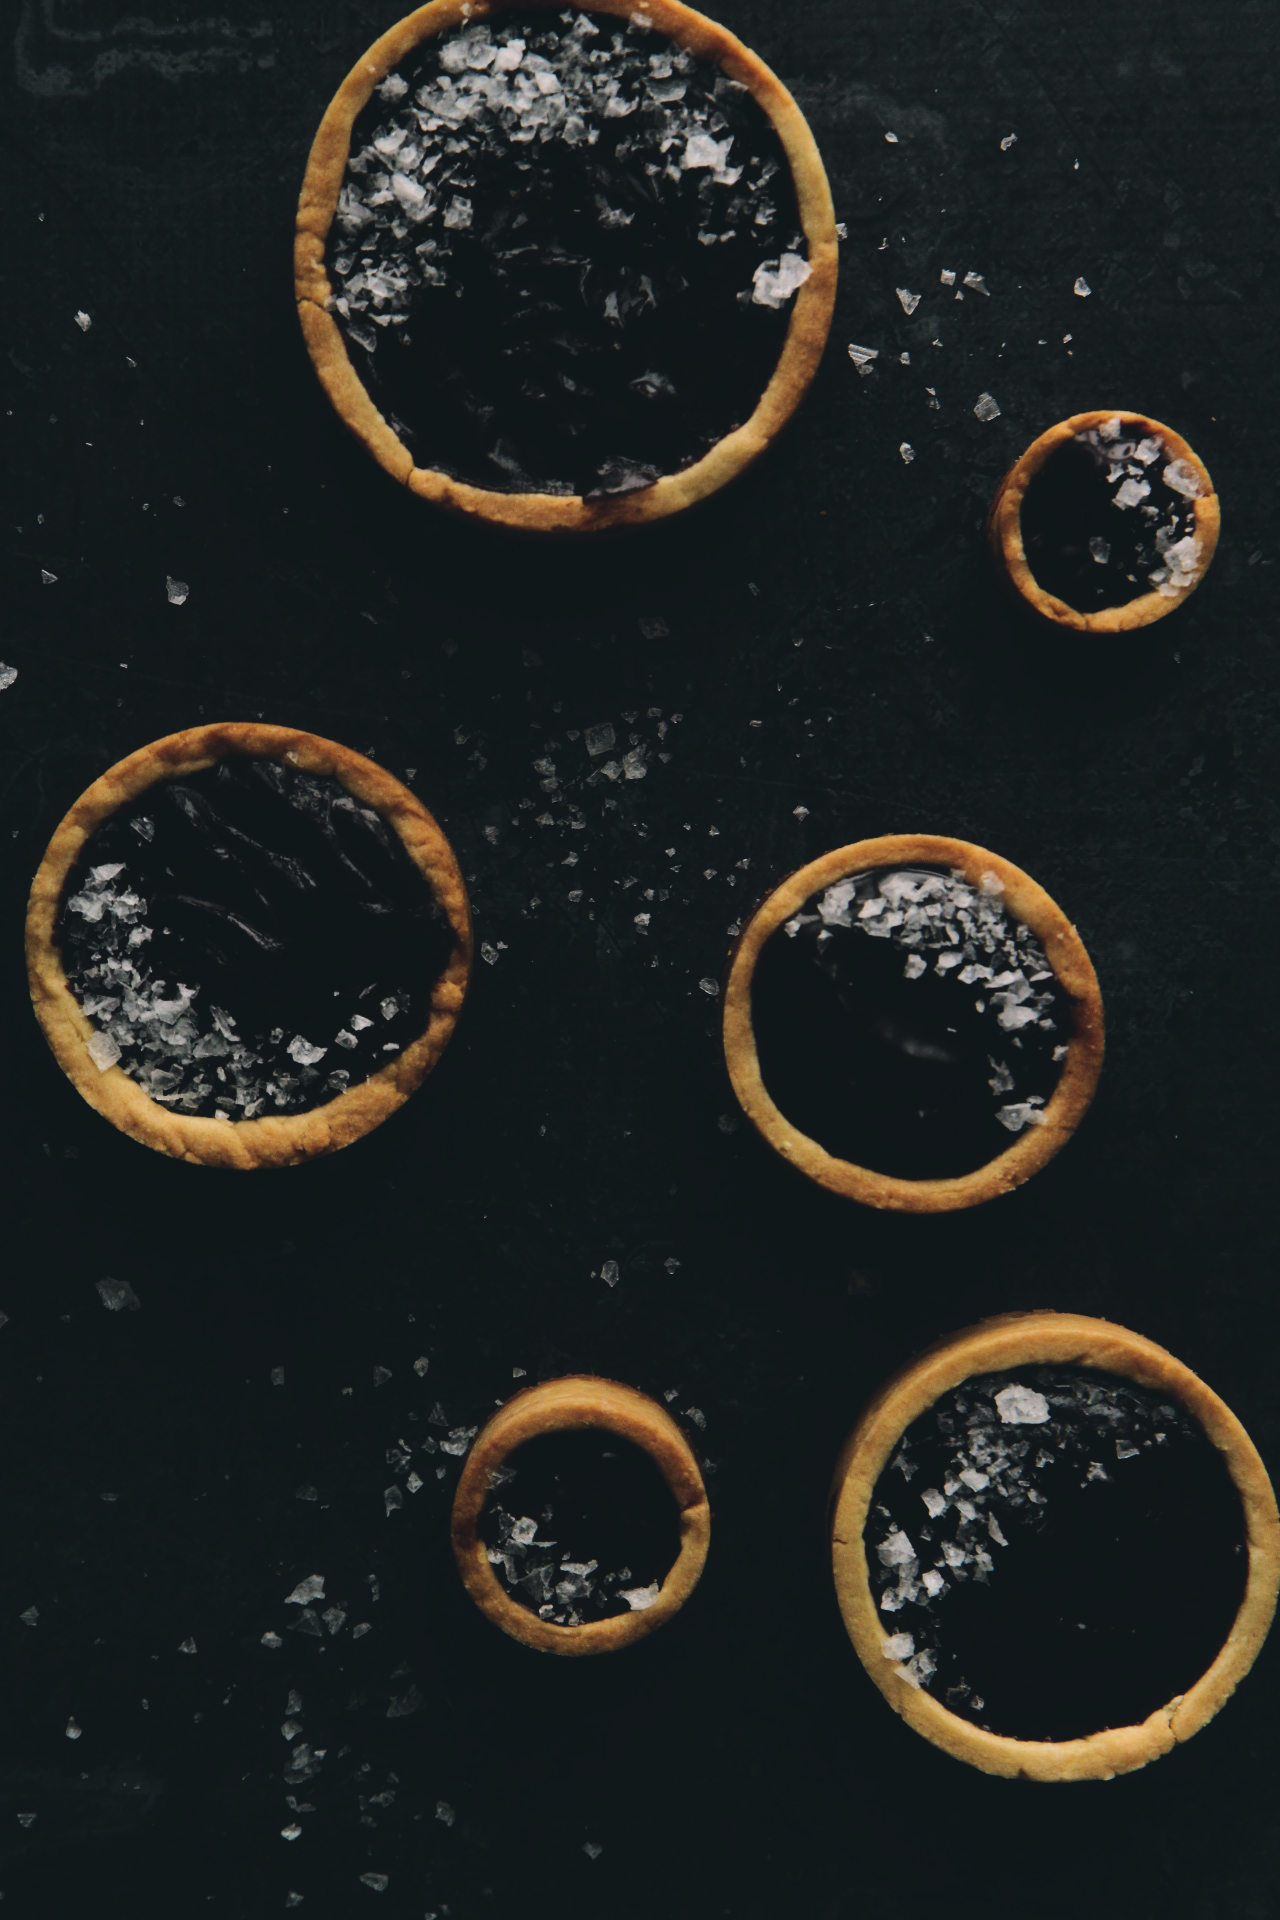
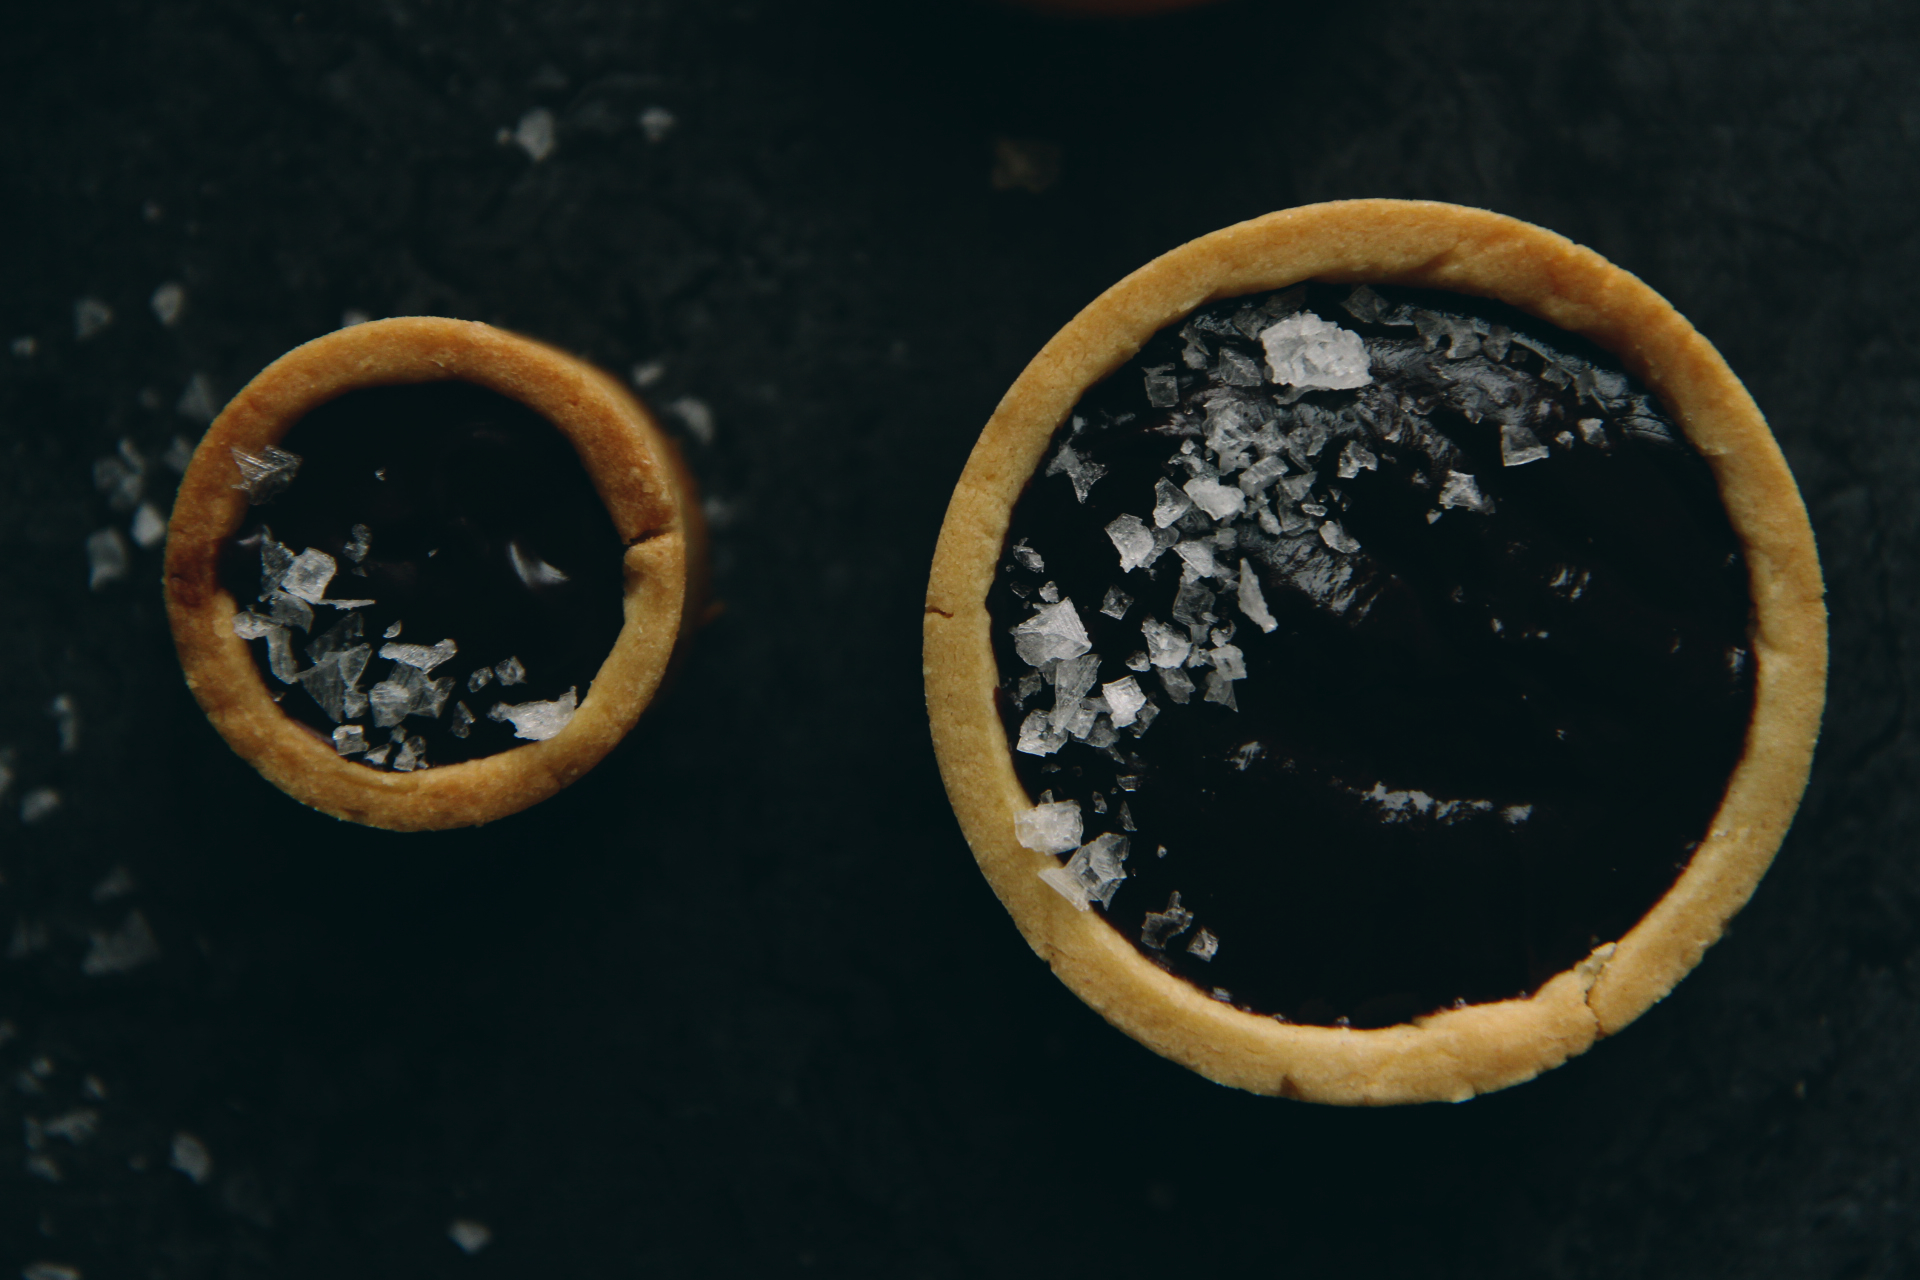
 If you need chocolate, these tarts are just the ticket.
They are chocolate taken to the max, pushing the boundary of being too rich, too ridiculously chocolaty.

They’re dead simple (Keep It Simple Stupid) but have serious wow factor.

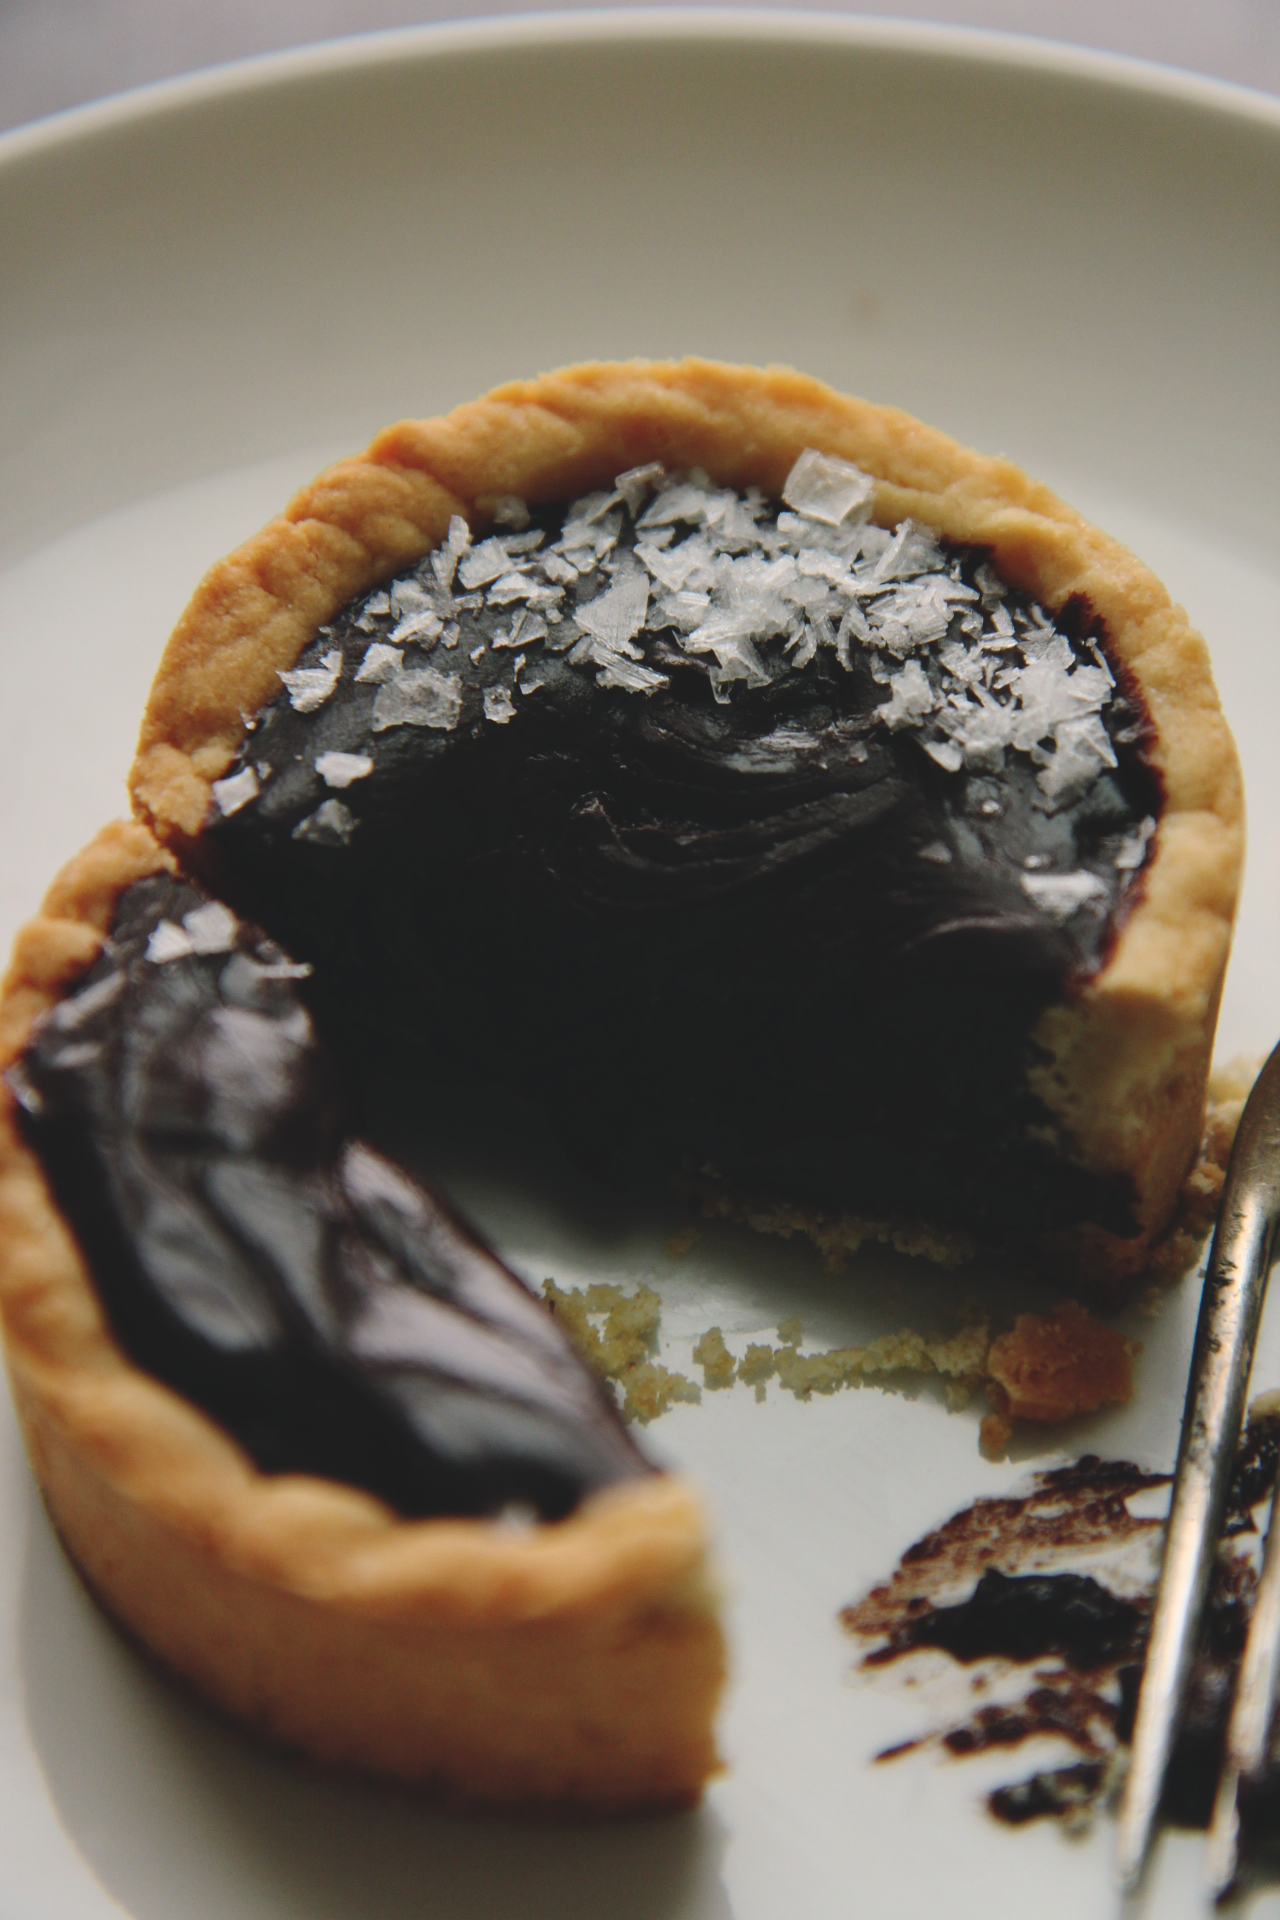
Dark, fruity chocolate is spiked with a pinch of cinnamon and maple syrup, whisked into luxurious ganache with hot cream, and then poured into buttery tart shells.  

As the ganache sets, it becomes like the interior of a good truffle: soft and creamy, but with substance you can actually sink your teeth into.  Chocolate gets all over your mouth, but not a drop will be lost to the front of your shirt.

Hello, total date food in my eyes.

IMG_8014_01

This pâte sucrée is such a dream to work with.
I’ve been developing this recipe for ages; it’s my go-to.  I’ve probably made 20+ tarts using this dough.

It’s easily adaptable; swap in a different flour (even GF), add some ground nuts, some cocoa powder, press it in or roll it out.
It’s equally good when you need to parbake and when you don’t; it’s rich and buttery, but not too sweet.
Not brittle, but sturdy, and yet not heavy.  It’s light and crispy and melts on your tongue after you’ve taken a bite.

It’s not made in the way you might expect, but that’s okay.
Butter, salt, and sugar are creamed together for what feels like ages (around 5 minutes at high speed), then flour is gently mixed in as an egg yolk is simultaneously added.
The whole process takes about 10 minutes, and then you’ve got a chunk of tart dough to stick in your fridge (it’ll last a couple days) or your freezer (wrapped well in foil, it’ll last for a month or so) and use whenever your heart so desires!

IMG_8052_01

This recipe simple by design.  (KISS, people, KISS)
9 ingredients, huge return.
Easy, fast prep and long down time means these can be prepared ahead to share with your sweetheart later.
These will score you major sweetheart-points because, people.  They’re truffles in tart form.
I mean, c’mon.  It’s almost unfair how good these taste for how easy they are.

Also, we know chocolate + salt + cinnamon = devilishly good.
(Previously, in cookie form)

P.S. These truffle tarts would be greatly appreciated by anyone in the place of a box of truffles… Just sayin’.

IMG_8021_01

Chocolate Truffle Tarts
makes 6-8 small tarts, or one 8- or 9-inch tart

ingredients:
for the pâte sucrée:
114 grams butter
50 grams sugar
1/2 teaspoon kosher salt
140 grams flour
1 large egg yolk

for the ganache:
256 grams dark chocolate, chopped
200 grams heavy cream
1 tablespoon maple syrup or honey
1 teaspoon cinnamon

to assemble:
flaky sea salt
{pine nuts}

directions:
Make the pâte sucrée: beat butter, salt, and sugar together for 5 or so minutes, until incredibly fluffy and pale; there should be no grit left to the mixture.
Scrape the bowl and add in the flour, as you are slowly mixing the flour in, add the yolk and allow to dough to come together into a homogeneous ball.
Wrap well in plastic wrap and refrigerate for at least 2 hours and up to 2 days.
To roll out, use a very well floured surface and roll to 1/4 inch thickness before pressing into desired pans.
Prick all over with a fork and freeze for at least 2 hours.
Preheat oven to 350 degrees F.
Line the tart shells with aluminum foil and weight with dry beans or rice.
Bake for 12 minutes, until lightly golden, then remove beans and bake for 5 more minutes, until golden brown.
Remove from oven and allow to cool while you prepare the filling.
Chop chocolate and place in a large, microwave-safe bowl with heavy cream and cinnamon.
Microwave until 2/3 melted, then remove from microwave, add maple syrup, and whisk until ganache is totally smooth and shiny.
Pour into cooled shells and refrigerate until set, about an hour.
Top with pine nuts and flaky sea salt.

Ruby Tuesday

IMG_7760_01

Throw your dreams
into space

like a kite

and you do not know
what it will bring back,
a new life,
a new friend,
a new love,
a new country.

-Anaïs Nin

IMG_7724_01

 La la lala link love time!

Appropriate, because it’s the time of year to share our love and appreciation far and wide.
It’s also the time of year for pink.
This batch of links features pink, flowers, and love songs.

Sounds like Valentine’s day to me already!

(Click on these links, and you do not know what they will bring back, a new life a new friend, a new love, a new country cake.)

IMG_7692_01

Have you seen “Her”?  The one where Joaquin Phoenix falls in love with Scarlett Johansson’s computer voice?
I haven’t (yet), but their version of “The Moon Song” melts my heart.
I love ukeleles and I do not care how cliché they are.
I also don’t care if “Her” was featured on every female blogger’s most recent “link love” post.
Ahem.

Also listening: February Seven by The Avett Brothers.
They’re such amazing songwriters… This one is no exception.
A real feel-good song.  Give it a listen!
(If you aren’t familiar with their stuff, go listen to all of it.  Ahhh, the feels.)

More music: this song by Gregory Alan Isakov.  Heart-melting.  That is all.

IMG_7749_01

Annie’s blood orange loaf cake was an instant hit with teh internetz, and holy jeebus I SEE WHY.
Look how beautifully pink it is!!
Pinned pinned pinned.
That last shot especially looks pulled straight from the pages of Donna Hay or Martha Stewart.
Put it on your to-make list, people.  It’s on mine.
(This fits the bill of my recent obsession with loaf cakes.)

Also, blood oranges: did you catch this gorgeous tart?
I love the styling of Kelsey’s entire blog, and this post in particular.
Capturing the marvel of a cook’s hands in action is particularly difficult, and these photos knocked my socks off.
That ring!

More blood oranges: these scones!  Rustic.  Healthy-ish.  Gorgeous.  And I’ll bet deeelicious.

IMG_7719_02

 I recently bought this coconut water gelée blush, which has coconut water and argan oil for moisture.
My skin (especially here in Chiberia) is super prone to dryness, but maintaining a proper oil/dryness balance is critical and touchy.  Too much either way and my face is unhappy.
This stuff is dreamy and solves all those issues.
Perfectly hydrating, light and dewey color, applies easily (stipple brush) and has serious staying power.
Also, coconut.  For life.

Also luxuriating: I generally only wear Chanel Chance (Eau Fraîche), but I decided I wanted a lighter, airier fragrance to have on the side, so I bought a little bottle of Dolce & Gabbana Light Blue.
It’s grapefruity and smells like summer and clean laundry.
Exactly what I was looking for.
I like smelling like a warm breeze of sunshiney goodness during these cold, dark times. (Ugh.)

More luxury: L’Occitane’s floral bomb of a hand cream (Délice des Fleurs, which I can’t find online, sorry), good for daytime light wear to ward off cracked, dry hands in the winter.
That being said, I swear by a thick slathering of Hand Shit (frankly obsessed with the complex honeysuckle sage scent) on my hands and feet before bed to really ensure softness.

IMG_7732_02

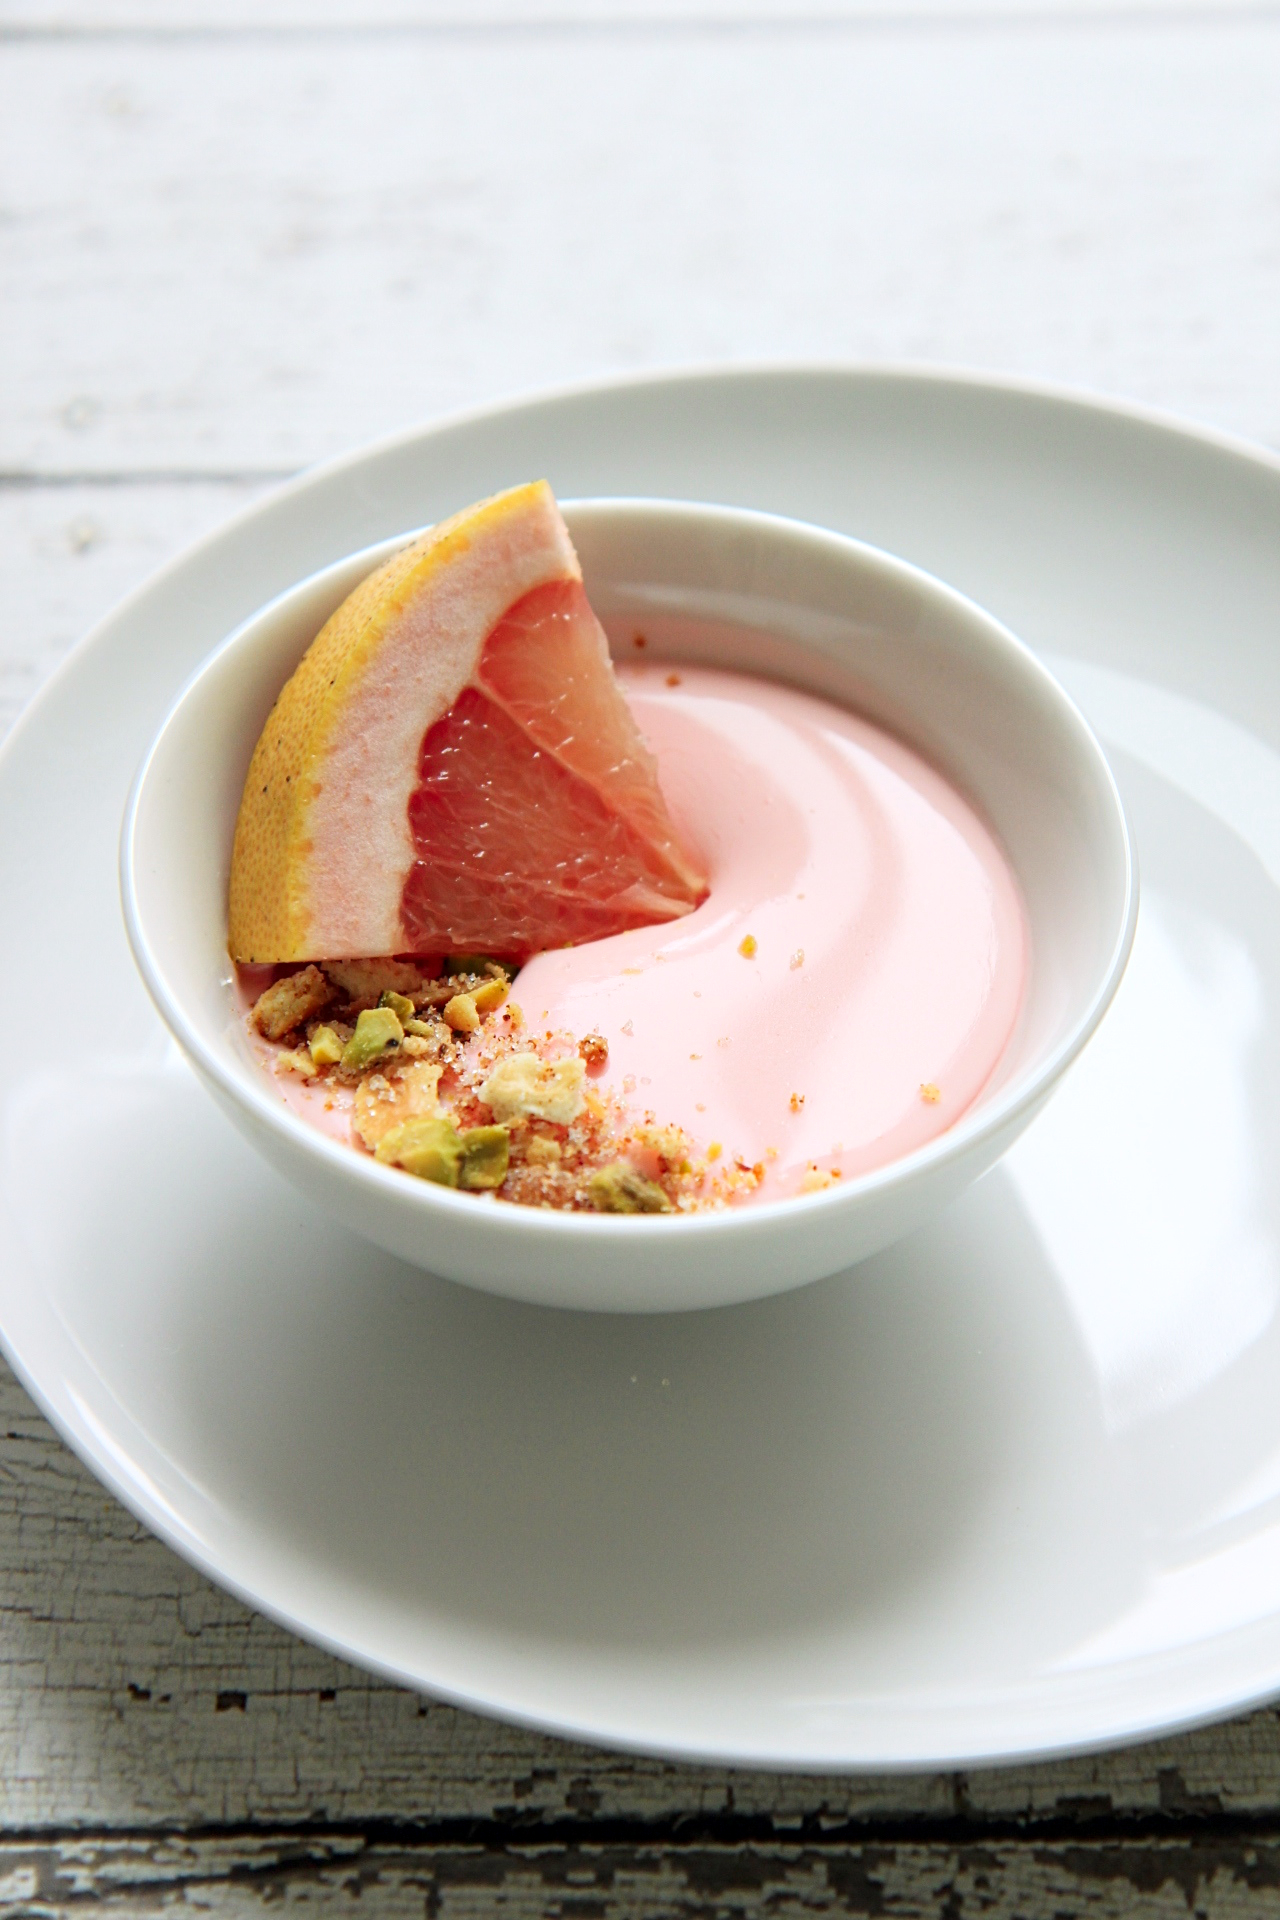
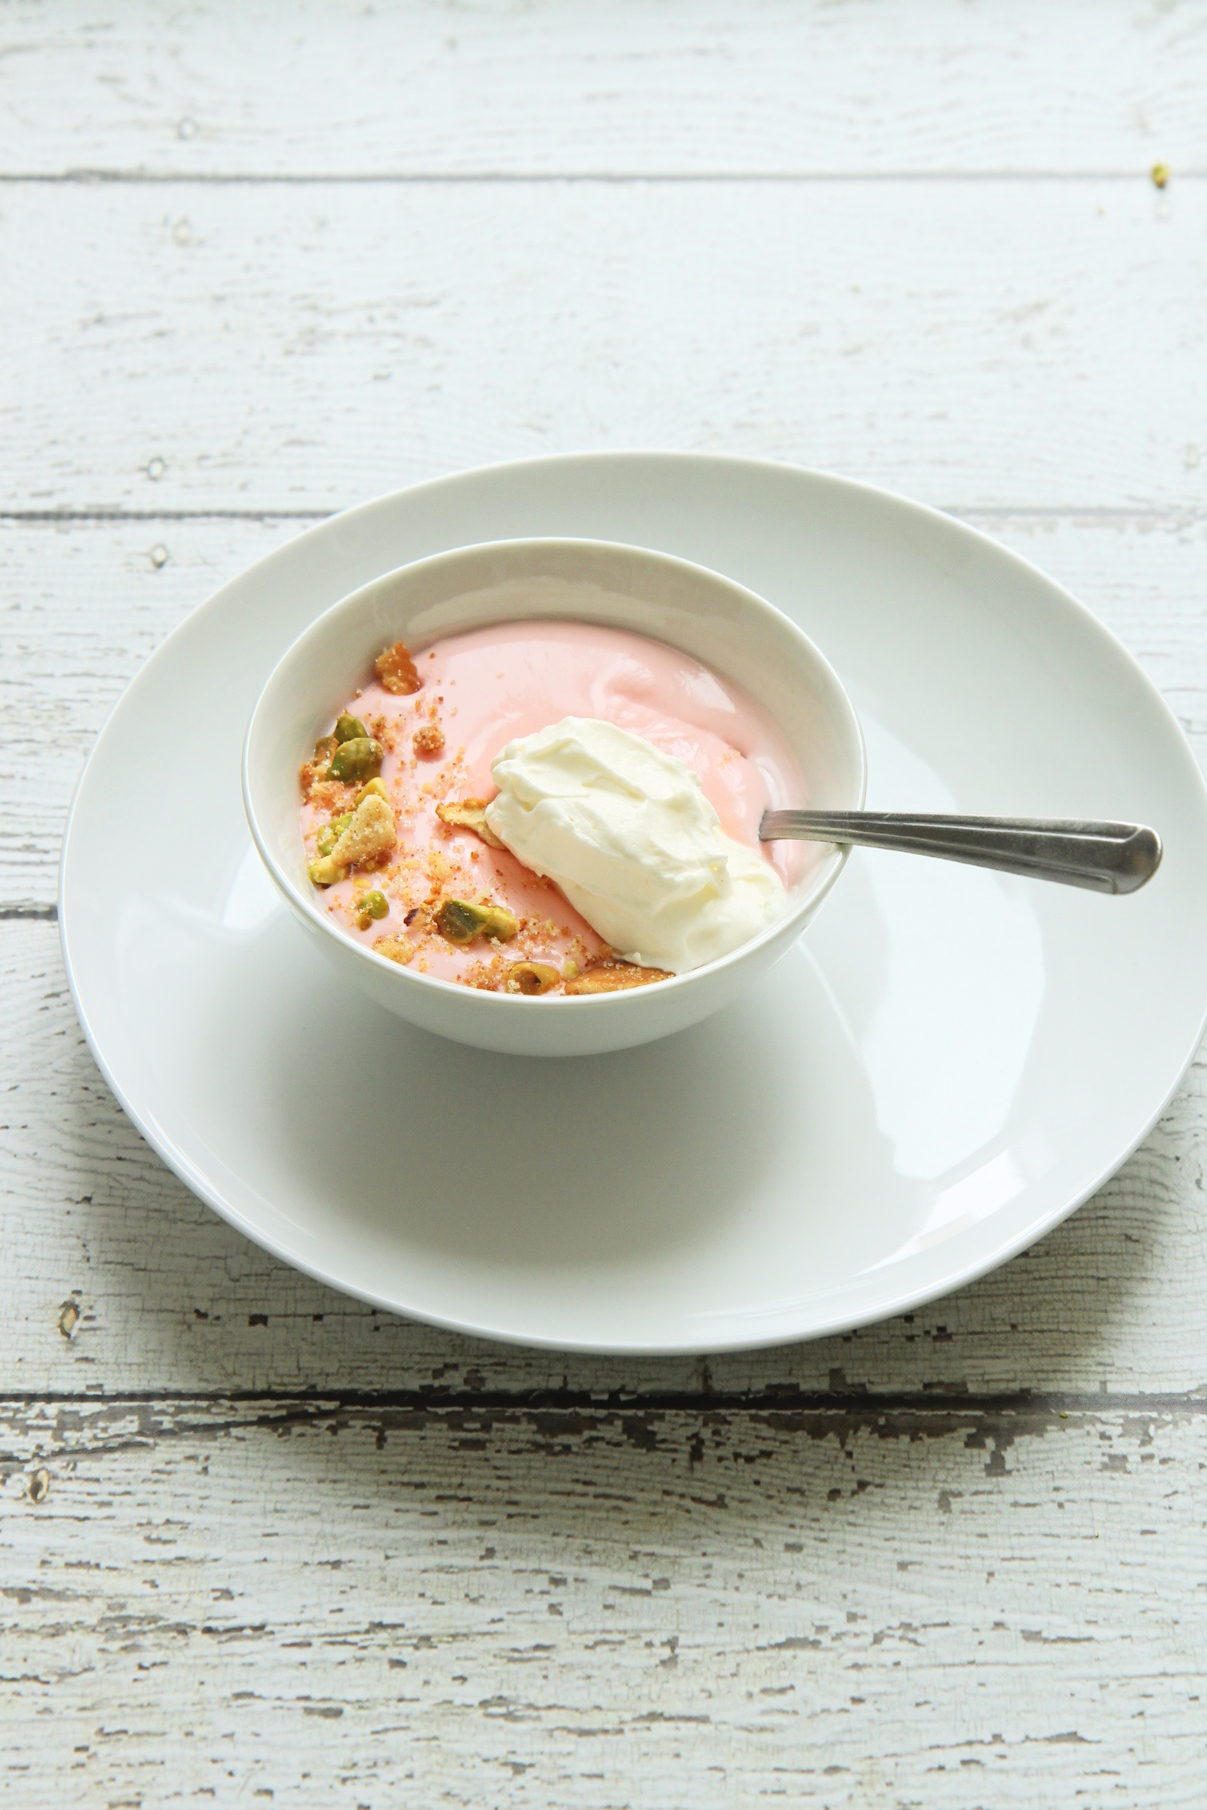
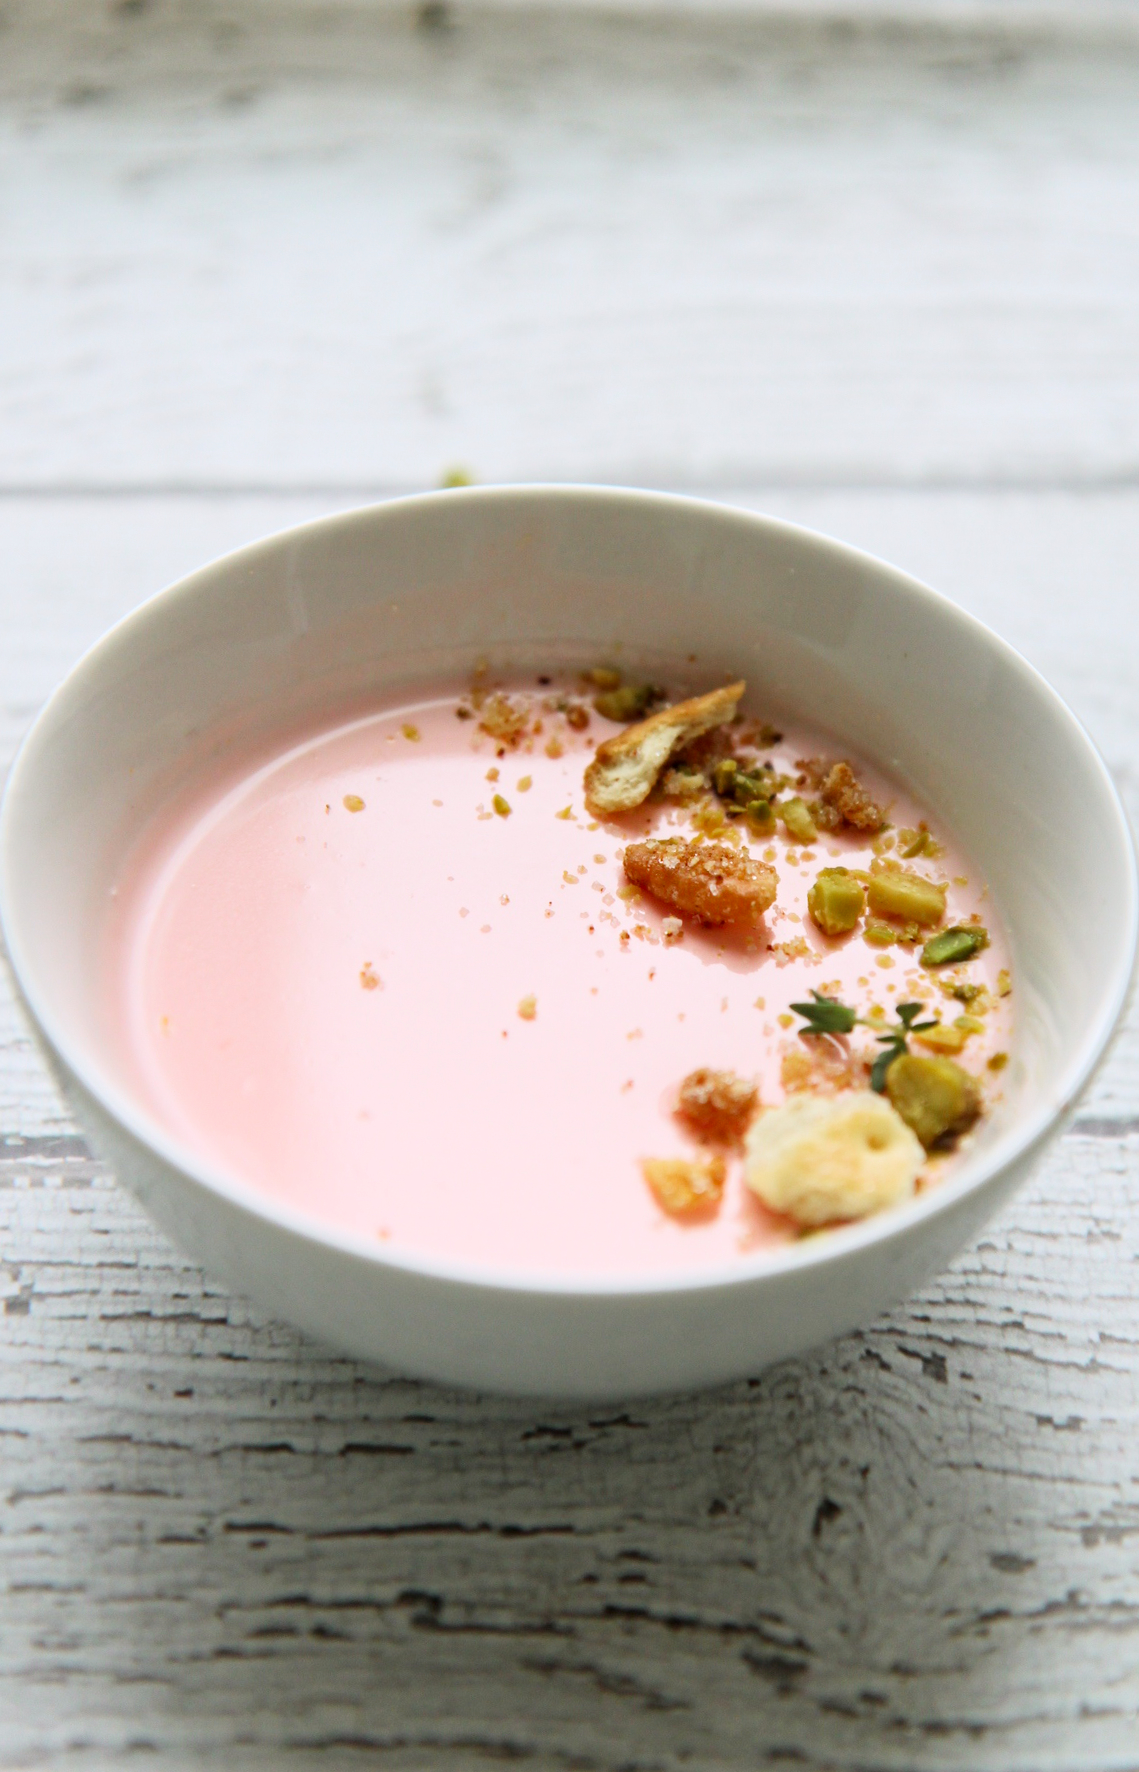
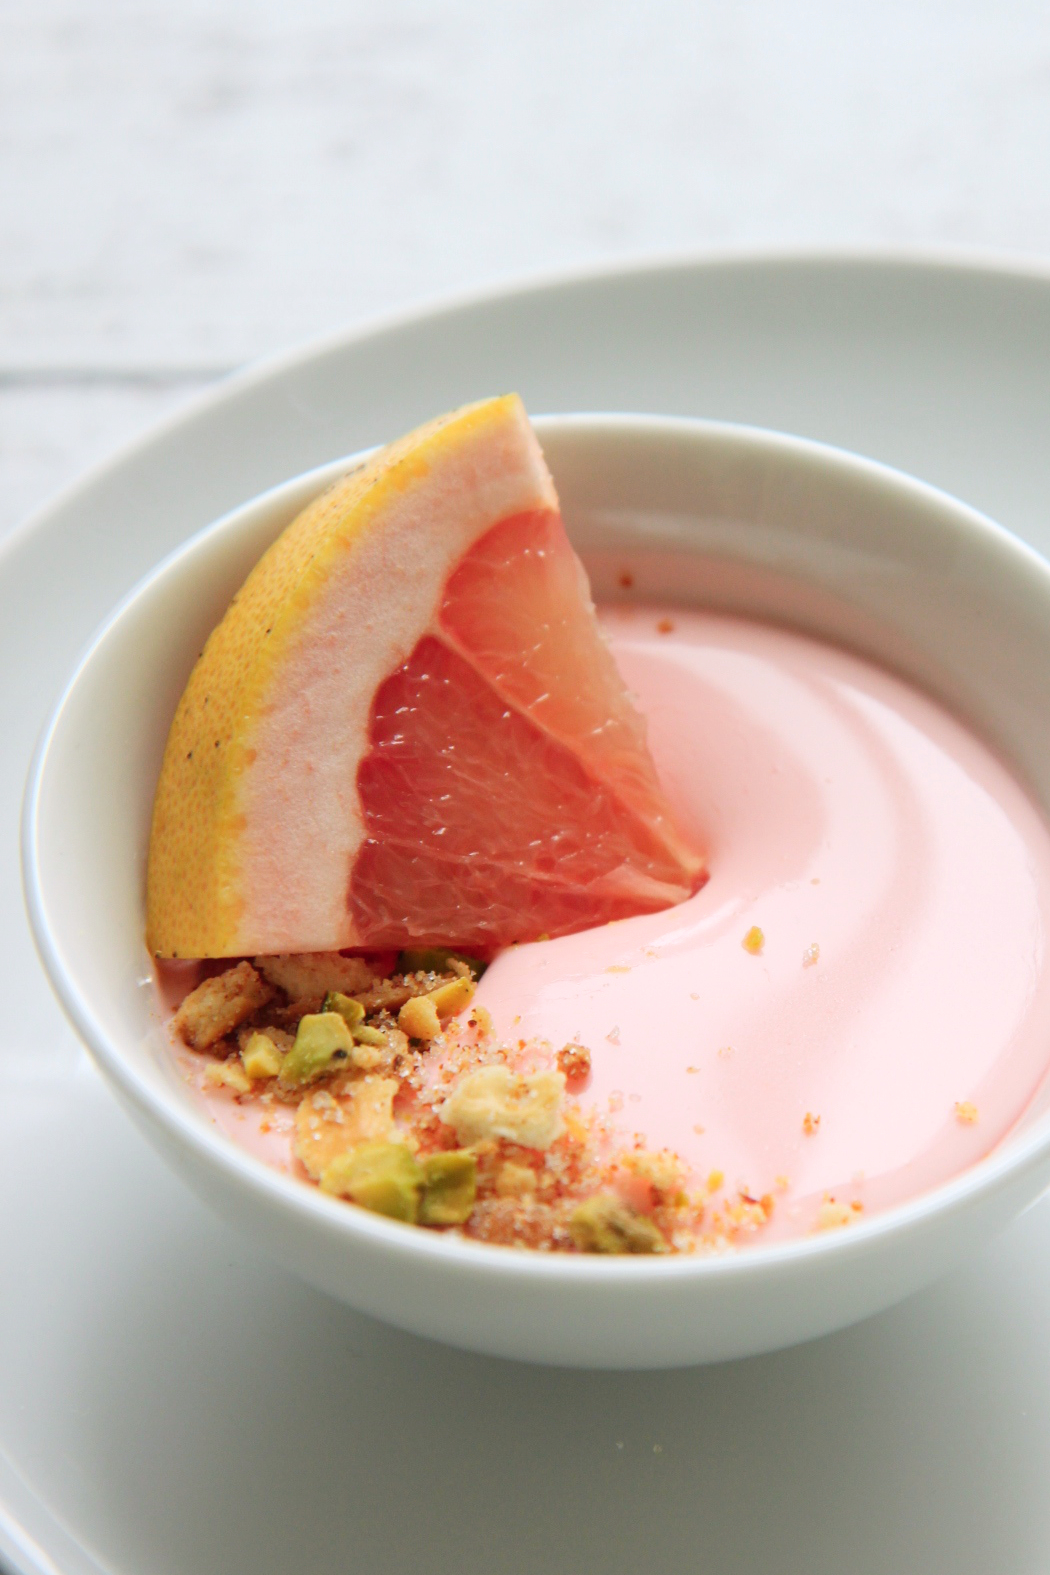
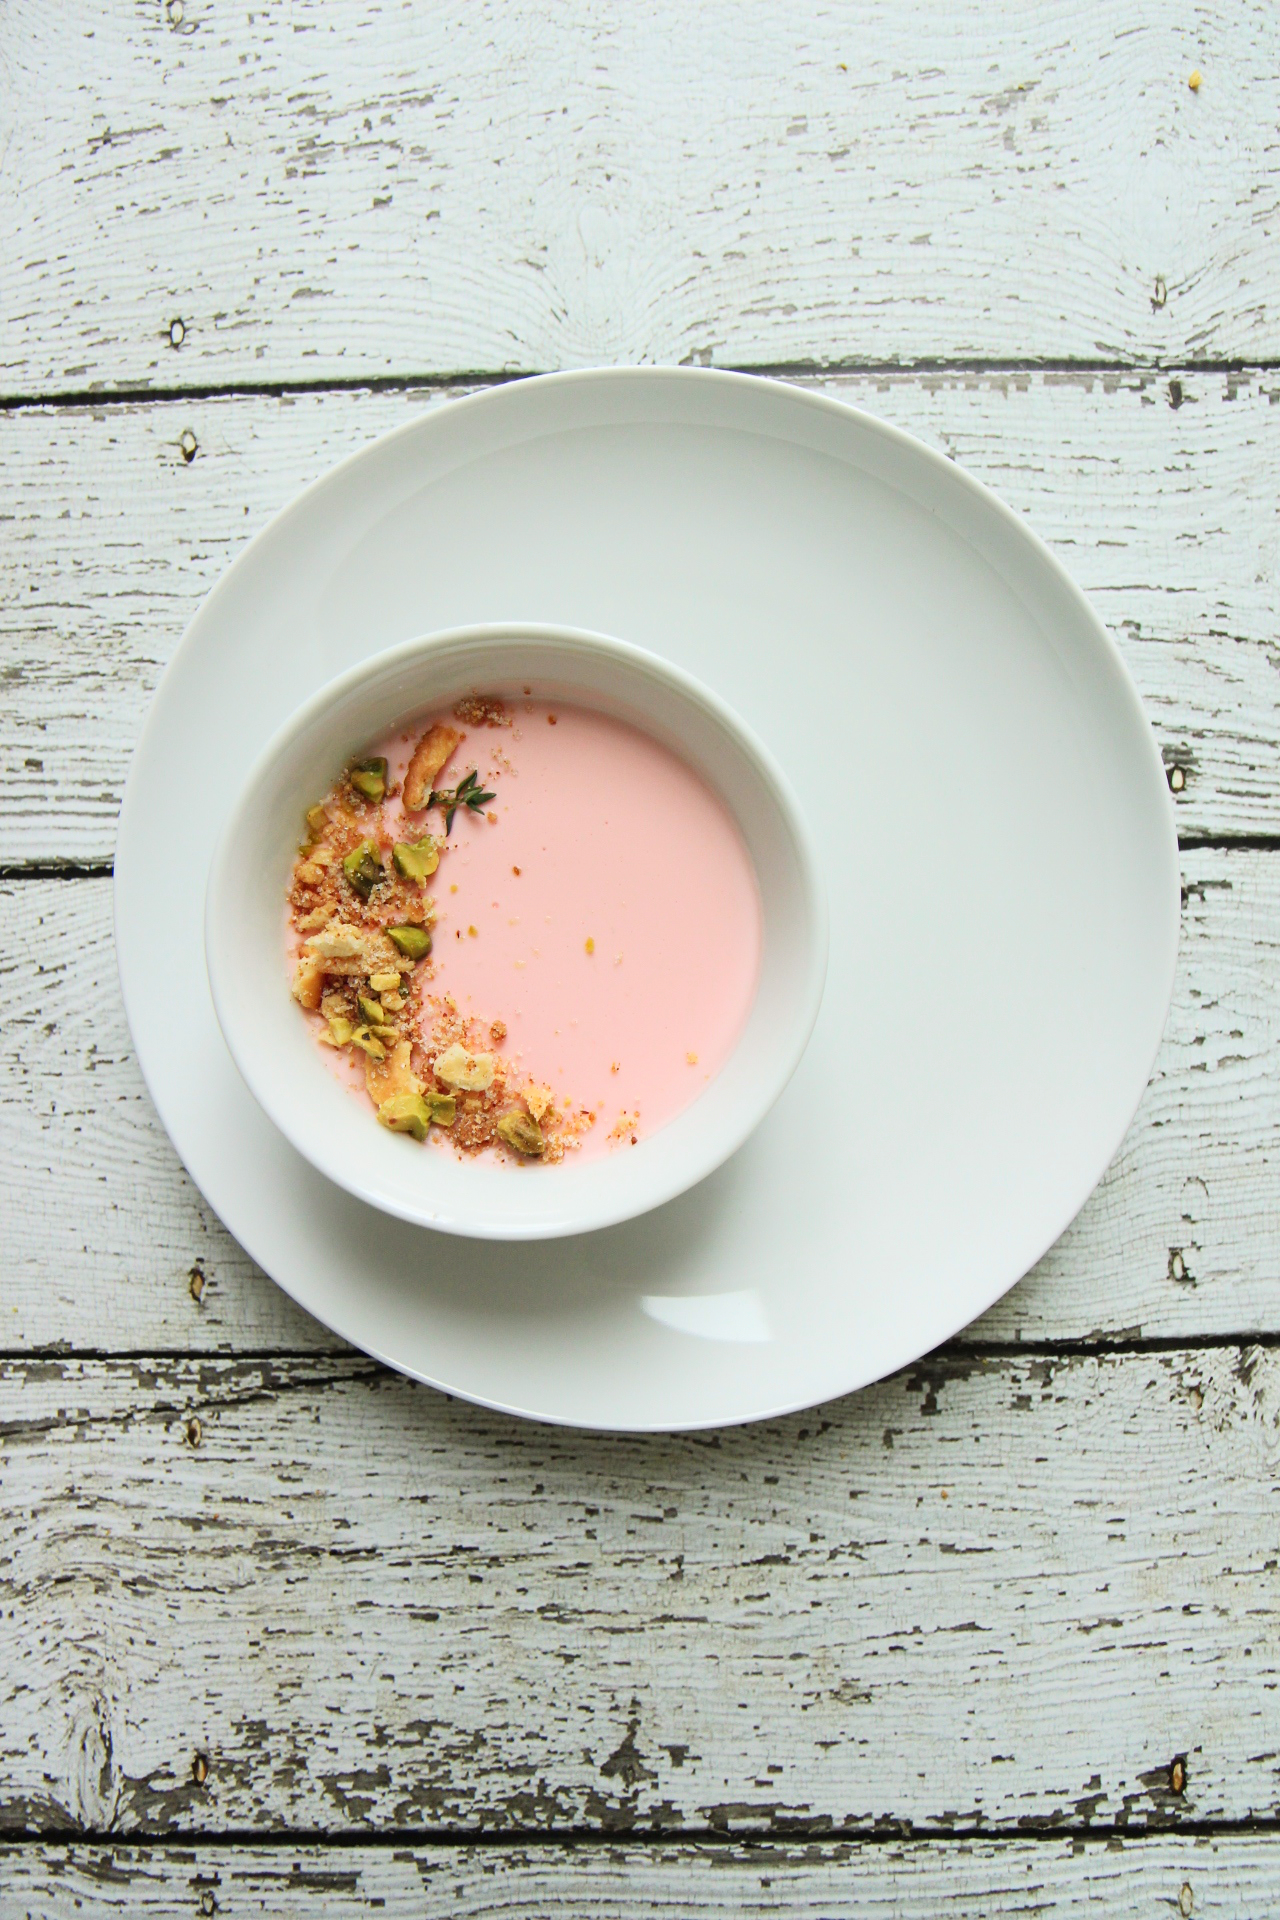
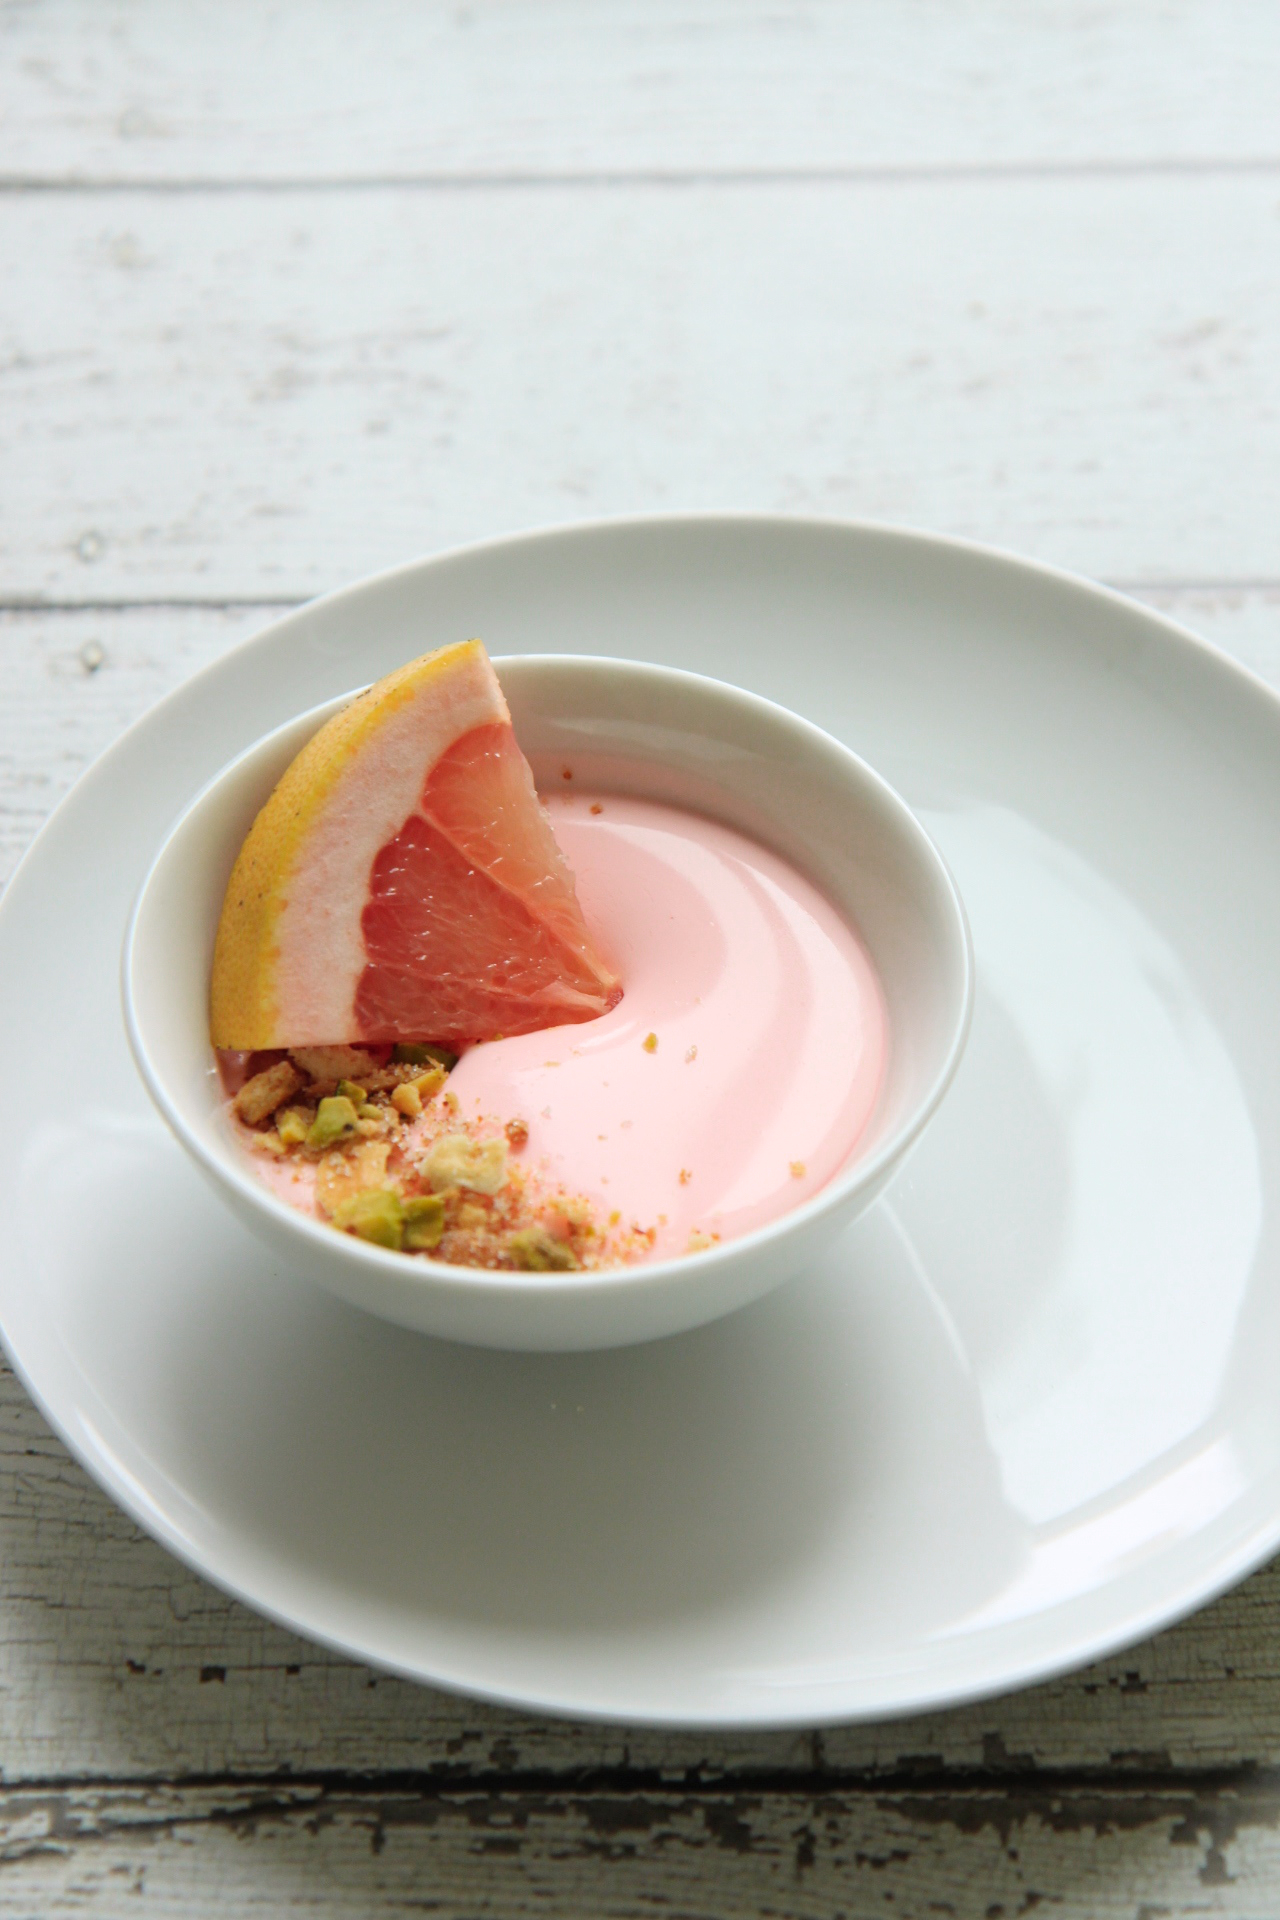
So, these little cutie puddings you’ve been staring at.  Let’s chat about ’em.

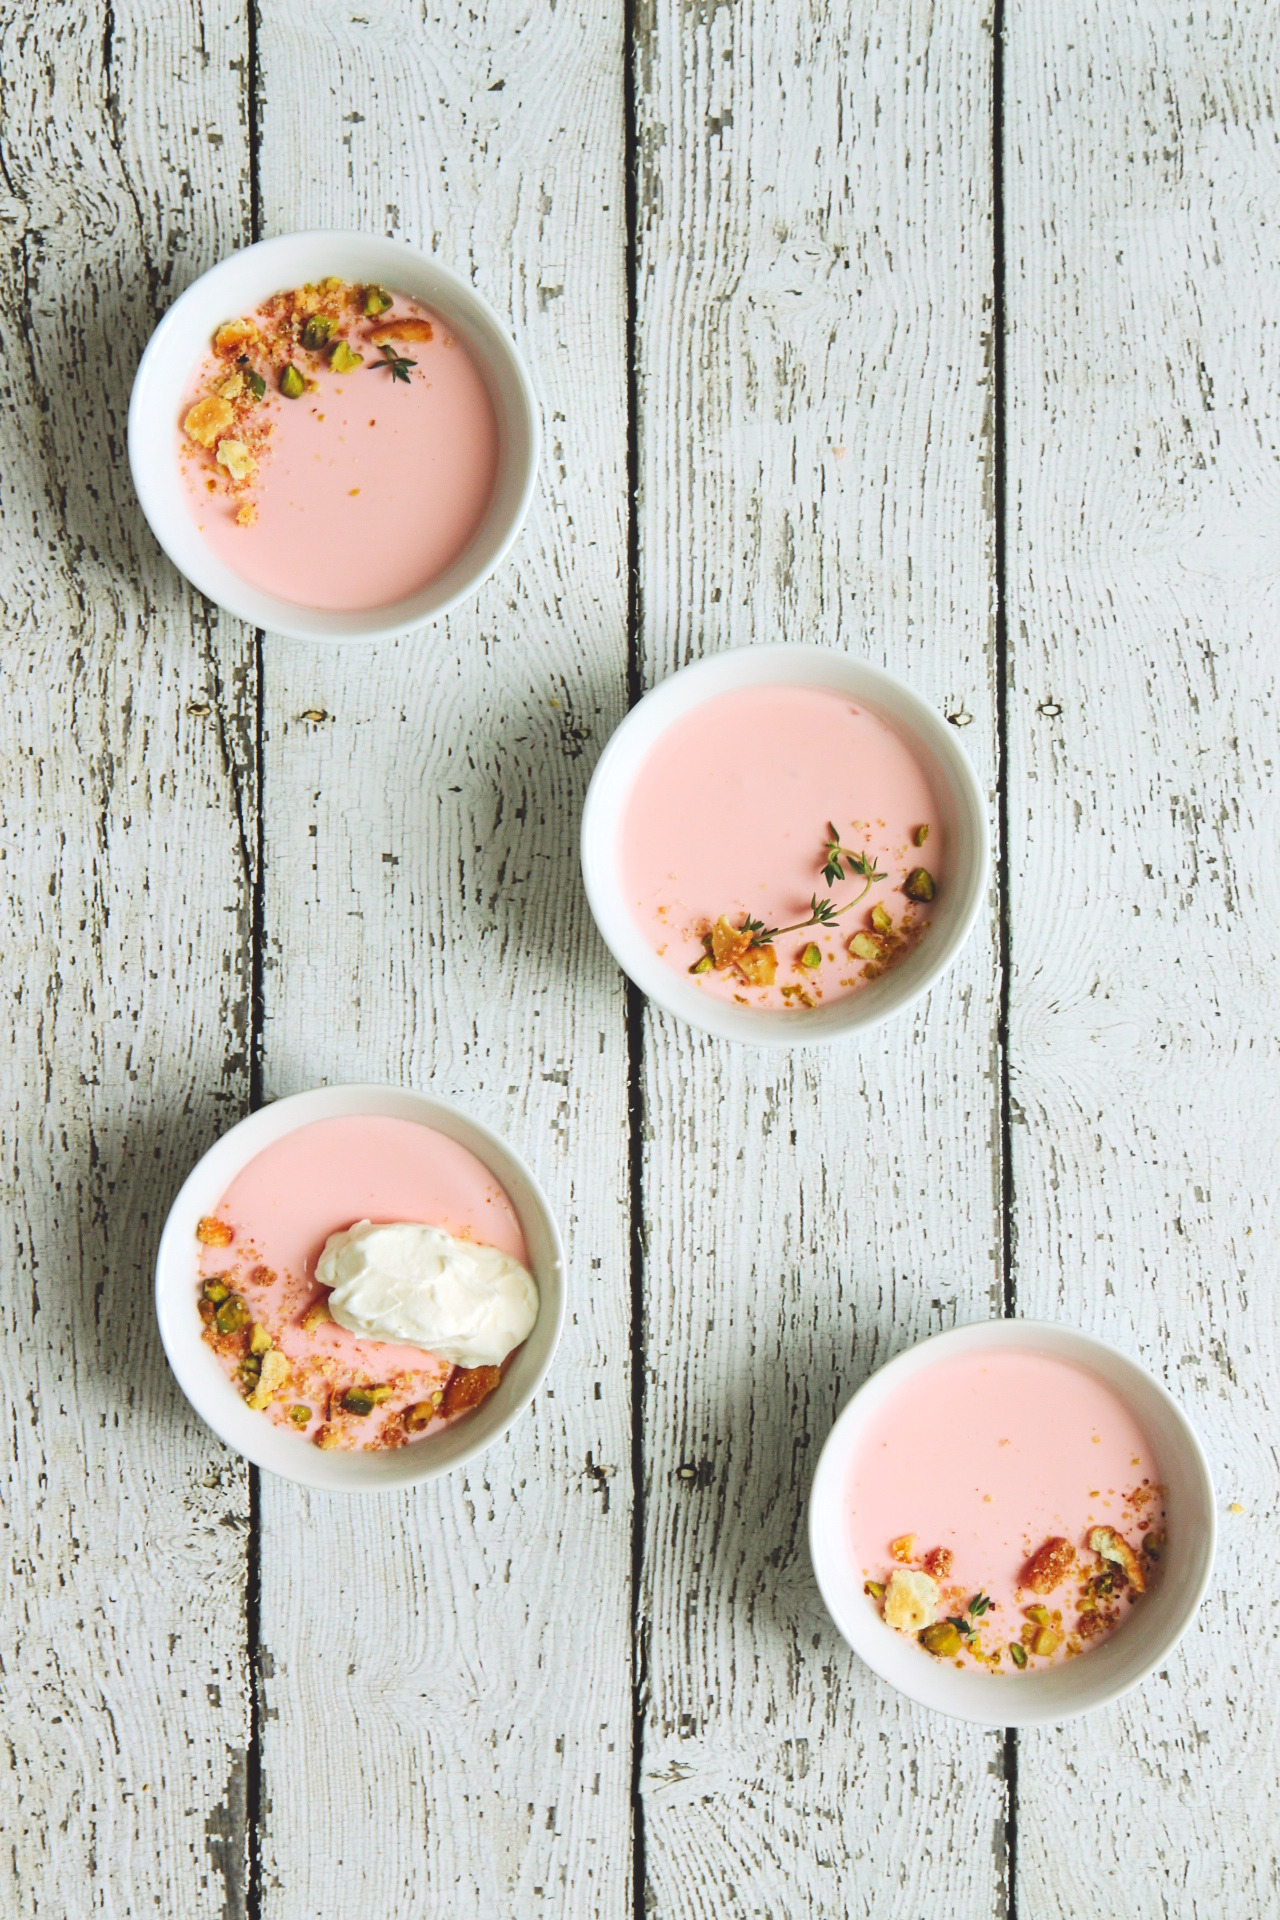
grapefruit + cream + thyme + salty pistachios + buttery Ritz crunch

Possets are unbelievably easy: boil some cream and sugar, stir in citrus juice, and allow to set.
Here, their creamy, luscious texture is offset with crunchy, salty things, and the tang from the grapefruit is balanced with earthy thyme.

I decided to add a drop of red food coloring because I really, really, really wanted pink possets.
Feel free to leave it out; your possets will be a lovely cream color.

Don’t skimp on the whipped cream to finish!  Its a nice fluffy counterpart.
To eat, encourage people to do a little stirring to evenly distribute the crunchy bits before tucking in.
Getting a spoonful with a little bit of everything is truly transcendent.

These are simple, no-bake, and easily made ahead (as prep for a Valentine’s day dinner, perhaps!).
Also, pink.  I’m getting in the spirit.

IMG_7742_01

Grapefruit Possets
makes 4 small bowls or cups
posset portion adapted from Donna Hay

ingredients:
for the possets:
2 cups heavy (double) cream
1/2 cup (100 grams) sugar
1/4 cup (from 1/2 a grapefruit) grapefruit juice
drop of red food coloring, if desired

for the Ritz crumble:
1/2 sleeve Ritz crackers, slightly crushed (but not into fine crumbs)
3 tablespoons butter
big pinch salt
2 tablespoons sugar
1 tablespoon milk powder

to assemble:
chopped salted pistachios
thyme leaves
softly whipped cream

directions:
Make the possets: place the cream, sugar, and a drop of red food coloring (optional) into a small saucepot and bring to a boil, stirring constantly to prevent a skin from forming.
Boil for 2 minutes.
Remove from heat and stir in grapefruit juice; set aside for 5 minutes.
Ready 4 small (3/4 cup capacity) bowls or ramekins by placing on a baking sheet or in a baking pan that fits in your fridge.
After 5 minutes, pour the posset mixture into the ramekins and set in the fridge to set, at least 8 hours.
Make the ritz crunch: melt the butter in a large nonstick skillet.
Add the sugar, salt, milk powder, and Ritz crackers and stir until all the butter is absorbed and the seasonings are stuck to the crackers, about 5 minutes.
Continue to gently stir and toast, until the crunch becomes fragrant and begins to darken slightly; about 5 more minutes.
Remove from heat and allow to cool completely; can be stored in an airtight container for up to a day.
To finish the possets, garnish each with a sprig of thyme and a few chopped pistachios; top with ritz crunch and softly whipped (unsweetened) cream.

Maillard

IMG_7650_01

Some real fuckin’ foodie nerd shit is about to go down, y’all.

IMG_7641_01

This is the shit my chemistry T.A. and I talk about during lab discussion.
These cookies are bringing science back.
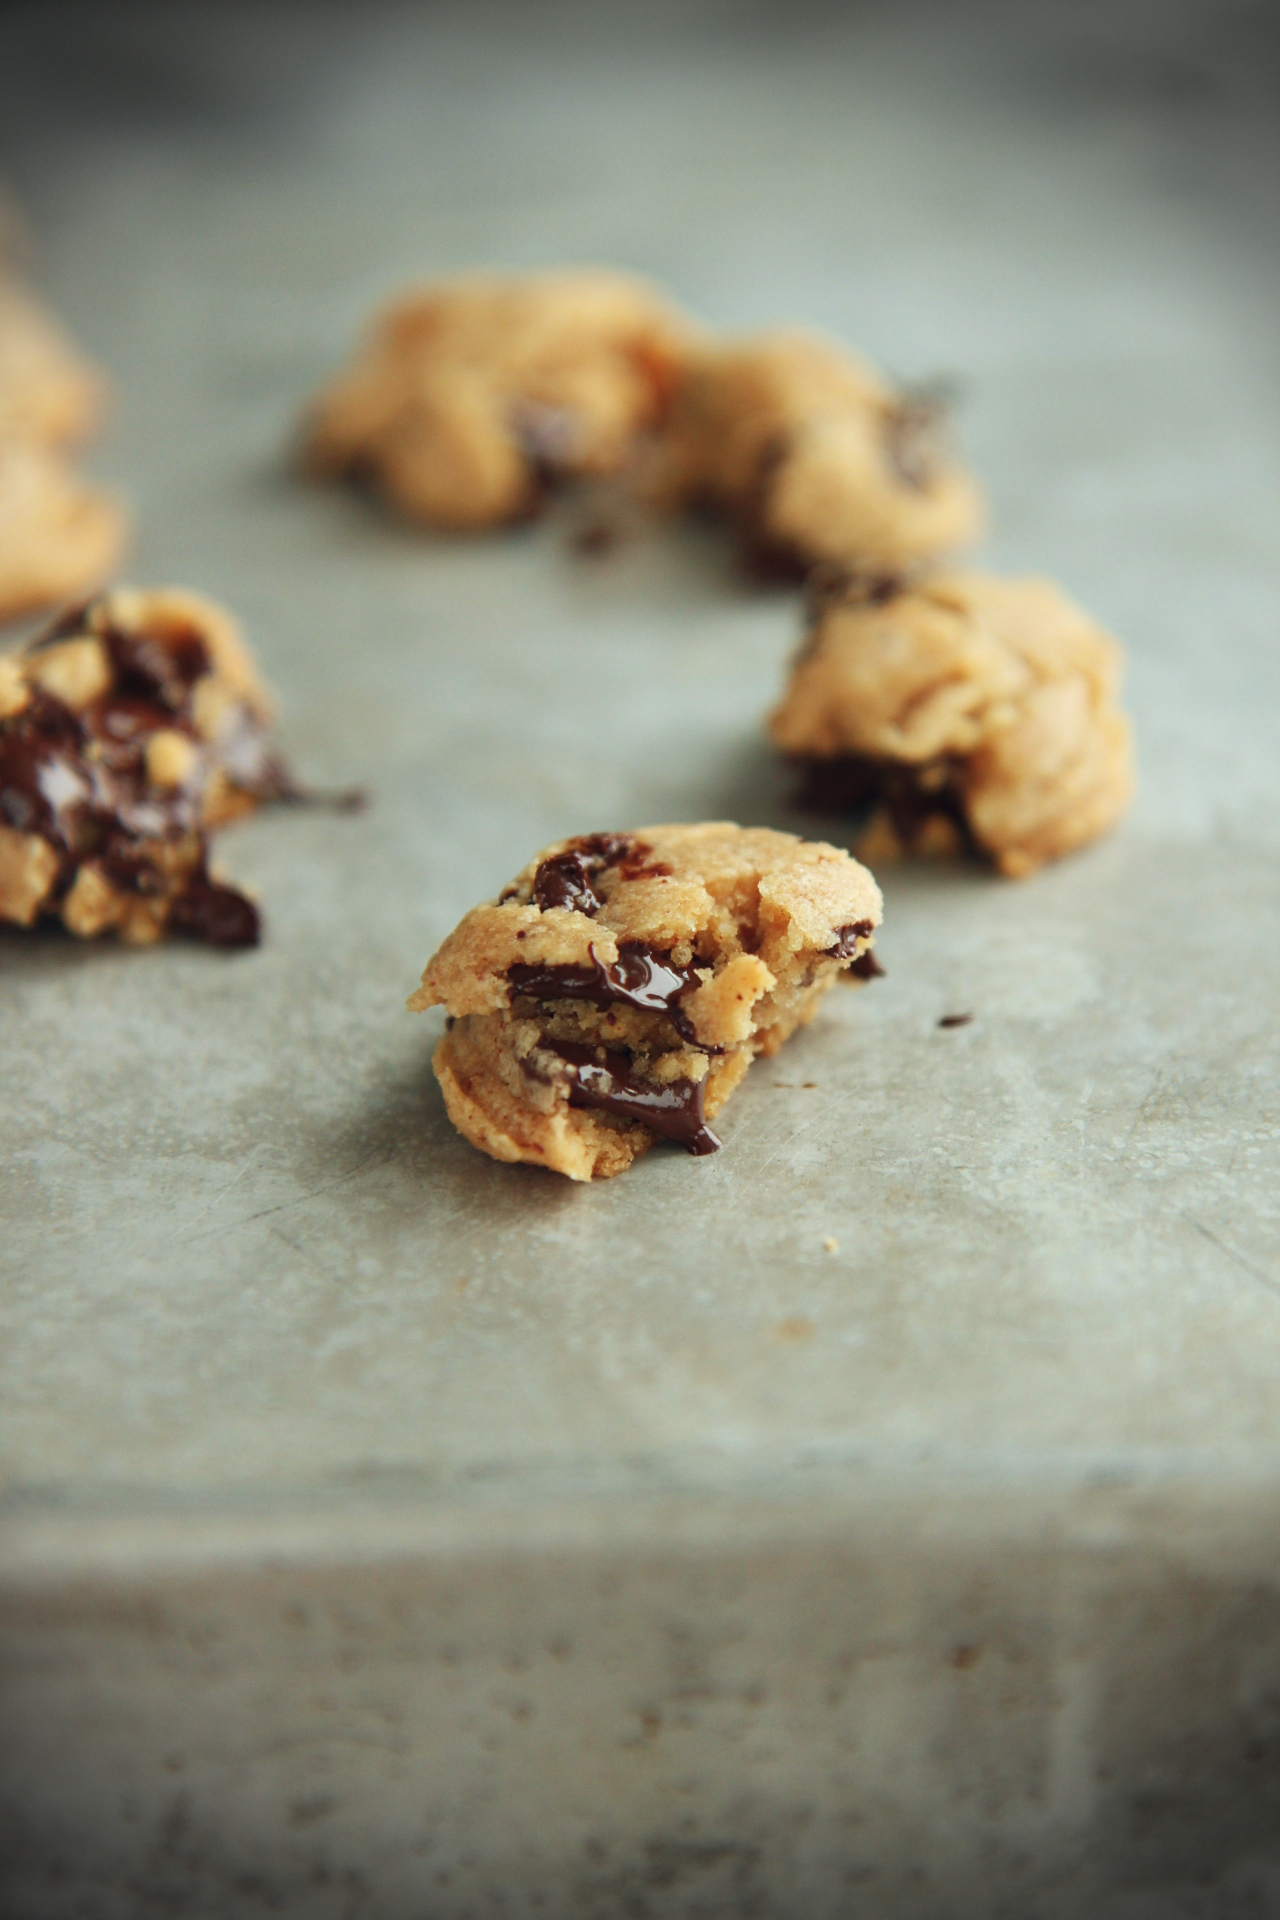
I am harnessing one of the most delicious reactions known to man and using its great and terrible power to make some kick-ass cookies.

And I’m SO excited to share these cookies and this technique with you.  Like, I can’t even.
I’ve been working on these here thangs for a while, now.
I’ve decided they’re ready to be unleashed upon the world.
The question is, are you ready?

IMG_7636_01

Do you know how freaking awesome the Maillard reaction is, man?
This is what is responsible for the heaven that is the crust of a good bread, the browning of butter, the golden color of baked cookies, cakes, and biscuits, dulce de leche, the crust of a steak, caramelized roasted vegetables, french fries, the smell of roasted coffee, chocolate, soy sauce, maple syrup

The Maillard reaction creates essentially all good smells in the kitchen.  It is an aroma powerhouse.
Roasting, toasting, baking, frying and their accompanying intoxicating smells are all derived from this reaction.

Can I get an amen?!

IMG_7668_01

The Maillard reaction describes the reaction between a single amino acid and a sugar.
It’s a form of nonenzymatic browning.
(The other main form of nonenzymatic browning is caramelization, which is the partial breakdown of a sugar.  The two reactions pair quite nicely, as both produce similarly delicious aromas, flavors, and colors.)
It’s favored in an alkaline environment, and requires heat to occur.
Because there are so many different combinations possible between amino acids and sugars, and because compounds can break down and form new combinations, the variety of aromas and flavors caused by the Maillard reaction is enormous.

Have you ever wondered why pretzels (les bretzels) are dipped in sodium bicarbonate (baking soda) solution before being baked?
It’s because the weak base of (CO3)2- creates an alkaline (basic) environment, facilitating and speeding up the formation of that lovely brown crust on the surface.
(I need to get a pretzel recipe on this blog, stat.)

Obviously, this interaction between amino acids and sugars has been happening since people started cooking and baking, but Louis-Camille Maillard first scientifically described the reaction in 1912, though he didn’t fully know the scope or details of it.
Oh damn! Hold up! That’s a French-ass name, Louis-Camille.  Yeah, my lil croissant, lil cheese on my croissant.

So as if we didn’t already know that the French dominate in the land of carbohydrates, they also pinned down the reaction that literally makes life and bread delicious.

Merci mille fois; mille fois merci.

IMG_7674_01

Blah blah science blah no one cares.
Except when it comes to cookies.
If science is guaranteeing better cookies, all y’all are gonna hop on board.  I know it.  I know you.

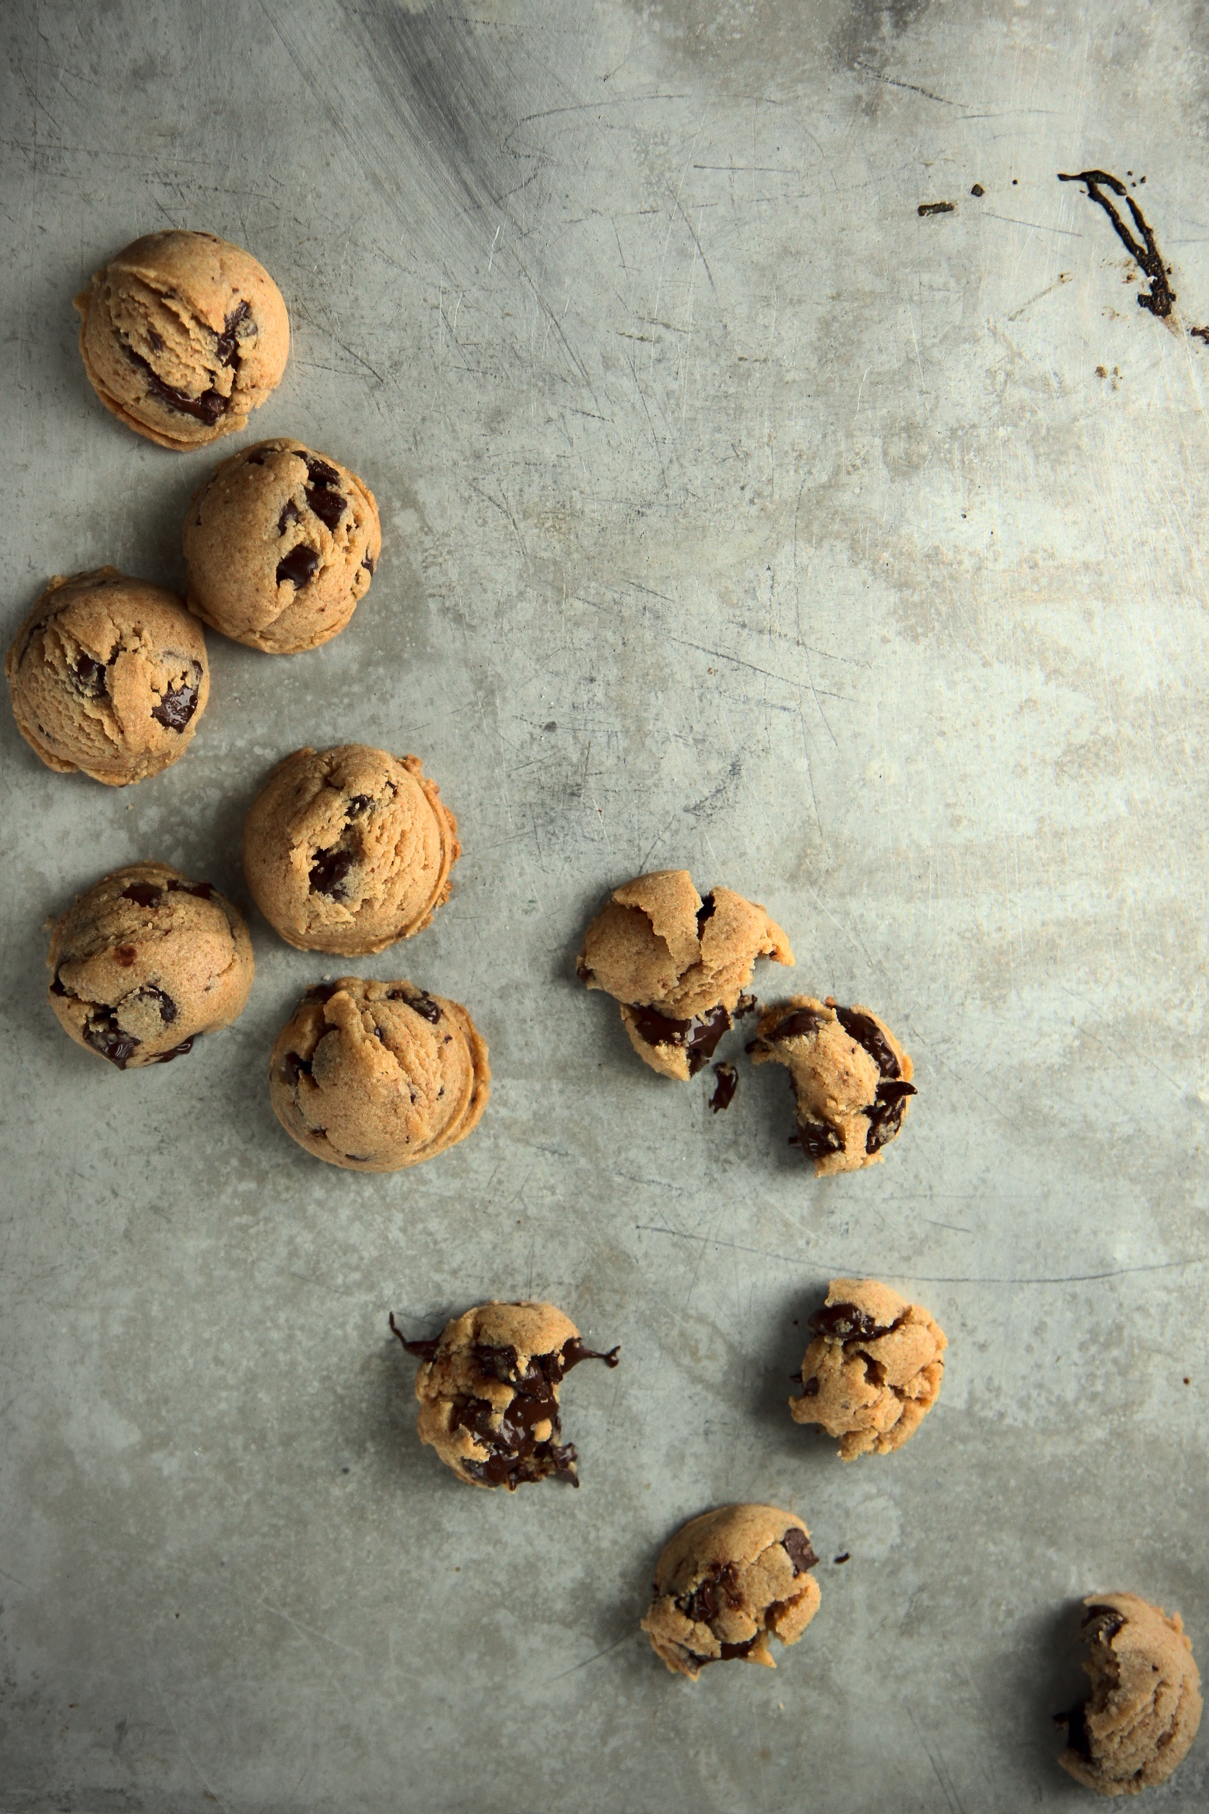
Brown butter is a go-to.  Any recipe that calls for melted butter is a boon, because I automatically brown my butter for a boost of nutty, rich flavor.
Butter browns because the proteins and sugar in the milk solids of butter toast and go through a certain reaction. (Hmm, what was that called again?)
What happens if you toast just milk solids, then?

Magic.

Put some milk powder in a dry skillet, stir it around, and wait.  It will slowly turn brown and toasty, and begin to let off enticing smells.  Don’t stick your face too deep to inhale, though, because you’ll get a nose full of milk.
Put this toasted milk powder into already browned butter, and you’ve just amplified the amount of Maillardian flavors all up in that butter.  By a lot.
Browning a stick of butter gets you about a tablespoon of browned milk solids.
These cookies add 3 tablespoons of browned milk solids to that.
Meaning you get cookies with the flavor of a pound of browned butter.
AKA flavor punch bang pow mother truckers.

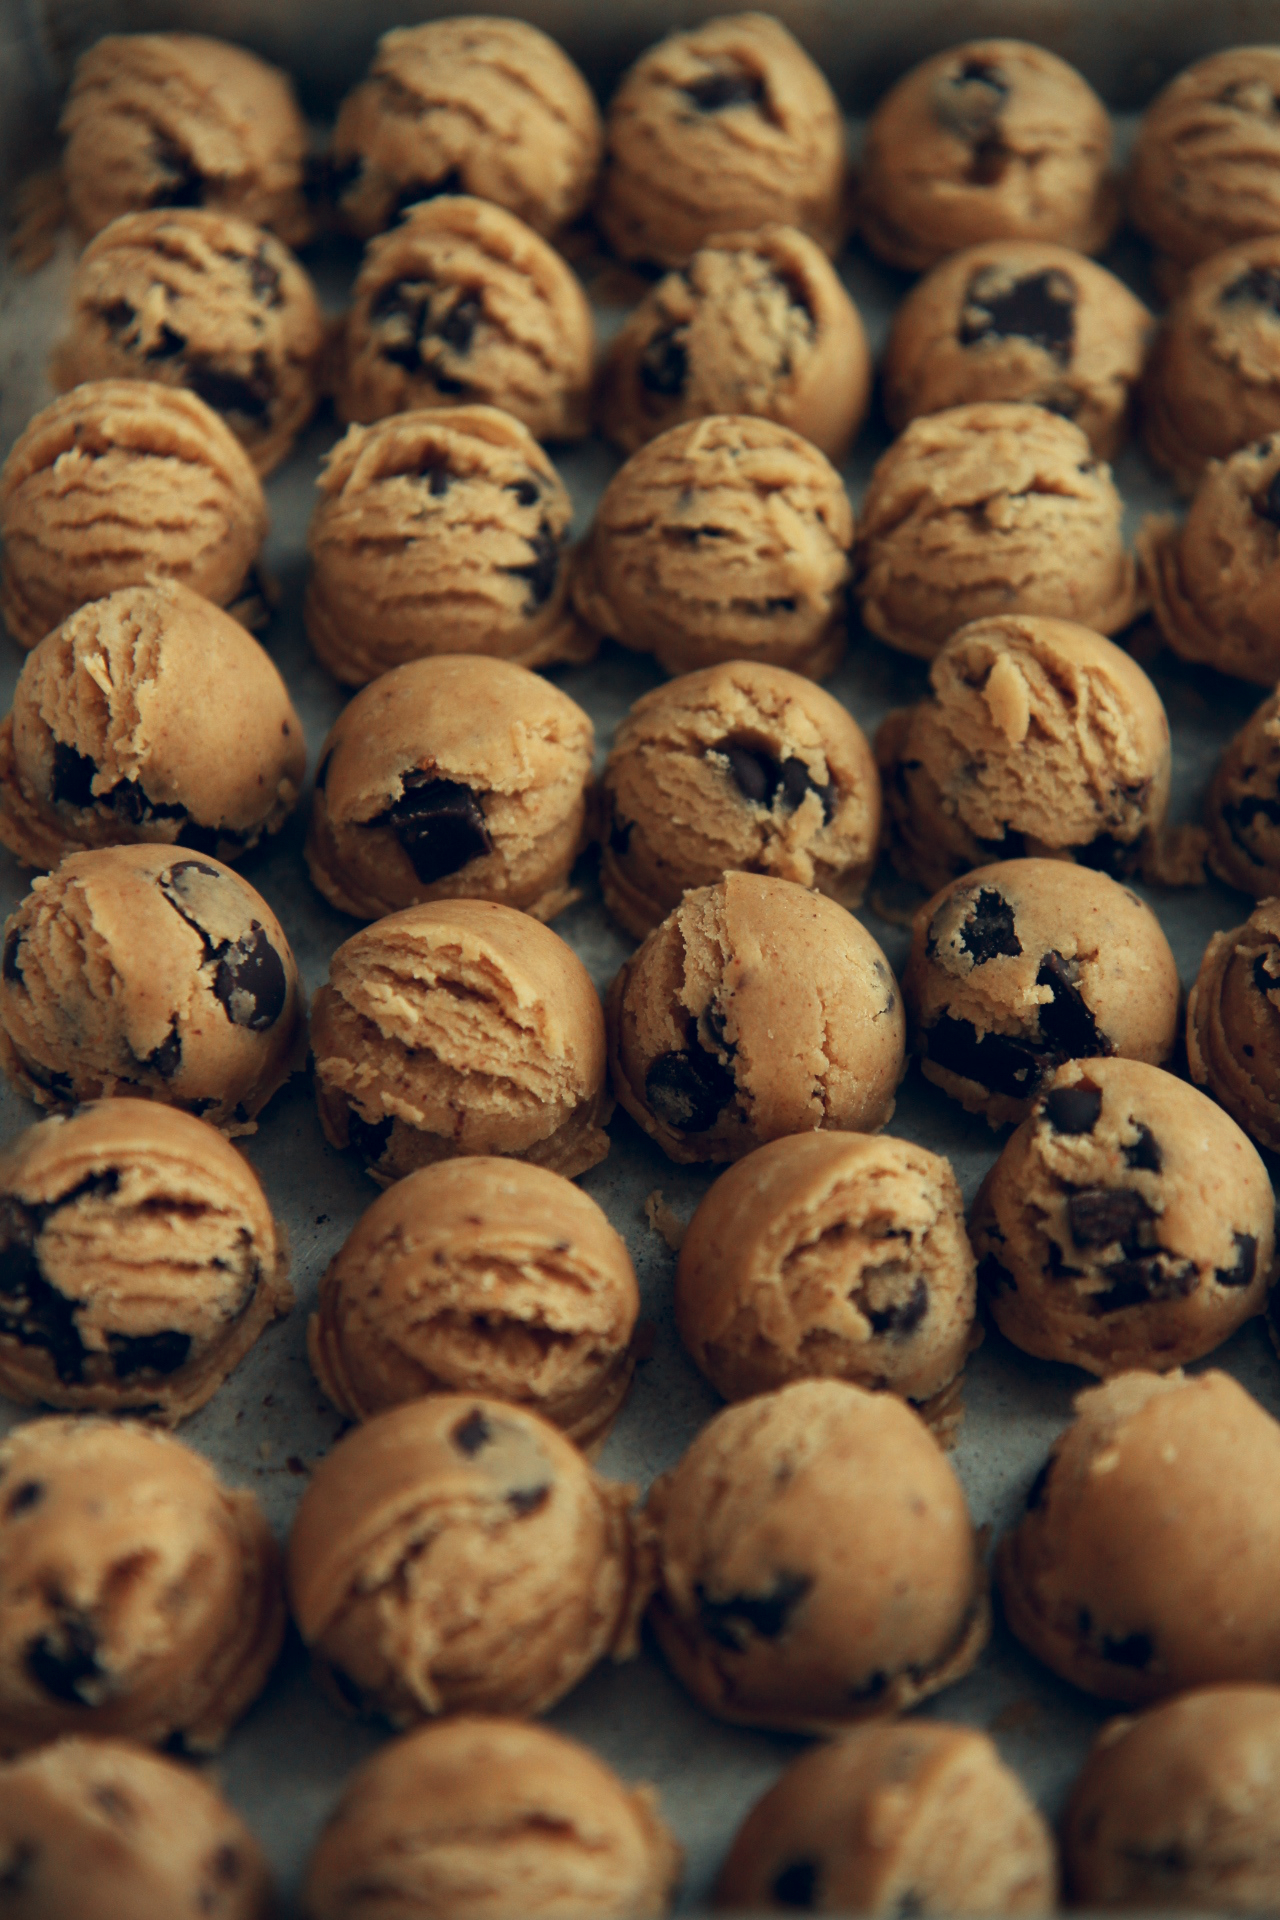
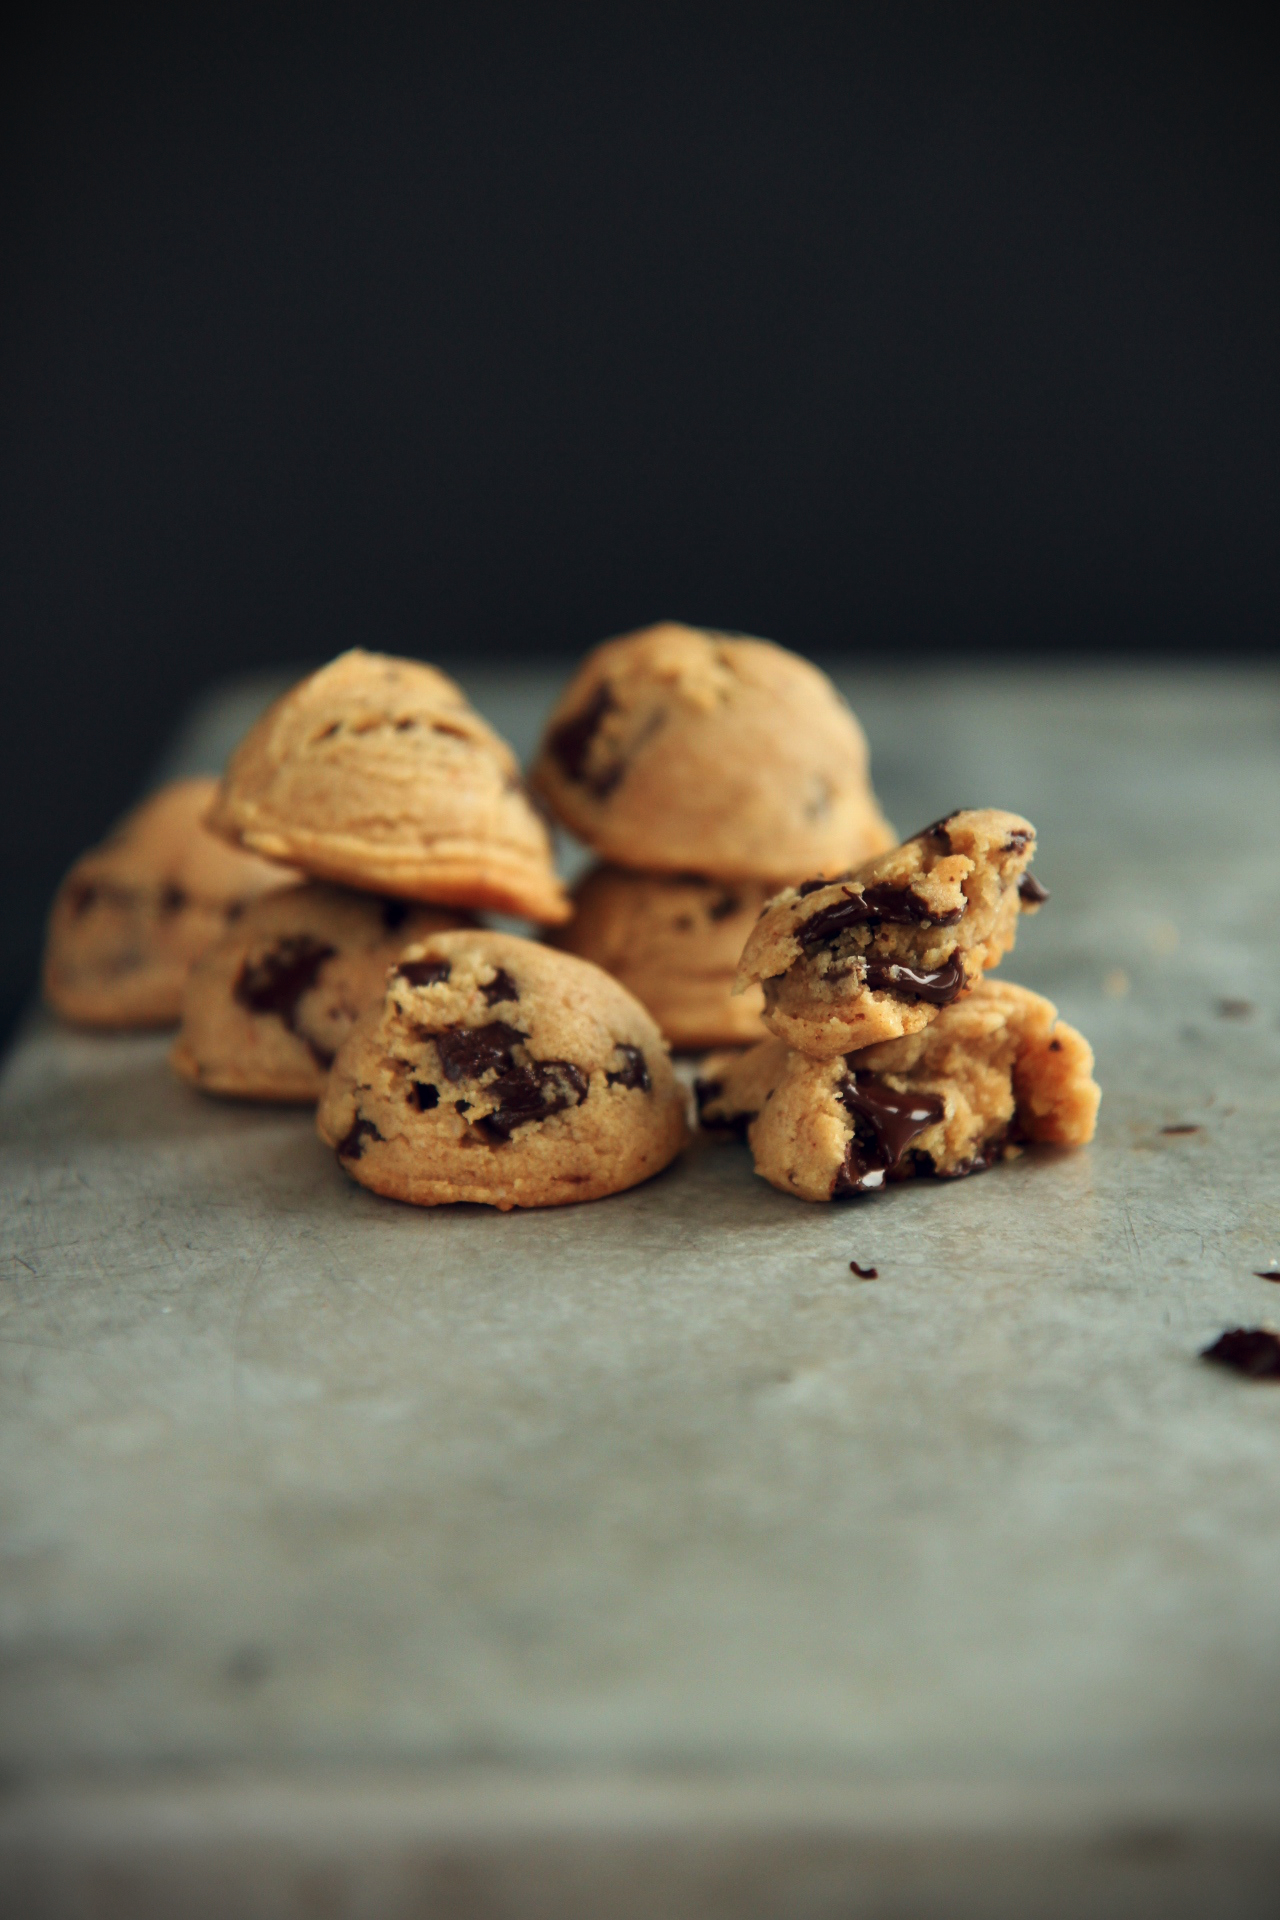
Super-charged brown butter, heaps of brown sugar, and a grand old dose of salt make up the base of these cookies, which will end up supremely soft and puffy, like little globes of deliciousness.
Stir in some chocolate chunks, portion out tiny little scoops, and prepare yourself for total cookie domination.
The alkaline batter (yep, we used sodium bicarb) goes into the oven, and even more Maillard reactions occur, both with the dough and with the chocolate.  Holy jeebus.  I’m drooling.

Eat them warm with a glass of cold, cold milk.
Cheers to Maillard.
Cheers to soft, salty, nutty, rich, profound cookies.
These ain’t no basic CCCs.
These are a chemist’s complex chocolate chip cookies.

It may be hard to mess chocolate chip cookies up, but it’s just as goddamn hard to make them freaking amazing.

IMG_7646_02

tl;dr
**make these cookies**

Some thoughts if you do try them, which you ought to: if you don’t want your cookies to be as puffy, I bet another tablespoon of milk plus a teaspoon and a half of neutral oil would do it.  I’ll get back to you on that.
Mini chocolate chips distribute more evenly in mini cookies.  I personally like big chunks, so I stuck with ’em.  Just keep that in mind.
For late night cravings, keep a batch of these in the freezer.  All you have to do from frozen is bake ’em for an extra minute, and that way, you’ll have cookies on hand for every sort of problem and situation that might arise.  Wrap well in plastic and aluminum foil to prevent freezer burn!
Sandwiching these with vanilla ice cream is all I want to do with my life.
They would also make a perfect mix-in for ice cream, because they are so so soft.

Number one tip: consume while fresh and hot hot hot.

Shoutout to science and shit, baby.  Bang bang.

P.S. Did you notice the blog’s facelift?
I spent wayyyyy too long designing the new logo and updating fonts, etc.
Tell me what you think!

IMG_7632_02

Maillard Chocolate Chip Cookies
makes about 50 tiny cookies, or 12 large

ingredients:
3 tablespoons milk powder
3/4 cup unsalted butter, browned and then cooled until hardened
3/4 cup packed brown sugar
1/4 cup sugar
3/4 teaspoon kosher salt
1 egg
1 teaspoon vanilla extract
1 tablespoon milk
2 cups all purpose flour
2 teaspoons cornstarch
1 teaspoon baking soda
1 cup bittersweet chocolate chips or chunks

directions:
Brown the butter well ahead of time and set it in the fridge to cool back to a solid state.
Brown the milk powder: in a NONSTICK skillet over low heat, stir the milk powder gently until a deep tan color and very fragrant, about 10-15 minutes.
Be sure not to let it burn.
Scrape the solidified browned butter along with the browned milk powder into the bowl of a stand mixer fitted with the paddle attachment and beat until soft, about 2 minutes.
Add the sugars and the salt and beat for 2 more minutes.
Add the egg and vanilla and beat until very light and fluffy, 5 more minutes (stop to scrape the bowl after 3 minutes).
Add in the milk and beat for 30 seconds, just until incorporated.
Add the flour, cornstarch, and baking soda to the bowl with the mixer off.
Slowly stir in the flour, with the mixer or by hand.
Once the dough is completely homogeneous, add in the chocolate chips and stir to combine.
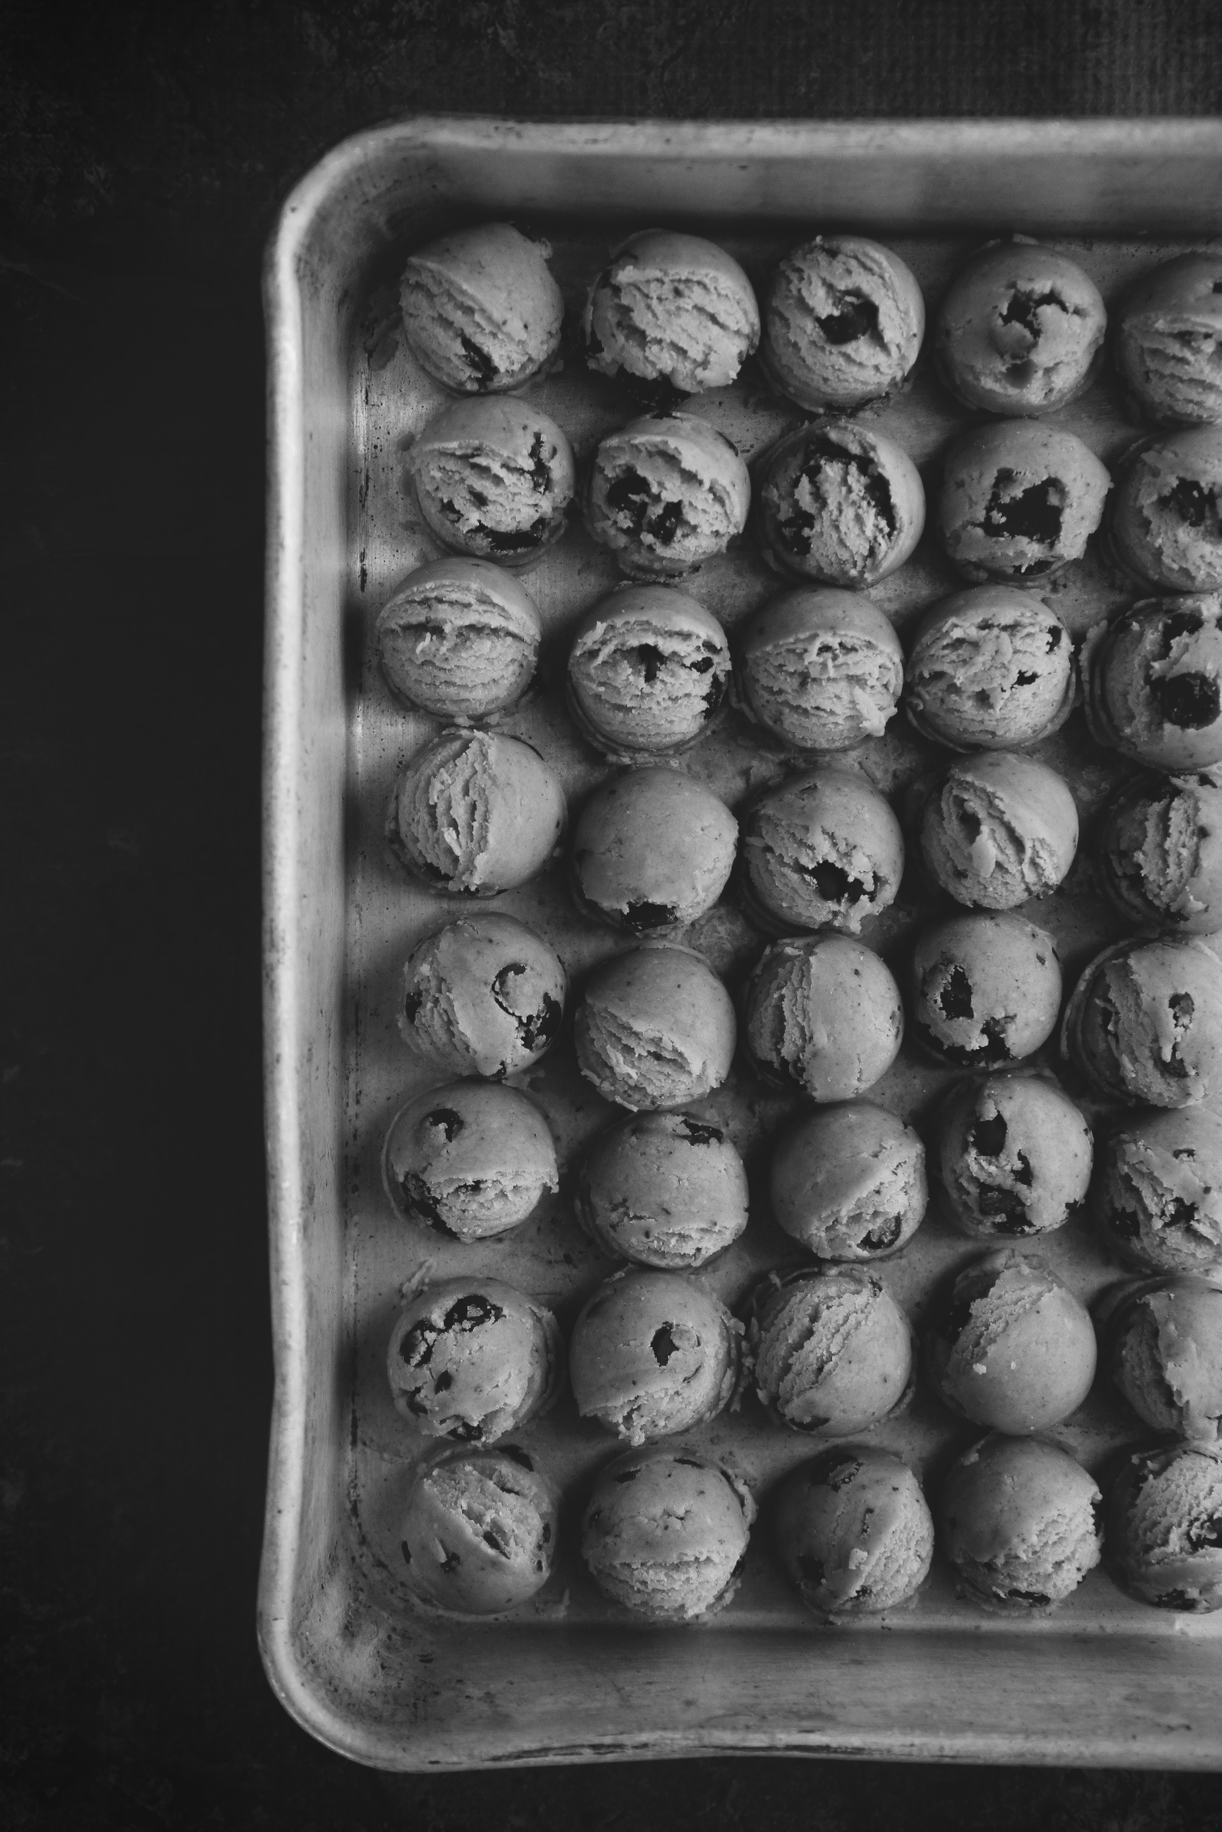
Portion out in 2 teaspoon (smallest cookie scoop) measures for tiny cookies, or in 1/3 cup (standard ice cream/cookie scoop) portions for standard size cookies. (The larger portion size will yield approximately 12 cookies.)
You can now chill the dough balls overnight, or freeze, well wrapped, for much longer.
Bake at 350 degrees F for 6 minutes for tiny cookies, 8 minutes for larger cookies.
Cookies will seem very doughy and underdone; as they cool, they will remain super soft.
Eat warmed up with cold milk.

Janvier

IMG_7529_03

“There are many things we would throw away if we were not afraid that others might pick them up.”

-Oscar Wilde

IMG_7519_01

January is a fragile month.
The new year is only just hatching, stretching its wings, ruffling its feathers, blinking awake.
The sun is slowly becoming stronger, the days longer.

It is the month of resolutions, ever so delicate, easily crushed in their nascence.

We are all only dipping our toes in the cold, cold new waters.
Not a one of us knows what the year will bring—a terrifying and invigorating prospect.

How has it come to pass that the end of this first month of 2014 is nigh?
January has flown by in a blur, spinning me around in a whirled frenzy of snow and wind.
I shiver to think of what this year holds—whether it is borne from excitement or dread, I cannot say.
It could also be the ungodly cold here in Chicago.  I don’t know.

IMG_7566_02_01

January is a month of citrus.
Though, I must admit, you cannot tell as much from my archives.

January 2013: puff pastry tutorial, coconut mochi, s’mores cake, conversation heart cookies, nutella-raspberry-brown butter crumb bars, maple-bacon and Vietnamese coffee doughnuts, gâteau des rois.  Only one had citrus…
January 2014: Peppermint-chocolate cookies, PB cupcakes, pear-cranberry-ginger crisps, earl grey cupcakes.  Ahem.  Still none.

This pavlova is my answer, my remedy, then, to the absent citrus in what I have just declared to be a month of citrus.
Specifically, lemon.
January is a lemon month.

IMG_7539_01_02

Lemon.  Perky, bright, sunny.
Lemon.  Tart, balancing, acidic.
Lemon lemon lemon, I’d choose over chocolate any day.  (Freak.)

The first time I met a meyer lemon was 2006.
I received the January issue of Martha Stewart Living.
As I tore through it, my 11 year old self soaking in every hit of inspiration, I fell upon this cake.
I wanted to cry.  I wanted to make this cake so incredibly badly, but knew it was out of my reach.

This cake prominently featuring these mysterious meyer lemons was all I wanted.  And I couldn’t have it.
I begged my parents to let me make it.
They said, “um… no. We don’t need a 3 foot high, 3 tier meyer lemon cake.  Stop reading Martha Stewart, you little weirdo.

Everything was so beautiful and yellow and happy and lemony.
It was torture.
And what the hell was a meyer lemon, anyway?

Can you tell what a strange, disturbed child I was?  A Martha Stewart addict from a young age.
It explains so much, don’t it?

IMG_7533_02_03_01

In a month where stagnation is banished, where the wheels are turning and the world is changing, lemon is ideal.
It’s fresh and lively, something which I appreciate when the fresh produce situation is somewhat abysmal.
Lemon never fails to awaken the palette.
It’s a clean flavor, and after all the heavy desserts of December, we can all use a flavor boost.

Pavlova.  Also perfectly suited for January, with its light airiness and minimal sweetness.
Good for resolution breaking, but not resolution destroying, ja feel?

It’s probably my favorite dessert.  Which is a big, big deal.
I wrote a sonnet inspired by rhubarb, which was featured in my first pavlova. (I have no words for the white balance in those photos.  Please accept my apologies.)
I had pavlova for my 18th birthday cake, a simple one-layer affair, covered in coconut/mascarpone fluff, passionfruit sauce, and tumbling raspberries.

IMG_7546_01_01

And now, here we are.
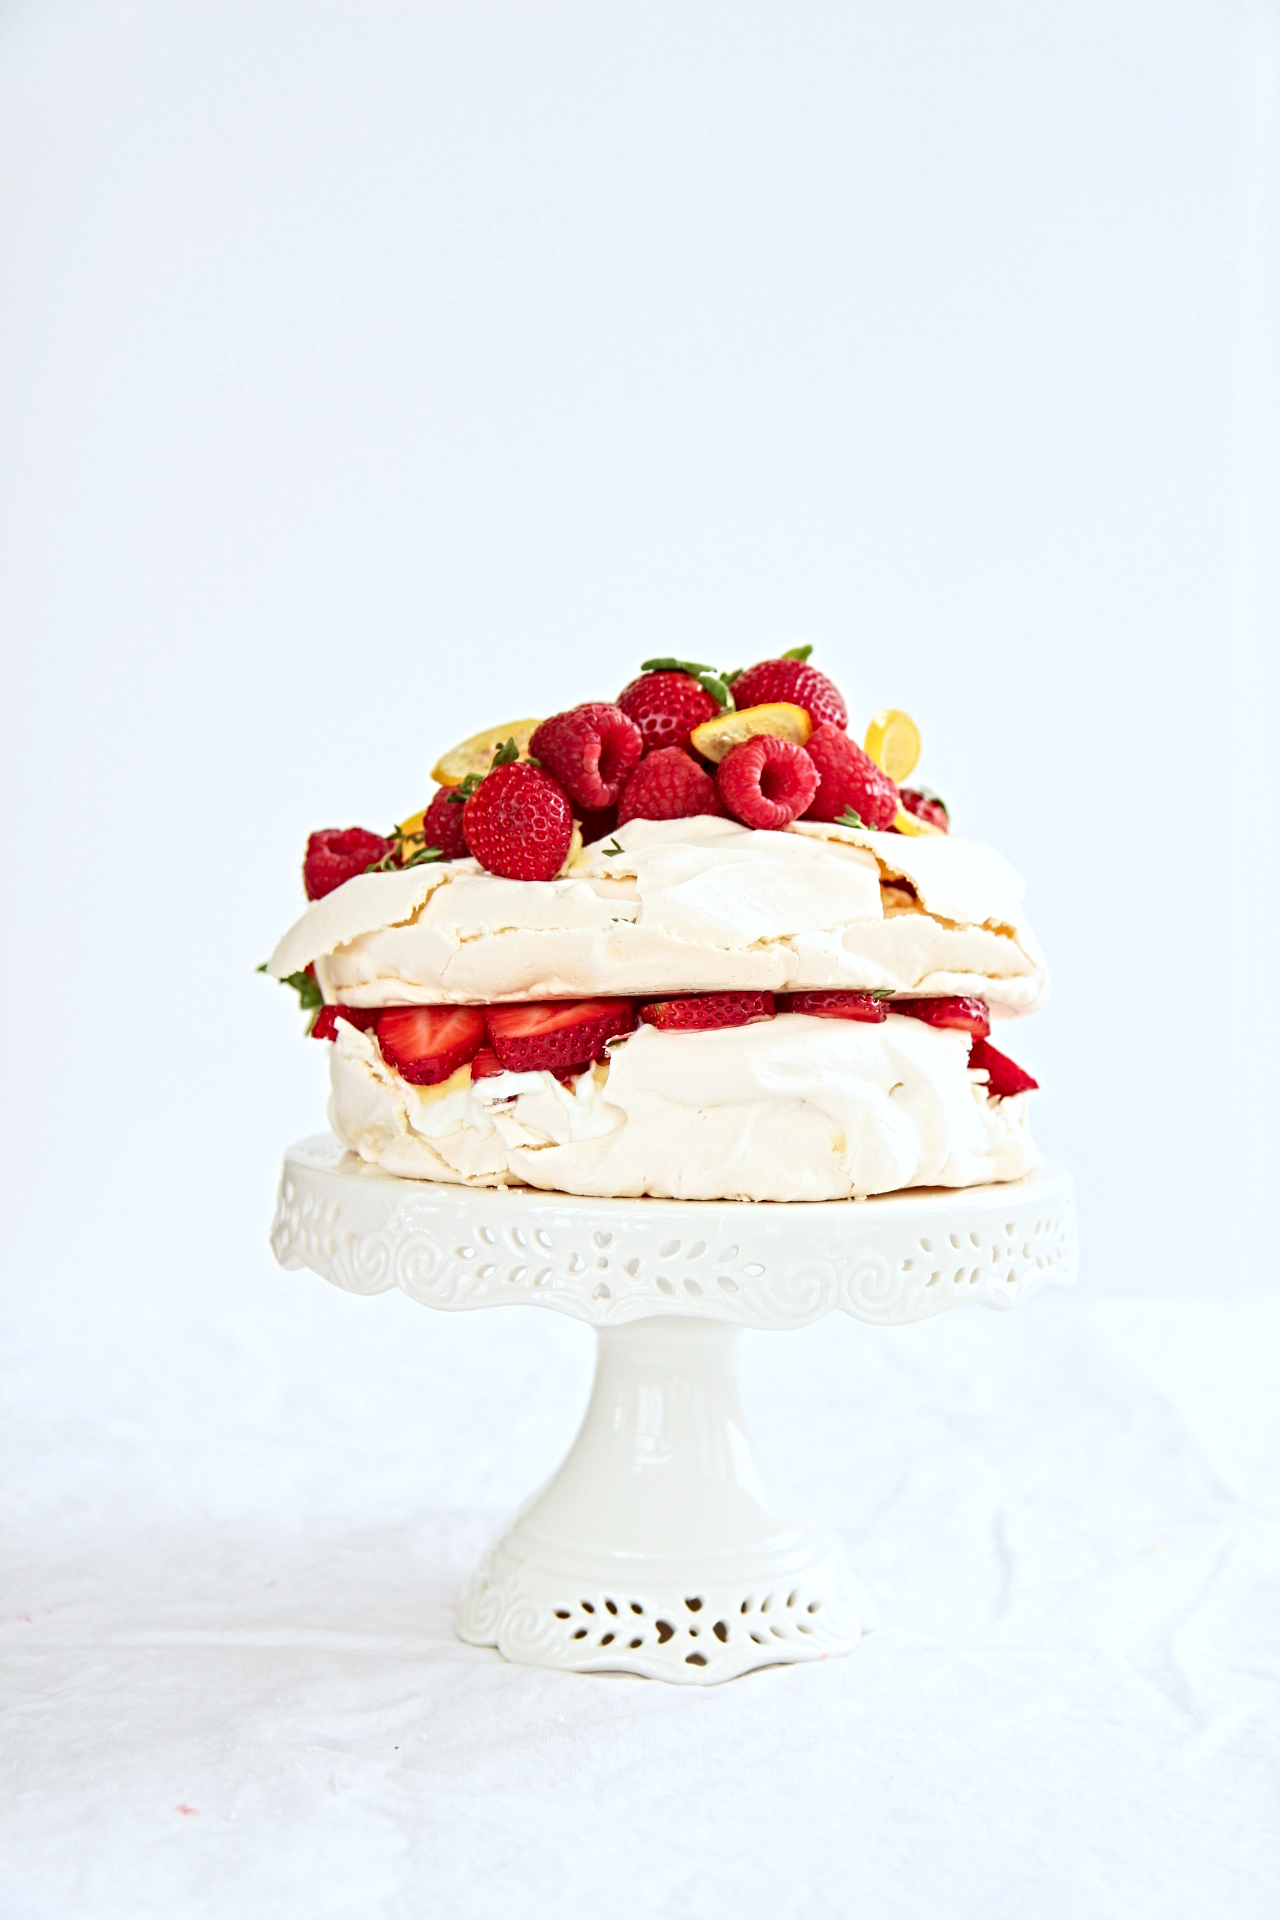
This pavlova focuses on tartness, allowing the meyer lemons to shine.

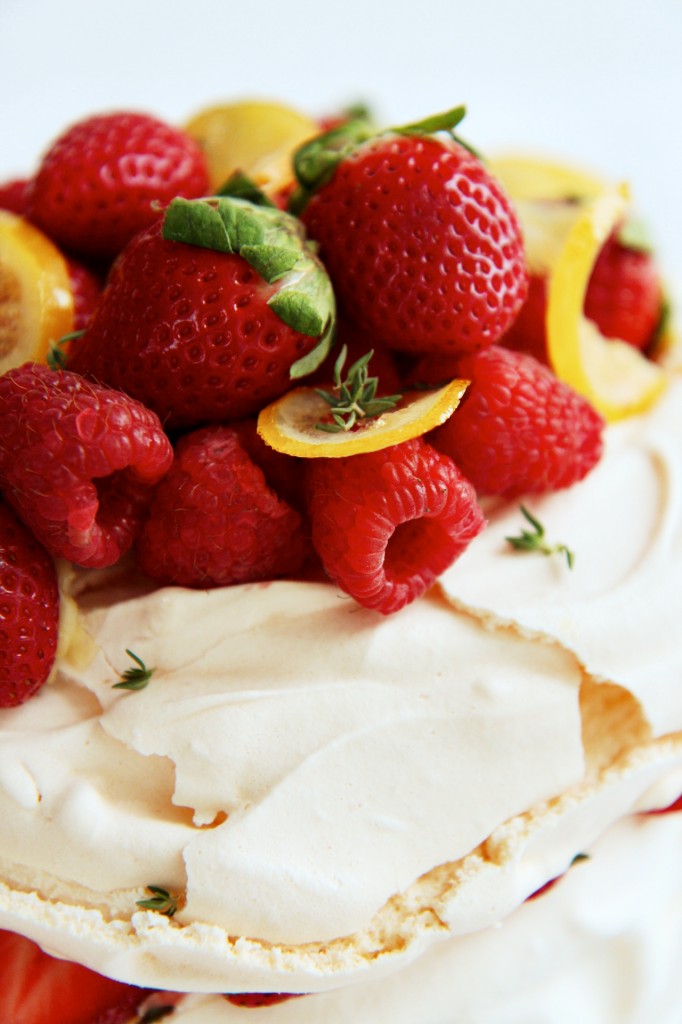
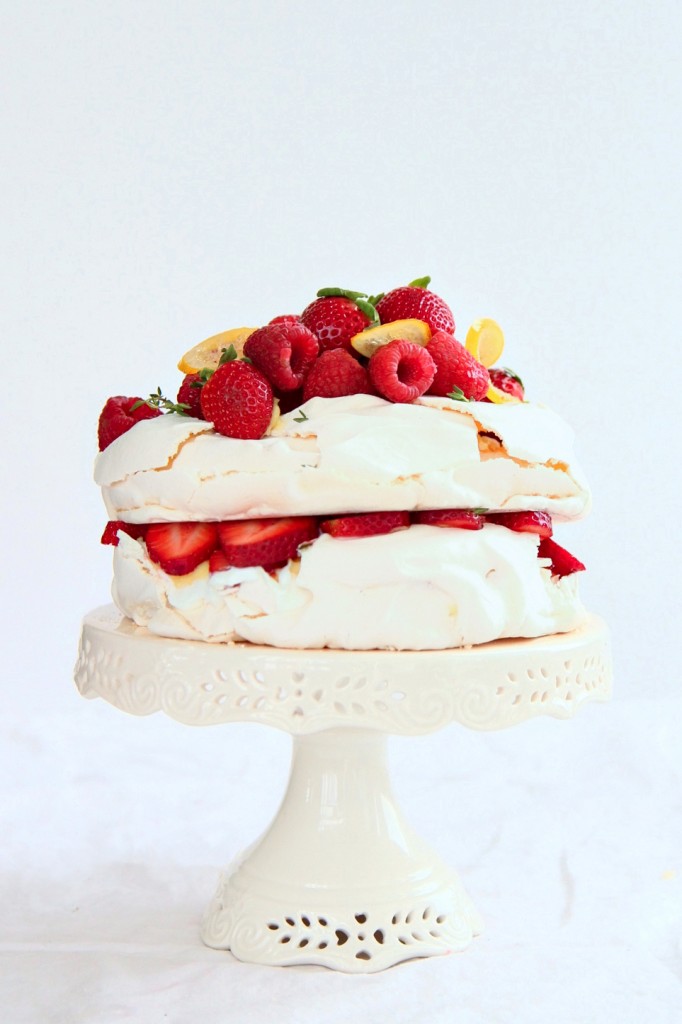
A supremely light meringue base, crispy and crackling on the exterior, pillowy marshmallow on the inside, is
layered with barely sweetened Greek yogurt,
thick and luscious meyer lemon curd,
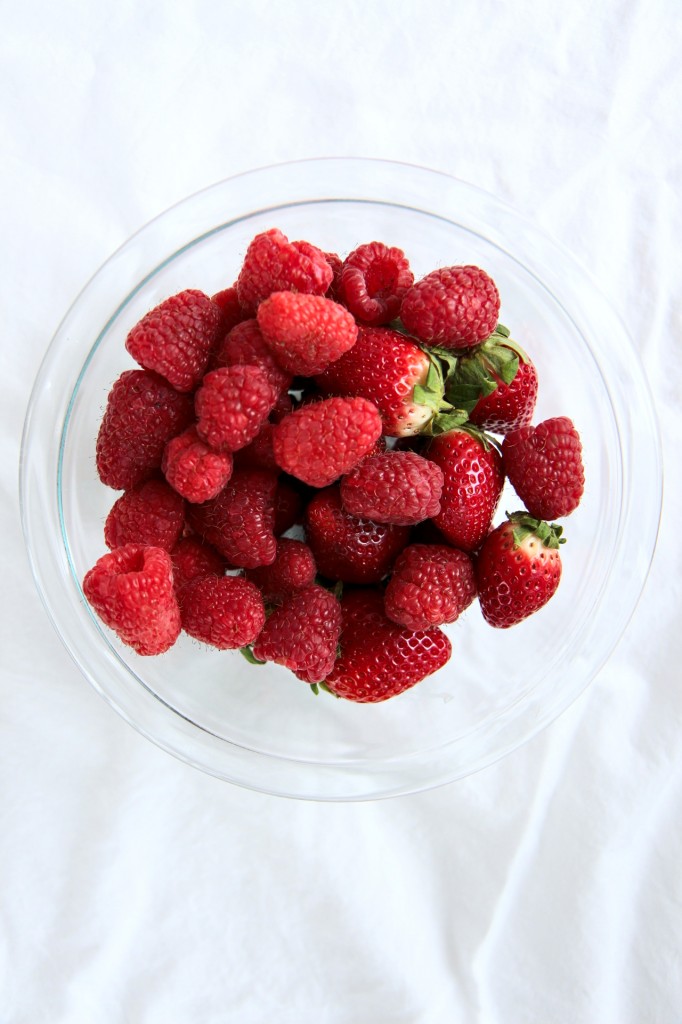
fresh bites of strawberries and raspberries, and
finished with a sprinkle of earthy, grounding thyme and
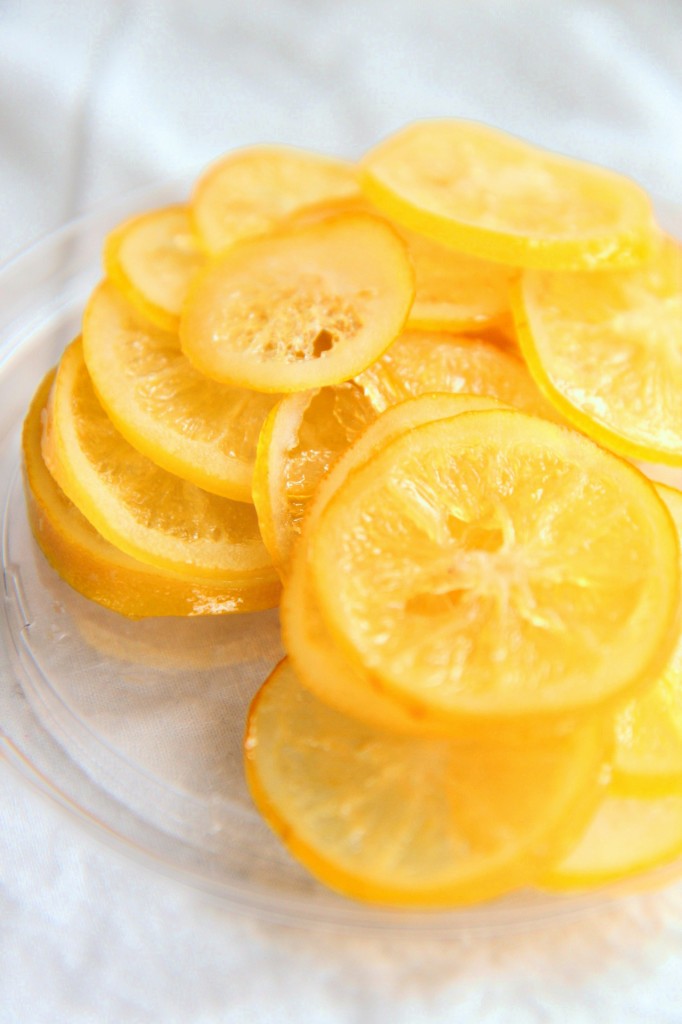
tart, chewy candied meyer lemons.

My pavlova cracked, pretty badly.  I ain’t stressed about it.
See, I thought it would be genius to layer the yogurt and curd onto the layers before stacking them.
What anybody with a shred of common sense would quickly see is that the meringue was too delicate and fragile to stand up to the thick sauces and promptly crrrrrraacked.  *shit shit shit*
Oops.  It’s okay.  Pavlovas crack and crumble; it’s part of their personality, their patina.
Get over it.

IMG_7521_01

Once I was done photographing the cake, I realized how futile it would be to try to keep it on the cake pedestal.
It was already slip sliding around, as I didn’t secure it to the stand with a daub of lemon curd, as I should have.
Things were cracking, falling, toppling.
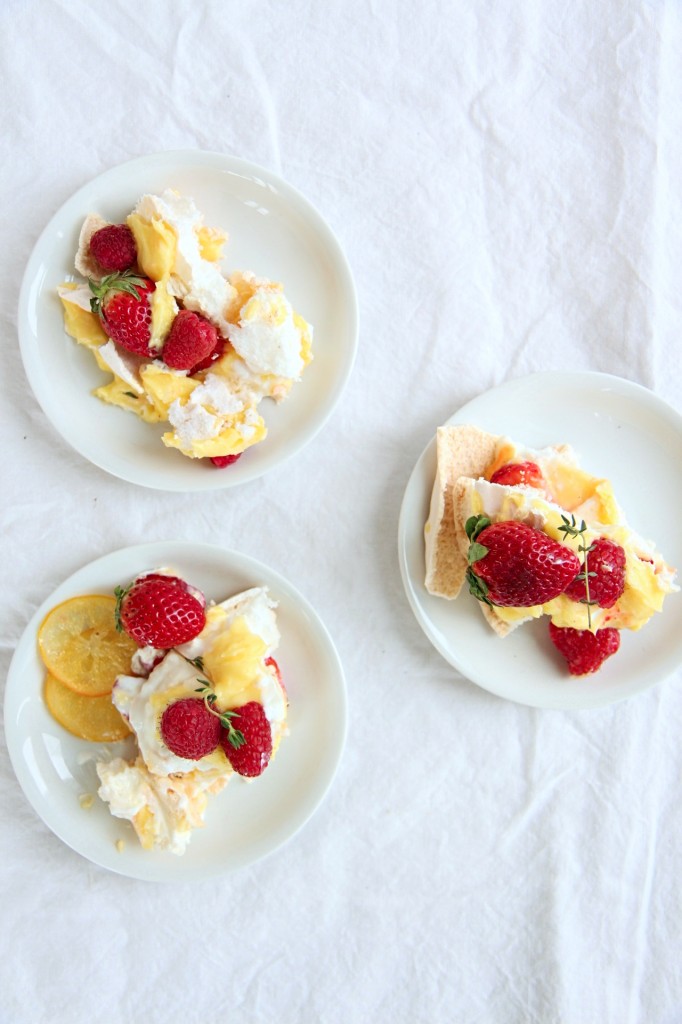
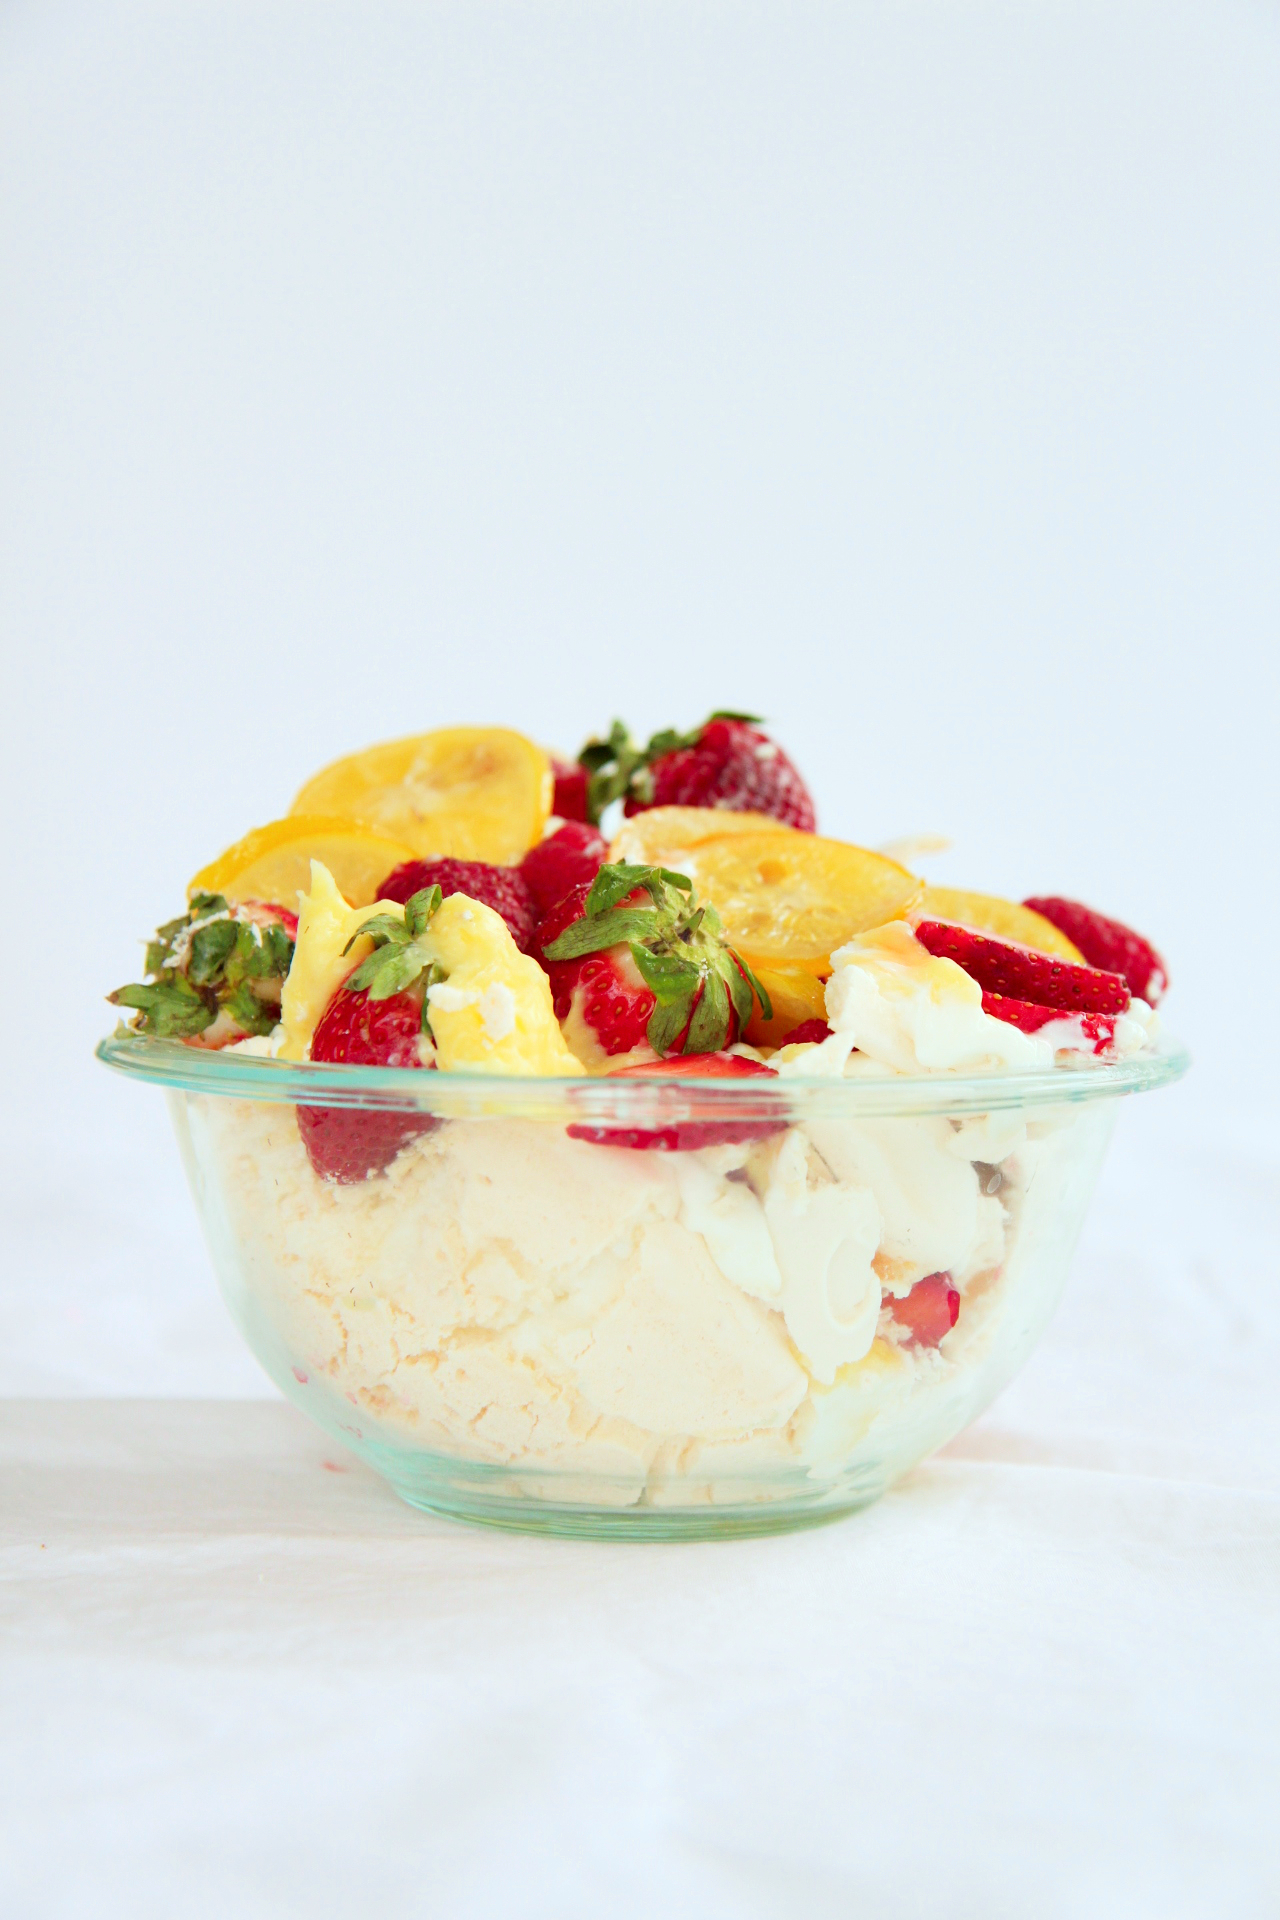
So, I plopped it into a bowl, shoved the leftover fruits on top, and called it a day.

The secret?  It tastes just as good smashed up, packed into a bowl, smashed to bits and spooned straight into your mouth as it does dressed up, stacked, and eaten from a proper plate.

And thank goodness for that.

IMG_7582_02_03

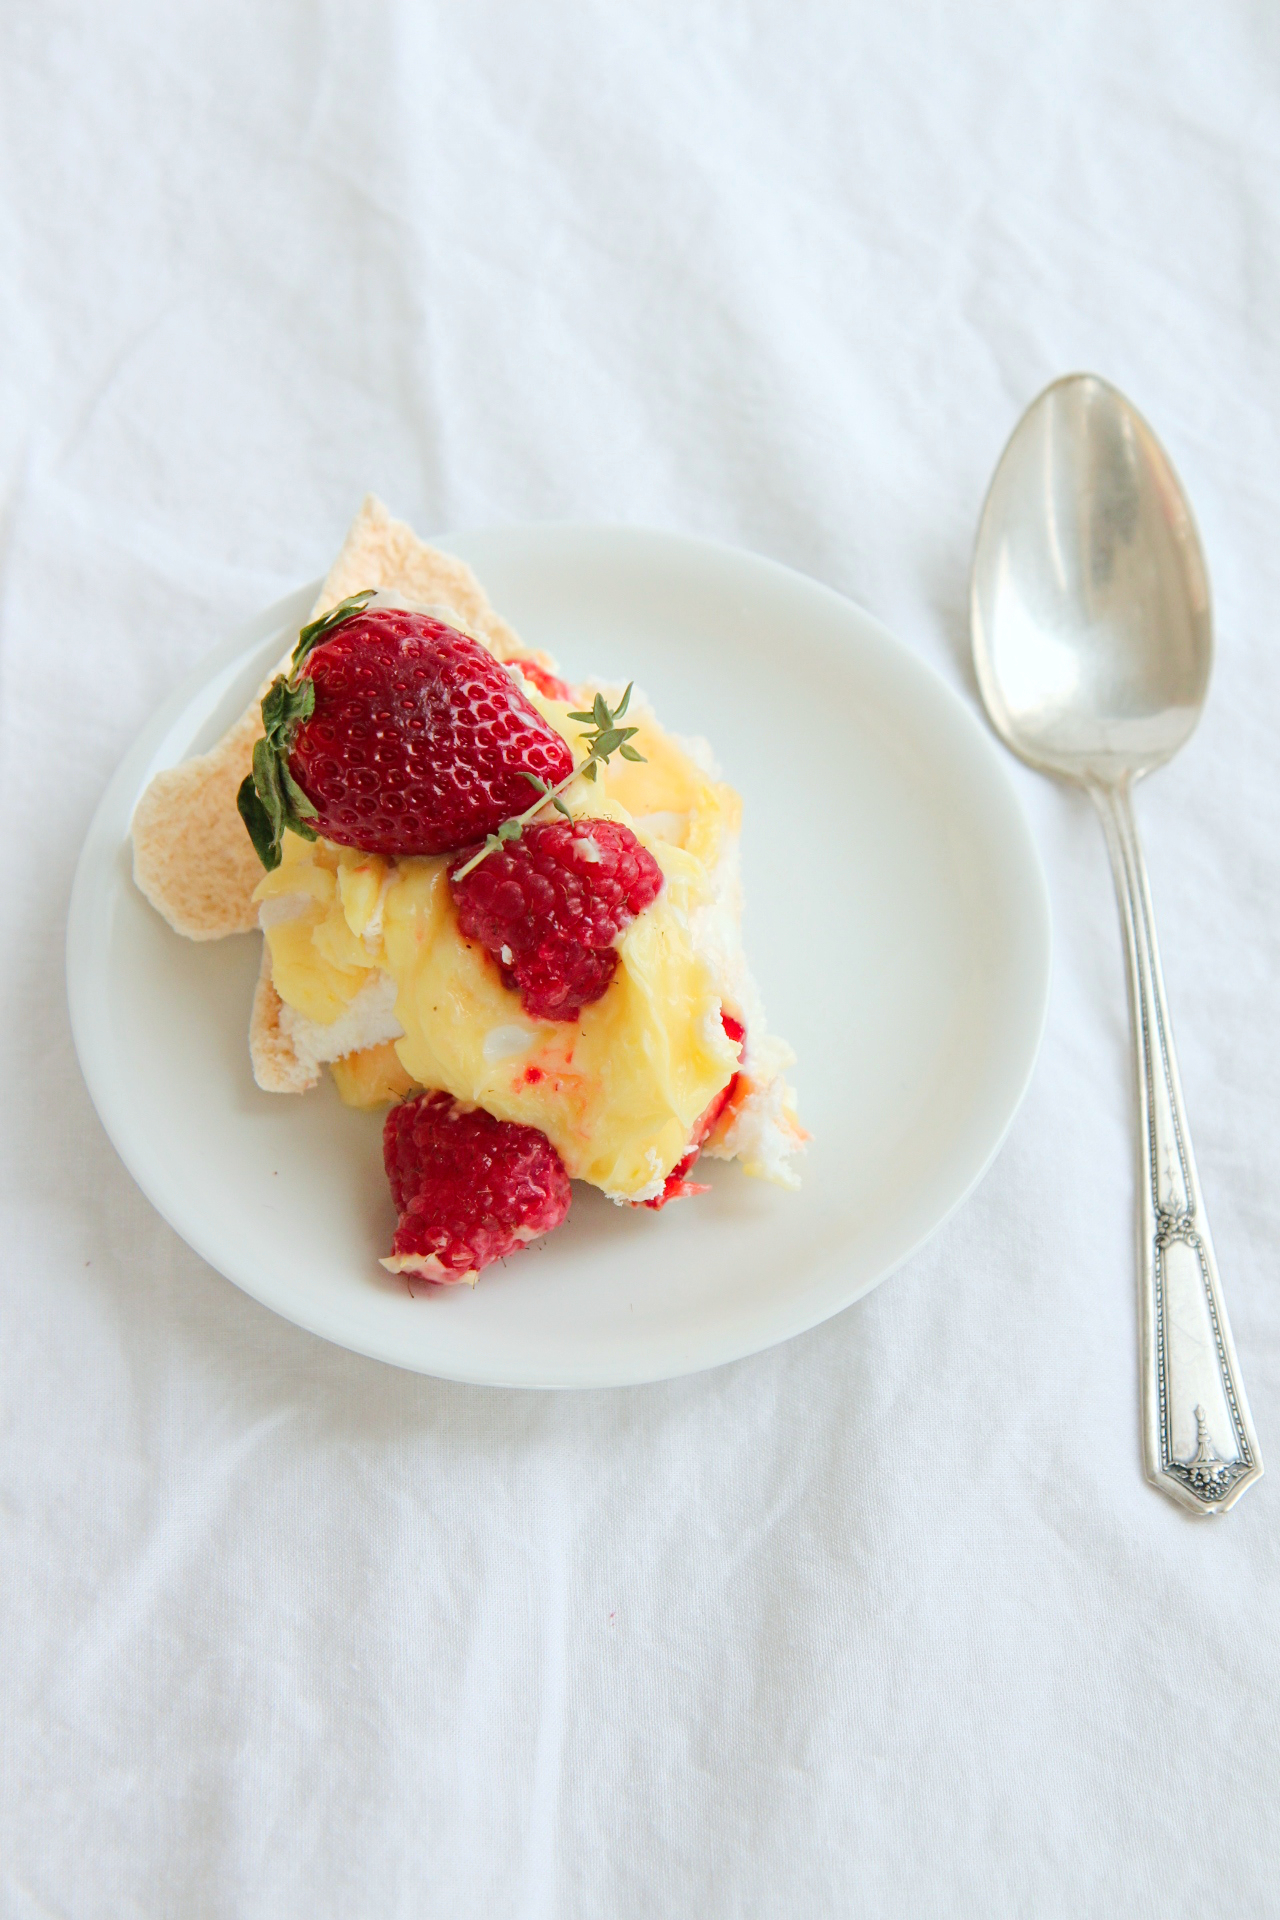
Meyer Lemon, Berry, Thyme, and Yogurt Pavlova
meringue base from Donna Hay
lemon curd adapted from Use Real Butter
ingredients:
for the meringue base:
4 egg whites
1 cup granulated sugar
2 tablespoons cornstarch
2 teaspoons white vinegar

for the lemon curd:
1 1/2 cups water
3/4 cup sugar
6 tablespoons cornstarch
4 egg yolks, beaten
3 tablespoons butter
1/2 cup meyer lemon juice
zest of 2 meyer lemons

for the candied lemons:
2 meyer lemons, sliced very thinly
2 cups sugar
2 cups water

to assemble:
3/4 cup plain Greek yogurt
3 tablespoons confectioner’s sugar, sifted
1 pint strawberries, 1/2 hulled and sliced, 1/2 whole
1 cup raspberries
Fresh thyme

directions:
Make the meringue base:
Preheat oven to 250 degrees F and line a baking sheet with parchment.
Trace 2 6-inch circles (you could do 8- or 9-inch, but it won’t be as tall.) with pencil, then turn the paper over.
Begin to whip egg whites with a stand mixer.
When soft peaks are just starting to form, stream in the sugar very slowly, one tablespoon at a time, until the meringue has reached very stiff peaks.
Gently fold in the vinegar and cornstarch.
Spread the meringue out around the traced circles.
Bake for an hour and a half, then turn off the oven and allow the pavlova to cool completely inside the oven.

Make the lemon curd:
Place water and sugar in a large pot.
Bring to a boil, then whisk in cornstarch.
Bring to a boil; mixture will be very thick and gloppy.
While whisking egg yolks, take a spoonful of the cornstarch mixture and quickly combine; continue to add, by the spoonful, until about 1/3 of the hot cornstarch mixture has been added.
Whisk the egg yolk mixture back into the corn starch mixture, and return to very low heat.
Whisk in the butter, then, off the heat, carefully whisk in the lemon juice and zest.
If any lumps are present, blitz the curd in a blender until smooth.

Make the candied lemons:
Bring a large pot of water to a boil and prepare an ice bath.
Place the very thinly sliced lemons in the boiling water and cook for 20 seconds.
Remove to the ice bath and allow to cool completely.
Meanwhile, add 2 cups sugar and 2 cups water to the pot and bring to a simmer, until the sugar is dissolved.
Add the lemon slices and allow to simmer for 45 minutes, until softened and no longer bitter.

Assemble the pavlova:
Whisk the yogurt and confectioner’s sugar together.
Spread a thin layer over the first pavlova layer, then spread half of the lemon curd onto the yogurt.
Top with the sliced strawberries and a sprinkling of thyme.
Add the second meringue disk, and top with the remaining yogurt and lemon curd.
Arrange the fruit on top of the lemon curd, and sprinkle more thyme leaves over.
Serve with a spoon, in bowls.

As Promised

IMG_7170_01

This post is a wee bit out-of-season.  You might not be able to find candy canes at the grocery store.
Check the clearance section.  If you still can’t find any, you’re S.O.L.

Just kidding.  I advocate the use of sprinkles, as you probably already know.

I’ve made lofthouse-style cookies once before, and dumped on the brand in a whiny post a lo o o o o ong time ago.

I am not providing a link to said post, and don’t you go nosing around for it either, primarily because the photos look like they were taken with a flip phone from 2007 (Razr, anyone?  I had the Pebl.  Gr8.) and I don’t want to be reminded of that.

Ok?  Ok.  Glad we talked about this.

These lofthouse cookies are the (late) peppermint post that I promised would infuriate you.

Be happy, because I came thisclose to not only posting a candy cane post after the holidays, but making it a repeat recipe from the-post-that-shall-not-be-named-searched.

THISCLOSE.  But.  I found another promising recipe, and ran with it.

This one uses cake flour and corn starch, as well as shortening (Don’t look at me like that. I know. Deal with it.) to keep the cookies super soft and fluffy, where the last recipe used sour cream.
These were more cakey than real lofthouse cookies, but nevertheless, delicious, and pretty damn close to the addictively gross originals.

I topped them with a salty espresso + chocolate buttercream and a smattering of crushed candy canes for crunch. (Hellooooo alliteration nicetomeetyou.)

IMG_7180_01

P.S. I realize that these photos are very similar looking.  No, this isn’t one of those spot-the-difference games.

I’m just lazy, which should further confirm your idea of me as a bad blogger.

Anyways!  Good luck finding candy canes.  Ha.

IMG_7222_01_01

Chocolate and Peppermint Lofthouse Cookies
makes about 15 cookies
cookie portion adapted from Cooking Classy
ingredients:
for the cookies:
300 grams (2 1/2 cups) cake flour
2 teaspoons cornstarch
1 1/2 teaspoons baking powder
110 grams (1/2 cup, 8 tablespoons) butter
55 grams (1/4 cup, 4 tablespoons) vegetable shortening
200 grams (1 cup) granulated sugar
scant 1/2 teaspoon kosher salt
1 egg plus 1 egg white
1 tablespoon vanilla extract

for the frosting:
60 grams (~2 ounces) dark chocolate, melted
110 grams (1/2 cup, 8 tablespoons) butter
1 tablespoon cocoa powder
2 teaspoons espresso powder
45 grams (1 1/2 cups) powdered sugar
1/2 teaspoon kosher salt

to assemble:
2 candy canes, chopped finely or ground in a food processor

directions:
In the bowl of a stand mixer, add the butter and shortening and beat for 2 minutes.
Add in the sugar and salt and beat for 3 minutes.
Add the egg and egg white as well as the vanilla and beat for 4 full minutes.
Meanwhile, whisk the flour, cornstarch, and baking powder together.
Scrape the sides of the bowl after 4 minutes of beating, then add in the flour mixture and mix on low speed until combined.
Refrigerate the dough for at least 1 hour.
Preheat oven to 350 degrees F.
To bake, remove the dough from the fridge and roll out to 1/2 inch thickness, or perhaps a little less, on a well-floured surface.
Cut out desired shapes and place on parchment lined baking sheets.
Bake for 8-10 minutes, until set.
To make the frosting, beat the butter and espresso powder on high until very soft.
Sift the powdered sugar and cocoa powder over the butter and mix on low; mixture will be dry.
Add the salt and, with the mixer running on medium speed, stream the melted but cooled chocolate into the frosting.
Beat until completely homogeneous.
To frost the cookies, place a generous tablespoon of frosting onto the cookie, and spread out with a butterknife or offset spatula.
Dust with candy cane pieces.

To the Core

IMG_7485_01

“Our biggest disagreement was about chunks.
Ben came up with the flavors and I did the manufacturing, and he wanted bigger chunks and I wanted small ones with greater distribution.
He said people didn’t care if you got a chunk in every bite as long as you knew that fairly soon you’d get a chunk.”

Jerry Greenfield

IMG_7489_01

I think we can apply Ben Cohen’s theory about ice cream chunks to life happiness.

How important, and too often forgotten, is the idea that not every bite will or needs to contain a chunk?
We’re so trained for instant gratification that anything less feels like deprivation.
We forget that not every day needs to be perfect or leave you fulfilled.
You don’t need to be cheery and happy every minute to feel satisfied in the big picture.

We think about our lives in terms of monumental moments; we measure the passing of time with the passing of tragedies and victories.
What about all the days where nothing “of importance” happens?

IMG_7491_01

They are to our lives as bites without chunks are to Ben and Jerry’s, as junk DNA is to genes.
From the outset, they seem less important.  Undesirable, useless.  Wasted.
But more flies under our radar, which is tuned to big spikes in emotion, than we think.
Little things.  Daily things, both annoying and delightful.

The first bite of a crisp apple.
Losing your keys, phone, wallet, mind.
A smile from a passerby.
Stubbing a toe.  Twice.
The smell of cookies baking.
Being overworked and overtired at the end of a long day, a long week, a long year.
Snuggling into your own bed.

So much that we take for granted is beautiful in its own right.

I intend to practice more gratitude and appreciation for the plain, the mediocre, the underappreciated, the kind-of-crappy happenings in my life.
I intend to take each moment as it comes, to breathe it in and live in it,
to meet it with a smile and know it fully.

Each moment of each day in our fantastic, terrible world deserves meaning.

IMG_7505_01

It is a sophisticated hope, then, that sustains true, lasting happiness.
The hope—or rather, the knowledge—that you’ll get a “chunk” fairly soon.
And the deep and conscious enjoyment and appreciation of every moment, every plain bite of ice cream, every pretzel in the Chex mix.

Food for thought.  Thought for food.

IMG_7494_01

Speaking of food… Cupcakes?!  Again?!  Who am I?!
Just last week, I made these “teatime” cupcakes.  And I loved them!
Photographing cupcakes is more pleasant than cookies, and lord knows I’ve made enough of those in recent times.
So.  Many.  Cookies.
Thus, despite my semi-loathing of cupcakes, I made more.

Part of my newly affirmed affection for cupcakes is that I’ve been frosting them with a meringue buttercream.
Seriously, I used to think that thick, American-style buttercream was a decent choice for cupcakes.
But, truthfully, there is no comparison to a cloud of rich, glossy IMBC.
Especially not a brick of confectioner’s sugar/butter ABC.

I wax on about meringue buttercreams all the time (not sorry) but that’s because they’re amazing.
Light, easy to pipe, smooth, shiny, stable, flavorful.
(I’m an adjective junkie.)

They’re only minimally more work, are less likely to break/curdle/be gross and are therefore totally worth the extra 10 minutes of prep.
Give your favorite cupcakes a makeover with some IMBC and you won’t recognize them, or ever even look back.

Maybe you don’t like cupcakes, like me.
I swear to you, cupcakes frosted with IMBC may change you.

IMG_7502_02

These cupcakes were inspired by Ben and Jerry’s ice cream!

One of their “core” UK flavors is called Peanut Butter Me Up.
It’s half peanut butter and half vanilla ice cream, surrounding a core of raspberry jammy goodness.  The vanilla is studded with peanut butter cups.
Sounds like a perfect pint to me.  Heaven is peanut butter+vanilla+fruit.
Why don’t we have it in America?  I don’t know.  But it’s killing me.

These “Peanut Butter Me Up” cupcakes are a soft, buttery, salty PB cake, filled with tart raspberry jam, topped with a big fluff pile of vanilla Italian meringue buttercream, topped with a peanut butter cup.

I used raspberry preserves made only with pomegranate juice as the sweetener, so it was extra tart and tangy!
I only made 12 cupcakes, but there was definitely enough batter/buttercream to make 16 or 18 cupcakes, so I’ve adjusted the yield in the recipe to reflect that.

Since I can’t get the ice cream here, I’ll have to stick with cupcakes.
Somehow, I’m OK with that.

IMG_7508_01

Peanut Butter Me Up Cupcakes
makes 16-18 cupcakes
cake portion adapted from Serious Eats

ingredients:
for the peanut butter cake:
4 tablespoons butter
1 packed cup brown sugar
3/4 teaspoon kosher salt
3/4 cup creamy peanut butter
2 eggs
3/4 cup milk
2 teaspoons vanilla extract
1 1/2 cups flour
1 1/2 teaspoons baking powder

for the vanilla Italian meringue buttercream:
3 egg whites
1 cup sugar
1/4 cup water
big pinch salt
6 ounces (3 sticks) butter, cut into small bits, soft but cool
1 teaspoon vanilla extract

to assemble:
raspberry jam, approximately 1/2 cup
mini peanut butter cups

directions:
Make the cupcakes: preheat oven to 350 degrees F.
Line 18 muffin tins with papers.
Beat butter until softened, about 1 minute.
Stream in brown sugar and salt and beat for 3 full minutes.
Add in the peanut butter and beat for 3 more minutes.
Add in the eggs, one at a time, and beat for 2 full minutes.
Mix the milk and vanilla extract, and, very slowly and carefully, stream into the batter while slowly, slowly mixing to prevent splashing.
Dump the flour on top of the batter and add the baking powder over the flour mound.
Slowly stir batter until homogeneous (it will be thick).
Portion out with an ice cream scoop into your tins.
Bake for 22-26 minutes, until springy to the touch, very fragrant, and a tester comes out with only a couple crumbs.
Allow to cool completely.

Make the vanilla Italian meringue buttercream: combine sugar, salt, and water in a heavy bottomed pot.
Place egg whites in the bowl of a stand mixer.
Begin to whip egg whites on medium speed while heating the sugar syrup over medium-high heat.
When the sugar syrup reaches 230 degrees F, your egg whites should be at very soft peaks.
By the time the syrup reaches temp at 245 degrees F, your egg whites should be at soft peaks.
Slowly and carefully pour the hot syrup into the whipping egg whites.
Whip the meringue until it reaches body temperature, then begin to whip in the butter, 1 tablespoon at a time.
Add the vanilla and continue to whip the buttercream at high speed until it becomes fluffy, glossy, and thick.

Assemble the cupcakes: place your raspberry jam in a piping bag fitted with a plain tip.
Plunge the tip into the cupcake and wiggle it around, applying gentle, even pressure to fill the cake, until the pressure forces the tip out of the cake.
Frost the cupcakes with the meringue buttercream as desired, then top with a peanut butter cup!

Slump, Grunt, Buckle

IMG_7118_01

Snorfle, sniffle, slurp.

IMG_7111_01

Can we take a moment to appreciate the ridiculous names bestowed upon cobblers, crisps, and the like?

Betty, buckle, cobbler, crisp, crumble, grunt, pandowdy, slump, zonker(????).

whaaaaaaaaa why why why why

IMG_7137_01

Despite their stupid names, these kind of desserts are delicious, and what’s more, crazy easy and fast.
Perfect when you need a quick fix of warm, cozy dessert. (Which, in my case, is 24/7.)

Chop up seasonal, fresh fruit (it can even be a little underripe.  We don’t judge here.) and toss it with some sugar, salt and flour/cornstarch.
No need to measure, just go with your heart by taste.
Top it off with buttery cookie crumbs (I wish my whole life were topped with buttery cookie crumbs) and bake it.
SO EASY GUYS WHY AREN’T WE ALL DOING IT?!

IMG_7103_01

This is the best crisp I have ever tasted. Ever.
I’ve made it a few times, in a few different forms.
The first time, about 3 years ago (is 2011 really 3 years ago?! Have mercy.), I baked it in a big heavy dish, and served it with vanilla ice cream.  I was blown away.
In fact, I was so impressed that I then made it into a crumble pie (think dutch apple pie).  The pie was good, but, can I be honest, people?  It was more work.  And the best part was the filling and topping anyways.  So I do not advocate the pie version.  It’s fussier and not worth it.  Keep it simple, stooopid.
And now, I’ve made it into tiny little individual crisps, so you don’t have to think twice about eating four.

For once in my life, I’m not exaggerating.  Seriously. Best crisp I have EVER. HAD.
Sweet and juicy from the pears, tart and punchy from the cranberries, and spicy and rich from the buttery gingersnaps.  
I’ll never look at plain pear crisps the same way.  There’s no going back once you try this combo.
Read: try this combination.  For your own sake.

IMG_7090_01

Okay, time for an explanation about these mini crisps/crumbles/whatever you want to call them.

Other than being delicious, they are dead simple.

I didn’t use a recipe.  Here’s what I did:

peel, core, and dice a couple d’anjou pears
toss ’em with lemon juice, a couple tablespoons of sugar and flour, and some fresh cranberries
throw a bunch of gingersnaps into my food processor and grind them into crumbs
add a hefty pinch of pepper, ginger, brown sugar, and salt
melt some butter and pour it in until the crumbs get clumpy
dump the fruit into serving vessels, top with a shit ton of gingersnap crumb stuff
bake until bubbling and burbling
eat
eat
eat.

If you want more solidified measurements and directions, check out Deb’s (AWESOME) recipe.  Seriously thankyouthankyou Deb for leading me to this delicious flavor combination.  Heaven.

IMG_7106_01