Monster

IMG_8863_01

“Cursed, cursed creator! Why did I live?
Why, in that instant, did I not extinguish the spark of existence which you had so wantonly bestowed?”

Mary Shelley, Frankenstein

IMG_8867_01

More green.  I’m afraid I’m the worst.
I really was displeased with the way this cake looked.  I originally topped it with those little green meringues, in the hopes that it would be springy and light and lovely, but it looked really fucking weird, guys.
The meringues did NOT mesh with the aesthetic of the cake, and the colors were all off.
They looked like white and green diseased dog shit on top of an unnaturally colored cake.
Sooooo ugly.  Tooooo ugly. I gave up photographing the cake and plucked all the meringues off to photograph.

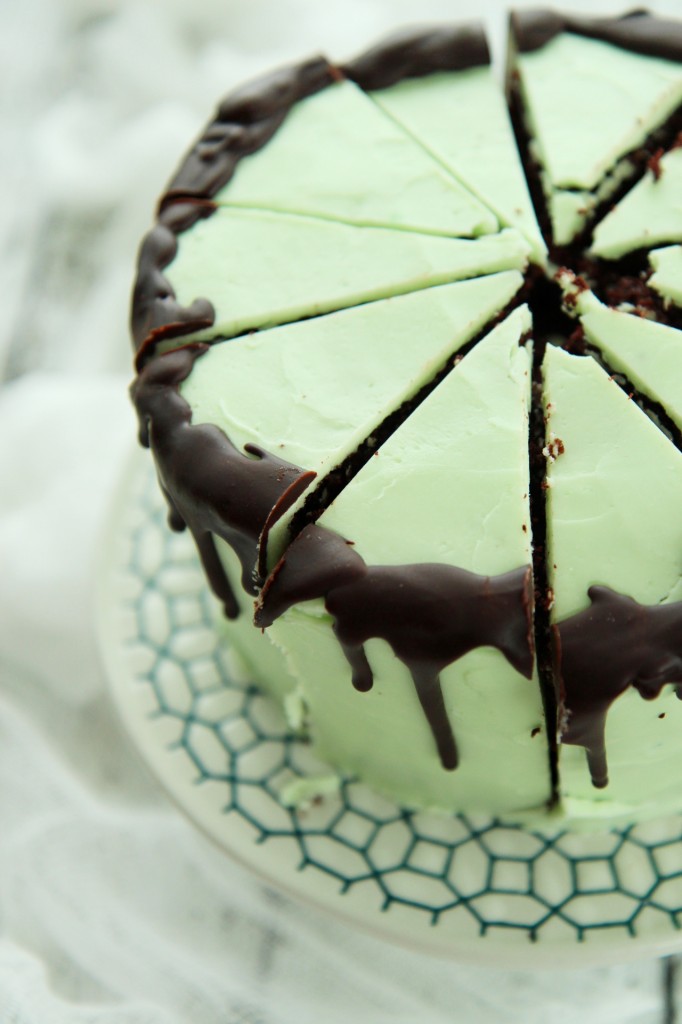
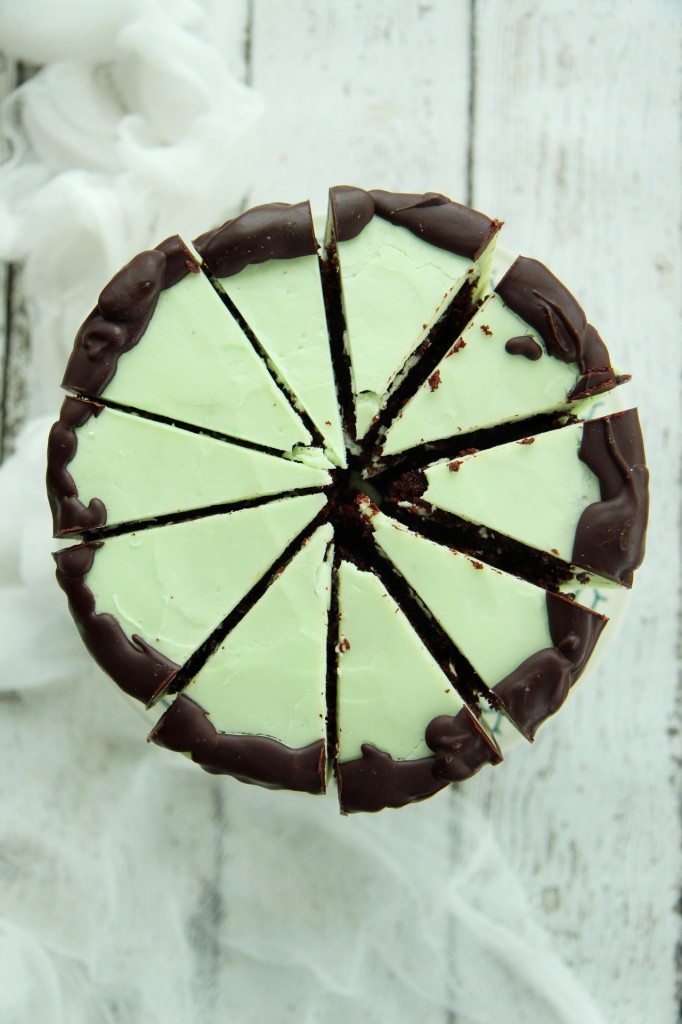
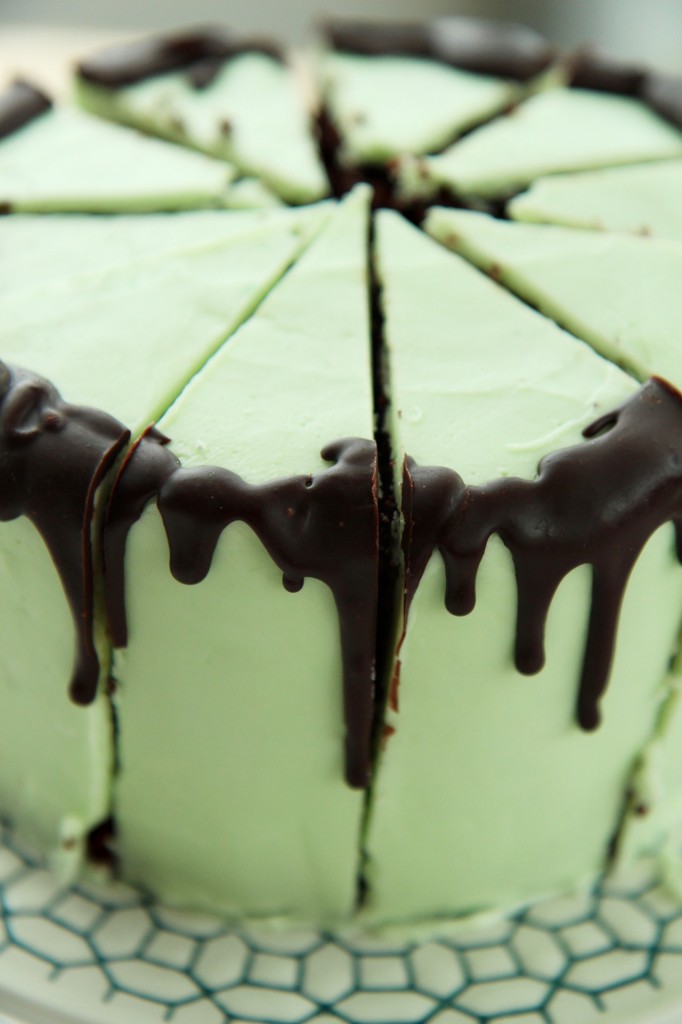
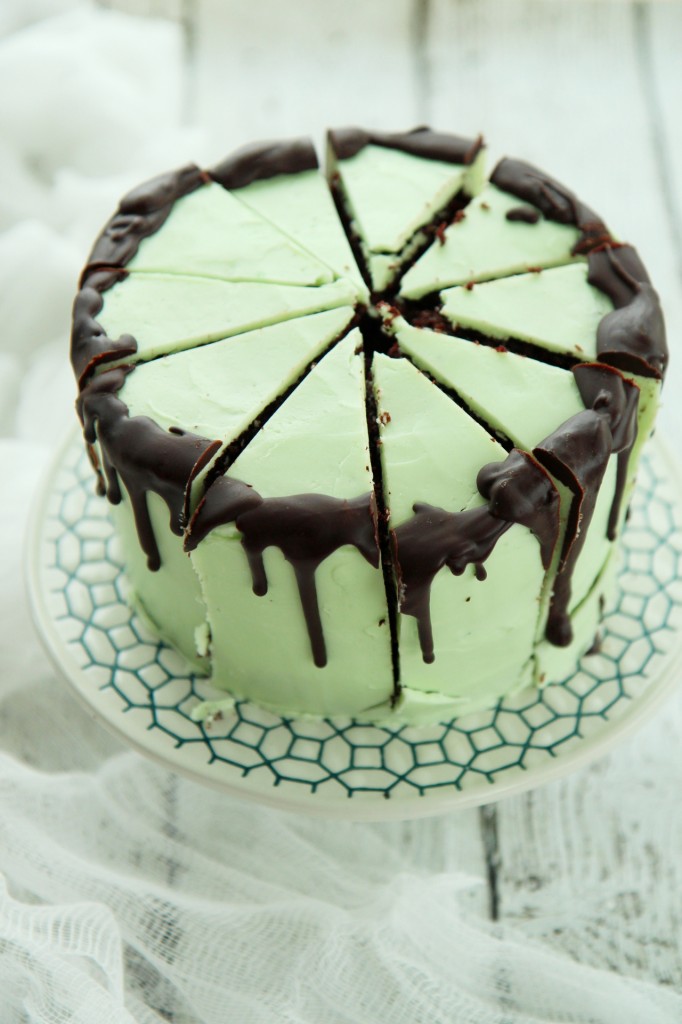
I was really frustrated; I had been very excited about this mint and chocolate cake and yet to me, the cake looked like the cartoon version of Frankenstein’s monster, green skin and black-brown hair with weird sideburns.
UGH.  (I am actually laughing out loud at how creepily similar this cake is to the monster.  Good god.)
I chopped it up, ready to throw in the dish towel, but then I ended up half-liking how it looked all cut up into fat wedges, so I plonked it back on the table and took a few shots.

And that’s the riveting story of this monstrous cake.

IMG_8878_01

Here’s the story of the interior:
The fastest chocolate cake EVER (accidentally vegan!) provides a tender, moist base.
Sandwiched between the layers is whipped chocolate ganache, deep and dark and lovely.
The cake is frosted with the silkiest, lightest mint Italian meringue buttercream, refreshing and buttery and NOT toothpaste-y in the least (at least I’ve got that going for me).
Hot, melty ganache is dripped along the sides of the cake, for extra va va voom and shits and gigs.

Someone in my house triple texted me, begging for a slice after they caught a glimpse of it sitting in the kitchen.
By the time I got home, the thing had been decimated by a pack of hungry monsters college students.
I take that as a sure stamp of approval, ugly or not.

IMG_8881_01

Mint Chocolate Cake
ingredients:
for the chocolate cake:
2 1/4 cups flour
1 1/2 cups sugar
1/2 cup cocoa powder
1 1/2 teaspoons baking soda
1/2 teaspoon kosher salt
1/2 cup vegetable oil
1 1/4 cup hot water
1 tablespoon vanilla extract

for the mint Italian meringue buttercream:
3 egg whites
1/2 cup plus 1 tablespoon sugar
pinch salt
1 tablespoon water
2 sticks butter, cut into chunks, softened but cool
drop peppermint extract
drop green food coloring, if desired

for the ganache:
1 ounce unsweetened chocolate
4 1/2 ounces semisweet chocolate
2 tablespoons sugar
big pinch salt
1 ounce (heaping tablespoon) corn syrup
4 tablespoons butter

directions:
Make the cakes: preheat oven to 350 degrees F and grease and flour 3 6-inch pans.
Whisk flour, sugar, cocoa powder, salt, and baking soda together.
Add all the wet ingredients at once while whisking.
Pour batter (will be liquidy) into prepared pans and bake for 20-22 minutes, until springy to the touch and a tester comes out clean; allow to cool completely.
Meanwhile, make the buttercream: place egg whites in the bowl of a stand mixer fitted with the whisk attachment.
Place salt, water, and sugar in a small pot over medium heat; begin whipping the egg whites.
When the syrup reaches 240 degrees F, the egg whites should be at soft to stiff peaks.  Carefully pour the hot syrup over the whipping egg whites, avoiding the whisk so that there is no splattering.
Whip meringue until it has reached body temperature; whip in butter 2 tablespoons at a time.
Add in the peppermint extract and food coloring and beat until buttercream is shiny, fluffy, and smooth.
Set aside while you prepare the ganache: melt all ingredients together in a microwave or double boiler.
Place in a blender or blend with a stick attachment until smooth, shiny, and glossy, about 1 minute.
Remove 1/3 of the ganache and set aside.
Place the rest of the ganache in the fridge and allow to set softly, about 30 minutes.
Remove from fridge and whip until soft and fluffy, about 2 minutes.
To assemble the cake: spread first layer with 1/3 of the whipped chocolate ganache, then place the next layer on top and repeat.
Frost the exterior of the cake with a crumb coat of the buttercream, then refrigerate for at least 30 minutes to set.
Finish icing the exterior of the cake with the remaining buttercream, then place in the fridge for another 30 minutes.
If the reserved ganache has set, simply microwave it for 10 seconds until it is smooth and flowing once more; drip or pour the ganache over the edge of the cold cake; it will set as it drips down the side.
Allow the cake to come to room temperature, and serve!

For Sansa

IMG_8900_01

Valar morghulis.
Valar dohaeris.

IMG_8913_01

Finally, finally, finally.
After months of agonizing waiting, frenzied reading, and greedy marathon-watching, Season 4 of The Best Show Ever Made is here.
It premiers tonight.  HBO.  Don’t miss it. (Have you seen the new trailer?)

It’s April 6th.  Game of Thrones.  Season 4.  Premiers. Tonight. Be still, my beating heart.

IMG_8918_01

I recently finished A Dance with Dragons, the 5th book in the series.
George R.R. Martin takes no prisoners.
I am so transported by his writing, and the show even more so, I dare say.
I’m really glad that I watched part of the show before reading the books, which is a first, because the sets that they dream up are truly magical and fantastic, arguably better than what my imagination would have filled in.
This way, when I read the books, I can visualize the characters and their homes and country very clearly.
Normally, I’m an advocate for experiencing a series the opposite way, books first, then movie/T.V. show, but Game of Thrones is special.
It’s a cinematic masterpiece.

I’ve rewatched season 3 for the 90th time, and I have this on repeat while I study daydream all day and snack on these cakes.
I am so ready, y’all.  I can’t even express it.

IMG_8909_01

Sansa: “Lemon cakes are my favourite!”
Lady Olenna: “So we’ve heard.”

(Our first introduction to Lady Olenna, that marvelously dry and brutal little bird.)

Poor, miserable Sansa.
We can only wait for her luck to turn around and her life to stop constantly falling to pieces (or die, knowing G.R.R.M).
She really does love lemon cakes, as is made abundantly clear by all the mentions of these little treats.

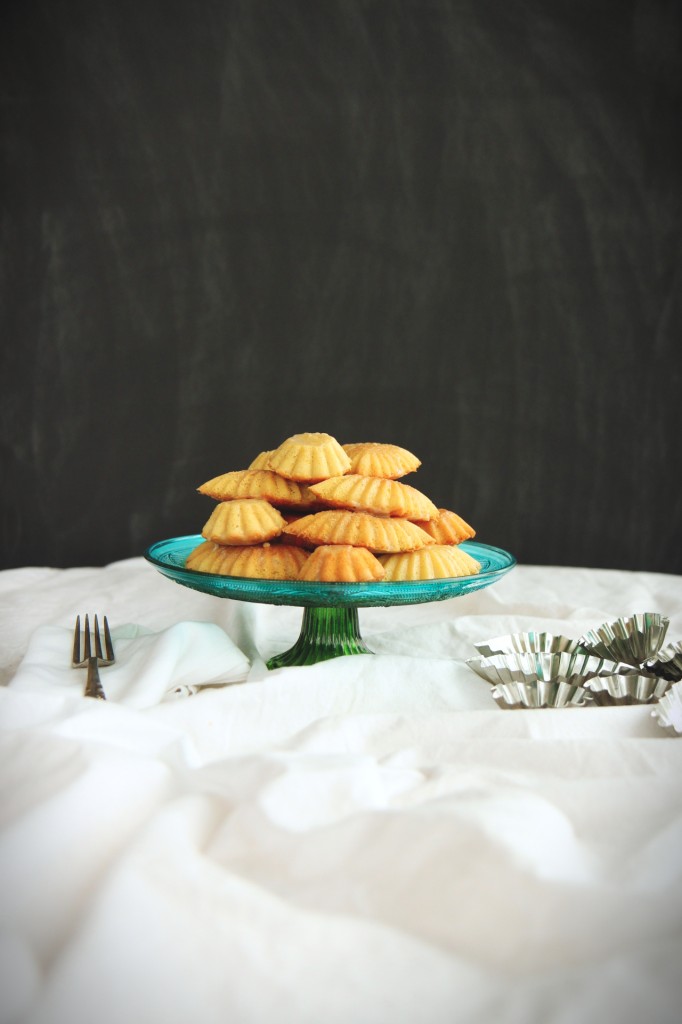
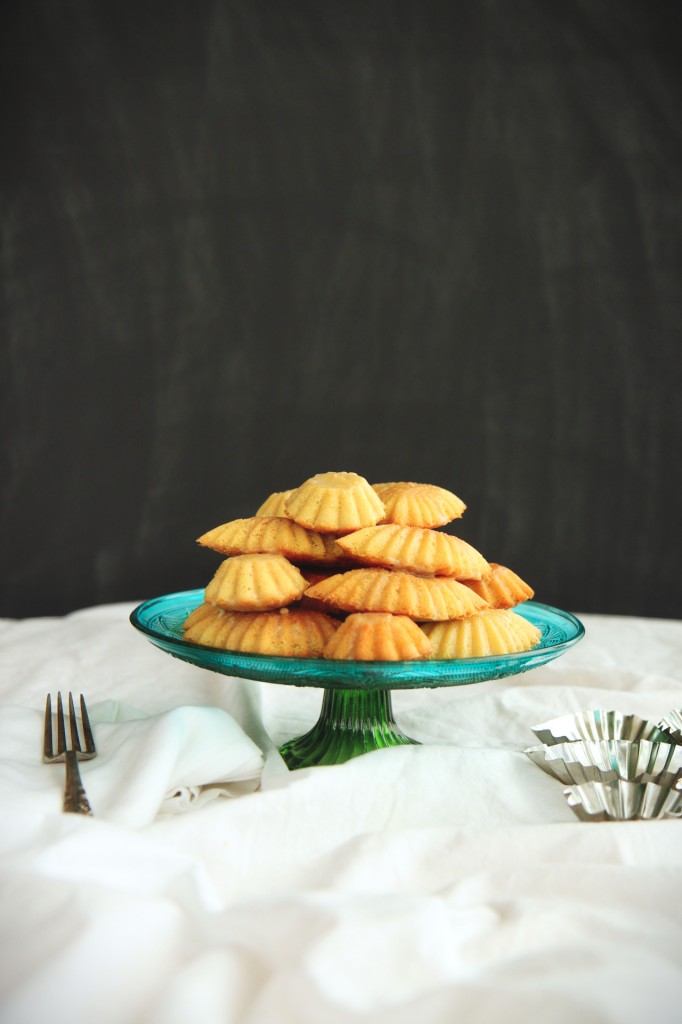
In honor of her, I made dainty lemon cakes to share today.
These are incredibly quick to make, about 40 minutes from start to stuffing them in your face.
These have only seven ingredients, and no chemical leavening!  If we are really trying to be accurate, these cakes come incredibly close to ingredients available in Westeros.

IMG_8905_01

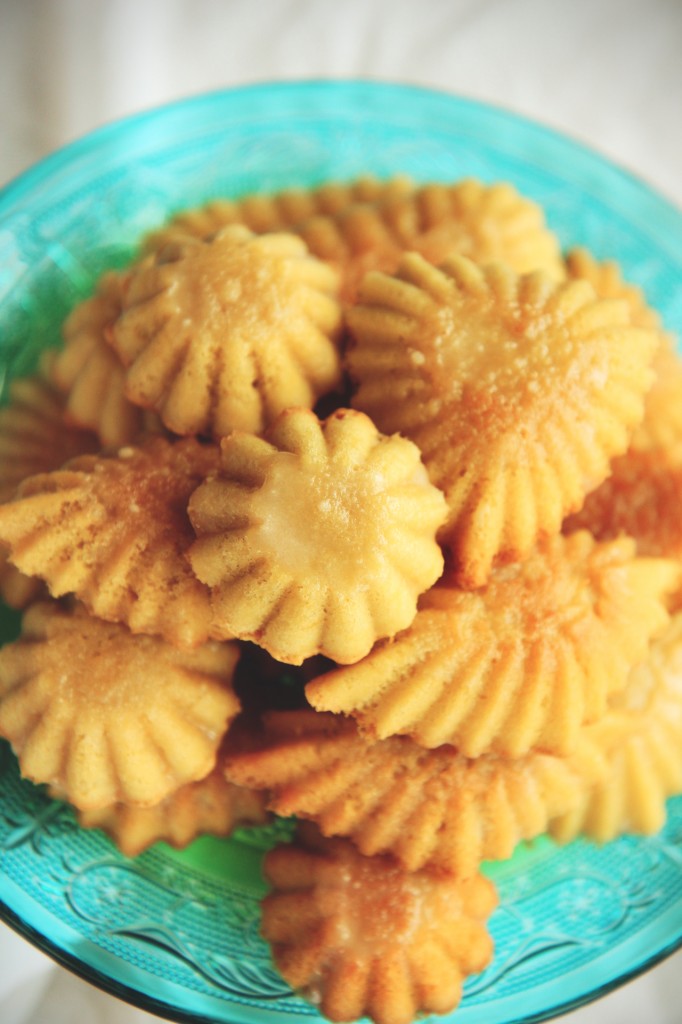
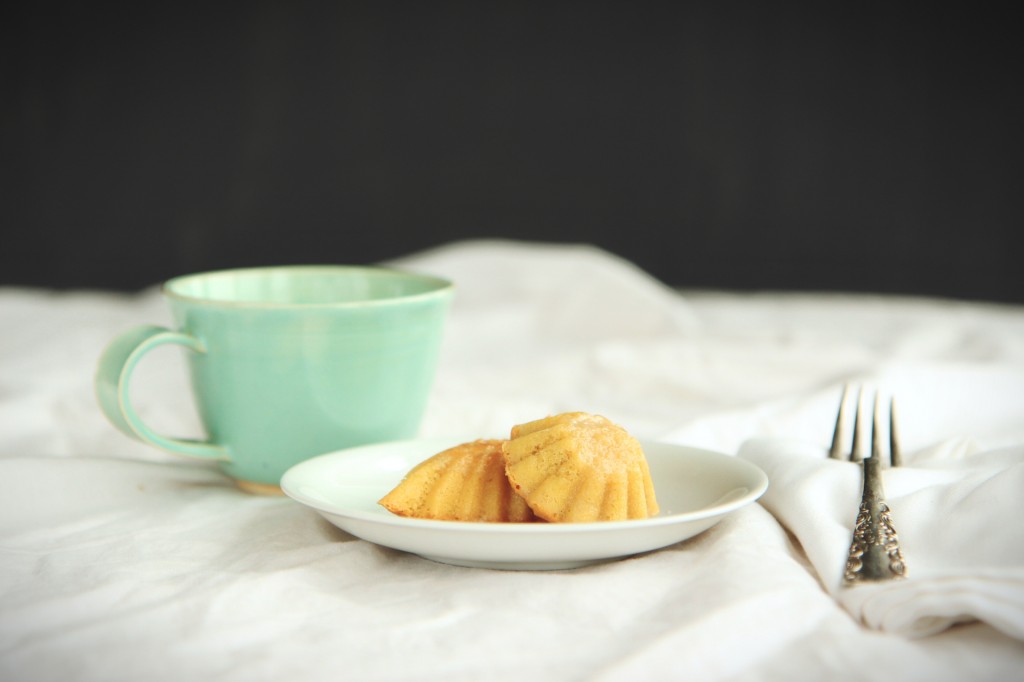
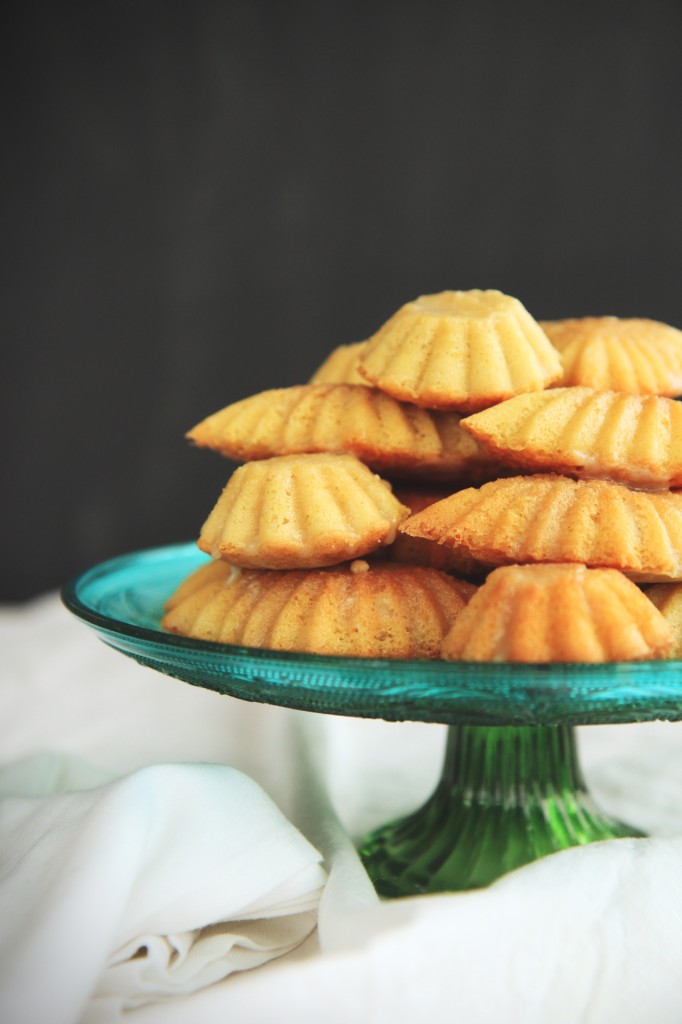
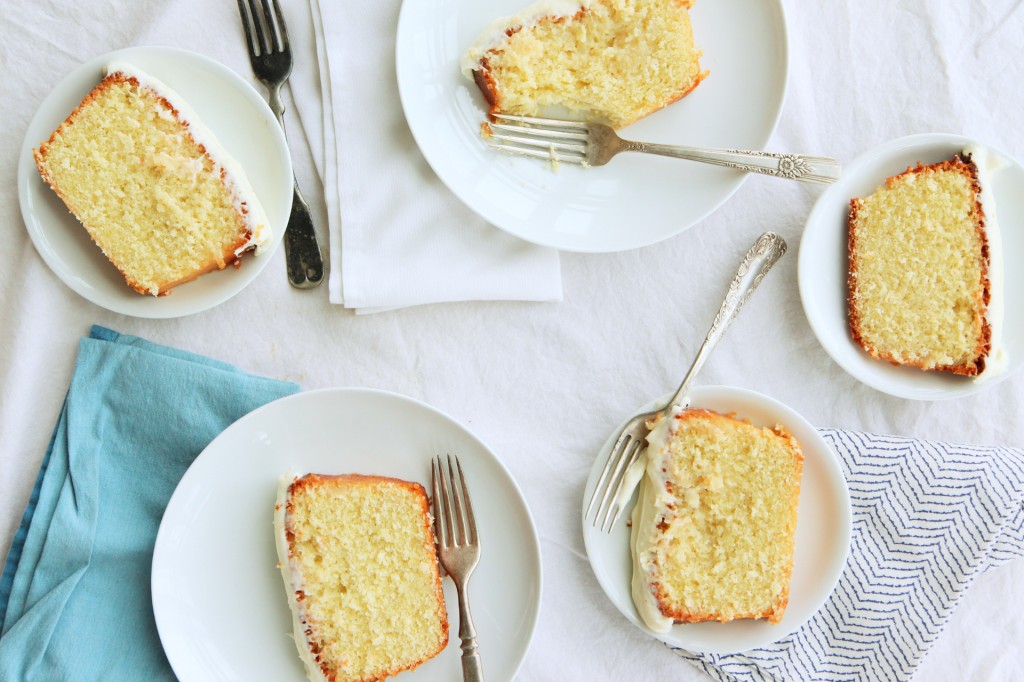
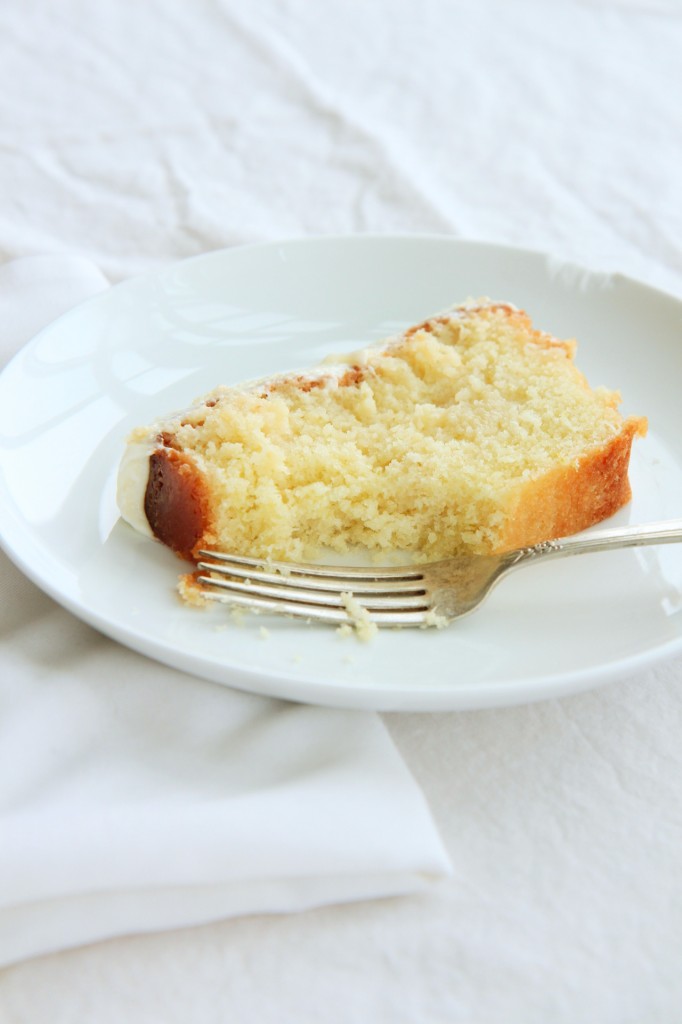
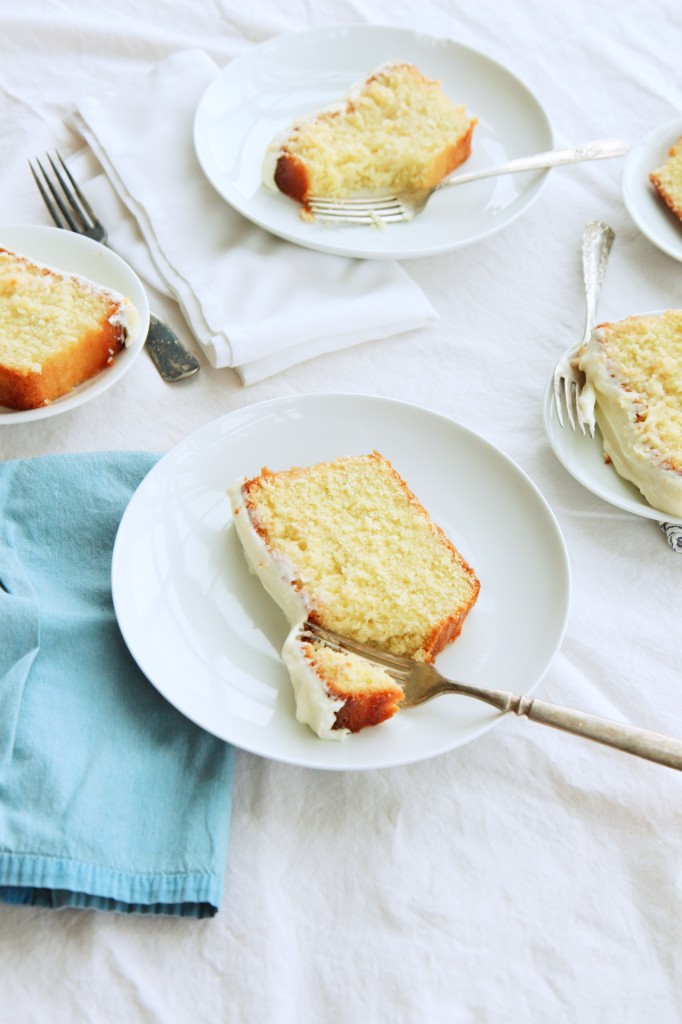
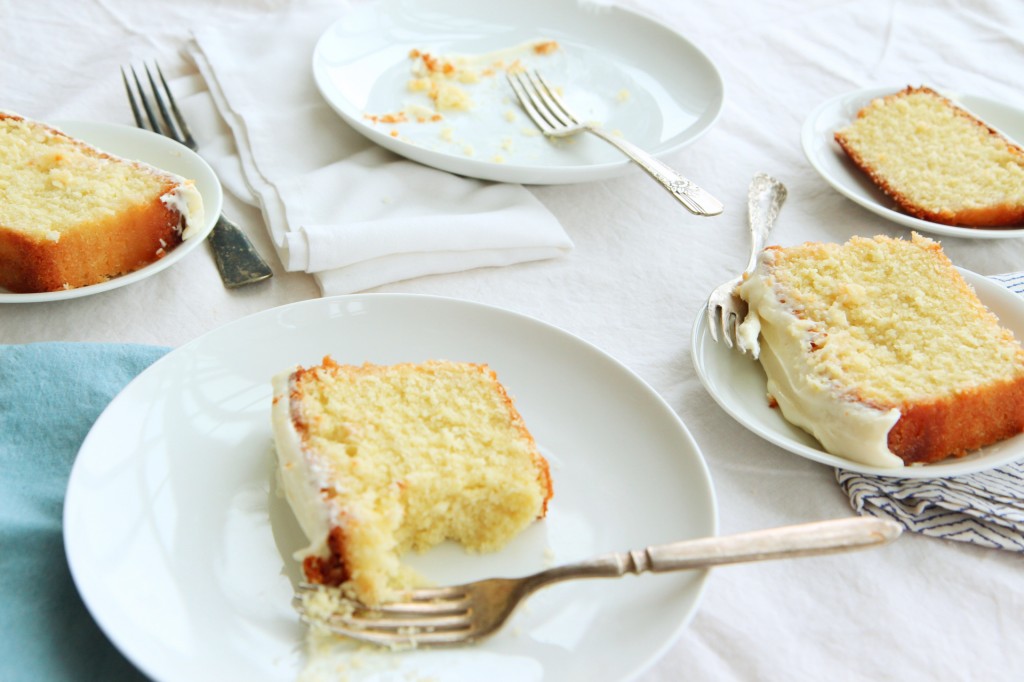
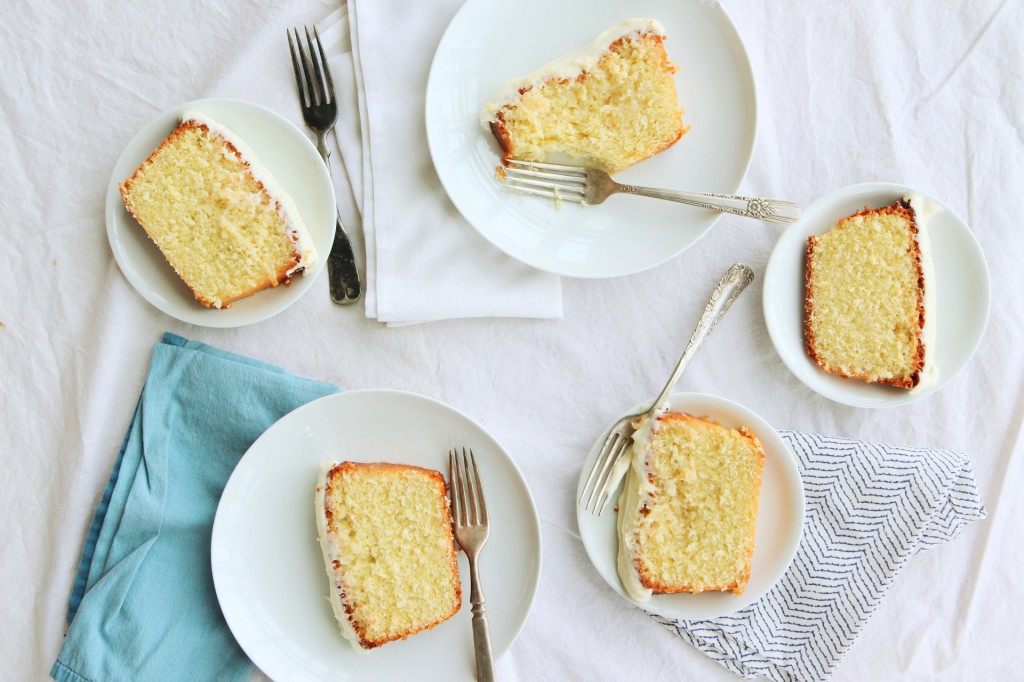
The cakes are light and delicate, crumbly and ever so slightly sweet, buttery and full of lemon, the glaze sticky and luxuriously tangy.

Where the glaze sinks into the warm cake, pockets of puckery sweetness form, prompting a finger licking so as not to lose any of the precious, sticky icing.
The cakes themselves are redolent with butter, vanilla, and lemon, with a fine textured crumb and crisp edges.
I think they’d go over quite well with Lady Sansa of House Stark, and they will fit right in as a snack during the premiere tonight.

These are best served with a piping hot cup of milky black tea and the heads of your enemies.

IMG_8921_01

Sansa’s Lemon Cakes
makes 15-18 small cakes

ingredients:
for the cakes:
6 ounces (1 1/2 sticks) butter, plus extra for greasing the pans
4 eggs
2/3 cup sugar
pinch sea salt
zest of two lemons
1 teaspoon vanilla extract
3/4 cup flour

for the glaze:
1/4 cup plus 2 tablespoons granulated sugar
5 tablespoons fresh squeezed lemon juice
1 tablespoon water
2 tablespoons dried milk powder
1 tablespoon butter

directions:
Make the cakes: first, brown the butter until very dark, almost burnt, then strain out the solids by pouring the butter over a mesh sieve lined with 2 paper towels.
Allow to cool, then squeeze out the extra butter in the paper towels and set aside to cool to room temperature.
Preheat oven to 350 degrees and butter your mini muffin tins or mini tart shells very well with melted butter– be sure to get in all the grooves.
Place eggs in the bowl of a stand mixer fitted with the whisk attachment with a pinch of sea salt and begin to beat on high.
Meanwhile, zest 2 lemons into a bowl with the sugar and rub very well with your fingertips to release the essential oils.
When eggs are beginning to become light colored and fluffy, start to slowly stream in the lemon sugar.
Whip for about 6 minutes, until quadrupled in size and very light colored.
Pour in the vanilla and beat until combined, 10 seconds.
Sprinkle the flour on top of the eggs, then pour the cooled butter over the flour.
Gently fold batter to combine, being sure to incorporate any pockets of flour.
Batter will deflate slightly, but still be very light when you are done folding.
Scoop rounded tablespoons into your pans, filling them 2/3 of the way full.
Bake for 15 minutes, until deeply golden and springy to the touch.
Immediately turn the cakes out of their molds, and set aside while you make the glaze.

Make the glaze: place sugar, lemon juice, and water in a small pot.
Heat until boiling and bubbling, cook for 1 minute, then whisk in the milk powder and butter.
Whisk very well; glaze should be sticky but homogeneous and still pourable when hot.
Pour a teaspoon or so of glaze over each warm cake, then set aside to cool and set.

Enjoy with tea!

All Hail

IMG_8704_02

My good lords and ladies, would you care for a bloody poofy woolly biscuit?

IMG_8727_02

What, that doesn’t sound appealing to you?!
Allegedly, that’s what Lord Lamington, after whom these little confections may or may not be named, was fond of calling them, and not exactly lovingly.

The history of the lamington is a bit convoluted, with different stories attributing its origin to various sources.
They’re quite widely popular, so there must be something behind them.

Lamingtons are enjoyed from Queensland to Toowoomba to South Africa to… Cleveland.

(In other Australia-related news… more weird ass marsupials discovered on the only freaky continent to boast marsupials!)

IMG_8722_02

When I found some desiccated coconut in the famed and fabled land of Hyde Park Produce, I knew instantly I had to make lamingtons. (After, of course, I stirred heaps of it into this cake and this cake, too.)

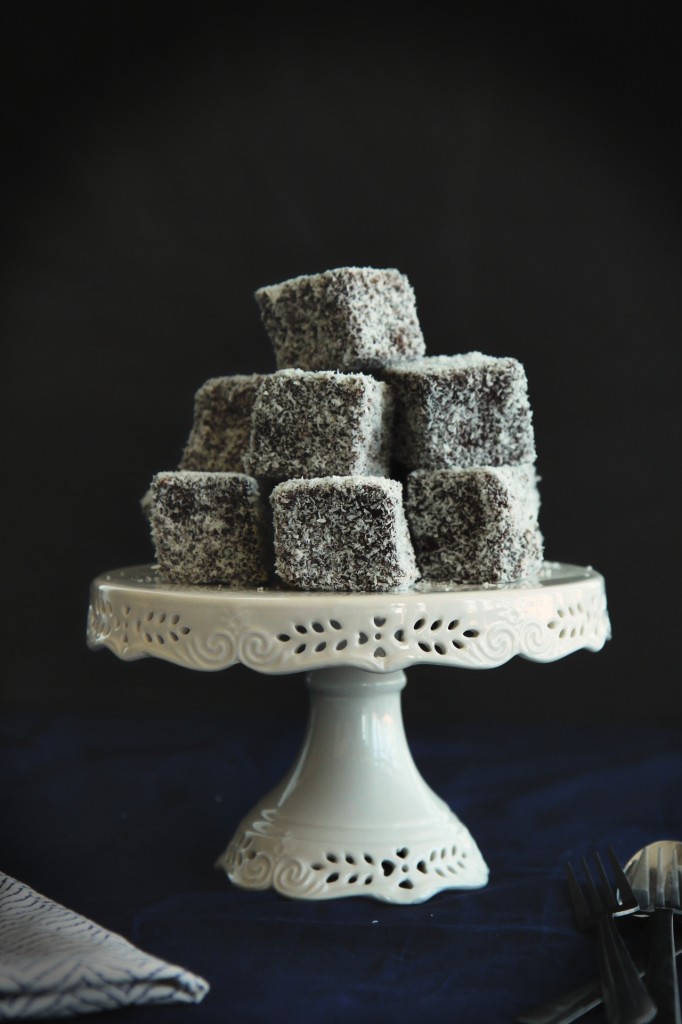
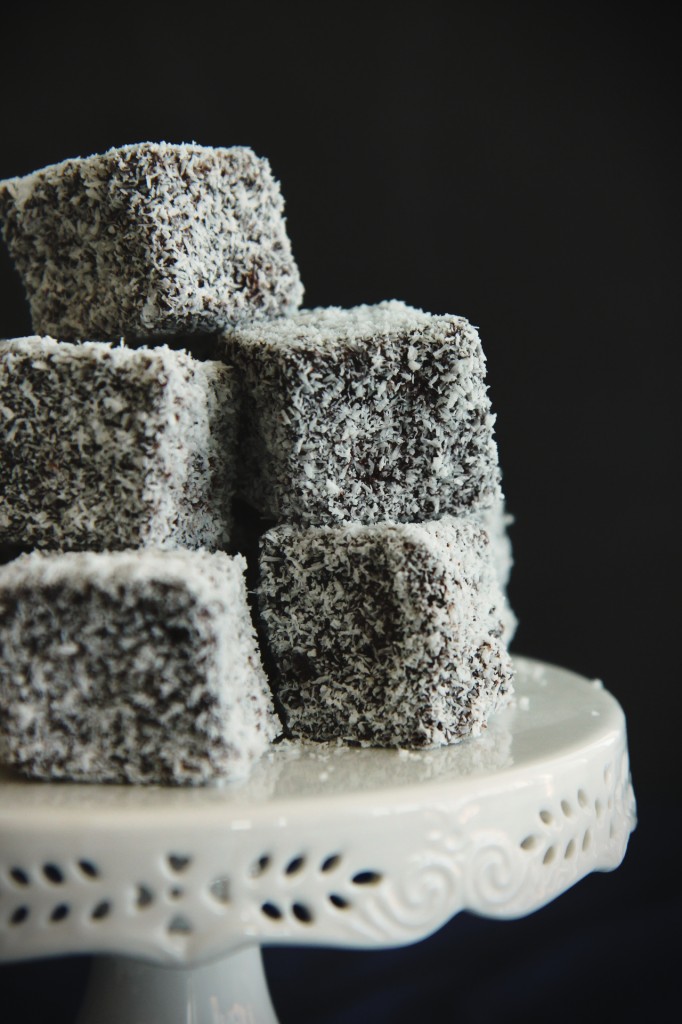
The traditional form is a cube of vanilla sponge cake, sometimes split in two and filled with jam, dipped in chocolate glaze and covered with coconut.
I didn’t deviate too much, because I’ve never tried a real lamington!

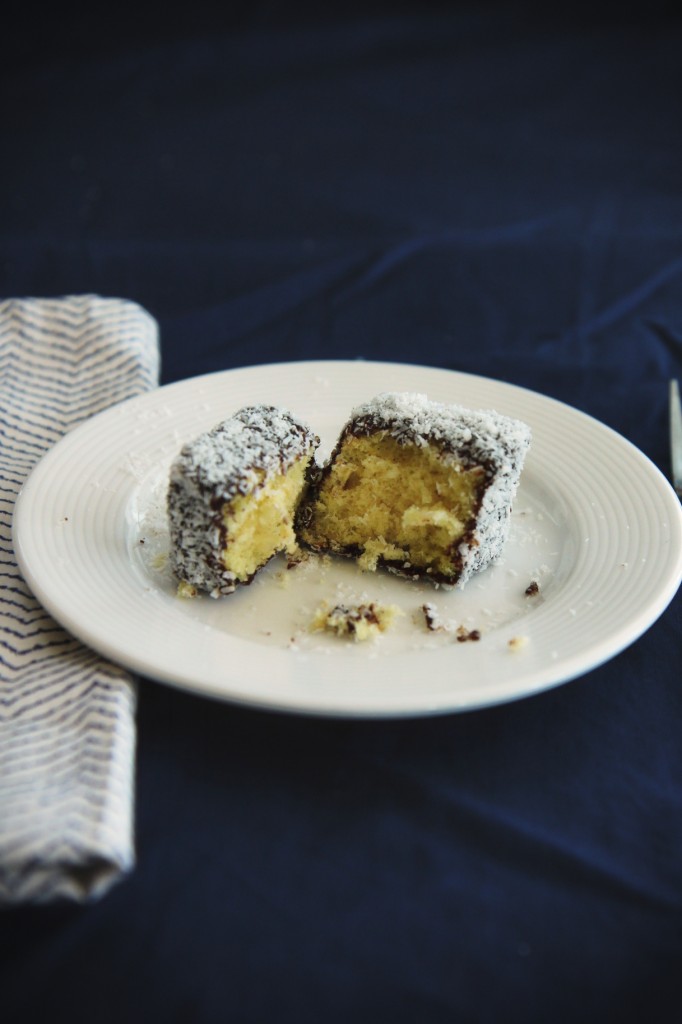
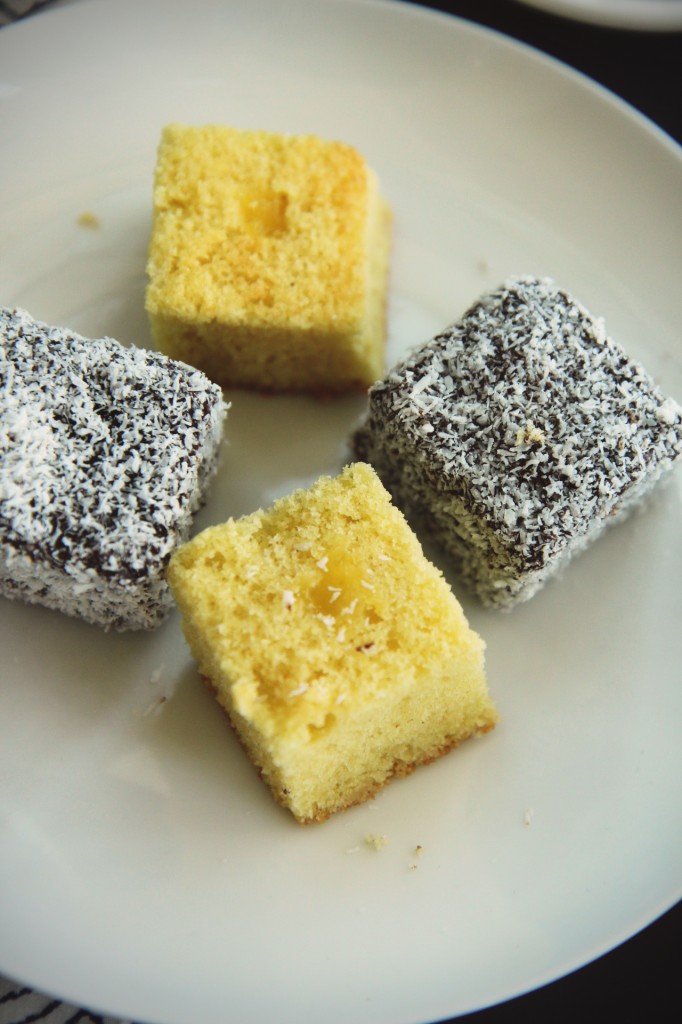
Here, a moist, light vanilla sponge cake is filled with rich, thick coconut pastry cream, coated in a dark bittersweet chocolate glaze and dusted with plenty of chewy, nutty desiccated coconut.

Lord Lamington must have been crazy, because these treats are fabulous.
They’re really not sweet, with a myriad of textures: the sponge cake is fluffy, the coconut cream buttery, the glaze melty and the coconut shreds are chewy.
The flavors meld beautifully, with the coconut pastry cream giving an aroma of coconut to the interior as well as the exterior, the thin shell of chocolate not overpowering the delicate vanilla or coconut.

These were snapped up from my house table ridiculously quickly; people remarked how pretty and how delicious they were.
(Nary a “bloody poofy wolly biscuit” to be heard!)

IMG_8753_02

A few notes about making these poofy little delights:

Trim the edges off your sponge cake! This keeps it moist and allows you to level any imperfections off.
Don’t worry too much if your cubes are kind of wonky, mine were like that too.  They taste just as good.

If your pastry cream is a bit thick, just stir it around vigorously, or fold in stiffly whipped cream.
The pastry cream recipe unavoidably makes more than you’ll need, but you can use it to sandwich more cakes, or thin it with a bit of milk or cream for coconut pudding!
To pipe it into the cake, don’t be shy.  Stick the tip of your pastry bag into the center of the cake and apply pressure.
As the crevices in the sponge cake fill up, the tip will be shoved out of the cake, and you’ll know that it’s full!

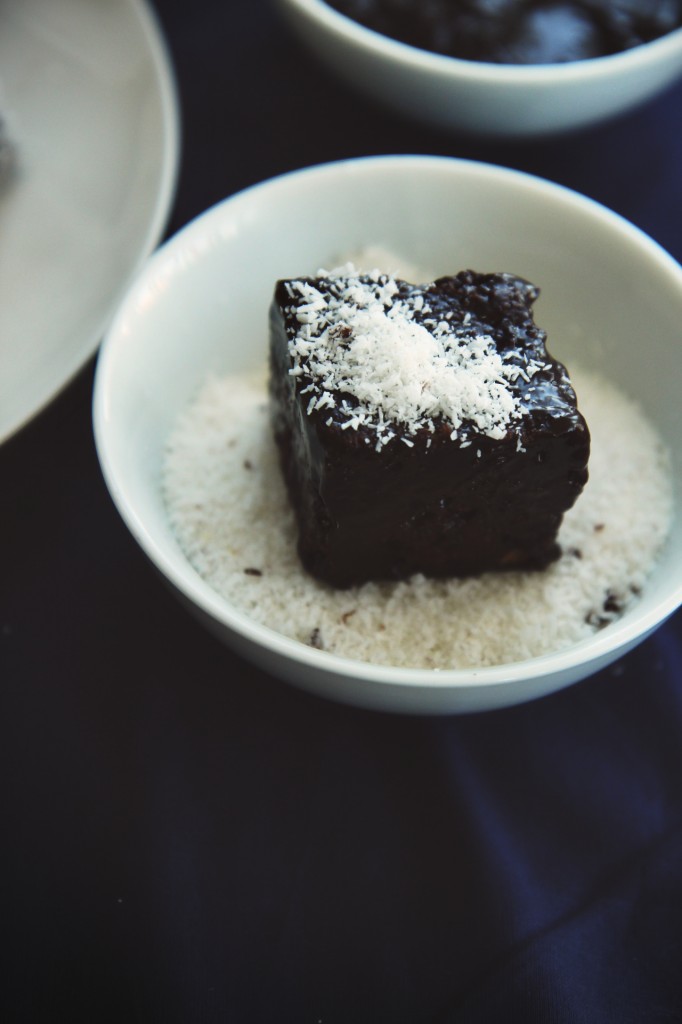
When covering the cakes with the glaze, less is more.  Scrape off as much as you can, leaving only a thin lacquer of chocolate.  Otherwise a lot of it will drip into your coconut, and the cakes won’t be as neat.

Desiccated coconut may be a little difficult for some to locate; look for it in ethnic sections or ethnic supermarkets (mine was an Arabic brand).
If you can’t find it, it seems that flaked or even shredded coconut does the job well enough.
Don’t let the coconut hold you back from trying lamingtons!

As always, serve with a good strong cup of milky English tea.
(Yes, Australians have teatime too, thank you O Great British Empire.)

P.S. I’m back in the States.  Woohoo. So glad…  I can feel my tan fading already.  Great.

IMG_8760_02

Coconut Cream Lamingtons
makes 16
cake portion adapted from Saveur
pastry cream adapted from the Kitchn

ingredients:
for the sponge cake:
3 eggs
1/2 cup sugar
1/2 teaspoon kosher salt
1 teaspoon vanilla
8 tablespoons butter, melted
1 cup flour
1 teaspoon baking powder

for the pastry cream:
3/4 cup full fat coconut milk, well stirred
1/4 cup sugar
2 tablespoons flour
big pinch kosher salt
2 egg yolks

for the ganache:
6 ounces bittersweet chocolate, chopped (approximately 1 cup)
scant cup powdered sugar
1/4 cup cocoa powder
3 tablespoons milk (feel free to use coconut milk)
pinch salt
1 1/2 tablespoons butter

to assemble:
1- 2 cups desiccated coconut

directions:
Make the cake: grease and flour an 8×8 pan.
Preheat oven to 350 degrees F.
Place eggs in the bowl of a stand mixer fitted with the whip attachment.
Whip on high for 3 full minutes– set a timer.
With the mixer running, add the salt and slowly stream in the sugar.
Beat for another full 3 minutes– set a timer.
Whisk the vanilla extract into the melted butter, then pour it into the whipped eggs.
Dump the flour (gently) on top, then add the baking powder to the flour mound.
Gently, using folding motions, incorporate the butter and flour into the eggs.
The batter should be homogeneous– you will have to mix thoroughly yet gently– but not completely deflated.
Spread the batter into the pan.
Bake for 25-30 minutes, until a tester comes out clean and the cake is golden.
Allow to cool completely, then slice off the edges and top so that it’s all level.
Meanwhile, make the pastry cream: blend all ingredients except vanilla together, either with an immersion blender or in the canister of a regular blender.
Pour into a small saucepot and cook over medium heat, whisking constantly, until thickened to a pudding-like consistency.
Remove from heat, blend again if there are chunks, and allow to cool before filling lamingtons.
Make the ganache: melt the chocolate, gently, in a double boiler or in the microwave.
Add in the powdered sugar, cocoa powder, milk, salt, and butter, and blend with an immersion blender (or, again, in a regular blender or food processor) until shiny and smooth.
Ganache should be thin enough that it will not pull many crumbs off the cake, so add another tablespoon or two of milk if need be.
To assemble lamingtons, slice cake into 16 cubes.
Fill a pastry bag fitted with a plain tip with the coconut pastry cream; stick the tip into the center of a cube of cake and fill until the pressure forces the tip out of the cake.
Dip the cakes into the ganache, being sure that the chocolate coat is very thin, not thick and heavy.
Brush any excess ganache off, then roll the wet cube in coconut.
Set on a parchment-lined baking sheet to set for at least 2 hours.

Sweet Relief

IMG_86691

Then a calm, solemn pleasure steals
into your inmost mind;
a quiet aura your spirit feels,
a softened stillness kind.

–Charlotte Brontë

IMG_86451

It’s been a bit quiet around here, unusually so.  Have you missed my whining?
Probably not.

But I’m back anyways!  Sort of.

Finals are over!  I can now melt into a puddle of delicious laziness; I can and I promptly will.
Lord, does it ever feel good to relax.

IMG_86811

I’m on vacation for spring break.
No, not an SBK2014-rage-your-face-off-throw-up-on-the-beach-by-day-club-hop-by-night type vacation, but a quiet, revitalizing trip.
(The former isn’t quite my style or speed, in case you hadn’t realized.)

I’m in Mexico, having an utter blast and seriously luxuriating in the heat.
I plan on getting tan (sorry mama!) and drinking a lot of piña coladas (not sorry), exploring the beach and eating a ton of fruit.
(Also, Netflix.  Currently watching Pirates of the Caribbean.  Um, Orlando Bloom.  Swoon.)

All in all, this is shaping up to be a swell break.

¡Viva Mehico!

IMG_86601

Since I’ve now forced my happy, warm, tropical vibes into your mind, I’ll share some with you, in the shape of a delicious cake.  Huzzah!

This cake is wholly dairy-free, and could easily be made vegan with a flax egg or egg replacer and vegan chocolate for the frosting.
This cake is part whole wheat, and is chock full of good fats from the coconut and macadamia nuts.
Coconut comes in three forms: oil, meat, and milk.

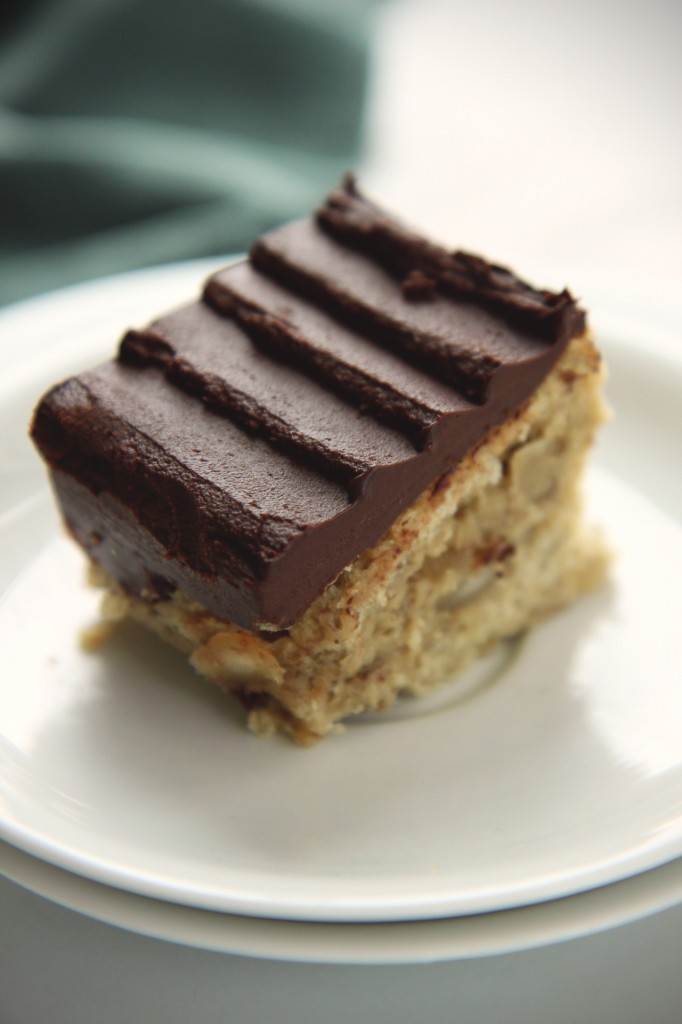
Sweet bananas, creamy coconut, buttery macadamias, nutty whole wheat flour, rich, dark chocolate.

This is a one bowl cake, with an ideal texture for banana cakes: a good bite, moist and sweet, but not mushy or cloying.
The frosting is not sweet at all, and adds good bitter notes to the dessert.
This is a winner, for sure.

IMG_86571
Some notes on the recipe:
Use brown, brown, nasty looking bananas.  The browner, the better.  Brown, spotty, mushy ones will be sweeter and more flavorful in the finished product, though they are gross eaten out of hand.
This is because the sugars have begun to break down, creating flavor and scent molecules which enhance the cake.

You can use 1 can of full-fat coconut milk for this recipe; refrigerate it overnight and scrape off 1/2 cup of the thick cream at the top for the ganache, then whisk the rest together and measure out 3 tablespoons of this milk for the cake.
Scraping the cream for the ganache is the same procedure as making coconut whipped cream; here are two good tutorials— just skip the whipping part.

You can easily use sweetened flaked coconut in place of the desiccated, if that’s all you can find.  Use a little over 1/2 a cup to get the same amount of flavor.

Feel free to leave the macadamia nuts out; I think they add a lovely tropical flavor, but some people don’t like them.

You can use a mixture of semi-sweet or bittersweet chocolate, but definitely don’t use milk chocolate.  It will be too sweet.

So hello, hello, from the tropics.  I’m glad to be back– I’ll be posting, even from down here, so don’t you worry.
Just start with this cake.  More on the way.

IMG_86821

Tropical Coconut Banana Cake
cake portion adapted from The Galley Gourmet
makes 1 8×8 inch cake

for the cake:
4 ounces (approximately 1/2 cup) coconut oil, solid
1 cup granulated sugar
1/2 teaspoon kosher salt
1 extra large egg, at room temperature
3 medium bananas, mashed
3 tablespoons coconut milk
1 teaspoon pure vanilla extract
1 teaspoon apple cider vinegar
2 tablespoons cornstarch
1 cups plus 2 tablespoons white whole wheat flour
3/4 cup all-purpose flour
1 teaspoon baking powder
1/2 teaspoon baking soda
3/4 cup macadamia nuts, roughly chopped
1/2 cup desiccated coconut

for the ganache:
1/2 cup coconut cream
5 1/2 ounces of semi-sweet chocolate, finely chopped

directions:
Preheat oven to 350 degrees F.
Grease and flour an 8×8 inch pan.
Place coconut oil, salt, and sugar in the bowl of a stand mixer and beat on high for 4 minutes, until fluffy and light.
Scrape the bowl and add the egg; beat for 3 more minutes.
Scrape the bowl and add the mashed bananas; mix slowly just to start to incorporate the bananas.
Add in the coconut milk, vanilla, and vinegar and stir once or twice to start to incorporate the wet ingredients.
Dump the flours on top, then the baking powder and baking soda on top of that.
Mix on high, starting slow and working up, until batter is completely homogeneous.
Stir in coconut and macadamia nuts.
Spread batter into prepared pan and bake for 35-40 minutes, until a tester comes out clean.
To make the ganache, heat the coconut cream until bubbling, then pour over chopped chocolate.
Whisk (or blend with an immersion blender) until shiny and smooth.
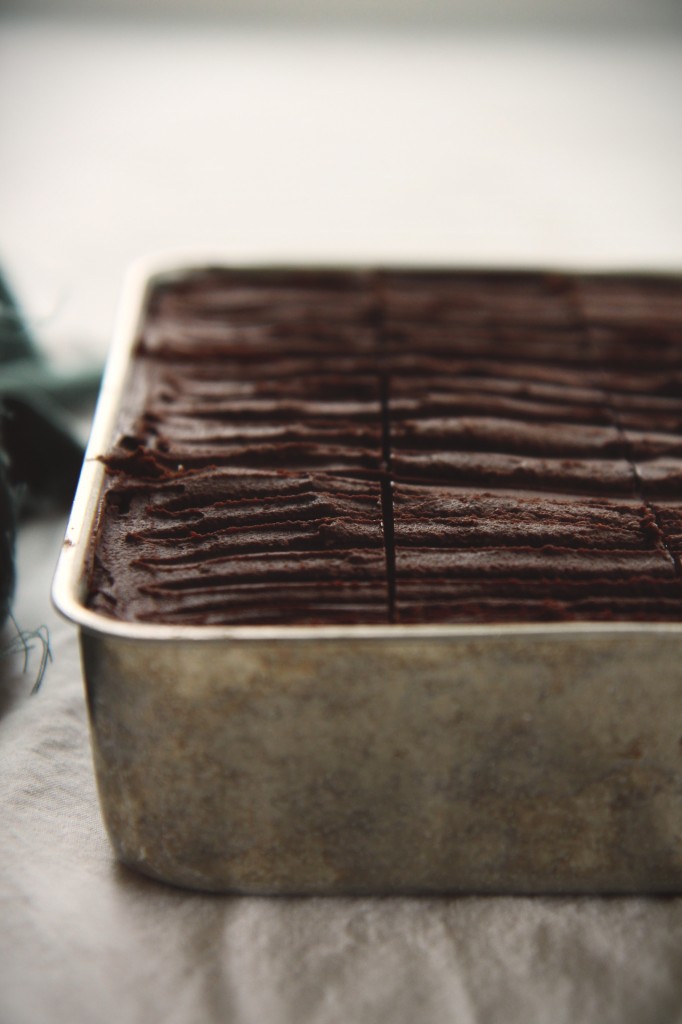
Allow to cool until spreadable, then frost cake.
Allow ganache to fully set before cutting cake.

It Gets Better

IMG_8454_01

“When I was a girl, my life was music that was always getting louder. Everything moved me.
A dog following a stranger. That made me feel so much. A calendar that showed the wrong month.
I could have cried over it. I did.
Where the smoke from a chimney ended. How an overturned bottle rested at the edge of a table.
I spent my life learning to feel less. Every day I felt less. Is that growing old? Or is it something worse?
You cannot protect yourself from sadness without protecting yourself from happiness.”

— Jonathan Safran Foer | Everything is Illuminated

IMG_8439_01

Eleven weeks has this year been.

Magically have the hours stretched into days, weeks, months.
In the moment, the minutes melted like molasses, yet here we are, looking back at the accumulation of time piled high like snow drifts.
The quarter gusted by, ruffling my hair, picking at the edges of my jacket, freezing my salty tears to icicles.

Time, that infallible, indefatigable soldier, marches on.
I pool myself at his knees, pull at his clothes, cry, implore him for more, more, more.
I beg a retreat, a repeat– just one– beg for second chances, for one minute, one hour longer.

But he is deaf, this cruel god.  There is no rewinding, no turning back.
Done is done; done is done, calls his war drum.
Onward we march.  Forward we go.

IMG_8496_01

Eleven weeks has this year been.

One, two, three months.  Two thousand fourteen.  Twenty fourteen.

The year began as a frenzy of tears, of dually joyous and grieving reunions, of family and love and support and then fell into a deep well of loneliness and numbness, of steely walls and wintry blues, of homesickness and exhaustion.
Slowly, though, 2014 stabilized to an equilibrium.
Just as there was sadness, there was celebration.
Just as there was remembrance, there was readjustment and renewal (even some resolutions).

Healing is not easy.
But you cannot protect yourself from sadness without protecting yourself from happiness.
One walks hand in hand with the other.
And so must we, as their waves beat down on our beaches, as they soften and change our malleable souls.
This submission is not comfortable; it is not easy.

We do not like to be changed.

IMG_8491_01

Yet what can I say?  It gets better.

Things get better.  I don’t eat dinner alone in the stairwell anymore, cold and alone.  I let warmth into my life.
I don’t cry when I’m falling asleep; I don’t cry when I wake up.  I smile, and stretch, long and satisfying.
I don’t feel like my lungs are collapsing in on themselves when I think about you.  I breathe deeper, and deeper still.
I don’t feel my heart break anew into a million pieces when I think about my father, his brothers, his mother.  It aches, but I embrace it.
I don’t feel like I’ve been punched in the gut when I hear your name.
(Although I did feel like I was being punched, repeatedly, when I heard your voice.  My body clenched and I started to sweat.  I listened to it over and over and over.)
I am so proud and so grateful, and I close my eyes and remind myself of that instead.

There were times when I didn’t think it would get easier.  When I felt hopeless, helpless, lost.
It did, though.  I see it more and more as this quarter draws to a close.
Never forgetting.  I miss you.  I keep your picture in my wallet for good luck on my tests.  I taped your picture to my wall– you’re a dreamcatcher for anything math-related because those kind of thoughts give me nightmares.
I’m sure you happily absorb them, and roll your eyes when they’re wrong.
No, never forgetting.
Just feeling my heart knit back together, feeling the rent be mended, one stitch of time by one.

Allowing it to get better.

gggg

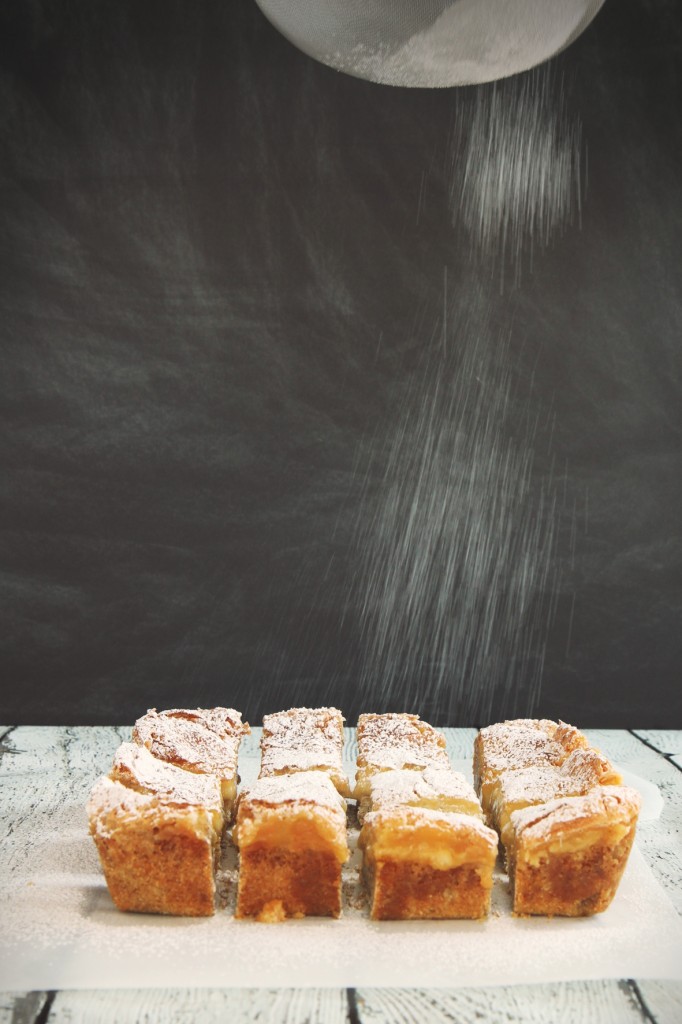
If there was ever something that you would think couldn’t get better, it would be St. Louis Gooey Butter Cake.
The name alone is enough to give this impression.  Gooey.  Butter. Cake.

But oh, friends, oh.  Does it ever get better.  In a word, yes.
Let’s be clear and upfront about what gooey butter cake is.

There are two versions: one is the more classic, yeasted bottom, butter topped coffeecake-like confection, and one is Paula Deen’s dump-a-buncha-butter into a cake mix and slather it with cream cheese decadence.  Christina Tosi makes a similar version.
That’s how you know it’s good.
1) the name
2) Paula Deen
3) Xtina Tosi

This is the decadent, preservative-filled type, but made better.  Made way, way, way better.
No box mixes.  Sans preservatives.  Still just as easy.

IMG_8458_01

First, the base.  Normally a box of yellow cake mix with a stick o’ melted butter added.
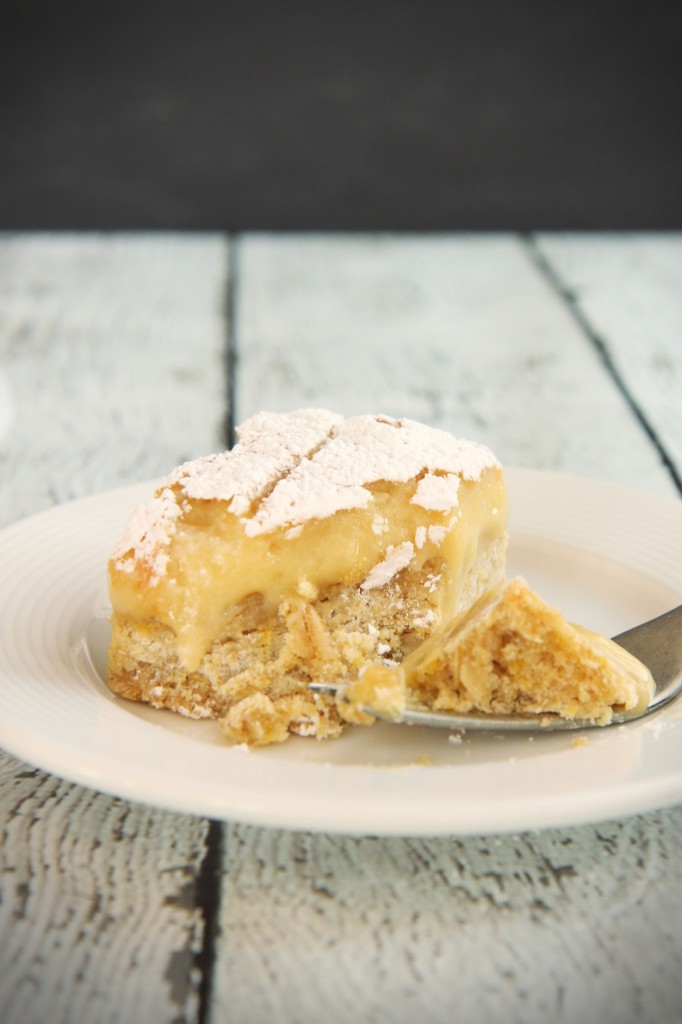
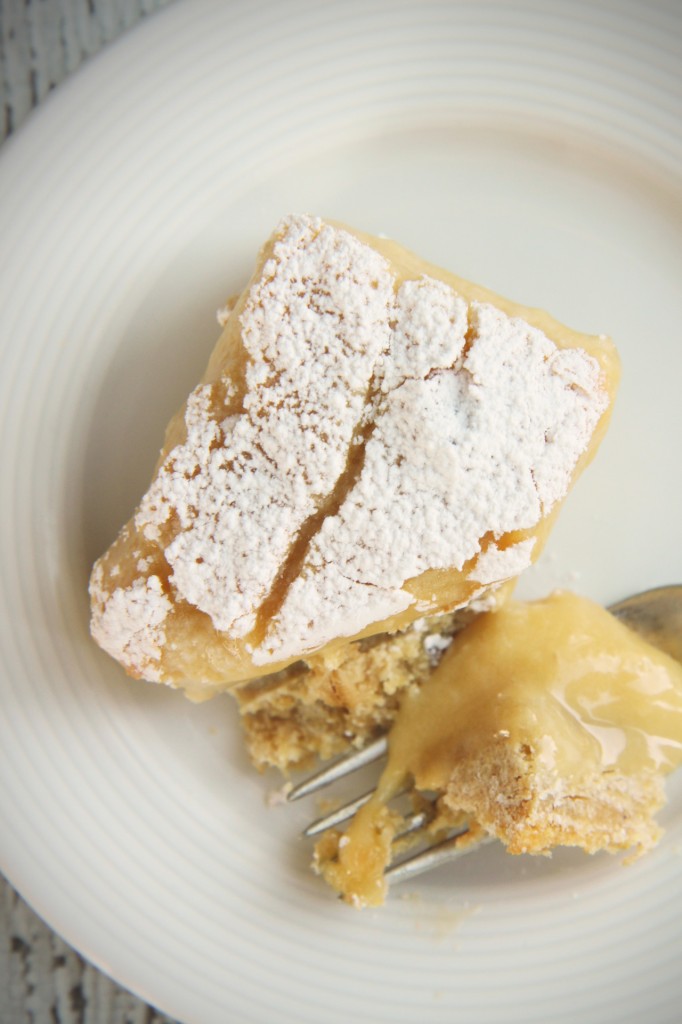
Here, oats, brown sugar, plenty of salt, and brown butter are stirred together, turning into a thick, soft cookie base, with a hearty texture and assertive flavor.

Next, the topping.  Cream cheese, more brown sugar, eggs, plenty of salt, and a heap of powdered sugar are beaten together to form the sticky, cheesecake-y layer.

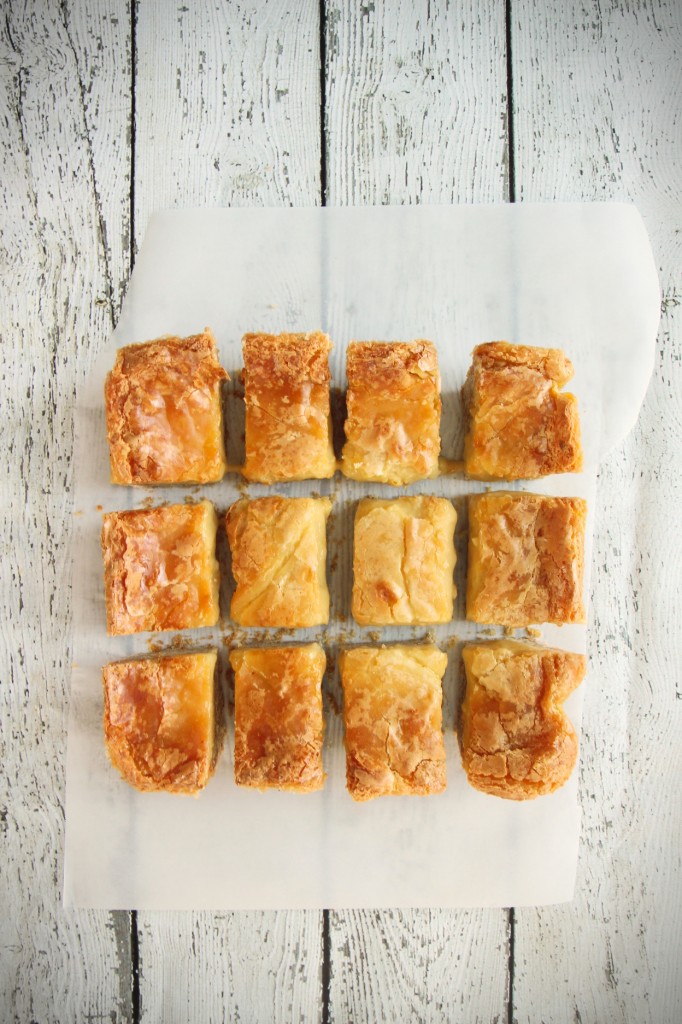
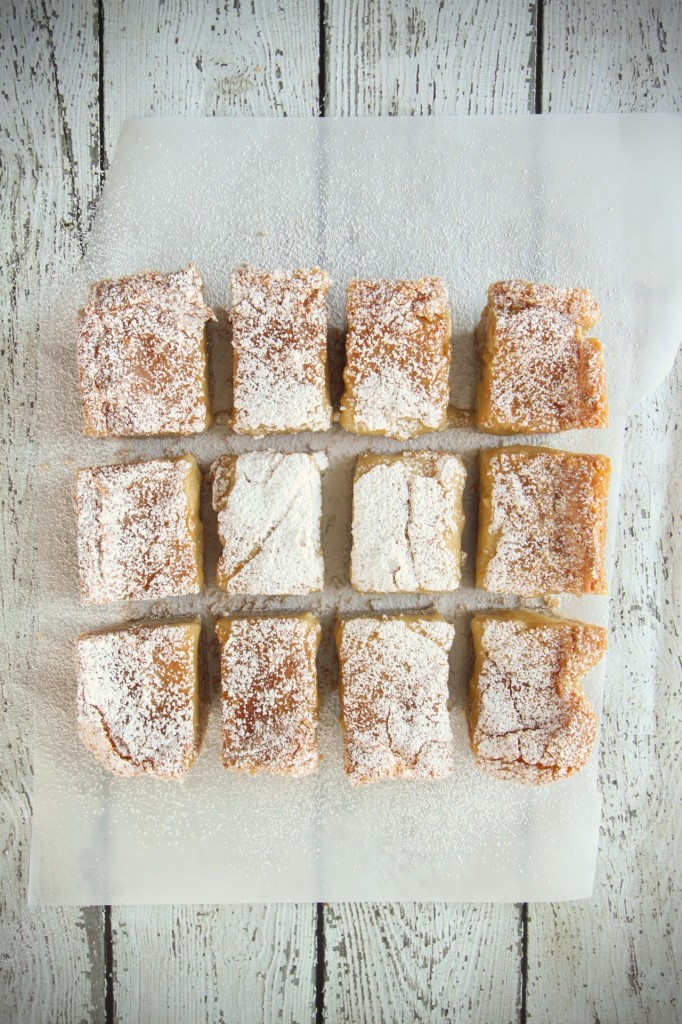
After it bakes, the top is cracked and deeply golden, and the whole thing smells like brown butter-brown sugar heaven.
Shut your eyes to resist its seductive temptation, and stick it in the freezer.  Overnight.  This is the hardest part of this recipe.
When it comes out the next day, it’s dense and chewy, yet maintains its eponymous gooey-ness.
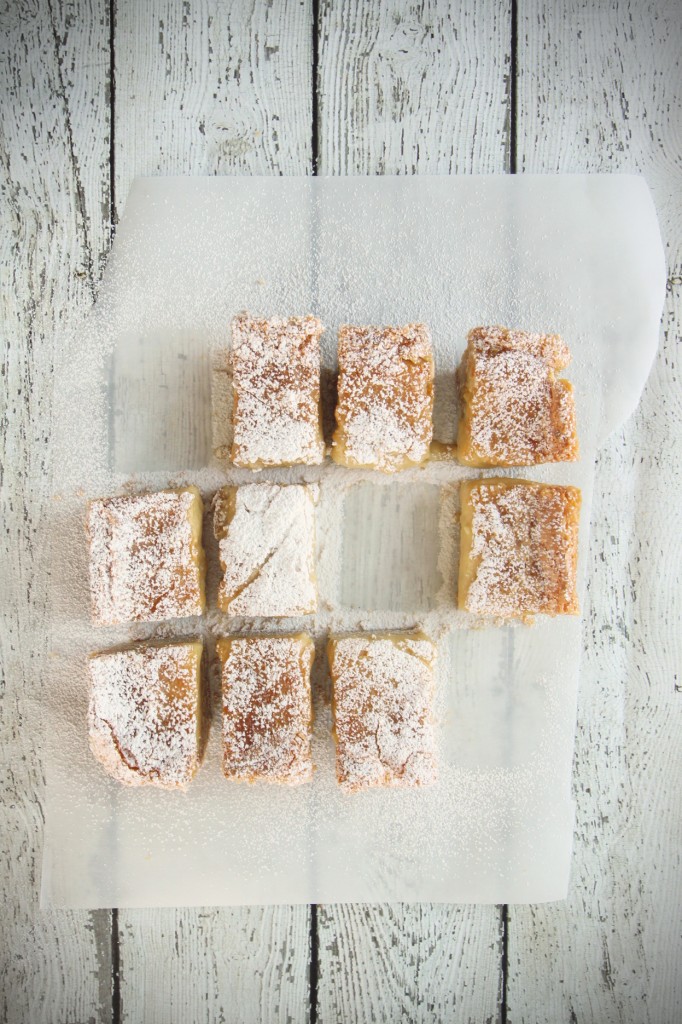
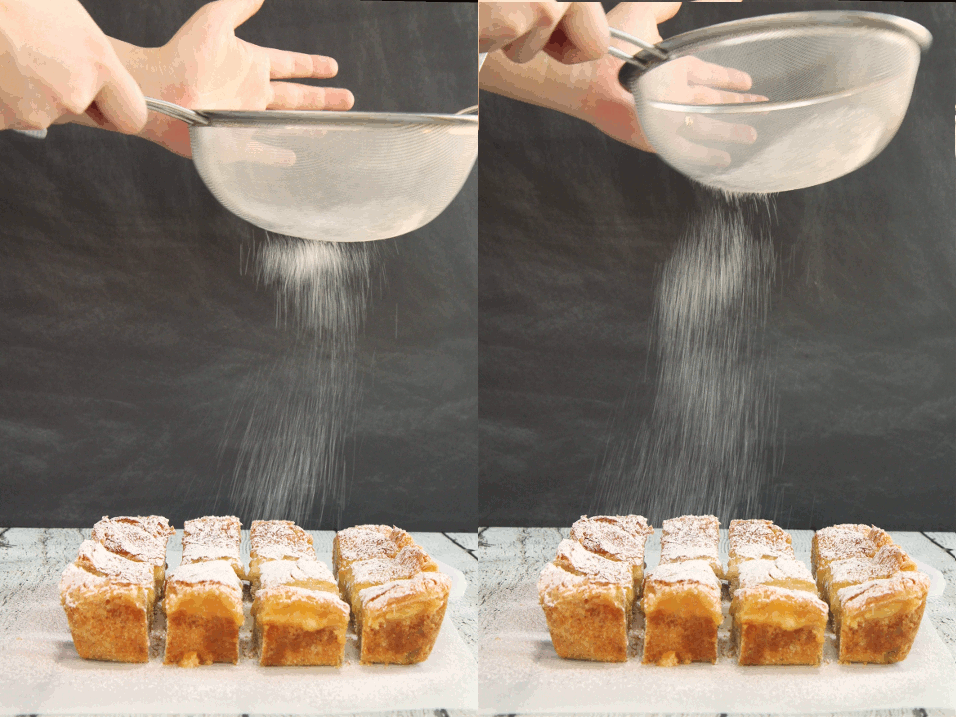
Dust it in more powdered sugar, slice, and dive right in.

One bite and there’s no going back.
It just got better, fam.

IMG_8509_01

Brown Sugar Oatmeal Gooey Butter Cake
makes an 8×8 pan
heavily adapted from Christina Tosi (originally via the now defunct Gilt Taste)

ingredients:
for the base:
3/4 cup rolled oats
1 teaspoon kosher salt
3/4 cup brown sugar
3/4 cup granulated sugar
1/2 cup (8 tablespoons) butter
2 egg yolks
1 egg
1 1/2 cups flour
1 tablespoon baking powder

for the topping:
8 ounces cream cheese
hefty pinch salt
6 packed tablespoons (3 ounces) brown sugar
2 eggs
1 tablespoon vanilla extract
3 1/2 cups (13 ounces) confectioner’s sugar

directions:
Preheat oven to 350 degrees F.
Line an 8×8 pan with parchment, then grease the parchment generously.
Place oats in the bottom of a bowl, then put sugars and salt mounded up to one side.
Place your butter in a heavy pan over medium heat.
After it melts, continue to cook it until it browns and becomes nutty and fragrant.
Pour browned butter over oats and allow to sit and marinate; after a few minutes, stir the sugars and salt together with the oats.
Beat in the egg and egg yolks.
Stir in the flour and baking powder.
Mixture will be crumbly but stick together when pressed.
Press into the bottom of your 8×8 pan; you will have some left over (leave 3/4 of an inch for the topping).
Prepare the topping:
Beat cream cheese and salt together until very light and fluffy, and no lumps remain.
Whip in the brown sugar until the mixture is no longer gritty, about 3 minutes.
Add in the eggs and vanilla and beat on high for another 3 minutes.
Sift the confectioner’s sugar over the top of the mixture and beat just until combined; scrape the sides of the bowl and make sure everything is homogeneous.
Spread the mixture over the crust, making sure it covers the entire thing.
Bake for 40-45 minutes, until puffed, golden, and crackly, with only a slight jiggle in the center.
Remove from oven and let cool; PLACE IN FREEZER for at least 4 hours, and up to one night.
To serve, remove from freezer and immediately slice; dust with plenty of powdered sugar.

Waiting, Wishing

IMG_8215_01

“into a star splintered
silence
I reach
with hopeful fingers
into the light
of distant
mornings
captive in the
unbloomed
flower.”

Paul Matsumoto

IMG_8224_01

Here is my feeble attempt to feed my soul warmth, sunshine, and goodness while the cold continues to bring Chicago Chiberia to its sorely frozen knees, joints creaking and complaining on the way down.
While the cold continues to send me racing in search of a hot tea, a hot coffee, a hot salted soy mocha steamer, prepared slowly, lingered over, enjoyed, a hot drink in a cold cold room.
While the cold continues to keep me bundled up, wool socks, shearling lined boots, down vests, coats, giant woolen scarves, thick mittens, layers layers layers for survival.
While the cold continues to leach any pleasure I derive from the weak winter sun that has been shining more often, that has been teasing, teasing always, fickle and teasing.

It’s so fracking cold here, y’all.

IMG_8235_01

Yes.  It’s cold.  And I’ve been busier than ever, nonstop work nonstop studying nonstop demands to be alert awake alive enthusiastic, wishing no more than sleep and rest and relaxation.

School has been overwhelming, with one big assignment following on the heels of the last: midterms, papers, psets, reading.  Labs, responses, eating (?), sleeping (?).
Last weekend was crazy.  My dad was visiting (lovely), there were big social events (that’s a nice change), and I had a million and one academic demands on my plate (which has become a miserably constant equilibrium).

I survived, though.  I survived.  And then came the cold.
And then came the weekend of 8th/9th week, when course requests are due, final midterms are spoken about in hushed tones, the whisper of finals and final papers forms on the tongue.

School, man.  It never ends here at UChic.  It’s like we like it or something.  I dunno.  Don’t ask me.

IMG_8230_01

Planning my schedule=major stress.
Finishing up big assessments=major stress.
Trying to make sense of my major= major stress. (lol)

All of these are acting as the boot behind me, as the sweet, crunchy carrot of SPRING BREAK entices me forward, forward, forward.

I am going somewhere warm, damn it.
Forget Chiberia and this ridiculous winter.  It’s time for me to revel in Vitamin D and wear less than 4 layers of clothing at any one time.
Forget UChicago and this ridiculous winter quarter.  It’s time for me to sleep and nap and read a book on a beach.

Where, I don’t yet know.  Somewhere southron.

This cake allows me to focus on something other than tropical dreams, one bite at a time.
This cake is my tropical dreams, lush and rich and satisfying.

(Here, listen to this while you read this post.)

IMG_8237_01

This cake embodies all the sunny flavors for which I am so desperate.

The cake base is not a pound cake.  Rather, it’s a supremely light and fluffy cake, made sans butter, but oil for moisture and whipped eggs for lightness.  (I wish I had had coconut oil!  I was all out when I made the cake, but the coconut flavor still came through.)

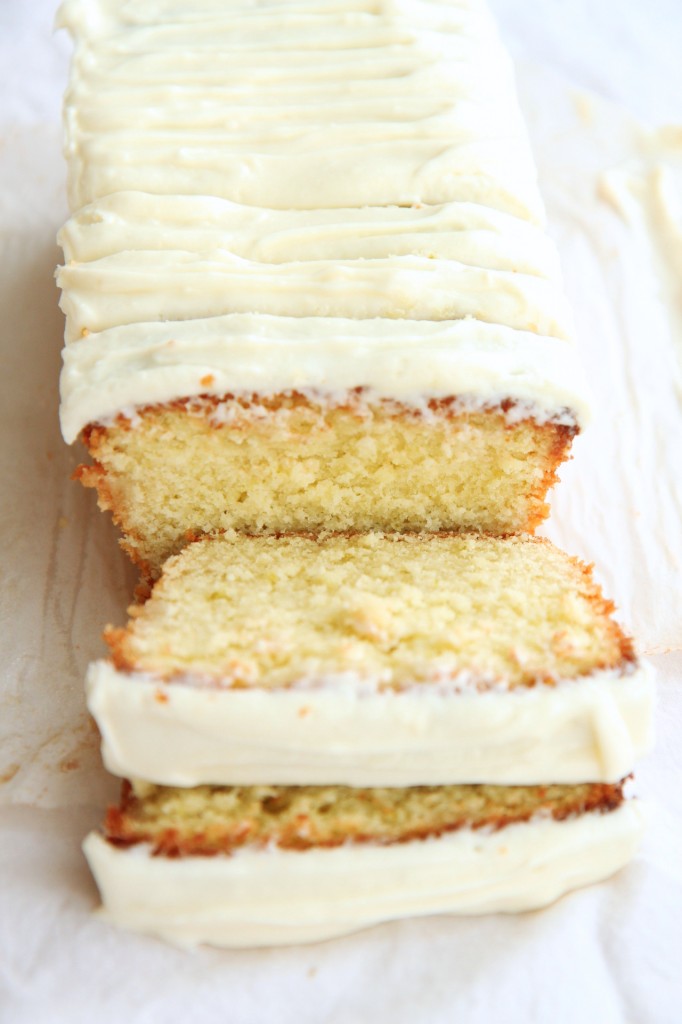
A spot of creamy coconut milk, threads of lime zest, and chewy, finely shredded coconut are stirred into the batter.  Tangy lime syrup is poured over the hot cake, then it’s topped with swirls of cream cheese frosting.

I’ve never met a loaf cake with better texture than this one.  It’s got a firm bite, soft crumbs, and manages to hold together well while still maintaining plenty of moisture, thanks to the lime syrup.
Where the syrup pools, the cake turns into luscious soaked bites, full of flavor and fall-apart-tender in your mouth.

This cake is easy, pretty, and delicious.  It’s exciting and enticing, and conjures up feelings of sandy toes, warm sun, and tanned skin.  You should try it.

Lime in the coconut, baby.

IMG_8226_01
Lime and Coconut Soaked Cake
adapted from Ad Hoc at Home
makes 1 9×5 or 10×4 inch loaf cake

ingredients:
for the cake:
240 grams (2 cups) flour
1 3/4 teaspoons baking powder
2 large eggs
1 teaspoon kosher salt
zest from 3 limes
370 grams (1 2/3 cups) granulated sugar
240 mL (1 cup) coconut milk
180 grams (3/4 cup) canola oil, or coconut oil, melted but cool
1 teaspoon vanilla extract
3/4-1 cup finely shredded coconut

for the lime soaking syrup:
120 mL (1/2 cup) lime juice
70 grams (2/3 cup) granulated sugar

for the cream cheese frosting:
60 grams (4 tablespoons) butter
170 grams (12 tablespoons) cream cheese
1/2 teaspoon kosher salt
30 mL (2 tablespoons) coconut milk
150 grams  (1 1/2 cups) powdered sugar
70 grams (2/3 cup) nonfat powdered milk

directions:
Make the cake: line your loaf tin with parchment paper, then grease and flour the parchment.
Preheat oven to 350 degrees F.
Whisk flour and baking powder together.
Place eggs in the bowl of a stand mixer fitted with the whisk attachment with salt, lime zest, and sugar.
Whip on high speed for 5 minutes, until the mixture has tripled in size and is pale yellow.
Stir in the coconut milk, oil, and vanilla; when partially incorporated, place flour mixture on top and coconut on top of that and use gentle folding motions to fully homogenize the batter.
Pour into prepared pan and bake for 1 hour on a baking sheet, checking for doneness at around 50 minutes.
A tester should come out with just a few crumbs.
While the cake is baking, make the syrup: place the lime juice and sugar in a small pot and bring to a boil; allow to simmer for 3 minutes.
Make the frosting: whip butter on high speed until it is completely soft, about 5 minutes.
Add in the cream cheese and beat for at least 4 more minutes.
Add in the rest of the ingredients and slowly mix to combine; beat on high for a few minutes to ensure that everything is incorporated and prevent lumps.
Refrigerate until ready to use to allow it to set up.
As soon as the cake comes out of the oven, poke it with a skewer or thin chopstick all over, about halfway through the cake.
Pour the syrup all over the hot cake, and allow it to cool completely.
Frost the cooled cake with the chilled cream cheese frosting.
Serve in generous slices.

Sakura-iro

IMG_7845_01

Oh, I know how it is in the spring
when Japonica’s in bloom
and rivers of many waters bring
life to the unplucked fruit.
Then the vineyards of the Maidens flower
on every shaded vine;
all flourish in that restful hour—
but, oh, this can’t be mine!
All seasons are the same to Love,
it’s always time to storm;
thunder is always flashing over
my head, and there’s a swarm
of desiccating furies in my mind.
Love chews away my heart
from the roots, in the dark.

Ibycus, Fragment 286

IMG_7958_01

It makes me sad when people say they hate Valentine’s day.

I love Valentine’s day!  Not because I spend it with anyone special (womp womp) but because I love the idea.

I love love.

IMG_7833_01g

I guess I can see the strikes against Valentine’s day (too mushy, too commercialized, too silly, too much effort) BUT my gosh just how wonderful of a concept is it, honest and truly?

A day to celebrate love: a day to show your appreciation to those who make your life a little bit better every day.
A day to share tokens, sweets, and affection with your sweetheart, with your friends, with your family.
A day to honor a man who accepted illicit love, who just wanted people to be happy and content.

Appropriate, with all that’s going on in Sochi at the Winter Olympics.

People are people.  Love is love.
Everyone deserves to be loved; everyone deserves to give love.

IMG_7840_01

Regardless of whether you like Valentine’s day or not, I know y’all like cake.

And so that is what I’m bringing you.
I’m sharing love and cake.  Doesn’t that just sound like the best combination ever?

Cake, love, and pocky.  Sign me up.

Isn’t this little cake the cutest!  Oh!  It makes me so happy.  Happy cake love.  Happy, pinky, red velvet cake love.
It abounds.

Pink for all!  All the pink.  This cake doesn’t have to be only for Valentine’s day.  Pink is a year-round color
(Although perhaps especially appropriate for Wednesdays.)

IMG_7817_01

Speaking of pink…
Have you ever had Japanese Pocky?
They’re little biscuit sticks, dipped in chocolate.  They’re crunchy, creamy, and utterly addictive.

In fact, true story: I have been planning on making this cake for ages, not even necessarily for Valentine’s day.
I purchased a bunch  of Pocky from Amazon, but kept stalling making the cake (and munching on Pocky).
Eventually, I had eaten all the Pocky!!!!!
So, another bulk order later, I decided to make the cake ASAP.
Since we’re in the depths of Valentine’s day themed posts on this blog, I knew the pink would be perfect.

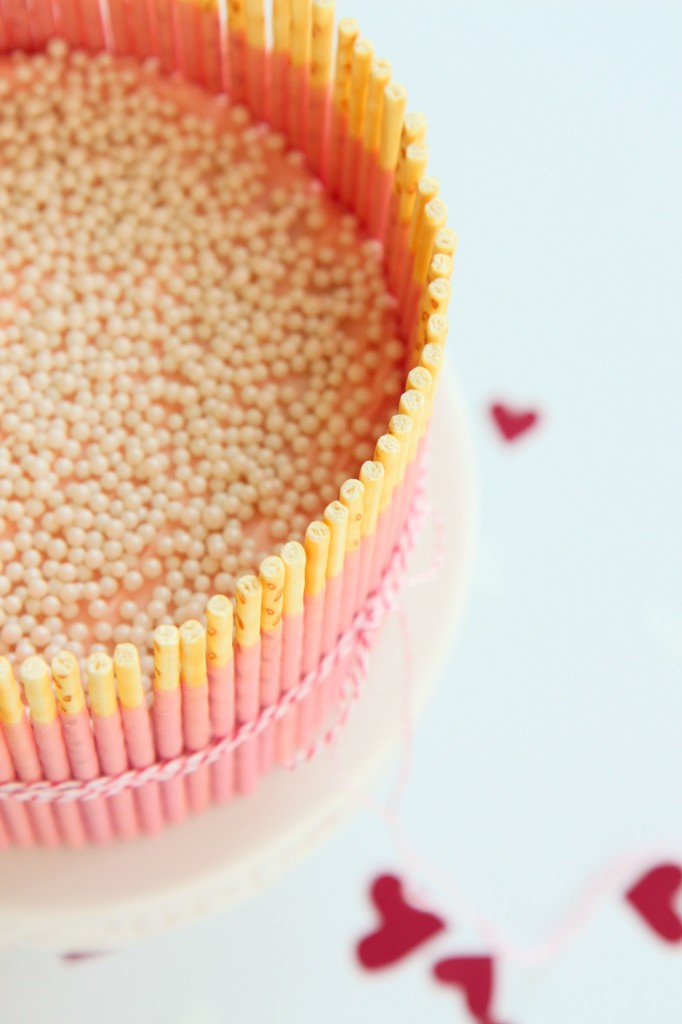
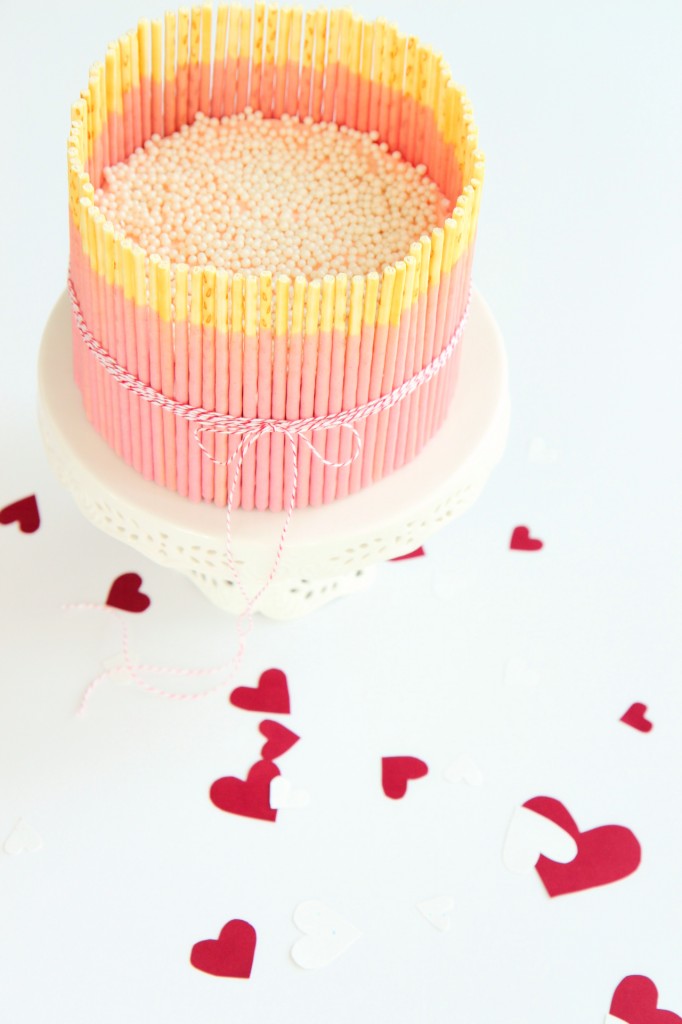
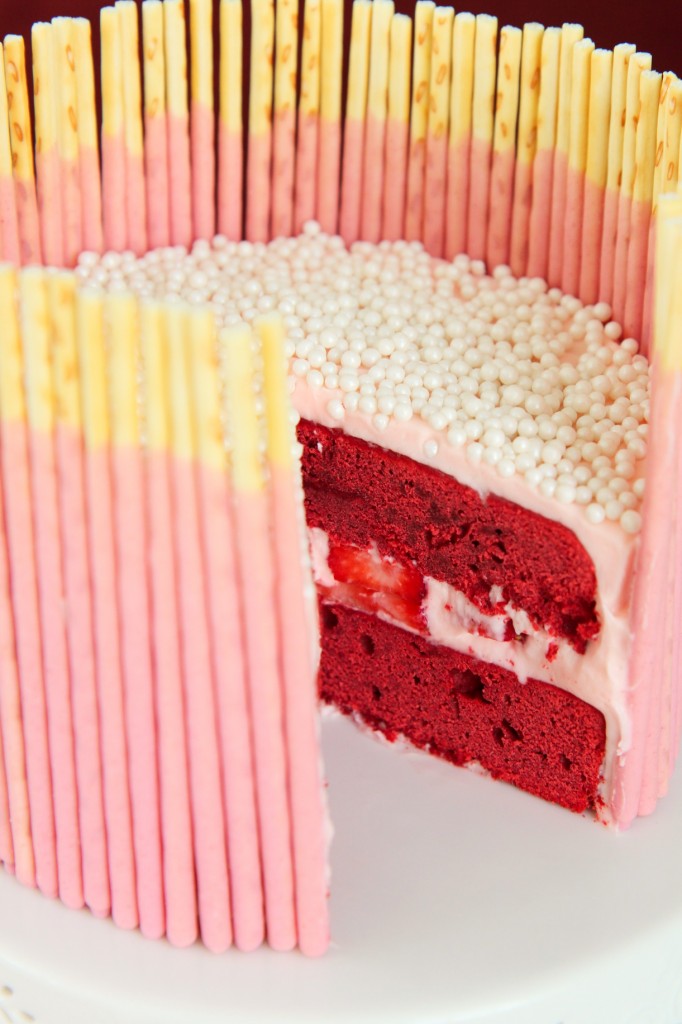
And what a pink it is!  Pale and not too orangey, it’s the color of cherry blossoms (sakura-iro).
A lovely contrast to the vivid cake within.

IMG_7922_01

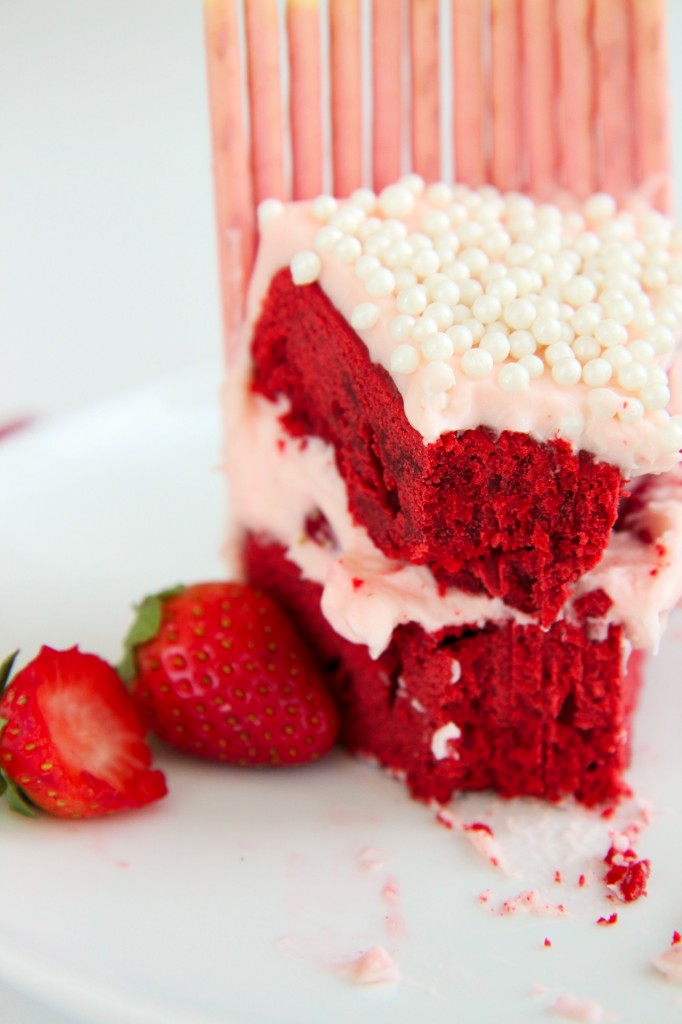
Red velvet brownies, rich and a touch chocolaty, are dense and moist, somewhere between a cake and a true brownie.  They make a perfect base for our cake.
They get a generous swirl of cream cheese frosting, fluffy, tangy, and sweet, and a heap of fresh sliced strawberries, which are a nice foil to all the richness going on in the cake and frosting.

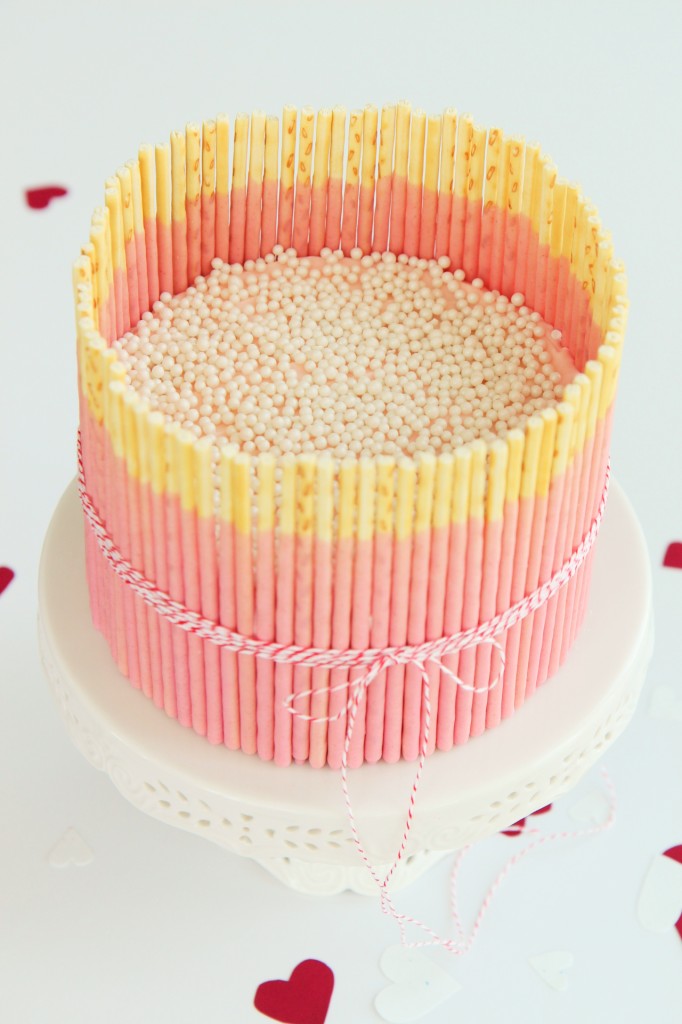
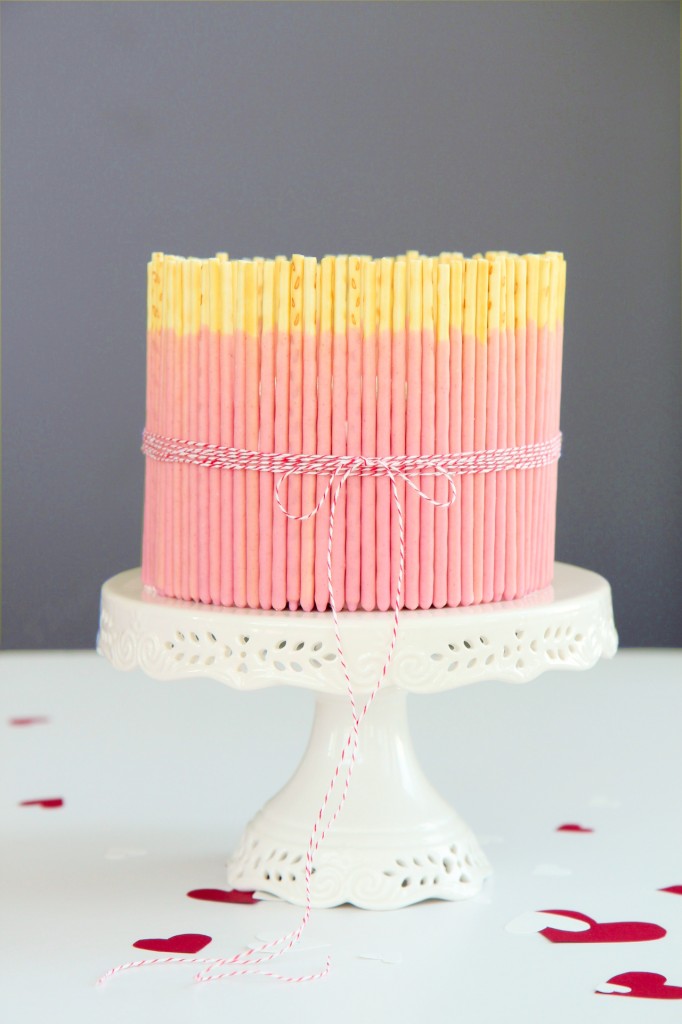
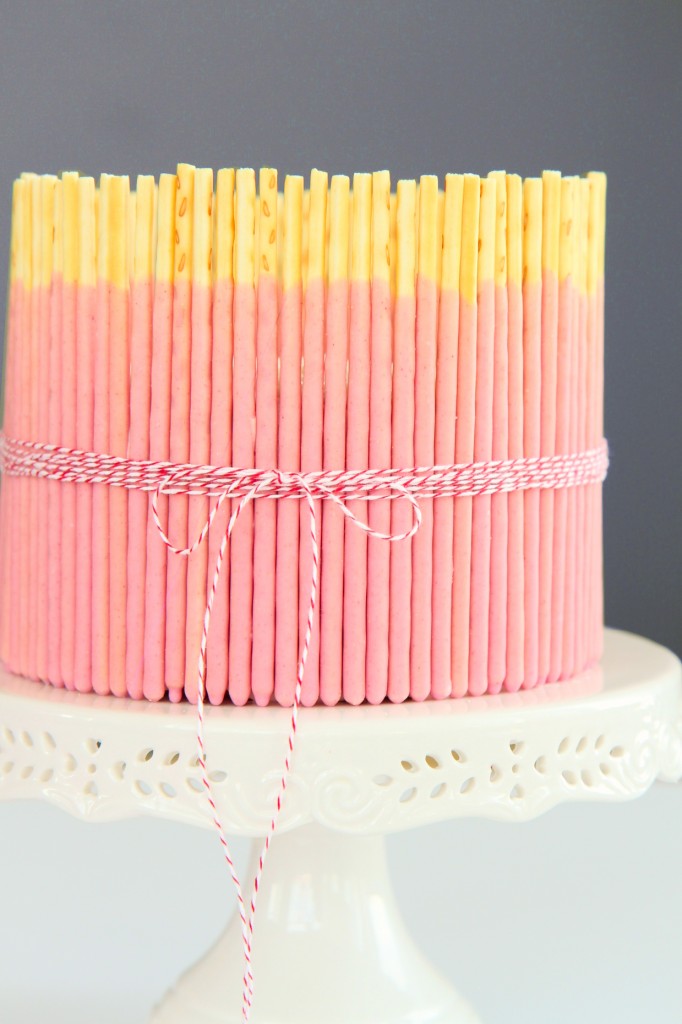
The whole deal is ringed with strawberry/white chocolate pocky sticks and tied with some baker’s twine.

A bite with a little of everything is a myriad of flavors and textures:
toothsome and rich brownies
tangy and soft cream cheese frosting
fresh, bright strawberries
crunchy sprinkles
crisp, creamy pocky!

Cuteness (and deliciousness) to the max!

IMG_7888_01

All the red and pink going on in this cake make it quite fun; the pocky sticks are visually exciting and make this cake a real statement piece.
This is a bold cake.
Cutting into it is a surprise; the bright red velvet is a stark contrast to the pastel exterior.
It would make a great birthday cake, especially for a little girl who loves pink. Omg.

If you can’t tell, I’m mildly obsessed with this cake.  I can’t stop using exclamation points.
IT’S JUST SO CUTE!!!!!!!!!

I want to stick Pocky on the outsides of all my cakes, from now on.
(Another perk: no need to worry about the neatness of your frosting job.  Score.)

IMG_7853_01

Anyways, be mine?

Parce que je te kiffe!

IMG_7877_01g

Red Velvet Brownie Cake
ingredients:
for the red velvet brownie layers:
8 tablespoons (1/2 cup) butter
1 cup sugar
1/4 teaspoon salt
2 eggs
1 egg yolk
2 teaspoons red food coloring
1/2 cup plus 2 tablespoons buttermilk
1 teaspoon vanilla
2 tablespoons cocoa powder
1 tablespoon cornstarch
1 1/4 cup plus 1 tablespoon flour
1 3/4 teaspoons baking powder

for the cream cheese frosting:
8 tablespoons (1 stick, 1/2 cup) butter
1/2 teaspoon kosher salt
8 ounces (1 package) cream cheese
1 1/2 cups powdered sugar, or as needed
1/4 cup powdered milk
drop of pink or red food coloring
to assemble:
7 or 8 packages of strawberry pocky, inspected for broken sticks
10 strawberries, sliced thickly
sprinkles, for the top (I used sugar pearls)
directions:
Make the cake layers:
Preheat oven to 350 degrees F and grease and flour 2 6-inch pans.
Beat butter with sugar and salt until light and fluffy, about 4 minutes.
Add in the eggs and yolk and beat for 4 more minutes; mixture should be very glossy and not grainy.
Whisk the buttermilk, food coloring, and vanilla together.
Whisk all the dry ingredients together.
Scrape the bowl with the butter and add in the wet and dry ingredients while mixing on low.
Beat on high to fully homogenize the batter, then spread into prepared pans.
Bake for 20 minutes, until a tester comes out with only a few crumbs.

Make the frosting: beat butter and salt on high speed for 5 minutes, until fully softened and fluffy.
Add in cream cheese and beat for 4 more minutes; the mixture should be very fluffy, light colored, and homogeneous.
Scrape the sides of the bowl and beat for 2 more minutes; add the powdered sugar and powdered milk and slowly beat to combine.
Add more powdered sugar if the consistency is too runny still (up to another 1/2 cup).
Tint frosting to desired shade with food coloring.

Assemble the cake:
Place a dollop of frosting on cake plate, then place first cake layer on top.
Spread a thick layer of frosting onto the top of the first cake layer, then arrange strawberry slices over.
Spread a thick layer of frosting on the bottom of the second layer, then gently place it over the strawberry slices.
Frost the rest of the cake generously, making sure the sides have plenty of frosting to stick the pocky to.
One at a time, press the pocky sticks into the side of the cake, biscuit side up.
Add sprinkles to the top, if desired, and tie with a ribbon (remove to cut).
Serve with cold milk and extra strawberries!

Janvier

IMG_7529_03

“There are many things we would throw away if we were not afraid that others might pick them up.”

-Oscar Wilde

IMG_7519_01

January is a fragile month.
The new year is only just hatching, stretching its wings, ruffling its feathers, blinking awake.
The sun is slowly becoming stronger, the days longer.

It is the month of resolutions, ever so delicate, easily crushed in their nascence.

We are all only dipping our toes in the cold, cold new waters.
Not a one of us knows what the year will bring—a terrifying and invigorating prospect.

How has it come to pass that the end of this first month of 2014 is nigh?
January has flown by in a blur, spinning me around in a whirled frenzy of snow and wind.
I shiver to think of what this year holds—whether it is borne from excitement or dread, I cannot say.
It could also be the ungodly cold here in Chicago.  I don’t know.

IMG_7566_02_01

January is a month of citrus.
Though, I must admit, you cannot tell as much from my archives.

January 2013: puff pastry tutorial, coconut mochi, s’mores cake, conversation heart cookies, nutella-raspberry-brown butter crumb bars, maple-bacon and Vietnamese coffee doughnuts, gâteau des rois.  Only one had citrus…
January 2014: Peppermint-chocolate cookies, PB cupcakes, pear-cranberry-ginger crisps, earl grey cupcakes.  Ahem.  Still none.

This pavlova is my answer, my remedy, then, to the absent citrus in what I have just declared to be a month of citrus.
Specifically, lemon.
January is a lemon month.

IMG_7539_01_02

Lemon.  Perky, bright, sunny.
Lemon.  Tart, balancing, acidic.
Lemon lemon lemon, I’d choose over chocolate any day.  (Freak.)

The first time I met a meyer lemon was 2006.
I received the January issue of Martha Stewart Living.
As I tore through it, my 11 year old self soaking in every hit of inspiration, I fell upon this cake.
I wanted to cry.  I wanted to make this cake so incredibly badly, but knew it was out of my reach.

This cake prominently featuring these mysterious meyer lemons was all I wanted.  And I couldn’t have it.
I begged my parents to let me make it.
They said, “um… no. We don’t need a 3 foot high, 3 tier meyer lemon cake.  Stop reading Martha Stewart, you little weirdo.

Everything was so beautiful and yellow and happy and lemony.
It was torture.
And what the hell was a meyer lemon, anyway?

Can you tell what a strange, disturbed child I was?  A Martha Stewart addict from a young age.
It explains so much, don’t it?

IMG_7533_02_03_01

In a month where stagnation is banished, where the wheels are turning and the world is changing, lemon is ideal.
It’s fresh and lively, something which I appreciate when the fresh produce situation is somewhat abysmal.
Lemon never fails to awaken the palette.
It’s a clean flavor, and after all the heavy desserts of December, we can all use a flavor boost.

Pavlova.  Also perfectly suited for January, with its light airiness and minimal sweetness.
Good for resolution breaking, but not resolution destroying, ja feel?

It’s probably my favorite dessert.  Which is a big, big deal.
I wrote a sonnet inspired by rhubarb, which was featured in my first pavlova. (I have no words for the white balance in those photos.  Please accept my apologies.)
I had pavlova for my 18th birthday cake, a simple one-layer affair, covered in coconut/mascarpone fluff, passionfruit sauce, and tumbling raspberries.

IMG_7546_01_01

And now, here we are.
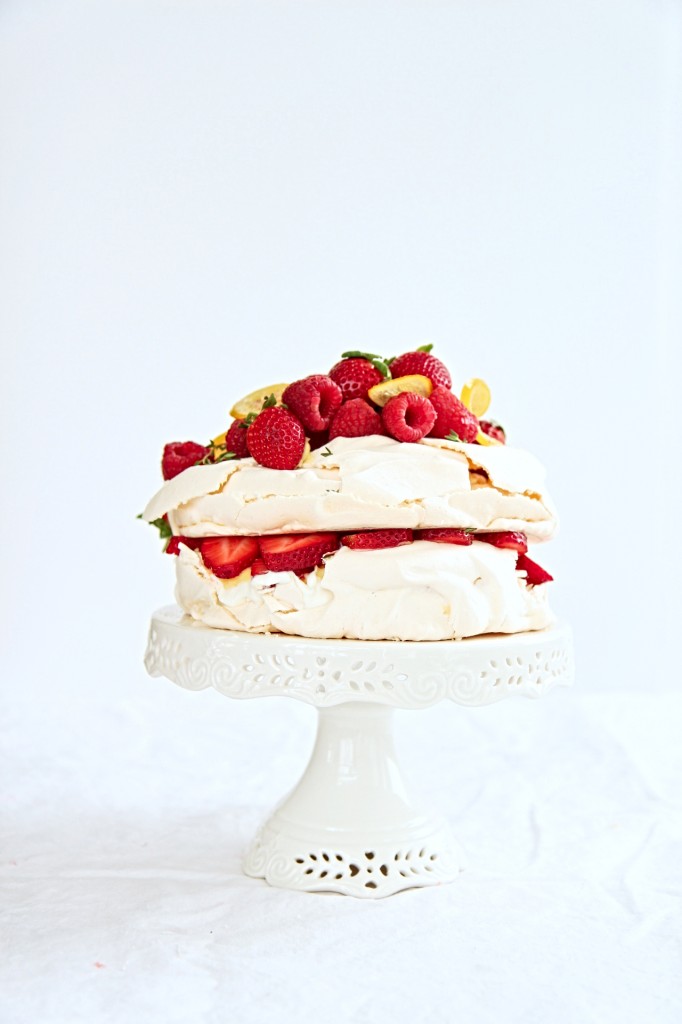
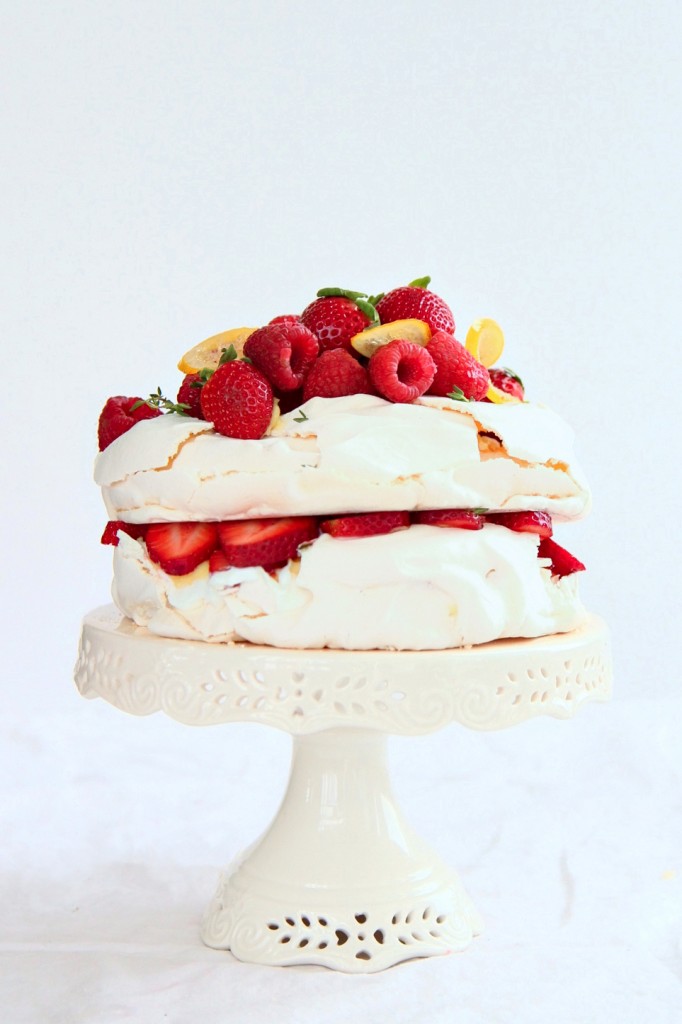
This pavlova focuses on tartness, allowing the meyer lemons to shine.

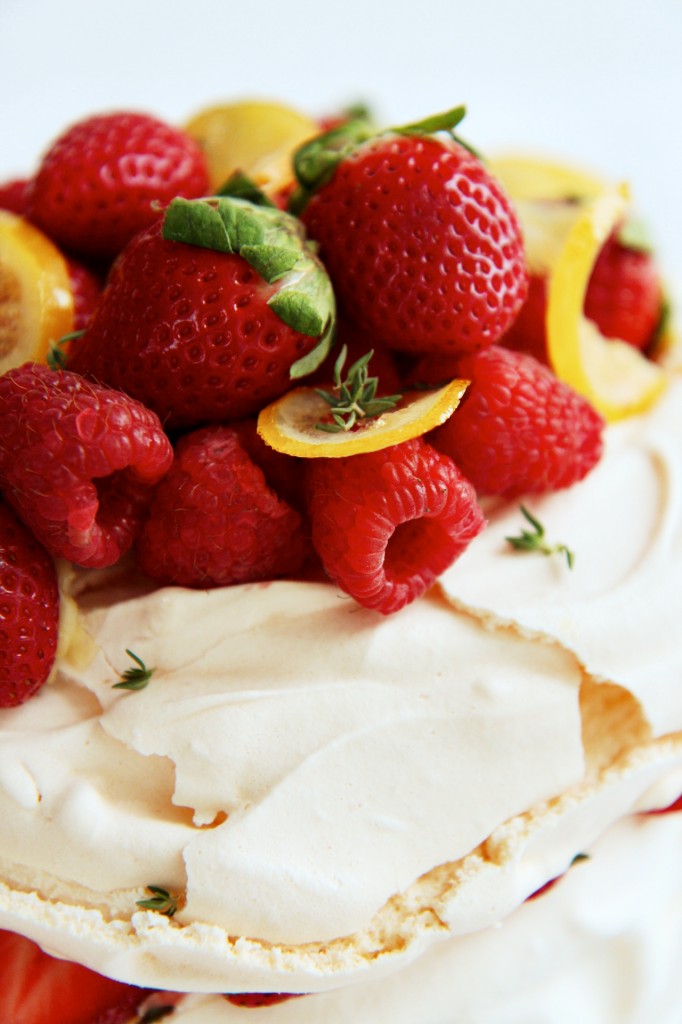
A supremely light meringue base, crispy and crackling on the exterior, pillowy marshmallow on the inside, is
layered with barely sweetened Greek yogurt,
thick and luscious meyer lemon curd,
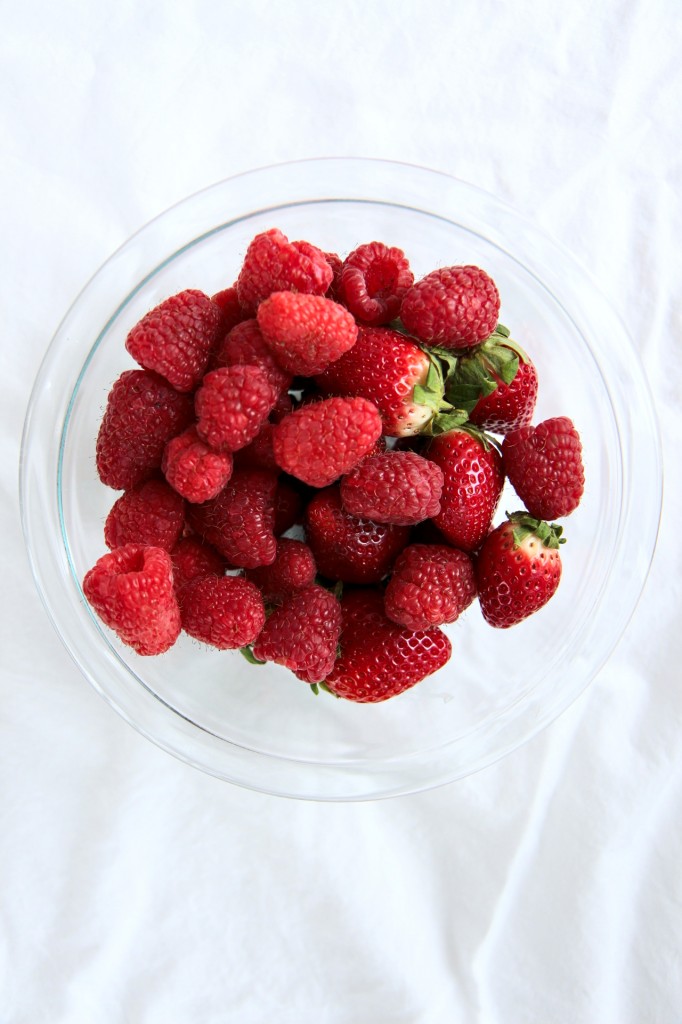
fresh bites of strawberries and raspberries, and
finished with a sprinkle of earthy, grounding thyme and
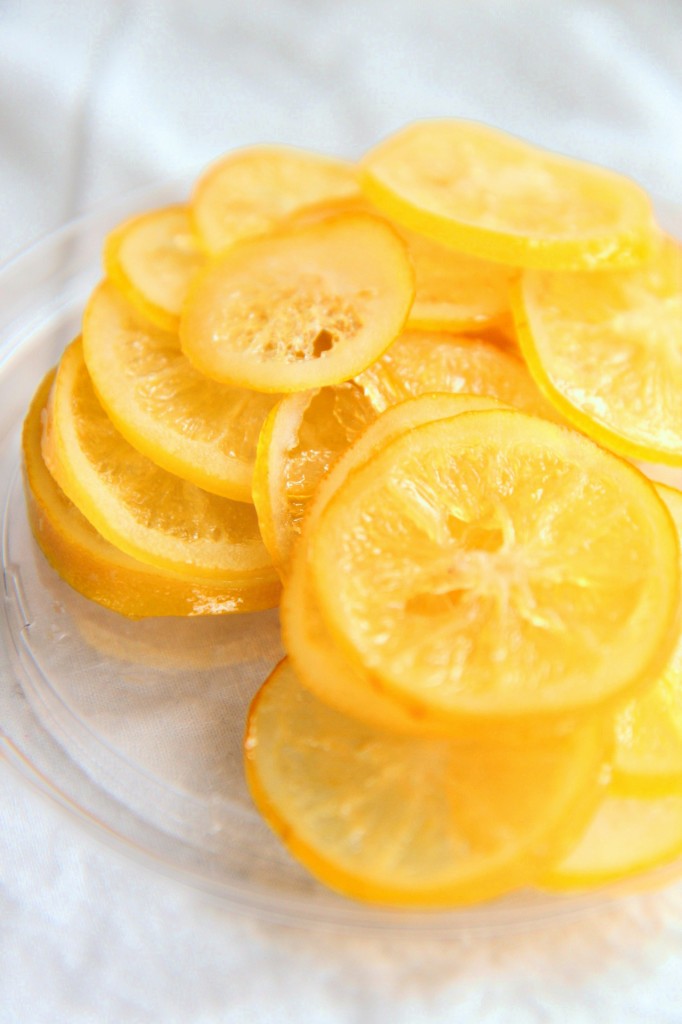
tart, chewy candied meyer lemons.

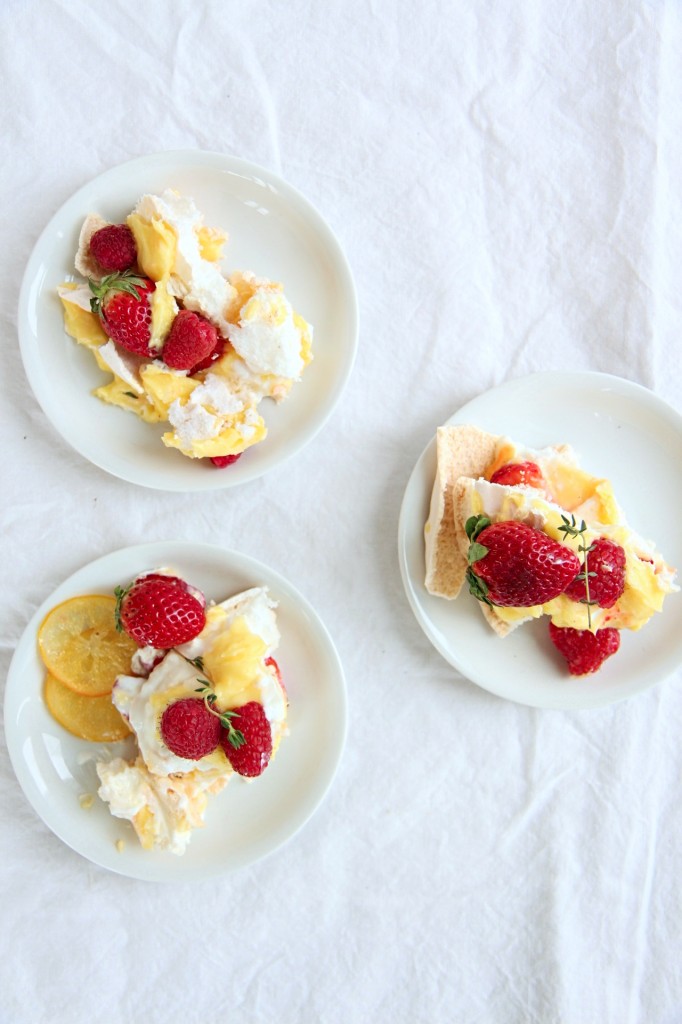
My pavlova cracked, pretty badly.  I ain’t stressed about it.
See, I thought it would be genius to layer the yogurt and curd onto the layers before stacking them.
What anybody with a shred of common sense would quickly see is that the meringue was too delicate and fragile to stand up to the thick sauces and promptly crrrrrraacked.  *shit shit shit*
Oops.  It’s okay.  Pavlovas crack and crumble; it’s part of their personality, their patina.
Get over it.

IMG_7521_01

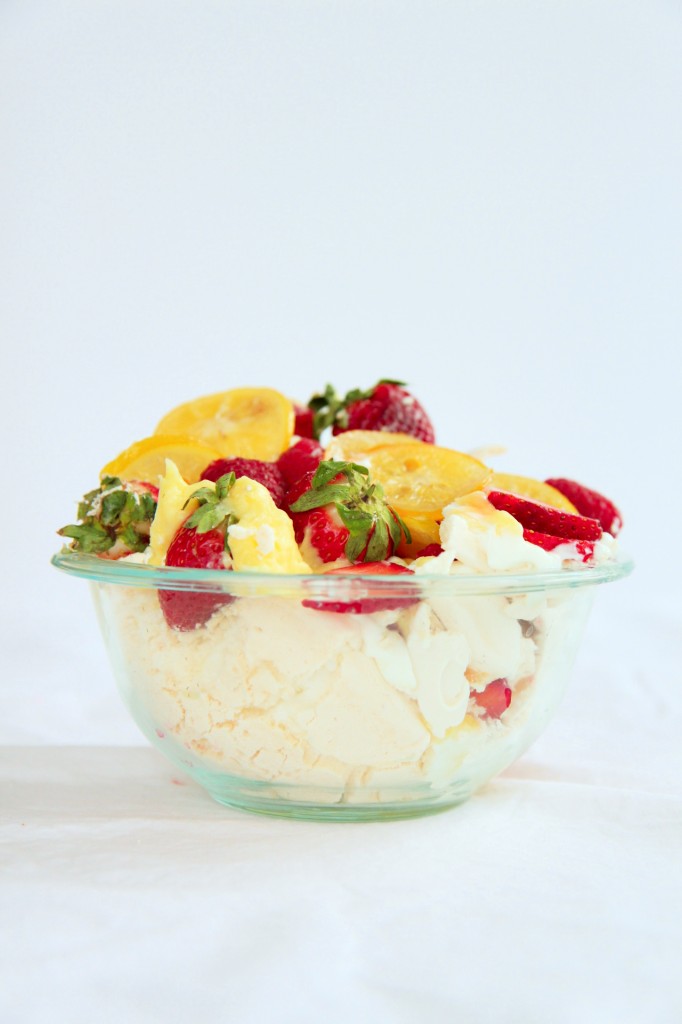
Once I was done photographing the cake, I realized how futile it would be to try to keep it on the cake pedestal.
It was already slip sliding around, as I didn’t secure it to the stand with a daub of lemon curd, as I should have.
Things were cracking, falling, toppling.
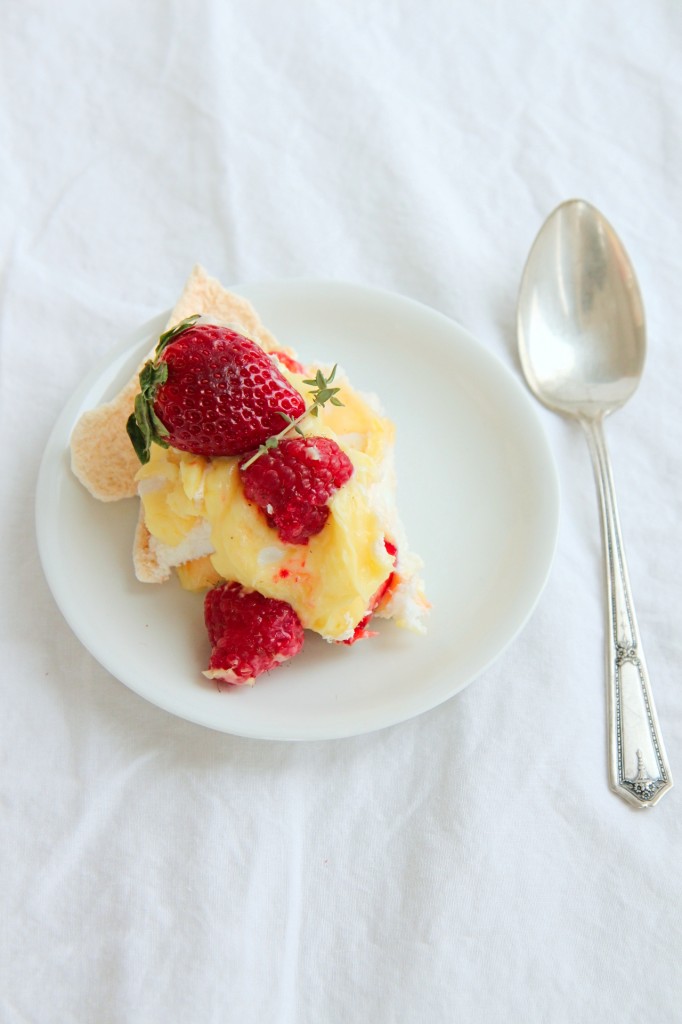
So, I plopped it into a bowl, shoved the leftover fruits on top, and called it a day.

The secret?  It tastes just as good smashed up, packed into a bowl, smashed to bits and spooned straight into your mouth as it does dressed up, stacked, and eaten from a proper plate.

And thank goodness for that.

IMG_7582_02_03

Meyer Lemon, Berry, Thyme, and Yogurt Pavlova
meringue base from Donna Hay
lemon curd adapted from Use Real Butter
ingredients:
for the meringue base:
4 egg whites
1 cup granulated sugar
2 tablespoons cornstarch
2 teaspoons white vinegar

for the lemon curd:
1 1/2 cups water
3/4 cup sugar
6 tablespoons cornstarch
4 egg yolks, beaten
3 tablespoons butter
1/2 cup meyer lemon juice
zest of 2 meyer lemons

for the candied lemons:
2 meyer lemons, sliced very thinly
2 cups sugar
2 cups water

to assemble:
3/4 cup plain Greek yogurt
3 tablespoons confectioner’s sugar, sifted
1 pint strawberries, 1/2 hulled and sliced, 1/2 whole
1 cup raspberries
Fresh thyme

directions:
Make the meringue base:
Preheat oven to 250 degrees F and line a baking sheet with parchment.
Trace 2 6-inch circles (you could do 8- or 9-inch, but it won’t be as tall.) with pencil, then turn the paper over.
Begin to whip egg whites with a stand mixer.
When soft peaks are just starting to form, stream in the sugar very slowly, one tablespoon at a time, until the meringue has reached very stiff peaks.
Gently fold in the vinegar and cornstarch.
Spread the meringue out around the traced circles.
Bake for an hour and a half, then turn off the oven and allow the pavlova to cool completely inside the oven.

Make the lemon curd:
Place water and sugar in a large pot.
Bring to a boil, then whisk in cornstarch.
Bring to a boil; mixture will be very thick and gloppy.
While whisking egg yolks, take a spoonful of the cornstarch mixture and quickly combine; continue to add, by the spoonful, until about 1/3 of the hot cornstarch mixture has been added.
Whisk the egg yolk mixture back into the corn starch mixture, and return to very low heat.
Whisk in the butter, then, off the heat, carefully whisk in the lemon juice and zest.
If any lumps are present, blitz the curd in a blender until smooth.

Make the candied lemons:
Bring a large pot of water to a boil and prepare an ice bath.
Place the very thinly sliced lemons in the boiling water and cook for 20 seconds.
Remove to the ice bath and allow to cool completely.
Meanwhile, add 2 cups sugar and 2 cups water to the pot and bring to a simmer, until the sugar is dissolved.
Add the lemon slices and allow to simmer for 45 minutes, until softened and no longer bitter.

Assemble the pavlova:
Whisk the yogurt and confectioner’s sugar together.
Spread a thin layer over the first pavlova layer, then spread half of the lemon curd onto the yogurt.
Top with the sliced strawberries and a sprinkling of thyme.
Add the second meringue disk, and top with the remaining yogurt and lemon curd.
Arrange the fruit on top of the lemon curd, and sprinkle more thyme leaves over.
Serve with a spoon, in bowls.

To the Core

IMG_7485_01

“Our biggest disagreement was about chunks.
Ben came up with the flavors and I did the manufacturing, and he wanted bigger chunks and I wanted small ones with greater distribution.
He said people didn’t care if you got a chunk in every bite as long as you knew that fairly soon you’d get a chunk.”

Jerry Greenfield

IMG_7489_01

I think we can apply Ben Cohen’s theory about ice cream chunks to life happiness.

How important, and too often forgotten, is the idea that not every bite will or needs to contain a chunk?
We’re so trained for instant gratification that anything less feels like deprivation.
We forget that not every day needs to be perfect or leave you fulfilled.
You don’t need to be cheery and happy every minute to feel satisfied in the big picture.

We think about our lives in terms of monumental moments; we measure the passing of time with the passing of tragedies and victories.
What about all the days where nothing “of importance” happens?

IMG_7491_01

They are to our lives as bites without chunks are to Ben and Jerry’s, as junk DNA is to genes.
From the outset, they seem less important.  Undesirable, useless.  Wasted.
But more flies under our radar, which is tuned to big spikes in emotion, than we think.
Little things.  Daily things, both annoying and delightful.

The first bite of a crisp apple.
Losing your keys, phone, wallet, mind.
A smile from a passerby.
Stubbing a toe.  Twice.
The smell of cookies baking.
Being overworked and overtired at the end of a long day, a long week, a long year.
Snuggling into your own bed.

So much that we take for granted is beautiful in its own right.

I intend to practice more gratitude and appreciation for the plain, the mediocre, the underappreciated, the kind-of-crappy happenings in my life.
I intend to take each moment as it comes, to breathe it in and live in it,
to meet it with a smile and know it fully.

Each moment of each day in our fantastic, terrible world deserves meaning.

IMG_7505_01

It is a sophisticated hope, then, that sustains true, lasting happiness.
The hope—or rather, the knowledge—that you’ll get a “chunk” fairly soon.
And the deep and conscious enjoyment and appreciation of every moment, every plain bite of ice cream, every pretzel in the Chex mix.

Food for thought.  Thought for food.

IMG_7494_01

Speaking of food… Cupcakes?!  Again?!  Who am I?!
Just last week, I made these “teatime” cupcakes.  And I loved them!
Photographing cupcakes is more pleasant than cookies, and lord knows I’ve made enough of those in recent times.
So.  Many.  Cookies.
Thus, despite my semi-loathing of cupcakes, I made more.

Part of my newly affirmed affection for cupcakes is that I’ve been frosting them with a meringue buttercream.
Seriously, I used to think that thick, American-style buttercream was a decent choice for cupcakes.
But, truthfully, there is no comparison to a cloud of rich, glossy IMBC.
Especially not a brick of confectioner’s sugar/butter ABC.

I wax on about meringue buttercreams all the time (not sorry) but that’s because they’re amazing.
Light, easy to pipe, smooth, shiny, stable, flavorful.
(I’m an adjective junkie.)

They’re only minimally more work, are less likely to break/curdle/be gross and are therefore totally worth the extra 10 minutes of prep.
Give your favorite cupcakes a makeover with some IMBC and you won’t recognize them, or ever even look back.

Maybe you don’t like cupcakes, like me.
I swear to you, cupcakes frosted with IMBC may change you.

IMG_7502_02

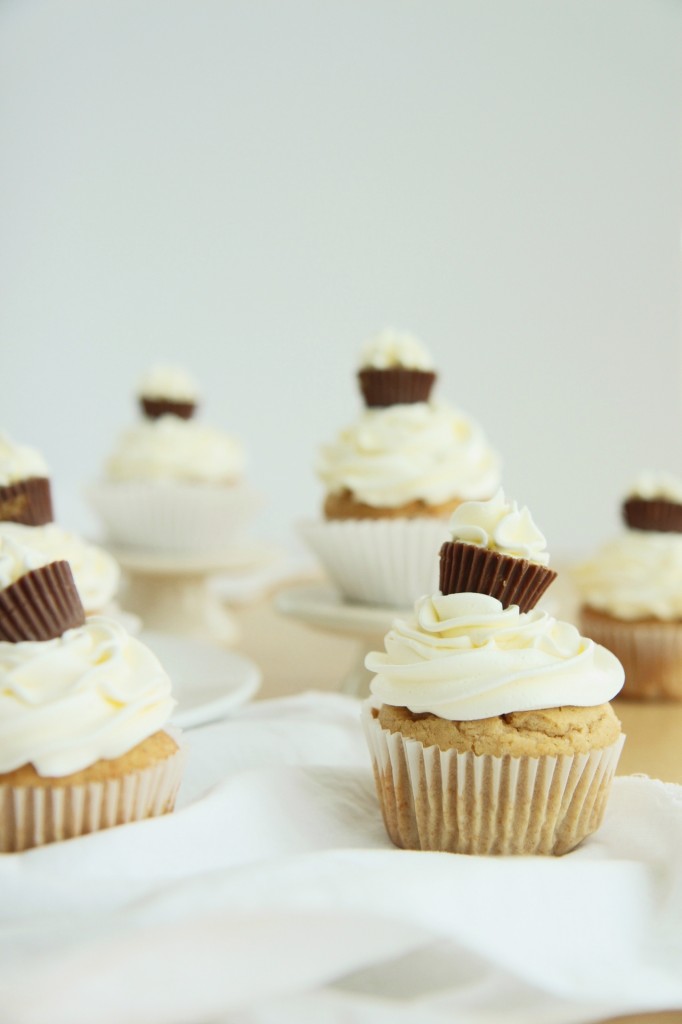
These cupcakes were inspired by Ben and Jerry’s ice cream!

One of their “core” UK flavors is called Peanut Butter Me Up.
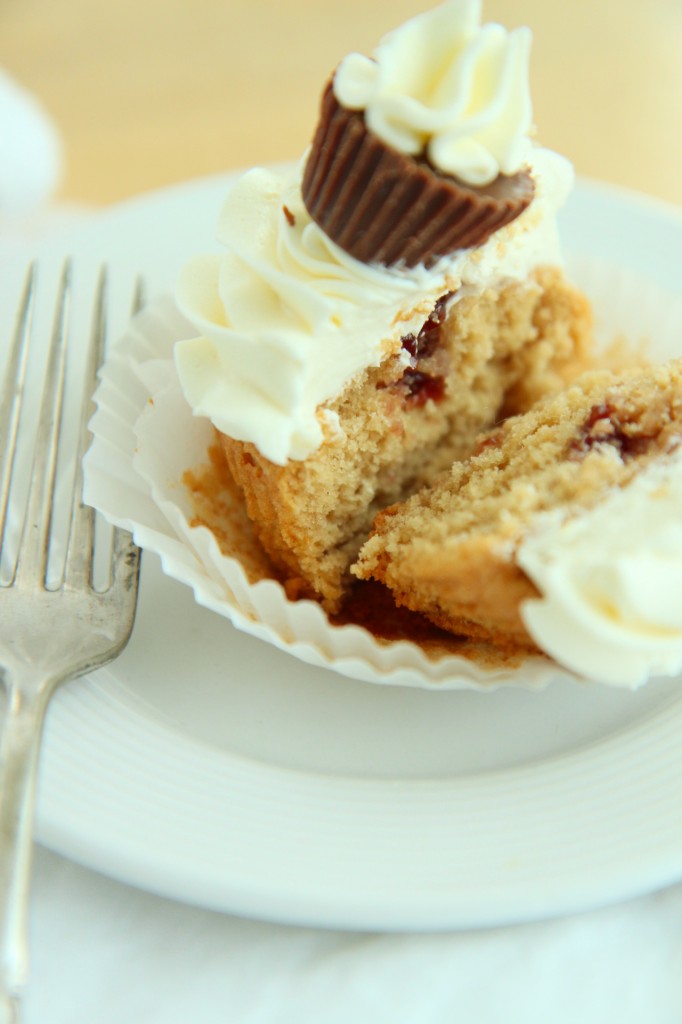
It’s half peanut butter and half vanilla ice cream, surrounding a core of raspberry jammy goodness.  The vanilla is studded with peanut butter cups.
Sounds like a perfect pint to me.  Heaven is peanut butter+vanilla+fruit.
Why don’t we have it in America?  I don’t know.  But it’s killing me.

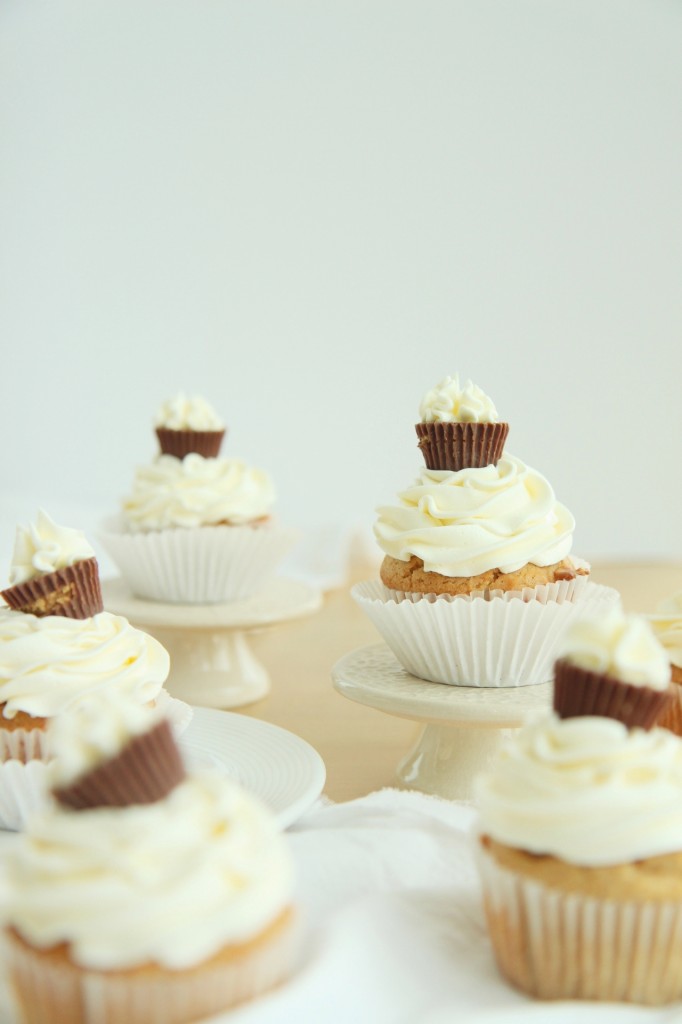
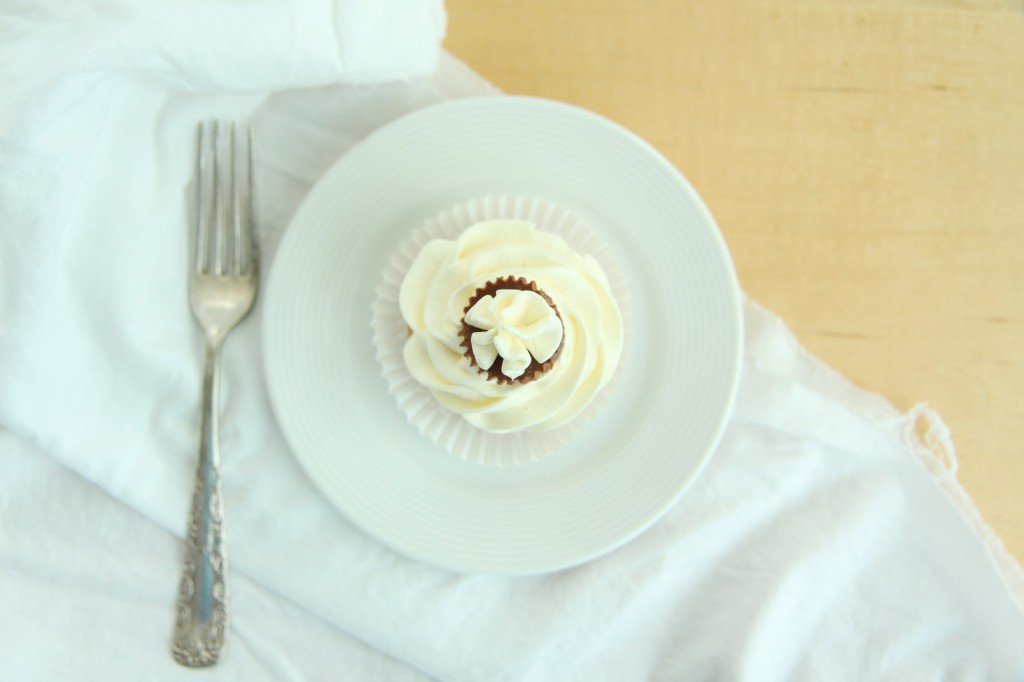
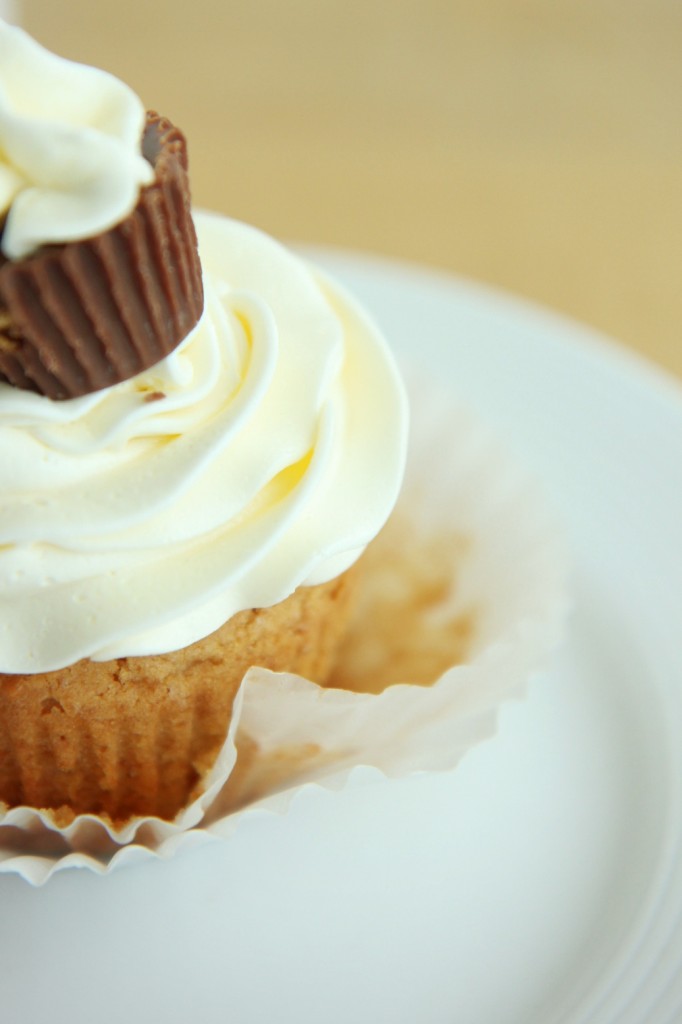
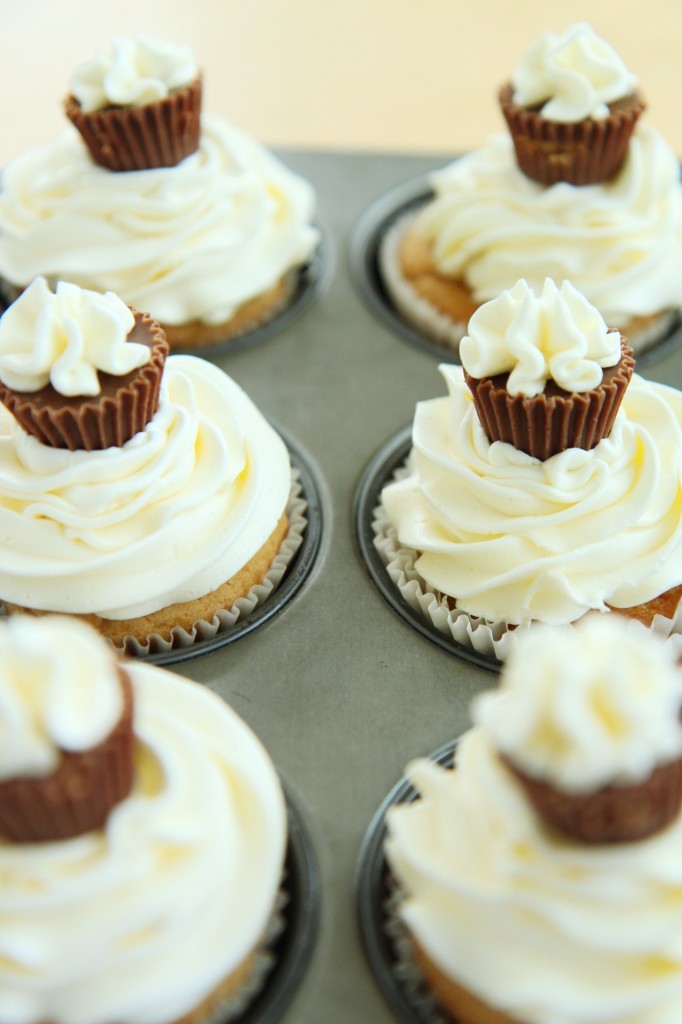
These “Peanut Butter Me Up” cupcakes are a soft, buttery, salty PB cake, filled with tart raspberry jam, topped with a big fluff pile of vanilla Italian meringue buttercream, topped with a peanut butter cup.

I used raspberry preserves made only with pomegranate juice as the sweetener, so it was extra tart and tangy!
I only made 12 cupcakes, but there was definitely enough batter/buttercream to make 16 or 18 cupcakes, so I’ve adjusted the yield in the recipe to reflect that.

Since I can’t get the ice cream here, I’ll have to stick with cupcakes.
Somehow, I’m OK with that.

IMG_7508_01

Peanut Butter Me Up Cupcakes
makes 16-18 cupcakes
cake portion adapted from Serious Eats

ingredients:
for the peanut butter cake:
4 tablespoons butter
1 packed cup brown sugar
3/4 teaspoon kosher salt
3/4 cup creamy peanut butter
2 eggs
3/4 cup milk
2 teaspoons vanilla extract
1 1/2 cups flour
1 1/2 teaspoons baking powder

for the vanilla Italian meringue buttercream:
3 egg whites
1 cup sugar
1/4 cup water
big pinch salt
6 ounces (3 sticks) butter, cut into small bits, soft but cool
1 teaspoon vanilla extract

to assemble:
raspberry jam, approximately 1/2 cup
mini peanut butter cups

directions:
Make the cupcakes: preheat oven to 350 degrees F.
Line 18 muffin tins with papers.
Beat butter until softened, about 1 minute.
Stream in brown sugar and salt and beat for 3 full minutes.
Add in the peanut butter and beat for 3 more minutes.
Add in the eggs, one at a time, and beat for 2 full minutes.
Mix the milk and vanilla extract, and, very slowly and carefully, stream into the batter while slowly, slowly mixing to prevent splashing.
Dump the flour on top of the batter and add the baking powder over the flour mound.
Slowly stir batter until homogeneous (it will be thick).
Portion out with an ice cream scoop into your tins.
Bake for 22-26 minutes, until springy to the touch, very fragrant, and a tester comes out with only a couple crumbs.
Allow to cool completely.

Make the vanilla Italian meringue buttercream: combine sugar, salt, and water in a heavy bottomed pot.
Place egg whites in the bowl of a stand mixer.
Begin to whip egg whites on medium speed while heating the sugar syrup over medium-high heat.
When the sugar syrup reaches 230 degrees F, your egg whites should be at very soft peaks.
By the time the syrup reaches temp at 245 degrees F, your egg whites should be at soft peaks.
Slowly and carefully pour the hot syrup into the whipping egg whites.
Whip the meringue until it reaches body temperature, then begin to whip in the butter, 1 tablespoon at a time.
Add the vanilla and continue to whip the buttercream at high speed until it becomes fluffy, glossy, and thick.

Assemble the cupcakes: place your raspberry jam in a piping bag fitted with a plain tip.
Plunge the tip into the cupcake and wiggle it around, applying gentle, even pressure to fill the cake, until the pressure forces the tip out of the cake.
Frost the cupcakes with the meringue buttercream as desired, then top with a peanut butter cup!