Monster

IMG_8863_01

“Cursed, cursed creator! Why did I live?
Why, in that instant, did I not extinguish the spark of existence which you had so wantonly bestowed?”

Mary Shelley, Frankenstein

IMG_8867_01

More green.  I’m afraid I’m the worst.
I really was displeased with the way this cake looked.  I originally topped it with those little green meringues, in the hopes that it would be springy and light and lovely, but it looked really fucking weird, guys.
The meringues did NOT mesh with the aesthetic of the cake, and the colors were all off.
They looked like white and green diseased dog shit on top of an unnaturally colored cake.
Sooooo ugly.  Tooooo ugly. I gave up photographing the cake and plucked all the meringues off to photograph.

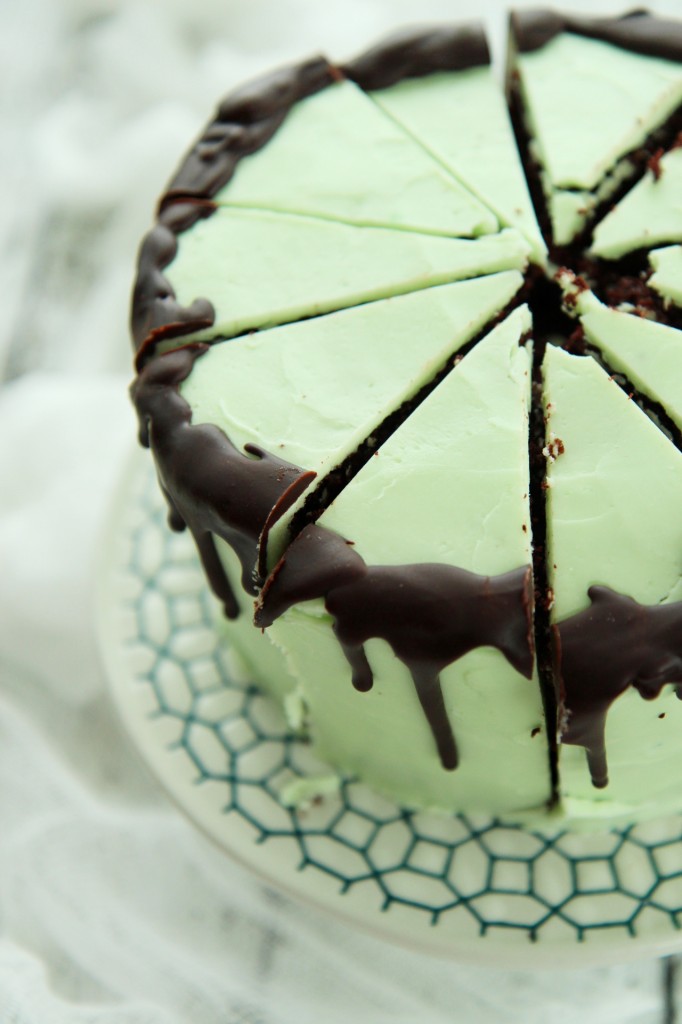
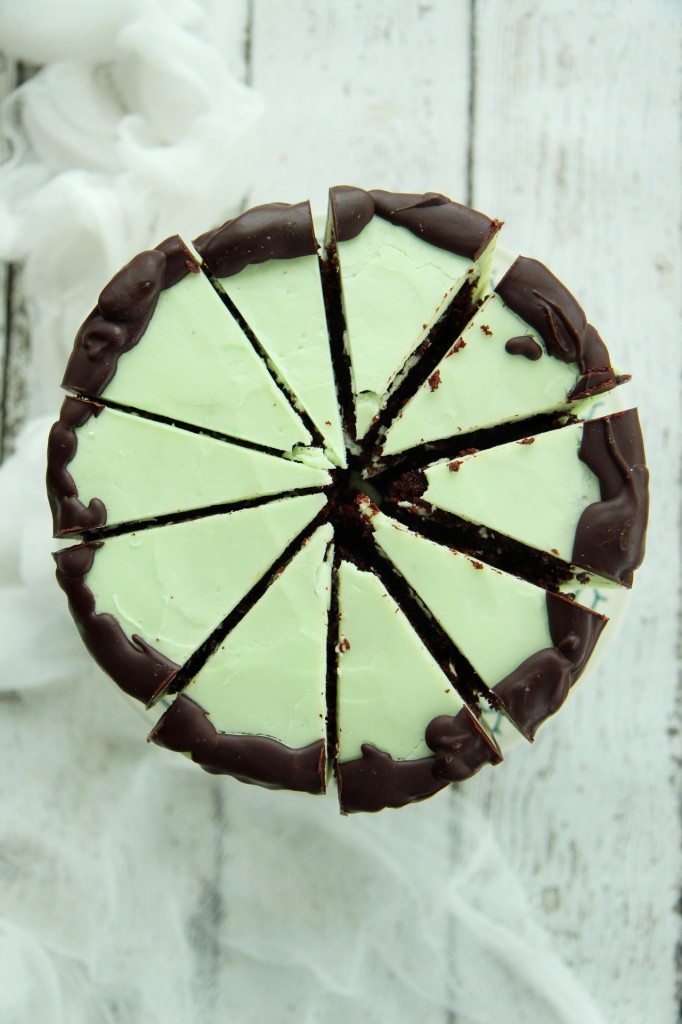
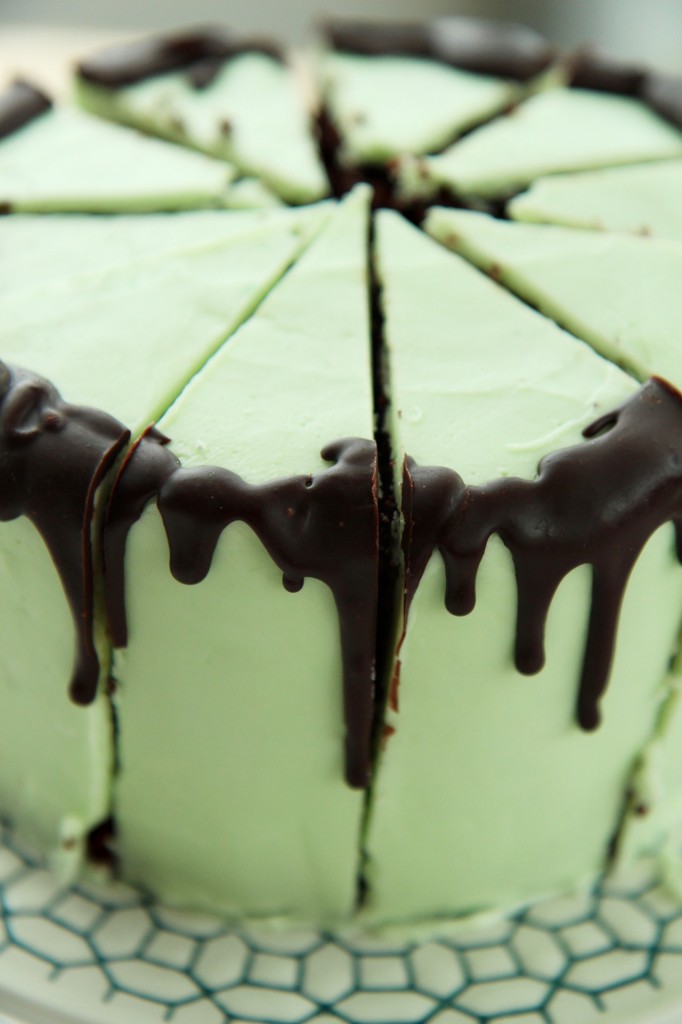
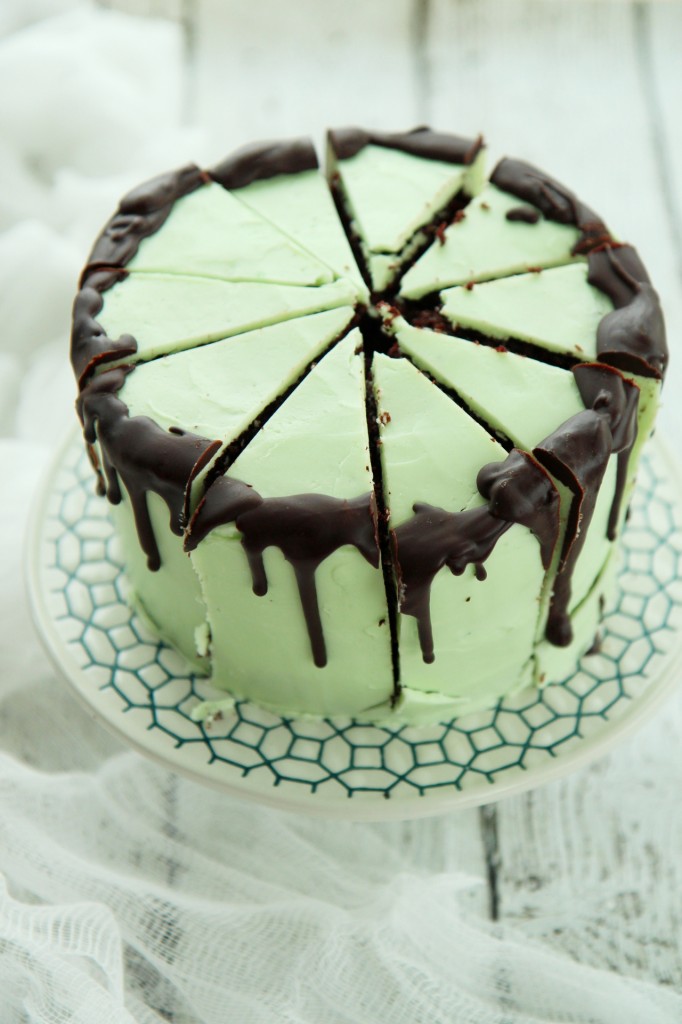
I was really frustrated; I had been very excited about this mint and chocolate cake and yet to me, the cake looked like the cartoon version of Frankenstein’s monster, green skin and black-brown hair with weird sideburns.
UGH.  (I am actually laughing out loud at how creepily similar this cake is to the monster.  Good god.)
I chopped it up, ready to throw in the dish towel, but then I ended up half-liking how it looked all cut up into fat wedges, so I plonked it back on the table and took a few shots.

And that’s the riveting story of this monstrous cake.

IMG_8878_01

Here’s the story of the interior:
The fastest chocolate cake EVER (accidentally vegan!) provides a tender, moist base.
Sandwiched between the layers is whipped chocolate ganache, deep and dark and lovely.
The cake is frosted with the silkiest, lightest mint Italian meringue buttercream, refreshing and buttery and NOT toothpaste-y in the least (at least I’ve got that going for me).
Hot, melty ganache is dripped along the sides of the cake, for extra va va voom and shits and gigs.

Someone in my house triple texted me, begging for a slice after they caught a glimpse of it sitting in the kitchen.
By the time I got home, the thing had been decimated by a pack of hungry monsters college students.
I take that as a sure stamp of approval, ugly or not.

IMG_8881_01

Mint Chocolate Cake
ingredients:
for the chocolate cake:
2 1/4 cups flour
1 1/2 cups sugar
1/2 cup cocoa powder
1 1/2 teaspoons baking soda
1/2 teaspoon kosher salt
1/2 cup vegetable oil
1 1/4 cup hot water
1 tablespoon vanilla extract

for the mint Italian meringue buttercream:
3 egg whites
1/2 cup plus 1 tablespoon sugar
pinch salt
1 tablespoon water
2 sticks butter, cut into chunks, softened but cool
drop peppermint extract
drop green food coloring, if desired

for the ganache:
1 ounce unsweetened chocolate
4 1/2 ounces semisweet chocolate
2 tablespoons sugar
big pinch salt
1 ounce (heaping tablespoon) corn syrup
4 tablespoons butter

directions:
Make the cakes: preheat oven to 350 degrees F and grease and flour 3 6-inch pans.
Whisk flour, sugar, cocoa powder, salt, and baking soda together.
Add all the wet ingredients at once while whisking.
Pour batter (will be liquidy) into prepared pans and bake for 20-22 minutes, until springy to the touch and a tester comes out clean; allow to cool completely.
Meanwhile, make the buttercream: place egg whites in the bowl of a stand mixer fitted with the whisk attachment.
Place salt, water, and sugar in a small pot over medium heat; begin whipping the egg whites.
When the syrup reaches 240 degrees F, the egg whites should be at soft to stiff peaks.  Carefully pour the hot syrup over the whipping egg whites, avoiding the whisk so that there is no splattering.
Whip meringue until it has reached body temperature; whip in butter 2 tablespoons at a time.
Add in the peppermint extract and food coloring and beat until buttercream is shiny, fluffy, and smooth.
Set aside while you prepare the ganache: melt all ingredients together in a microwave or double boiler.
Place in a blender or blend with a stick attachment until smooth, shiny, and glossy, about 1 minute.
Remove 1/3 of the ganache and set aside.
Place the rest of the ganache in the fridge and allow to set softly, about 30 minutes.
Remove from fridge and whip until soft and fluffy, about 2 minutes.
To assemble the cake: spread first layer with 1/3 of the whipped chocolate ganache, then place the next layer on top and repeat.
Frost the exterior of the cake with a crumb coat of the buttercream, then refrigerate for at least 30 minutes to set.
Finish icing the exterior of the cake with the remaining buttercream, then place in the fridge for another 30 minutes.
If the reserved ganache has set, simply microwave it for 10 seconds until it is smooth and flowing once more; drip or pour the ganache over the edge of the cold cake; it will set as it drips down the side.
Allow the cake to come to room temperature, and serve!

Daisy

IMG_8763_01

A LITTLE madness in the Spring
Is wholesome even for the King,
But God be with the Clown,
Who ponders this tremendous scene–
This whole experiment of green,
As if it were his own!

Emily Dickinson

IMG_8774_01

Mooooo.
Mooooooo.

IMG_8773_01

It is spring.
I can officially, fearlessly declare for spring.
Not just based on the official date (which was March 20th, but since it was still snowing in March, that didn’t seem quite right), but on the birds chirping and the sun shining and the people smiling.
The bare skin, the promising buds, the gentle scent of life on the breeze.

The smell, the feel, the sight of spring.
I feel invigorated.  Alive, awake, alert, enthusiastic.

IMG_8766_01

Babies abound in spring; I imagine calving is happening (although I’m trying not to imagine the horrors of calving on a factory farm, since I wanted this post to be upbeat and happy…), little wobbly kneed newborns frolicking in the sun.
If I had a farm or a country home with a cow, I’d name her Daisy.  Real original, right?
She’d be a little Jersey cow, and I’d have 2 goats and some chickens, too.

There is something very romantic about the thought of living and working on a rustic farm; it’s kind of a secret dream of mine to grow up and be Imen of Farmette.
Or maybe not so secret.

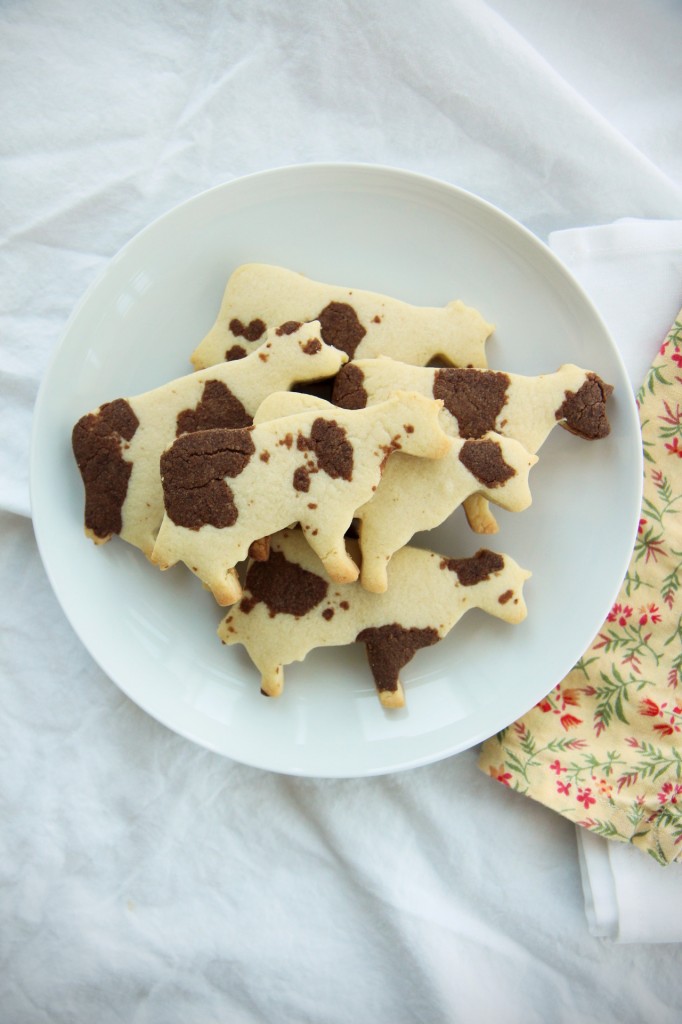
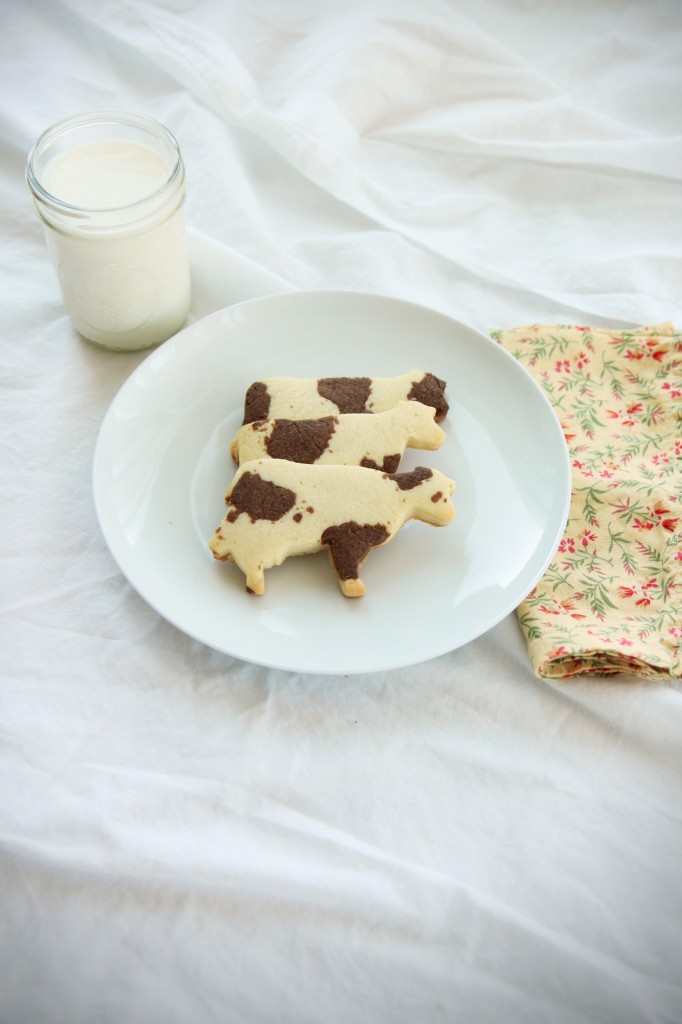
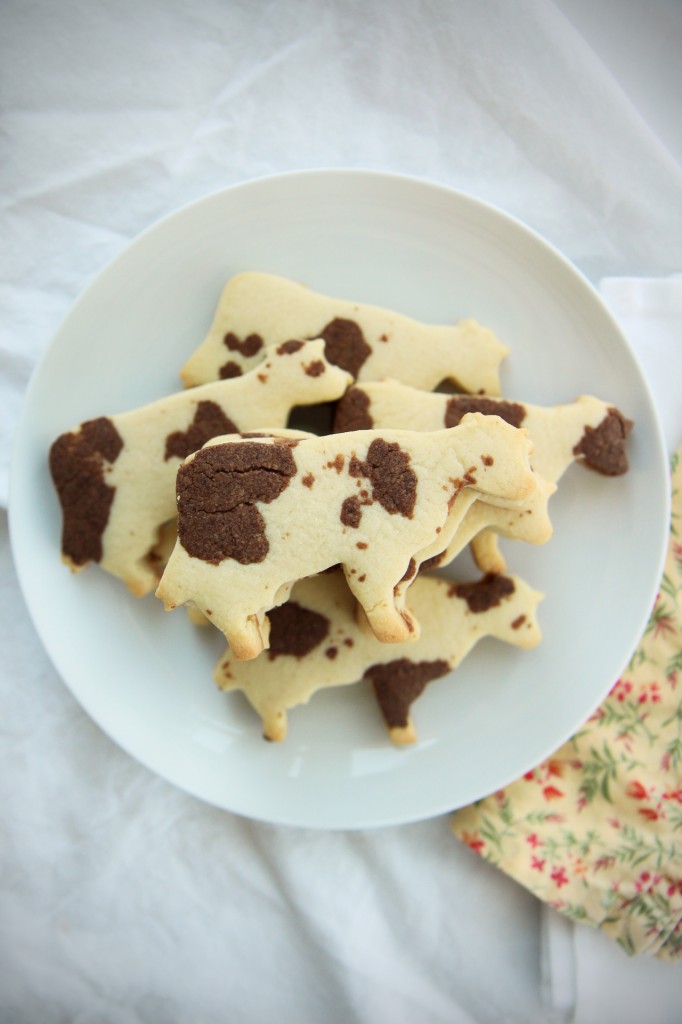
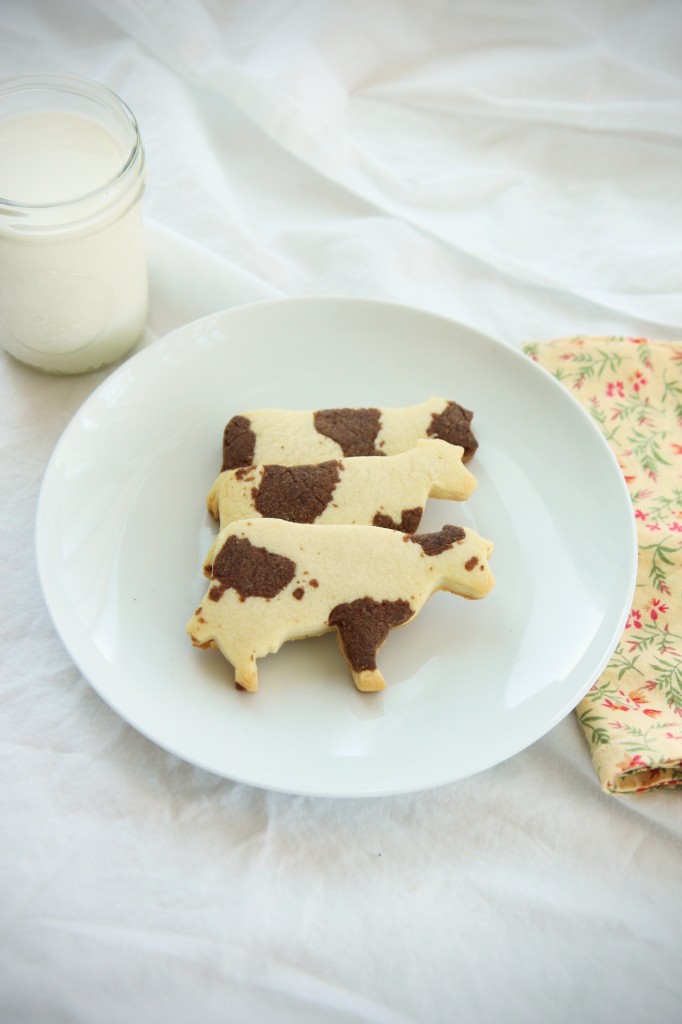
These here cows are Holsteins, though.  Or at least my best approximation of them.

IMG_8767_01

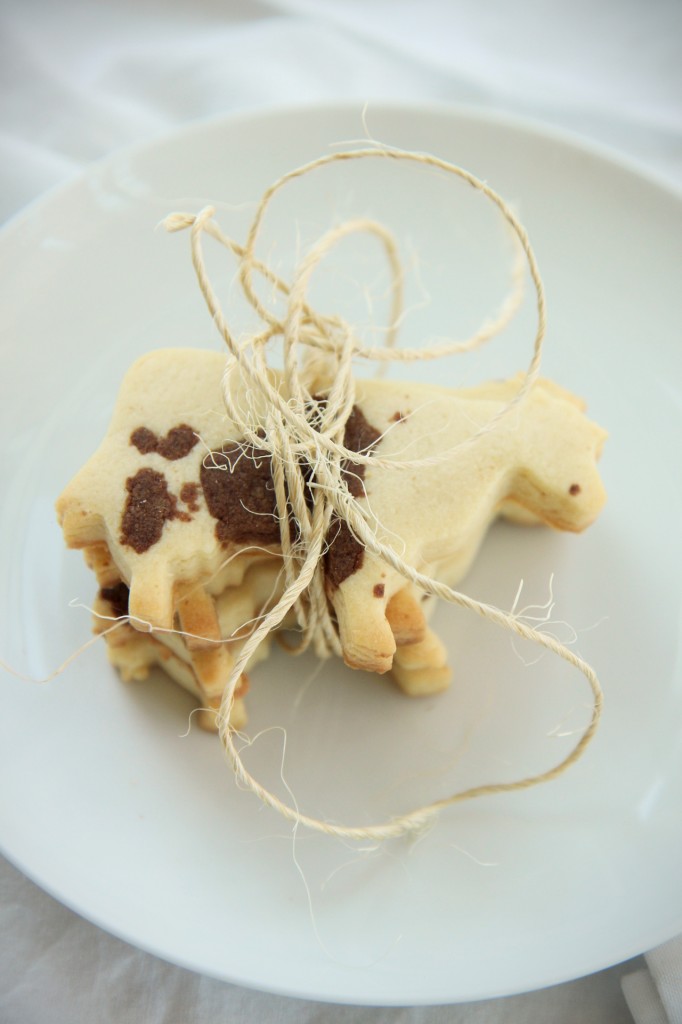
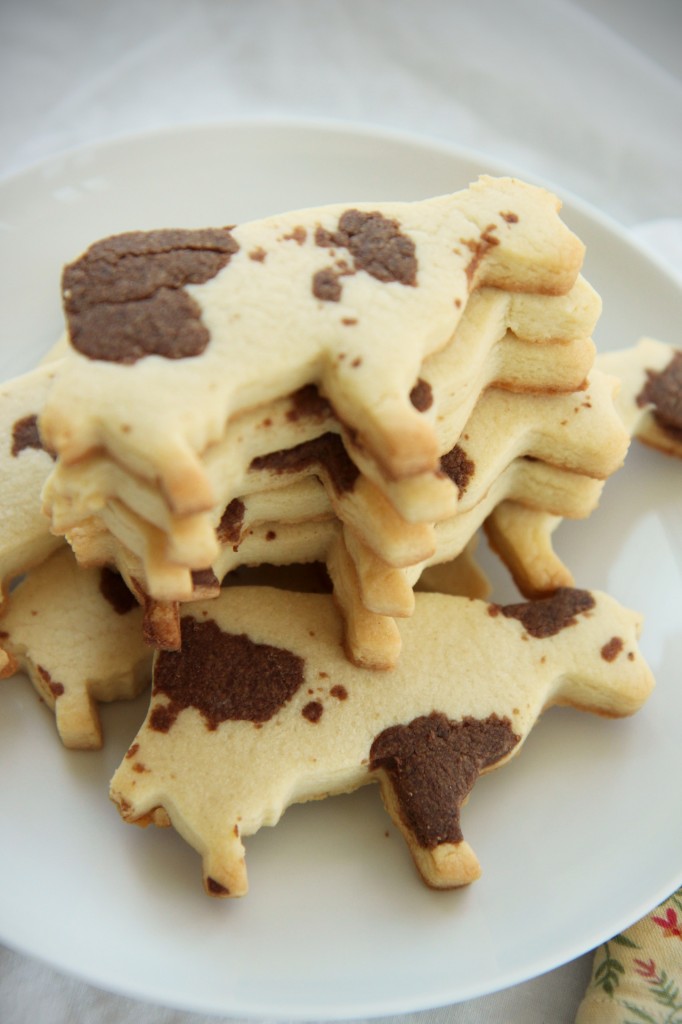
These cow cookies are so sweet!
When I saw this cookie cutter, I had to have it.
Now I’m dreaming of more spotted animals that I could create using the same technique.
Giraffes are my house mascot, after all…

These cows are crisp butter cookies laced with salt and vanilla, punctuated with rich, chocolatey bites.

Simple, simple cookie dough (count down from 3, then back up: 3-2-1-1-2-3) means that you can have these cookies in just about an hour, including chilling time.

There is nothing like a thick, crunchy-on-the edges sugar cookie with a soft center dipped in milk.

You absolutely must enjoy these with milk.  (Is that wrong?)

IMG_8776_01

Cow Cookies
makes about 20 large cookies

ingredients:
3 cups (360 grams) flour
2 sticks (225 grams) butter
1 cup (200 grams) sugar
1 egg
2 scant teaspoons kosher salt
3 teaspoons vanilla extract
1 ounce bittersweet chocolate, melted and cooled
1 teaspoon (5 grams) cocoa powder

directions:
Place butter in the bowl of a stand mixer fitted with the paddle attachment and beat on high for 2 minutes.
Add the sugar and beat for 3 more minutes.
Scrape the sides of the bowl and add the egg and salt; beat for 3 more minutes.
Add the vanilla extract and the flour and slowly mix until homogeneous.
Remove 5/6 of the batter, leaving the last 1/6 in the bowl; add the chocolate and the cocoa powder and beat until batter is uniformly colored.
On a well floured surface, roll out the vanilla dough to a thickness of 1/4 inch.
Rip random and varying sized pieces of the chocolate dough off and flatten them slightly.
Place randomly on vanilla dough and gently roll to incorporate.
Cut out cow shapes with a cutter, doing your best to fit as many cookies in as possible to avoid having to reroll the dough.
Place on a cookie sheet lined with parchment and into the freezer.
You can reroll the dough, but the cow spots will not be distinctive.
Freeze for at least 30 minutes.
Preheat oven to 350 degrees F, then bake cookies for 10-12 minutes, until lightly golden.
Allow to cool; enjoy with milk.

All Hail

IMG_8704_02

My good lords and ladies, would you care for a bloody poofy woolly biscuit?

IMG_8727_02

What, that doesn’t sound appealing to you?!
Allegedly, that’s what Lord Lamington, after whom these little confections may or may not be named, was fond of calling them, and not exactly lovingly.

The history of the lamington is a bit convoluted, with different stories attributing its origin to various sources.
They’re quite widely popular, so there must be something behind them.

Lamingtons are enjoyed from Queensland to Toowoomba to South Africa to… Cleveland.

(In other Australia-related news… more weird ass marsupials discovered on the only freaky continent to boast marsupials!)

IMG_8722_02

When I found some desiccated coconut in the famed and fabled land of Hyde Park Produce, I knew instantly I had to make lamingtons. (After, of course, I stirred heaps of it into this cake and this cake, too.)

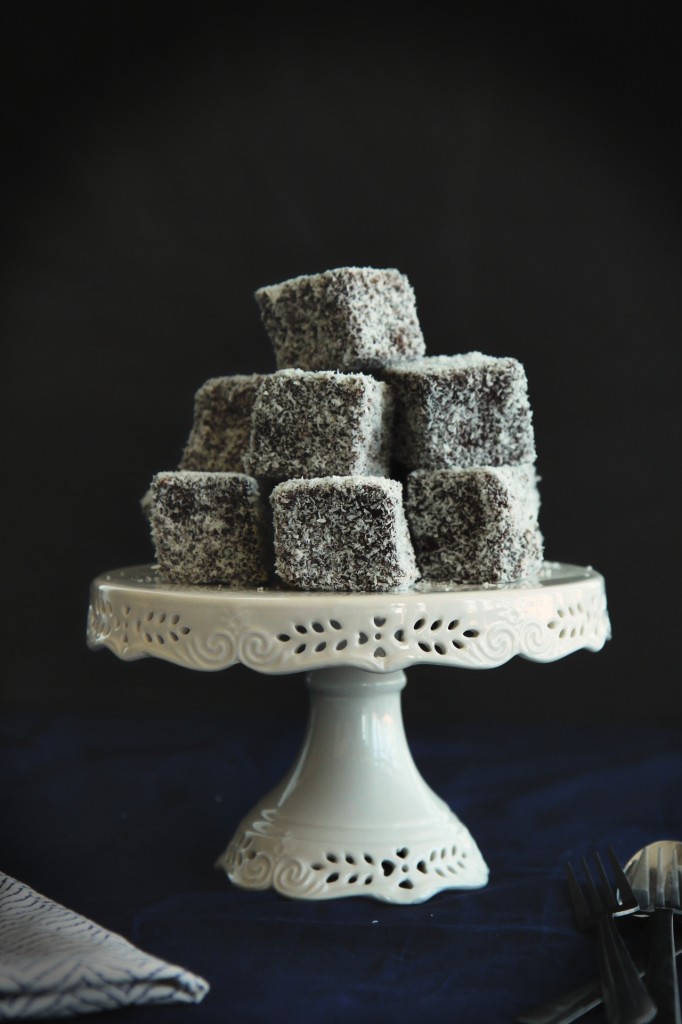
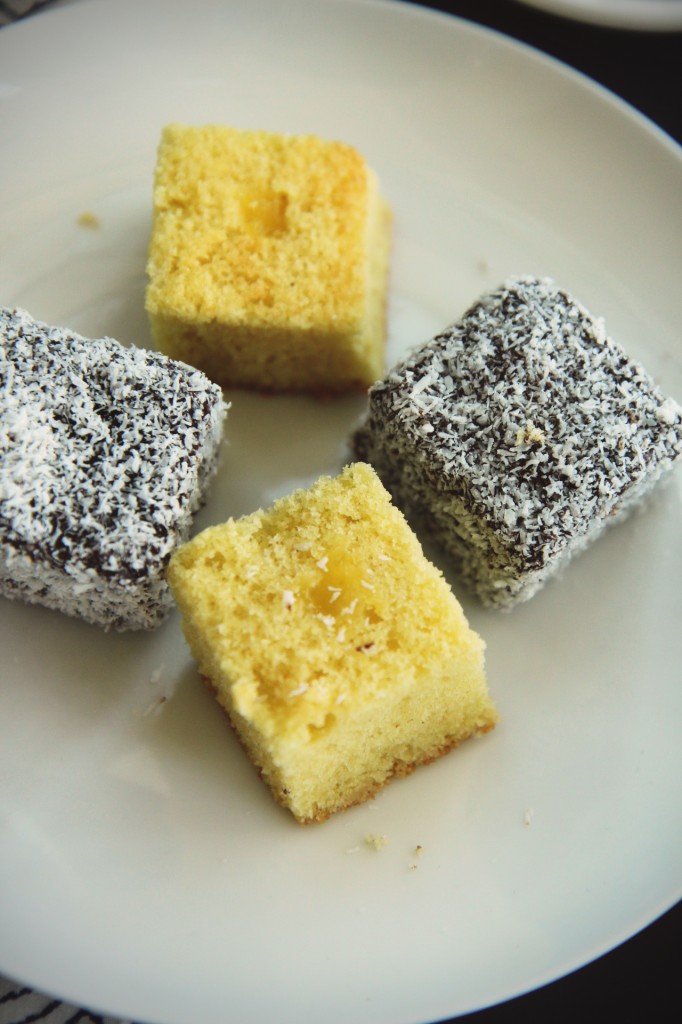
The traditional form is a cube of vanilla sponge cake, sometimes split in two and filled with jam, dipped in chocolate glaze and covered with coconut.
I didn’t deviate too much, because I’ve never tried a real lamington!

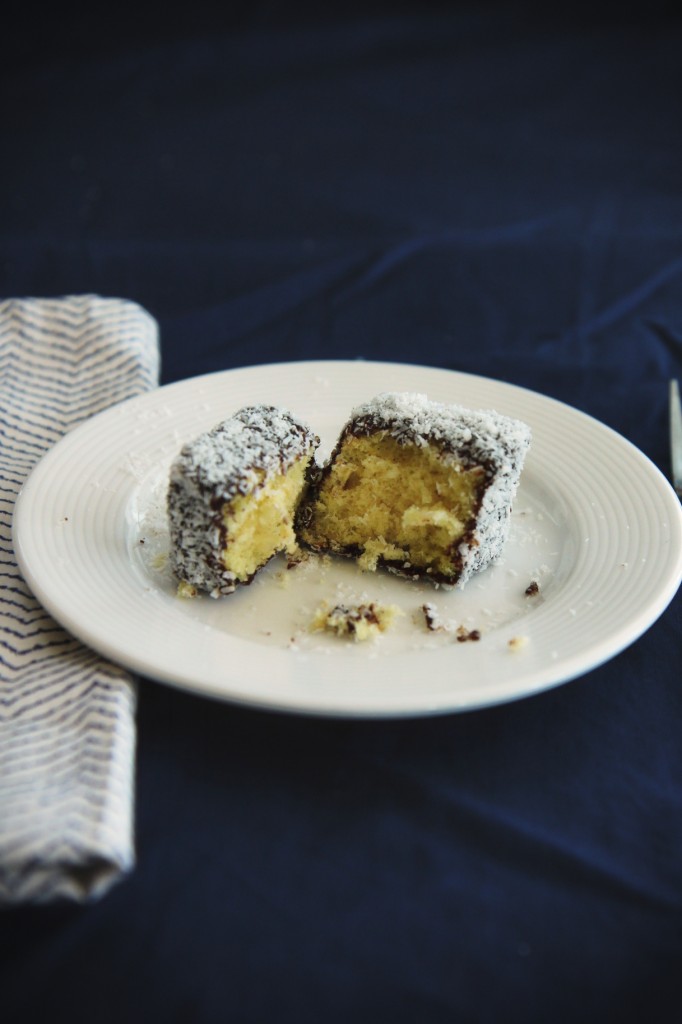
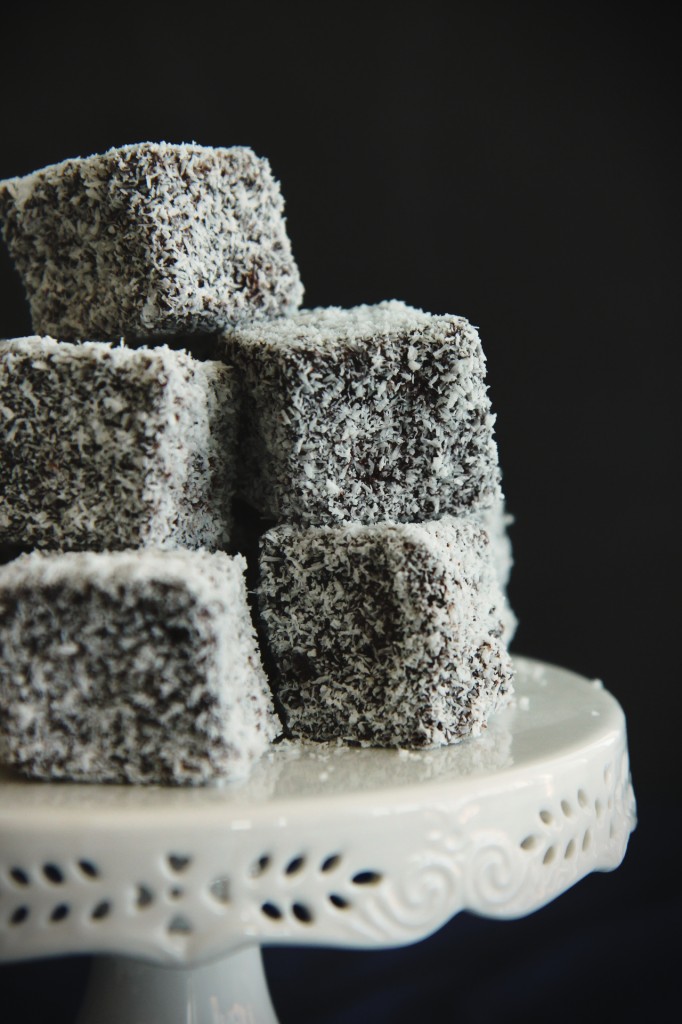
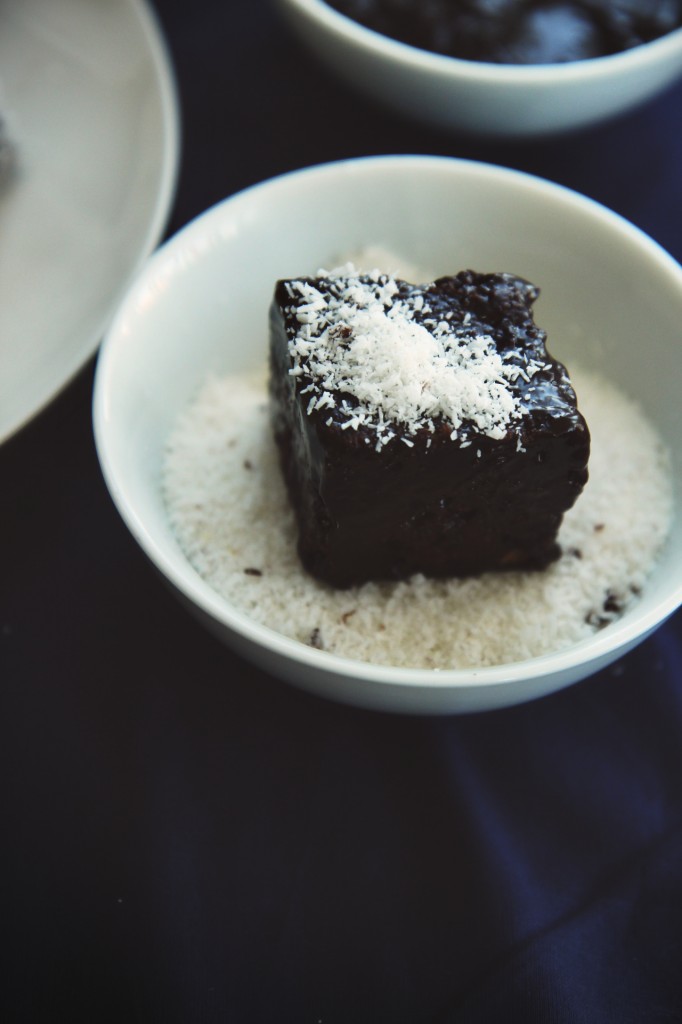
Here, a moist, light vanilla sponge cake is filled with rich, thick coconut pastry cream, coated in a dark bittersweet chocolate glaze and dusted with plenty of chewy, nutty desiccated coconut.

Lord Lamington must have been crazy, because these treats are fabulous.
They’re really not sweet, with a myriad of textures: the sponge cake is fluffy, the coconut cream buttery, the glaze melty and the coconut shreds are chewy.
The flavors meld beautifully, with the coconut pastry cream giving an aroma of coconut to the interior as well as the exterior, the thin shell of chocolate not overpowering the delicate vanilla or coconut.

These were snapped up from my house table ridiculously quickly; people remarked how pretty and how delicious they were.
(Nary a “bloody poofy wolly biscuit” to be heard!)

IMG_8753_02

A few notes about making these poofy little delights:

Trim the edges off your sponge cake! This keeps it moist and allows you to level any imperfections off.
Don’t worry too much if your cubes are kind of wonky, mine were like that too.  They taste just as good.

If your pastry cream is a bit thick, just stir it around vigorously, or fold in stiffly whipped cream.
The pastry cream recipe unavoidably makes more than you’ll need, but you can use it to sandwich more cakes, or thin it with a bit of milk or cream for coconut pudding!
To pipe it into the cake, don’t be shy.  Stick the tip of your pastry bag into the center of the cake and apply pressure.
As the crevices in the sponge cake fill up, the tip will be shoved out of the cake, and you’ll know that it’s full!

When covering the cakes with the glaze, less is more.  Scrape off as much as you can, leaving only a thin lacquer of chocolate.  Otherwise a lot of it will drip into your coconut, and the cakes won’t be as neat.

Desiccated coconut may be a little difficult for some to locate; look for it in ethnic sections or ethnic supermarkets (mine was an Arabic brand).
If you can’t find it, it seems that flaked or even shredded coconut does the job well enough.
Don’t let the coconut hold you back from trying lamingtons!

As always, serve with a good strong cup of milky English tea.
(Yes, Australians have teatime too, thank you O Great British Empire.)

P.S. I’m back in the States.  Woohoo. So glad…  I can feel my tan fading already.  Great.

IMG_8760_02

Coconut Cream Lamingtons
makes 16
cake portion adapted from Saveur
pastry cream adapted from the Kitchn

ingredients:
for the sponge cake:
3 eggs
1/2 cup sugar
1/2 teaspoon kosher salt
1 teaspoon vanilla
8 tablespoons butter, melted
1 cup flour
1 teaspoon baking powder

for the pastry cream:
3/4 cup full fat coconut milk, well stirred
1/4 cup sugar
2 tablespoons flour
big pinch kosher salt
2 egg yolks

for the ganache:
6 ounces bittersweet chocolate, chopped (approximately 1 cup)
scant cup powdered sugar
1/4 cup cocoa powder
3 tablespoons milk (feel free to use coconut milk)
pinch salt
1 1/2 tablespoons butter

to assemble:
1- 2 cups desiccated coconut

directions:
Make the cake: grease and flour an 8×8 pan.
Preheat oven to 350 degrees F.
Place eggs in the bowl of a stand mixer fitted with the whip attachment.
Whip on high for 3 full minutes– set a timer.
With the mixer running, add the salt and slowly stream in the sugar.
Beat for another full 3 minutes– set a timer.
Whisk the vanilla extract into the melted butter, then pour it into the whipped eggs.
Dump the flour (gently) on top, then add the baking powder to the flour mound.
Gently, using folding motions, incorporate the butter and flour into the eggs.
The batter should be homogeneous– you will have to mix thoroughly yet gently– but not completely deflated.
Spread the batter into the pan.
Bake for 25-30 minutes, until a tester comes out clean and the cake is golden.
Allow to cool completely, then slice off the edges and top so that it’s all level.
Meanwhile, make the pastry cream: blend all ingredients except vanilla together, either with an immersion blender or in the canister of a regular blender.
Pour into a small saucepot and cook over medium heat, whisking constantly, until thickened to a pudding-like consistency.
Remove from heat, blend again if there are chunks, and allow to cool before filling lamingtons.
Make the ganache: melt the chocolate, gently, in a double boiler or in the microwave.
Add in the powdered sugar, cocoa powder, milk, salt, and butter, and blend with an immersion blender (or, again, in a regular blender or food processor) until shiny and smooth.
Ganache should be thin enough that it will not pull many crumbs off the cake, so add another tablespoon or two of milk if need be.
To assemble lamingtons, slice cake into 16 cubes.
Fill a pastry bag fitted with a plain tip with the coconut pastry cream; stick the tip into the center of a cube of cake and fill until the pressure forces the tip out of the cake.
Dip the cakes into the ganache, being sure that the chocolate coat is very thin, not thick and heavy.
Brush any excess ganache off, then roll the wet cube in coconut.
Set on a parchment-lined baking sheet to set for at least 2 hours.

Ophelia

IMG_8193_01

“Tomorrow is Saint Valentine’s day
All in the morning betime,
And I a maid at your window,
To be your Valentine.”

Ophelia
Hamlet, Act IV, Scene V

IMG_8187_01

Happy Valentine’s day, sweet, dear readers o’ mine.

How hilarious are these Valentines?  I love them all.

I’ll be playing this all day.  All hail Queen Bey.

IMG_8196_01

Since we’ll all be eating chocolate all day (as is our god-given right, damn it), we might as well snack on gorgeous, semi-healthy, bejeweled treats.

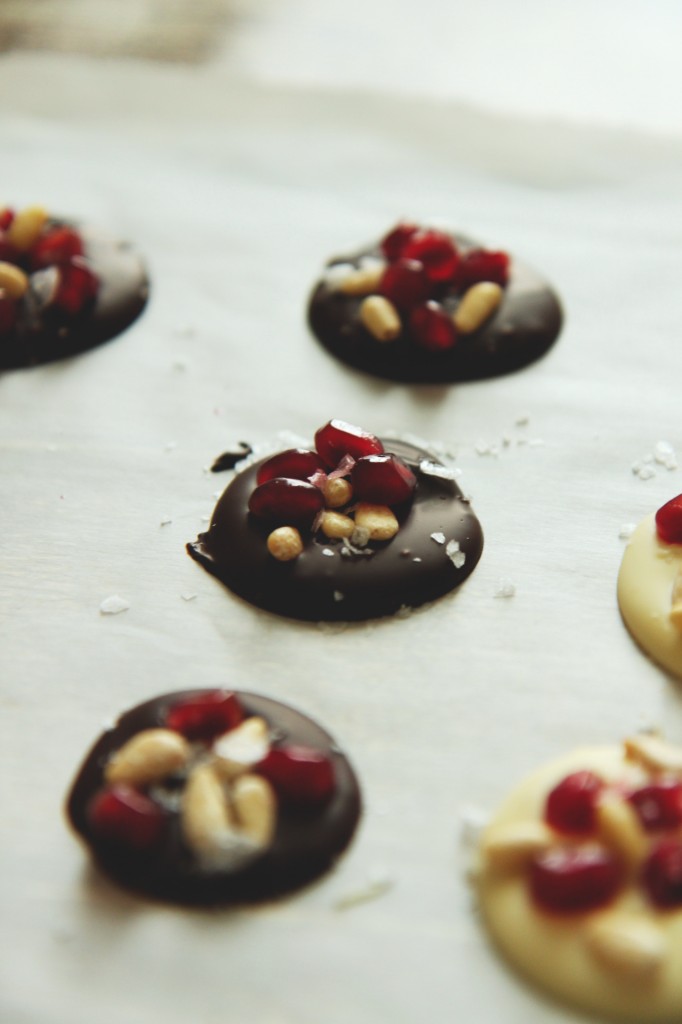
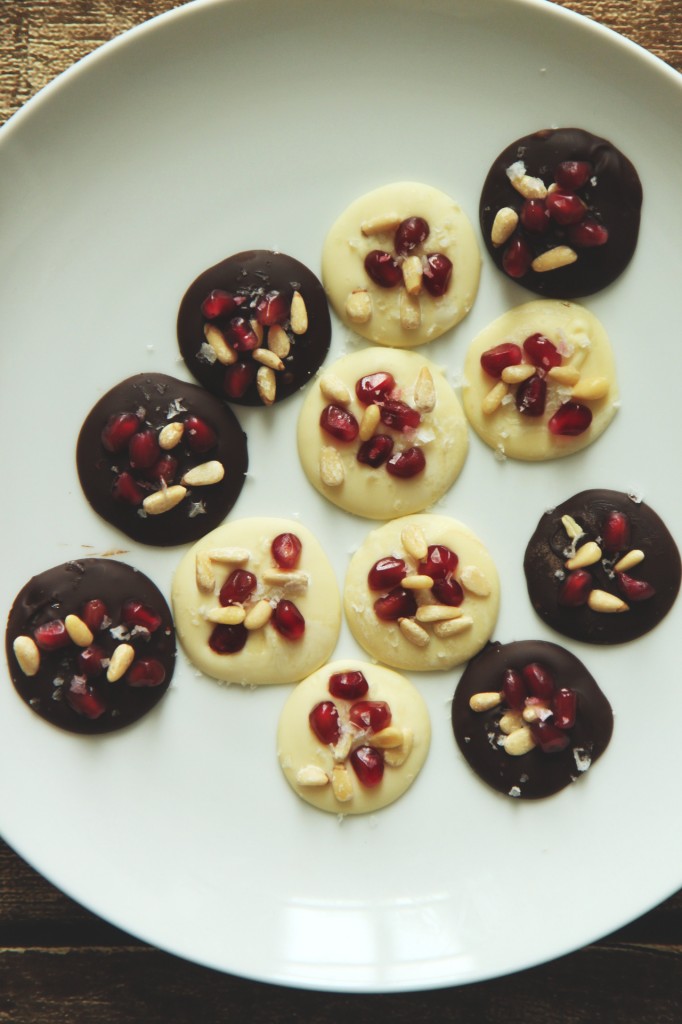
Enter the French mendiant, which means medal or medallion.  Commonly made around Christmastime, these are the absolute fastest chocolate candies to make.  I think they’d be perfectly appropriate as a last-minute valentine.

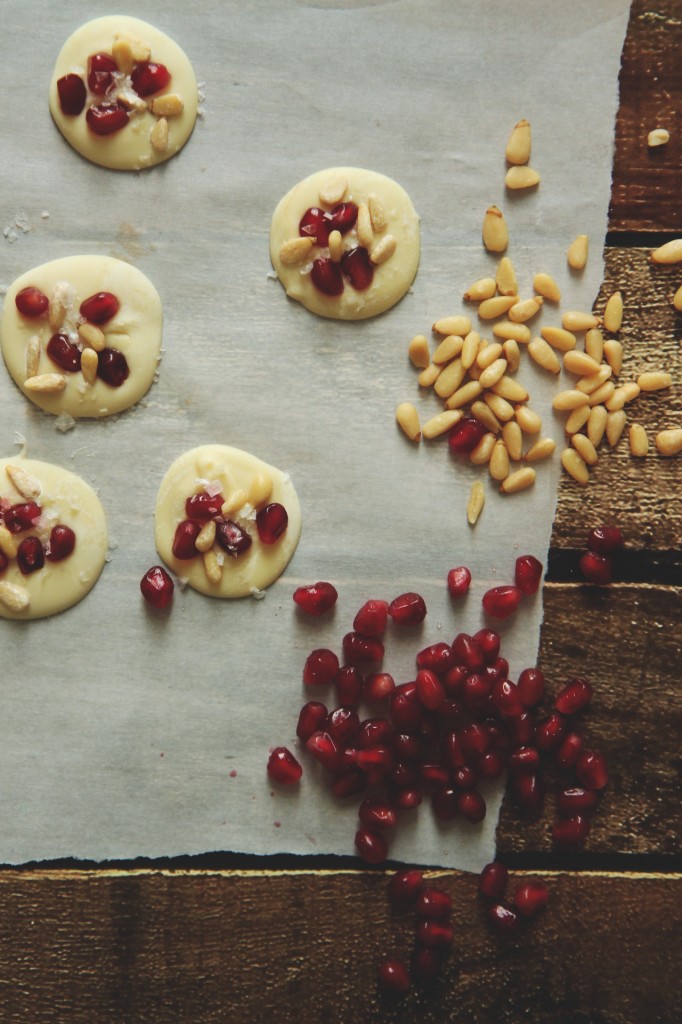
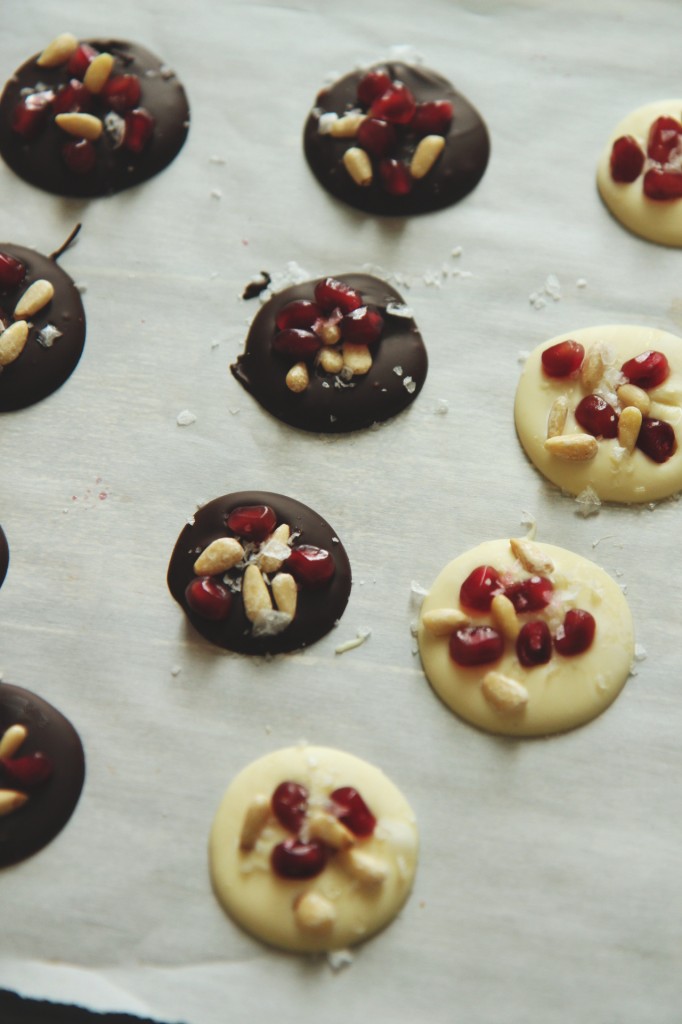
The premise is simple, and really doesn’t require a recipe: melt dark (or white) chocolate, dollop it in (imperfect) circles, decorate with dried fruit, nuts, etc.   Allow to set (an hour or two), then enjoy crunchy-yet-melty chocolates with bursts of flavor.

Here, I chose what has become a favorite combination: pomegranate, pine nuts, and sea salt.
Antioxidants!  Fruit!  Healthy fats!  The picture of good health, practically!!!

It works equally well with dark and white chocolates; just be sure to choose good quality chocolate.  I used Callebaut.
I made my mendiants quite small, about a teaspoon per candy, which makes them mini and totally snack-able.

Common toppings are pistachios, dried apricots, dried figs, coconut, cashews, almonds, dried cranberries, etc.
The possibilities are endless.

IMG_8177_01

And here’s a sweet little design I made as a desktop background, that I thought I would share with y’all.
Feel free to download it from my flickr.

Have a marvelous day.  I hope it’s filled with chocolate, love, flowers, and, most importantly, happiness.

xo

Be Mine.jpg

Kiss Kiss

IMG_8050_01

Coucou!  Bisous bisous!

IMG_8020_01

Because what good is Valentine’s day without chocolate?

No good!  Must have chocolate.  Certainly.  Surely.

It doesn’t have to be complicated or fussy.  But you best believe it better be present somewhere.

IMG_8078_01

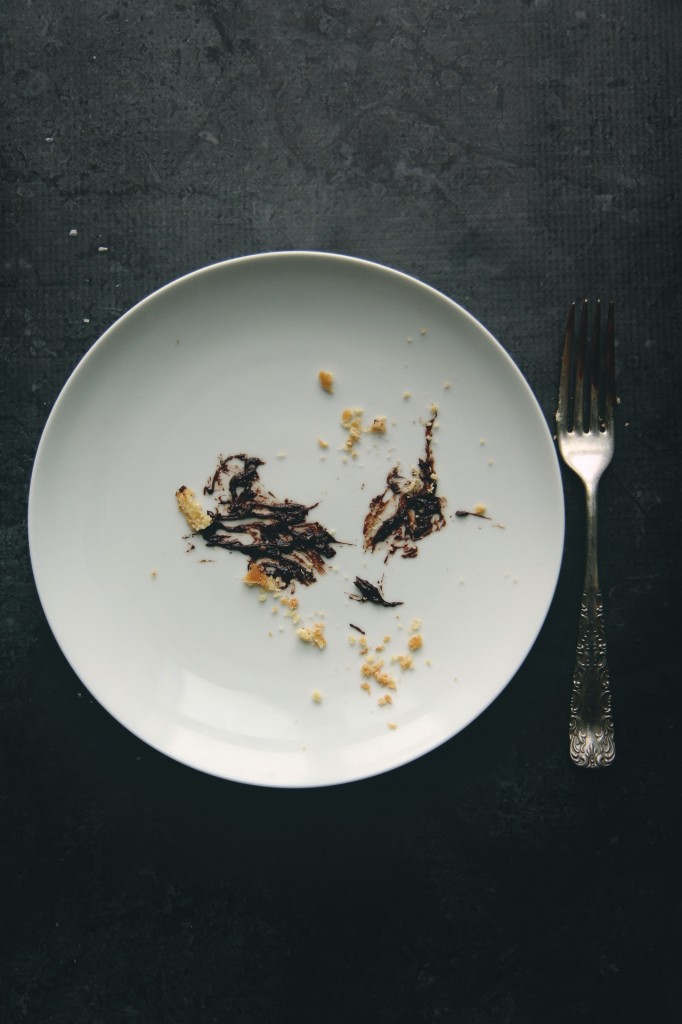
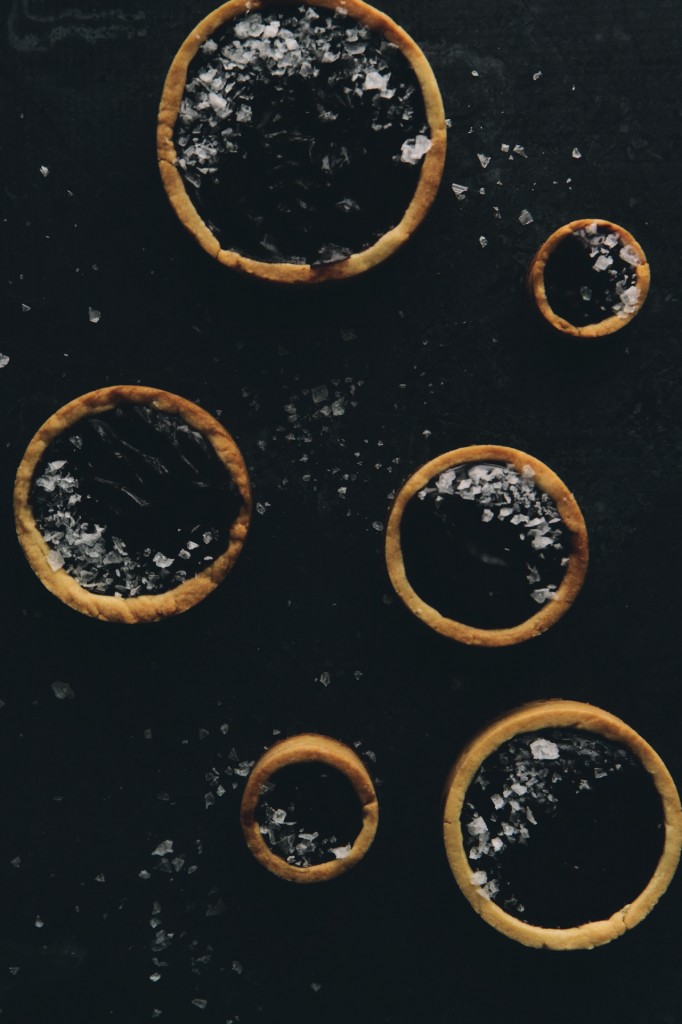
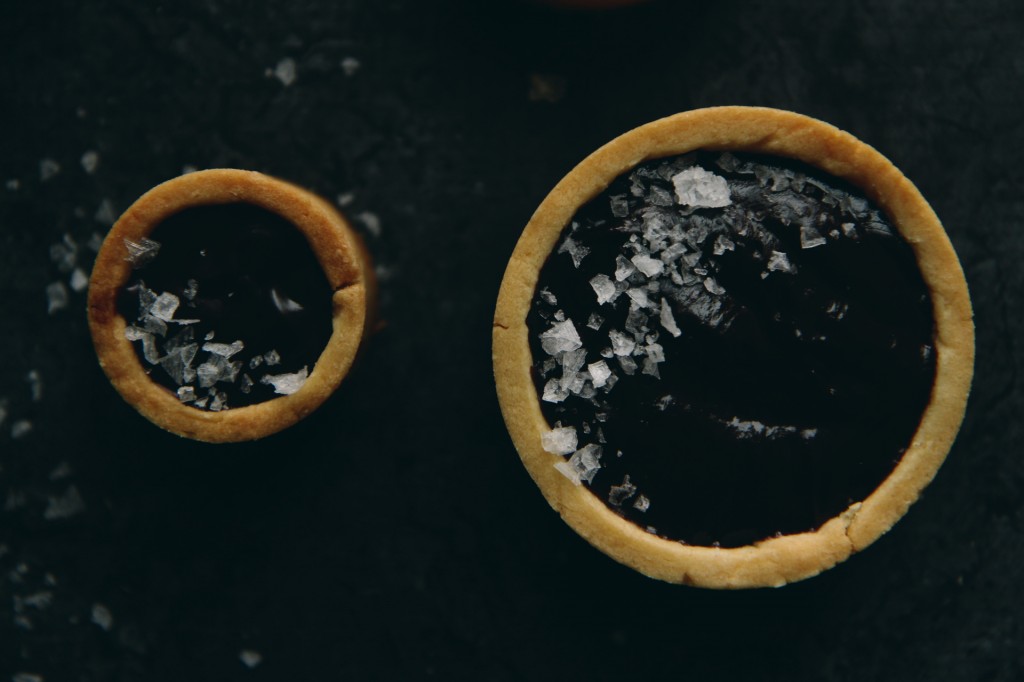
 If you need chocolate, these tarts are just the ticket.
They are chocolate taken to the max, pushing the boundary of being too rich, too ridiculously chocolaty.

They’re dead simple (Keep It Simple Stupid) but have serious wow factor.

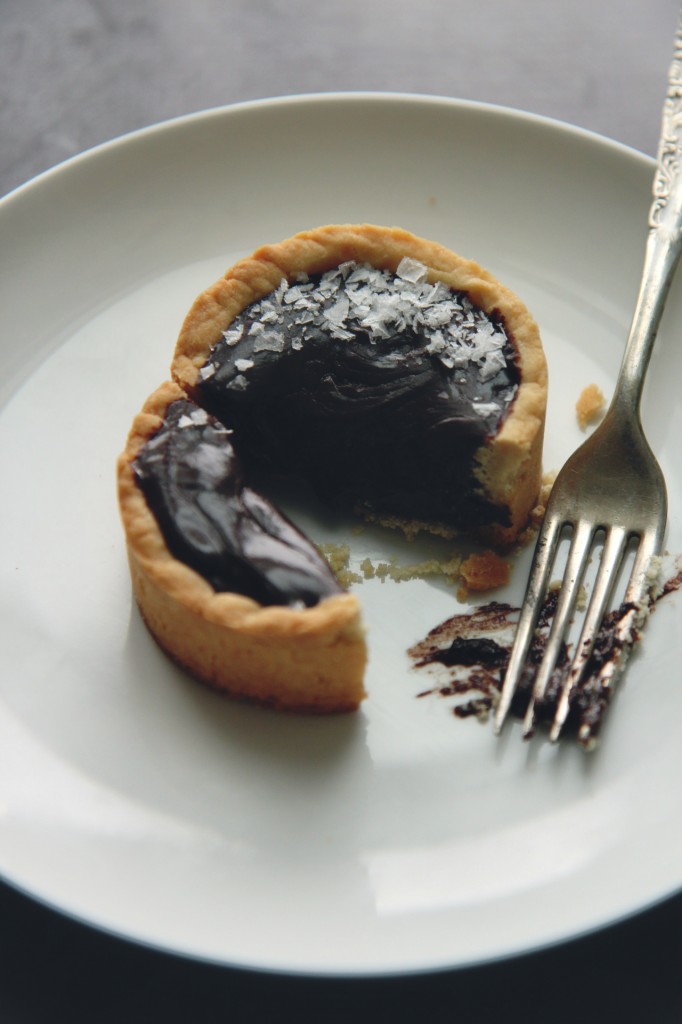
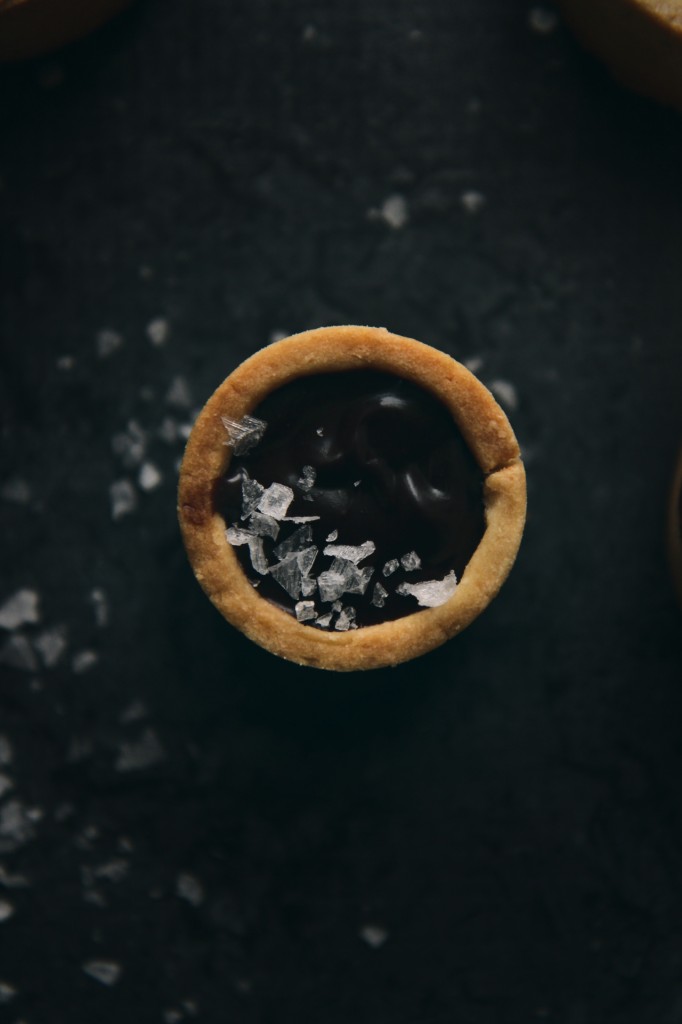
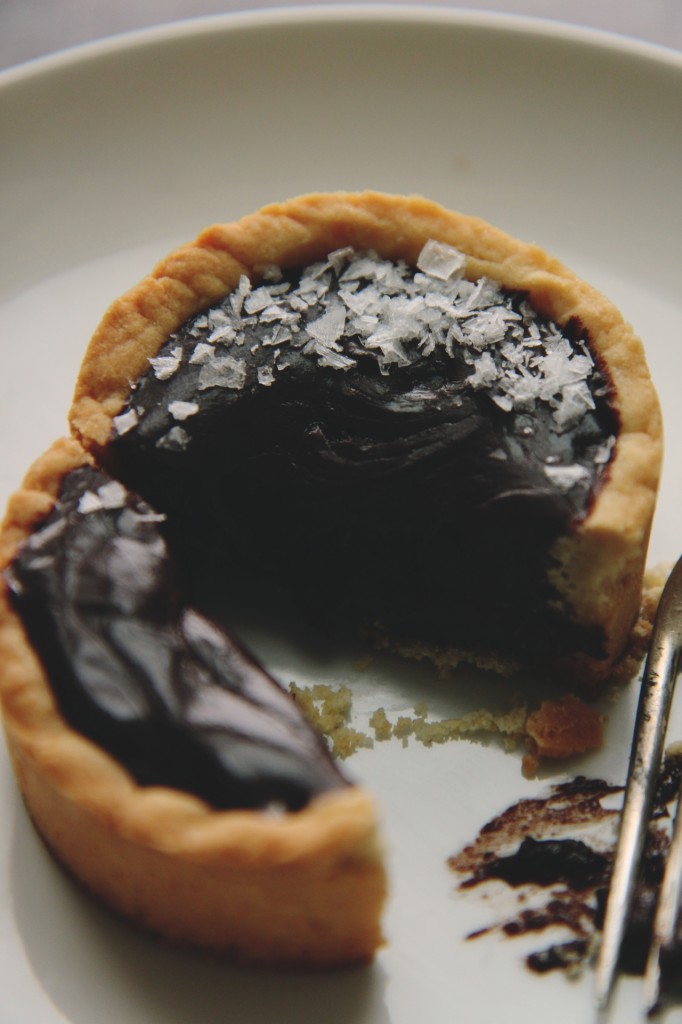
Dark, fruity chocolate is spiked with a pinch of cinnamon and maple syrup, whisked into luxurious ganache with hot cream, and then poured into buttery tart shells.  

As the ganache sets, it becomes like the interior of a good truffle: soft and creamy, but with substance you can actually sink your teeth into.  Chocolate gets all over your mouth, but not a drop will be lost to the front of your shirt.

Hello, total date food in my eyes.

IMG_8014_01

This pâte sucrée is such a dream to work with.
I’ve been developing this recipe for ages; it’s my go-to.  I’ve probably made 20+ tarts using this dough.

It’s easily adaptable; swap in a different flour (even GF), add some ground nuts, some cocoa powder, press it in or roll it out.
It’s equally good when you need to parbake and when you don’t; it’s rich and buttery, but not too sweet.
Not brittle, but sturdy, and yet not heavy.  It’s light and crispy and melts on your tongue after you’ve taken a bite.

It’s not made in the way you might expect, but that’s okay.
Butter, salt, and sugar are creamed together for what feels like ages (around 5 minutes at high speed), then flour is gently mixed in as an egg yolk is simultaneously added.
The whole process takes about 10 minutes, and then you’ve got a chunk of tart dough to stick in your fridge (it’ll last a couple days) or your freezer (wrapped well in foil, it’ll last for a month or so) and use whenever your heart so desires!

IMG_8052_01

This recipe simple by design.  (KISS, people, KISS)
9 ingredients, huge return.
Easy, fast prep and long down time means these can be prepared ahead to share with your sweetheart later.
These will score you major sweetheart-points because, people.  They’re truffles in tart form.
I mean, c’mon.  It’s almost unfair how good these taste for how easy they are.

Also, we know chocolate + salt + cinnamon = devilishly good.
(Previously, in cookie form)

P.S. These truffle tarts would be greatly appreciated by anyone in the place of a box of truffles… Just sayin’.

IMG_8021_01

Chocolate Truffle Tarts
makes 6-8 small tarts, or one 8- or 9-inch tart

ingredients:
for the pâte sucrée:
114 grams butter
50 grams sugar
1/2 teaspoon kosher salt
140 grams flour
1 large egg yolk

for the ganache:
256 grams dark chocolate, chopped
200 grams heavy cream
1 tablespoon maple syrup or honey
1 teaspoon cinnamon

to assemble:
flaky sea salt
{pine nuts}

directions:
Make the pâte sucrée: beat butter, salt, and sugar together for 5 or so minutes, until incredibly fluffy and pale; there should be no grit left to the mixture.
Scrape the bowl and add in the flour, as you are slowly mixing the flour in, add the yolk and allow to dough to come together into a homogeneous ball.
Wrap well in plastic wrap and refrigerate for at least 2 hours and up to 2 days.
To roll out, use a very well floured surface and roll to 1/4 inch thickness before pressing into desired pans.
Prick all over with a fork and freeze for at least 2 hours.
Preheat oven to 350 degrees F.
Line the tart shells with aluminum foil and weight with dry beans or rice.
Bake for 12 minutes, until lightly golden, then remove beans and bake for 5 more minutes, until golden brown.
Remove from oven and allow to cool while you prepare the filling.
Chop chocolate and place in a large, microwave-safe bowl with heavy cream and cinnamon.
Microwave until 2/3 melted, then remove from microwave, add maple syrup, and whisk until ganache is totally smooth and shiny.
Pour into cooled shells and refrigerate until set, about an hour.
Top with pine nuts and flaky sea salt.

Maillard

IMG_7650_01

Some real fuckin’ foodie nerd shit is about to go down, y’all.

IMG_7641_01

This is the shit my chemistry T.A. and I talk about during lab discussion.
These cookies are bringing science back.
I am harnessing one of the most delicious reactions known to man and using its great and terrible power to make some kick-ass cookies.

And I’m SO excited to share these cookies and this technique with you.  Like, I can’t even.
I’ve been working on these here thangs for a while, now.
I’ve decided they’re ready to be unleashed upon the world.
The question is, are you ready?

IMG_7636_01

Do you know how freaking awesome the Maillard reaction is, man?
This is what is responsible for the heaven that is the crust of a good bread, the browning of butter, the golden color of baked cookies, cakes, and biscuits, dulce de leche, the crust of a steak, caramelized roasted vegetables, french fries, the smell of roasted coffee, chocolate, soy sauce, maple syrup

The Maillard reaction creates essentially all good smells in the kitchen.  It is an aroma powerhouse.
Roasting, toasting, baking, frying and their accompanying intoxicating smells are all derived from this reaction.

Can I get an amen?!

IMG_7668_01

The Maillard reaction describes the reaction between a single amino acid and a sugar.
It’s a form of nonenzymatic browning.
(The other main form of nonenzymatic browning is caramelization, which is the partial breakdown of a sugar.  The two reactions pair quite nicely, as both produce similarly delicious aromas, flavors, and colors.)
It’s favored in an alkaline environment, and requires heat to occur.
Because there are so many different combinations possible between amino acids and sugars, and because compounds can break down and form new combinations, the variety of aromas and flavors caused by the Maillard reaction is enormous.

Have you ever wondered why pretzels (les bretzels) are dipped in sodium bicarbonate (baking soda) solution before being baked?
It’s because the weak base of (CO3)2- creates an alkaline (basic) environment, facilitating and speeding up the formation of that lovely brown crust on the surface.
(I need to get a pretzel recipe on this blog, stat.)

Obviously, this interaction between amino acids and sugars has been happening since people started cooking and baking, but Louis-Camille Maillard first scientifically described the reaction in 1912, though he didn’t fully know the scope or details of it.
Oh damn! Hold up! That’s a French-ass name, Louis-Camille.  Yeah, my lil croissant, lil cheese on my croissant.

So as if we didn’t already know that the French dominate in the land of carbohydrates, they also pinned down the reaction that literally makes life and bread delicious.

Merci mille fois; mille fois merci.

IMG_7674_01

Blah blah science blah no one cares.
Except when it comes to cookies.
If science is guaranteeing better cookies, all y’all are gonna hop on board.  I know it.  I know you.

Brown butter is a go-to.  Any recipe that calls for melted butter is a boon, because I automatically brown my butter for a boost of nutty, rich flavor.
Butter browns because the proteins and sugar in the milk solids of butter toast and go through a certain reaction. (Hmm, what was that called again?)
What happens if you toast just milk solids, then?

Magic.

Put some milk powder in a dry skillet, stir it around, and wait.  It will slowly turn brown and toasty, and begin to let off enticing smells.  Don’t stick your face too deep to inhale, though, because you’ll get a nose full of milk.
Put this toasted milk powder into already browned butter, and you’ve just amplified the amount of Maillardian flavors all up in that butter.  By a lot.
Browning a stick of butter gets you about a tablespoon of browned milk solids.
These cookies add 3 tablespoons of browned milk solids to that.
Meaning you get cookies with the flavor of a pound of browned butter.
AKA flavor punch bang pow mother truckers.

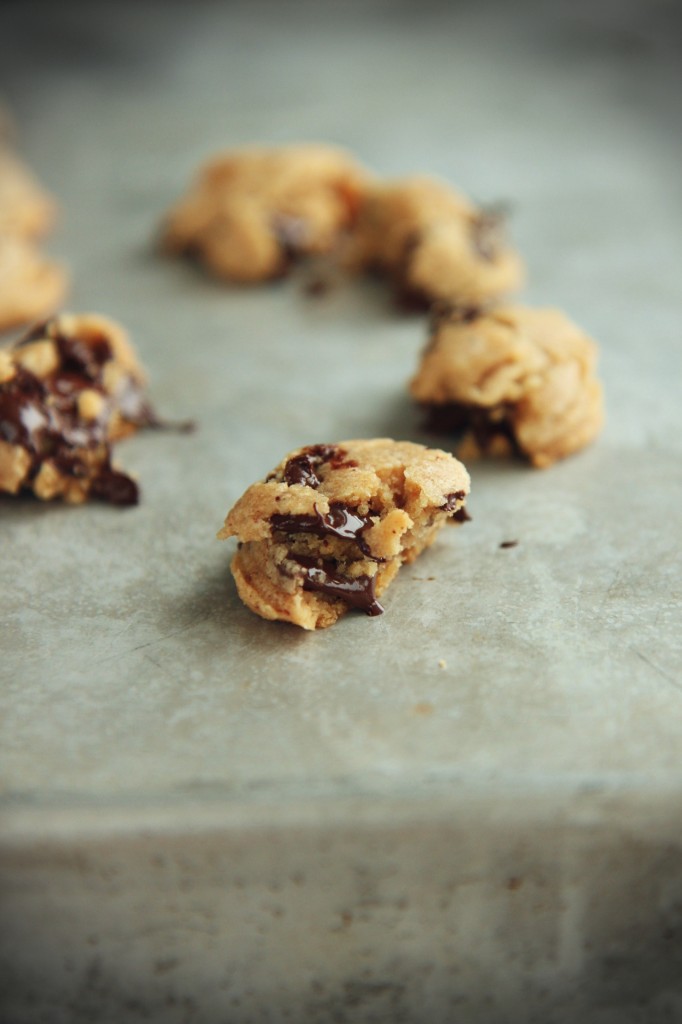
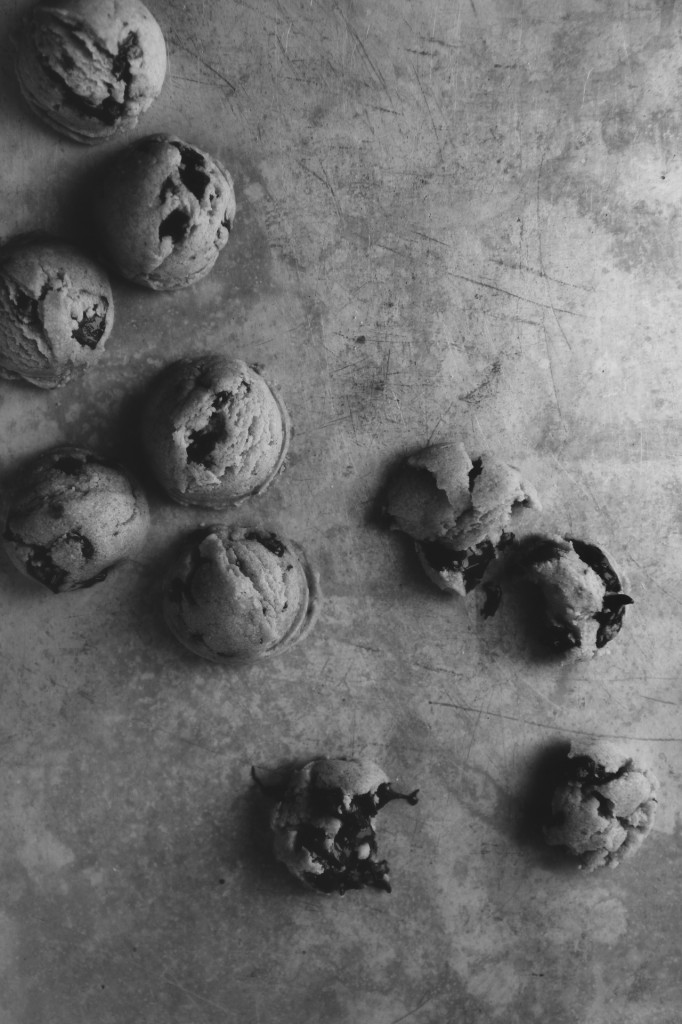
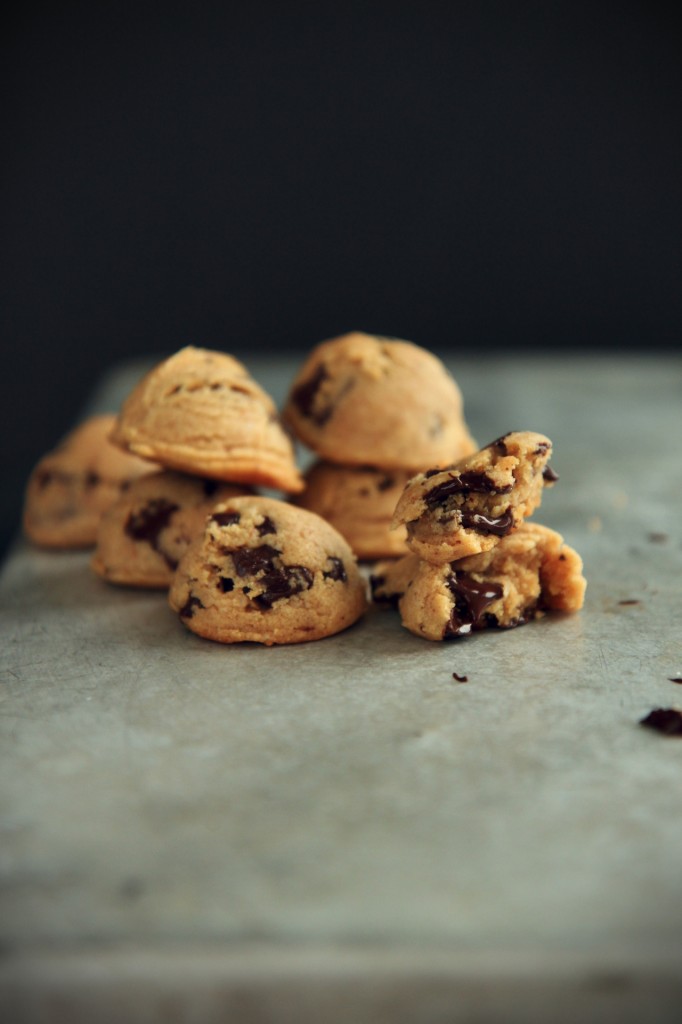
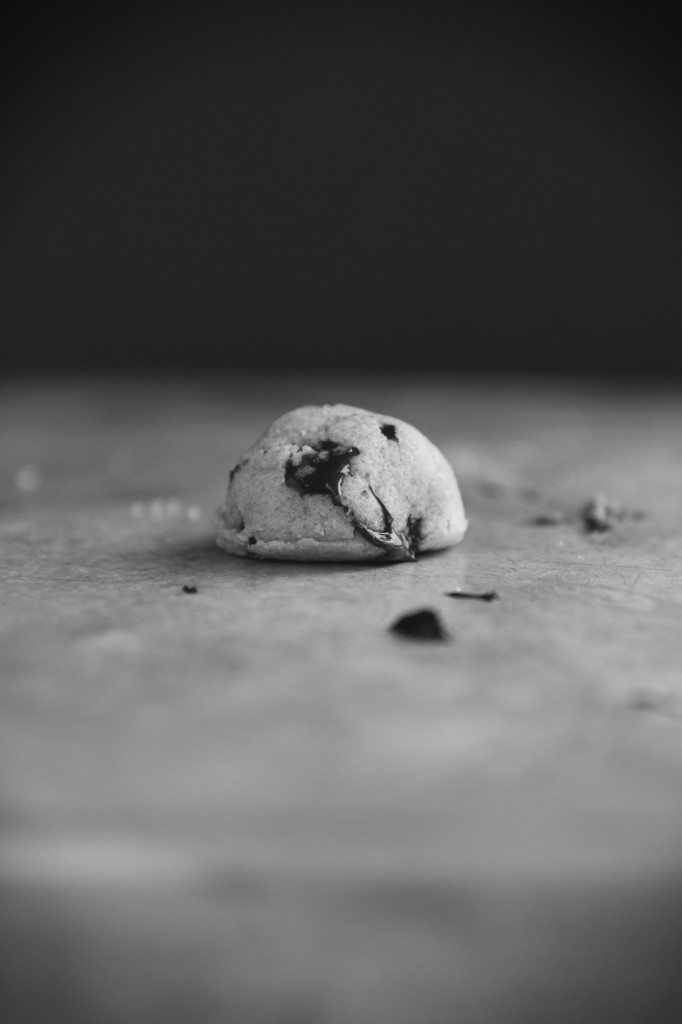
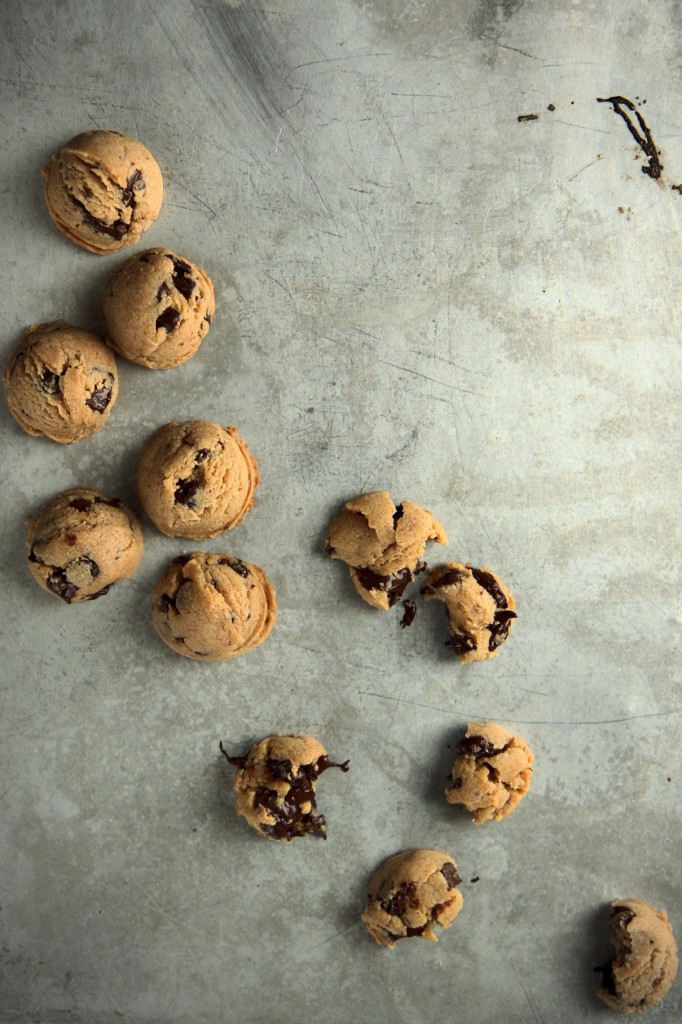
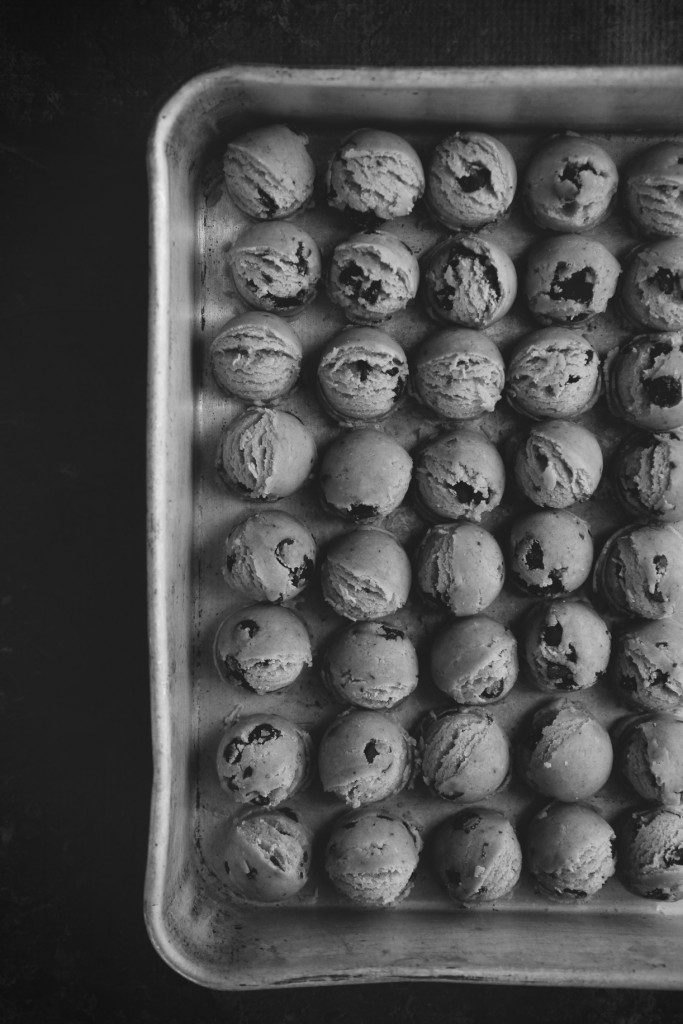
Super-charged brown butter, heaps of brown sugar, and a grand old dose of salt make up the base of these cookies, which will end up supremely soft and puffy, like little globes of deliciousness.
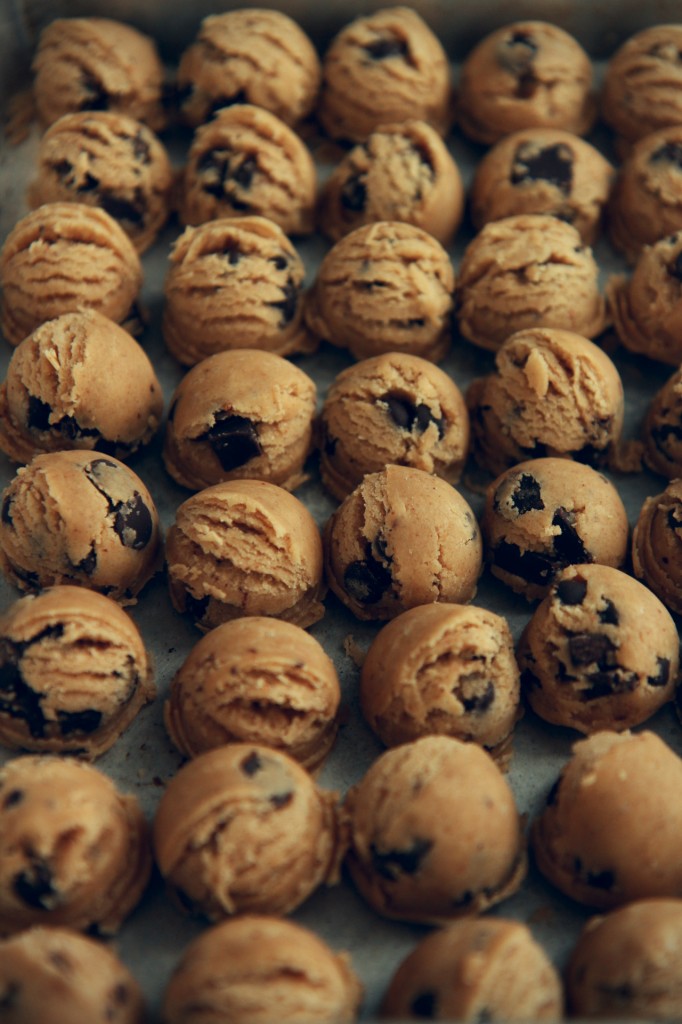
Stir in some chocolate chunks, portion out tiny little scoops, and prepare yourself for total cookie domination.
The alkaline batter (yep, we used sodium bicarb) goes into the oven, and even more Maillard reactions occur, both with the dough and with the chocolate.  Holy jeebus.  I’m drooling.

Eat them warm with a glass of cold, cold milk.
Cheers to Maillard.
Cheers to soft, salty, nutty, rich, profound cookies.
These ain’t no basic CCCs.
These are a chemist’s complex chocolate chip cookies.

It may be hard to mess chocolate chip cookies up, but it’s just as goddamn hard to make them freaking amazing.

IMG_7646_02

tl;dr
**make these cookies**

Some thoughts if you do try them, which you ought to: if you don’t want your cookies to be as puffy, I bet another tablespoon of milk plus a teaspoon and a half of neutral oil would do it.  I’ll get back to you on that.
Mini chocolate chips distribute more evenly in mini cookies.  I personally like big chunks, so I stuck with ’em.  Just keep that in mind.
For late night cravings, keep a batch of these in the freezer.  All you have to do from frozen is bake ’em for an extra minute, and that way, you’ll have cookies on hand for every sort of problem and situation that might arise.  Wrap well in plastic and aluminum foil to prevent freezer burn!
Sandwiching these with vanilla ice cream is all I want to do with my life.
They would also make a perfect mix-in for ice cream, because they are so so soft.

Number one tip: consume while fresh and hot hot hot.

Shoutout to science and shit, baby.  Bang bang.

P.S. Did you notice the blog’s facelift?
I spent wayyyyy too long designing the new logo and updating fonts, etc.
Tell me what you think!

IMG_7632_02

Maillard Chocolate Chip Cookies
makes about 50 tiny cookies, or 12 large

ingredients:
3 tablespoons milk powder
3/4 cup unsalted butter, browned and then cooled until hardened
3/4 cup packed brown sugar
1/4 cup sugar
3/4 teaspoon kosher salt
1 egg
1 teaspoon vanilla extract
1 tablespoon milk
2 cups all purpose flour
2 teaspoons cornstarch
1 teaspoon baking soda
1 cup bittersweet chocolate chips or chunks

directions:
Brown the butter well ahead of time and set it in the fridge to cool back to a solid state.
Brown the milk powder: in a NONSTICK skillet over low heat, stir the milk powder gently until a deep tan color and very fragrant, about 10-15 minutes.
Be sure not to let it burn.
Scrape the solidified browned butter along with the browned milk powder into the bowl of a stand mixer fitted with the paddle attachment and beat until soft, about 2 minutes.
Add the sugars and the salt and beat for 2 more minutes.
Add the egg and vanilla and beat until very light and fluffy, 5 more minutes (stop to scrape the bowl after 3 minutes).
Add in the milk and beat for 30 seconds, just until incorporated.
Add the flour, cornstarch, and baking soda to the bowl with the mixer off.
Slowly stir in the flour, with the mixer or by hand.
Once the dough is completely homogeneous, add in the chocolate chips and stir to combine.
Portion out in 2 teaspoon (smallest cookie scoop) measures for tiny cookies, or in 1/3 cup (standard ice cream/cookie scoop) portions for standard size cookies. (The larger portion size will yield approximately 12 cookies.)
You can now chill the dough balls overnight, or freeze, well wrapped, for much longer.
Bake at 350 degrees F for 6 minutes for tiny cookies, 8 minutes for larger cookies.
Cookies will seem very doughy and underdone; as they cool, they will remain super soft.
Eat warmed up with cold milk.

As Promised

IMG_7170_01

This post is a wee bit out-of-season.  You might not be able to find candy canes at the grocery store.
Check the clearance section.  If you still can’t find any, you’re S.O.L.

Just kidding.  I advocate the use of sprinkles, as you probably already know.

I’ve made lofthouse-style cookies once before, and dumped on the brand in a whiny post a lo o o o o ong time ago.

I am not providing a link to said post, and don’t you go nosing around for it either, primarily because the photos look like they were taken with a flip phone from 2007 (Razr, anyone?  I had the Pebl.  Gr8.) and I don’t want to be reminded of that.

Ok?  Ok.  Glad we talked about this.

These lofthouse cookies are the (late) peppermint post that I promised would infuriate you.

Be happy, because I came thisclose to not only posting a candy cane post after the holidays, but making it a repeat recipe from the-post-that-shall-not-be-named-searched.

THISCLOSE.  But.  I found another promising recipe, and ran with it.

This one uses cake flour and corn starch, as well as shortening (Don’t look at me like that. I know. Deal with it.) to keep the cookies super soft and fluffy, where the last recipe used sour cream.
These were more cakey than real lofthouse cookies, but nevertheless, delicious, and pretty damn close to the addictively gross originals.

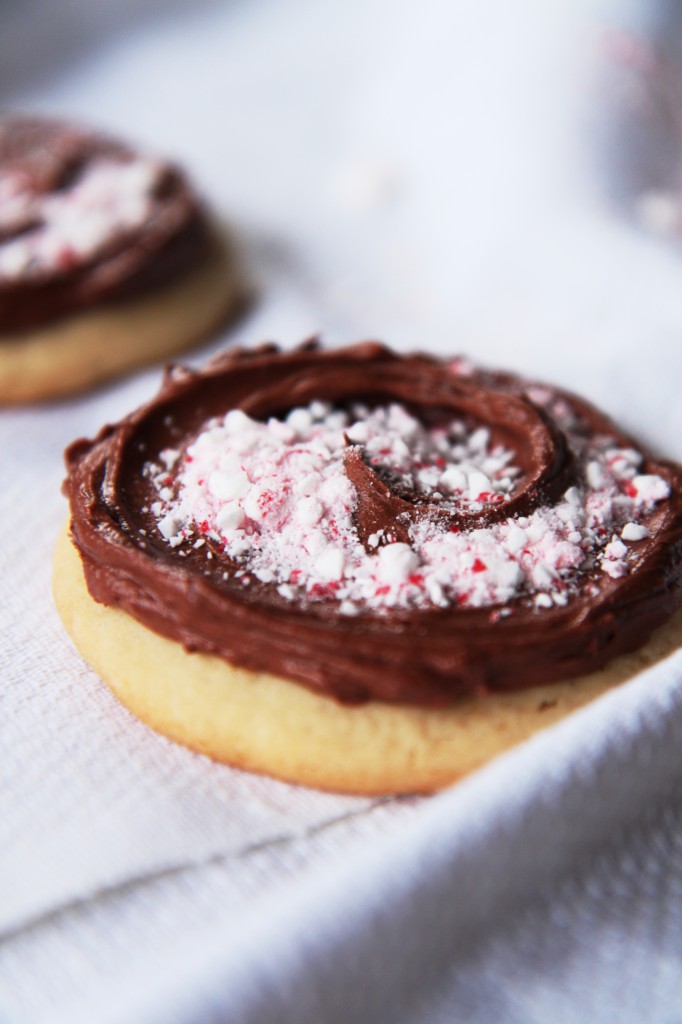
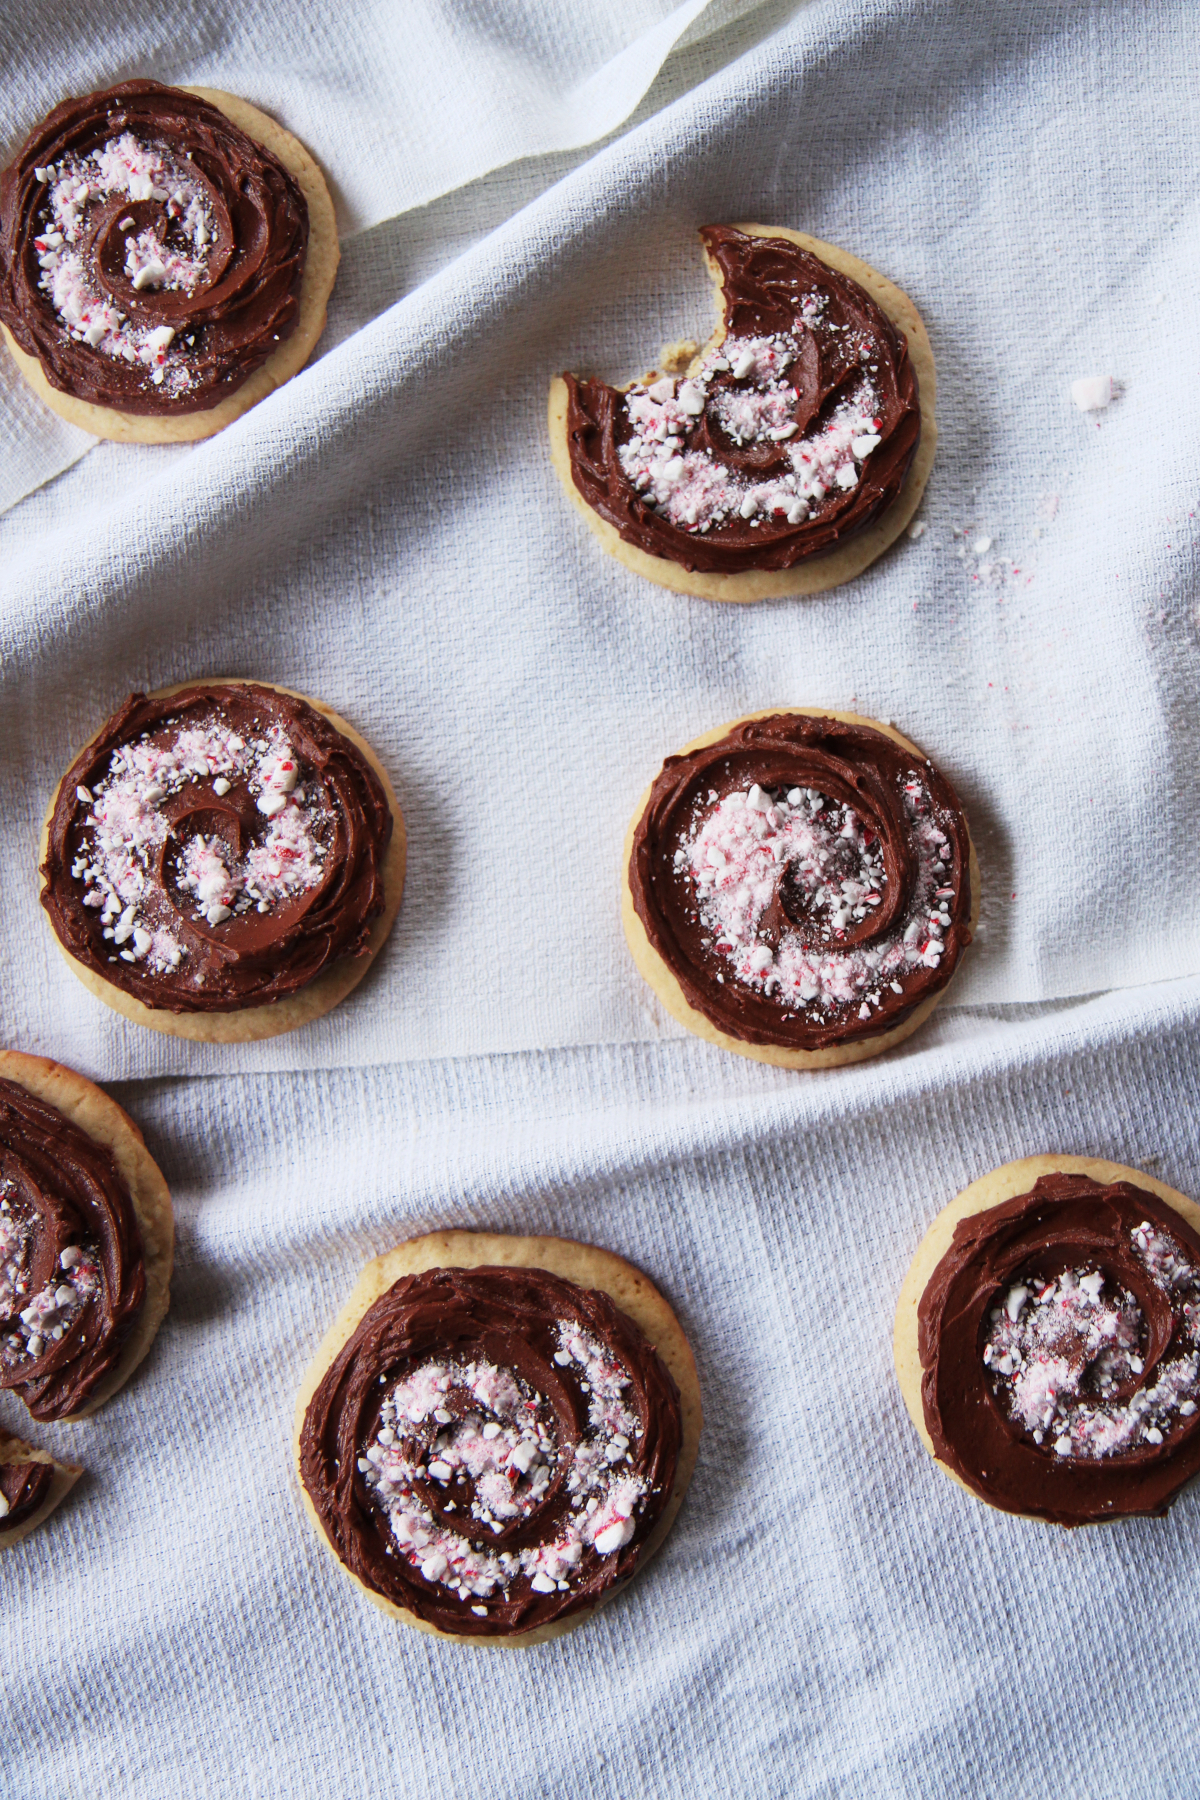
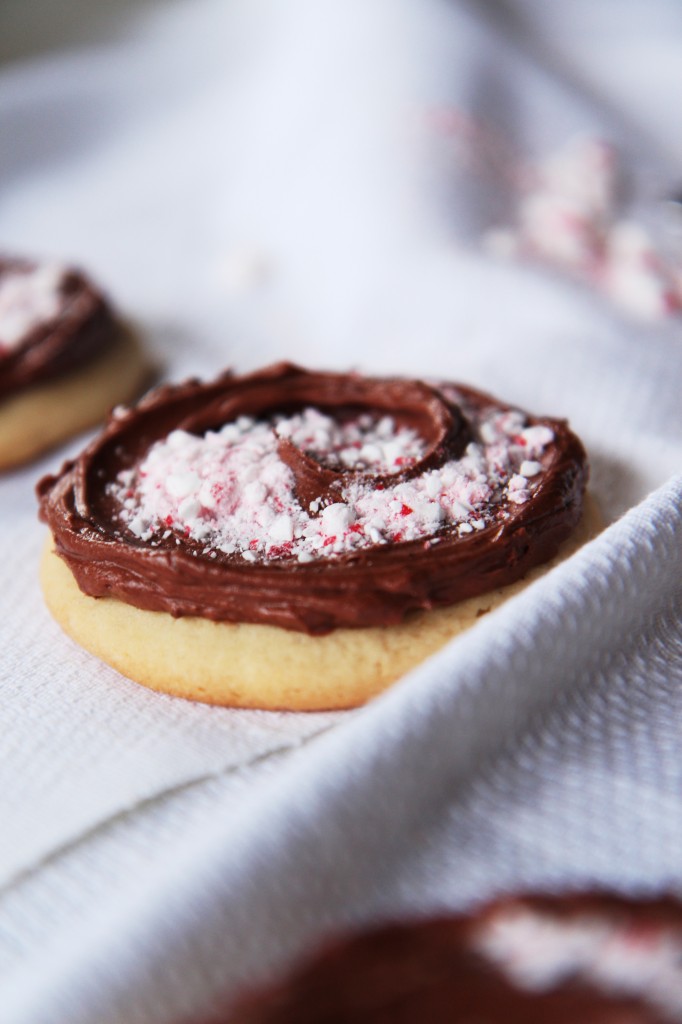
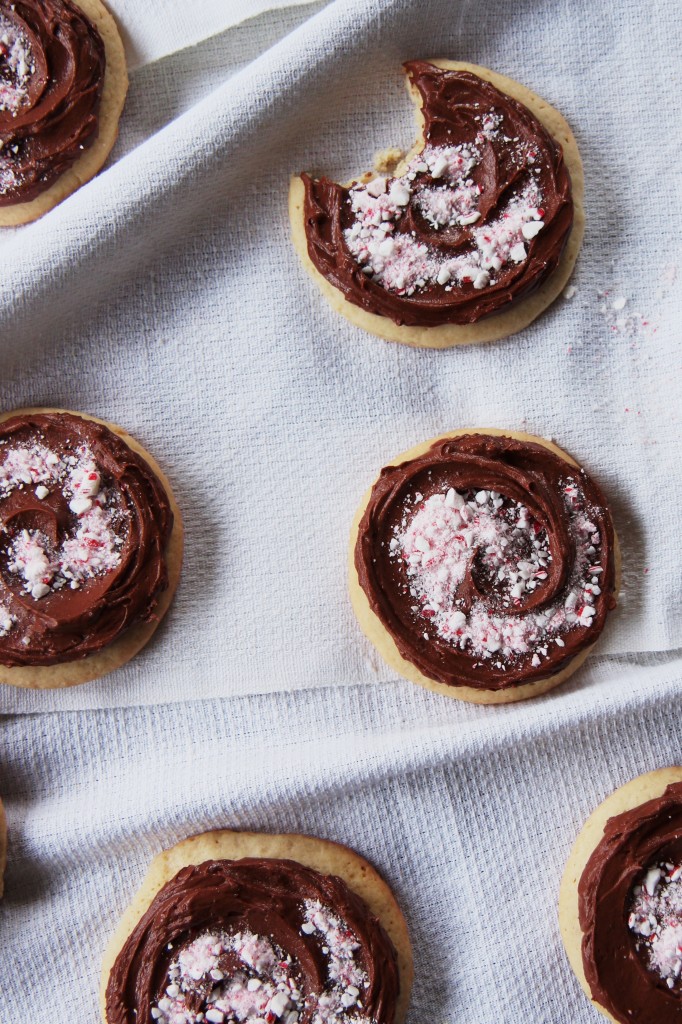
I topped them with a salty espresso + chocolate buttercream and a smattering of crushed candy canes for crunch. (Hellooooo alliteration nicetomeetyou.)

IMG_7180_01

P.S. I realize that these photos are very similar looking.  No, this isn’t one of those spot-the-difference games.

I’m just lazy, which should further confirm your idea of me as a bad blogger.

Anyways!  Good luck finding candy canes.  Ha.

IMG_7222_01_01

Chocolate and Peppermint Lofthouse Cookies
makes about 15 cookies
cookie portion adapted from Cooking Classy
ingredients:
for the cookies:
300 grams (2 1/2 cups) cake flour
2 teaspoons cornstarch
1 1/2 teaspoons baking powder
110 grams (1/2 cup, 8 tablespoons) butter
55 grams (1/4 cup, 4 tablespoons) vegetable shortening
200 grams (1 cup) granulated sugar
scant 1/2 teaspoon kosher salt
1 egg plus 1 egg white
1 tablespoon vanilla extract

for the frosting:
60 grams (~2 ounces) dark chocolate, melted
110 grams (1/2 cup, 8 tablespoons) butter
1 tablespoon cocoa powder
2 teaspoons espresso powder
45 grams (1 1/2 cups) powdered sugar
1/2 teaspoon kosher salt

to assemble:
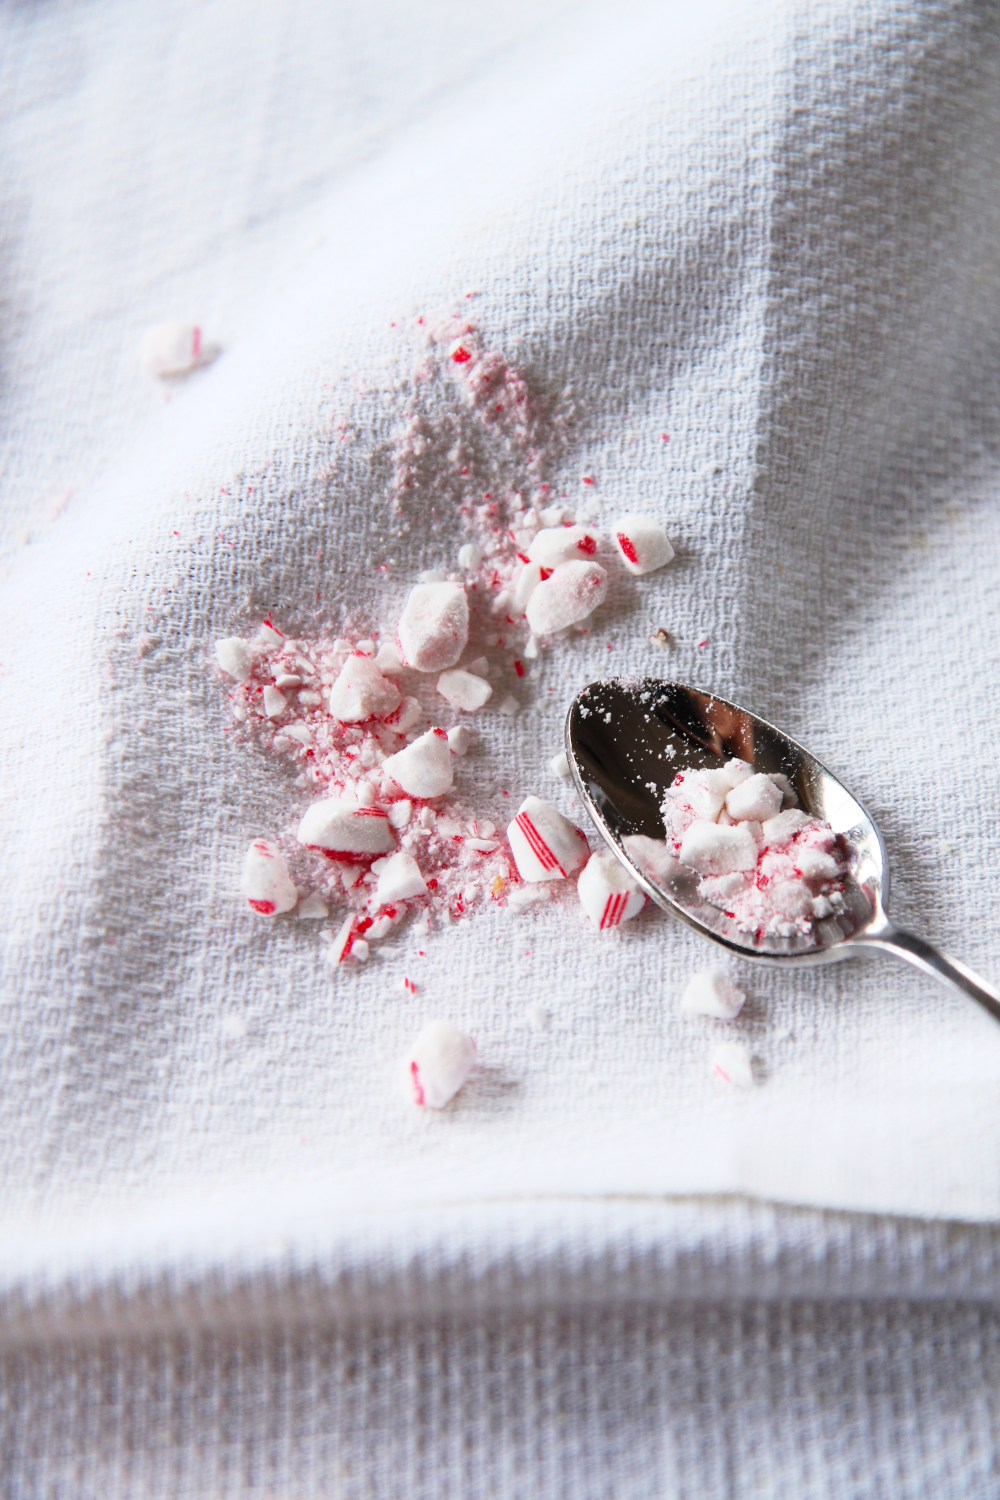
2 candy canes, chopped finely or ground in a food processor

directions:
In the bowl of a stand mixer, add the butter and shortening and beat for 2 minutes.
Add in the sugar and salt and beat for 3 minutes.
Add the egg and egg white as well as the vanilla and beat for 4 full minutes.
Meanwhile, whisk the flour, cornstarch, and baking powder together.
Scrape the sides of the bowl after 4 minutes of beating, then add in the flour mixture and mix on low speed until combined.
Refrigerate the dough for at least 1 hour.
Preheat oven to 350 degrees F.
To bake, remove the dough from the fridge and roll out to 1/2 inch thickness, or perhaps a little less, on a well-floured surface.
Cut out desired shapes and place on parchment lined baking sheets.
Bake for 8-10 minutes, until set.
To make the frosting, beat the butter and espresso powder on high until very soft.
Sift the powdered sugar and cocoa powder over the butter and mix on low; mixture will be dry.
Add the salt and, with the mixer running on medium speed, stream the melted but cooled chocolate into the frosting.
Beat until completely homogeneous.
To frost the cookies, place a generous tablespoon of frosting onto the cookie, and spread out with a butterknife or offset spatula.
Dust with candy cane pieces.

Keep Calm

IMG_7354_02

“Come, let us have some tea and continue to talk of happy things.”

-Chaim Potok

IMG_7358_01

“Tea is drunk to forget the din of the world.”

-Tien Yiheng

IMG_7364_01

“Strange, how a teapot can represent at the same time the comforts of solitude and the pleasures of company.”

-Author Unknown

IMG_7347_01

“Take some more tea,” the March Hare said to Alice, very earnestly.
“I’ve had nothing yet,” Alice replied in an offended tone, “so I can’t take more.”
“You mean you can’t take less,” said the Hatter: “it’s very easy to take more than nothing.”

-Lewis Carroll, Alice in Wonderland

IMG_7349_01

There is always time for tea and room for cake.
Or, in this case, both.

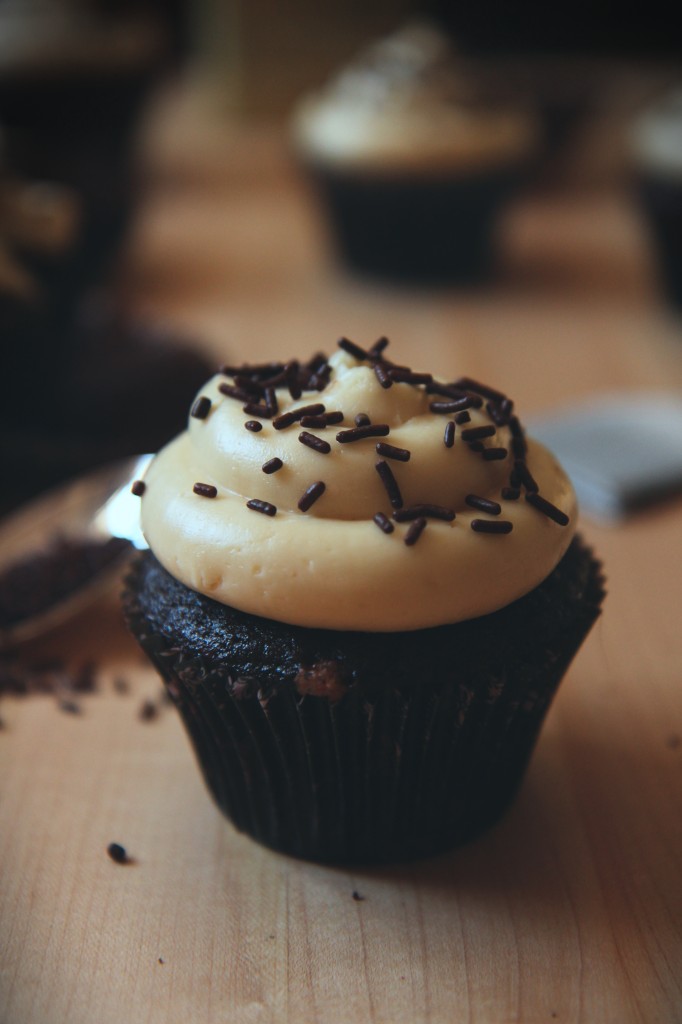
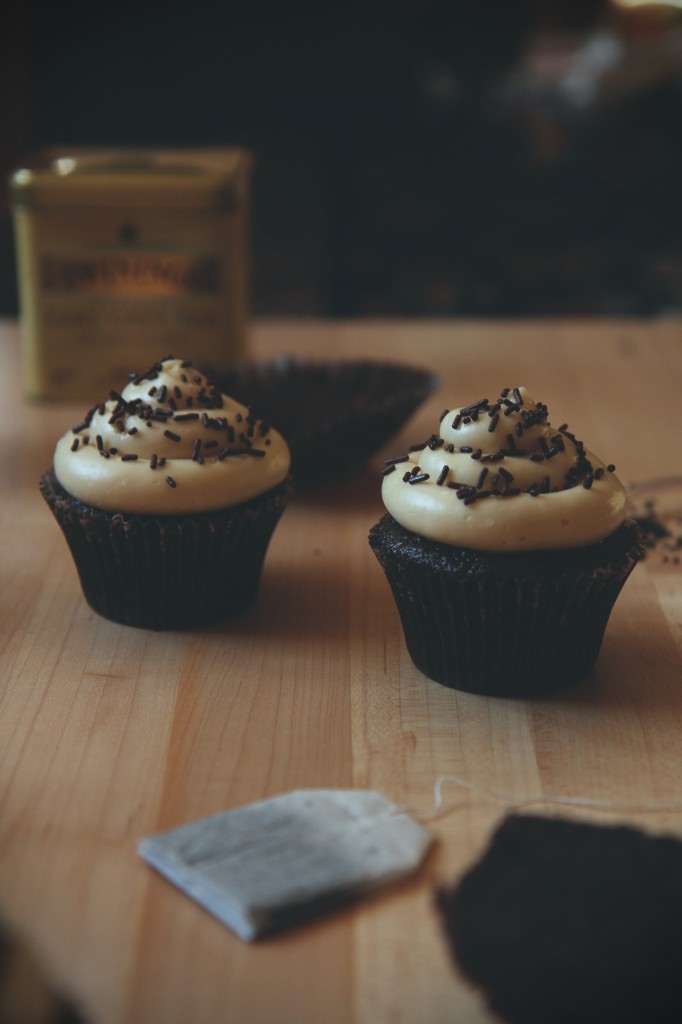
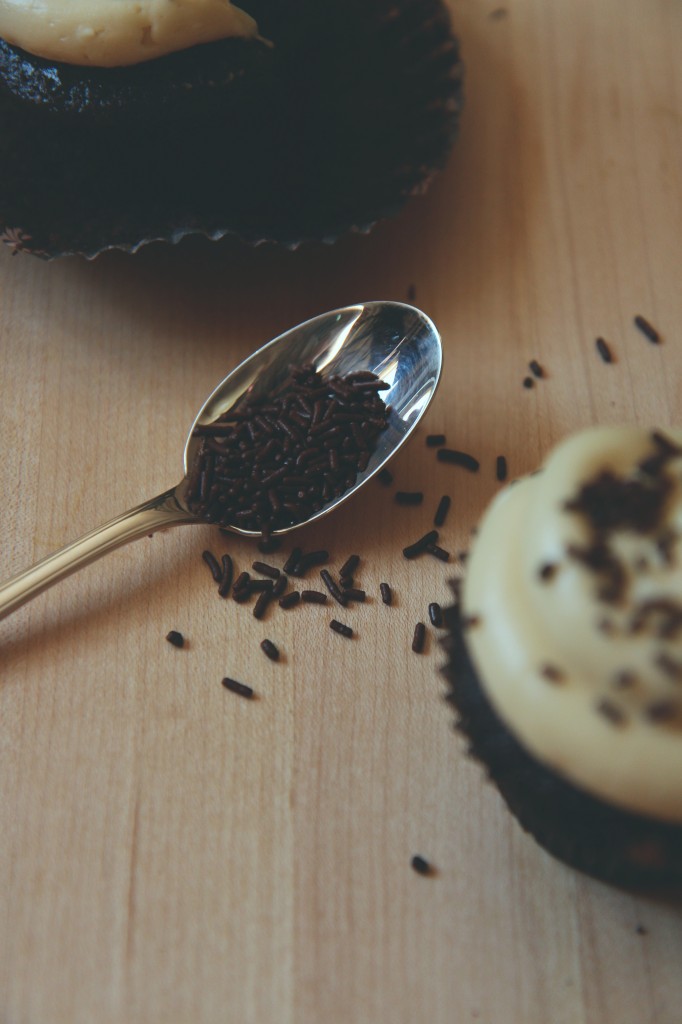
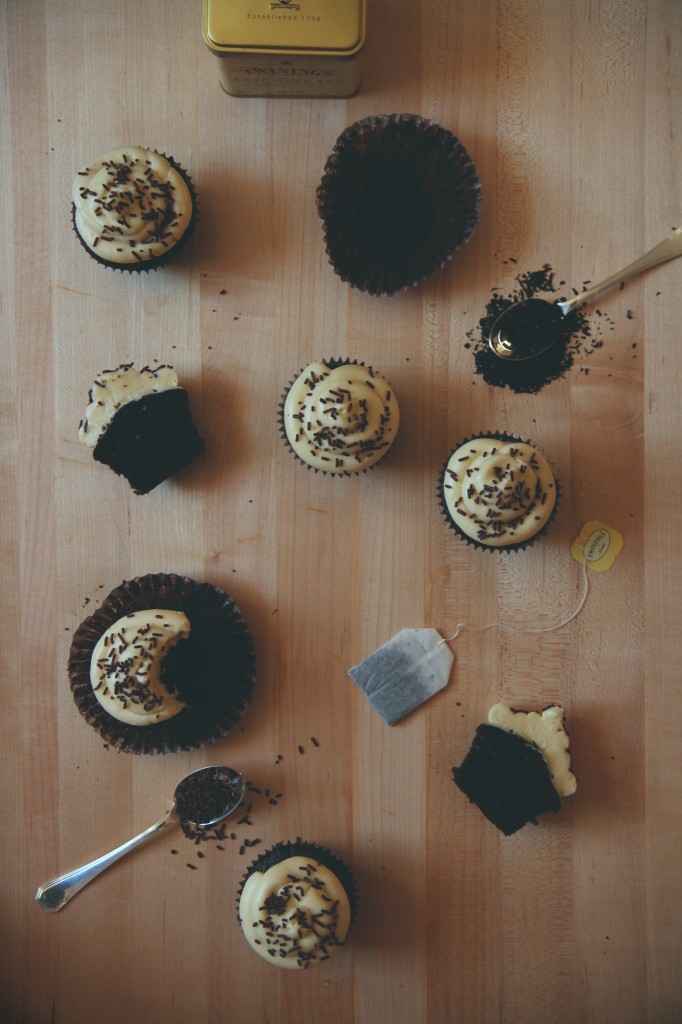
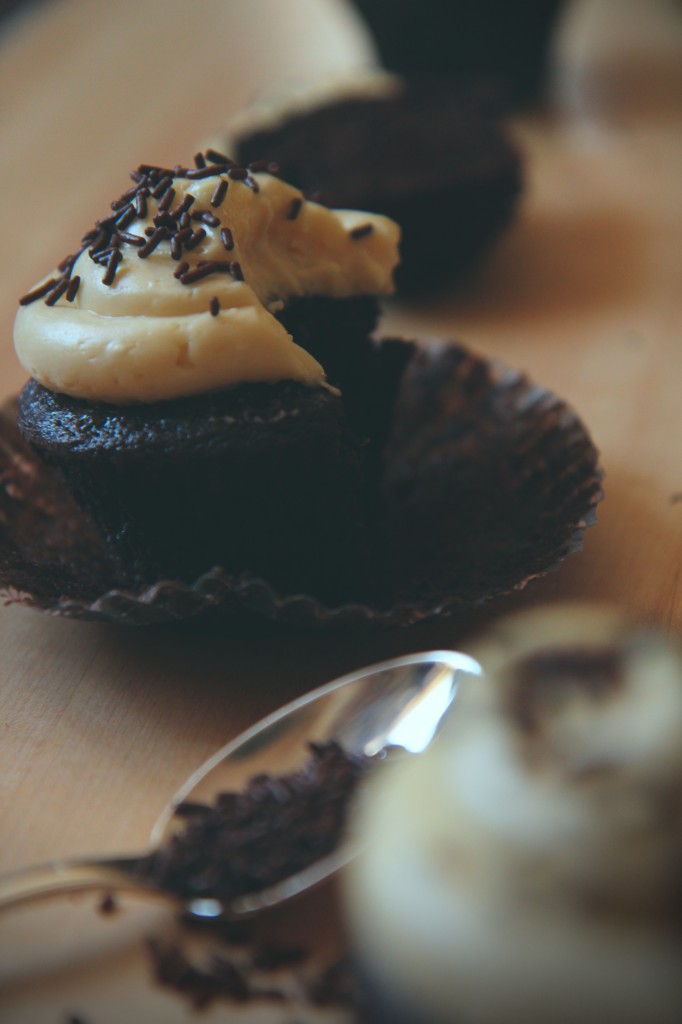
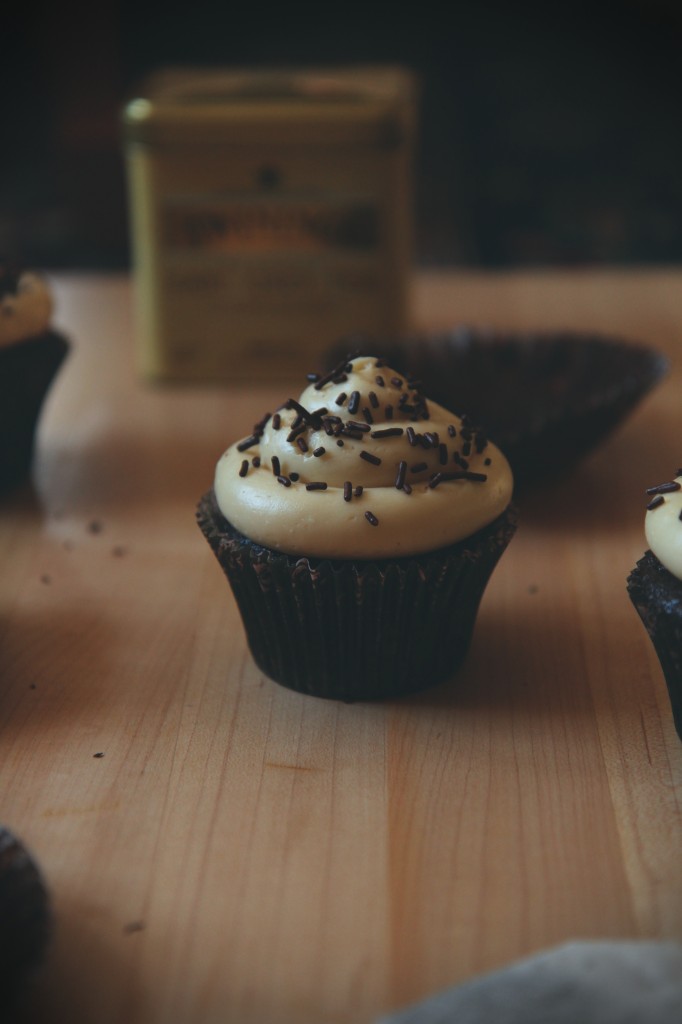
Chocolate cakes infused with Earl Grey tea in two manners: dry tea leaves, and hot brewed tea.
The sweet, floral undertones, which have orange and verbena notes, as well as the astringent black tea leaves, contrast well with the deep and rich chocolate cake.
The Italian meringue buttercream is made with honey and golden syrup, resulting in a salty-sweet, silky delight that tastes like the top of a good piece of toast, minus the bread, which is the worst part anyway.

I might actually like cupcakes again.
This recipe only makes 6, which is perfect (I don’t need 24 cupcakes floating around my house, people…), and is a marriage of unexpected flavors which ended up working inexplicably well.

The best recipe for health and happiness:
good books, better tea, and, of course, delicious cupcakes.

IMG_7353_01

Teatime Cupcakes
makes 6
cake portion adapted from Sweetapolita
ingredients:
for the chocolate Earl Grey cakes:
48 grams (1/4 cup plus 2 tablespoons) flour
75 grams (1/4 cup plus 2 tablespoons) sugar
3/8 teaspoon baking soda
3/8 teaspoon baking powder
3/8 teaspoon cornstarch
big pinch kosher salt
15 grams (2 tablespoons) cocoa powder
1 tablespoon loose Earl Grey leaves
40 mL (2 tablespoons plus 2 teaspoons) buttermilk
1 medium egg (if using a large egg, beat it well before adding it, and remove 2 teaspoons of beaten egg)
30 mL (2 tablespoons) hot Earl Grey tea
25 mL (1 tablespoon plus 2 teaspoons) vegetable oil
splash vanilla extract

for the honey golden syrup IMBC:
111 grams (1/3 cup) honey
111 grams (1/3 cup) golden syrup
scant 1/2 teaspoon kosher salt
2 egg whites
230 grams (1 cup) butter, cut into small pieces and soft but cool

directions:
For the cakes, line 6 muffin tins with cupcake papers.
Preheat the oven to 350 degrees F.
Whisk the flour, sugar, baking soda and powder, cornstarch salt, tea leaves, and cocoa powder together.
Into the dry ingredients, add the buttermilk, egg, hot tea, oil, and vanilla.
Whisk very well to combine. (It will be a very thin batter.)
Fill each cupcake well with 1/4 cup of batter.
Bake for 15-18 minutes, until domed and springy to the touch, and a tester comes out clean.
Allow to cool completely before frosting.

For the honey golden syrup IMBC:
Place the egg whites, along with a pinch of cream of tartar, in the bowl of a stand mixer.
Place the honey, golden syrup, and salt in a small sauce pot over medium heat.
Begin to whisk the eggs.
When the syrup reaches 230 degrees, the eggs should almost be at soft peaks.
When the syrup reaches 240 degrees, the egg whites should have soft peaks that are almost stiff.
Pour the syrup carefully, down into the bowl while the mixer is running.
Beat the meringue until it has cooled to body temperature, then beat in the butter one tablespoon at a time.
Beat until the buttercream has become very fluffy and light.
Frost cupcakes as desired.

P.S.

IMG_7369_01

Minted

IMG_6765_01

“Oh you fancy, huh?”

-Drake

IMG_6759_02

I am a food blogger.
(And I just quoted Drake.  Lest I be smote from this weblog by the fiery foodie gods for doing so, I leave you with these fancy cookies.)
I eat up seasonal themes like they’re small batch chocolates, y’all.

If you thought you were going to escape winter unscathed and untouched by pepperminty desserts, hoo boy were you wrong.  Won’t you ever learn what a terrible blogger I am?
Remember what happened in the autumn?  How I denied and denied and procrastinated and then DUMPED all the punkin on you at once?
In fact, right after you had thought it safe to dispose of the sad leftover pumpkin in the can sitting in the back of your fridge. (Is that only my family?  My mom liked the can, thus we have 1/2 cup of  month old pumpkin.  Yumbo.)

And you were fed up and almost wrote my blog off.  But you forgave me and we had fika and all was well.

IMG_6748

Well, here we go!  I’m coming in hot with peppermint, the cliched classic winter flavor.
Luckily, I got my shit together and this post is still somewhat appropriate, because it’s not yet xmas and therefore we all still have candy canes lying around.

Funny thing is, I only intended on having one minty post.  However, these cookies used up a lot fewer candy canes than I anticipated, so I have an entire tupperware full of peppermint bits that must be put to good use.

I told you I was irritating.  Stock up now!  You can take your anger out by smashing them to little bits while you wait for the next inevitably untimely peppermint post.

IMG_6714

We get our tree from the same farm every year, and have done so since the family moved to Ithaca (prior to my being).

When we were little, we’d always get candy canes after picking out our tree, from a basket a little shed.

Candy canes were always passed out by teachers and kids alike when the holidays neared in school, a sweet little gift that lifted spirits.

Sometimes we’d get candy canes in our stockings.

Candy canes will forever bring about memories of the holidays, of winter, of my favorite time of year.

IMG_6754_03

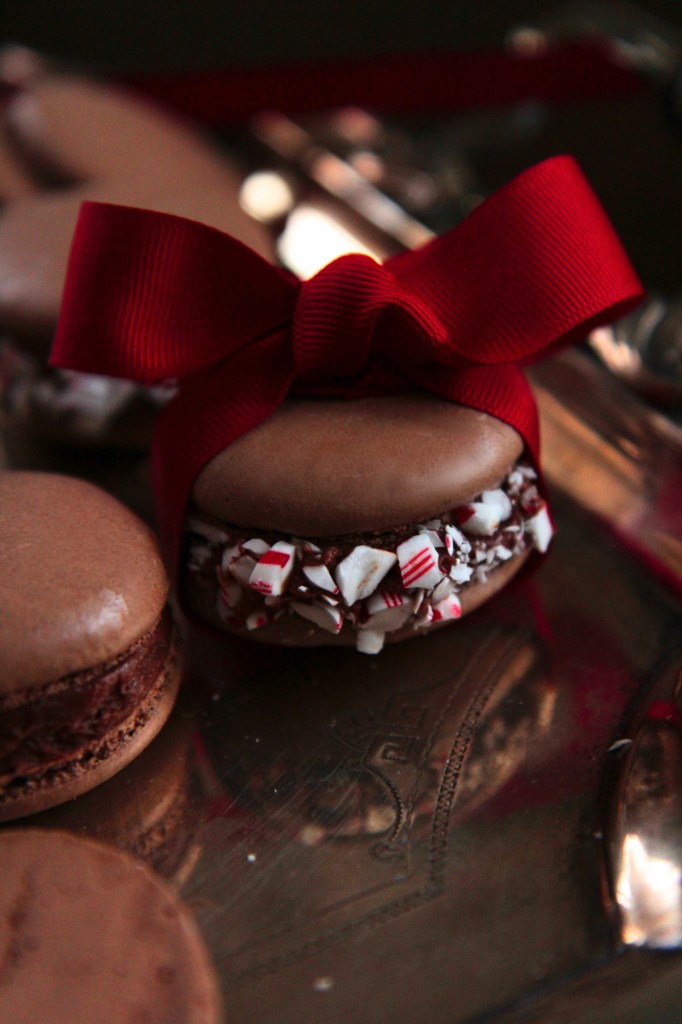
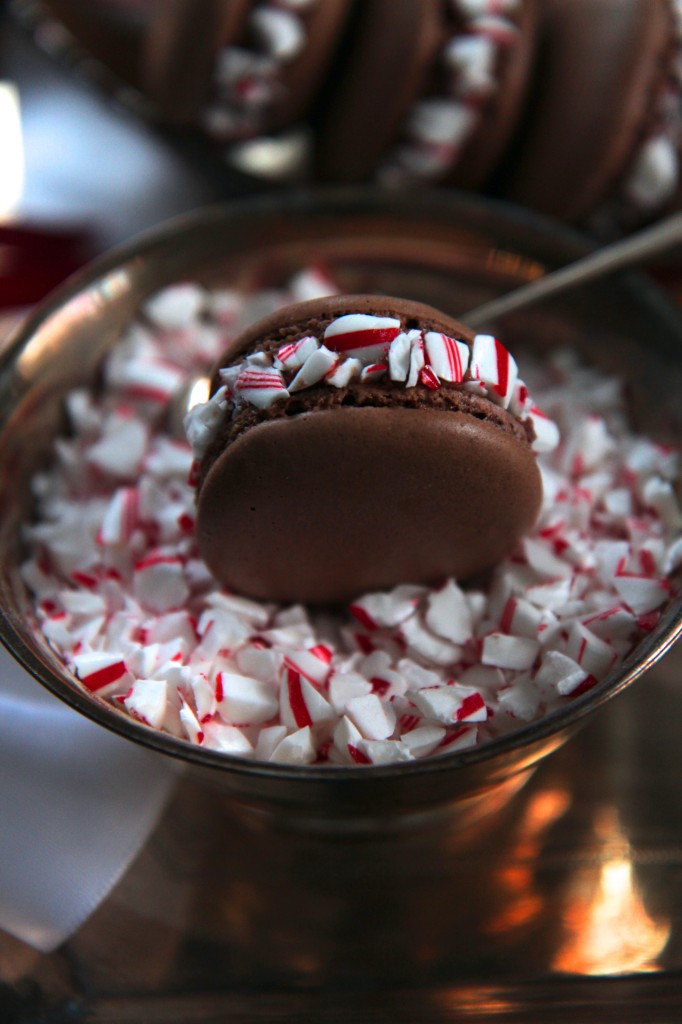
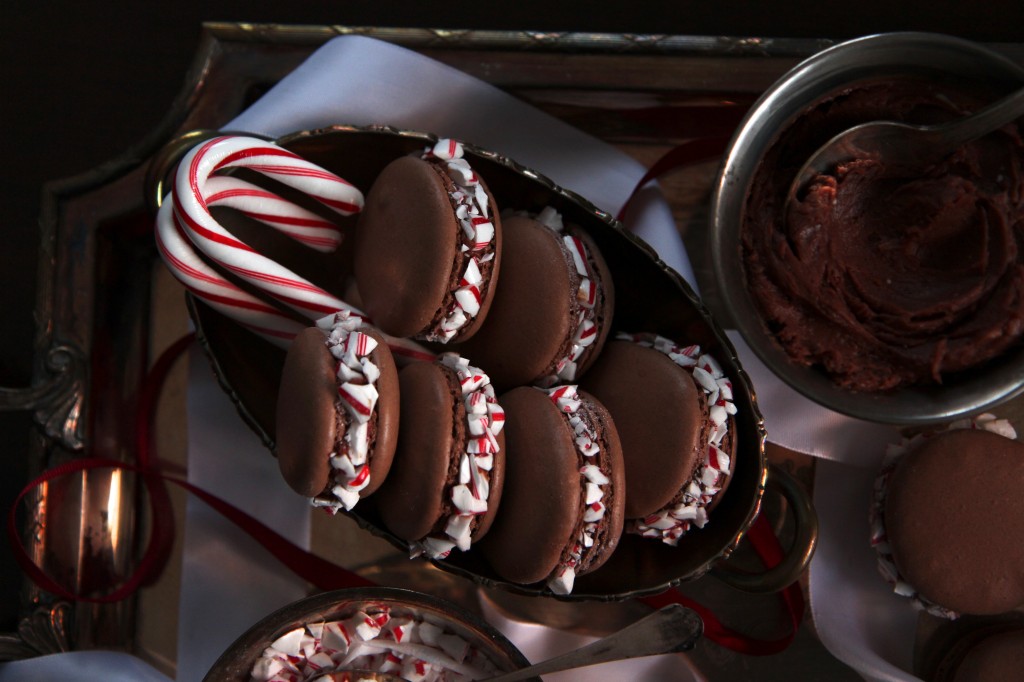
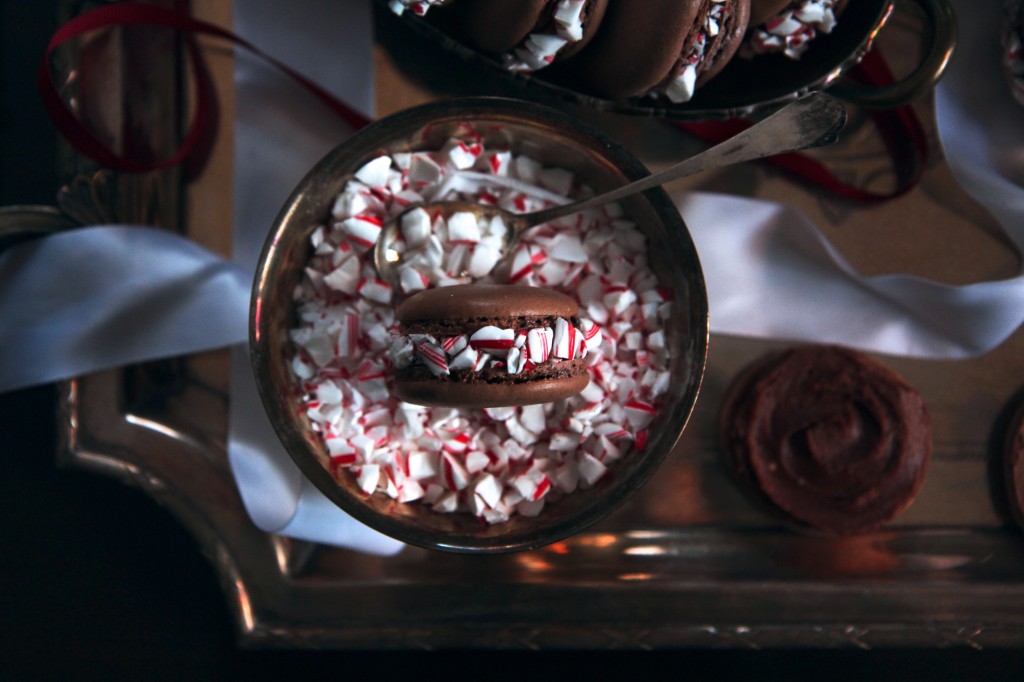
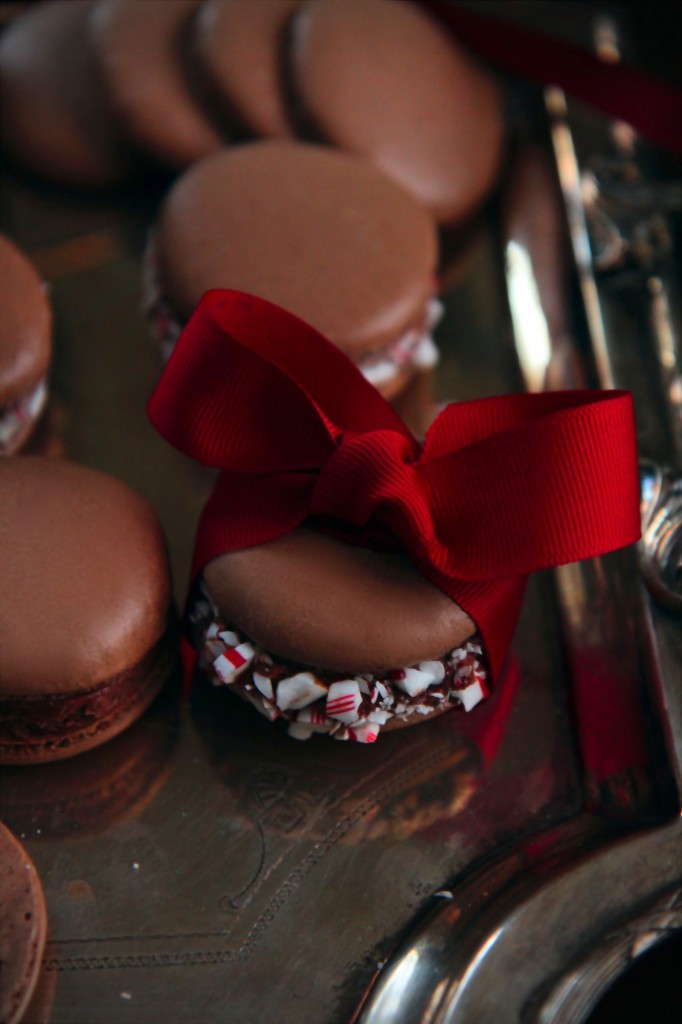
Macs with candy canes?

Yes.  Yes.  Yes yes yes yes.

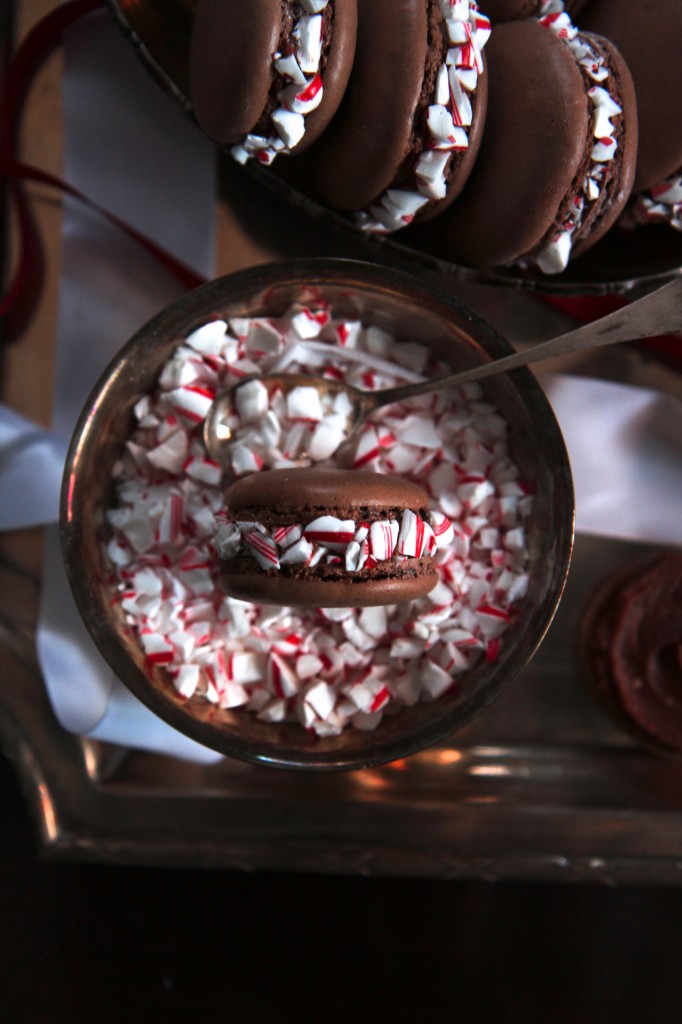
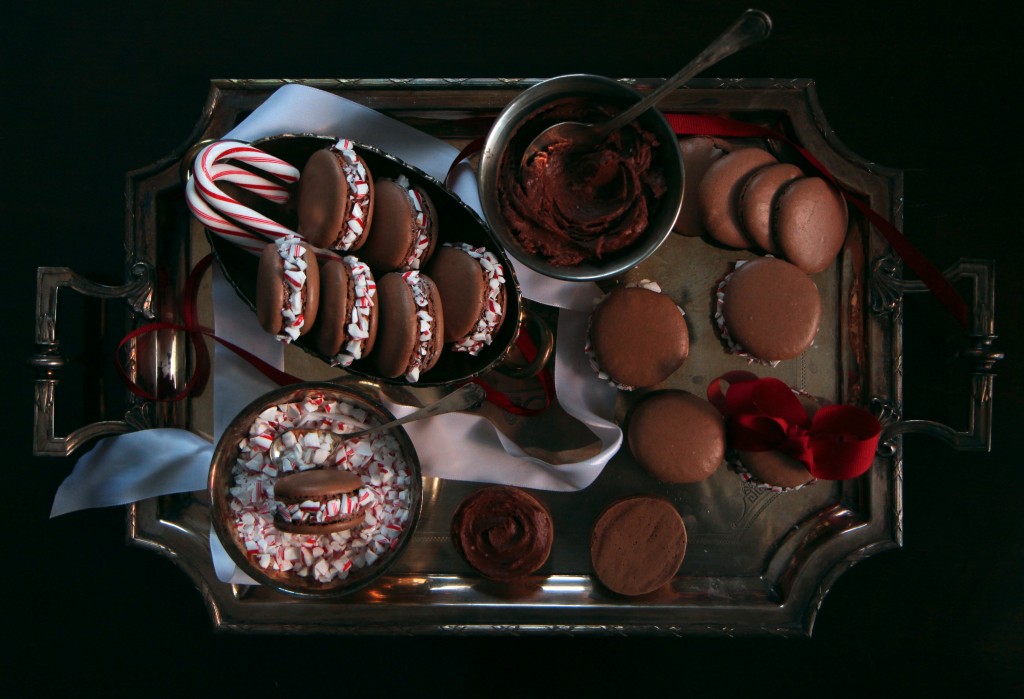
Chocolate hazelnut shells + chocolate mint buttercream + crushed candy canes.

Need I say more?

But actually.  These were delicious little guys, crisp and filled to the brim with silky buttercream.
The peppermint accents were delightful, a perfect foil to rich hazelnuts and toasty chocolate.

But actually.  So many cookies to share with you.  My head is spinning.  My fingers grow weary of typing.  My oven, well… my oven is always on anyways.

This is part III of our upgraded holiday cookie list.
part I: nutmeg, maple, and rye sugar cookies
part II: Linzer cookies, done right
part III: peppermint chocolate macarons
part IV: ????!?!

You’ll have to check back for part IV, you greedy little things.

IMG_6763_02

A few quick tips, before I leave you with this addition to your cookie platter.

Bake your macs on a well-insulated baking sheet.  Or, double or triple up.

Make Italian meringue macarons!  Just try it once.  For me.  Because I am a very firm believer in Italian meringue.

Test your batter well and often with the ribbon test: a spatula lifted out of the batter should drip in ribbons, which should disappear back into the rest of the batter within 10 seconds.

Read all of Stella of Bravetart’s posts on macarons.
All. of. them.  Definitely worth your time!  She knows what she’s doing!

If you try them out, let me know!  I’m always curious about macaron success!
Back soon… With the fourth and final (?) part of this cookie marathon!

IMG_6708_01

Minted Macarons

ingredients:
for the shells:
adapted from Jo the Tart Queen
130 grams hazelnuts or almonds
25 grams cocoa powder
150 grams powdered sugar
70 grams egg whites (approximately 2 egg whites)

150 grams granulated sugar
30 grams water
70 grams egg whites
pinch cream of tartar (optional)

for the buttercream:
180 grams butter
60 grams dark chocolate, melted
splash vanilla extract
2 drops peppermint extract
70 grams powdered sugar, sifted
1 teaspoon-1 tablespoon heavy cream, as needed to thin

to assemble:
chopped candy canes or peppermint candies

directions:
Make the shells:
Line 3 baking sheets with parchment paper, being sure it lies flat.
Prepare a large piping bag with a large, plain piping tip.
Preheat oven to 325 degrees F.
Place nuts, confectioners sugar, and cocoa powder in a food processor and process until finely ground.
Sift into a bowl and add the first measure of egg whites.
Stir until a smooth paste forms.
Combine the water and granulated sugar in a small sauce pot fitted with a candy thermometer.
Place the second measure of egg whites along with the cream of tartar in a stand mixer and start to whip them on low speed.
Meanwhile, begin to heat up your sugar and water.
When the sugar syrup reaches 242 degrees F, the egg whites should be at soft peaks.
Drizzle the syrup into the whites with the mixer on low speed, then increase speed and whip on high until slightly cooled and meringue is glossy and stiff.
Fold 1/3 of the meringue into the nut paste until the nut paste is lightened up.
Fold in the rest of the meringue and continue to make folding, stirring motions until the batter flows like lava and a spatula lifted out of the batter drips in ribbons.
Place the batter in the piping bag and pipe out small circles, flicking with your wrist to sever the stream of batter.
Allow to dry for a few minutes, then place in the oven and bake until a cookie lifts cleanly off the parchment.
Allow to cool completely, then fill and decorate.
Make the buttercream:
Melt the chocolate and stir until smooth; set aside to cool slightly.
Beat the butter on high speed until very smooth and fluffy; add in the extracts and beat until combined.
Scrape the sides of the bowl very well, then add in all of the chocolate at once and beat on high speed until combined.
Sift the confectioners sugar over top and then beat it in.
If frosting is too thick, add heavy cream one teaspoon at a time to thin.
To assemble, spread a thick layer of buttercream onto one macaron shell; place another one on top and squeeze slightly so that the buttercream slightly protrudes from the sides.
Roll in chopped candy canes.
Allow to age for at least 1 day before eating. (Ahem.)