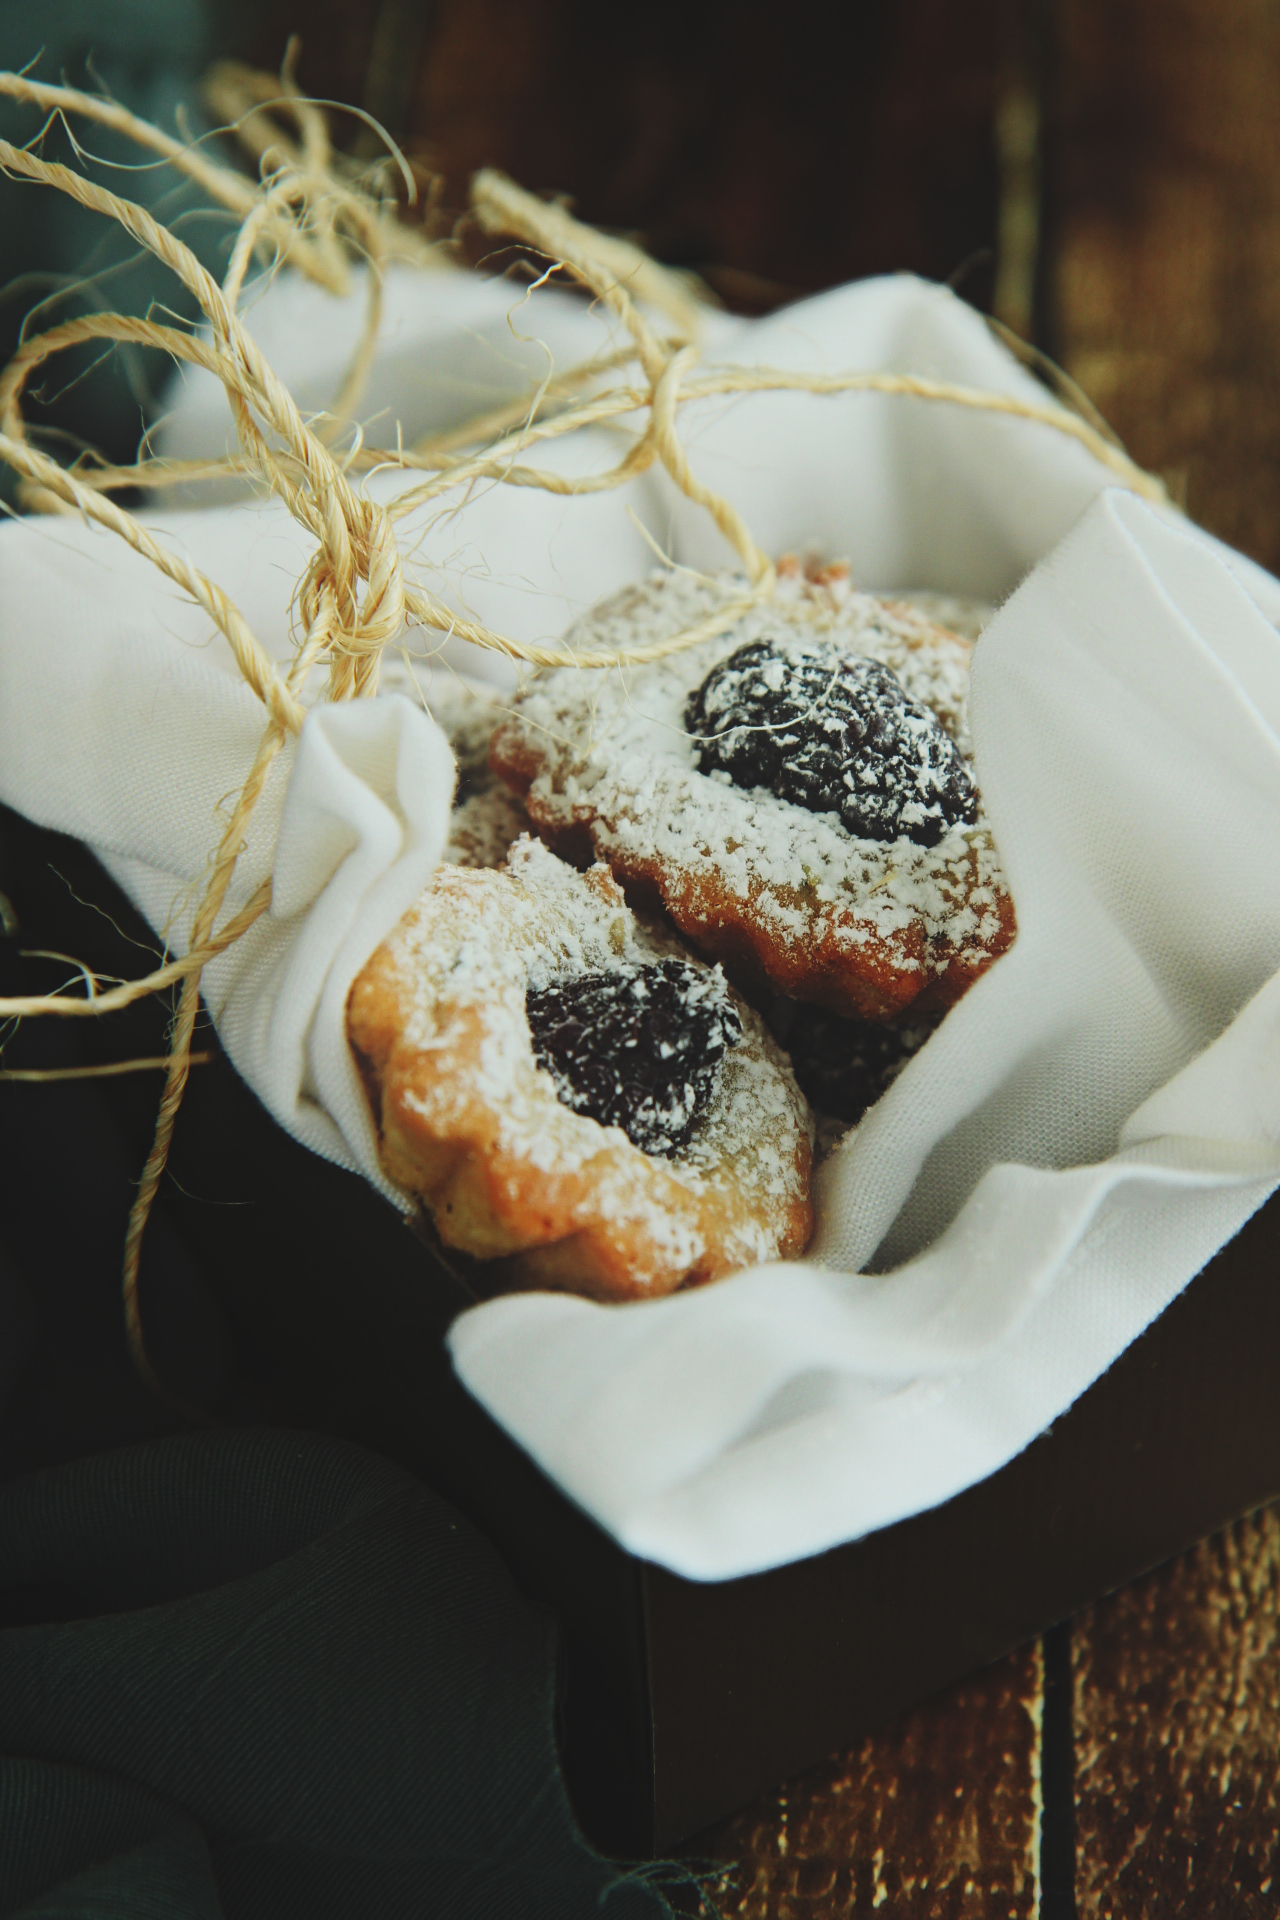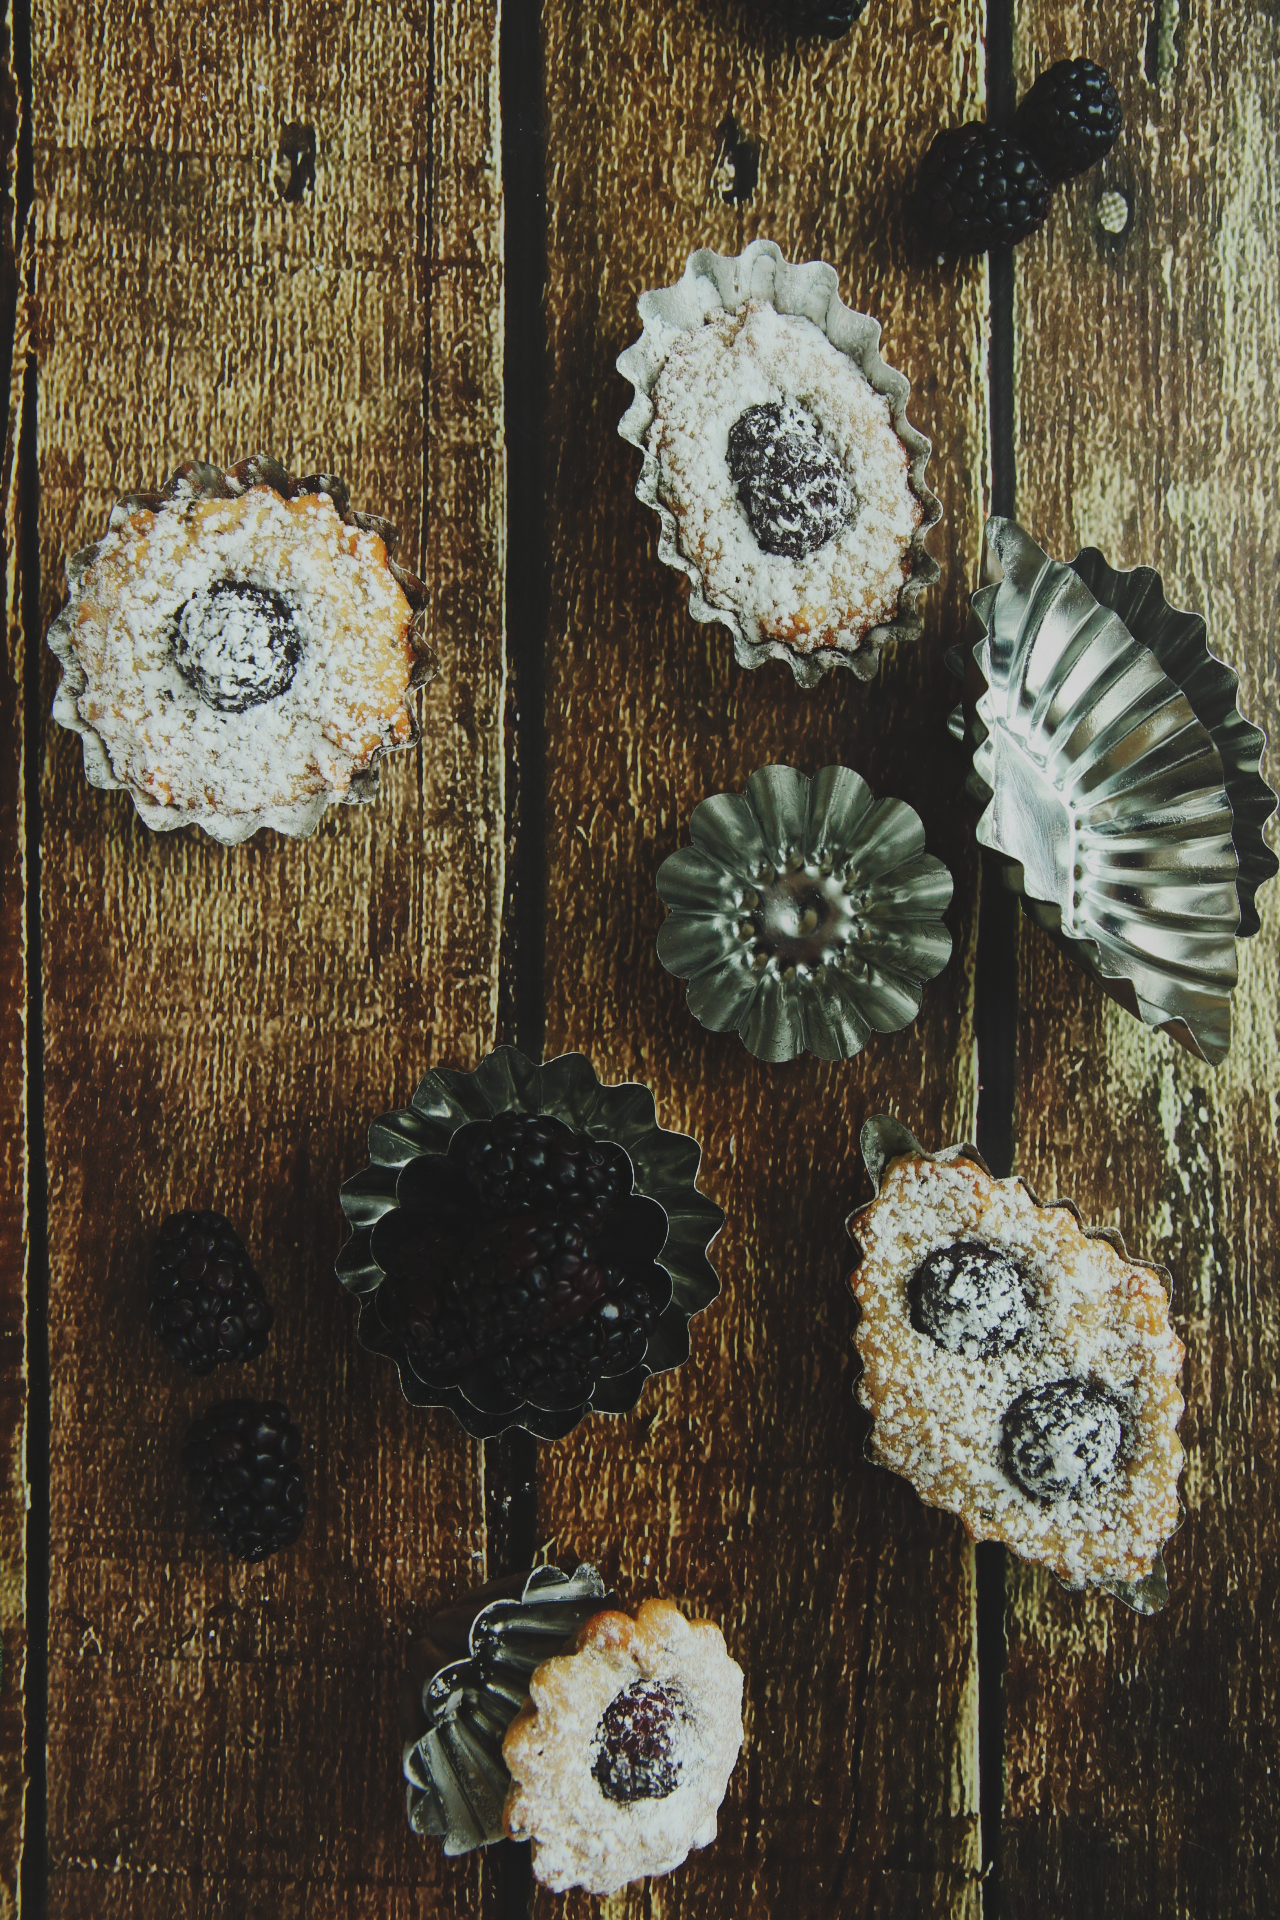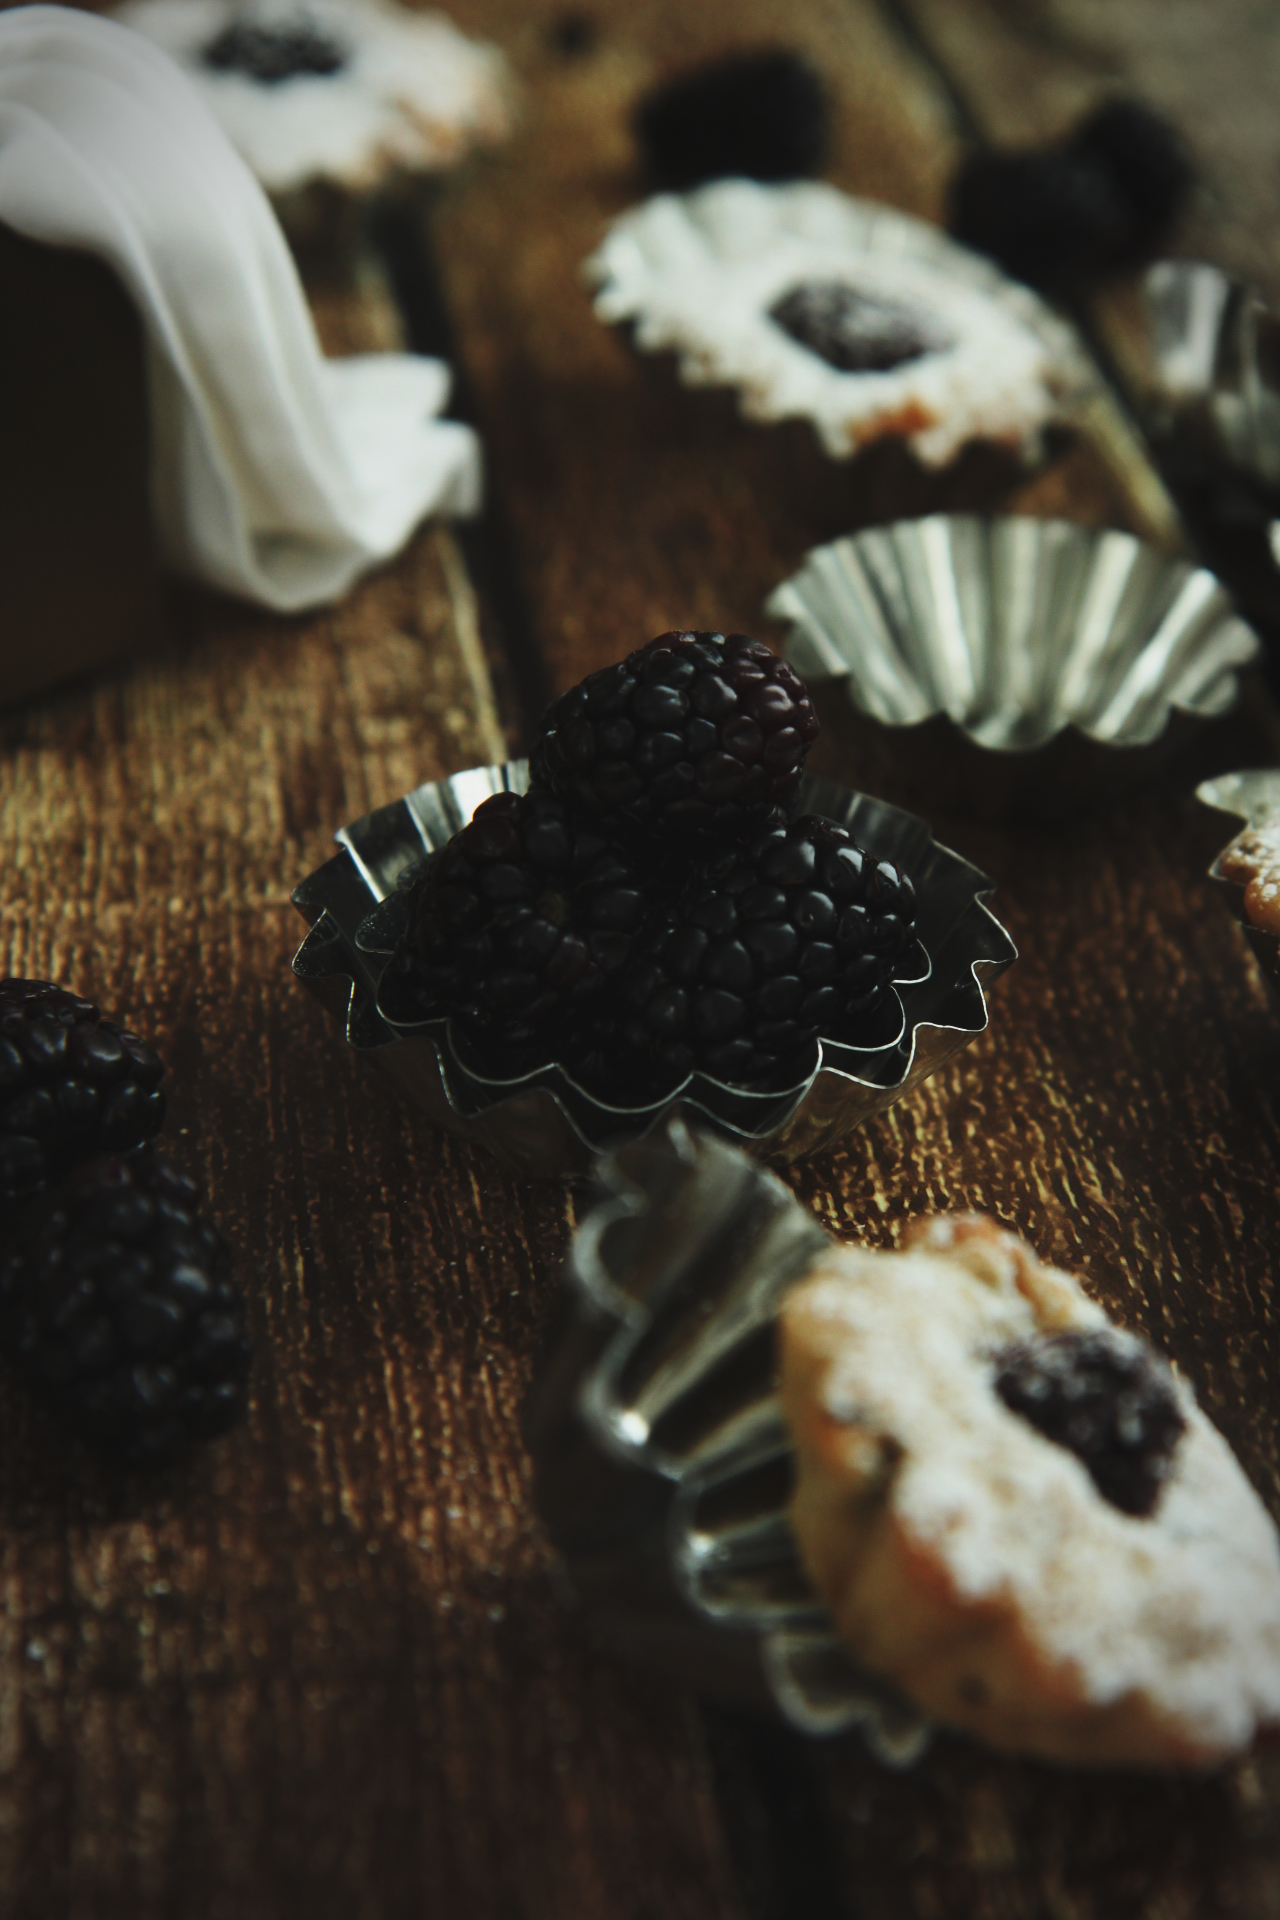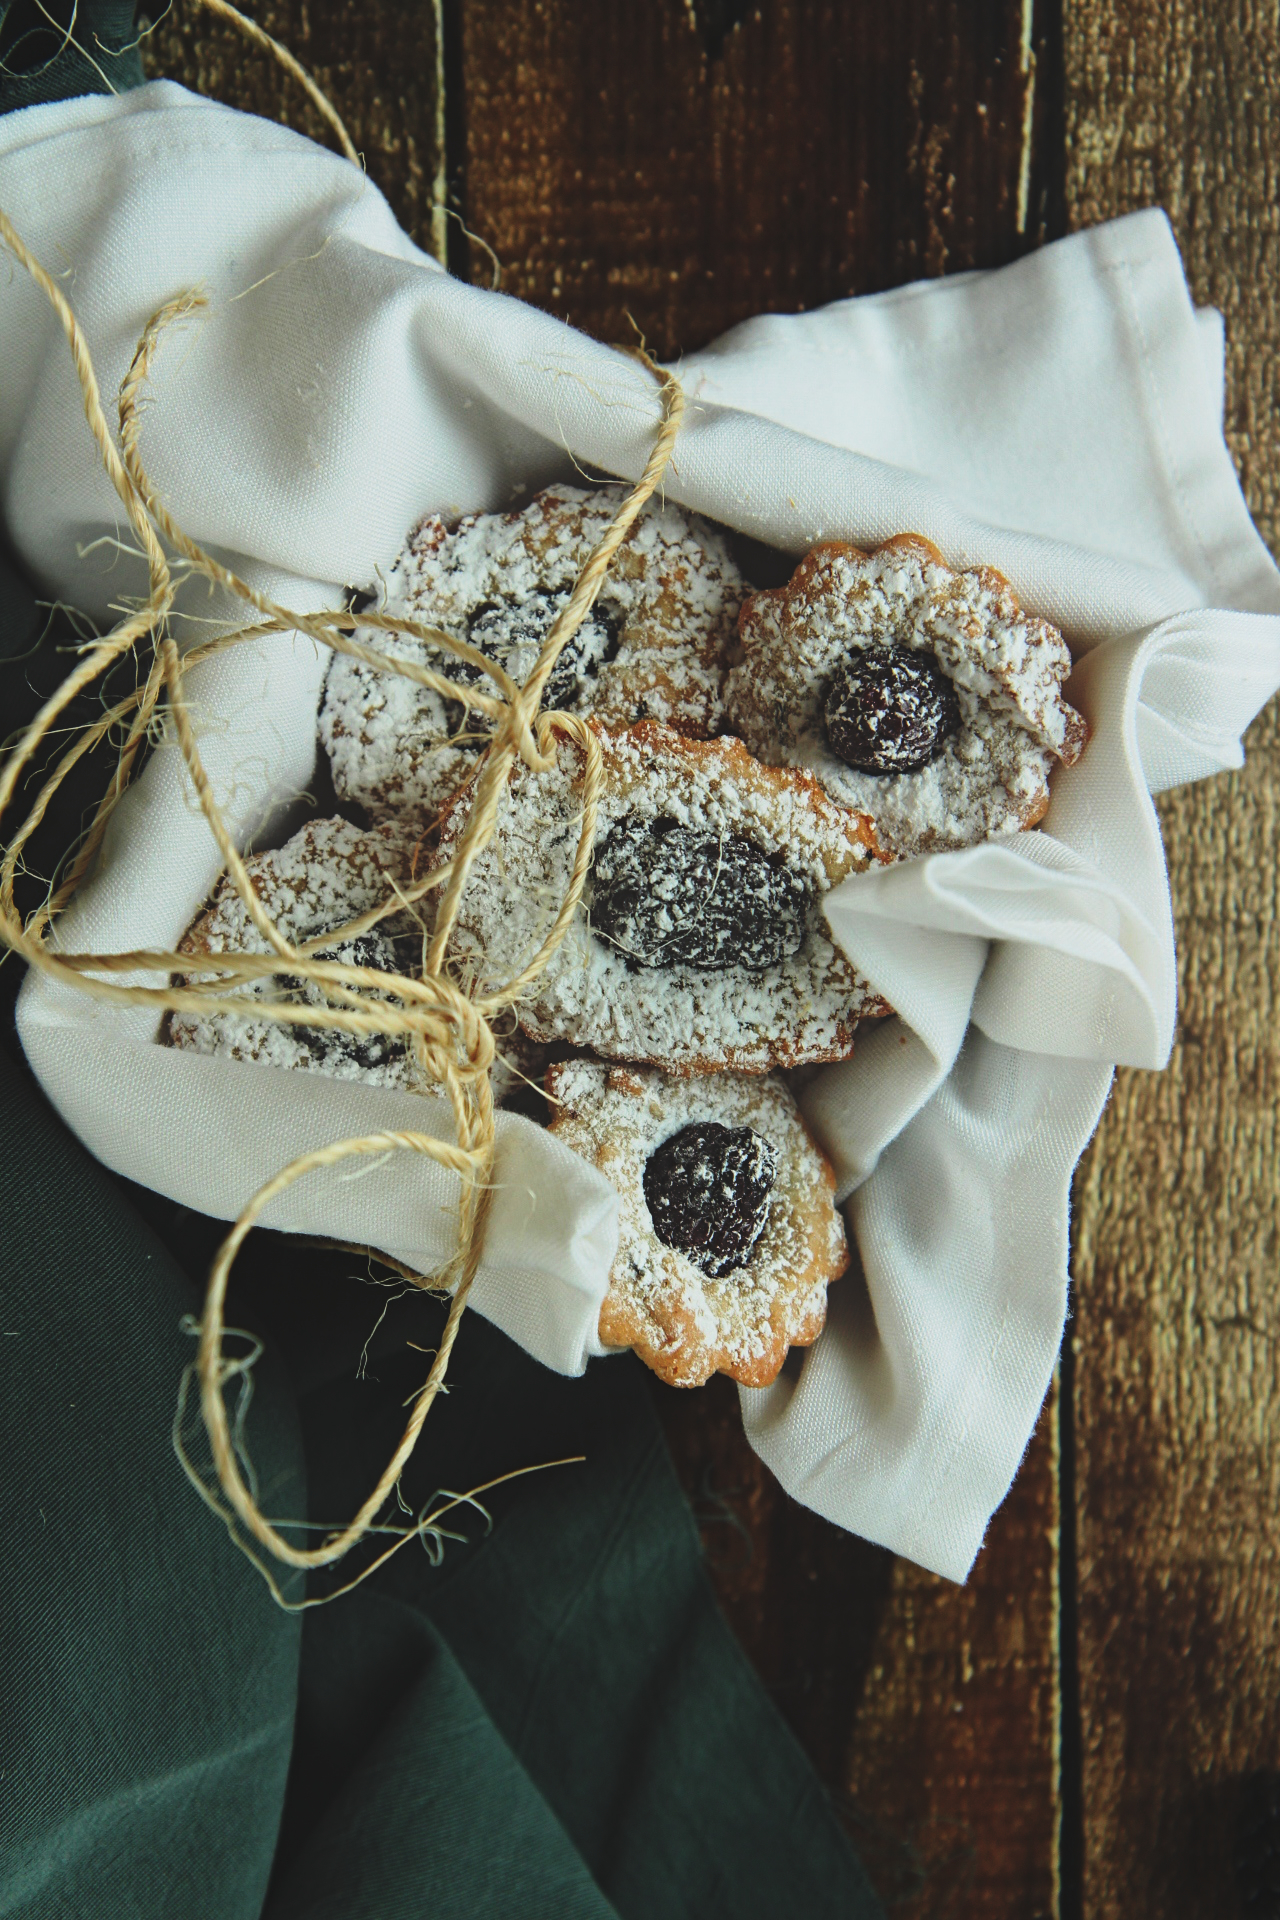
Deuxième

IMG_9718_01

“Great cooking is not for the faint of heart.
You must be imaginative.  Strong hearted.
You must try things that may not work.
And you must not let anyone define your limits because of where you come from.
What I say is true: anyone can cook, but only the fearless can be great.”

–Disney’s “Ratatouille

IMG_9723_01

Has it been this long, really?

How could it possibly have been this long?

Two years?
IMG_9792_01

Such a funny, dual-sided feeling, this one.
I have been writing this blog for my whole life, and, at the same time, have been writing for all of two days.
How can this be?

I have stumbled and stubbed toes, sliced fingers and scrubbed dishes; I have burned wrists and knuckles and cookies countless, have made nine thousand messes and used an entire herd of cows’ butter; I have dropped cakes and dropped things on cakes, have cried and sworn and studied and laughed on the kitchen floor.

I have planned meticulously and tasted liberally and danced in sheer delight; I have spat out failures and hoarded successes.

I have moved and survived, have mourned and celebrated, have resisted and adapted, have failed and succeeded.
I have given in and given up.
I have poured my heart and soul and dozens of cups of cream into La Pêche Fraîche.

I have closed my eyes and stuck the pan in the oven and then, terrified, let go.
IMG_9697_01

And yet here I am, still standing knee neck-deep in flour and sugar and butter.
Here I am, crying as I write this post, laughing at myself and at this silly, silly little space.

For I may have doubted this blog, doubted my writing, my work, my thoughts, myself,
but oh, oh, I have loved, loved, loved.
IMG_9826_01

188 posts prior to this one.
65 about chocolate, 55 about cake (32 about “cakes”), 50 for cookies.
43 posts in which I whine, 7 rants, 22 “stupid,” 13 diva moments.

25 brown butter, 25 holidays.
19 winter posts, but only 11 each of spring and autumn, and a sad 7 spring.

7 starry-eyed dreams, 7 cases of the blues.

39 love and 38 crazy.  Coincidence?  I think not.
IMG_9768_01

I always talk whine about this, but the growth and development on this blog is remarkable to me.
Look through the archives, and the most tangible improvement– photography– is undeniable.
I won’t lie, some of the photos on this blog are downright scary.
Out of focus, underexposed, unappetizing coloring, terrible angles, lack of styling… Good grief.

However, I remind myself as I cringe, the bad photography is only a testament to my willingness to learn, to try new things, to start from nothing and improve myself.
I am proud of this blog, damn it.
I am proud of how much I have learned, both on the pâtisserie and photographic sides.

I am beyond happy to celebrate the start of a third year.
I have no intentions of stopping or slowing down.
I don’t know where this blog is leading me.  I don’t know where my life is leading me.
I don’t even know where this post is leading me, for Pete’s sake.
Right now is a volatile and dynamic time in my life, and I’m doing my best to ride the waves, blind and fearful as I am.
Nevertheless, onwards I press, keys tapping and oven creaking.
I have faith that I shall better understand where I’m headed in the future.

I have faith that one day, I’ll figure my shit out.
And I have a strong suspicion that La Pêche Fraîche will be a part of it.
IMG_9804_01

It’s true that there have been times when I have been scared or reluctant to press “Publish.”
There have been posts so raw with emotion that I worry what my readership will think of me.

But you have stuck with me, through all the painful changes and exciting developments.
You’ve borne all my typos and rants and sappiness.
You’ve continued on with me during the slowed down times– I can see you clicking around, probably hungry for fresh material, tired of stale old crumbs.  I see you.  And I appreciate you.
You’ve read through too-long and too-short posts, through my geek-outs and freak-outs.

So sometimes, goes the moral of this story, you have to let go of the pan and let the oven work its magic.

Thank you, readers, for being my oven.
Thank you for demonstrating, with your clicks and searches and comments, that it is fine for me to press publish, to let go of the pan, to reveal insecurities and intimacies to an invisible audience.
It is for you that I write LPF, and it is thanks to you that it continues to grow.

Thank you for supporting this blog, replete with sugar and silliness.
Thank you, thank you, thank you.  From La Pêche Fraîche– from me.
IMG_9696_01

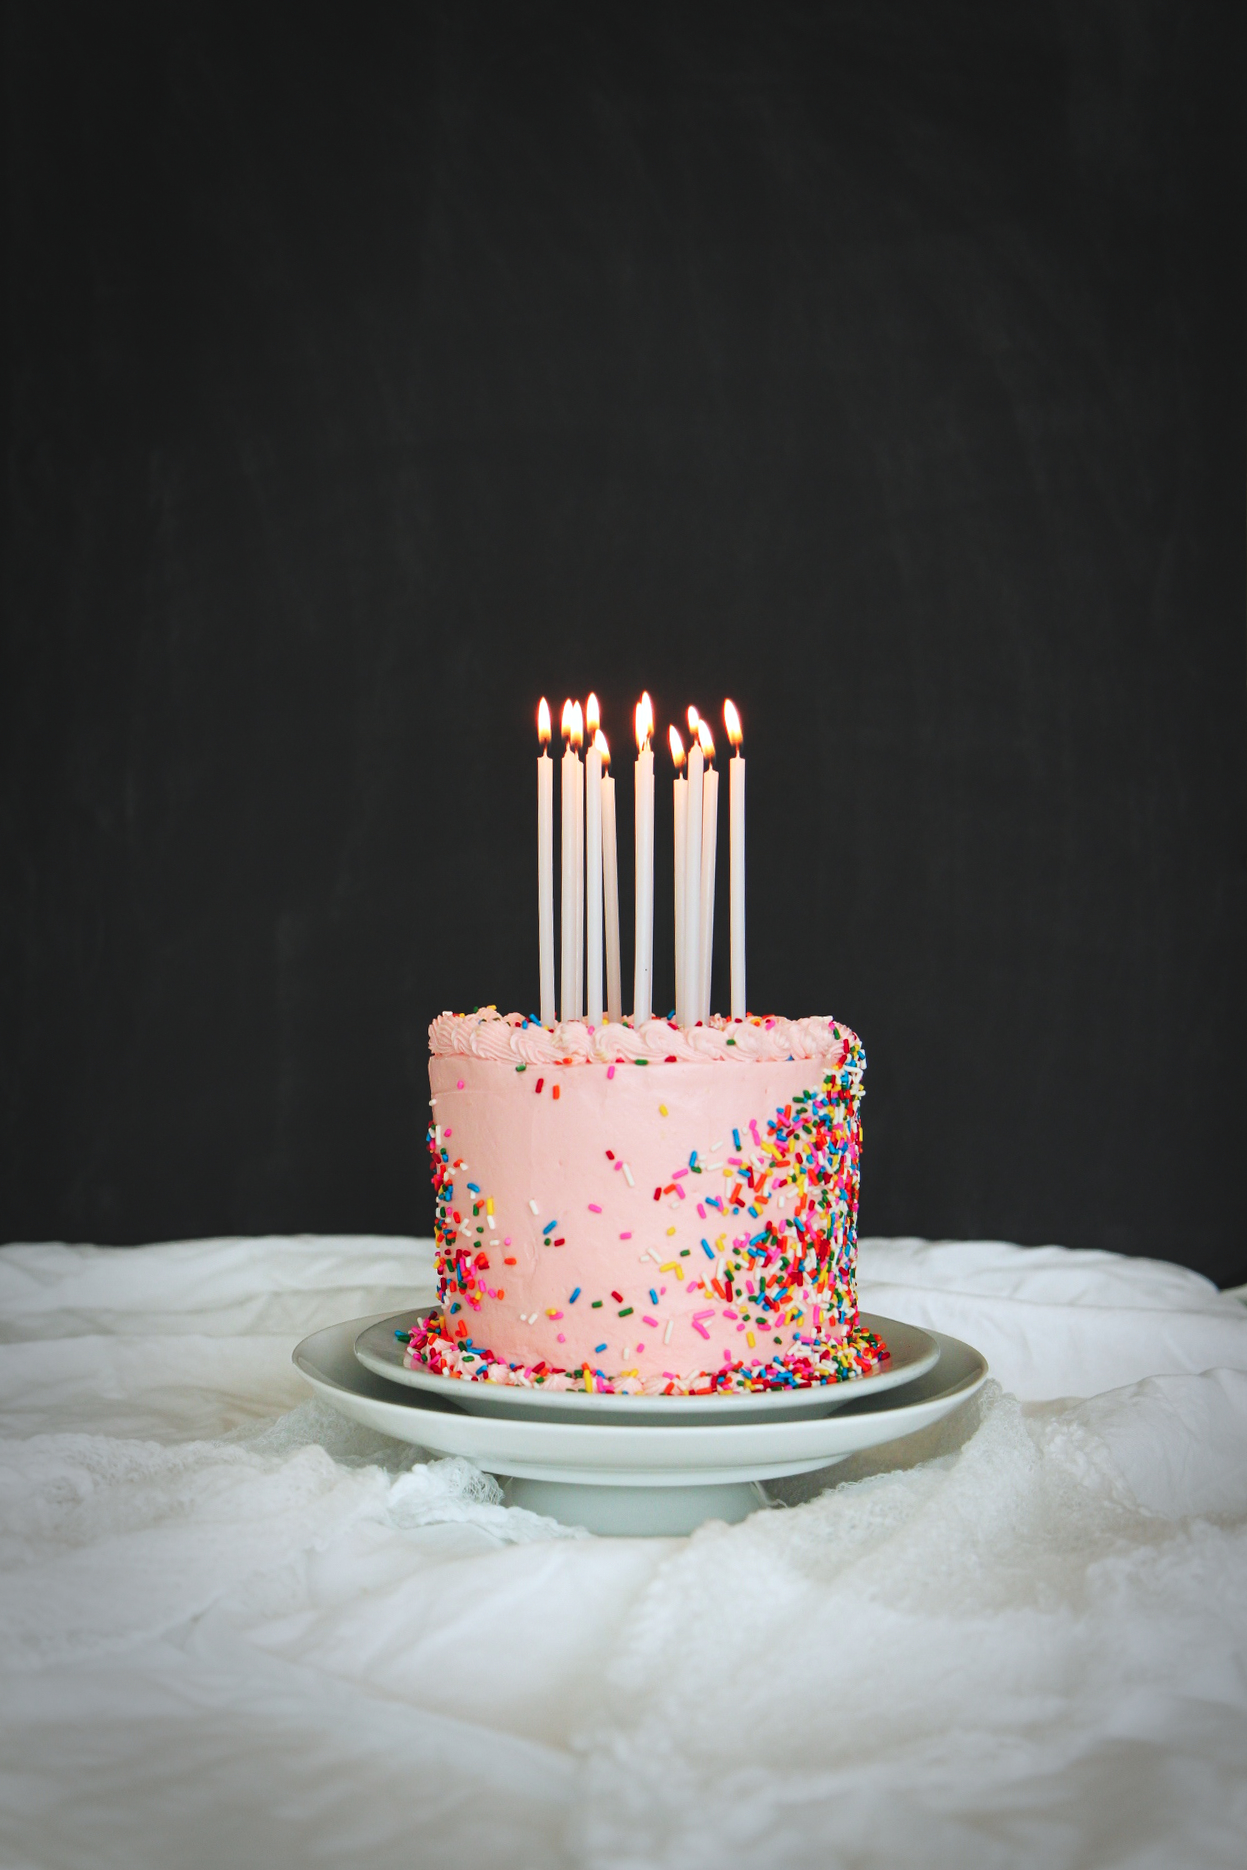
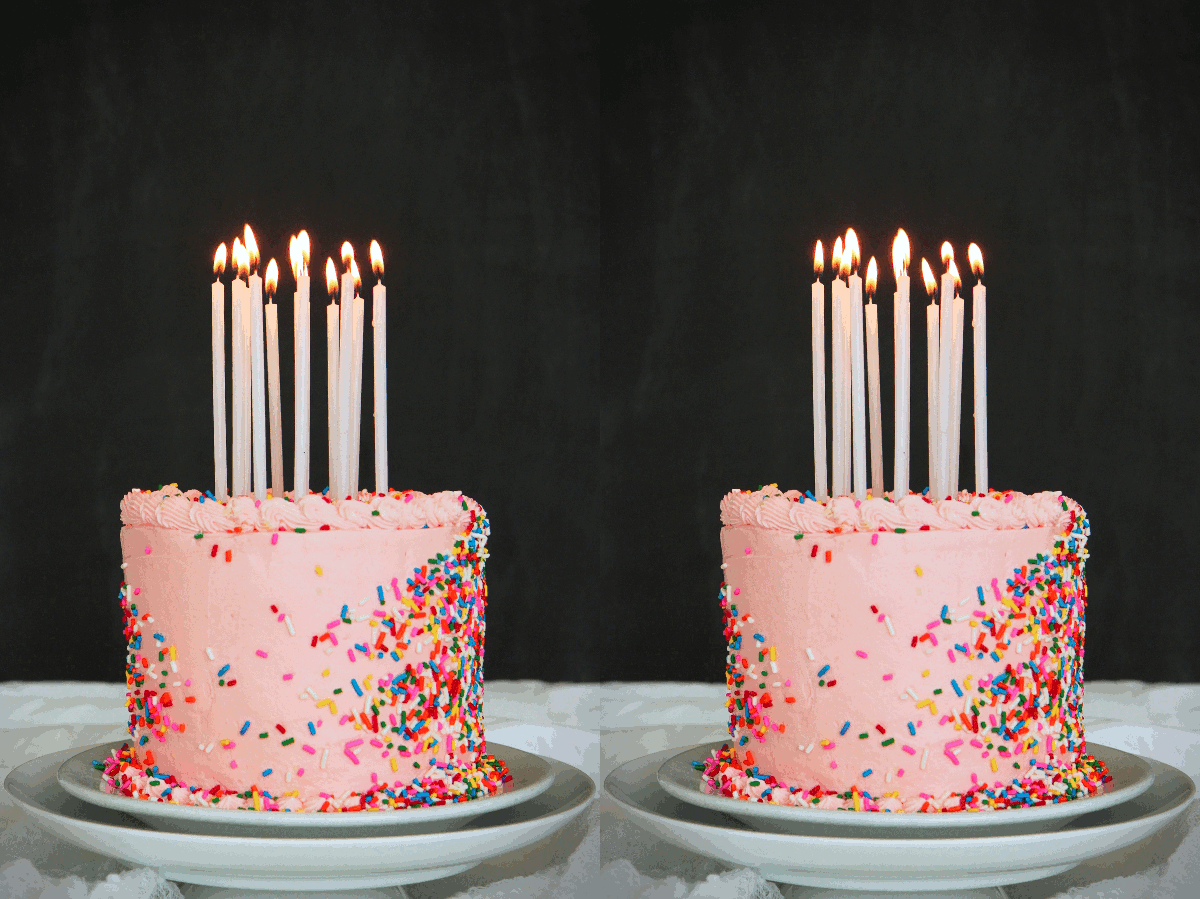
A birthday–blog birthdays included– demands cake.
Cupcakes, cookies, pavlovas, pudding and custards, ice creams, etc., will simply not do.
It must be cake.  I assure you, it must. be. cake.

Last blogiversary (May 2013) I made a brown-sugar/chocolate marble cake, filled with passionfruit curd and covered in fluffy, shiny clouds of vanilla bean Italian meringue buttercream.

The flavors were amazing– some of my absolute favorites– but I think the cake was left in the oven 3 minutes too long.
It wasn’t (ohhhh God, here it comes…) *moist* enough, in my opinion.

So though there have been many cakes in the last year, today’s cake demonstrates one way to keep your cakes from being dry and crumbly, in honor of last year’s semi-dry cake.
IMG_9812_01

This year’s is a 1 bowl cake.  (The frosting requires an additional pot, but whatever.)
This is a virtually fool-proof cake.

(ATTN: nerd alert. Skip to the recipe at the bottom if you don’t want to have to listen to me geek out.)

All is due to the FP FFP scheme that I have deployed here.
Fool Proof Fat Flour Paste.  Sound disgusting?  Well, yeah.

The idea here is that by creating a paste of the flour and fat, you coat essentially of the fat particles with starch particles.
Following this observation, then, it becomes clear that all of the starch particles are associated with fat particles, which prevents them from forming too much gluten when moistened.
Adding sugar in the form of cane sugar and milk sugar (lactose) further inhibits gluten formation.
Since all of the ingredients are thoroughly beaten together, the batter is completely homogeneous and the dry ingredients are very evenly distributed, preventing pockets of dryness or bitterness where flour or baking soda didn’t fully incorporate, and making over-beating cake batter a thing of the past.

Once moisture is added, some gluten forms, which maintains the structure of the cake.
Plenty of egg whites are added, since they contain albumen, a structural protein, that help enhance the gluten structure, ensuring the cake is sturdy, not crumbly.

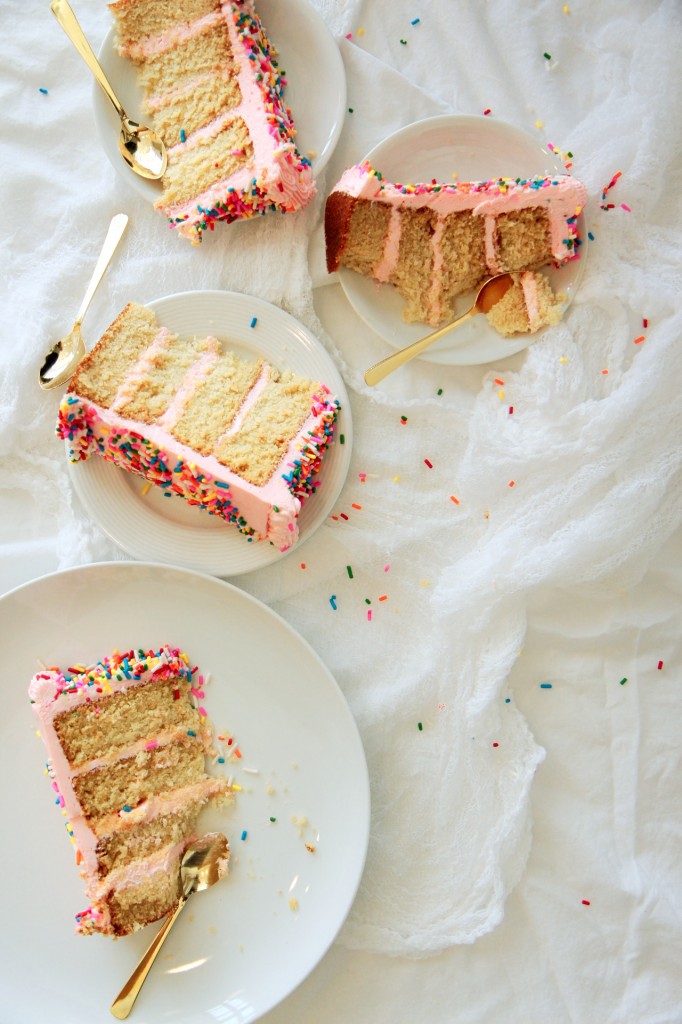
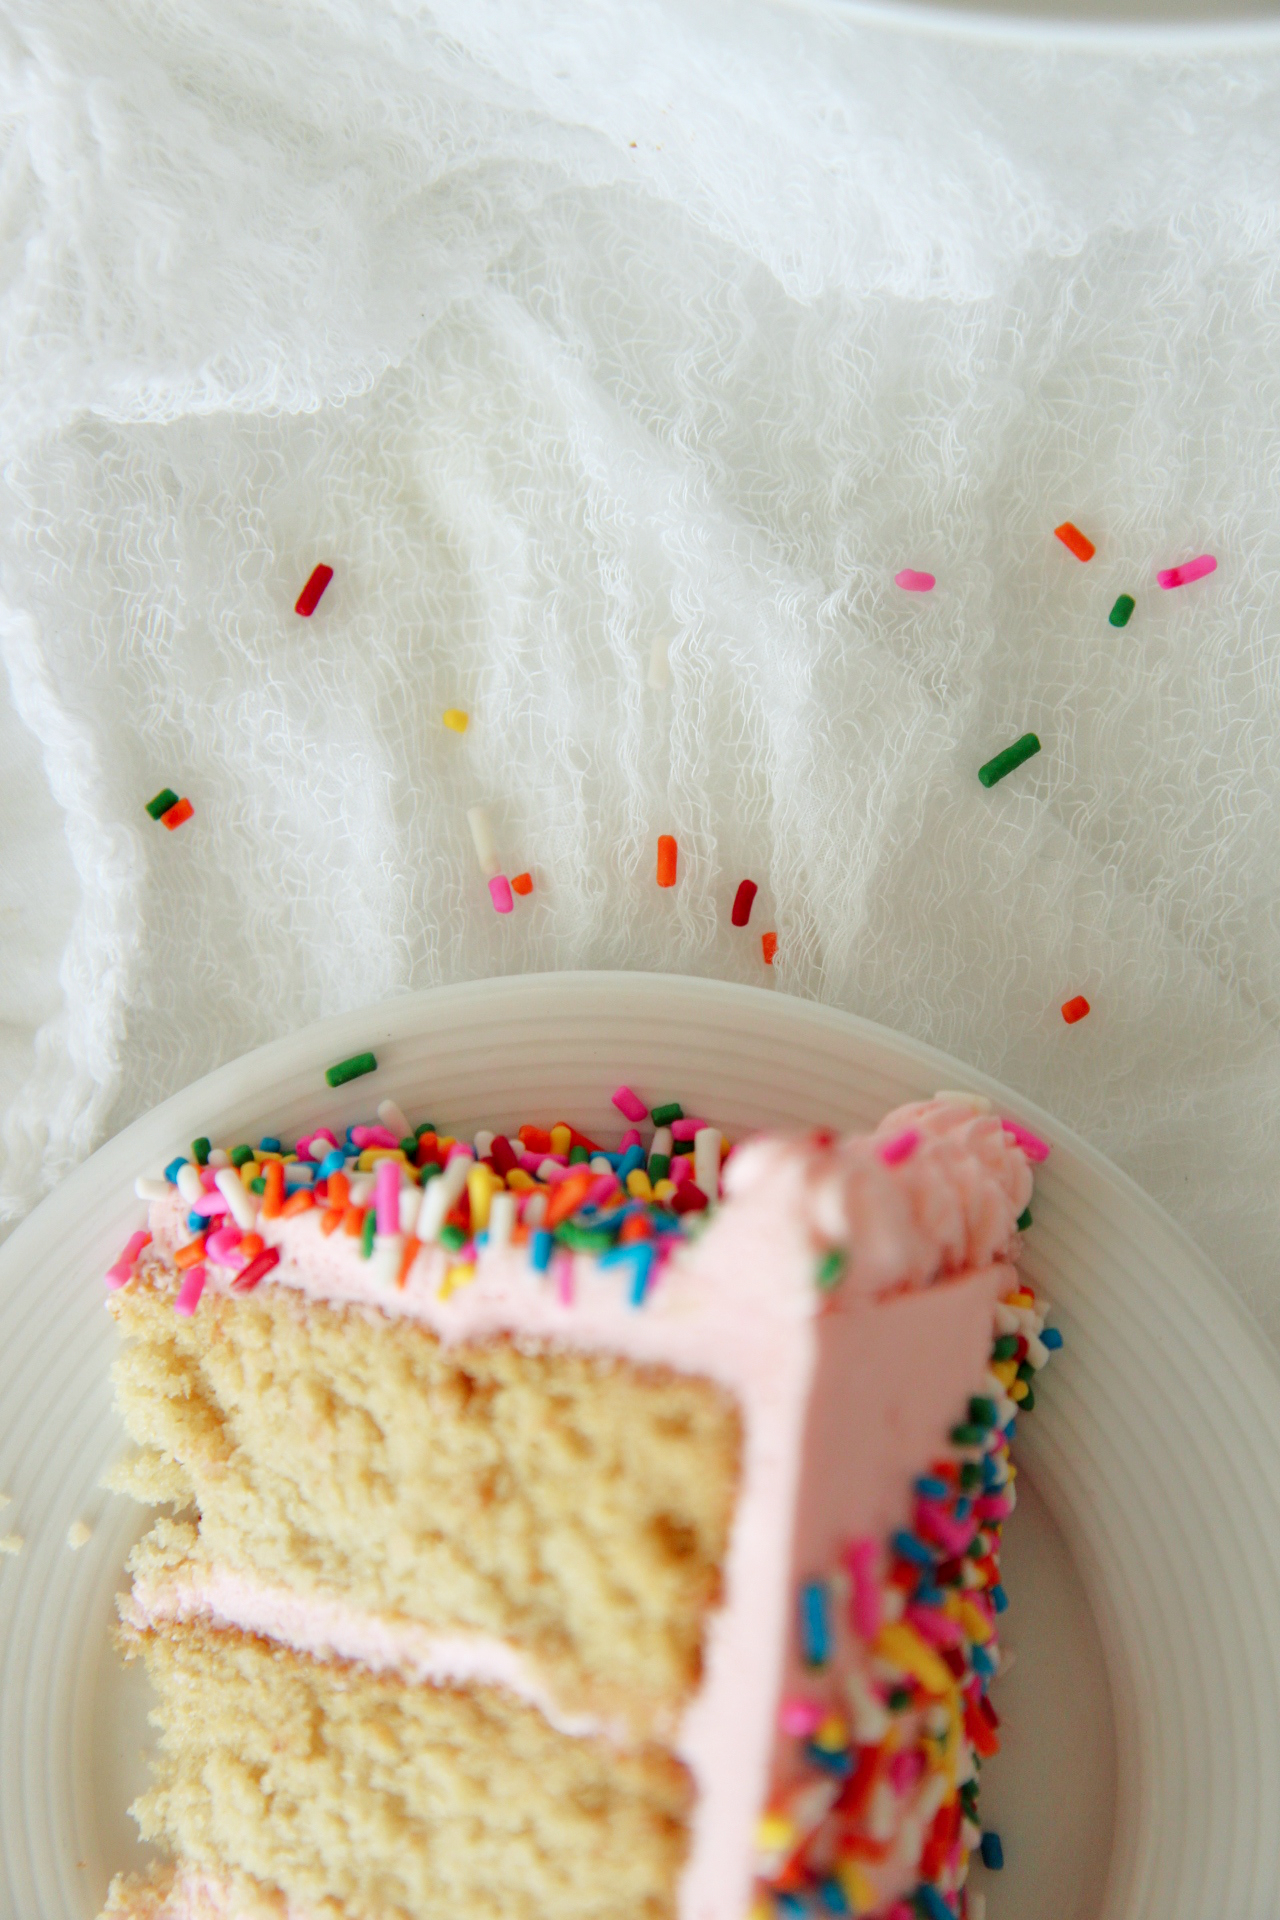
Basically, by preventing too much gluten from forming, we ensure the cake is very tender and fine-crumbed, and since the fat particles have been evenly suspended in starch, as they melt, they create a very moist, soft cake.
IMG_9810_01

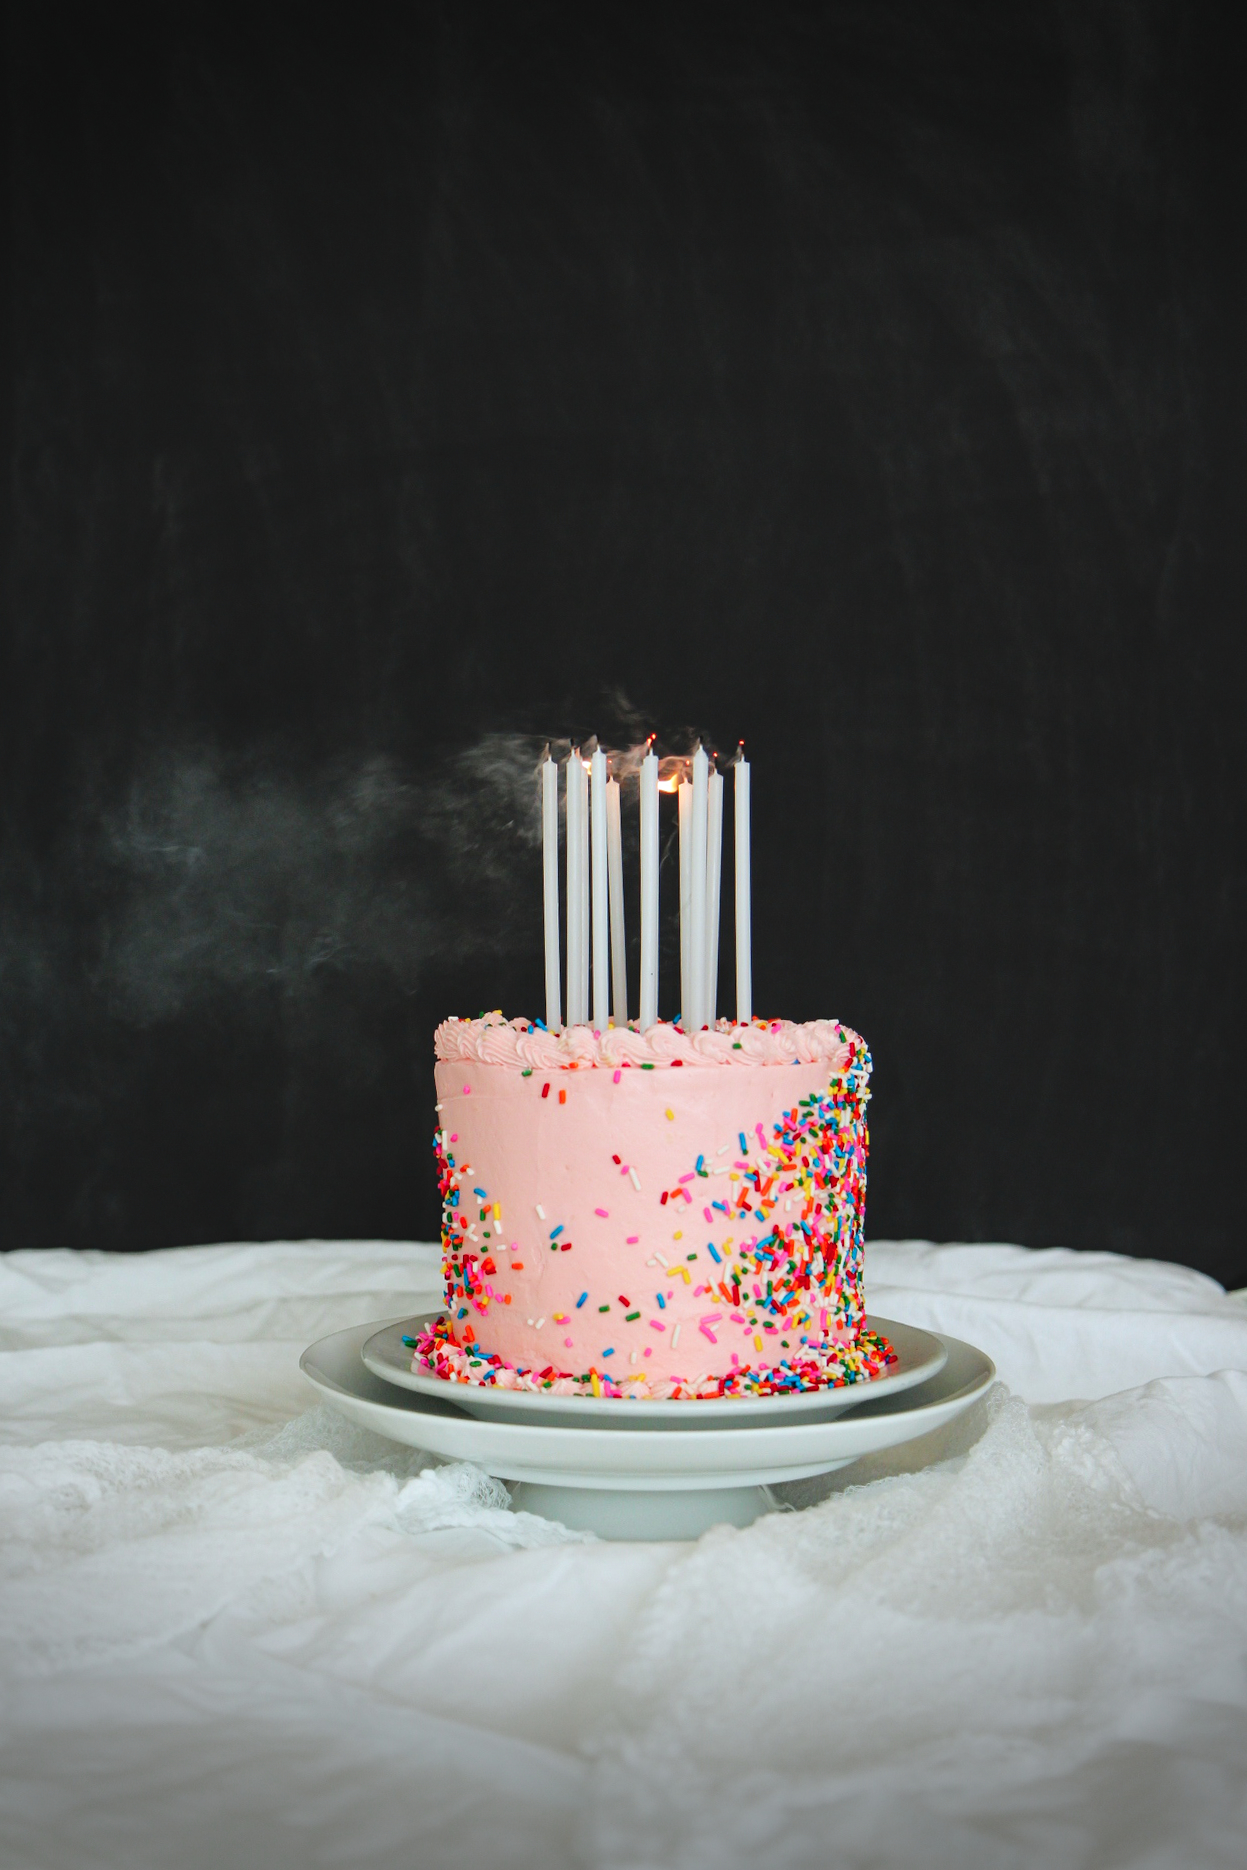
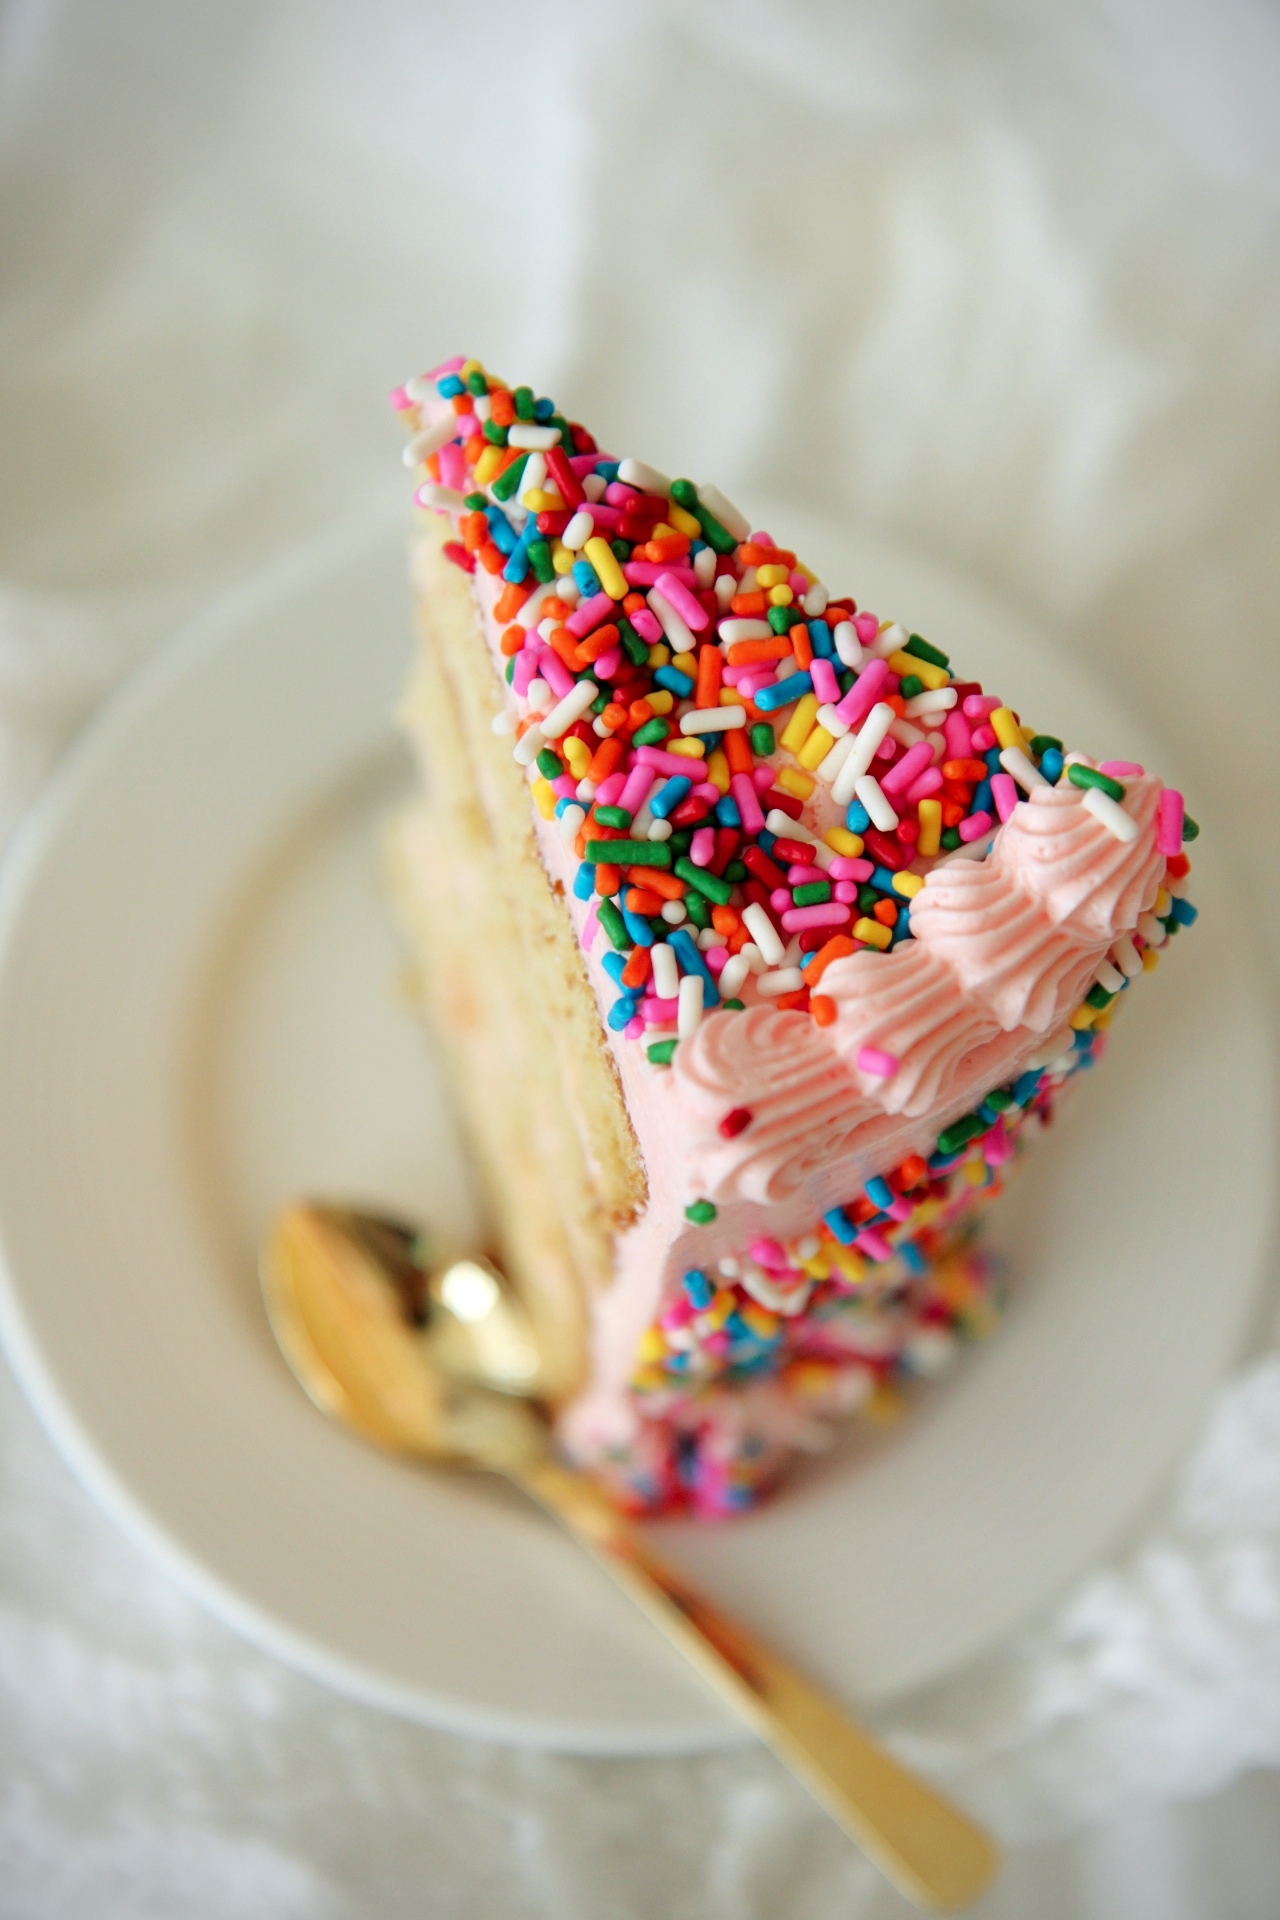
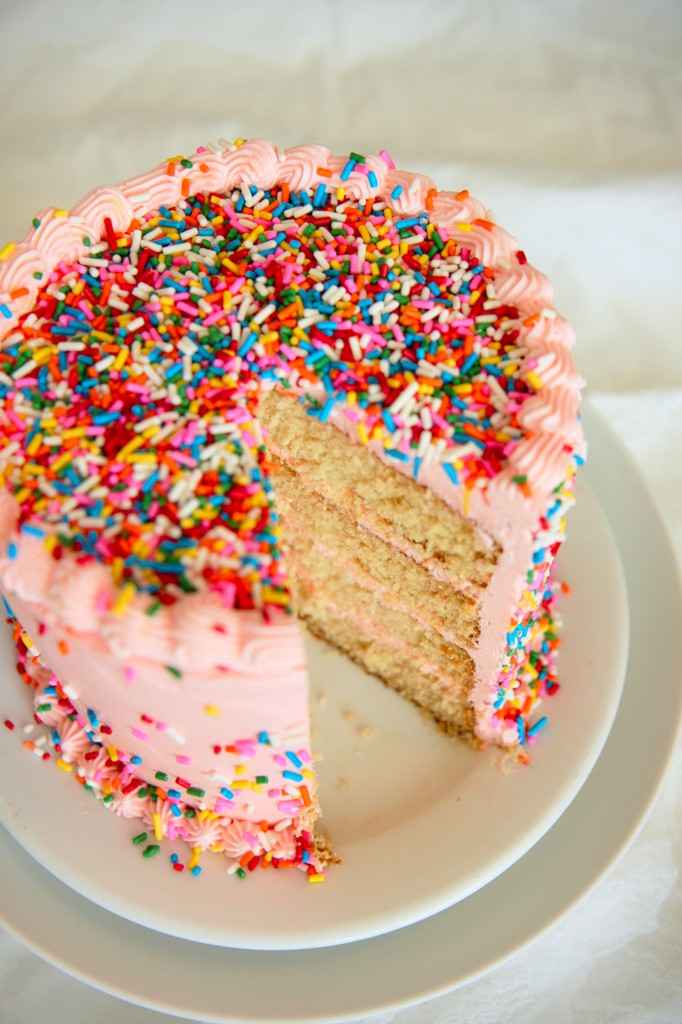
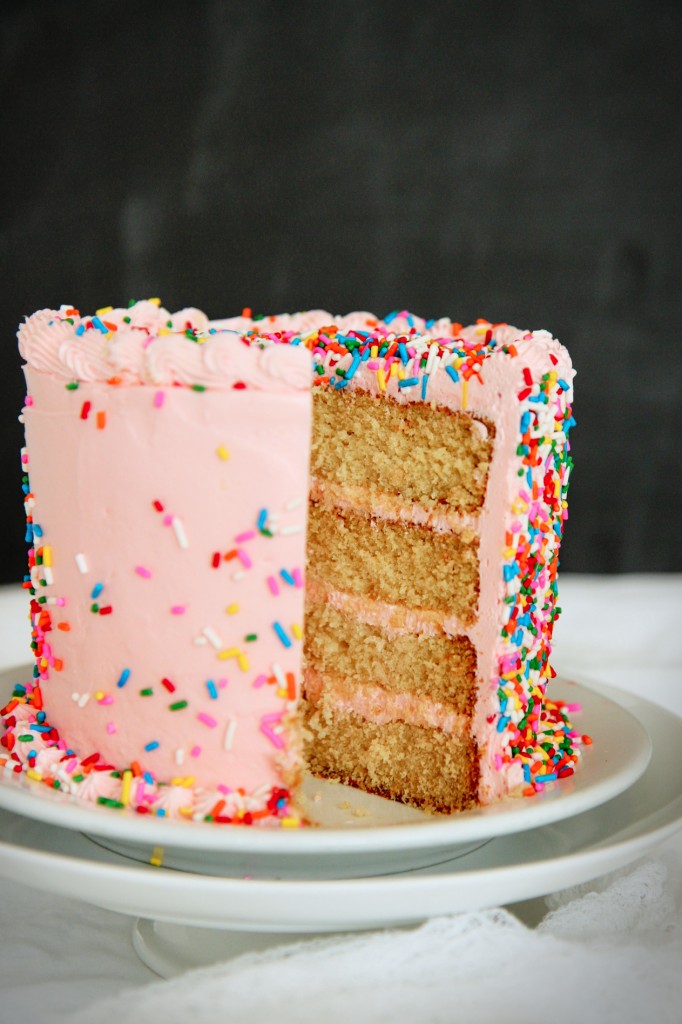
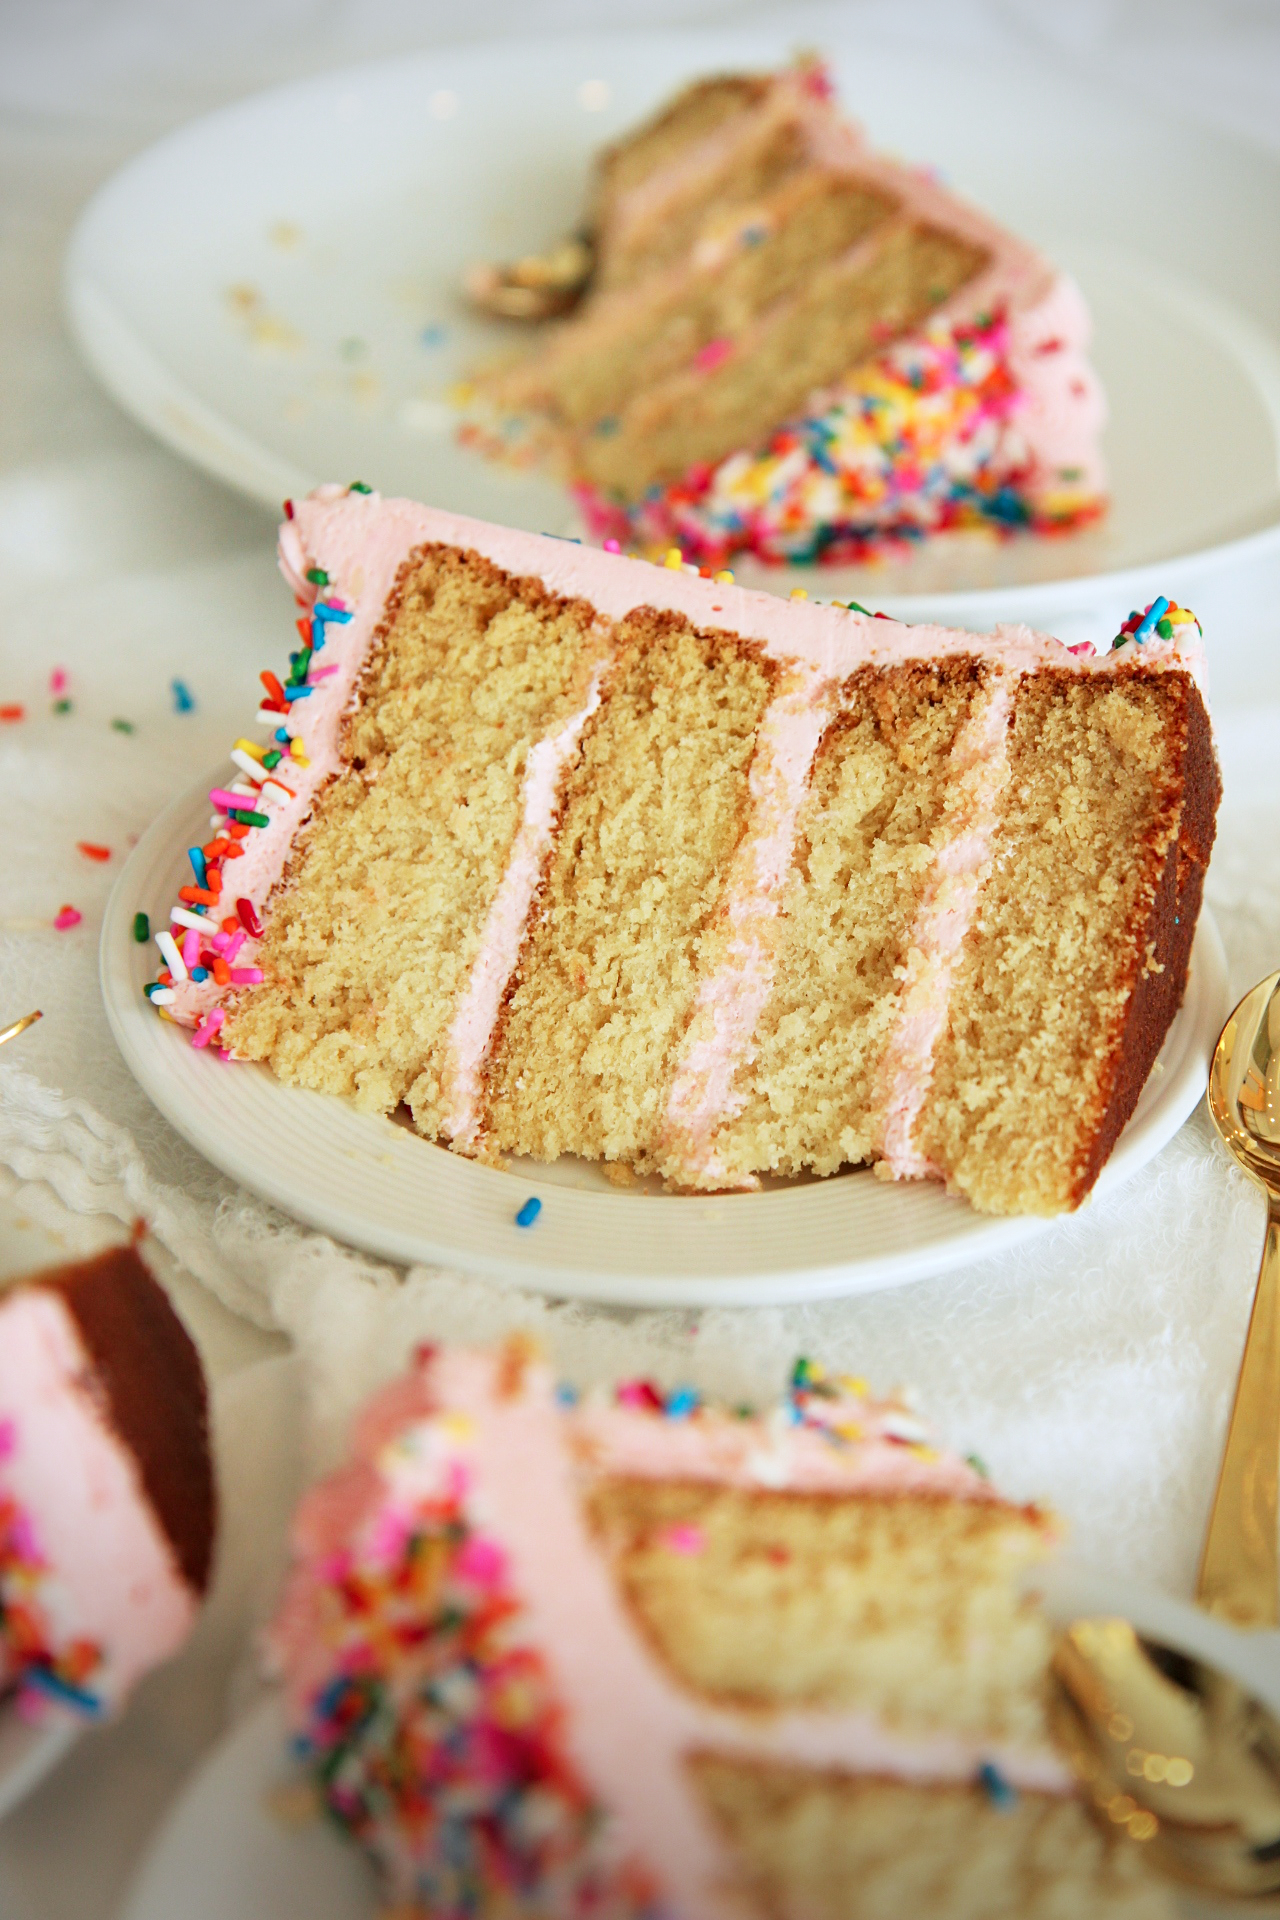
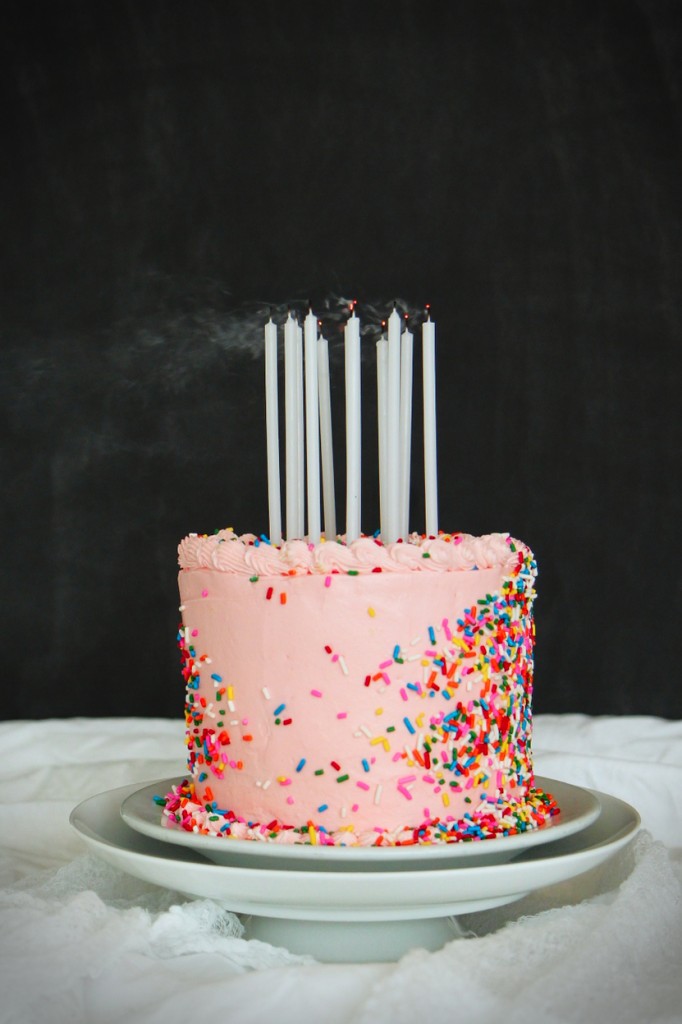
In sum total: this cake is a tall, four-layer beauty, with a base of malted milk cake, redolent of nutty malt and laced with a hint of salt, butter, and buttermilk.  The crumb is fine, tender, and soft.

The frosting is sweet and salty vanilla Italian meringue buttercream, glossy and fluffy, swaddling the cake in buttery goodness.

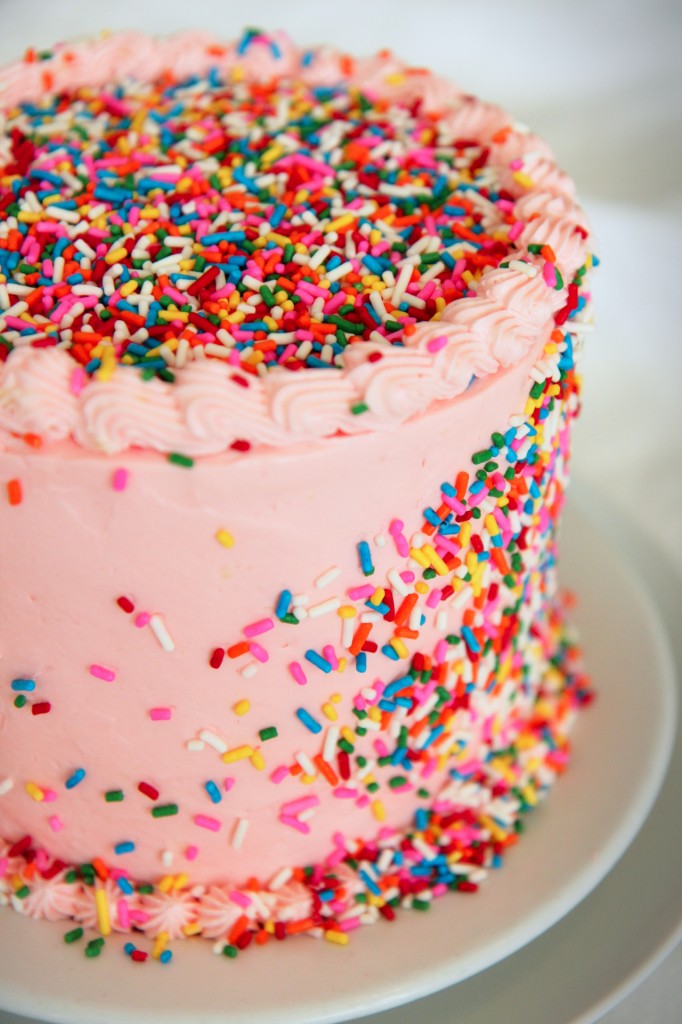
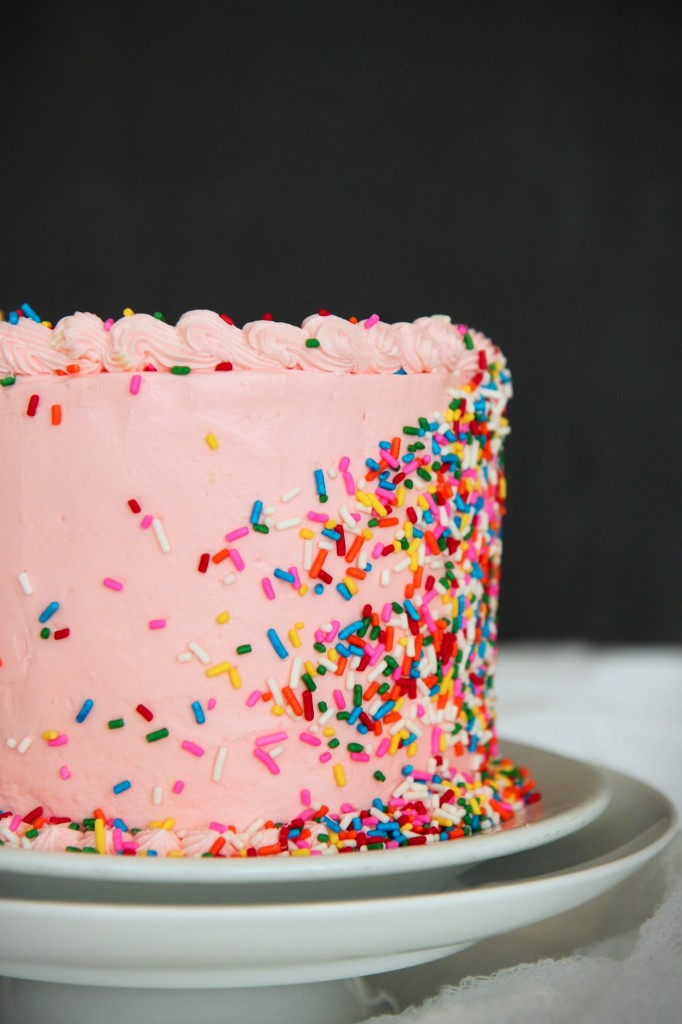
Finally, and most importantly, 39 ( and exactly 39) handfuls of sprinkles are thrown, haphazardly, at the cake.
The pattern that results is organic in shape but very much artificially dyed and flavored.

Sprinkles are just so happy and fun and bright and colorful and they, along with the pink frosting, make this cake so damn twee.
Once I pull out that 1 pound jar (no, I am not kidding), there’s no stopping me.
The soles of my shoes have been tracking sprinkles everywhere since I made this cake.
I may have gotten a tad bit out-of-control.  Just a tad, though.
{Send help.}

Joyeuse anniversaire, La Pêche Fraîche!
IMG_9846_01

“I did then what I knew how to do.
Now that I know better, I do better.”

–Maya Angelou 
IMG_9725_01

Malted Milk Birthday Cake
makes a 4 layer 6-inch cake or a 2 layer 8- or 9-inch cake

ingredients:
for the malted milk cake:
340 grams (2 3/4 cups plus 1 tablespoon) all purpose flour
50 grams (5 tablespoons) cornstarch
1 tablespoon baking powder
1 teaspoon baking soda
scant 1 teaspoon kosher salt
113 grams (8 tablespoons) butter, softened
100 grams (8 tablespoons) shortening
350 grams (1 3/4 cups) granulated sugar
60 grams (heaping 1/2 cup) malted milk powder
1 tablespoon vanilla extract
1 egg
3 egg whites
120 grams (120mL, 1/2 cup) buttermilk, cold
240 grams (240mL, 1 cup) water, cold

for the vanilla Italian meringue buttercream:
6 egg whites
3 drops (1/8 teaspoon) white vinegar
350 grams (1 1/2 cups) sugar
big pinch kosher salt
90 grams (6 tablespoons) water
660 grams (6 sticks, 1 1/2 pounds, 3 cups) butter, diced
2 teaspoons vanilla extract
drop red gel food coloring, if desired

to assemble:
sprinkles!

directions:
Make the cake: preheat oven to 350 degrees F and grease and flour 4 6-inch pans or 2 8- or 9-inch pans.
Place flour, cornstarch, baking powder, baking soda, and salt into the bowl of a stand mixer and stir to combine.
Add in the softened butter and shortening a few tablespoons at a time, mixing until a flour-fat paste forms– it will be thick like cookie dough.
Stir together the sugar and malted milk powder, then add to the flour paste, stirring slowly at first, then beating until fluffy.
Whisk together the vanilla, egg, egg whites, buttermilk, and water, then add to the batter, stirring very very slowly at first, then increasing speed to beat at high speed for 30 seconds.
Batter should be thick and creamy; if it is a tiny bit curdled, don’t worry about it.
Pour into prepared pans and bake for 35-38 minutes, until springy in the center and a tester comes out clean.
Allow to cool completely, then trim and level as needed.

Meanwhile, make the frosting: place egg whites and vinegar in the bowl of a stand mixer.
Place sugar, salt, and water in a small pot.
Begin to heat the sugar mixture on high as you whip the whites on medium speed.
When the syrup reaches 245 degrees F, your egg whites should be at firm soft peaks (almost hard peaks, but not dry).
Drizzle the syrup into the meringue with the mixer running; whip on high until cooled to body temperature.
Beat in butter one or two tablespoons at a time.
Beat buttercream on high speed until thick, glossy, and fluffy, about 4 minutes.
If buttercream is too soft, refrigerate for 20 minutes.

To assemble the cake, stack layers with 1/2-2/3 cup frosting between them.
Use about 1 cup of frosting to crumb coat and level out the cake; freeze for at least 30 minutes.
Finish the cake with the remaining frosting as desired, and add sprinkles to your heart’s content!
Crackberry

IMG_9501_01

Blackberries were on sale.

IMG_9521_01

Can you tell?  No? Here, here, and now, here?

Summer berries are arriving.  And I fully intend to eat my weight take advantage of them.

{In regards to the title of this post, although I’ve always been partial to my bevy of iPhones and have never indulged in a crackberry, my friend’s dad has it both ways with a Blackberry keyboard that attaches to his iPhone!  How cool is that?
It’s for people who really love the keys on the Bberry (that satisfying clicking…) but who realize the superiority of the iPhone OS.
Genius.}

IMG_9514_01

I can’t wait until I go back to Ithaca and am able to raid the farmer’s market.
I miss the smell, the bustle, the lake, the people.

I’m in a list-y mood, so:

Fresh, early-summer/late-spring produce that I’m craving (that you should be looking for now! now! now!):
fresh, astringent rhubarb
tart, plump raspberries and blackberries (holla!)
crisp, tender spring greens
thin, delicate stalks of asparagus
young, sugary sweet corn
early, juicy strawberries

Ways I’ll be using all this freshness:
rhubarb, maple, nutmeg compote to be served over cold, creamy greek yogurt with butter toasted oats and pecans
cardamom poached rhubarb and vanilla bean mascarpone tart
giant chopped salads full of grilled corn, balsamic roasted asparagus, hard boiled eggs, avocados, slivered almonds, and chickpeas
lemon and strawberry and black pepper ricotta tart

IMG_9528_01

If you find yourself with an abundance of blackberries, as I did, make these cupcakes.  I beg of you.

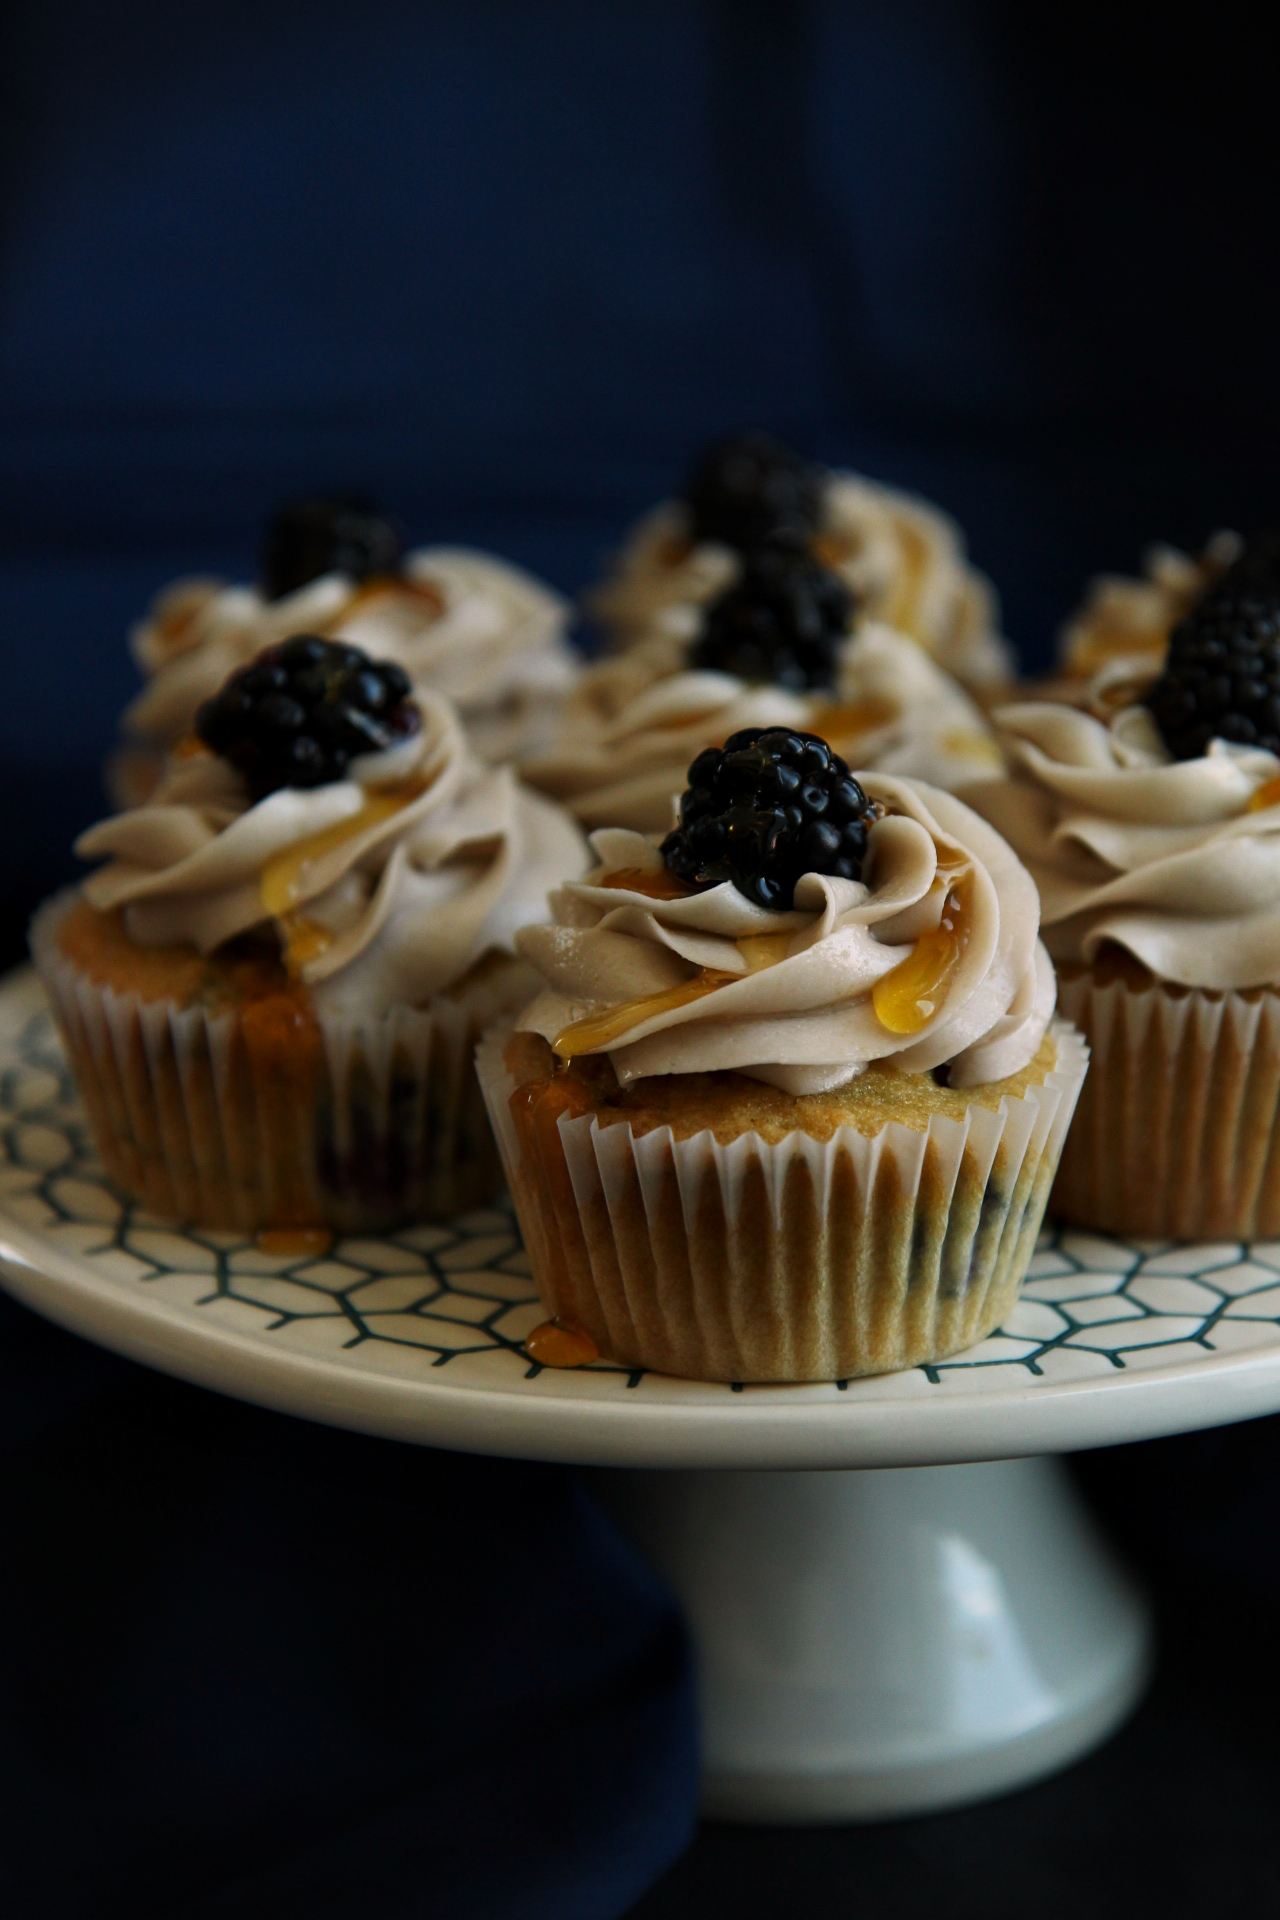
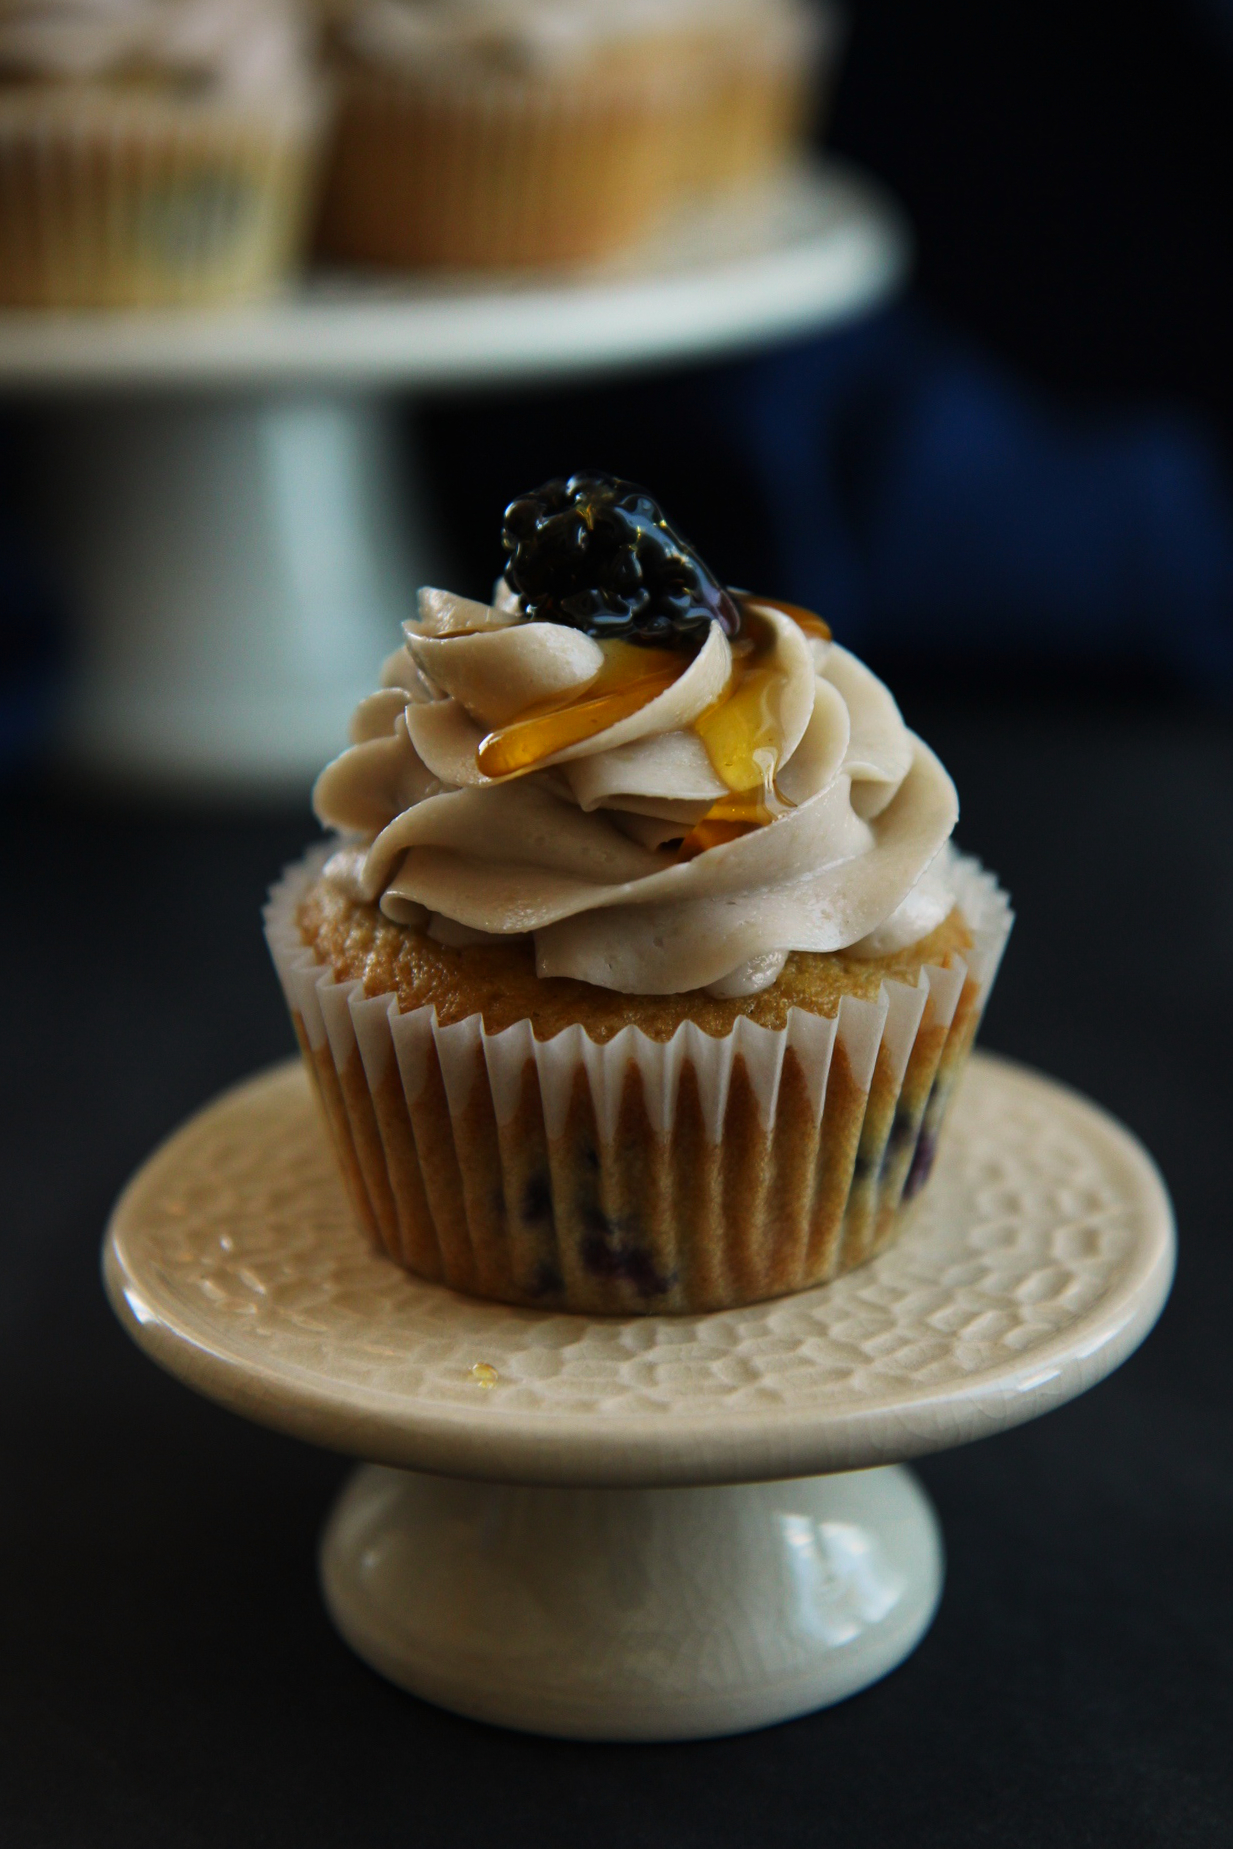
Blackberries are nestled into a ridiculously simple, 1 bowl no-mixer yellow cupcake batter, spiked with melted butter and plenty of kosher salt.
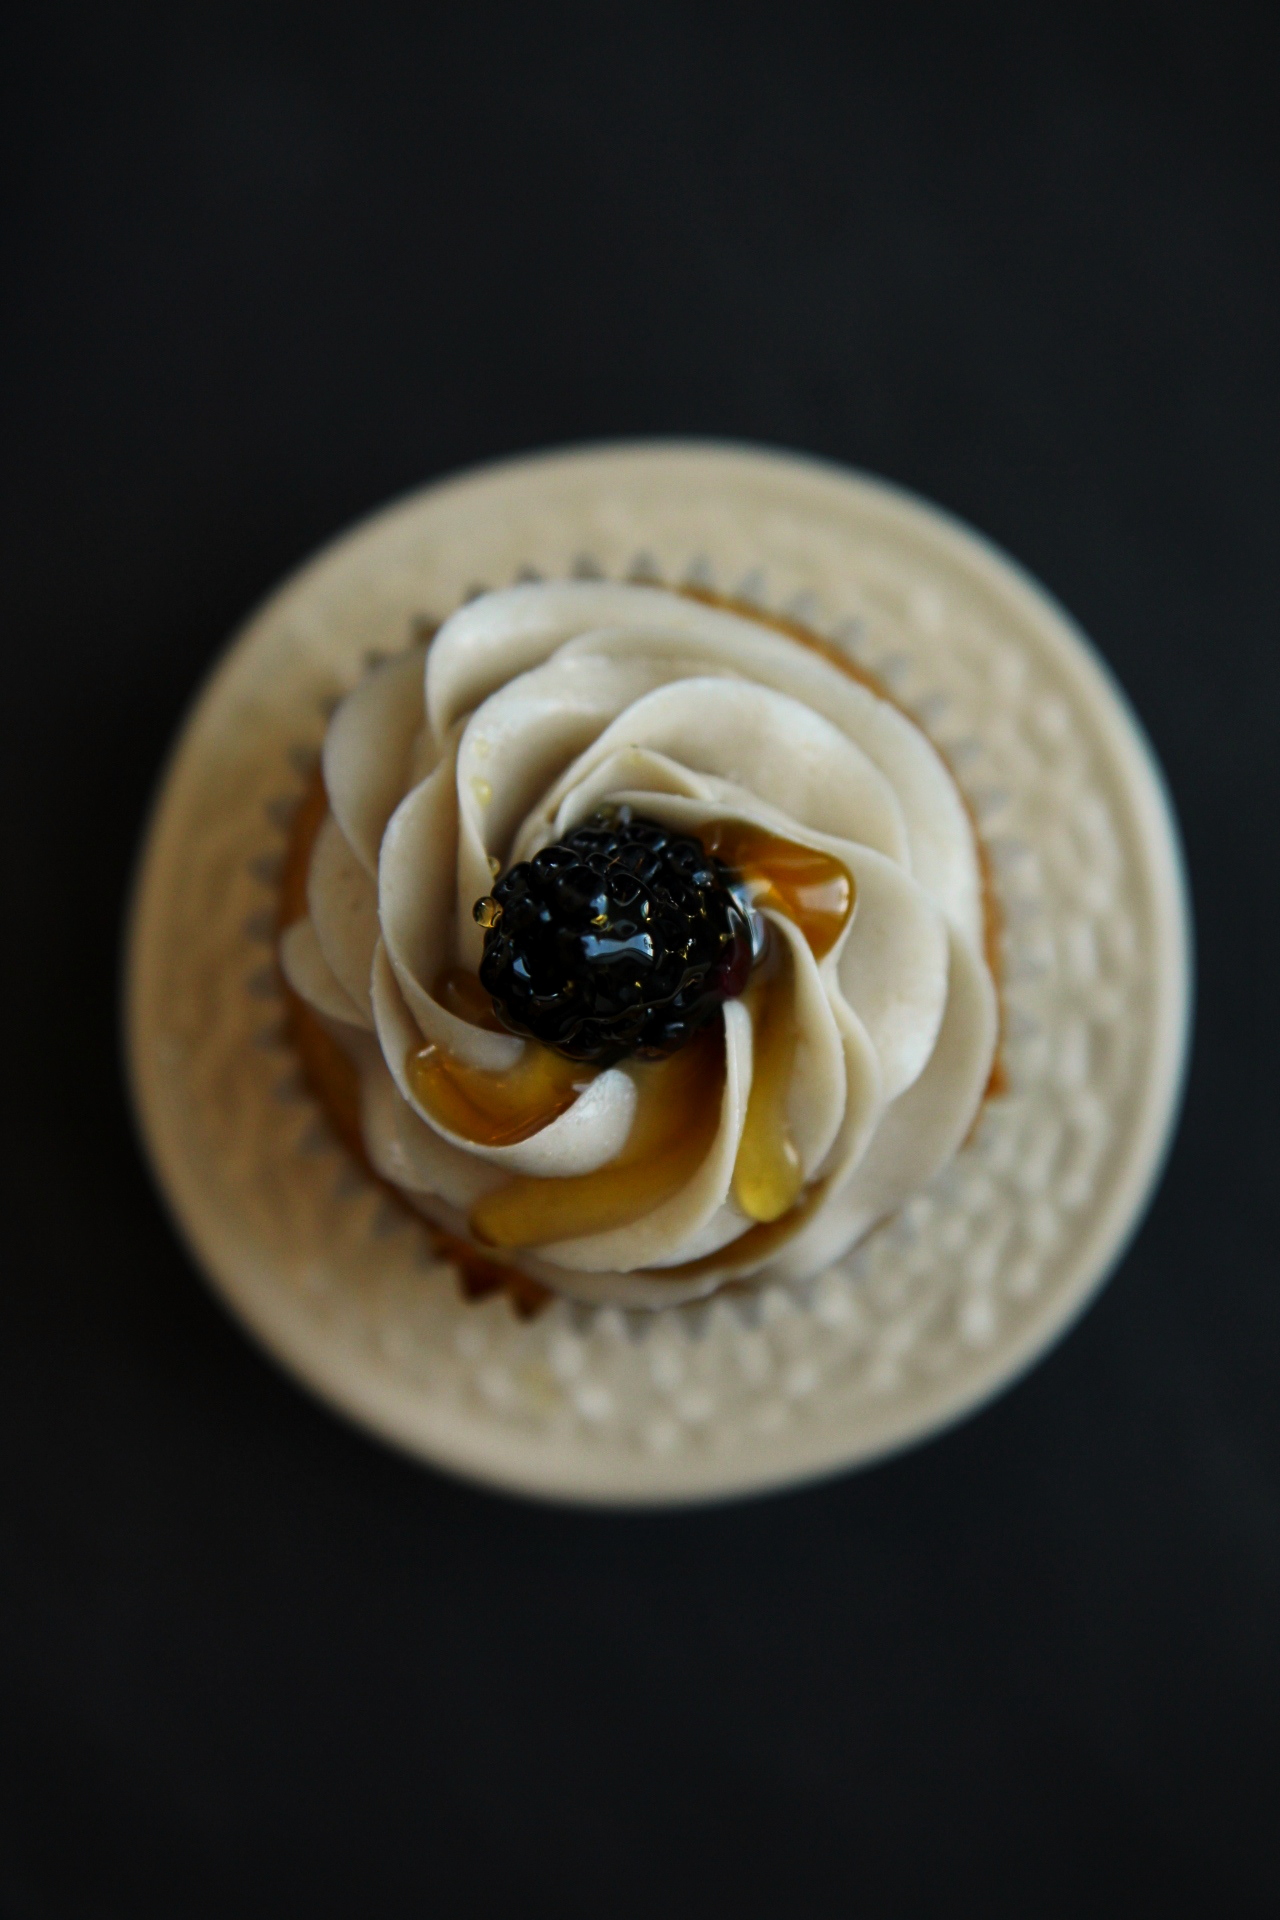
On top, a honey malted buttercream is drizzled with honey and finished with a single juicy blackberry.

The cupcake itself is like the softest, tenderest, and most fine-crumbed and cakelike blueberry muffin you’ve ever had (only with blackberries instead).

The frosting is not too sweet, and plenty salty.
It came about when I ran out of powdered sugar!  I decided to incorporate honey into the frosting, and then I threw some malted milk powder in for body.
It benefits by the punch of honey flavor from the drizzle, so don’t skip it.

This recipe only makes 12 little cupcakes, so don’t worry about a huge yield!

IMG_9497_01

Malted Honey and Blackberry Cupcakes
cupcake portion adapted from Sally
makes 12 cupcakes

ingredients:
for the cupcakes:
1 2/3 cups flour
1/2 teaspoon baking powder
1/4 teaspoon baking soda
heaping 1/2 teaspoon kosher salt
1/2 cup (8 tablespoons) butter, melted and cooled
1/2 cup granulated sugar
1/2 cup brown sugar
1 egg
3/4 cup milk
splash vanilla extract
1 heaping cup smallish blackberries

for the frosting:
1 cup (16 tablespoons) butter, softened
big pinch salt
1 cup powdered sugar
1/2 cup honey
1/3 cup malted milk powder

to assemble:
12 large blackberries
1/2 cup honey, for drizzling

directions:
Preheat oven to 350 degrees F.
Line a cupcake tin with 12 liners.
Whisk together flour, baking powder and soda, and salt.
Beat melted butter with sugars until combined, then beat in egg.
Whisk milk and vanilla in, then quickly whisk in the dry ingredients.
Gently stir blackberries into batter, then portion out with a 1/3 cup scoop into liners.
Bake for 18-22 minutes, until a toothpick comes out clean.
Allow to cool completely.

Meanwhile, make the frosting: beat butter with salt until light and fluffy, about 4 minutes.
Add in the powdered sugar, honey, and milk powder and, starting slowly, beat until totally combined, about 4 minutes.
Scrape the bowl and taste– if it’s not sweet or thick enough, add more powdered sugar.

To assemble the cupcakes, pipe frosting as desired and top with a blackberry.
Drizzle about a teaspoon and a half of honey on top of each cupcake.

Monster

IMG_8863_01

“Cursed, cursed creator! Why did I live?
Why, in that instant, did I not extinguish the spark of existence which you had so wantonly bestowed?”

Mary Shelley, Frankenstein

IMG_8867_01

More green.  I’m afraid I’m the worst.
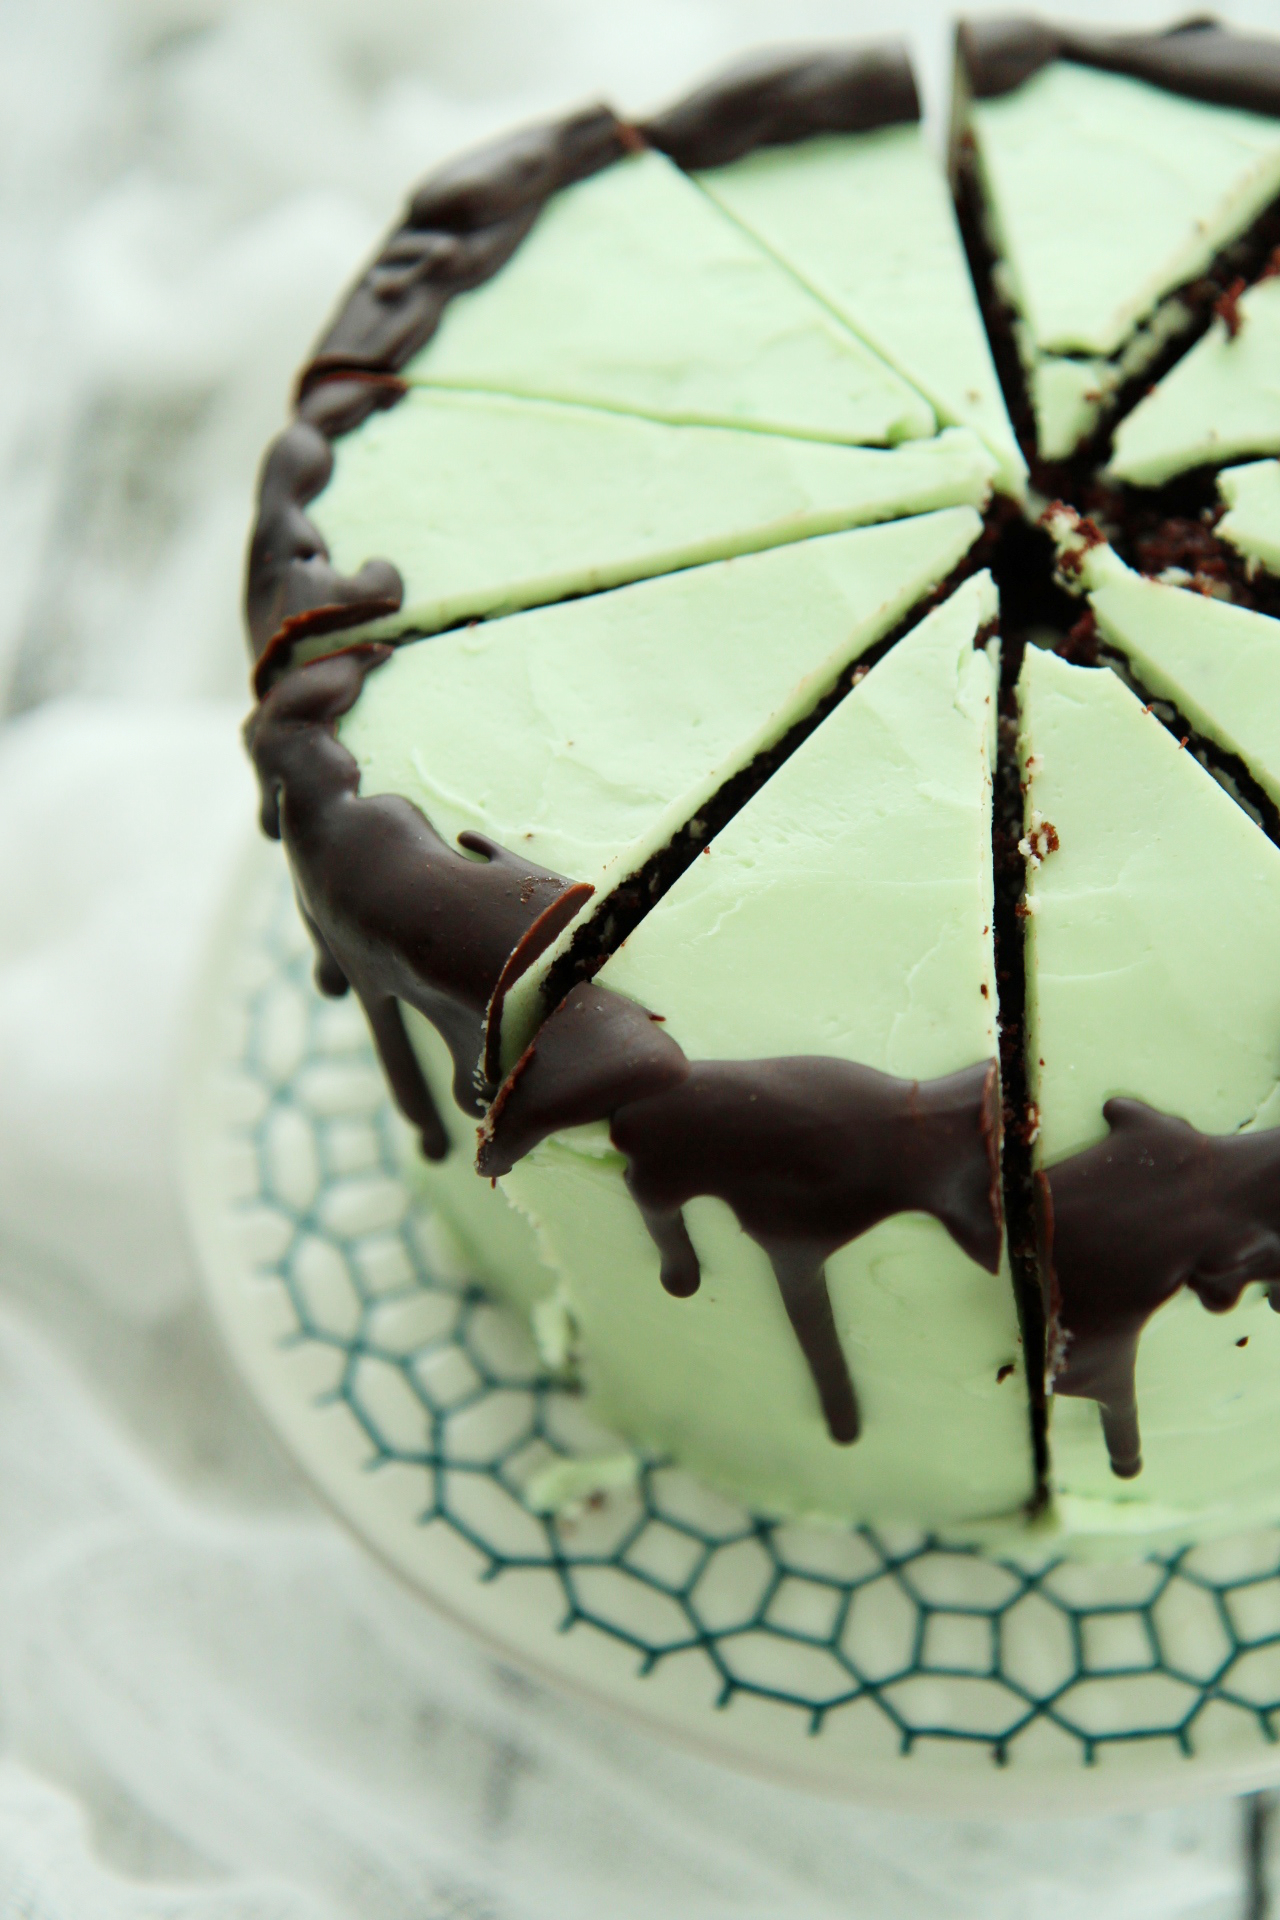
I really was displeased with the way this cake looked.  I originally topped it with those little green meringues, in the hopes that it would be springy and light and lovely, but it looked really fucking weird, guys.
The meringues did NOT mesh with the aesthetic of the cake, and the colors were all off.
They looked like white and green diseased dog shit on top of an unnaturally colored cake.
Sooooo ugly.  Tooooo ugly. I gave up photographing the cake and plucked all the meringues off to photograph.

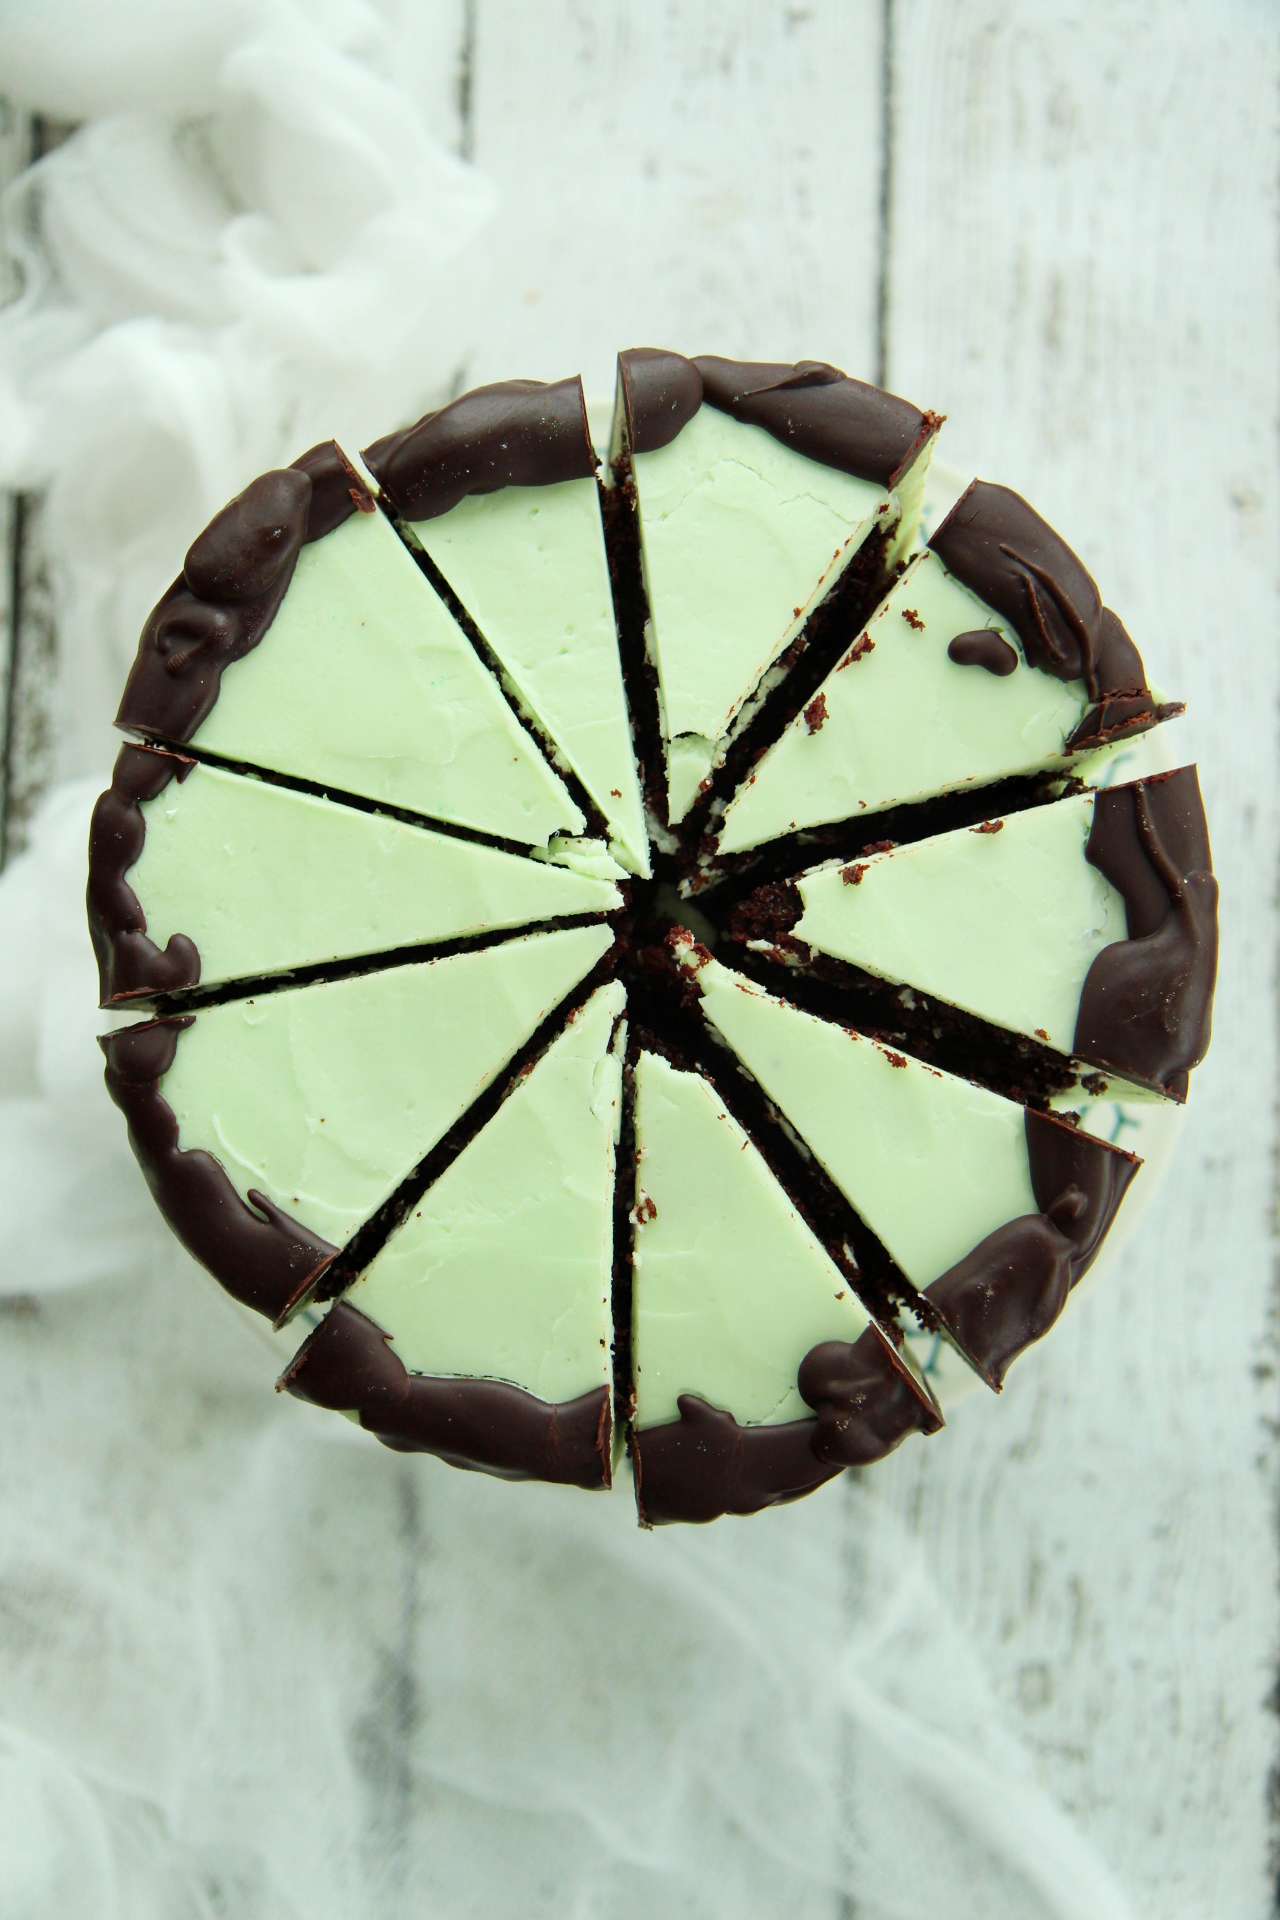
I was really frustrated; I had been very excited about this mint and chocolate cake and yet to me, the cake looked like the cartoon version of Frankenstein’s monster, green skin and black-brown hair with weird sideburns.
UGH.  (I am actually laughing out loud at how creepily similar this cake is to the monster.  Good god.)
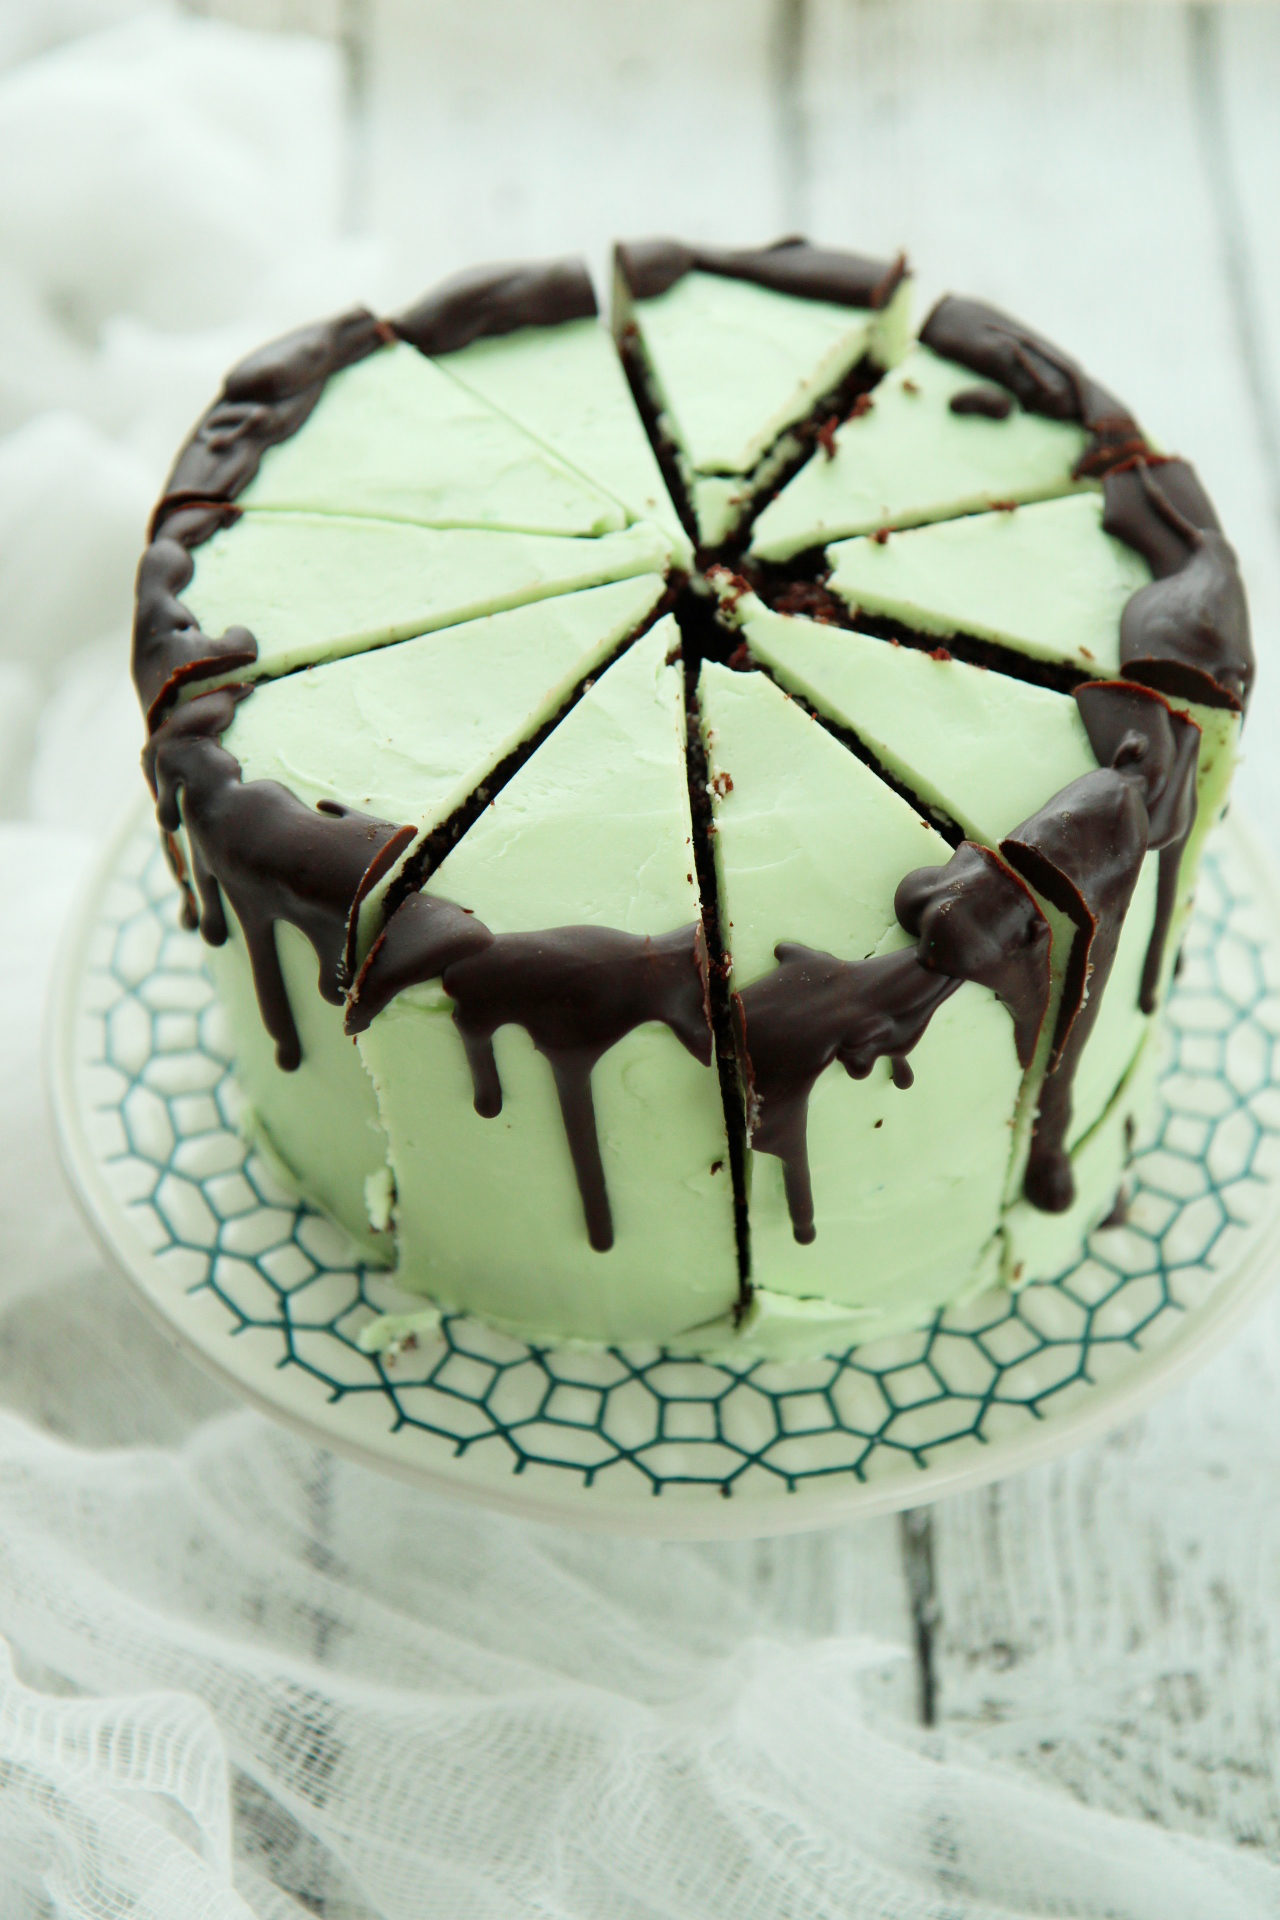
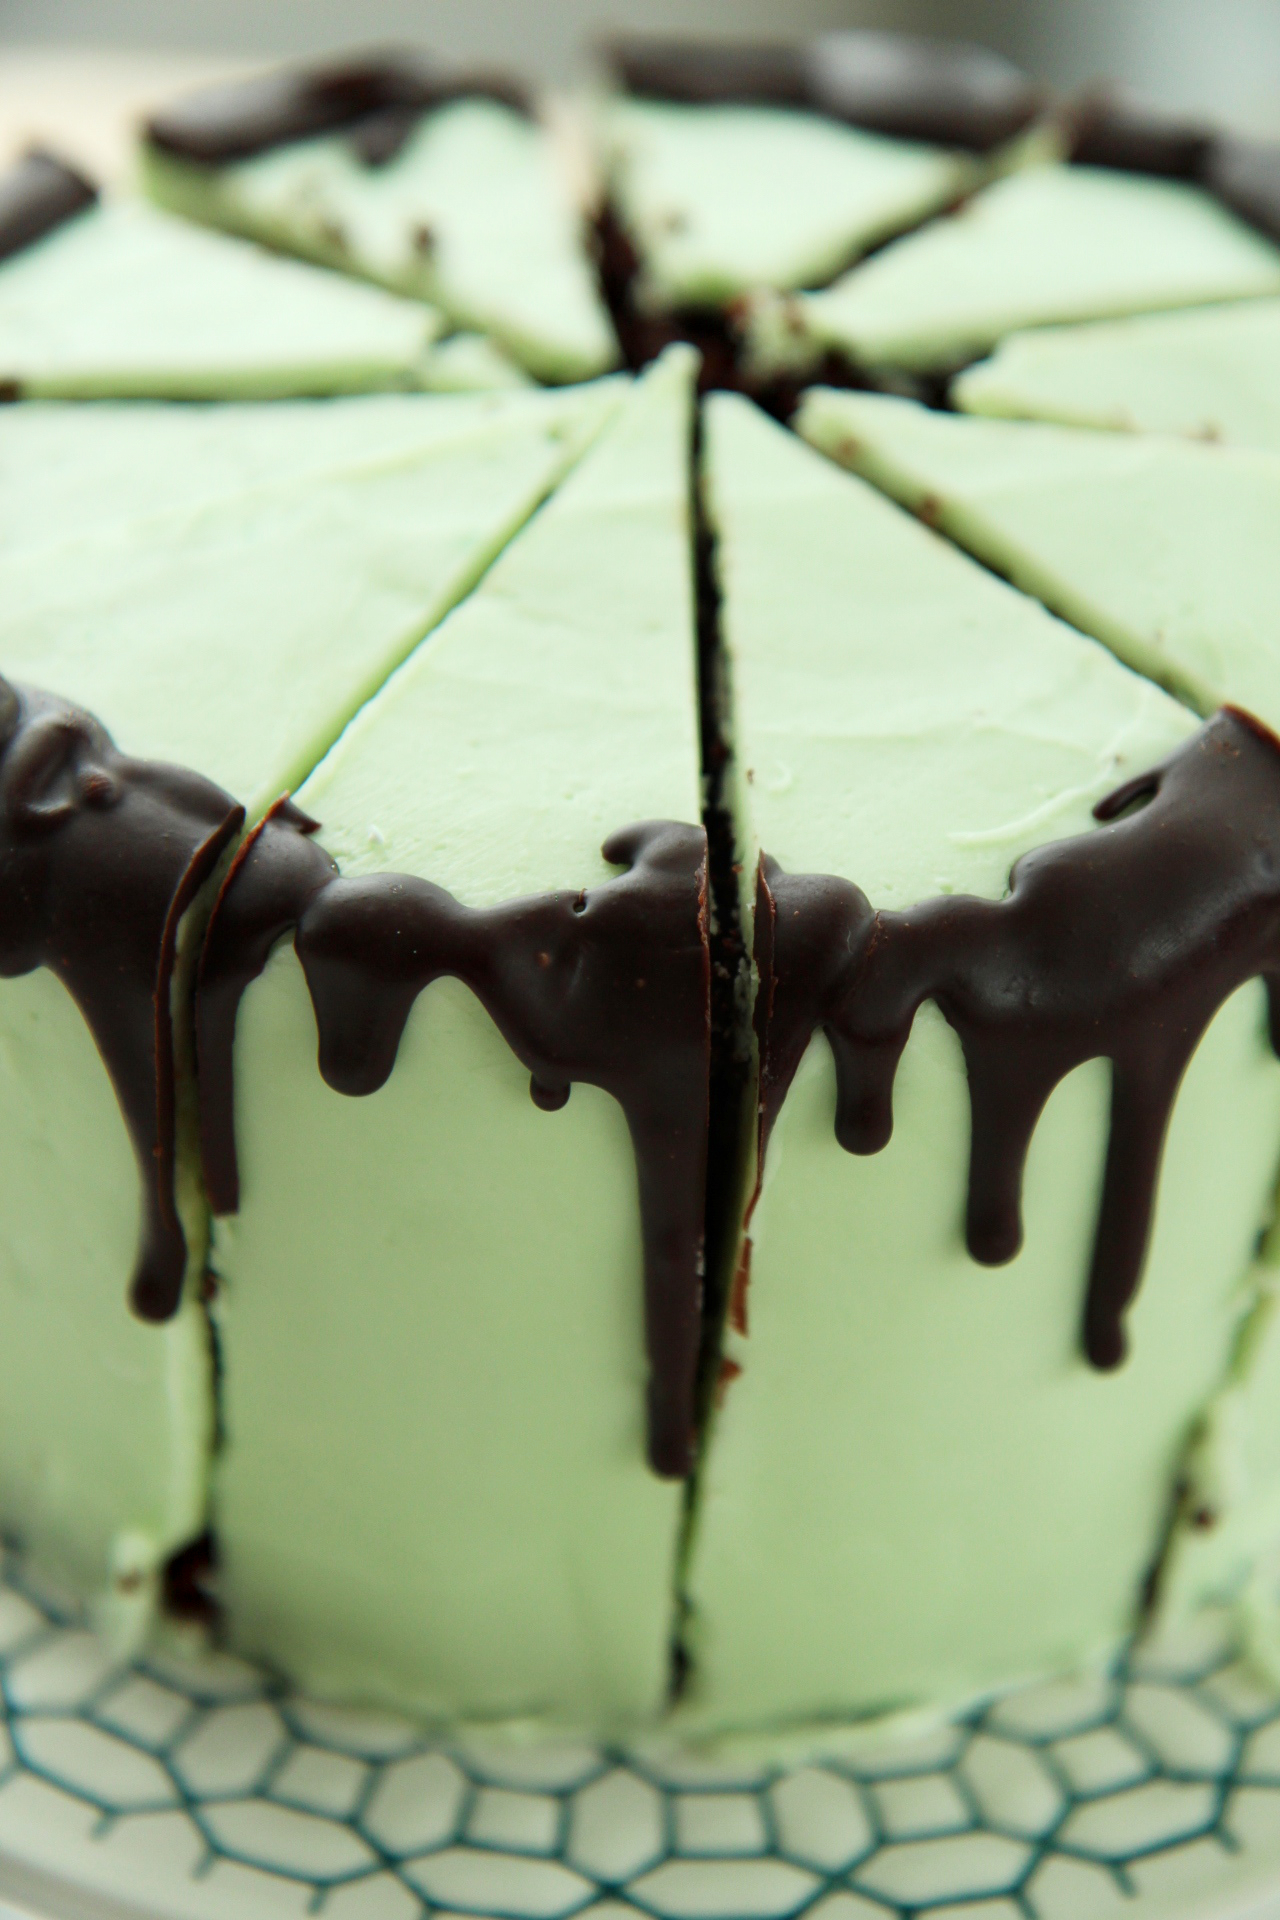
I chopped it up, ready to throw in the dish towel, but then I ended up half-liking how it looked all cut up into fat wedges, so I plonked it back on the table and took a few shots.

And that’s the riveting story of this monstrous cake.

IMG_8878_01

Here’s the story of the interior:
The fastest chocolate cake EVER (accidentally vegan!) provides a tender, moist base.
Sandwiched between the layers is whipped chocolate ganache, deep and dark and lovely.
The cake is frosted with the silkiest, lightest mint Italian meringue buttercream, refreshing and buttery and NOT toothpaste-y in the least (at least I’ve got that going for me).
Hot, melty ganache is dripped along the sides of the cake, for extra va va voom and shits and gigs.

Someone in my house triple texted me, begging for a slice after they caught a glimpse of it sitting in the kitchen.
By the time I got home, the thing had been decimated by a pack of hungry monsters college students.
I take that as a sure stamp of approval, ugly or not.

IMG_8881_01

Mint Chocolate Cake
ingredients:
for the chocolate cake:
2 1/4 cups flour
1 1/2 cups sugar
1/2 cup cocoa powder
1 1/2 teaspoons baking soda
1/2 teaspoon kosher salt
1/2 cup vegetable oil
1 1/4 cup hot water
1 tablespoon vanilla extract

for the mint Italian meringue buttercream:
3 egg whites
1/2 cup plus 1 tablespoon sugar
pinch salt
1 tablespoon water
2 sticks butter, cut into chunks, softened but cool
drop peppermint extract
drop green food coloring, if desired

for the ganache:
1 ounce unsweetened chocolate
4 1/2 ounces semisweet chocolate
2 tablespoons sugar
big pinch salt
1 ounce (heaping tablespoon) corn syrup
4 tablespoons butter

directions:
Make the cakes: preheat oven to 350 degrees F and grease and flour 3 6-inch pans.
Whisk flour, sugar, cocoa powder, salt, and baking soda together.
Add all the wet ingredients at once while whisking.
Pour batter (will be liquidy) into prepared pans and bake for 20-22 minutes, until springy to the touch and a tester comes out clean; allow to cool completely.
Meanwhile, make the buttercream: place egg whites in the bowl of a stand mixer fitted with the whisk attachment.
Place salt, water, and sugar in a small pot over medium heat; begin whipping the egg whites.
When the syrup reaches 240 degrees F, the egg whites should be at soft to stiff peaks.  Carefully pour the hot syrup over the whipping egg whites, avoiding the whisk so that there is no splattering.
Whip meringue until it has reached body temperature; whip in butter 2 tablespoons at a time.
Add in the peppermint extract and food coloring and beat until buttercream is shiny, fluffy, and smooth.
Set aside while you prepare the ganache: melt all ingredients together in a microwave or double boiler.
Place in a blender or blend with a stick attachment until smooth, shiny, and glossy, about 1 minute.
Remove 1/3 of the ganache and set aside.
Place the rest of the ganache in the fridge and allow to set softly, about 30 minutes.
Remove from fridge and whip until soft and fluffy, about 2 minutes.
To assemble the cake: spread first layer with 1/3 of the whipped chocolate ganache, then place the next layer on top and repeat.
Frost the exterior of the cake with a crumb coat of the buttercream, then refrigerate for at least 30 minutes to set.
Finish icing the exterior of the cake with the remaining buttercream, then place in the fridge for another 30 minutes.
If the reserved ganache has set, simply microwave it for 10 seconds until it is smooth and flowing once more; drip or pour the ganache over the edge of the cold cake; it will set as it drips down the side.
Allow the cake to come to room temperature, and serve!

For Sansa

IMG_8900_01

Valar morghulis.
Valar dohaeris.

IMG_8913_01

Finally, finally, finally.
After months of agonizing waiting, frenzied reading, and greedy marathon-watching, Season 4 of The Best Show Ever Made is here.
It premiers tonight.  HBO.  Don’t miss it. (Have you seen the new trailer?)

It’s April 6th.  Game of Thrones.  Season 4.  Premiers. Tonight. Be still, my beating heart.

IMG_8918_01

I recently finished A Dance with Dragons, the 5th book in the series.
George R.R. Martin takes no prisoners.
I am so transported by his writing, and the show even more so, I dare say.
I’m really glad that I watched part of the show before reading the books, which is a first, because the sets that they dream up are truly magical and fantastic, arguably better than what my imagination would have filled in.
This way, when I read the books, I can visualize the characters and their homes and country very clearly.
Normally, I’m an advocate for experiencing a series the opposite way, books first, then movie/T.V. show, but Game of Thrones is special.
It’s a cinematic masterpiece.

I’ve rewatched season 3 for the 90th time, and I have this on repeat while I study daydream all day and snack on these cakes.
I am so ready, y’all.  I can’t even express it.

IMG_8909_01

Sansa: “Lemon cakes are my favourite!”
Lady Olenna: “So we’ve heard.”

(Our first introduction to Lady Olenna, that marvelously dry and brutal little bird.)

Poor, miserable Sansa.
We can only wait for her luck to turn around and her life to stop constantly falling to pieces (or die, knowing G.R.R.M).
She really does love lemon cakes, as is made abundantly clear by all the mentions of these little treats.

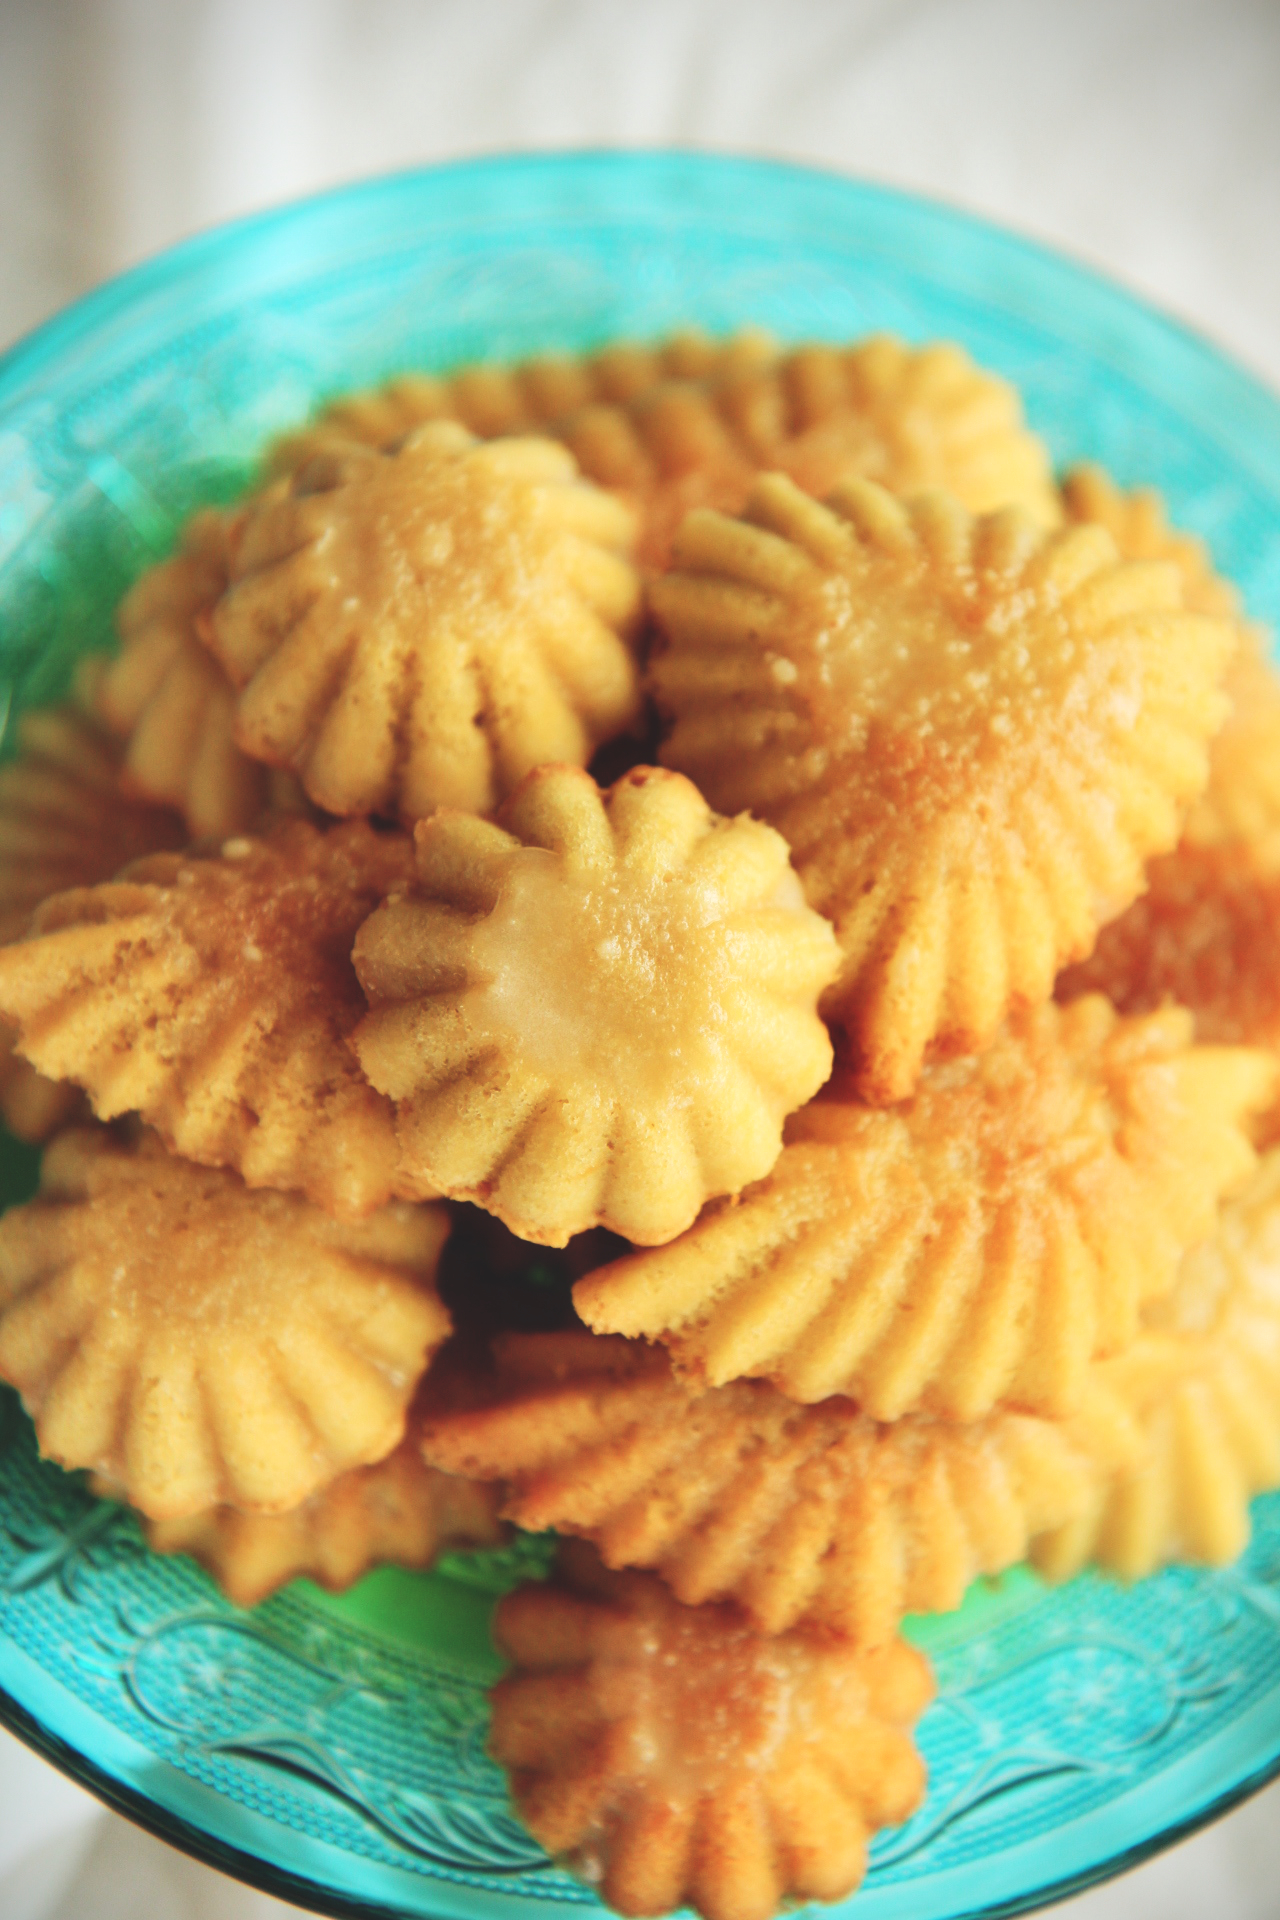
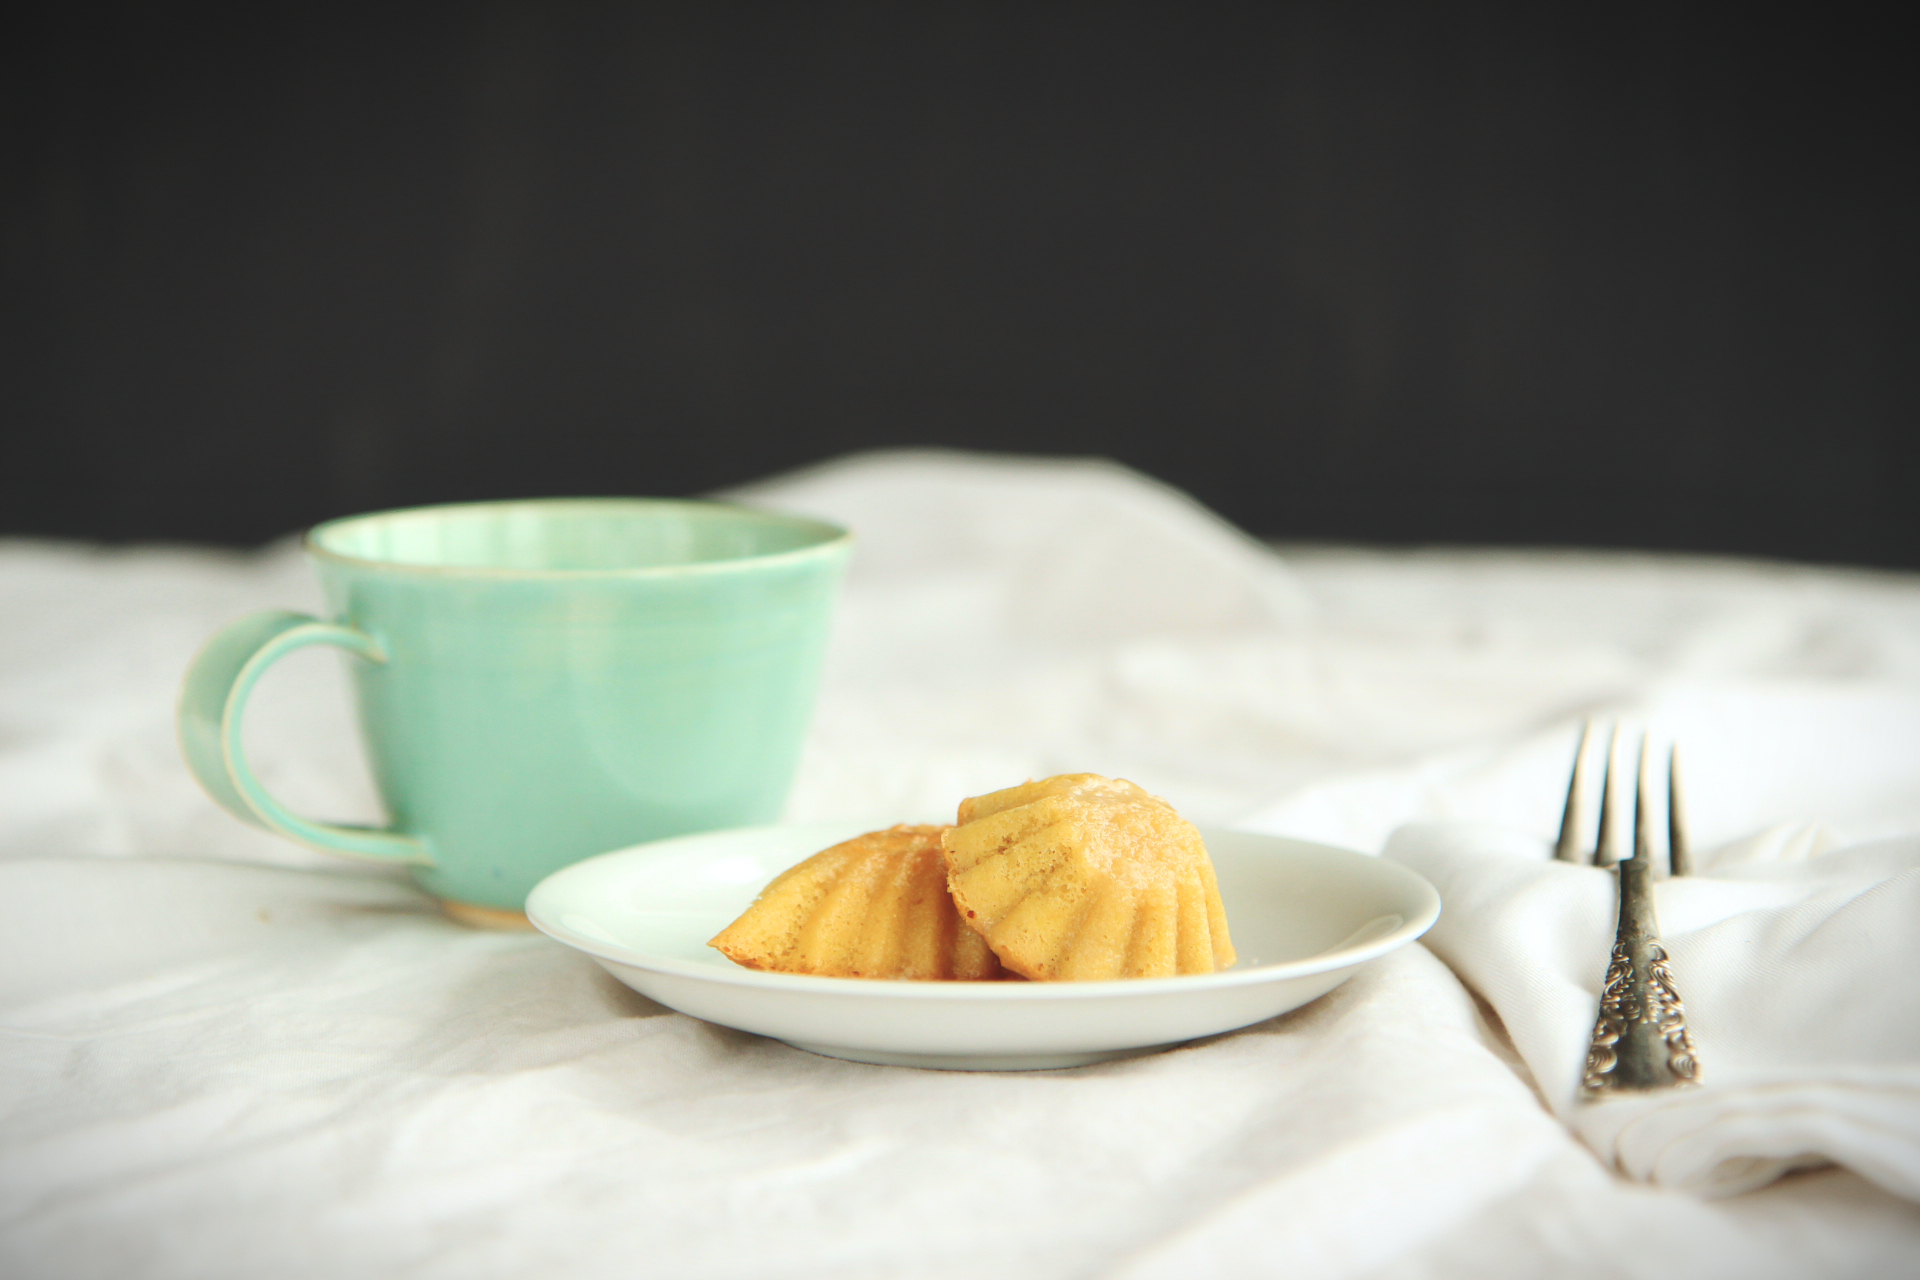
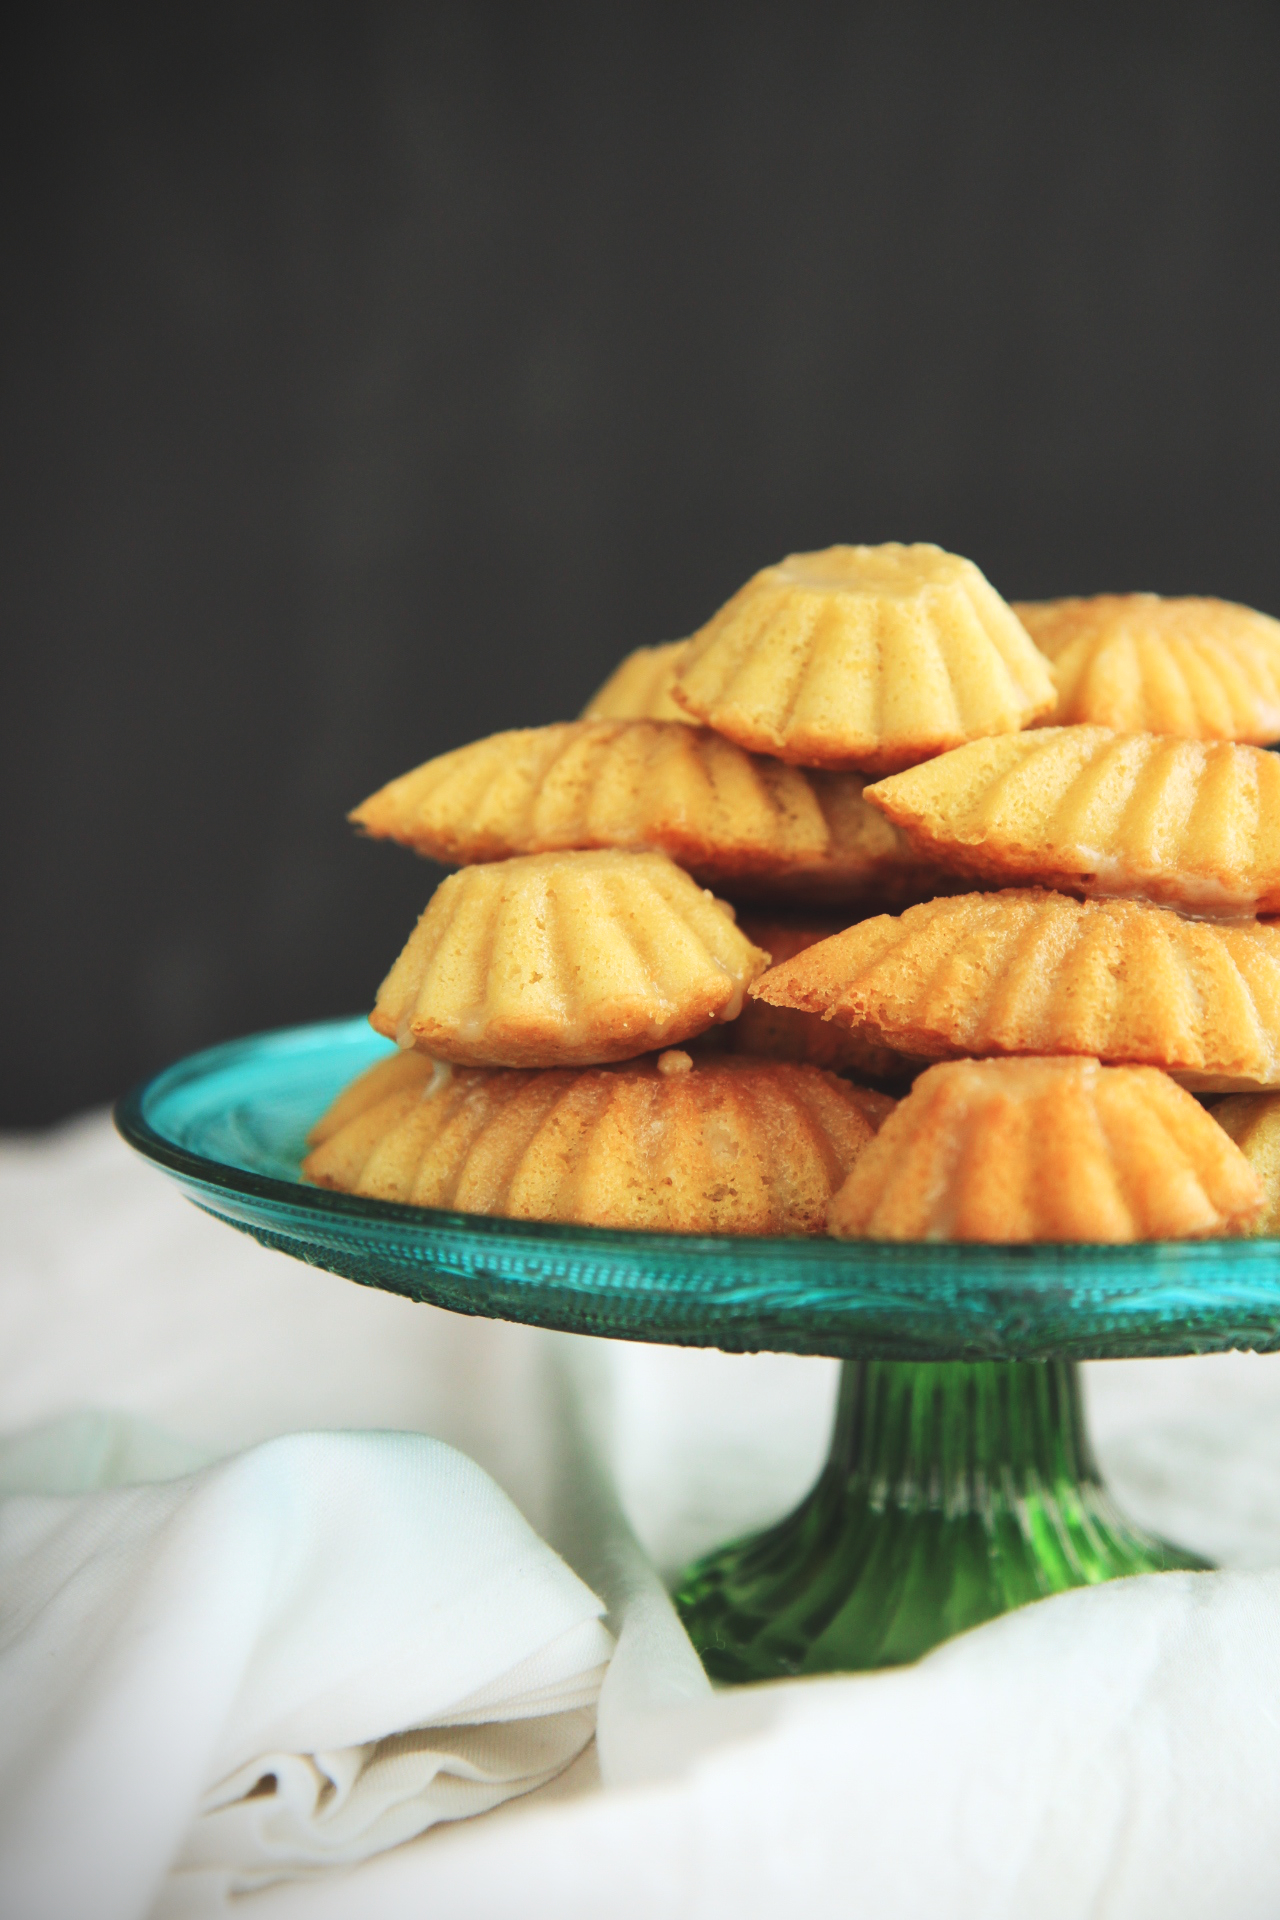
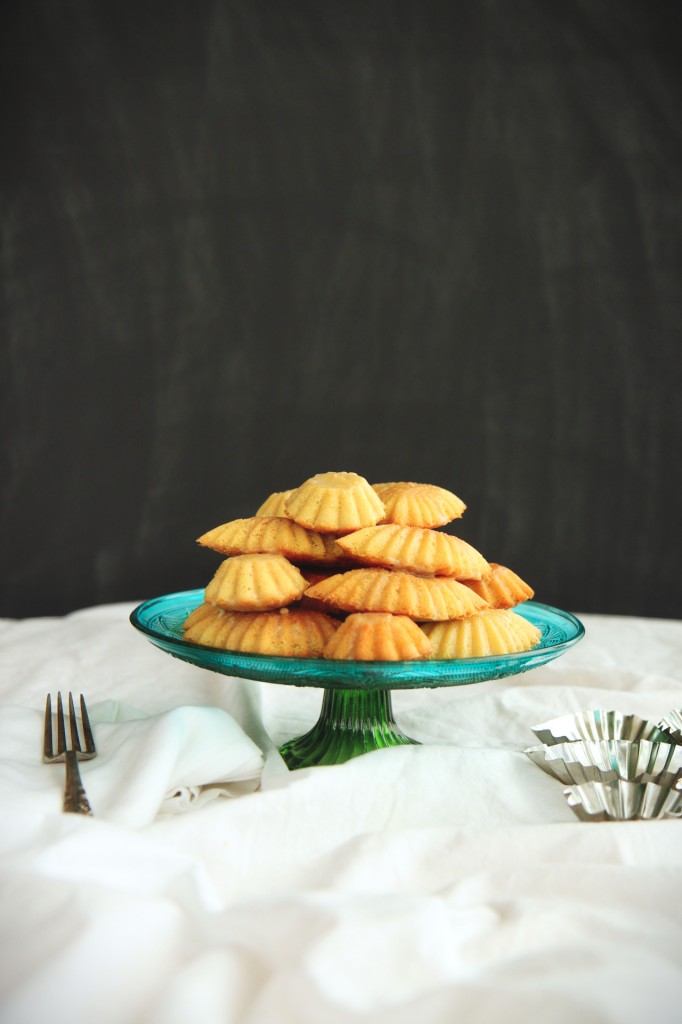
In honor of her, I made dainty lemon cakes to share today.
These are incredibly quick to make, about 40 minutes from start to stuffing them in your face.
These have only seven ingredients, and no chemical leavening!  If we are really trying to be accurate, these cakes come incredibly close to ingredients available in Westeros.

IMG_8905_01

The cakes are light and delicate, crumbly and ever so slightly sweet, buttery and full of lemon, the glaze sticky and luxuriously tangy.

Where the glaze sinks into the warm cake, pockets of puckery sweetness form, prompting a finger licking so as not to lose any of the precious, sticky icing.
The cakes themselves are redolent with butter, vanilla, and lemon, with a fine textured crumb and crisp edges.
I think they’d go over quite well with Lady Sansa of House Stark, and they will fit right in as a snack during the premiere tonight.

These are best served with a piping hot cup of milky black tea and the heads of your enemies.

IMG_8921_01

Sansa’s Lemon Cakes
makes 15-18 small cakes

ingredients:
for the cakes:
6 ounces (1 1/2 sticks) butter, plus extra for greasing the pans
4 eggs
2/3 cup sugar
pinch sea salt
zest of two lemons
1 teaspoon vanilla extract
3/4 cup flour

for the glaze:
1/4 cup plus 2 tablespoons granulated sugar
5 tablespoons fresh squeezed lemon juice
1 tablespoon water
2 tablespoons dried milk powder
1 tablespoon butter

directions:
Make the cakes: first, brown the butter until very dark, almost burnt, then strain out the solids by pouring the butter over a mesh sieve lined with 2 paper towels.
Allow to cool, then squeeze out the extra butter in the paper towels and set aside to cool to room temperature.
Preheat oven to 350 degrees and butter your mini muffin tins or mini tart shells very well with melted butter– be sure to get in all the grooves.
Place eggs in the bowl of a stand mixer fitted with the whisk attachment with a pinch of sea salt and begin to beat on high.
Meanwhile, zest 2 lemons into a bowl with the sugar and rub very well with your fingertips to release the essential oils.
When eggs are beginning to become light colored and fluffy, start to slowly stream in the lemon sugar.
Whip for about 6 minutes, until quadrupled in size and very light colored.
Pour in the vanilla and beat until combined, 10 seconds.
Sprinkle the flour on top of the eggs, then pour the cooled butter over the flour.
Gently fold batter to combine, being sure to incorporate any pockets of flour.
Batter will deflate slightly, but still be very light when you are done folding.
Scoop rounded tablespoons into your pans, filling them 2/3 of the way full.
Bake for 15 minutes, until deeply golden and springy to the touch.
Immediately turn the cakes out of their molds, and set aside while you make the glaze.

Make the glaze: place sugar, lemon juice, and water in a small pot.
Heat until boiling and bubbling, cook for 1 minute, then whisk in the milk powder and butter.
Whisk very well; glaze should be sticky but homogeneous and still pourable when hot.
Pour a teaspoon or so of glaze over each warm cake, then set aside to cool and set.

Enjoy with tea!

All Hail

IMG_8704_02

My good lords and ladies, would you care for a bloody poofy woolly biscuit?

IMG_8727_02

What, that doesn’t sound appealing to you?!
Allegedly, that’s what Lord Lamington, after whom these little confections may or may not be named, was fond of calling them, and not exactly lovingly.

The history of the lamington is a bit convoluted, with different stories attributing its origin to various sources.
They’re quite widely popular, so there must be something behind them.

Lamingtons are enjoyed from Queensland to Toowoomba to South Africa to… Cleveland.

(In other Australia-related news… more weird ass marsupials discovered on the only freaky continent to boast marsupials!)

IMG_8722_02

When I found some desiccated coconut in the famed and fabled land of Hyde Park Produce, I knew instantly I had to make lamingtons. (After, of course, I stirred heaps of it into this cake and this cake, too.)

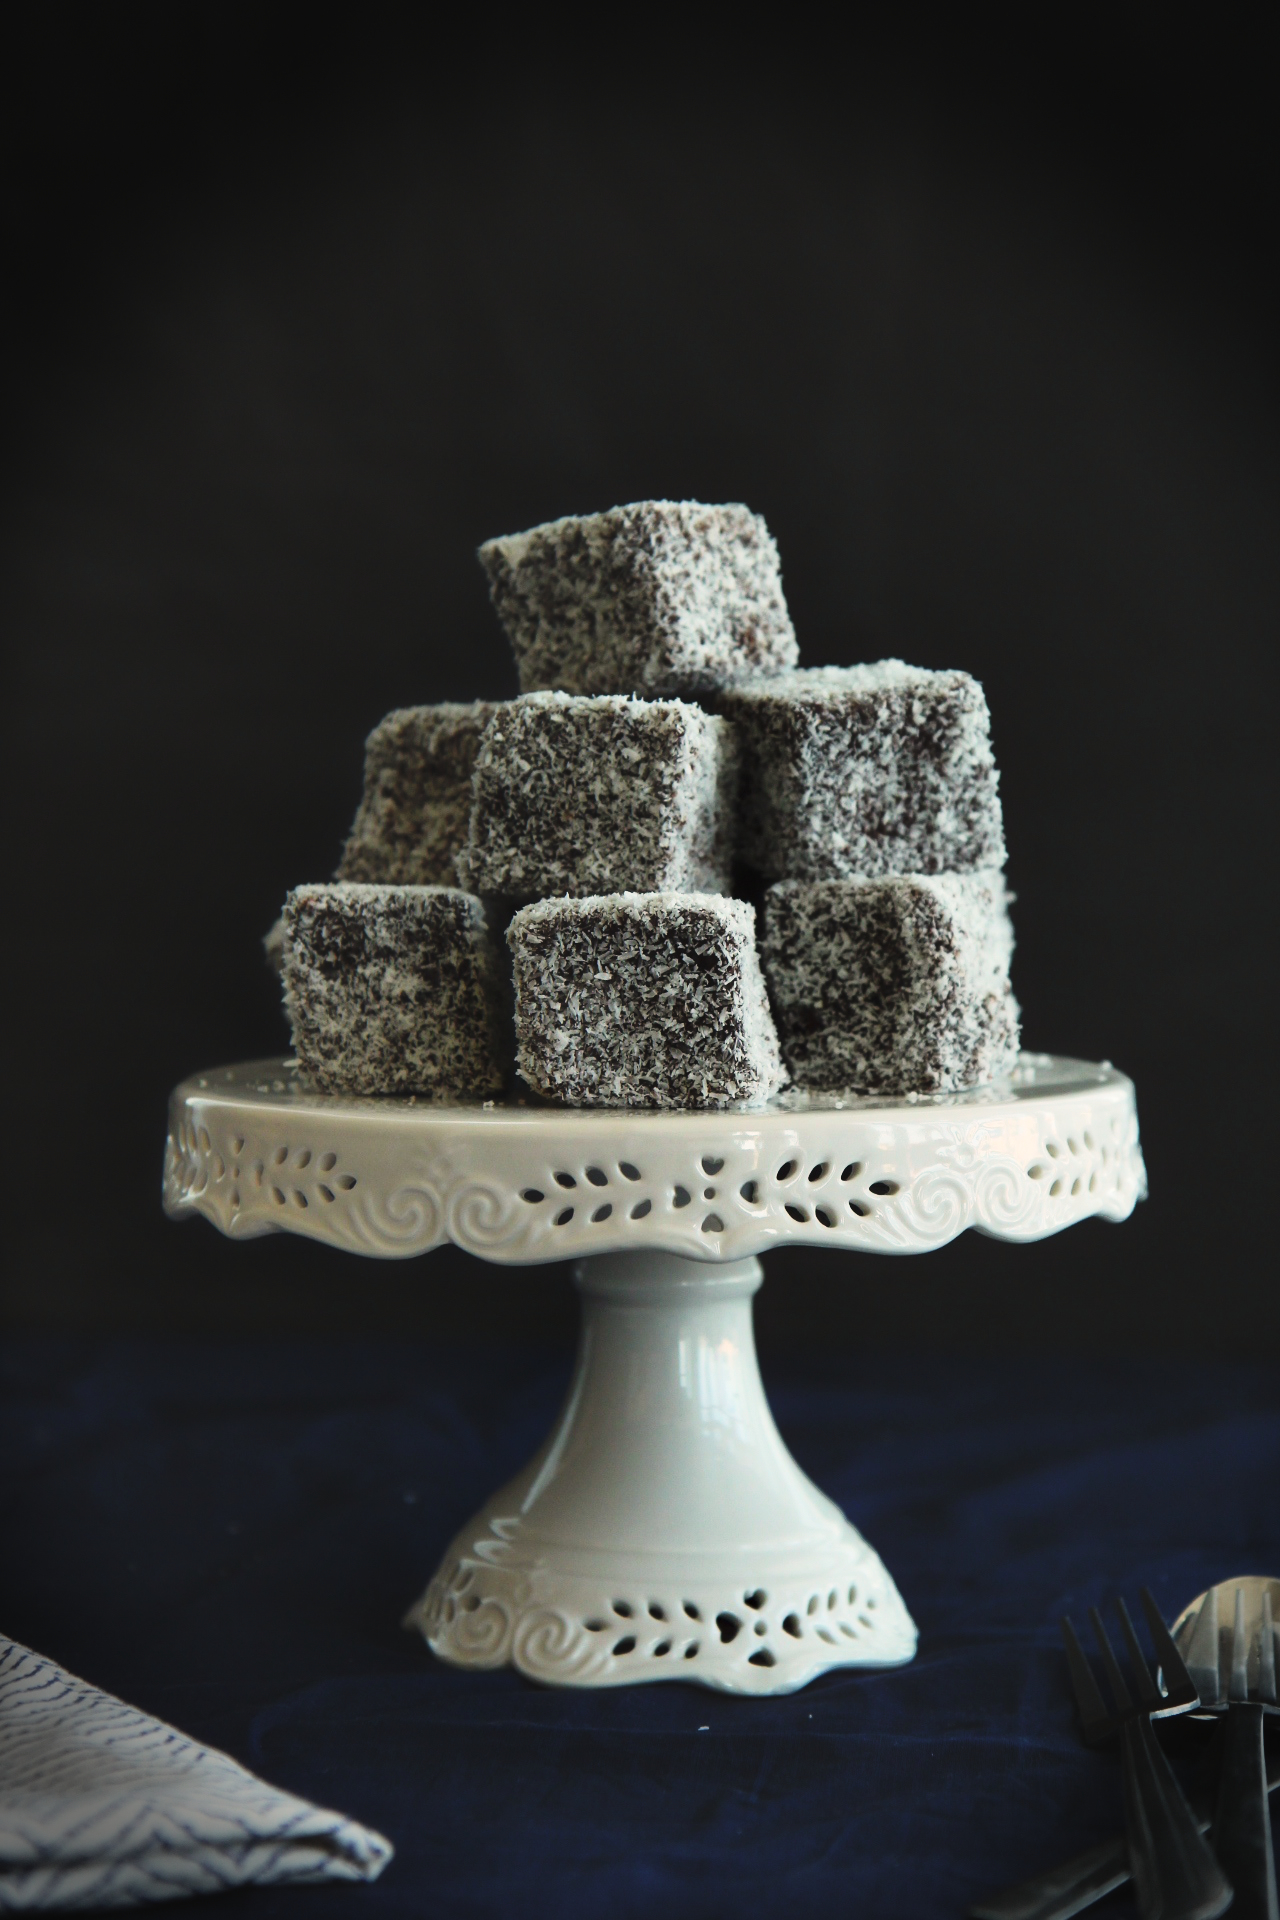
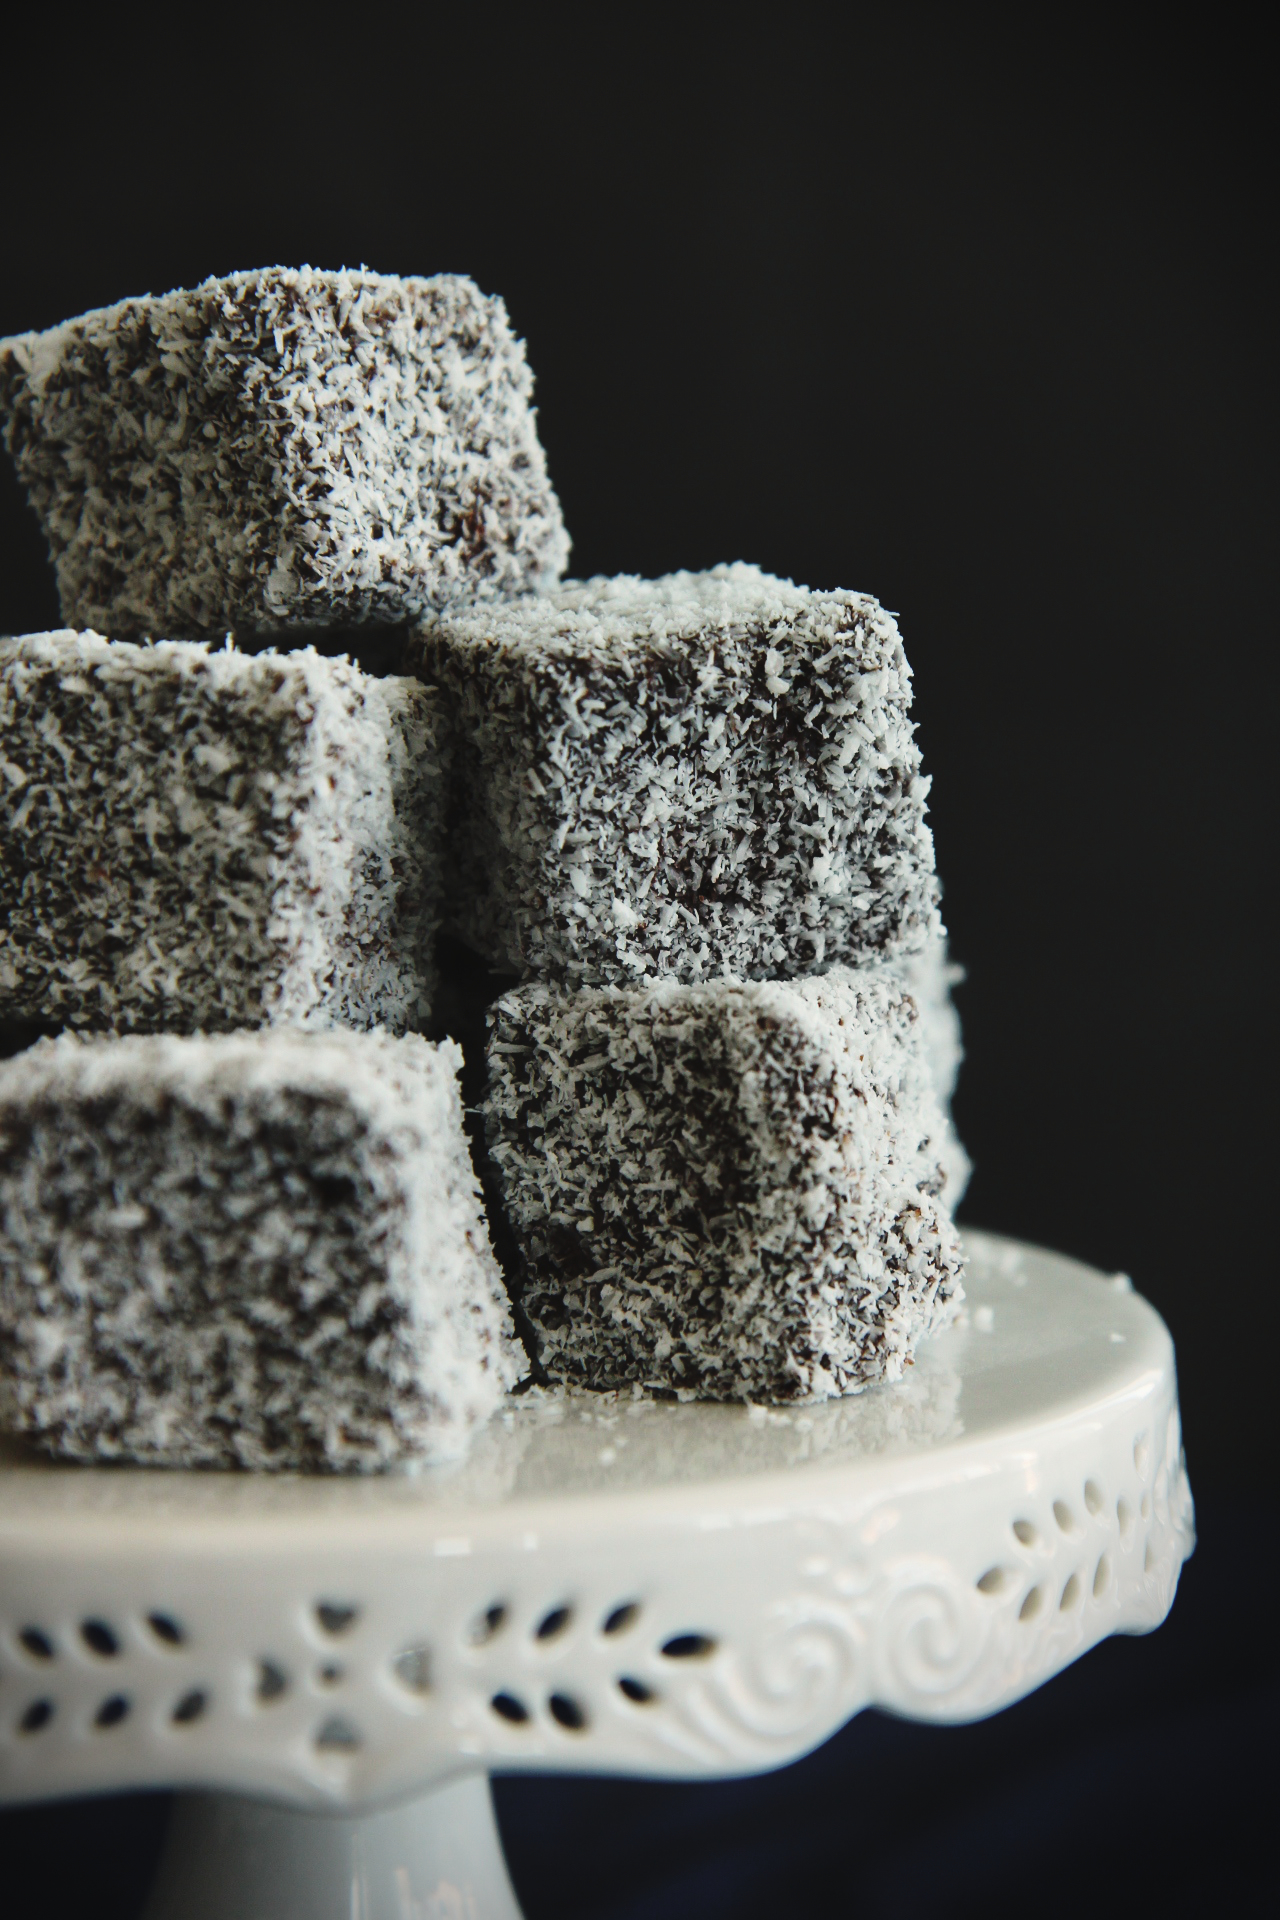
The traditional form is a cube of vanilla sponge cake, sometimes split in two and filled with jam, dipped in chocolate glaze and covered with coconut.
I didn’t deviate too much, because I’ve never tried a real lamington!

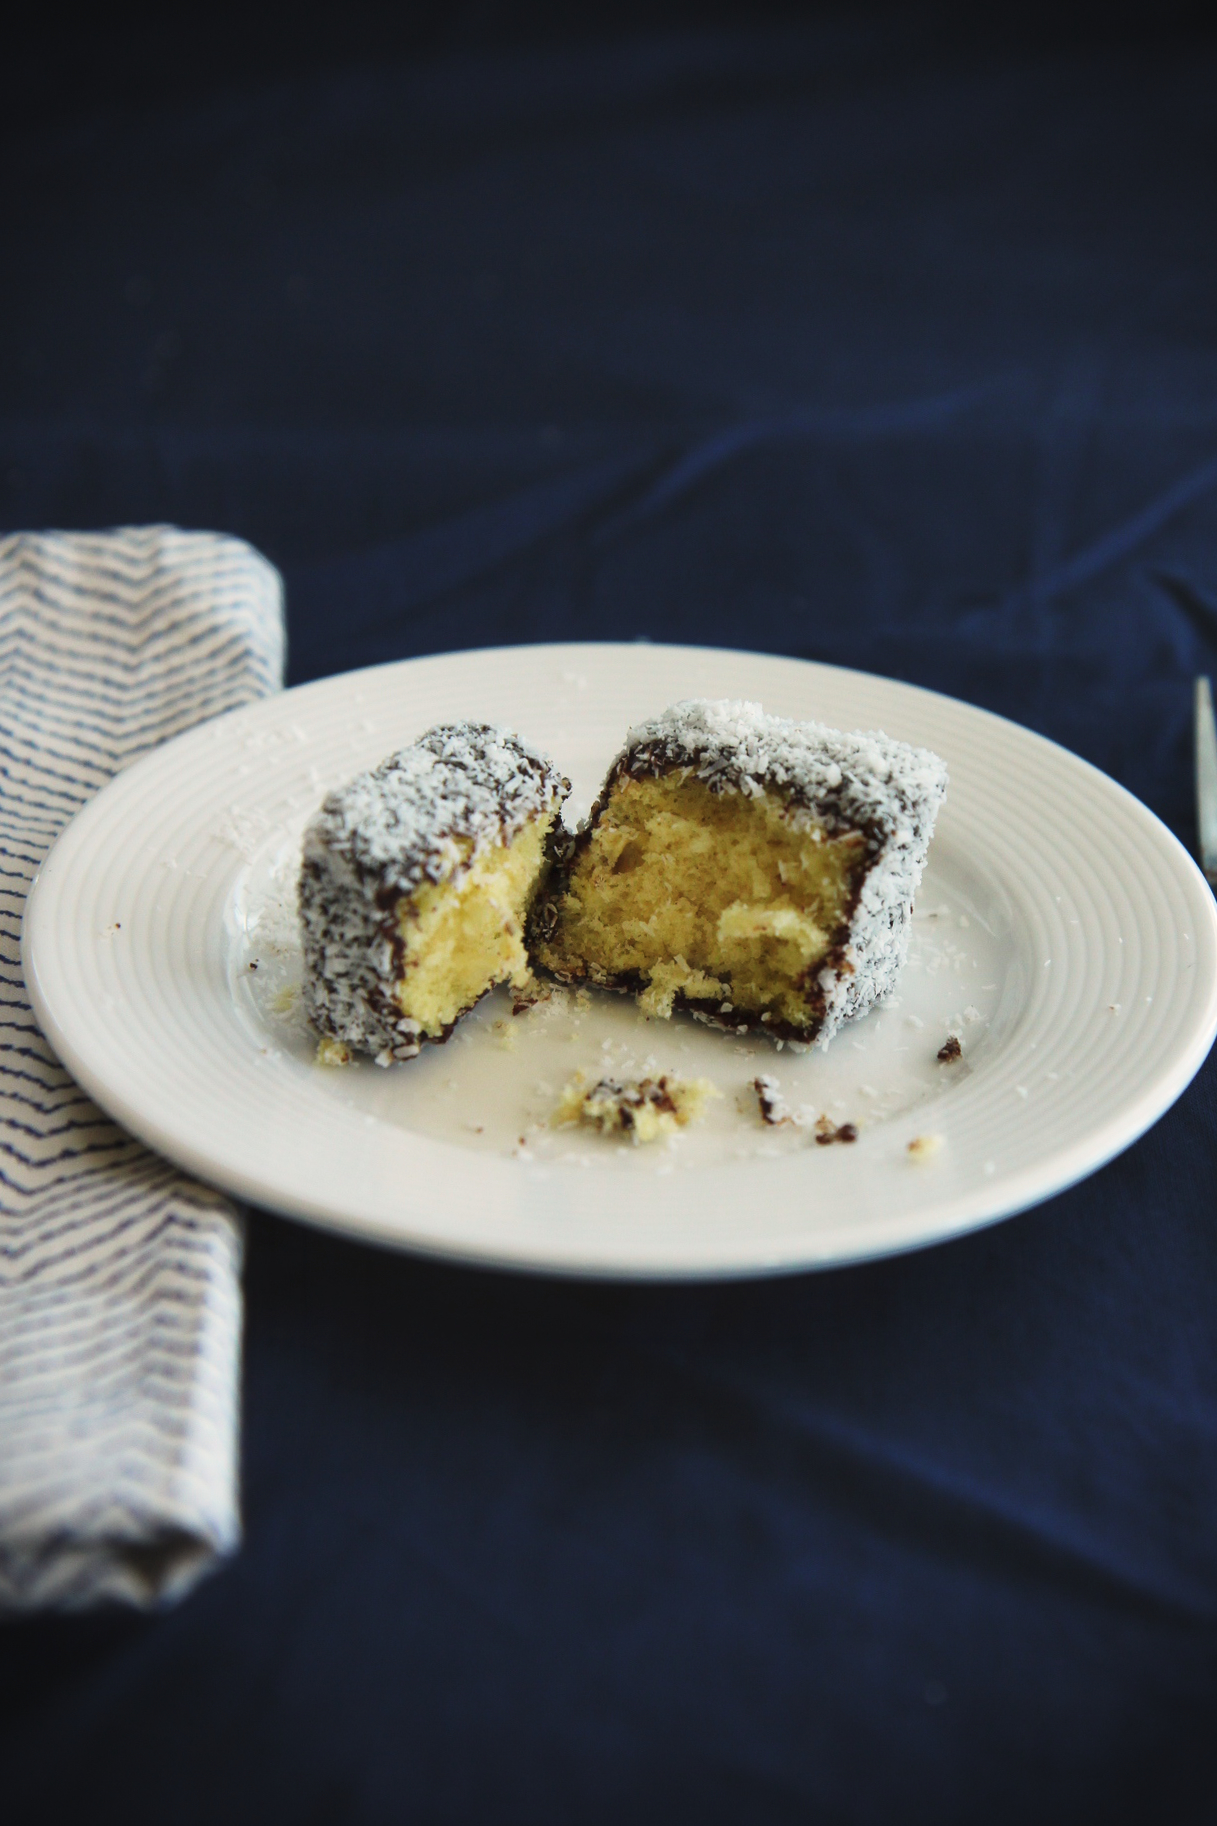
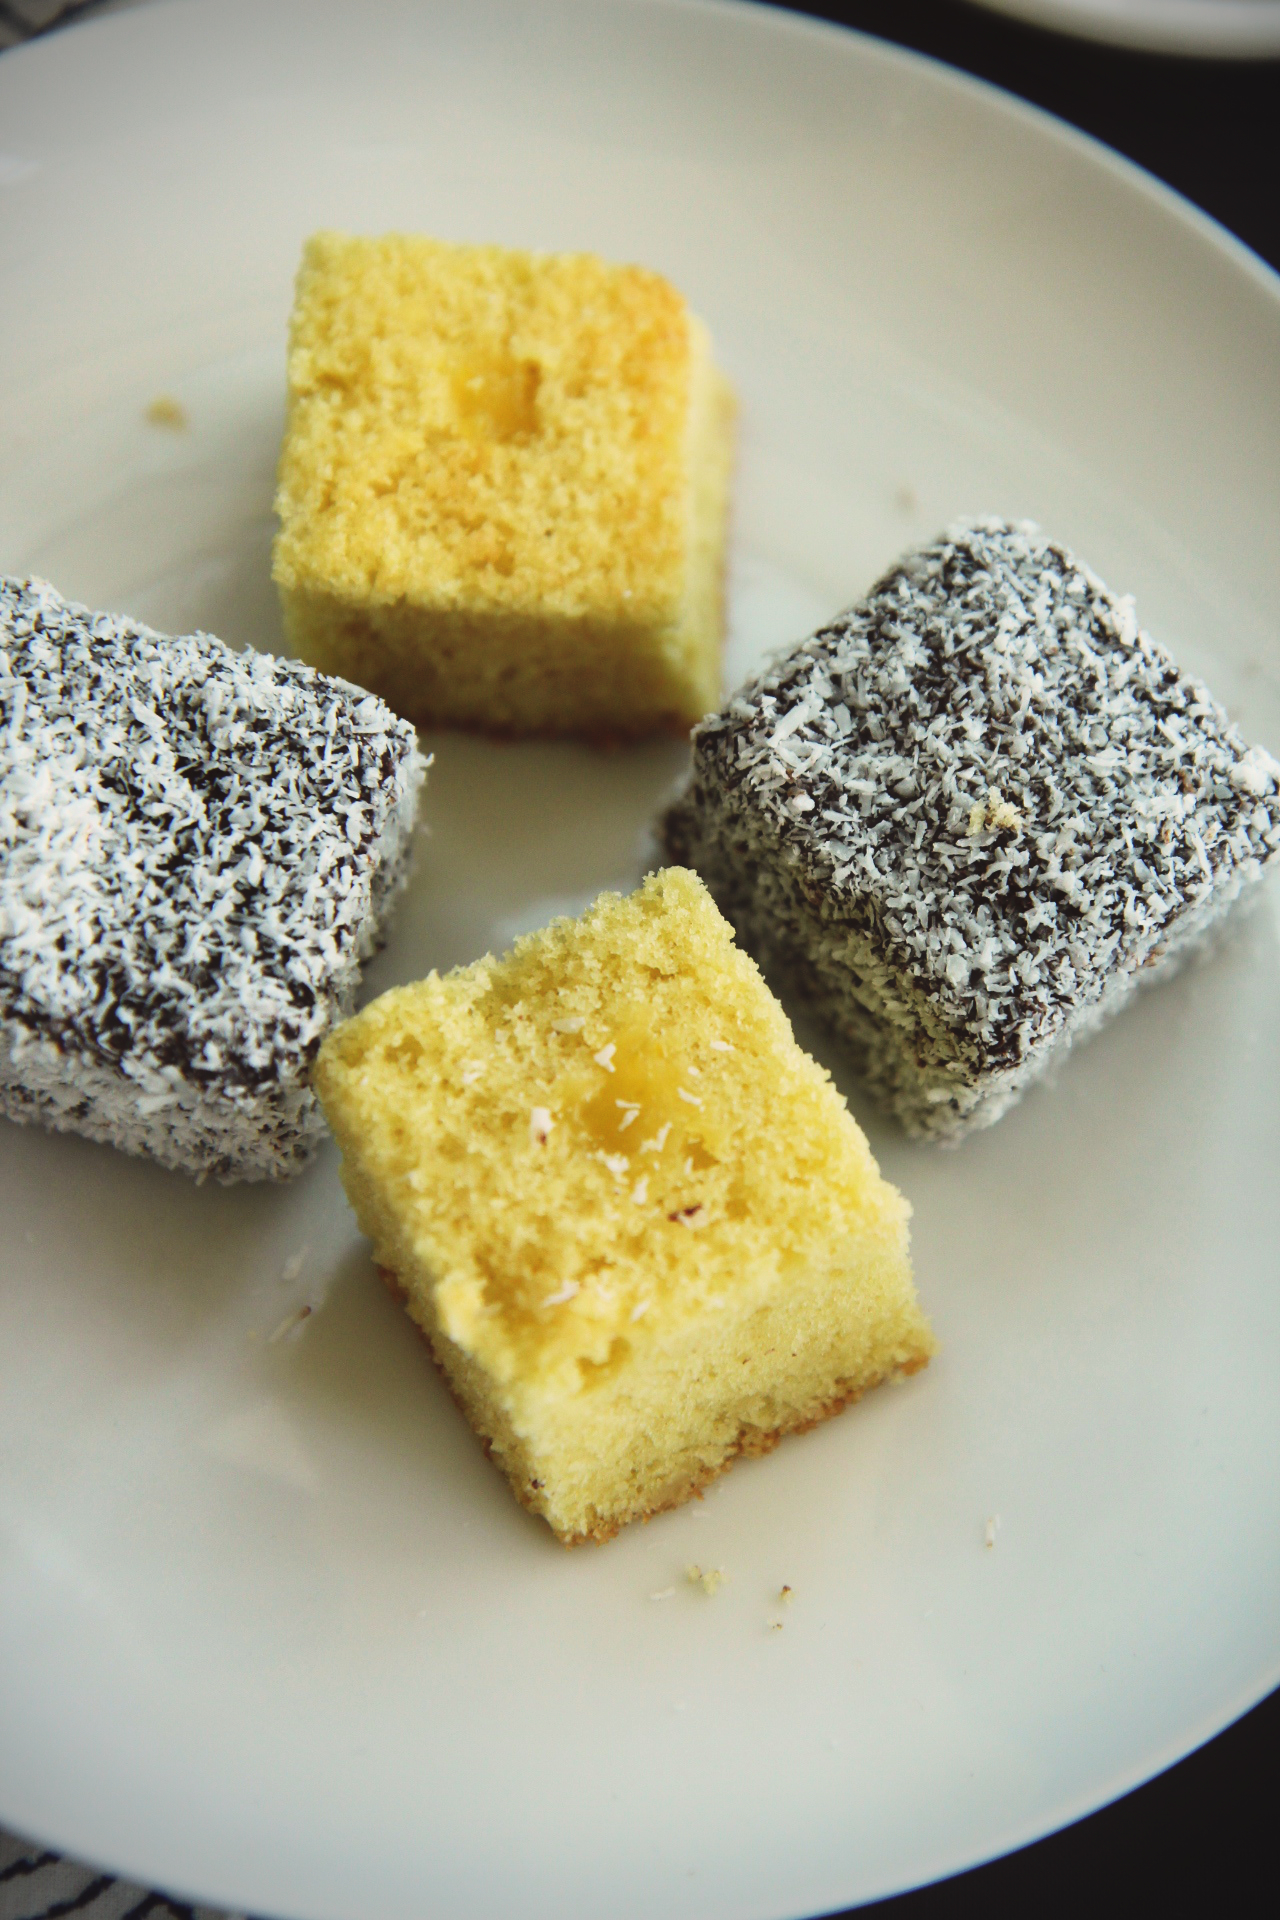
Here, a moist, light vanilla sponge cake is filled with rich, thick coconut pastry cream, coated in a dark bittersweet chocolate glaze and dusted with plenty of chewy, nutty desiccated coconut.

Lord Lamington must have been crazy, because these treats are fabulous.
They’re really not sweet, with a myriad of textures: the sponge cake is fluffy, the coconut cream buttery, the glaze melty and the coconut shreds are chewy.
The flavors meld beautifully, with the coconut pastry cream giving an aroma of coconut to the interior as well as the exterior, the thin shell of chocolate not overpowering the delicate vanilla or coconut.

These were snapped up from my house table ridiculously quickly; people remarked how pretty and how delicious they were.
(Nary a “bloody poofy wolly biscuit” to be heard!)

IMG_8753_02

A few notes about making these poofy little delights:

Trim the edges off your sponge cake! This keeps it moist and allows you to level any imperfections off.
Don’t worry too much if your cubes are kind of wonky, mine were like that too.  They taste just as good.

If your pastry cream is a bit thick, just stir it around vigorously, or fold in stiffly whipped cream.
The pastry cream recipe unavoidably makes more than you’ll need, but you can use it to sandwich more cakes, or thin it with a bit of milk or cream for coconut pudding!
To pipe it into the cake, don’t be shy.  Stick the tip of your pastry bag into the center of the cake and apply pressure.
As the crevices in the sponge cake fill up, the tip will be shoved out of the cake, and you’ll know that it’s full!

When covering the cakes with the glaze, less is more.  Scrape off as much as you can, leaving only a thin lacquer of chocolate.  Otherwise a lot of it will drip into your coconut, and the cakes won’t be as neat.

Desiccated coconut may be a little difficult for some to locate; look for it in ethnic sections or ethnic supermarkets (mine was an Arabic brand).
If you can’t find it, it seems that flaked or even shredded coconut does the job well enough.
Don’t let the coconut hold you back from trying lamingtons!

As always, serve with a good strong cup of milky English tea.
(Yes, Australians have teatime too, thank you O Great British Empire.)

P.S. I’m back in the States.  Woohoo. So glad…  I can feel my tan fading already.  Great.

IMG_8760_02

Coconut Cream Lamingtons
makes 16
cake portion adapted from Saveur
pastry cream adapted from the Kitchn

ingredients:
for the sponge cake:
3 eggs
1/2 cup sugar
1/2 teaspoon kosher salt
1 teaspoon vanilla
8 tablespoons butter, melted
1 cup flour
1 teaspoon baking powder

for the pastry cream:
3/4 cup full fat coconut milk, well stirred
1/4 cup sugar
2 tablespoons flour
big pinch kosher salt
2 egg yolks

for the ganache:
6 ounces bittersweet chocolate, chopped (approximately 1 cup)
scant cup powdered sugar
1/4 cup cocoa powder
3 tablespoons milk (feel free to use coconut milk)
pinch salt
1 1/2 tablespoons butter

to assemble:
1- 2 cups desiccated coconut

directions:
Make the cake: grease and flour an 8×8 pan.
Preheat oven to 350 degrees F.
Place eggs in the bowl of a stand mixer fitted with the whip attachment.
Whip on high for 3 full minutes– set a timer.
With the mixer running, add the salt and slowly stream in the sugar.
Beat for another full 3 minutes– set a timer.
Whisk the vanilla extract into the melted butter, then pour it into the whipped eggs.
Dump the flour (gently) on top, then add the baking powder to the flour mound.
Gently, using folding motions, incorporate the butter and flour into the eggs.
The batter should be homogeneous– you will have to mix thoroughly yet gently– but not completely deflated.
Spread the batter into the pan.
Bake for 25-30 minutes, until a tester comes out clean and the cake is golden.
Allow to cool completely, then slice off the edges and top so that it’s all level.
Meanwhile, make the pastry cream: blend all ingredients except vanilla together, either with an immersion blender or in the canister of a regular blender.
Pour into a small saucepot and cook over medium heat, whisking constantly, until thickened to a pudding-like consistency.
Remove from heat, blend again if there are chunks, and allow to cool before filling lamingtons.
Make the ganache: melt the chocolate, gently, in a double boiler or in the microwave.
Add in the powdered sugar, cocoa powder, milk, salt, and butter, and blend with an immersion blender (or, again, in a regular blender or food processor) until shiny and smooth.
Ganache should be thin enough that it will not pull many crumbs off the cake, so add another tablespoon or two of milk if need be.
To assemble lamingtons, slice cake into 16 cubes.
Fill a pastry bag fitted with a plain tip with the coconut pastry cream; stick the tip into the center of a cube of cake and fill until the pressure forces the tip out of the cake.
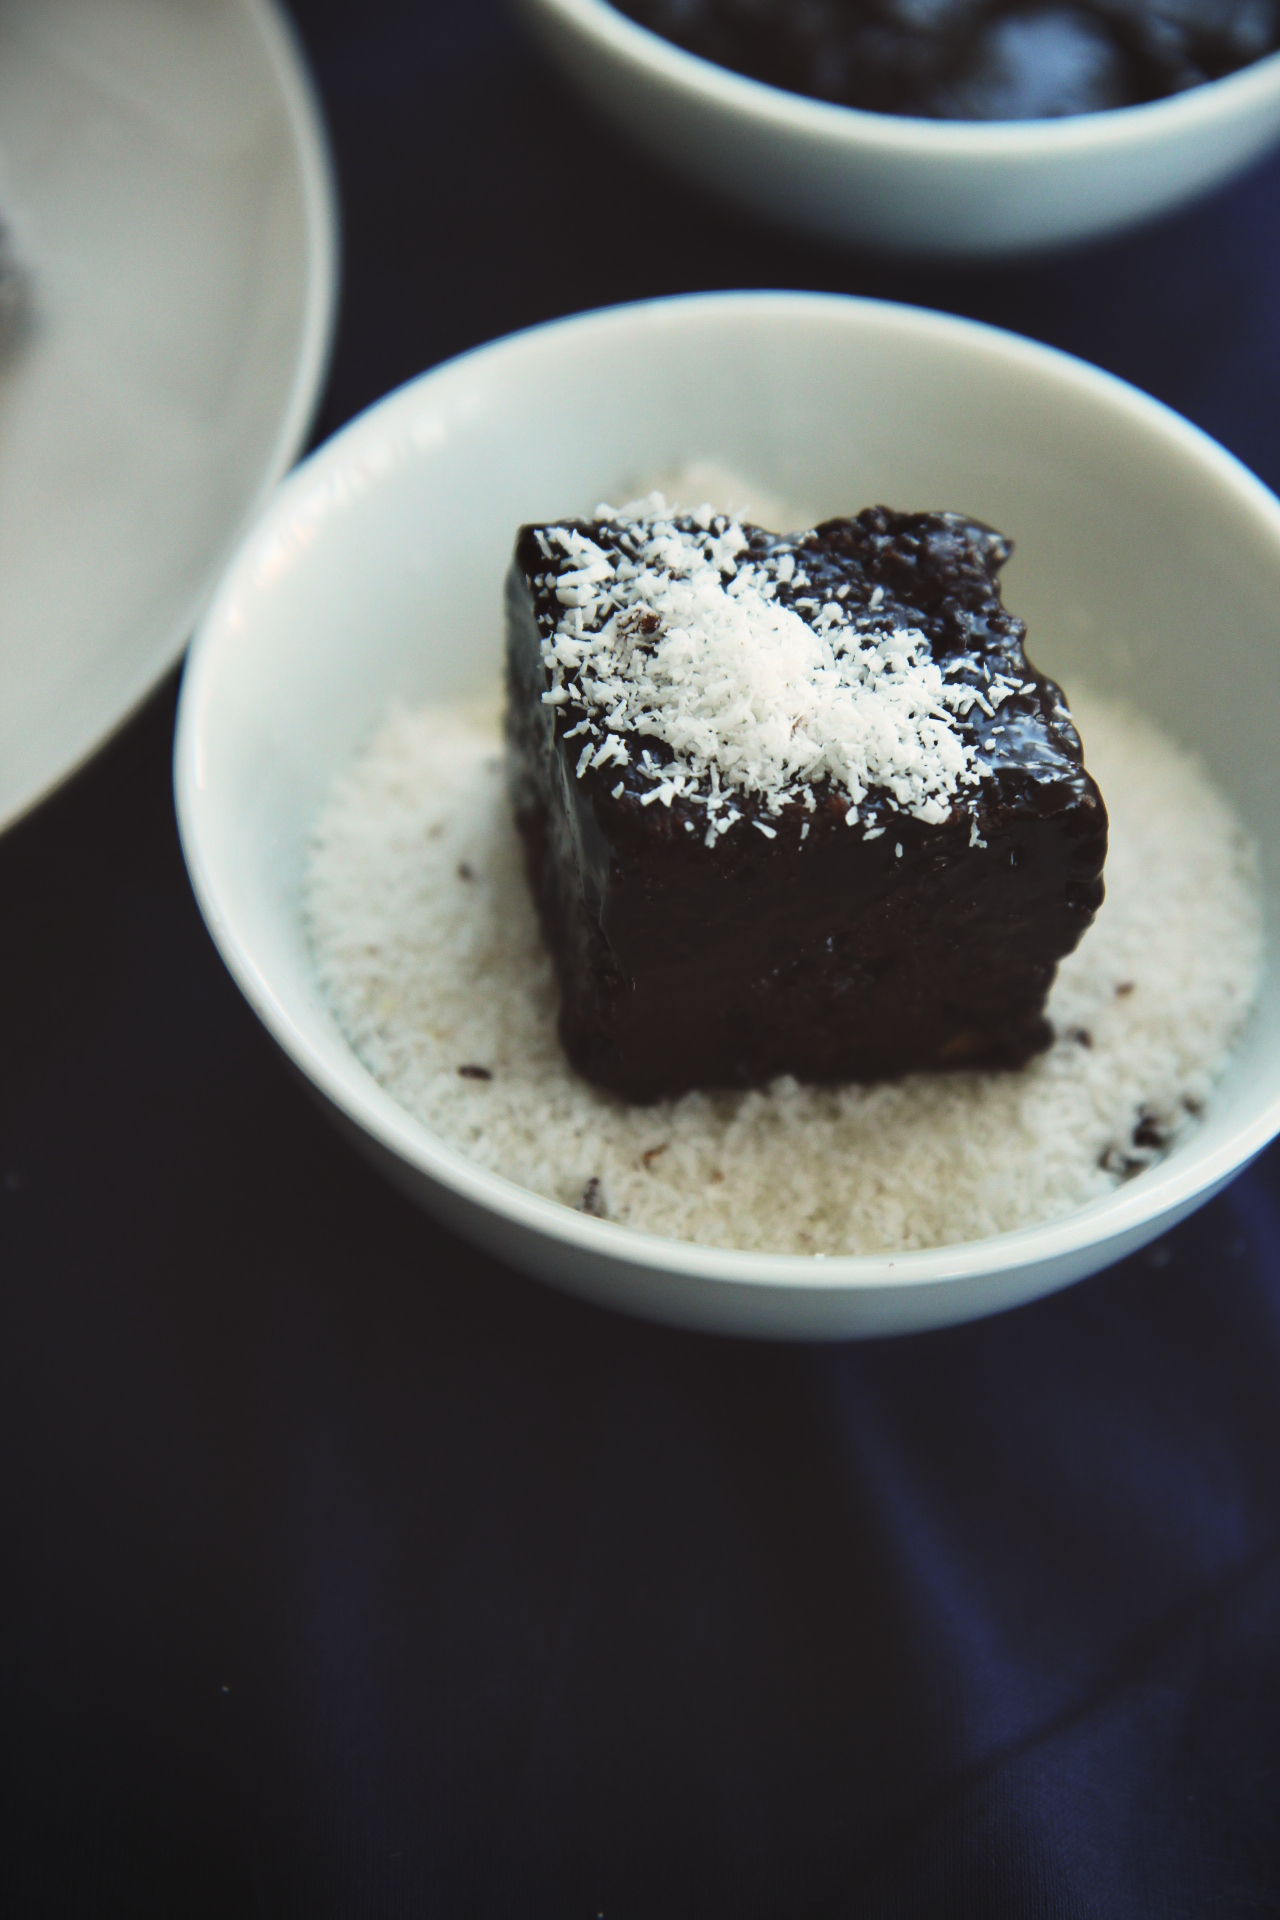
Dip the cakes into the ganache, being sure that the chocolate coat is very thin, not thick and heavy.
Brush any excess ganache off, then roll the wet cube in coconut.
Set on a parchment-lined baking sheet to set for at least 2 hours.

Ironic

IMG_8626_01

It’s Spring!  That’s spring with a capital S, because it was official as of March 20th.

IMG_8616_01

And yet here I am sharing a treat that’s chock full of fall fruit.
While in the tropics, feasting on pineapple and papaya.

Bad blogger!  Bad, unseasonal blogger!

Are you really surprised?  Remember when I gave you candy canes in January?  That was cruel.

To make up for it, I’m sharing some spring-y things that I’ve been diggin’ lately.
Yay for links!  Click ’em.  You know you want to.

IMG_8611_01

First, this cake!  Lemon is top on my list of favorite, fresh flavors.  I love the edible flowers that Jen used to decorate, as well.  Totally spring-appropriate.
(And that pup!  Oh, those photos of Kaweah make me miss Ginger so much.)

In the vein of flowery cakes, I think I pinned every. single. one. of these photos.  OHMYGOD. I can’t describe how obsessed I am.  Wow.

It’s like Laura is in my brainthese heavenly, spiced falafels accompanied by tons of fresh veggies look like the definition of a perfect, light lunch.  Currently craving.

And helloooo another winner from Annie.  This gorgeous tart is so simple, and the accompanying story is quite heartwarming.  Raspberries + pistachio for life.  One of my favorite combinations.

How cute are these little cakelets!  Mini cakes for life! Molly has won me over.  I give in, I think they are the cutest thing to ever happen to the planet.  Feed me, Molly.

IMG_8624_01

Thanks to this board, I am becoming obsessed with floral arrangements… Oh Pinterest, you do me wrong.

Linda’s amazing instagram feed satisfies me when her posts are far between.  All those flowers and sunsets make me dizzy with envy!  And so many breakfast bowls.  Gah.

When can I move into this beautiful loft-to-be? ASAP, please.

I want to be here. Spring rooftop dinner party.  Wait, why is this not my life again?  (Pinterest, you devil.)

What is inspiring you this spring?  Share your photos, links, and love–I’d love to see!
I’m quite excited for the change of seasons, though, to be honest, I will be less than glad to leave México.

IMG_8608_01

You can’t tell that I’m very excited for spring based on these muffins, but let me explain myself.
There were quite a few lonely, leftover pears and apples in the house fridge, just calling to be folded into a spicy batter and baked into muffins.

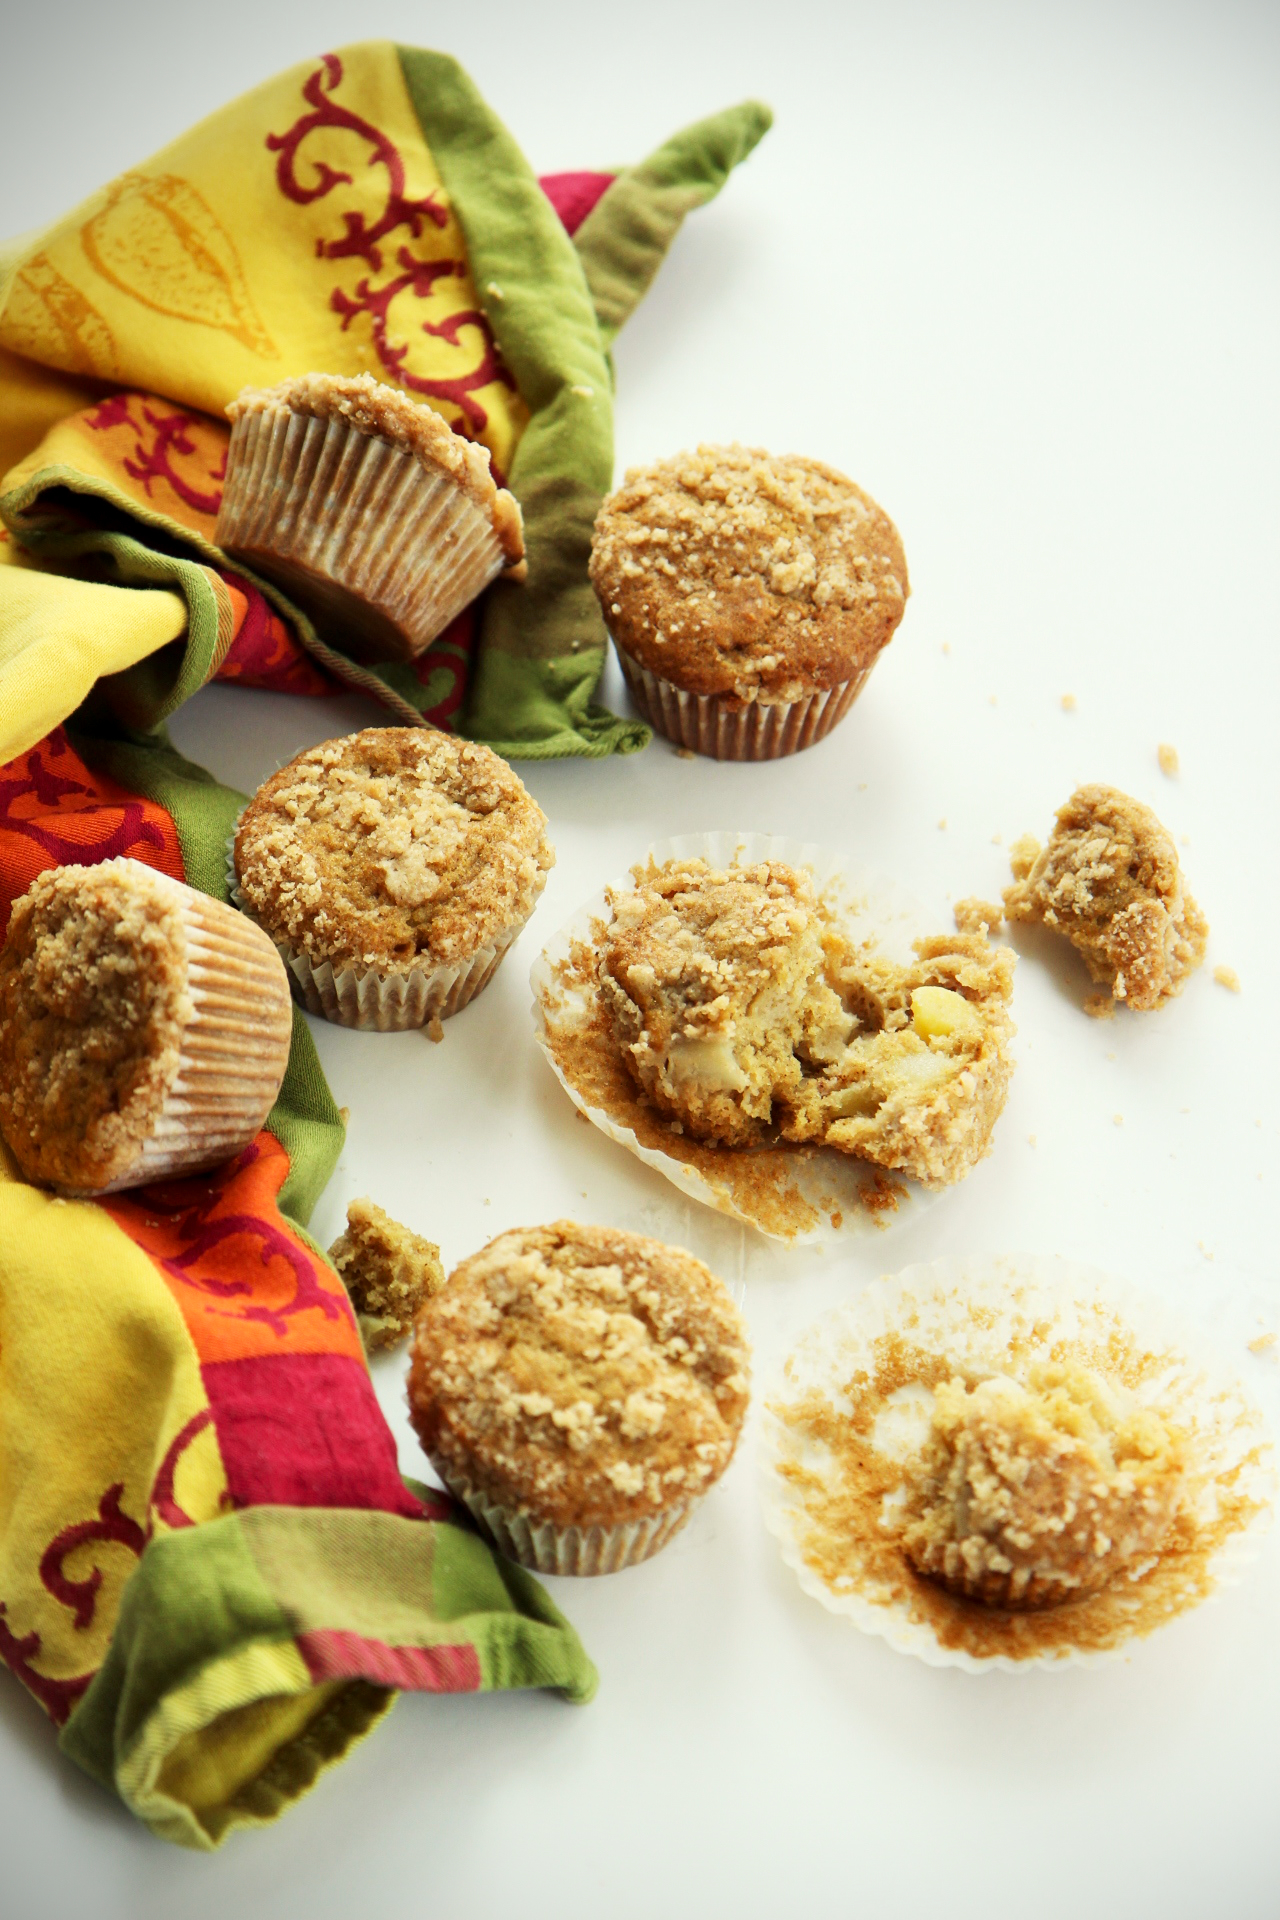
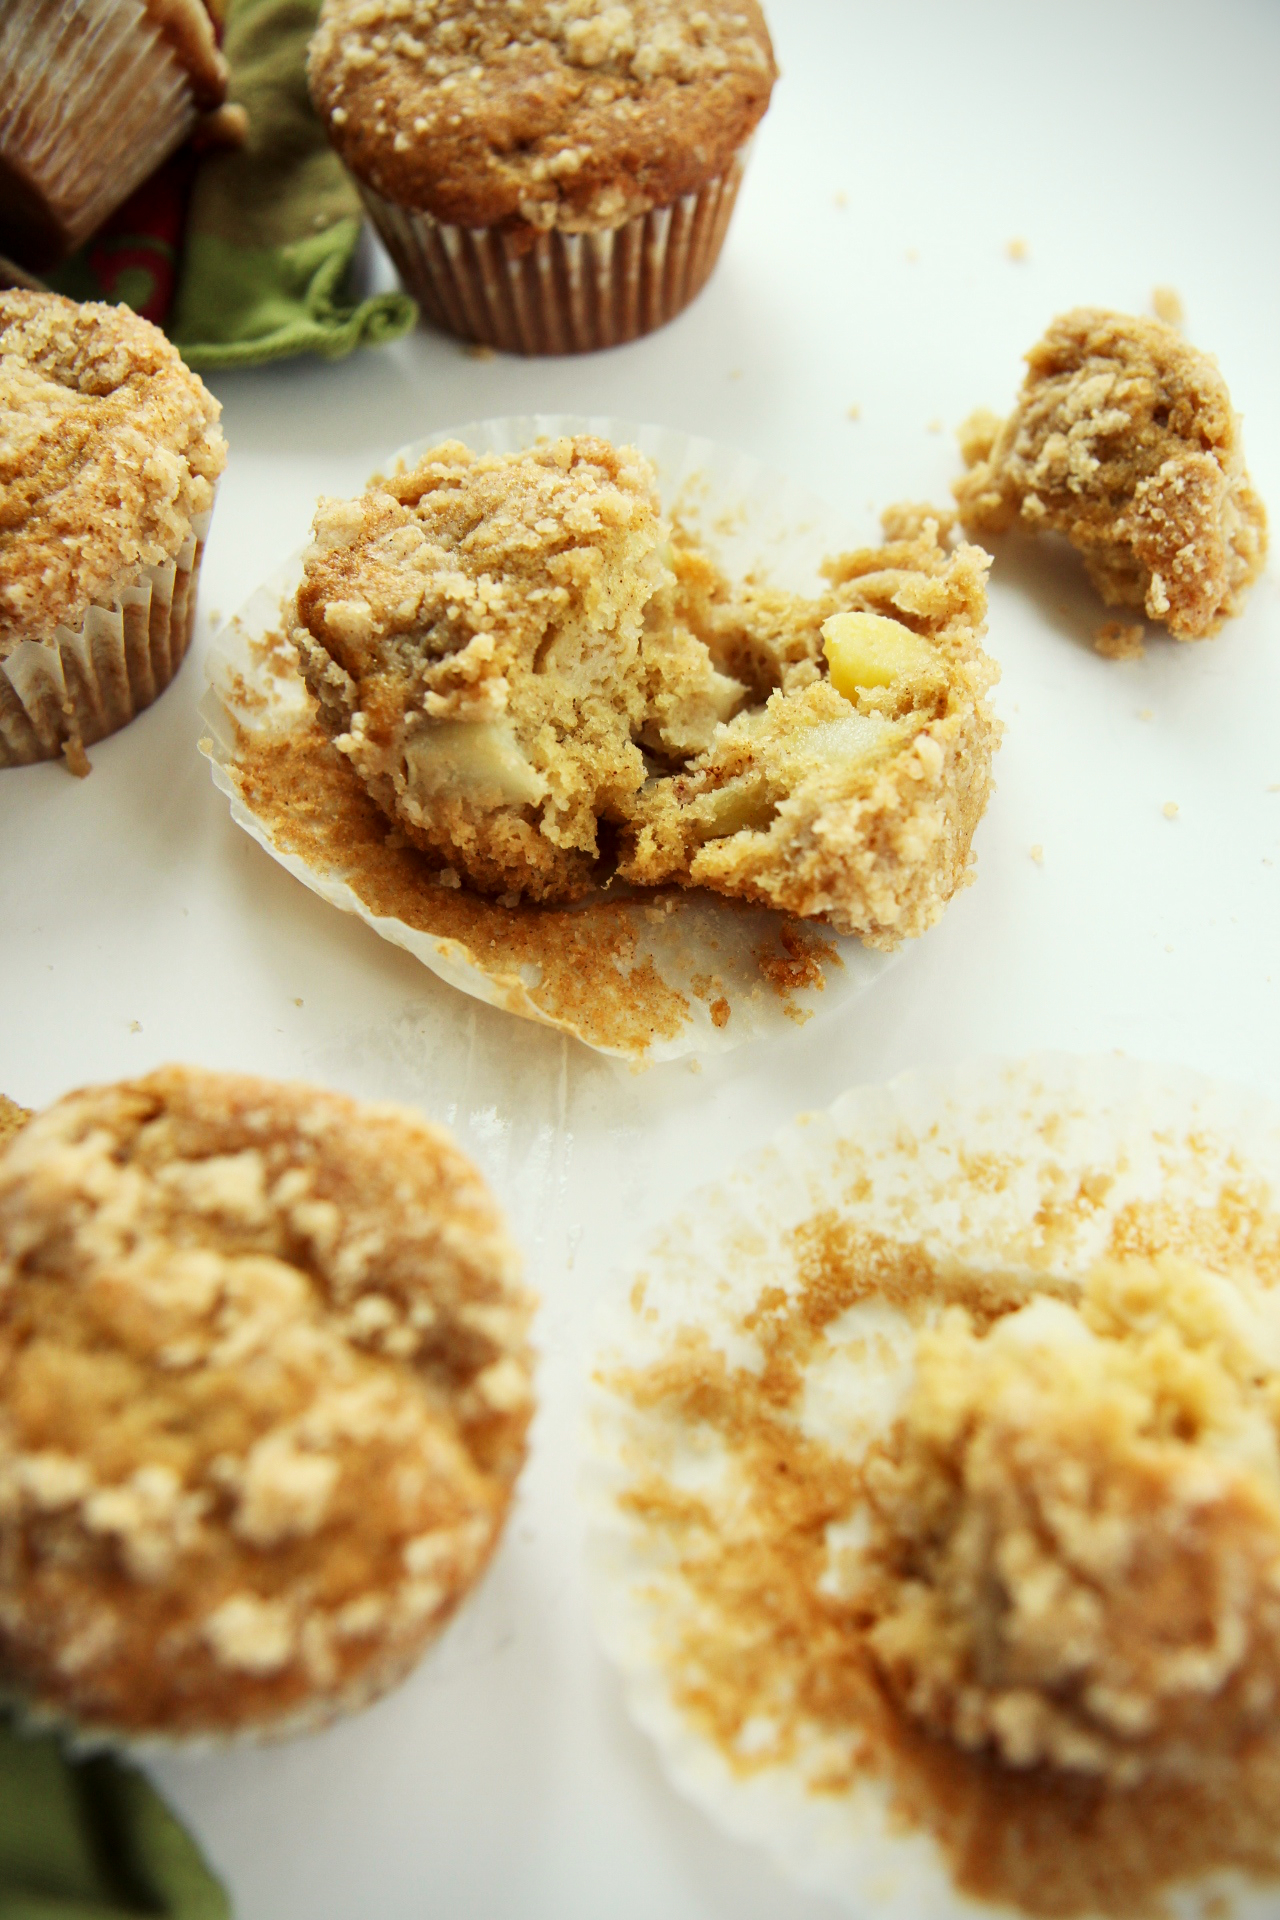
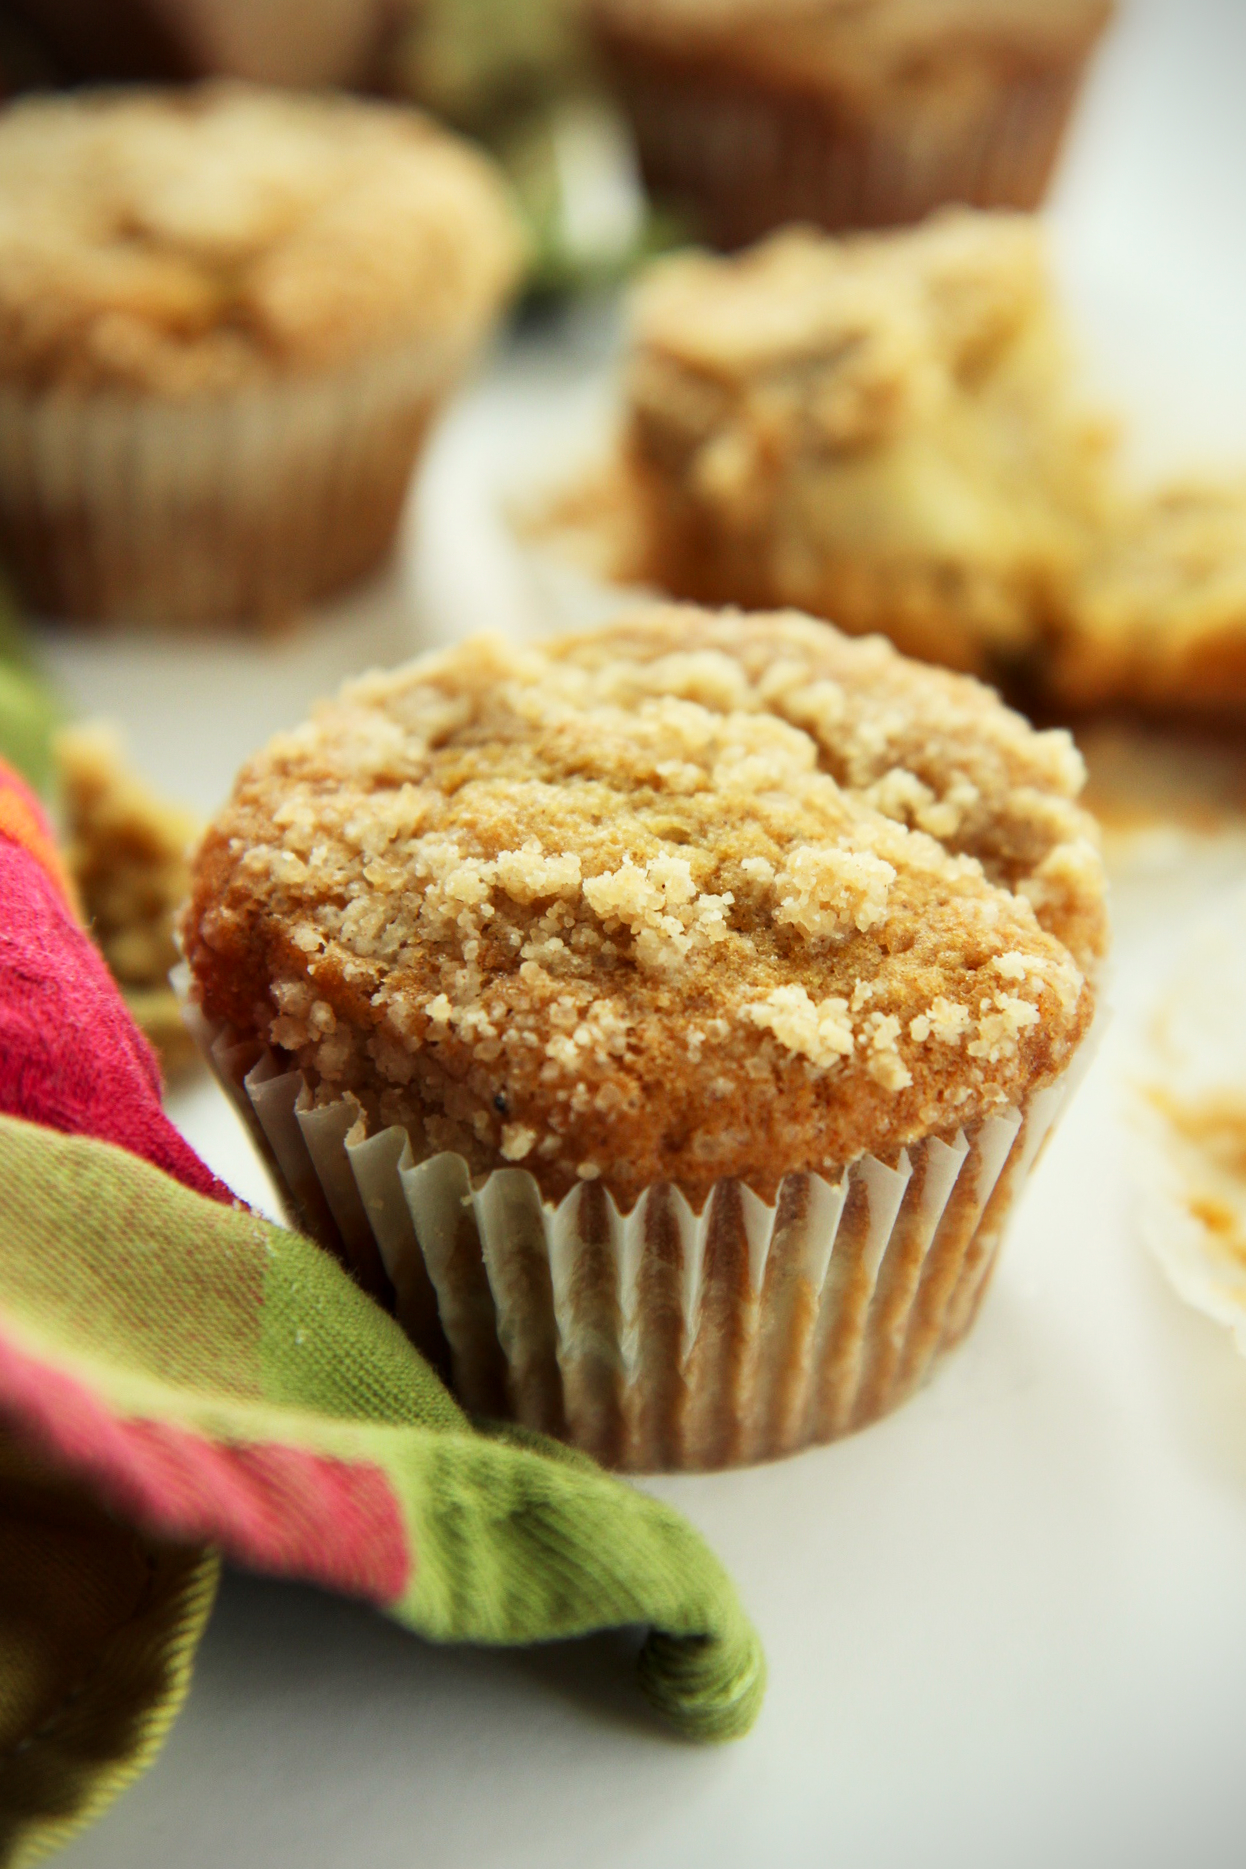
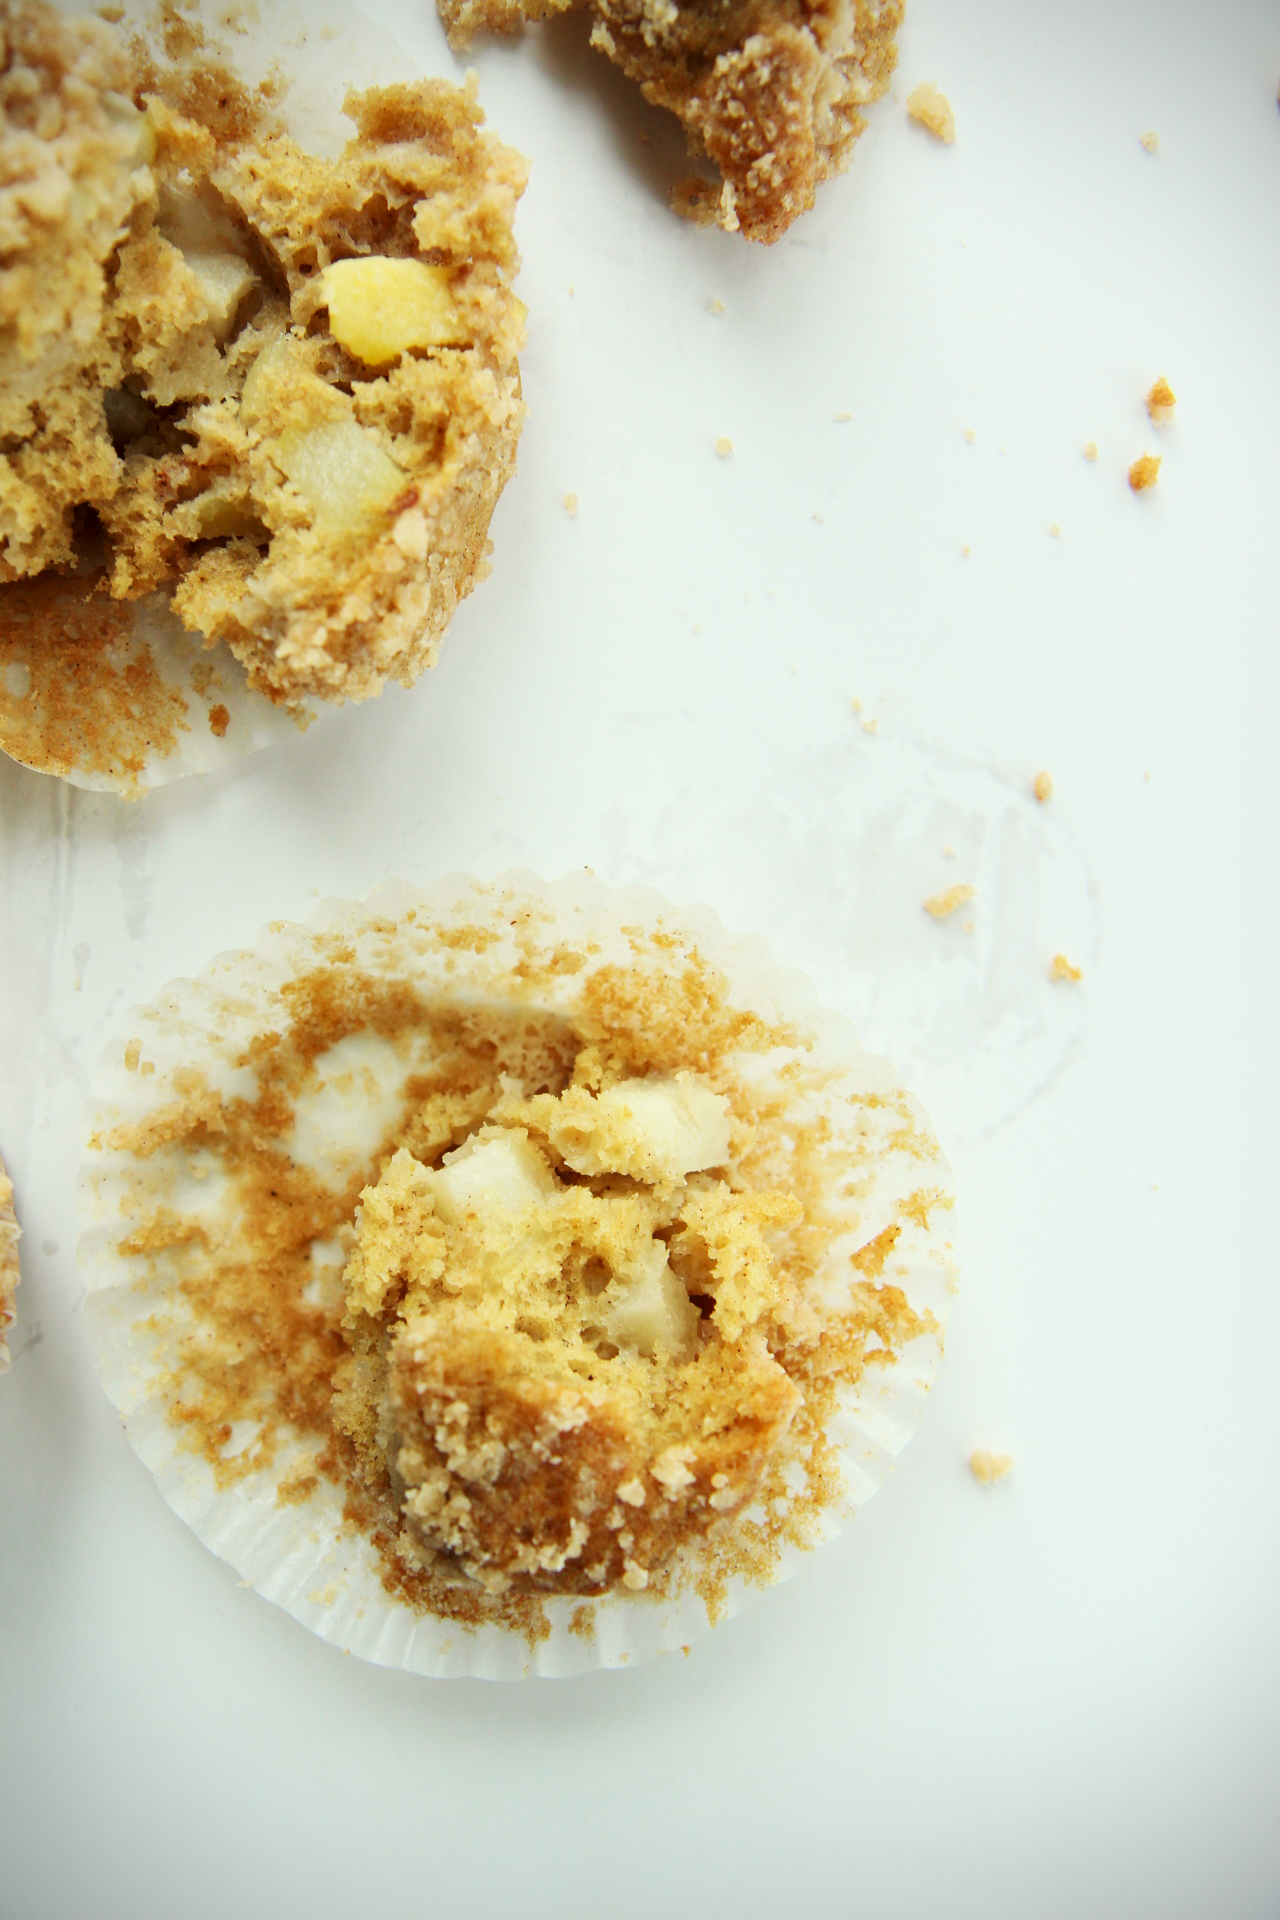
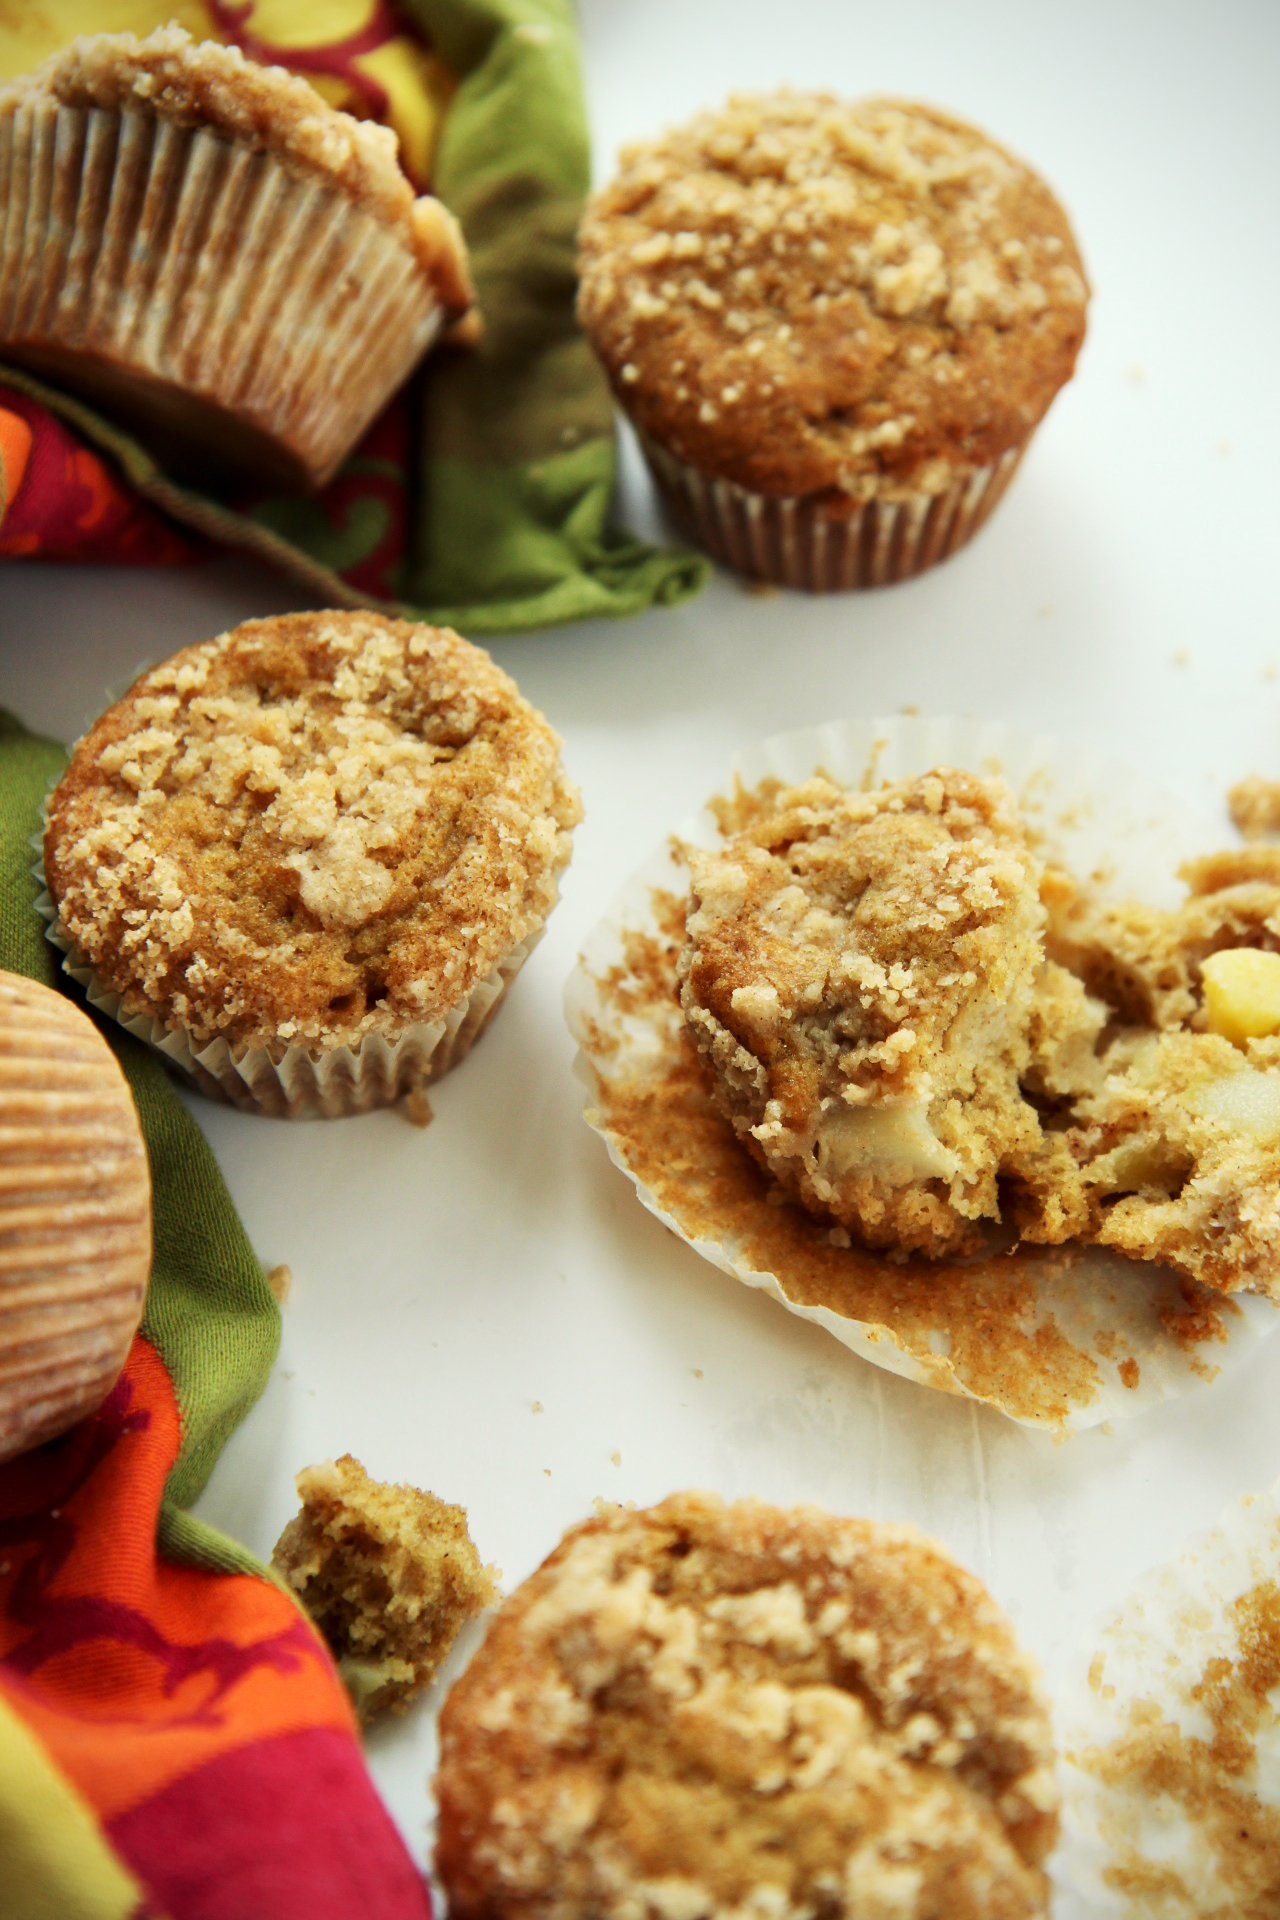
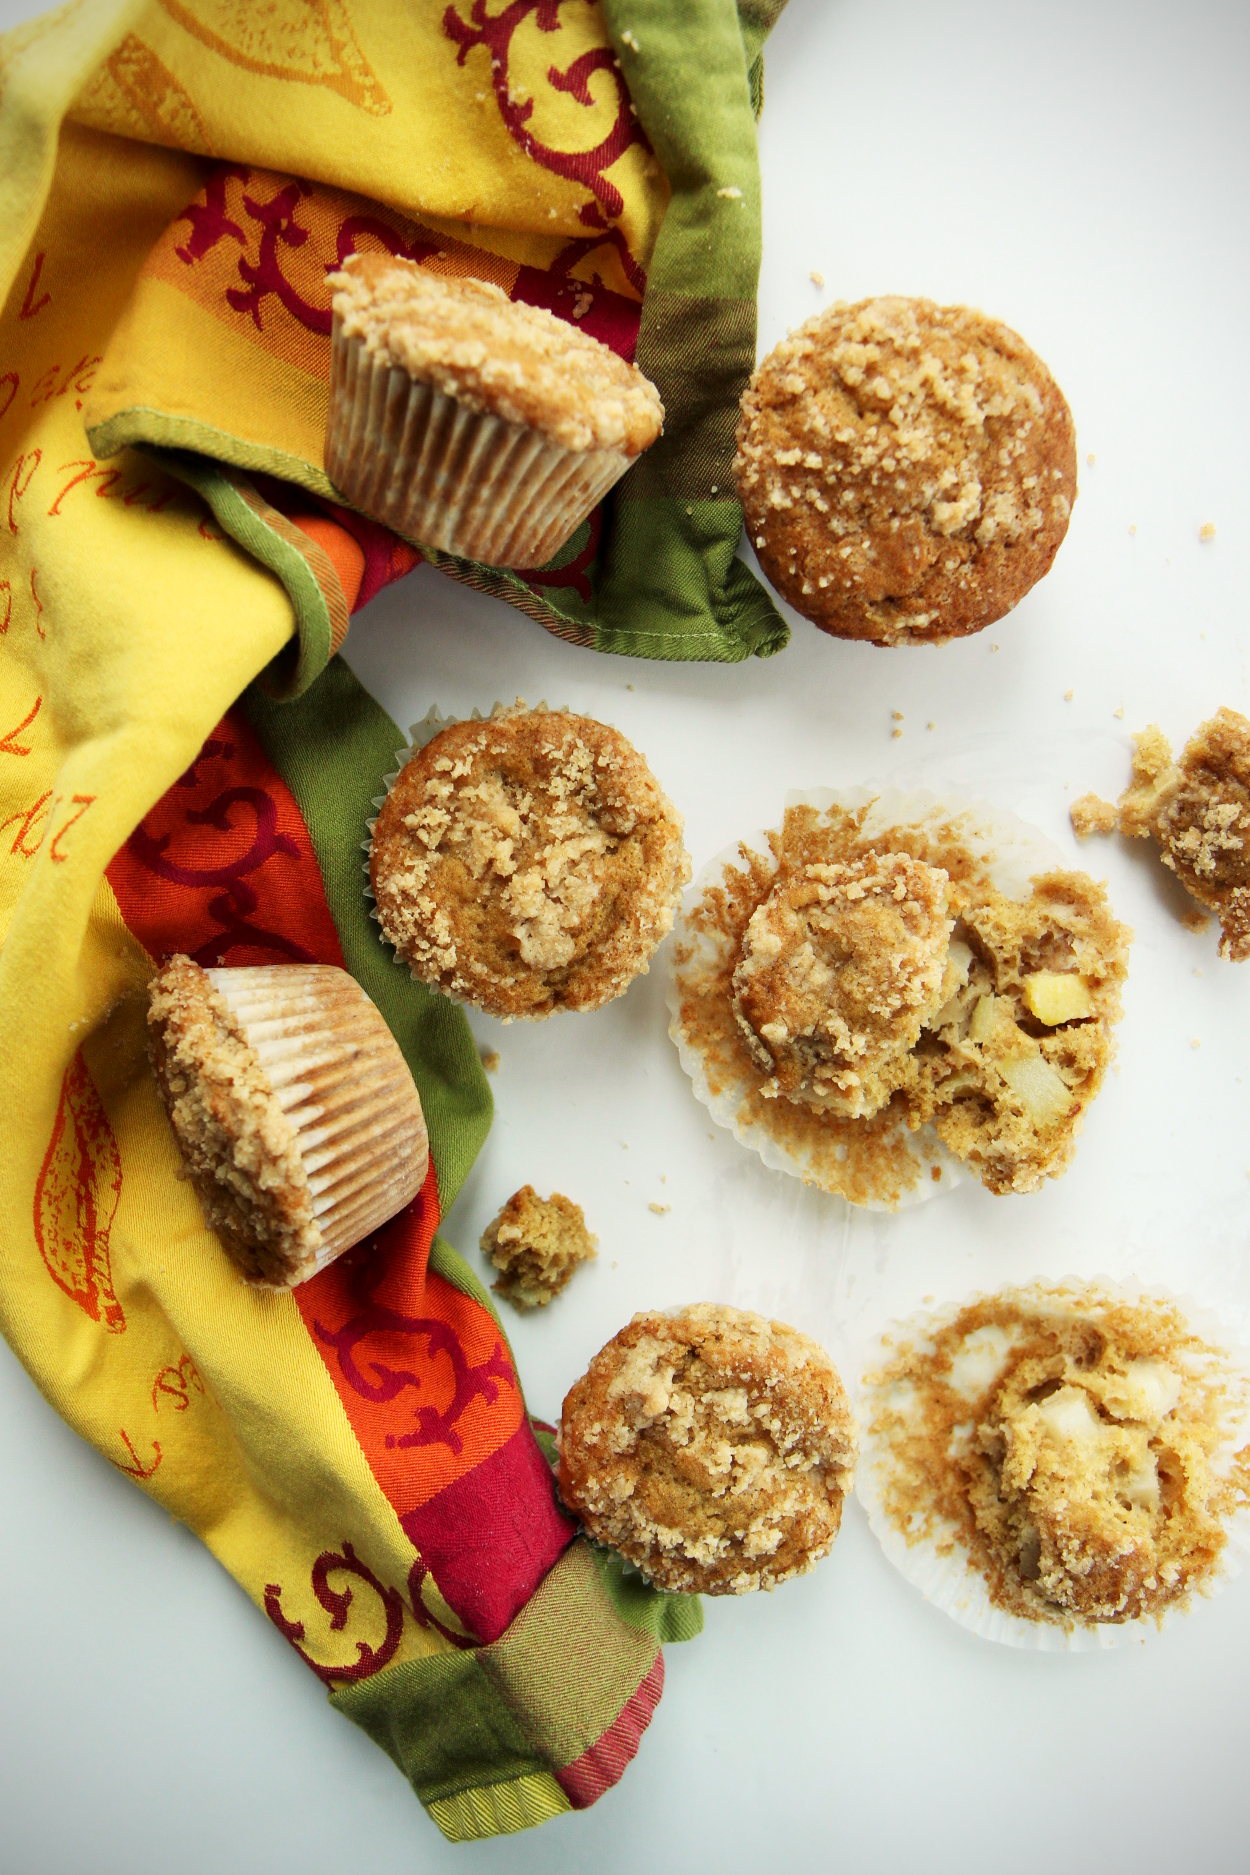
These muffins are soft, with lovely chunks of sweet pear and apple, the buttery batter made with nutty whole wheat flour and 5-spice and cinnamon for a kick.  It’s topped with a crunchy streusel with a touch more of the numbing, warming spices.

The recipe would be equally wonderful with fresh blackberries or even blueberries, and I could see peaches eventually making their way in.  For now, I made due with what I had on hand.

These are a perfect breakfast treat– they are not too sweet, and feel wholesome while still being a treat.

They’re splendid with a good strong cup of tea.

IMG_8601_01

Whole Wheat 5-Spice Pear Muffins 
adapted from Smitten Kitchen
makes 12 muffins

ingredients:
for the muffins:
1/2 cup butter
1/4 cup sugar
3/4 cup packed brown sugar
1/2 teaspoon kosher salt
1 1/2 teaspoons cinnamon
1 1/2 teaspoons 5-spice
1 large egg, lightly beaten
1 cup white whole wheat flour
1 cup all-purpose flour
1 teaspoon baking powder
1 teaspoon baking soda
1 cup milk
1 teaspoon apple cider vinegar
2 small pears, peeled and chopped
1 small apple, peeled and chopped

for the streusel:
5 tablespoons all-purpose flour
5 tablespoons turbinado sugar
pinch of cinnamon and 5-spice
2 tablespoons butter, cold

directions:
Preheat oven to 350 degrees F.
Line a muffin tin with papers.
Make the streusel: whisk the flour and sugar together with the spices.
Using a fork, cut the butter into the dry ingredients until the mixture is clumpy.
Make the muffins: cream butter until fluffy, about 2 minutes.
Add sugars, salt, and spices and beat for 3 more minutes.
Scrape the bowl and add the egg.
Beat for 4 more minutes; mixture should be very fluffy and not gritty at all.
Whisk the milk and vinegar together.
Scrape the bowl and add the flour and baking powder and baking soda on top of the butter.
Begin to slowly mix the batter as you pour in the milk/vinegar mixture.
Batter will be thick; gently stir in the chopped pears and apples.
Scoop batter into muffin tin, then top with streusel.
Bake for 20-24 minutes, until a tester comes out clean.

Ingots

IMG_7983_01

As if every cake weren’t worth its weight in gold.

IMG_7992_02

The story about financiers goes something like this:

A French boulanger named Lasne noted that the businessmen who frequented his shop, which was located near the Bourse (financial district of Paris) were in need of a sweet snack that could be eaten on the go, sans fourchette.

The rich little cakes named for the rich financiers of the Bourse were baked in rectangular molds, so as to shape them like bars of gold.

Little ingots of cake.  The only true currency in my world.

IMG_7980_01

Financiers, classically, are a simple almond cake base, made with egg whites, almond flour, and heaps of beurre noisette.
The high proportion of browned butter gives these little guys crisp edges, while the almond flour keeps the interior soft and pillowy.
The absence of leavening creates pleasantly dense cakes, packing tons of flavor into each little bite, yet keeping the pastries from feeling heavy or weighty.
They’re actually quite light, and not sweet at all.  Very French.

Other nuts can be used, and fruits or jam are often dolloped into the batter.
Here you can check out various pastry chefs’ takes on the financier.

It should be noted that financiers are essentially the same as friands from Australia, though they are shaped a little differently.

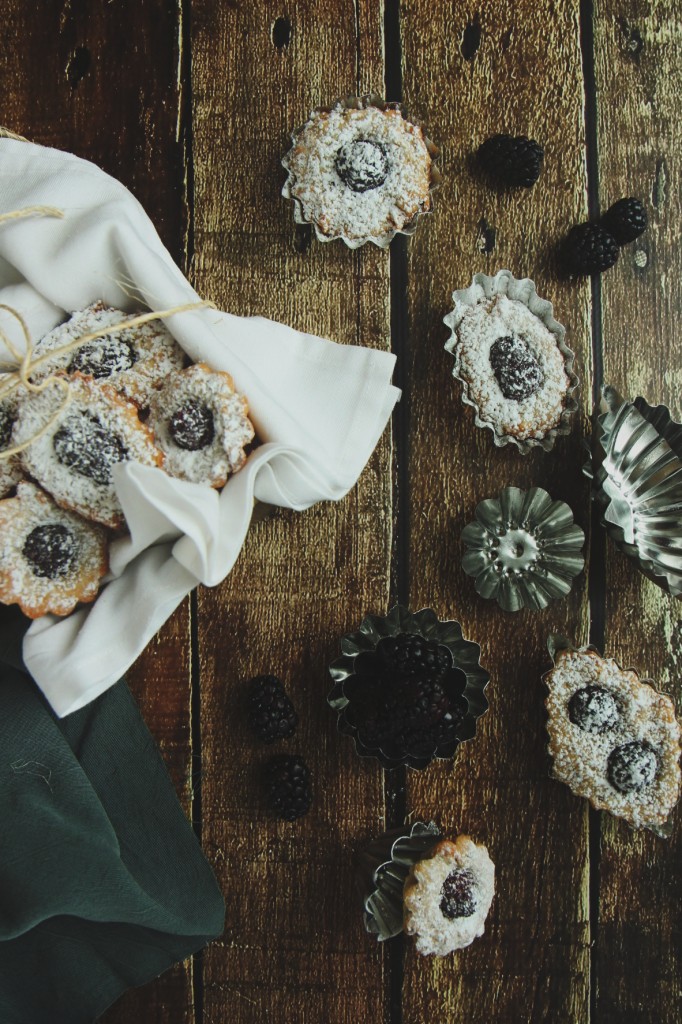
IMG_7995_02

Here, the classic almond base is updated with brown sugar,
a tablespoon of crushed jasmine tea, fragrant and fruity, with delicate floral overtones,
a couple of tart blackberries, pressed deep into the batter where they become jammy and sweet,
and is baked in adorable little tart molds.

They can be baked in mini muffin tins, friand molds, cupcake liners, tart molds, etc.
I could even see the batter becoming a sort of torte, baked in a larger pan.

I can’t emphasize how transcendent these would be with a cup of good, strong, milky black tea and a dollop of clotted cream.
The cakes aren’t too sweet, and are equally appropriate for breakfast (ahem) as for tea, as for an evening nibble.

They keep supremely well, so you can dole them out as payment for favors.
That is, if they last long enough.
Mine didn’t…

IMG_7976_02

Jasmine and Blackberry Financiers
adapted from Kristen Kish via Food and Wine
makes around 18 small financiers

ingredients:
3.5 ounces (7 tablespoons) butter, browned
2 egg whites
1 tablespoon plus 1 1/2 teaspoons sugar
pinch of sea salt
3/4 cup brown sugar
1/2 cup plus 3 tablespoons flour
1 tablespoon cornstarch
1/2 cup almond flour
1 tablespoon finely crushed jasmine tea
30 or so blackberries

directions:
Preheat oven to 375 degrees F.
Grease and flour 18 small molds very well, or spray liberally with baking spray with flour.
Whisk egg whites with granulated sugar just until foamy; add in brown sugar and sea salt.
Dump dry ingredients over the egg white mixture; as you gently fold them in, add the brown butter all at once and fold until batter is homogeneous.
Spread the batter into the tins and press a few blackberries into each financier.
Bake for 15 minutes, until the edges are golden and the centers are risen but still slightly soft.
Remove from oven and let cool completely; dust liberally with powdered sugar and serve with extra blackberries and tea.

Dreamy

IMG_6815

In my dreams, I can fly eat cake whenever I so desire.

IMG_6822

Welcome back, friends.  I’ve missed this little place for the last few days, but I’ve been off being very busy sleeping and reading and relaxing.  Ahhhh.

I hope you all had a couple marvelous days off from all your duties, whether they were for celebrating xmas or not!
I have so enjoyed being with my family.  It is a magical time of year, when we can all get together and all keep our heads calm.
Here’s to family!
And here’s a gif for my oldest brother who calls them “GIHFs,” even though it is clearly “JIFs.”
He is a lost cause.

j

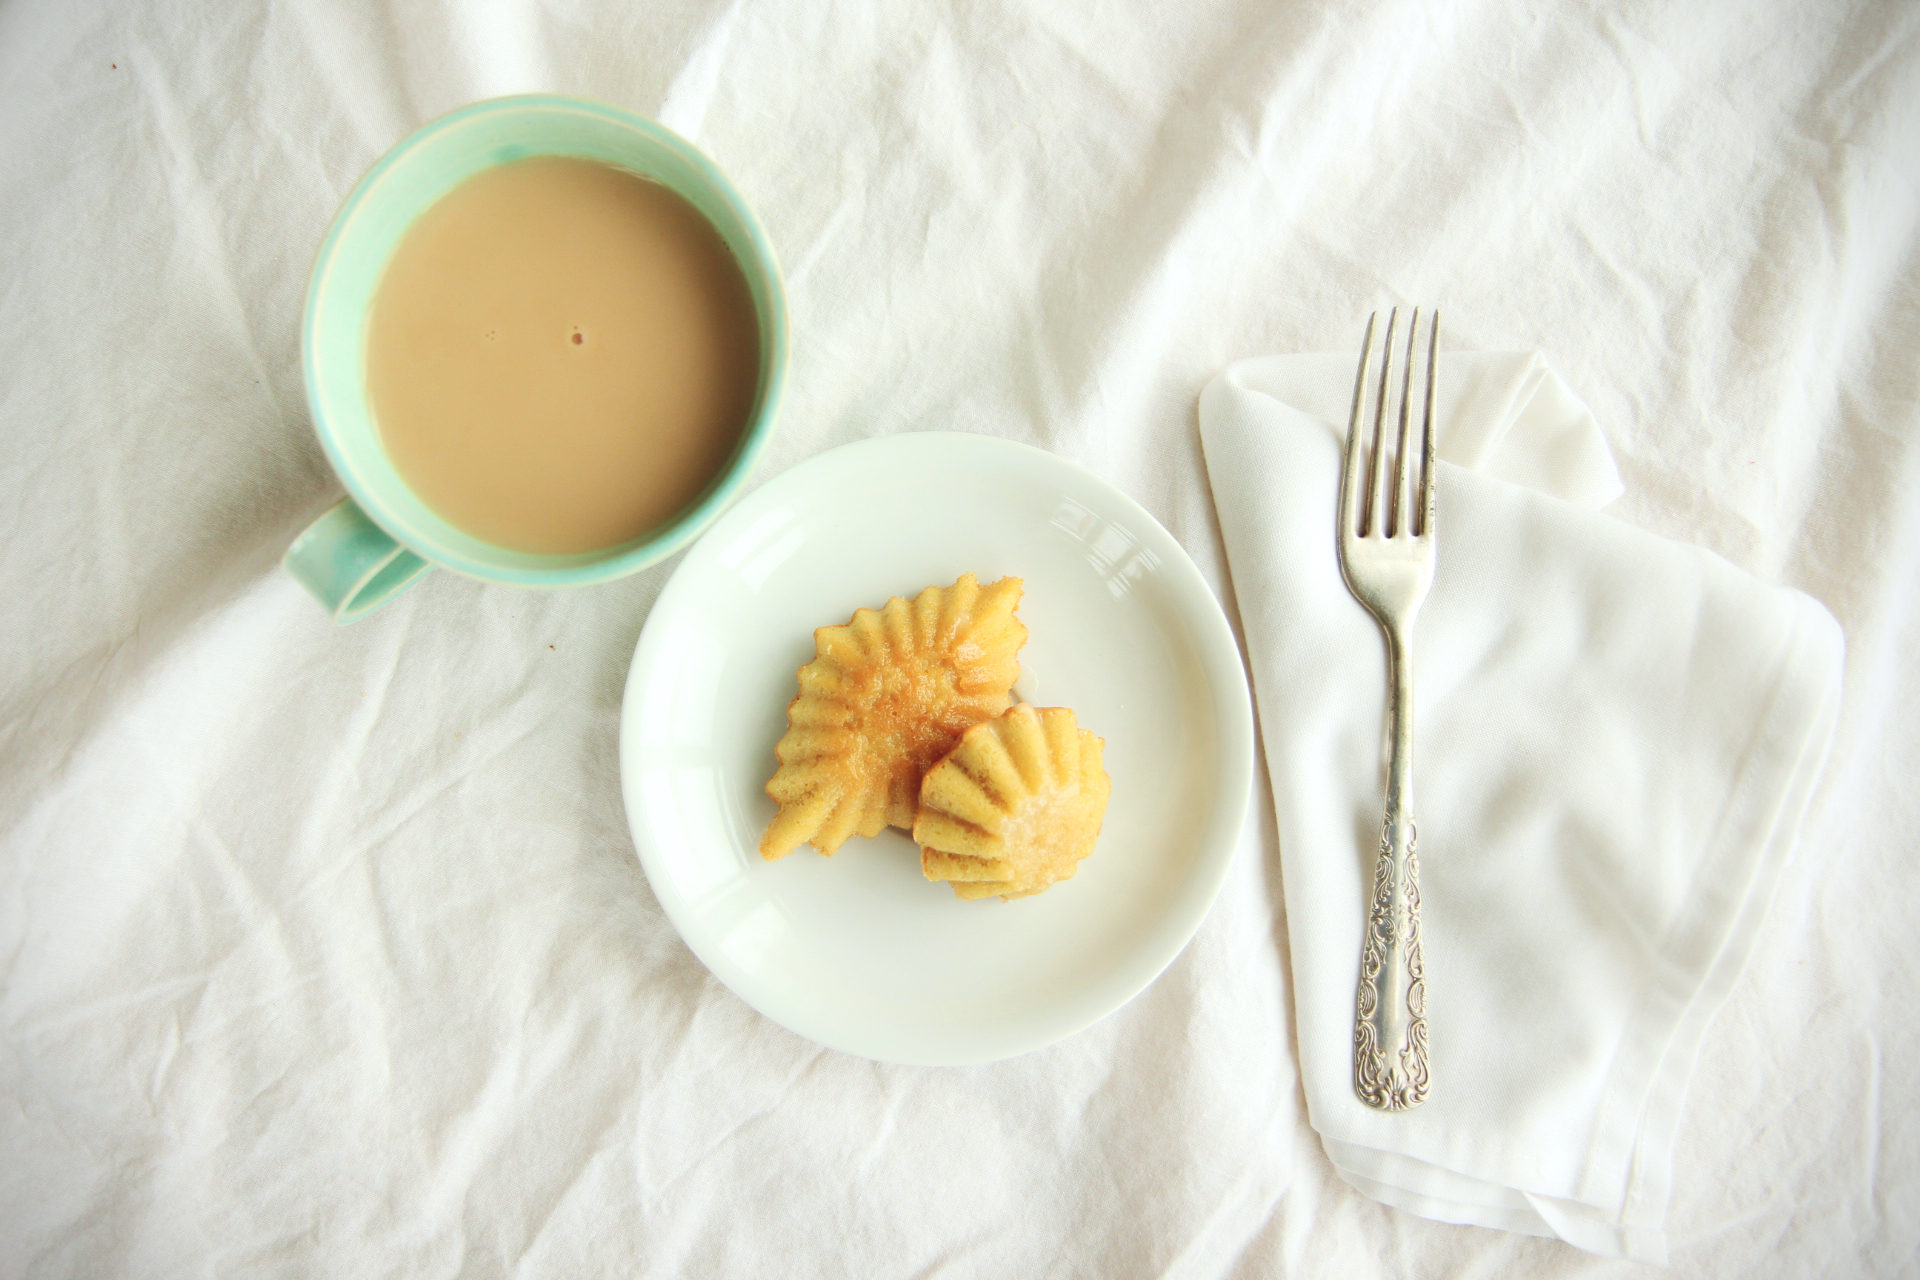
These cakes, however, are not lost.  My mouth found them altogether too quickly.

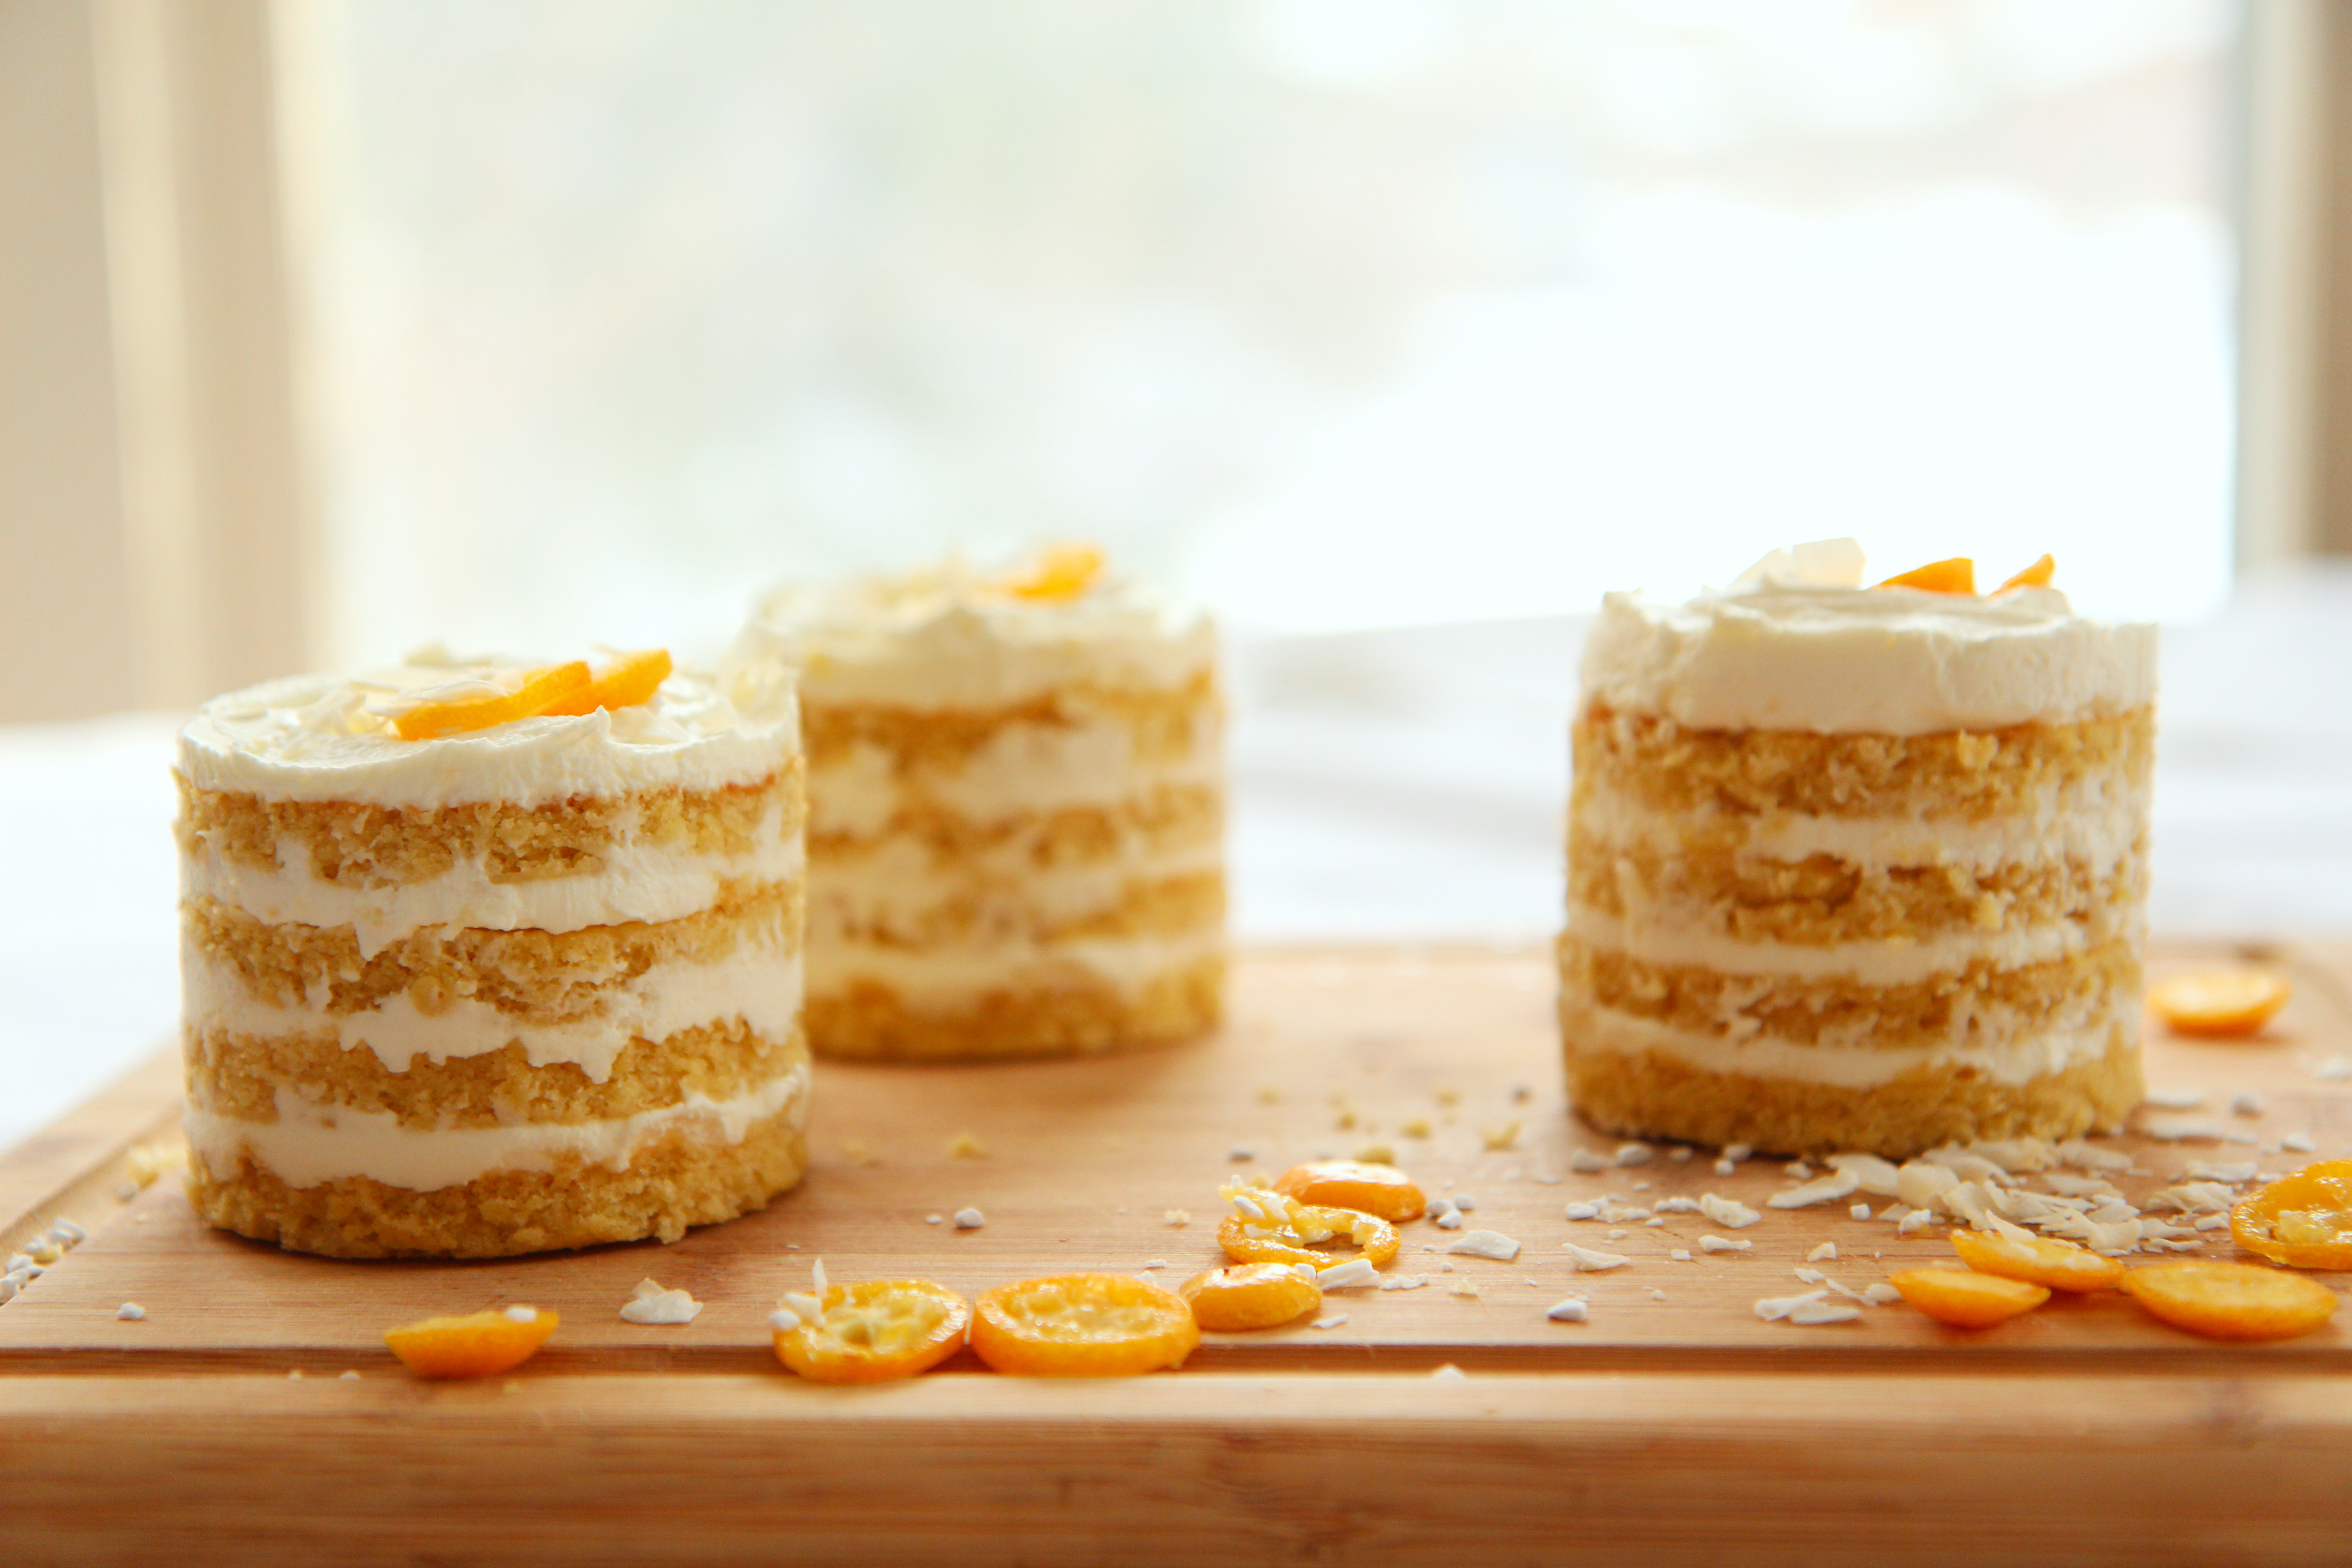
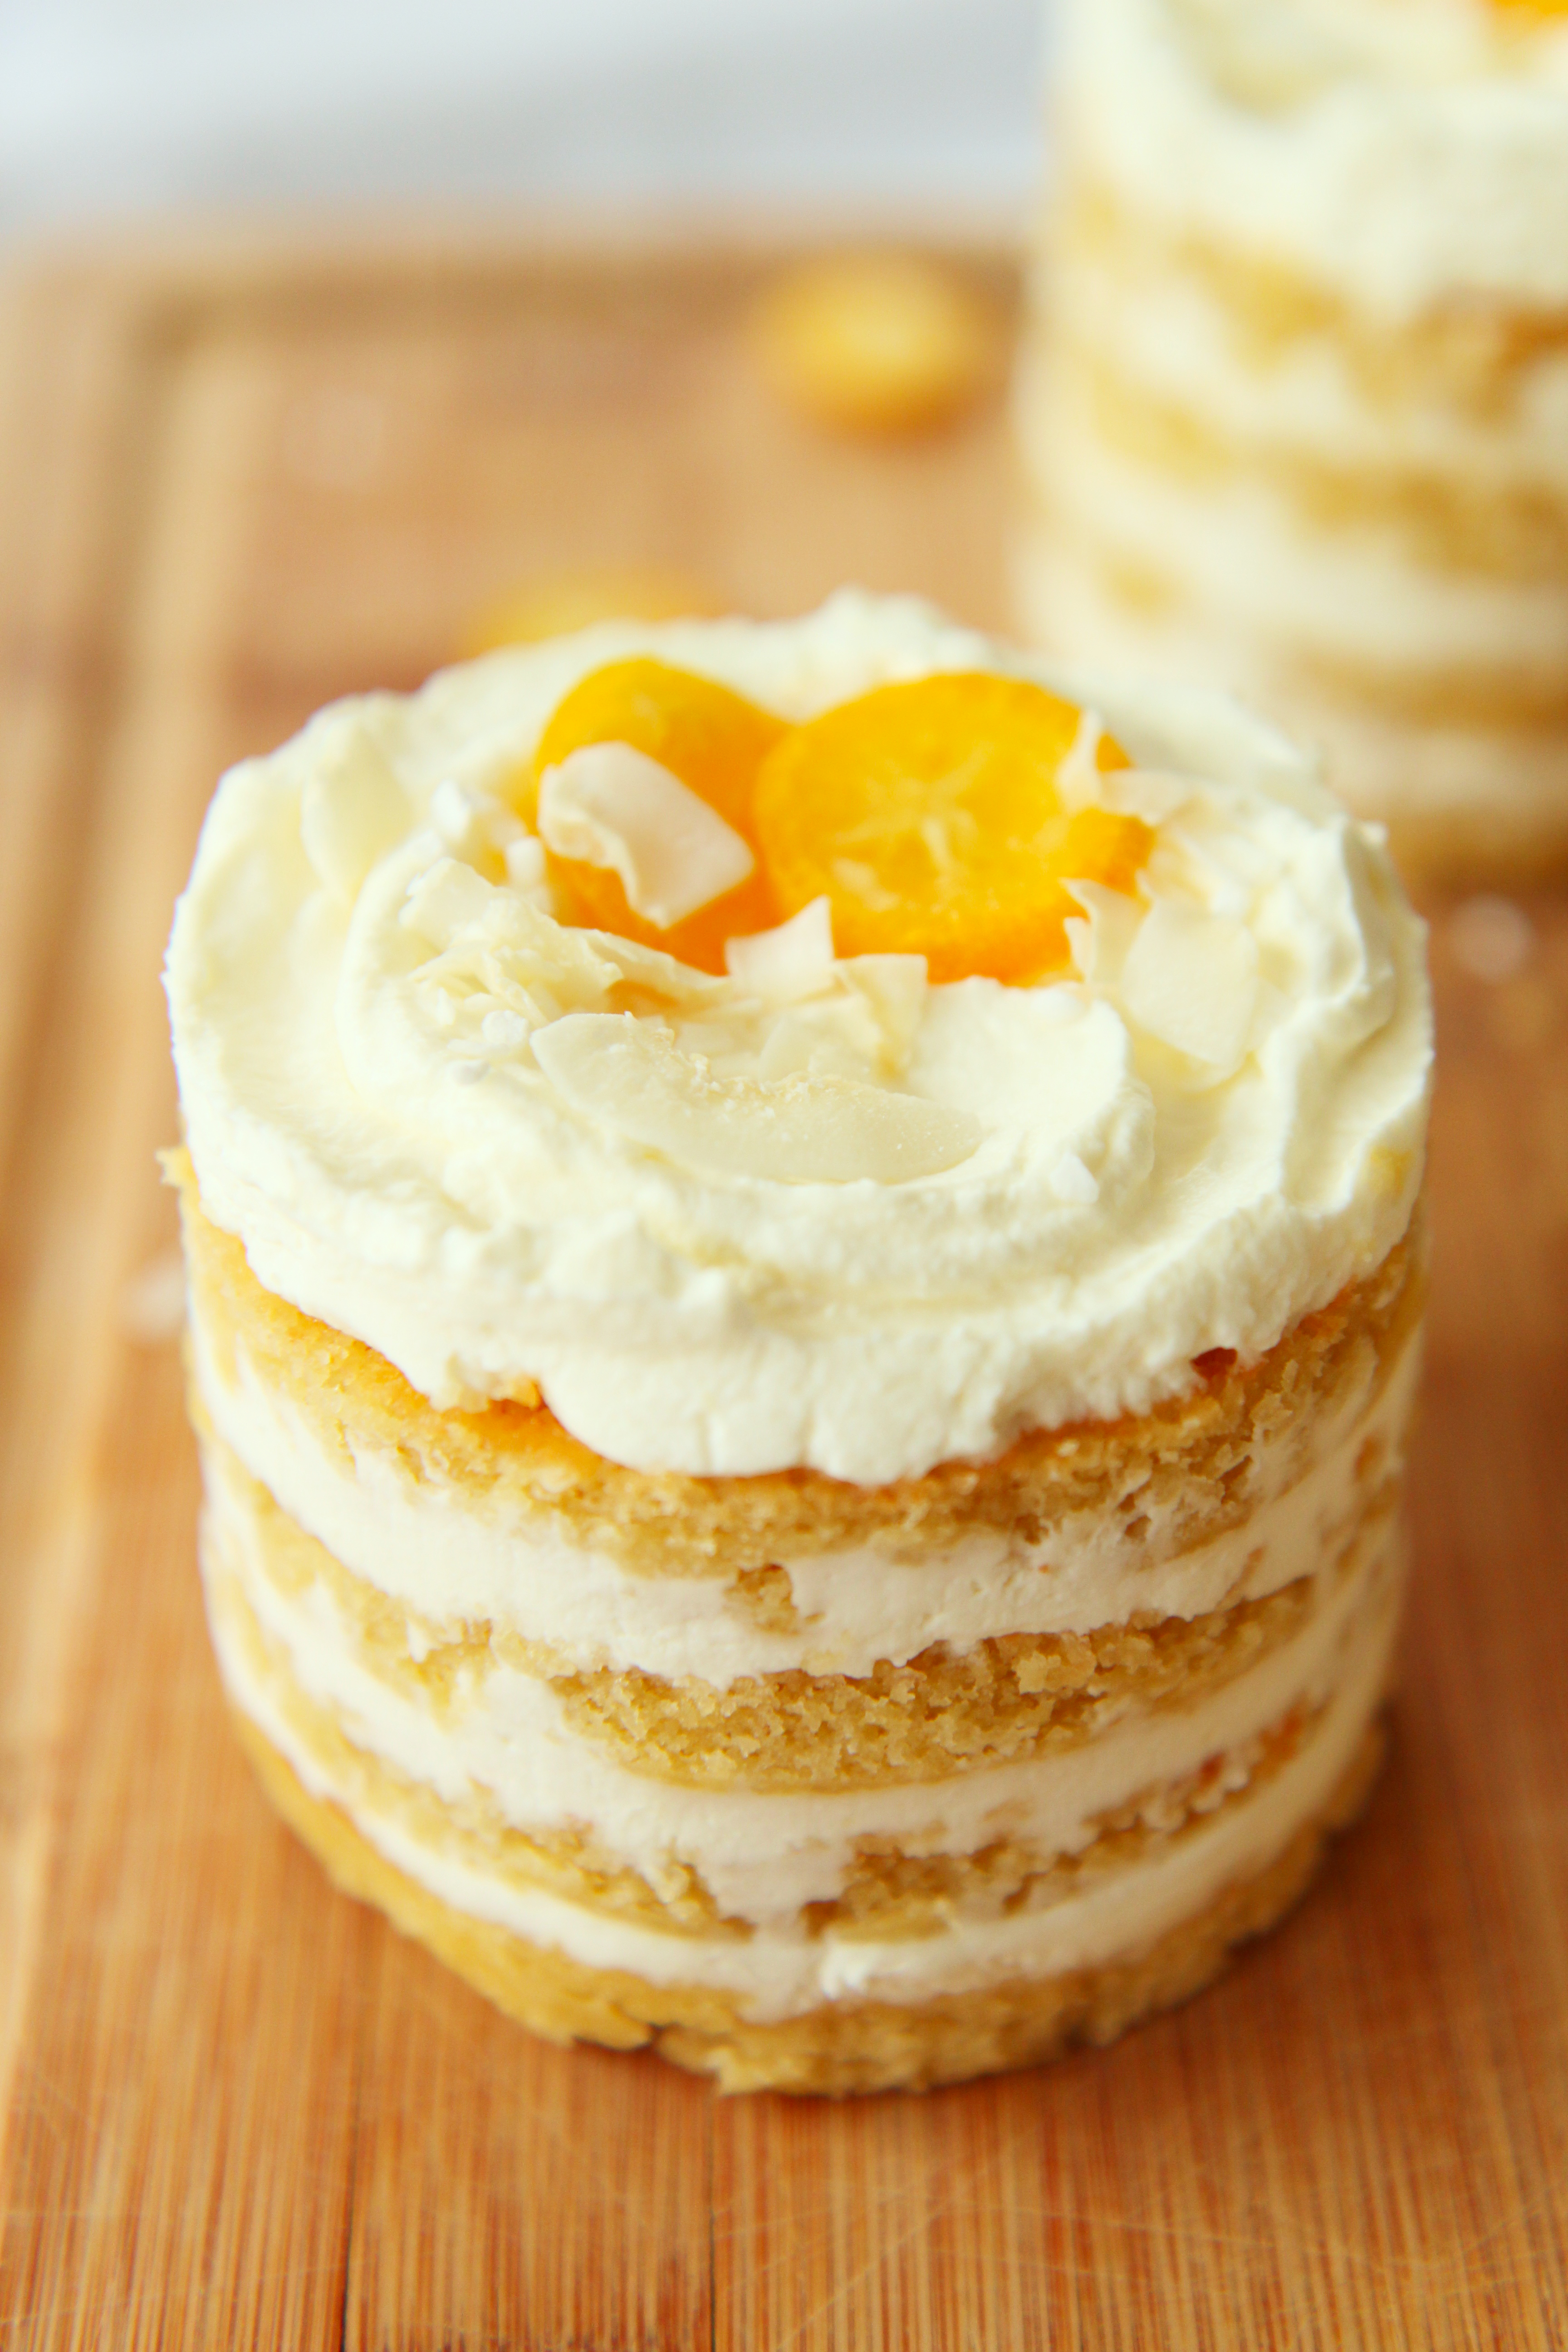
These are the stuff of dreams!  Little coconut jewels, small and personal.  Like cupcakes, but better.

They’re simple, and not too sweet.
Buttery, and yet inconceivably fluffy.
Richly flavorful, but incredibly simple.

In fact, there are only two easy easy easy components to these little cakes!
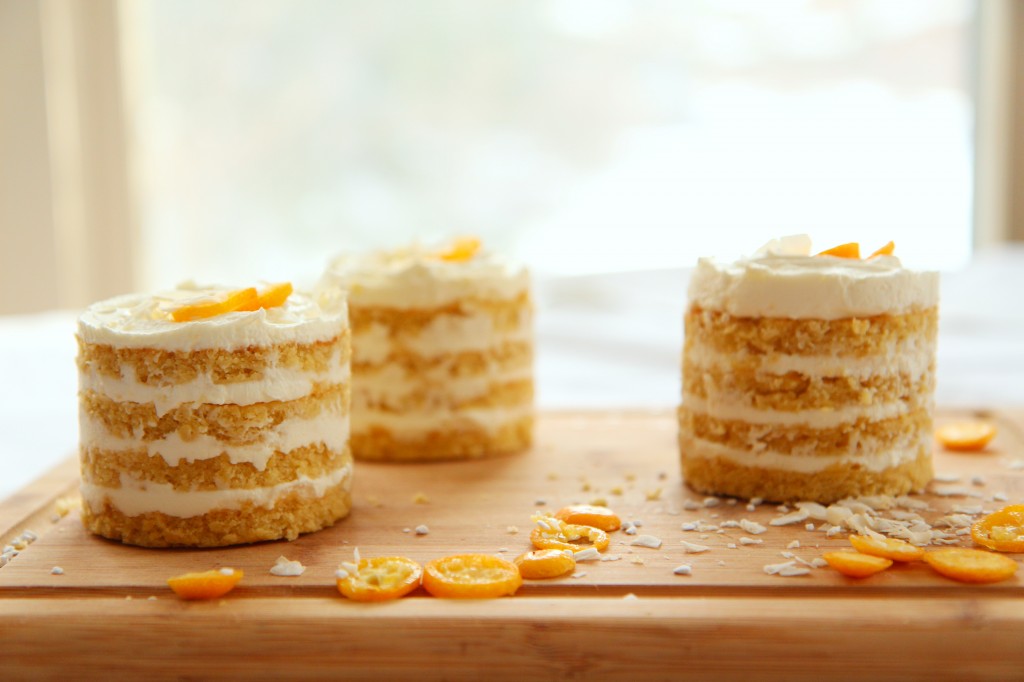
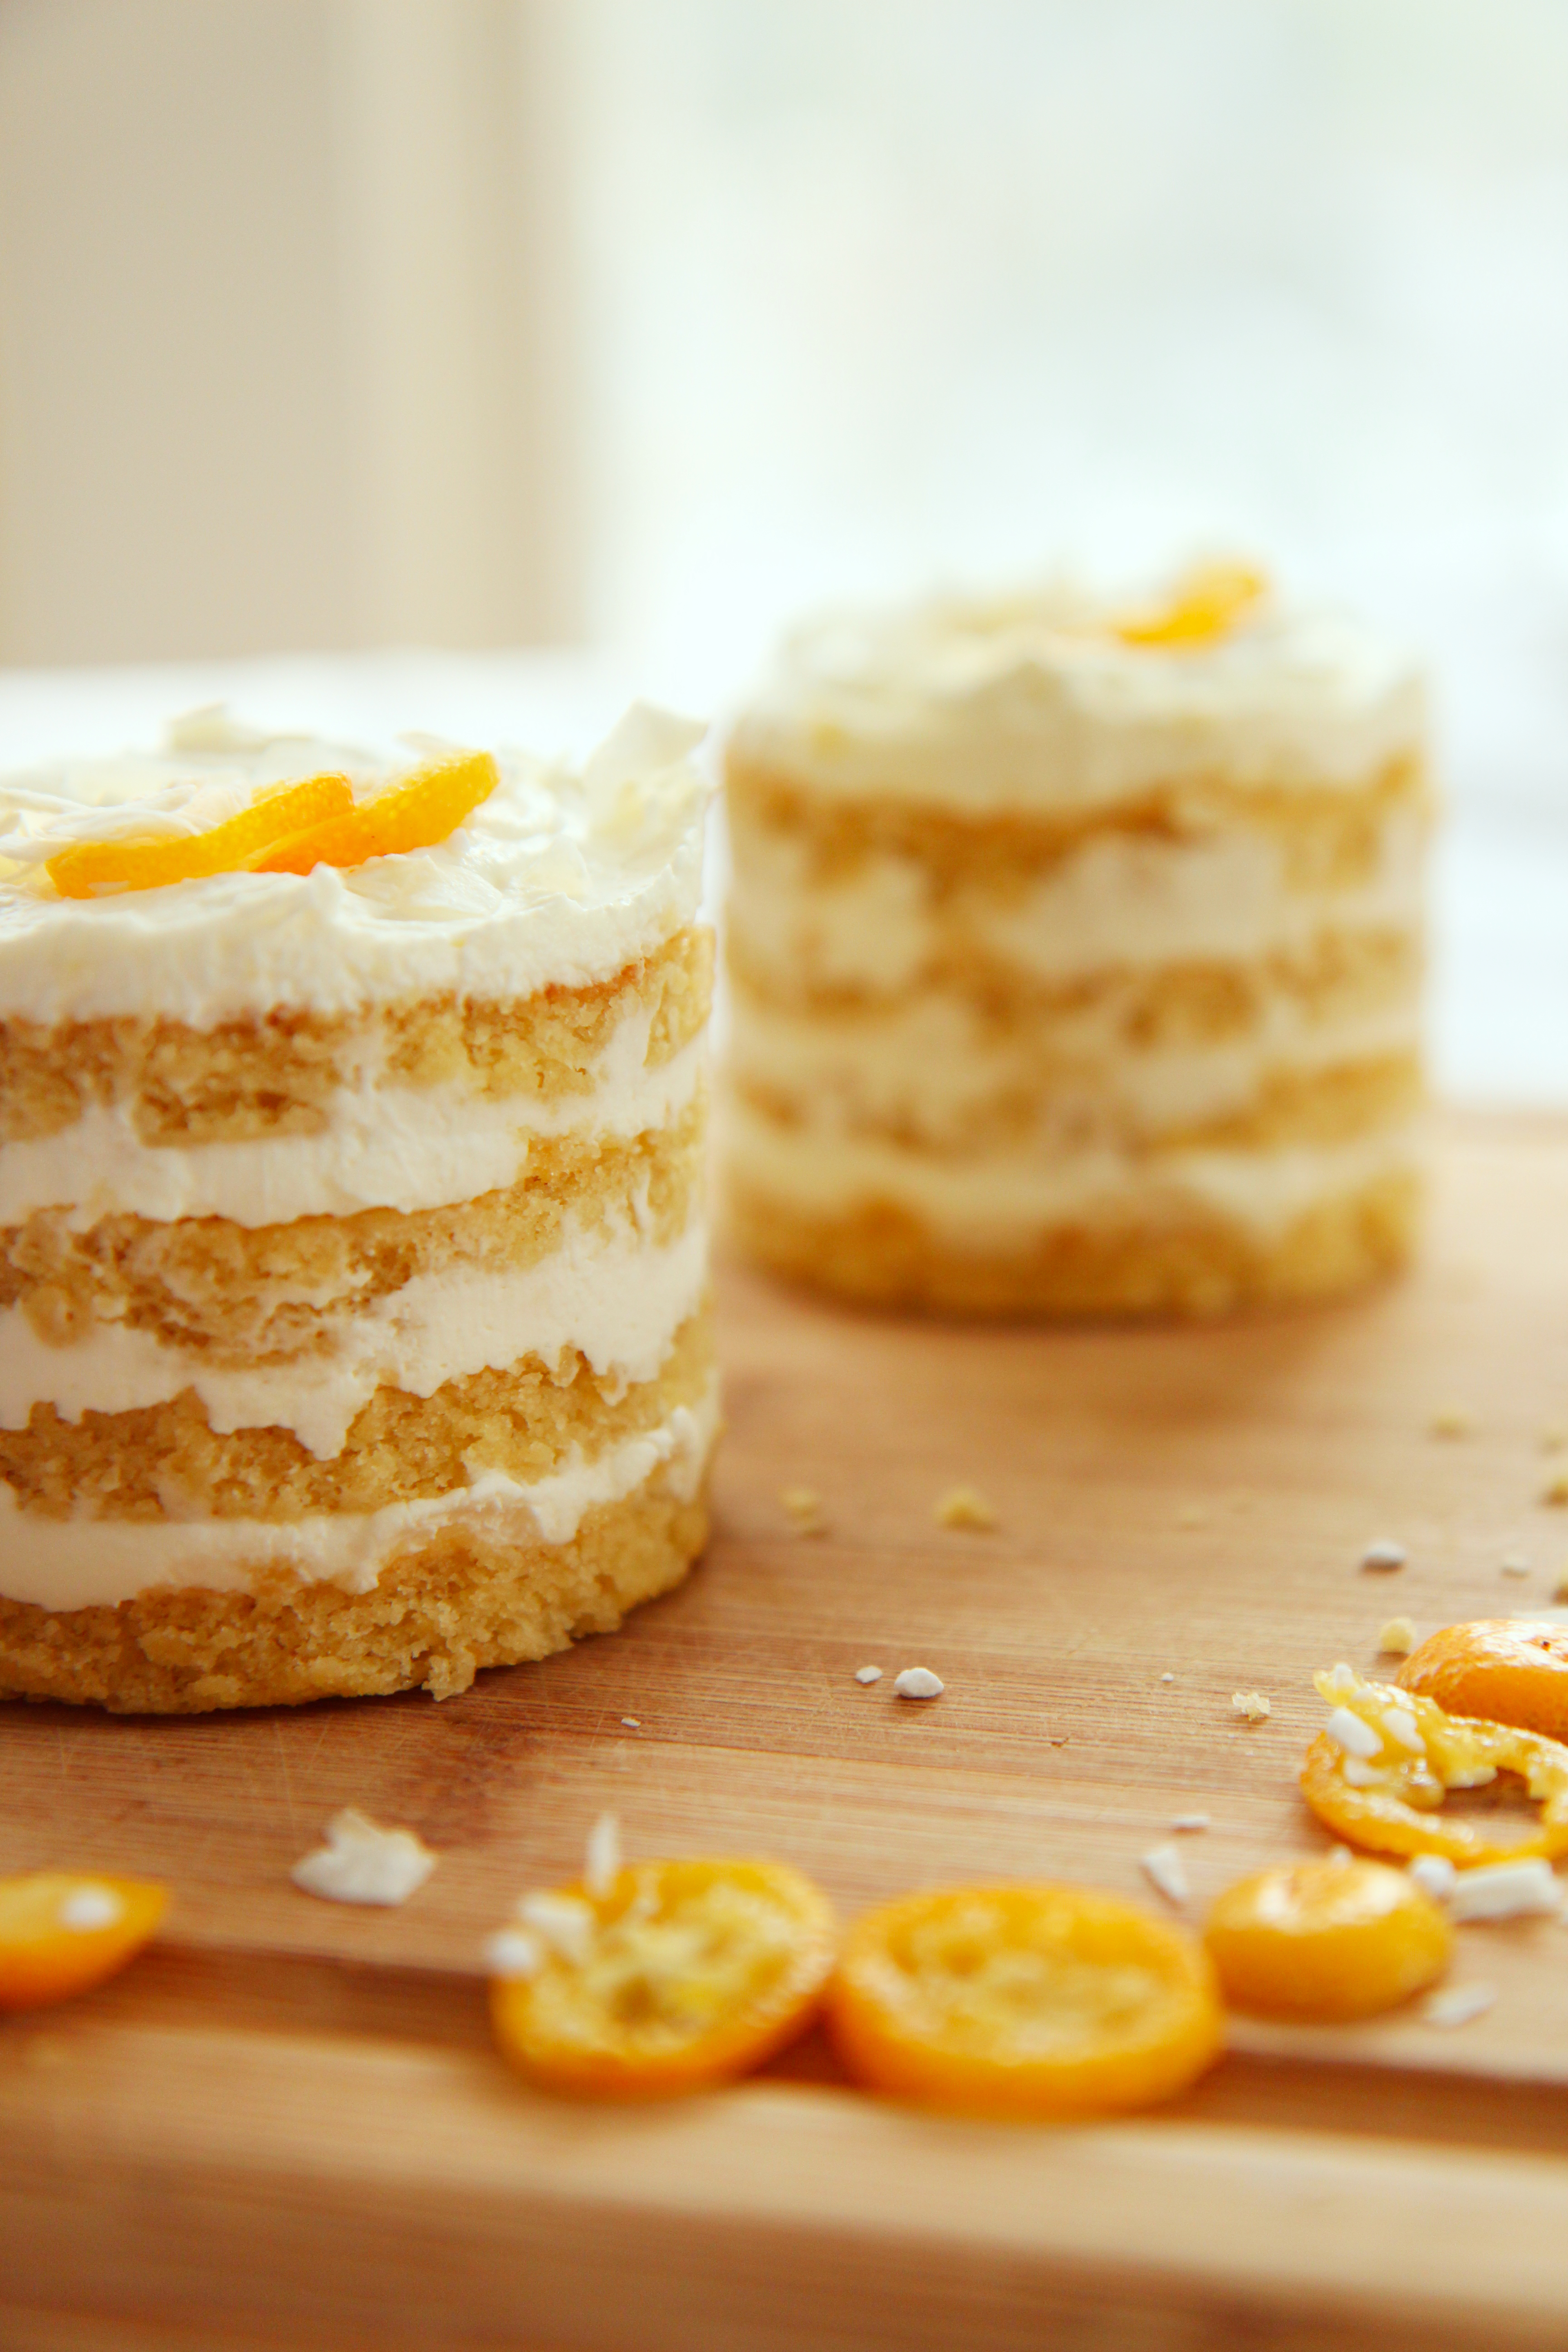
Buttery coconut cake
 is baked in a sheet pan, then cut out and layered with coconut Chantilly cream.
Heavenly!

IMG_6795

A note on equipment, as these cakes require a couple finicky little pieces, i.e. a small jelly roll pan and some cake rings.

I used this sheet pan. (Cheap, semi-durable.)
I used molds similar to these cake rings. (Super durable.)

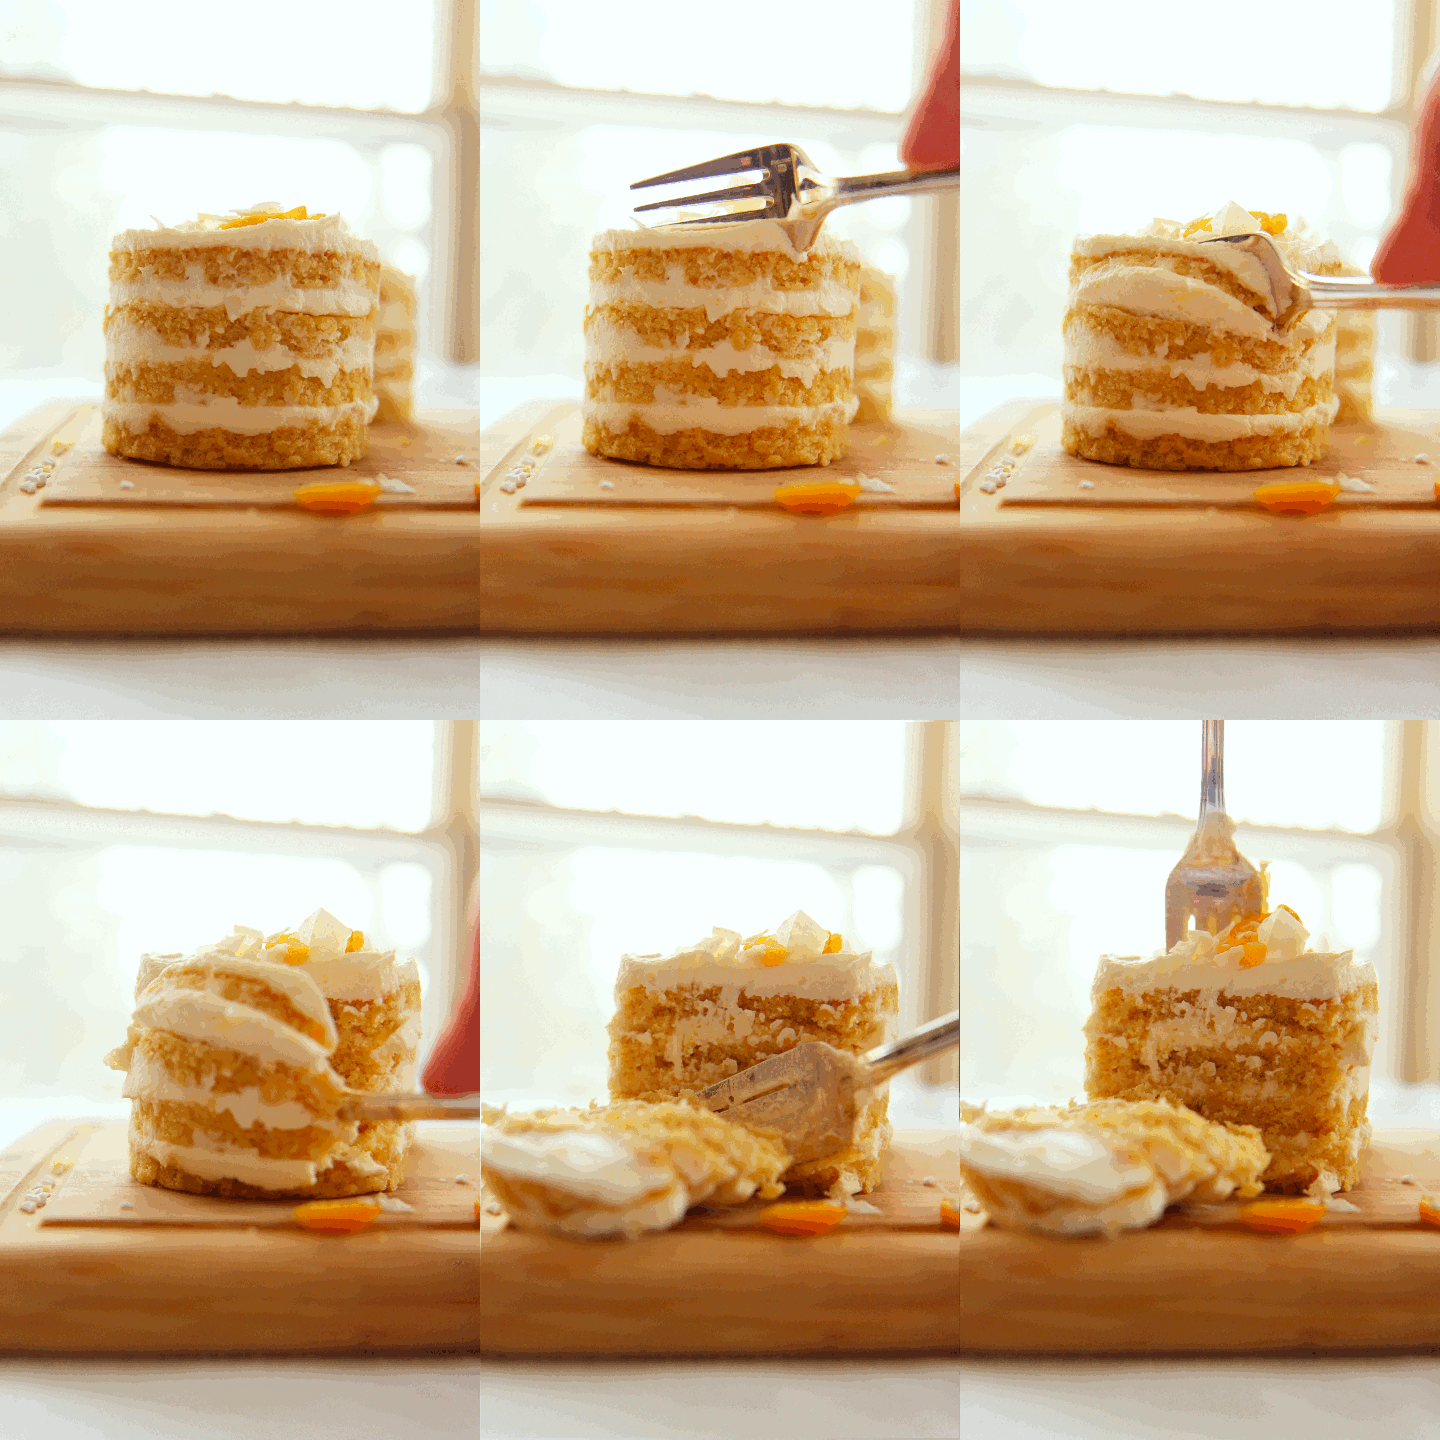
This is what I used to eat them.

May your dreams be full of cake!

P.S. For the loveliest of dreams, listen to this combination.  Makes me cry.  And smile.

IMG_6817 

Coconut Stack Cakes

makes 3 2-inch cakes (from a 10×15 inch sheet pan)
ingredients:
for the cake:
77 grams butter
167 grams sugar
40 grams brown sugar
2 eggs
63 grams full-fat coconut milk
10 grams lemon juice
50 grams grapeseed oil
8 grams vanilla extract
123 grams flour
2/3 teaspoon baking powder
big pinch kosher salt

for the whipped cream:
240 mL heavy cream
15 mL full-fat coconut milk
7 grams powdered sugar

directions:
Preheat oven to 350 degrees F and grease and flour a 10×15 inch jelly roll pan.
Beat butter for 2 minutes to soften.
Add the sugars and beat for 4 more minutes.
Scrape the bowl and beat in the eggs for 2 more minutes.
Scrape the bowl and add the coconut milk, lemon juice, oil, and vanilla extract; beat until homogeneous.
Add the flour, baking powder, and salt and mix on low until combined.
Scrape the batter into the jelly roll pan and spread out evenly.
Bake for 18-22 minutes, until golden and firm to the touch.
Allow to cool completely, then cut circles out with 3 inch cake rings.
You should get 12.
Whip cream to soft peaks, then gently beat in coconut milk and powdered sugar.
Place one cake circle in the bottom of a cake ring.
Spread 2 tablespoons of whipped cream onto the cake base.
Place another cake circle on top of the whipped cream and repeat so that each stack cake gets 4 layers.
Press down gently to release the cake, then top with pearl sugar, coconut flakes, and kumquats.

Let It Snow

IMG_6444_01_01

Delicately blue light streams in through the windows as snowflakes fall, soft and silent, to nestle in with their brothers and sisters blanketing the earth.

IMG_6443_01_01

Fragrant pine fills the house, as the scent of sweet spices wafts about, luring passerby into the kitchen.
The ornaments jingle as they are lifted onto the tree, one by one, until it is full up with a motley myriad of memories in the form of handmade popsicle stick and Elmer’s creations and childhood photos, as well as jewel toned orbs and sparkling glass shapes.

It’s the most wonderful time of year…

IMG_6457_01_01

Cheery holiday music blasts through my speakers.
Mittens, hats, scarves, and boots are donned to brave the cold.

That is, when one ventures out of the delicious warmth of a cozy bed.
There’s nothing better than sleeping in a soft, pillowy bed in a cold room, snuggled deep into goose-down comforters and blankets.
There’s nothing worse than stepping out of said bed in the pale, wintery morning light onto freezing cold hardwood floors.
Wool socks, please.

IMG_6462_01_01

I love winter.  I love the holiday season.  I’m home home home for three full weeks.  I’m delirious with happiness.
Sleeping in my own warm bed, showering with water pressure, yadda yadda yadda all that stuff I mentioned during Thanksgiving.
Only, this time, I get to enjoy it thoroughly, not rushed and harried.

IMG_6471_01_01

I have so many ideas floating through my head of what to bake; it’s all consuming.

Cakes, pastries, and so, so many cookies.
So much holiday cheer to bake into little yummies, so little time!

Of course, that’s most of what I’ll be gifting this year!  Everyone loves cookies… And I love making them.  I promise you many recipes to come.

IMG_6482_01_01

However, since everyone and their mother have been making gingersnaps lately, I made gingerbread.

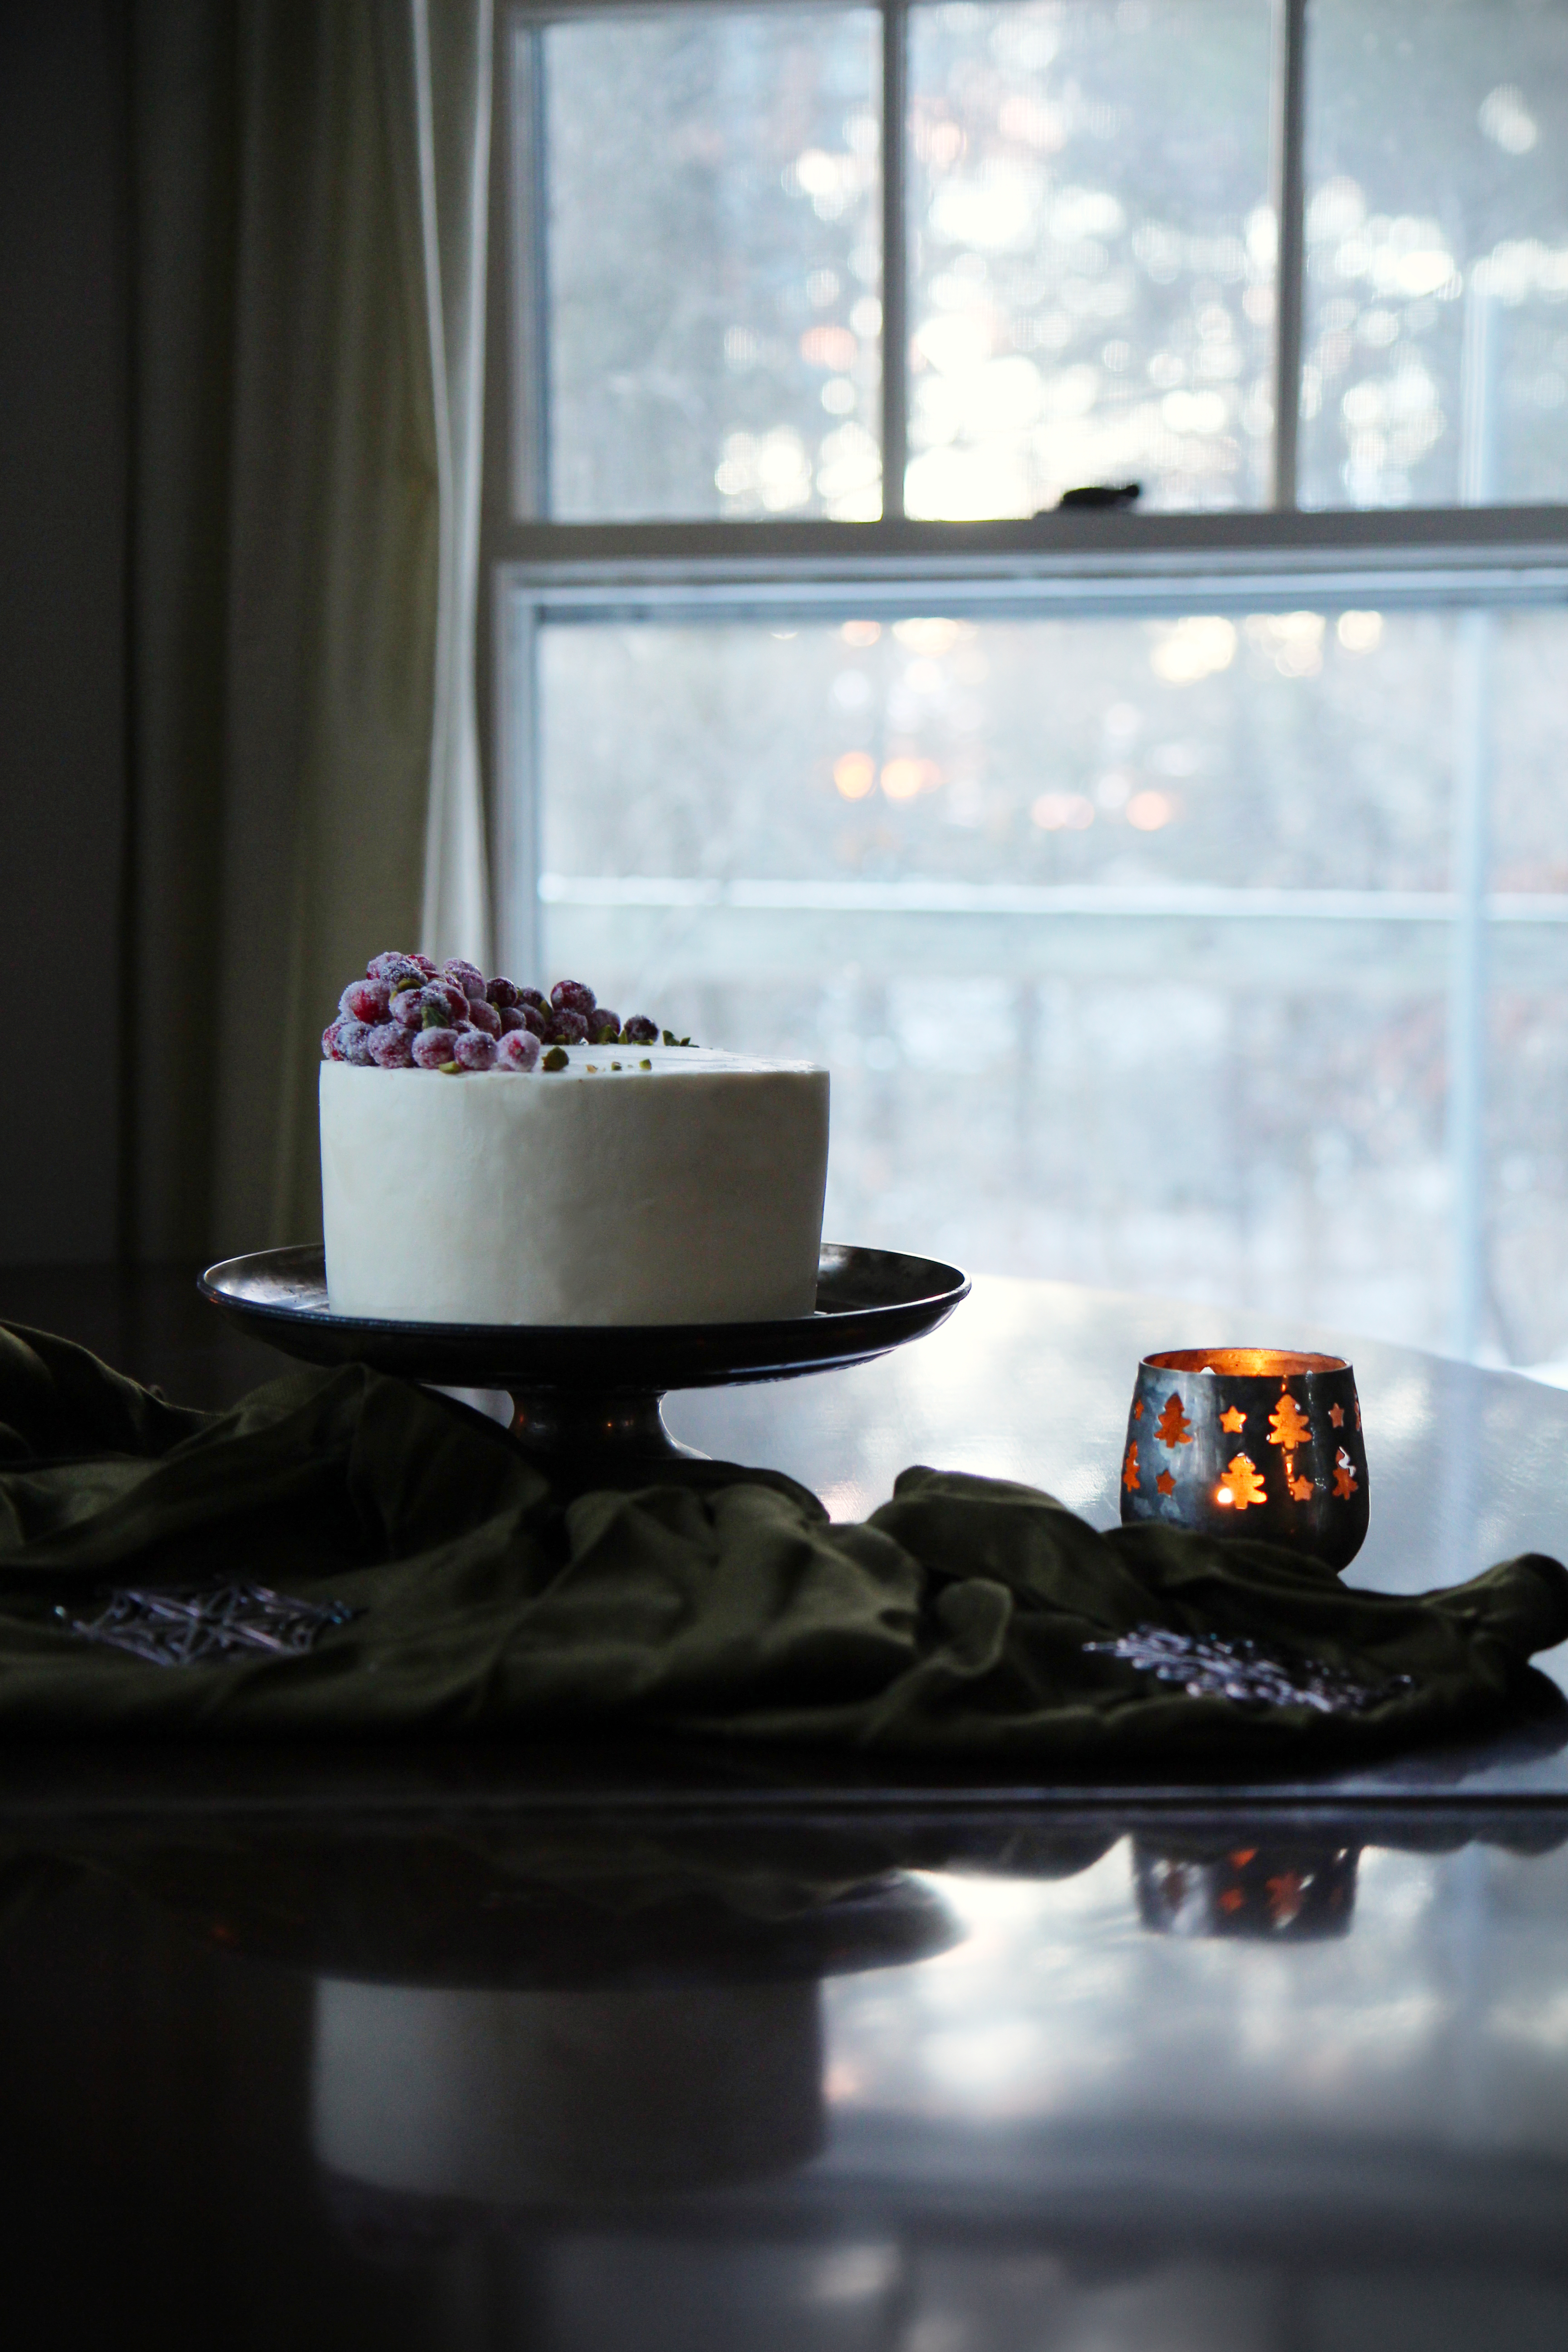
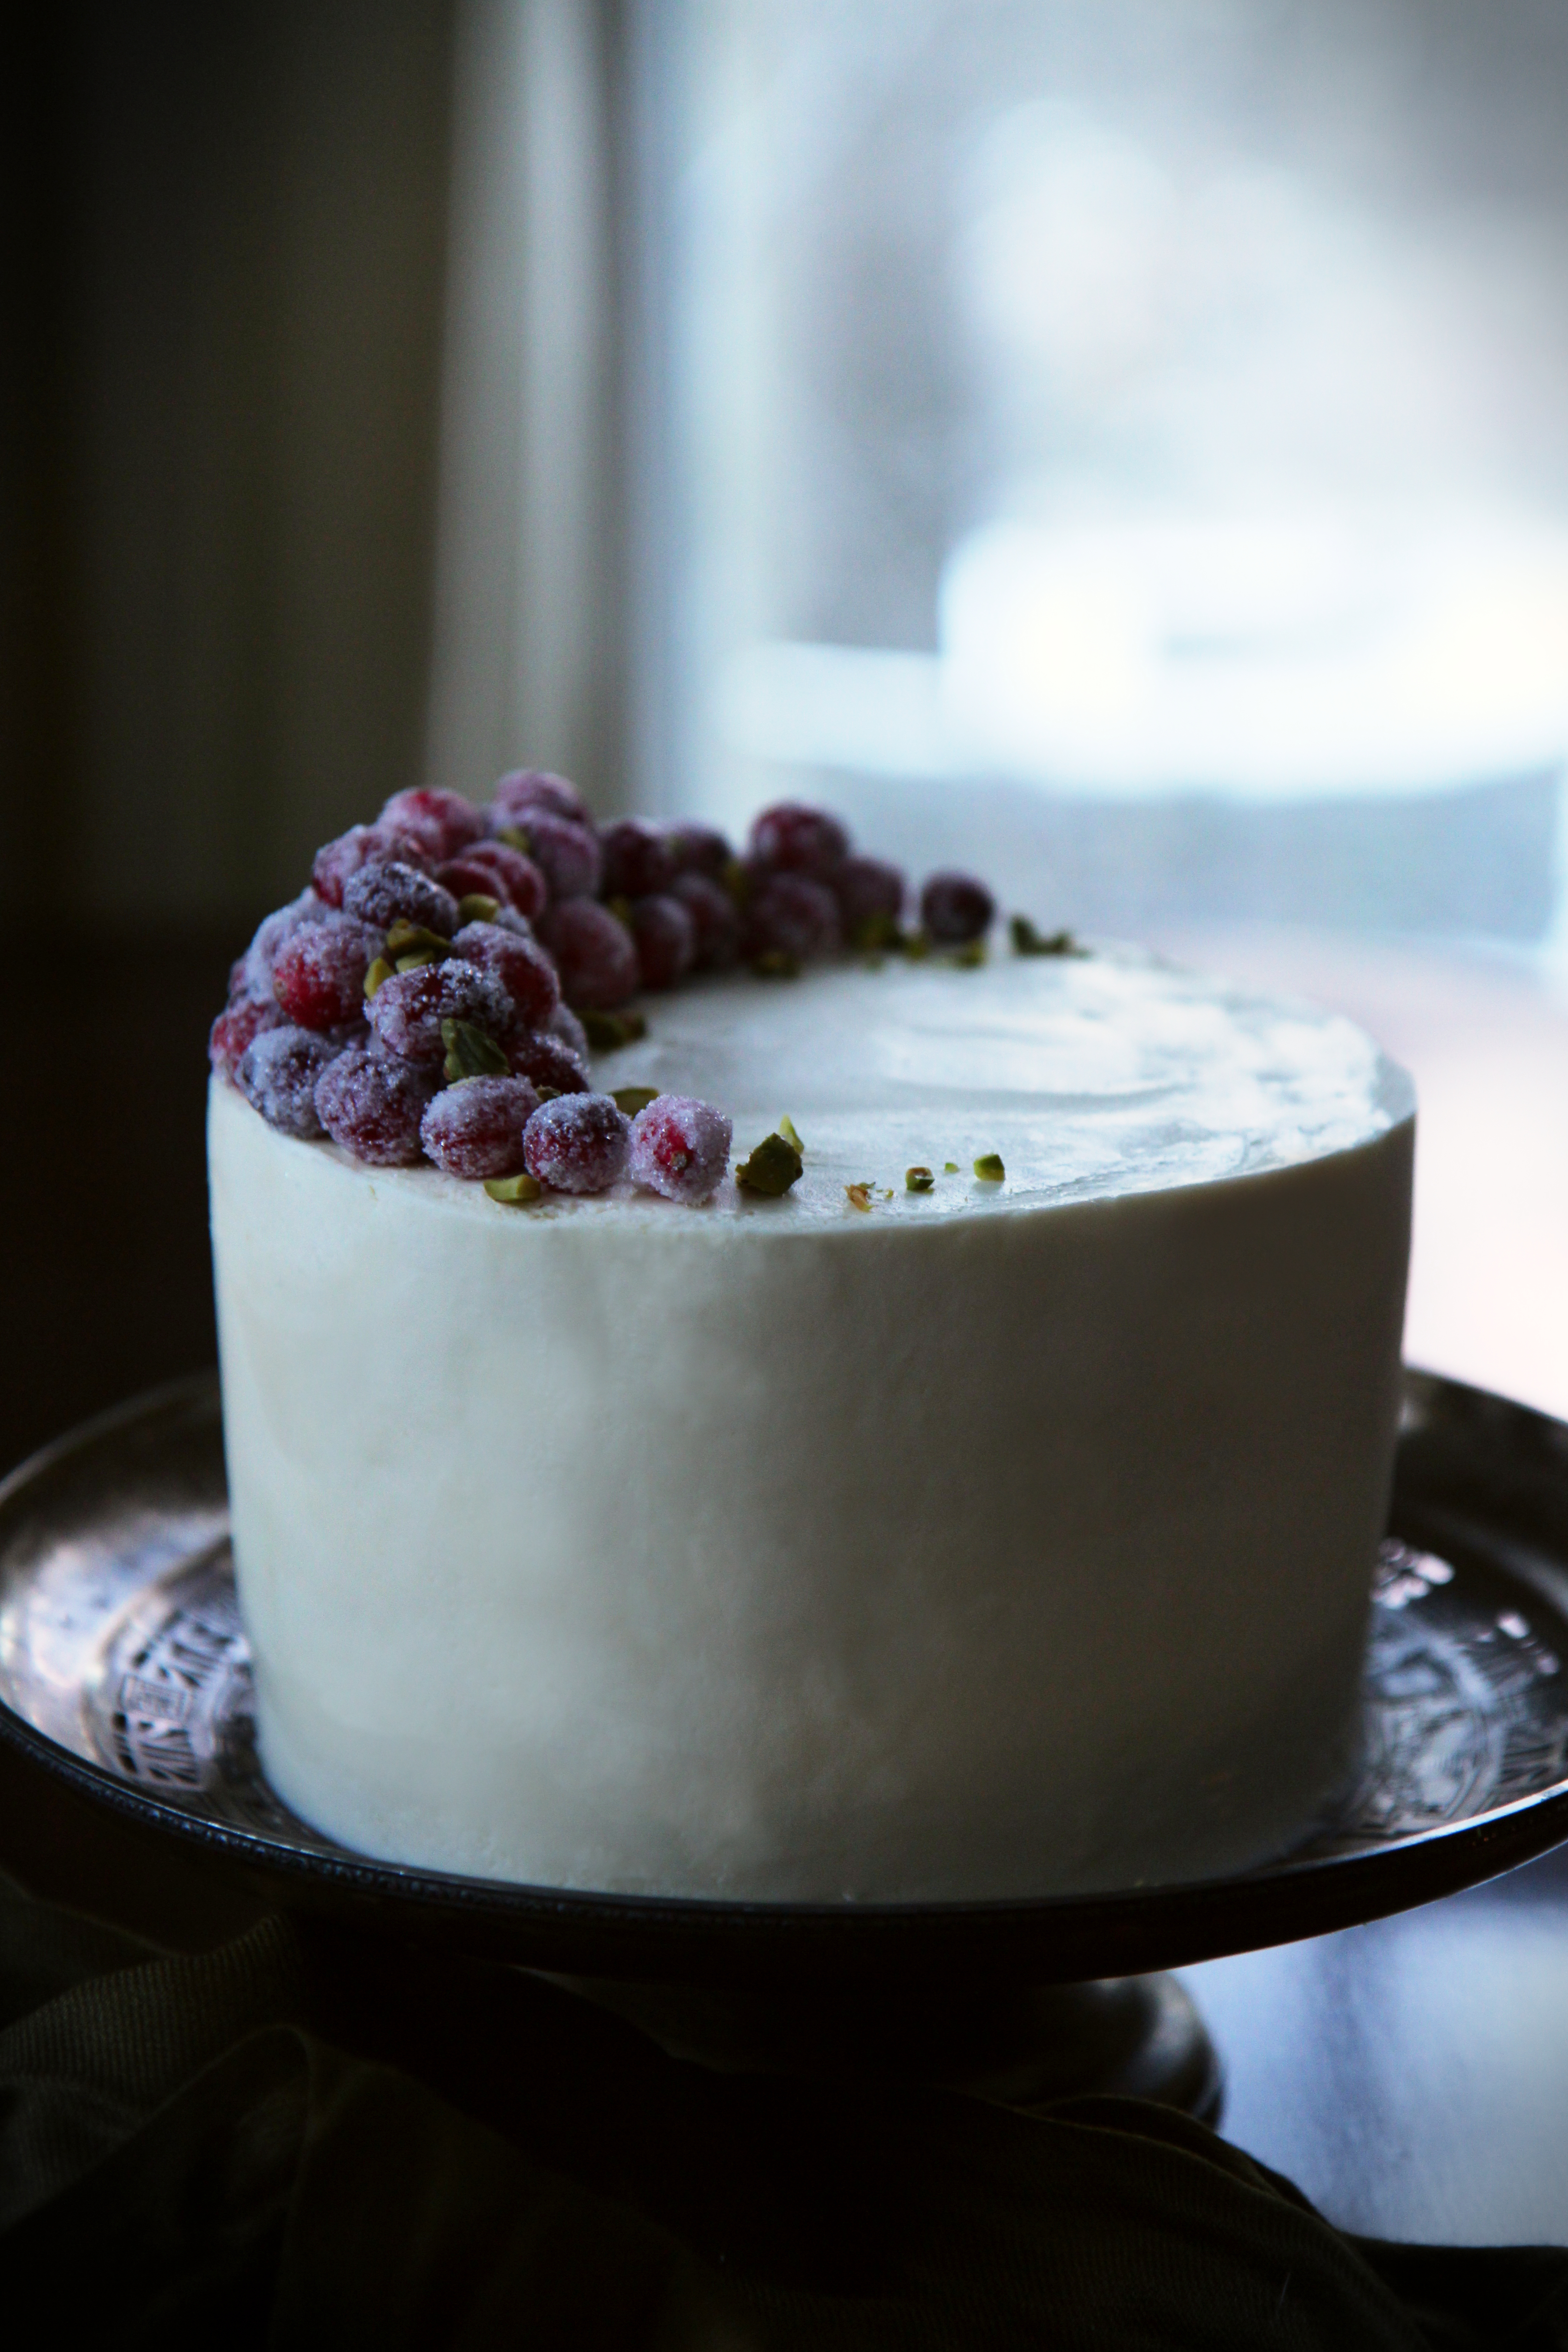
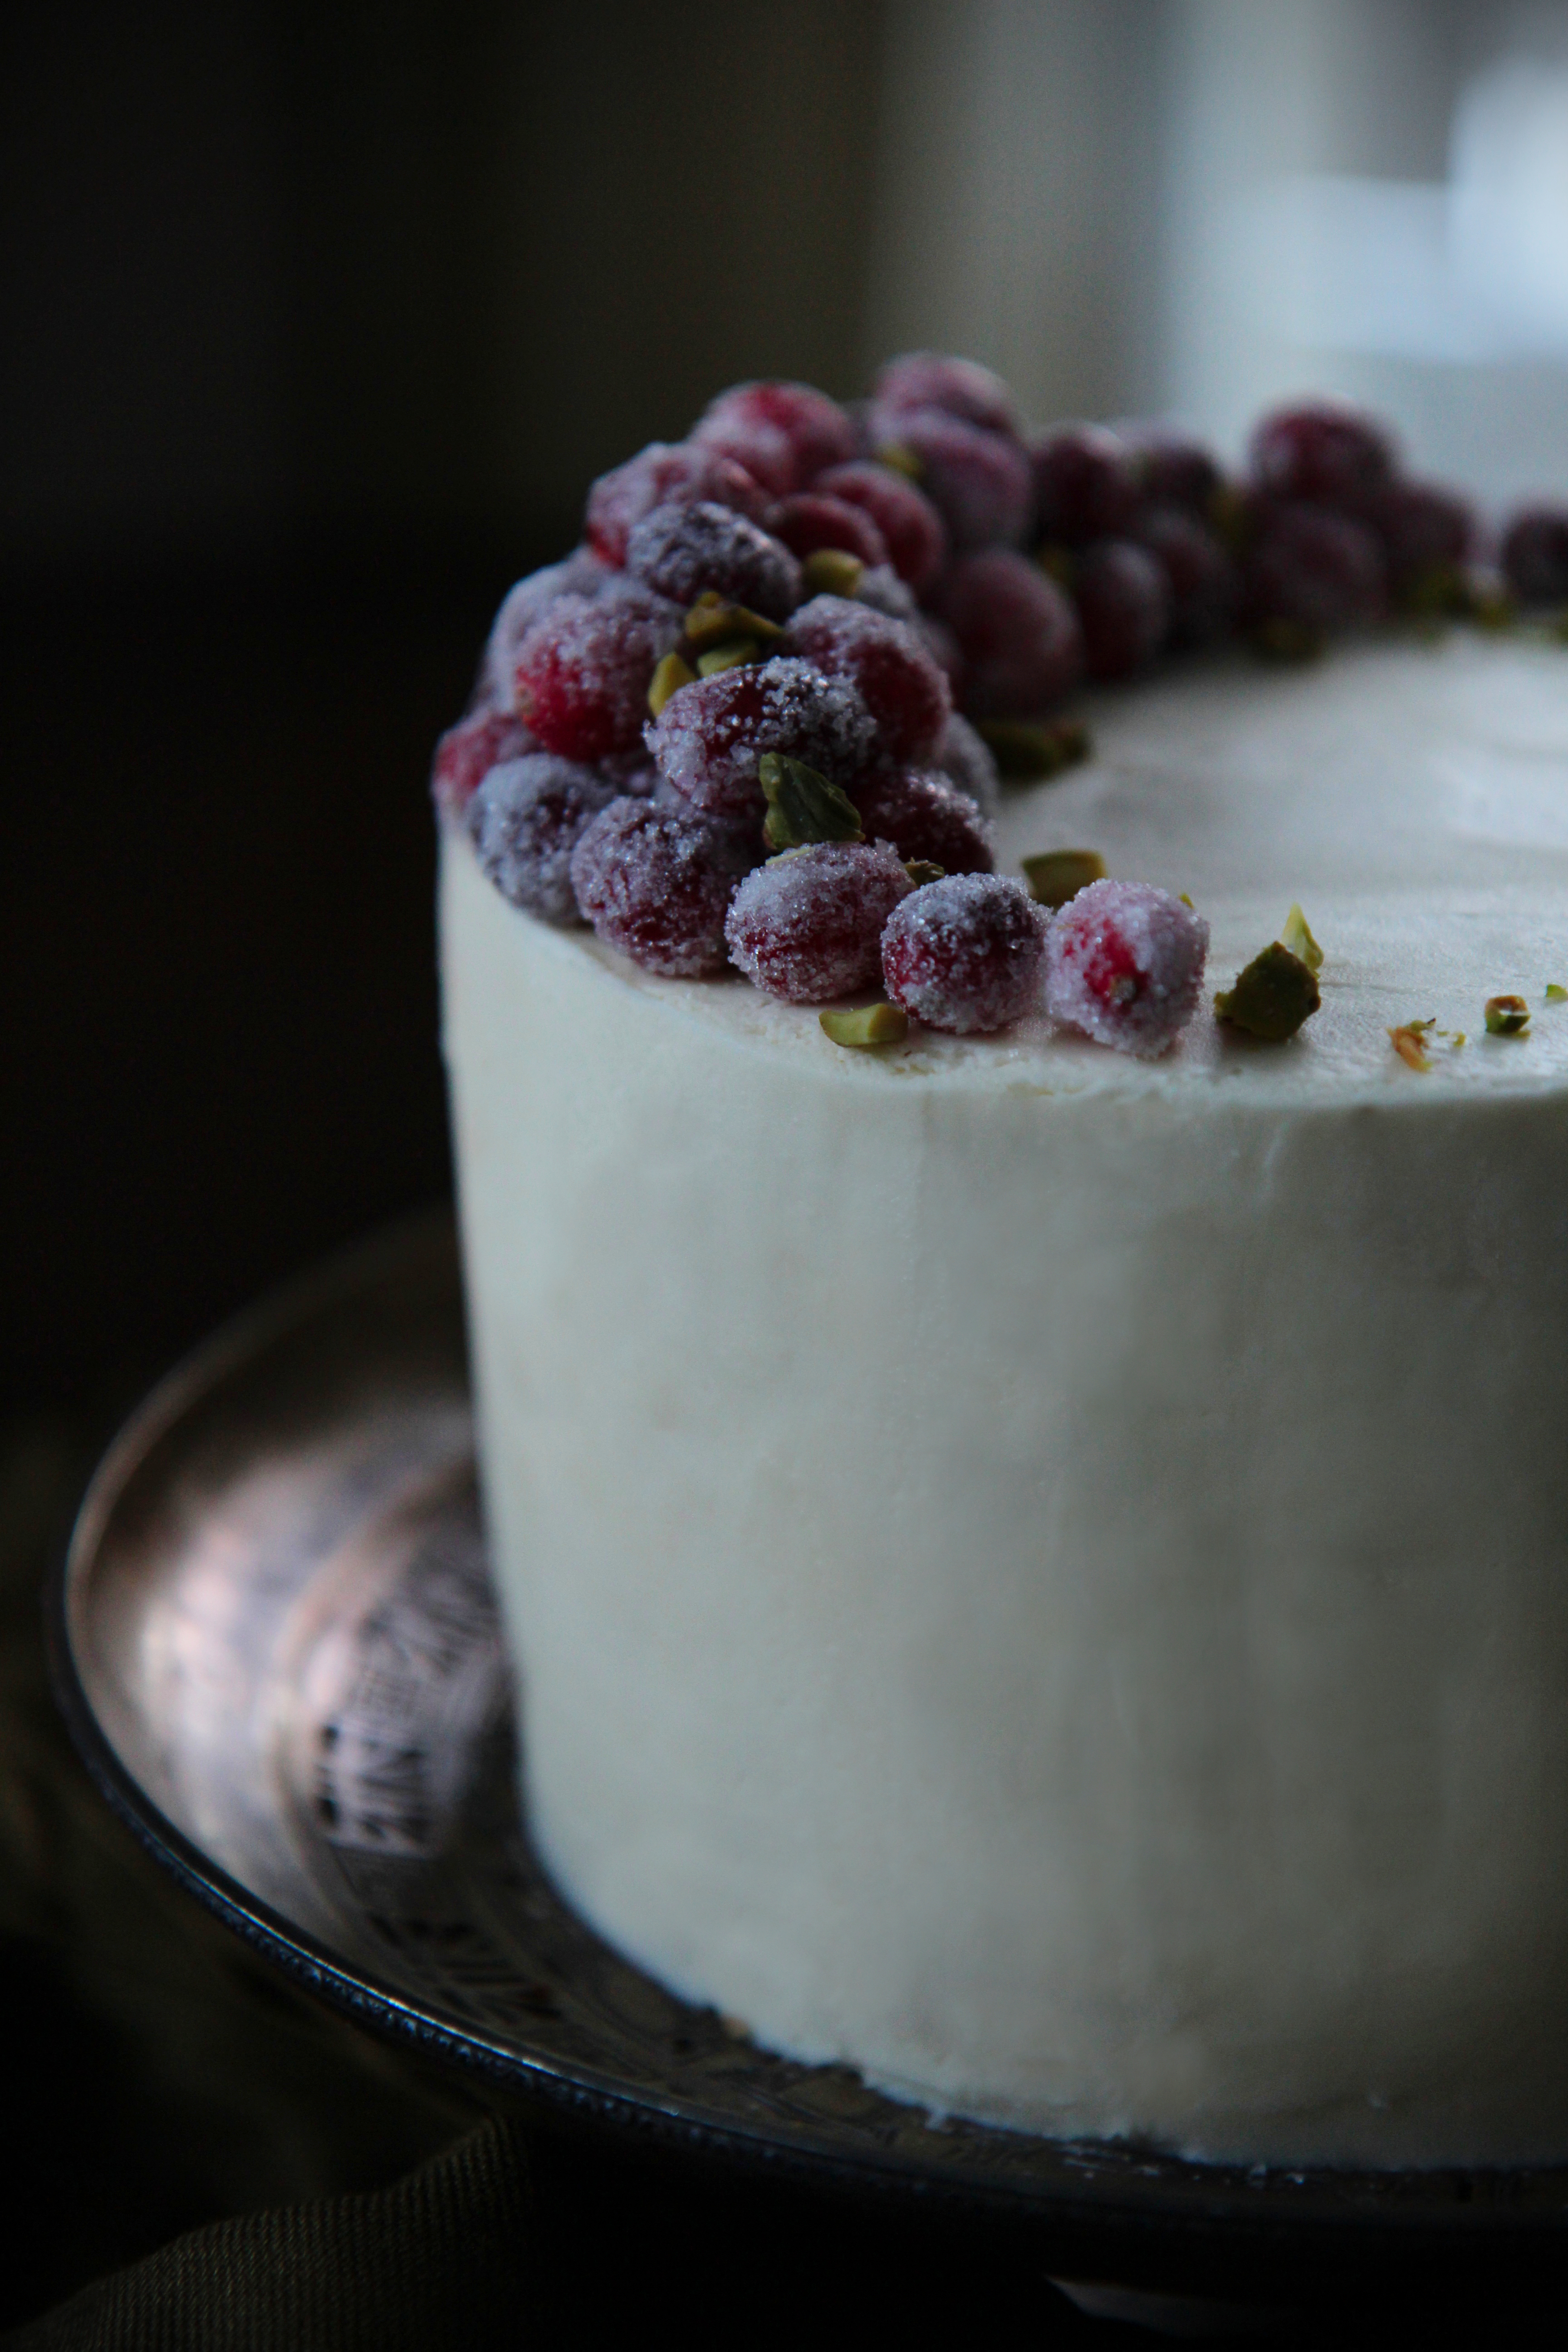
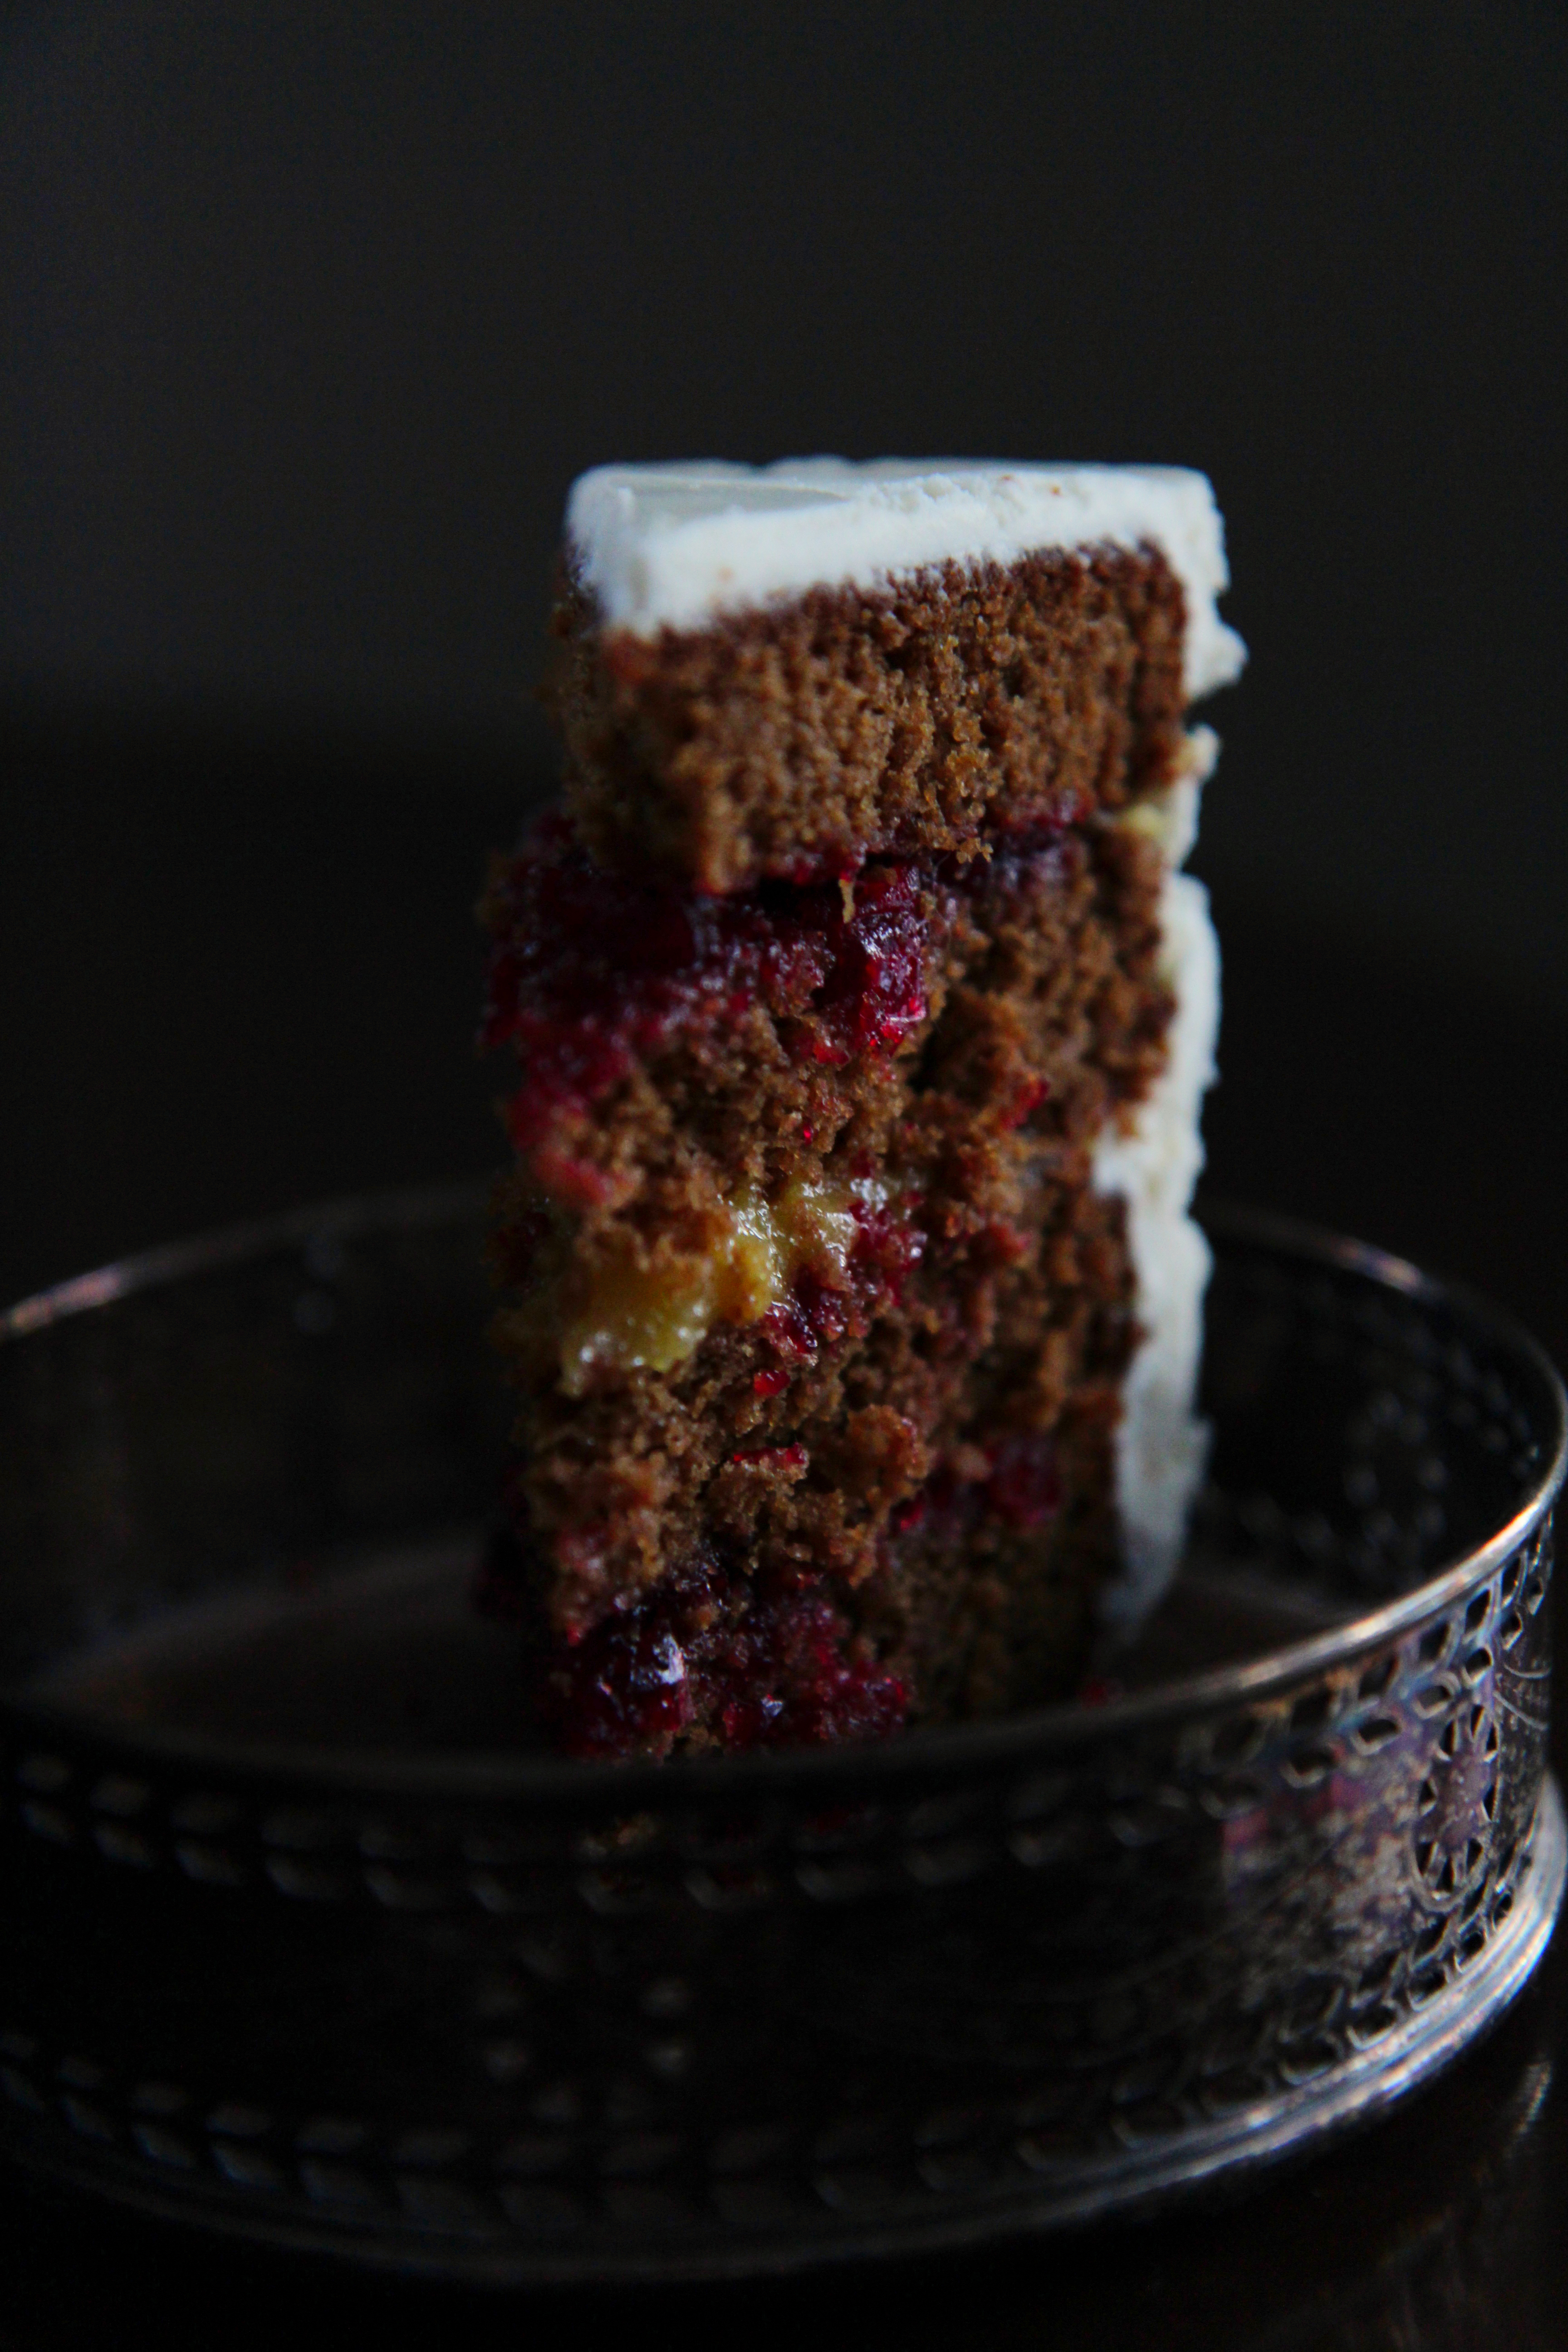
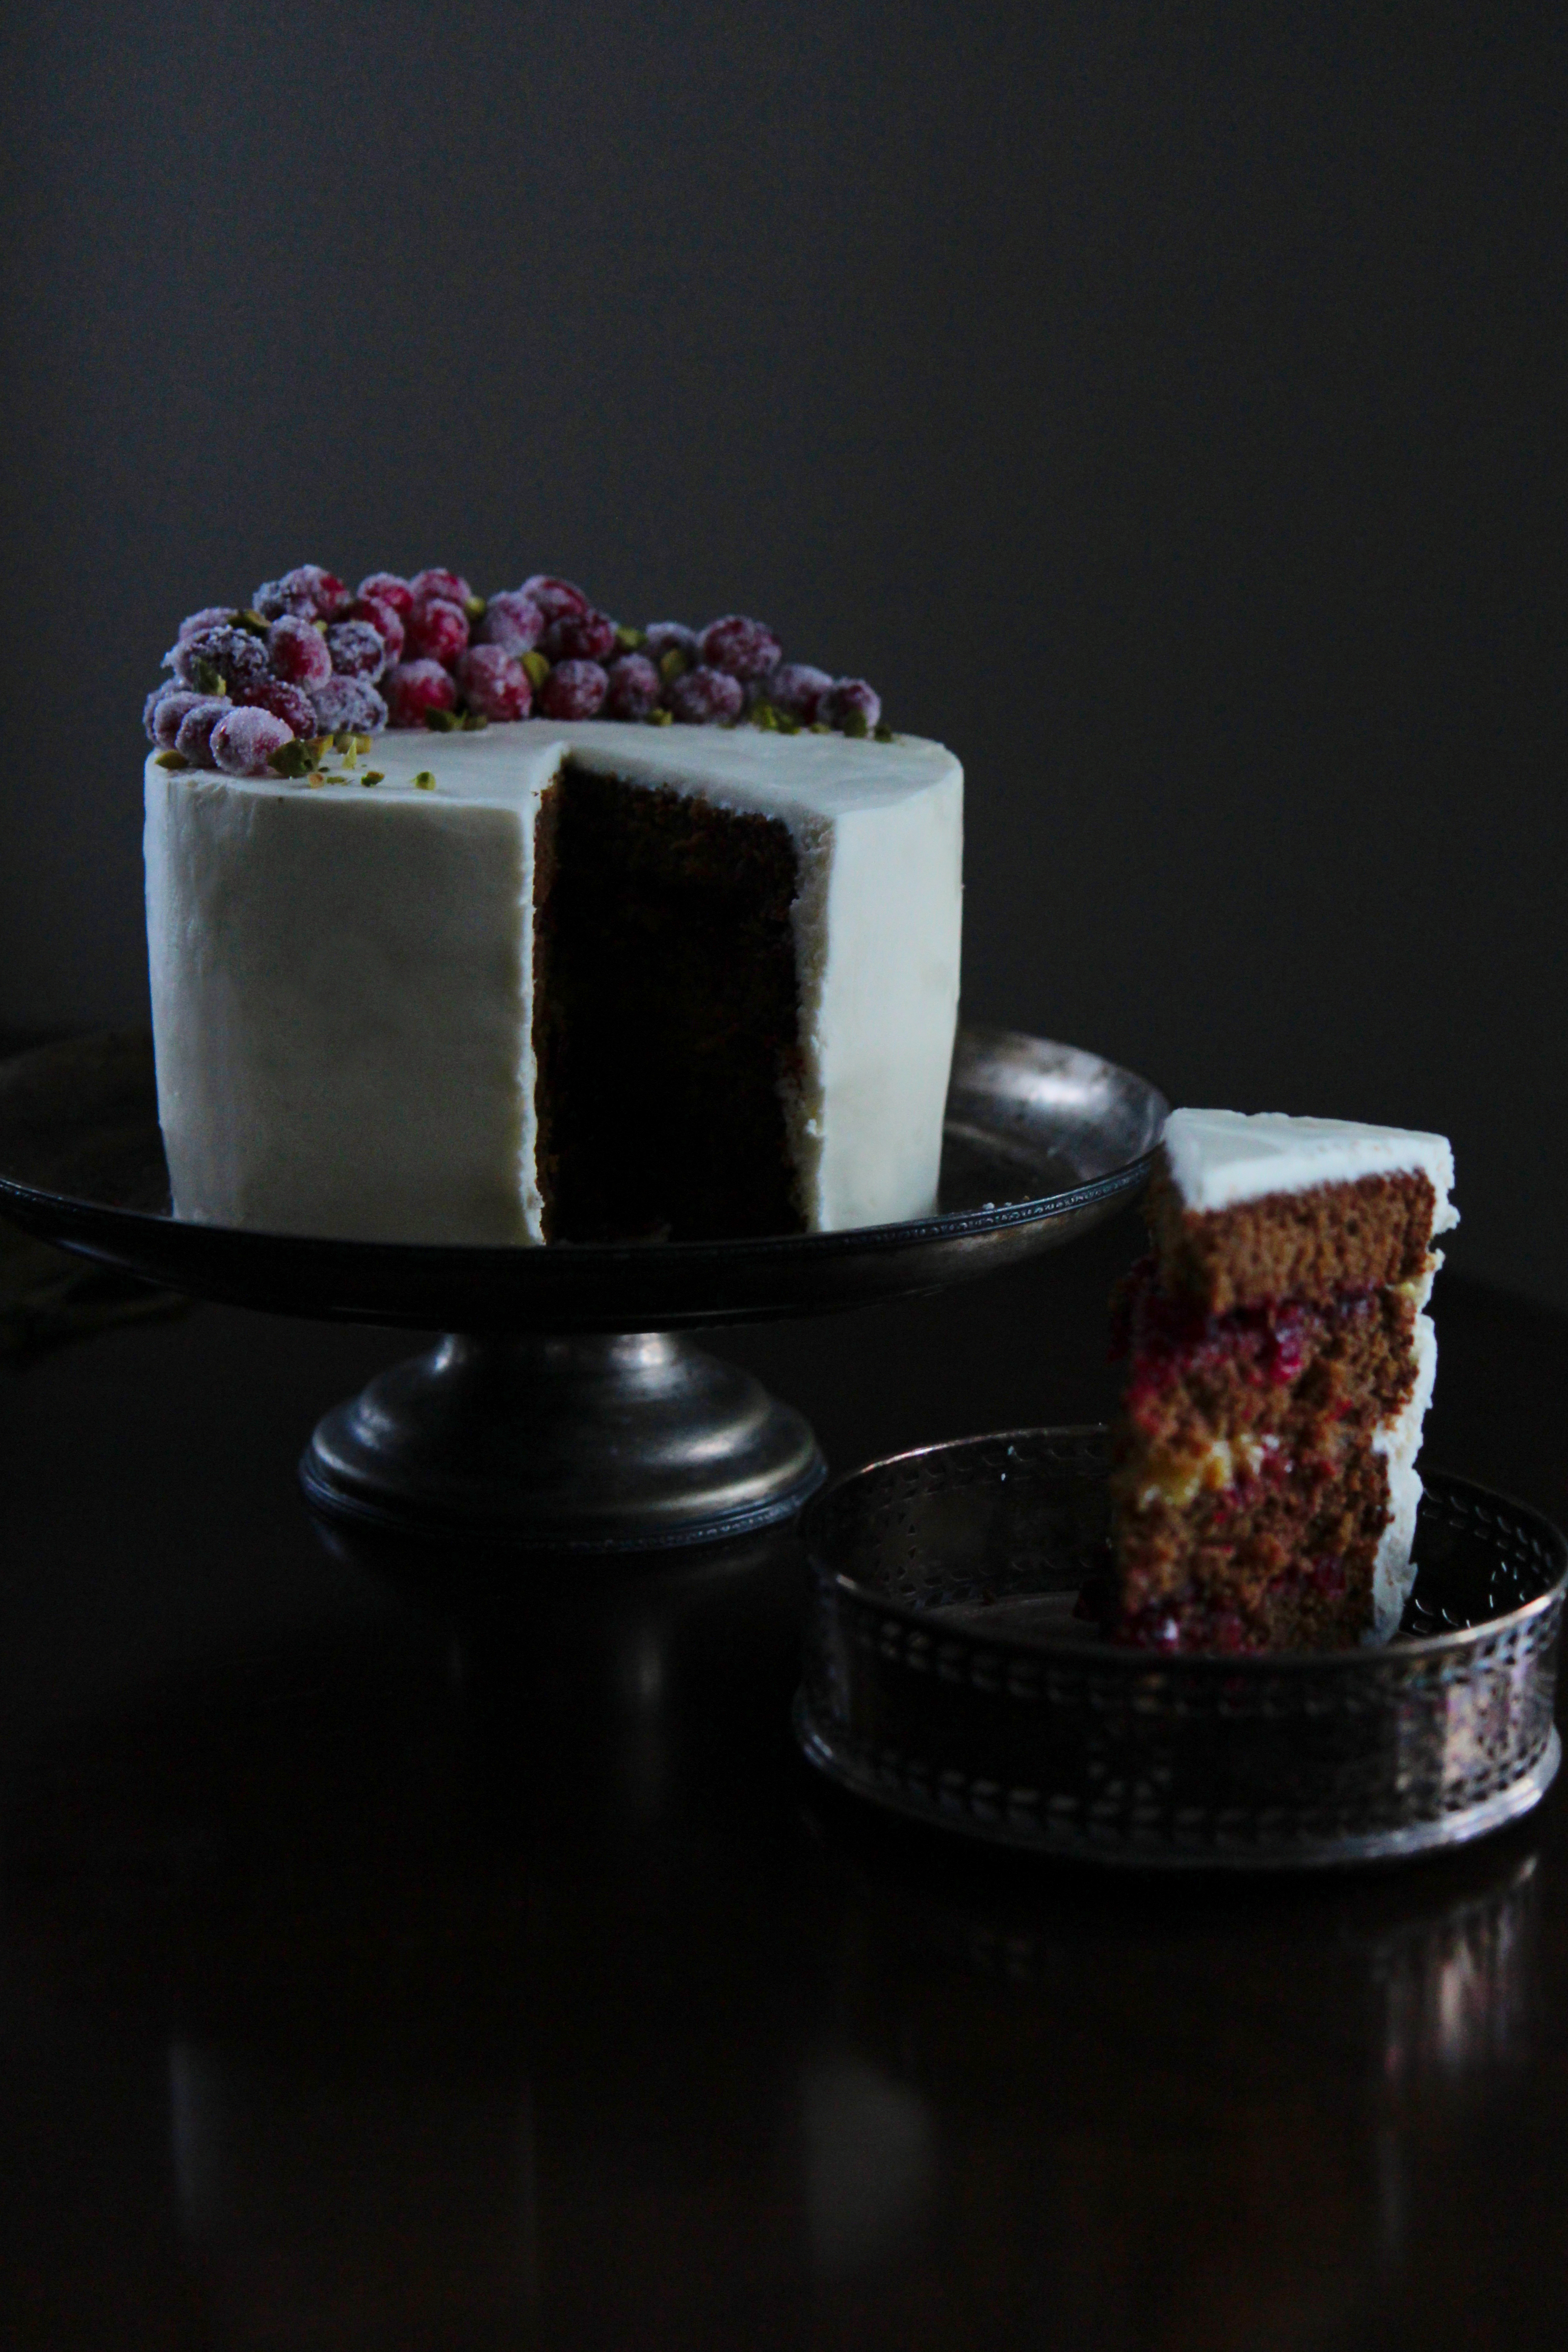
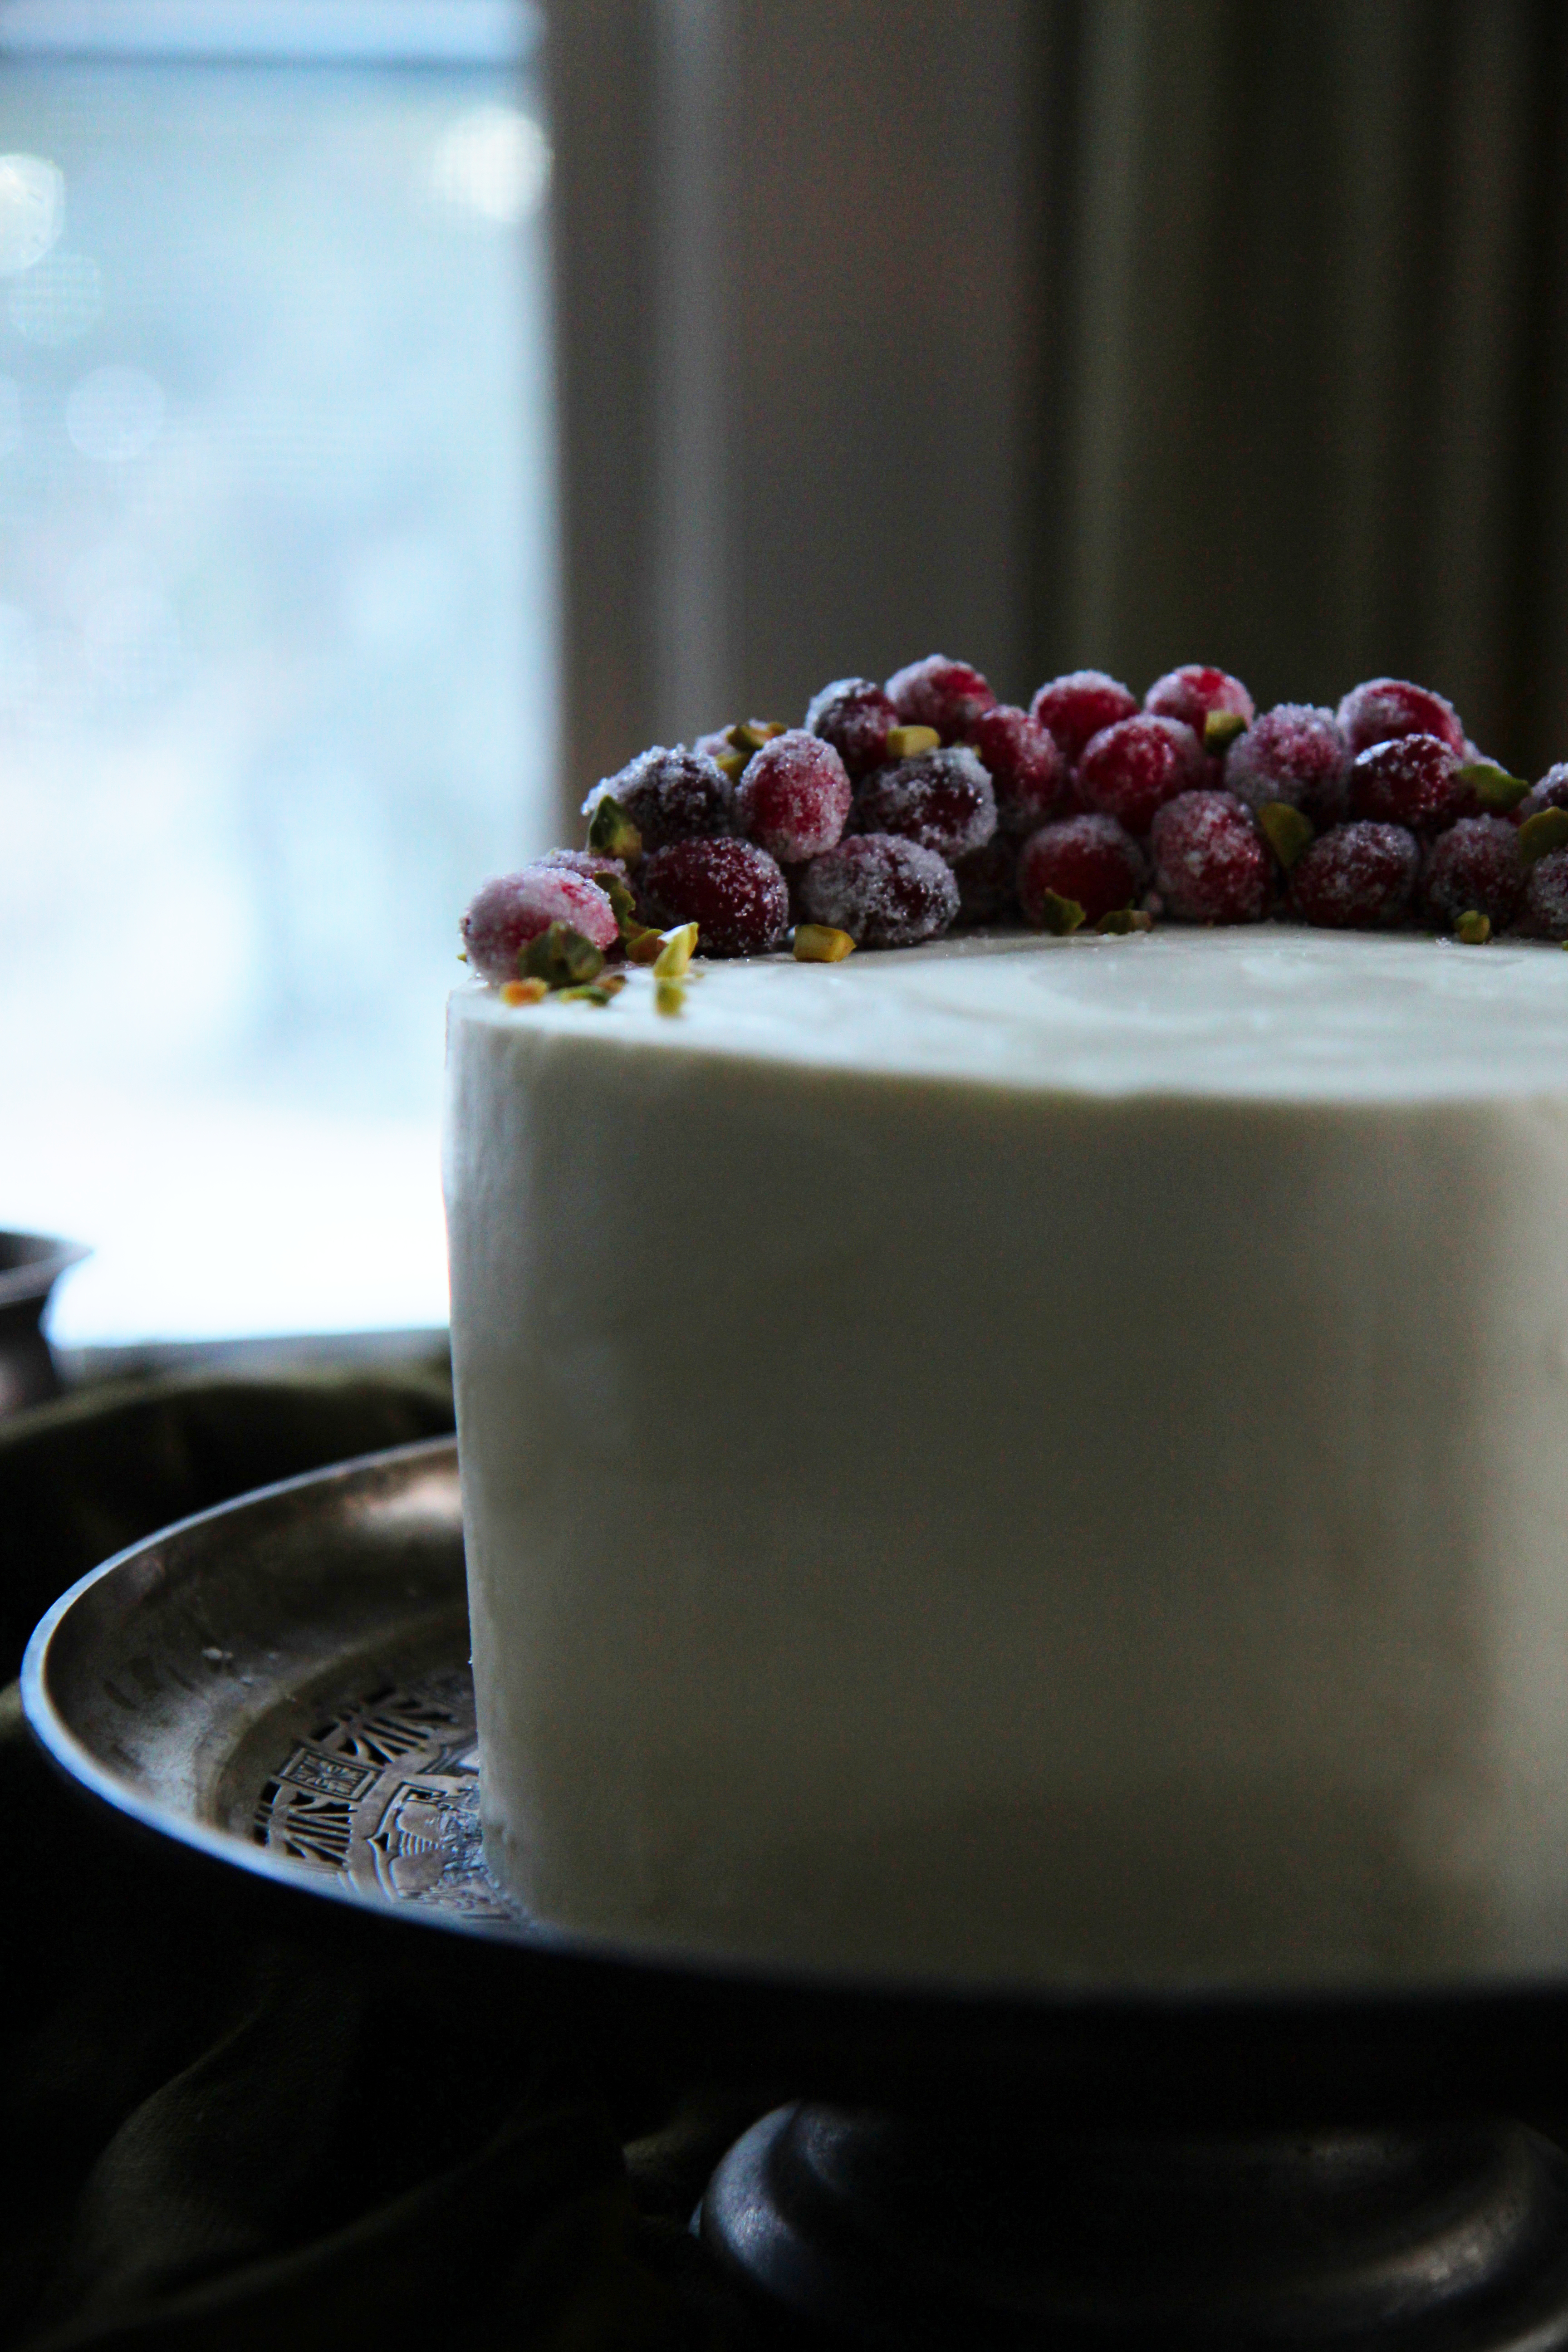
Soft, spicy gingerbread.  Sandwiched with tart cranberry compote and bright, tangy lemon curd.  Covered in a thick blanket of creamy mascarpone frosting, and decorated with a few sparkling cranberry ornaments.

This would be a beautiful and jaw-dropping addition to a Christmas party/dinner/celebration.

Happy winter!  Keep your ovens turned on, y’all.

IMG_6491_01_01

Gingerbread Cake
makes a 2 layer 6-inch cake
cake portion adapted from Joy of Baking

ingredients:
for the cake:
2 cups (260 grams) flour
1 teaspoon baking soda
scant 1/2 teaspoon kosher salt
1 1/2 teaspoons ginger
1 teaspoon cinnamon
big pinch ground cloves
pinch cardamom
pinch coriander
pinch ground pepper
pinch nutmeg
1/2 cup (115 grams) unsalted butter
1/2 cup (105 grams) brown sugar
2 eggs
1/2 cup (120 grams) molasses
1/2 cup (120 grams) kefir (substitute yogurt or buttermilk)

for the cranberry compote:
3/4 cup cranberries
1/2 cup sugar
1/4 cup apple cider

for the lemon curd:
3 tablespoons plus 1 teaspoon (50 grams) lemon curd
3 egg yolks
1/4 cup (50 grams) sugar
1 tablespoon butter

for the whipped mascarpone frosting:
2 cups (450 grams) mascarpone
1 cup (110 grams) powdered sugar
2-4 tablespoons (30-60 grams) heavy cream

for the sugared cranberries:
1 cup (240 grams) water
1 cup (200 grams) sugar
1 cup cranberries
1/2 cup (100 grams) sugar for dusting

directions:
Make the sugared cranberries:
Heat the water and first measure of sugar together in a sauce pot until sugar is dissolved.
Allow to cool and then place the cranberries into the sugar syrup.
Allow to sit overnight, or at least 5 hours.
Drain the cranberries and allow them to sit for 10 minutes to become slightly tacky.
Place the second measure of sugar in a bowl and place the cranberries in the bowl.
Shake around so that all of the cranberries are covered in sugar.

Make the cake:
Preheat oven to 350 degrees F.
Grease and flour 2 6-inch round pans.
Whisk flour, baking soda, salt, and spices together.
In the bowl of a stand mixer, cream the butter and brown sugar together for 3 minutes until light and fluffy.
Scrape the bowl and add the molasses and eggs; cream until the mixture is homogeneous (will be liquid).
Add in the kefir and stir to mix.
Add the dry ingredients and stir to mix.
Pour the batter into the prepared pans and bake for 22-25 minutes, until center is springy and cake is fragrant.

Make the cranberry compote:
Place all ingredients in a deep pot and bring to a boil.
Allow to boil until all of the cranberries have burst and the sauce has thickened considerably.
Cool completely before using.

Make the lemon curd:
Place the lemon juice in a small sauce pot and heat until simmering.
Whisk the egg yolks and sugar together well while the lemon juice heats up.
Once the juice is simmering, quickly whisk in the yolk/sugar mixture and continue to whisk and heat until the curd has thickened enough to leave a trail on the back of a spatula.
Allow to cool completely before using.

Make the mascarpone frosting:
Whip the mascarpone until very fluffy and light.
Sift in the powdered sugar and beat while streaming in 2 tablespoons of cream.
If the frosting is too thick, add 2 more tablespoons of cream, or as needed.

Assemble the cake:
Carefully split each of the layers of cake into two.
Place a dot of frosting on your cake stand or board and place the first layer onto the frosting.
Spread 1/3-1/2 of the cranberry compote onto the first layer.
Place the second layer of cake onto the first and spread with almost all of the lemon curd.
Place the third layer and spread on almost all of the remaining cranberry compote.
Top with the fourth layer and frost with the mascarpone frosting as desired.
To smooth the frosting, run a slightly hot knife over the surface of the cake.
Decorate with sugared cranberries and chopped pistachios.